Building Blocks to Teach Braille
by Nadav Hakak in Workshop > 3D Printing
194 Views, 1 Favorites, 0 Comments
Building Blocks to Teach Braille
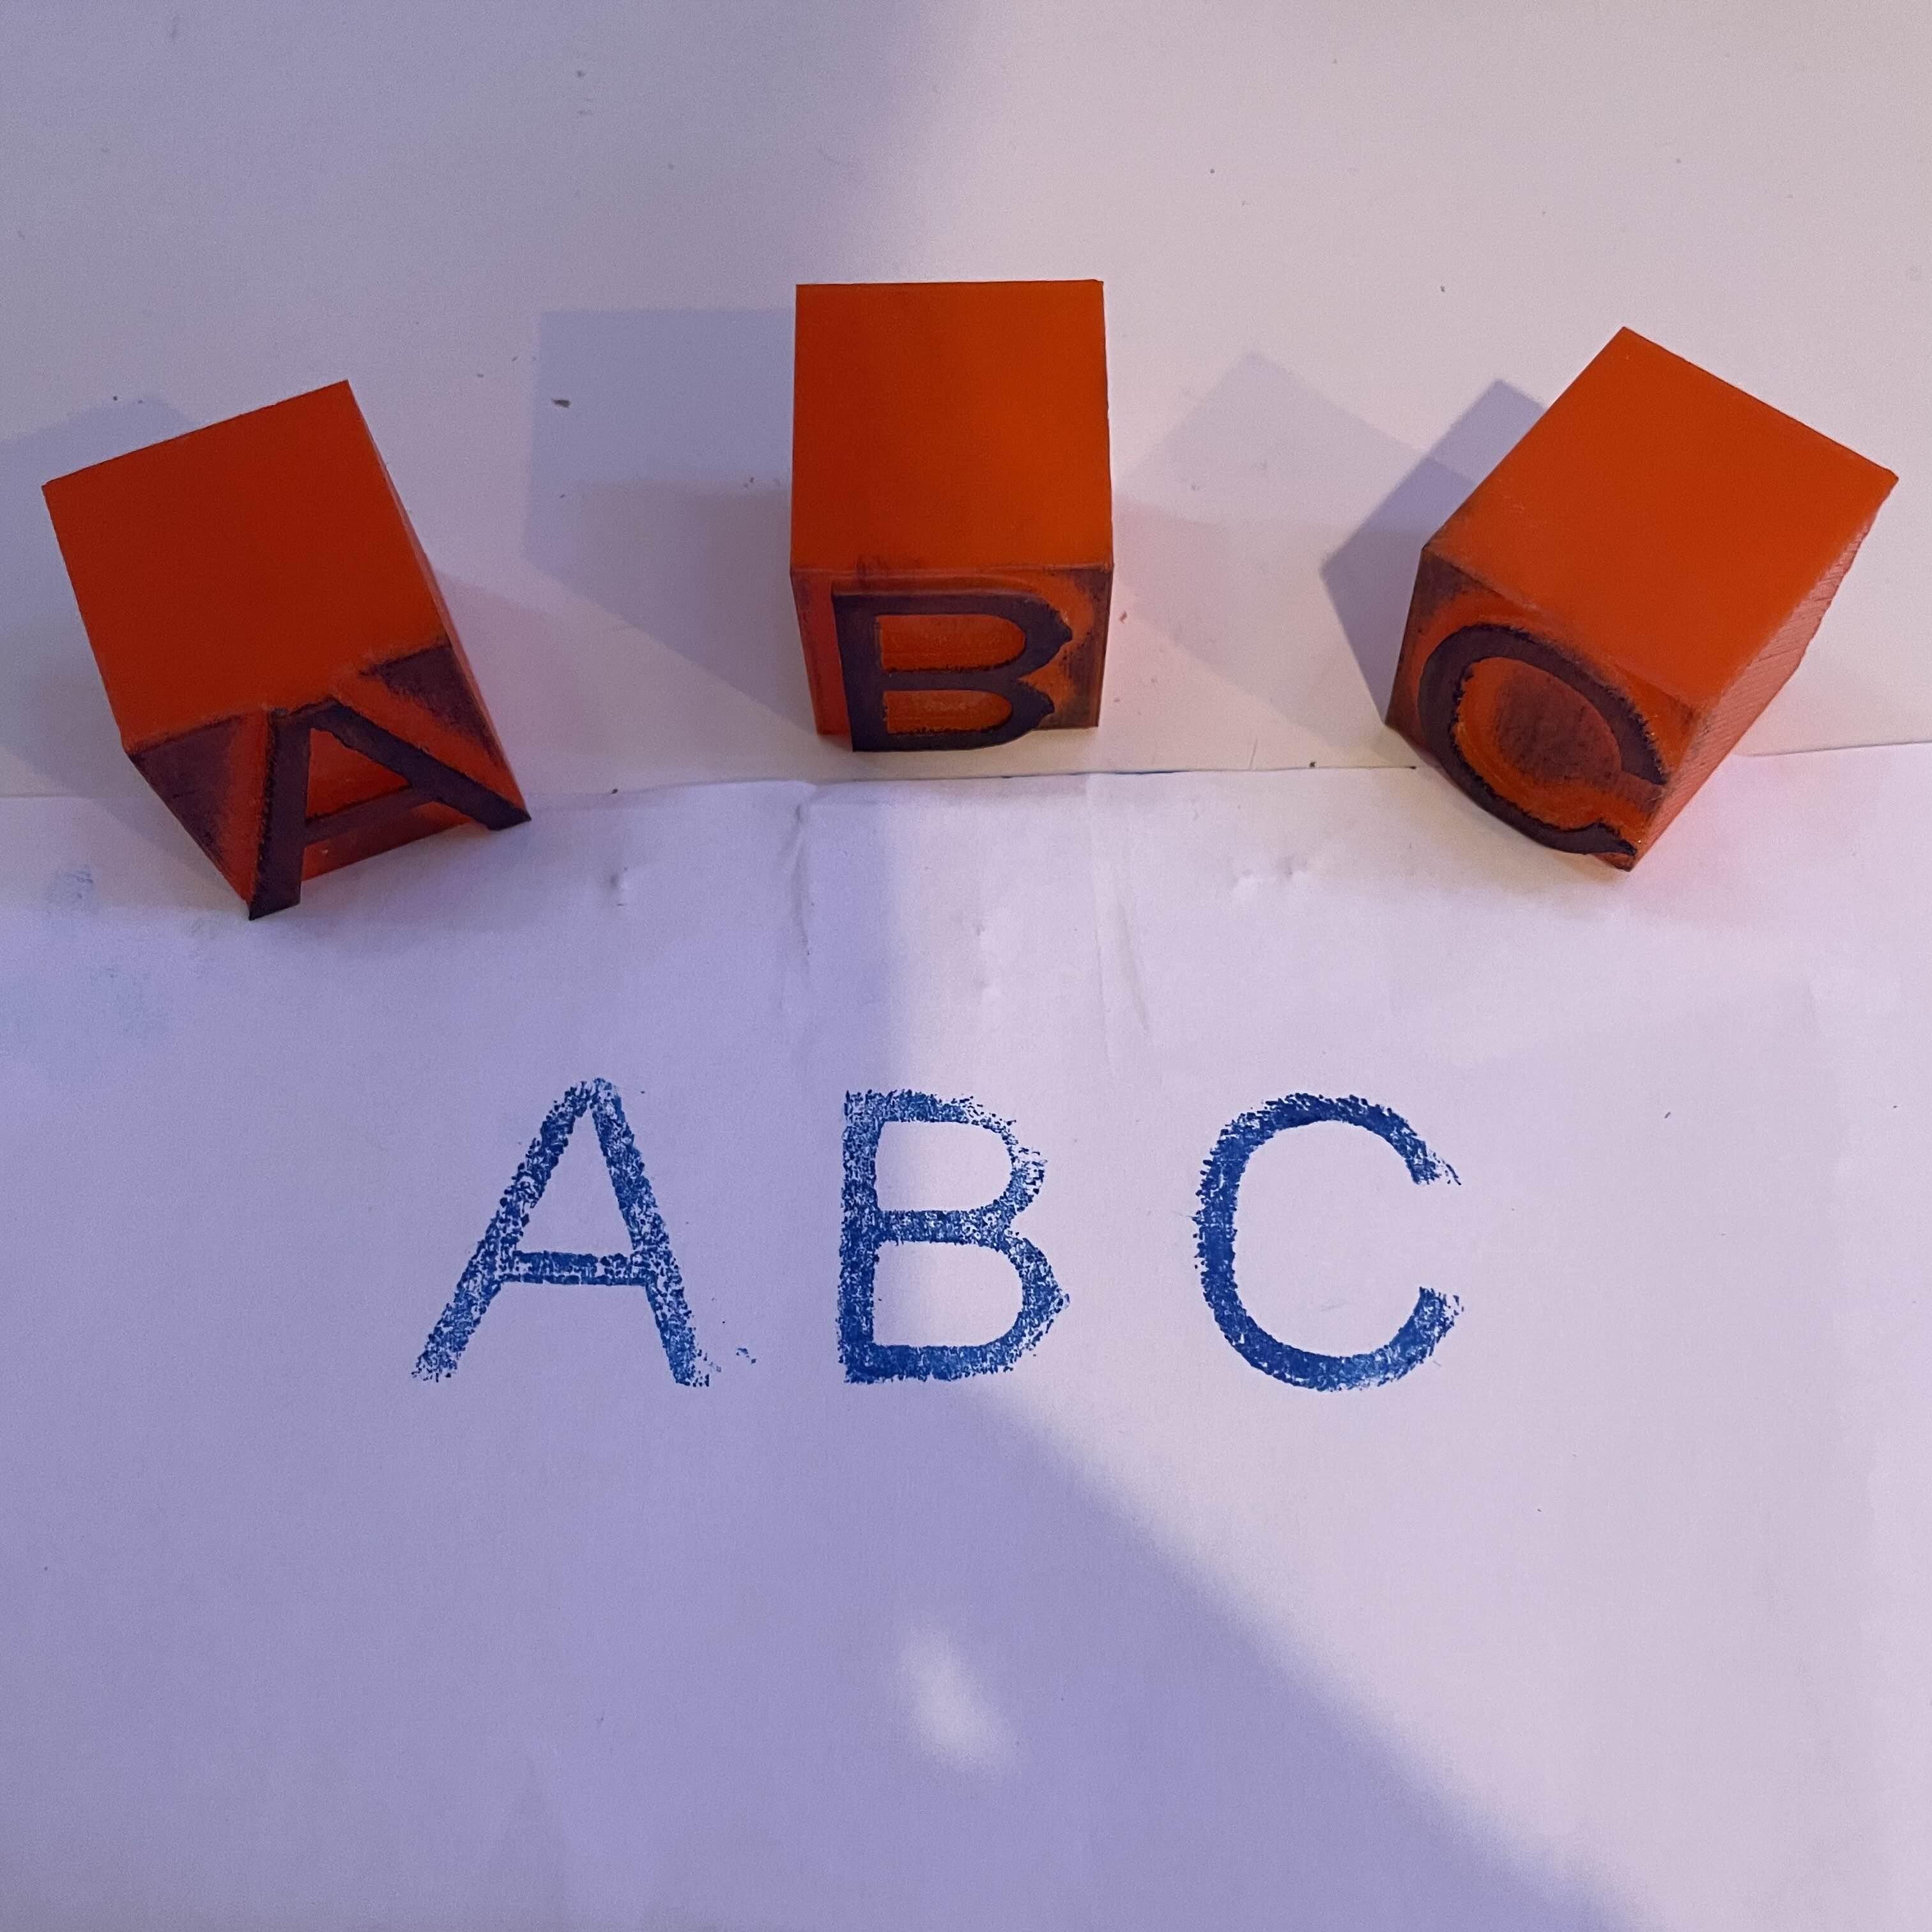
Welcome to our hands-on guide to creating braille letter blocks! These tactile blocks combine the power of language and touch, making them perfect for teaching children and adults alike. Whether you want to learn braille or make this for a person with a visual impairment, this instructable will walk you through the process step by step. This set of blocks includes letters of the alphabet. Each stamp can be used with an ink pad to print out characters or be used to indent its corresponding braille character, which has a line below it to guide users to which side the braille should be directed. Let’s dive in!
Supplies
These blocks don't require very many complex materials, which makes them easy to make for everyone who needs them.
- A 3D-printer
- Filament
- Paper/Cardstock
- Ink Pad
- Sand Paper
- Stamp Foam and Super Glue(optional)
- Sharpie/Permanent Marker
Making the Blocks
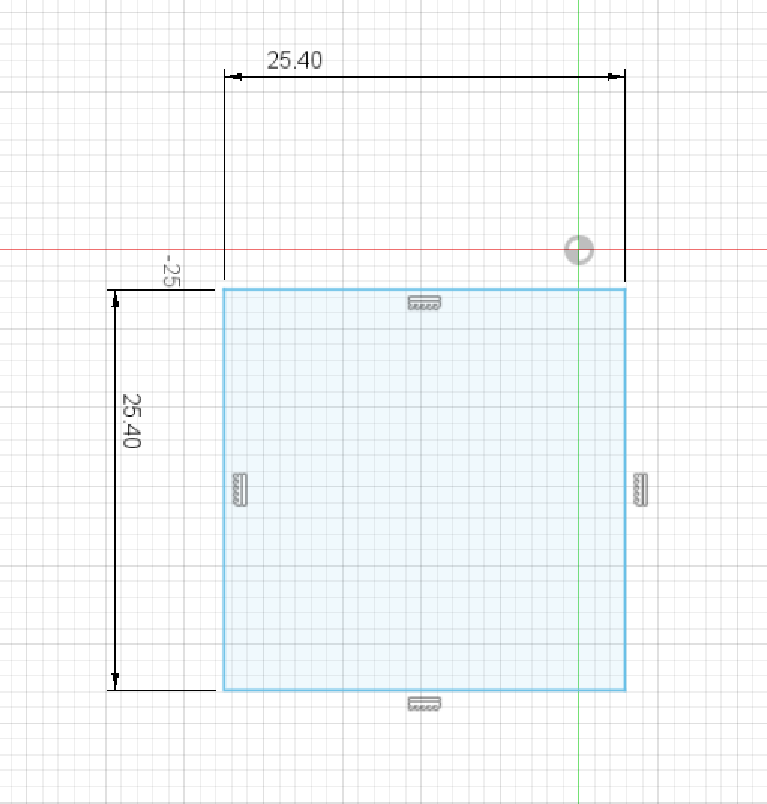
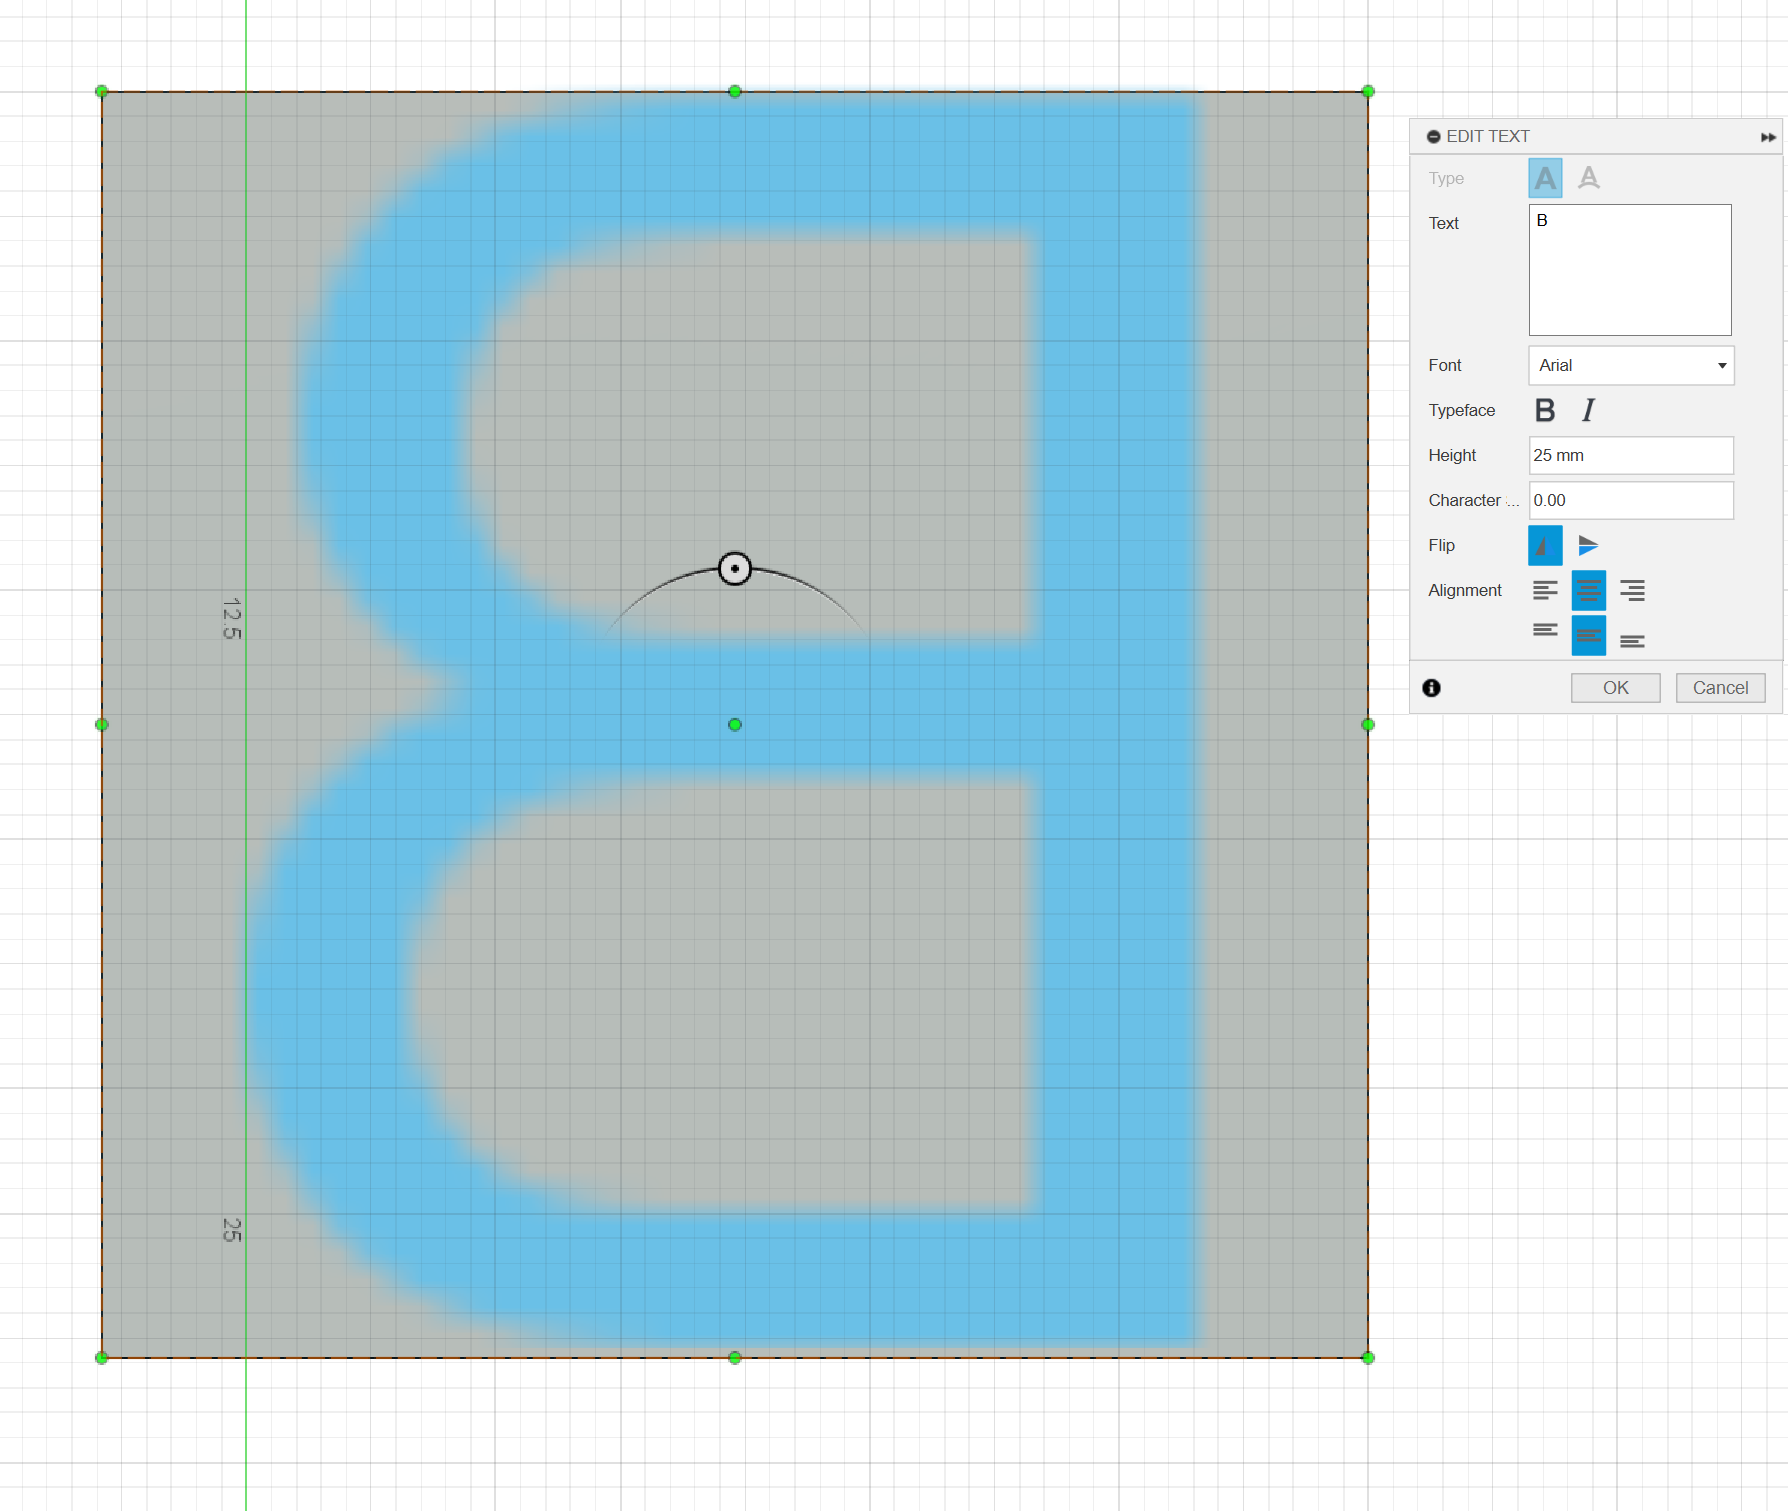
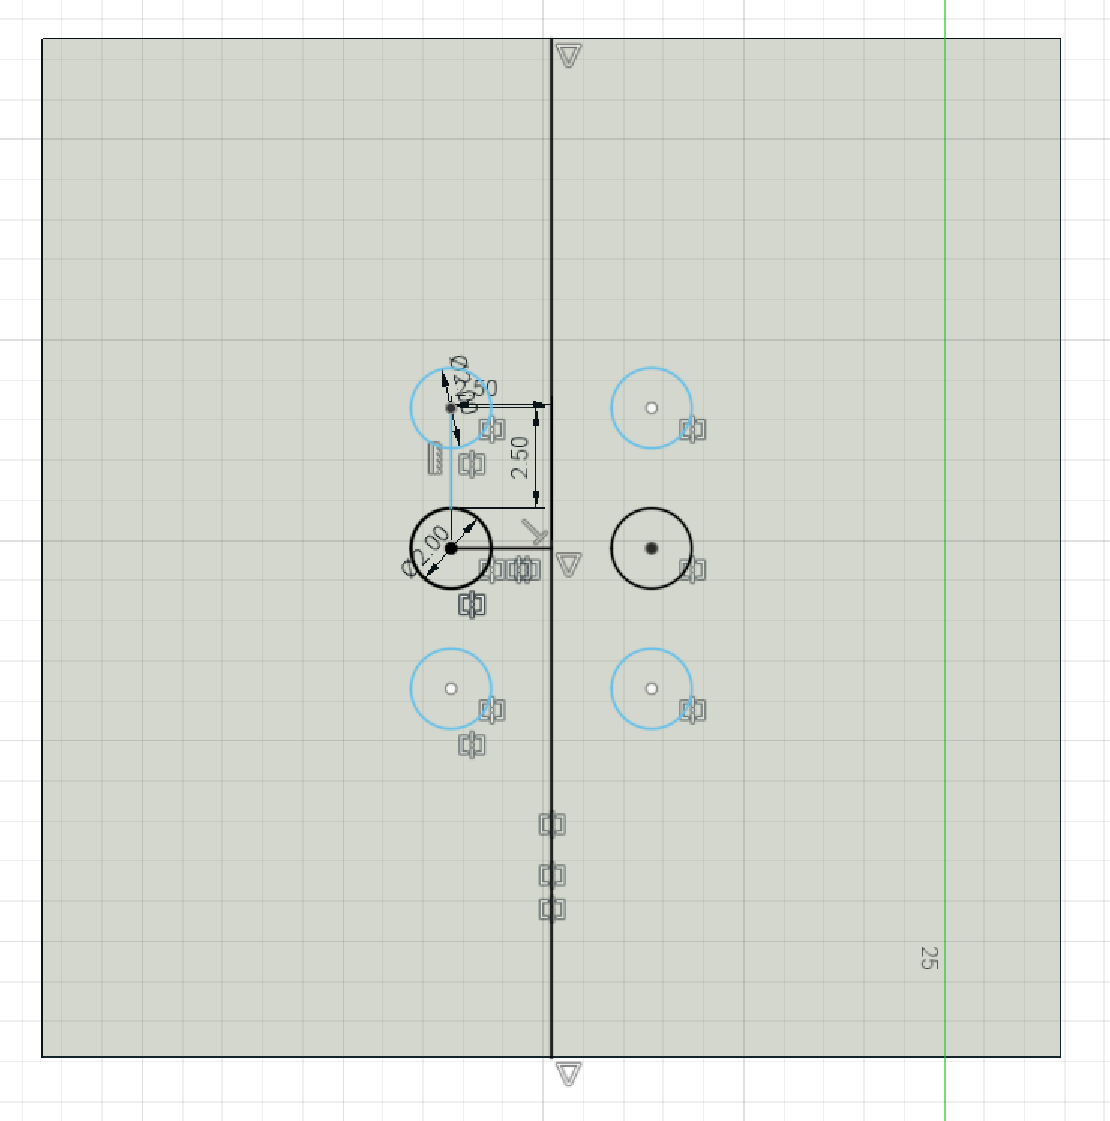
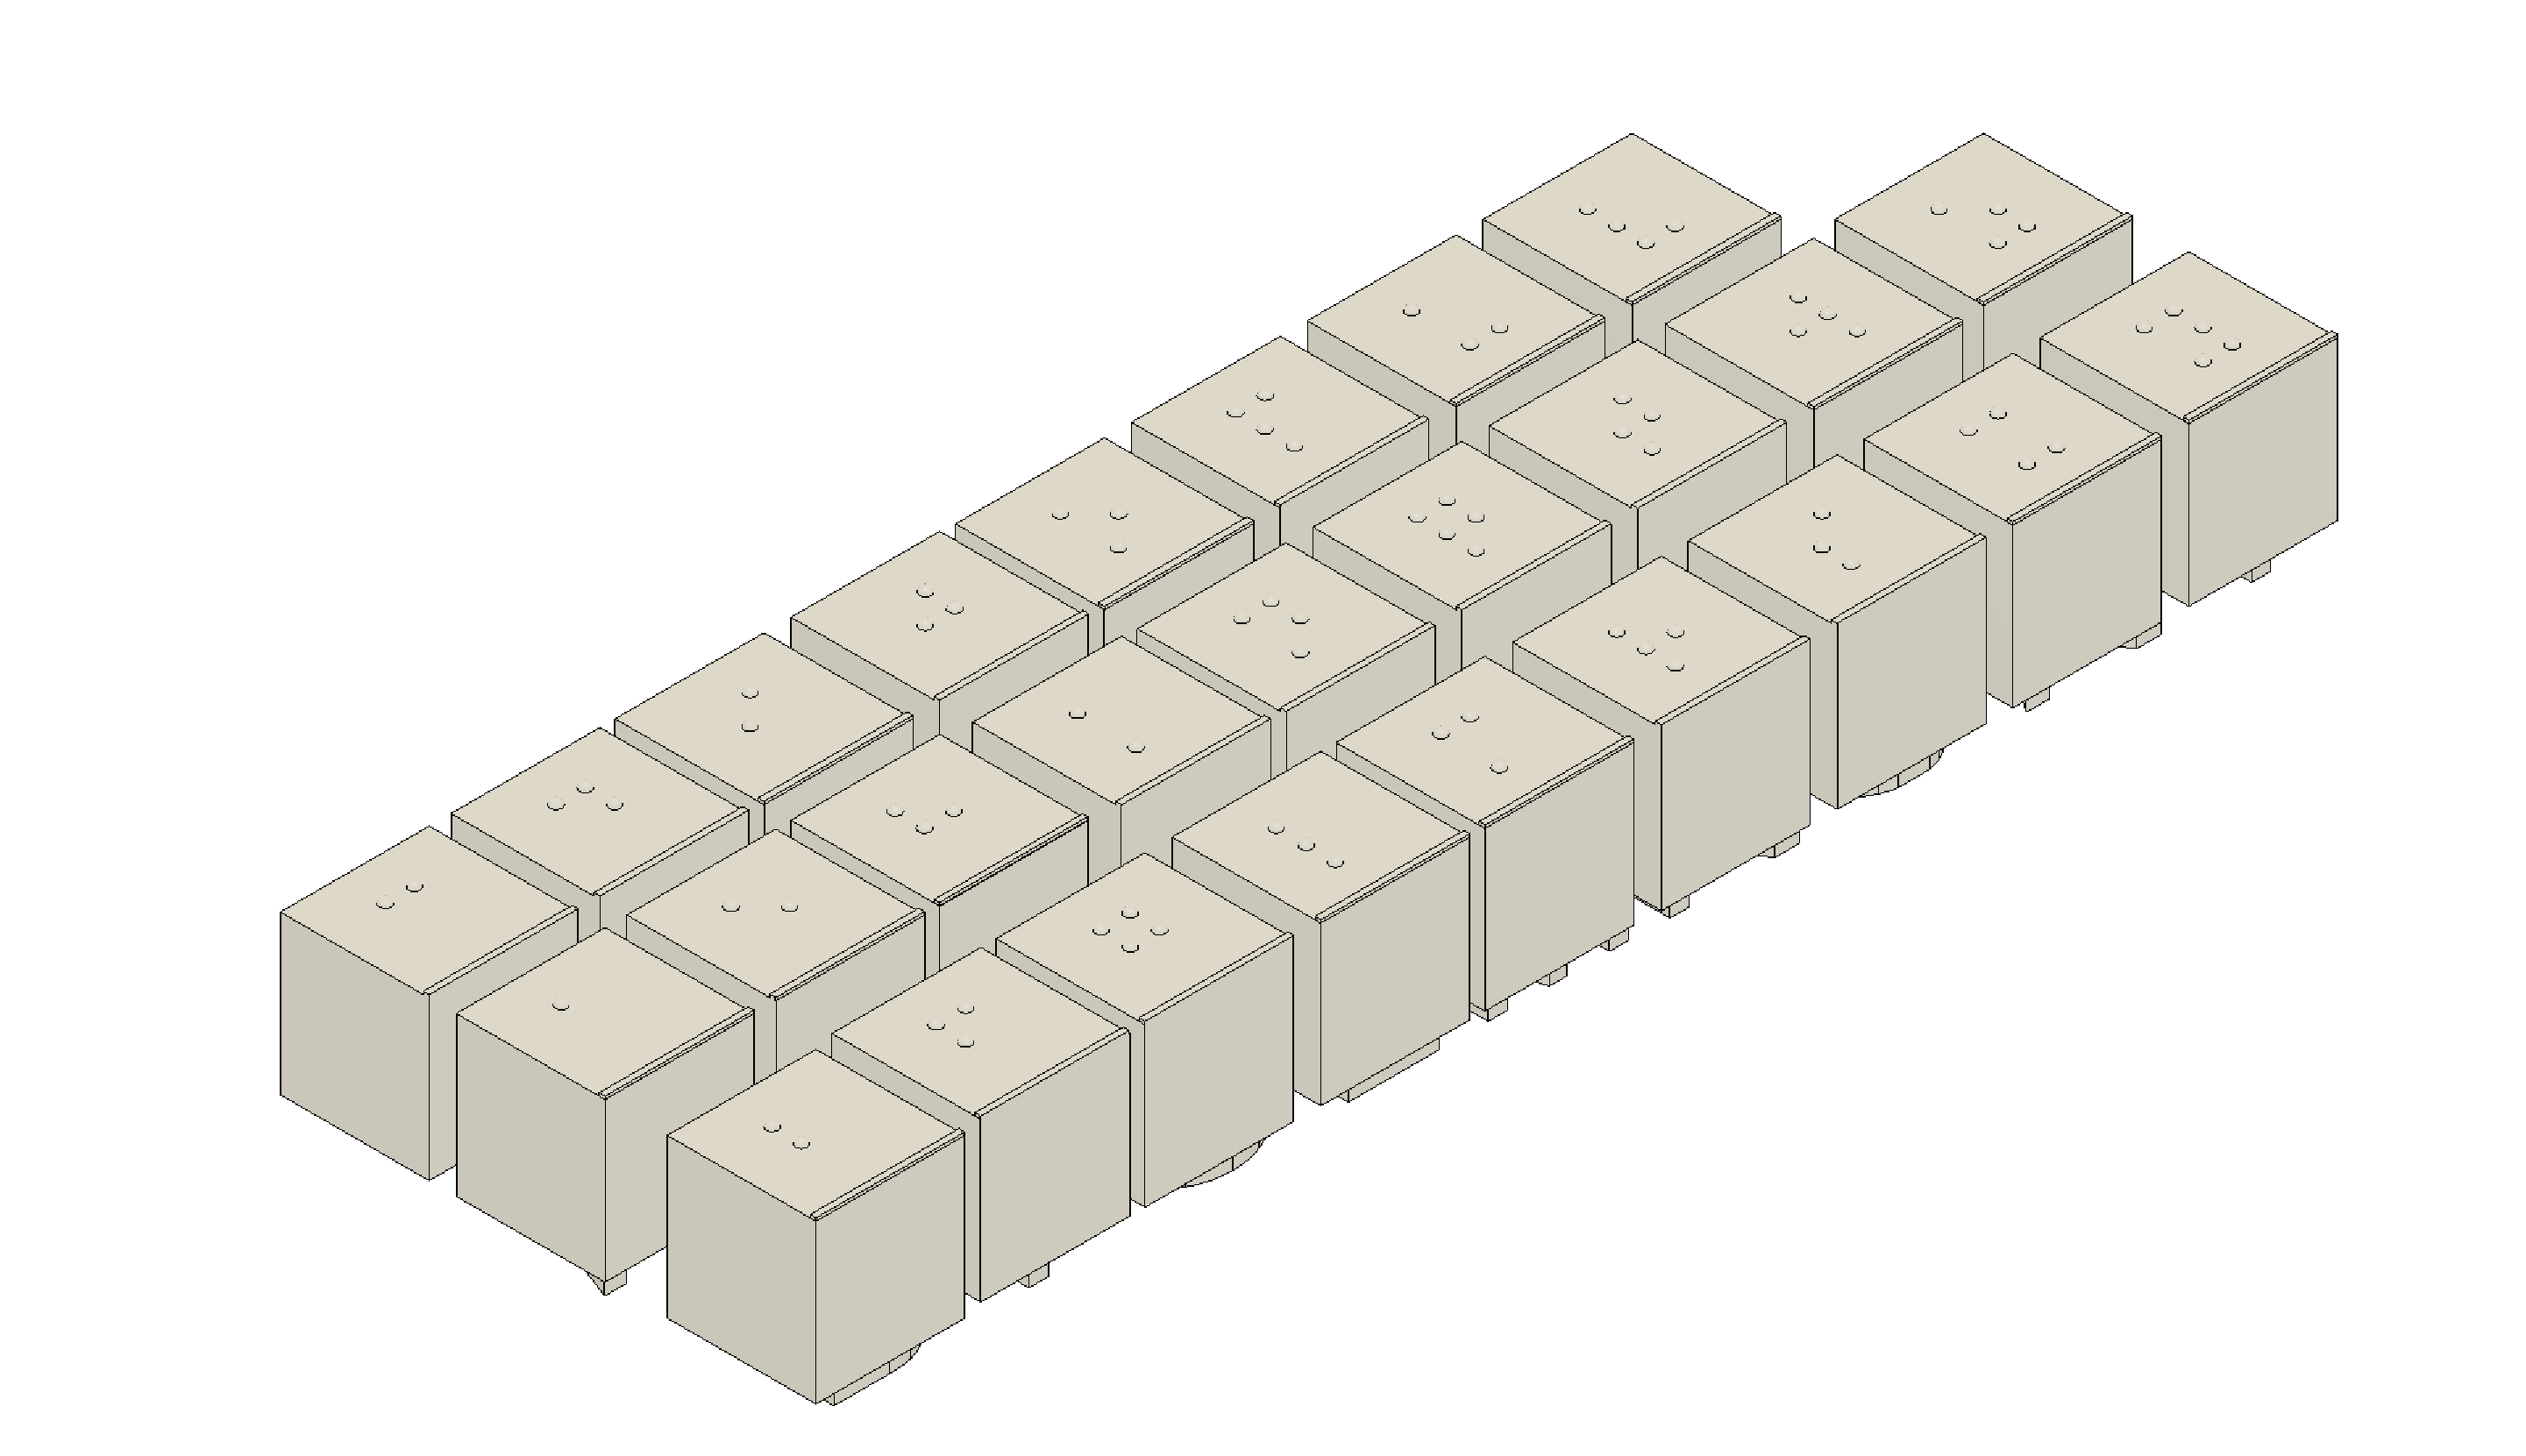
To start, we need to 3D model the blocks. I have already made the entire braille alphabet, letters, A-Z. While this covers the basic alphabet, braille has plenty more characters. There are numbers, contractions for show words, capitals, and more. So, if you want to have a more complex set of braille blocks, follow these steps using Fusion 360: To start, you want to create a sketch and make a square that is 25.4 mm on each side. Then, extrude the square to be 27 mm tall. Next, go to the bottom of the square use the text tool, and make it go across the entire square. For this example, we'll make a B block. Follow the same settings for your text in the sketch that is in the image above so that the stamp will create the proper image, and extrude it 2 mm. Then, create the same sketch you see in the image on the top of your block. To make it, create a line down the middle of the block in a sketch, and place a circle 2.5 mm from the line (center of the circle from the middle of the line). Then, create another circle 2.5 mm away below the first one(edge to edge) and mirror it above the original circle. Then, mirror all 3 across the middle to finish the template for the braille. Finally, use the circle tool to make the corresponding braille cells. Another step is creating the .5 mm tall line on the bottom so you can tell if the braille is properly oriented.
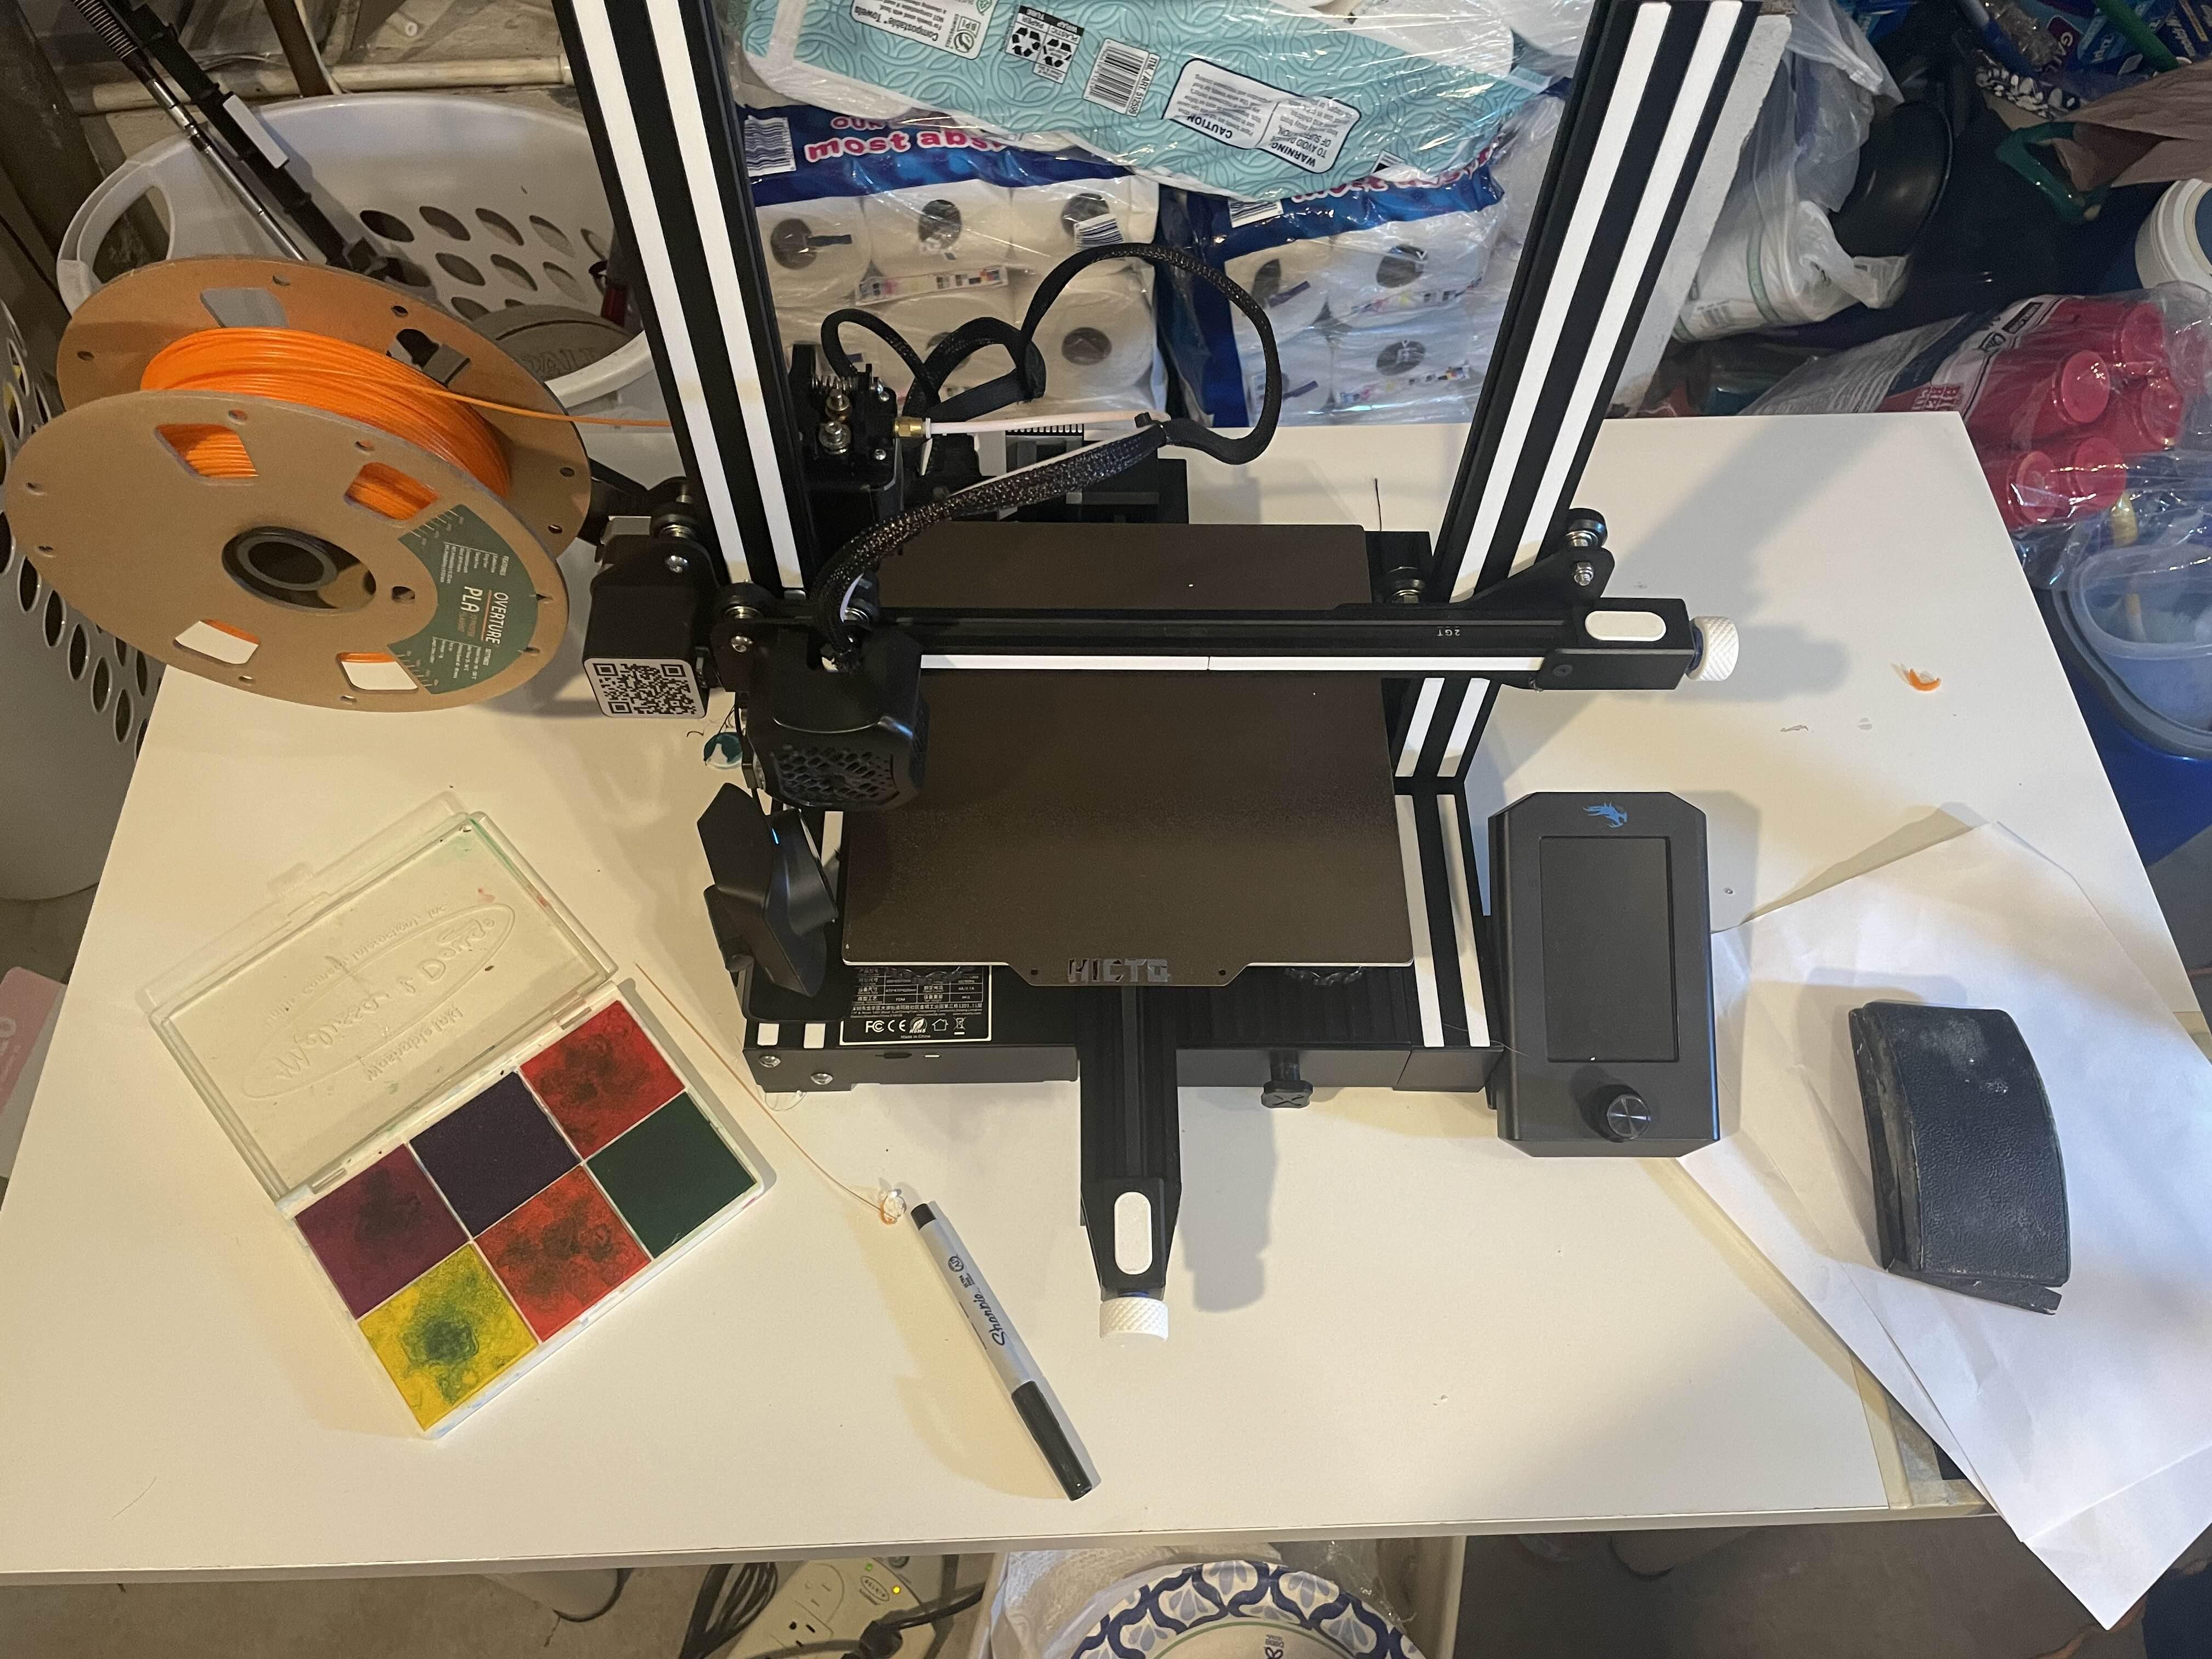
Printing the Blocks
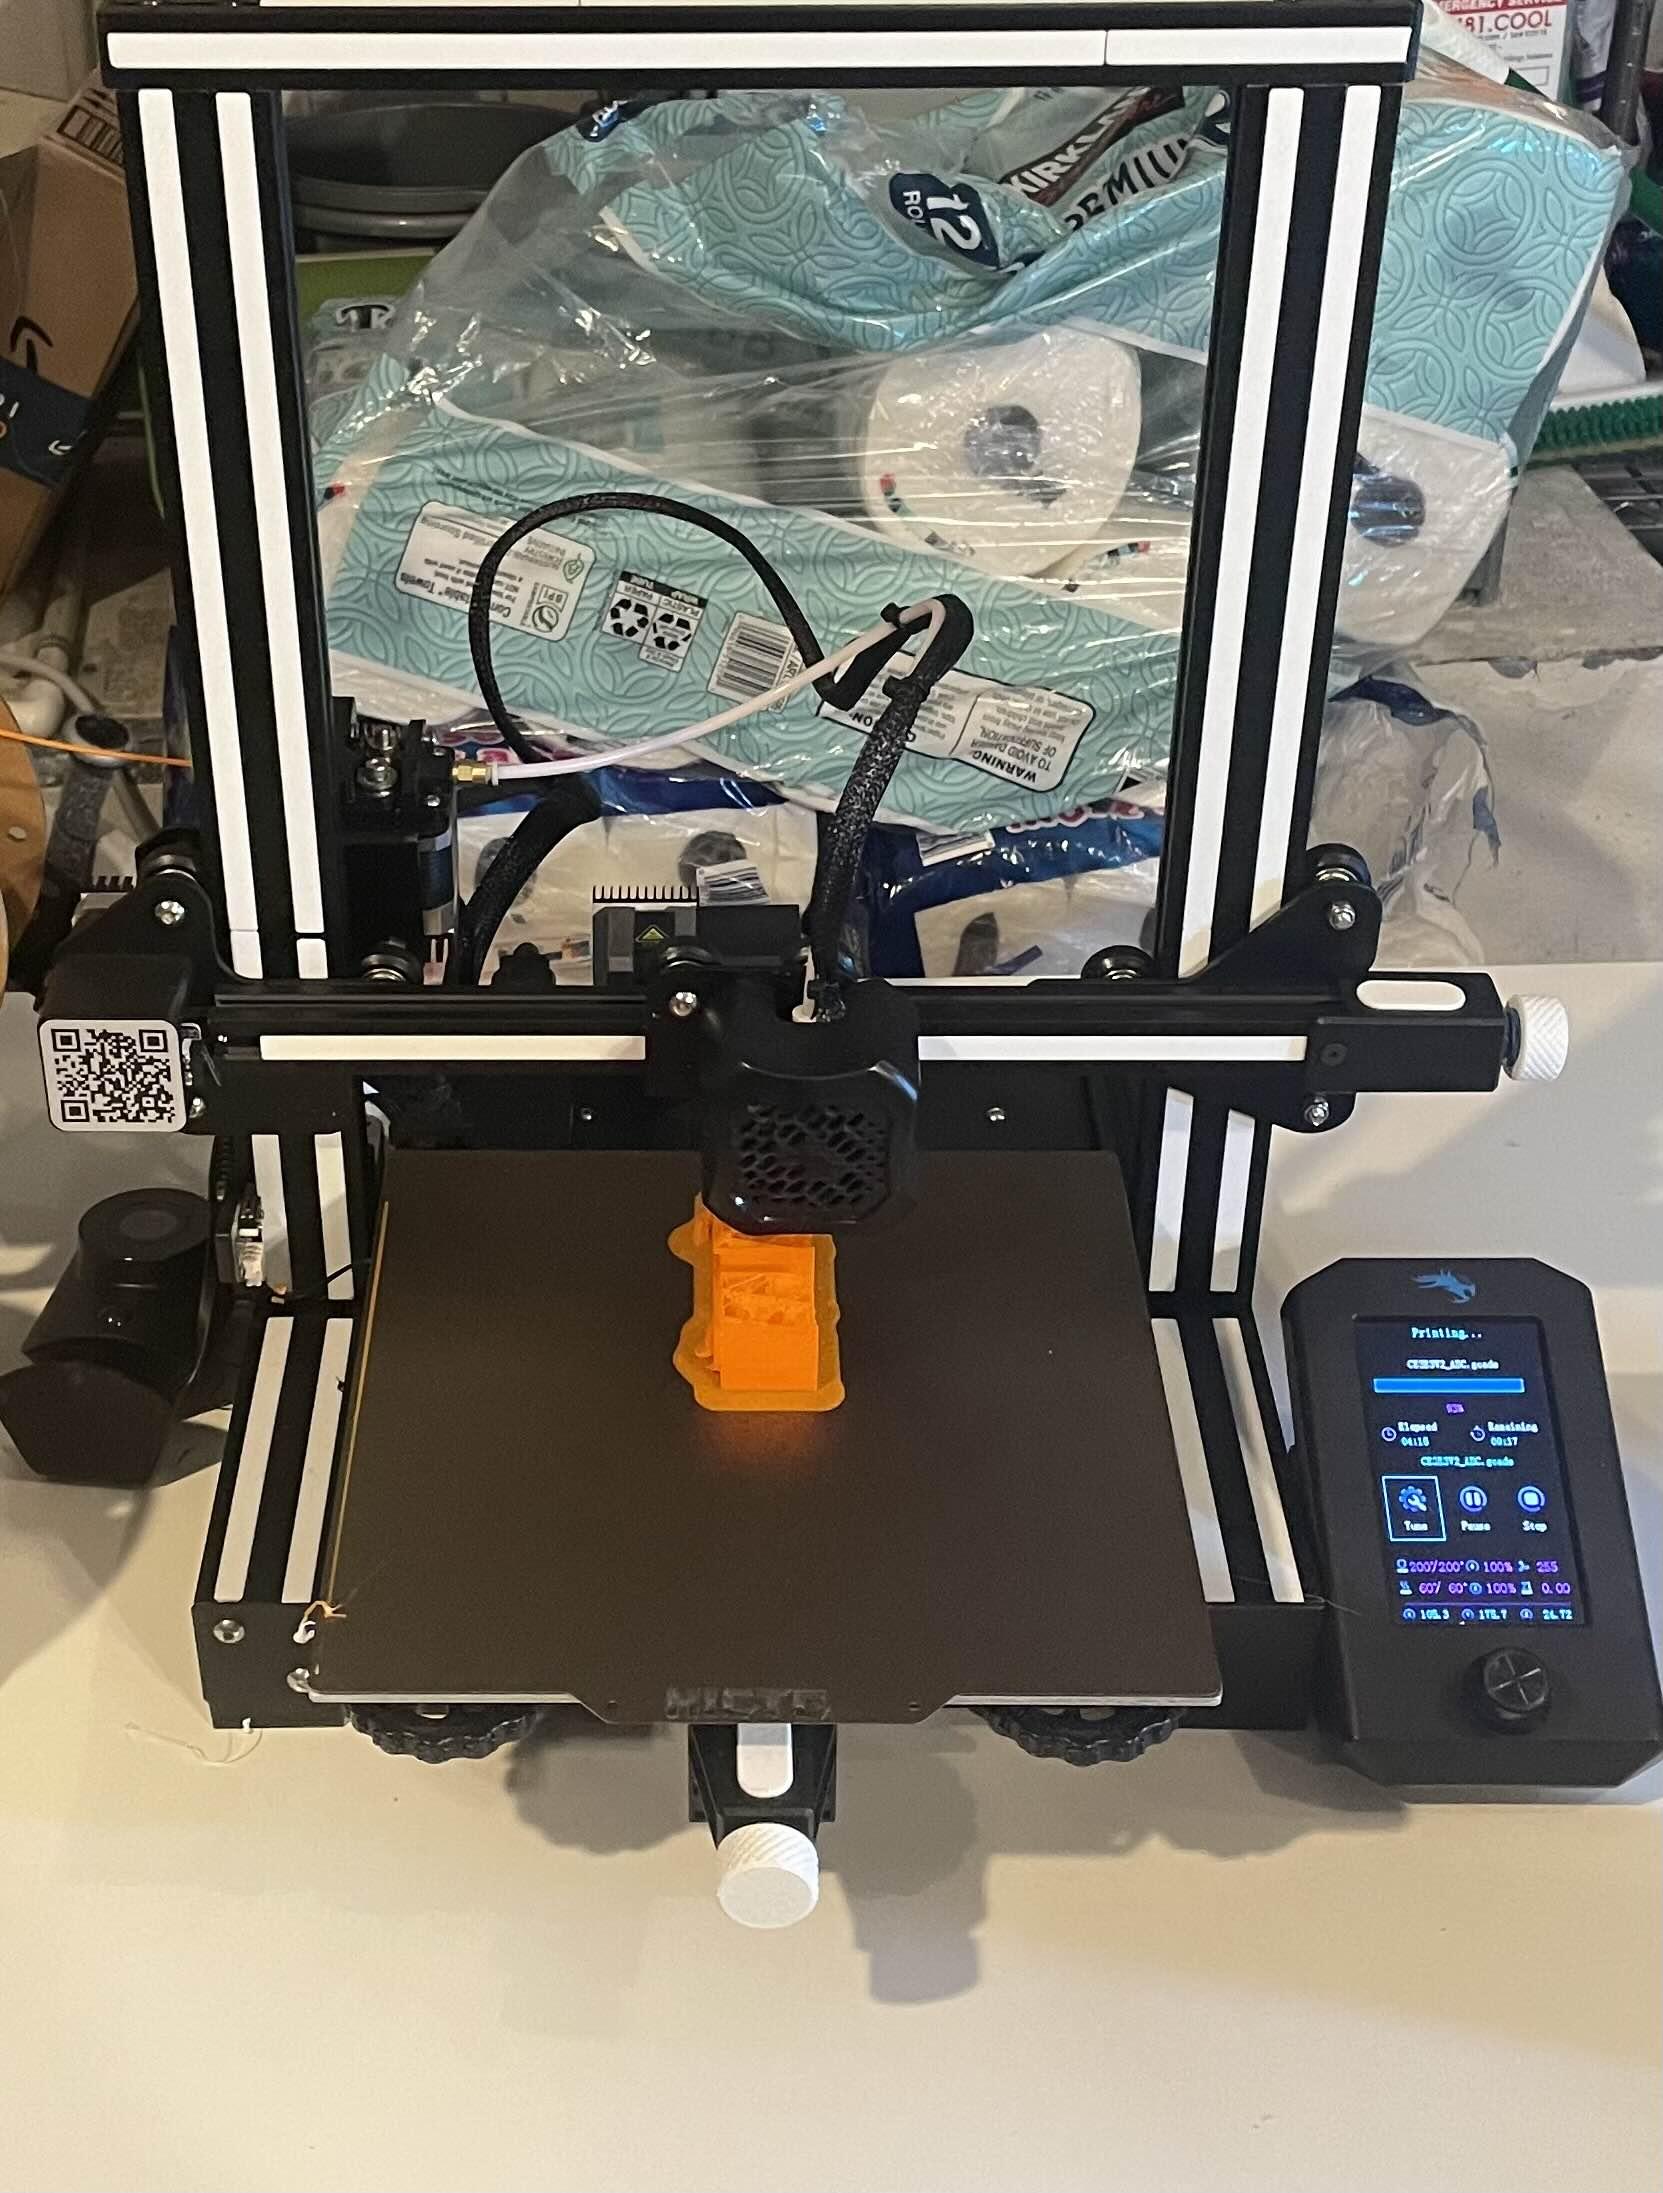
For printing the blocks, I am using an FDM printer with PLA. Using a firm material for the blocks is necessary in order to make them because you need a hard surface for the stamps to properly work. For printing the blocks, you should have a high infill, between 15%-20% so that the blocks are solid. In addition to that, use tree supports for the braille cells and letters. But, most of the settings are up to you. For the actual printing, I recommend printing them on a flat side to save supports and give the rest of the block a firm base to be printed on.
Downloads
Preparing the Blocks
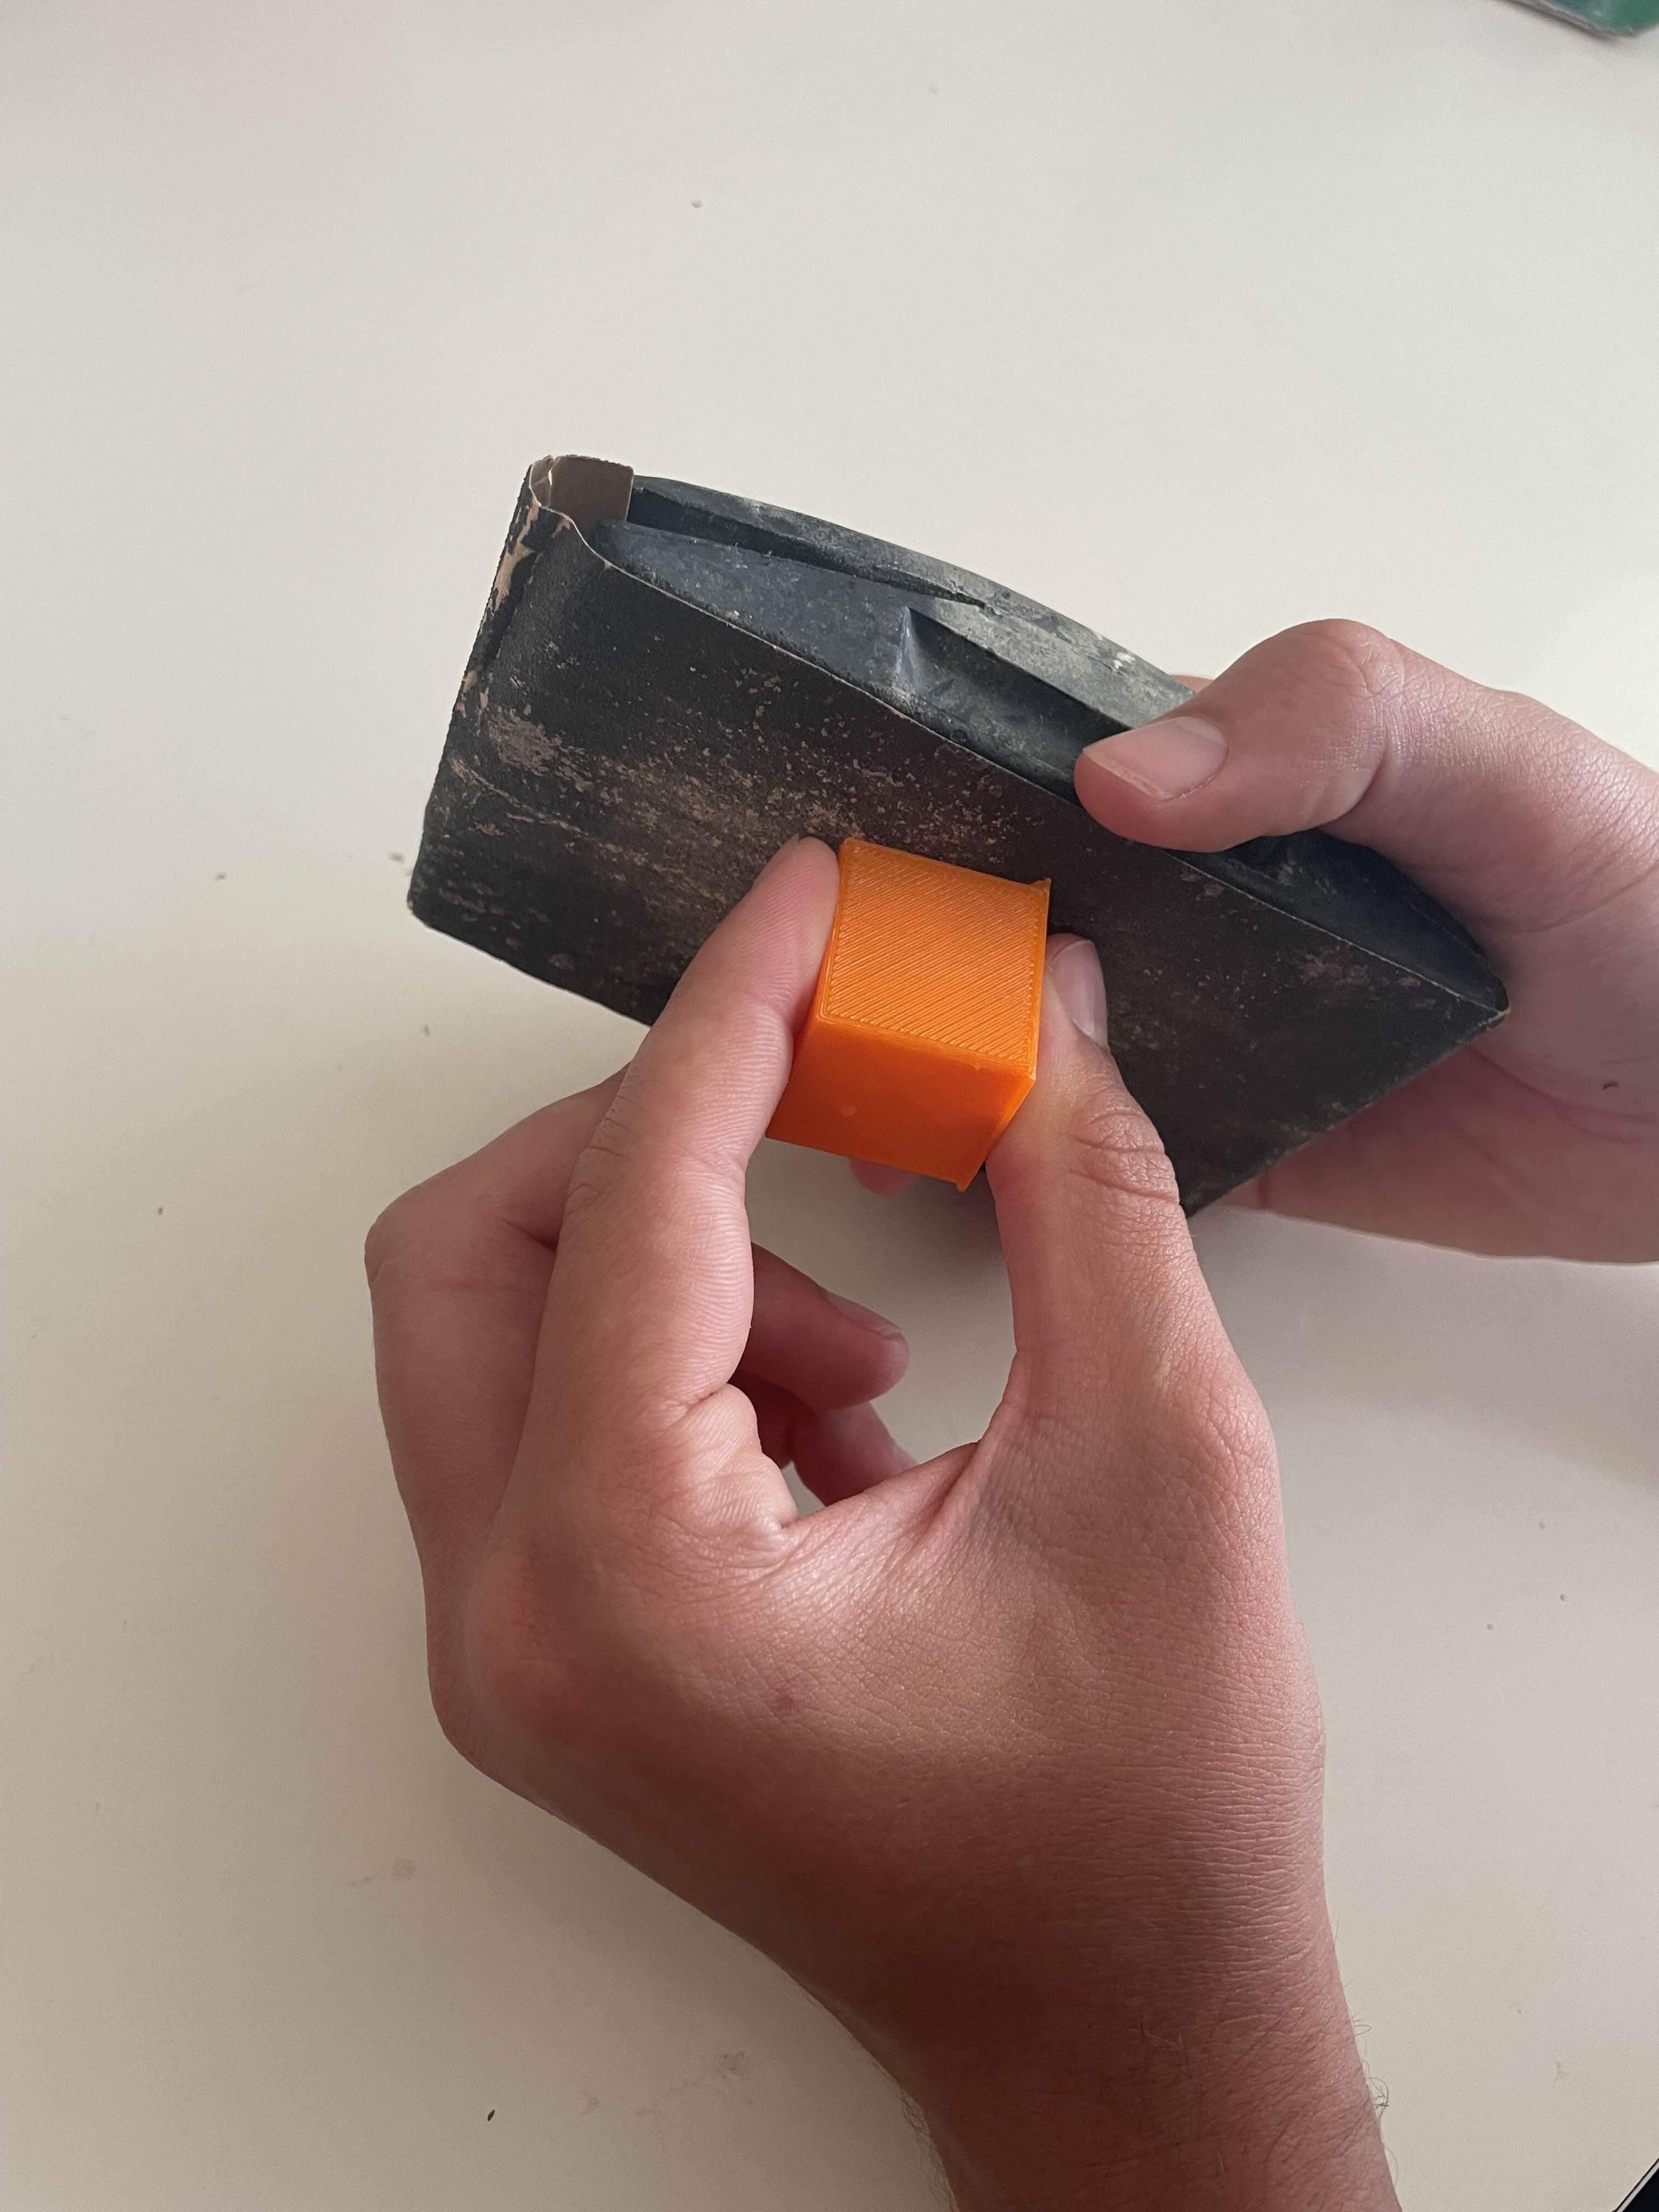
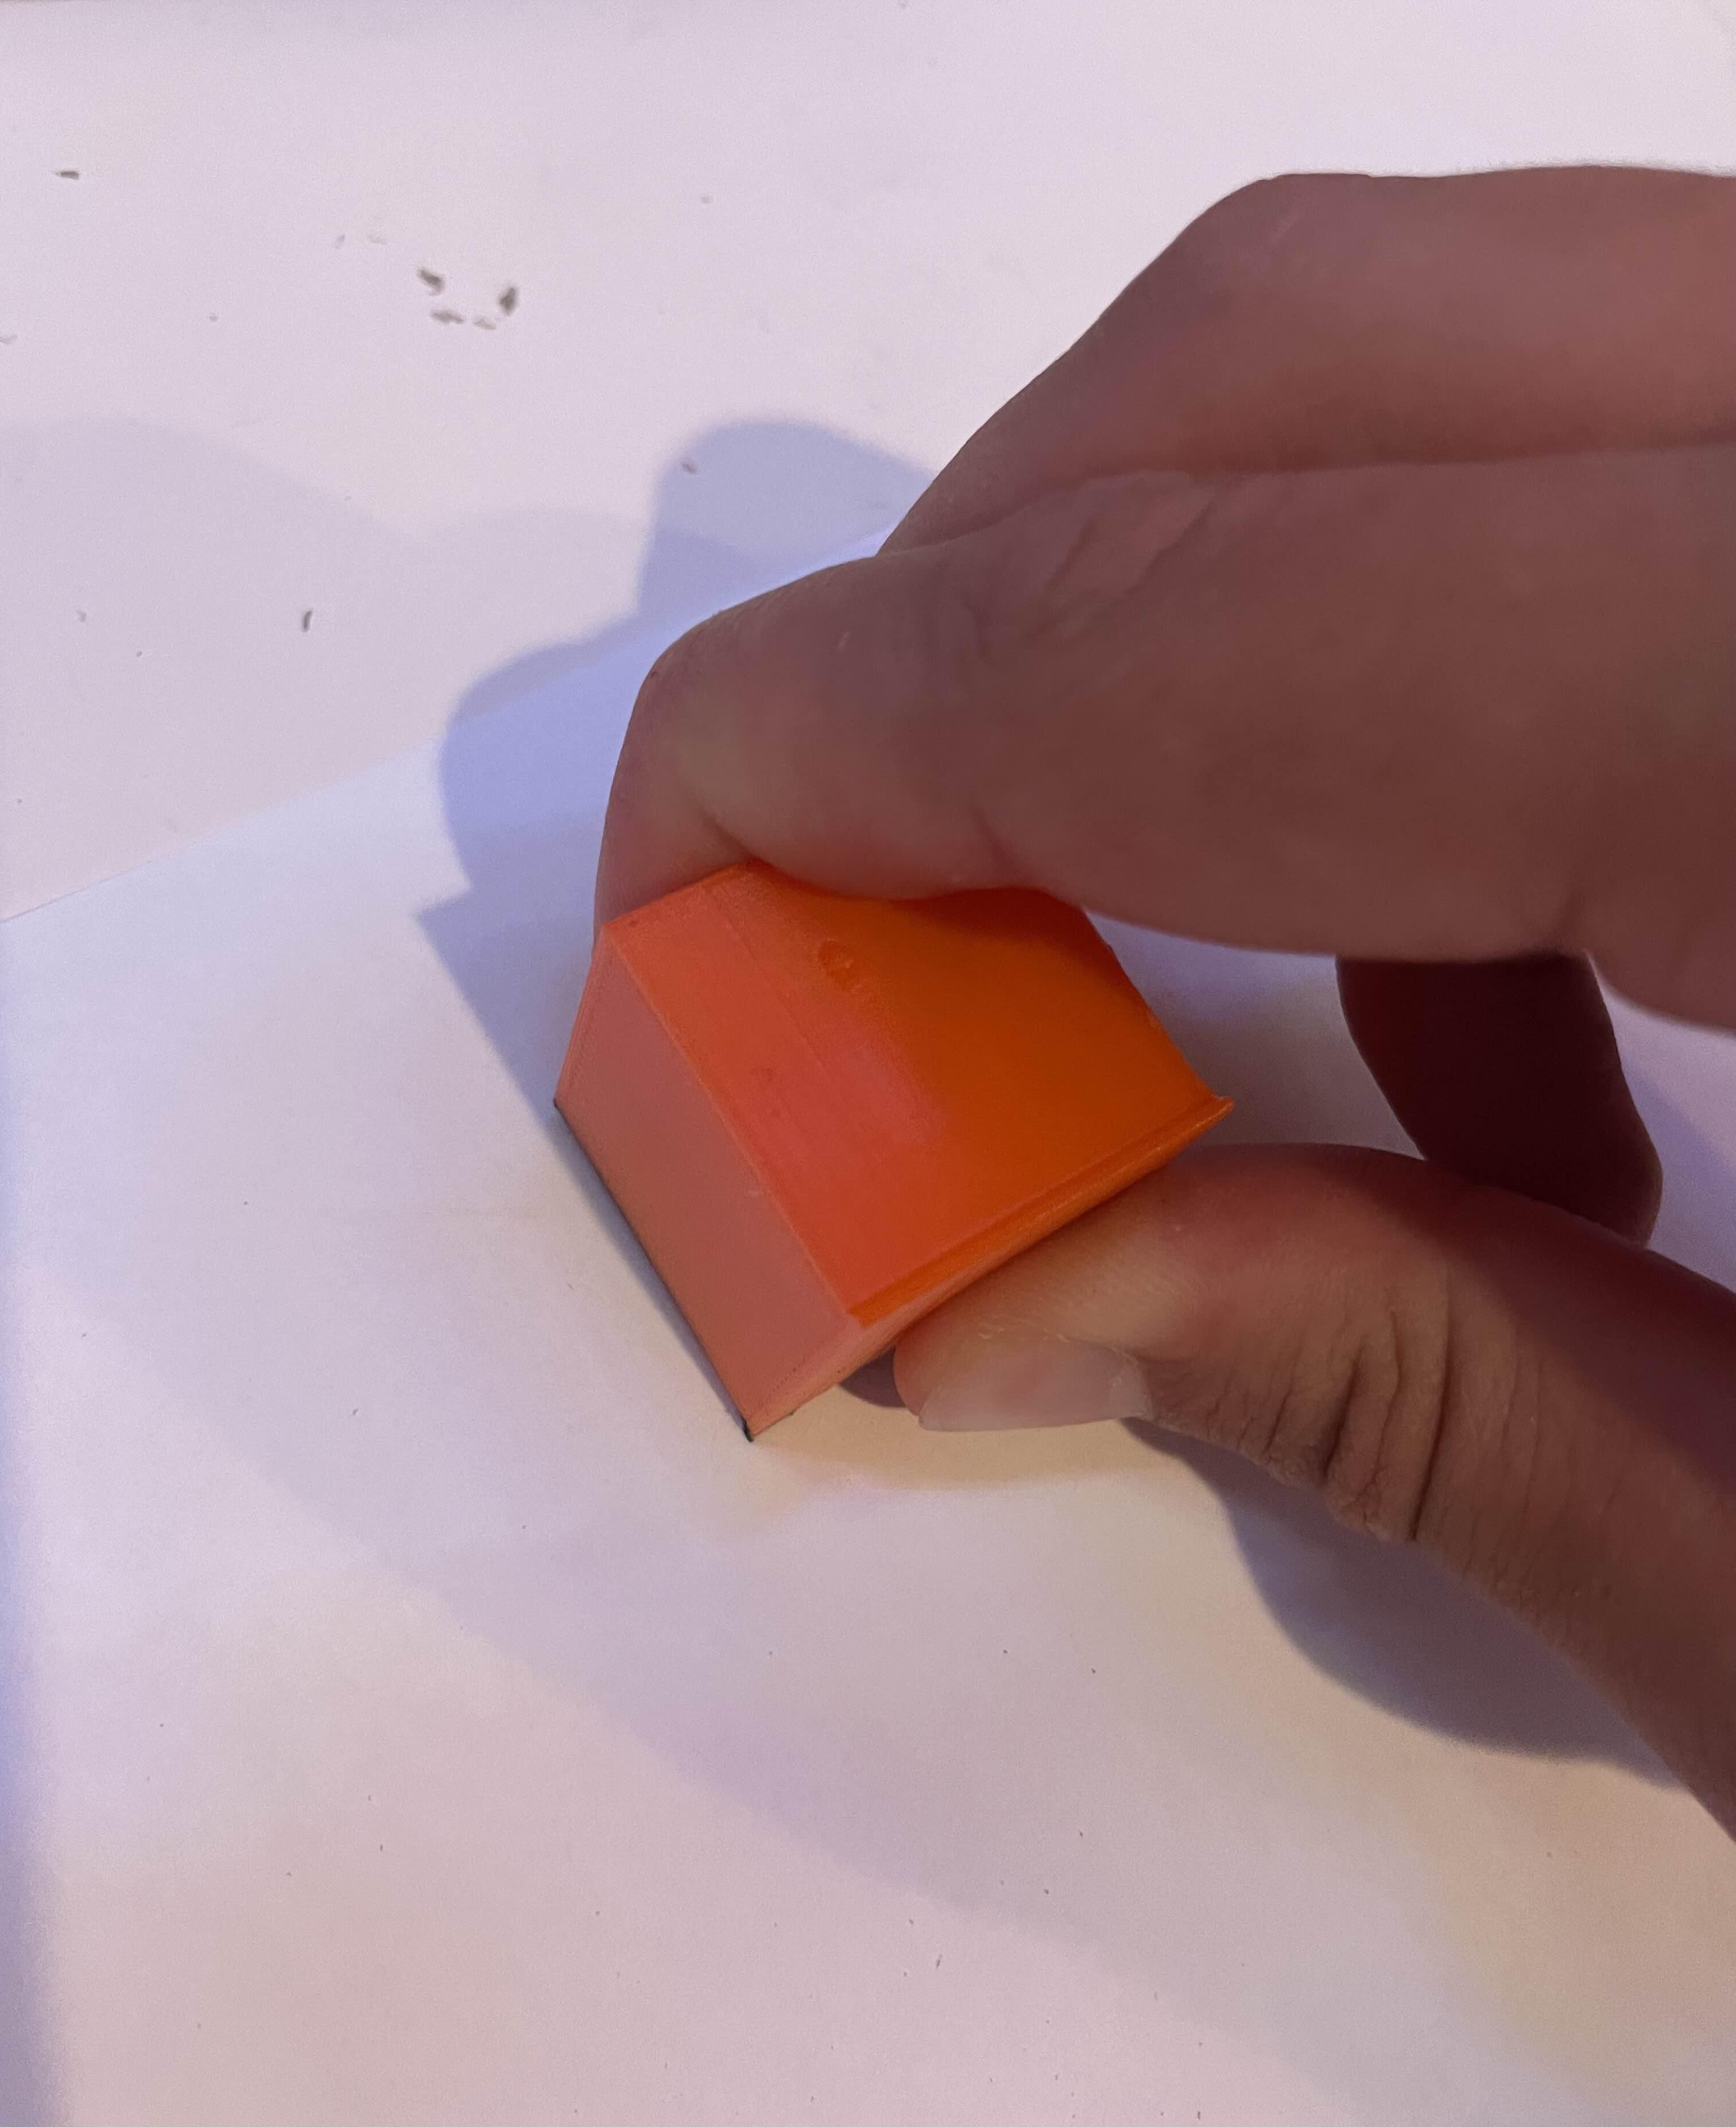
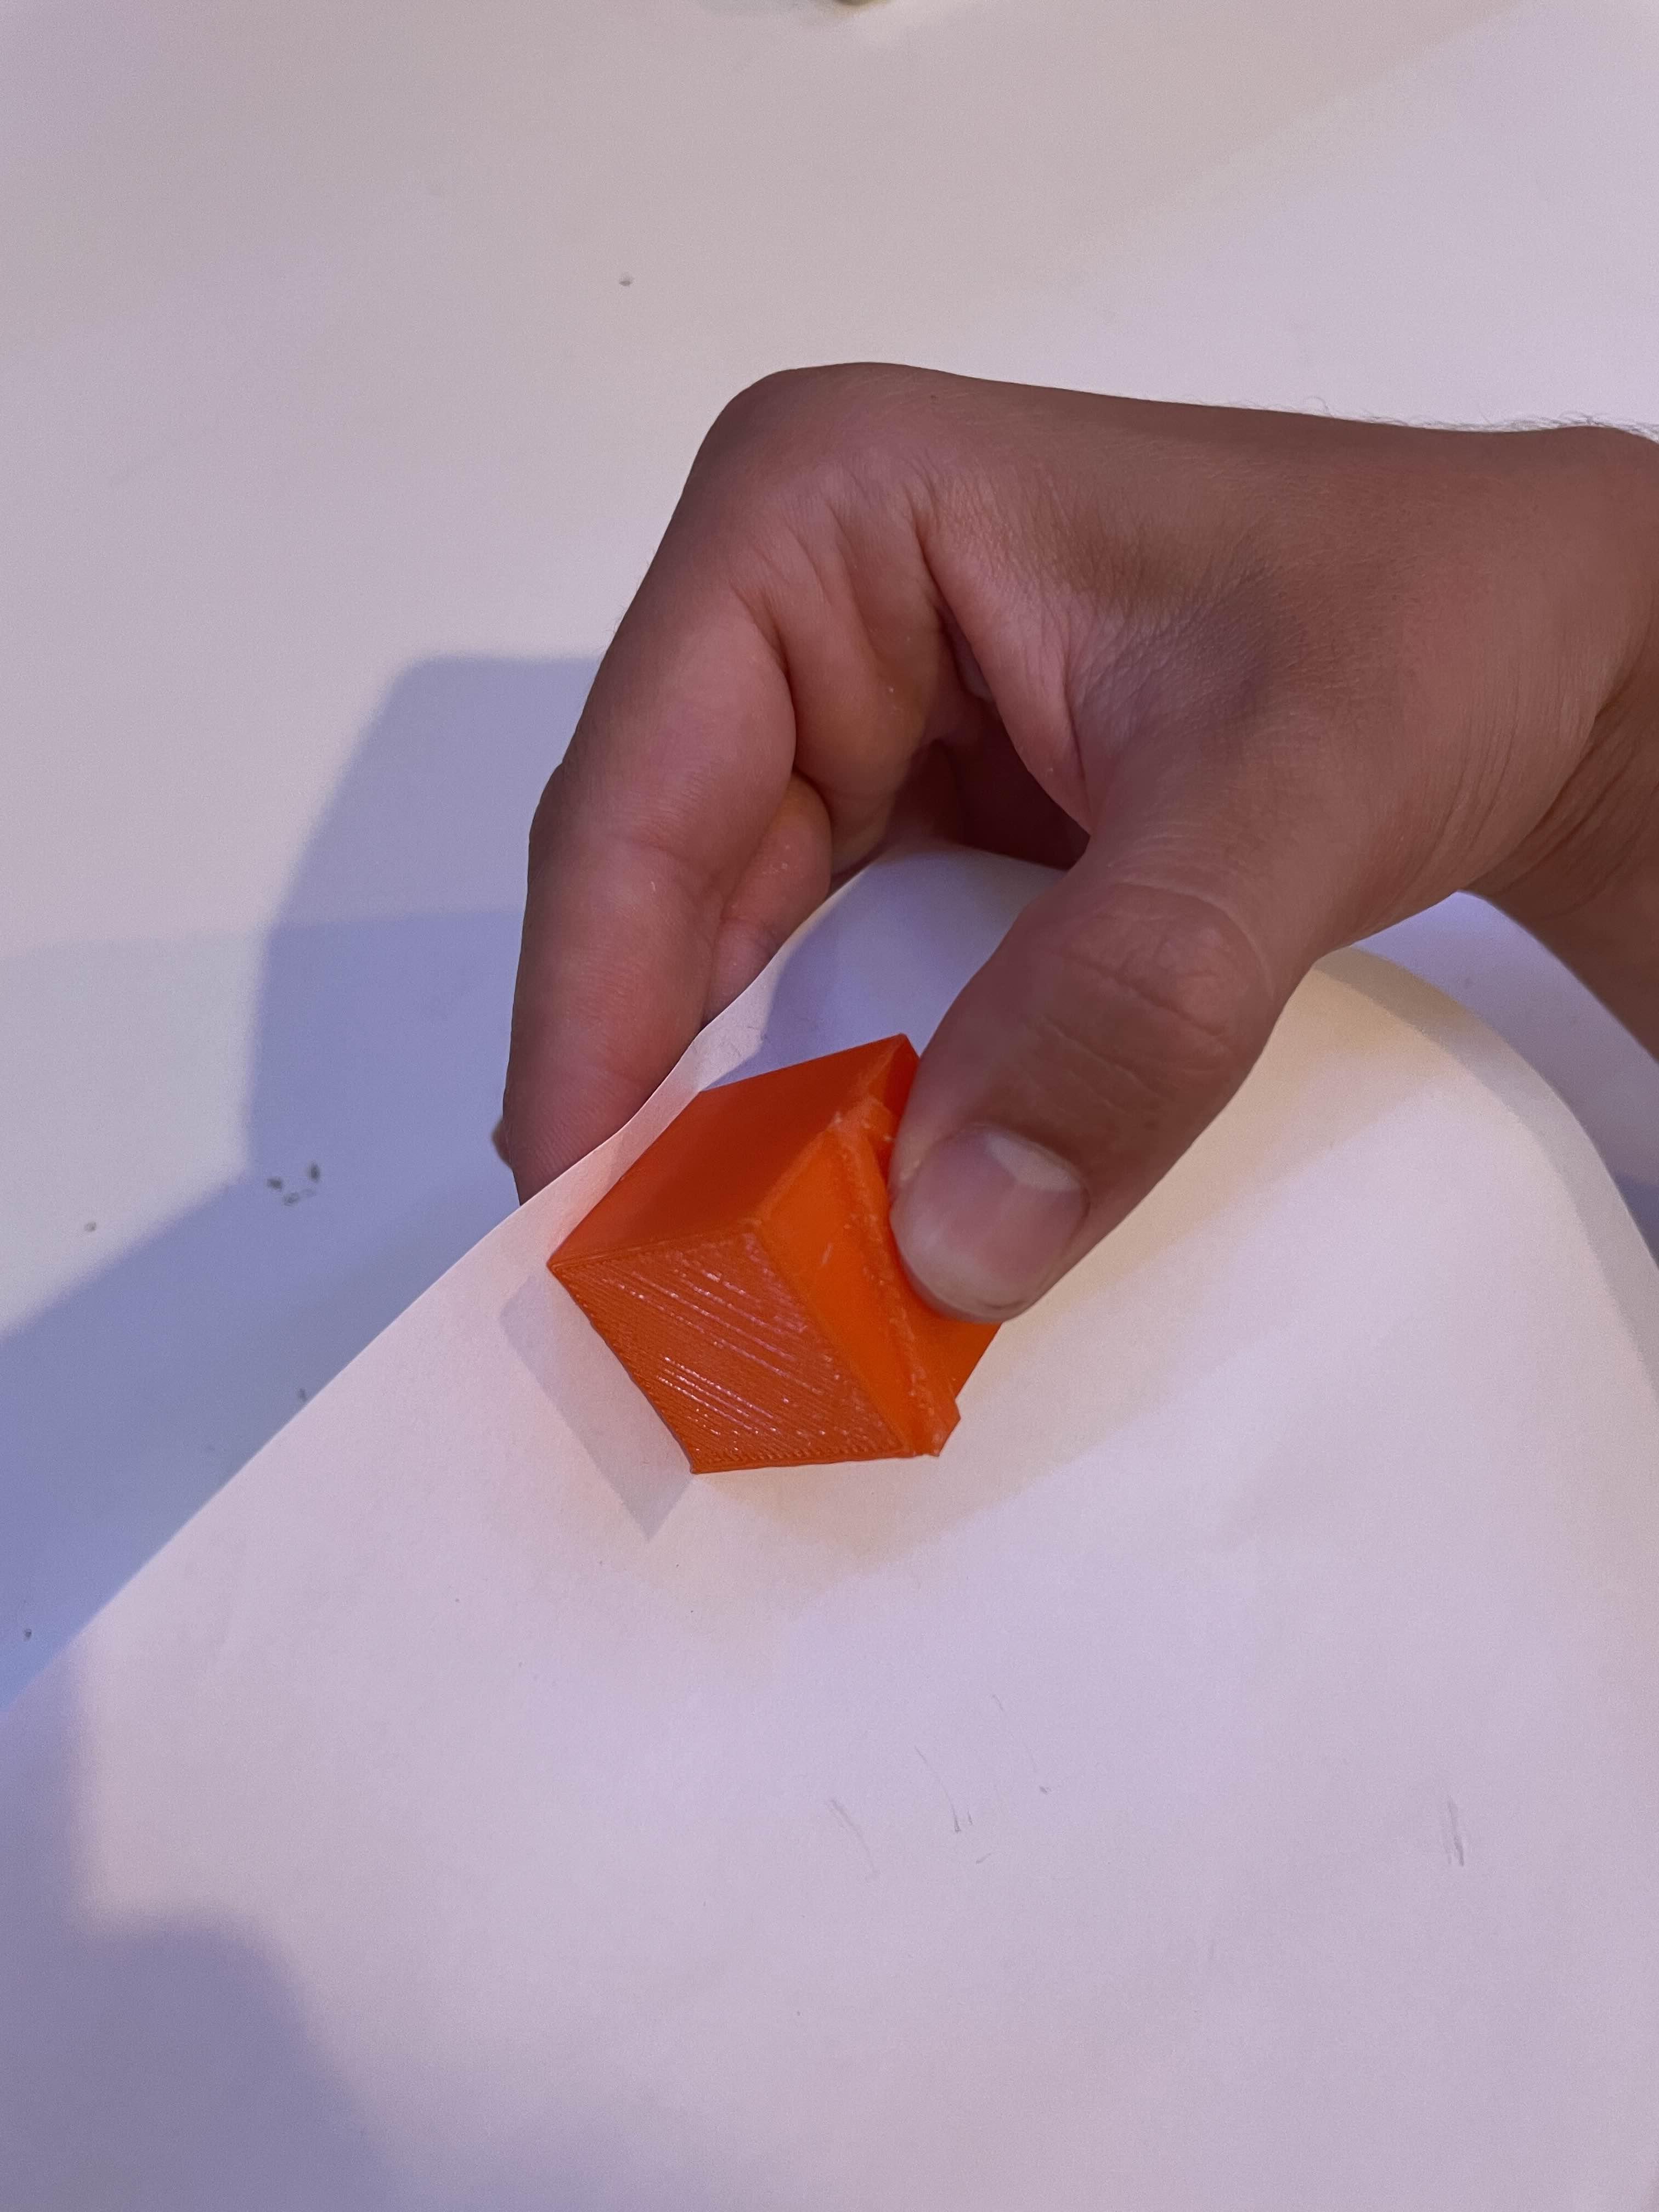
The first part of this step is to sand the blocks. This is so the letter is completely flat, ensuring an even distribution of ink. Use a low grit at first, and slowly increase the grit over time. When sanding the blocks, wear a face mask to prevent inhaling the plastic as you sand. Once you can make a clear stamp, move on to the next step. Then, you should sand the corners. This is because 3D prints can be sharp, and you don't want children hurting themselves with the blocks. You don't need to sand them too much, just until you can push the corner into your palm without any pain. In the top left corner of the side with braille, write out the character on the block. Although the character is at the bottom, it is mirrored, so young children may have a hard time understanding what the braille translates to. So, writing the character can help younger users understand what the braille translates to. Finally, if the stamps aren't making a clear imprint, you can apply stamp foam (which can be bought at most arts and crafts stores). Just trace it with an exacto-knife, and use super glue to attach it to the stamp character.
Using the Blocks
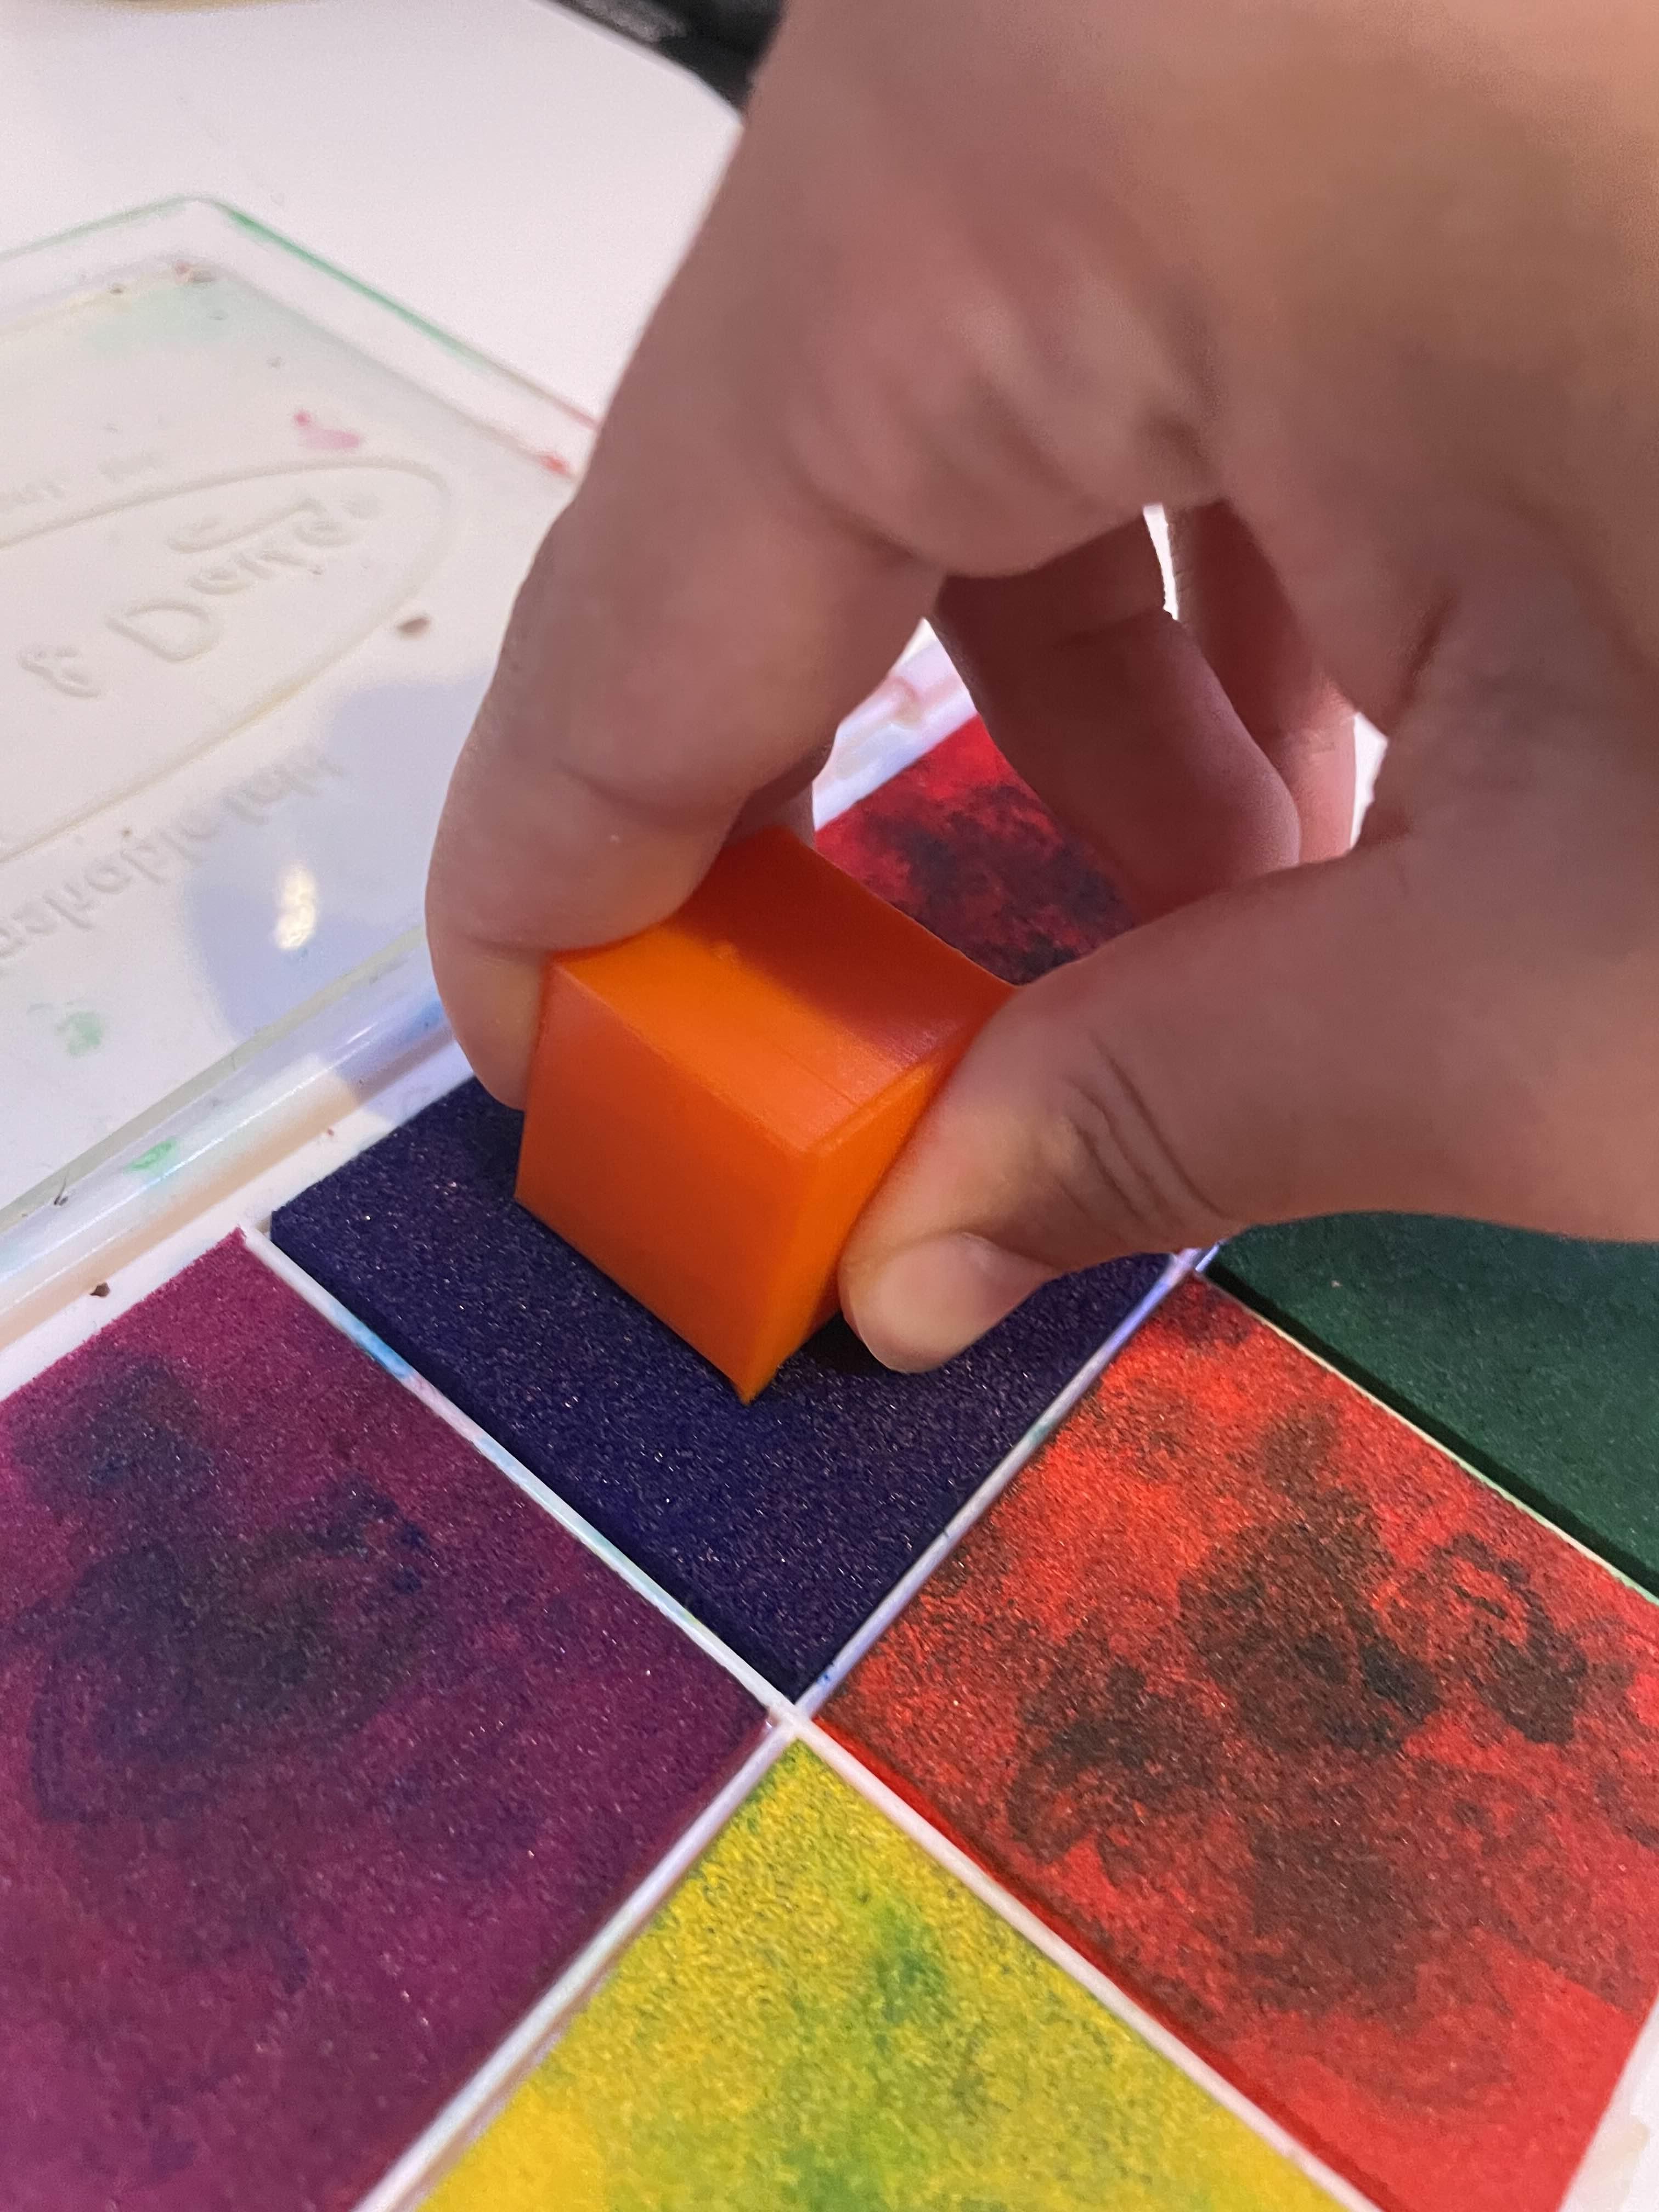
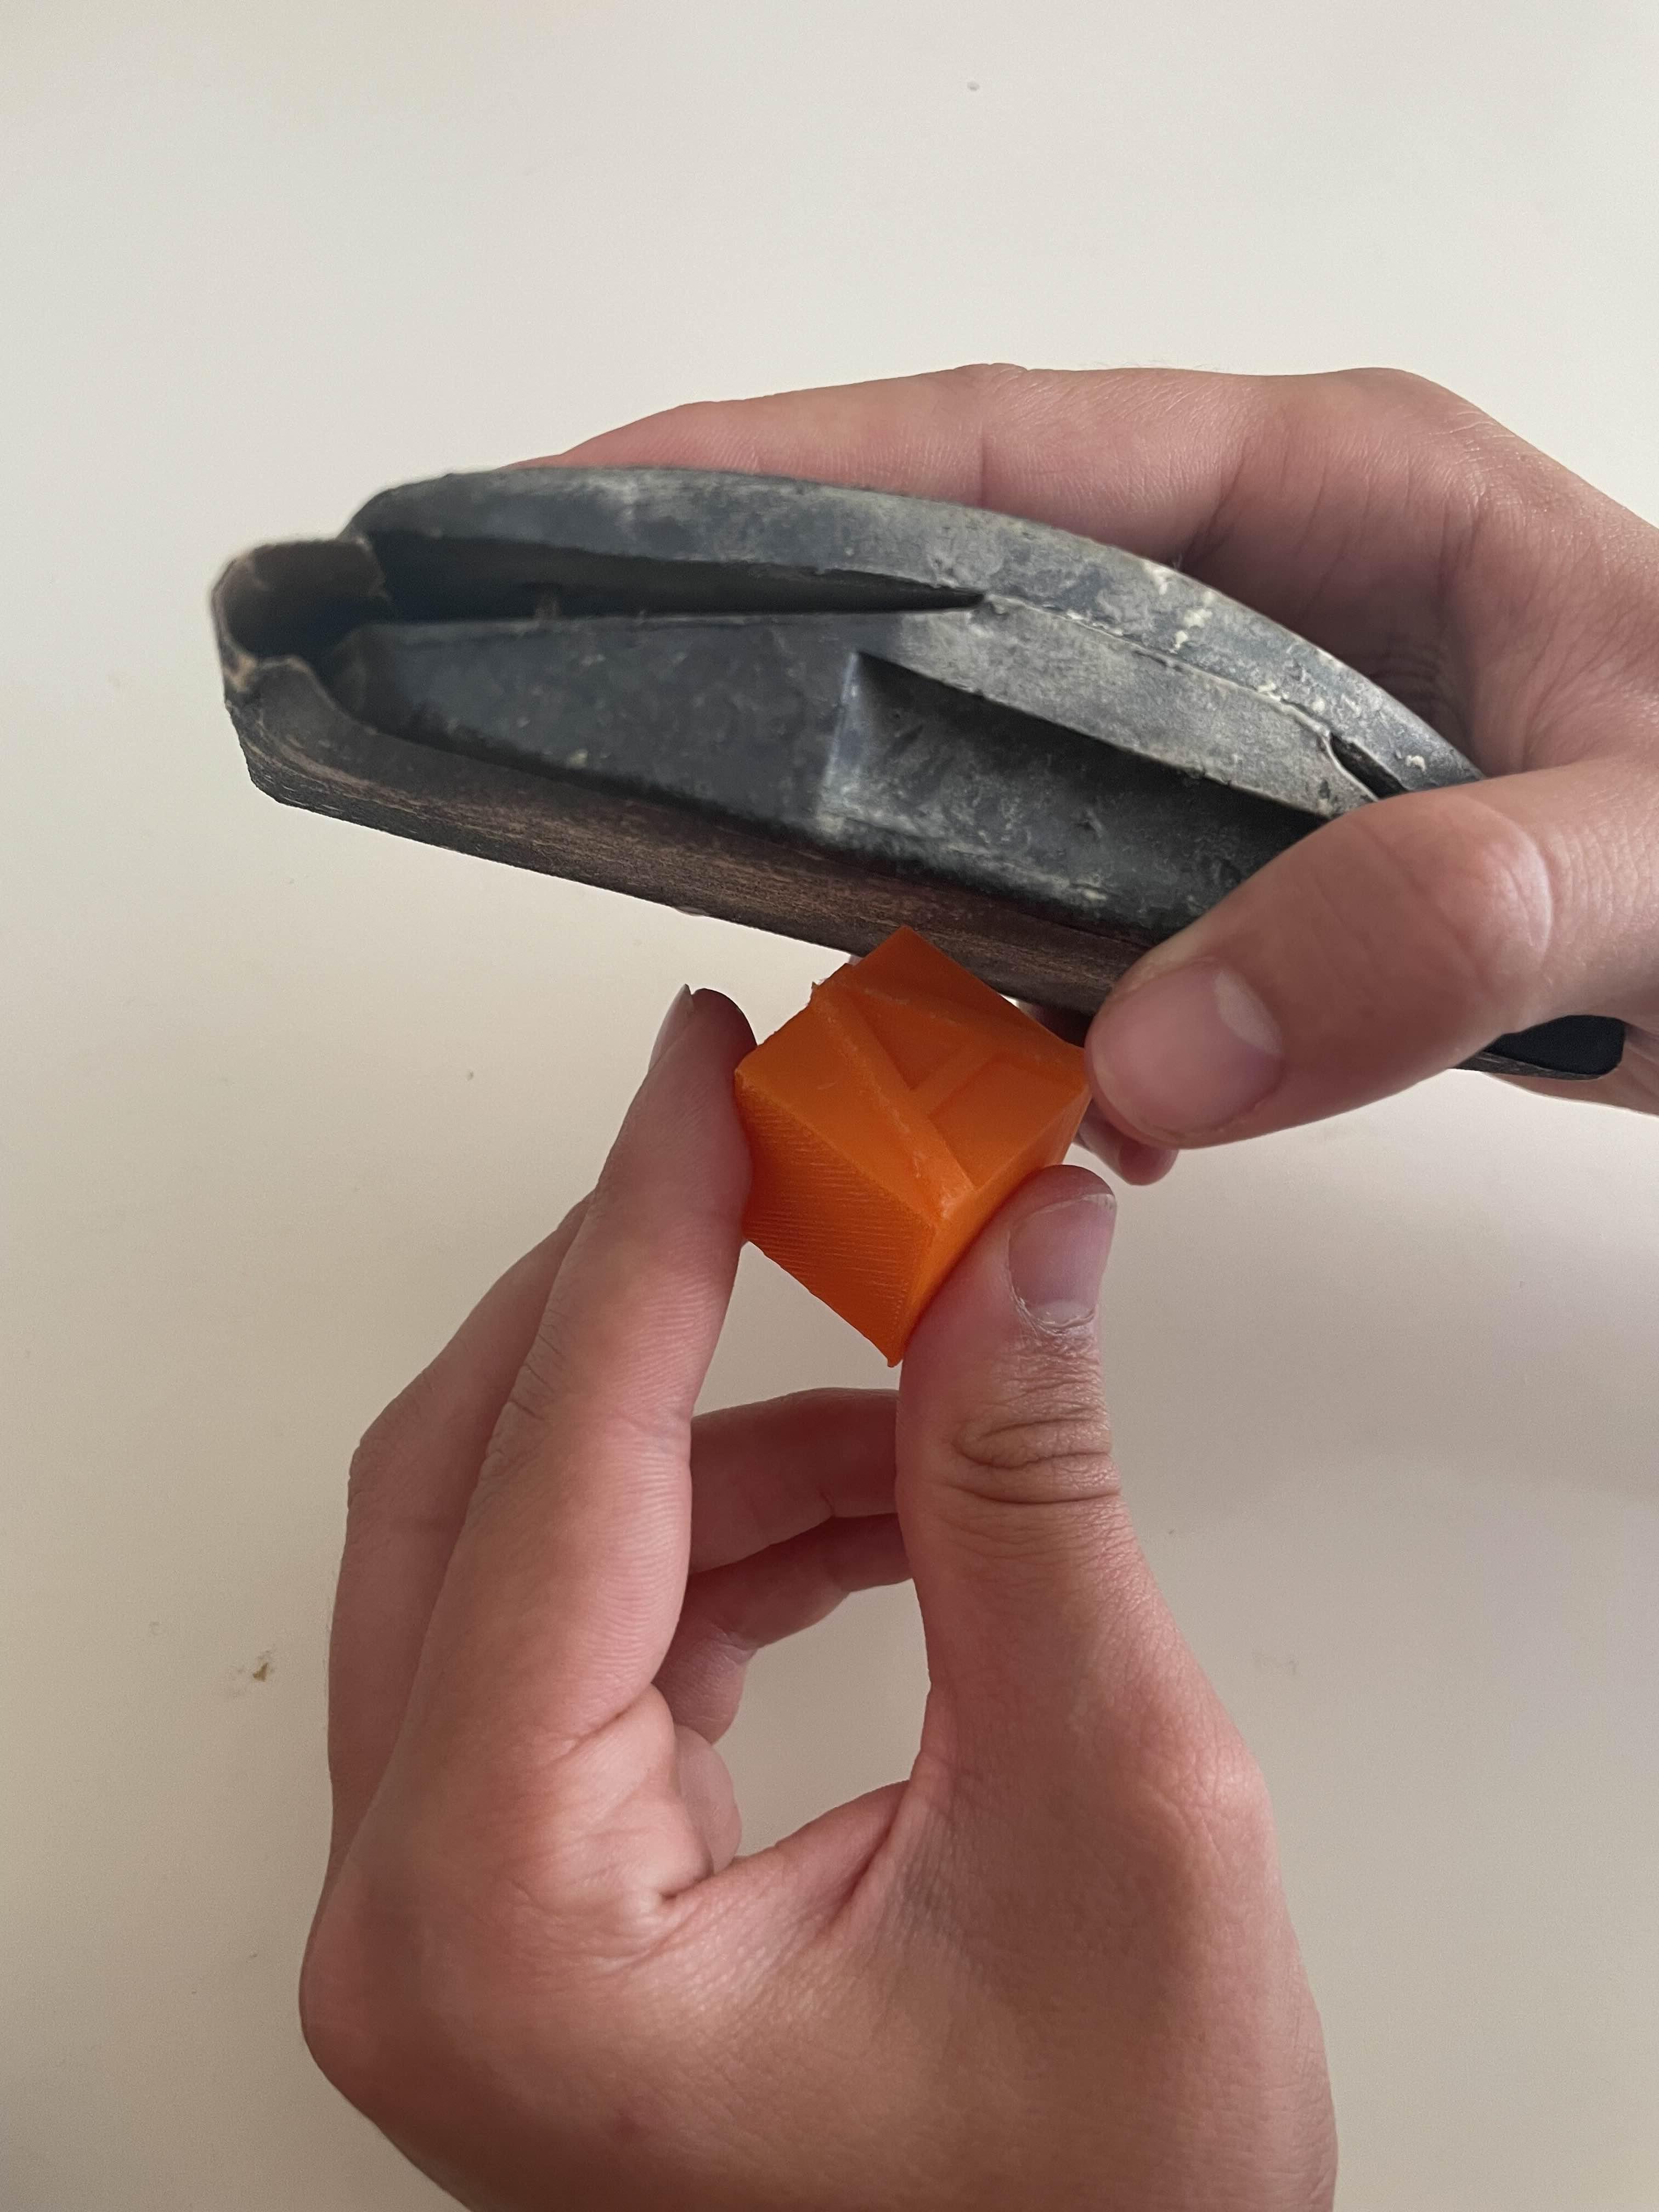
To stamp a character, push the character side of the stamp into the stamping pad, and apply a good amount of pressure to properly coat the stamp. Then, firmly press it onto the paper. For the braille imprint, you should use firmer paper, like cardstock or construction paper. You need to hold the paper in your hand as you press the stamp to give it a surface to indent into. The important step is to spell what you want in braille in reverse, and then flip over the paper when reading it.