Build an Energy Monitor Device Using a Particle Electron
by UbiMaker in Circuits > Sensors
2969 Views, 25 Favorites, 0 Comments
Build an Energy Monitor Device Using a Particle Electron
.jpg)
In most businesses, we consider Energy to
be a business expense. The bill shows up in our mail or emails and we pay it before the cancel date. With the emergence of IoT and smart devices, Energy is beginning to take a new place in a business' balance sheet. By being able to monitor and control machines remotely, we can manipulate and economize our machines to only work when we need them to and postulate when the machine may be in need of repair. These changes in machine monitoring have moved Energy from the business expense lines of the balance sheet and into the labor or raw material.
The principal objective of energy management is to maintain an optimum energy procurement and utilization, thus resulting in machine efficiency by mitigating machine failure to maximize overall energy usage and minimize operating cost.
The reduction and control of energy is vital for any industrial plant or commercial space and tracking your energy usage at the source is the first step to reducing your energy dependency and mitigate machine downtimes. Using Ubidots, you can track and analyze the machines' energy metrics to determine baseline readings and determine ways to reduce the overall energy consumption in your business.
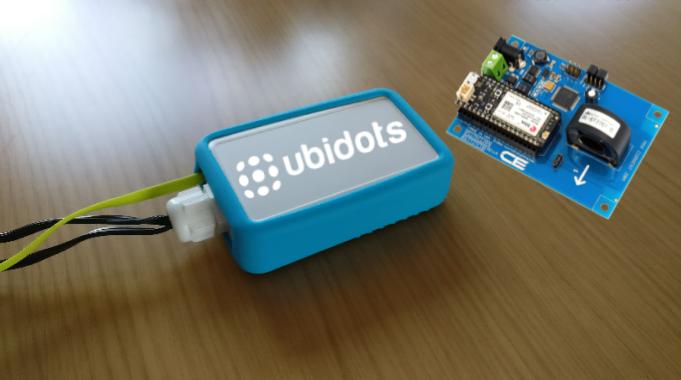
In the following guide you will learn how to build your own "Industrial" Energy Motoring System using a Particle Electron with a Control Everything shield that can monitor the electric current passing through a machine, and then the devices data will be sent to Ubidots for additional analytics and visualizations!
Requirements
- Particle Electron
- Control Everything - Current Monitor
- Electrical wires
- Takachi Electronic Enclosure
- Female Electrical connector
- Male Electrical connector
Ubidots account - or - STEM License
Hardware Setup
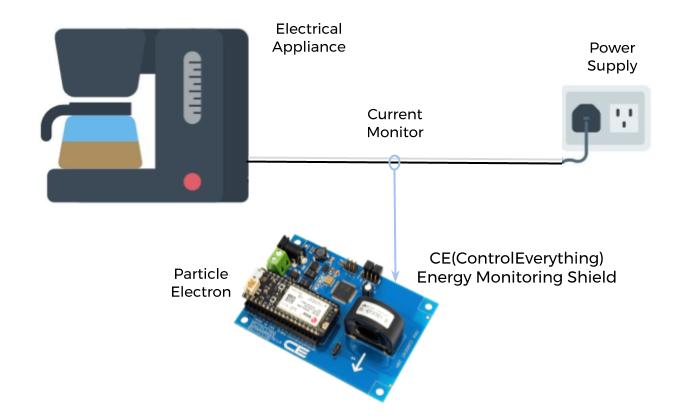
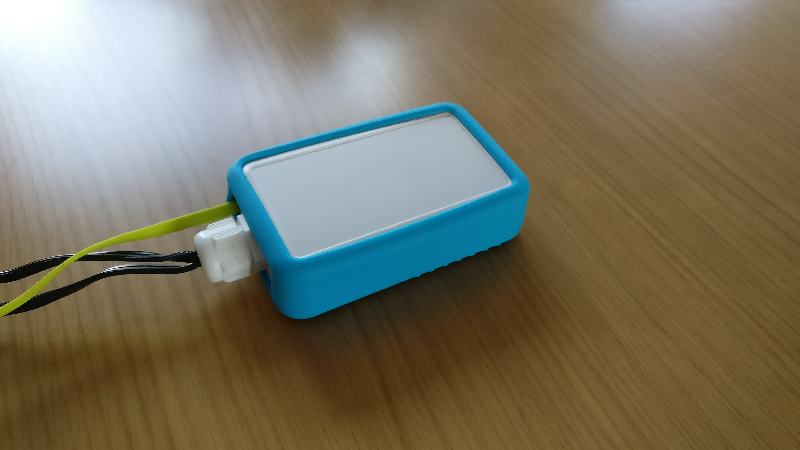
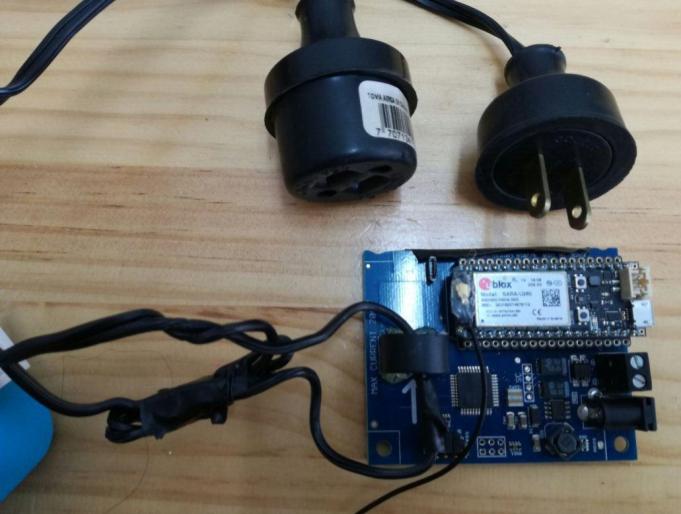
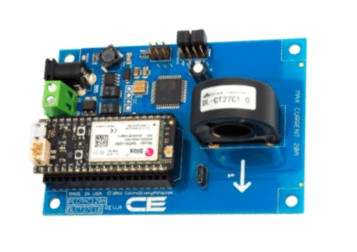
1. Begin by attaching the Particle Electron to the ControlEverything - Current monitor shield.
2. To protect the device from messy or harsh environments, we used a Takachi enclousure which offers many different types of models, making our custom projects easy to build.
3. To take the current measurement the circuit must be interrupted. We built our application without the need to solder or modify the original connectors.
The diagram above illustrates the hardware integration for this Energy Monitoring project. We suggest deploying this monitoring system on a local non-critical device first to test – like the office coffee machine. :)
Firmware Setup


1. Follow these steps to set up the Particle data plan. Particle Electron steps.
2. Once you've claimed your Particle Device, let’s go to Particle’s Web IDE and compile our firmware.
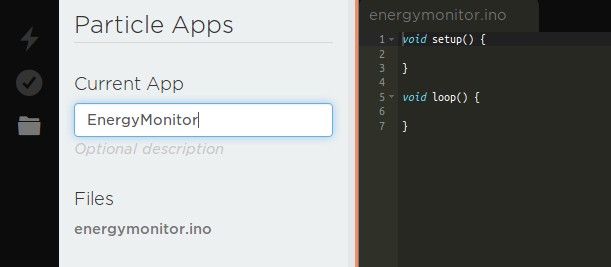
3. In the Particle’s Web IDE create a new app and set the name "EnergyMonitor"
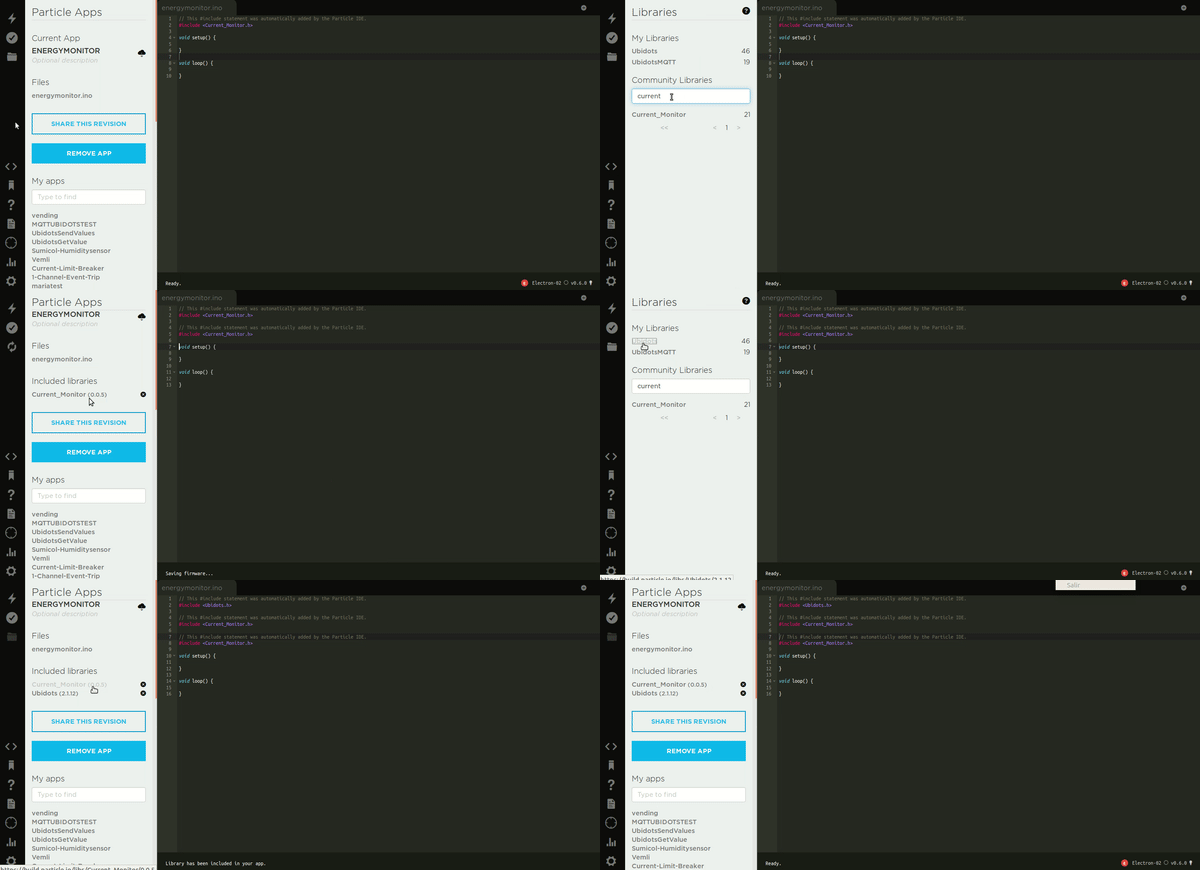
4. Now that the application is created you have to add the libraries required to the application. To do this, go to the library tab and search the library "current_monitor" in the Community Libraries field, then press the "include in project" and select the application previously created "EnergyMonitor", to finish just press confirm. Once the library is properly added, you will see it in the "Included libraries" of the application.
Follow the same process above to add the "Ubidots" library. Make sure to add the latests available library version. Note that there is also an Ubidots MQTT library. For this tutorial, we will be using the HTTP "Ubidots" library, but if you prefer to utilize MQTT protocols you can learn how to set up your Electron over MQTT using this link.
5. Now that the application is ready, it's time to code! Copy and paste into the Particle IDE this code. Once the code is properly pasted, assign your ubidots token where is indicated. See here if you cannot locate your Ubidots TOKEN.
Once you have pasted the code and updated the Ubidots TOKEN line, you must Verify this code within the Particle IDE. In the top left corner of our Particle IDE, click the Check Mark icon to verify this and any code.
Once verified, you will receive a "Code verified! Great work" message in the Particle IDE.
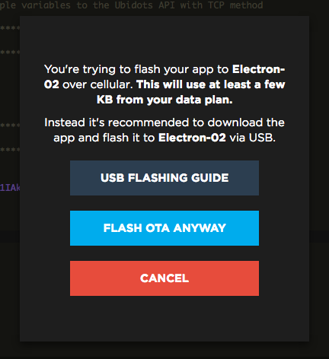
Next, upload the code into your Particle Electron by clicking the lightening bolt icon. (Be sure that your Electron is plugged into your computer's USB port before trying to upload.)
Select the "FLASH OTA ANYWAY" to start the upload.
Once the code is uploaded, you will receive a "Flash successful! Your device is being updated - Ready" message in the Particle IDE
With this steps, you are now sending sending the sensor's data to the Ubidots Cloud!
Management of the Data in Ubidots



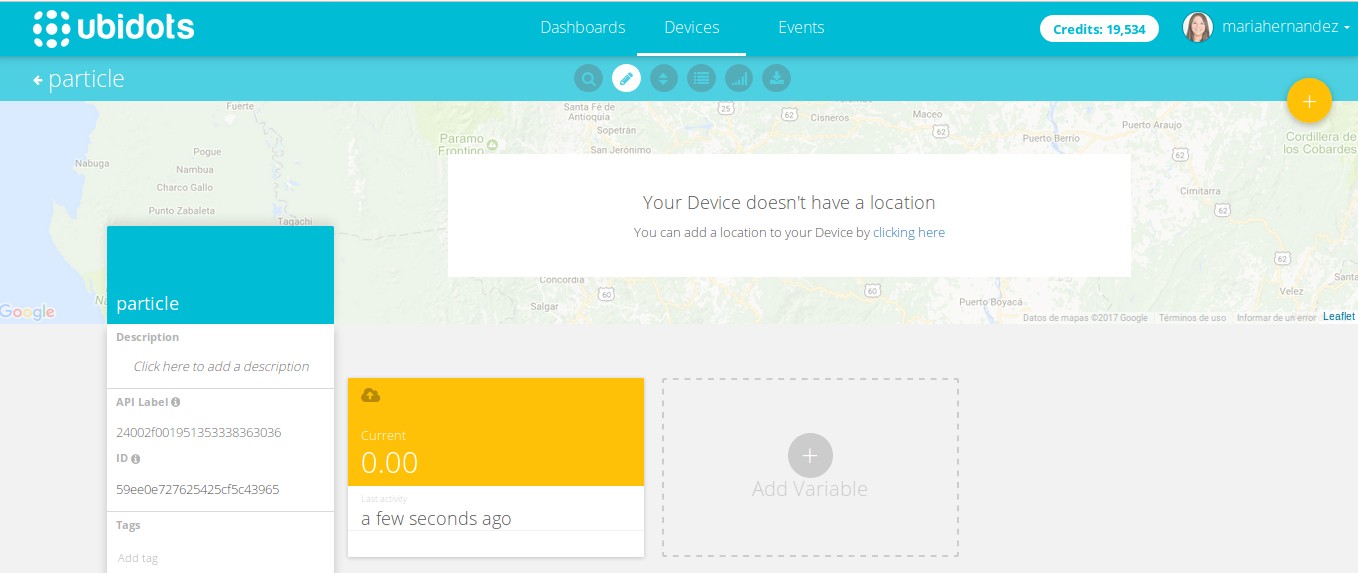
1. Once the particle electron has sent its first message, a new device will be created and can be found in the Device section of your Ubidots application. The name of the device will be "particle", also inside the device you will see the variable current has been been automatically created for you.
If you desire to change your device or variable names to a more friendly nomenclature, please see Ubidots Help Center to find: How to adjust you Device Name and Variable Name
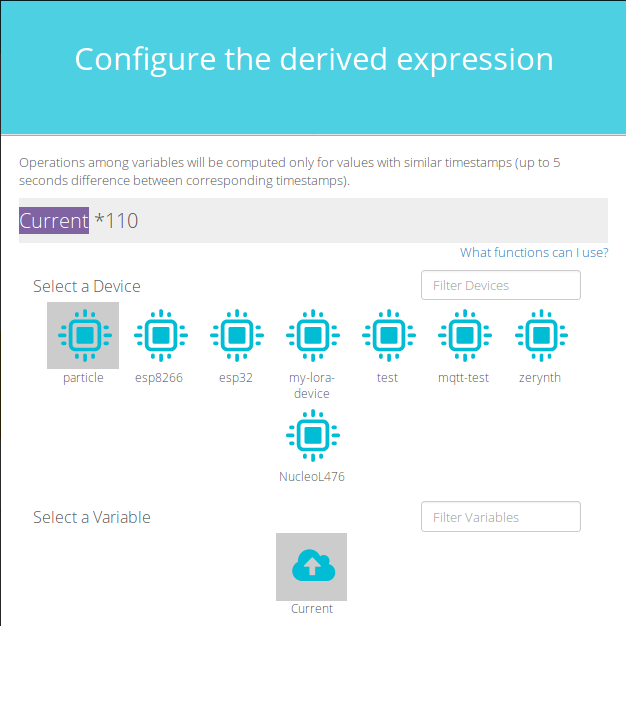
2. Next, to calculate the power based on the current obtained, we need to create a derived variable. The Derived Variable allows us to construct mathematical operations using the default variables of your account. In this case we are going to apply the power formula of Current multiplied by Voltage (110 AMPS).
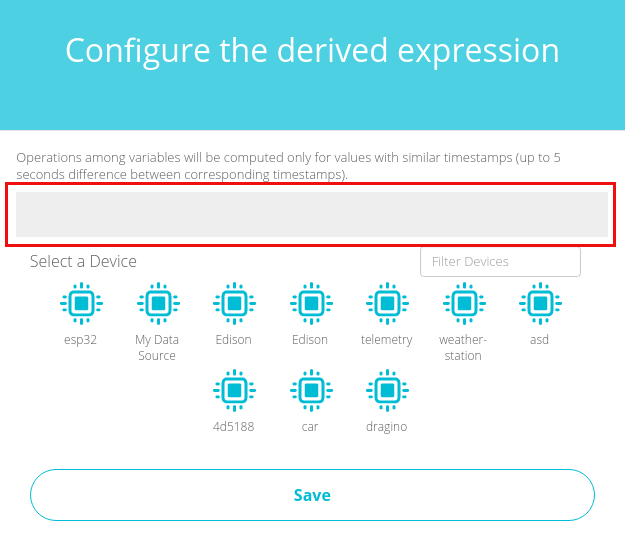
To create the Derived variable, click on "Add variable" and select "Derived":
As you can see in the images, you can most any mathematical function with relative ease.
With your formula entered, your new variable within the Particle's device menu will now display the power levels of your machine.
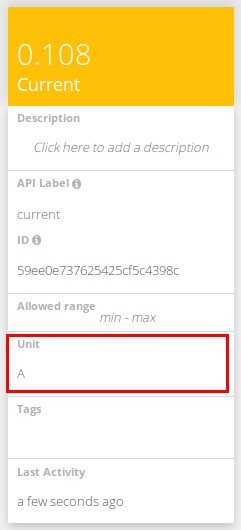
3. Customize the units of the variables to make sense of the dashboard quick by editing the Variable's information in on the left-hand pane.
As you can see in the images, we edited the units for each variable to Watts and AMPs:
To modify the icon of the variable just double click in the icon in the upper left hand corner and select your desired icon.
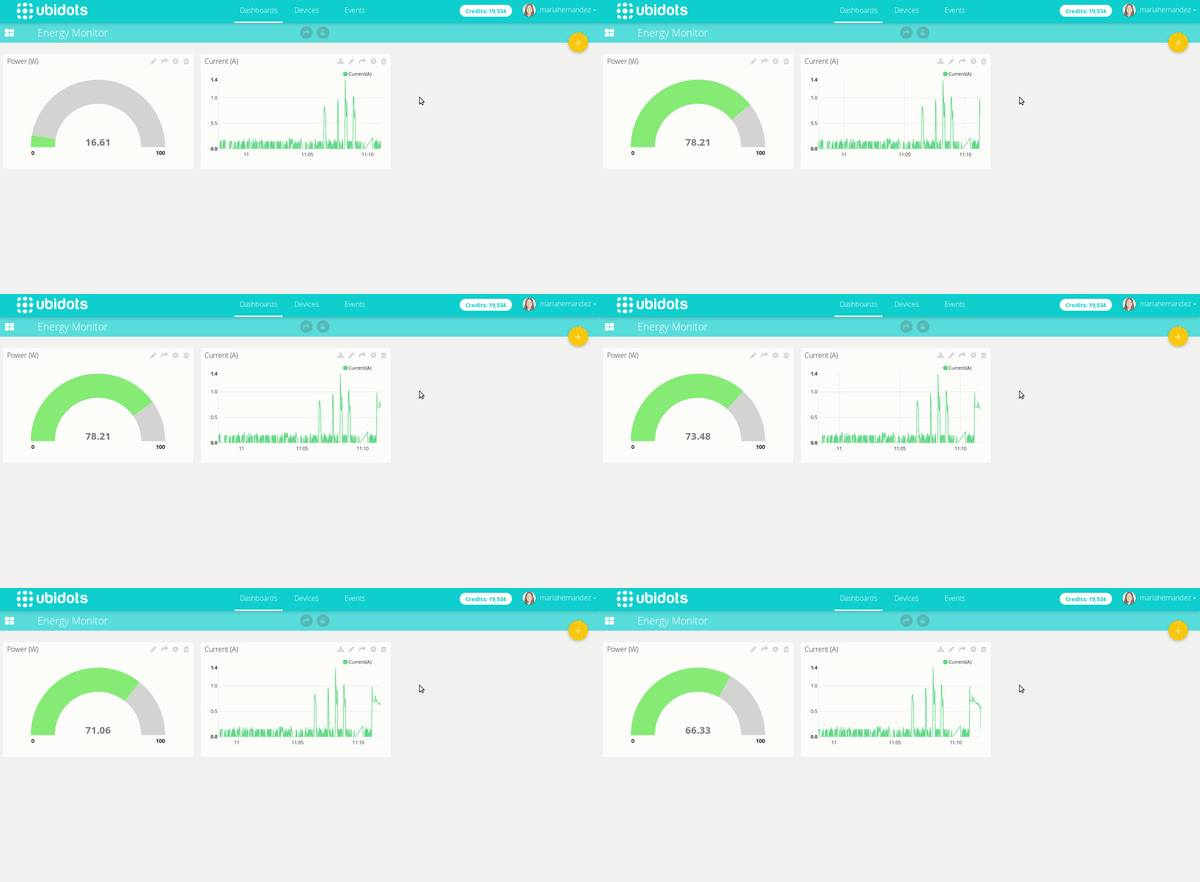
3. Now it is time to create a dashboard to control and manage your Particle device and deploy your Energy Monitoring Application. To learn more about Ubidots widgets and events, check out these helpful video tutorials.
Result
In just a few short minutes you've built
an industrial ready IoT application letting you monitor the energy of any asset for a robust and versatile IoT solution to energy monitoring. With this new source of data, plant administrators and building managers can look to reduce machine operating costs and downtime by tracking and trending energy peaks and valleys and determining usable life for machine parts and machine efficiency. With these new insights - Energy is no longer a drain on the companies revenues but a source of labor or a raw material for consumption.
Reference to the Ubidots Help Center for any doubt, and as always, don't forget the Ubidots support team is here to help as best we can with your Ubidots setup and integration questions.
Happy Hacking! :)