Build a Remotely Activated Sprinkler Using PiFace and Ubidots
by UbiMaker in Circuits > Raspberry Pi
6853 Views, 55 Favorites, 0 Comments
Build a Remotely Activated Sprinkler Using PiFace and Ubidots

This is a cool example that teaches you how to use a Raspberry Pi, a PiFace and Ubidots to water your garden from far away. You'll be able to control an electro-valve remotely to water your plants from any place, just using your phone.
What Do You Need?


Well you'll need some materials:
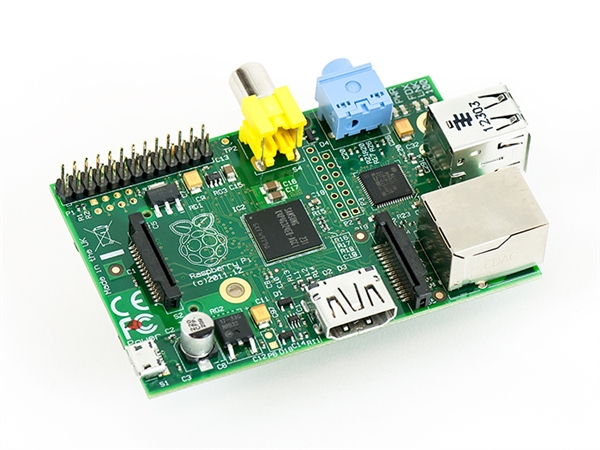
1. Raspberry Pi Model B
2. A PiFace Digital
3. A Water Valve - 12V
4. A Flexible Wire (1Amp)
5. A DC Jack
6. Power adapter (12V-DC 1000mA)
7. 3/4" PVC threaded coupling
8. Teflon tape
9. Hose
10. Sprinkler
11. Ubidots account - or - STEM License
Wiring Things Up

1. Connect the PiFace to the RaspberryPi without plugging in the power adapter.
2. Follow the picture above; White wire is ground (GND) and it's connected to the common terminal of the relay Switch of the PiFace, while the red wire is connected to the NO pin (Normally Open).
Note: As for the hydraulic connections, make sure to use teflon tape on every union to prevent the water from leaking.
Create a New Data Source in Ubidots

If you're new to Ubidots, go to www.ubidots.com and create an account. Navigate to the "Sources" tab and click on "Add new Data Source".
Select Raspberry Pi As Your New Data Source

Select the Raspberry Pi Icon and continue
Create Two New Variables


Click on your data source and create two new variables: "valve" and "relay_state".
Take Note of Your Variables' IDs

We'll need the id's of the variables for our Raspberry Pi program . We'll also need you account's API Key.
Add Widgets to Your Dashboard

Click on the "Dashboard" tab and click on "Add New widget"
Select the Switch Widget

Select a Switch Widget and bind it to the variable "valve". This widget will write "1" or "0" to the "valve" variable, which we'll poll later from our Raspberry Pi.
Create an Indicator Widget

Now add another widget, select the "indicator" widget type and choose the variable "valve_state"
Done!

Now we have a cool dashboard, let's continue with the code.
Coding Your Raspberry Pi
We'll assume you have a working Raspberry Pi that in connected to the Internet. If not, check this blog post about setting up WiFi in Raspberry Pi. Then login through a terminal into your Raspberry Pi and set up the SPI module to communicate with the PiFace Digital:
sudo nano /etc/modprobe.d/raspi-blacklist.conf
Add a "#" character before the line spi-bcm2708, then press CTRL-X, type Y and Enter. This enables SPI from boot. Now let's install and setup the PiFace Digital library:
sudo apt-get updatesudo apt-get install python3-pifacedigitalio python-pifacedigitalio
Restart your Pi:
sudo reboot
Great! we are ready to start coding our project. Create a new file called "valve.py" (by typing "nano valve.py") and paste the following code into it:
import pifacedigitalio 					#Library for pifacedigitalio	 from ubidots import ApiClient				#Library for Ubidots
pifacedigital = pifacedigitalio.PiFaceDigital() 	#Declare piface object
try:
	api = ApiClient("1fc7a56bf4b539725ace7a3f4aa623e9e9620612") #Don't forget to put your own Apikey
	valve = api.get_variable('53cd4cb07625425b70f5c21e') 		  #Put here your valve ID's
	valveState = api.get_variable("53ce95547625420403d81468")	  #Put here your realy state ID's
except:
	print("cant connect") 	#Check your Apikey, variable's ID and internet connectionwhile(True):
	lastValue = valve.get_values(1) 				#Get the last value of valve from Ubidots
	rele = pifacedigital.relays[0].value 				#Save relay state
	valveState.save_value({'value':rele})			#Send relay state to Ubidots
	for a in lastValue:
		print a['value']
		if(a['value']):							#Turn on or off the relay
			pifacedigital.output_pins[0].turn_on()
       		else:
			pifacedigital.output_pins[0].turn_off()
Wrapping Up

Done! Now you have a remotely activated system to water your plants from any place just using your phone or any web browser!