Build Your 3D Printed Biplane Puzzle
by Alex-08 in Design > 3D Design
491 Views, 5 Favorites, 0 Comments
Build Your 3D Printed Biplane Puzzle
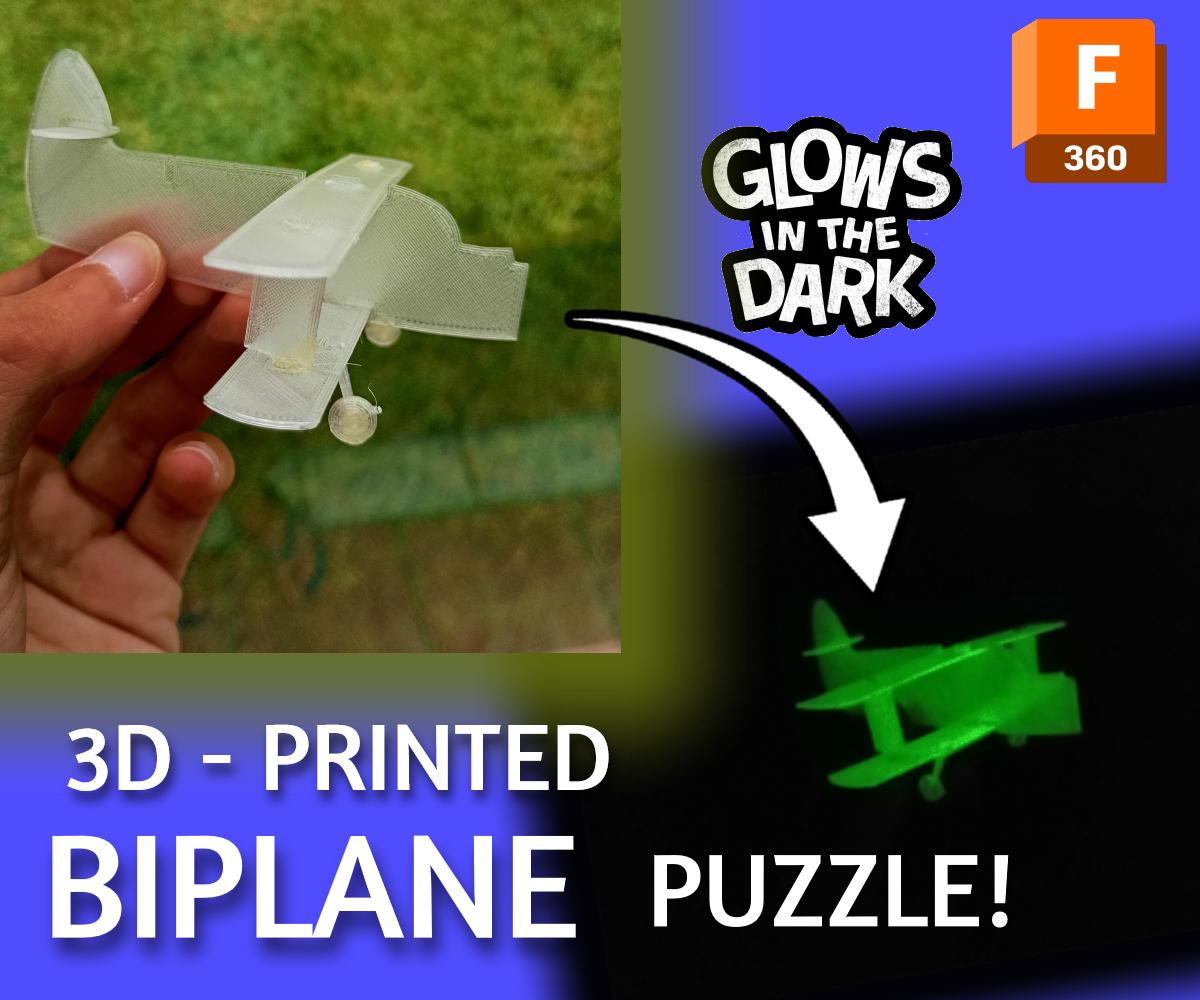
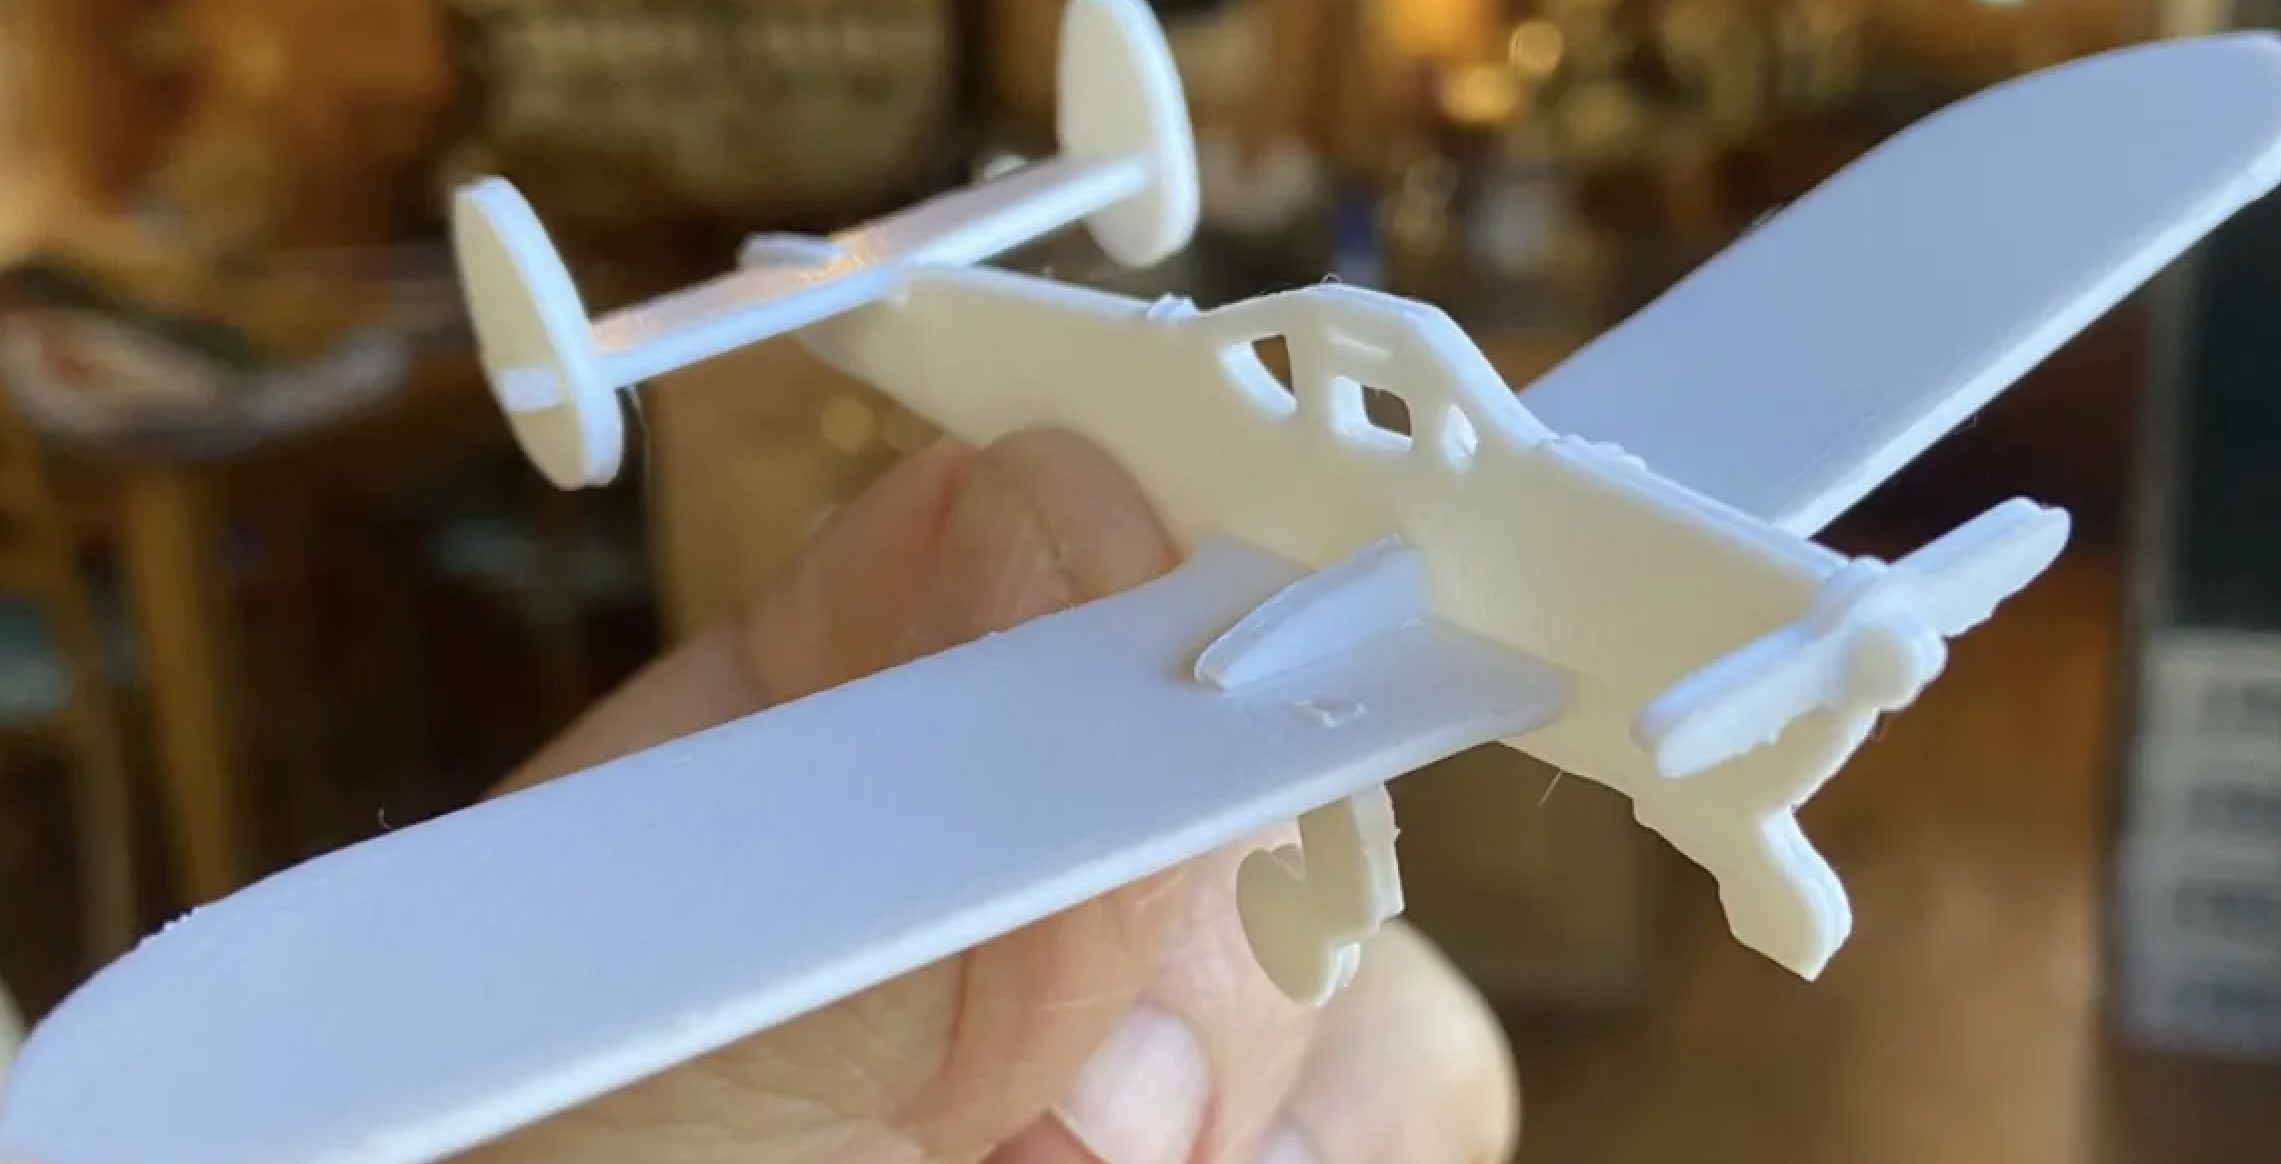
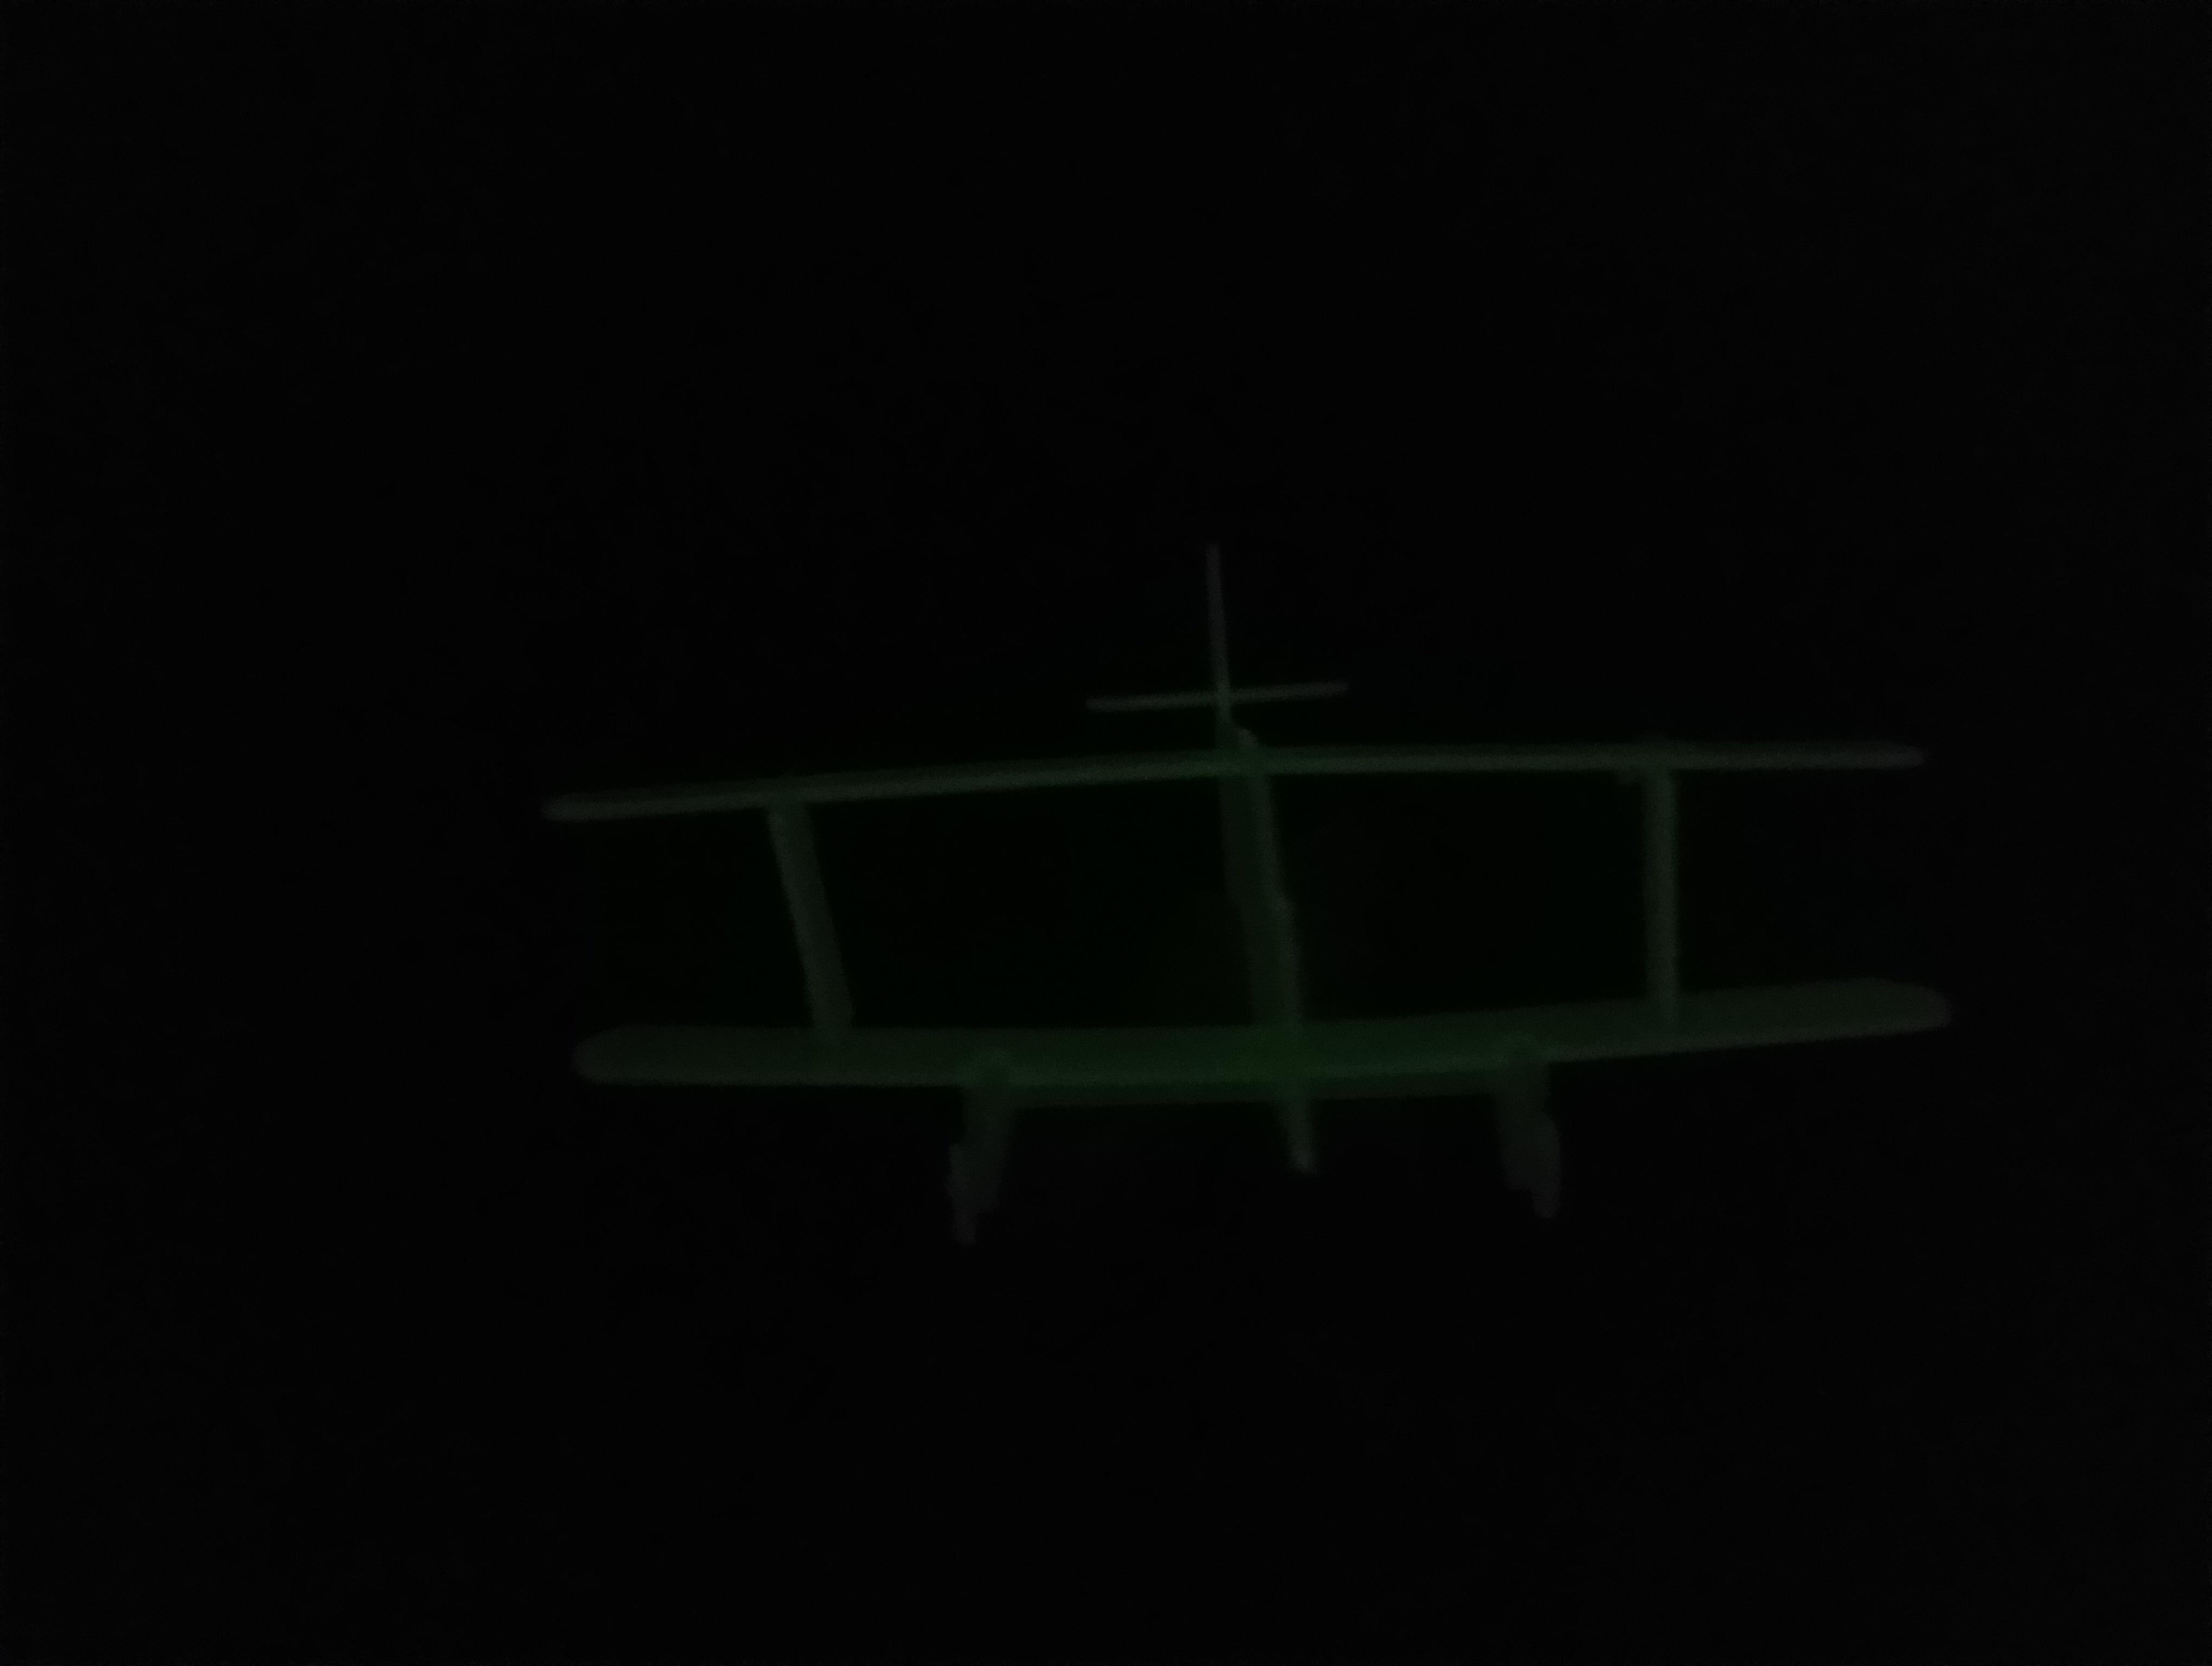
Hi there! I'm excited to share with you my journey of building a biplane model using a 3D printer. This project isn't just about creating a model; it's also a fun and challenging puzzle. Plus, I've used glow-in-the-dark filament to give it a unique touch. Let's get started and I'll walk you through each step based on my experience!
Supplies
- 3D printer https://amzn.to/3L7cIK9
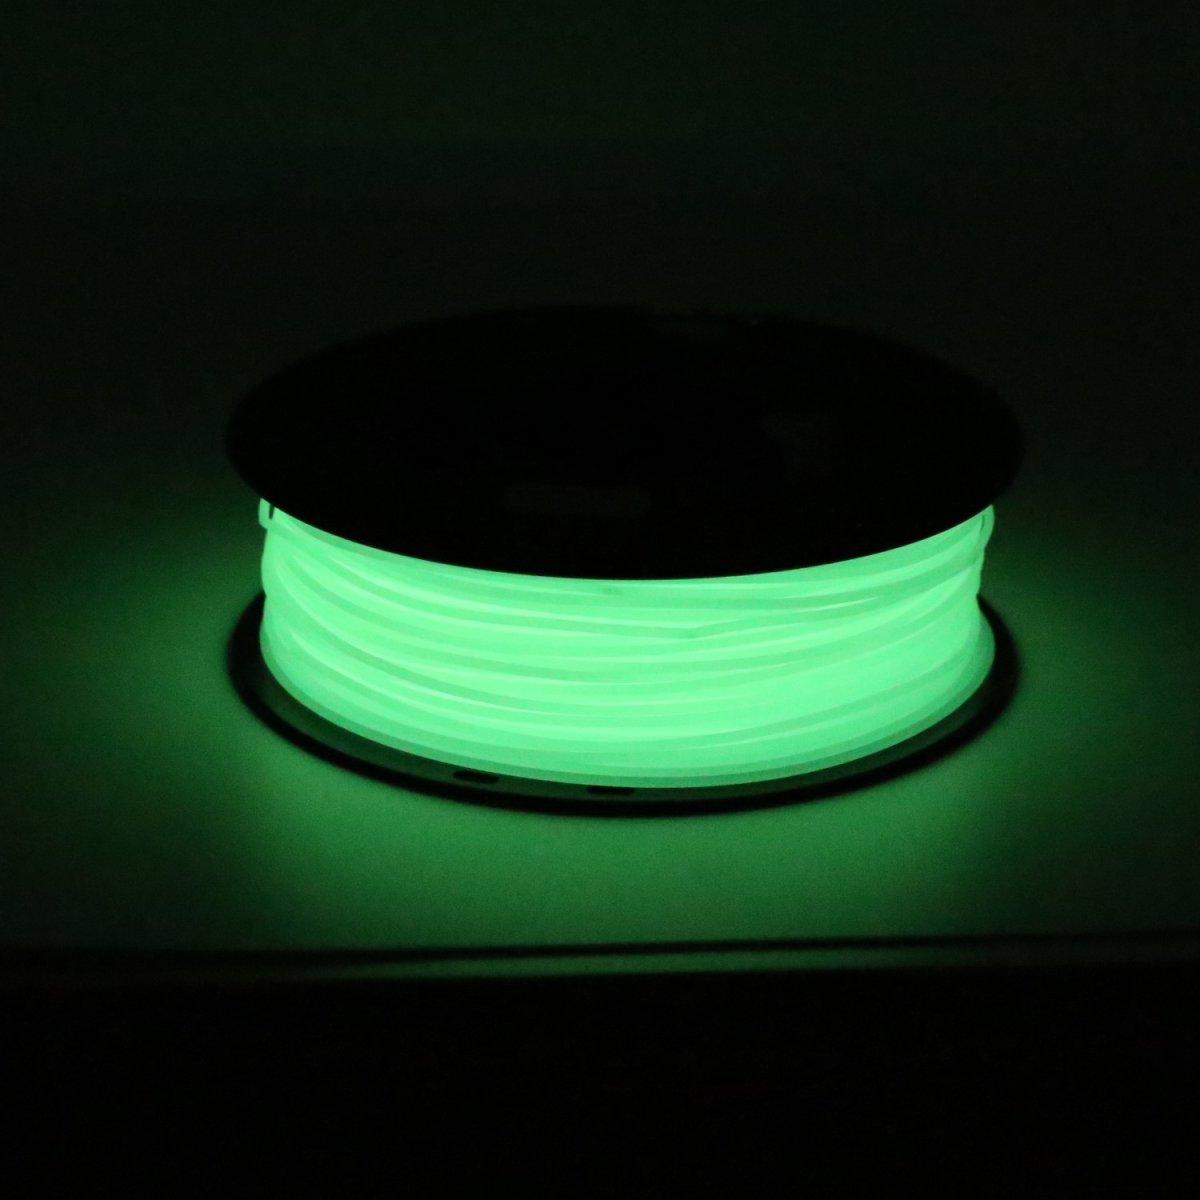
- Glow-in-the-dark PLA filament (or ABS) https://amzn.to/3XBCnCt
- 3D modeling software (I used Fusion 360, but you can use Tinkercad too)
- Modeling glue (super glue or plastic glue) https://amzn.to/3XHHjWw
- Paints and brushes (optional if you want to add more colors) https://amzn.to/3VWdCj4
Research
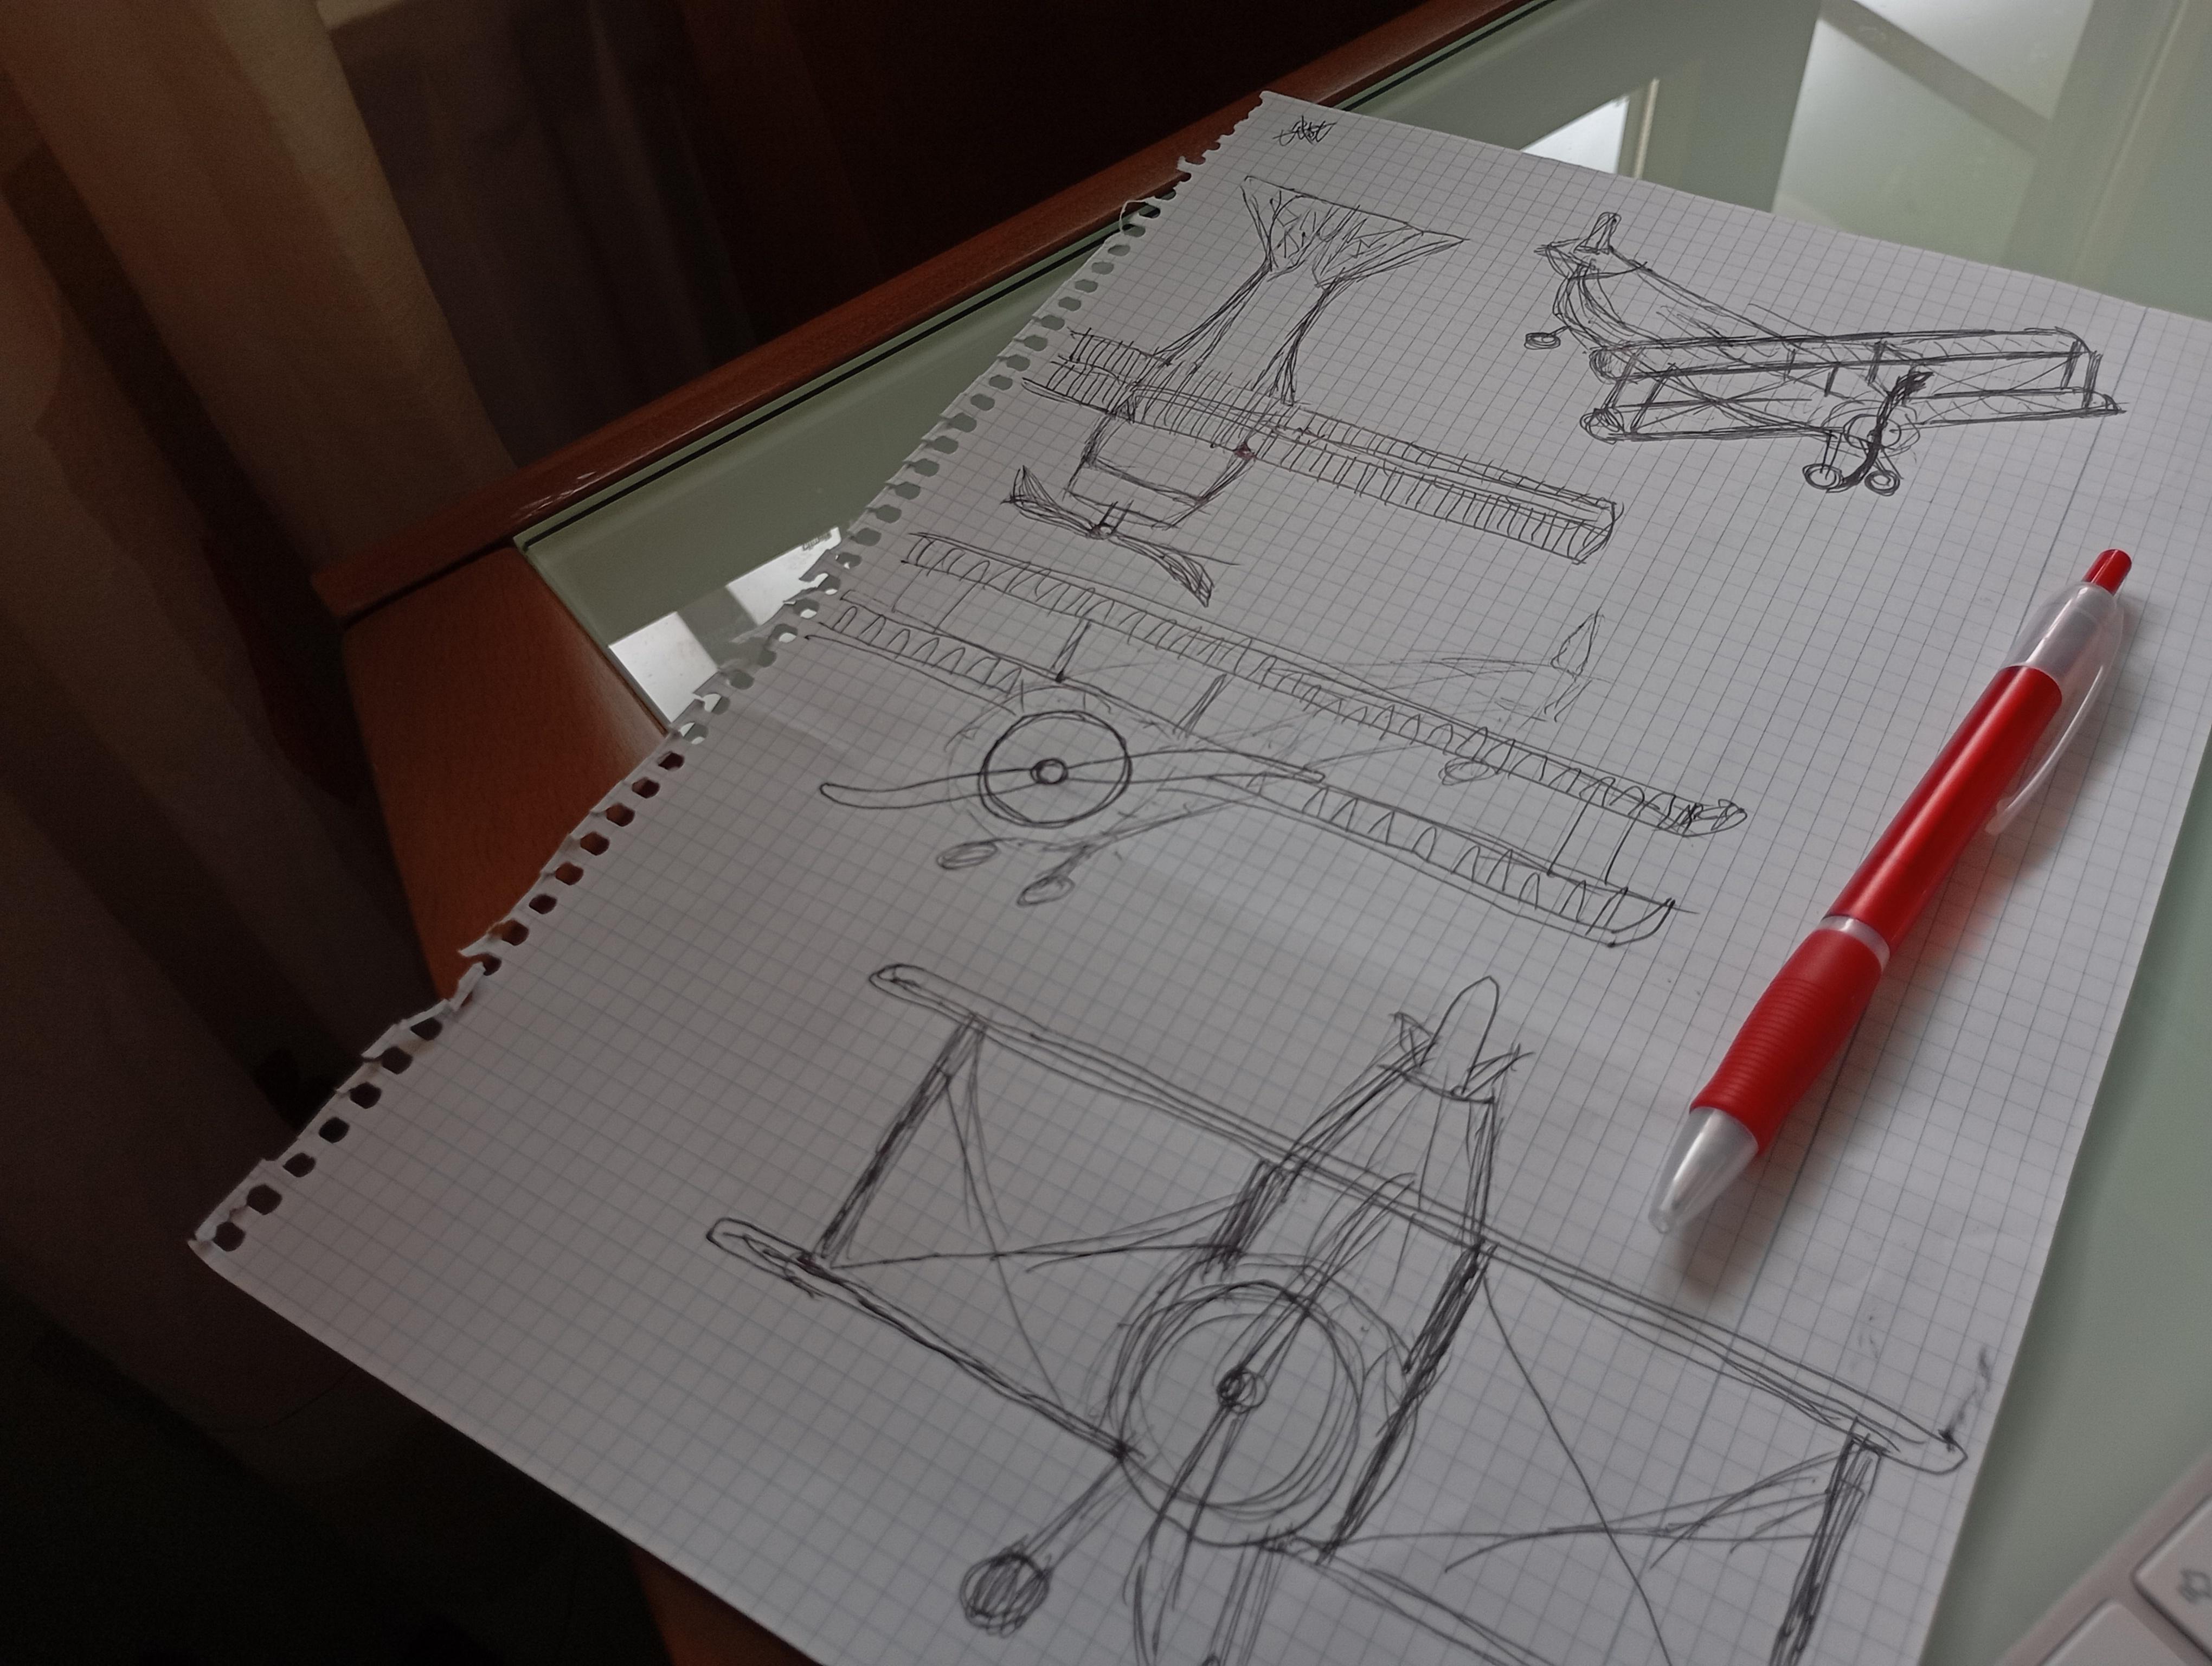
When I started, I spent some time researching different types of biplanes. I found images and blueprints online, which gave me a clear idea of the design I wanted. This step is crucial to visualize your final model.
Design


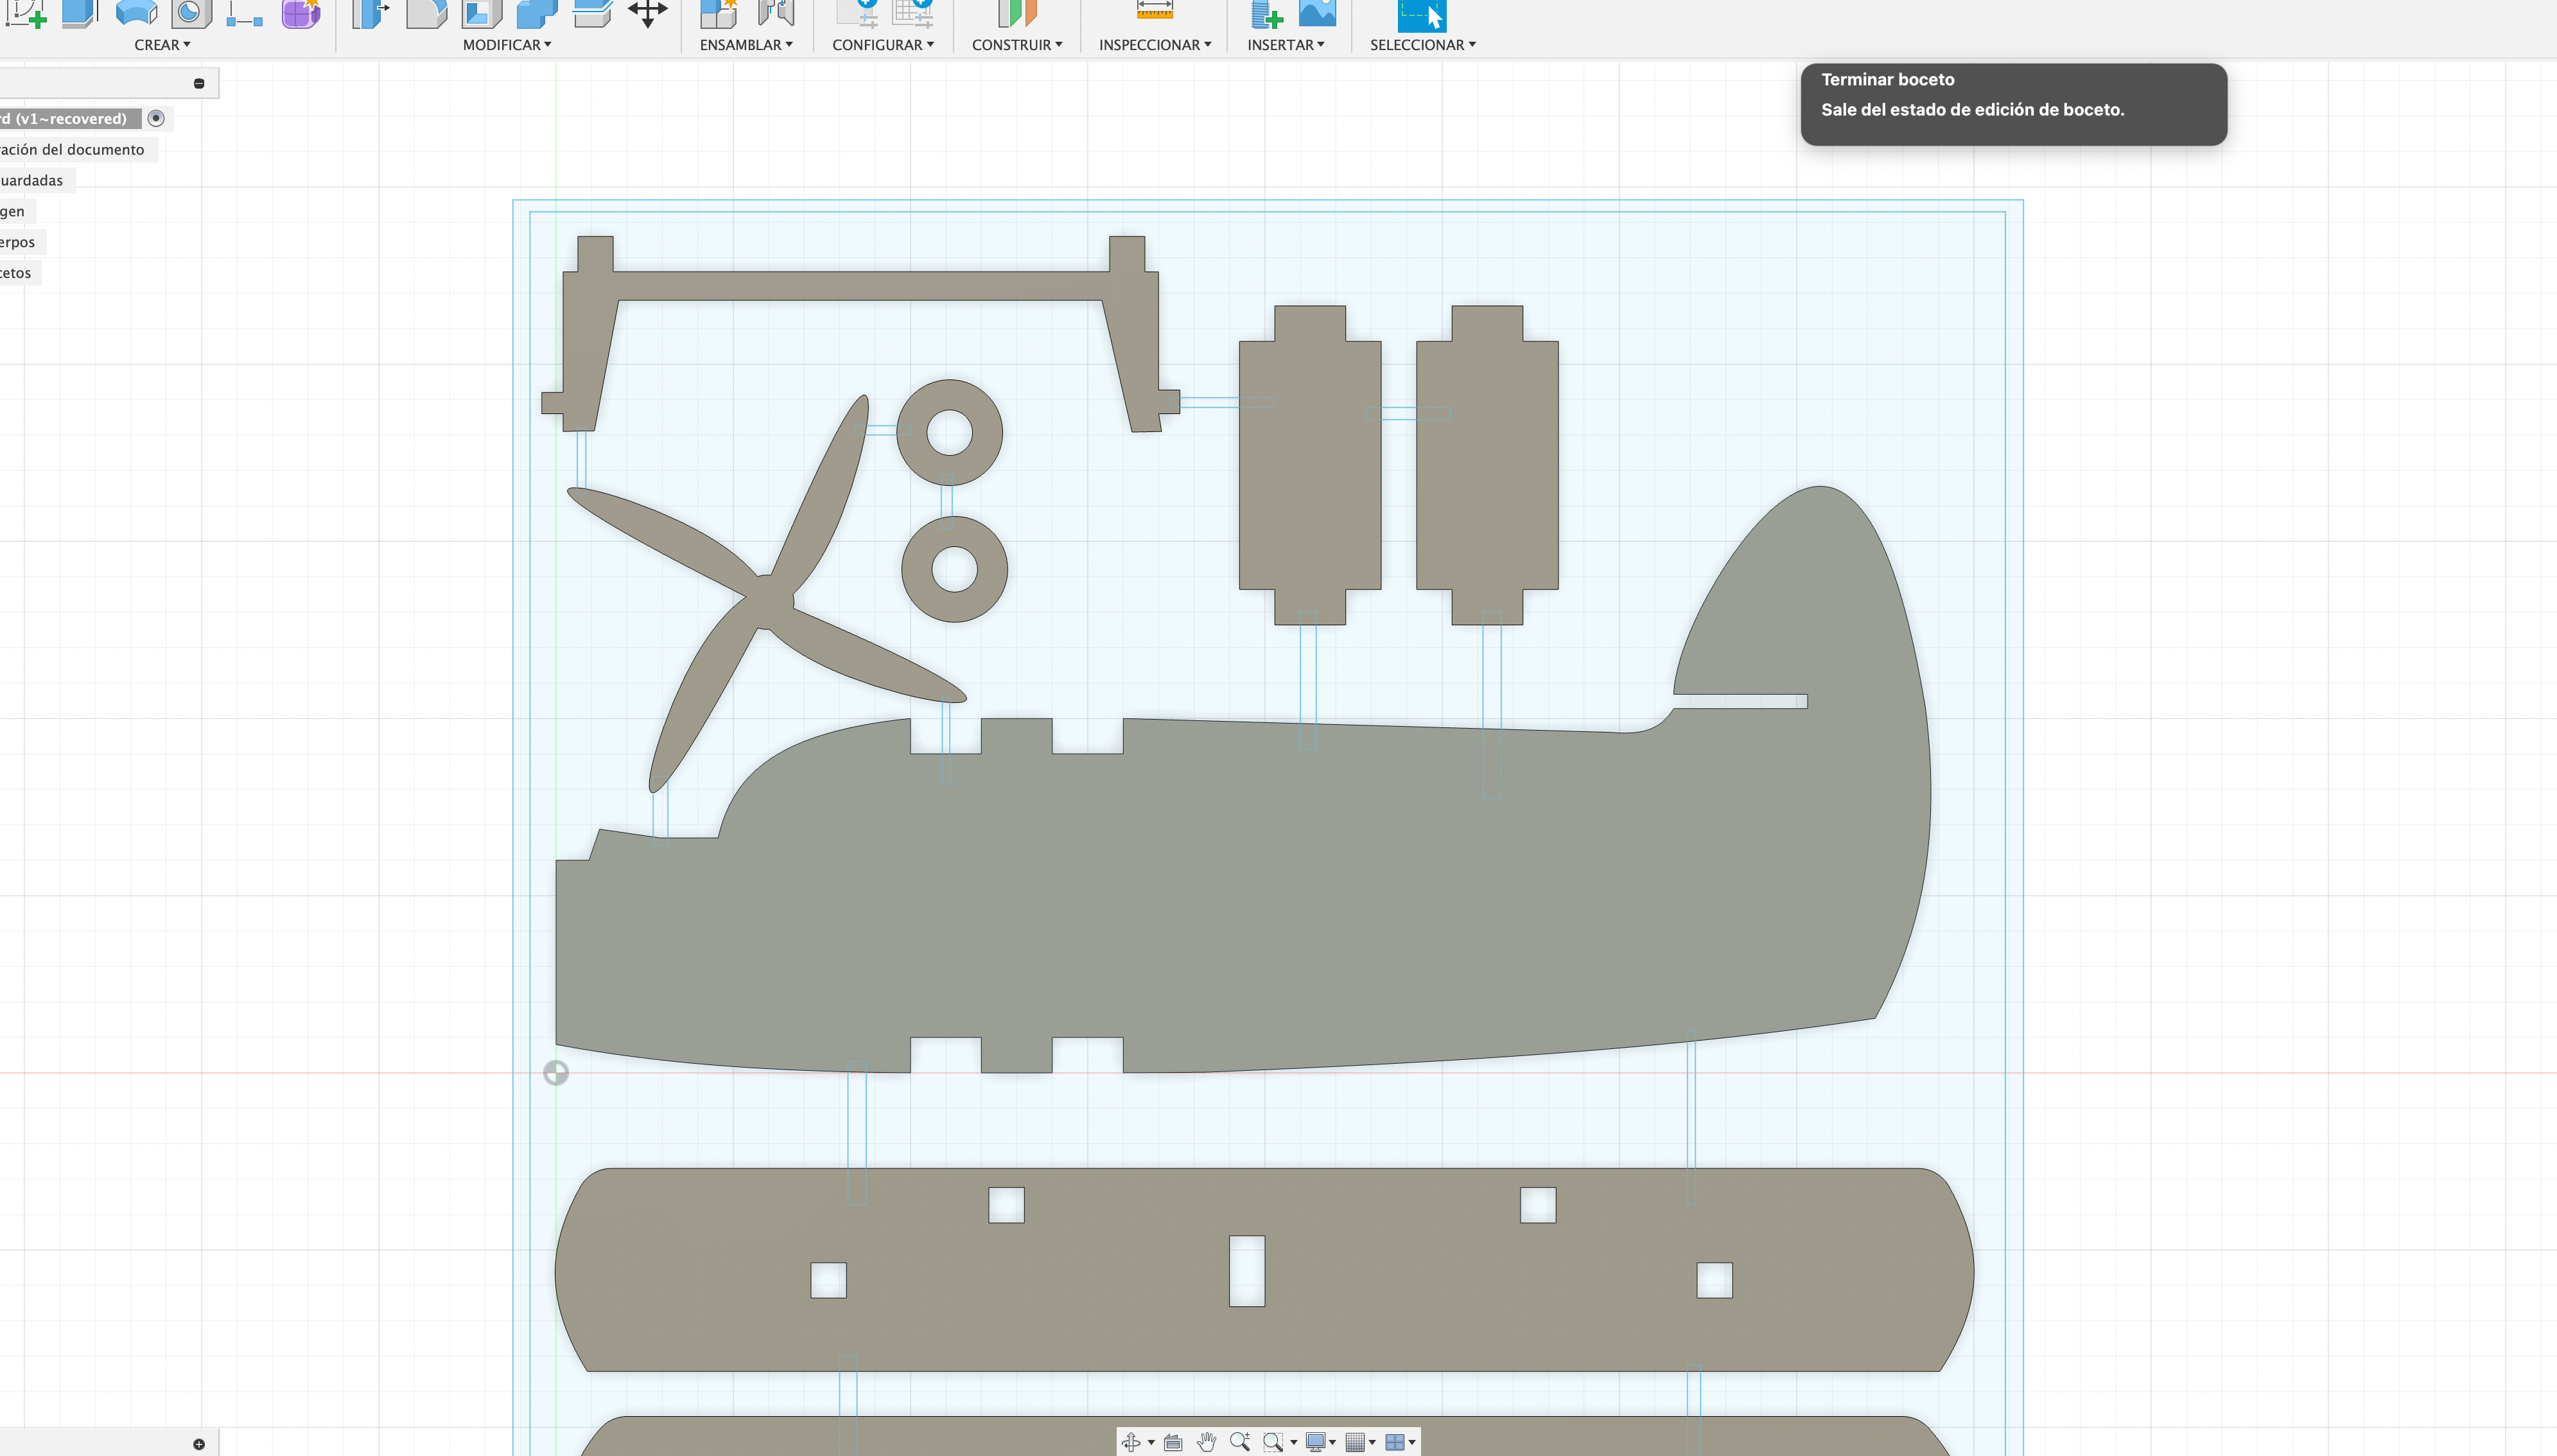
Structure of the biplane
- Fuselage
- Upper and lower wings
- Tail (vertical and horizontal stabilizers)
- Landing gear
- Propeller (optional)
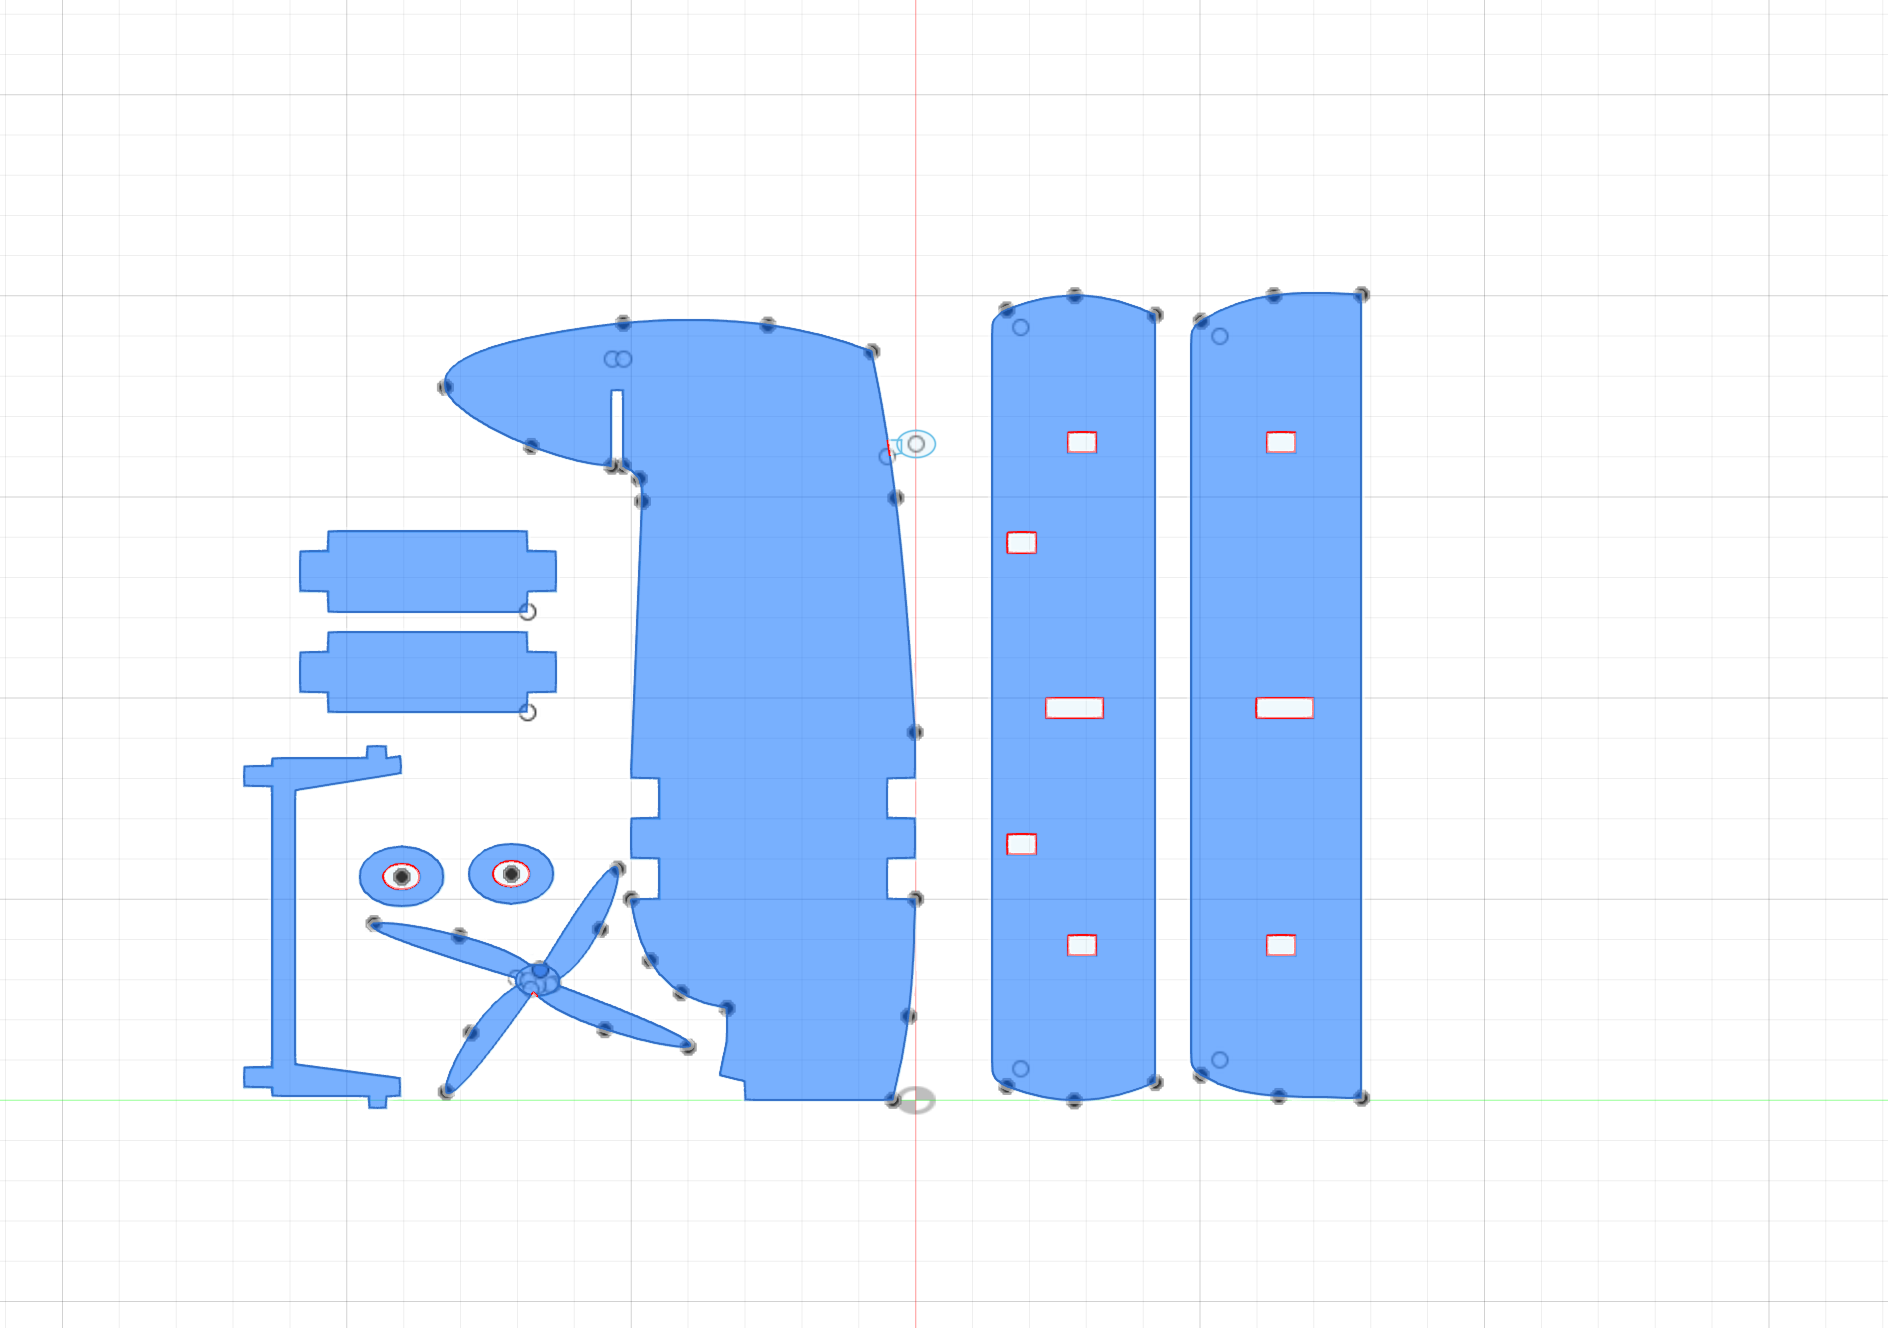
Puzzle Elements:
To make it more fun, I designed the parts to interlock like puzzle pieces:
- Interlocking Parts: I added notches, tabs, and slots to ensure the parts fit together without glue.
- Numbering System: I considered adding small numbers to each piece as subtle assembly guides.
But, how do I do this?
1. Installation and Getting Started
First, you need to download Fusion 360 from the Autodesk website and install it. Once you have it, open the program and sign in with your Autodesk account.
2. Exploring the Interface
When you first open Fusion 360, it might seem a bit overwhelming, but don't worry, you'll get used to it soon. The interface is divided into several key sections:
- Toolbar: This is where you'll find all the main tools for creating and modifying your designs.
- Browser: This panel on the left shows all the components and the history of your project.
- Viewport: This is the main area where you'll view and work on your 3D model.
- Timeline: Located at the bottom, this is your history of operations. You can go back and modify any step here.
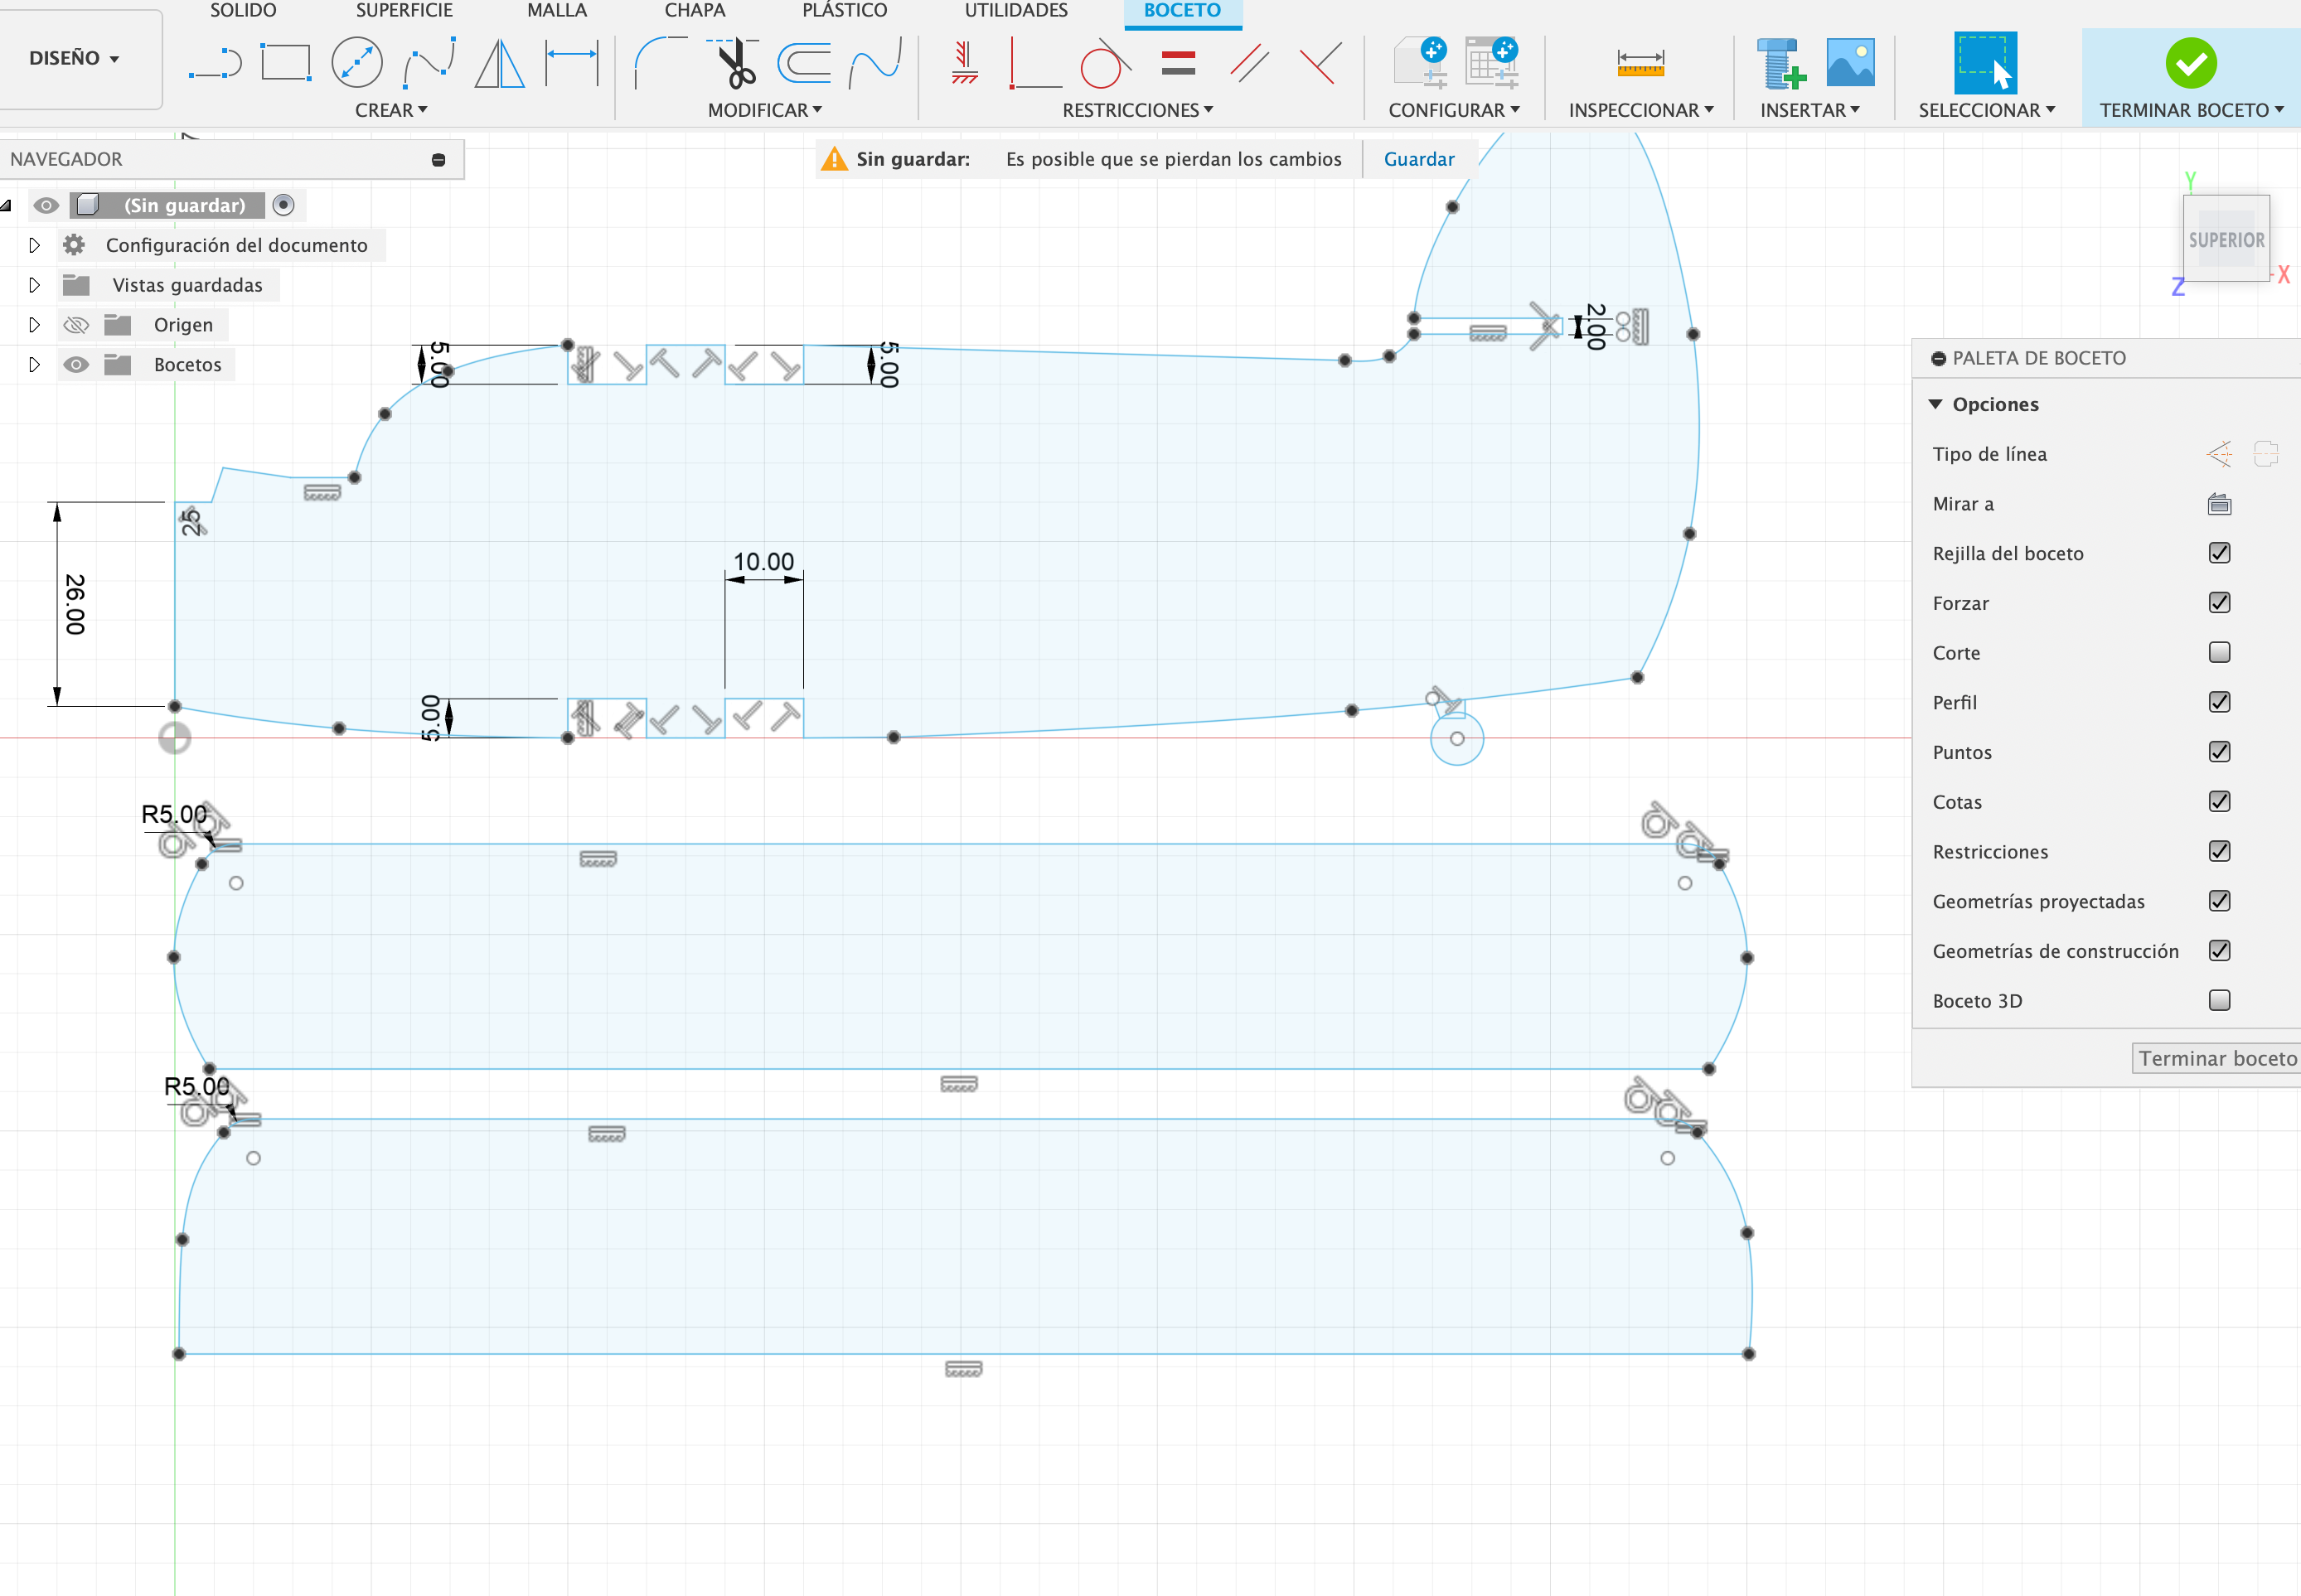
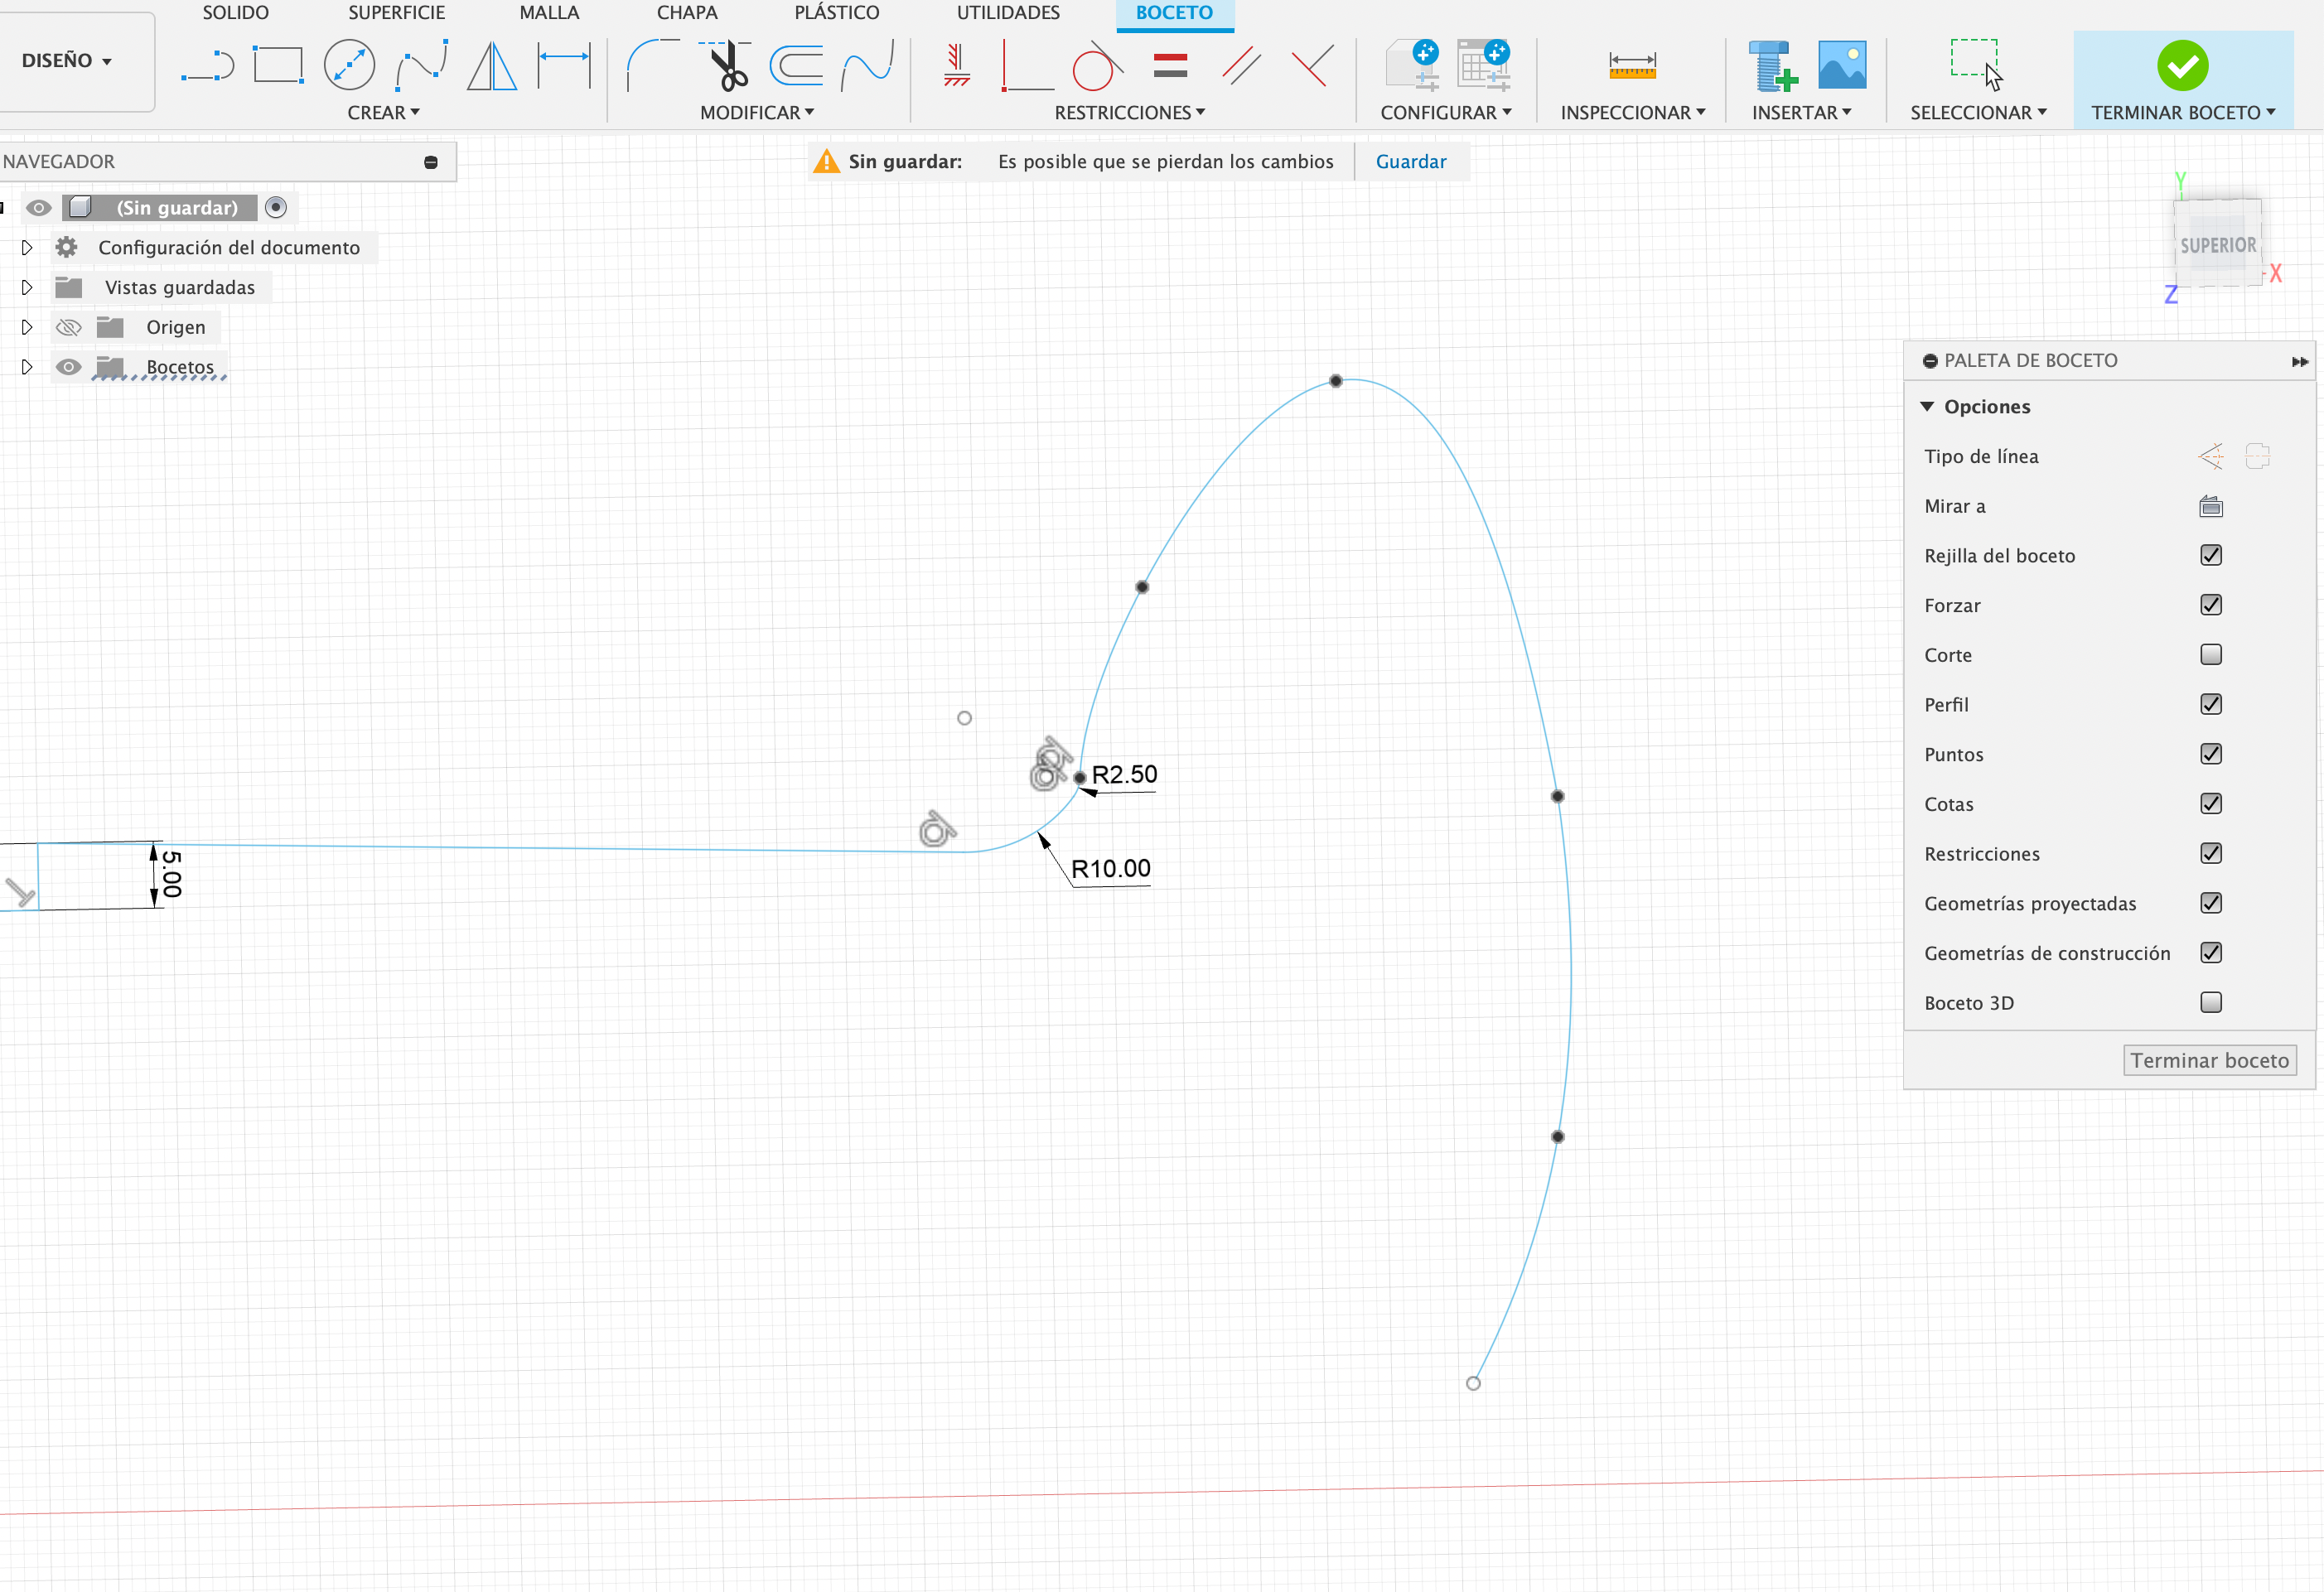
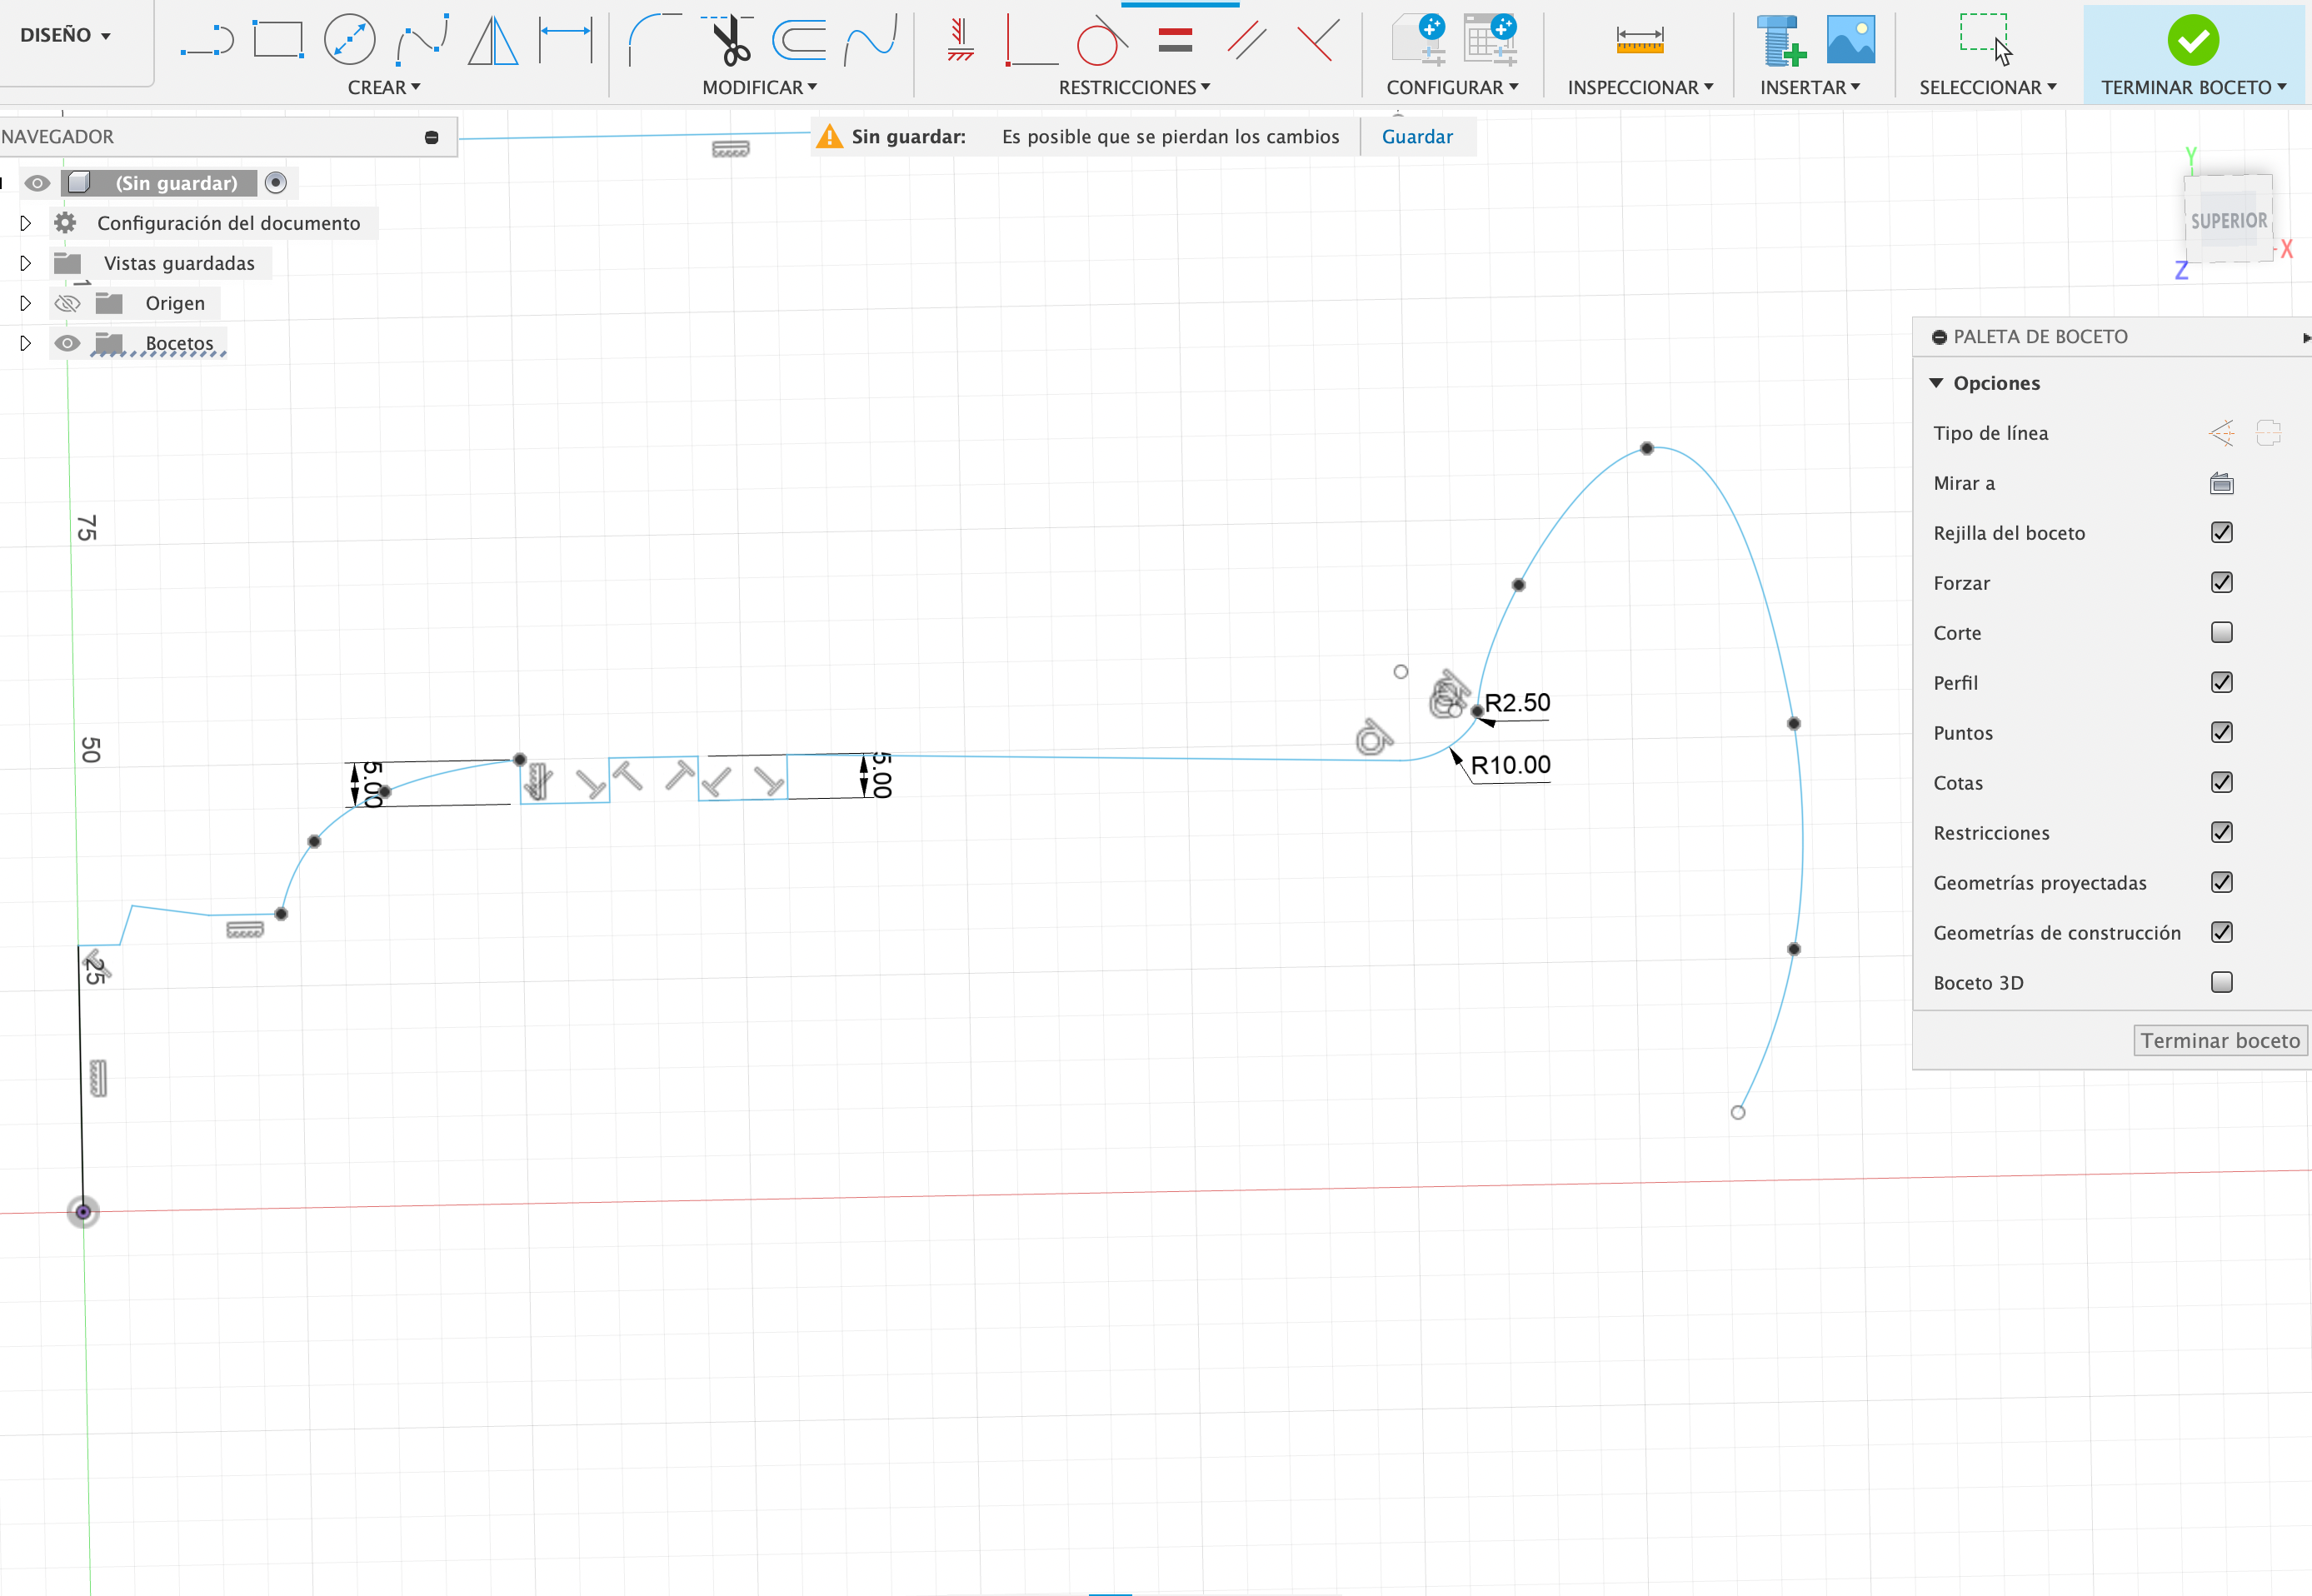
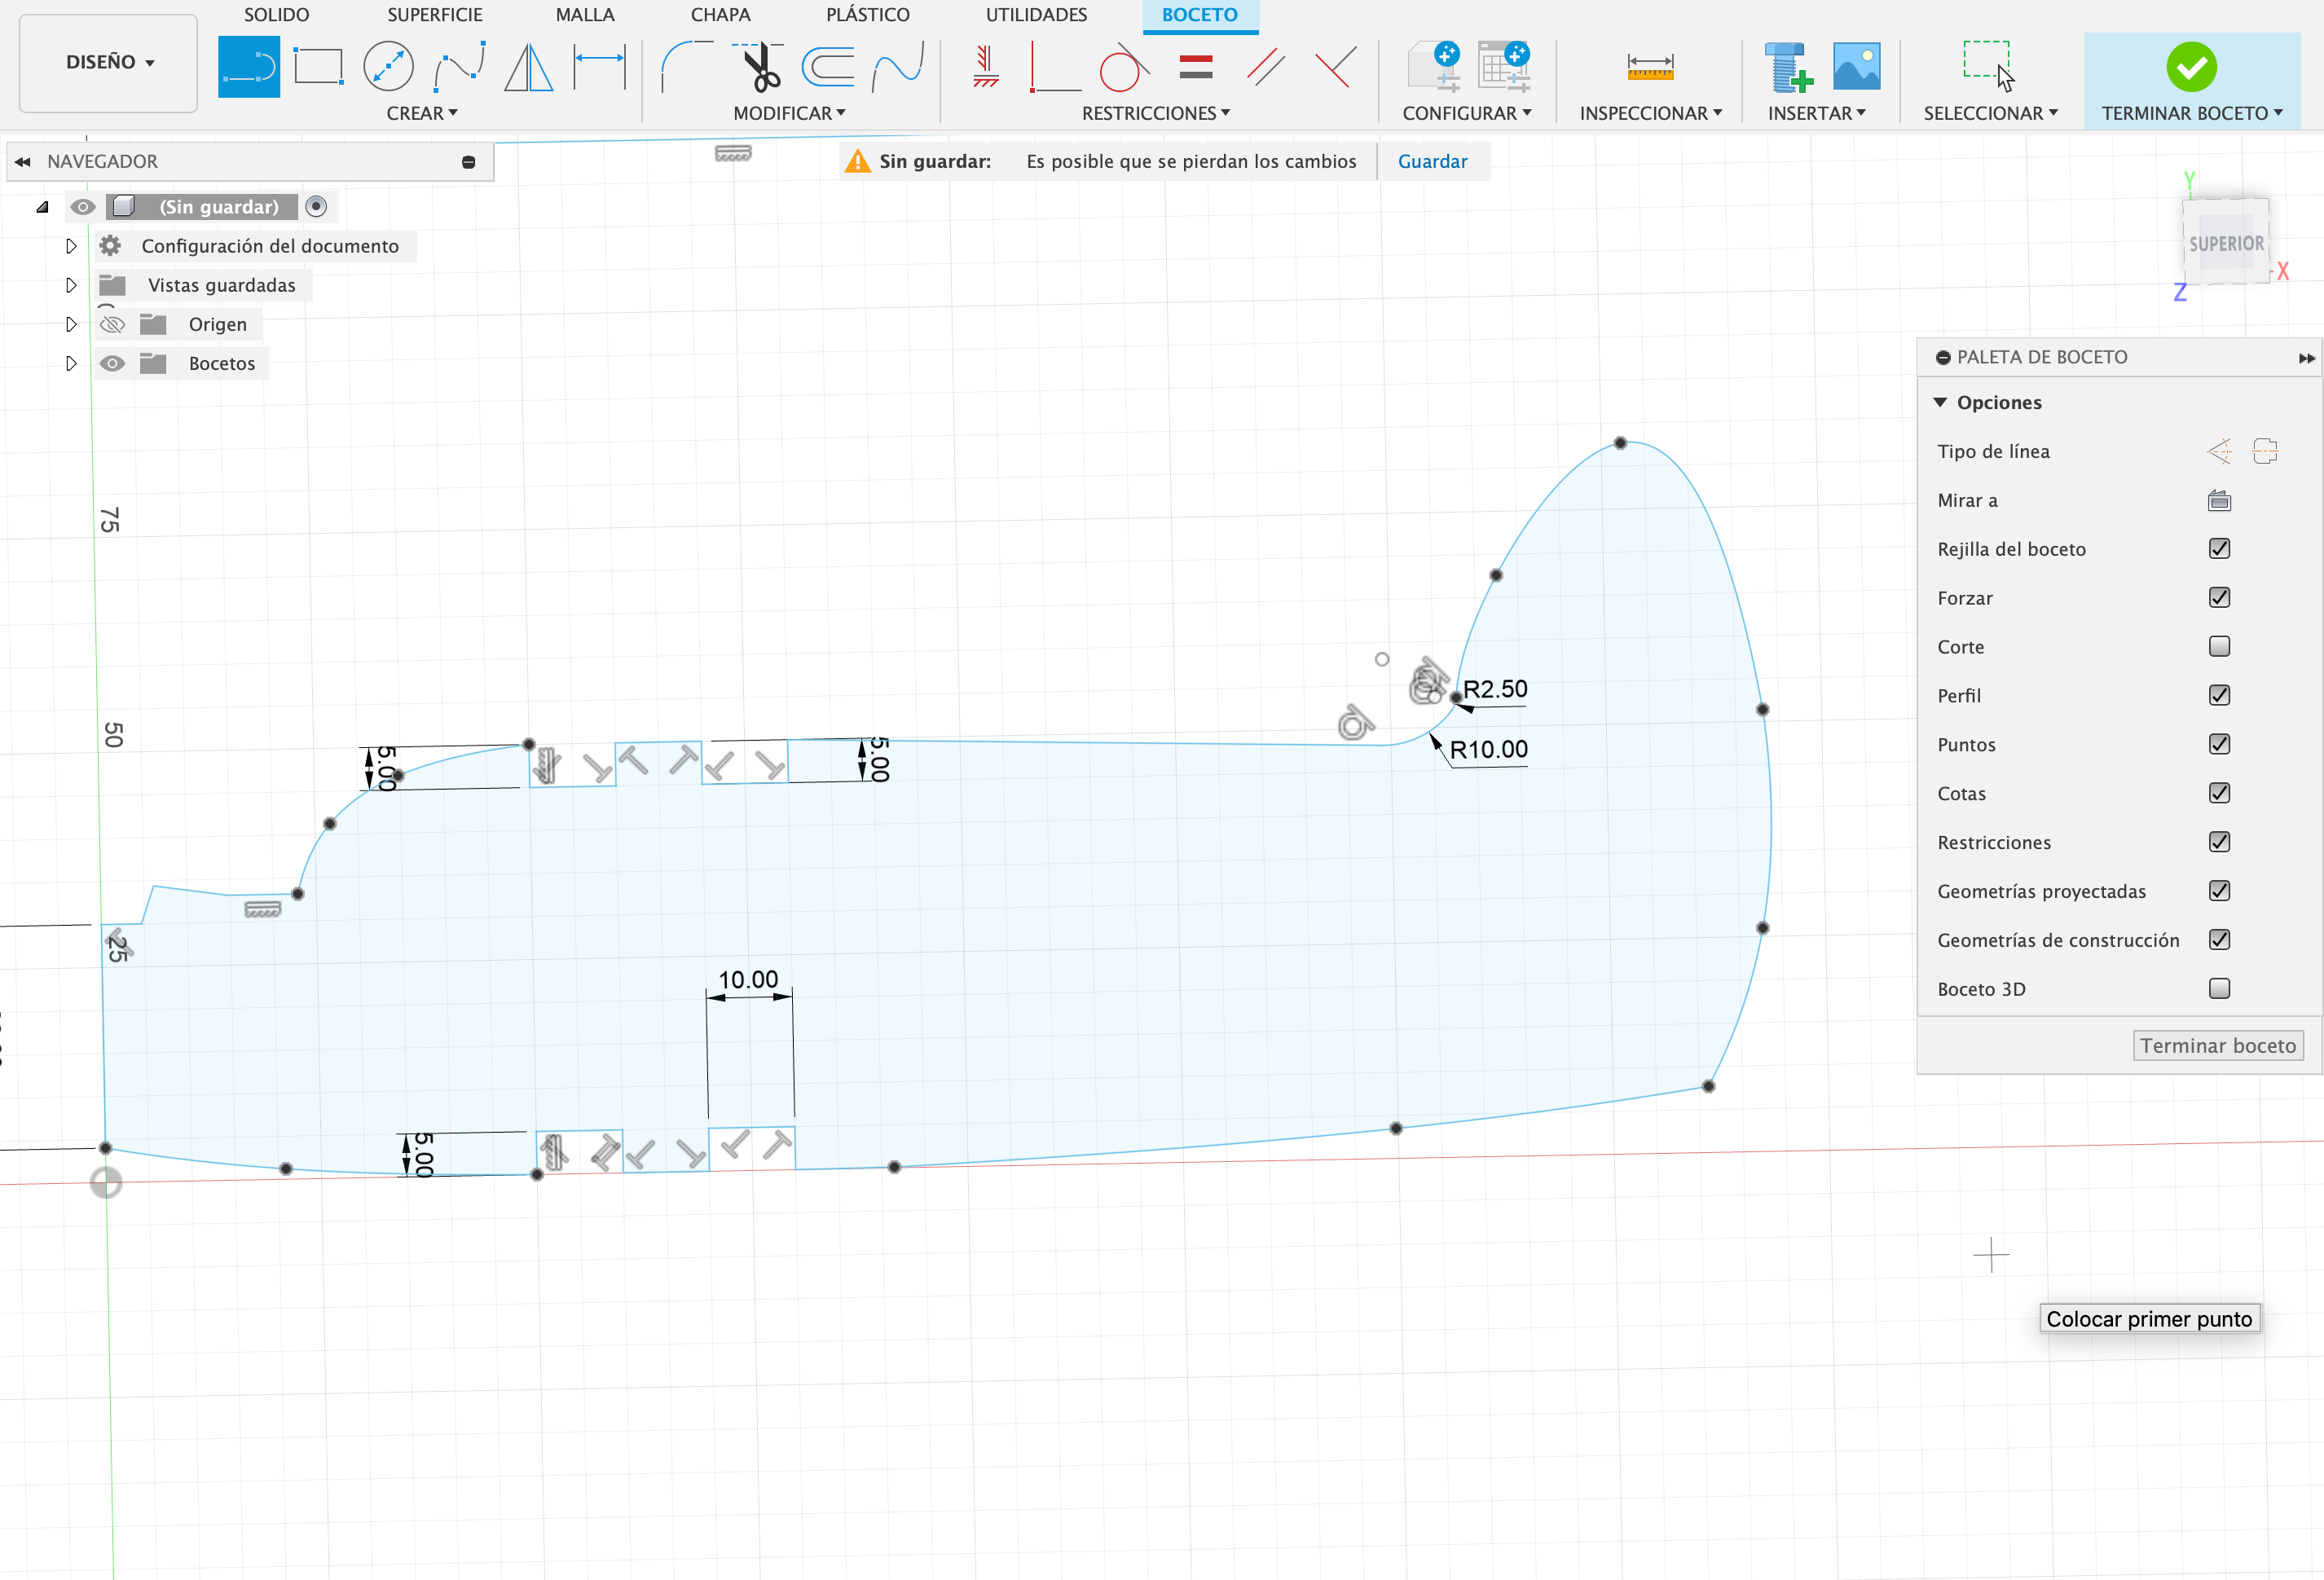
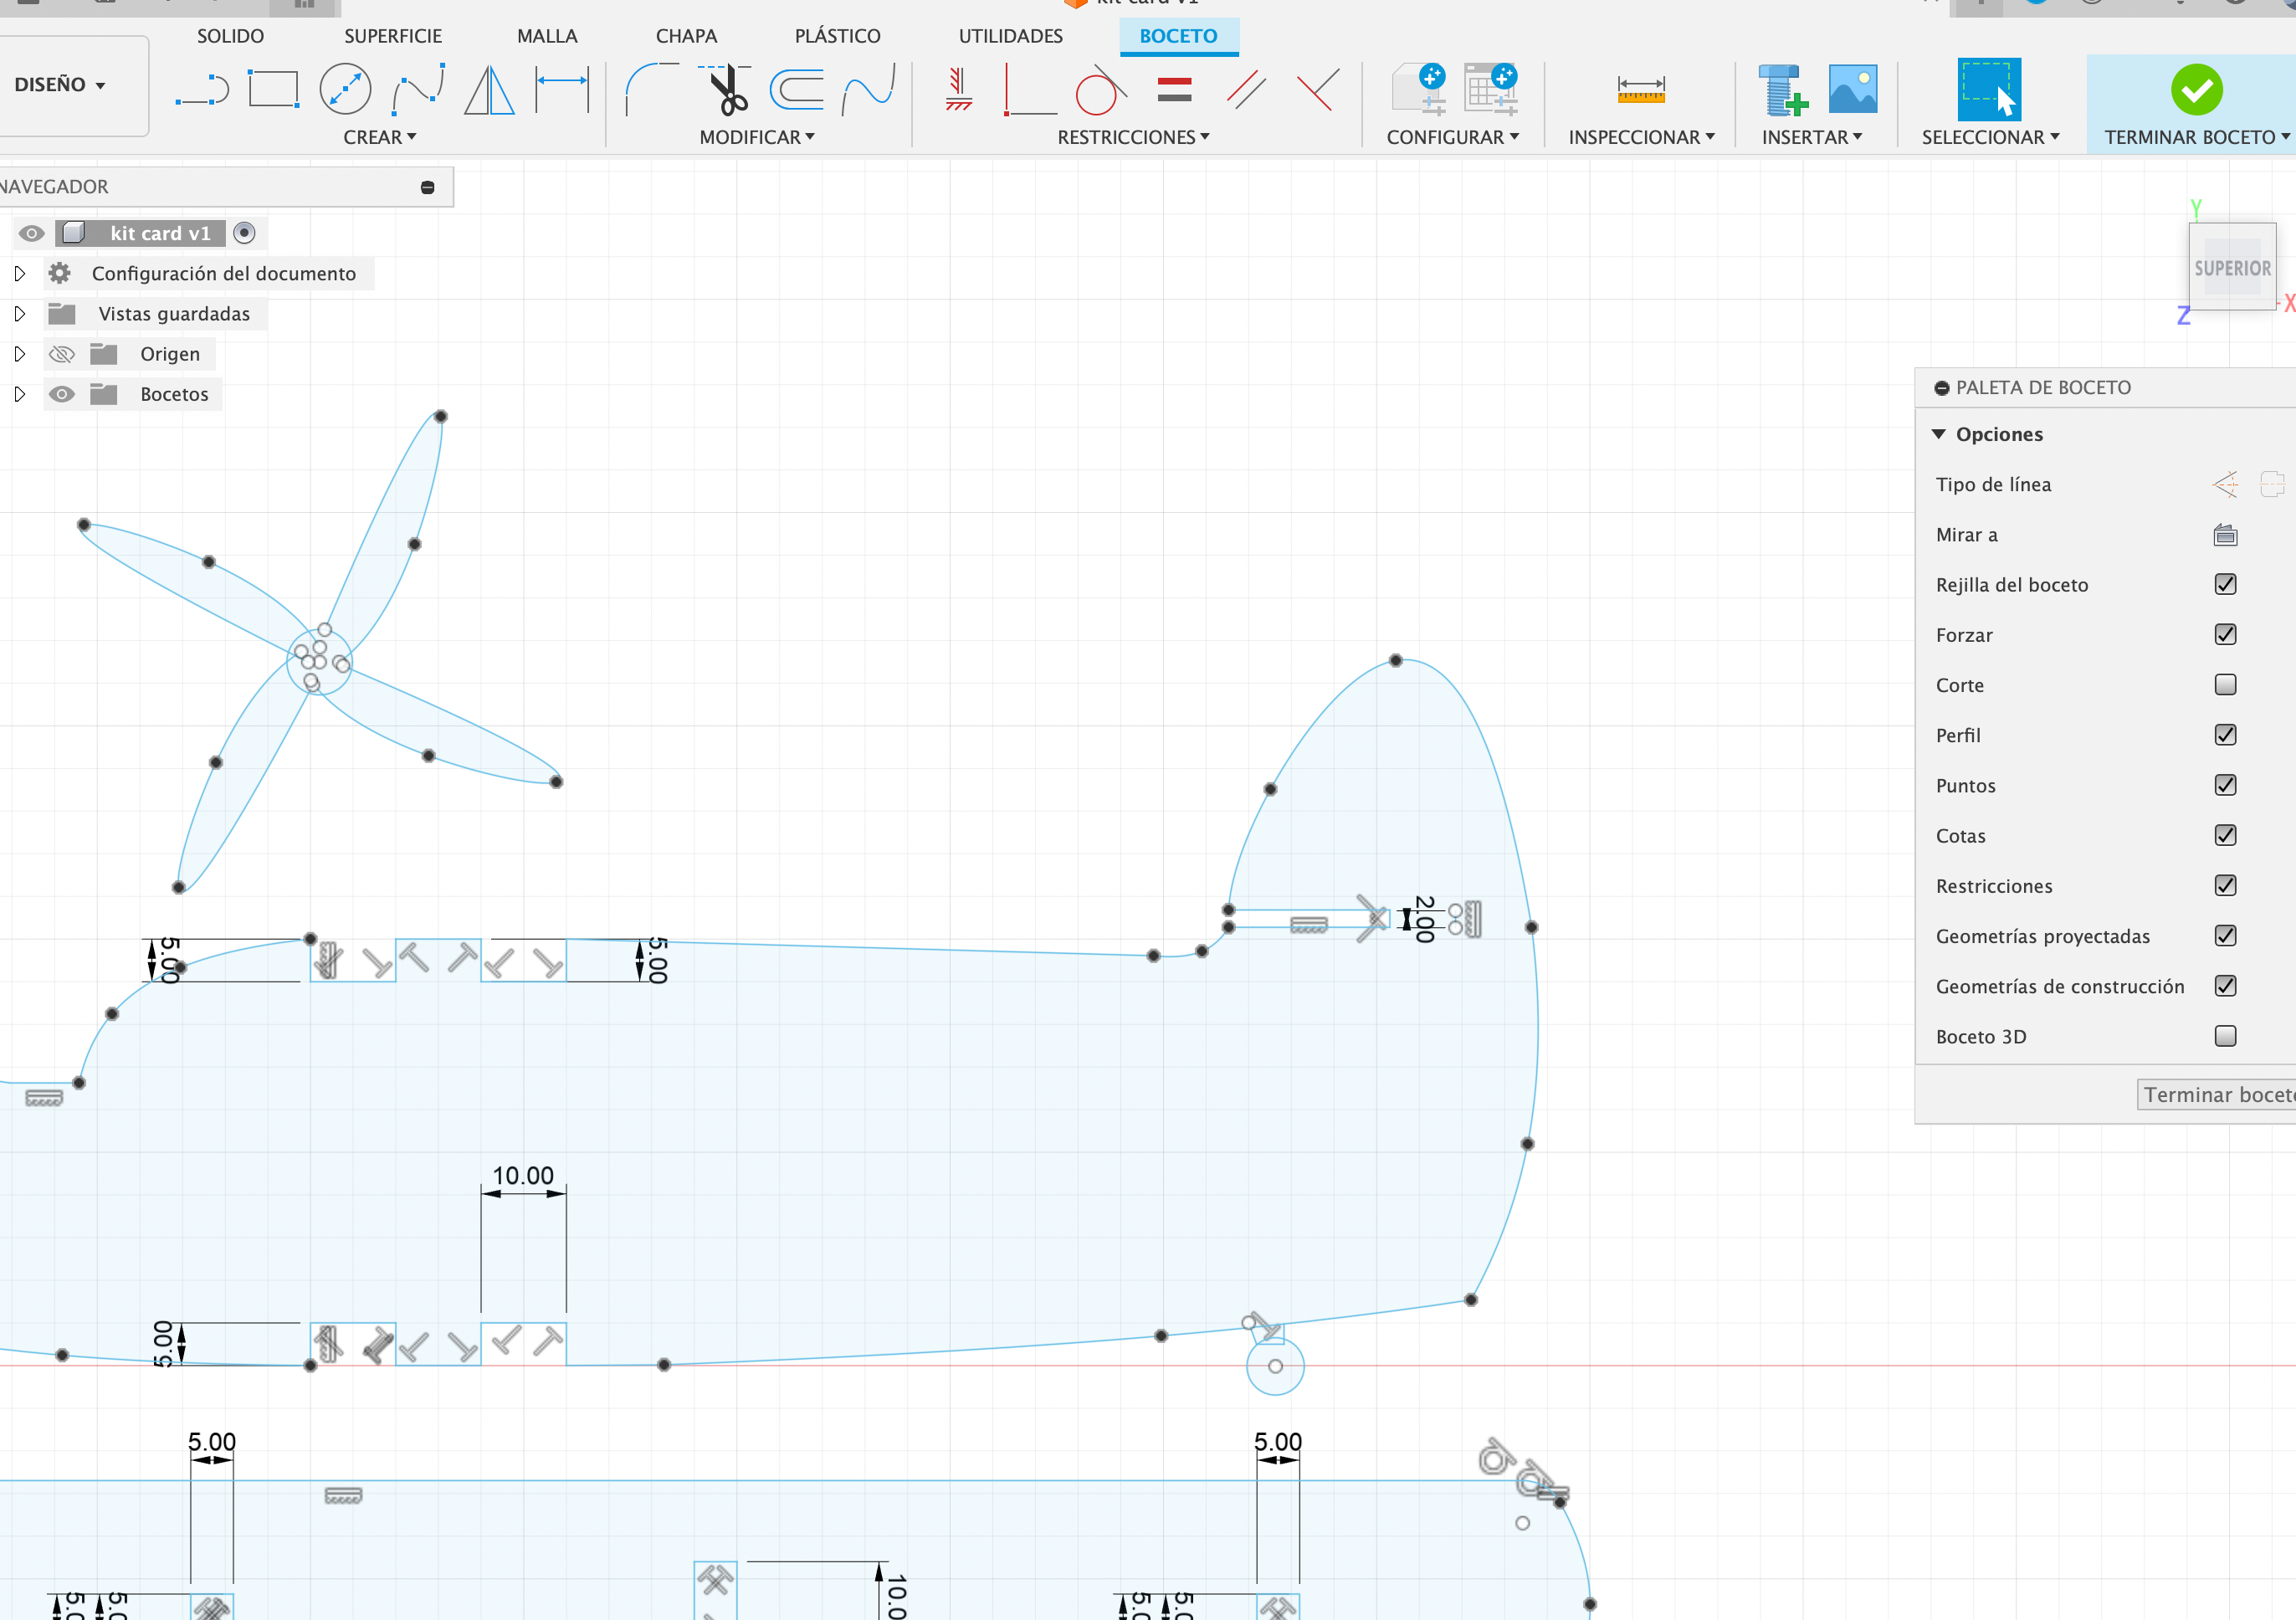
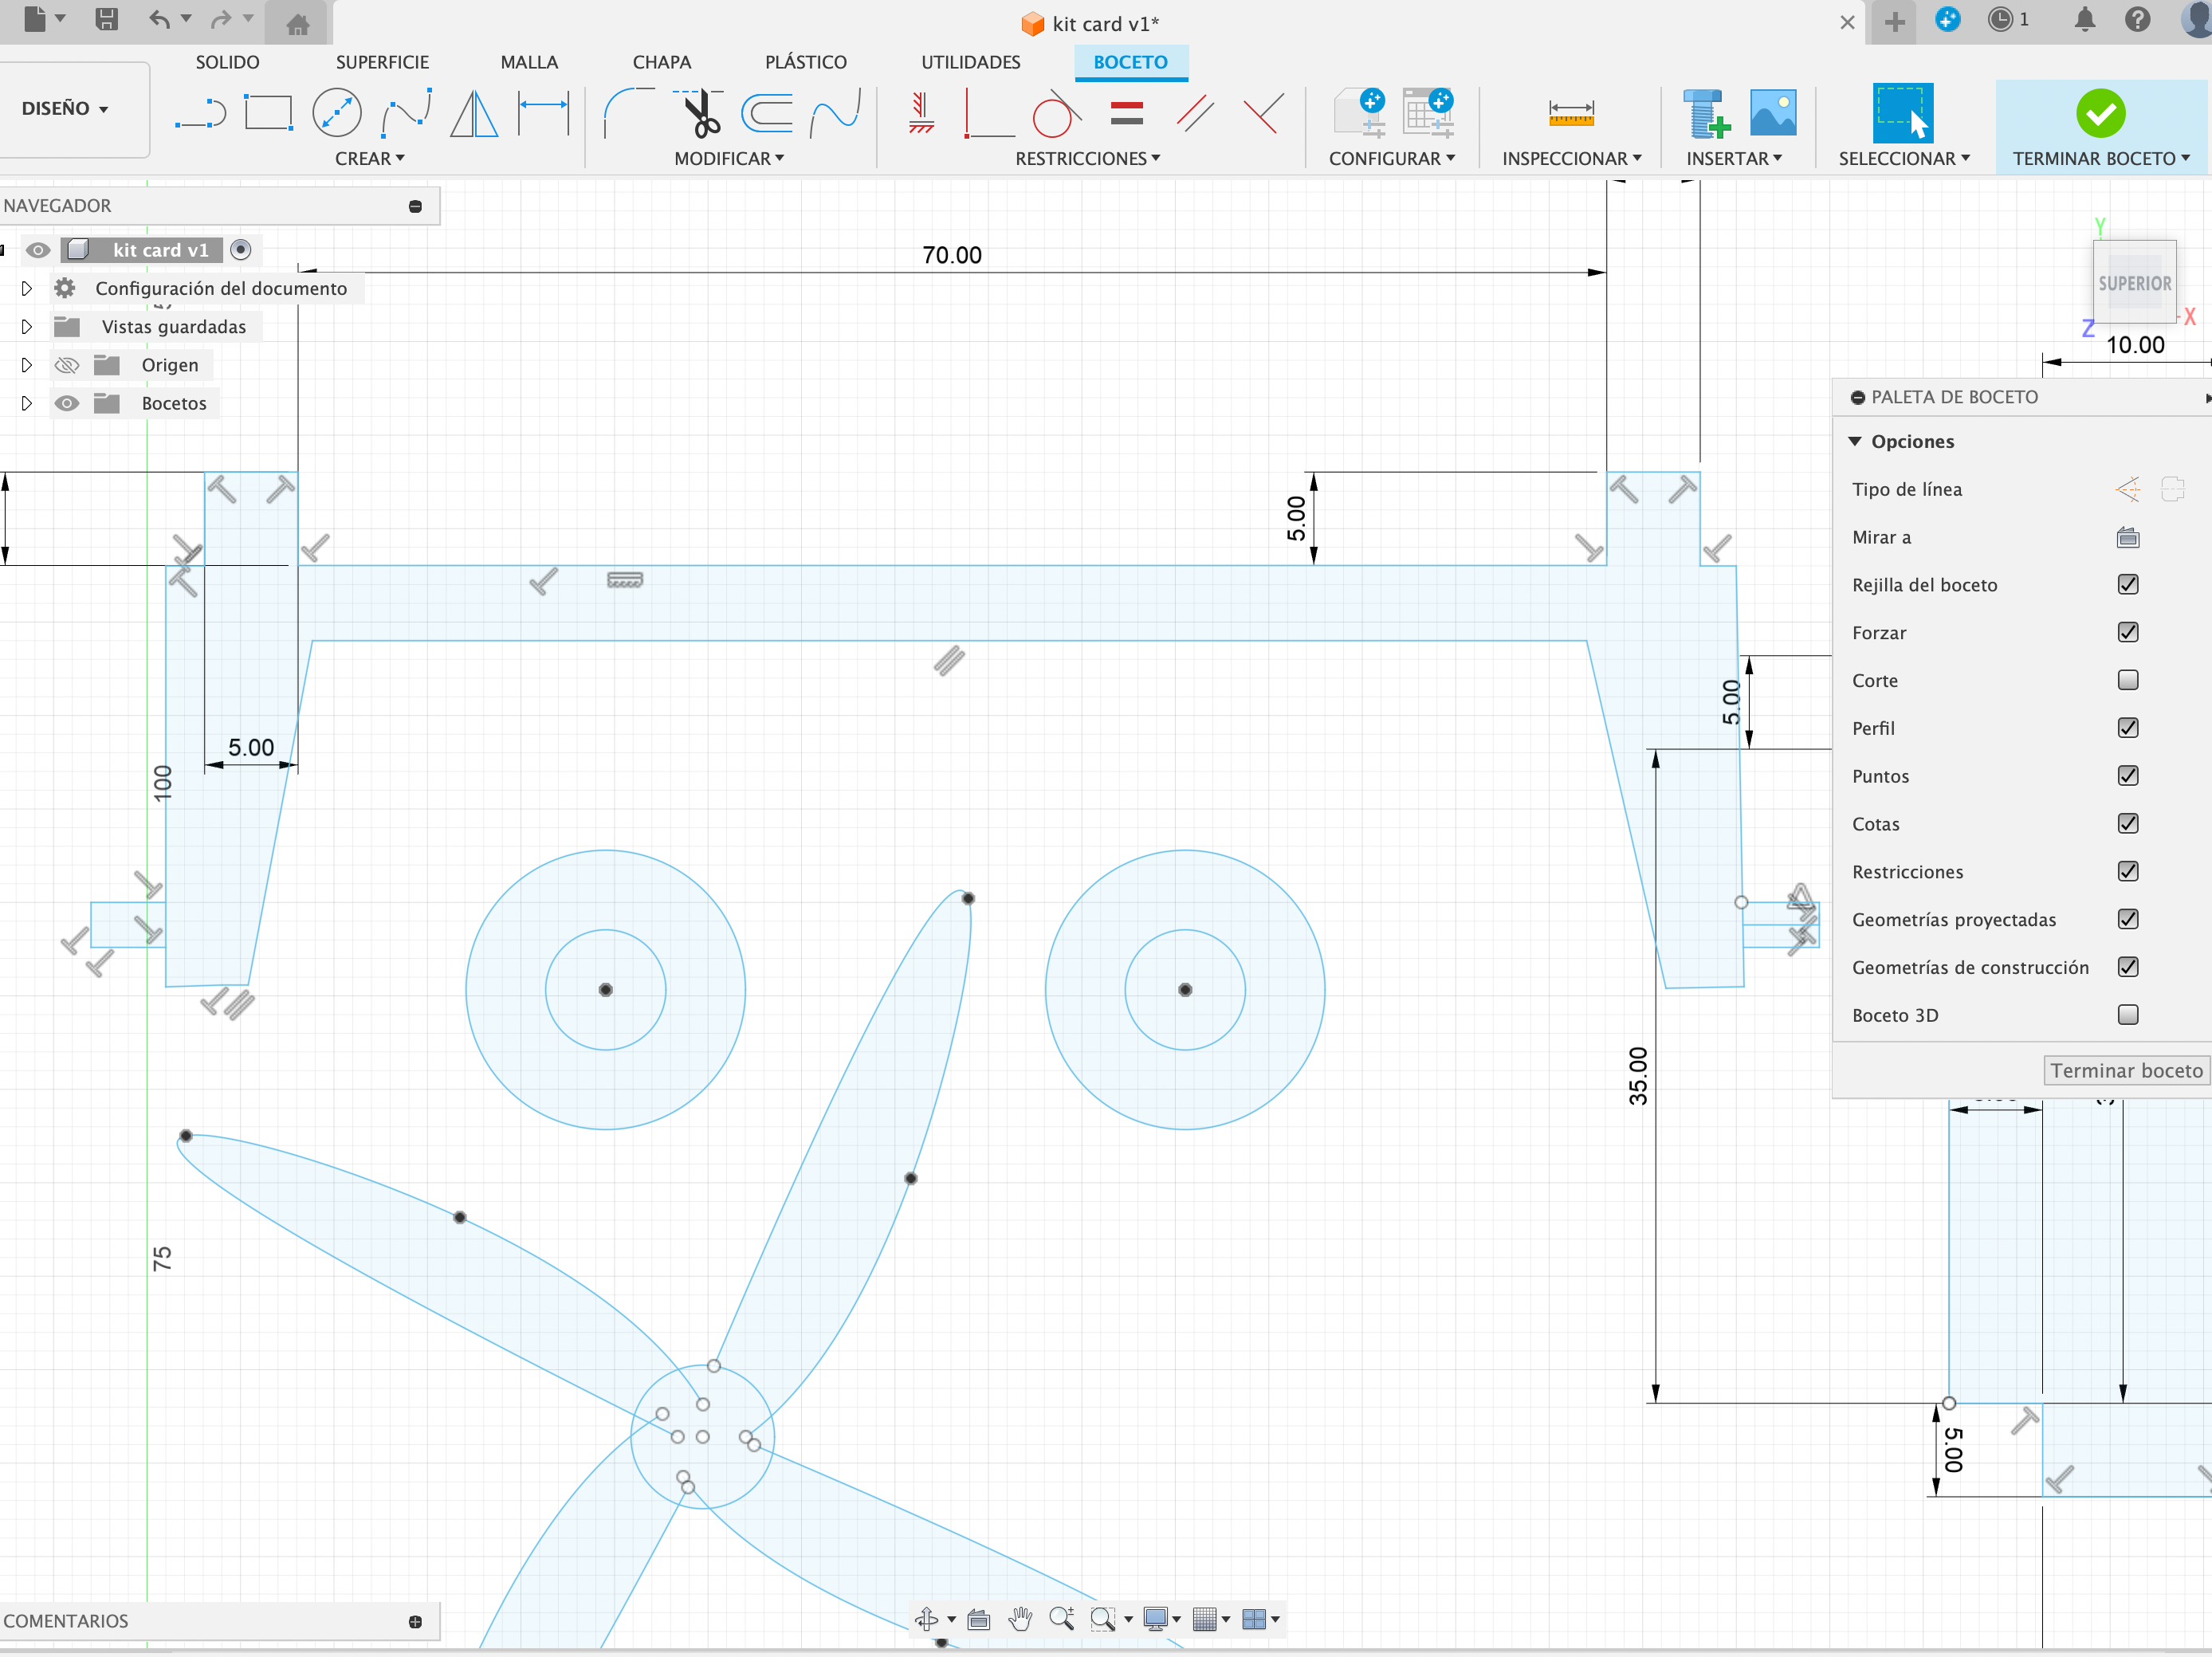
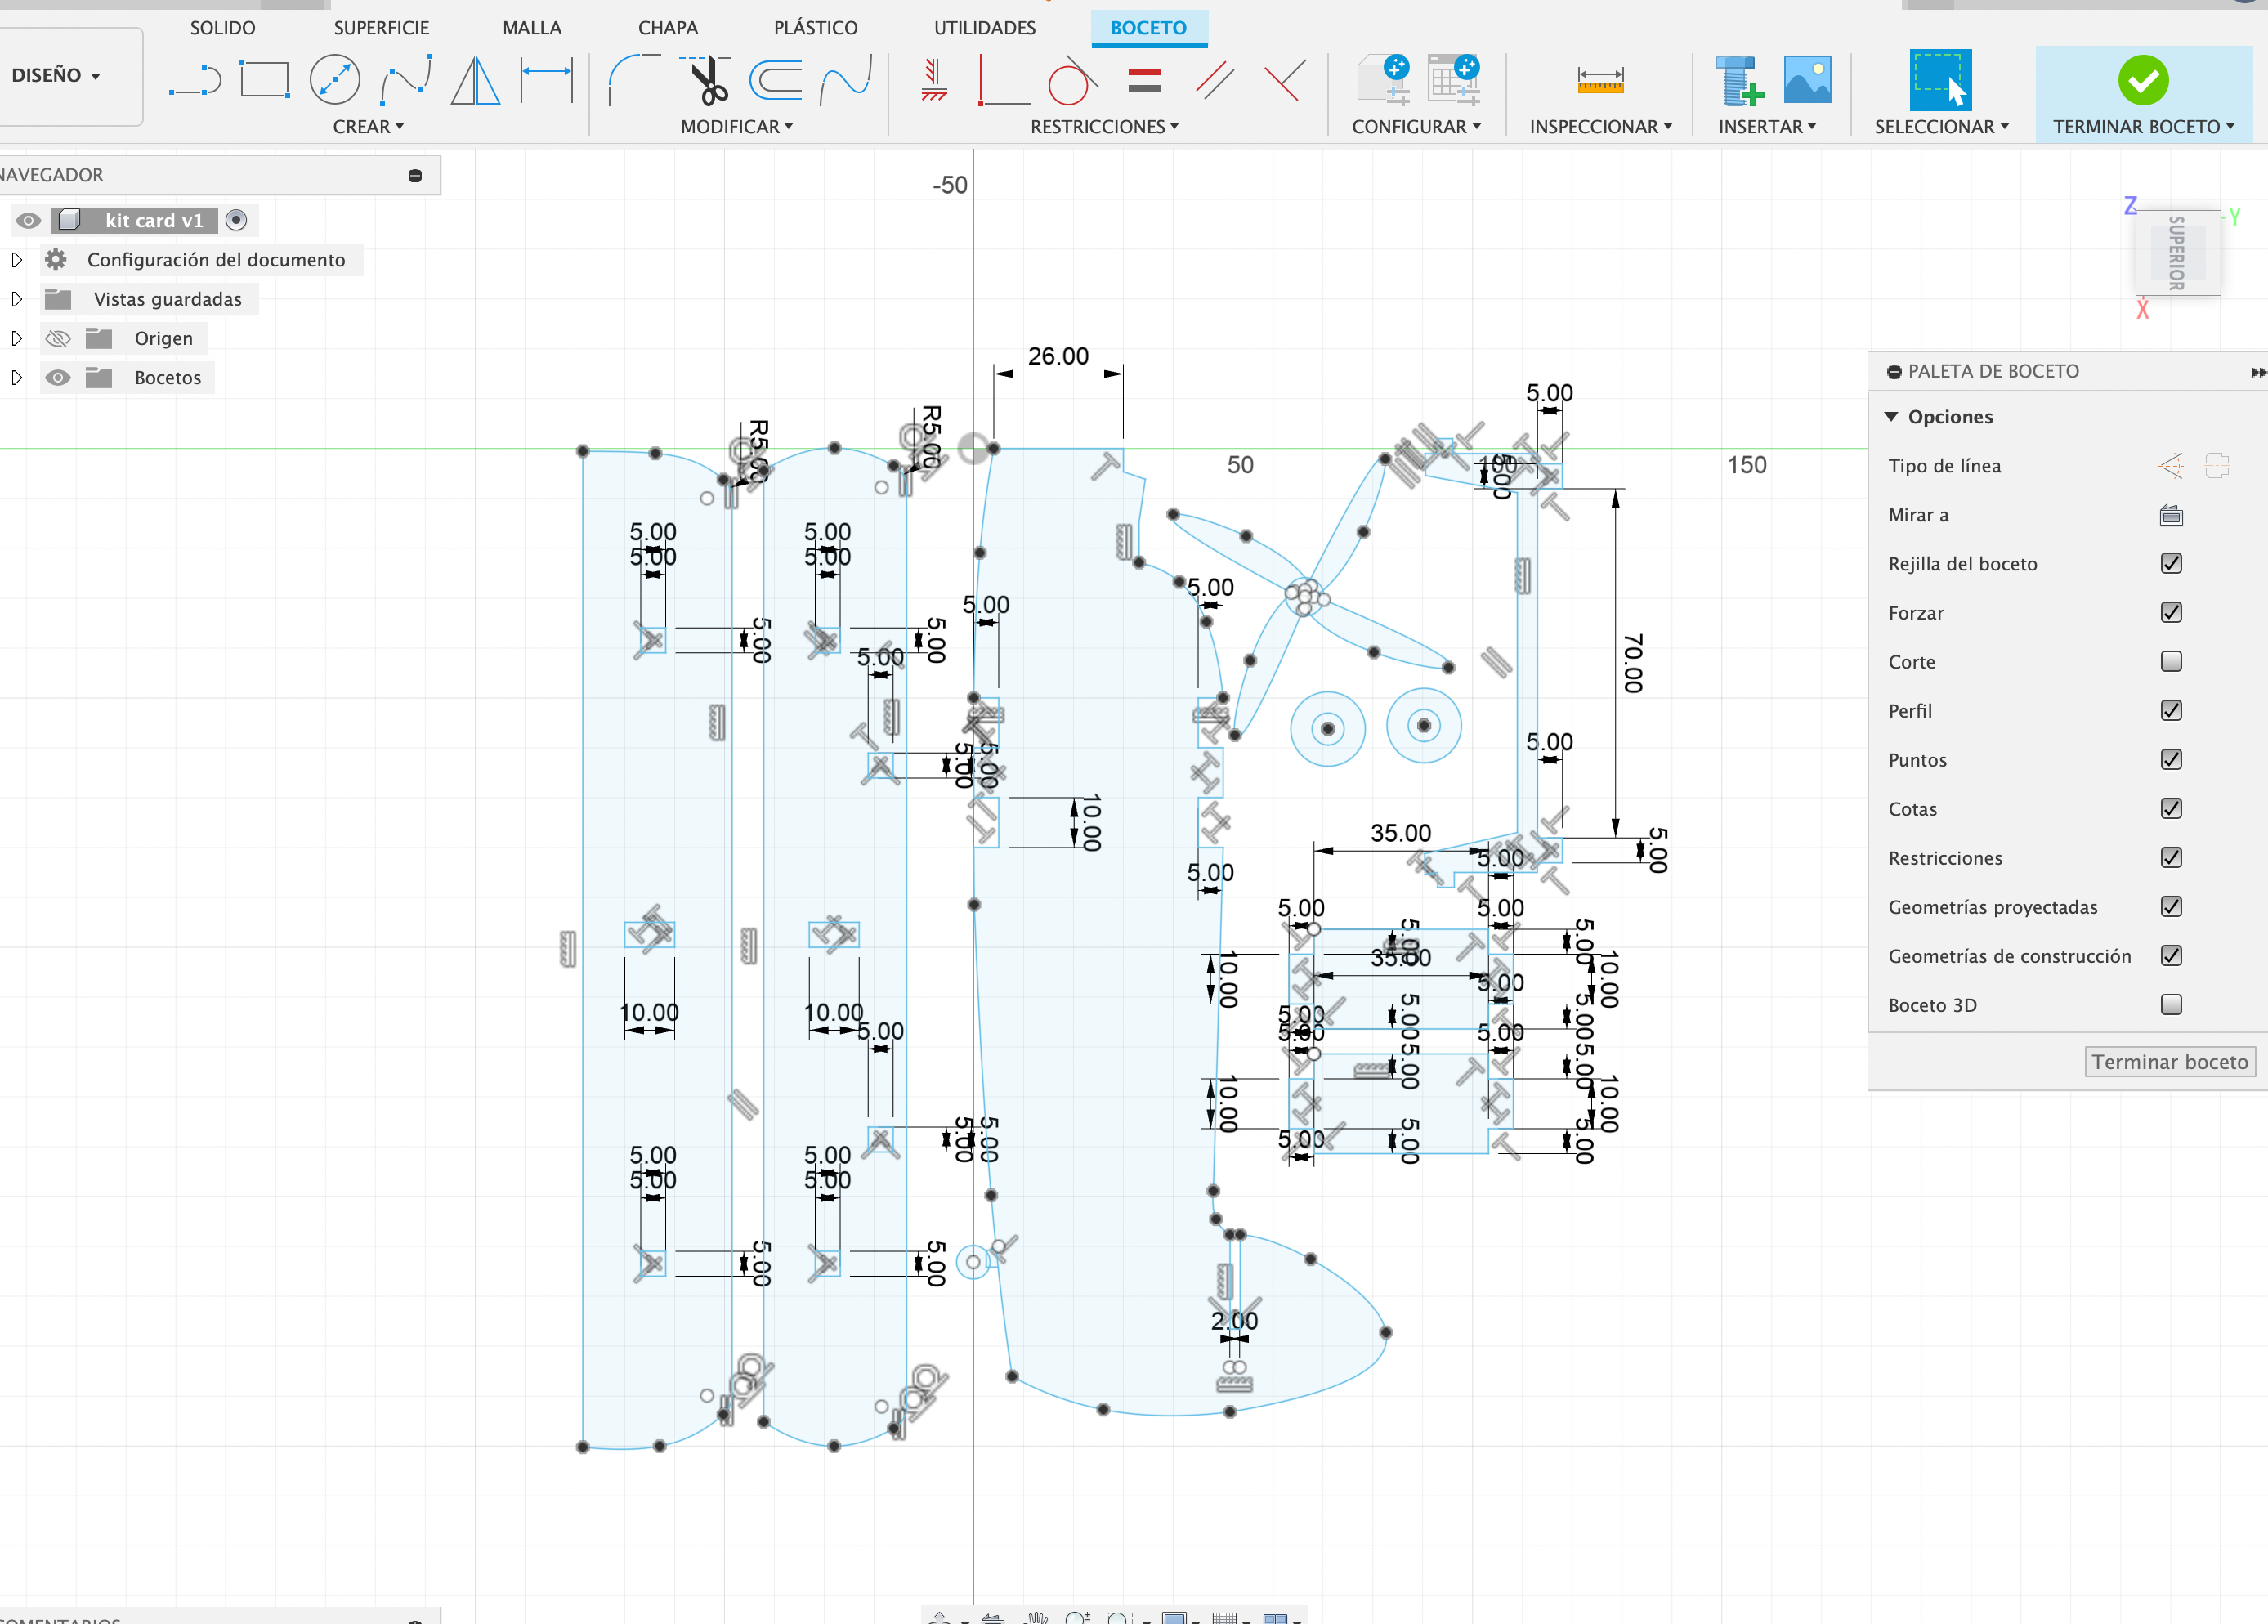
3. Creating a Sketch
To start designing, you need to create a sketch:
- Select a Plane: Choose a plane (XY, XZ, YZ) to draw on.
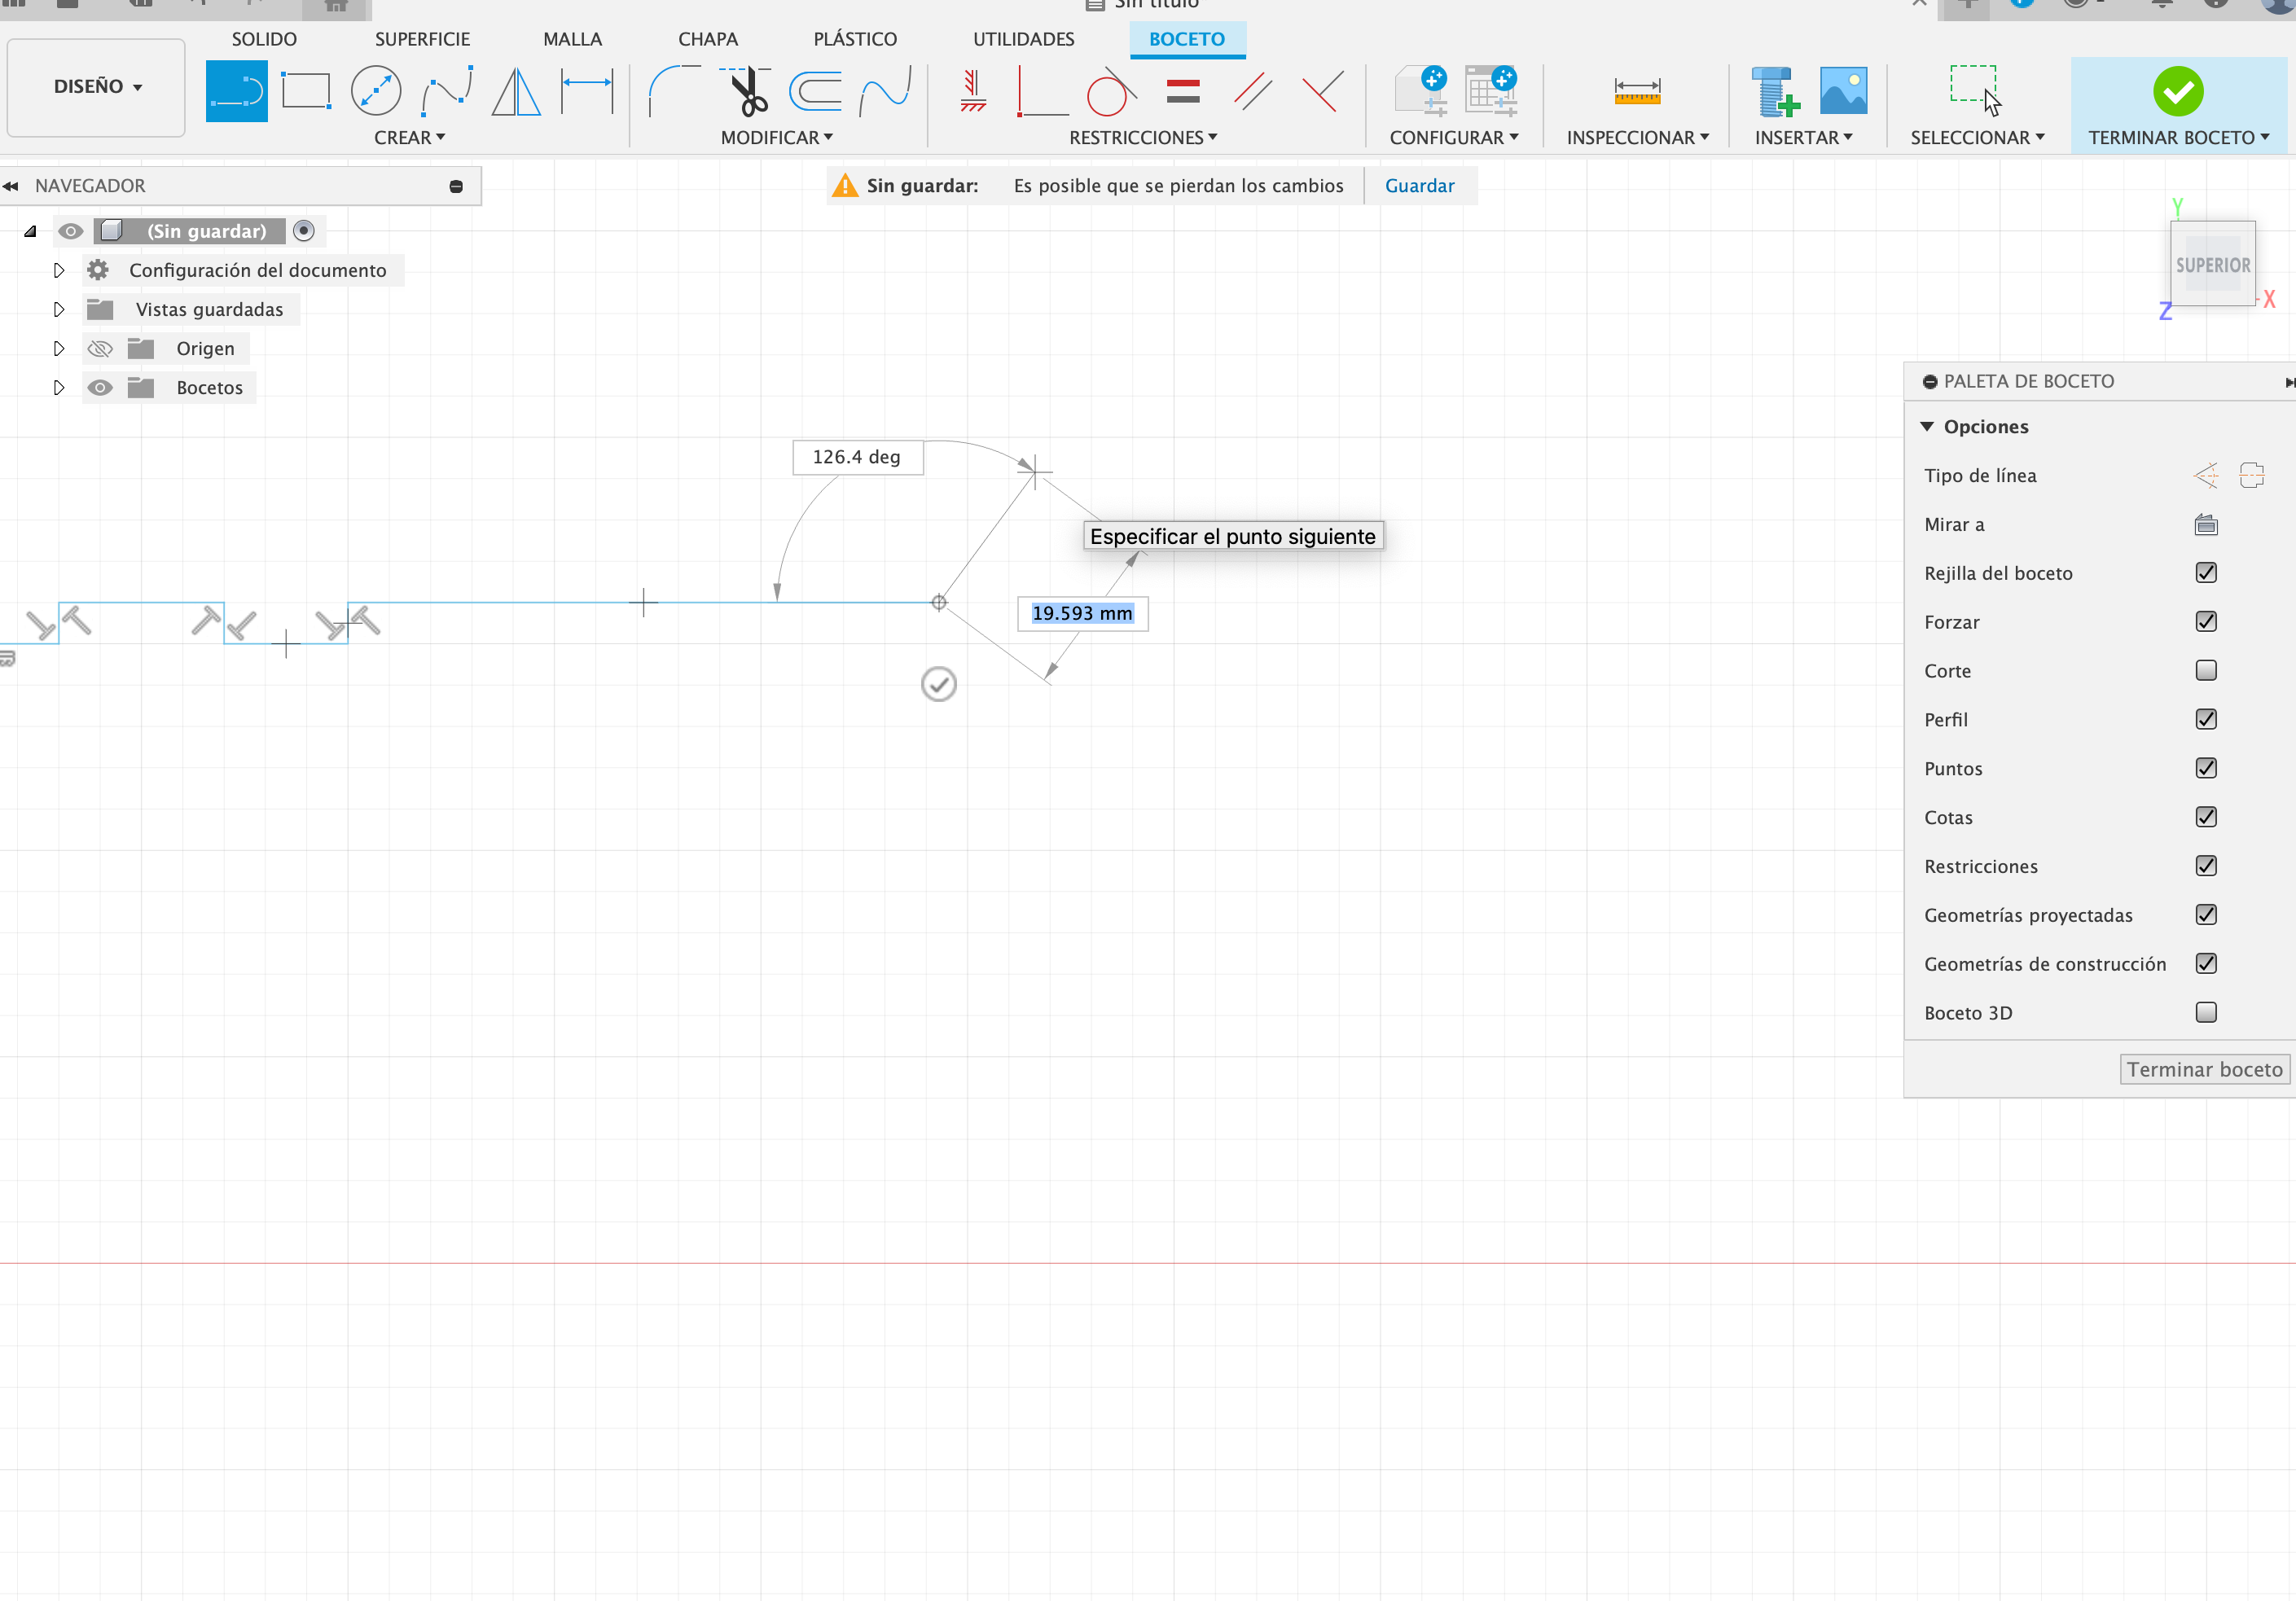
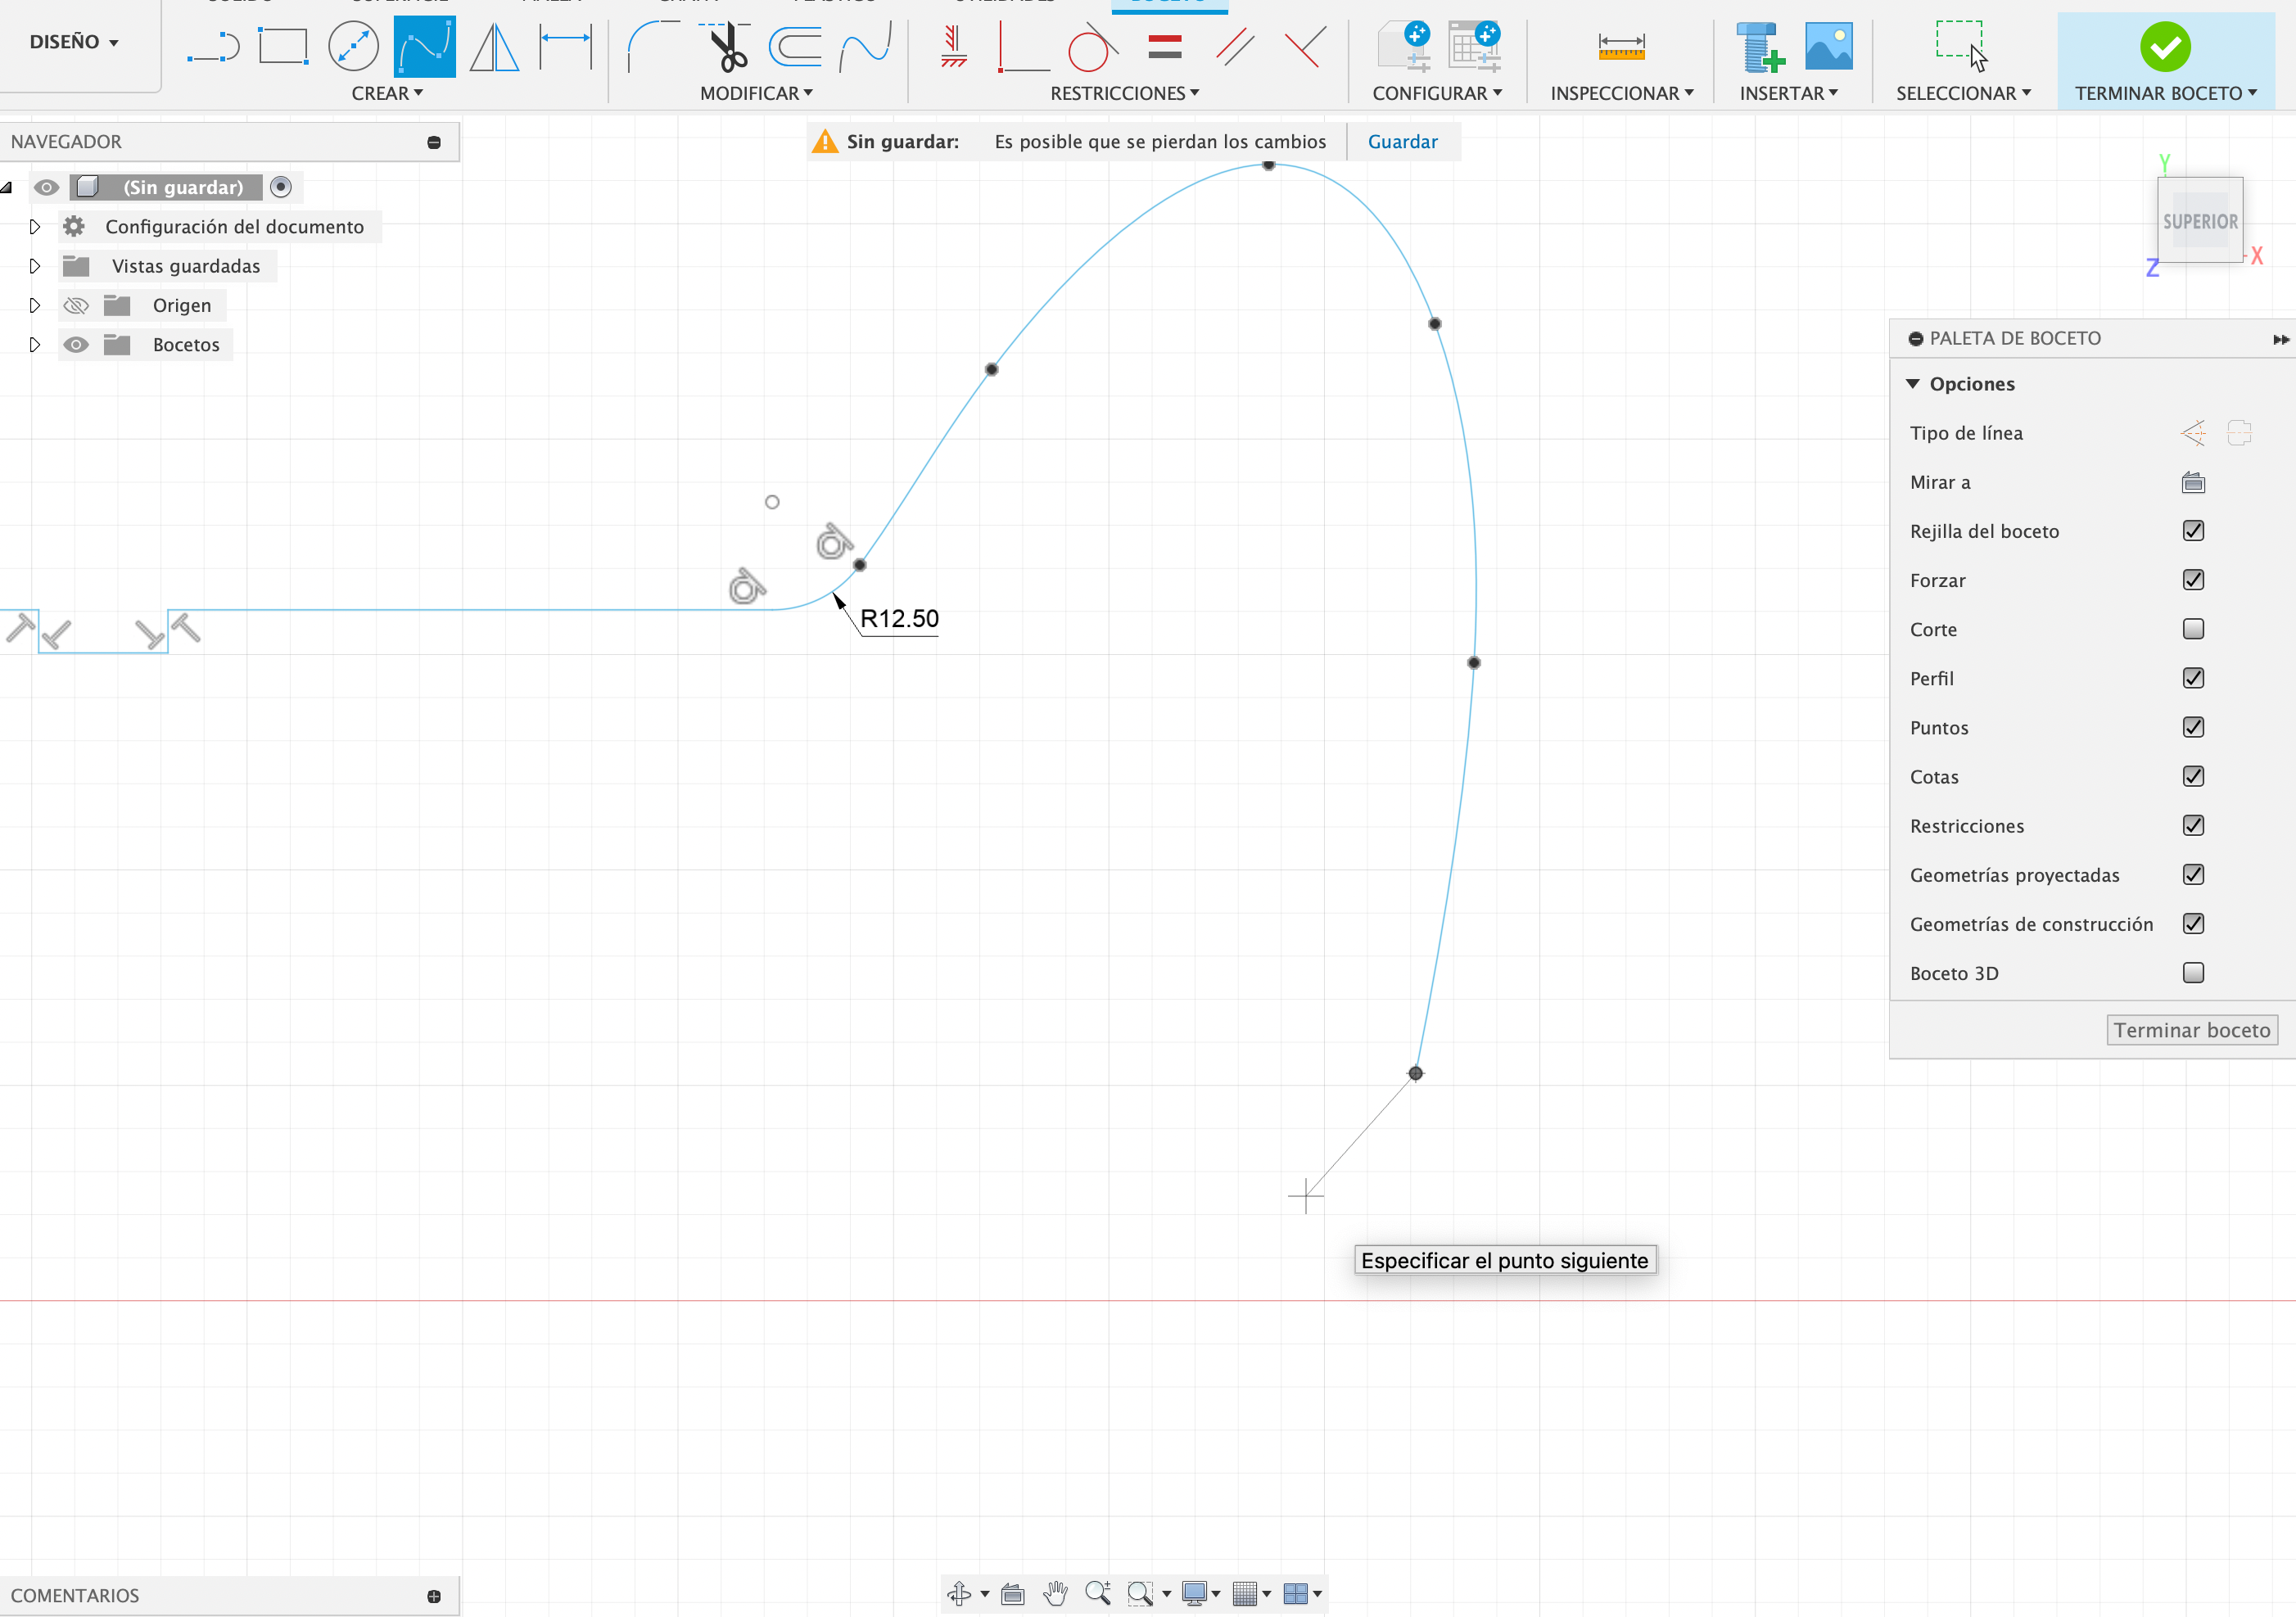
- Sketch Tools: Use tools like 'Line', 'Rectangle', 'Circle', etc., to draw your 2D shape.
- Dimensioning: Define the exact dimensions using the dimensioning tool. This will help you have a precise model.
4. Modeling in 3D
It's time to bring your design to life!
- Extrude: Select the profile you drew and use 'Extrude' to give it depth and turn it into 3D.
- Revolve: If you have a shape that needs to be rotated around an axis, use 'Revolve'.
- Sweep: To extrude a profile along a path, 'Sweep' is your best option.
5. Modifying the Model
Once you have your basic shape, you can add details:
- Fillet: Round off sharp edges for a smoother finish.
- Chamfer: Add beveled edges.
- Shell: Hollow out an object to make a lighter design or to create a container.
6. Assemblies
If your project has multiple pieces, you'll need to assemble them:
- Create Components: Divide your design into different parts.
- Joint: Define how these parts connect (they can rotate, slide, etc.).
7. Simulation and Rendering
To give your design a professional touch:
- Simulate: Perform stress and deformation tests on your design.
- Render: Create realistic images of your model to show others.
8. Exporting and Sharing
Finally, when your design is ready:
- Export Models: Save your work in formats like STL for 3D printing or STEP for sharing with others.
- Share: Fusion 360 allows you to collaborate in the cloud, so you can easily share your project with friends or colleagues.
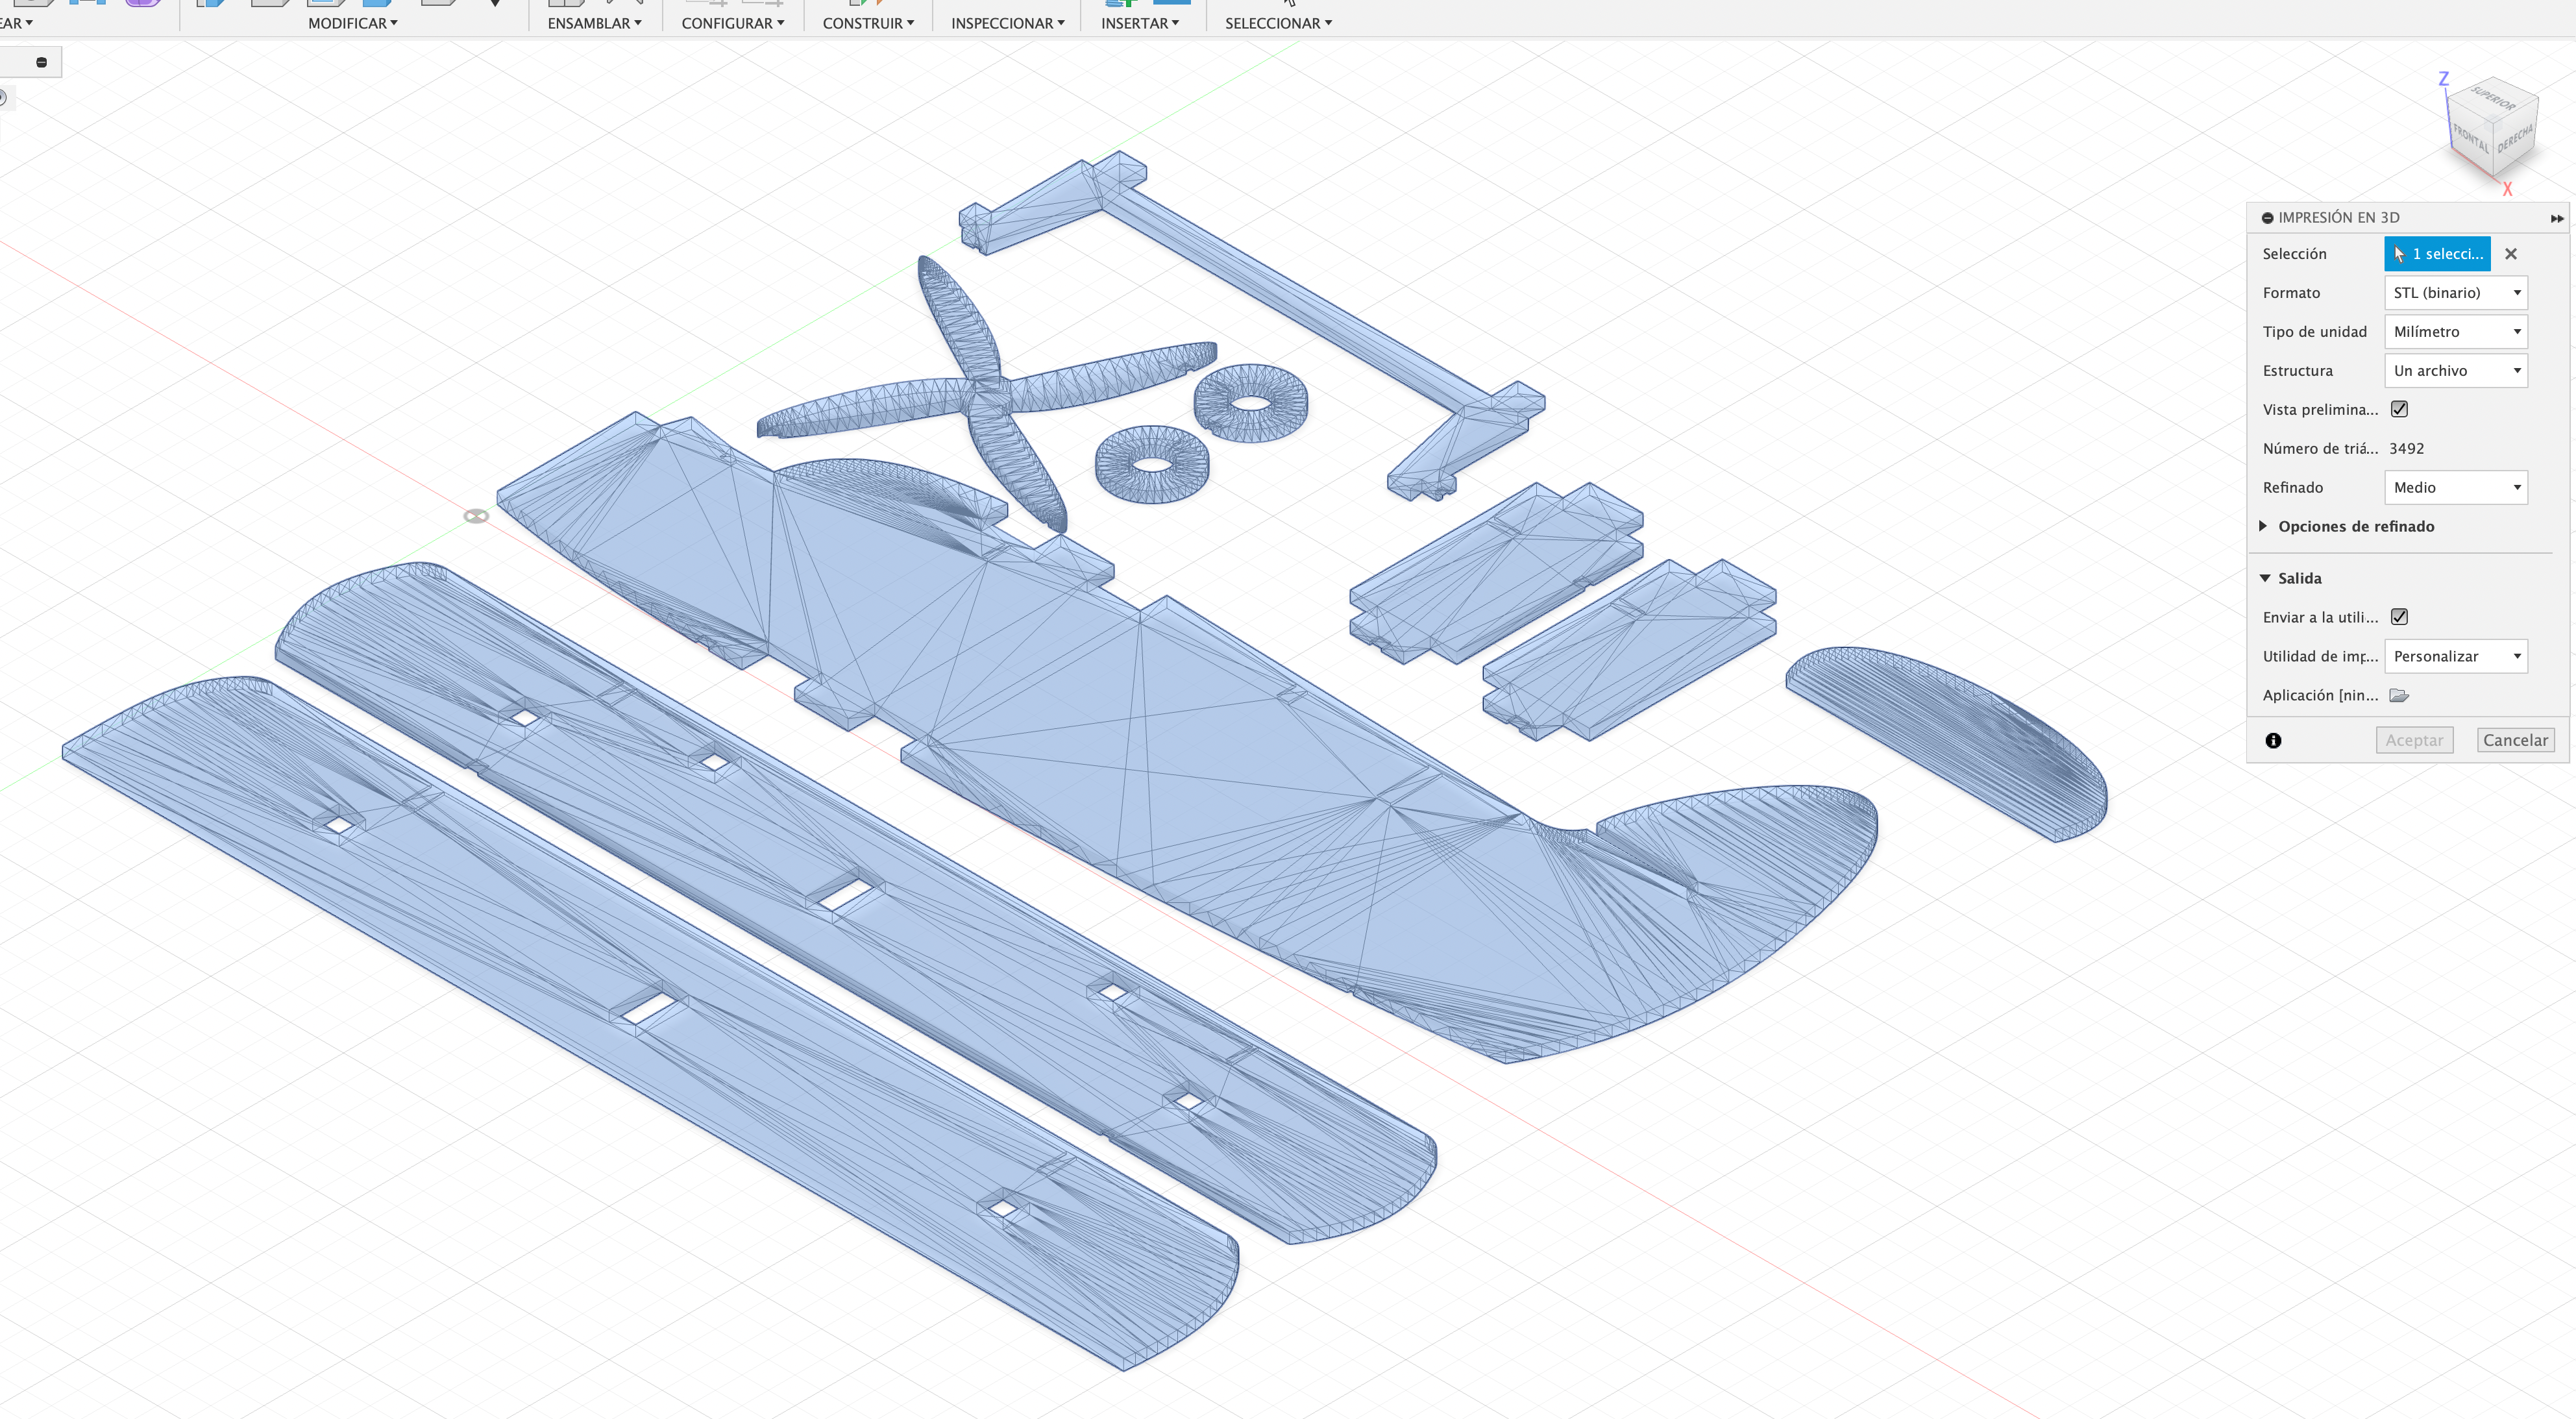
Preparing for 3D Printing
Exporting the Model
- Once the design was complete, I exported each part as an STL file. (You can download it)
- I checked the files for any errors or issues to ensure they would print correctly.
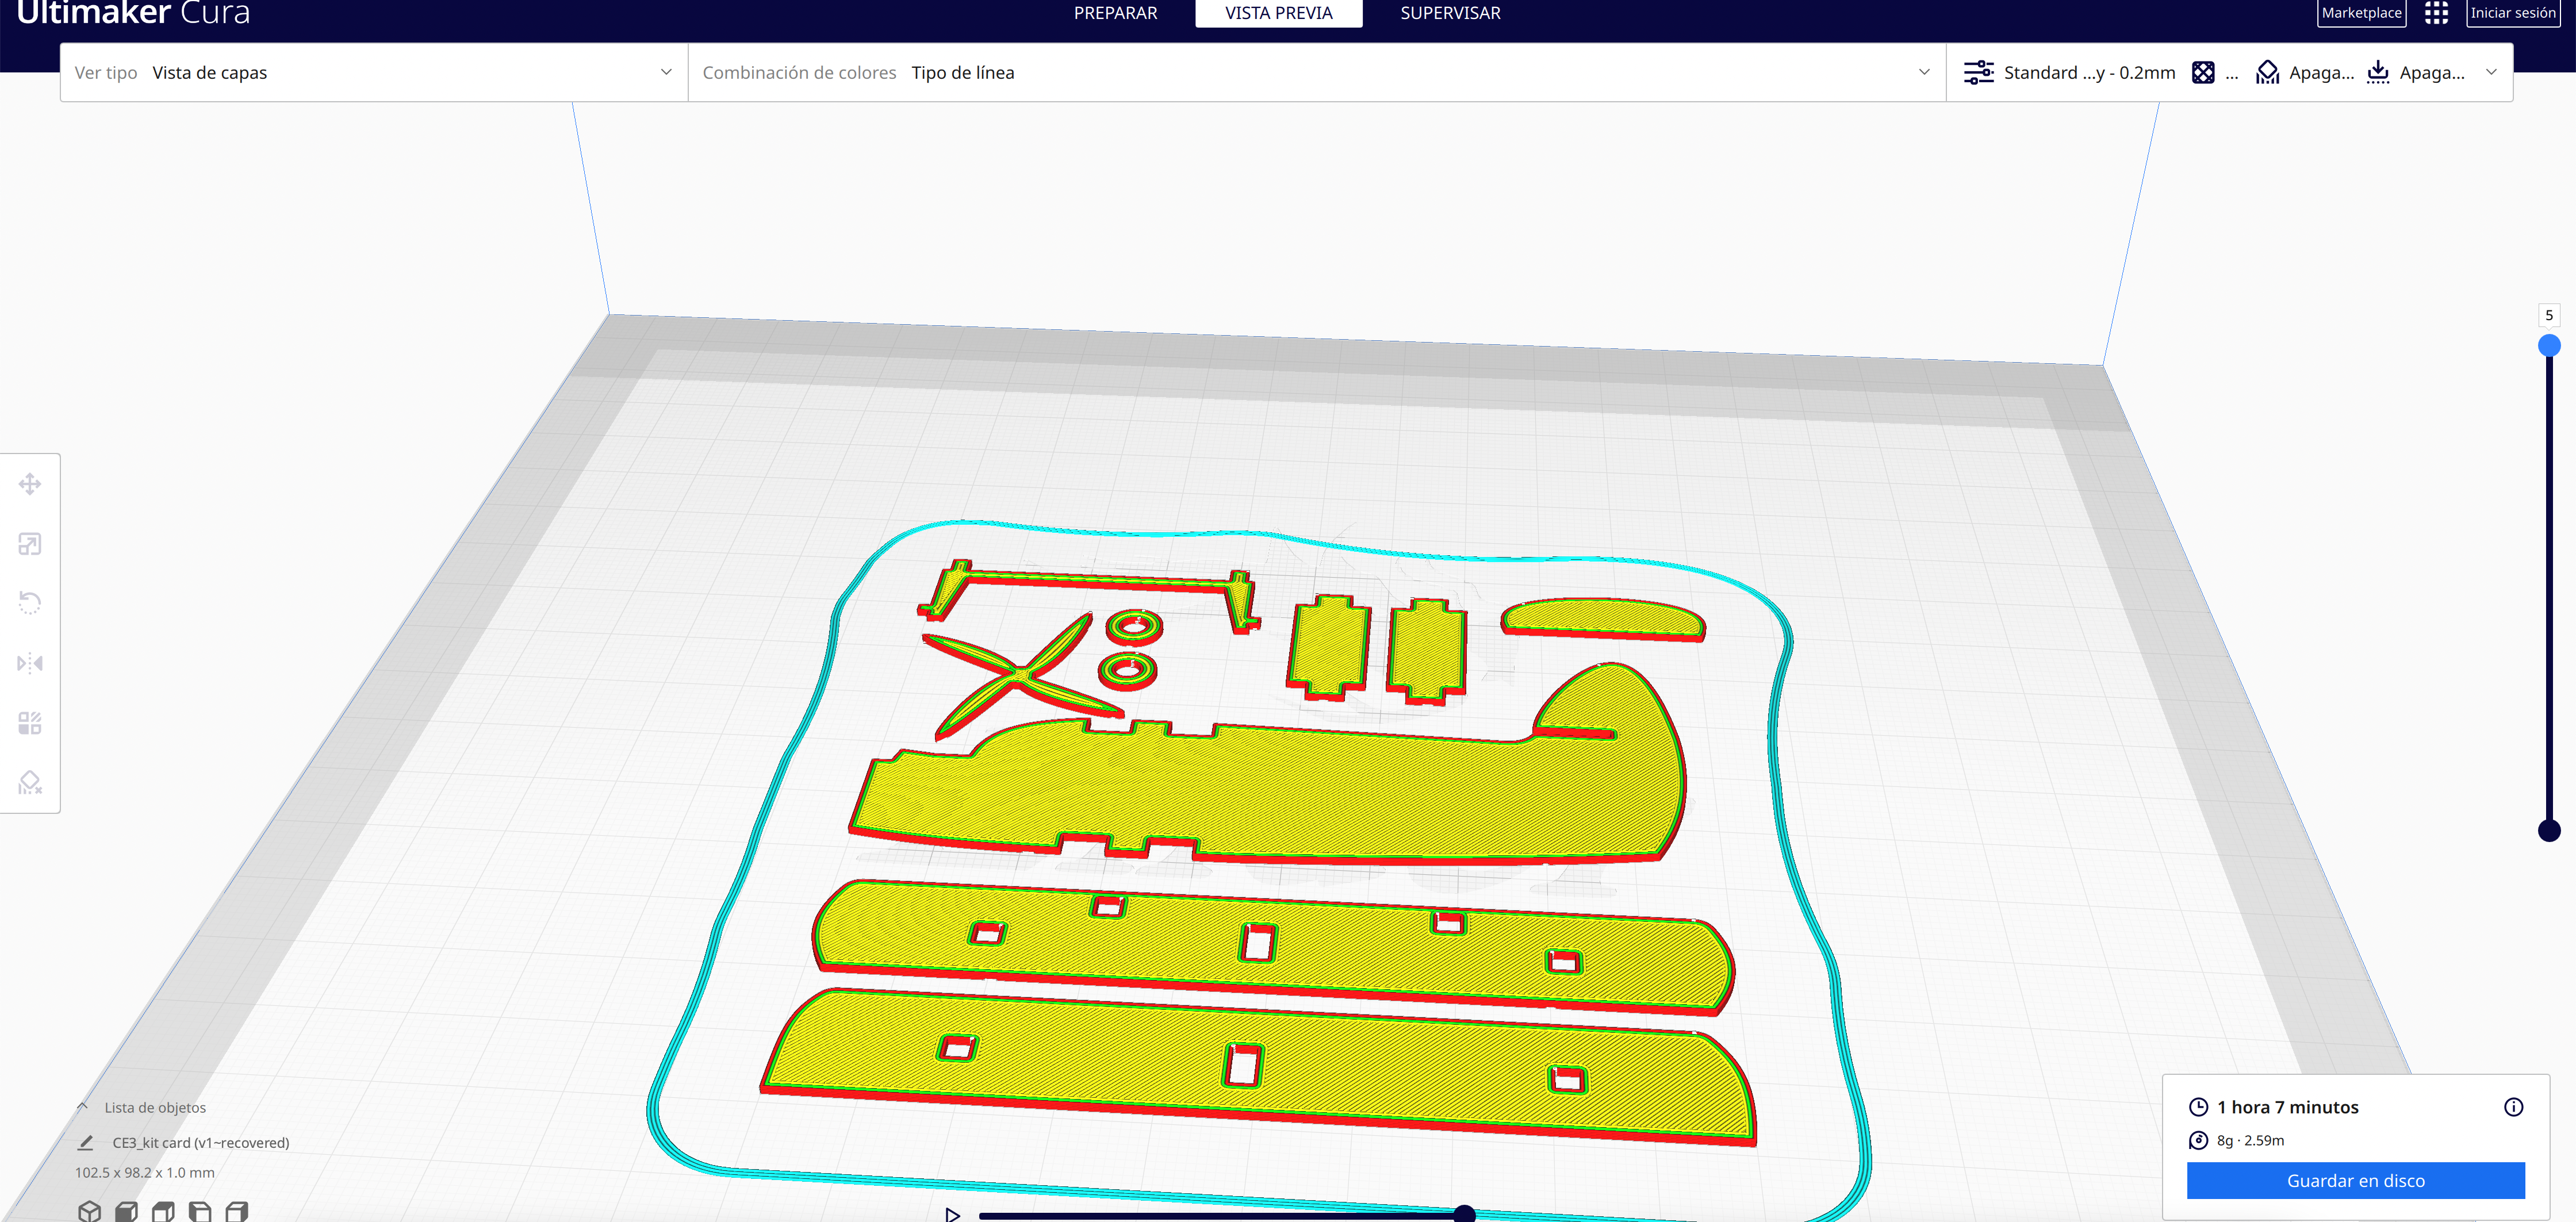
Slicing
- I imported the STL files into Cura, my slicer software.
- I adjusted the print settings:
- Layer height: 0.2mm for good quality
- Infill: 20% for a balance between strength and material usage
- Supports: Enabled for overhanging parts
- Adhesion: I used a brim to help with bed adhesion
Downloads
3D Printing
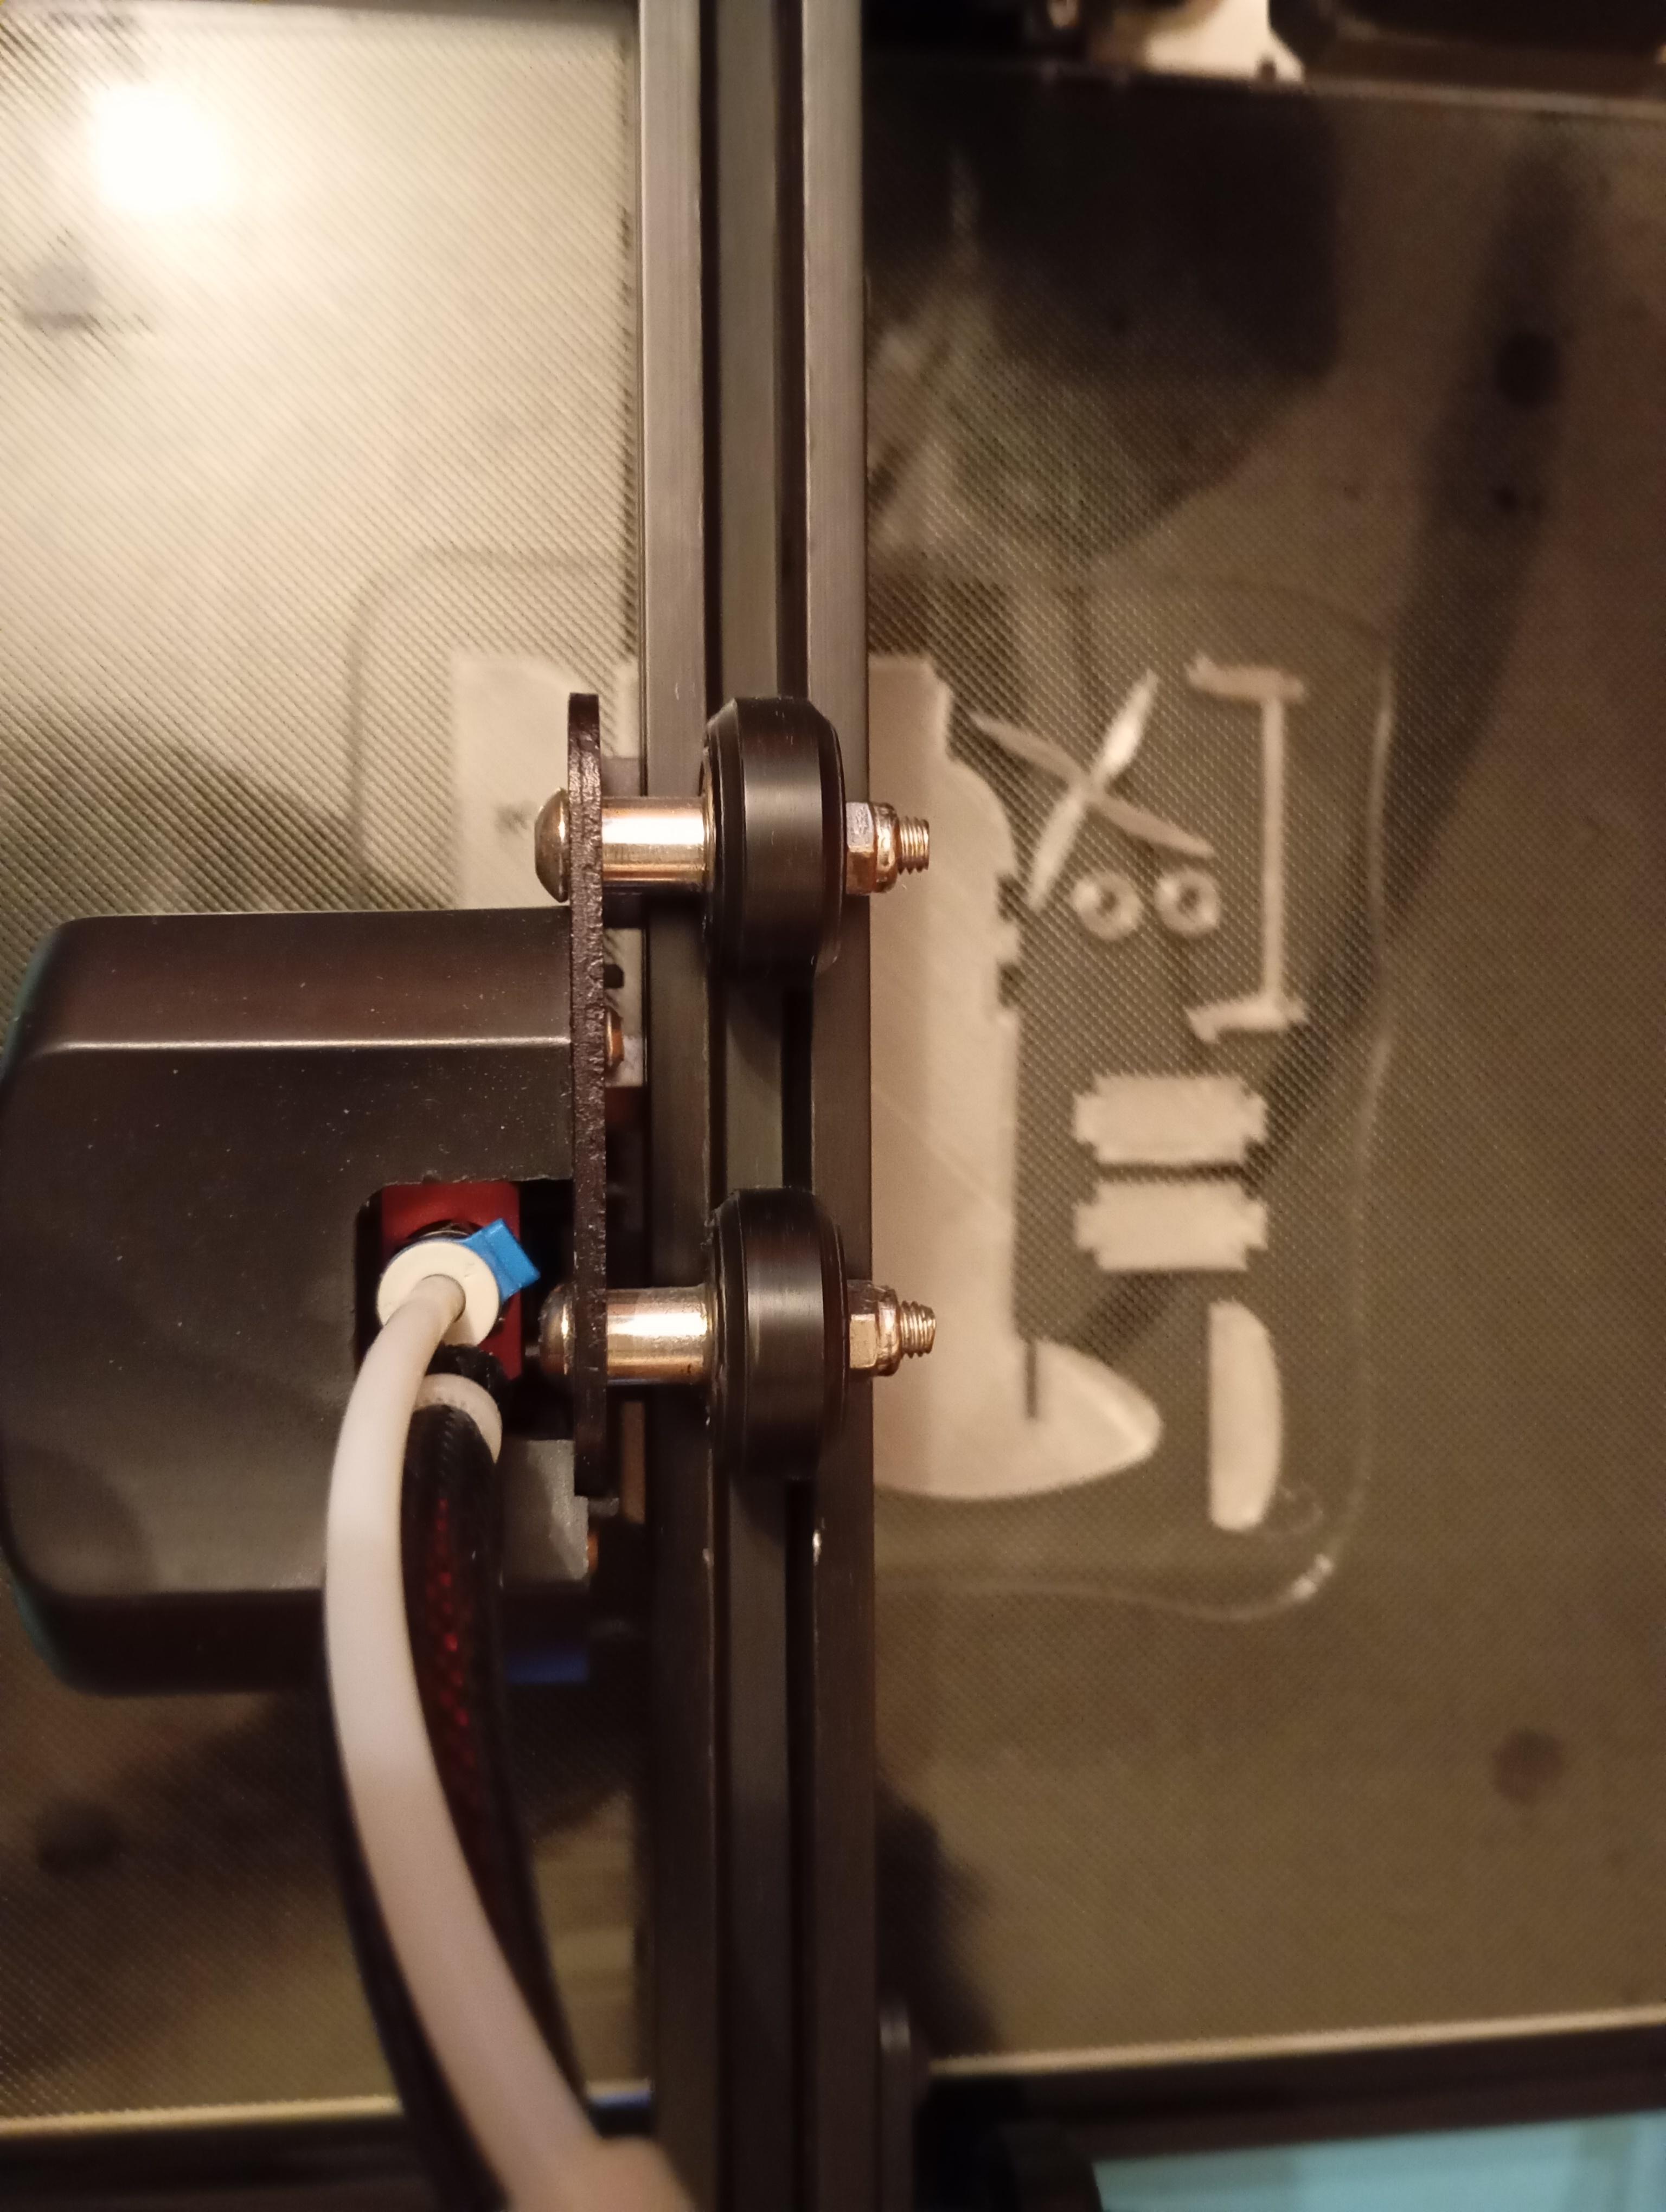

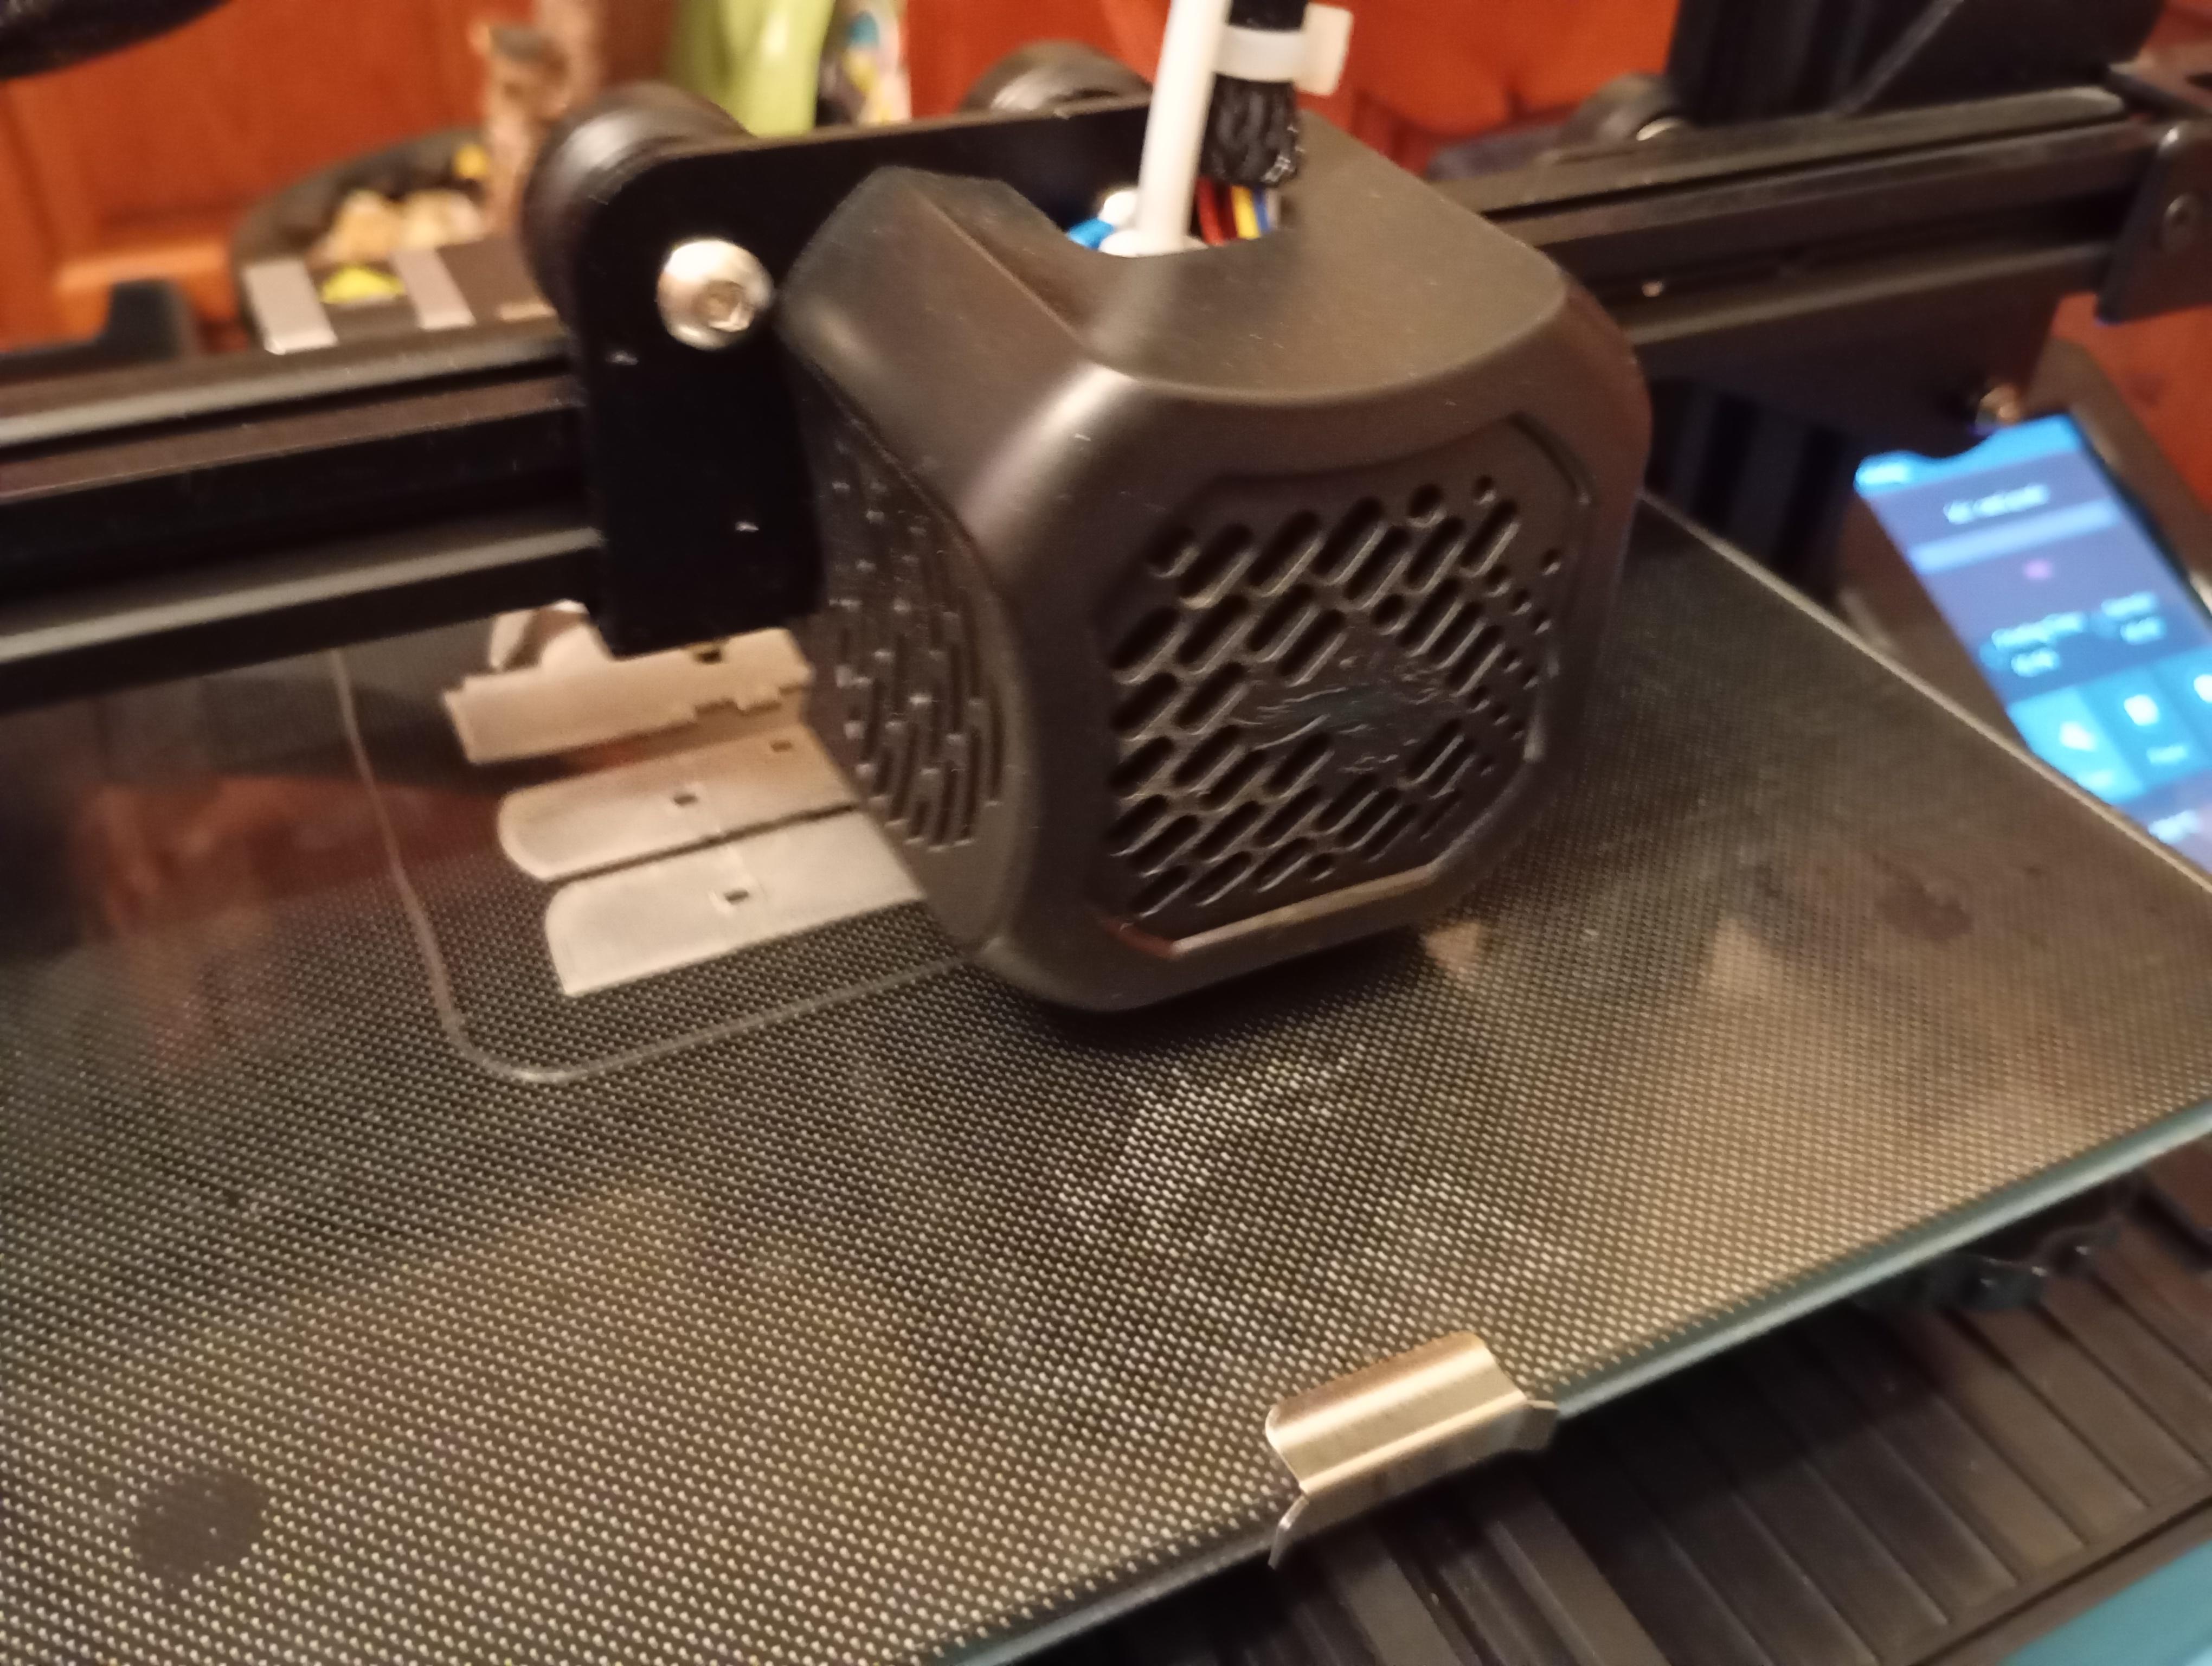
Printing the Parts
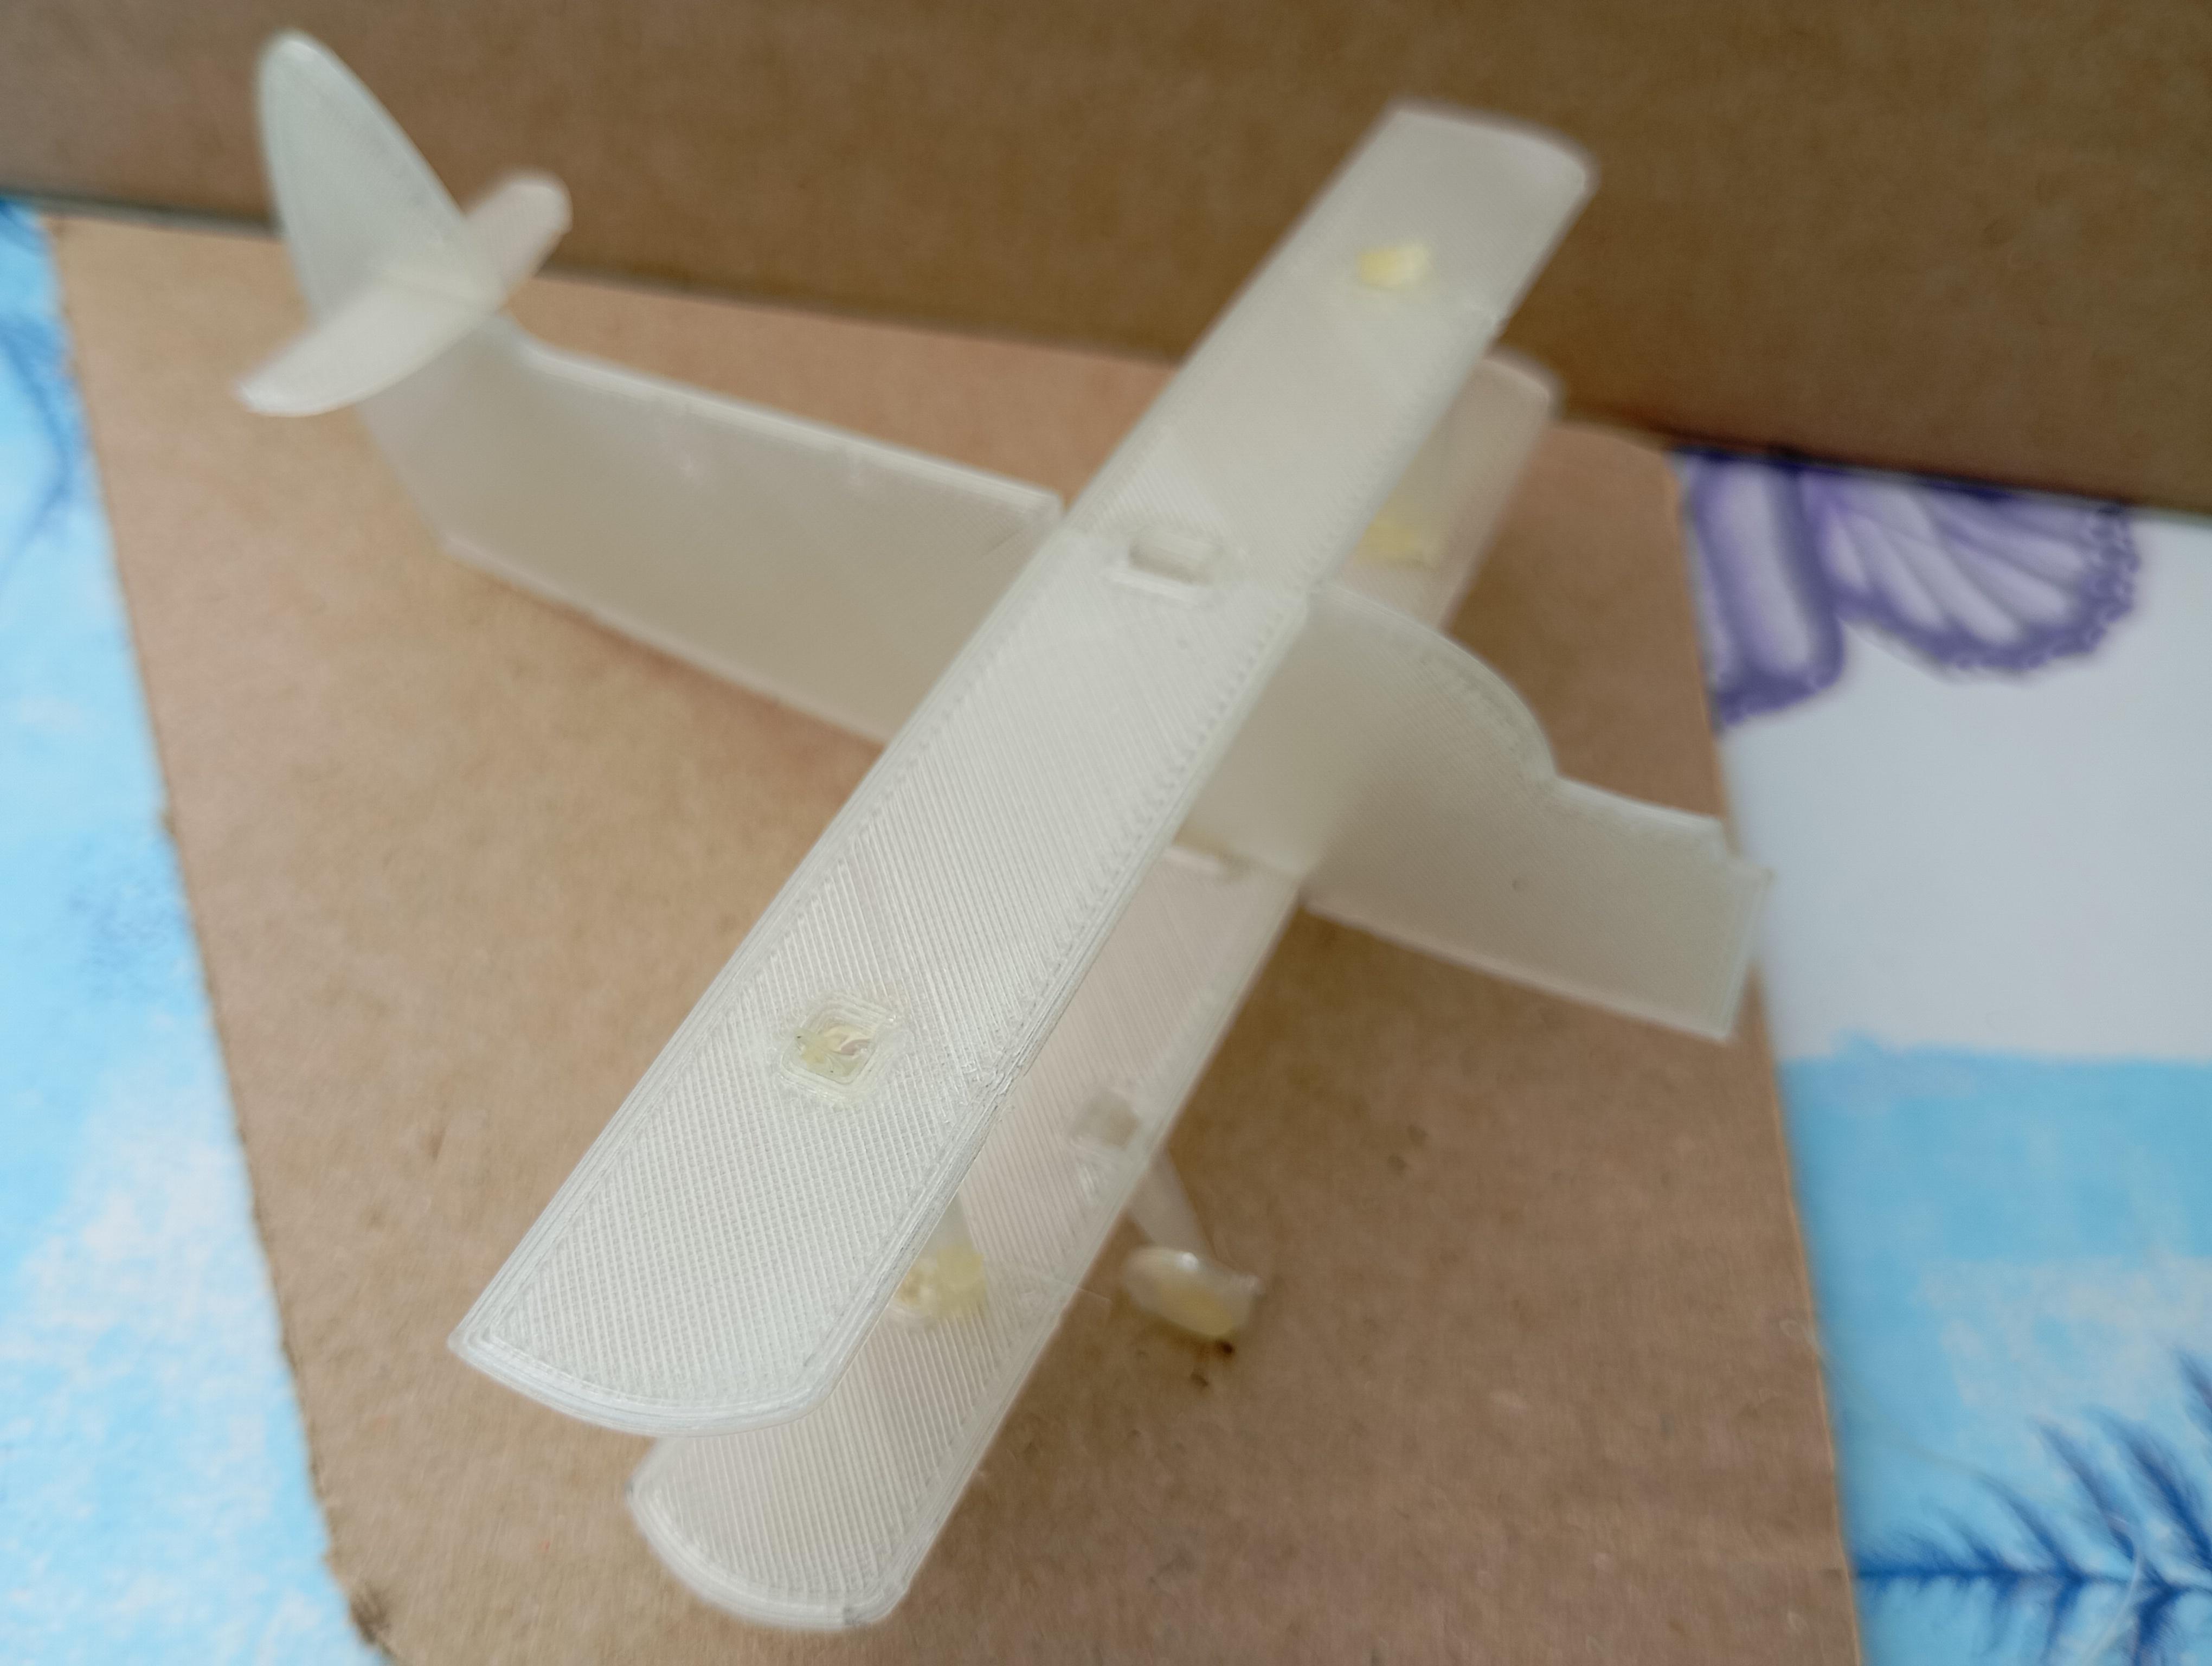
- I started printing the parts one by one using the glow-in-the-dark filament. Watching the parts come to life on the print bed was fascinating!
Post-Processing
- Once all parts were printed, I carefully removed them from the print bed.
- I cleaned up the edges using a hobby knife and sandpaper.
Puzzle Assembly
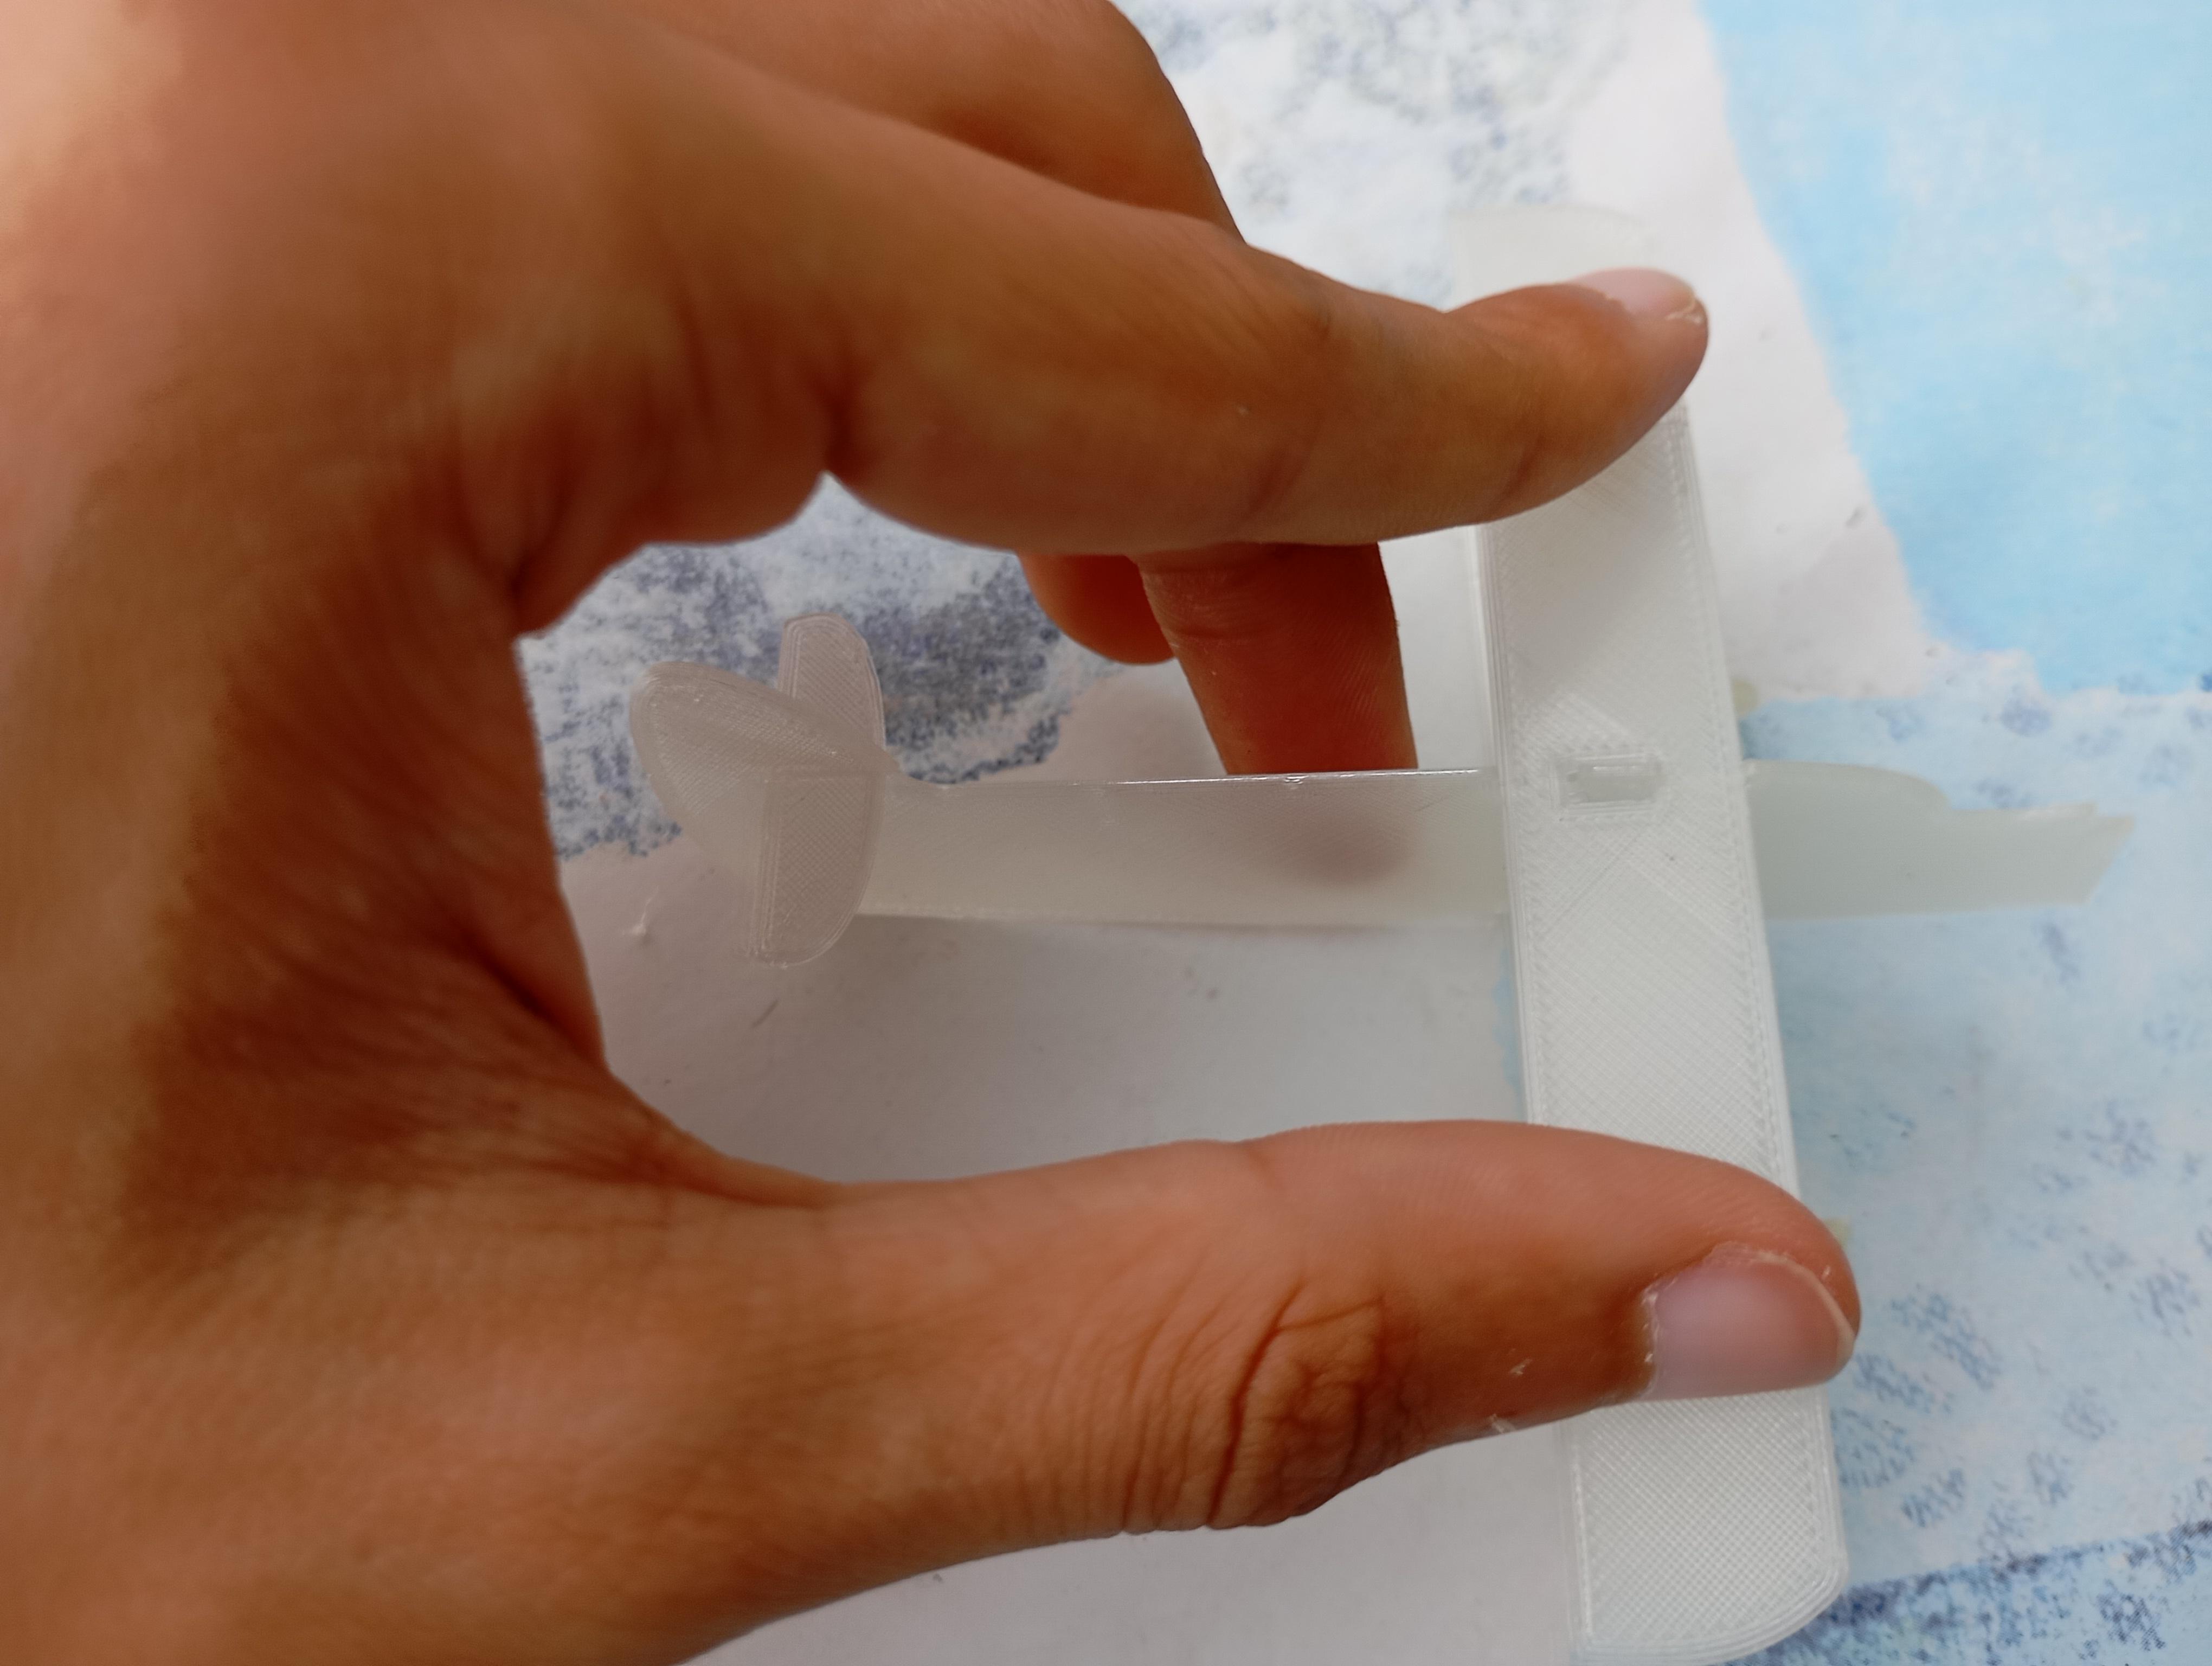
Dry Fitting
- Before gluing anything, I dry-fitted all the parts to ensure they fit together correctly.
- I made some necessary adjustments by sanding or trimming the parts.
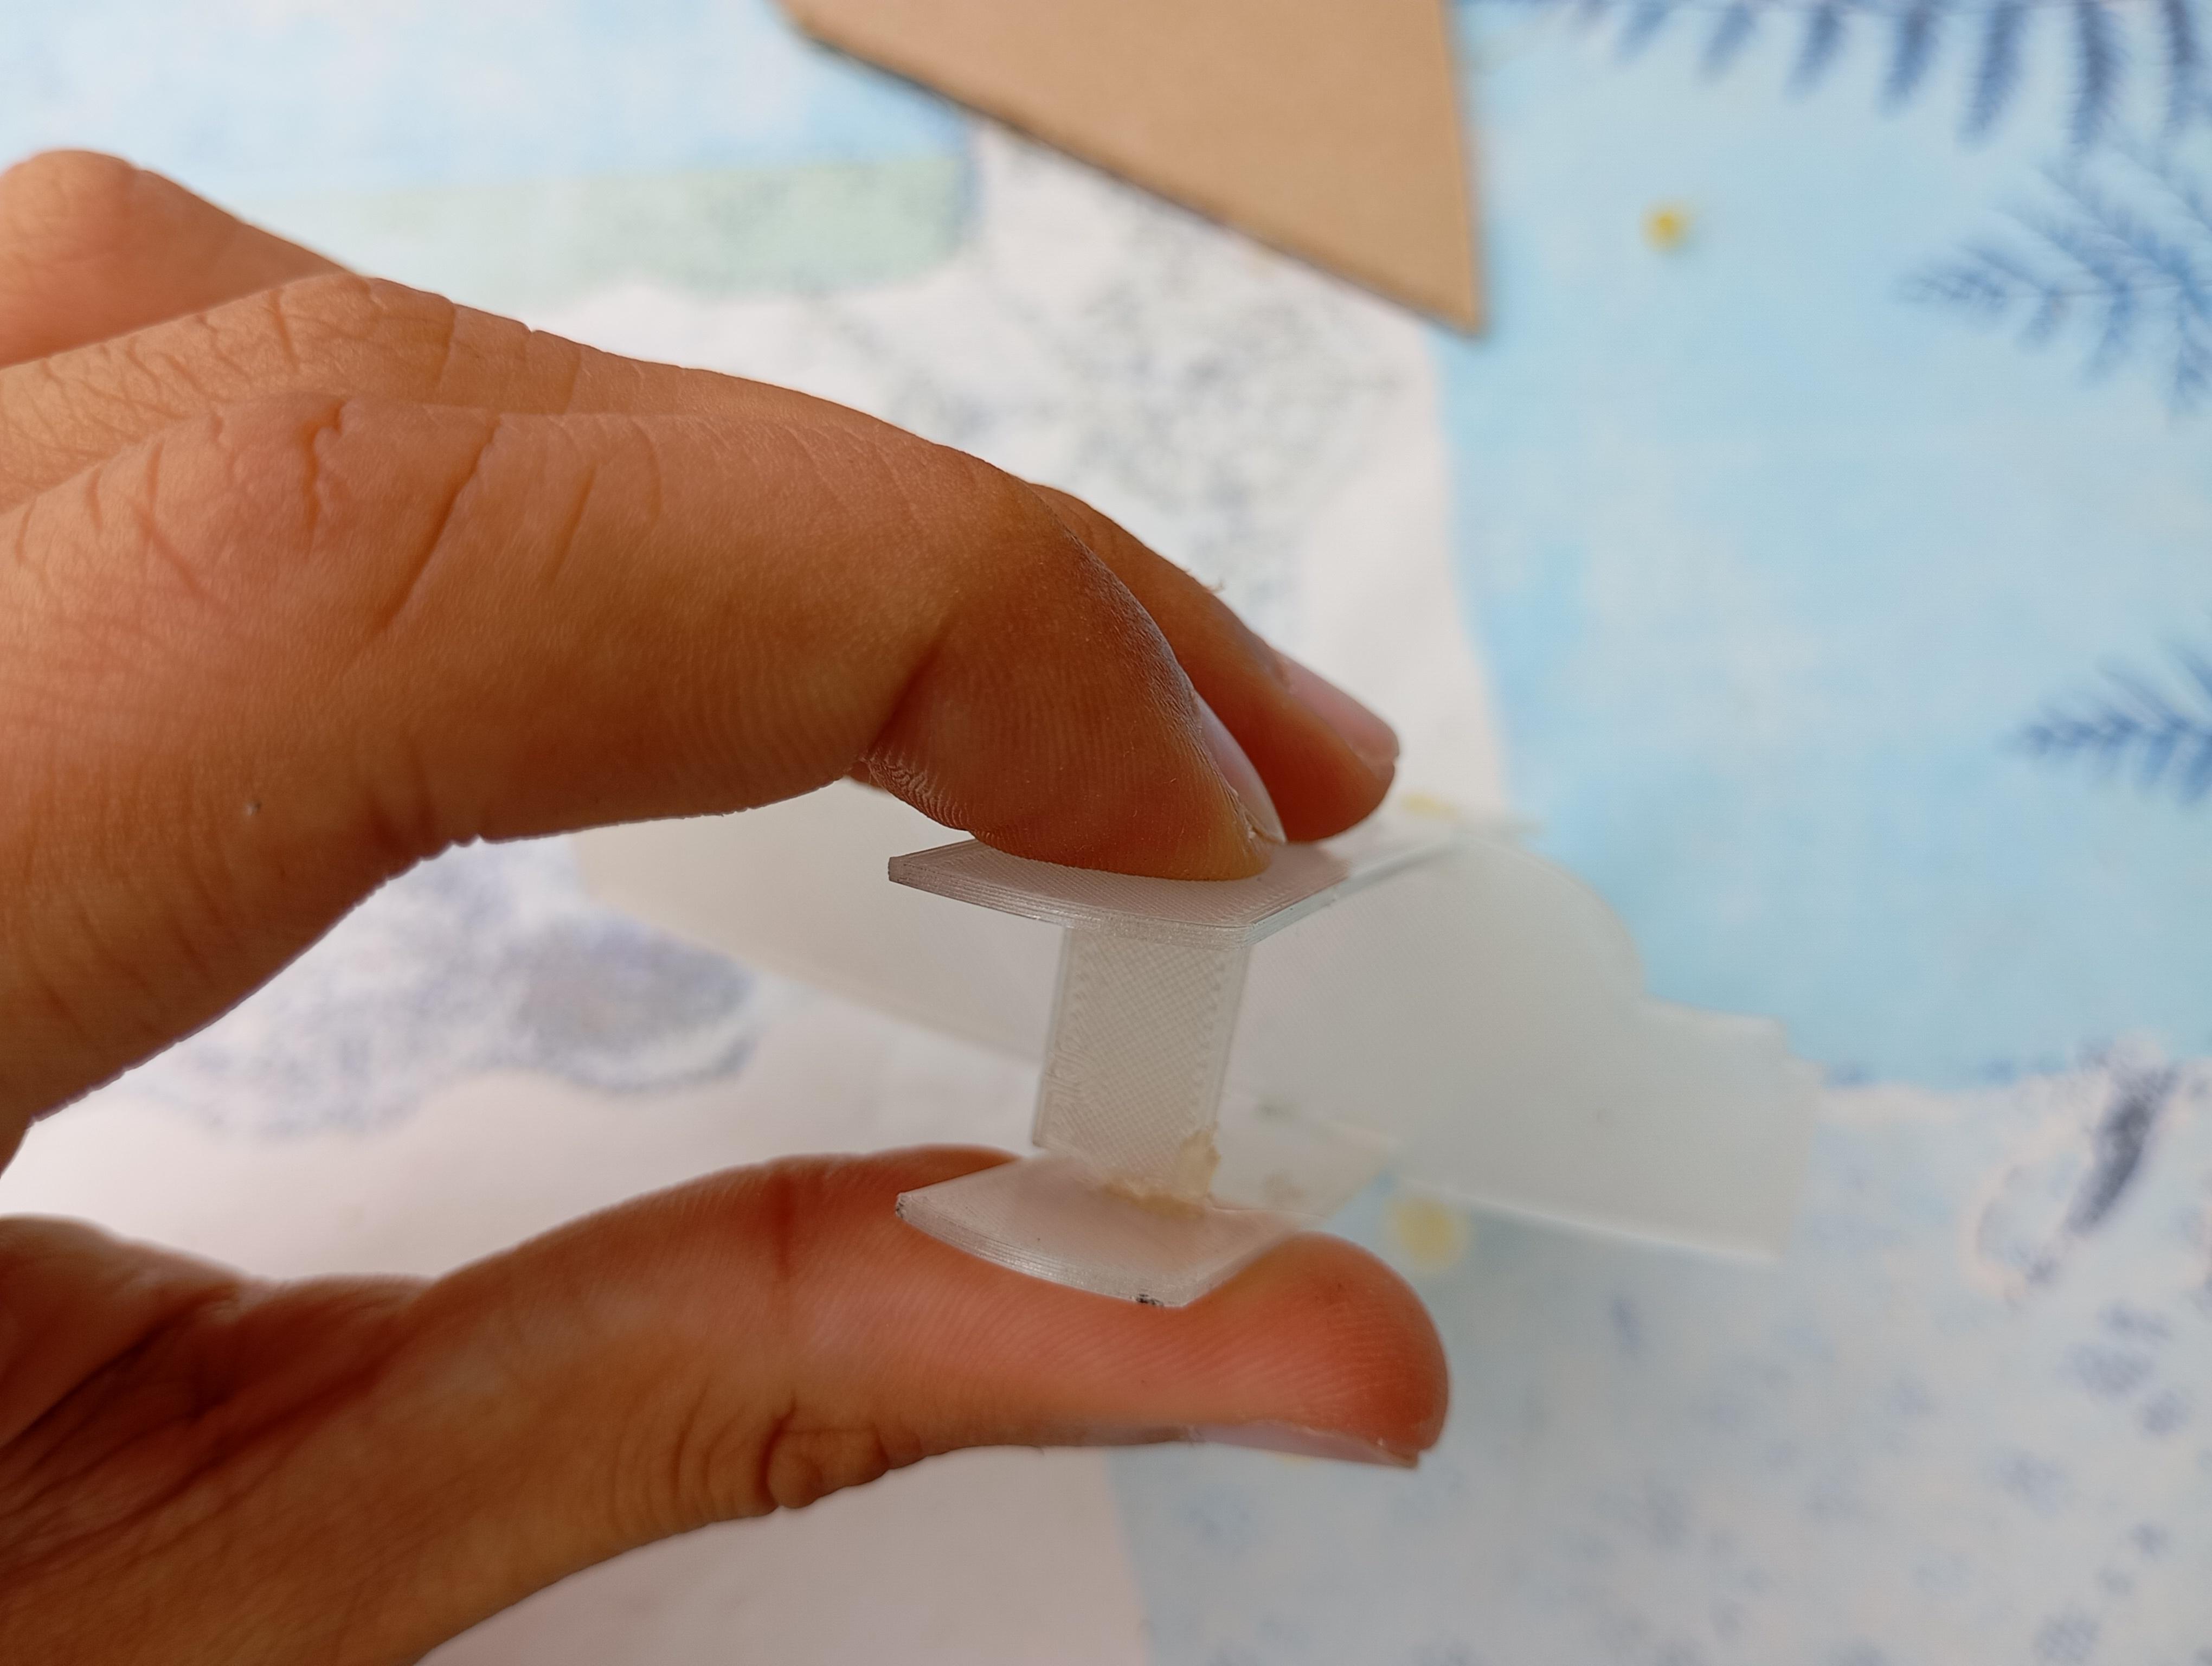
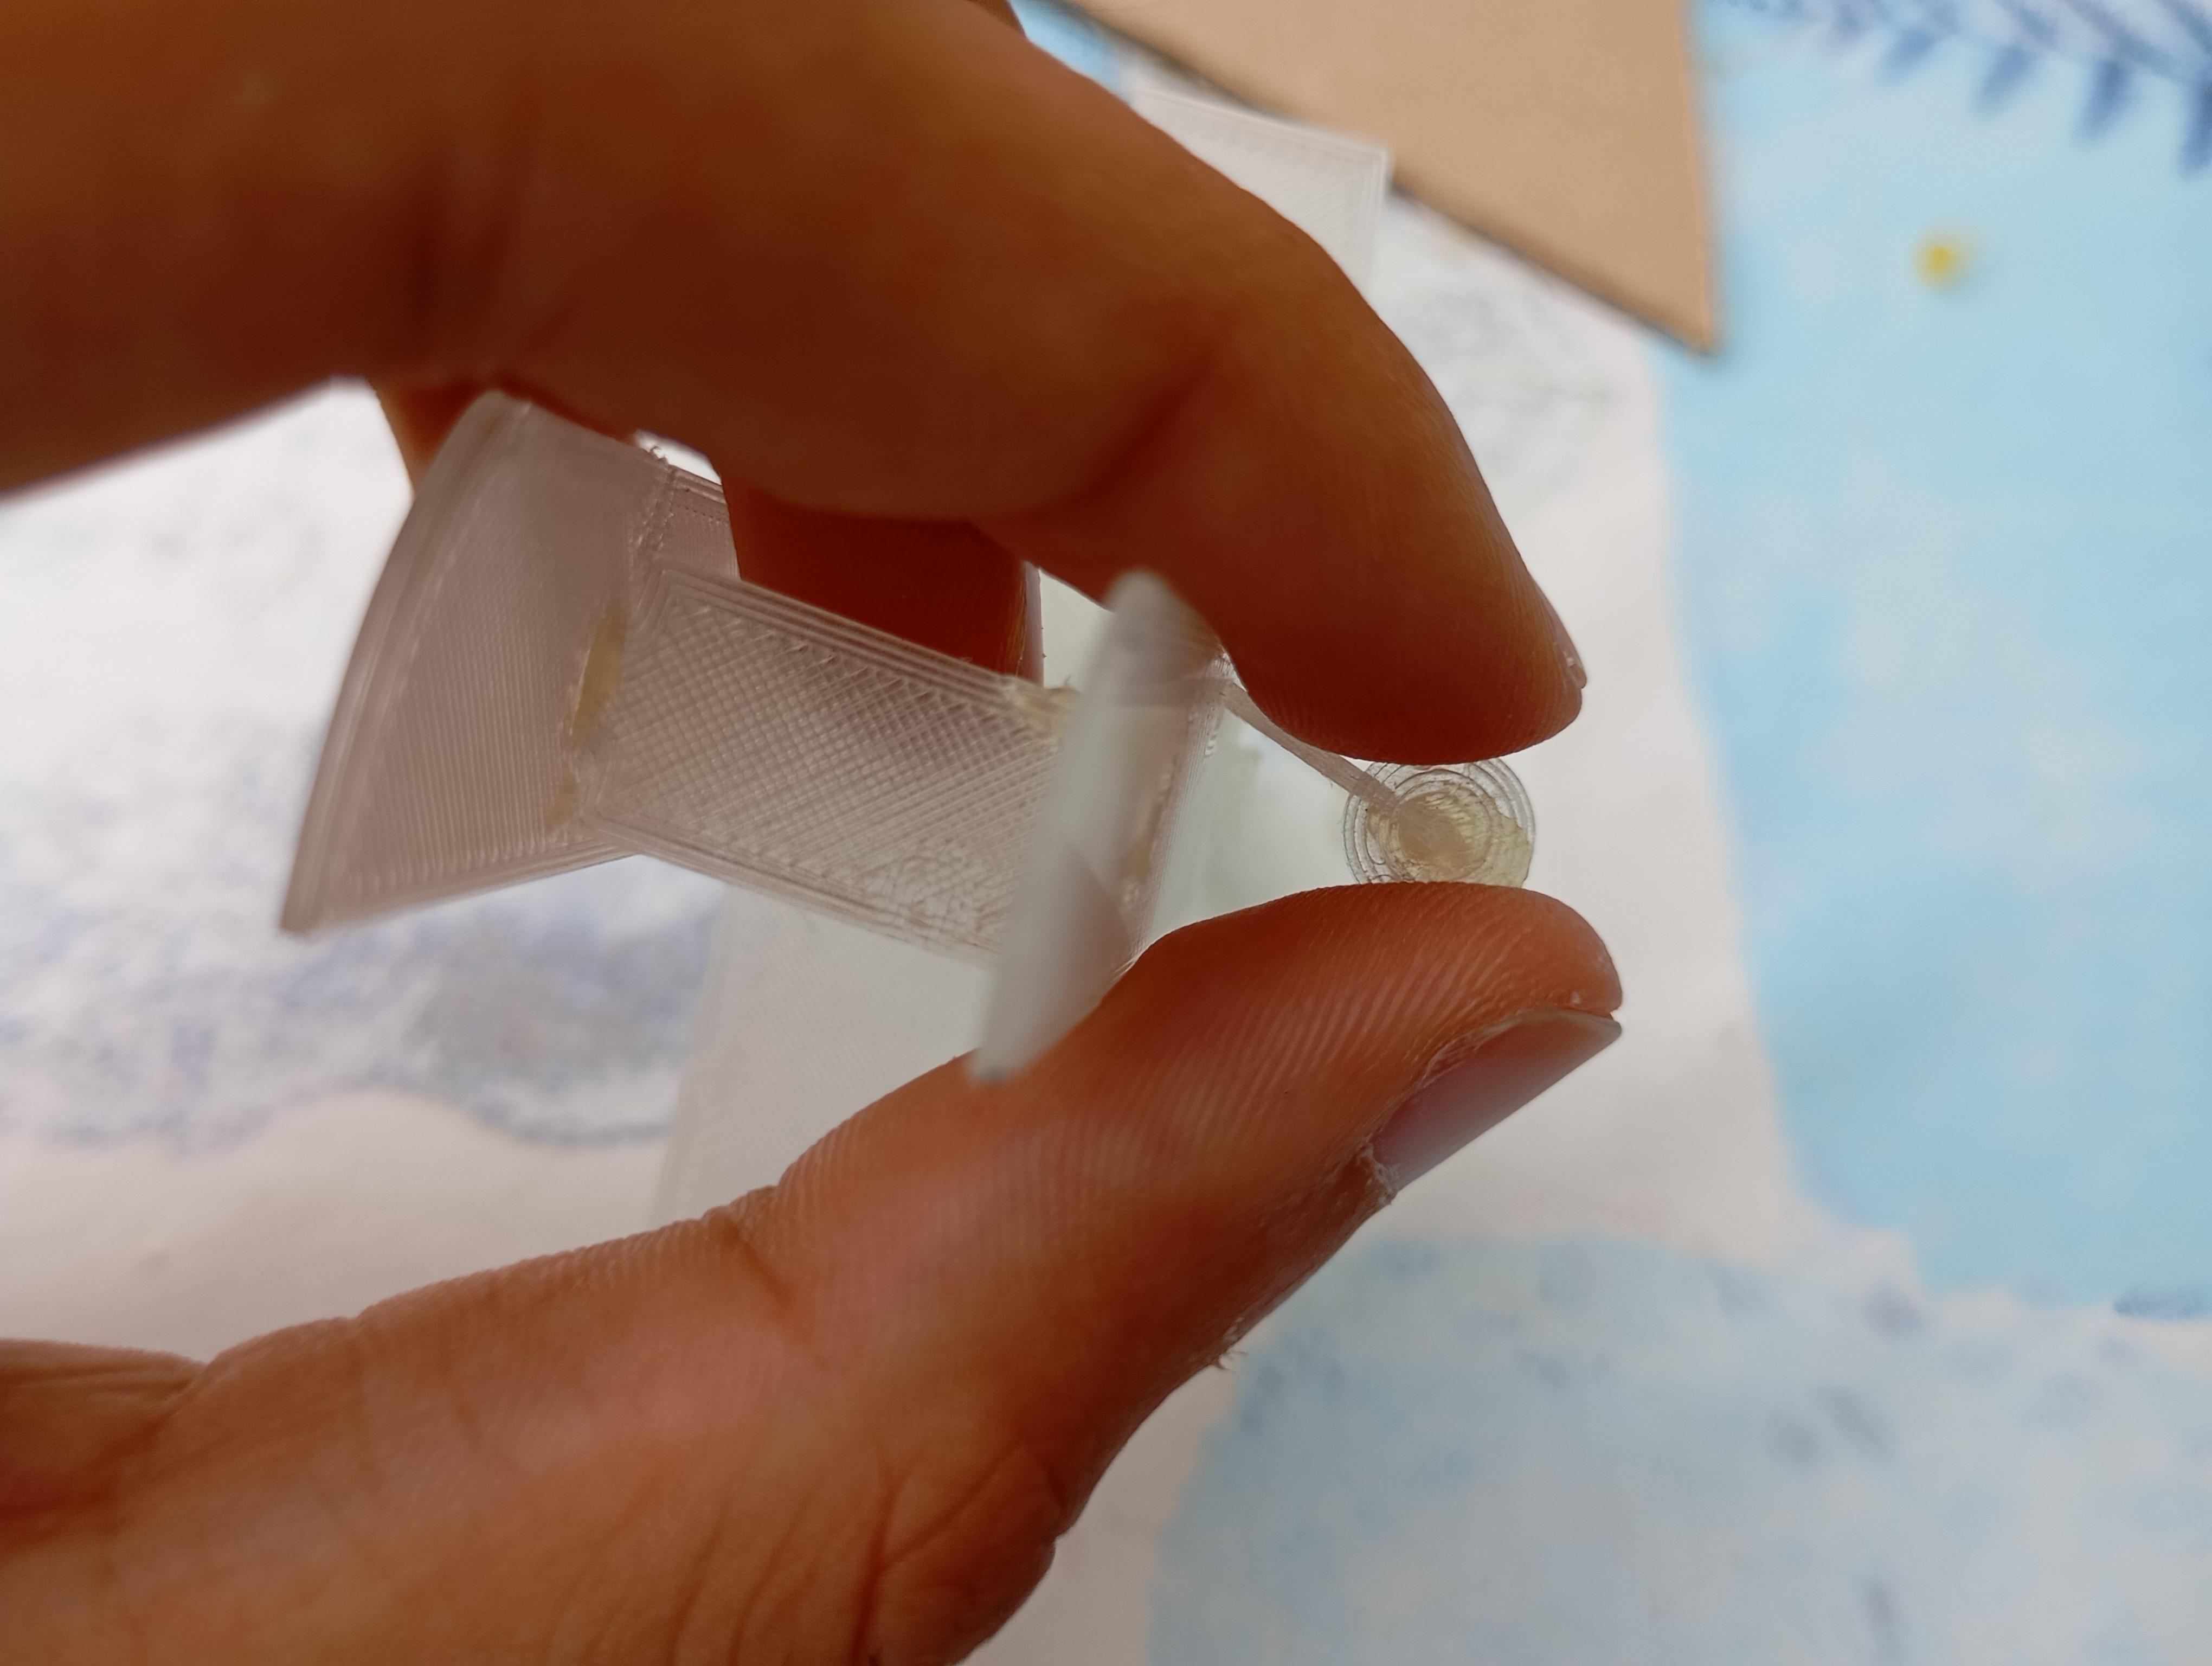
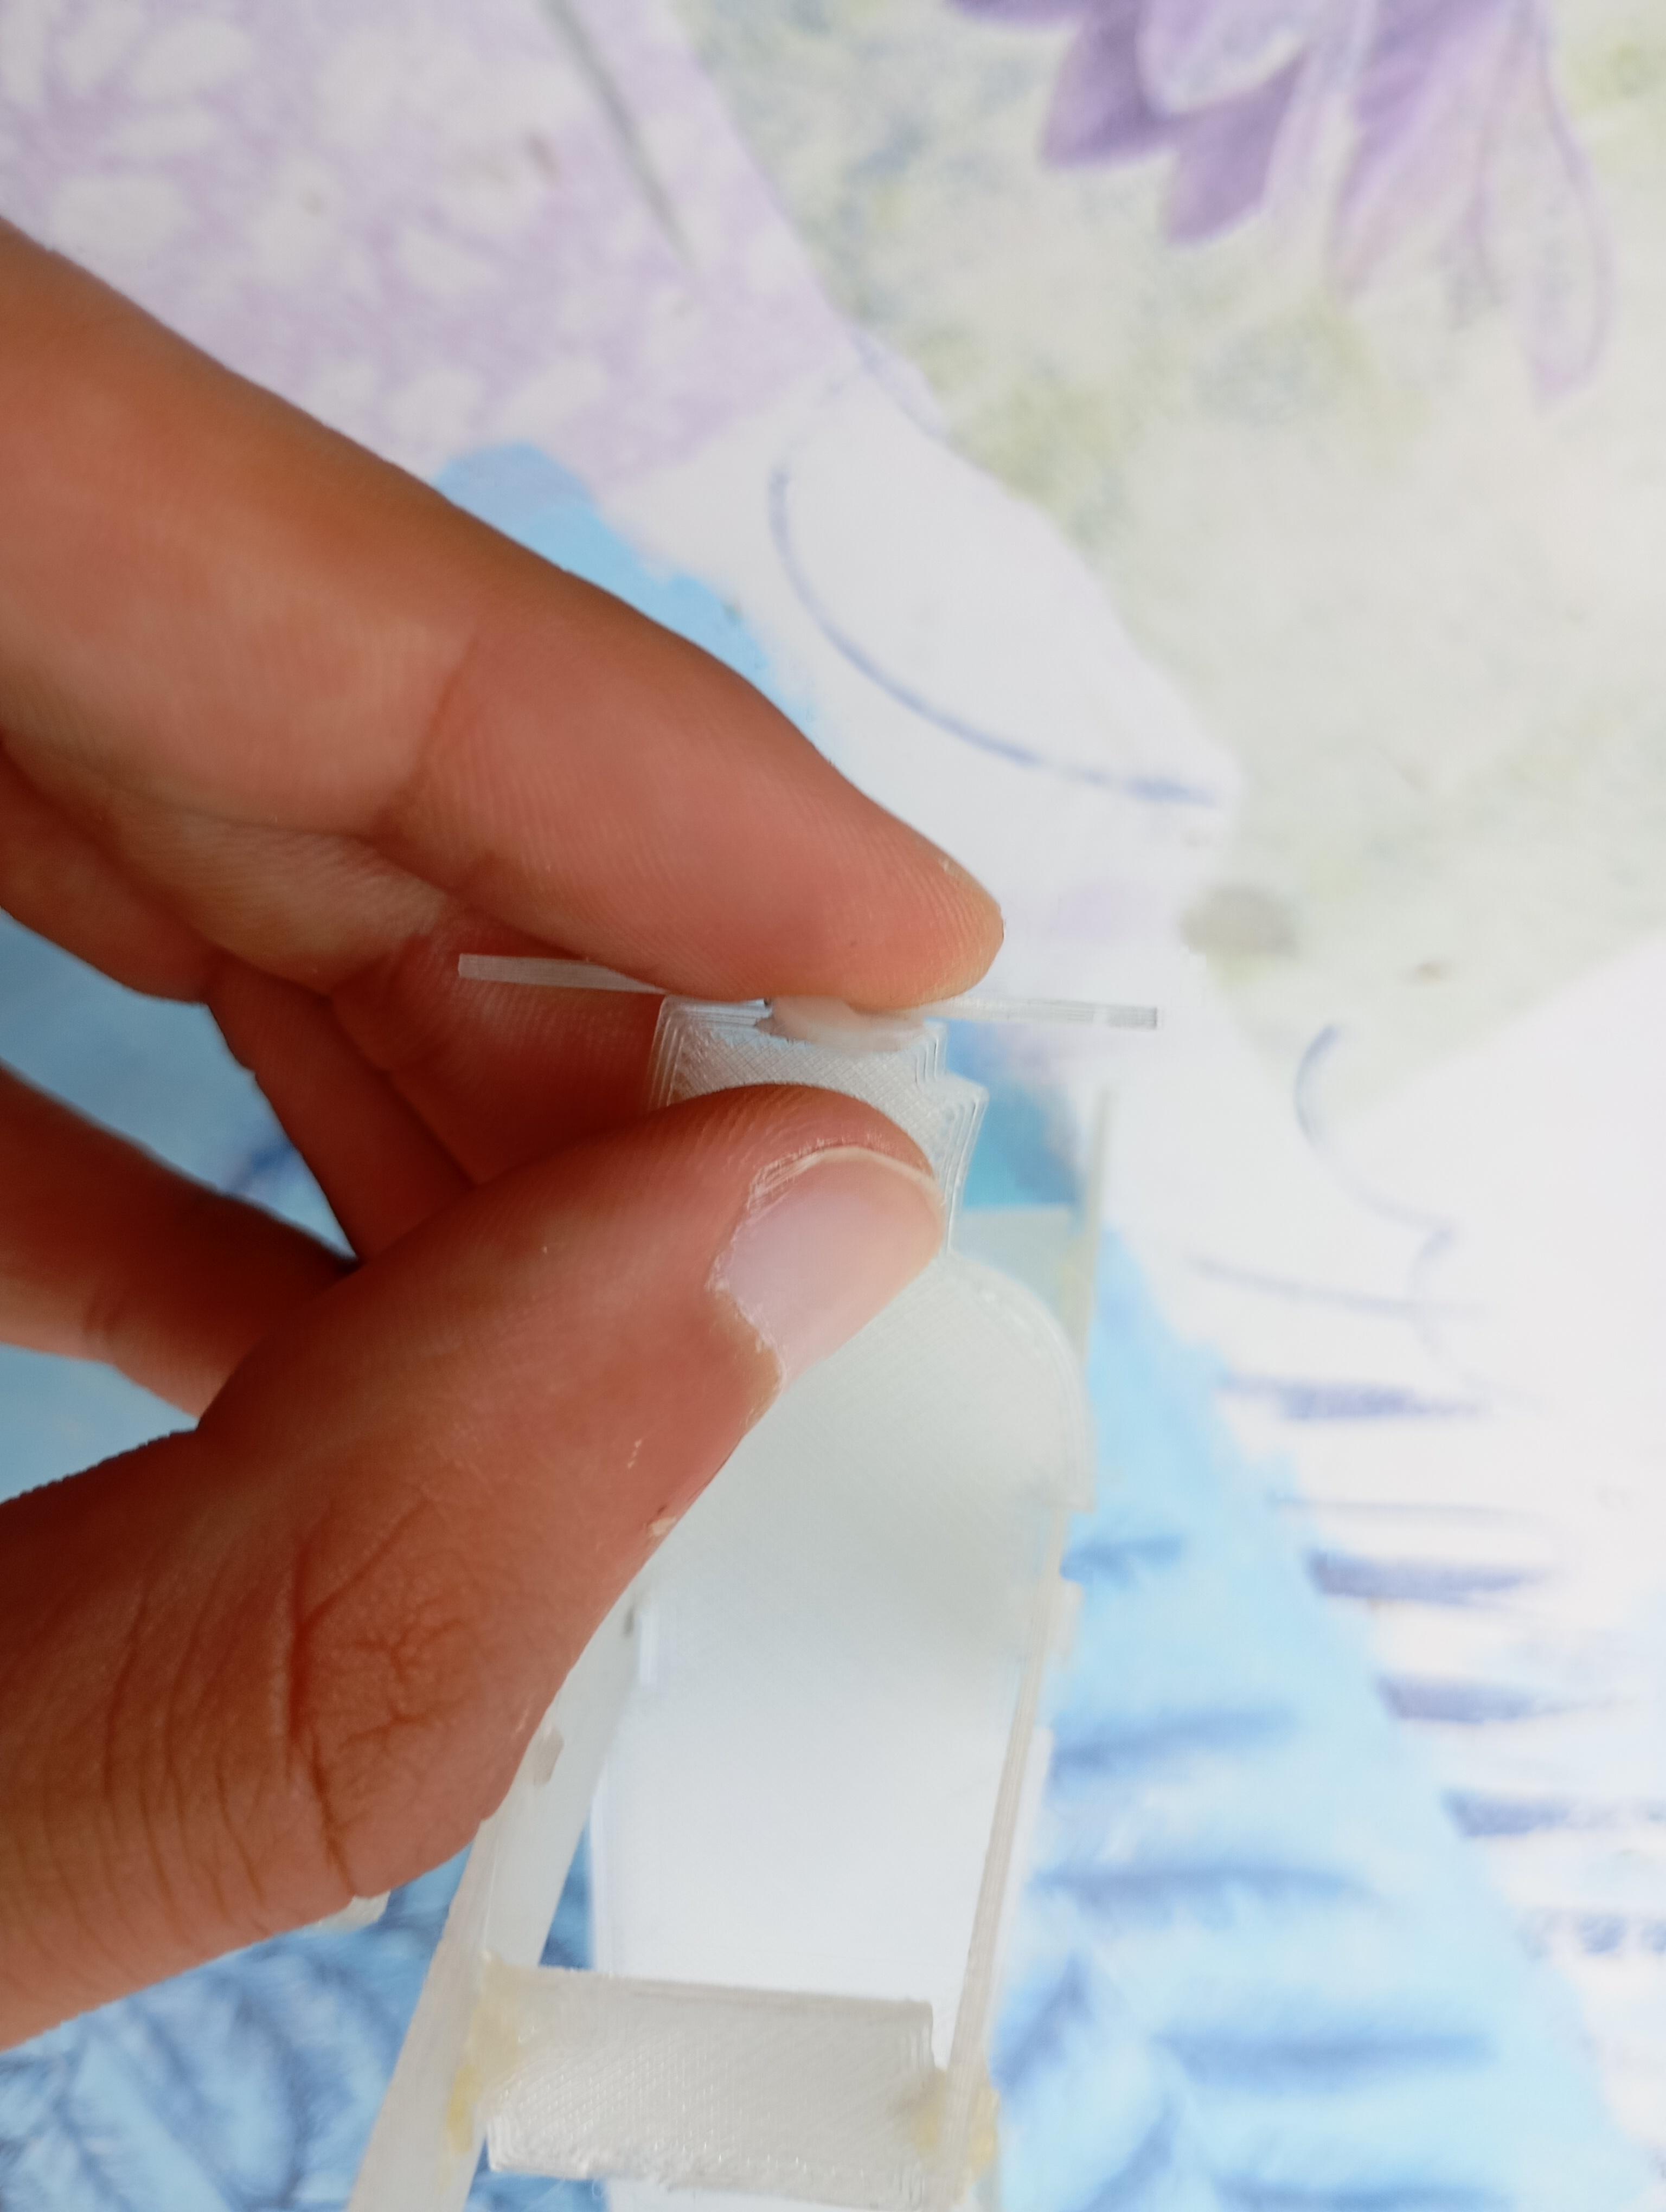
Assembly Challenge
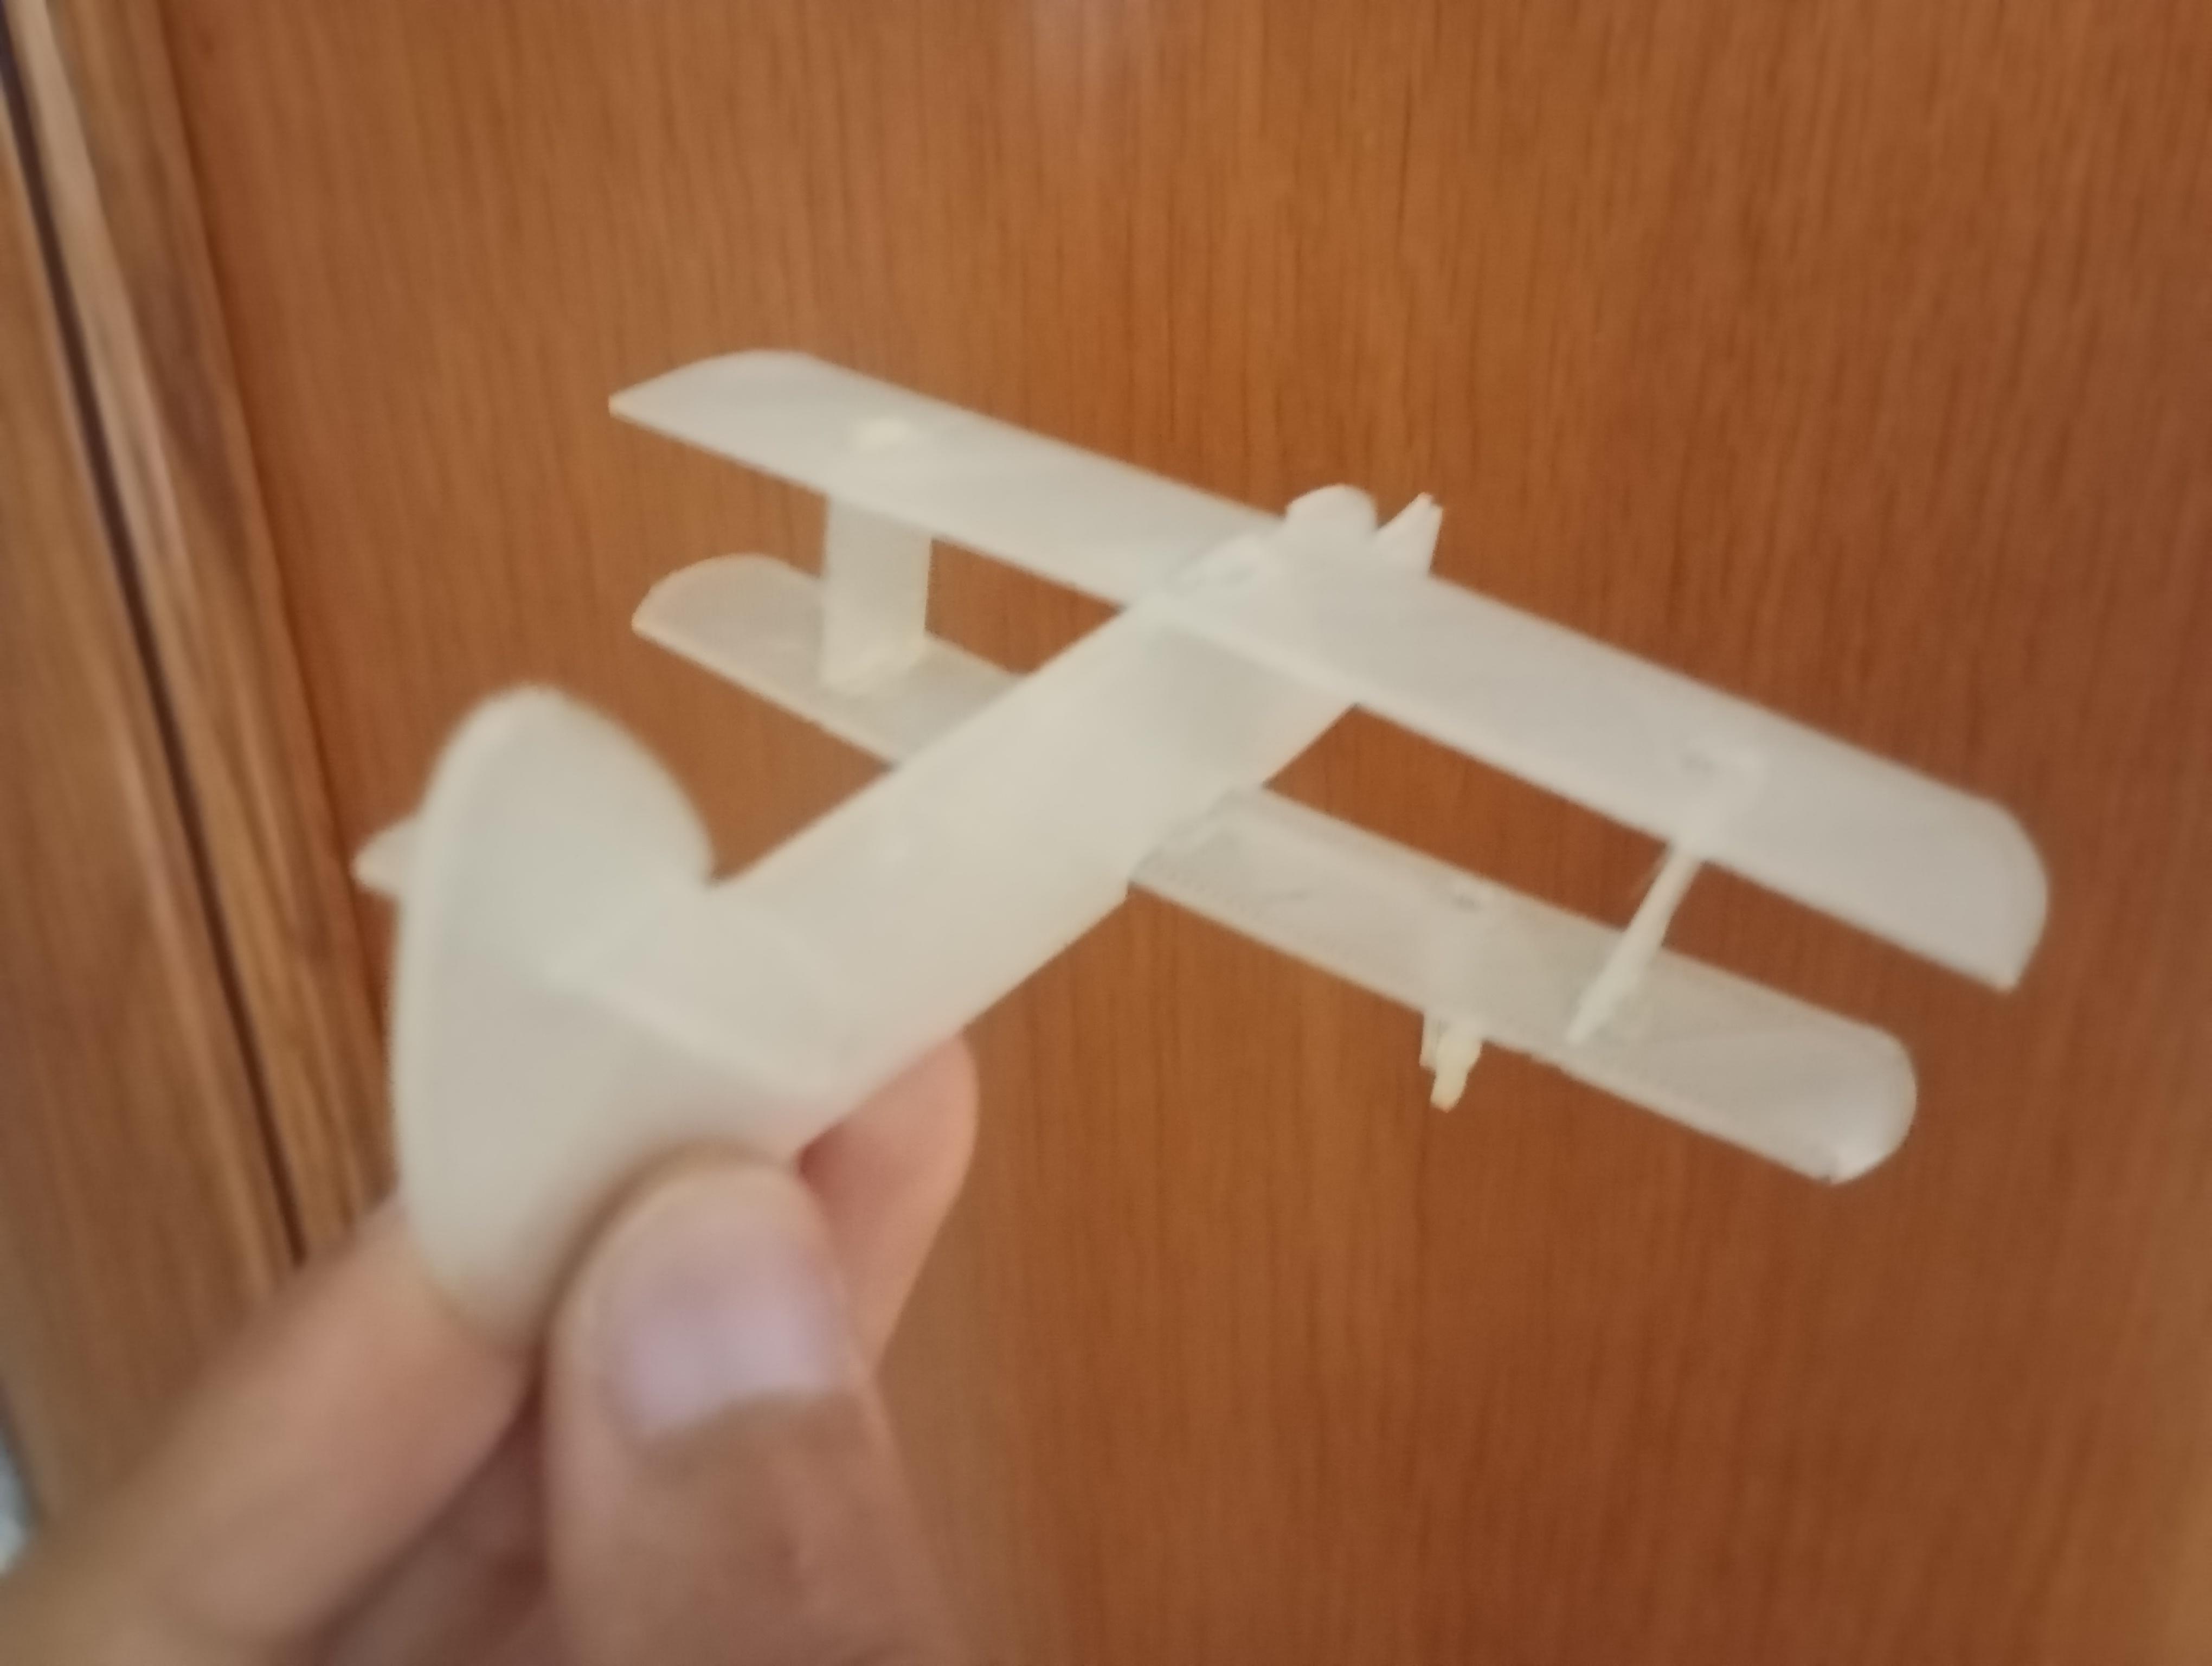
- Interlocking Assembly: I tried to assemble the biplane by interlocking the parts. This part was like solving a 3D puzzle!
- Step-by-Step Instructions: Here's how I approached it:
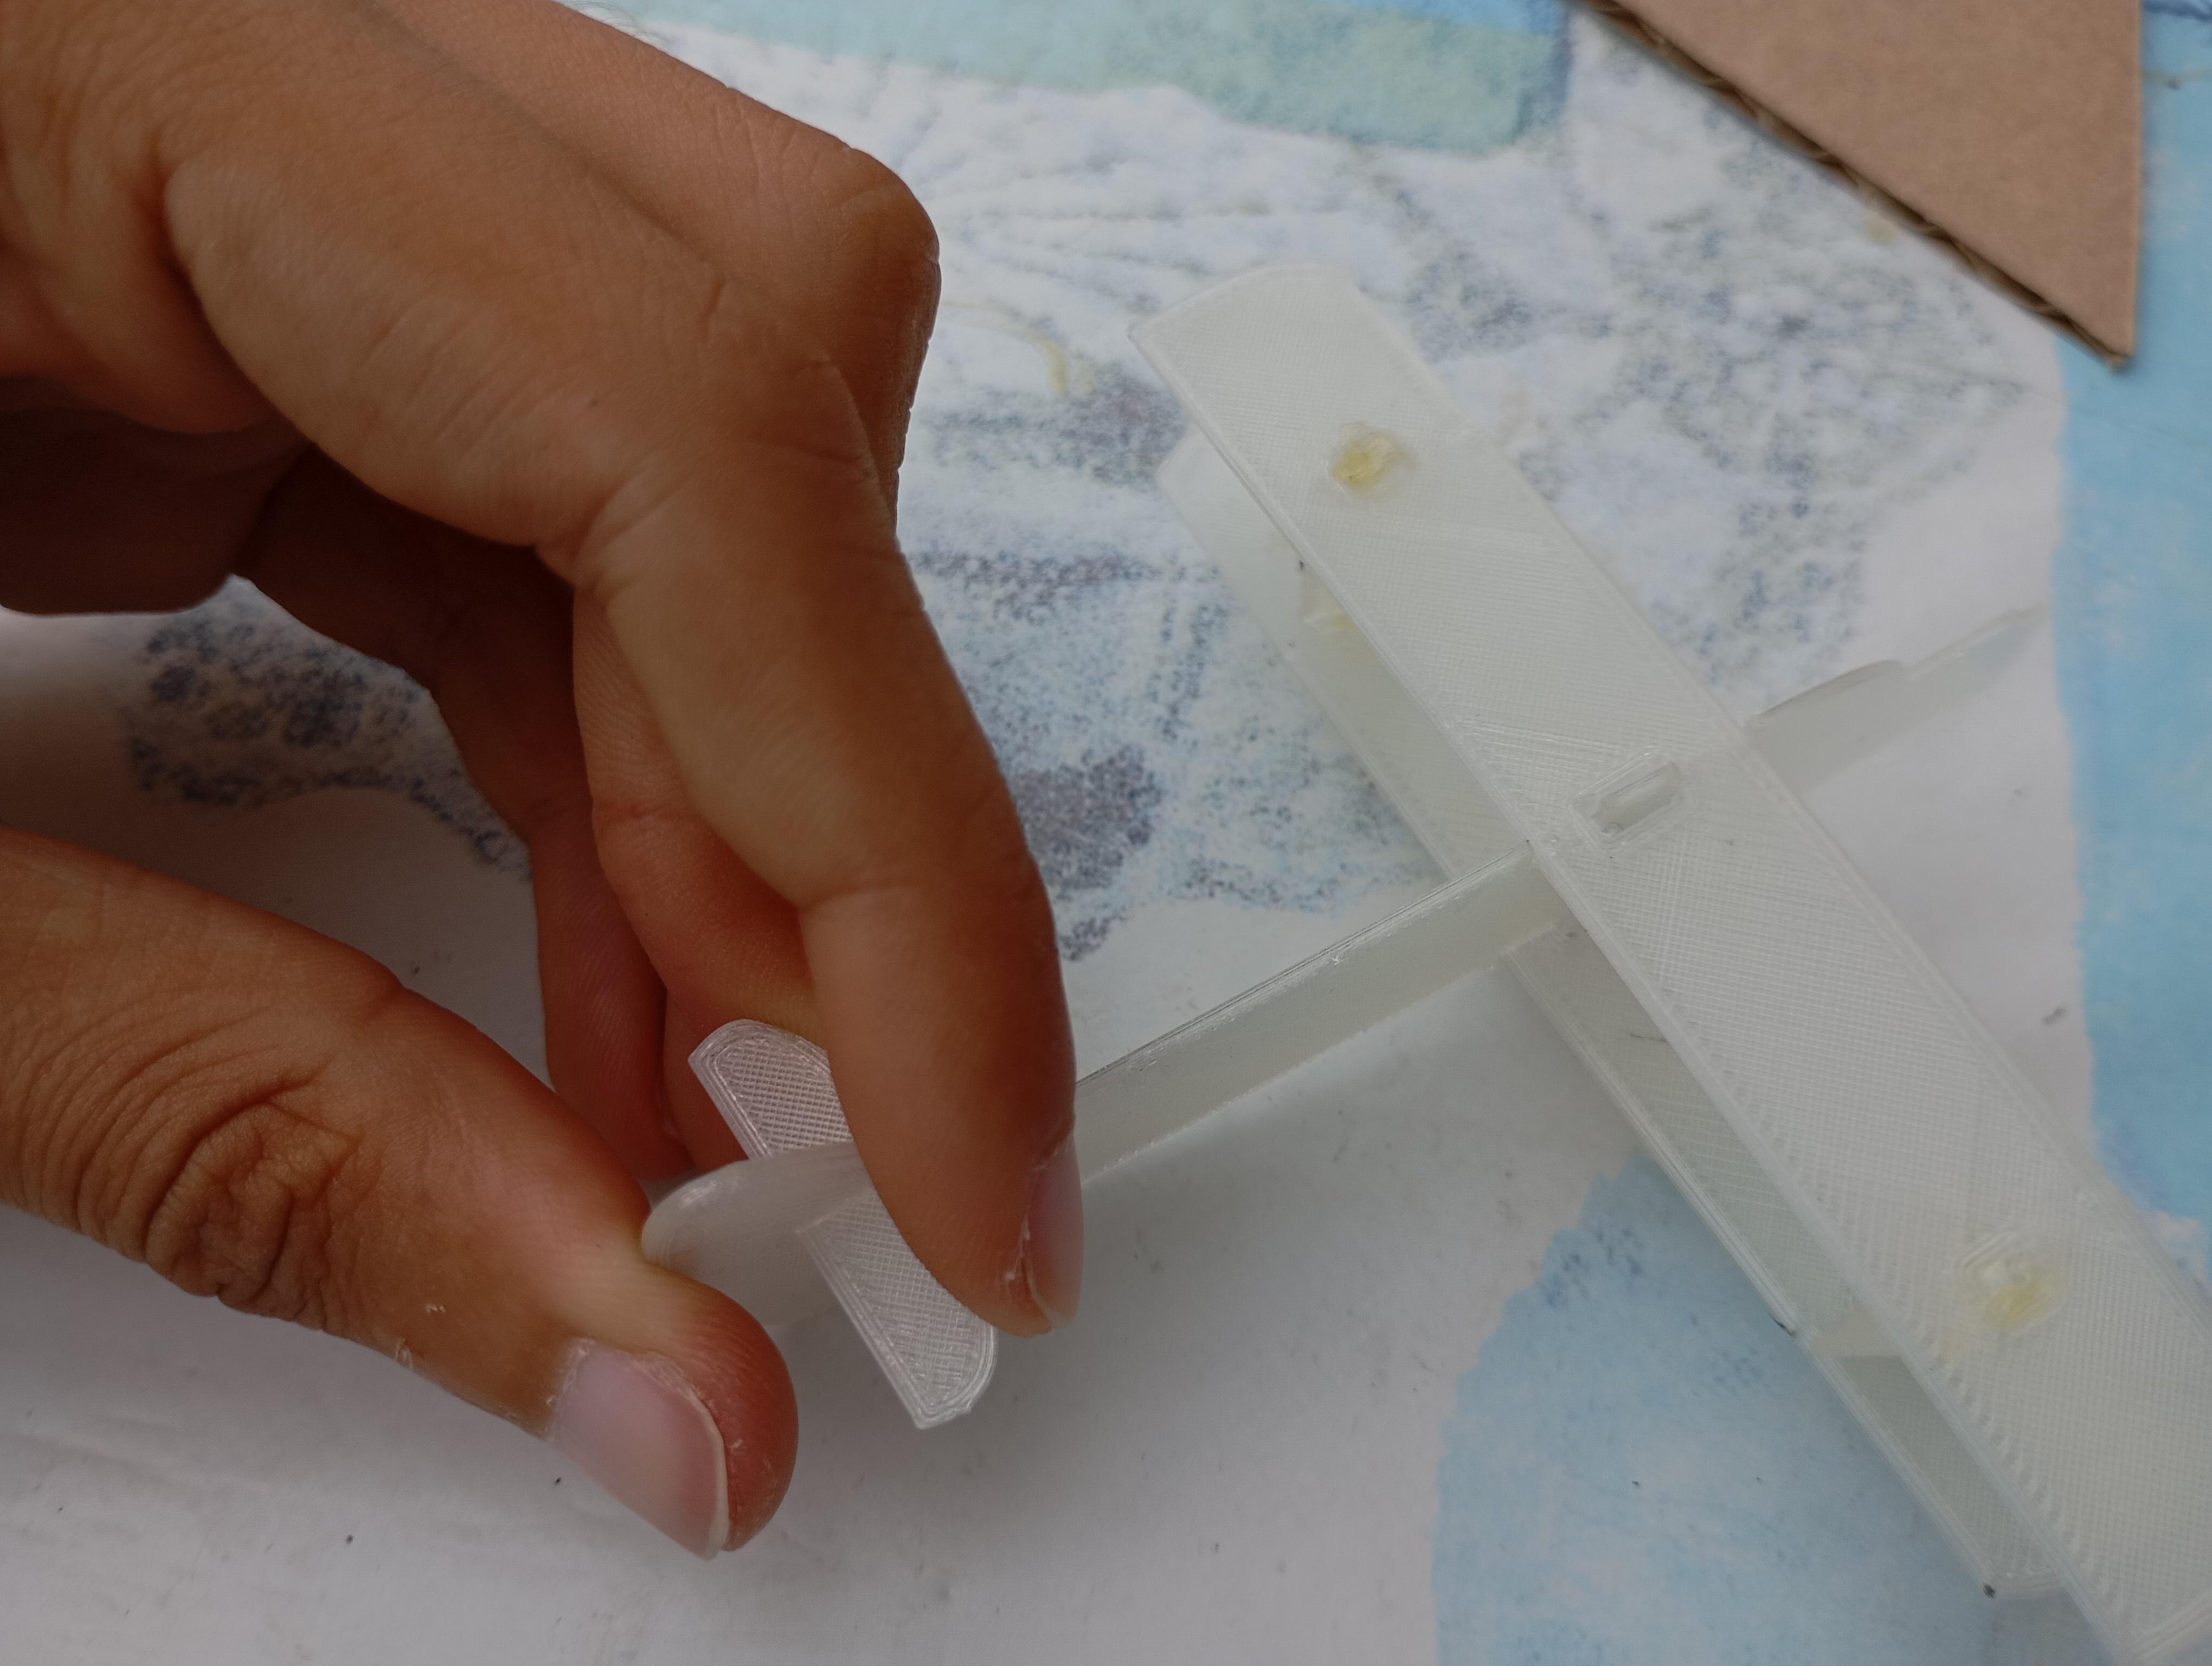
- Started with the fuselage and attached the wings.
- Connected the horizontal stabilizer.
- Attached the landing gear.
- Fitted the propeller in place (optional).
Finishing Touches
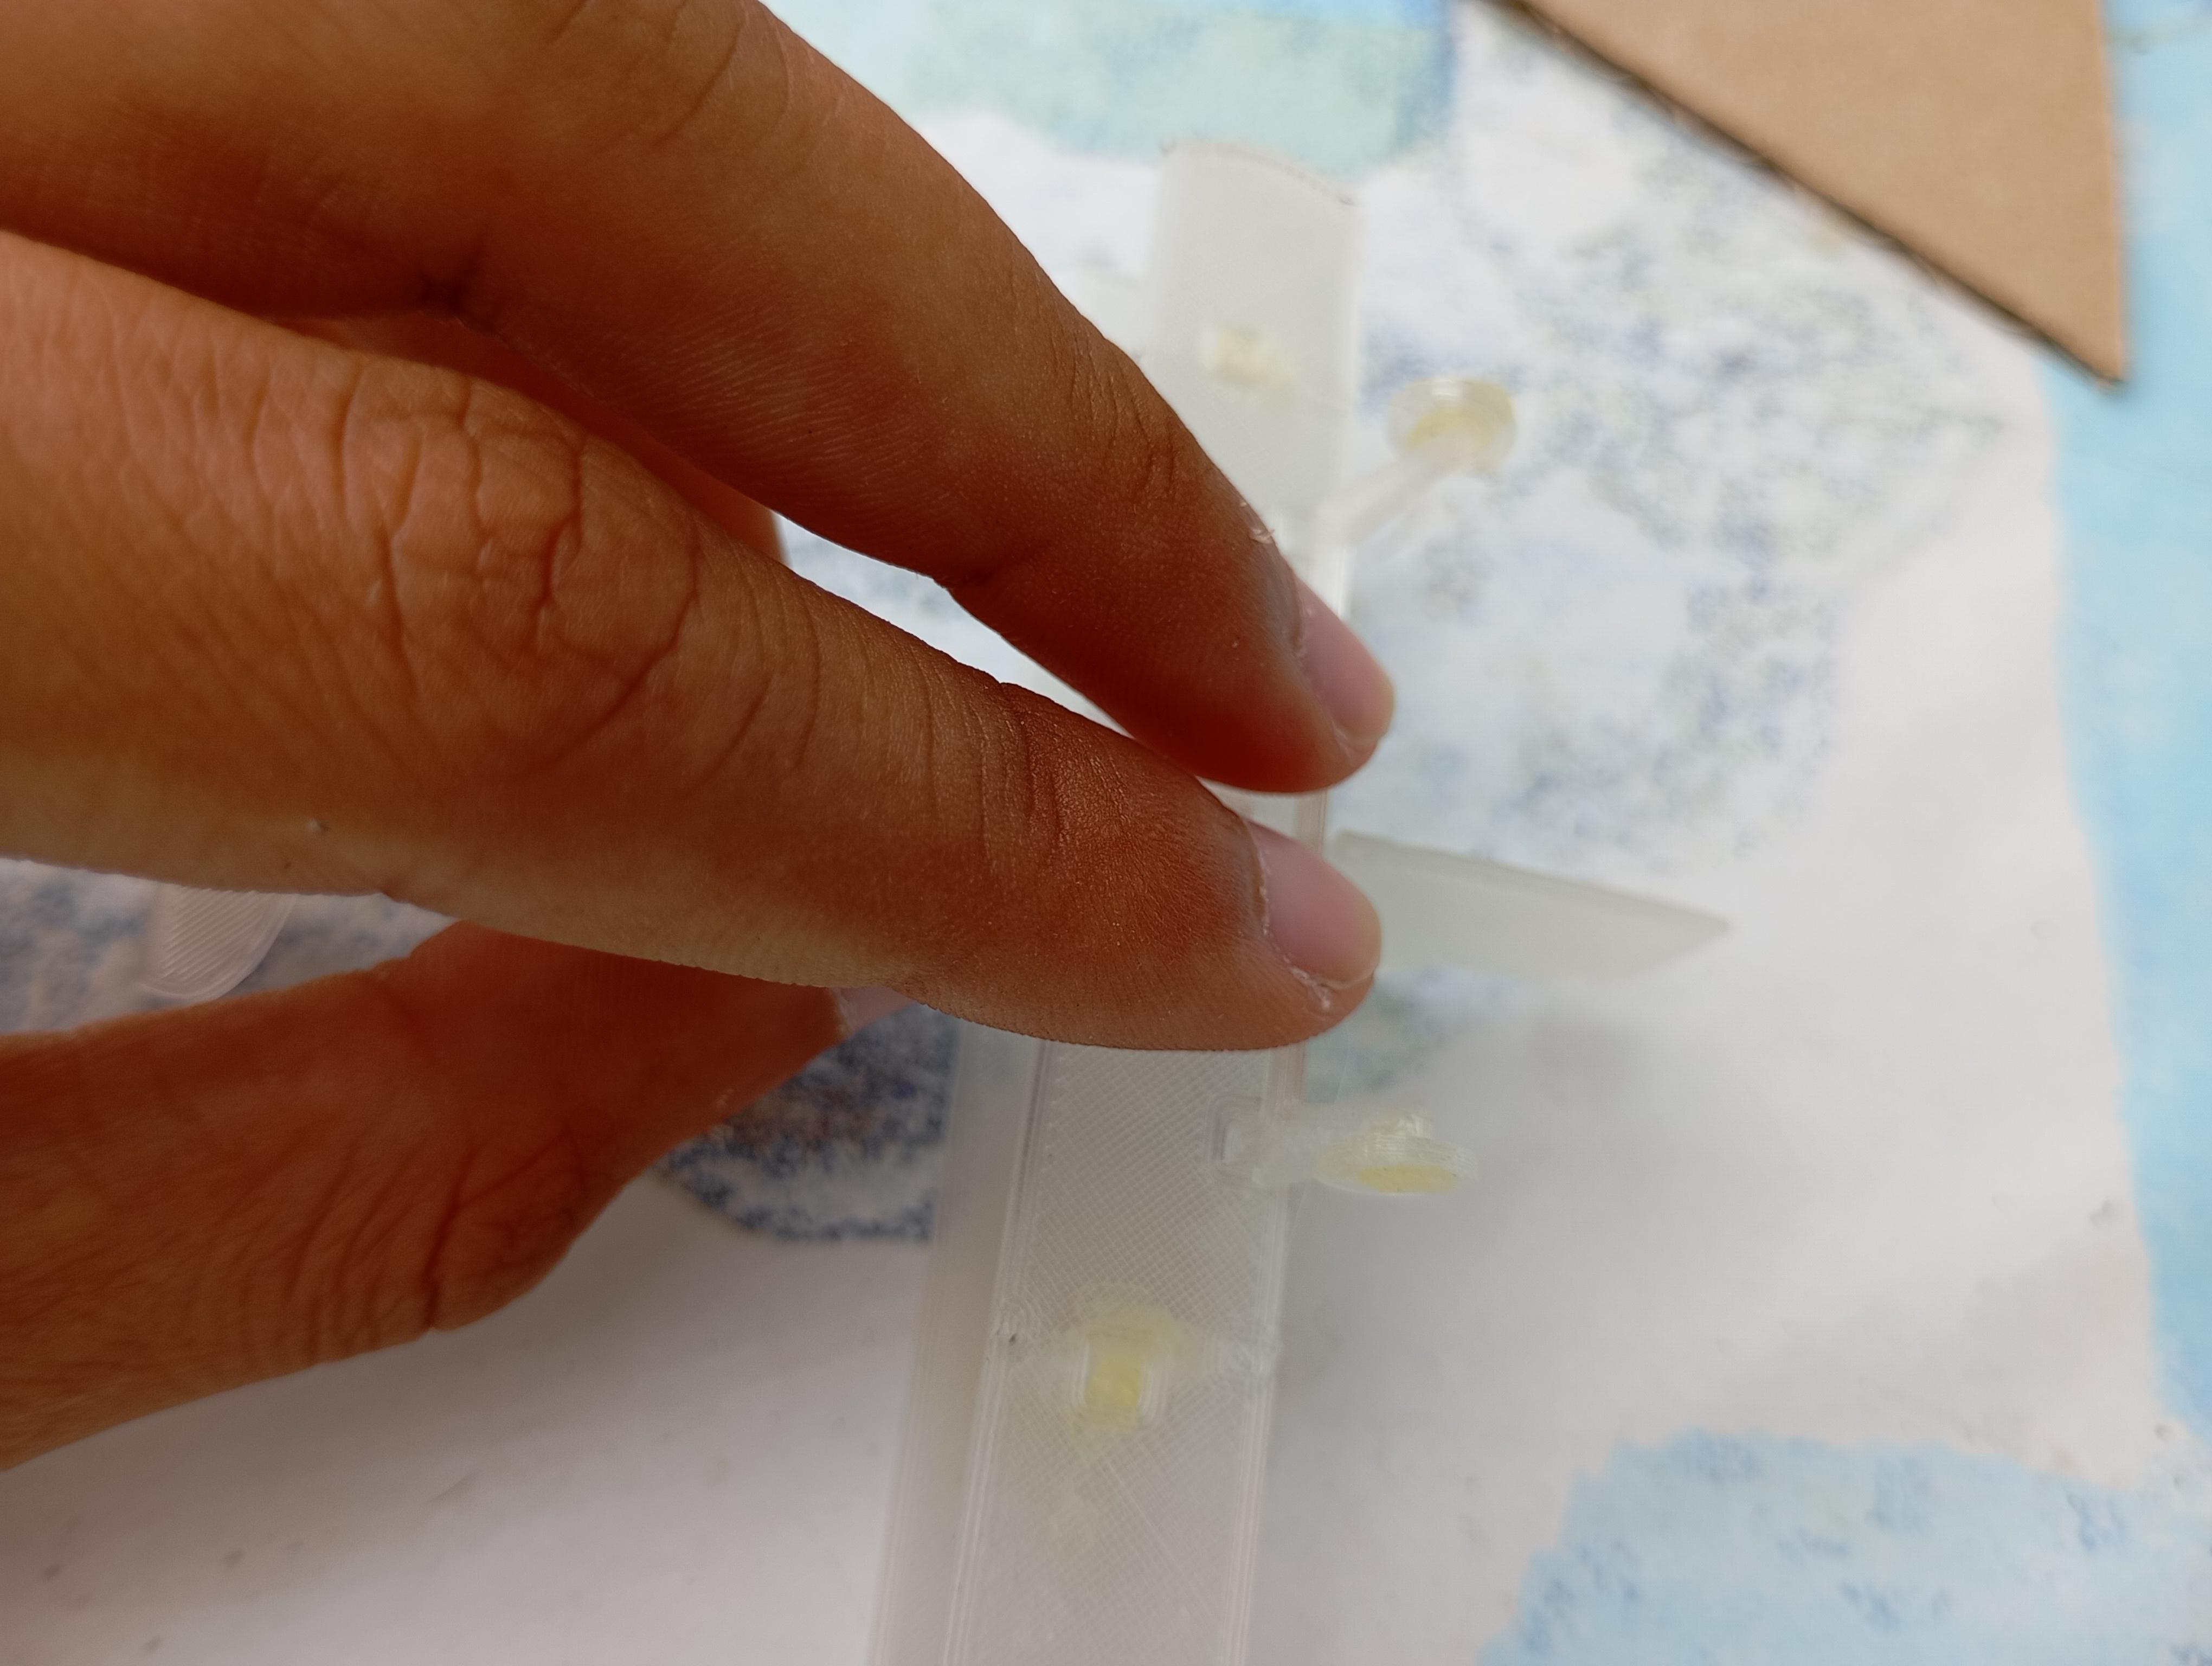
Gluing (Optional)
- If you prefer a permanent assembly, you can glue the parts once you’ve completed the puzzle.
- I applied a small amount of glue to the contact points and held the parts in place until the glue set.
Painting (Optional)
Since I used glow-in-the-dark filament, I didn't paint my model. However, if you want to add colors, here’s how:
- Use acrylic paints and brushes to add colors to your biplane.
- Paint the parts in your desired colors and let them dry completely.
Multi-Color Printing (Optional)
If you want a multi-color biplane without painting:
- Use a multi-filament 3D printer to print different parts in different colors.
- Manually change filaments at specific layers during the print to achieve a multi-color effect.
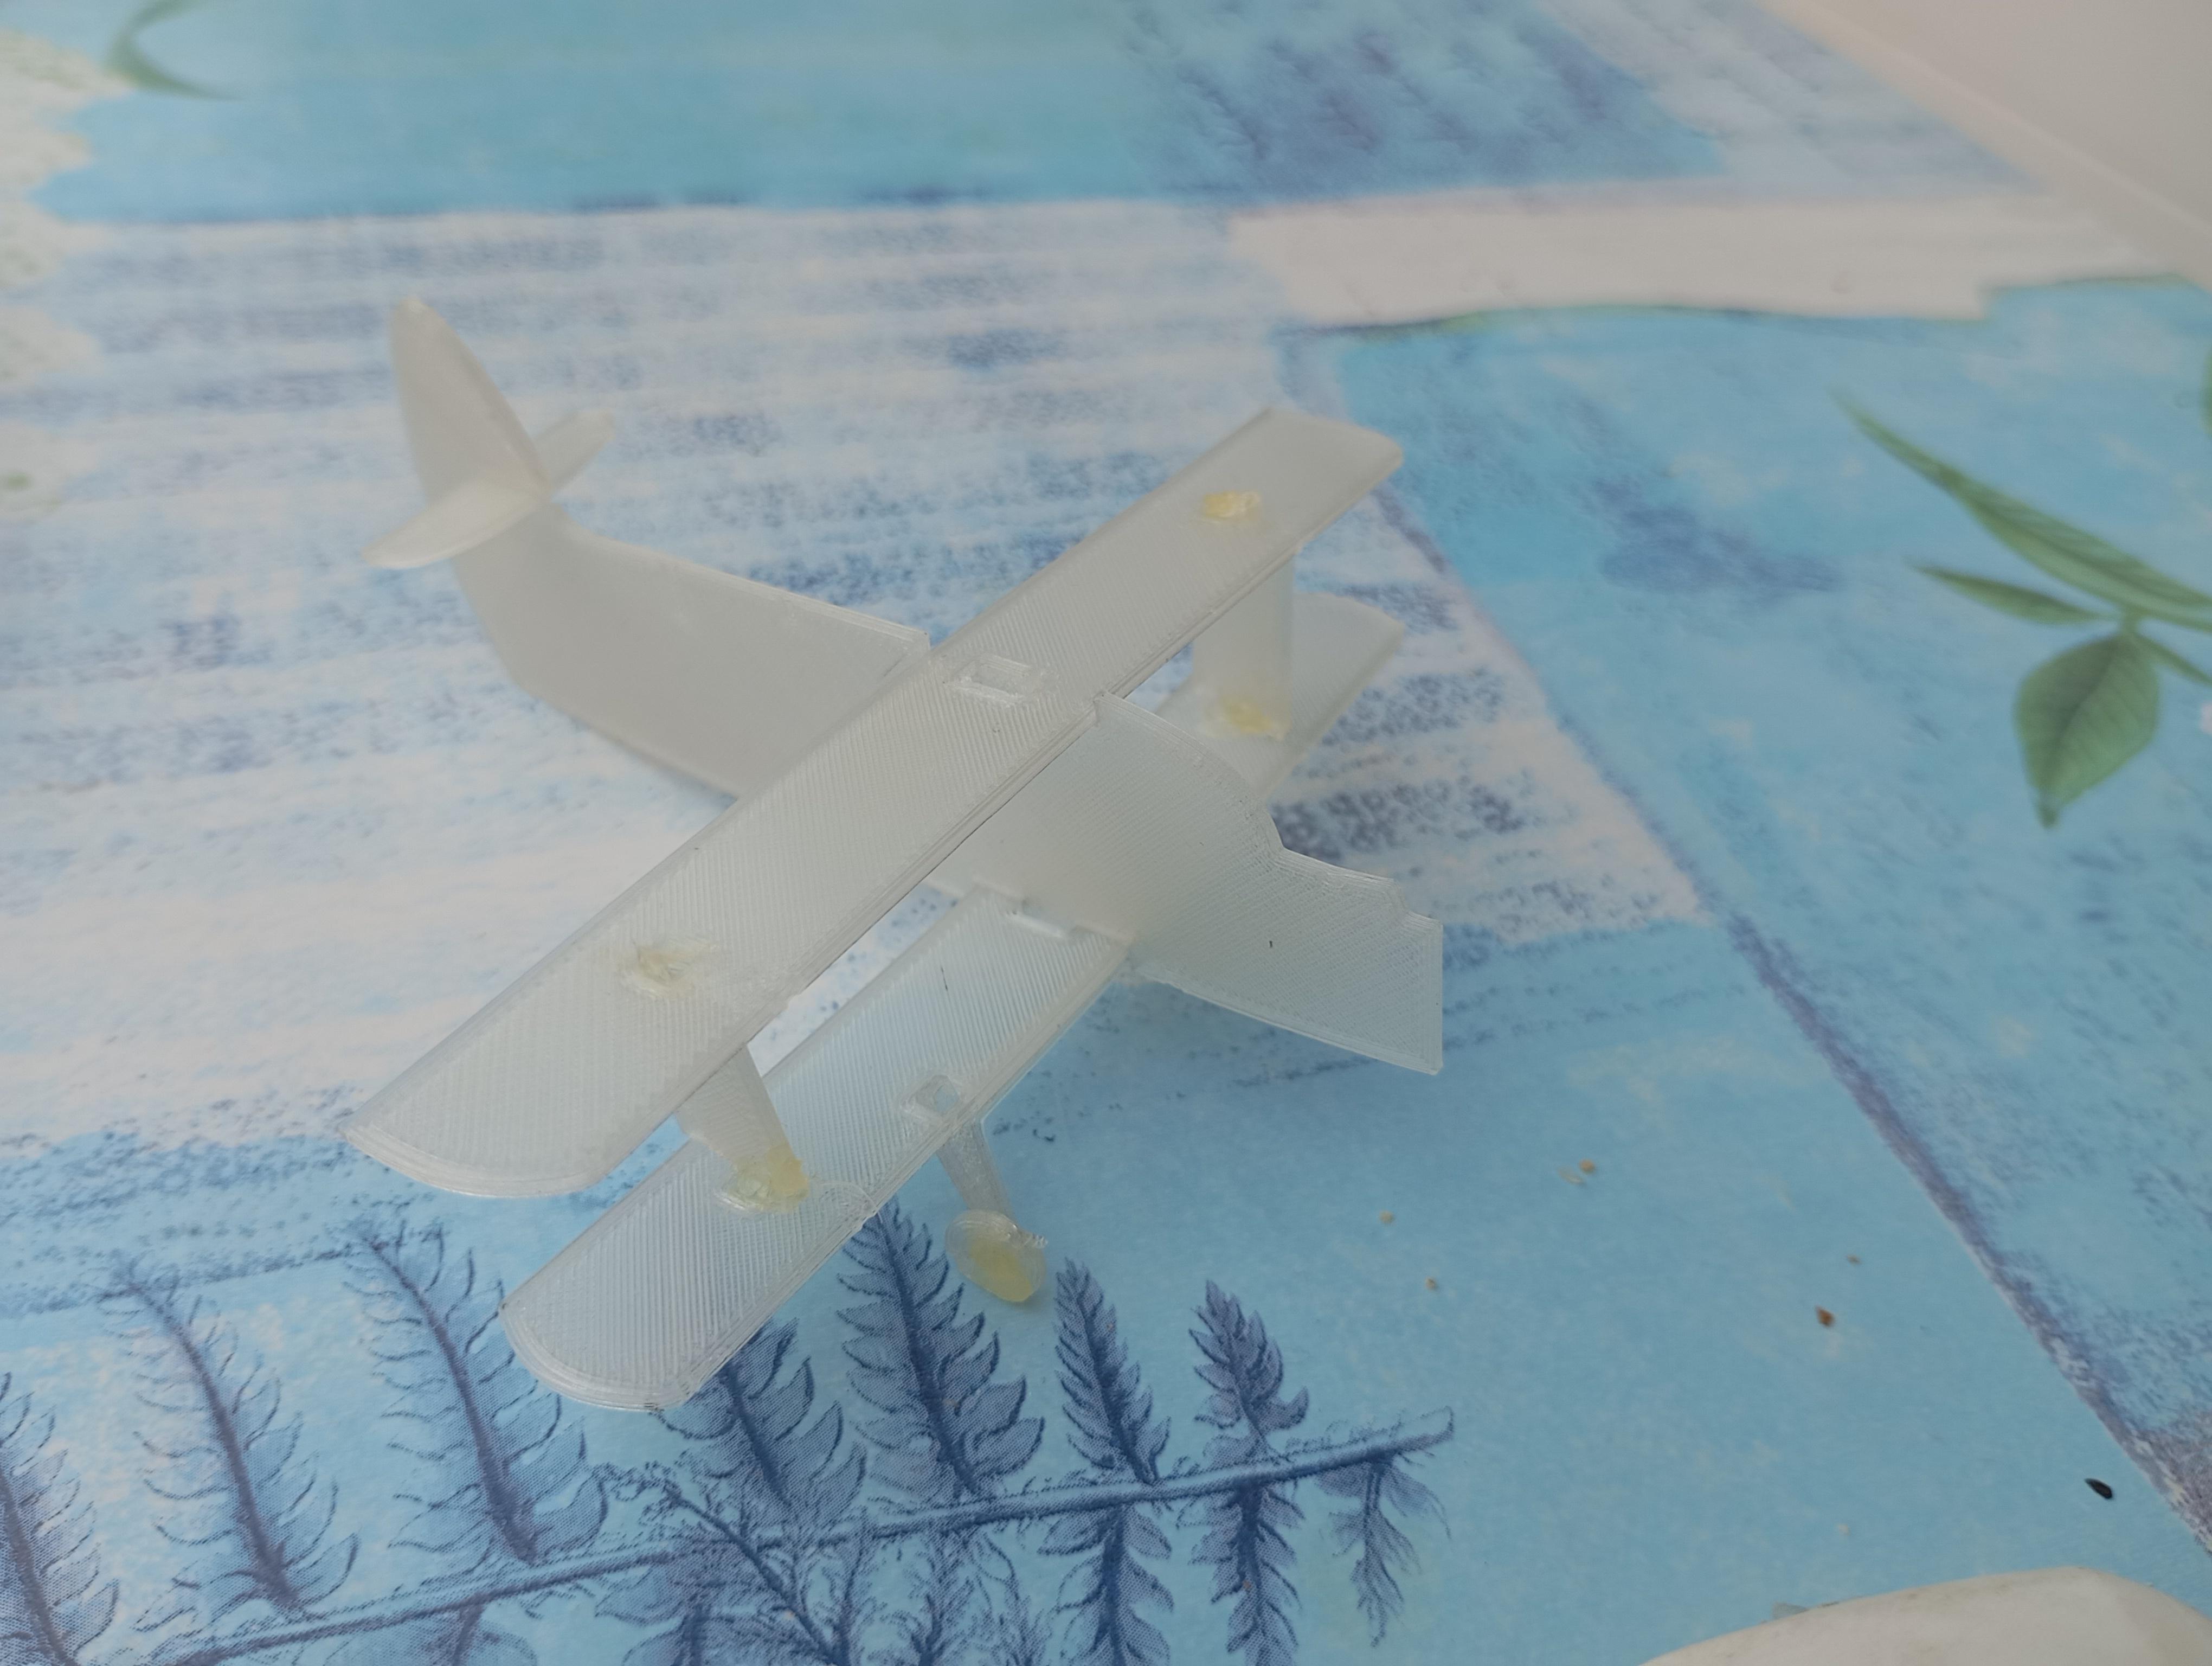
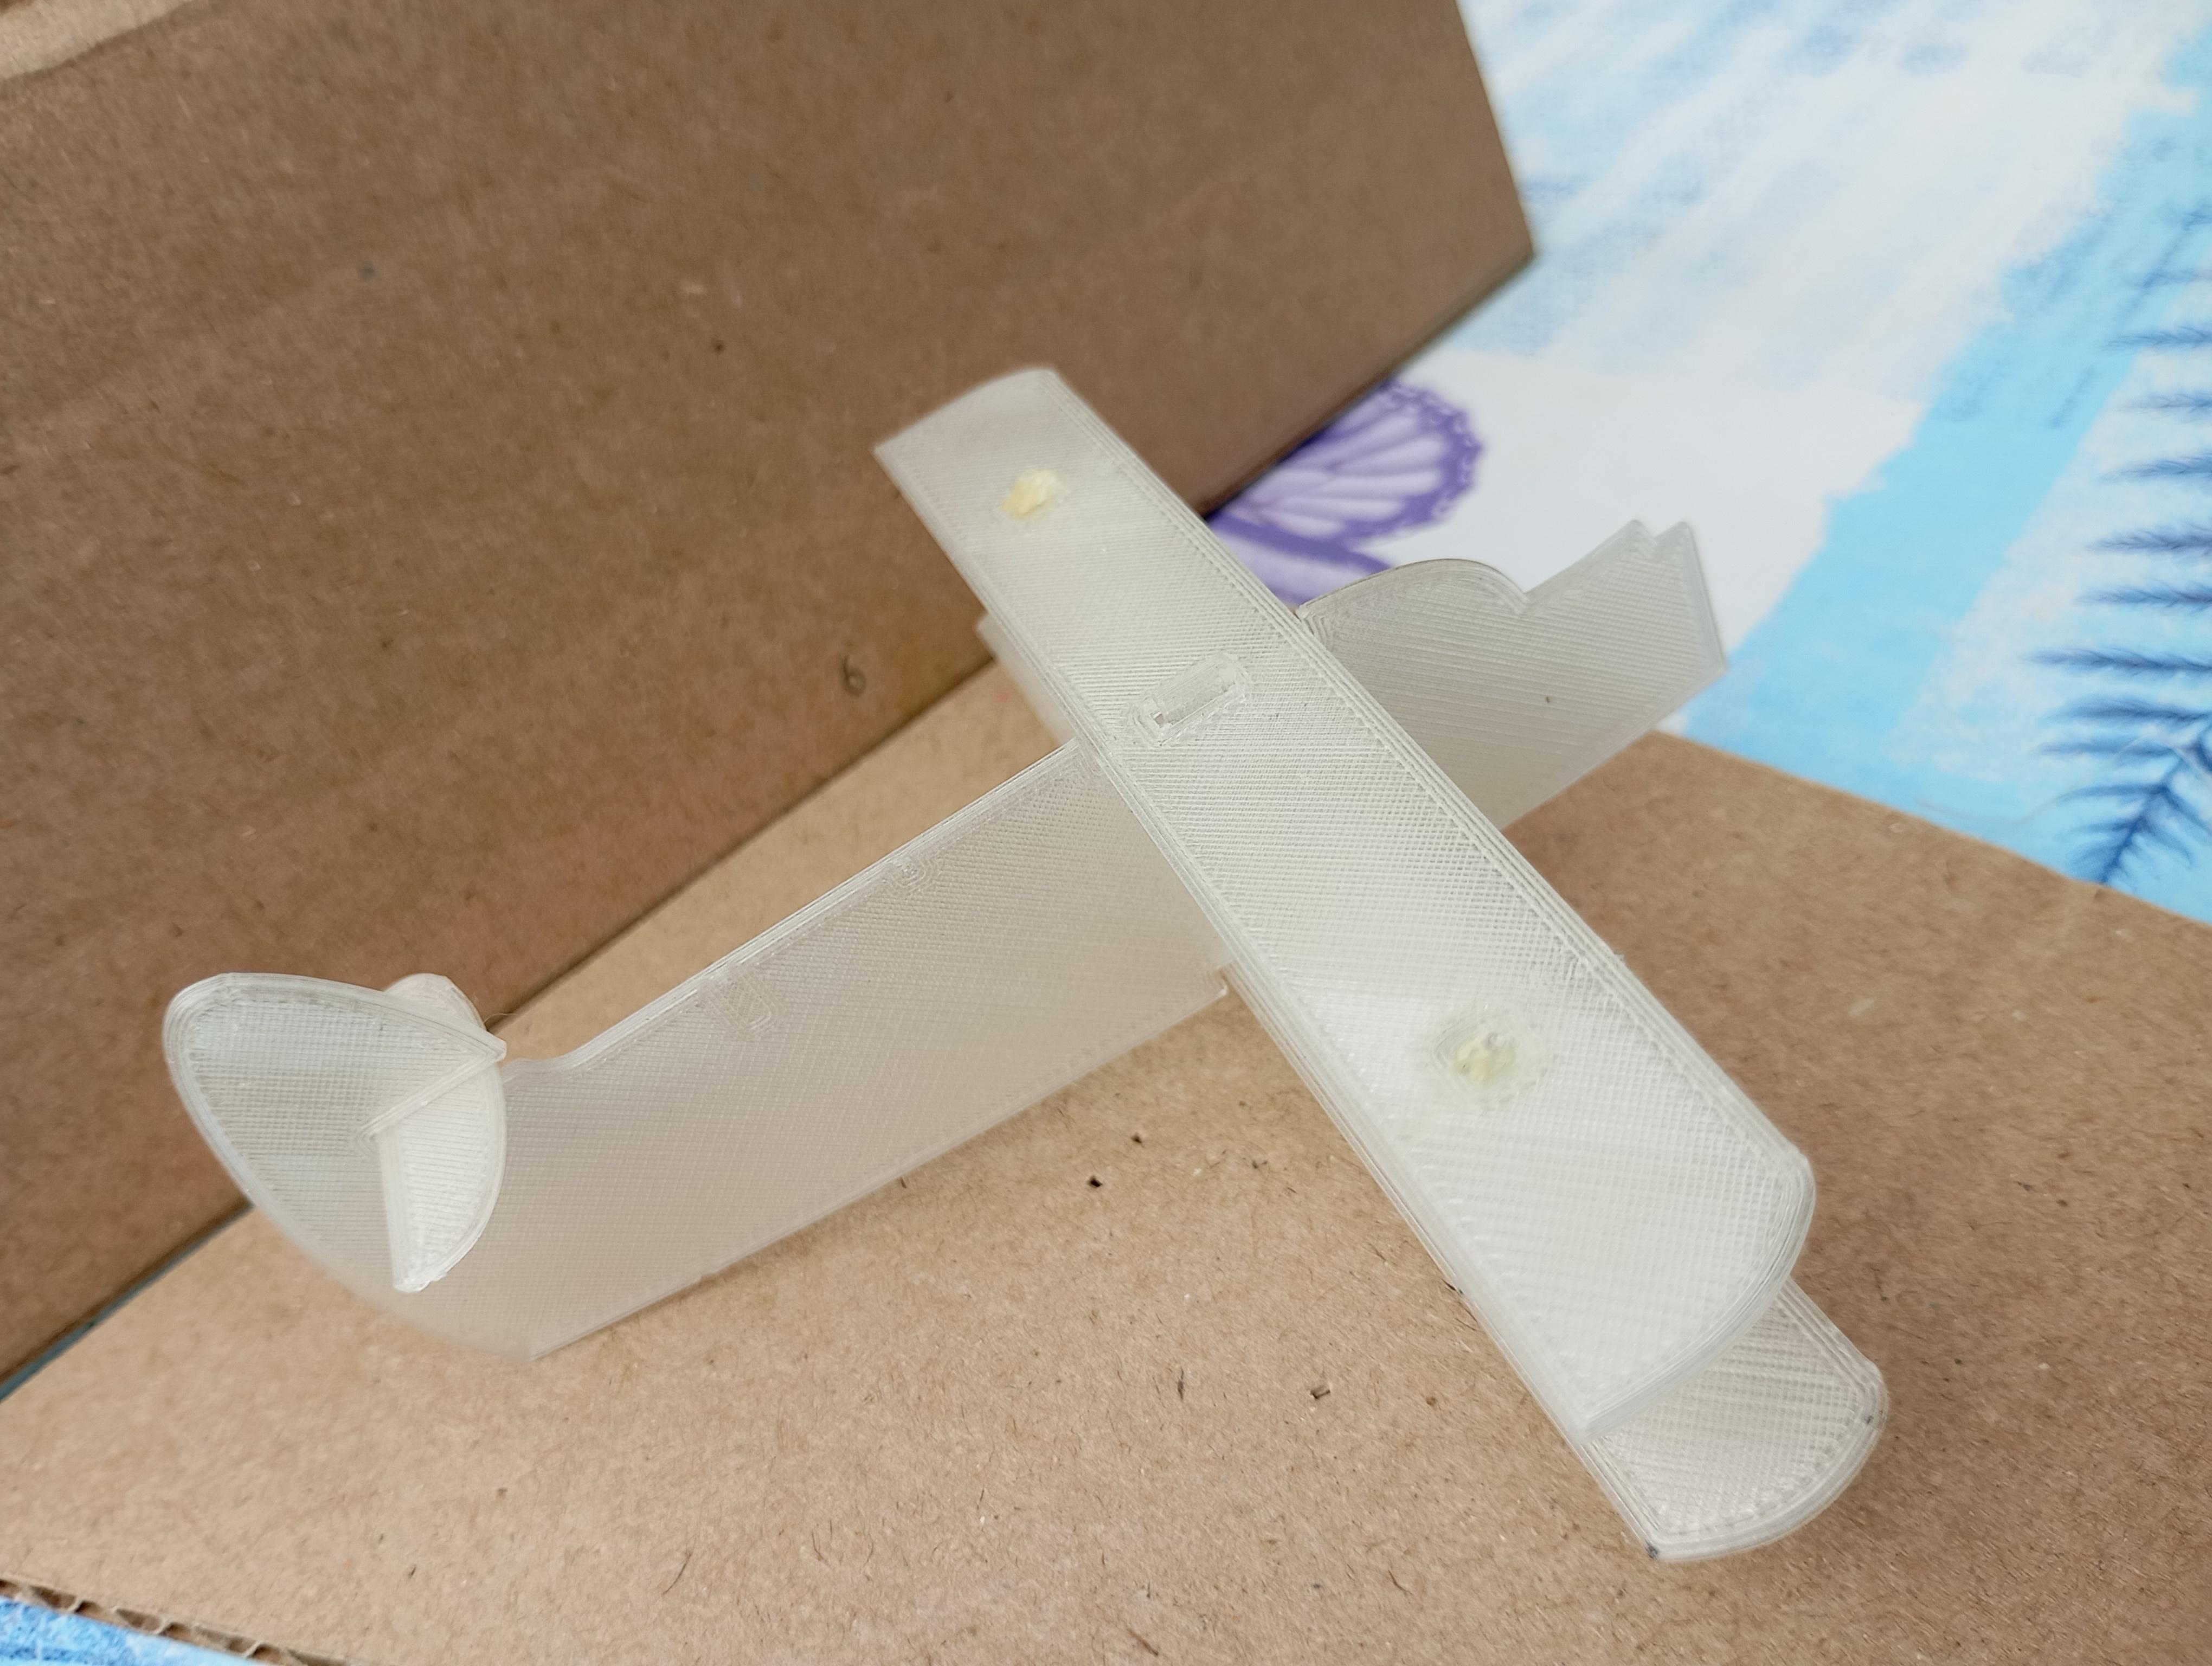
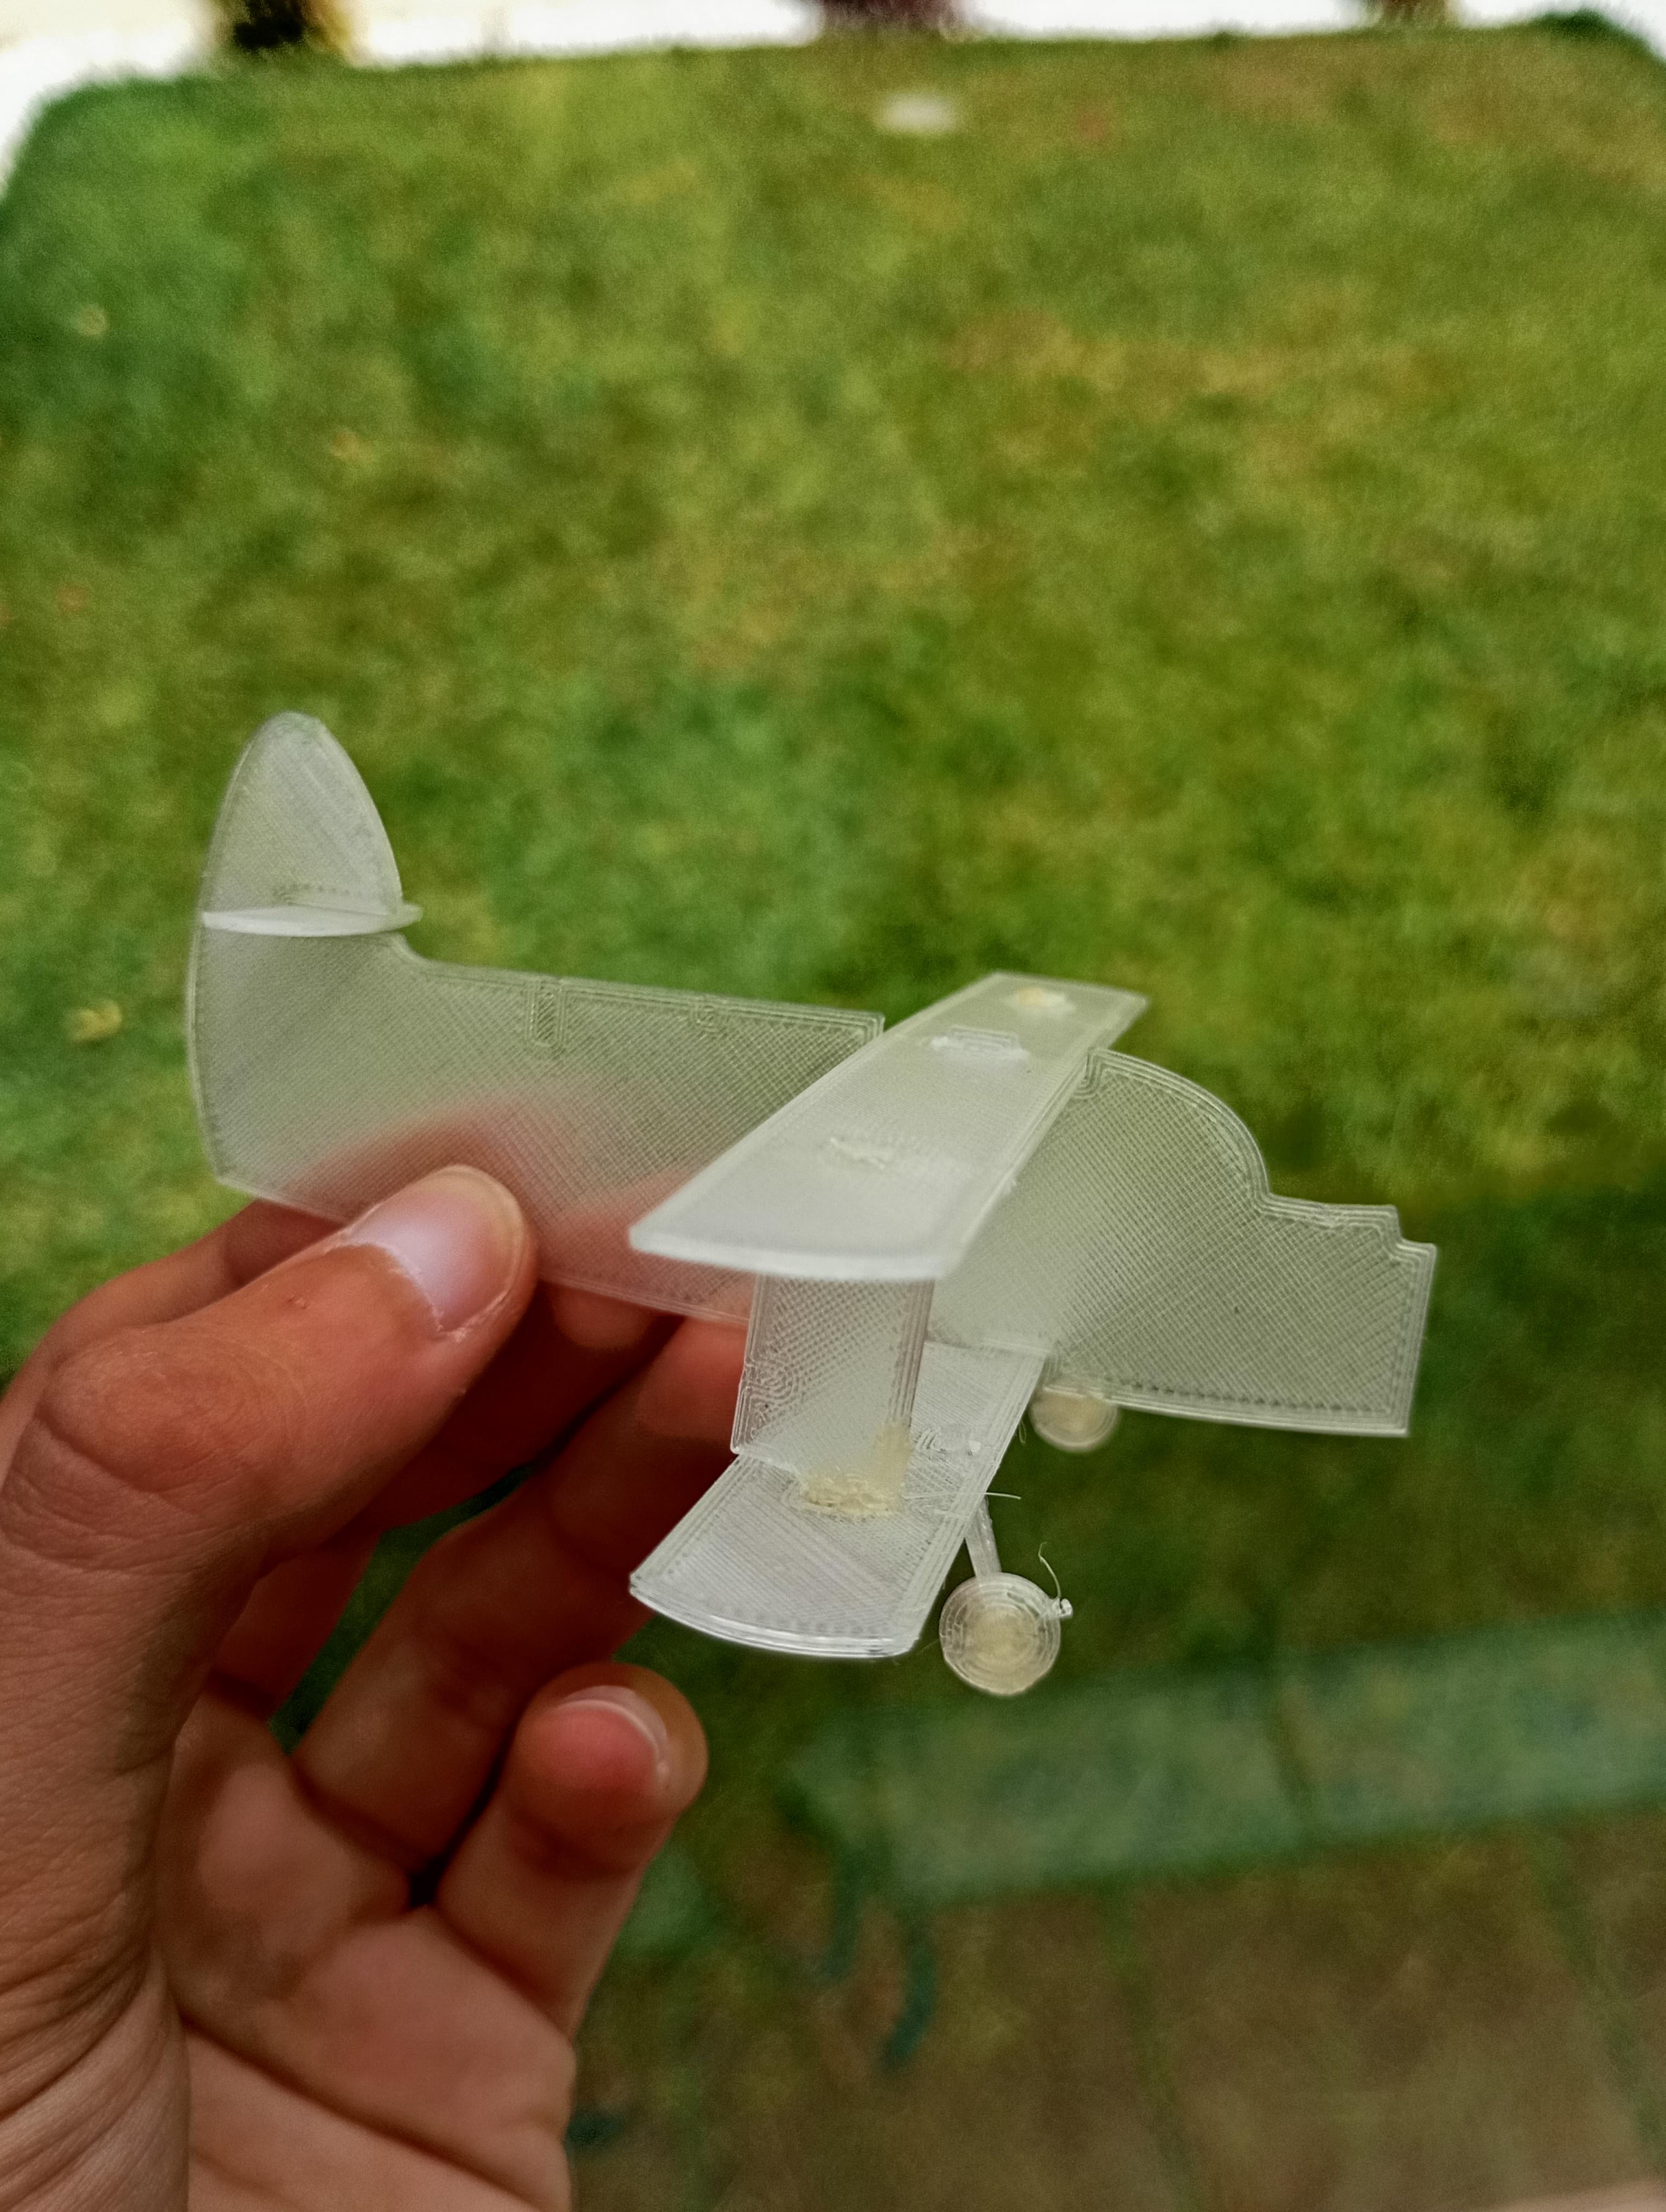
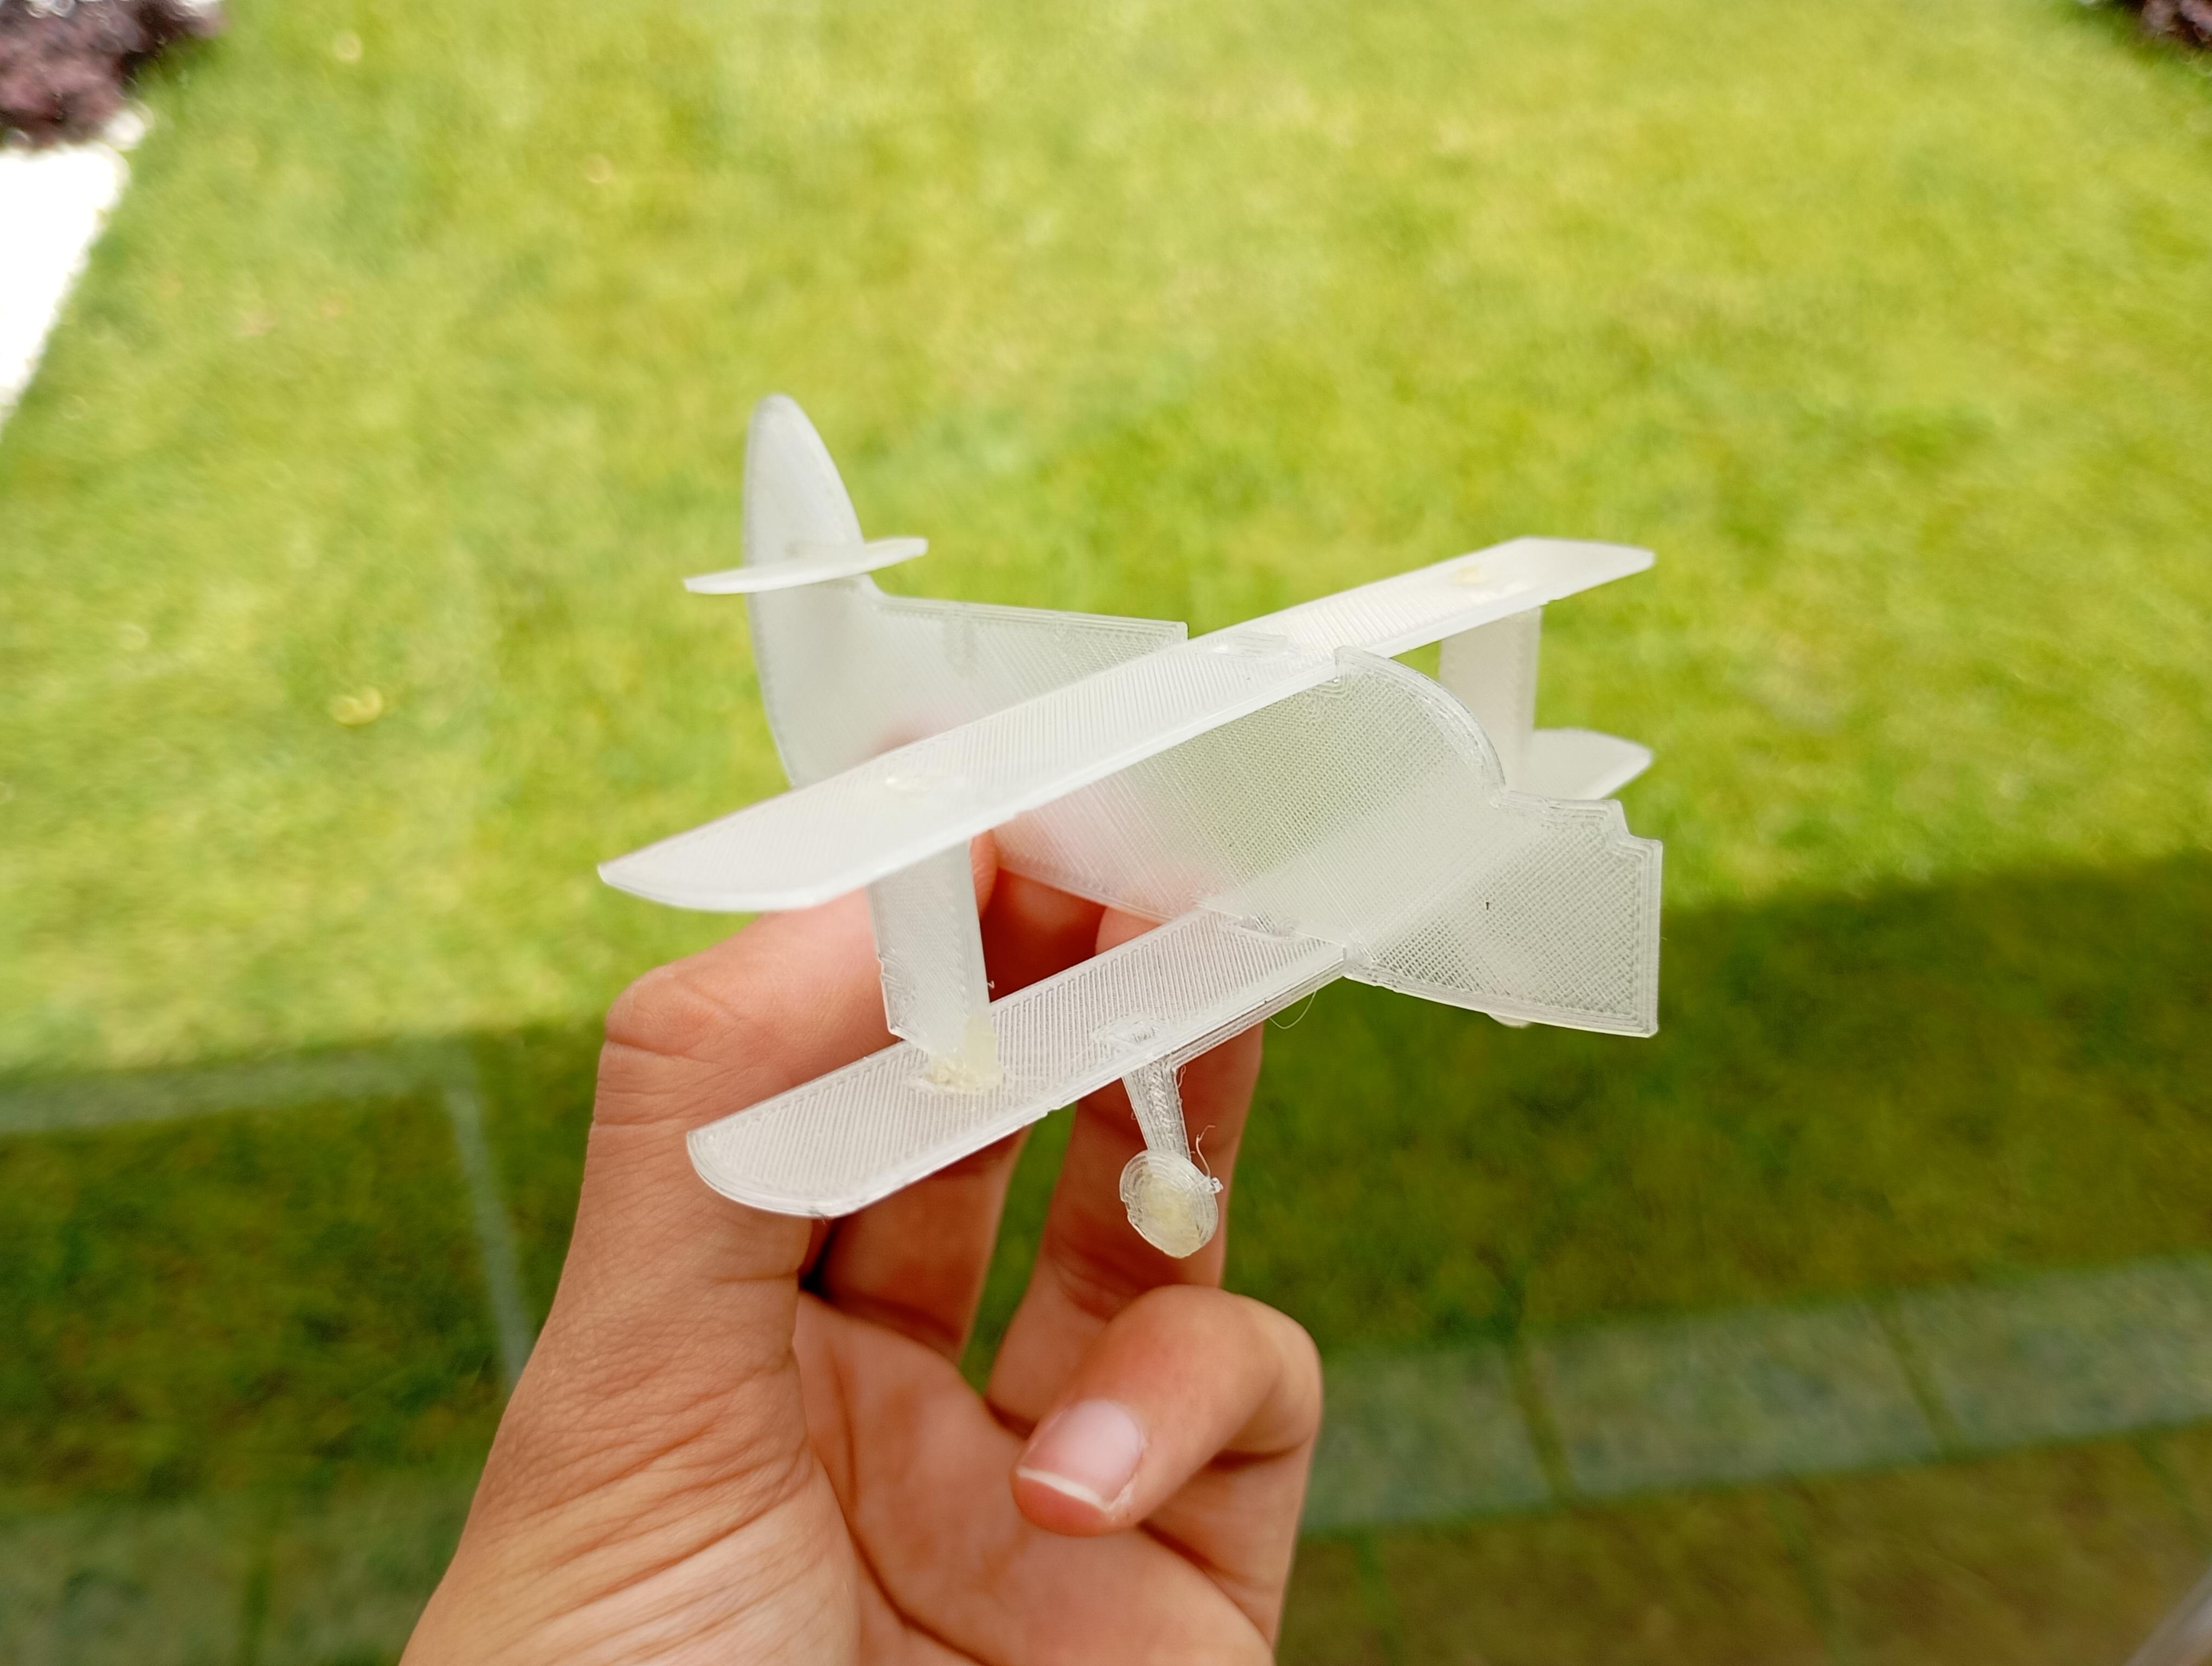
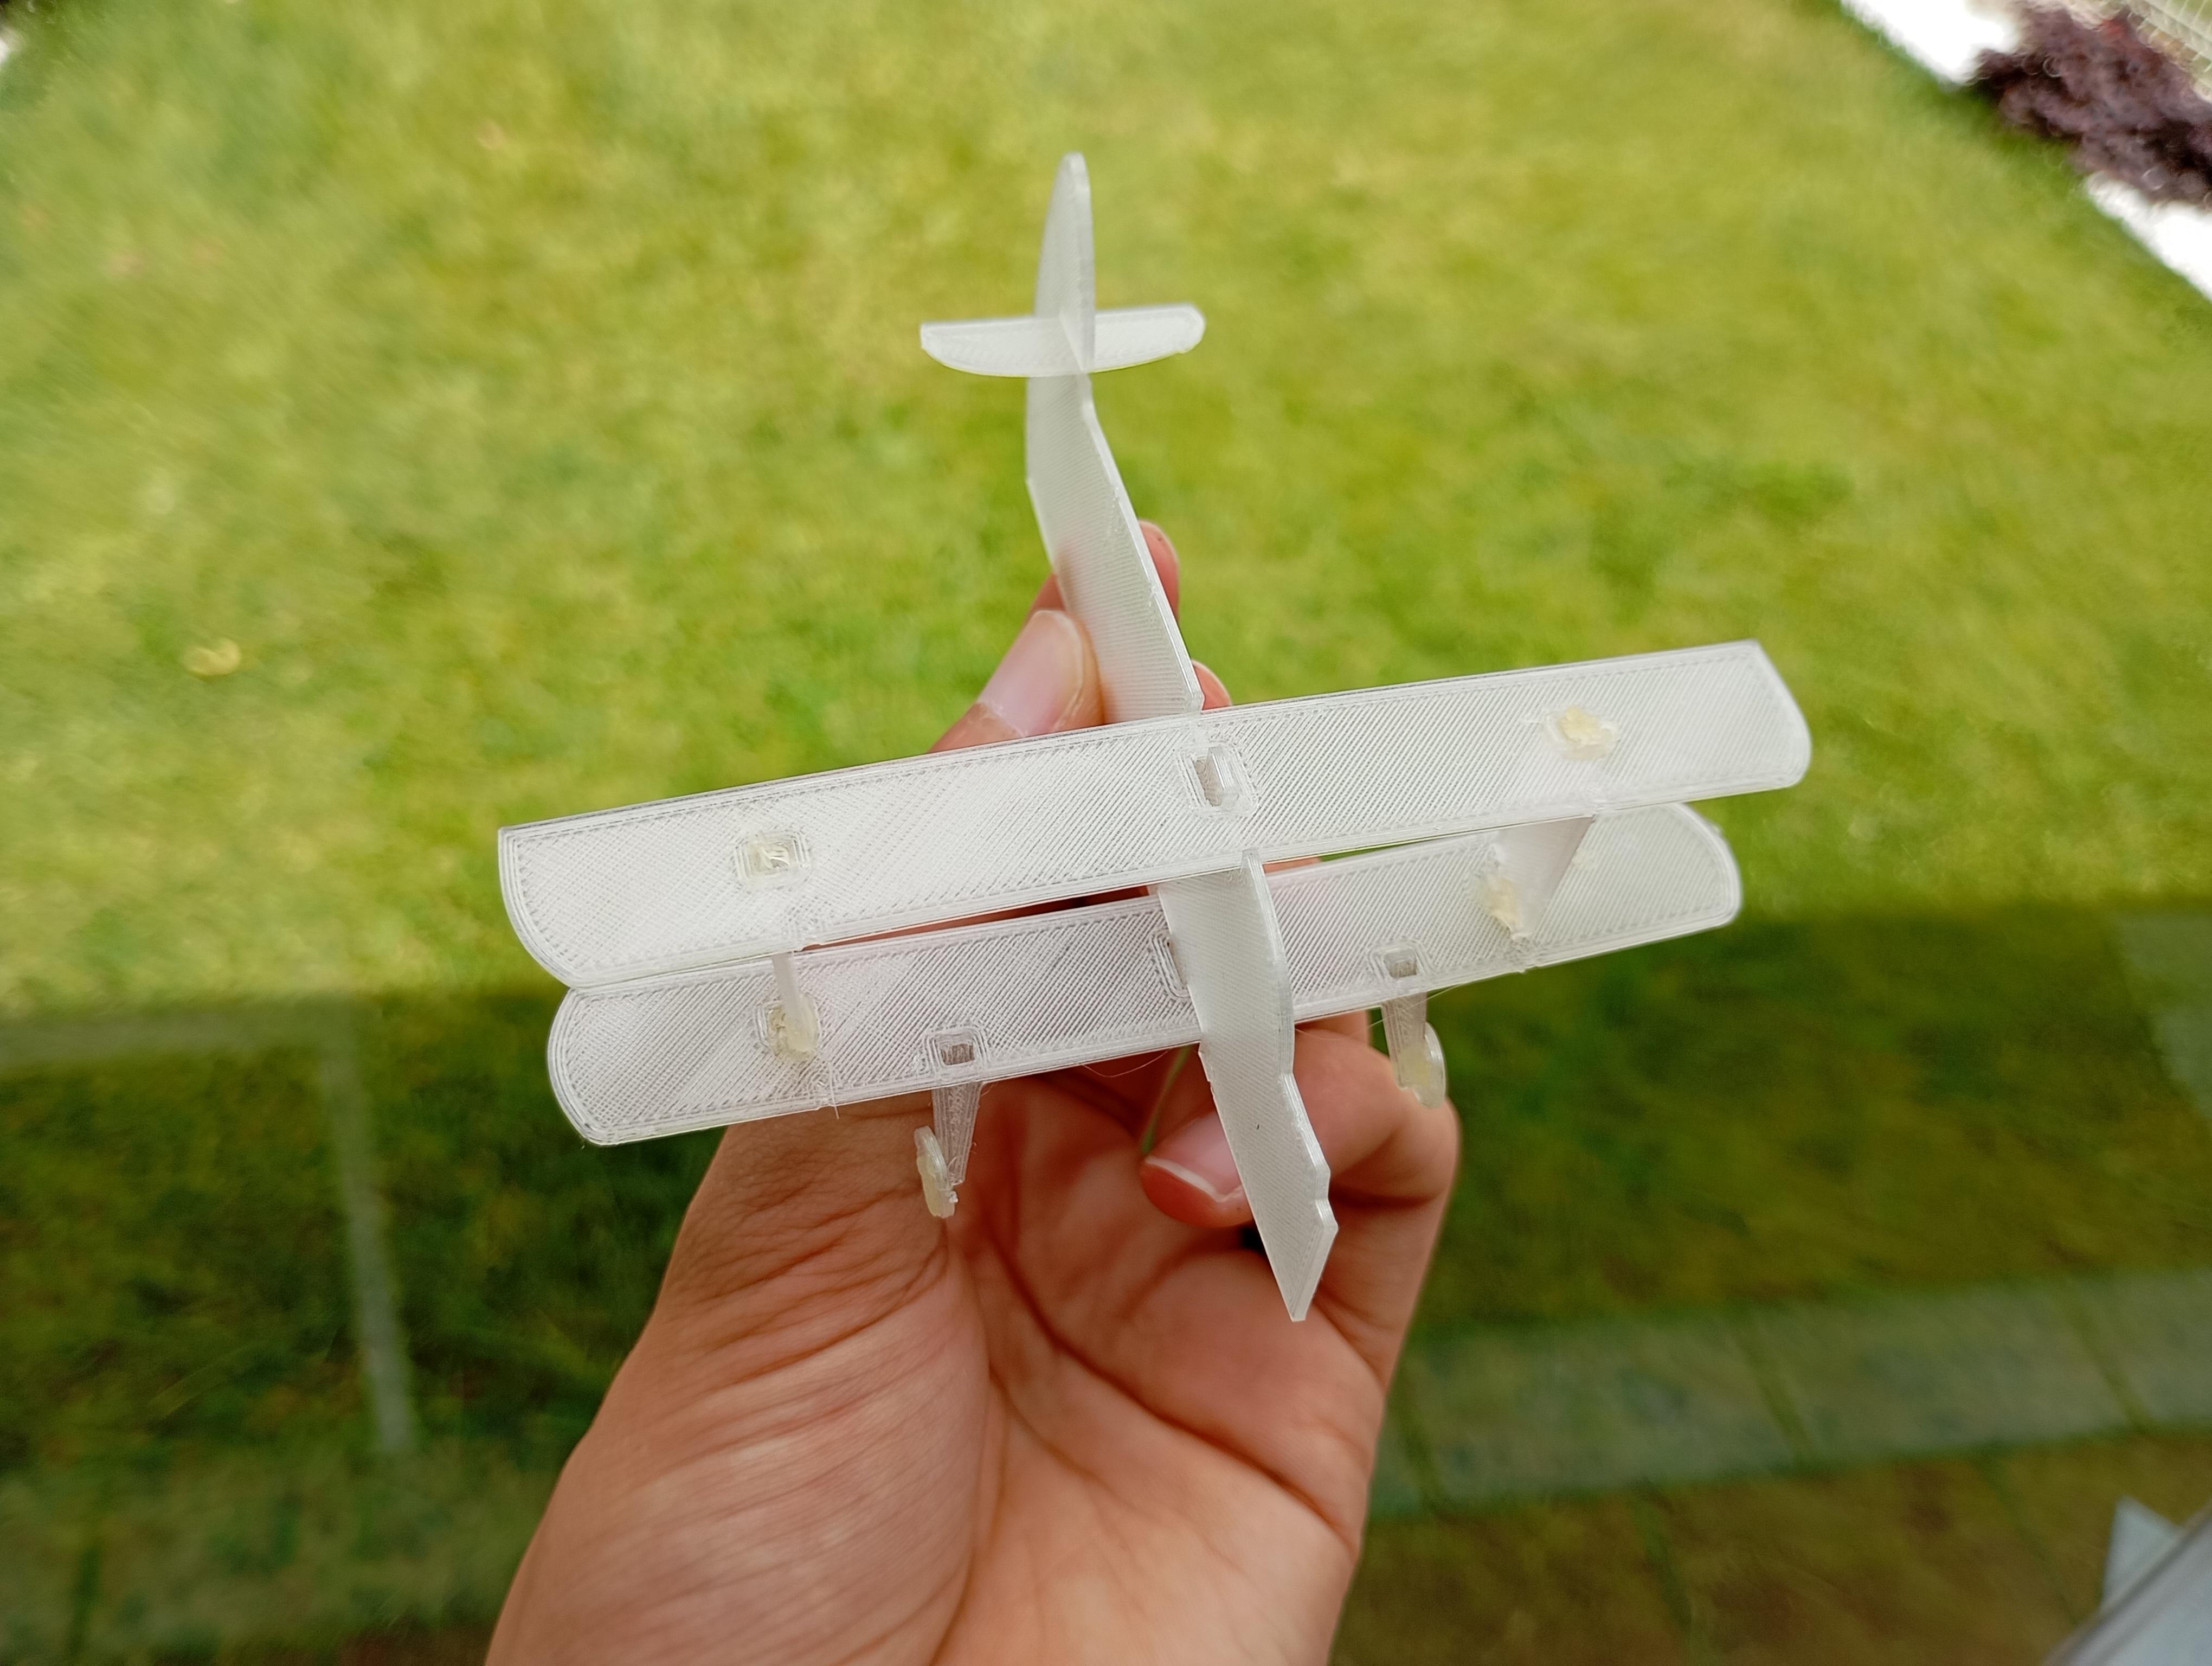
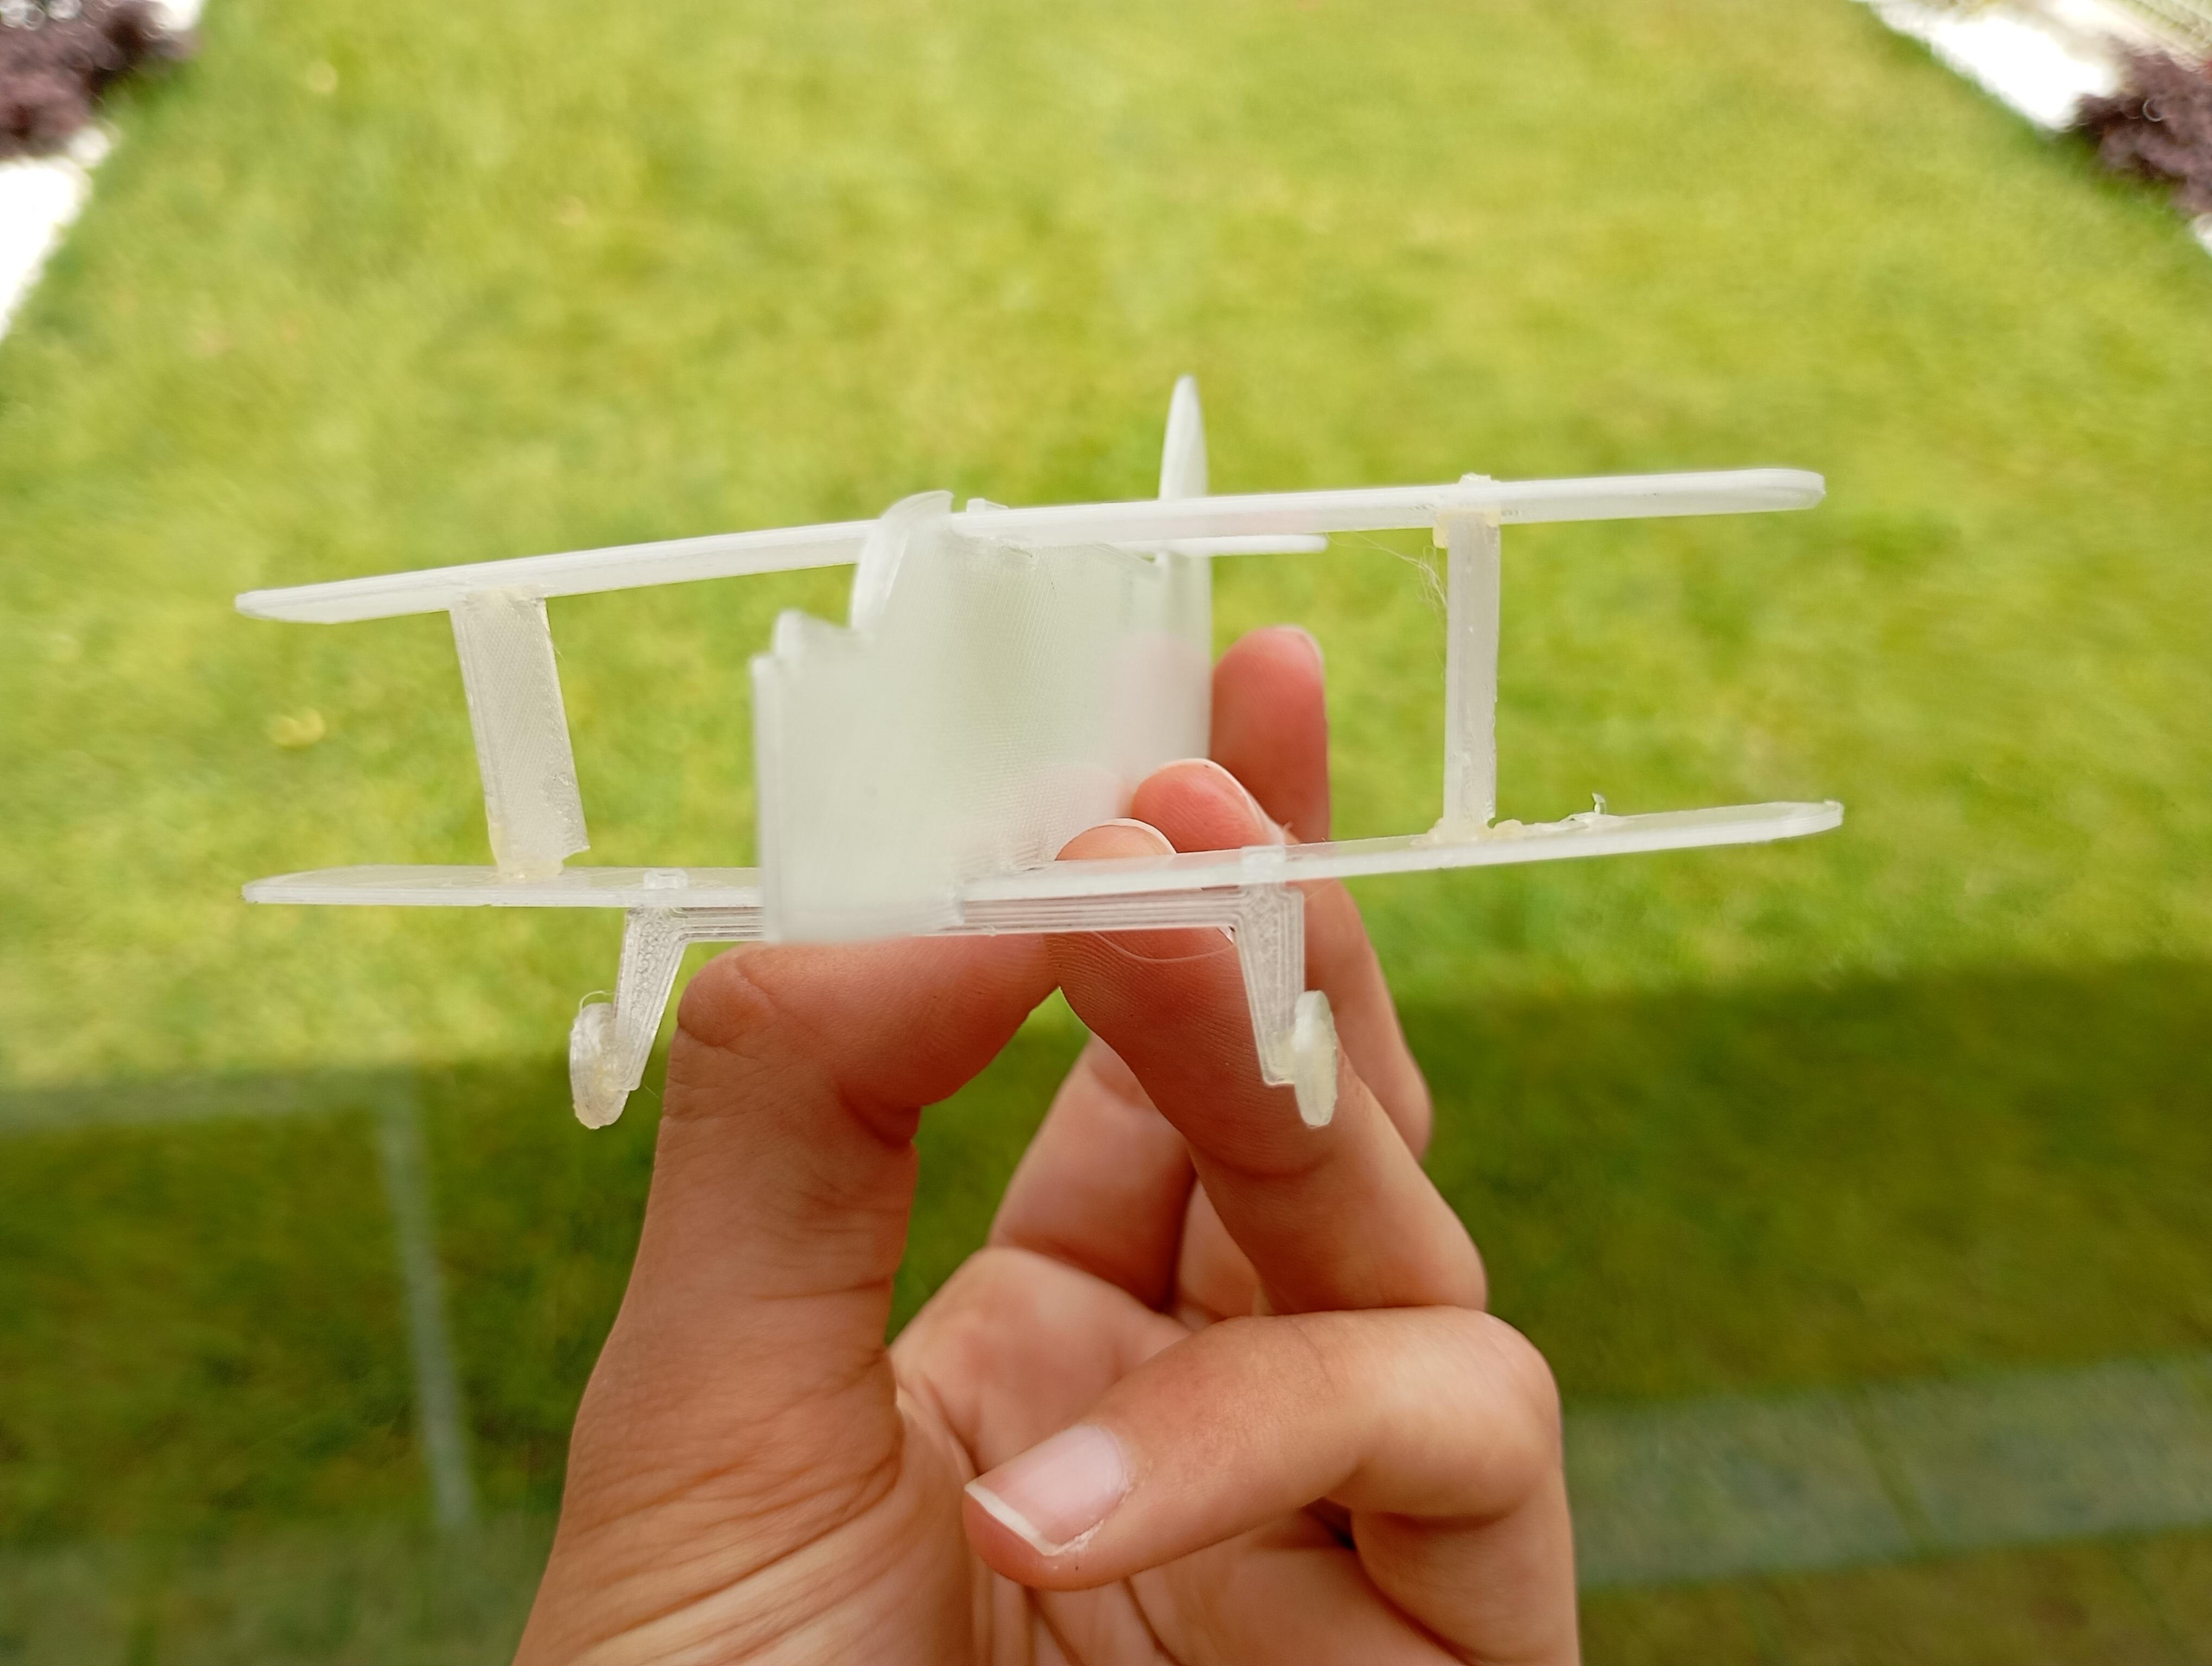
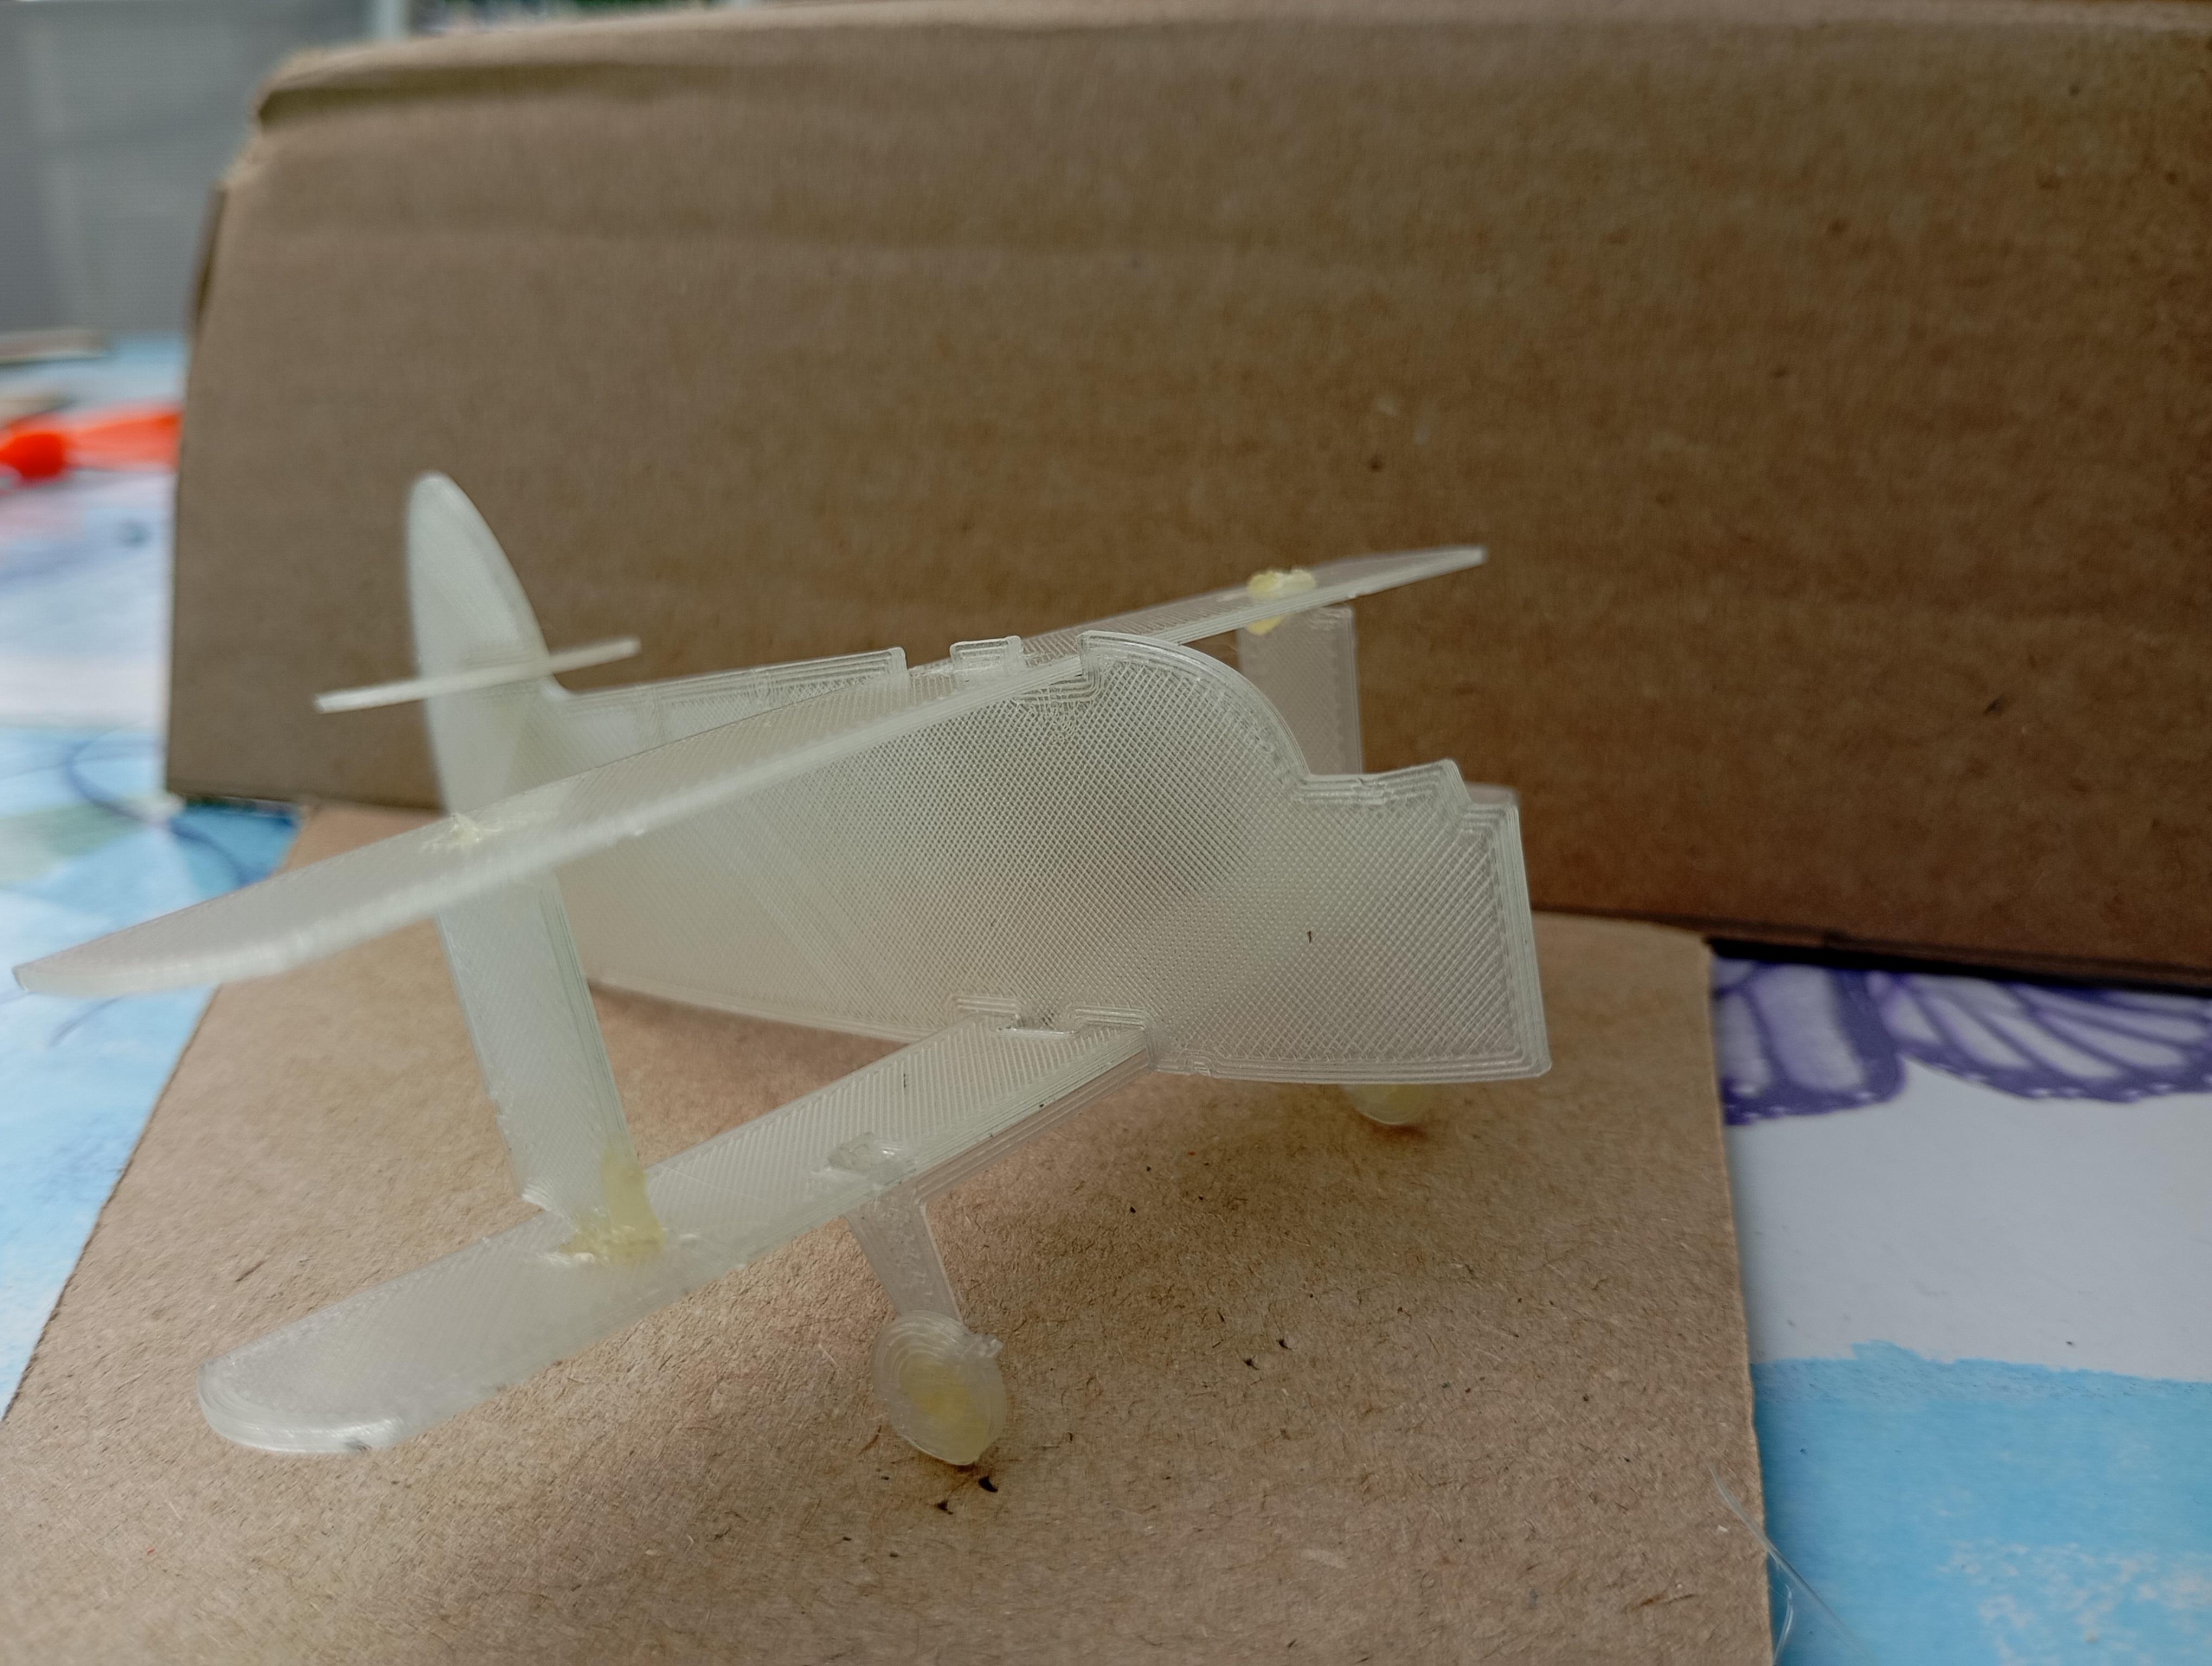
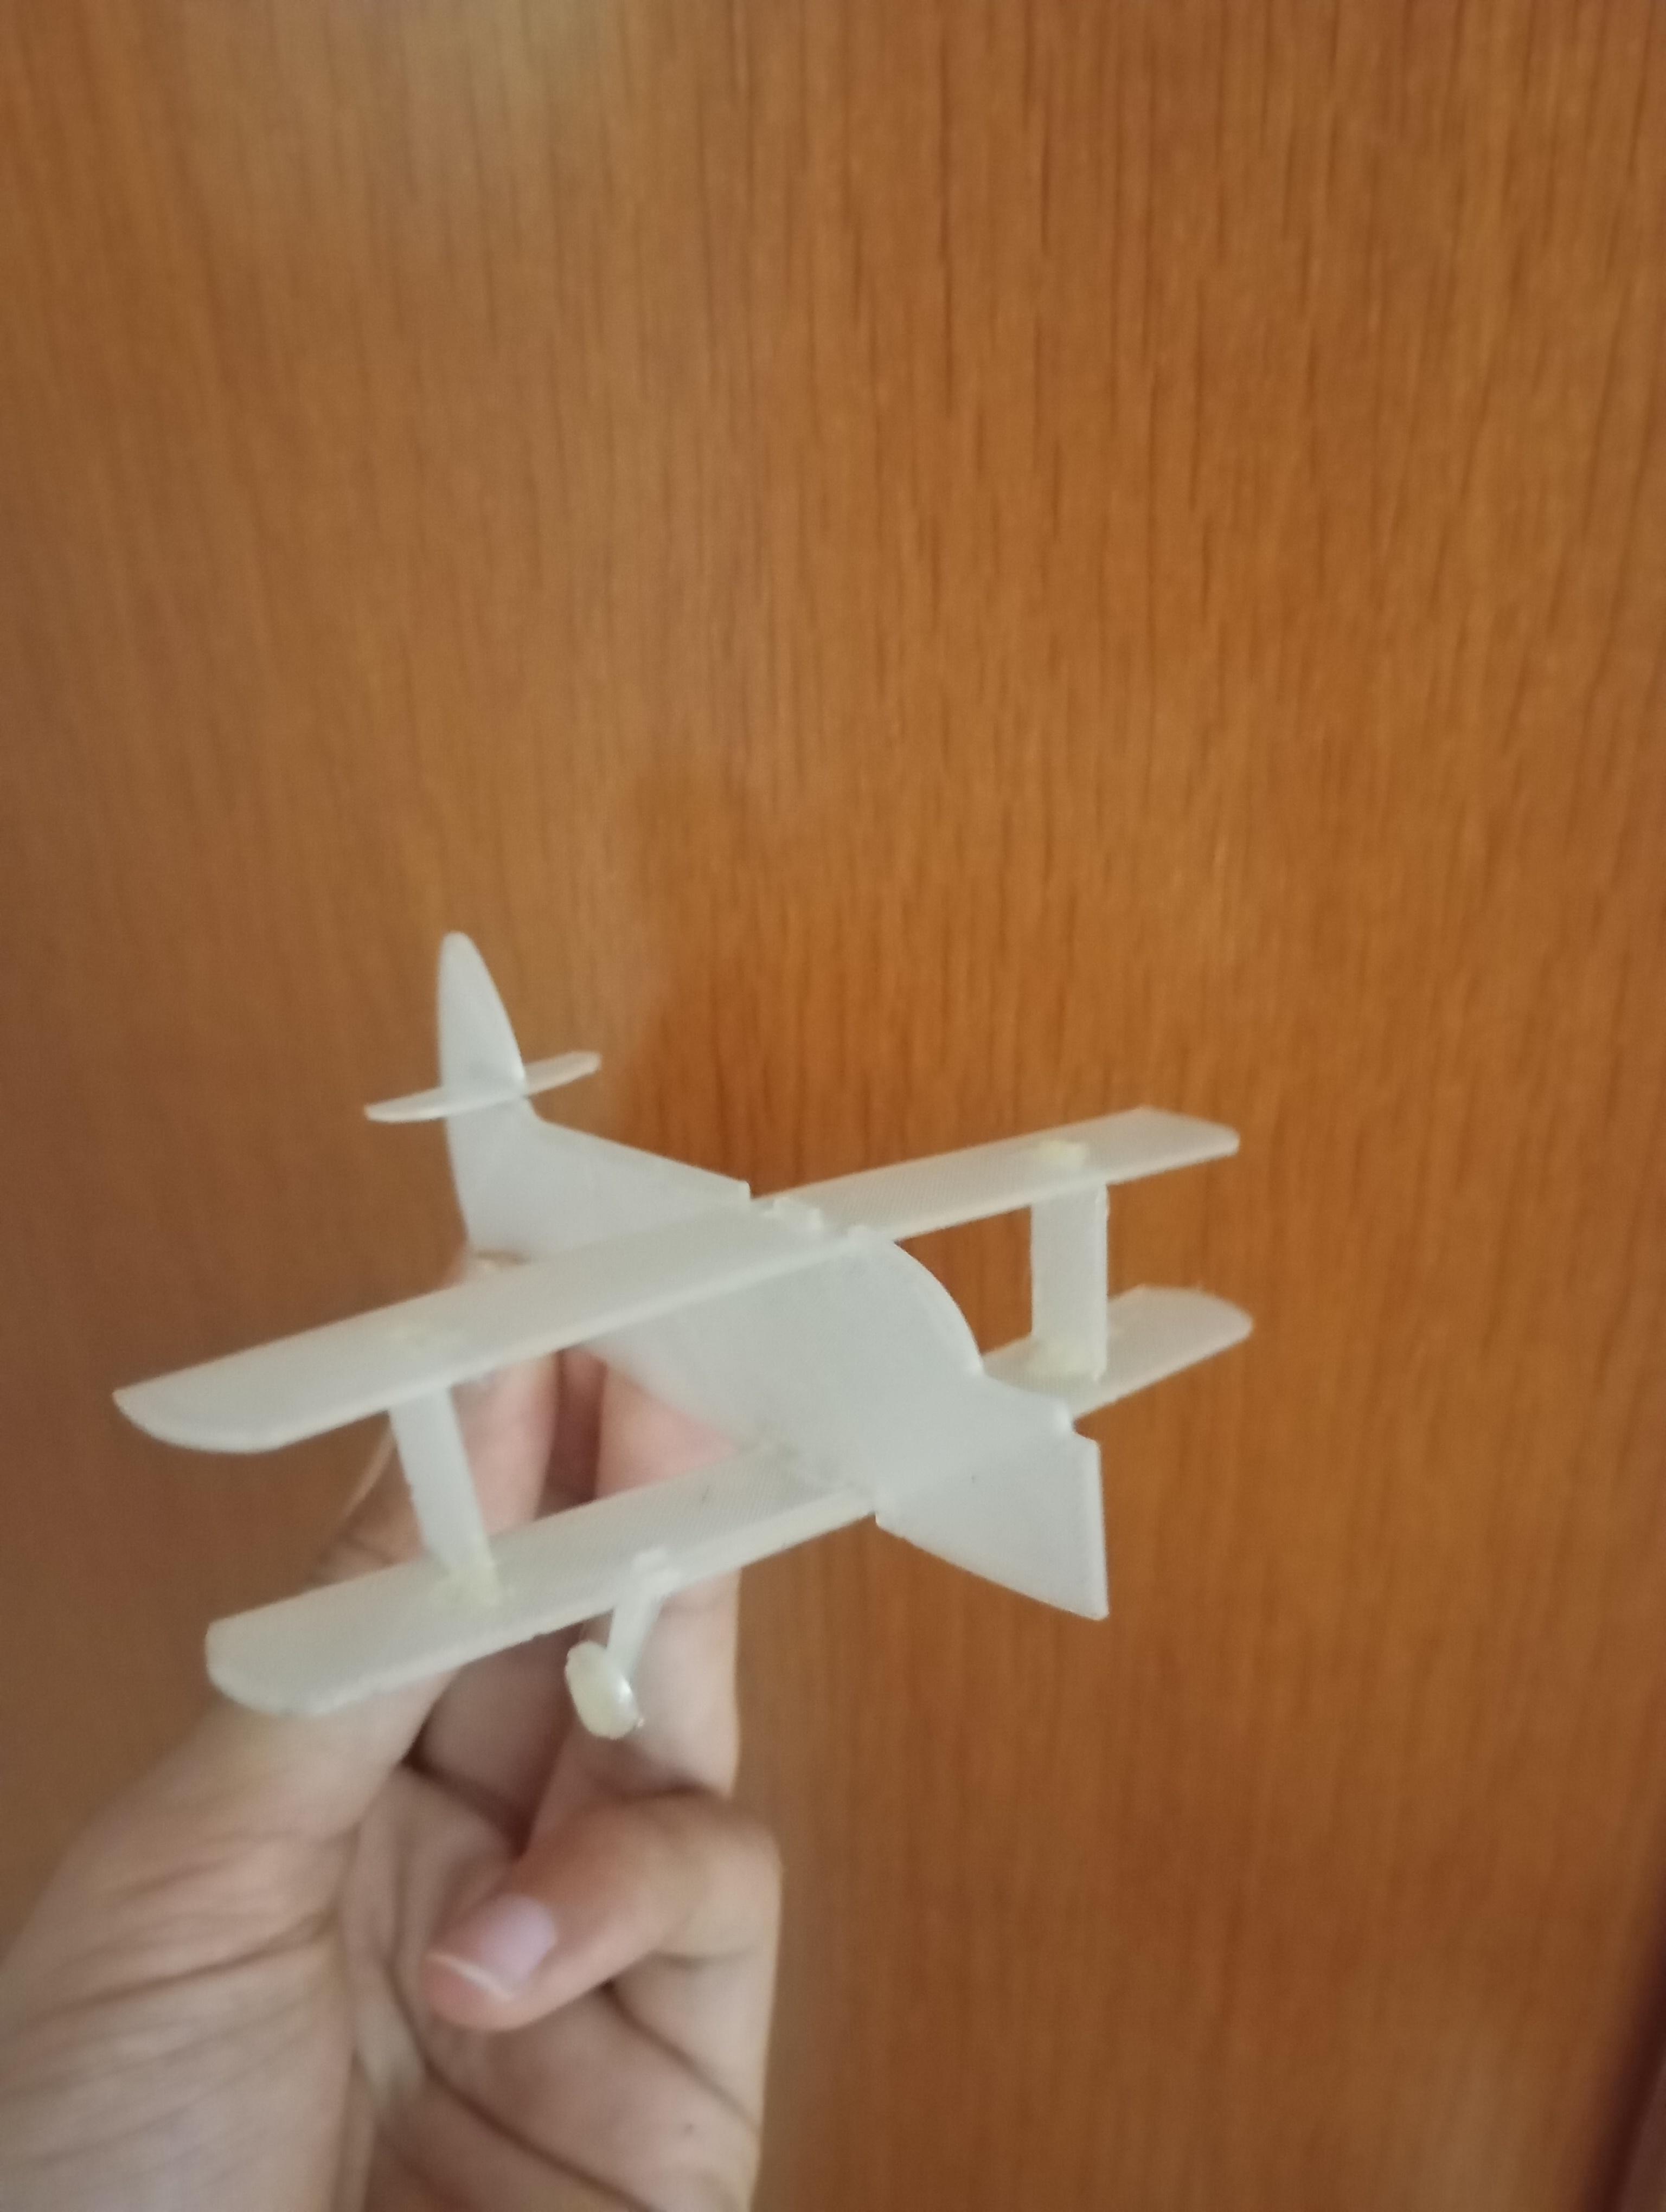
Conclusion
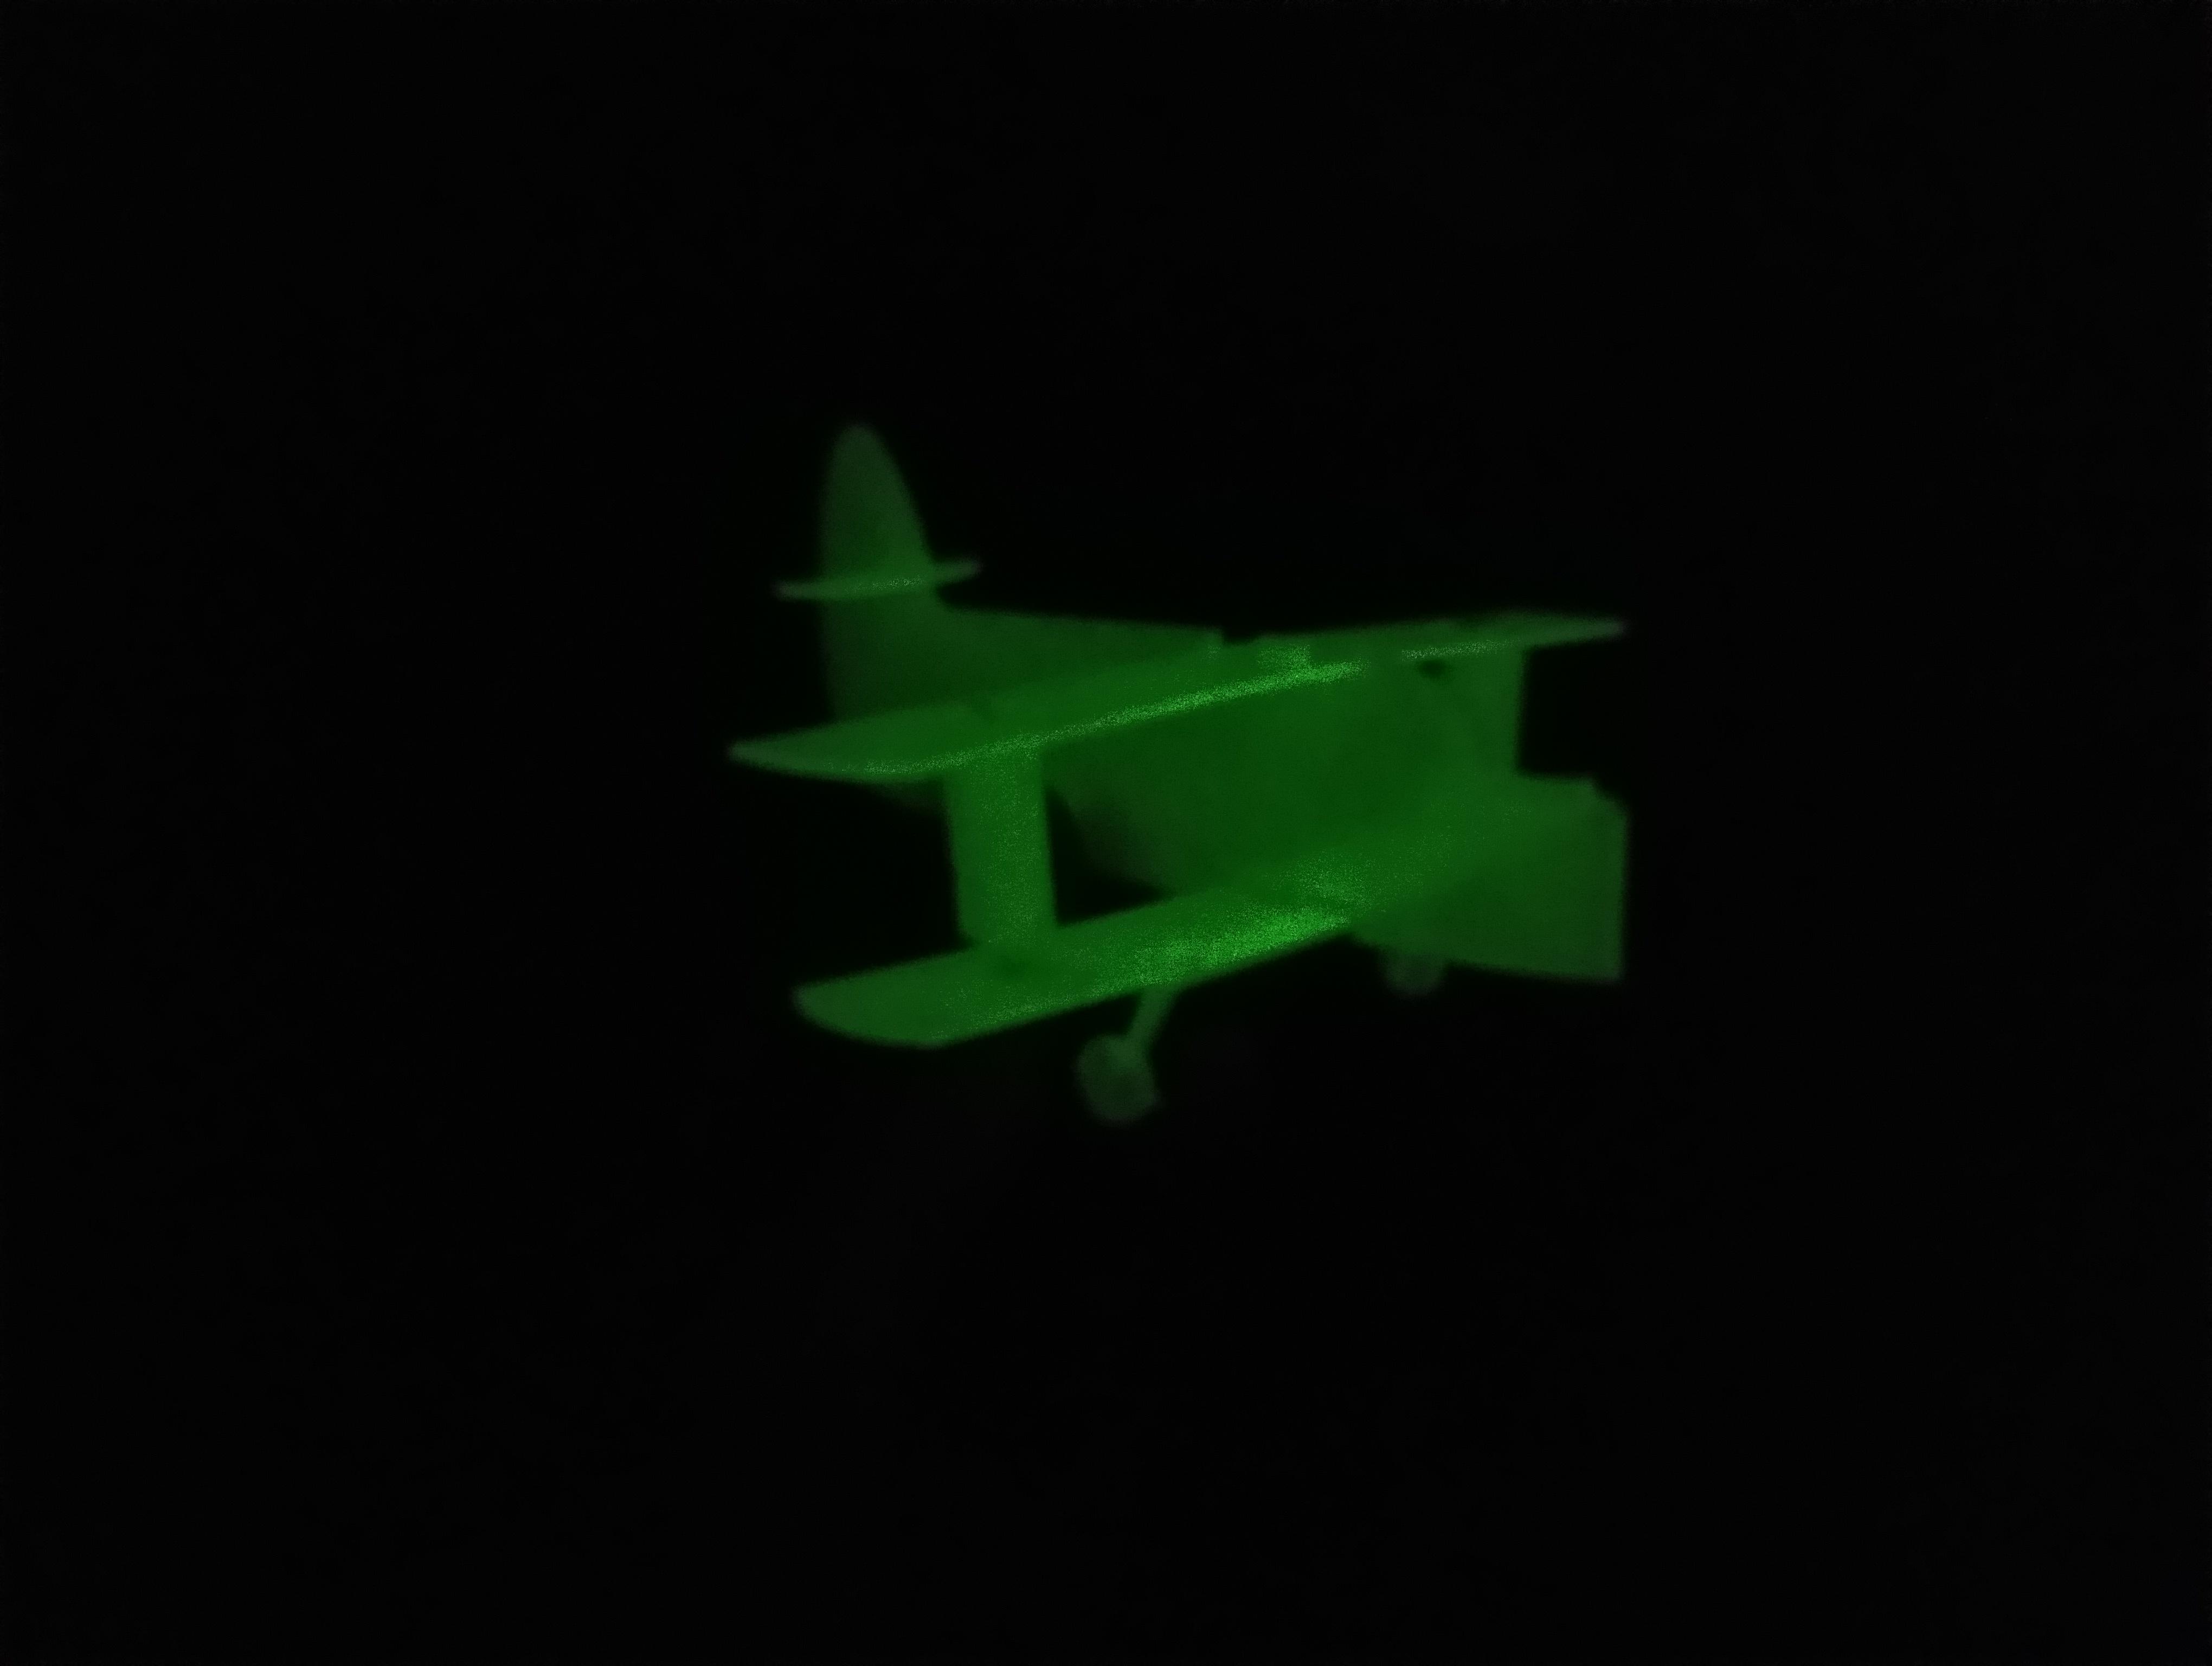

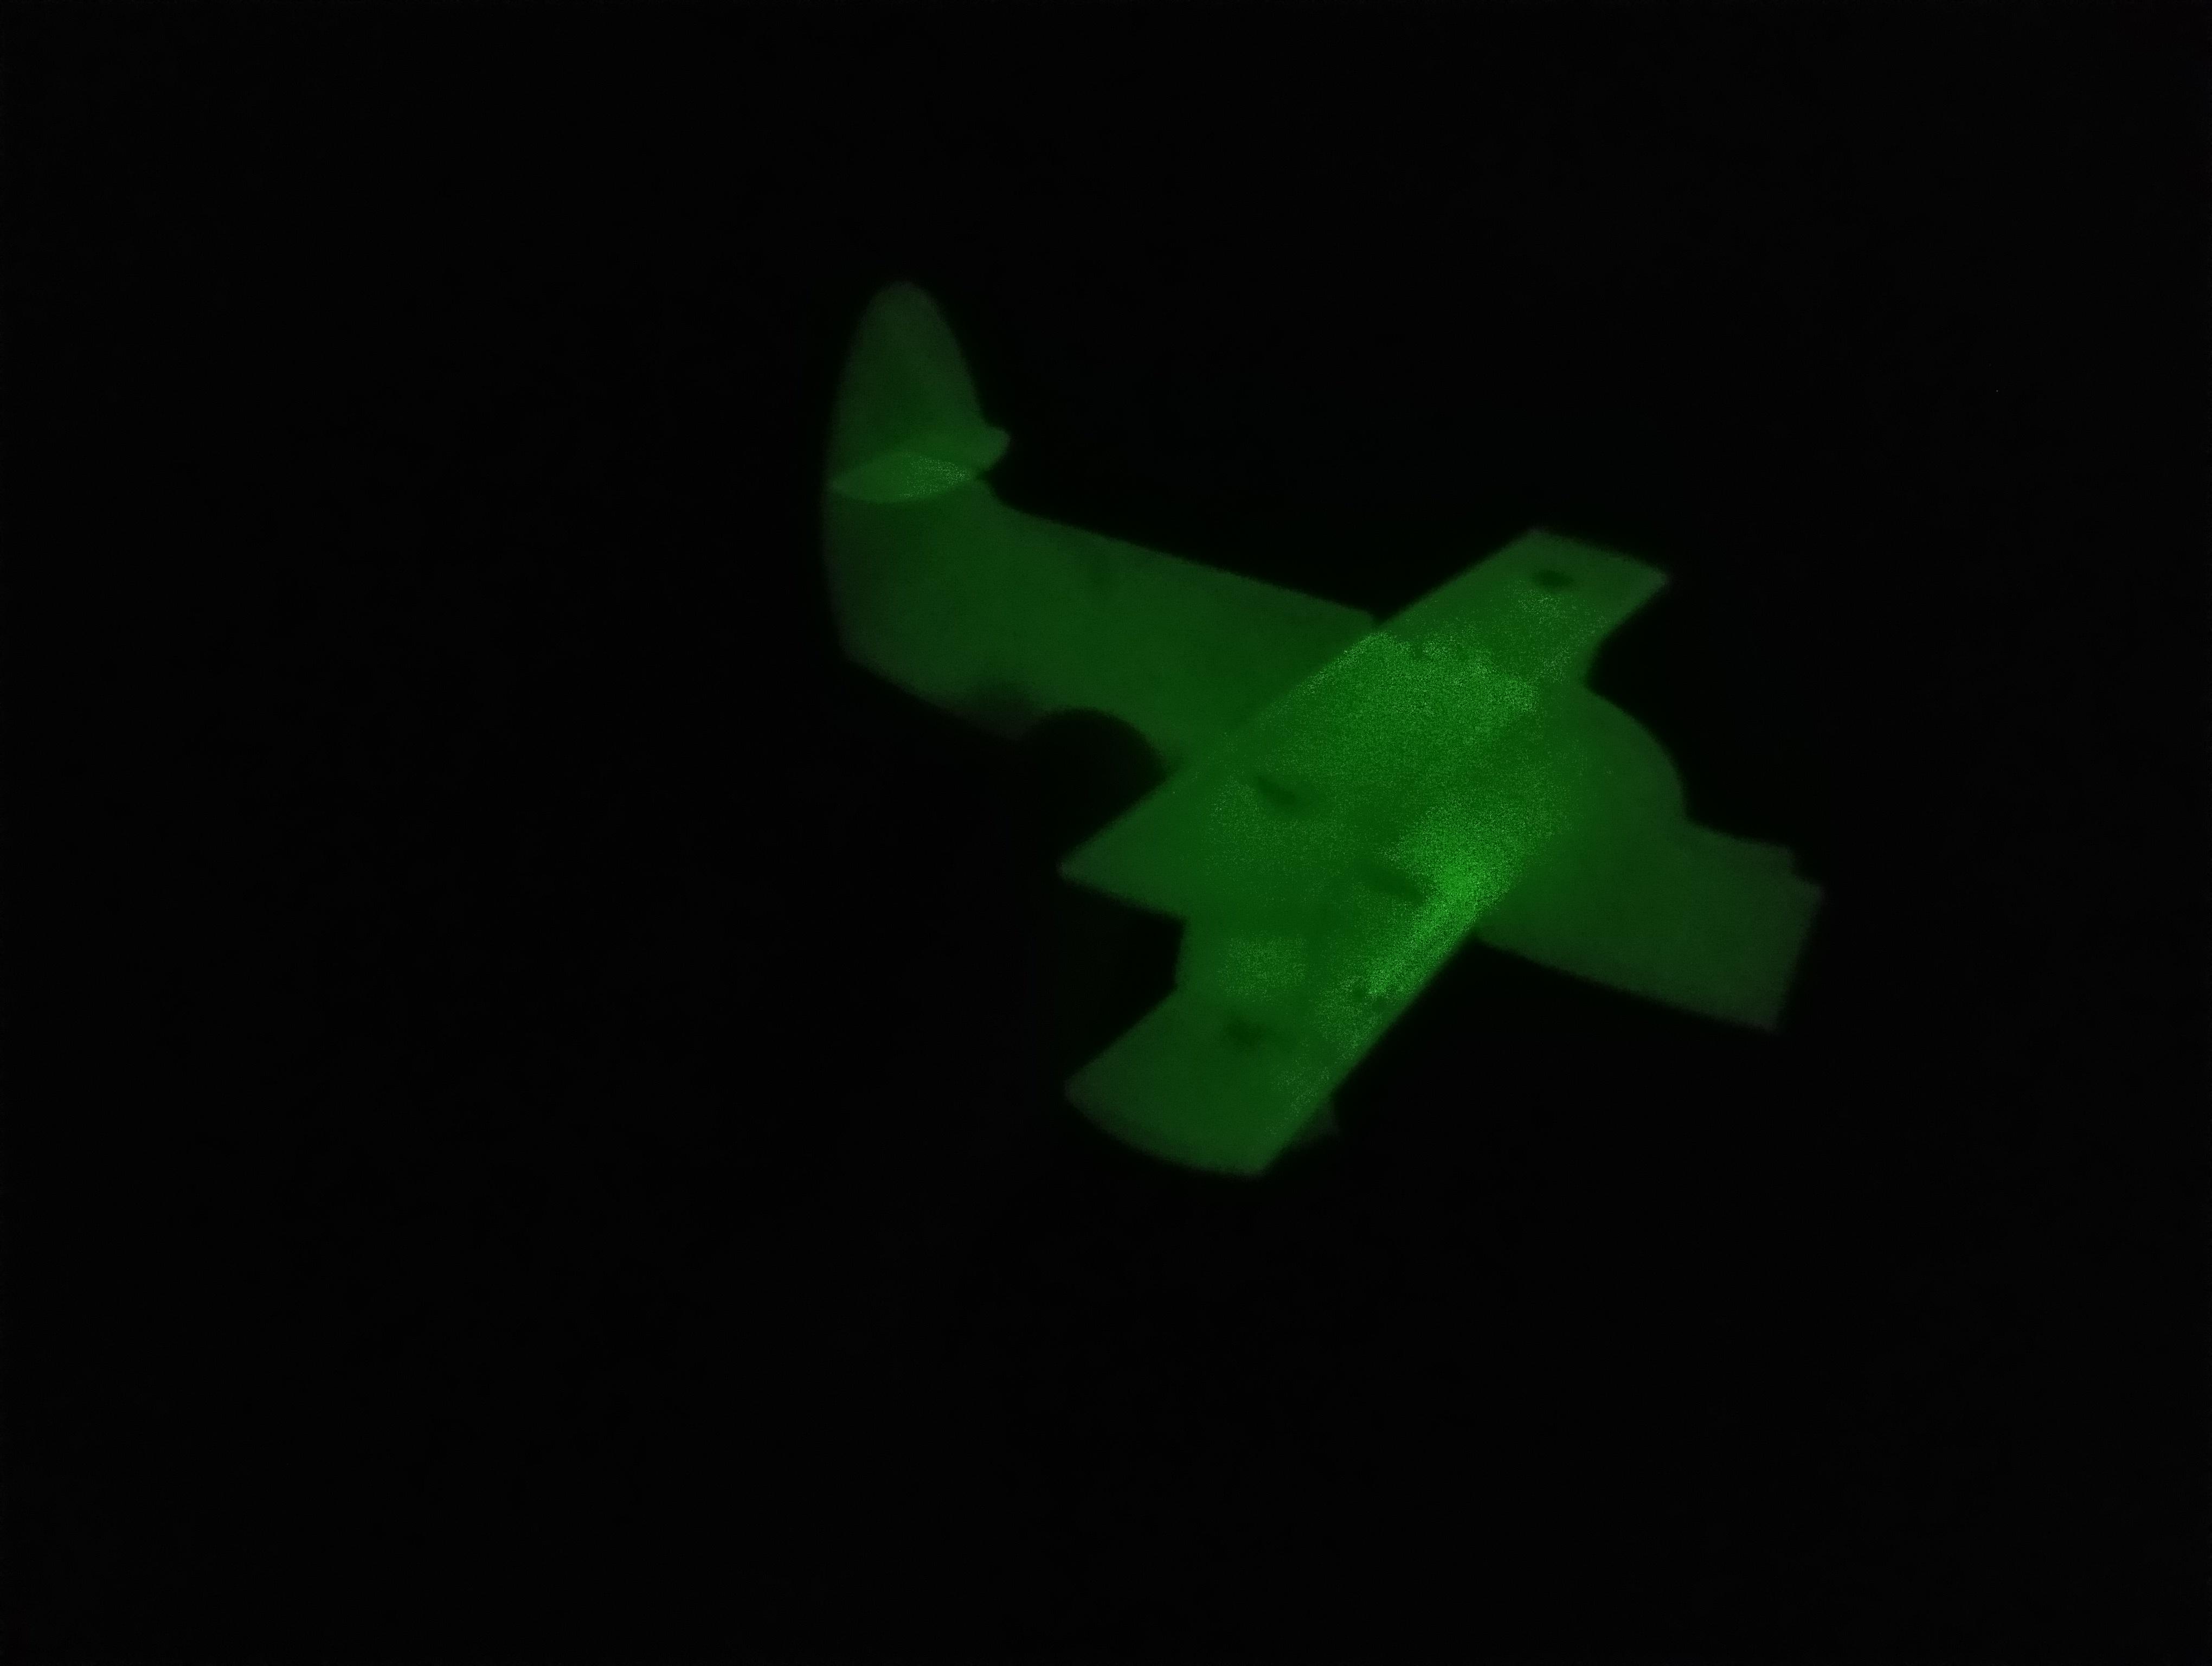
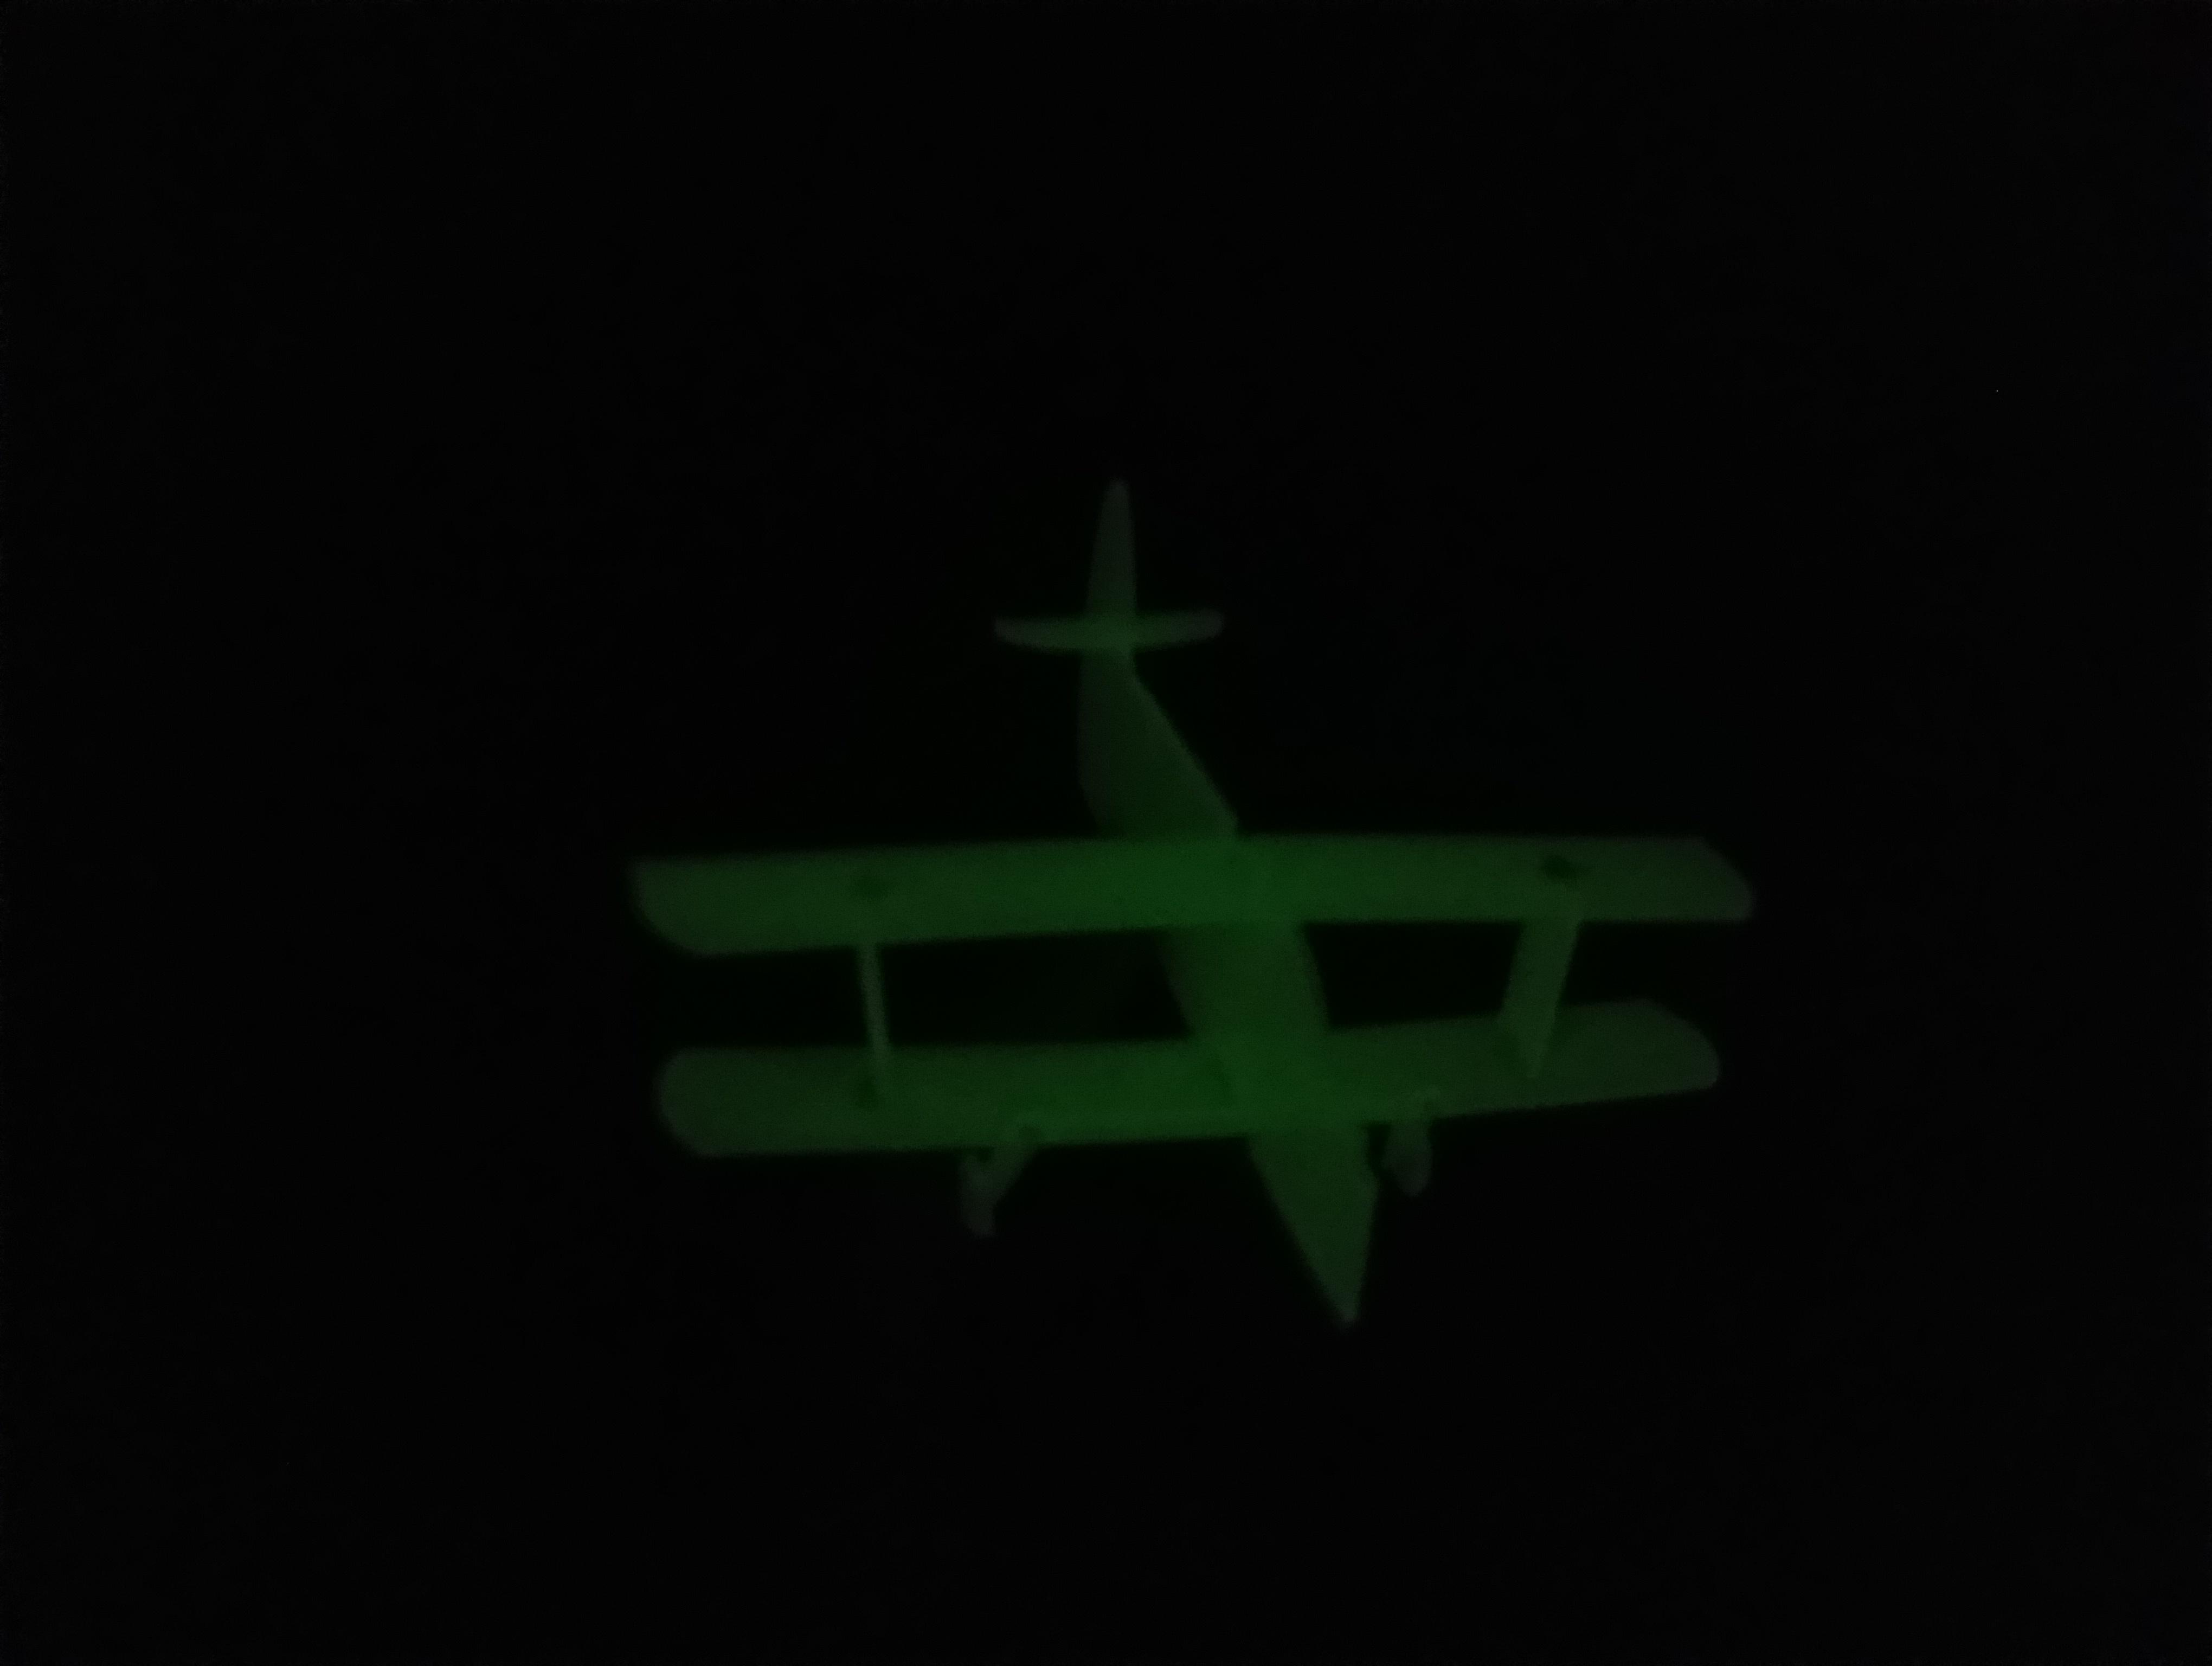
Congratulations! 🏅You've successfully built your own 3D printed biplane puzzle that glows in the dark. This project was a fantastic way to enhance my 3D printing and modeling skills while providing a fun puzzle experience. I hope you enjoy your new biplane as much as I did. Bye! 👋🏻