Build Arduino IDE From GIT Sources on Ubuntu 16.04
by Erriez in Circuits > Arduino
4946 Views, 15 Favorites, 0 Comments
Build Arduino IDE From GIT Sources on Ubuntu 16.04
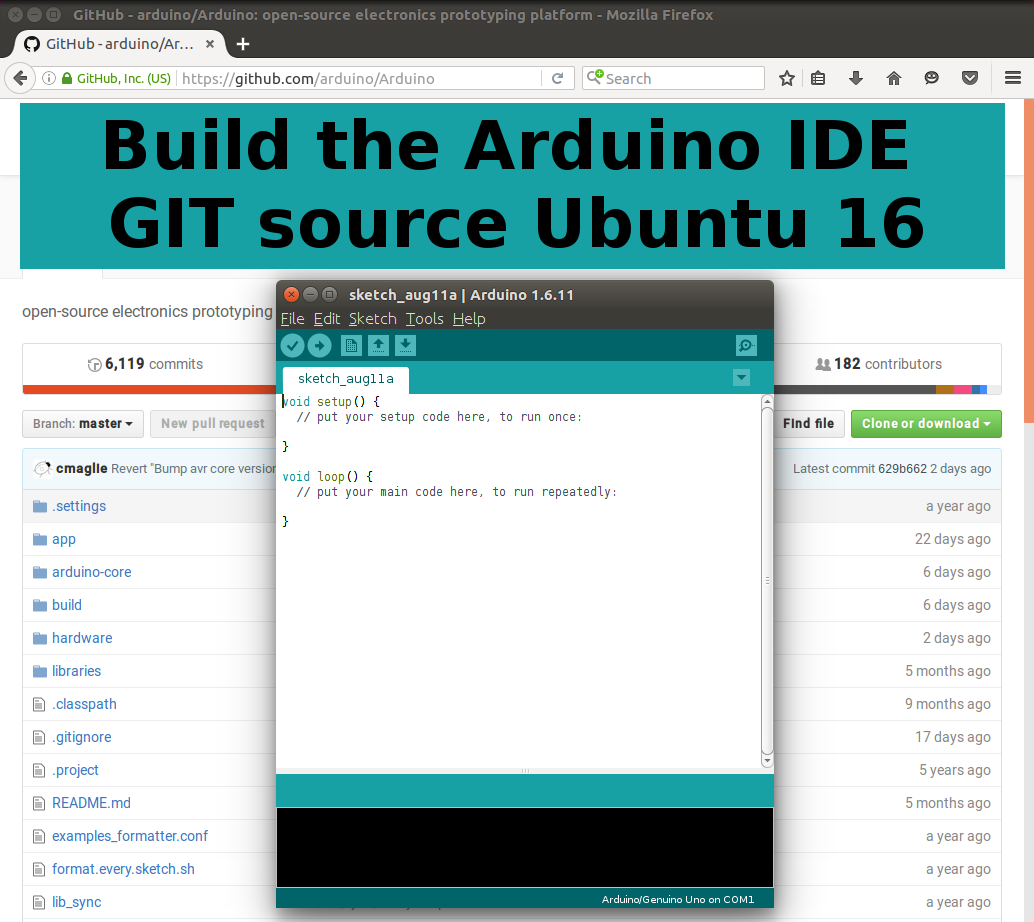
The purpose of this Instructable is to build the Arduino IDE from GIT on a clean Ubuntu 16.04 computer. The development master branch (mainline) will be used.
A Windows Instructable is located here.
Prerequisites:
- A clean Ubuntu installation (Tested on Ubuntu 16.04 32 and 64 bit)
- At least 1GB disk space.
- Internet connection.
Let's start!
Install Java
The first step is to install Java which is required to run the Arduino IDE.
1. Open a terminal. (CTRL+ALT+T)
Note: Copy and paste the commands below without the $ character into the terminal and press [Enter]):
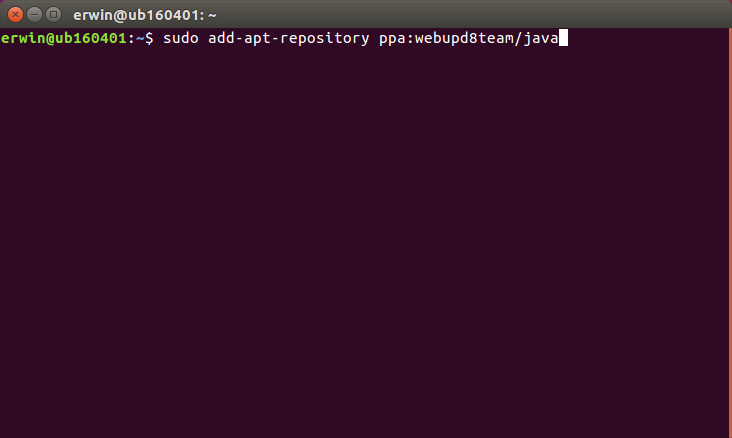
2. Add the following PPA (Personal Package Archives) to install Oracle Java 8 which includes JDK8 and JRE8:
$ sudo add-apt-repository ppa:webupd8team/java
$ sudo apt-get update
$ sudo apt-get install oracle-java8-installer
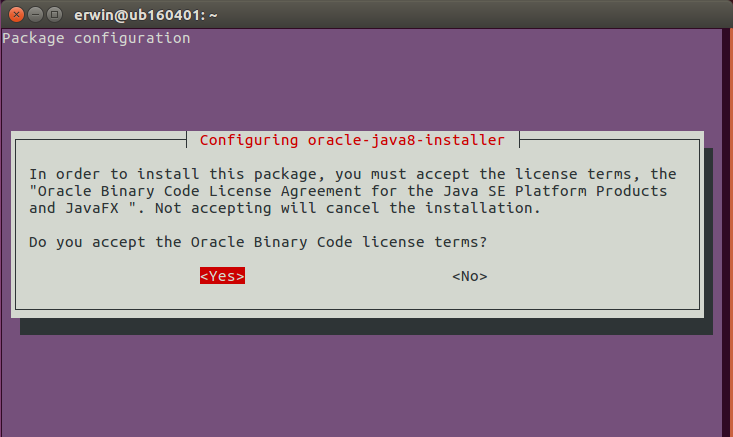
Note: You should accept the license agreement by selecting: Yes:
[LEFT ARROW], [Enter]
3. Check the Java installation, for example:
$ java -version
java version "1.8.0_101"
Java(TM) SE Runtime Environment (build 1.8.0_101-b13)
Java HotSpot(TM) 64-Bit Server VM (build 25.101-b13, mixed mode)
Install Ubuntu Development Tools
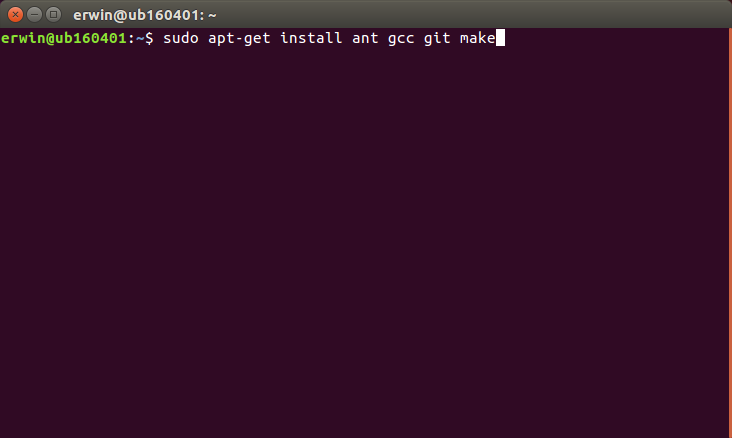
Install the following development packages:
$ sudo apt-get install ant gcc git make
GIT Clone Arduino Source

Download the latest Arduino sources from the GIT master branch with the git clone command:
$ cd ~/Downloads
$ git clone https://github.com/arduino/Arduino.git
Next time you can update to the latest sources with the git pull command and skip the git clone:
$ git pull
Build Arduino Sources
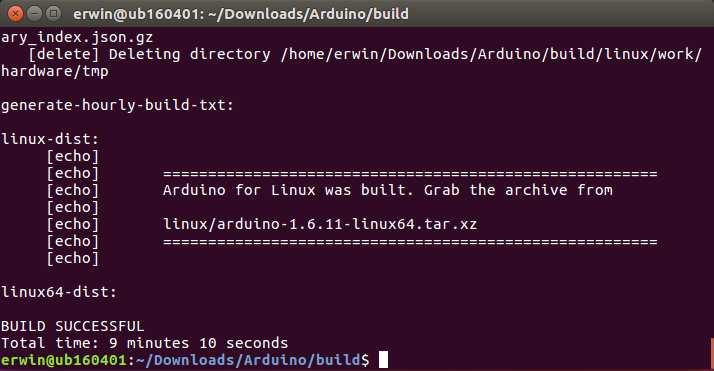
Build the sources:
$ cd Arduino/build
$ ant dist
...
[input] Enter version number: [1.6.11] < Press [Enter]
...
# Be patient!
...
BUILD SUCCESSFUL
Total time: 9 minutes 10 seconds
Install Arduino
Create the following directory:
$ mkdir -p /home/$USER/.local/share/icons/hicolor/
Install Arduino:
$ cd linux/work/
$ ./install.sh
Optional:
Create a symbolic link for Arduino tools:
$ sudo ln -s /home/$USER/Downloads/Arduino/build/linux/work/arduino /usr/local/share/arduino-master
$ ls -la /usr/local/share/arduino-master
lrwxrwxrwx 1 root root 54 aug 10 22:51 /usr/local/share/arduino-master -> /home/erwin/Downloads/Arduino/build/linux/work/arduino
Run the Arduino IDE
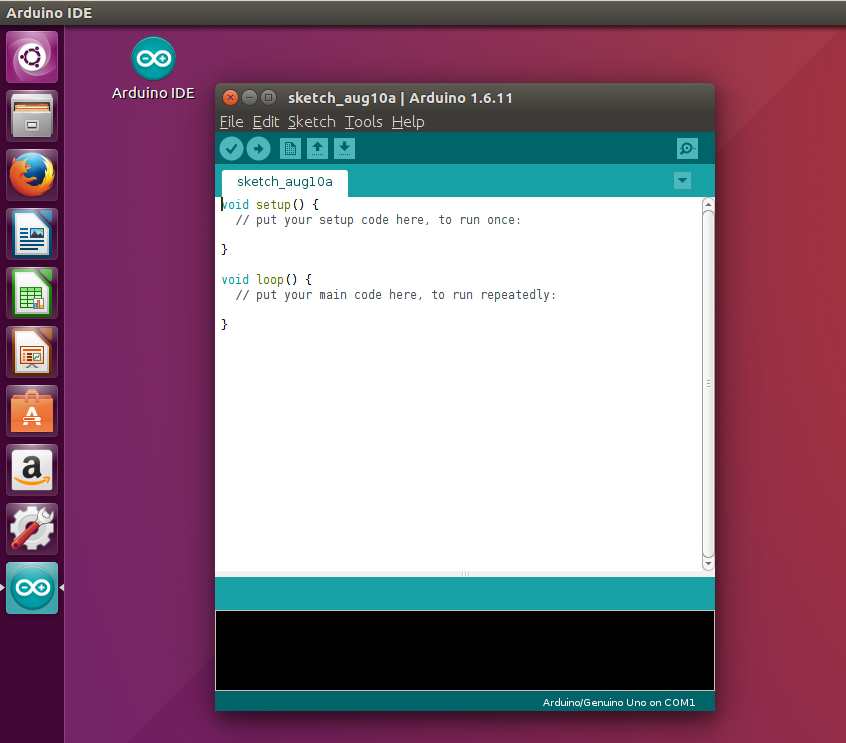
Double click on the Arduino IDE shortcut on the desktop.
Congratulations! Arduino mainline is now installed!