Buckminster Fuller Dymaxion Wall Relief Atlas With Lights
3059 Views, 52 Favorites, 0 Comments
Buckminster Fuller Dymaxion Wall Relief Atlas With Lights
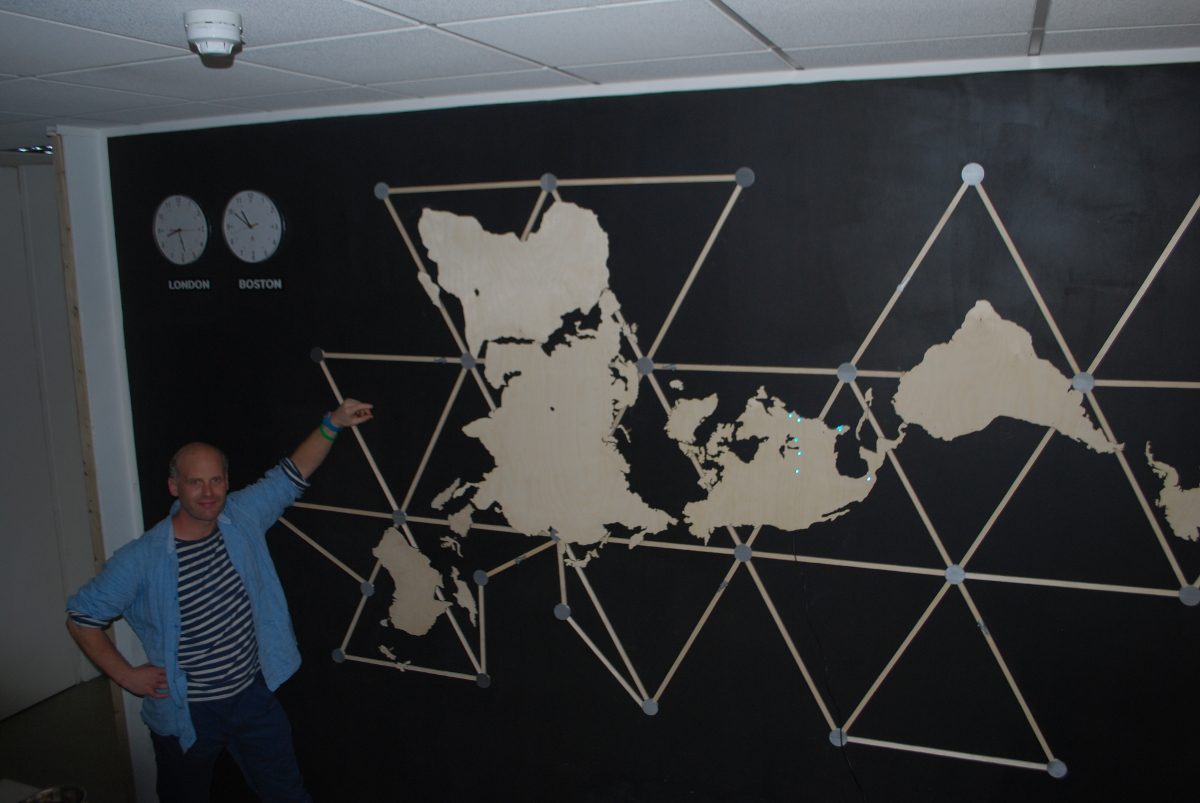
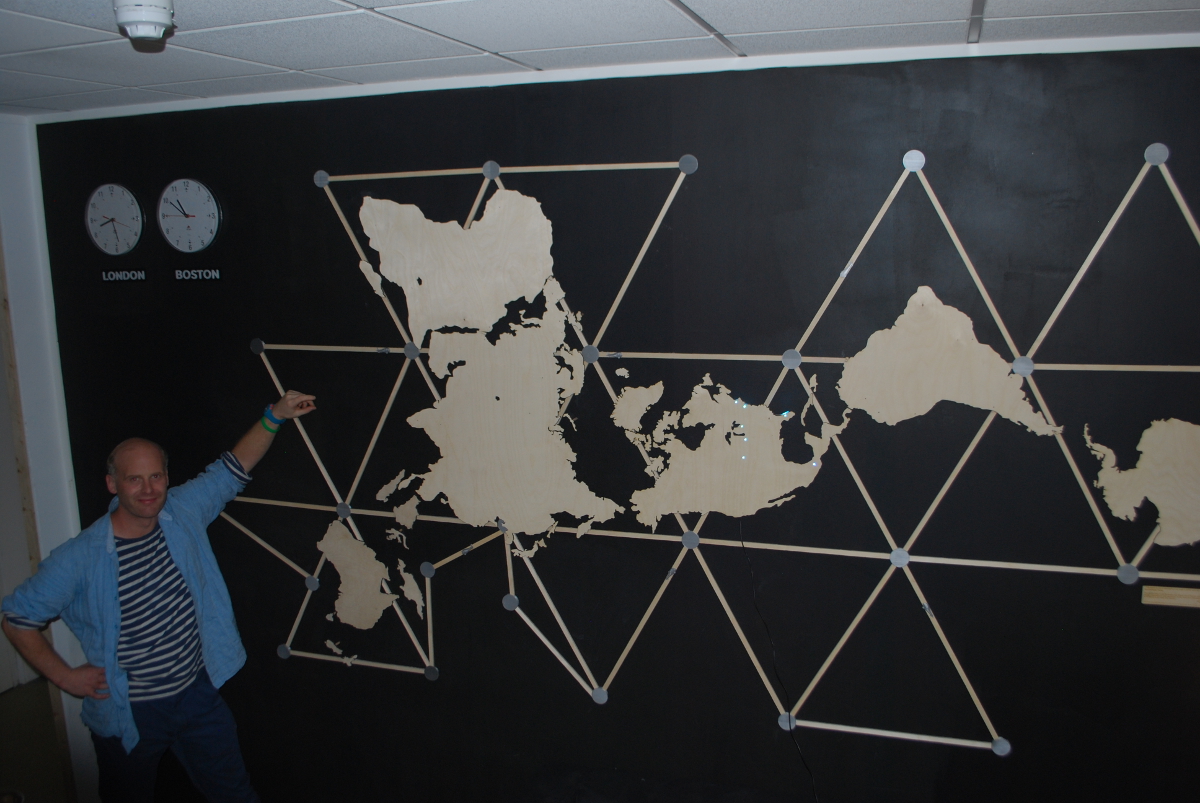
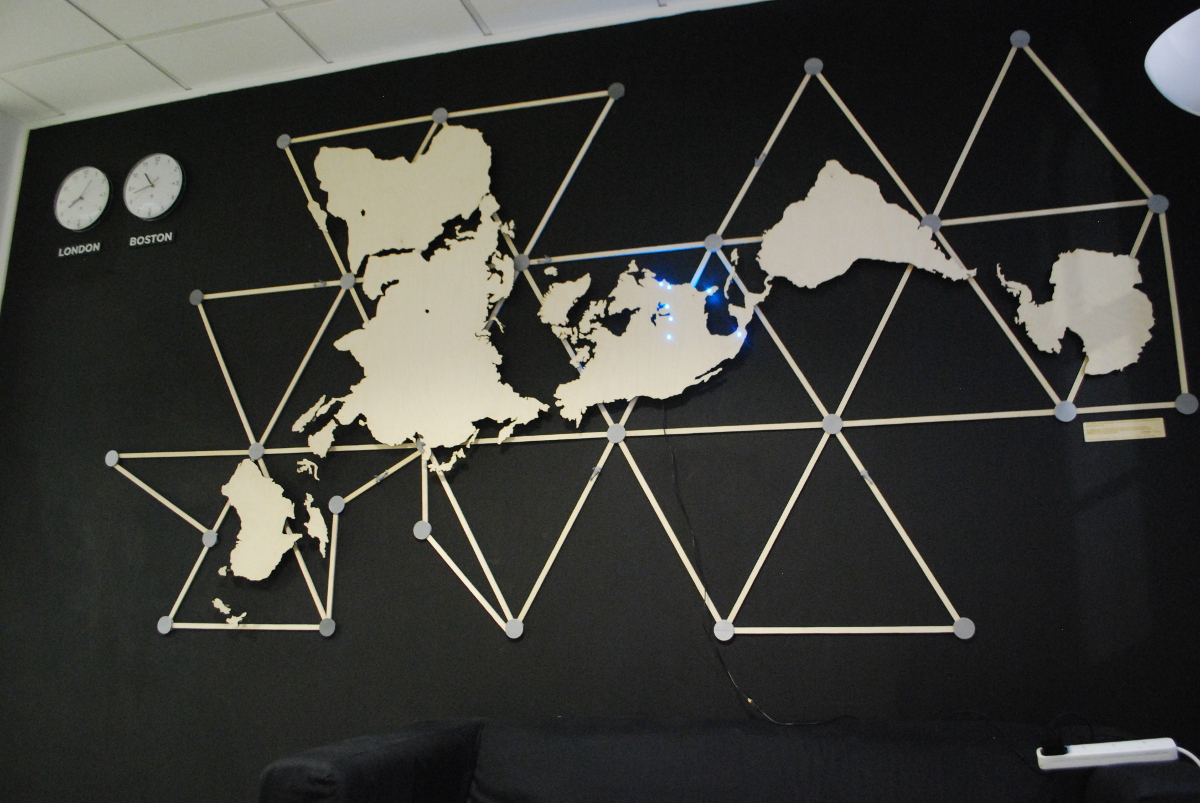
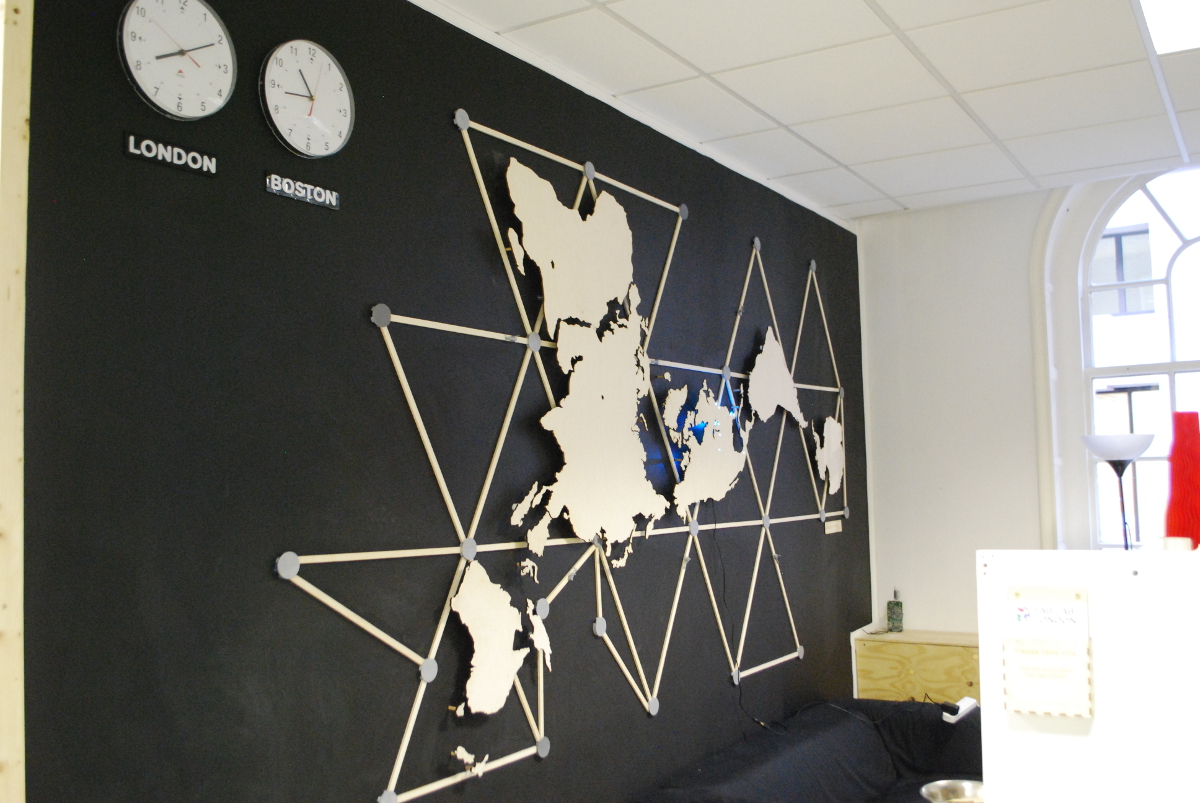
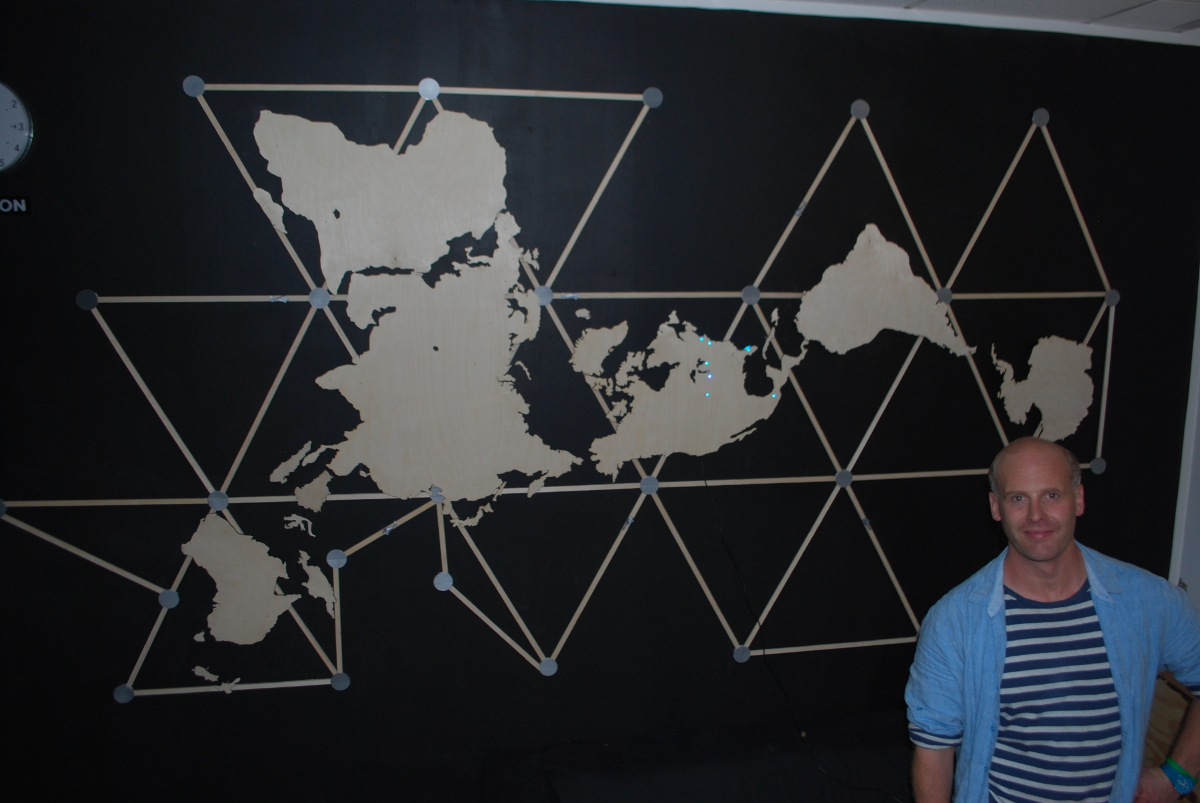
This is how I made a Buckminster Fuller 'Dymaxion' Wall Map at the London FabLab in their entrance foyer in July-August 2015. FabLab London wanted a map that would show the main FabLabs around the world. I chose and interpreted the Dymaxion map for them because re-orientation of our World makes us look at it in a new, fresh way. This and a lot of Buckminster Fuller's teachings can be seen in a new light today with the 'Make, Learn, Share' ethos of FabLabs and Makerspaces around the world.
After making the map, arduinos can be added to create any interactivity you want. Each continent has enough space behind it to conceal an arduino and wiring system.
Firstly, I would advise you to do a feasibility visualisation, sketch to give you an idea of what it will look like, I used 3ds Max to do a very rough visualisation so that the managers of the London Fablab would have an idea of what it would look like! In this instructable, I am going to tell you how I made it in the dimensions I chose along with all the 3d print files included are at the correct dimension. If you want to do a different scale you will need to change measurements and scale 3d files accordingly.
MATERIALS NEEDED -
- Print Filament I preferred grey.
- Wall Plugs and screws
- Hard Orange plastic tubing
- Superglue
- Large Birch ply sheets (for continents, for lasercutter) 6mm
- Smaller birch ply sheet. (for continents, for lasercutter) 4mm
- Arduinos
- Wiring -
- Led strips, digital
- Electrical tape
- Sugru
- Fibre tube, insulator for high voltage electronics diameter, for the screws with support sleaves 10mm diameter
-Pack of strong 10mm diameter cylinder magnets
TOOLS NEEDED -
-Screwdriver
-Laser-cutter (large 1500 if at this scale and don't want the continents to be 'sliced'
-3d printer
- Small hacksaw, to cut back wood strips to correct size
-Sand paper
- Masking tape
- Pencil
- Small tube of acrylic paint
- Steel ruler
- plumb line
- spirit level
-measuring tape
- Electrical hand drill and drill bits
Step 1: Measure the Wall
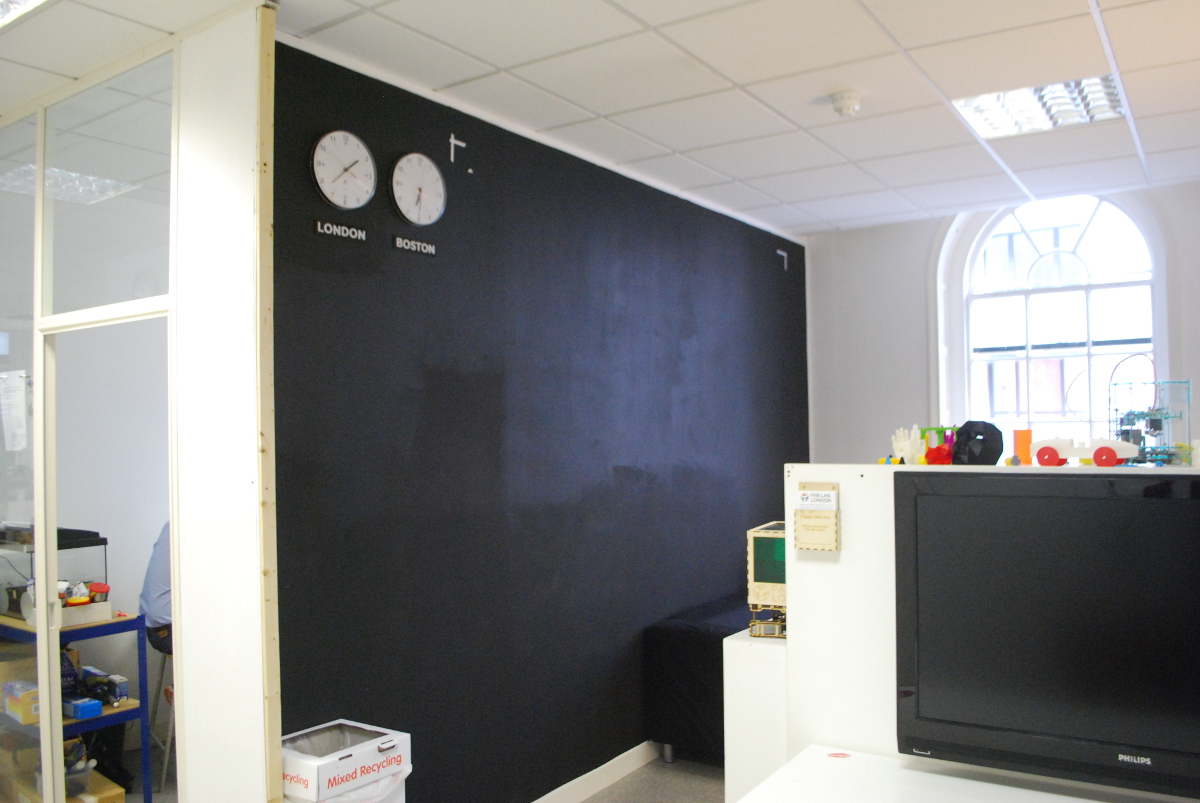
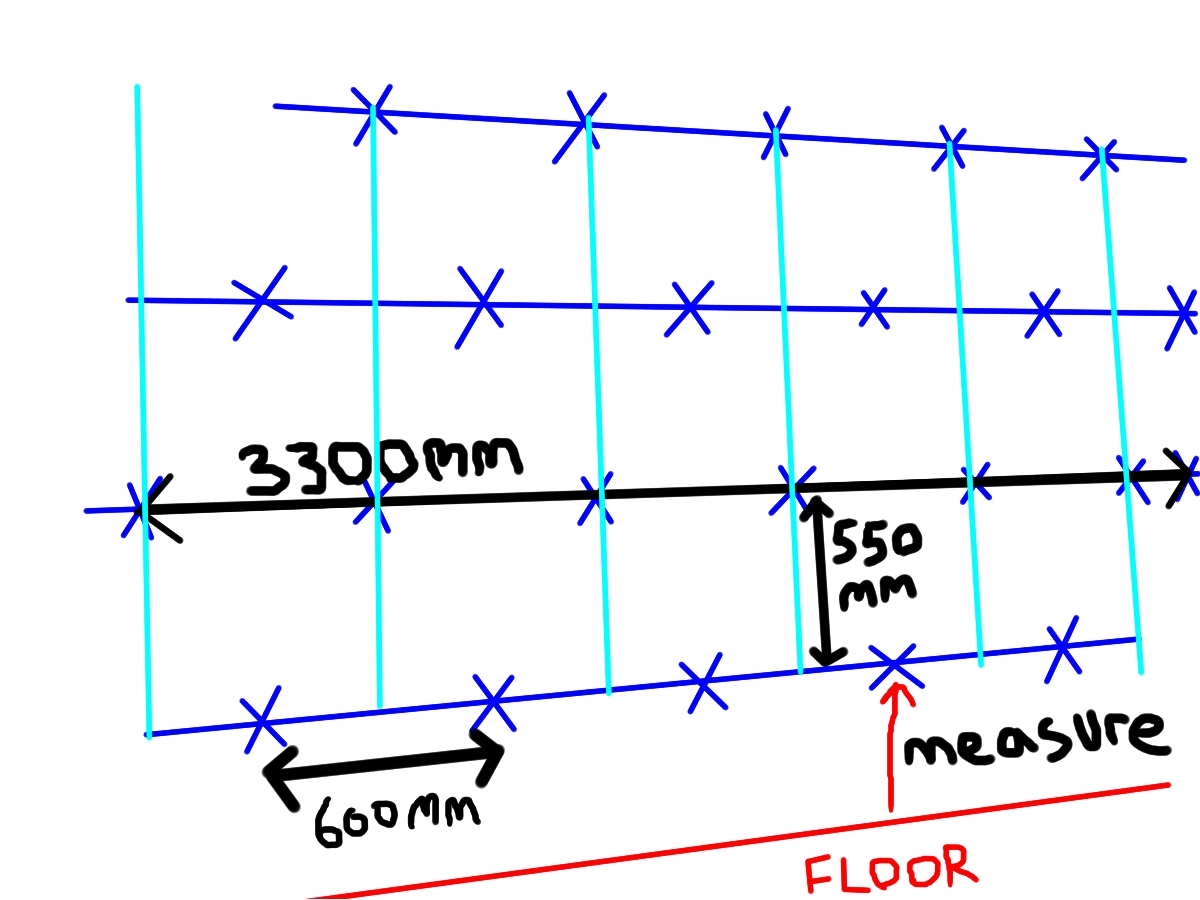
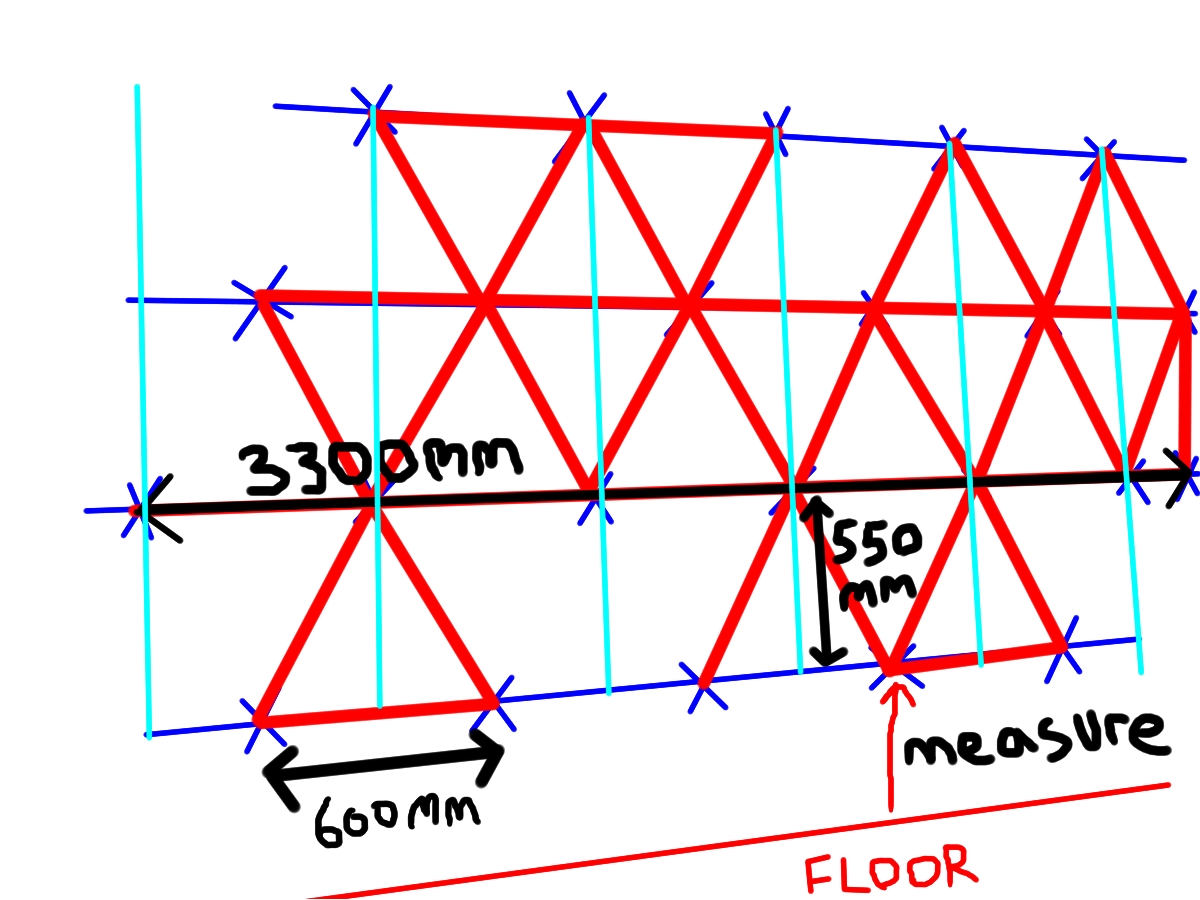
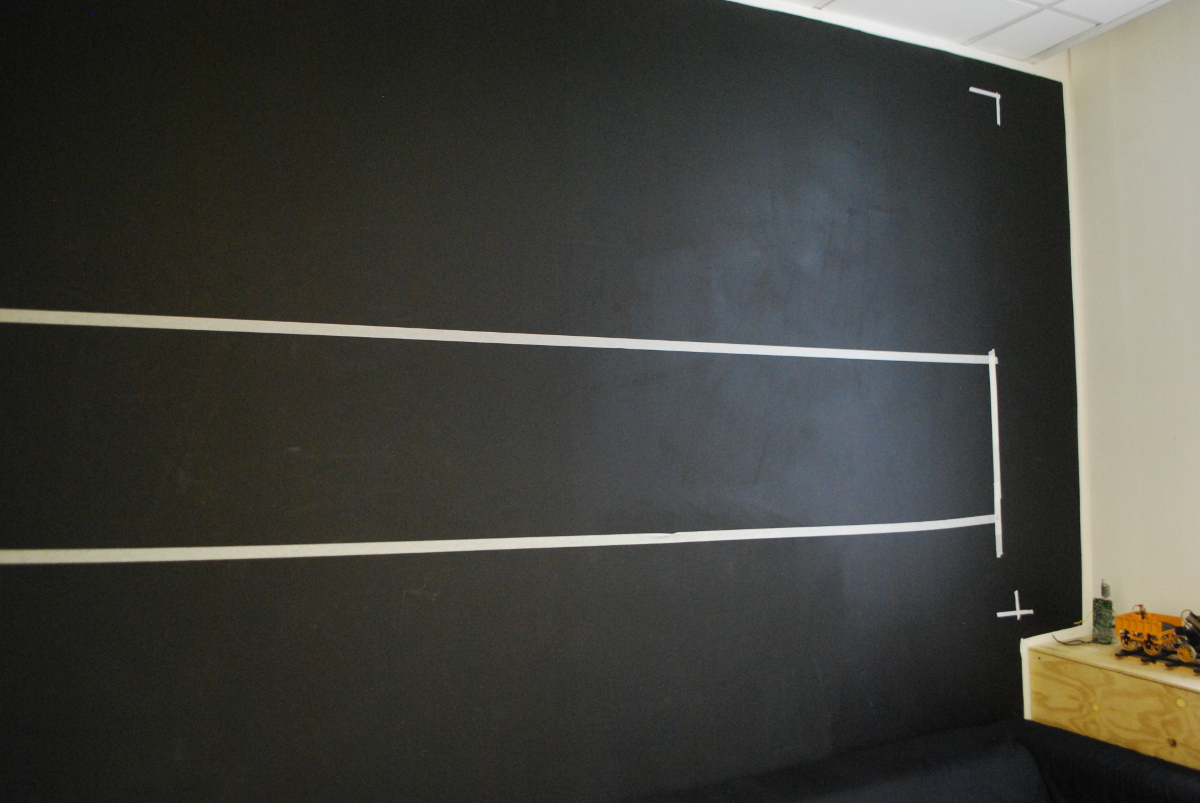
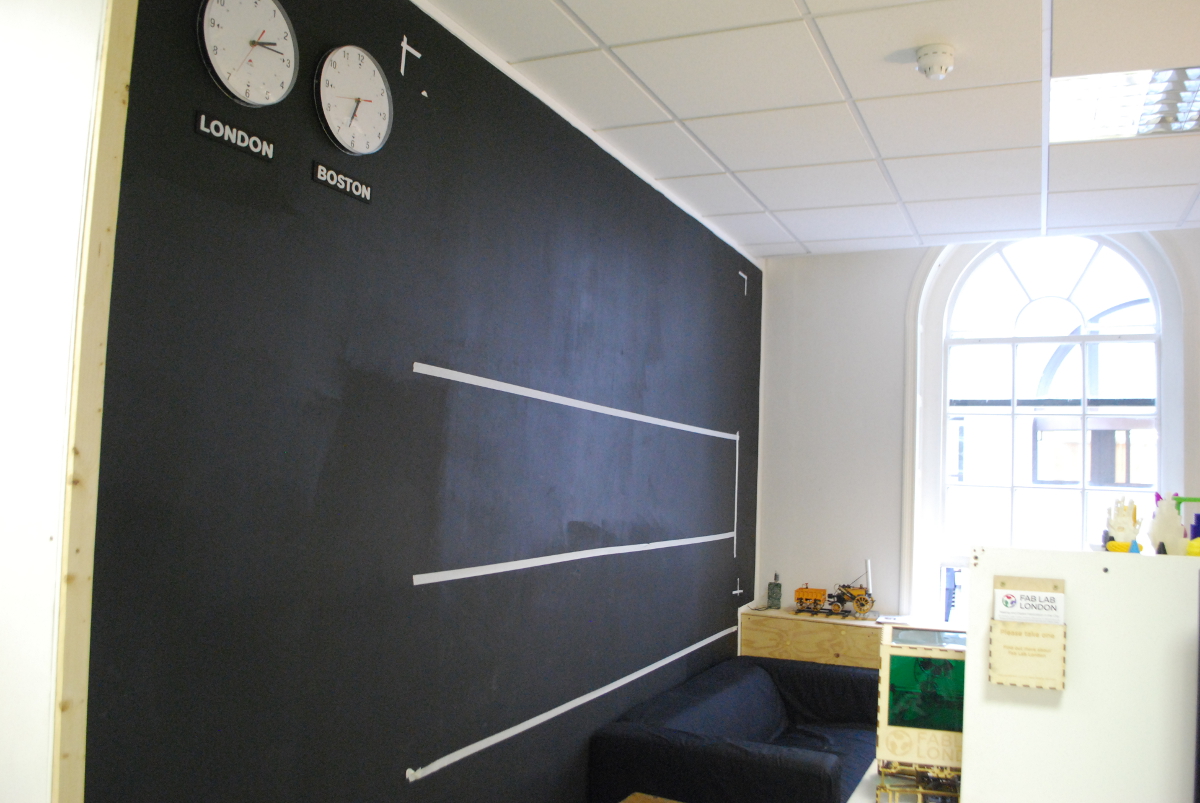
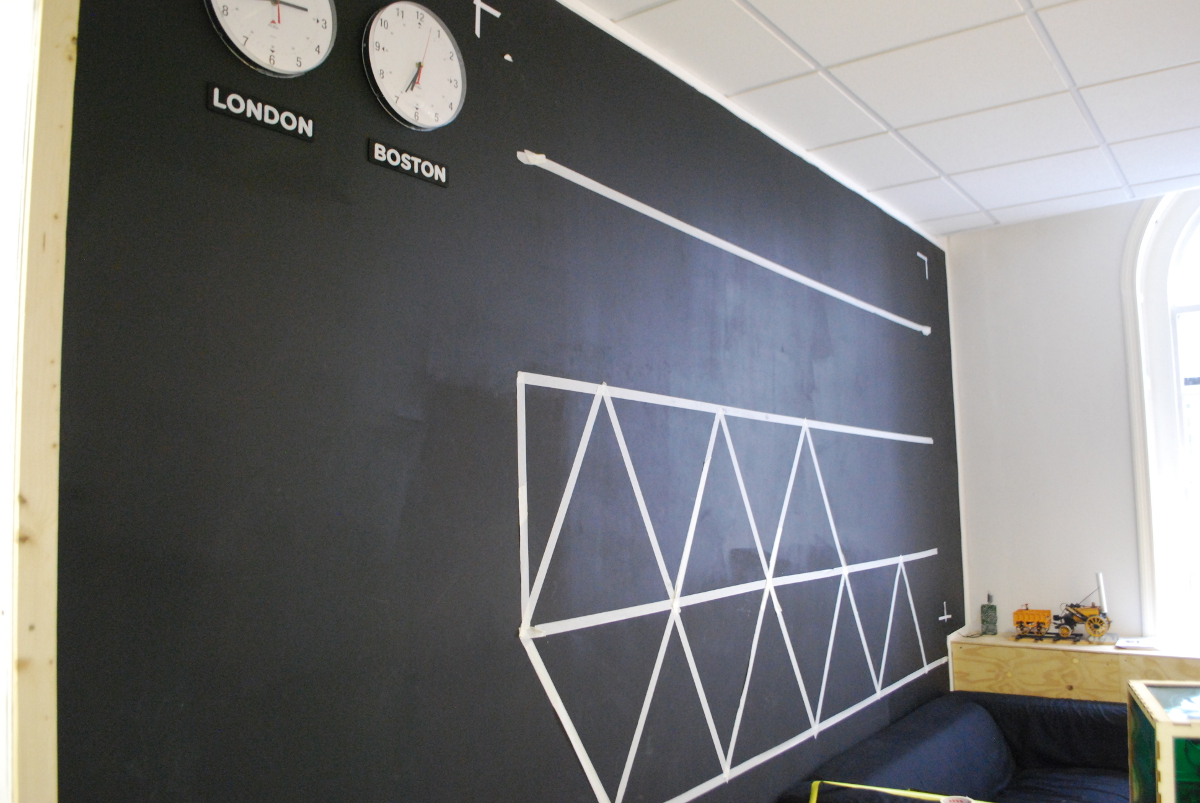
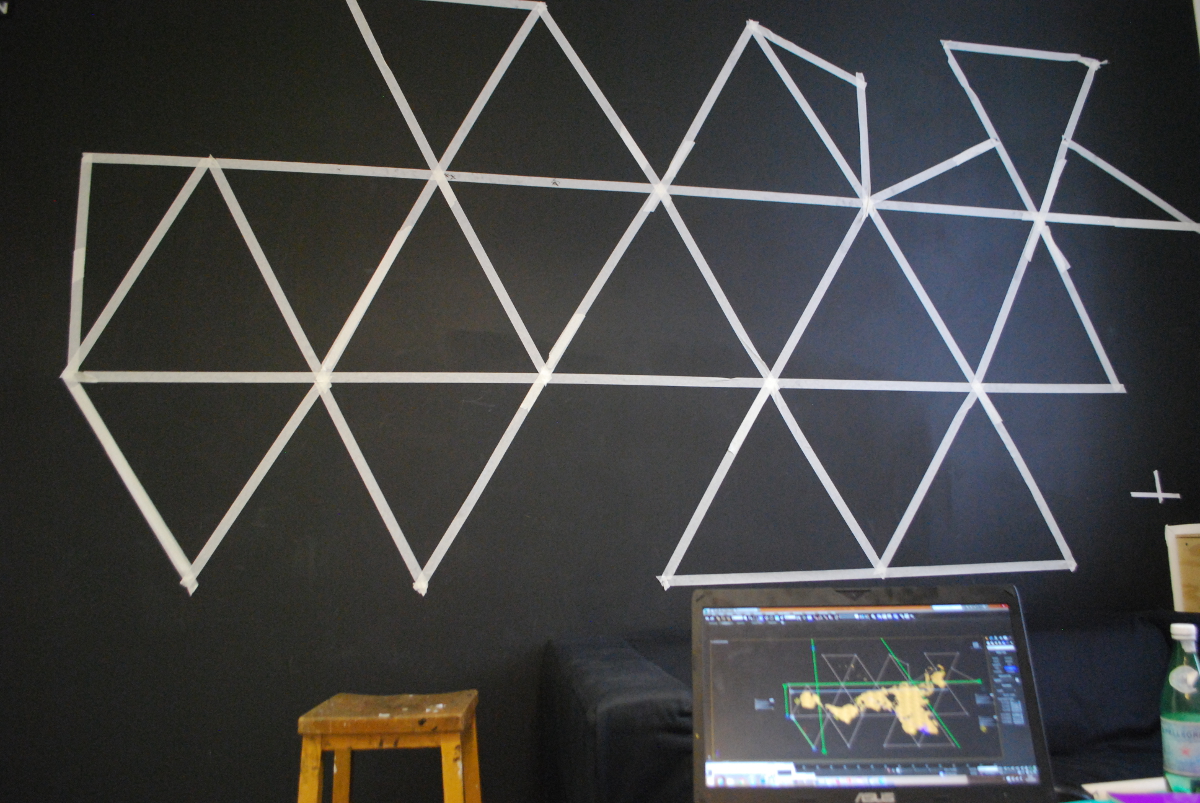
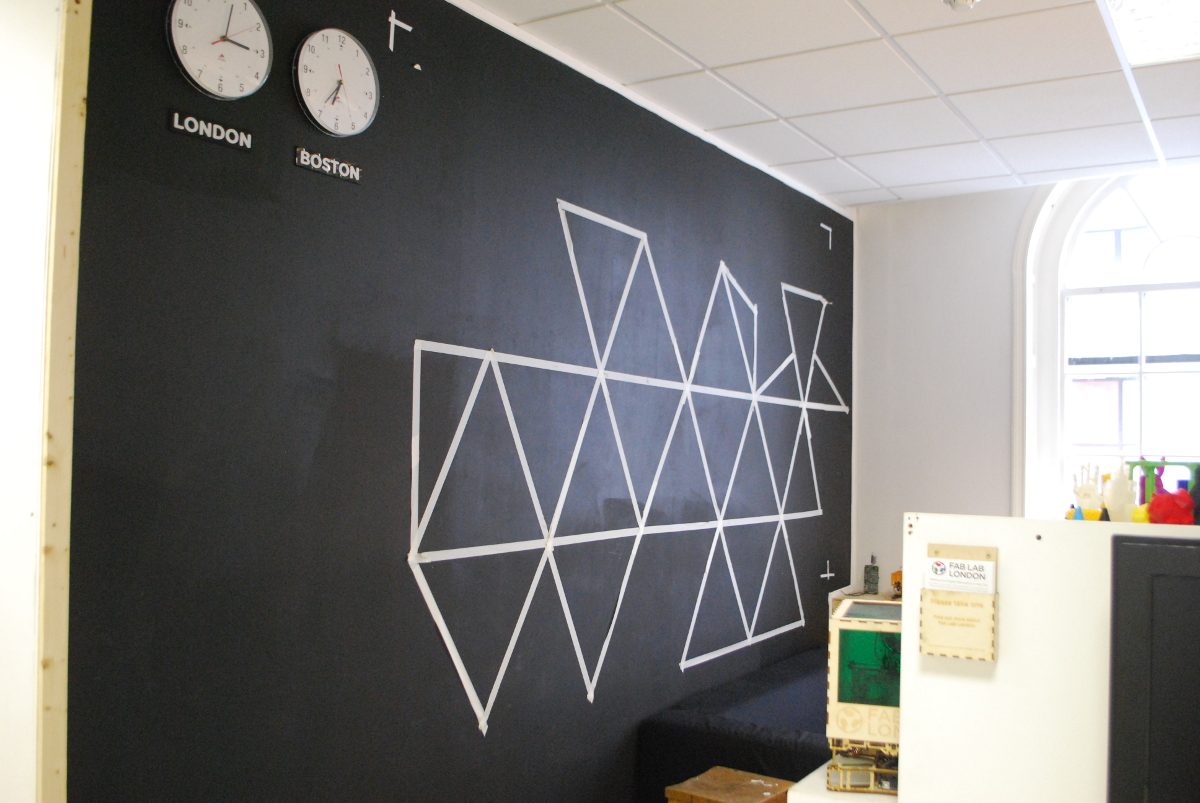
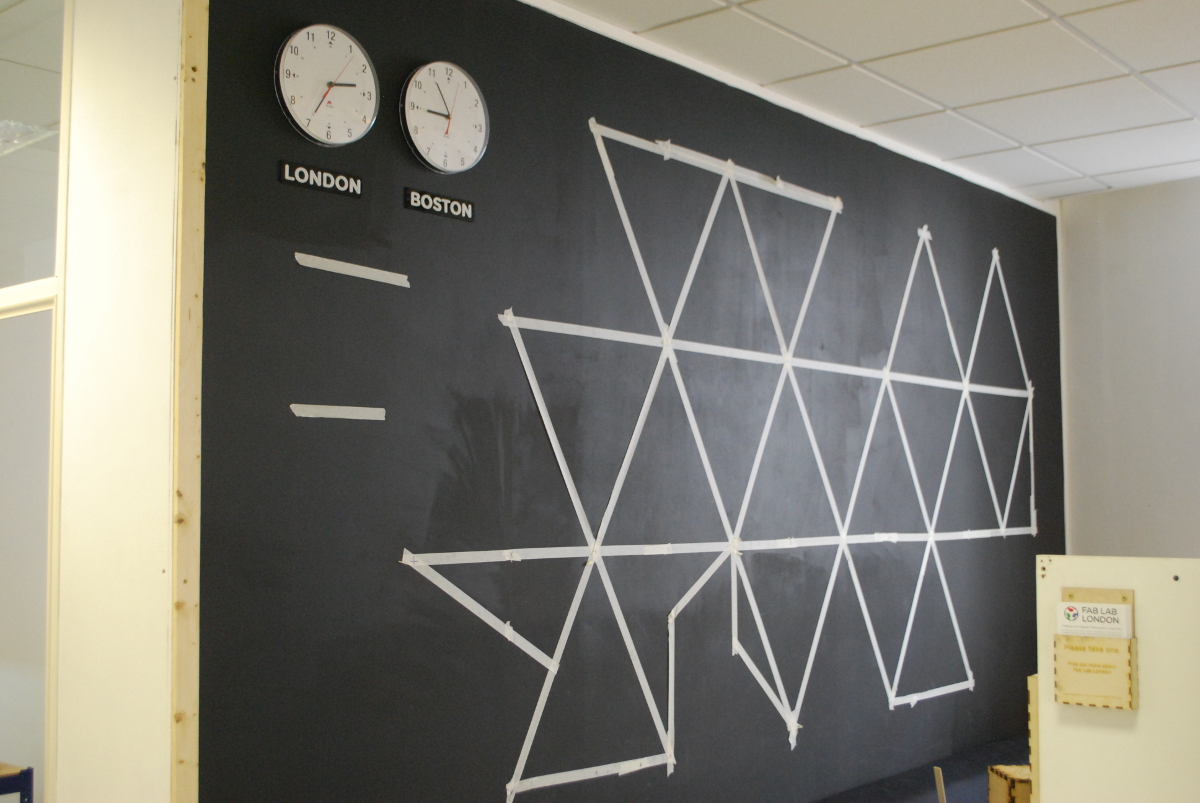
- Find a flat reference image of a Dymaxion Map either on-line or you can request it from the Buckminster Fuller Institute and tell them what you are doing with it, if they agree, they will send you a high resolution image of it. They do not want you to make merchandise with it on and sell it.
- Use the map on your PC, or print it out making sure each horizontal triangle segment, is 6cm horizontally. This way you can use it as a scale reference of 1:10 to help you construct the map on the wall.
- The longest horizontal part for the map I made is 3300mm. See the diagrams attached, you can use this reference line to mark/measure as you go. Carefully use your steel ruler, pencil, measuring tape, plumb line and spirit level to mark the intersections with a pencil. Then do same with others, make sure you test as you go and use the steel rule, plumb line, spirit level combination as much as you can to make sure everything is accurate.
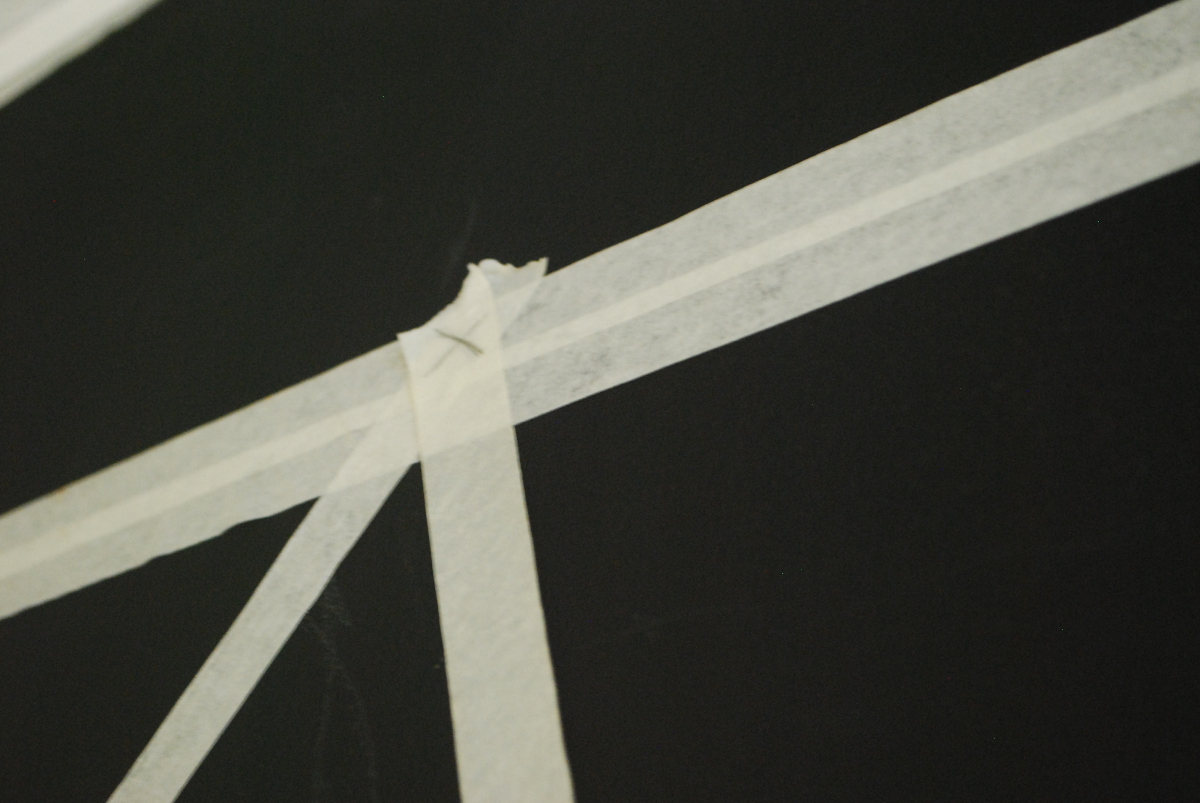
- Build up the triangular pattern on the map with masking tape using the intersections as reference, make sure to mark the EXACT intersections of the tape, you can just about see the pencil line under the masking tape, so mark again.
- For the irregular strips, i.e. the shorter ones on the bottom left, use your reference image to work out the angles. Then stand back and assess if it is the same as the image. Make some measurements to check and importantly check if the tape all looks paralleled with each other and the floor and ceiling. If not you are going to get an offset Dymaxion map :(!
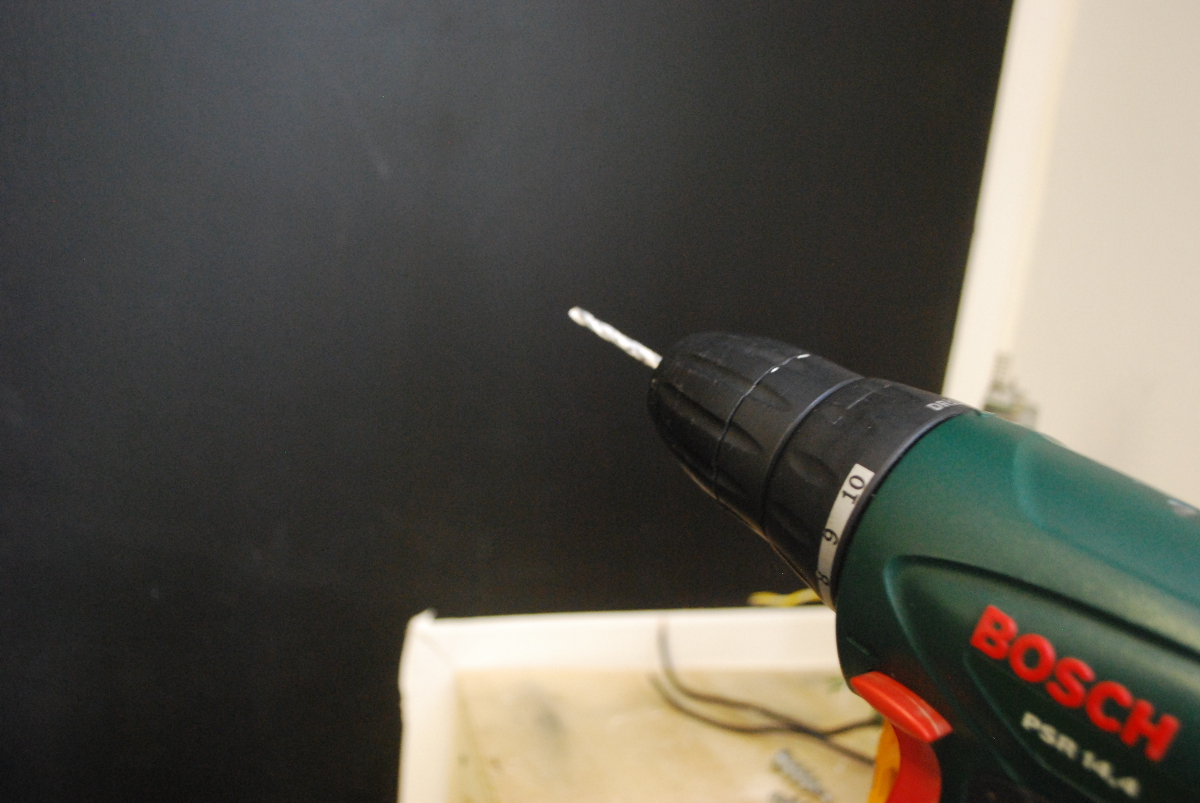
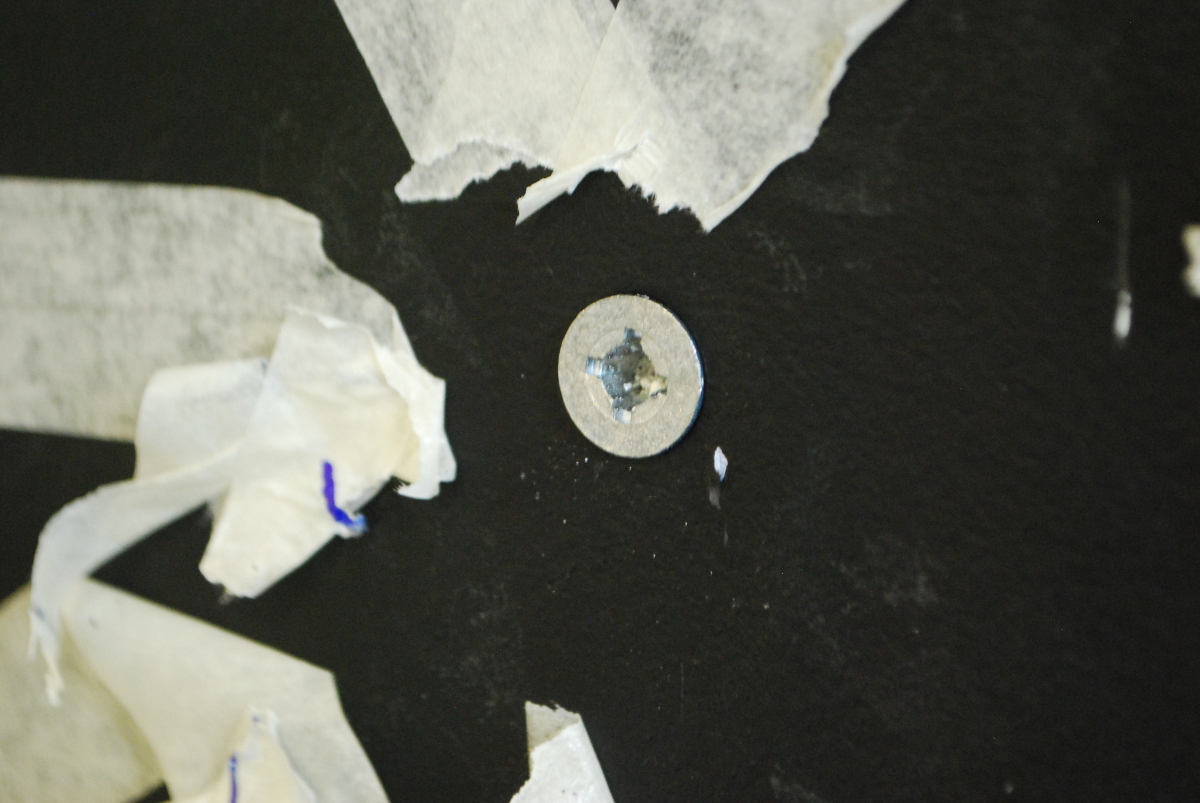
- When you are satisfied with the shape represented as masking tape on the wall. You need to drill exactly where the pencil marked measurement points are. Proceed to drill all holes, be careful not to make mistakes etc. Be as exact as you can.
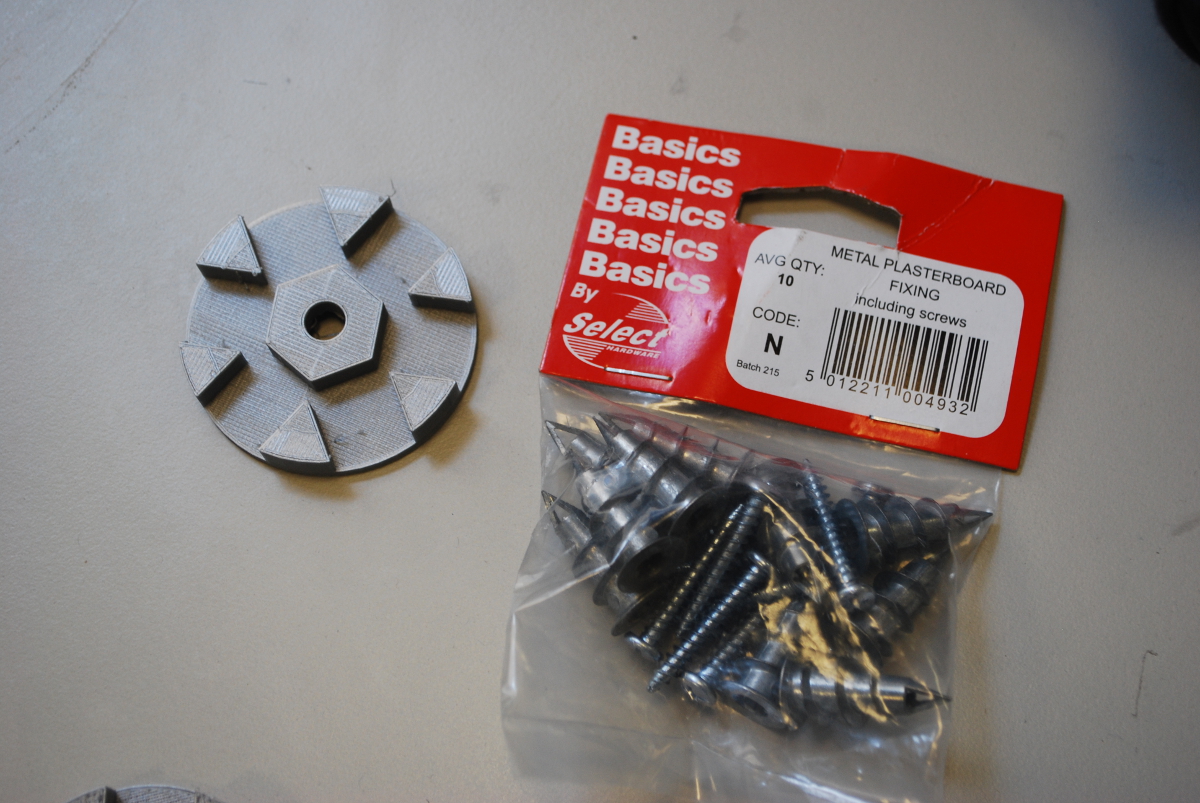
- Then carefully screw in the wall plugs with a screwdriver.
Step 2: Add the Back Wall Strips and Connectors
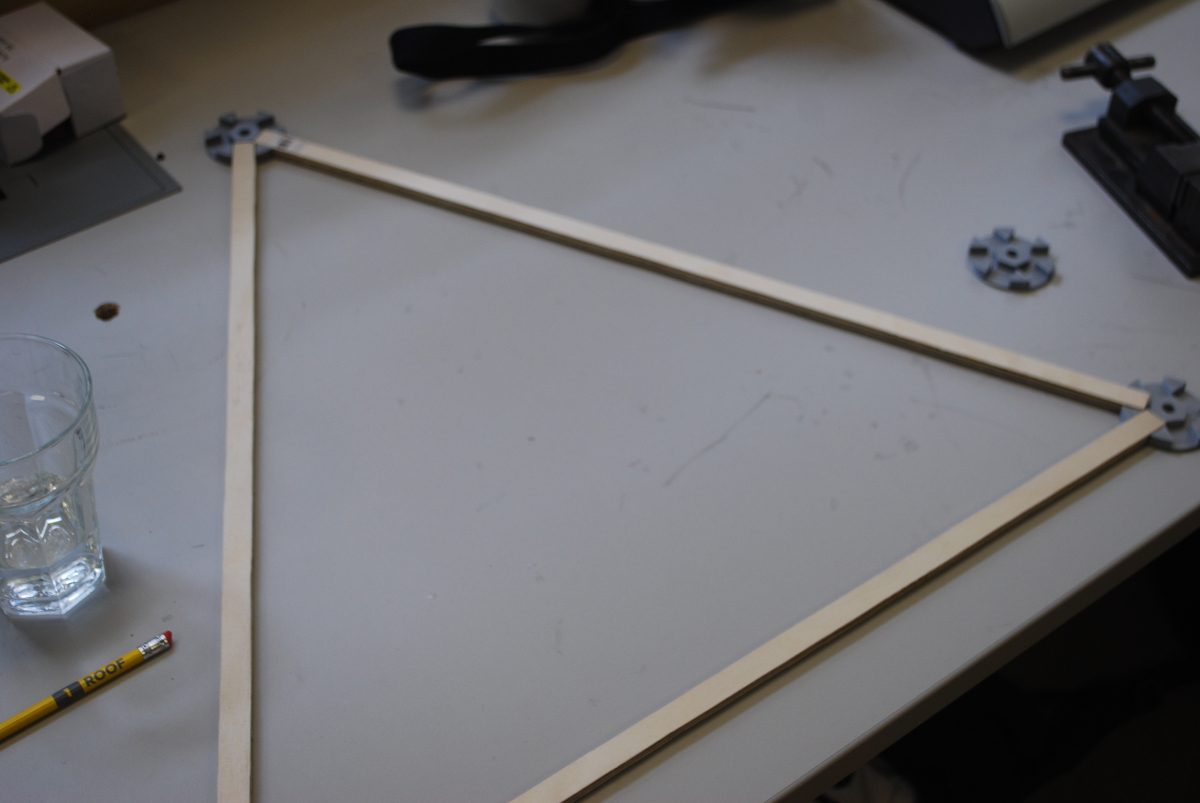
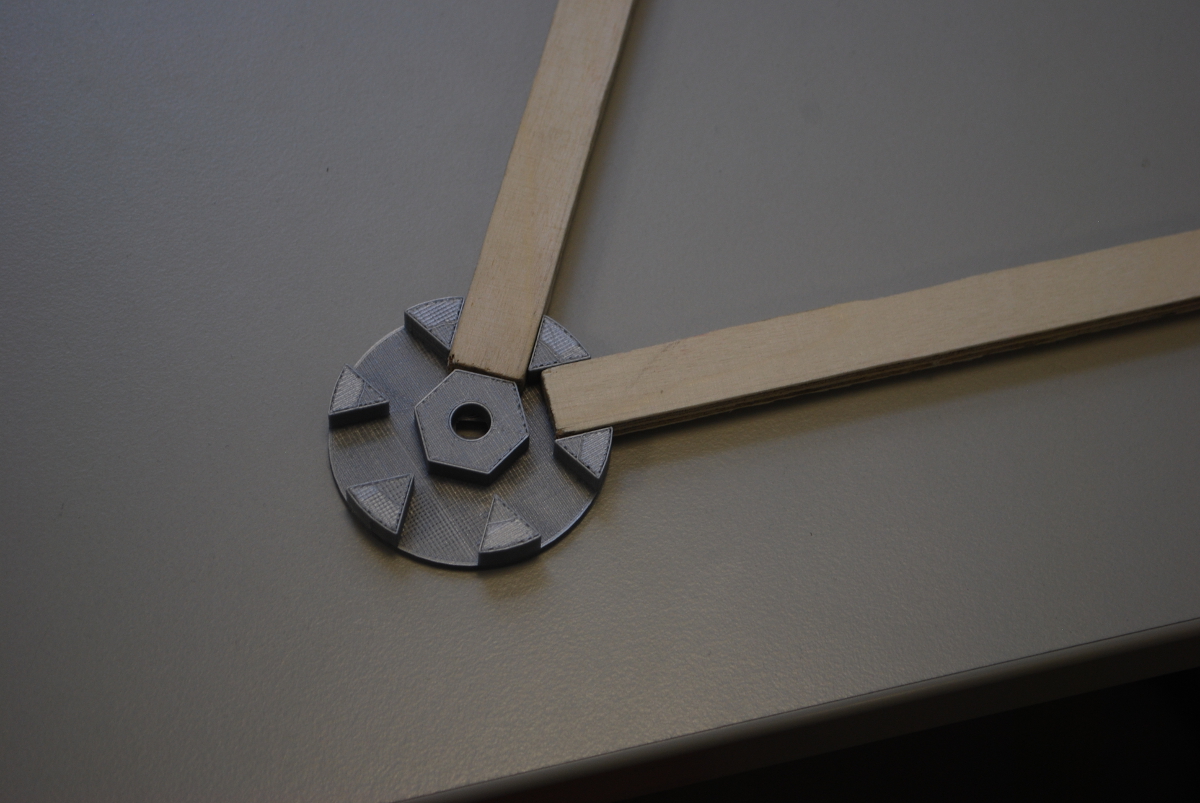
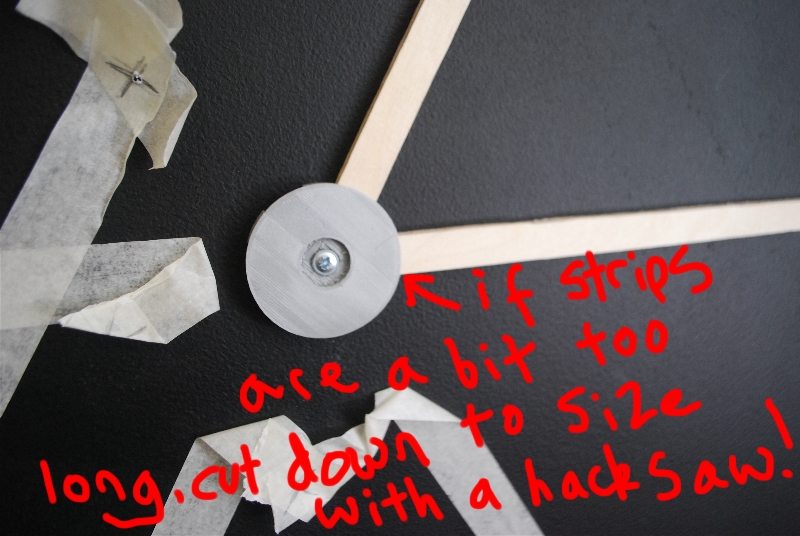
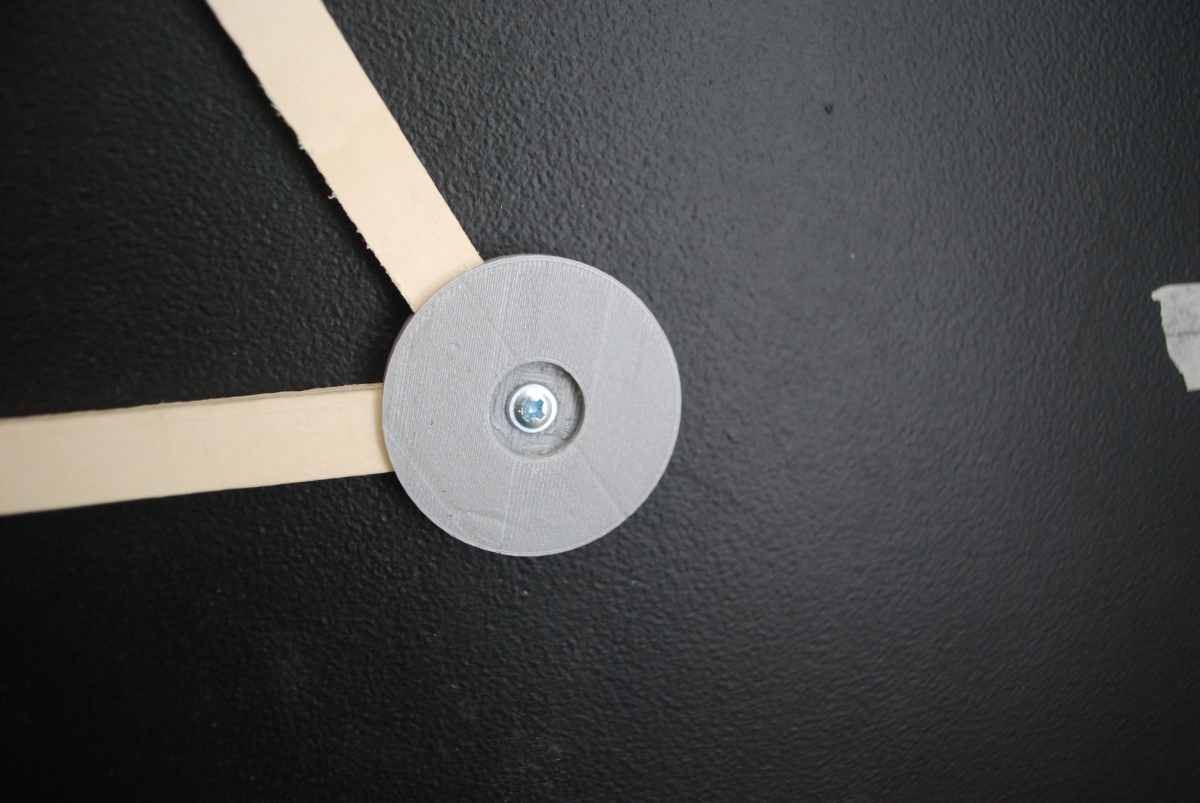
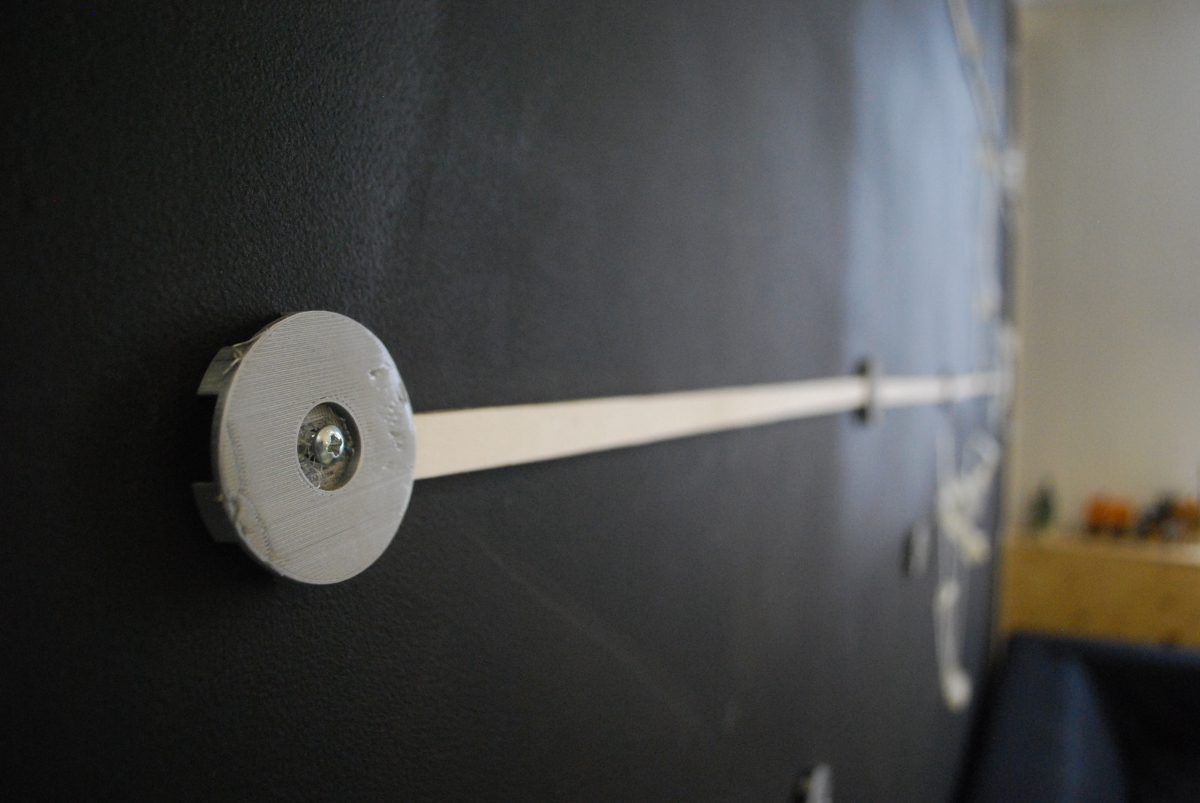
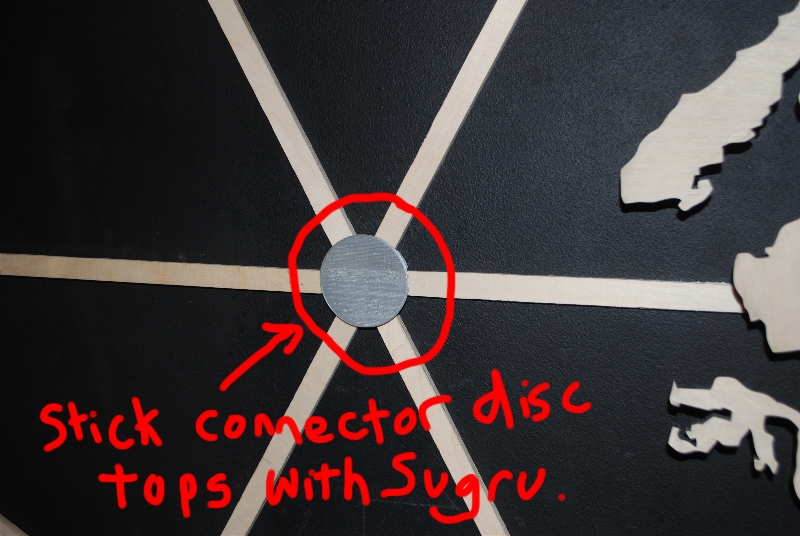
- Print the connectors and connector tops (see attached files), you can do this as you go. Printing them takes some time! There are some irregular connectors, see map where the angles of the wood strips are different. The 'irreg' zipped file has all of these. For now, you will have to find the correct versions in the folder. Sorry, time restrictions my side for now! Alternatively, you can use the mesh and edit them in 3ds Max or a similar application to make them fit too.
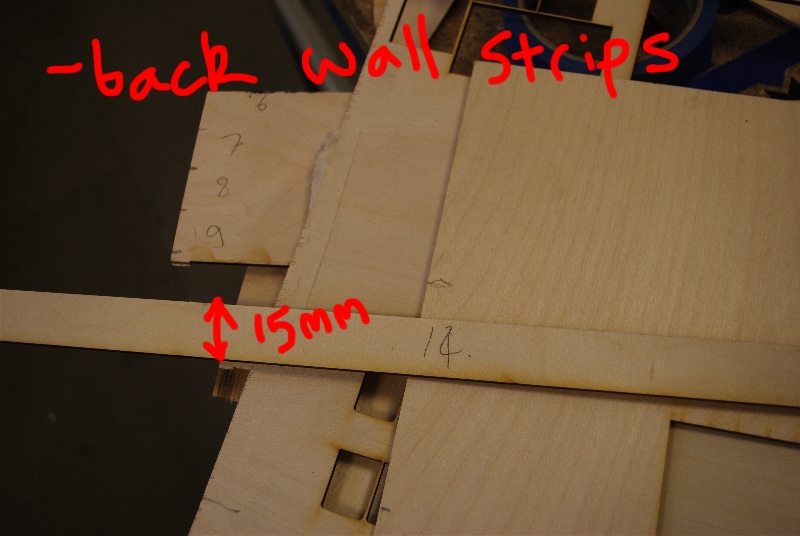
- Cut the birch strips on the back wall. Originally these were meant to support the continents but as the map progressed, I realised that the continents should be supported separately. However, this wall grid offers a nice 3d effect.Cut strips to maximum 700mm length (I found due to the large nature of this map sometimes they will not fit so you need to cut as you go down to around 650mm for the diagonals and 600mm for the horizontals). Cut them 15mm wide. I find it is best to cut down each as you go.
- Make sure if with a bandsaw they are a bit under 15mm wide, or equivalent depending on your scale this means they will fit snugly into the 3d printed connectors. The connectors were designed and printed by myself, see attached file. If your map is larger/smaller, you will need to rescale accordingly.
- After that, get the wall plugs and screws, screw in the wall plug, then screw in the connector disc. Slot in the appropriate wood strips, trim down and carefully build up as you go.
- When everything is in place, use sugru or something similar to stick the connector tops to hide the screws. You need something that will stick but you can take the top discs off in-case you want to access the wall plugs etc.
Step 3: Lasercut the Continents
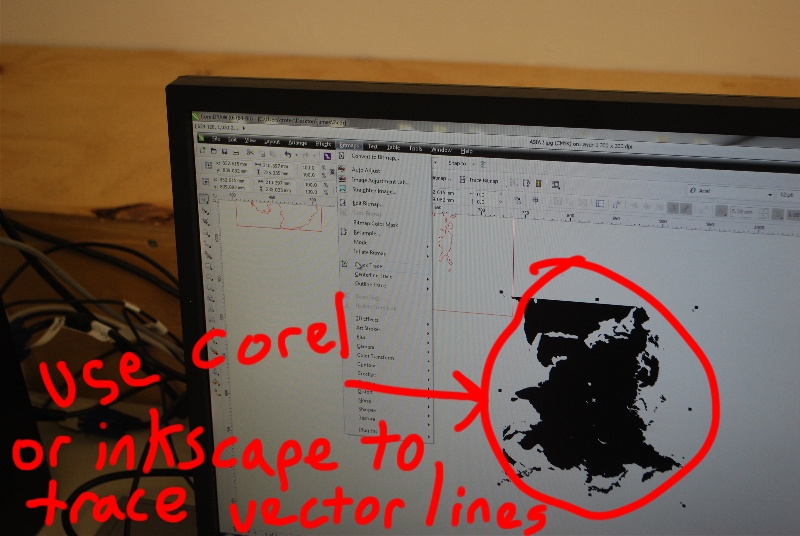
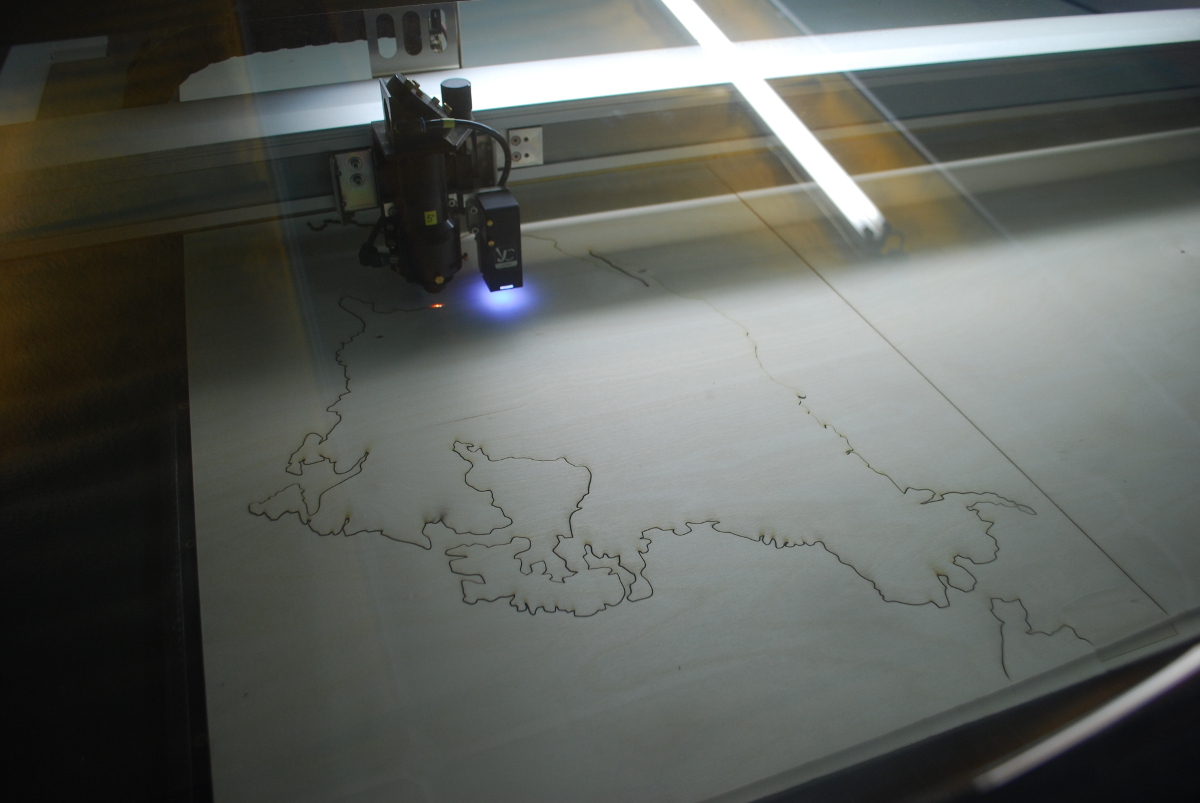
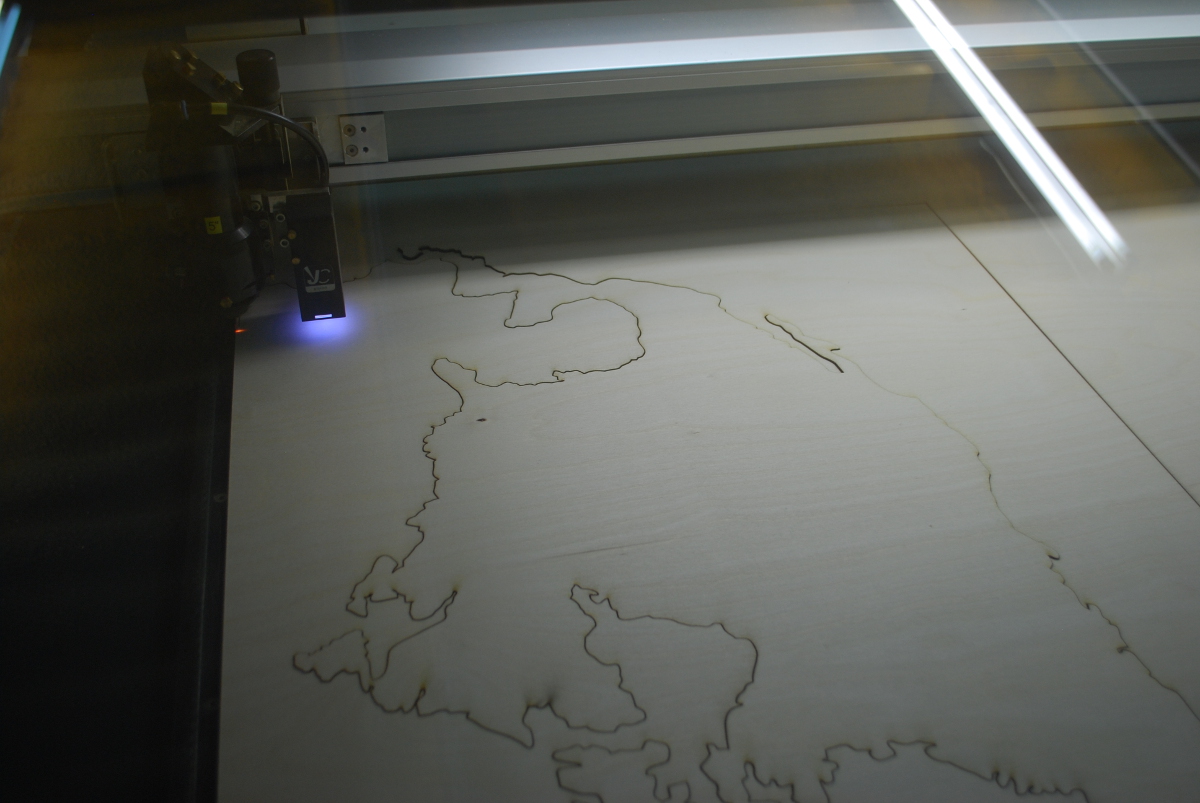
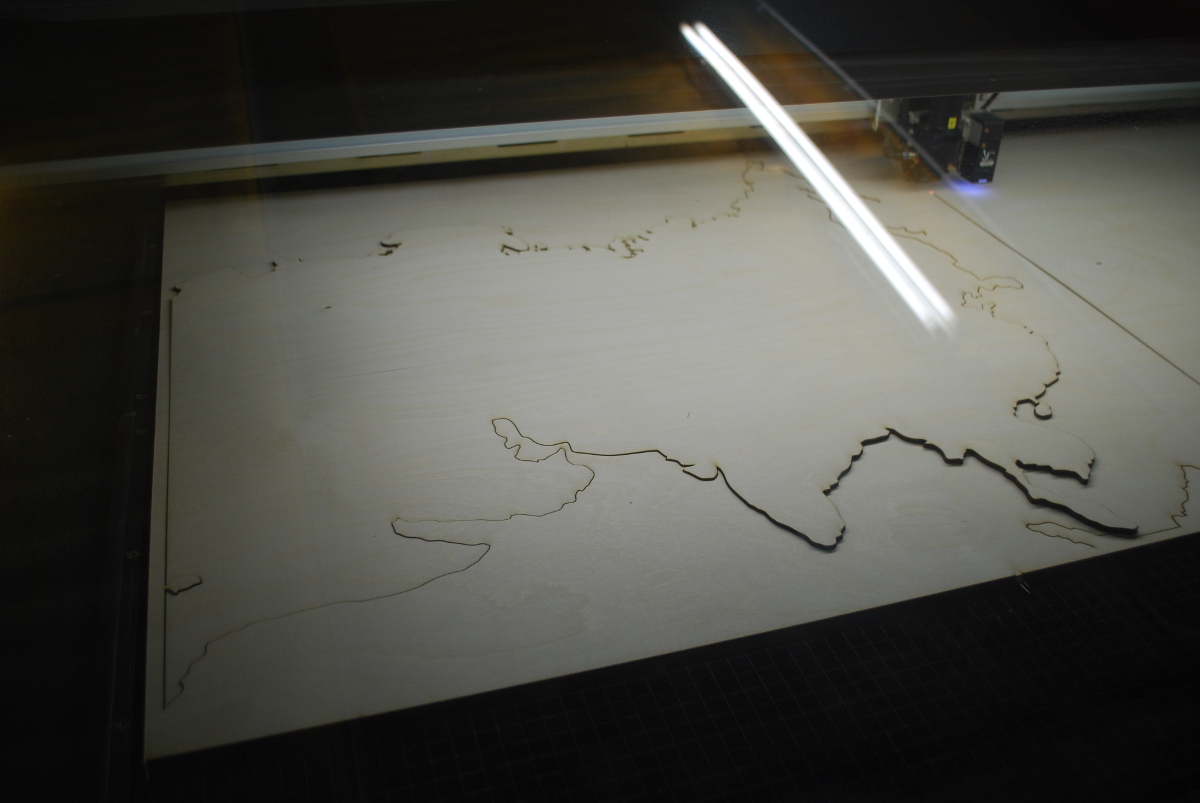
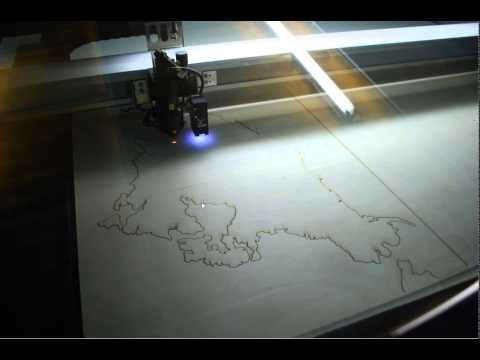
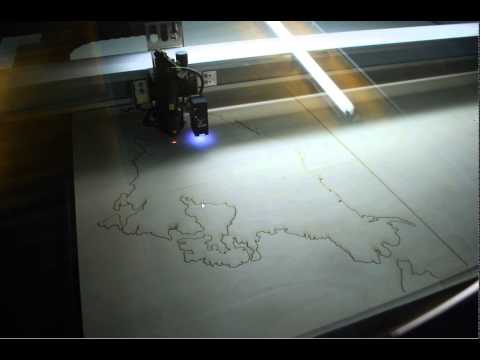
- Get continents/world map as vector SVGS, either inkscape (free), Corel draw or similar. These applications will trace lines around the bitmaps such as the reference Dymaxion map you should have on your computer, make these red 255 So The lasercutter knows where to cut. Make sure you know how big the continents will be. I used the Dymaxion map on my computer to refer to. Through this, I got the measurements by measuring the length and heights of each continent on the image. An easy way to do this is to get a ruler, zoom your map in and out, get to a point where the horizontal strip is 6cm long on your screen. This is then a 1:10 scale map so you can then do fairly accurate measurements. Then make sure you print at these exact dimensions on the lasercutter, check size when you bring it into Corel, Inkscape or a similar application. Even with a big lasercutter, I had to split up Africa at the Suez Canal linking to Europe and also North America with South at the Panama Canal.
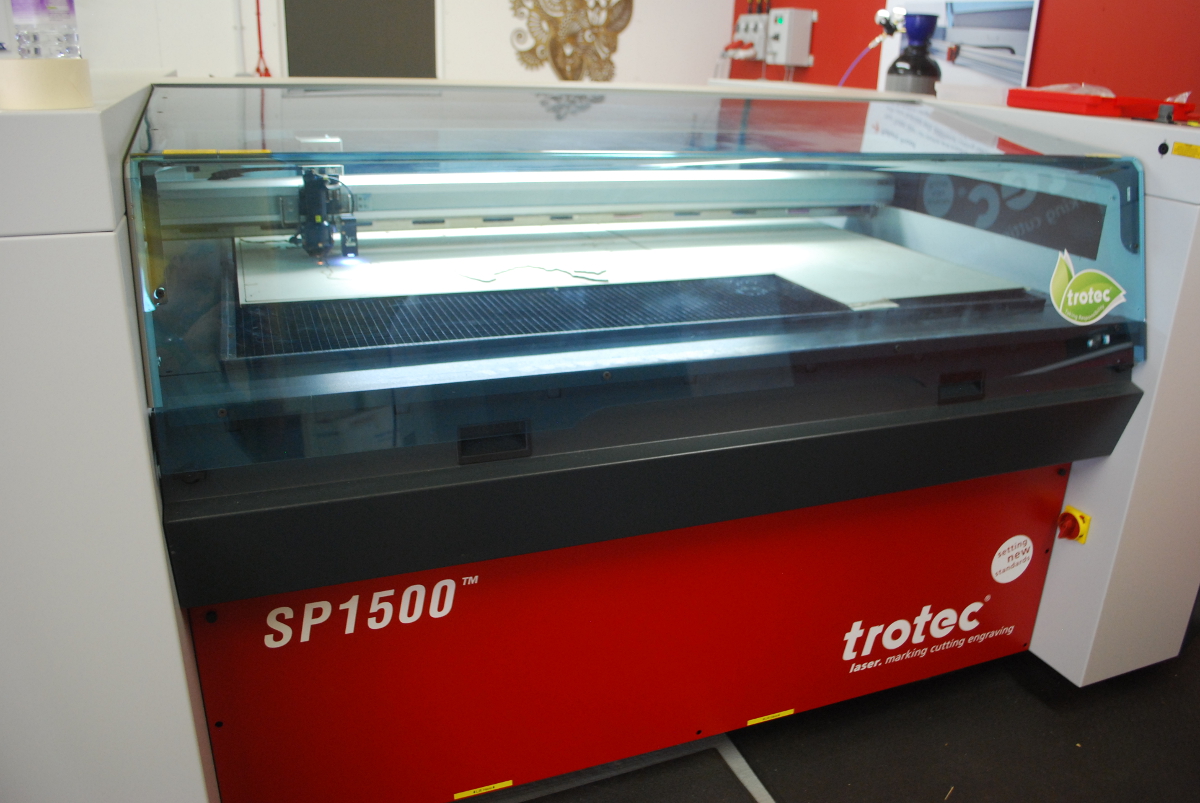
- At the scale I made it, you are going to have to find a big enough laser cutter! I used the SP1500 at a Trotec centre in Guildford near London, UK. Alternatively, you can still make a big map by slicing the continents. This will leave lines, though. You could experiment with filler to hide the join lines though.
- When each continent is cut, it is best to carefully lift it from the cutter and quickly put masking tape over it so the small islands do not fall out. Then do the same on the other side until you are ready to start putting the world on the 'wall grid'! :)...
Step 4: Position and Attach the Continents
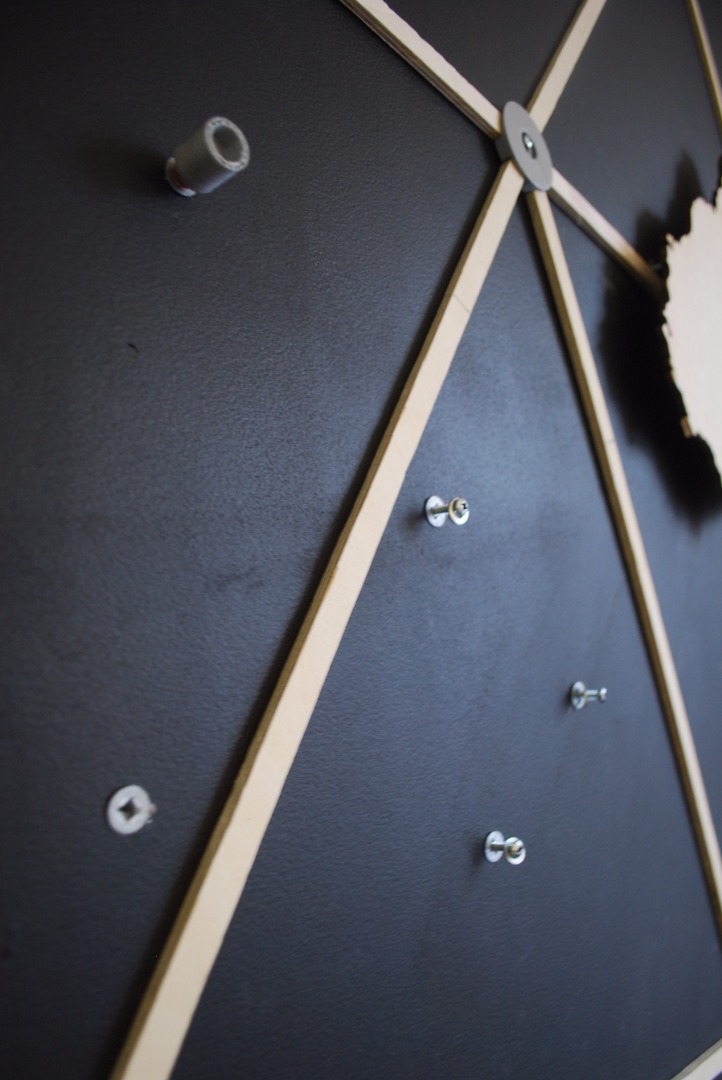
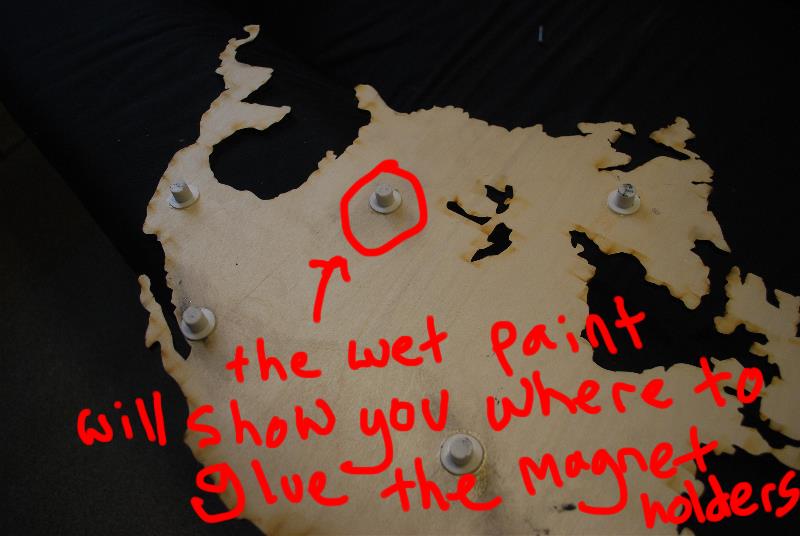
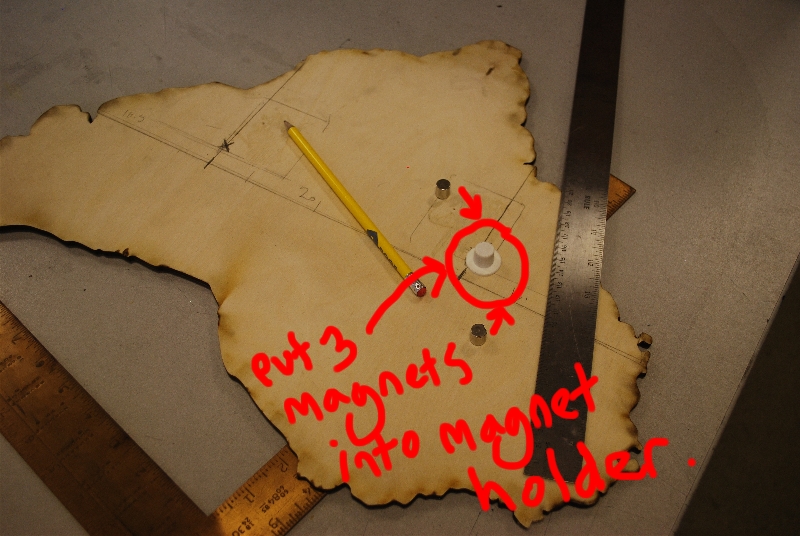
- You need to make sure that the continents are in the correct location. I found the easiest way was to again measure on your reference Dymaxion image the strips and where they intersect with the continents and location, mark length with pencil lightly on the strips and also the continents.
- Then put each continent in place, lift up a bit and mark on the wall good positions for wall plugs. Remember to place them far apart 'triangulated' for strength but not too near the perimeters of each continent. Then drill and add wall-plugs and screws into these points.
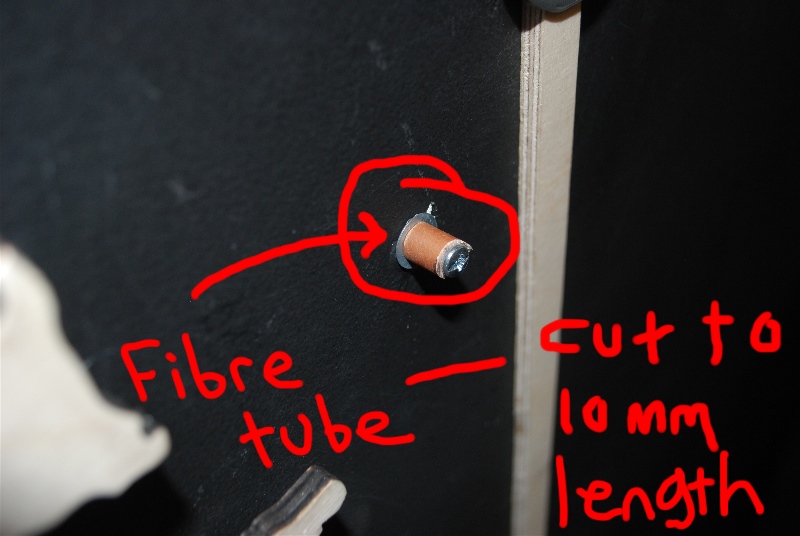
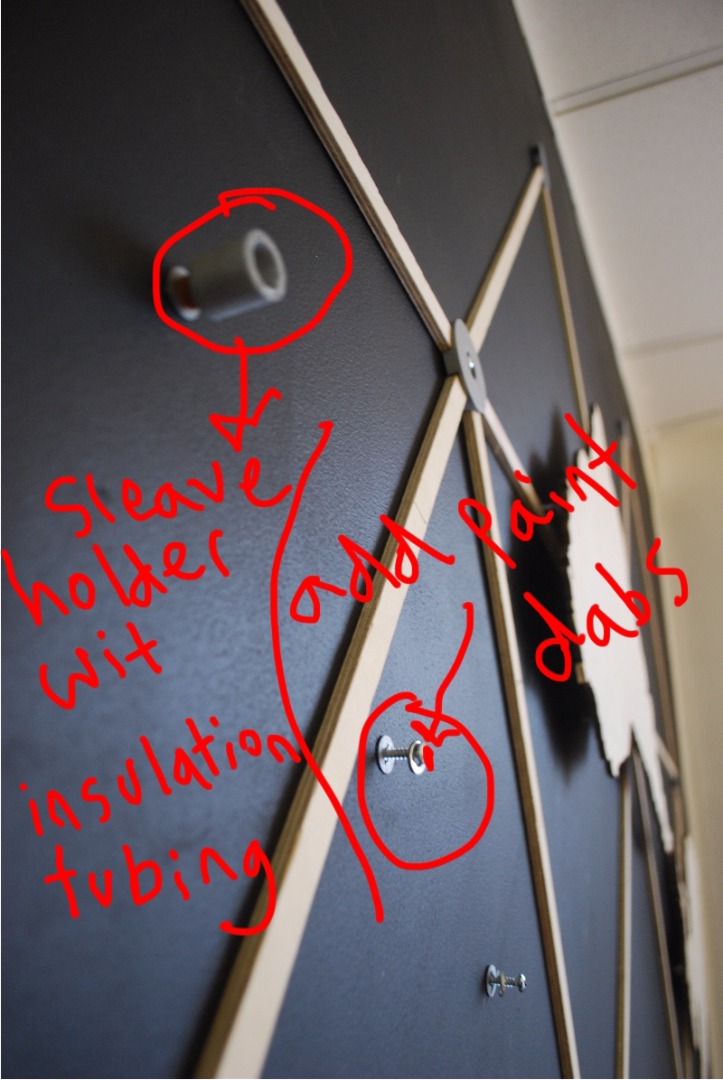
- Put paint on the screw heads in the wall. Position the continents carefully onto the wall, press firmly then lift. The paint marks on the back of each continent will now give you the position of where to fix/super-glue the plastic (see 3d print attachment) magnet holder pods, so do this when the paint has dried. Then place back on the wall when dry, should be where magnets/screws align, if not rip off with a metal spatula and do again. Then cut the insulation tubing to a height of 10mm and place them onto the screws sticking out the wall and then put the sleeves over them, adjust the height of the continents on the other places by unscrewing the wall plug screws slightly to make up for the raised sleeve holder. Then put in place. Your continent Asia, the largest one will still hold up. If they do not hold up well enough, use more sleeve 3d prints with the insulation tubing. You can even super-glue the magnet pods into these but this will make the continents difficult to remove.
- When you feel that all the continents are in place step back and assess, if there are gaps/overlays i.e.the suez canal /panama etc. You can add filler there or sand off!
- For the smaller islands, cut the orange insulation tubing to the height that your main continents are away from the wall and use super-glue. These should hold 'ok' on the wall.
Step 5: Print and Attach the 'Bucky Cars'
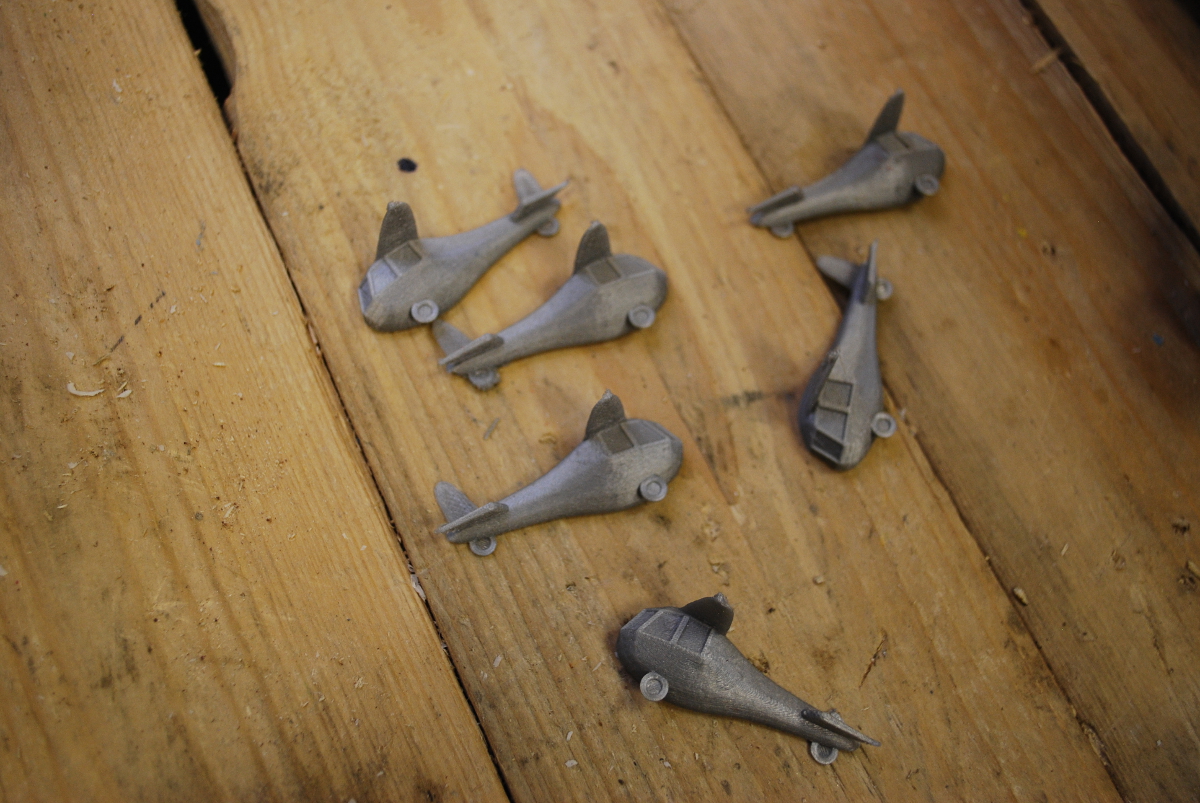
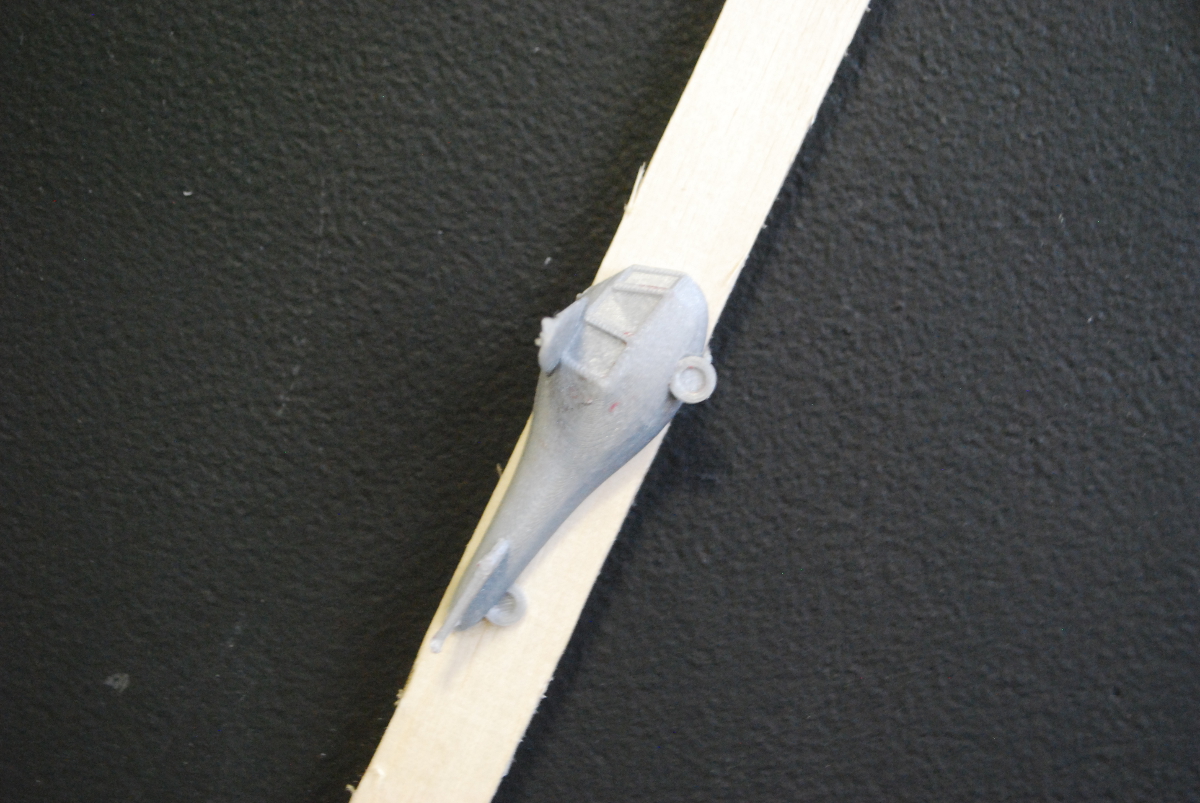
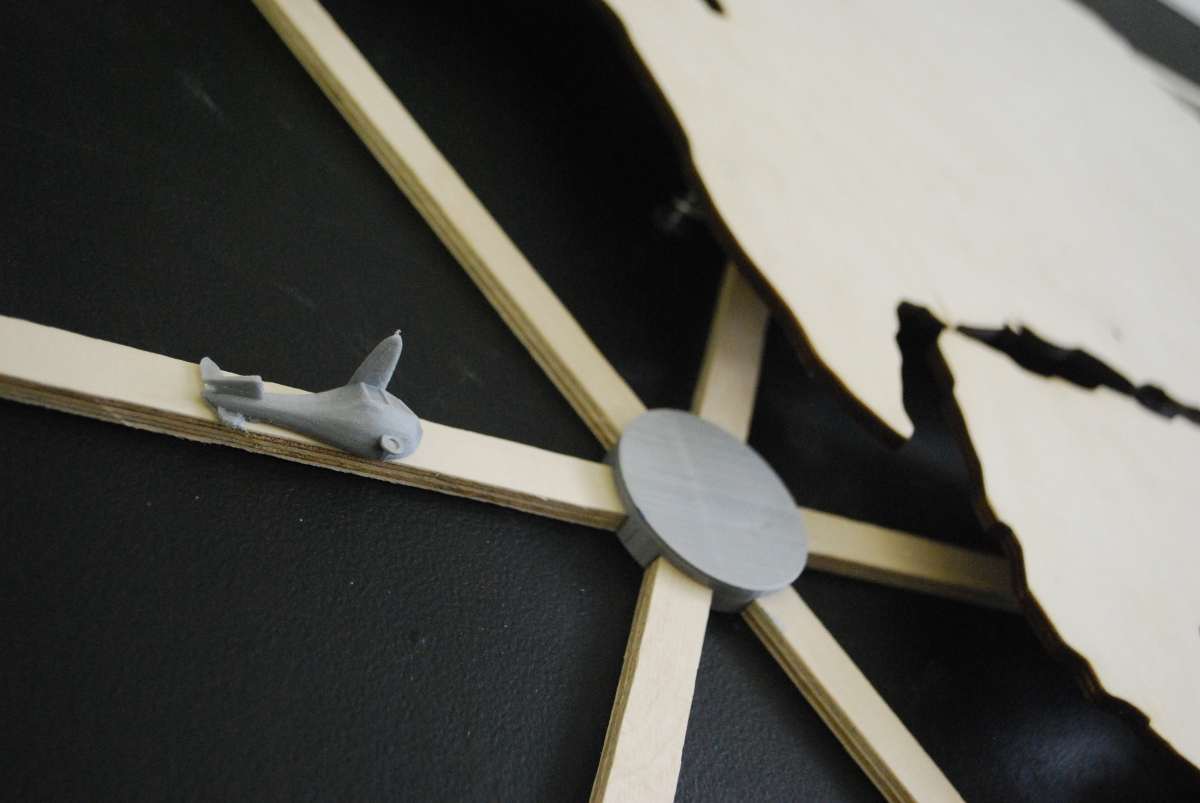
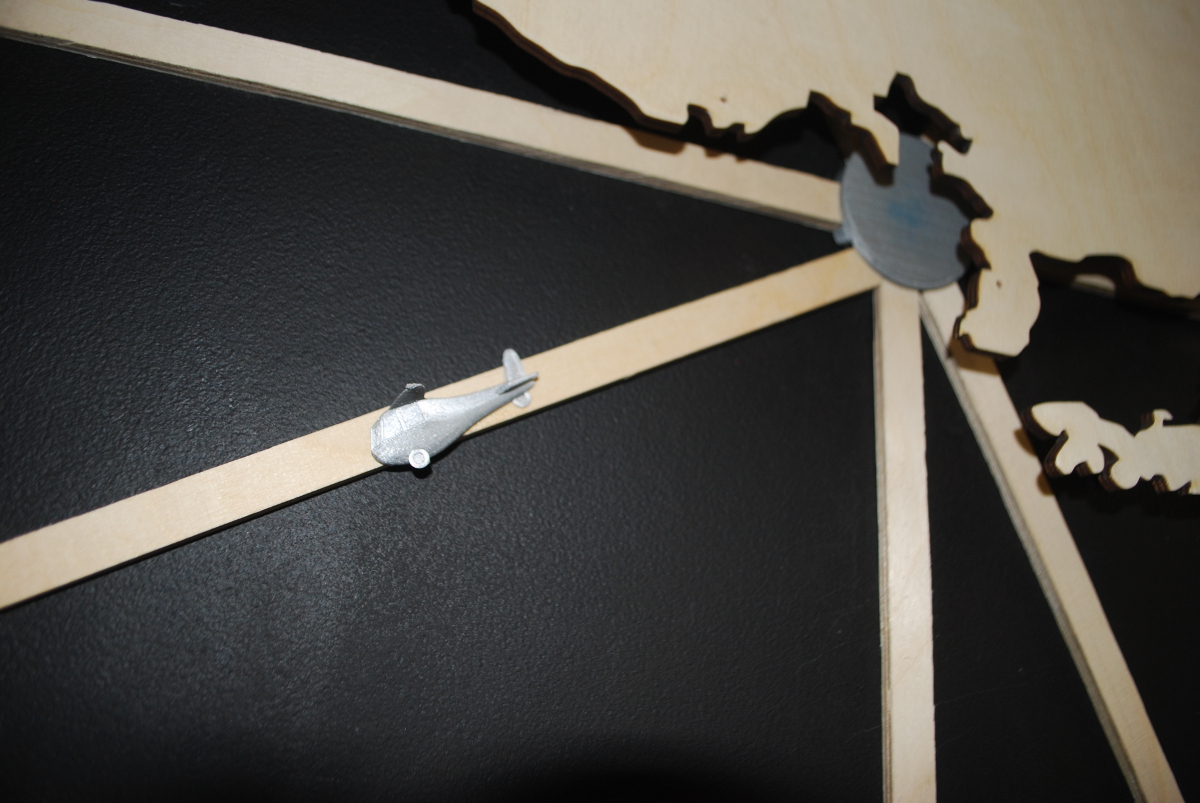
- I made these small 'Bucky' Cars based on internet photos. They are based on the '4D Dymaxion' car by Buckminster Fuller.
- Print them (attachment STL 'DynaFin', and superglue to add them onto the wooden strips, they give a sense of flight paths, the cars have wings on them! The cars are sliced, you can super glue them to make a whole car too if you want! Scale them in Cura or your equivalent print set-up file to whatever size you want.
Downloads
Step 6: Optional Extra, Add the Arduino Lighting
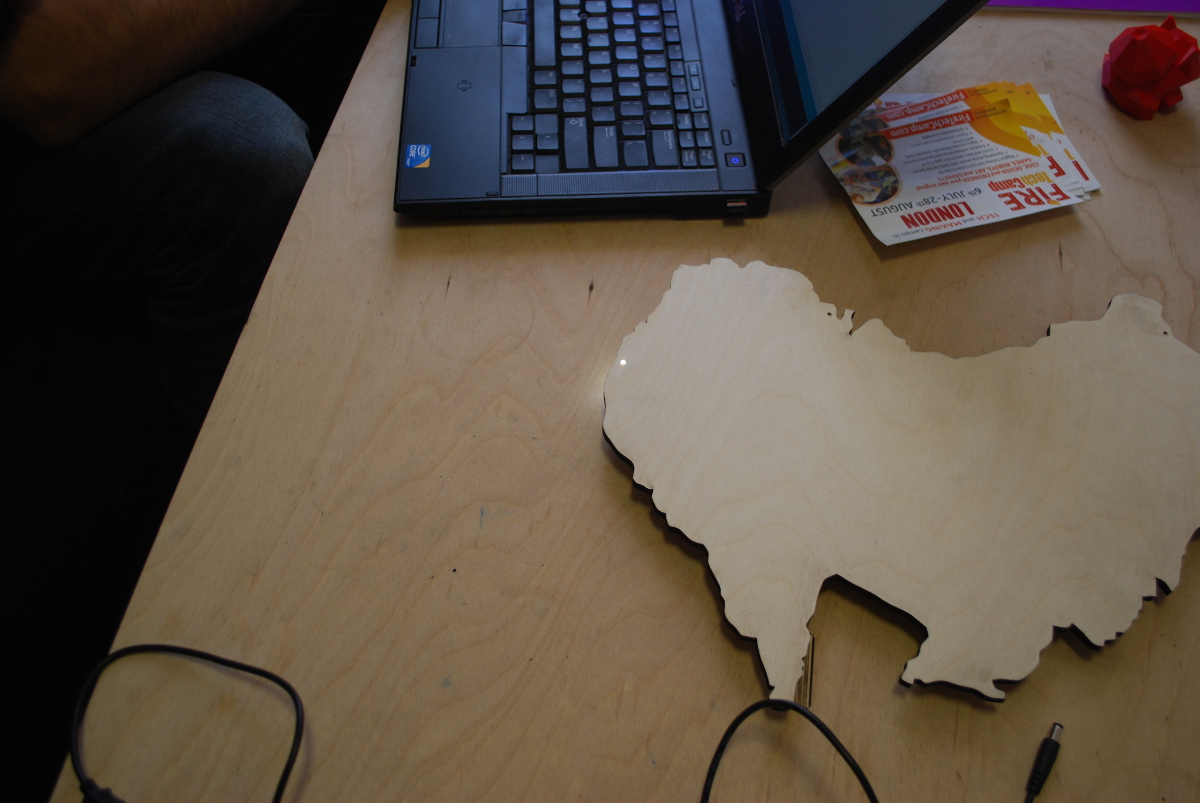
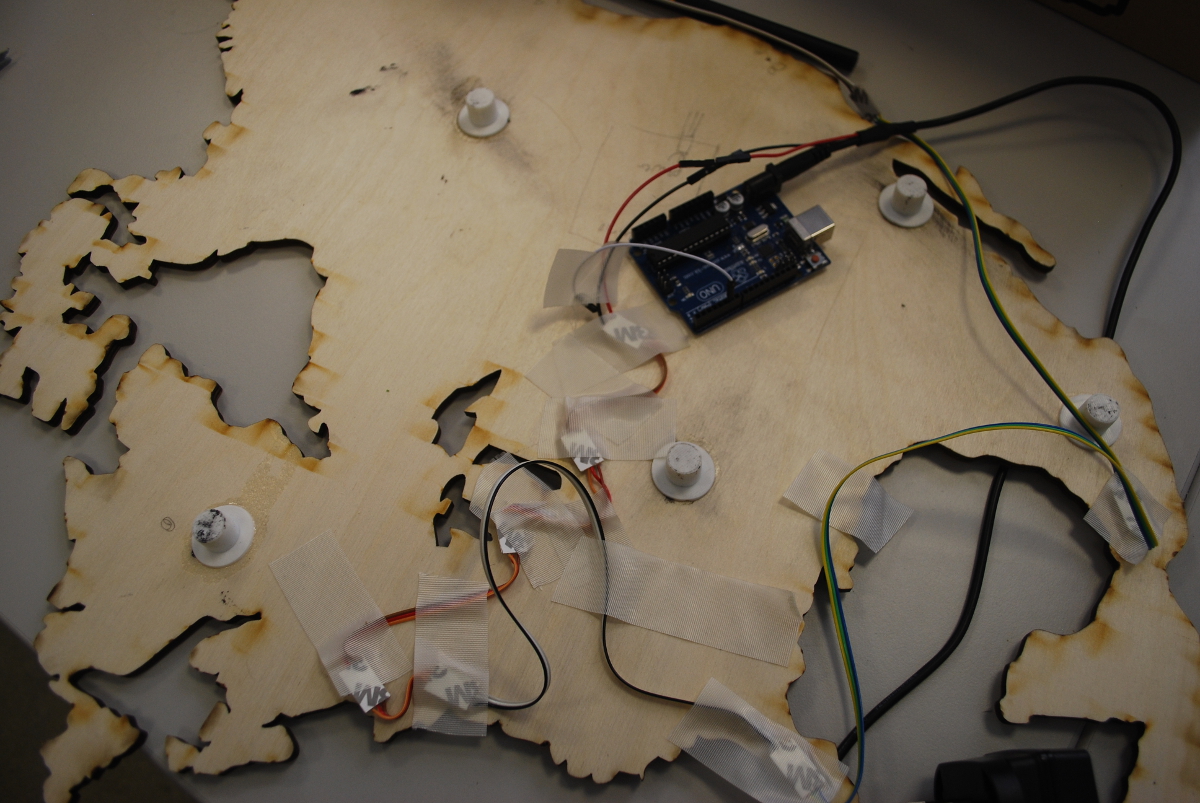
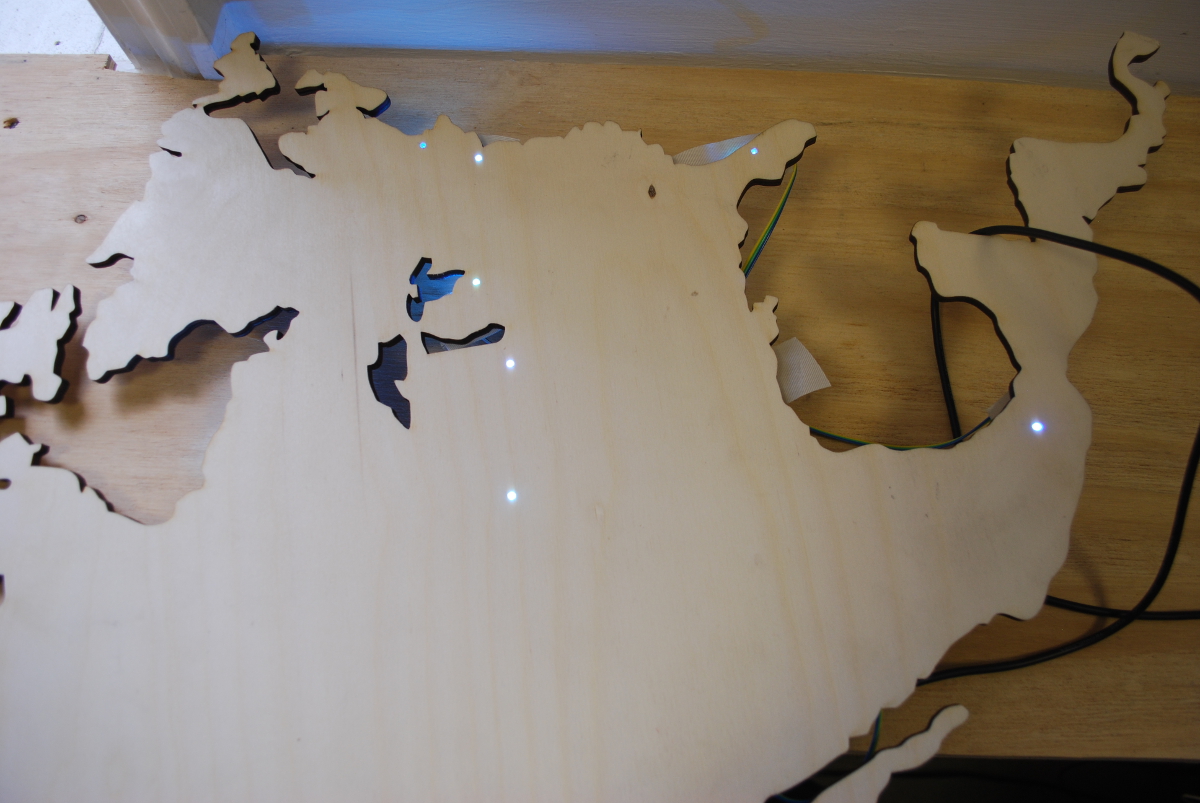
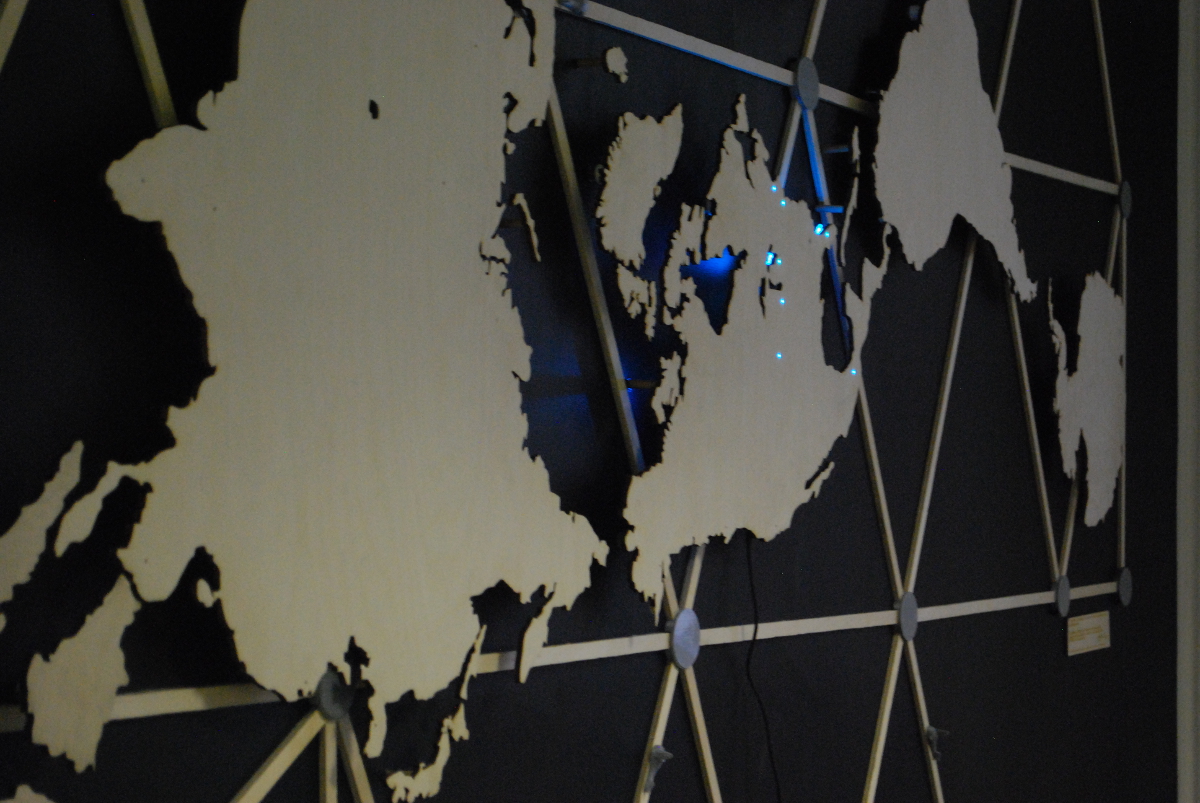
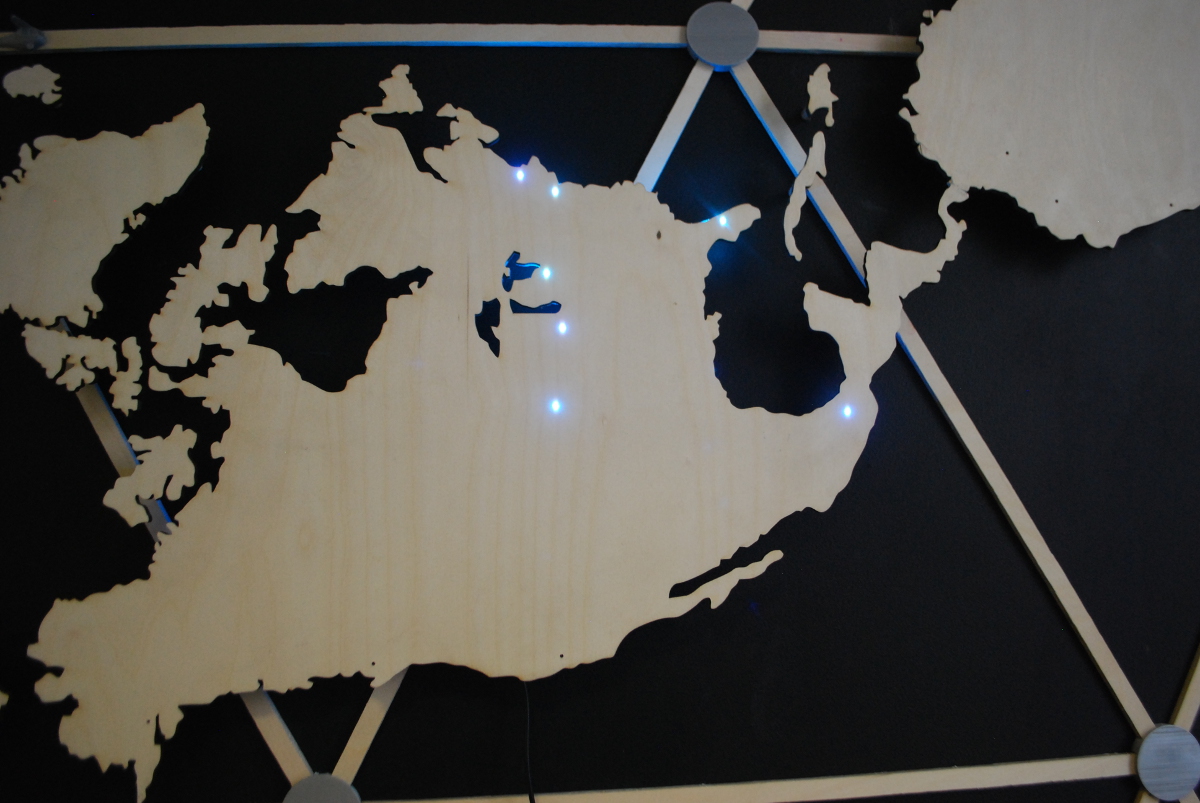
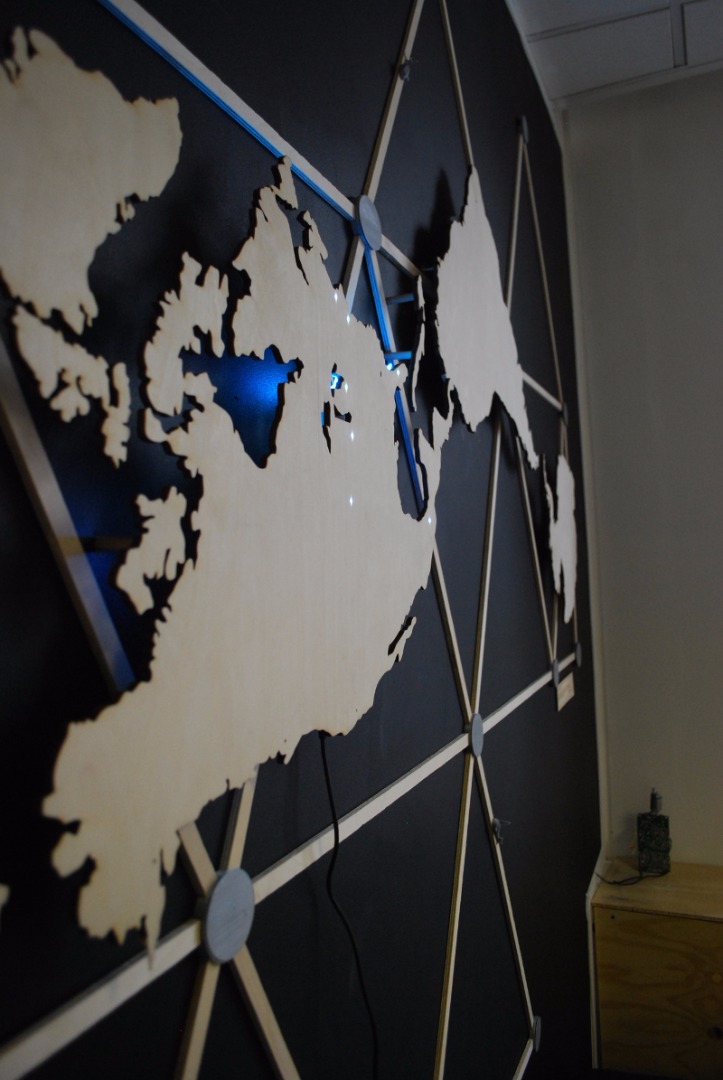
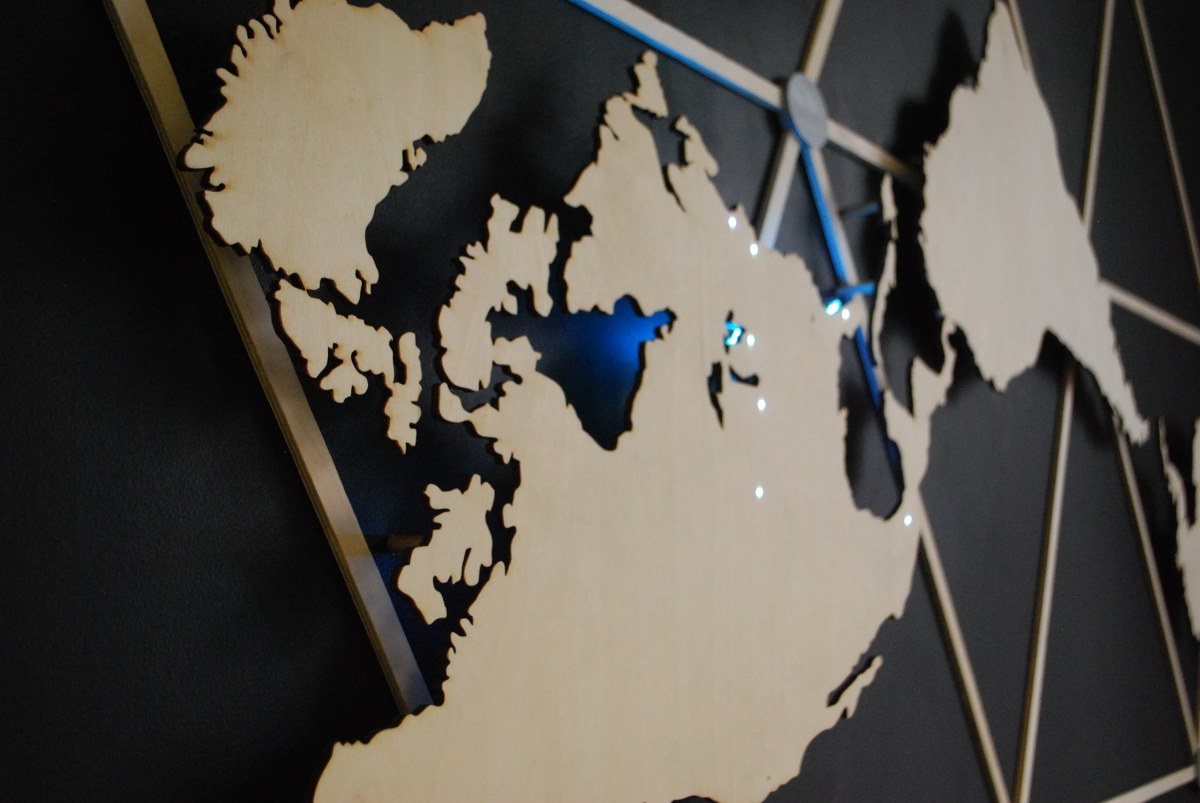
- This map was made for the London FabLab in the City Of London to show the location of the main FabLabs in the World, all would take a long time, there are 700 and growing.
- Drill through the continents where you want the lights (use Google Earth of similar to get the location of a city, i.e. New York, then make a circuit with an arduino on each continent. Stick the circuit with electrical tape so that the LEDS are directly below the continent. Then use an arduino code of your choice to make the lighting. You could have power from one lead or combine the arduinos into one power lead. This is beyond the scope of my knowledge and tutorial. I got someone else to do the arduino lighting for me. I will add the code at some point in the near future.
- You can develop your own code and circuits, add motion sensors so the lights are more interactive. Put the continents back and turn on!
Step 7: Have an Opening Ceremony and Present..
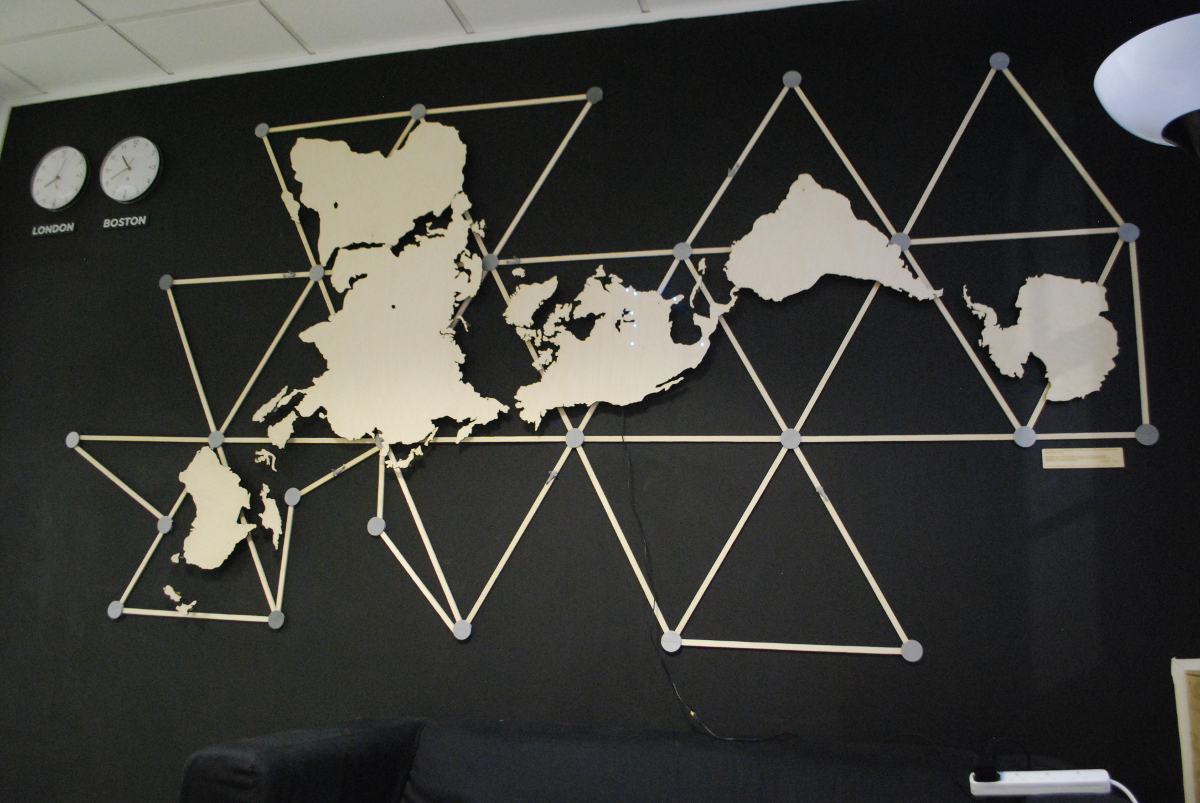
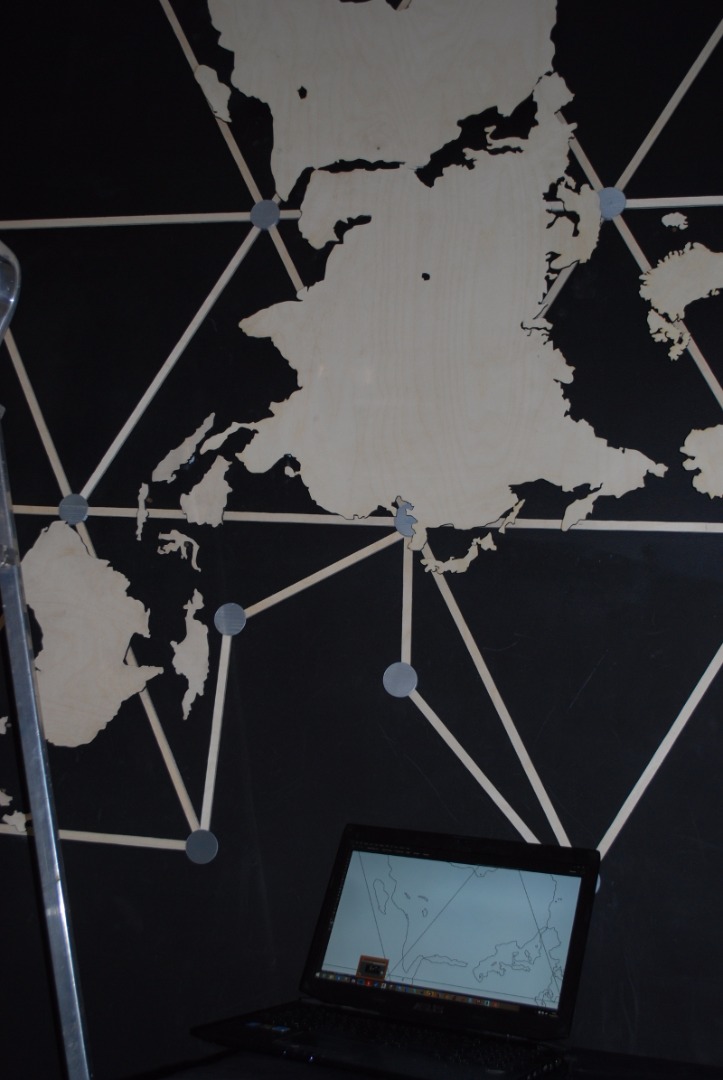
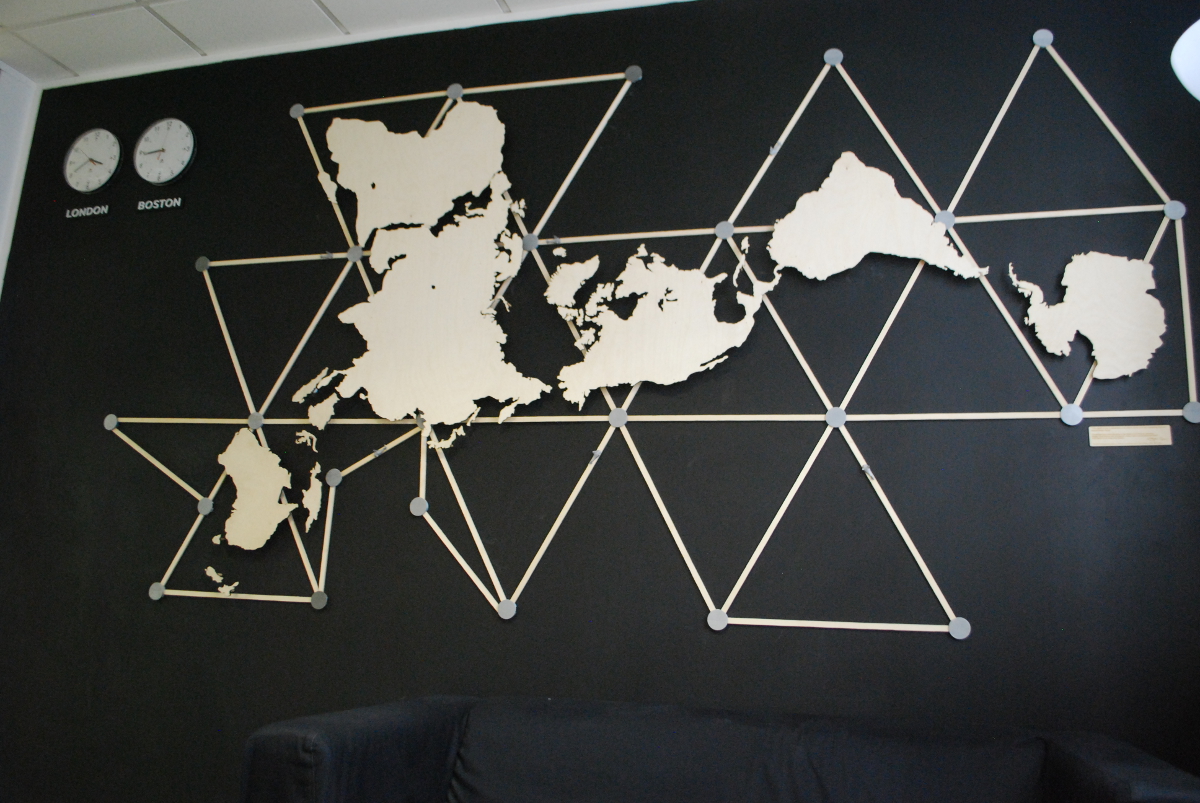
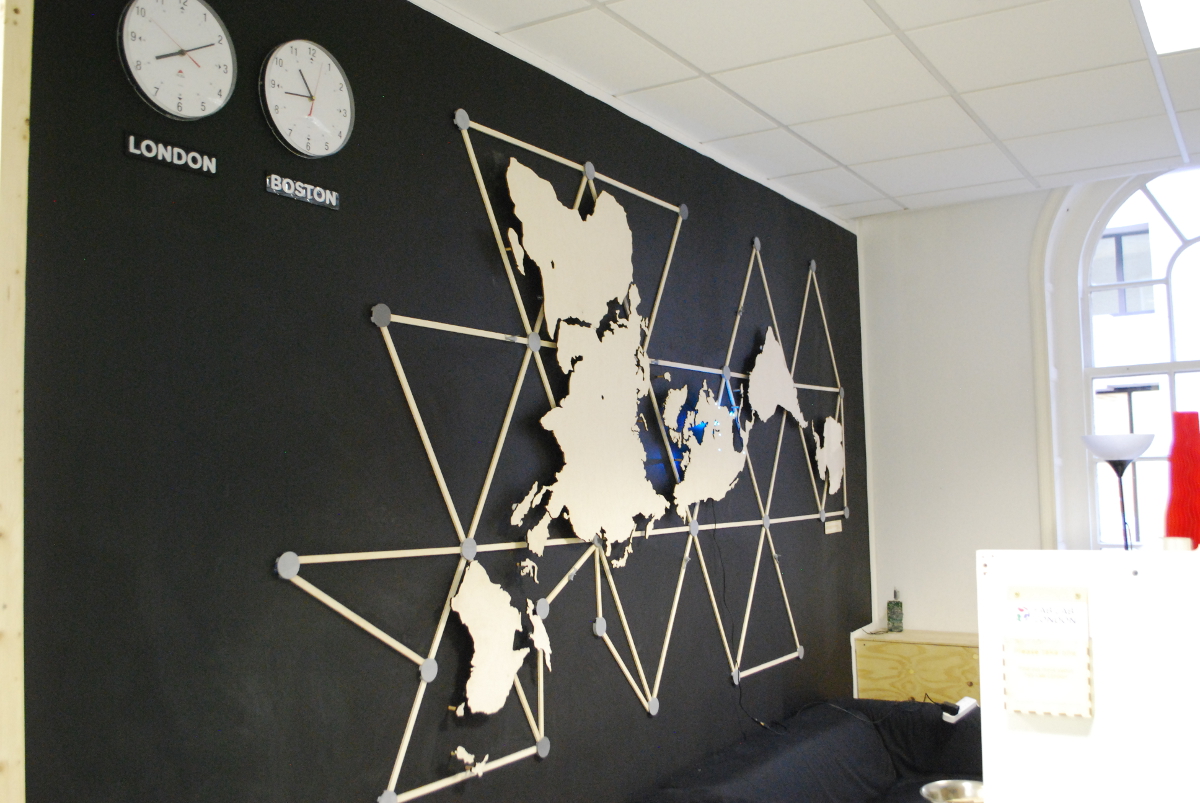
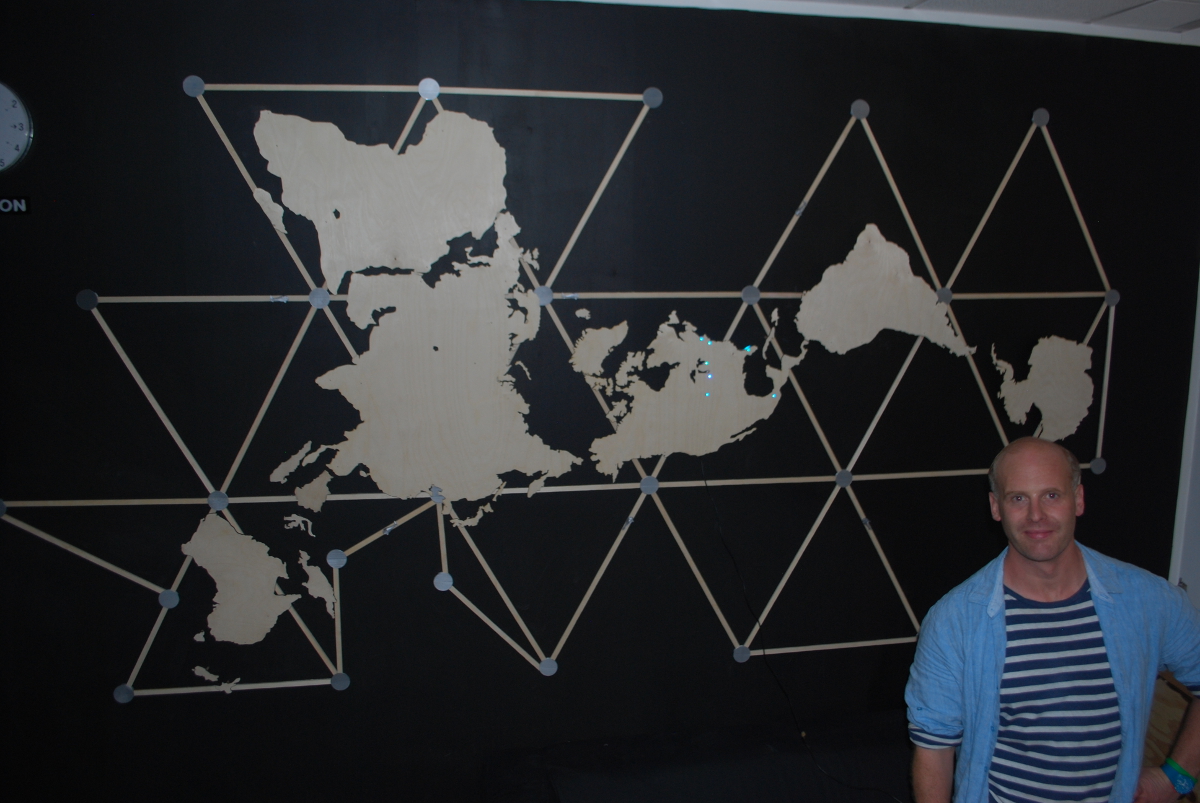
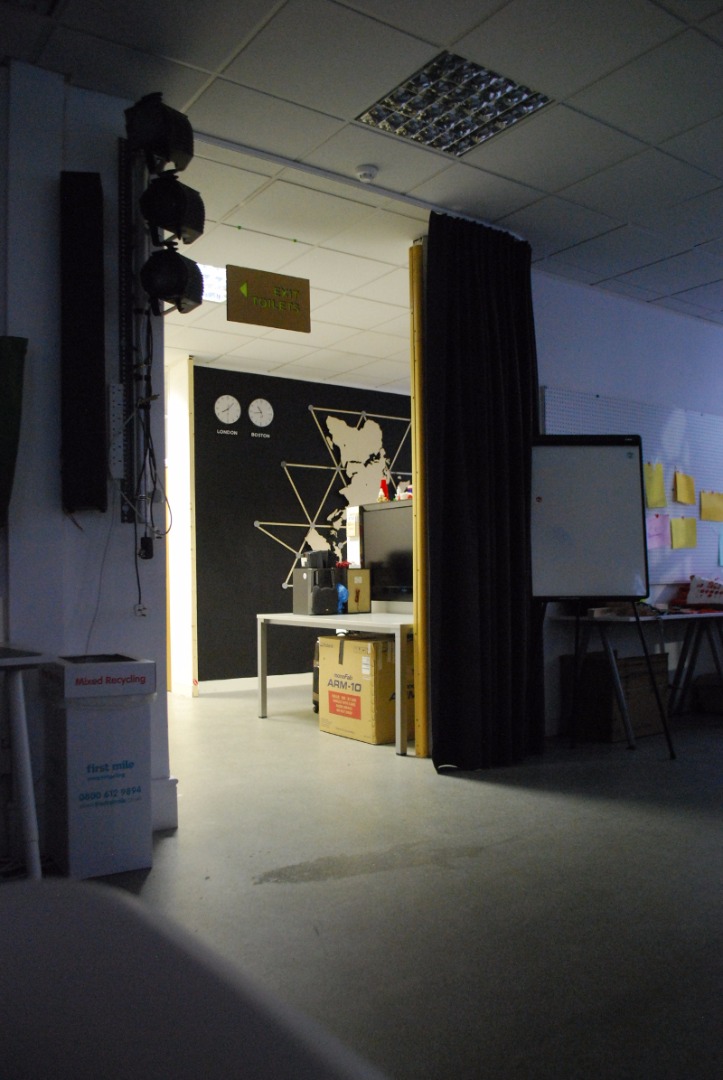
- Once you have made this, many people will comment and say how much they like it! This is what happened with me, people who visit the FabLab in London often comment on it, people have meetings under the map and it adds value to the space. Invite friends, family and business contacts for an opening ceremony!
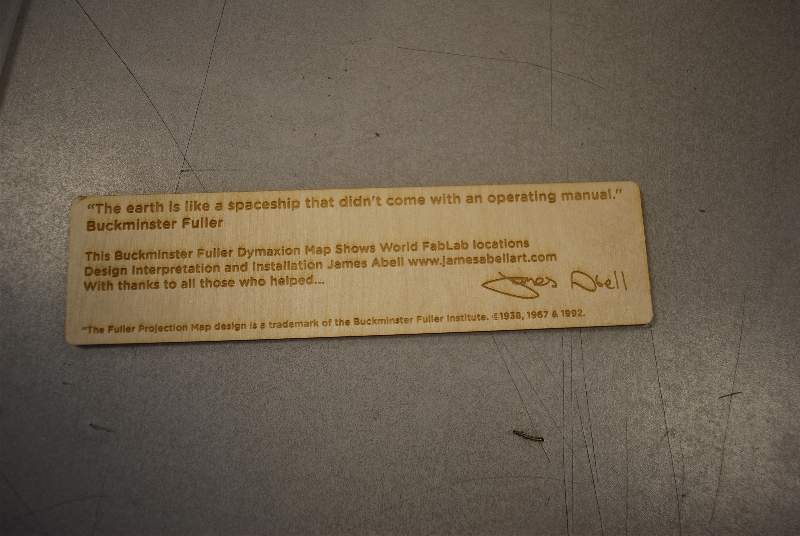
You can also laser etch a plaque to explain it and or add a quote.
It is a demanding thing to make and requires time but looks great when complete and is worth the effort!
For legal reasons you need to put - “The Fuller Projection Map design is a trademark of the Buckminster Fuller Institute. ©1938, 1967 & 1992. All rights reserved, bfi.org at the bottom of the work.