Brushed Steel IPod Back!
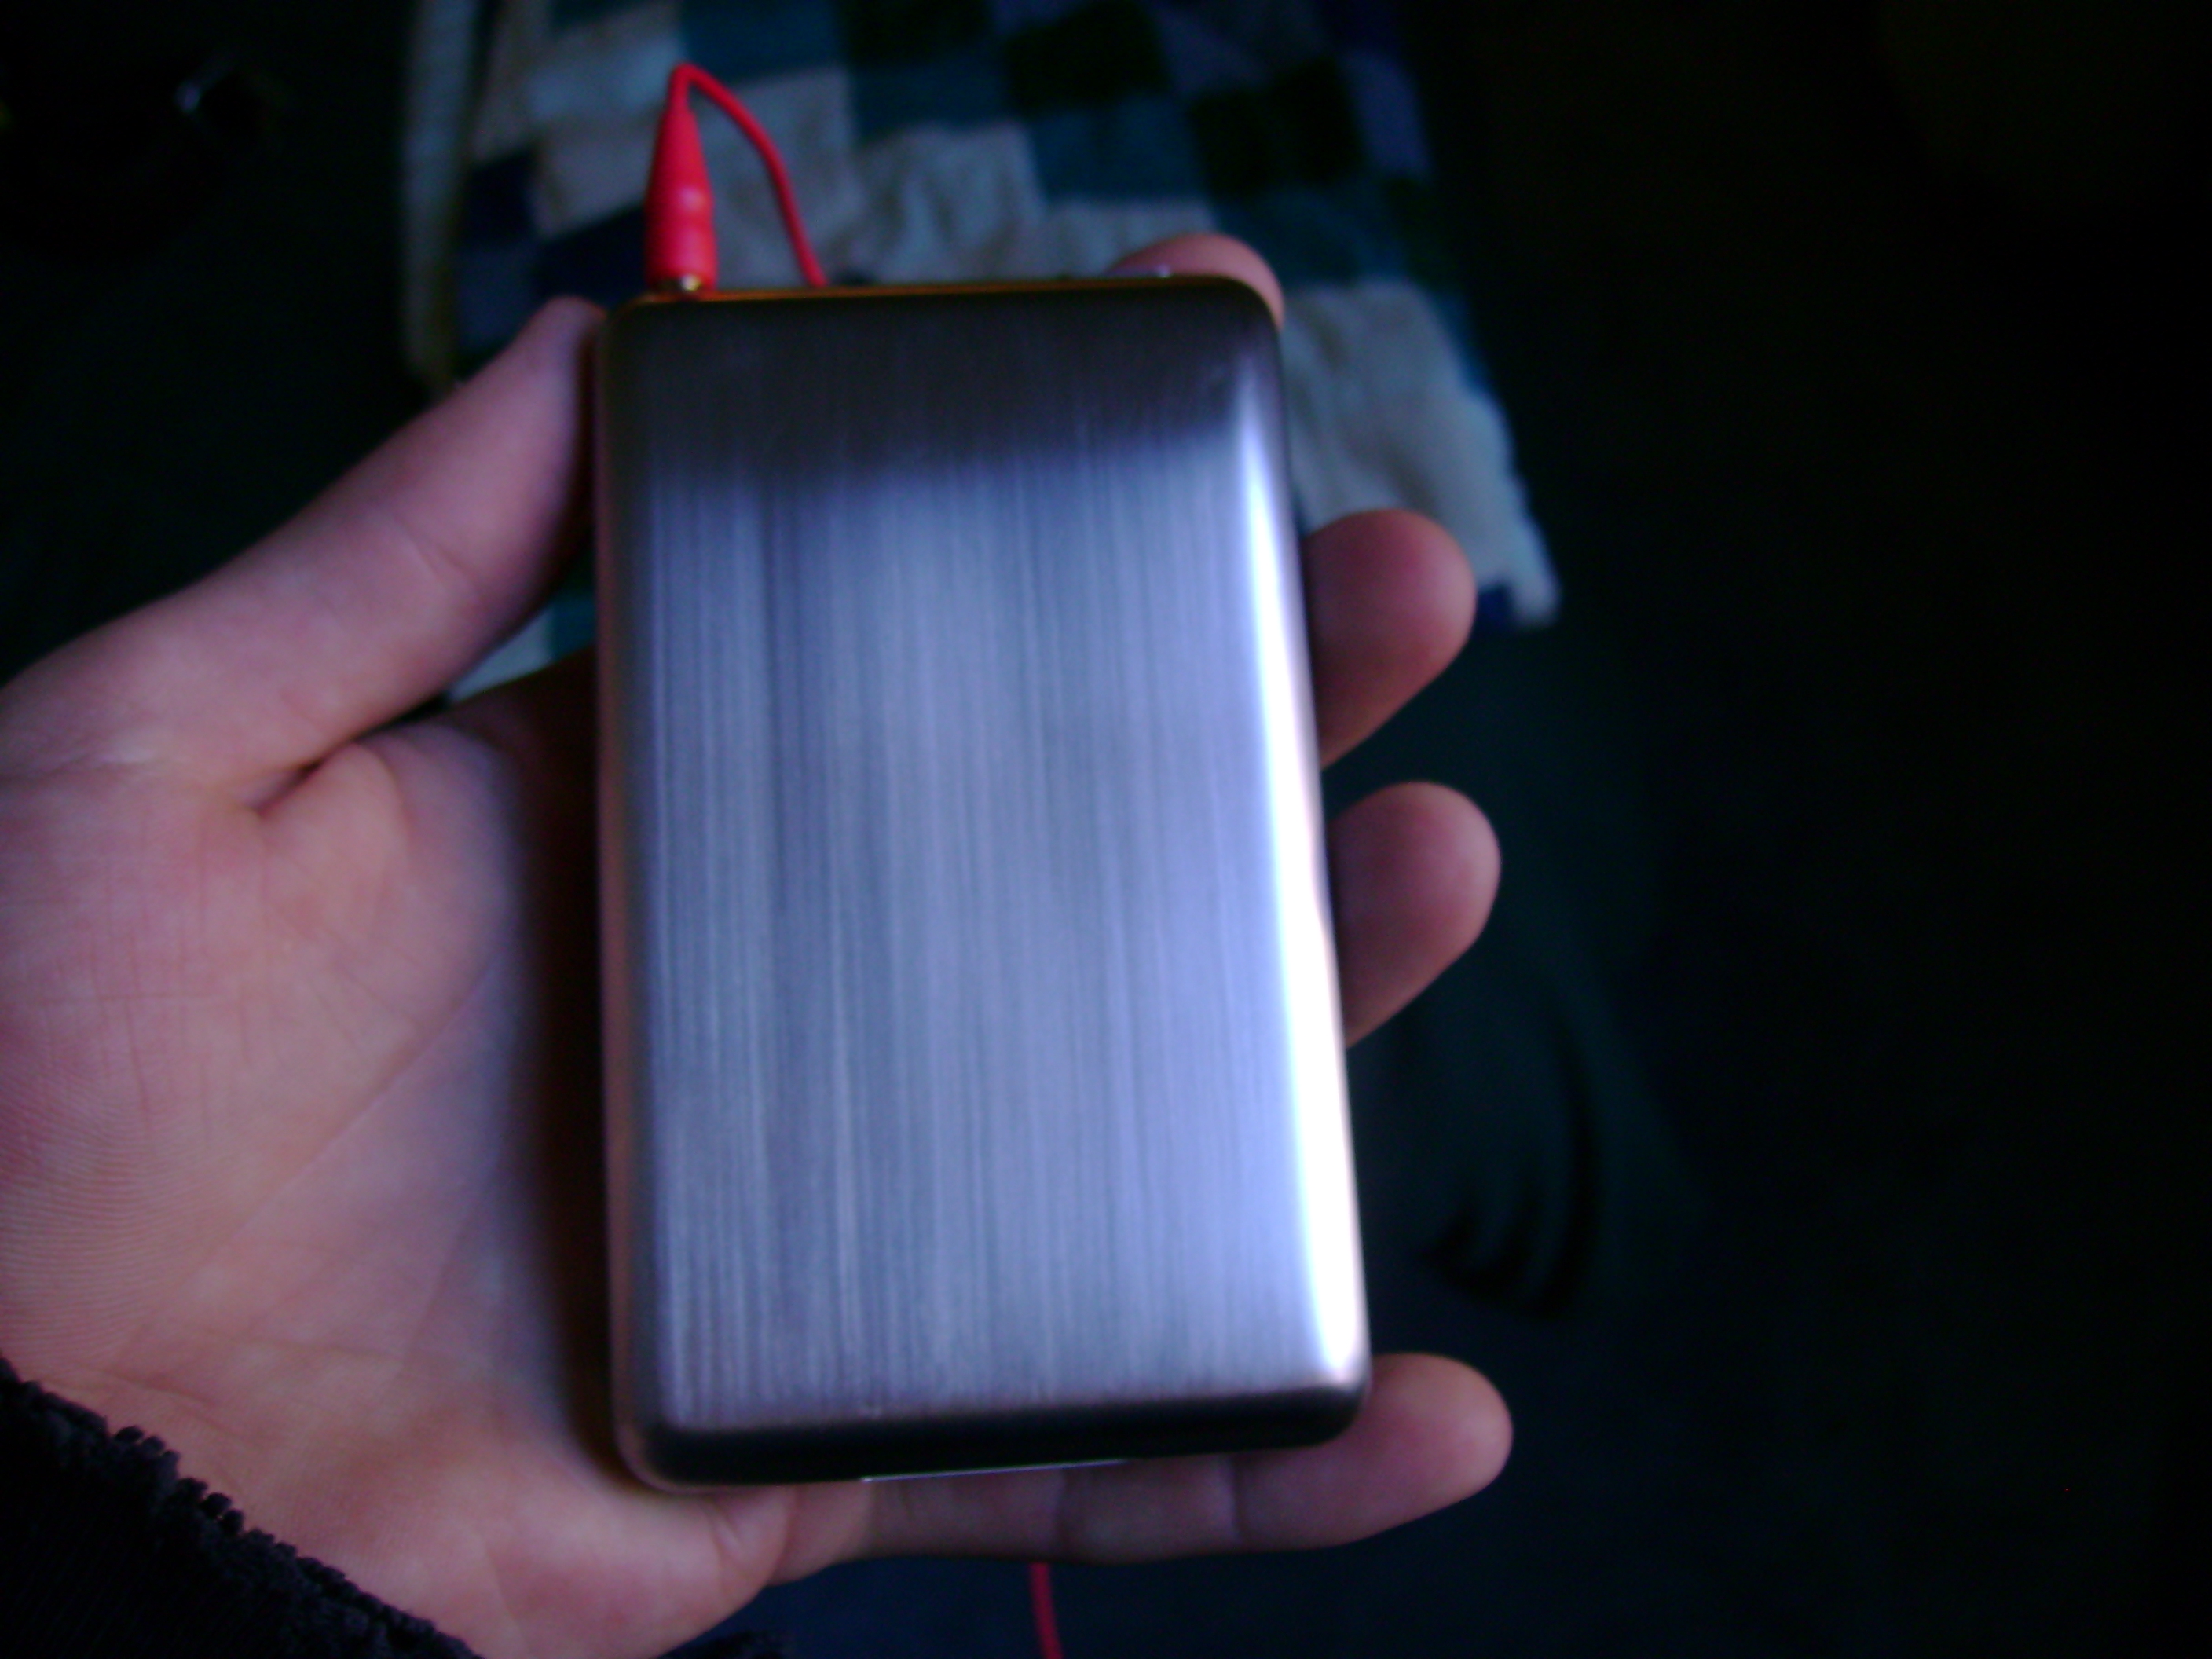
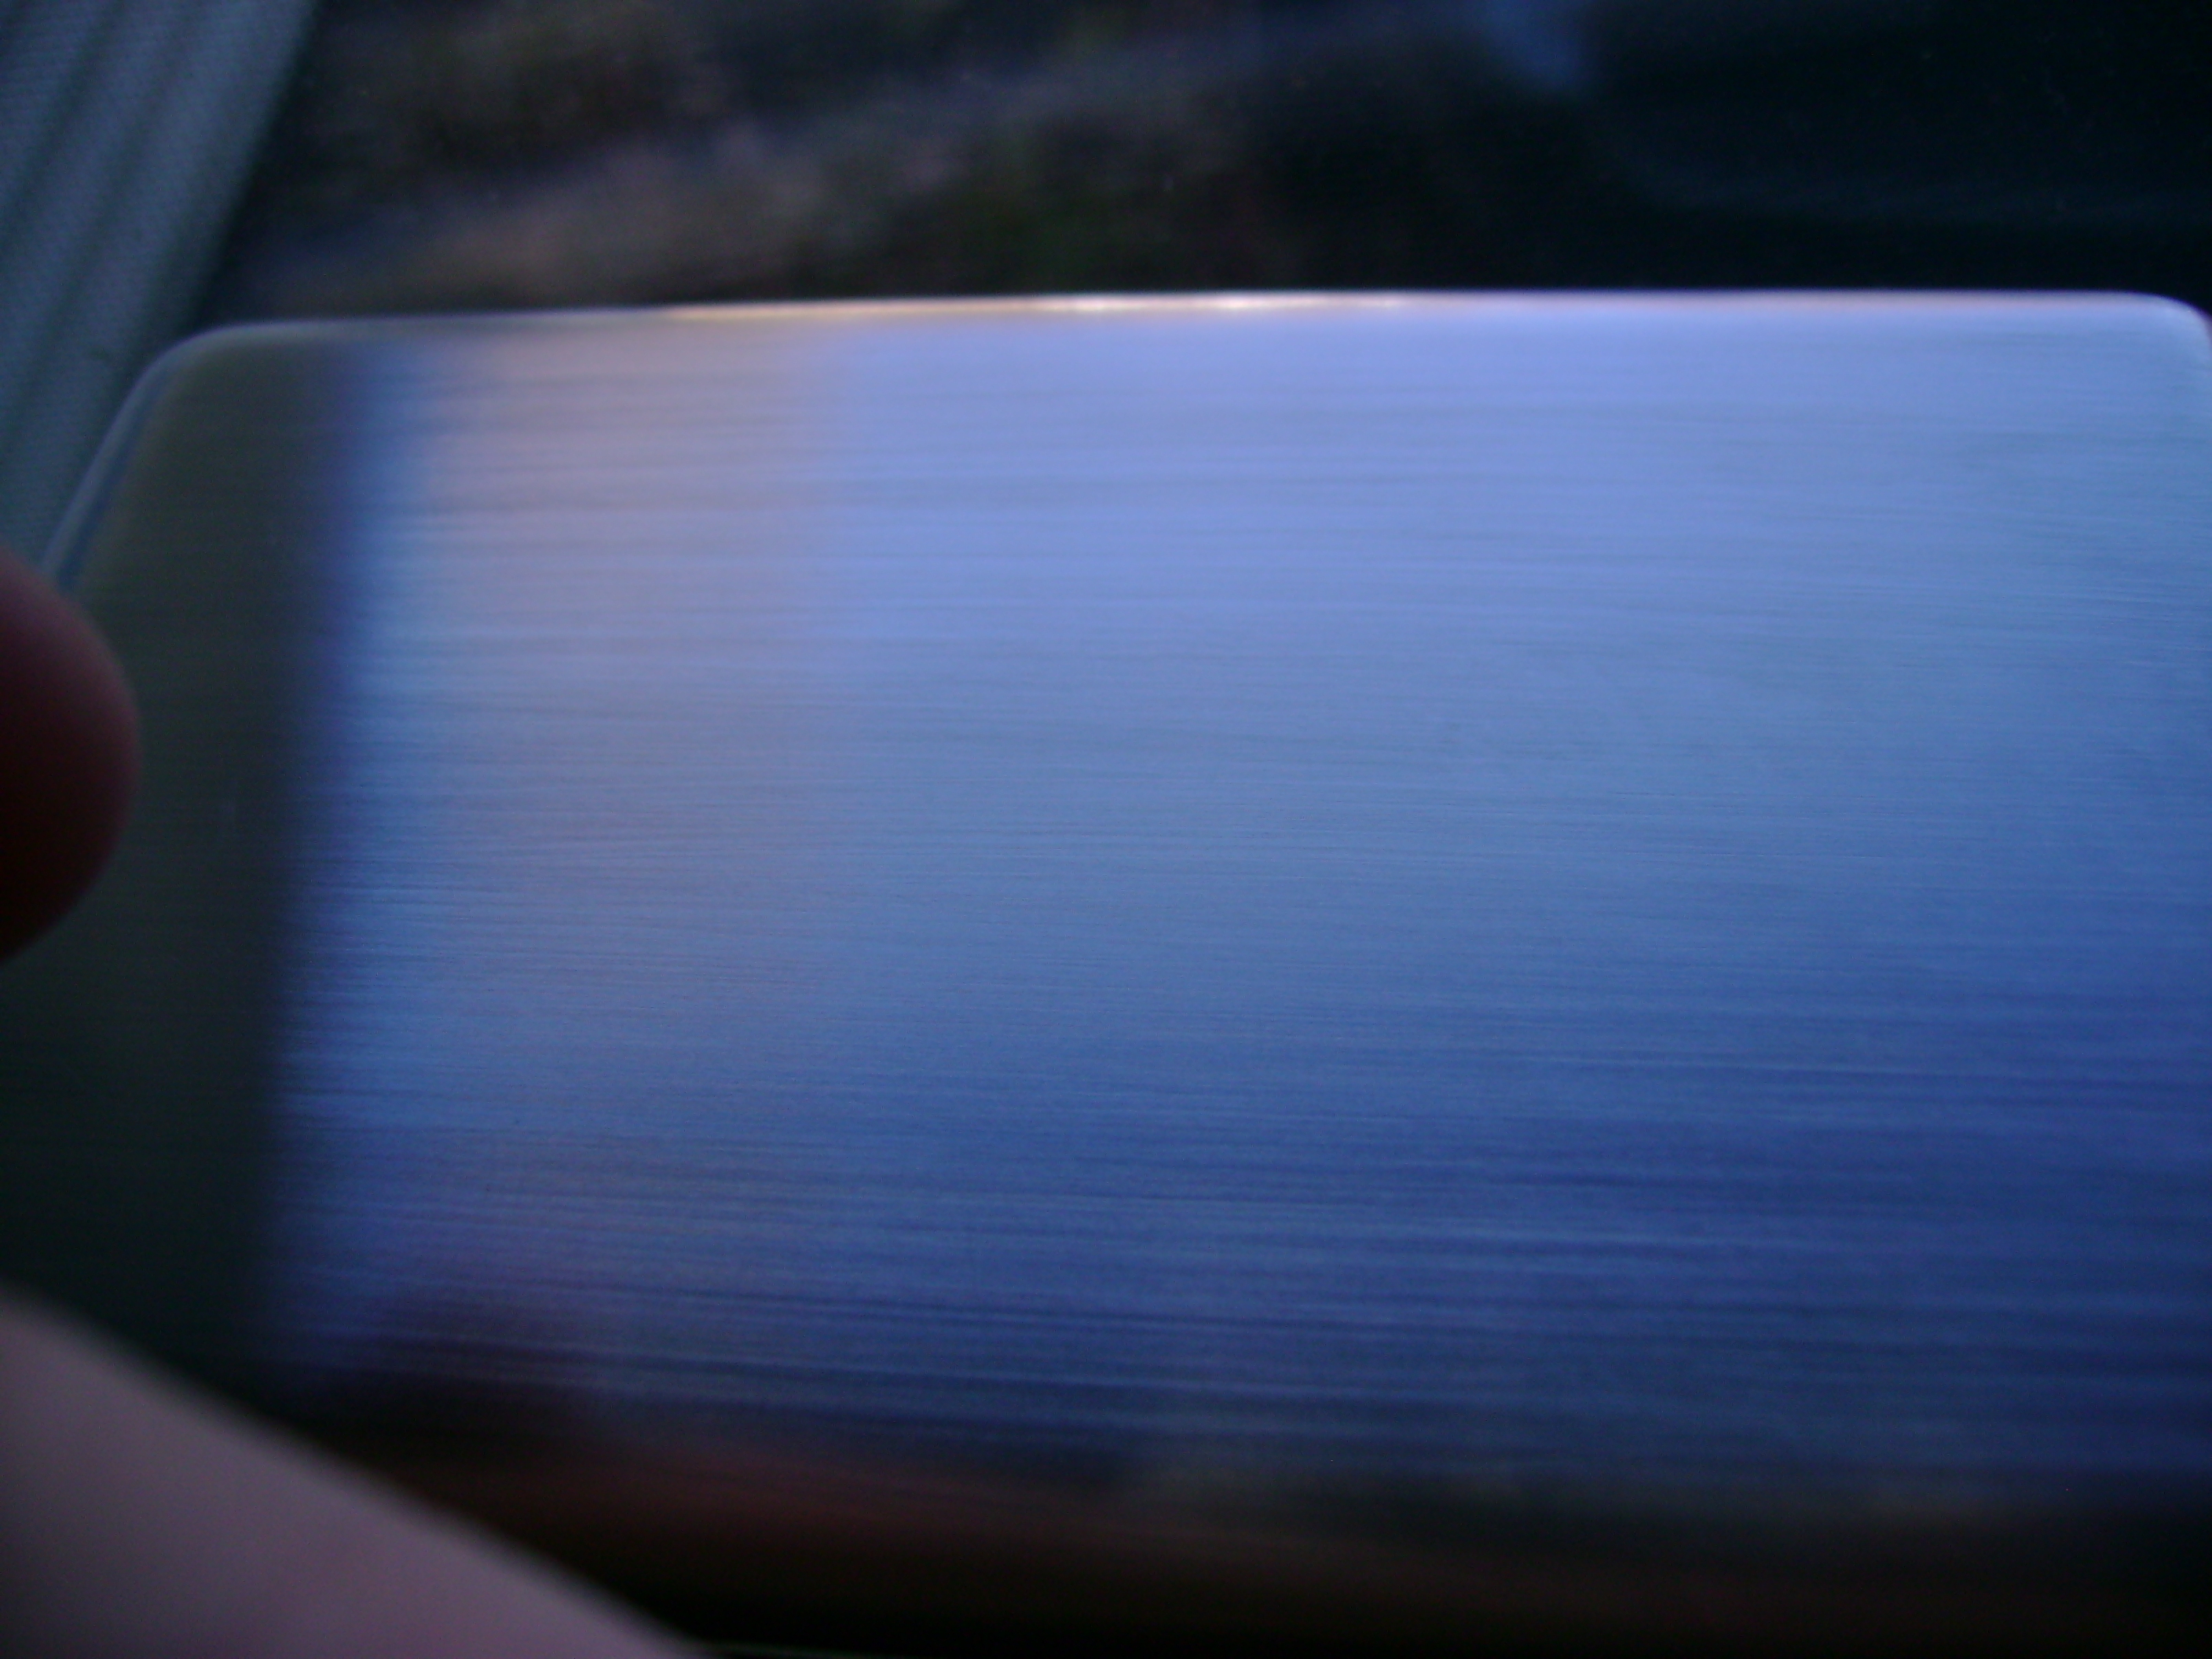
Looking for a new look for your iPod? Tired of the chrome back that scratches just by looking at it? Well, now you can exponentially improve the overall appearance of your iPod (in my opinion) by brushing it! Well, actually, you are going to put a lot of scratches in the back of your iPod. Sounds cringe-worthy, but it looks awesome in the end, just look at the pics. :)
Note: I will not held responsible for any damage of any kind this project could cause to your iPod. Do this at your own risk. Thank you!
(This is my first Instructable...let me know how I did. Thanks!)
EDIT: This was not my idea originally! Google "Brushed iPod" to find other people who have undertaken similar projects.
Gather Your Materials.
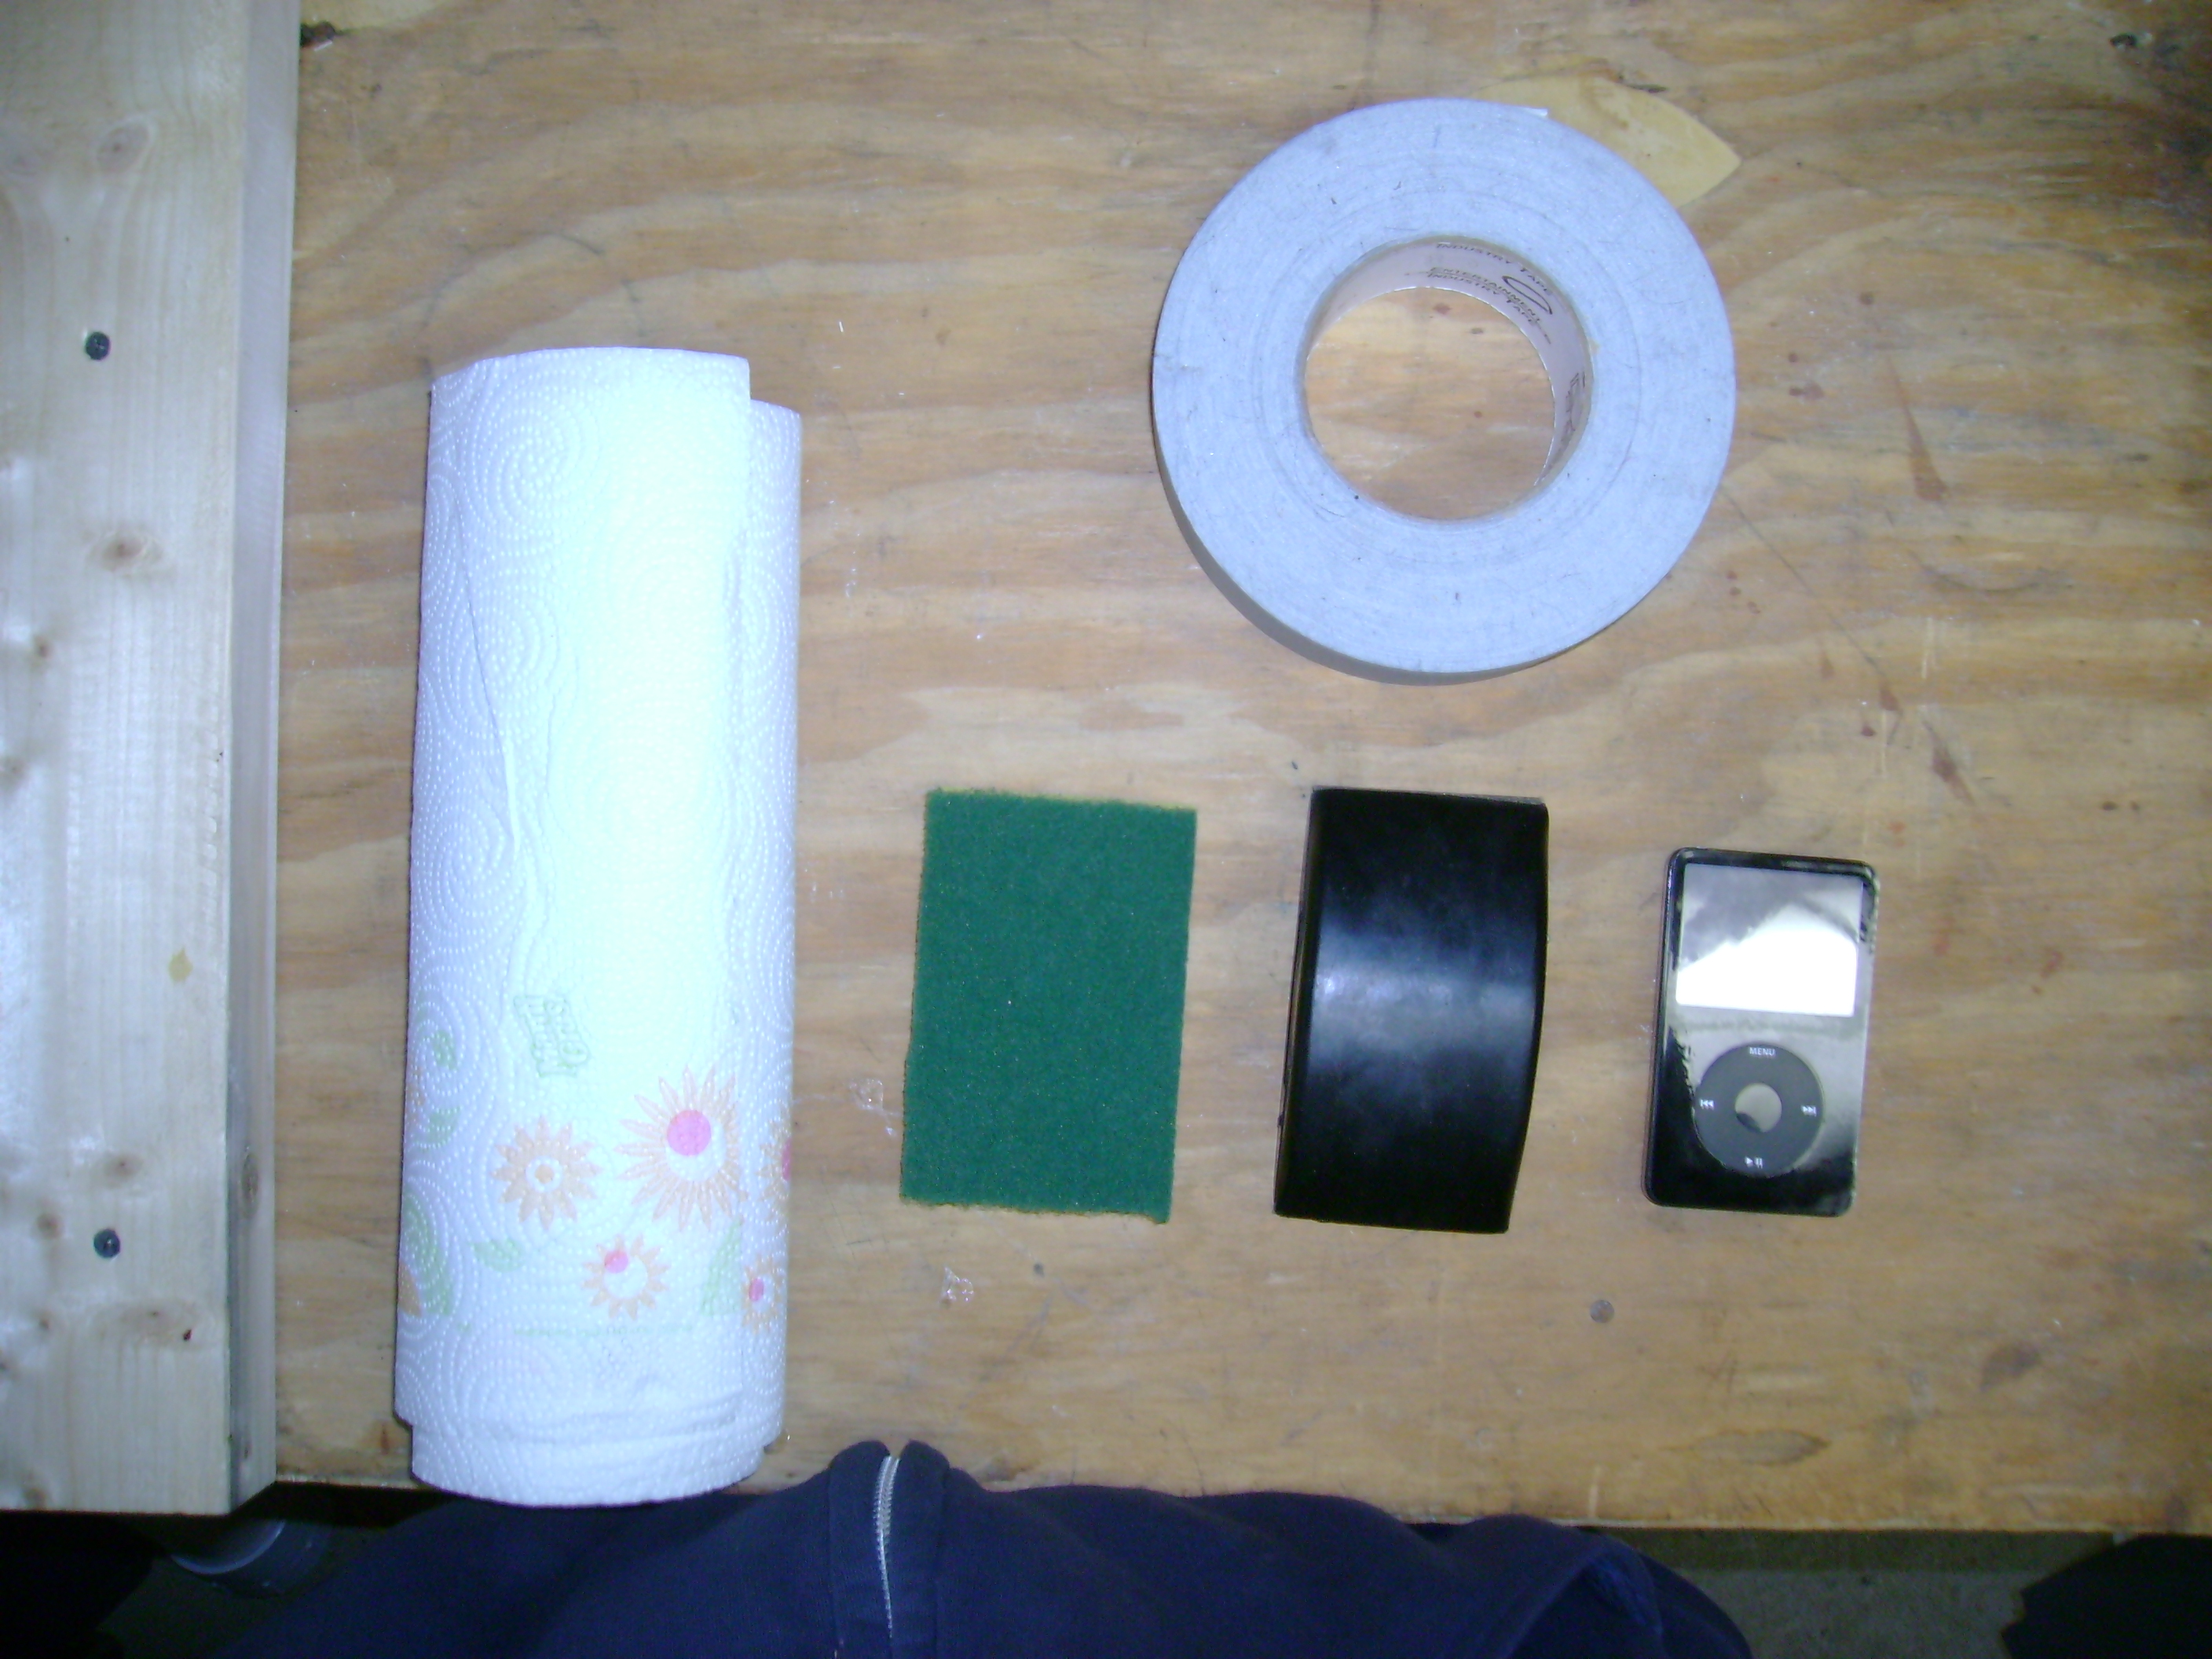
What you will need:
-Short section of 2x4, or something similar. (Roll over image on the far left for a better discription.)
-Paper towels
-ScotchBrite pad or a sanding block.
-Some tape (Gaffers tape is best)
-An iPod
-Short section of 2x4, or something similar. (Roll over image on the far left for a better discription.)
-Paper towels
-ScotchBrite pad or a sanding block.
-Some tape (Gaffers tape is best)
-An iPod
Preparing Your IPod.
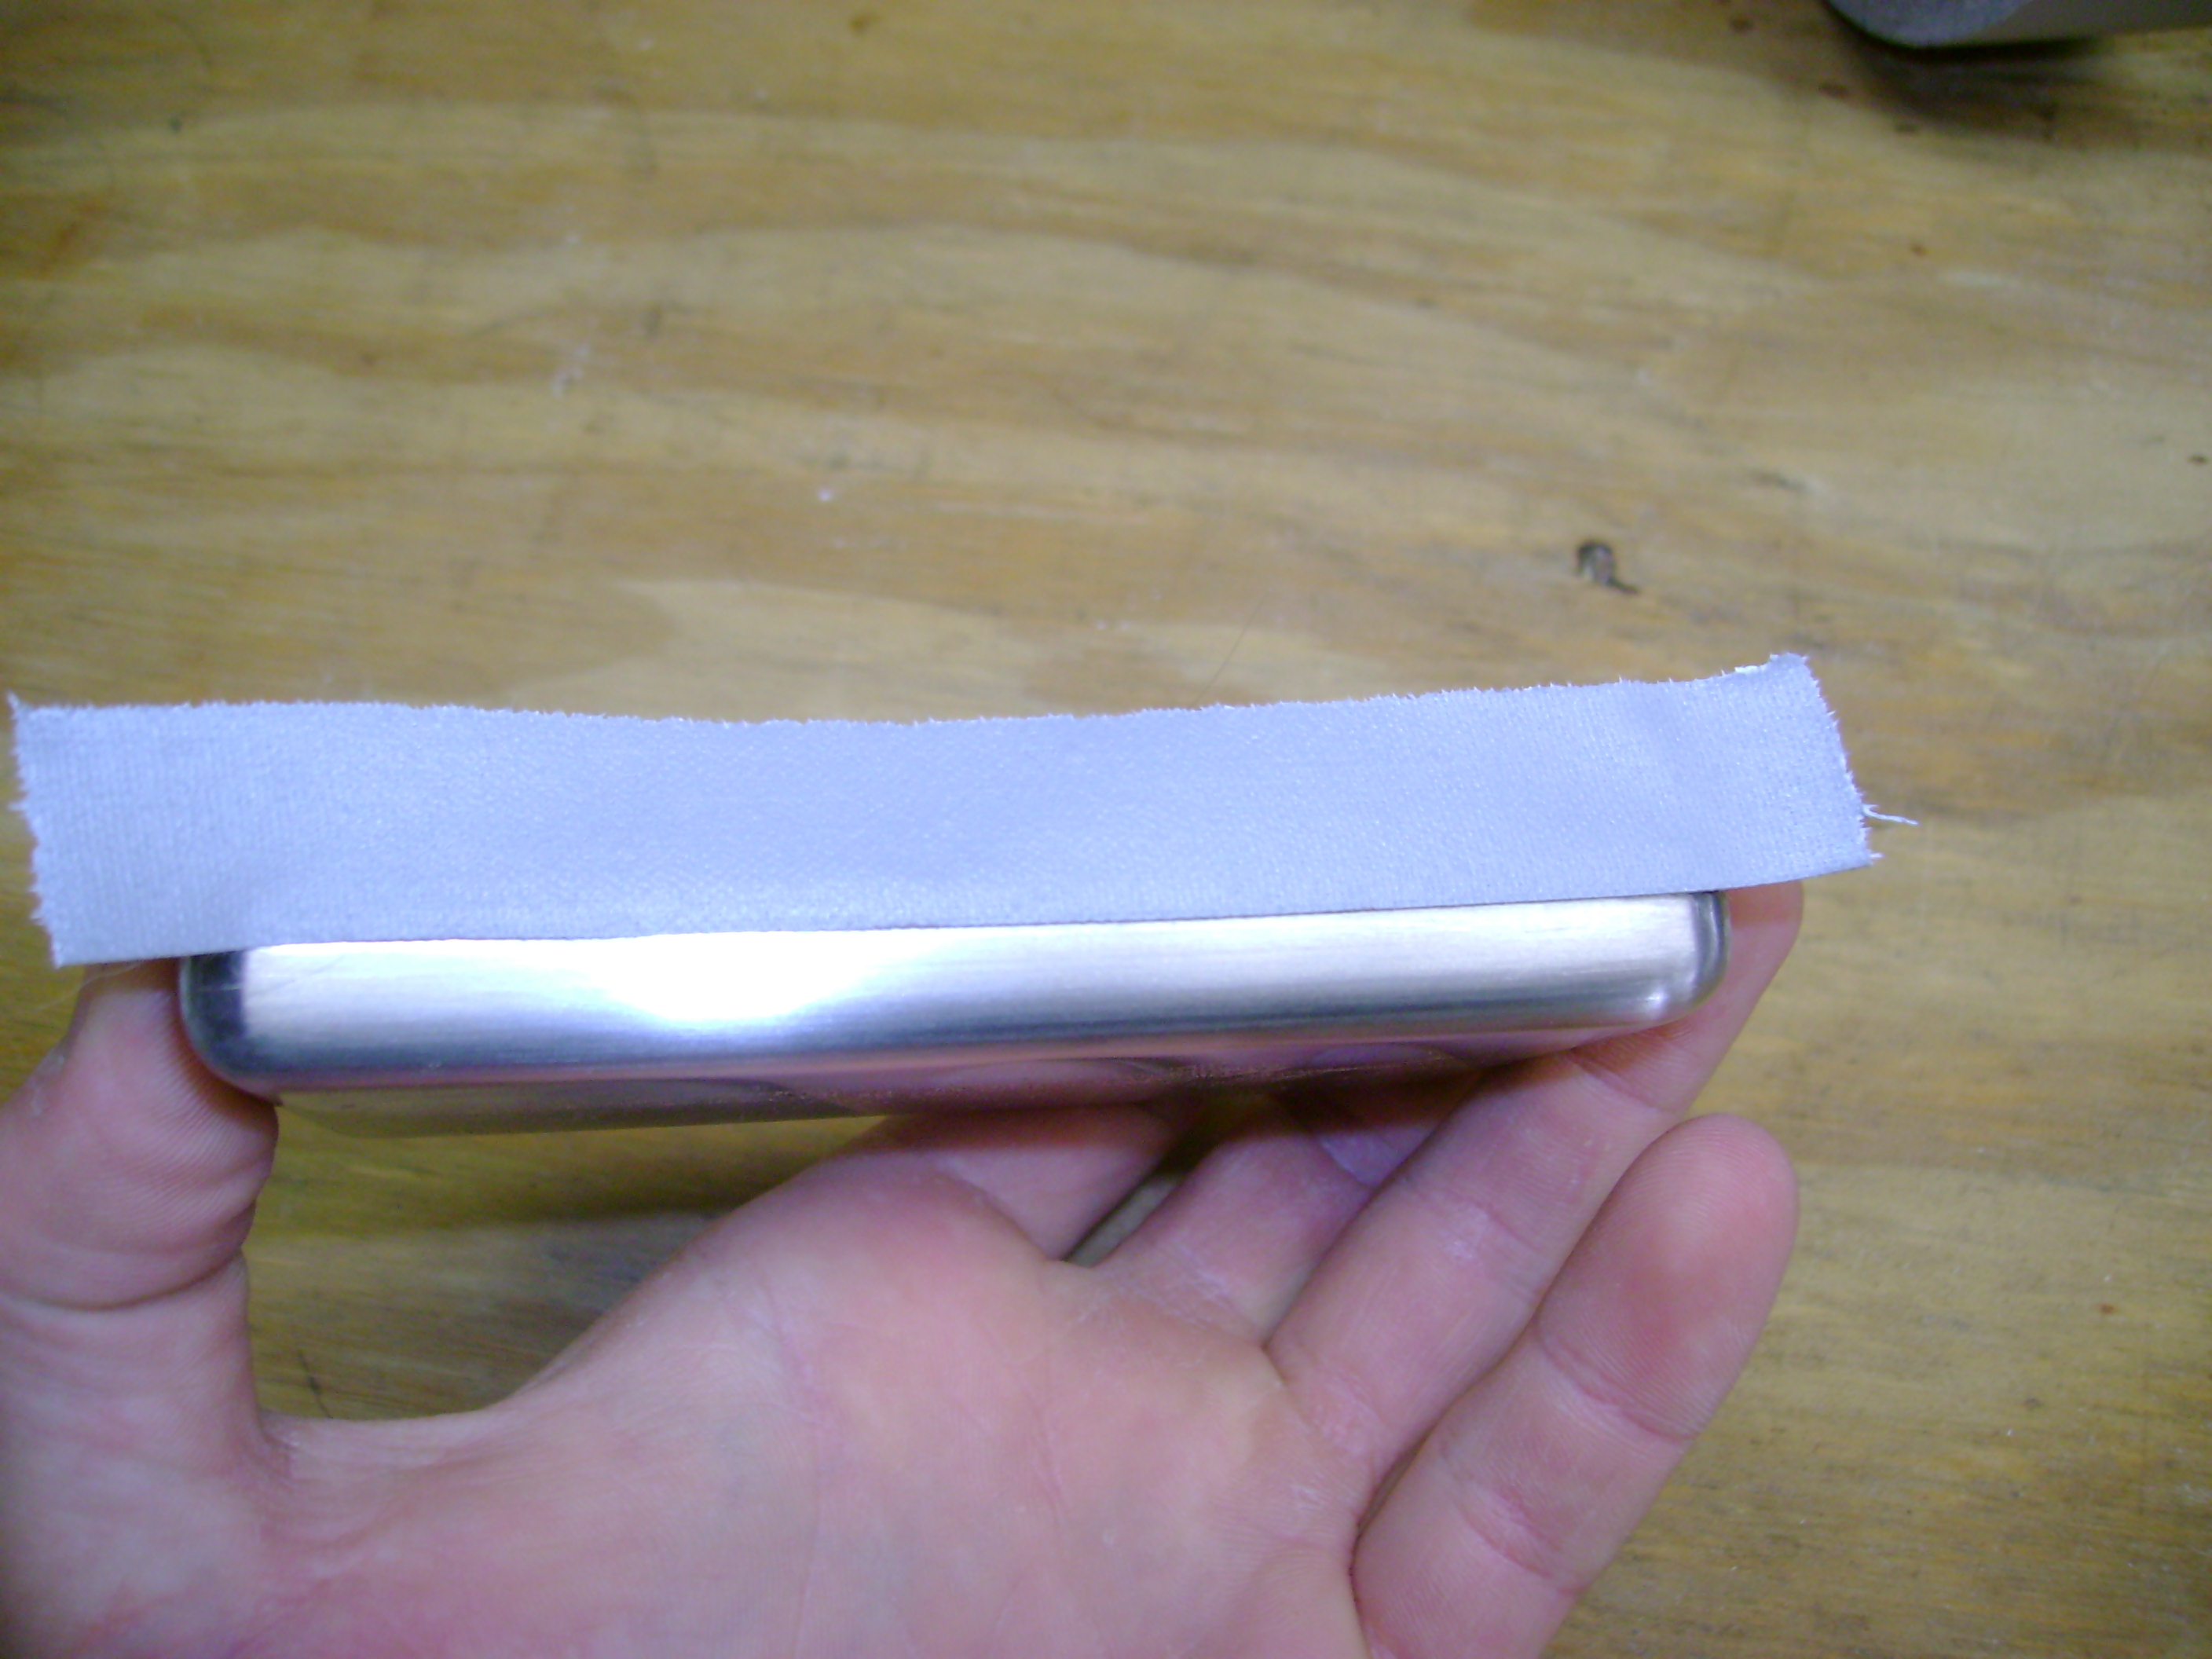
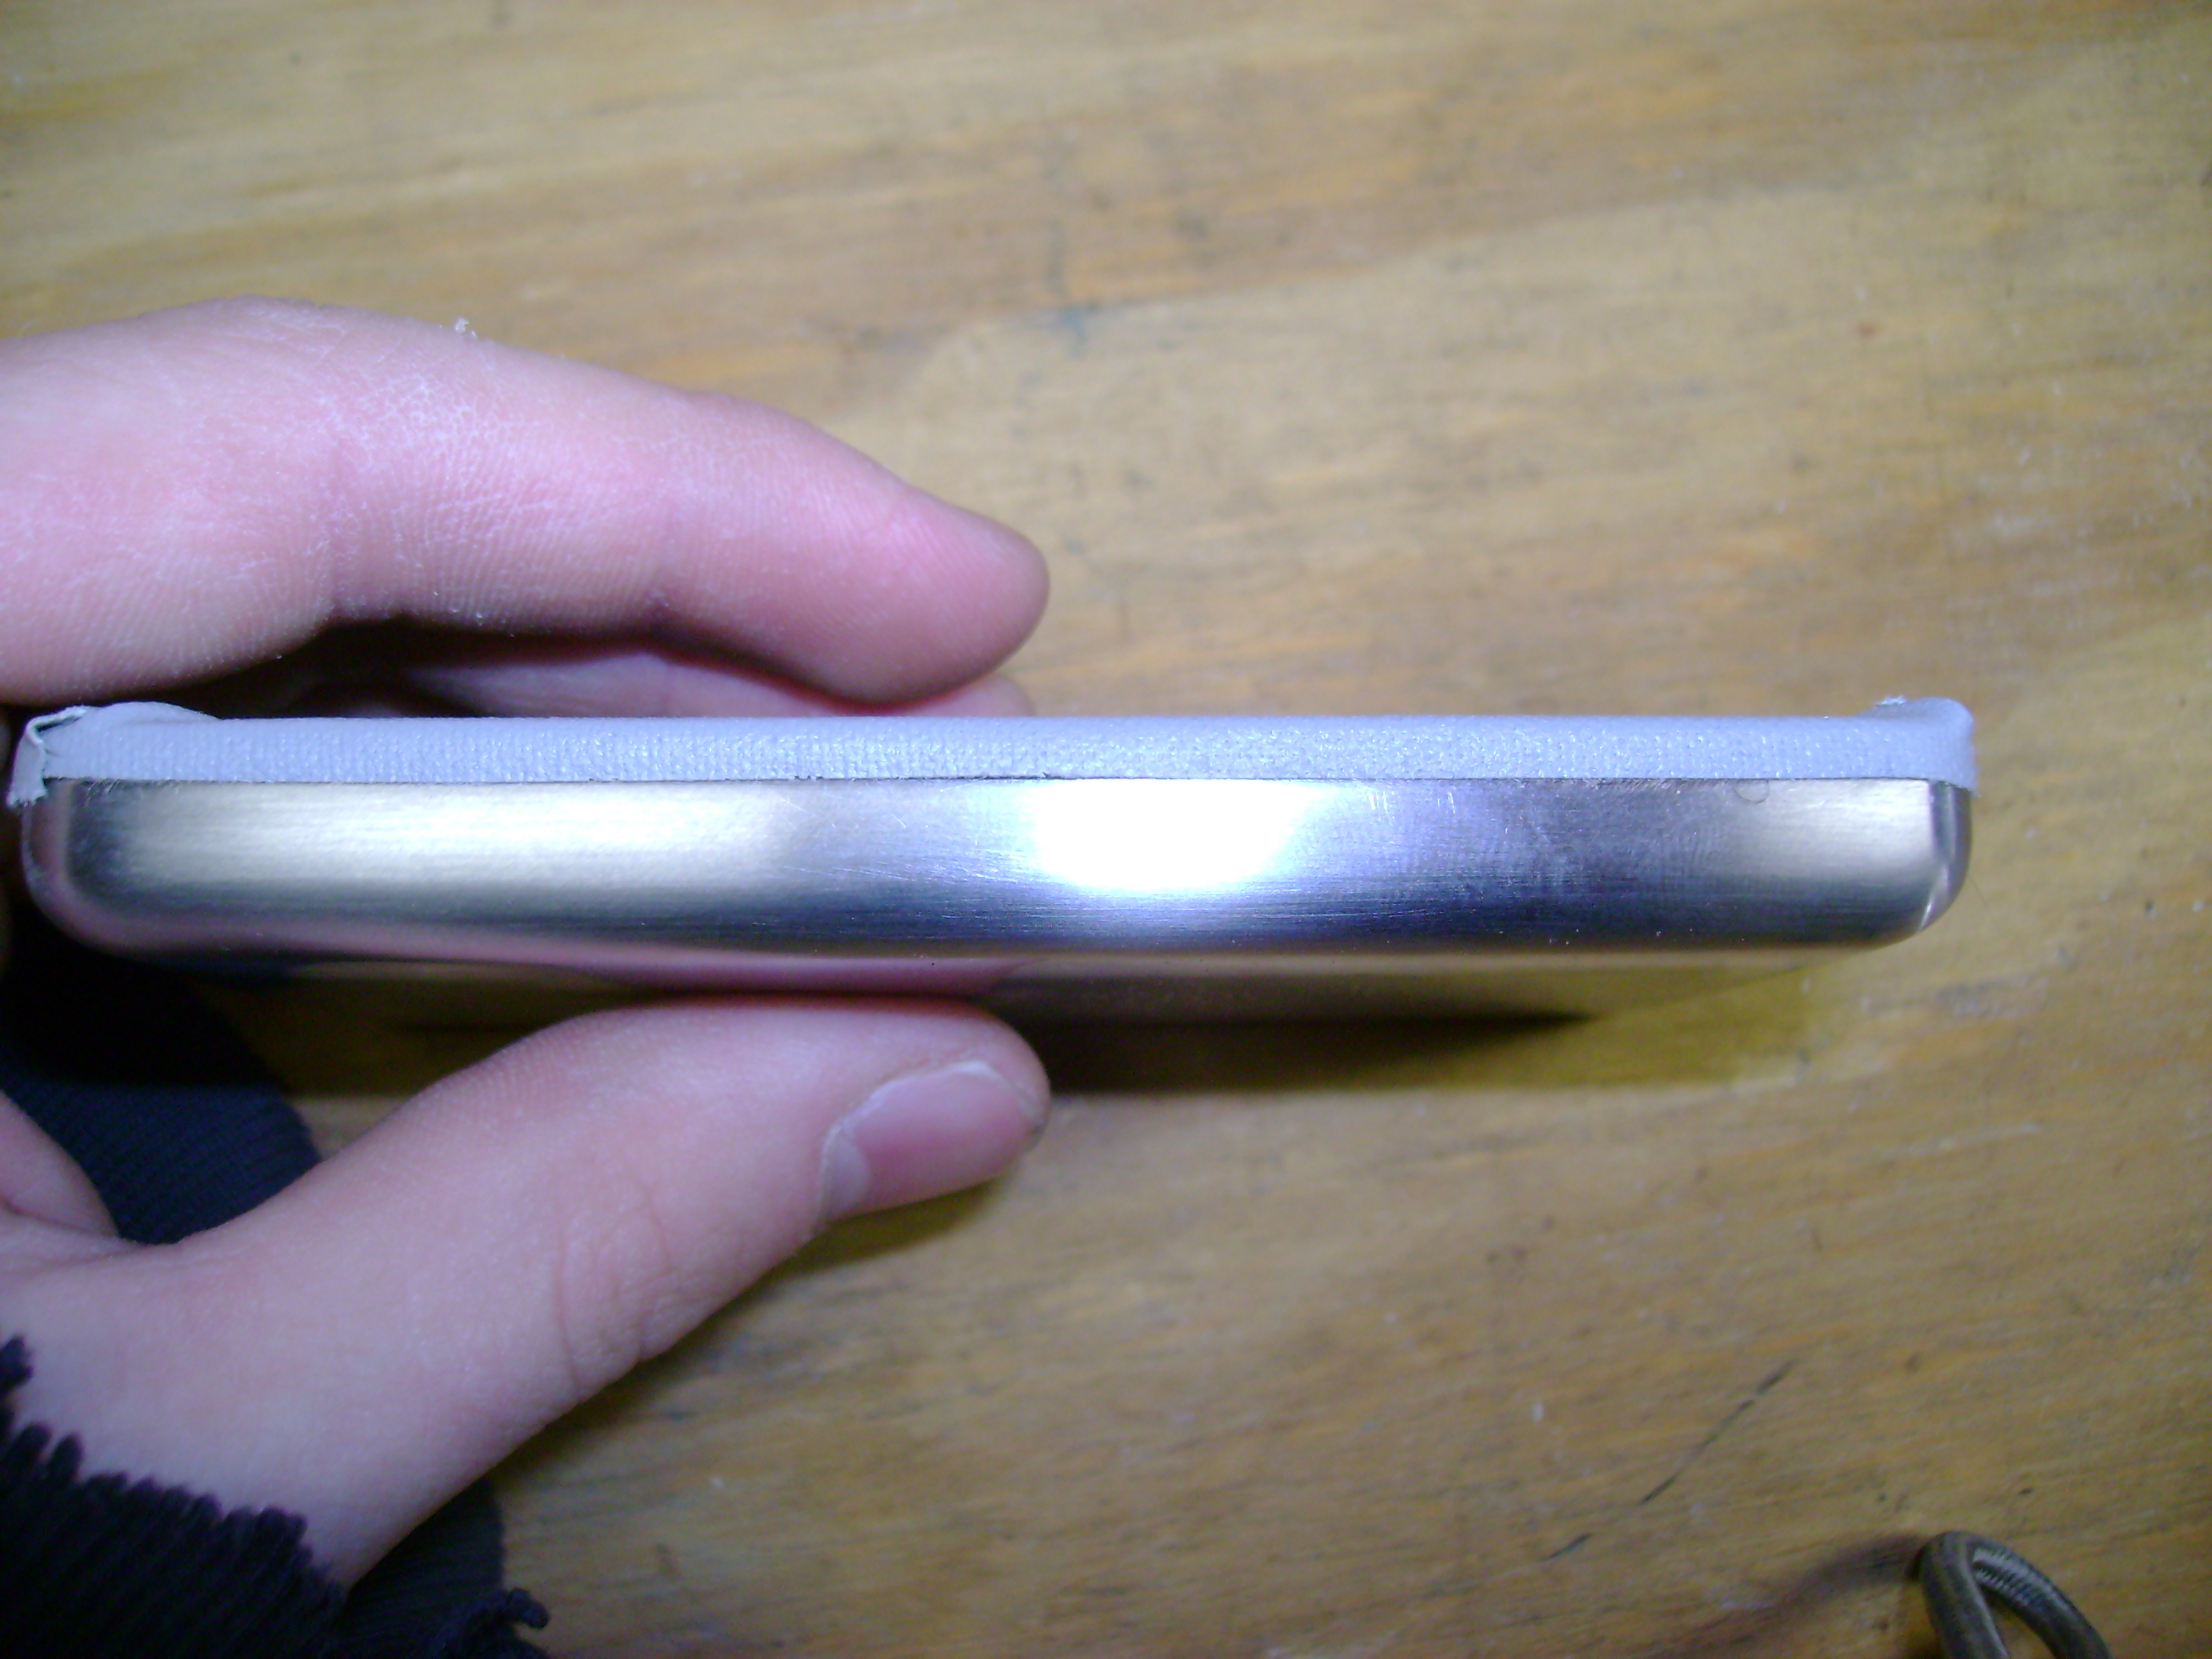
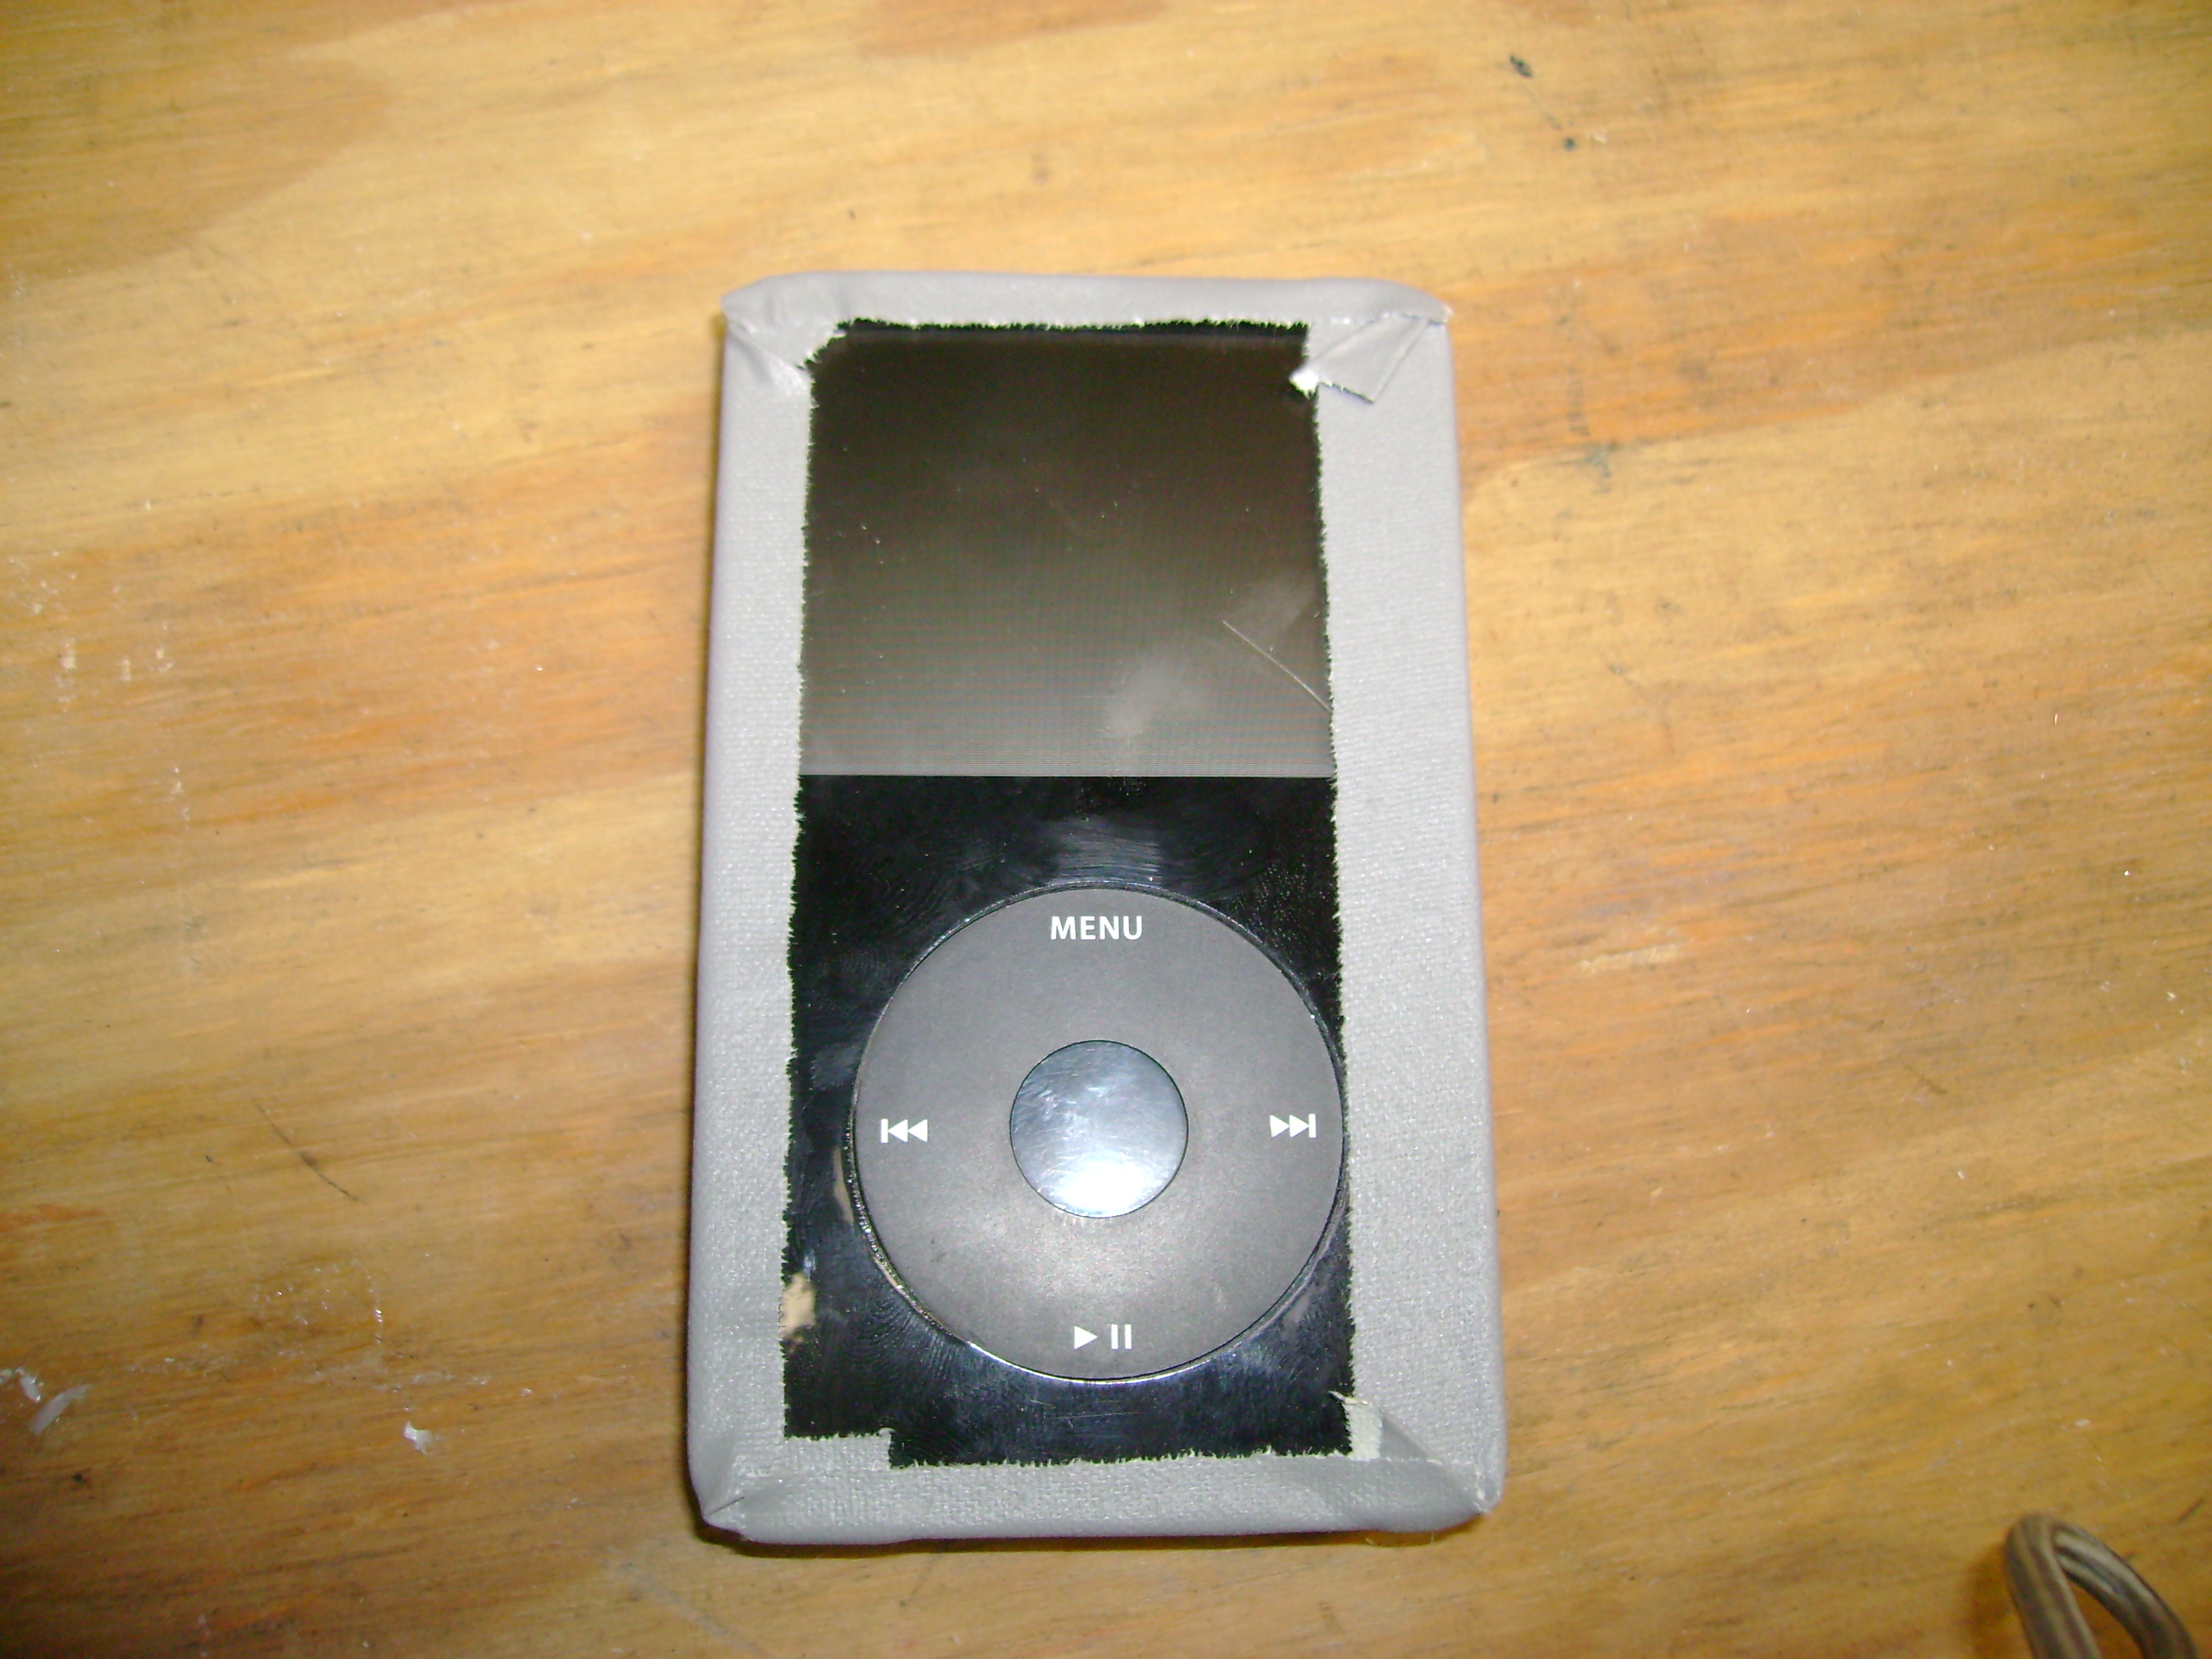
We are now going to put tape around the plastic edges of the iPod, to keep the plastic from getting scratched. Be very precise. If you leave some plastic exposed, you will scratch the plastic. If you cover some of the metal, you will leave a strip of chrome when you are done brushing. Do this on all four sides of the iPod, and fold the excess tape over the front.
Preparing the Surface.
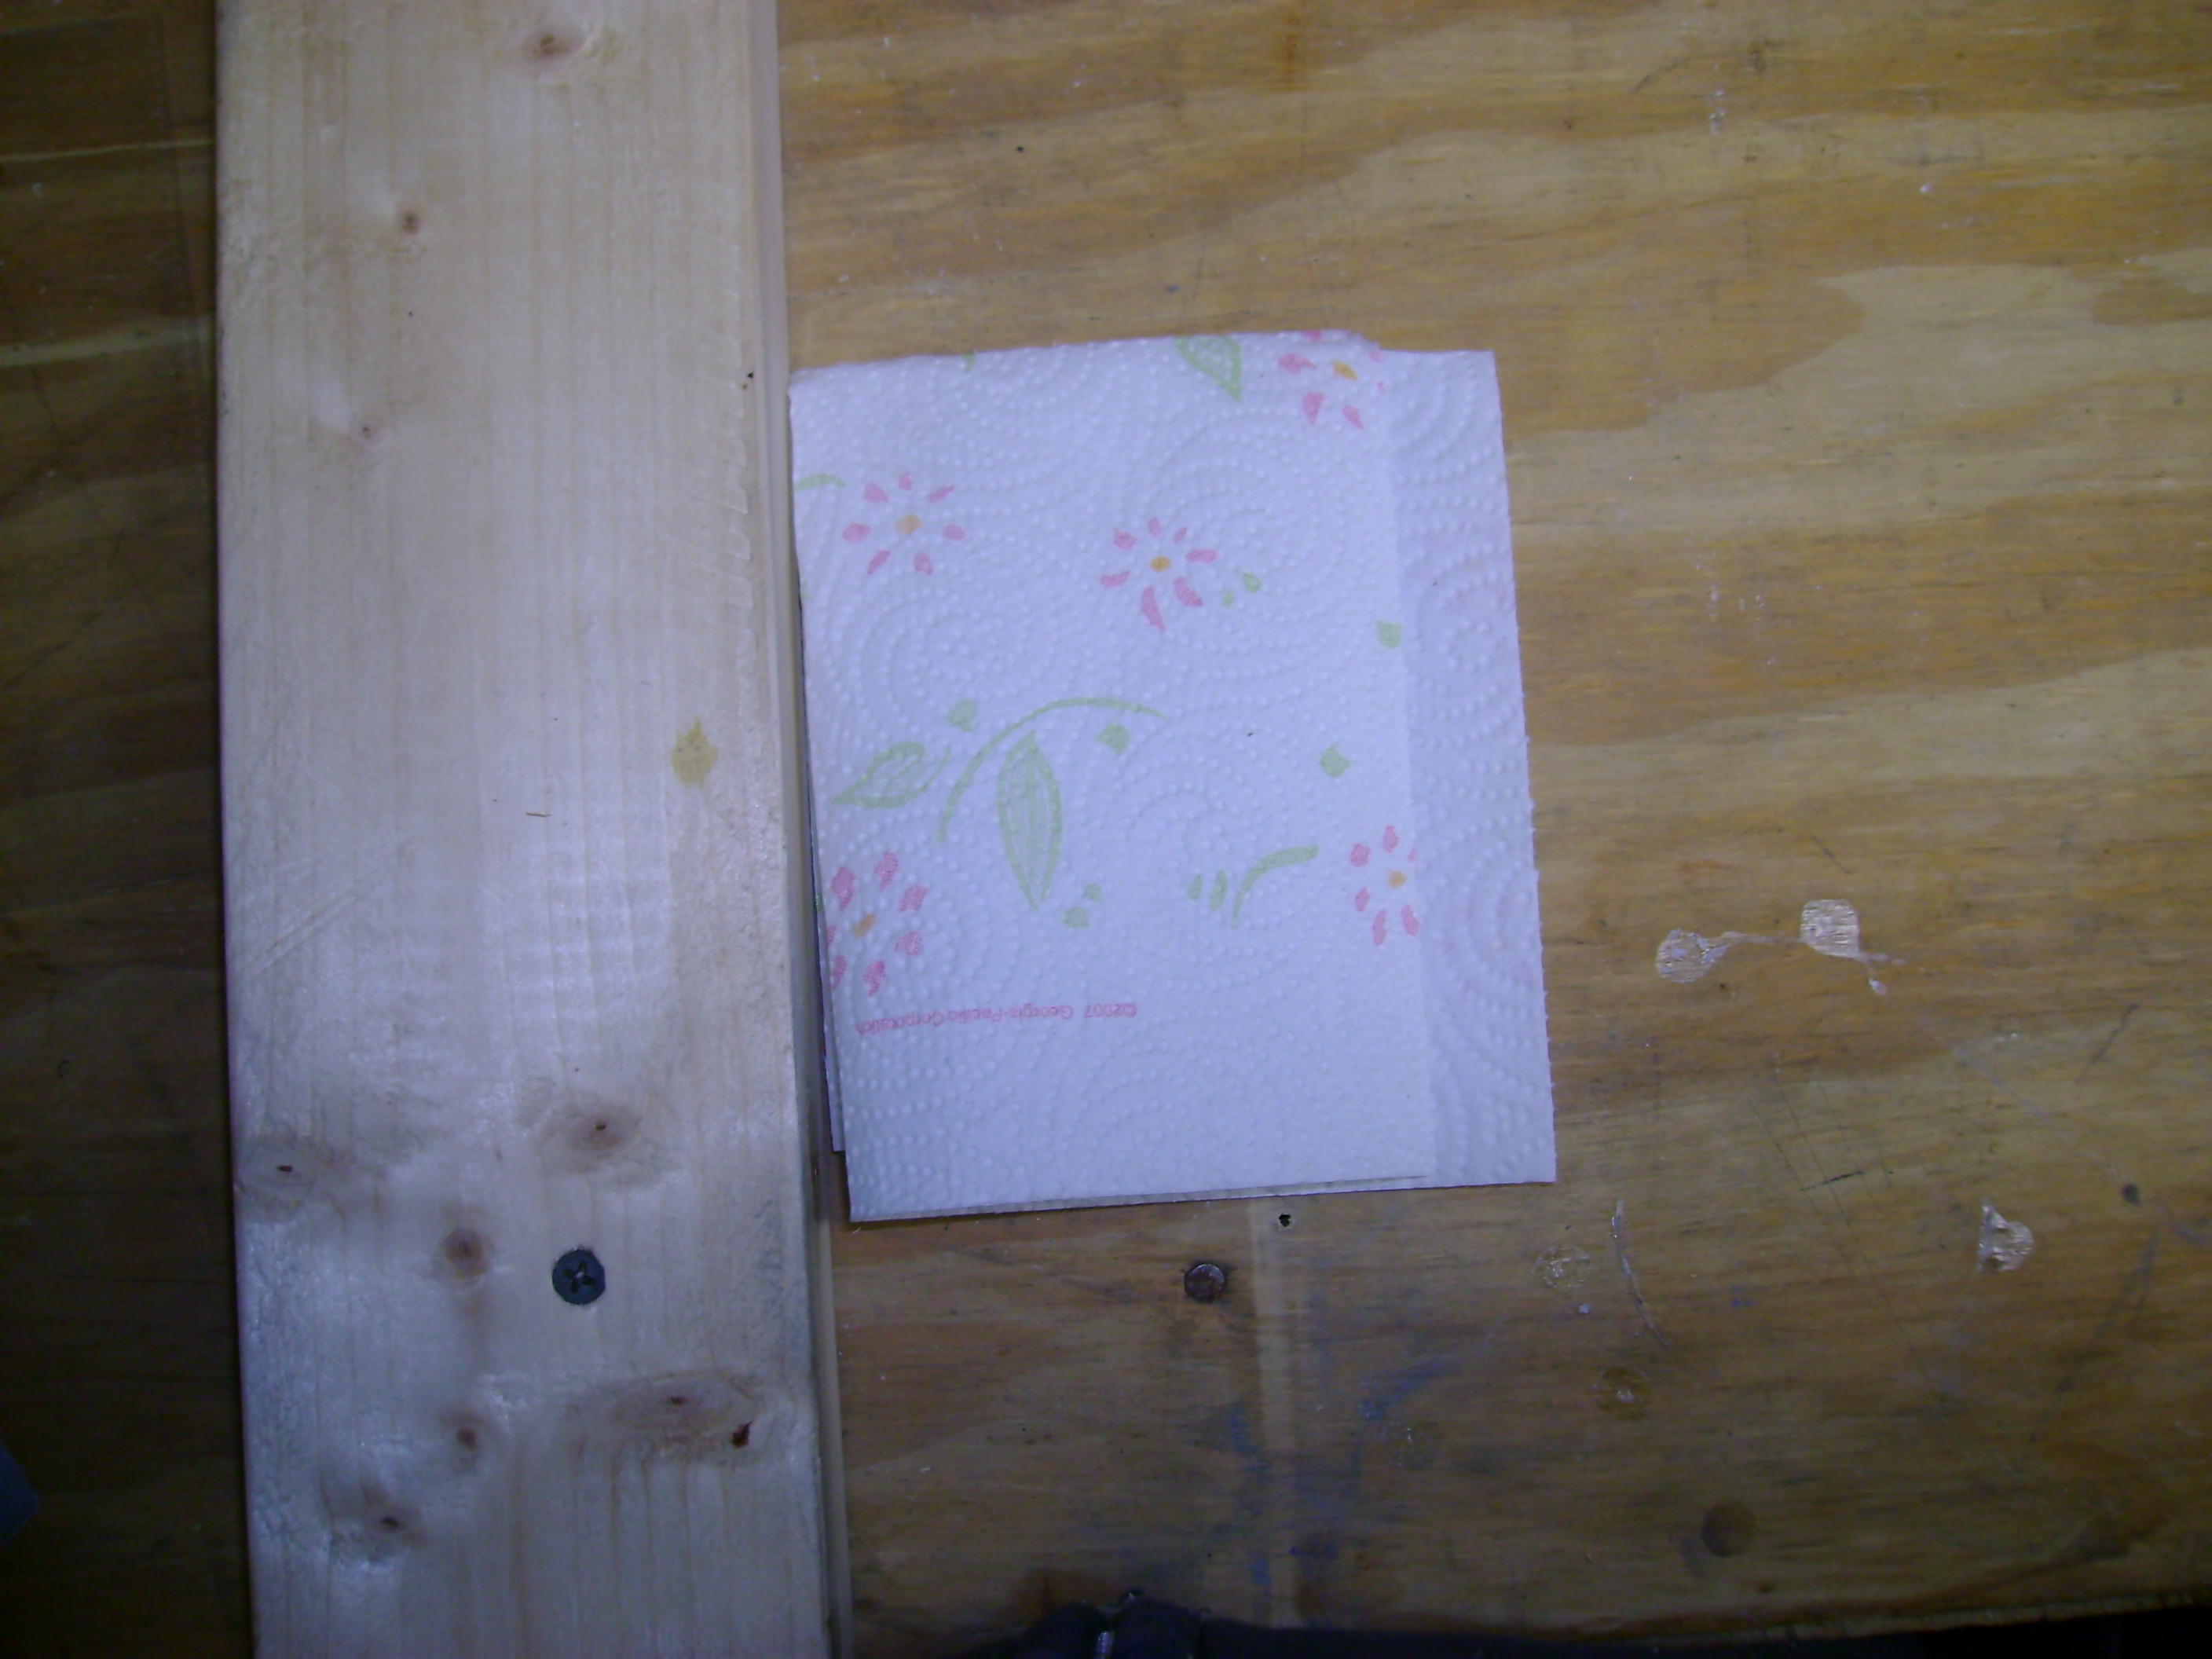
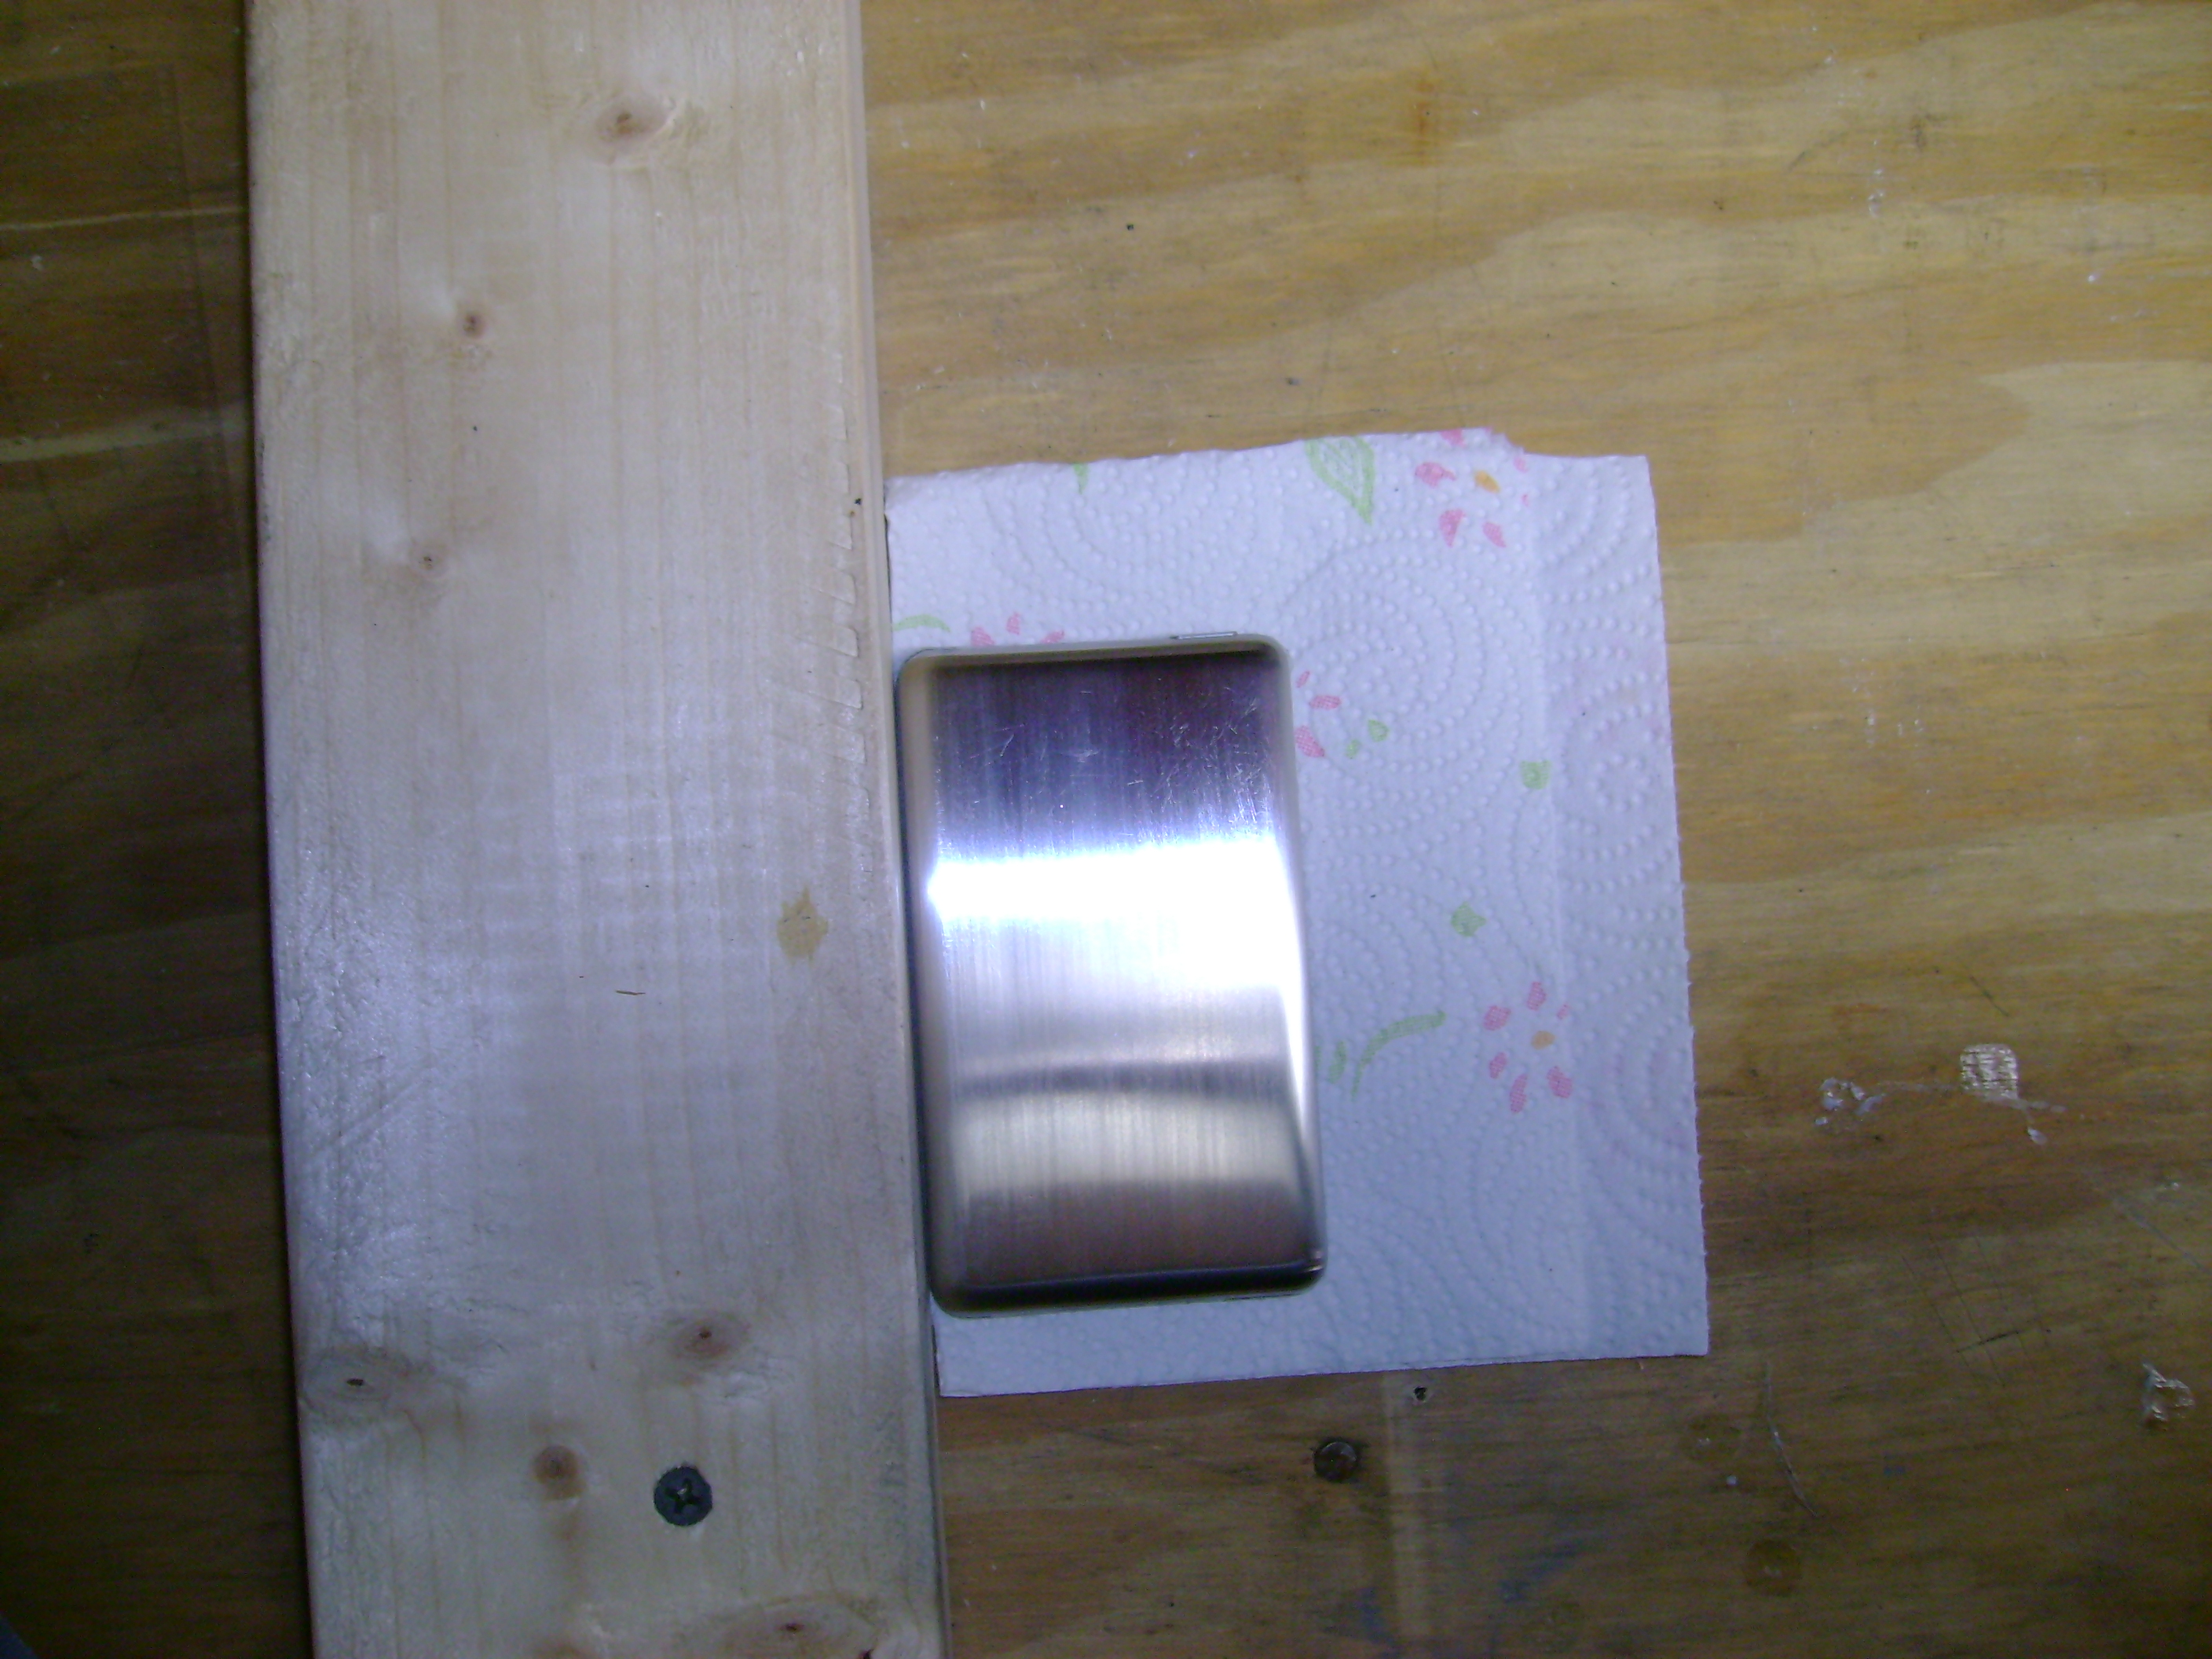
Tear off a section of paper towel, fold it, and place so that it is butting up against the guide.
Take your iPod and place it face down on the paper towel. Push the iPod flat against the guide. You are now ready to brush the iPod. Isn't this exciting?! :D
Take your iPod and place it face down on the paper towel. Push the iPod flat against the guide. You are now ready to brush the iPod. Isn't this exciting?! :D
Brushing the Back of the IPod.
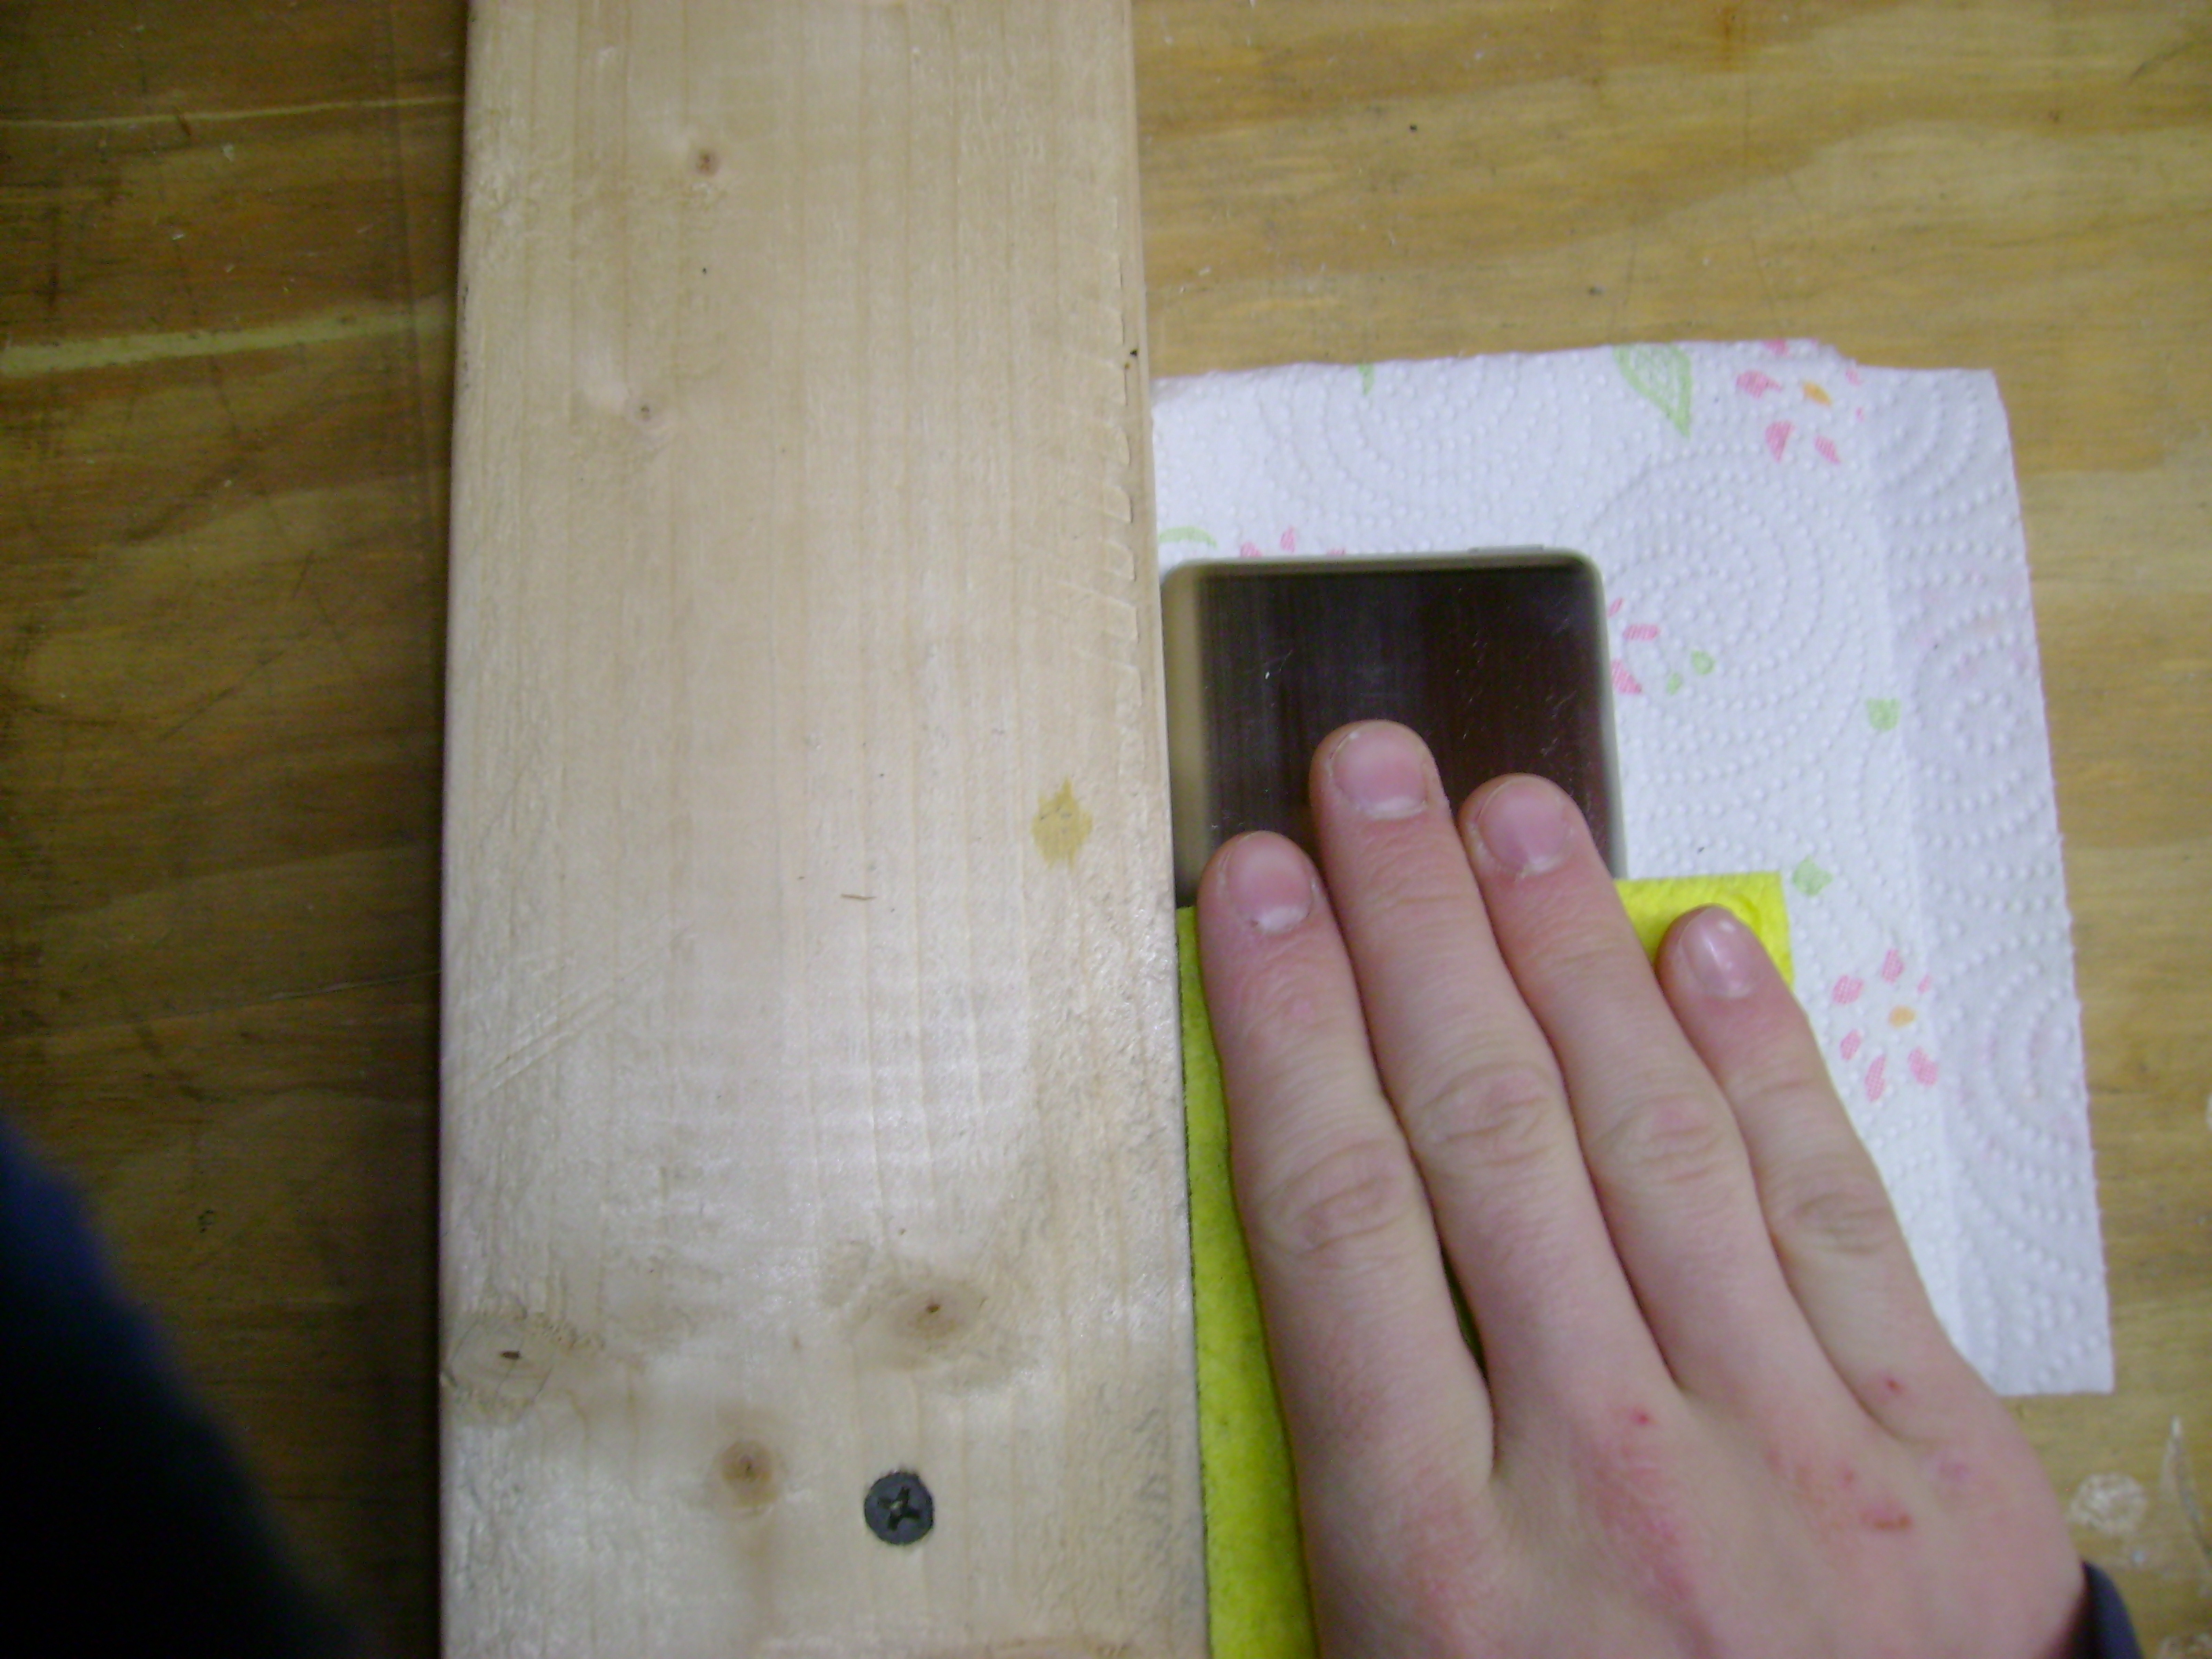
And now, the moment we've all been waiting for... WE ARE STARTING TO BRUSH THE IPOD!!!!!!
First, if you so desire, copy the iPod serial number down. Depending on the finish, it may or may not be visible after brushing. Switch the iPod's hold button on. Hold the iPod flat against the guide with one hand. Using the other hand, take the ScotchBrite pad, and start "sanding" the back of your iPod in a back and forth motion. Back and forth. Back and forth. Back and forth.... you get the picture. This could probably take close to an hour, if you put some elbow grease into it, you may be able to shorten the process.
If you are impatient like me, and want it to go a little bit faster, you can try using the sanding block (with some sandpaper, of course) to get a rough finish, then using the ScotchBrite pad to give it a "finished" finish. If you have the time though, I would recommend using just the ScotchBrite pad. It will look a lot better in the end.
Brushing the Sides.
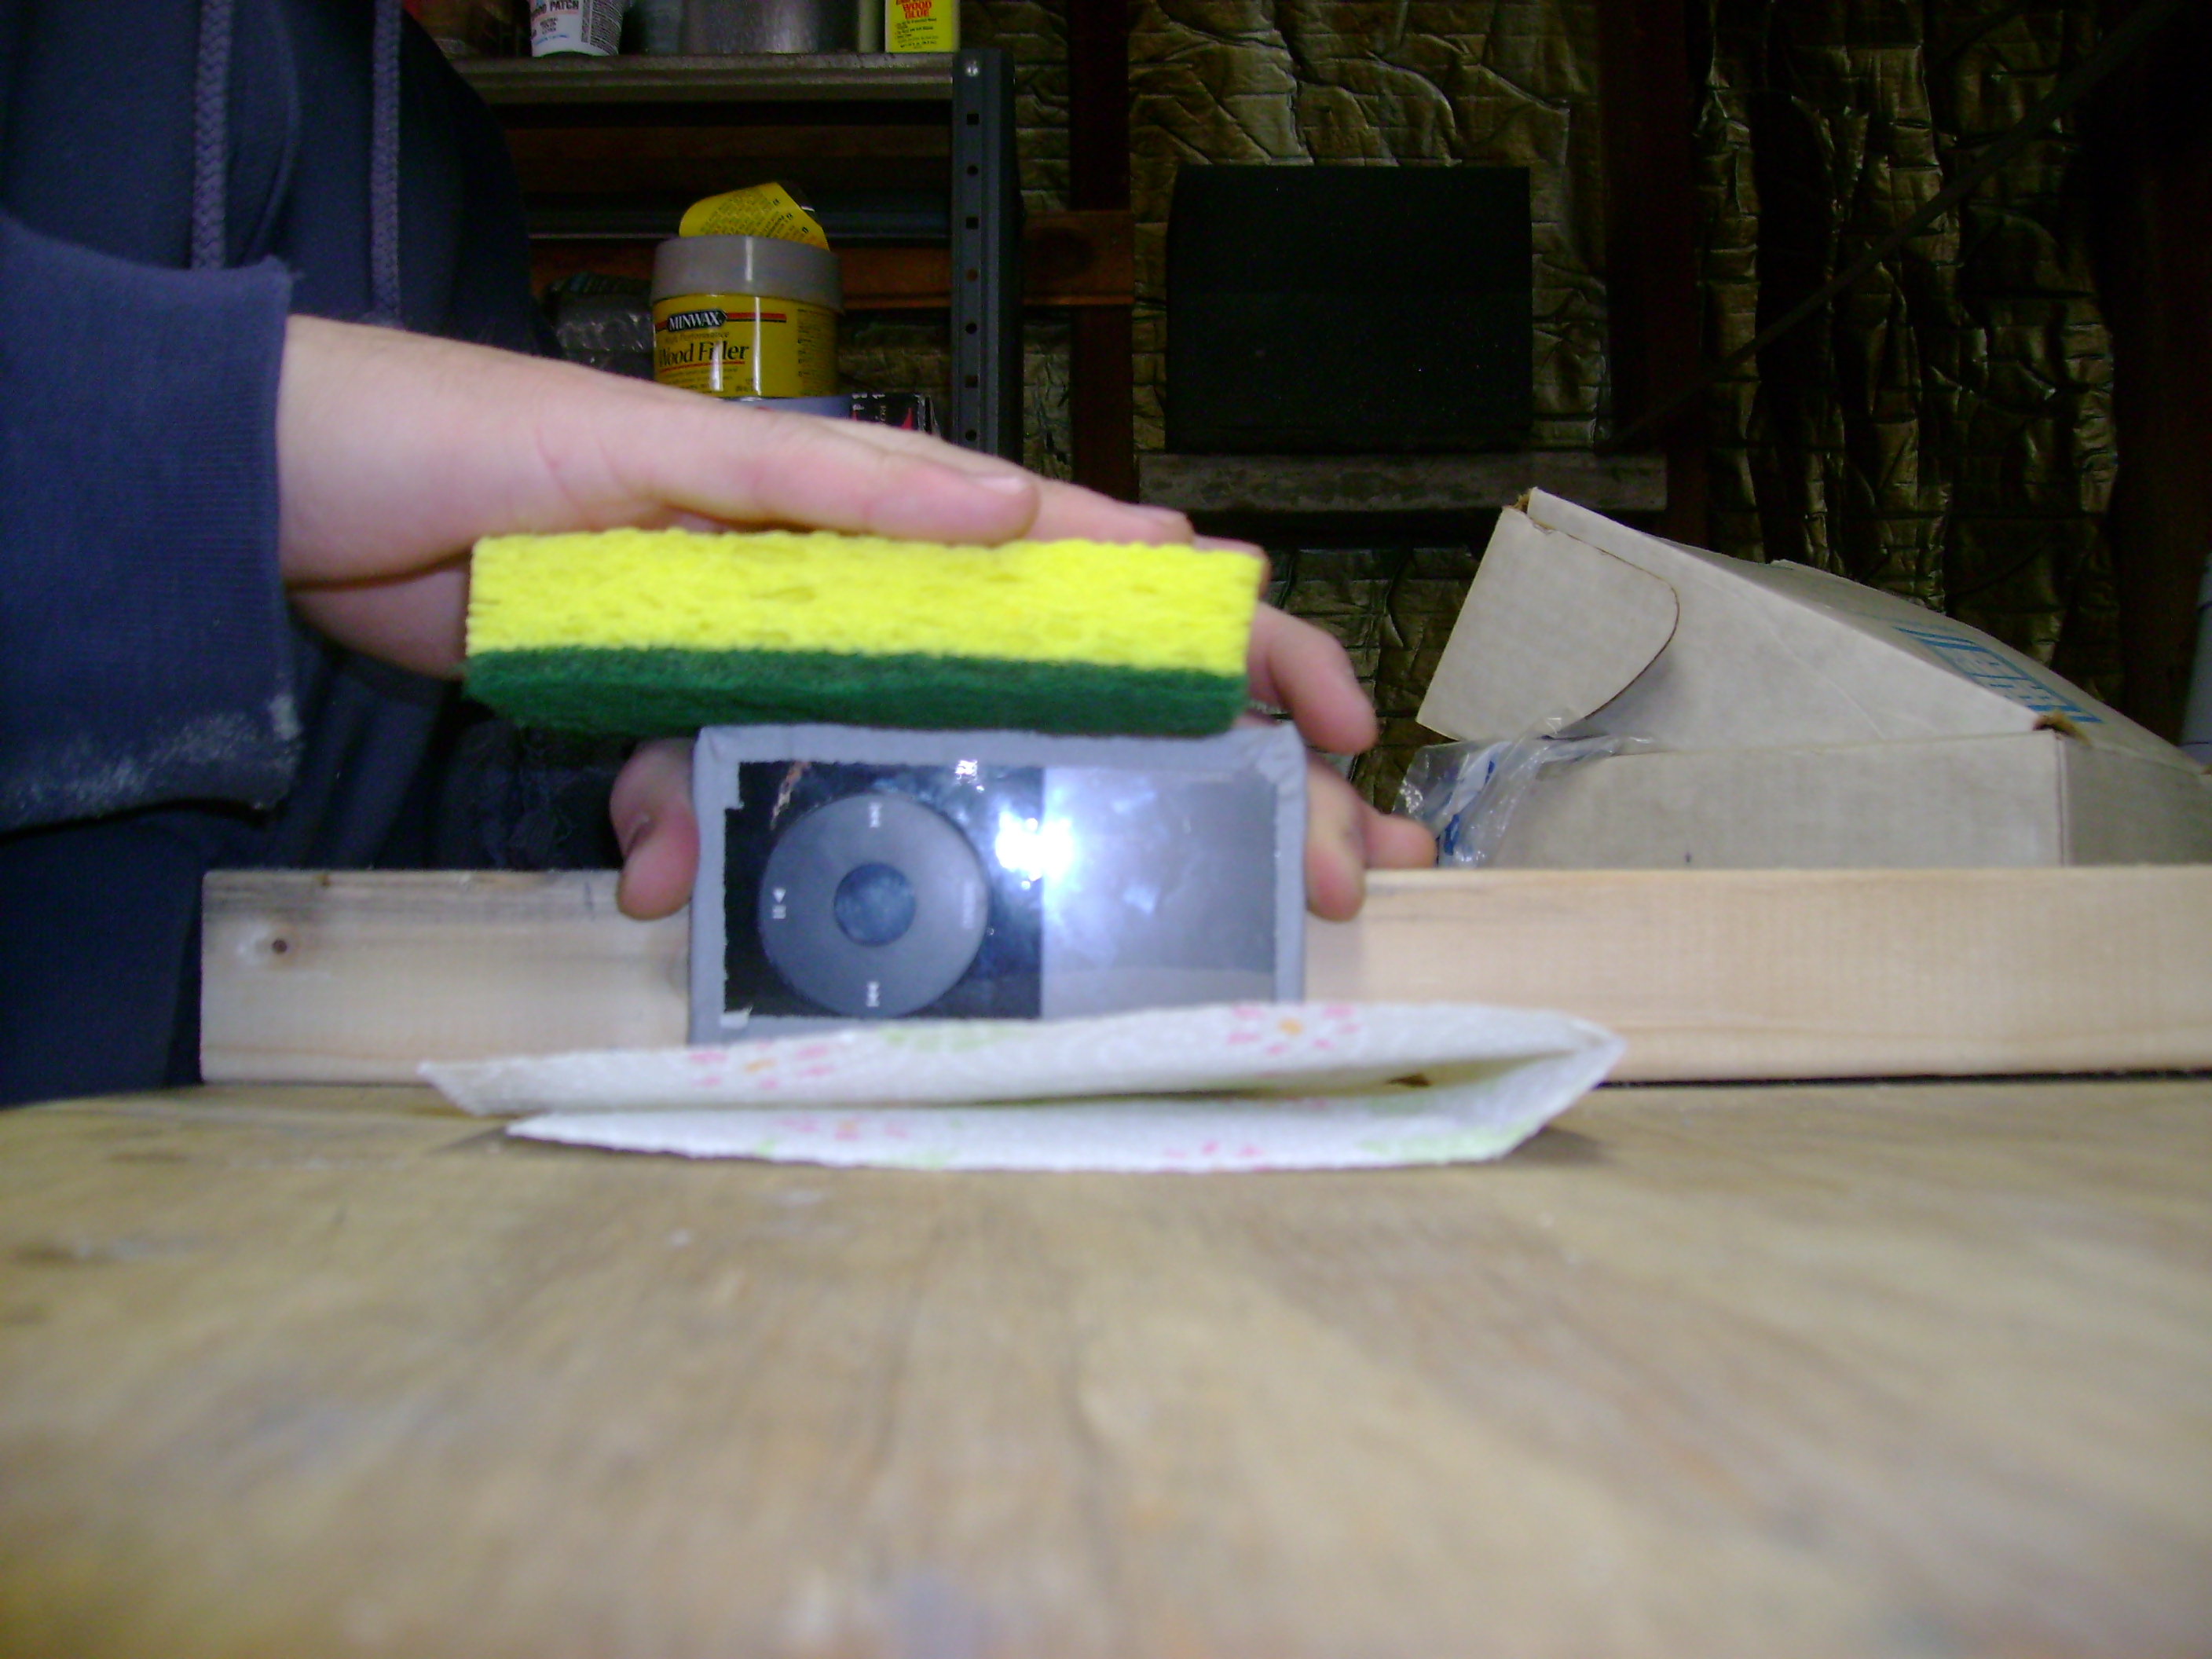
The two longest sides are the easiest to do. Just wrap the sponge around the sides and go for it!
The top and the bottom are a little bit more tricky. On the top, try going around the hold switch with a small, folded up piece of sandpaper.
On the bottom where the iPod plugs in, either tape it up, or just go over it. Just do try not to get any sanding residue in there.
The top and the bottom are a little bit more tricky. On the top, try going around the hold switch with a small, folded up piece of sandpaper.
On the bottom where the iPod plugs in, either tape it up, or just go over it. Just do try not to get any sanding residue in there.
You're Done!!!!!
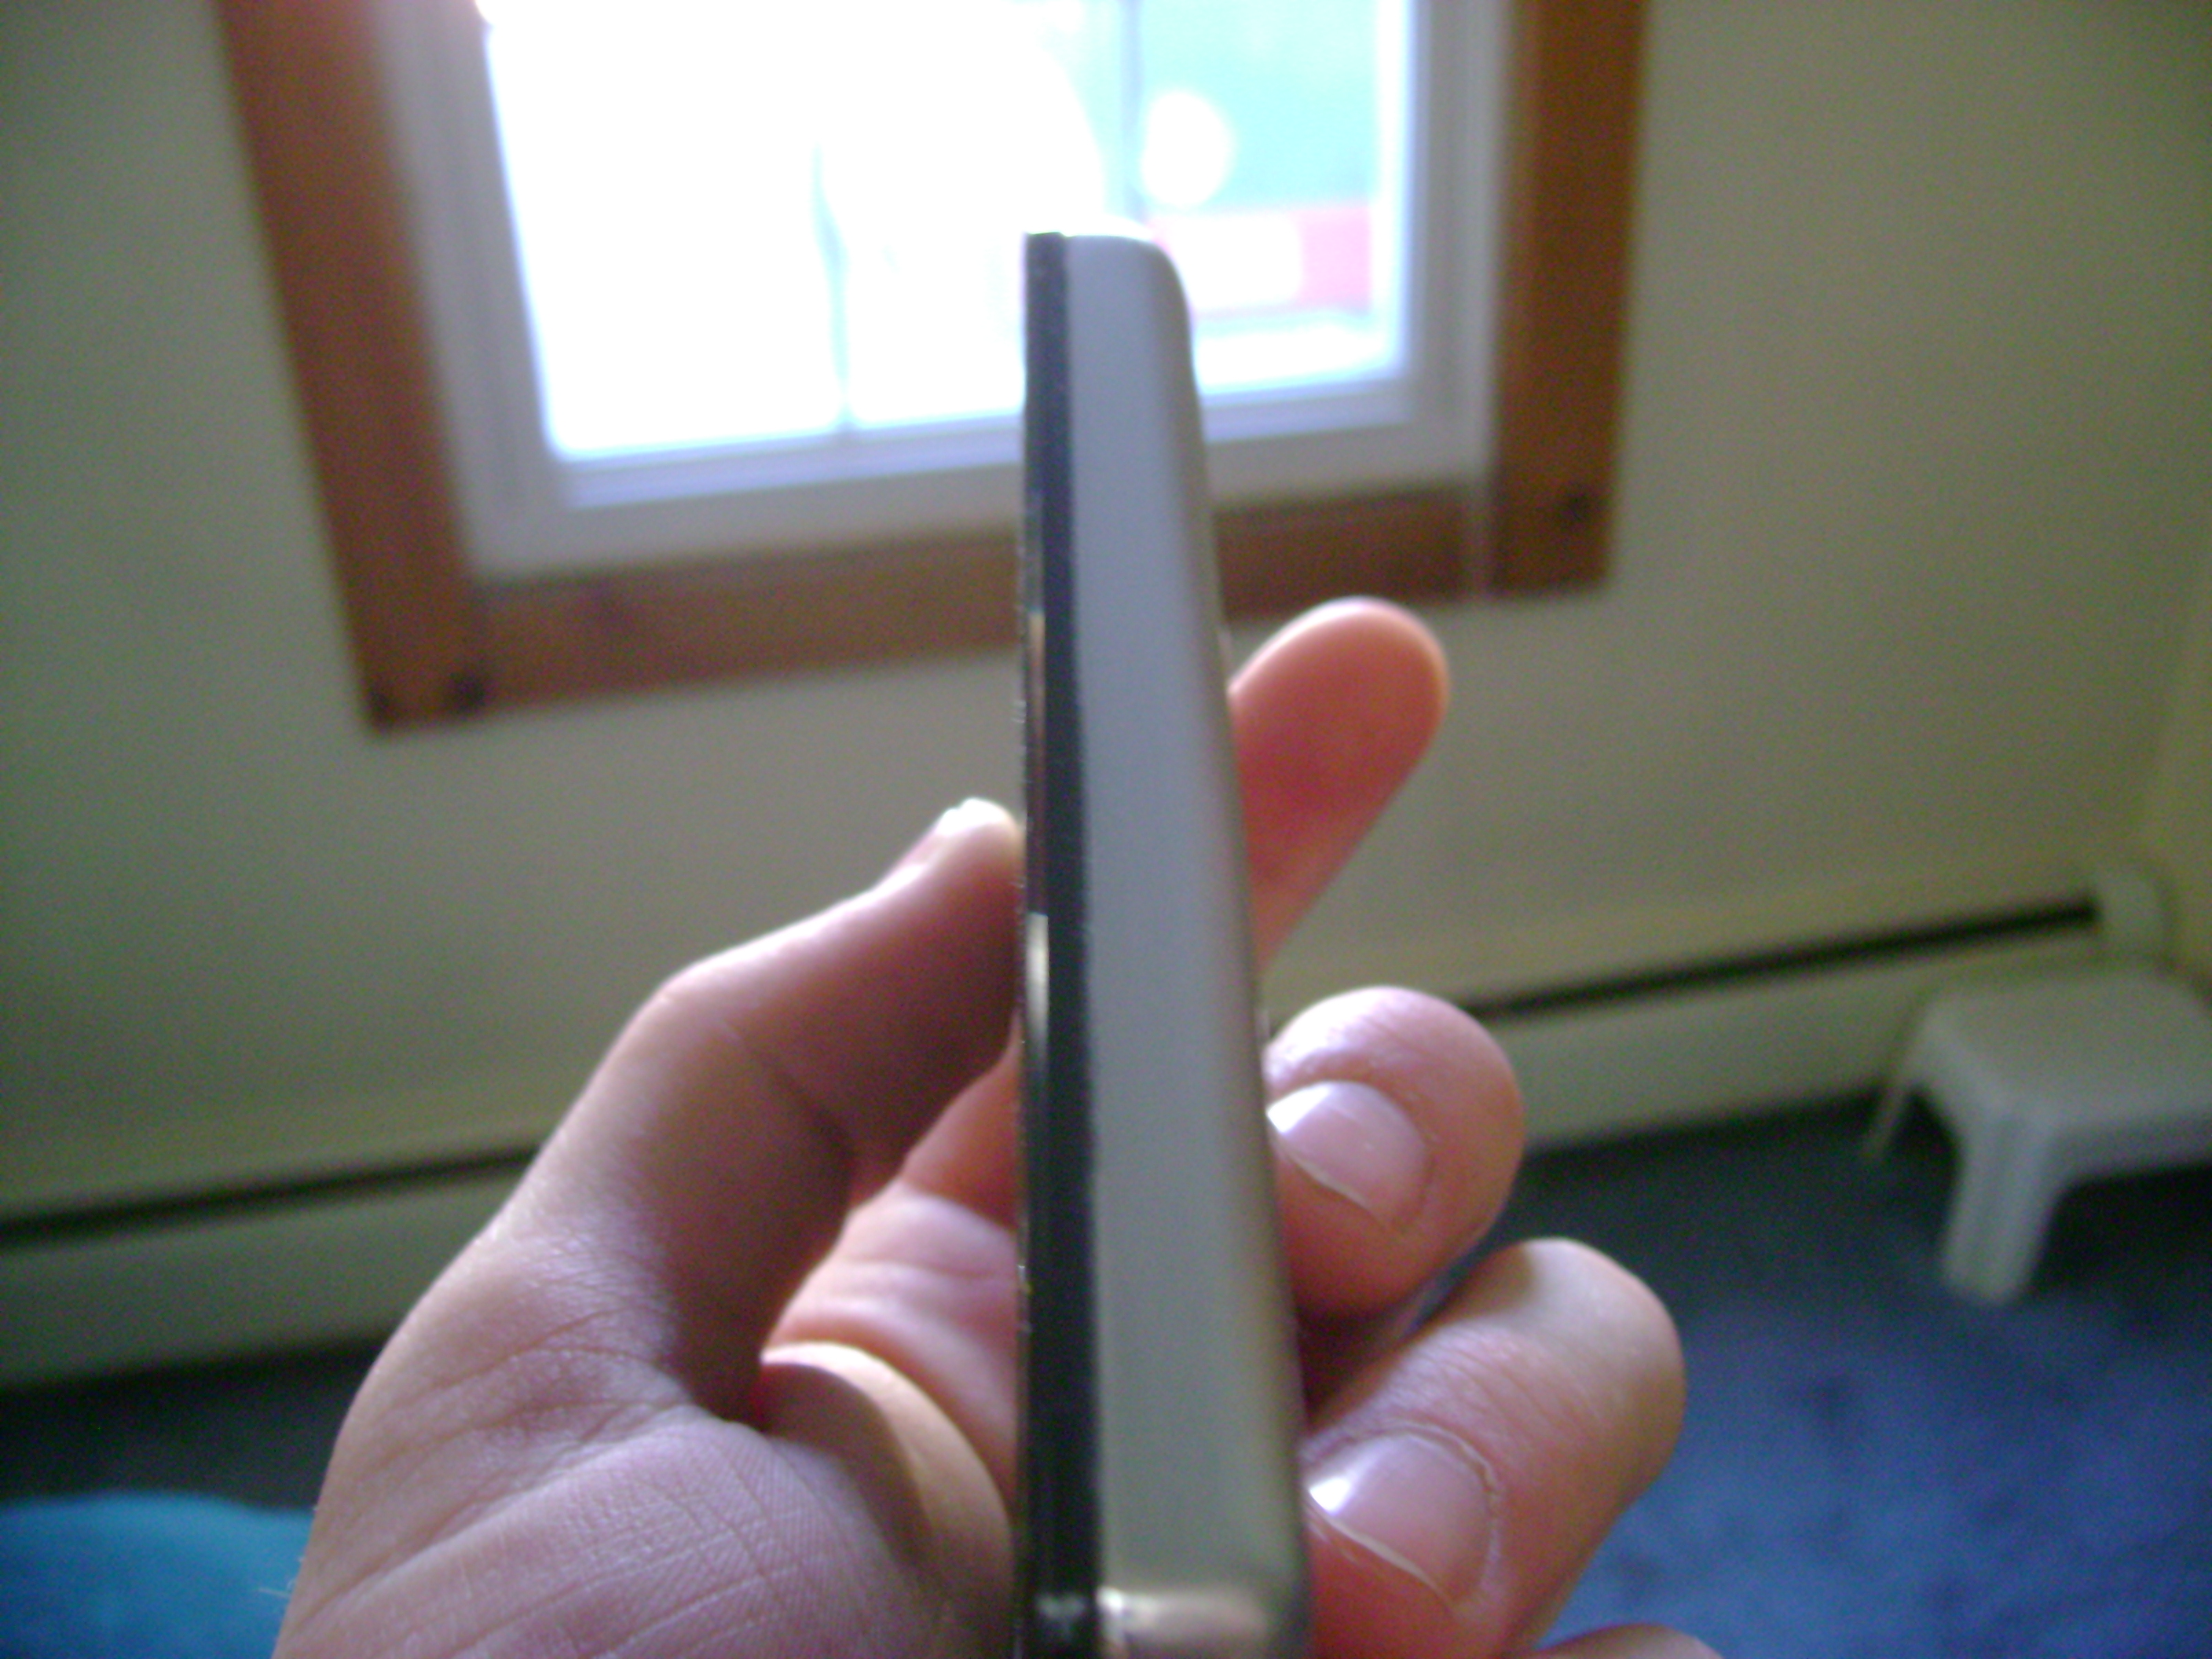
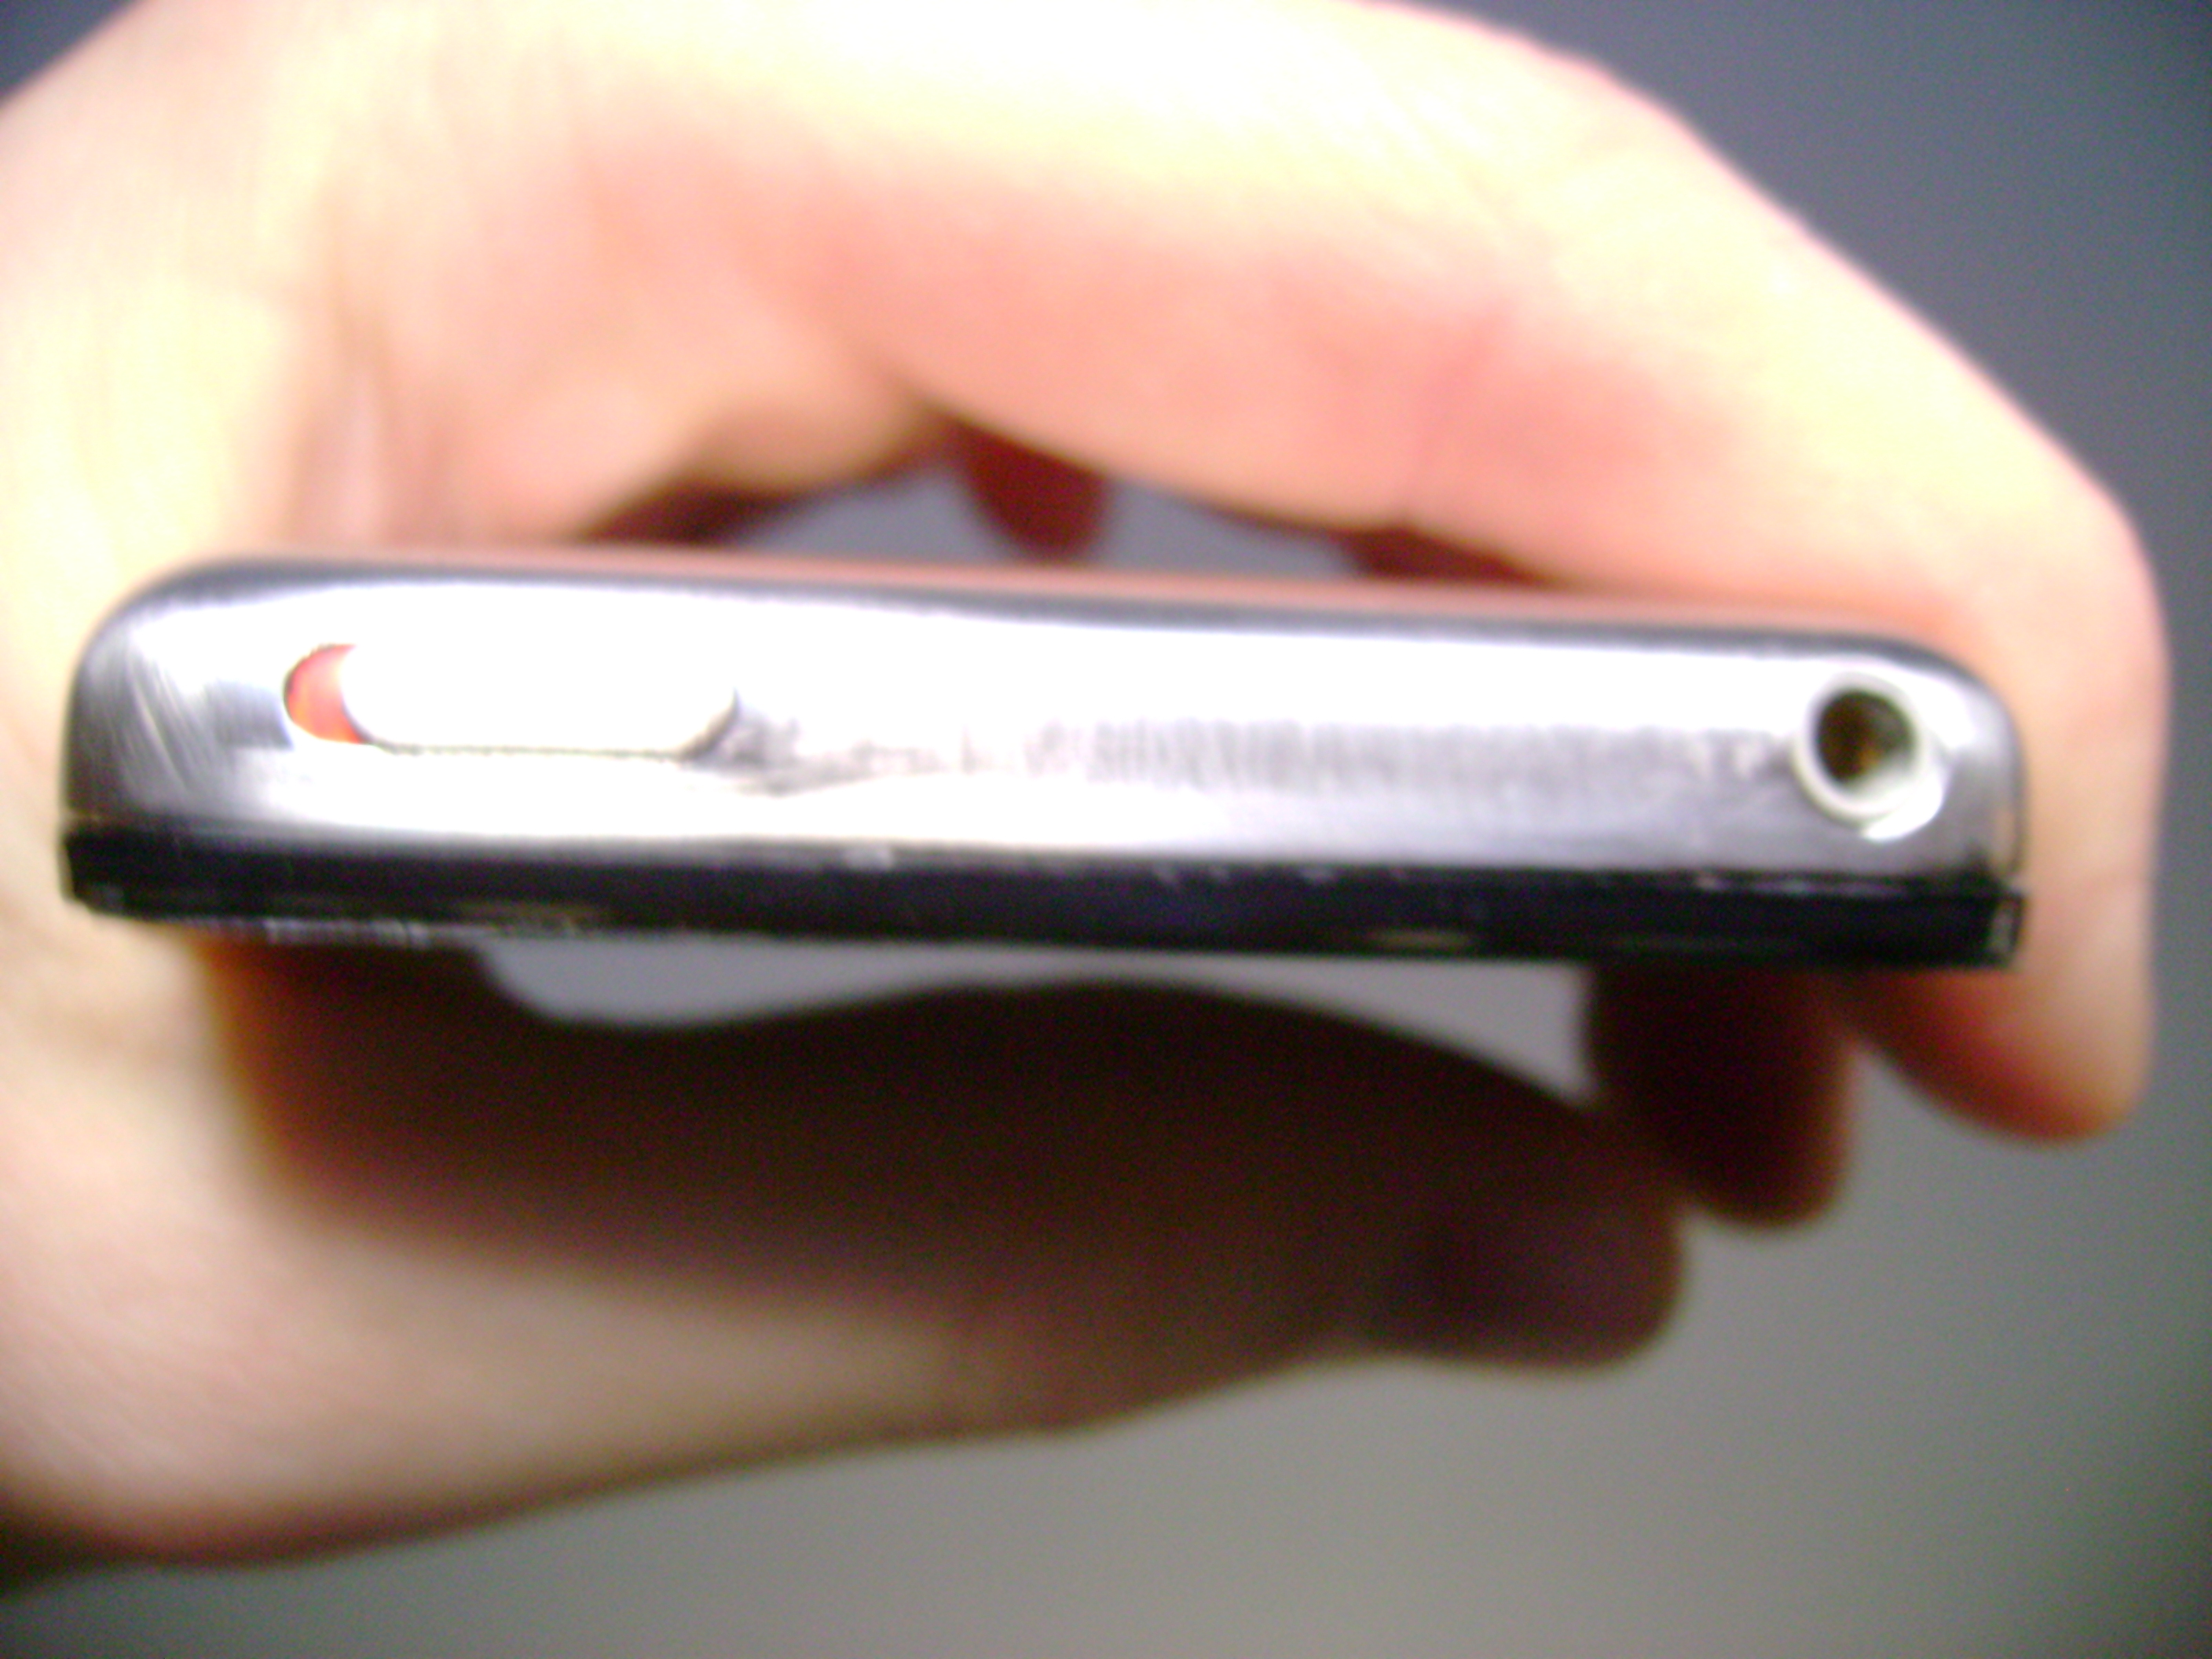
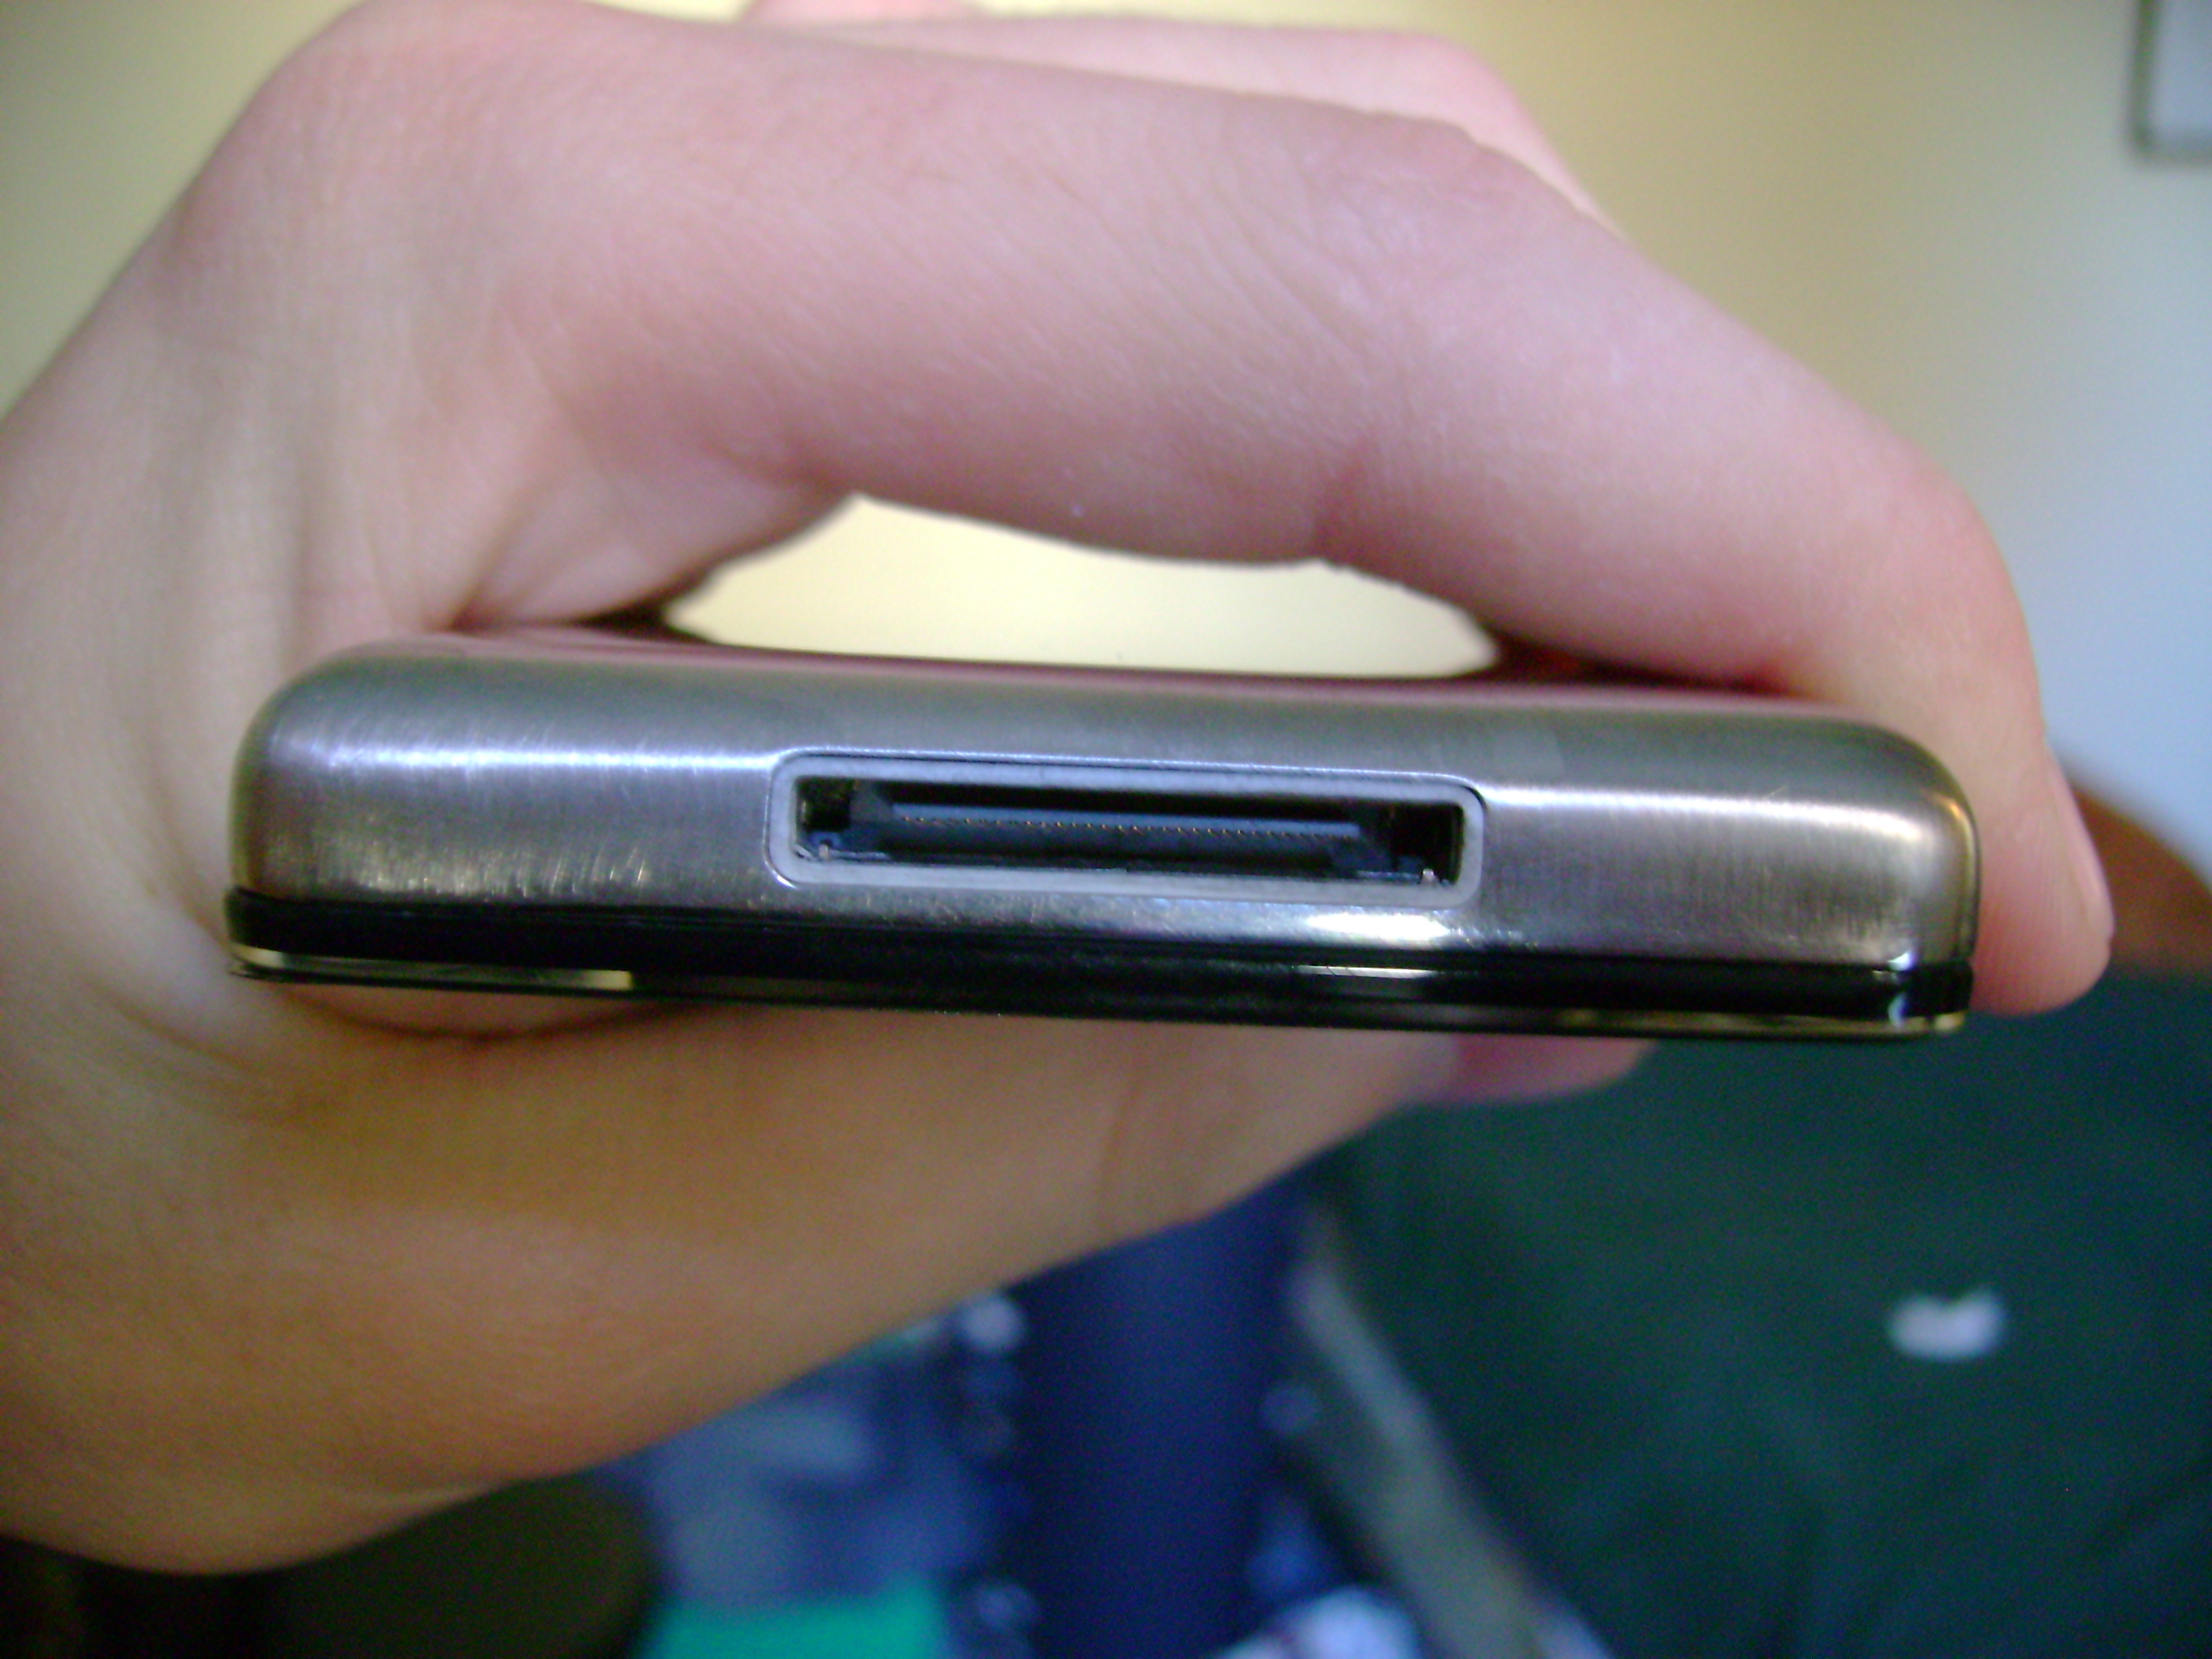
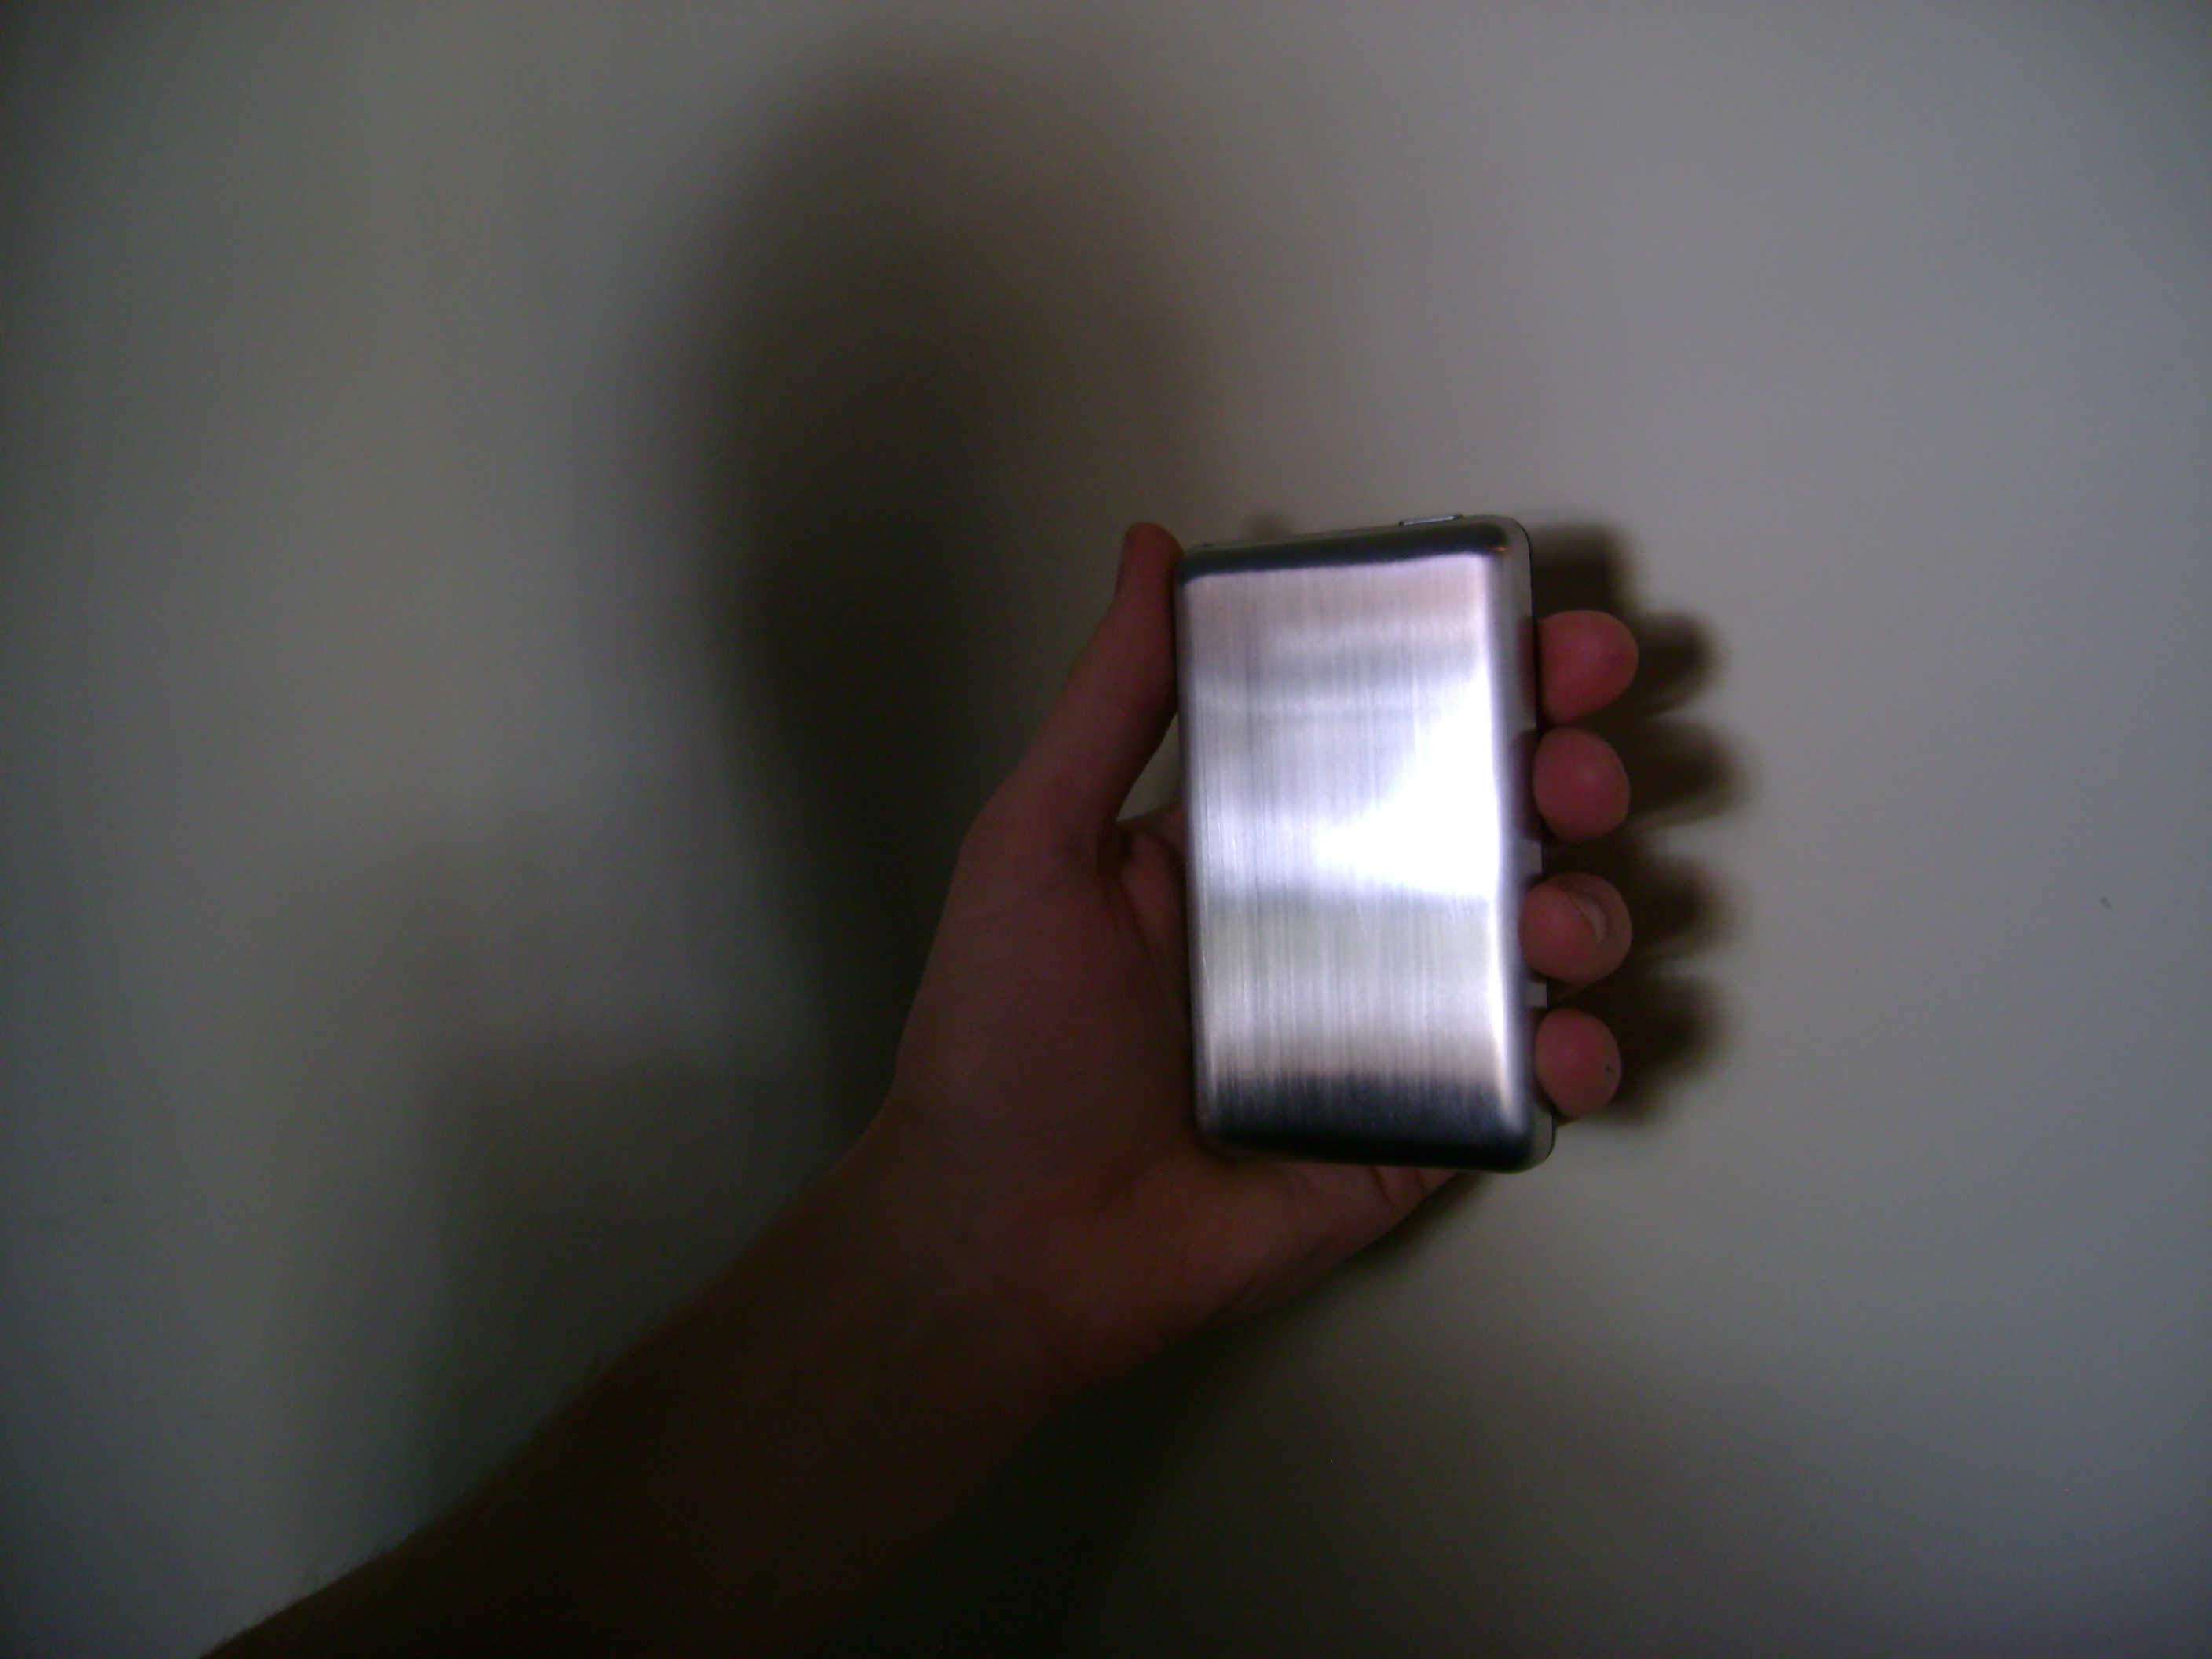
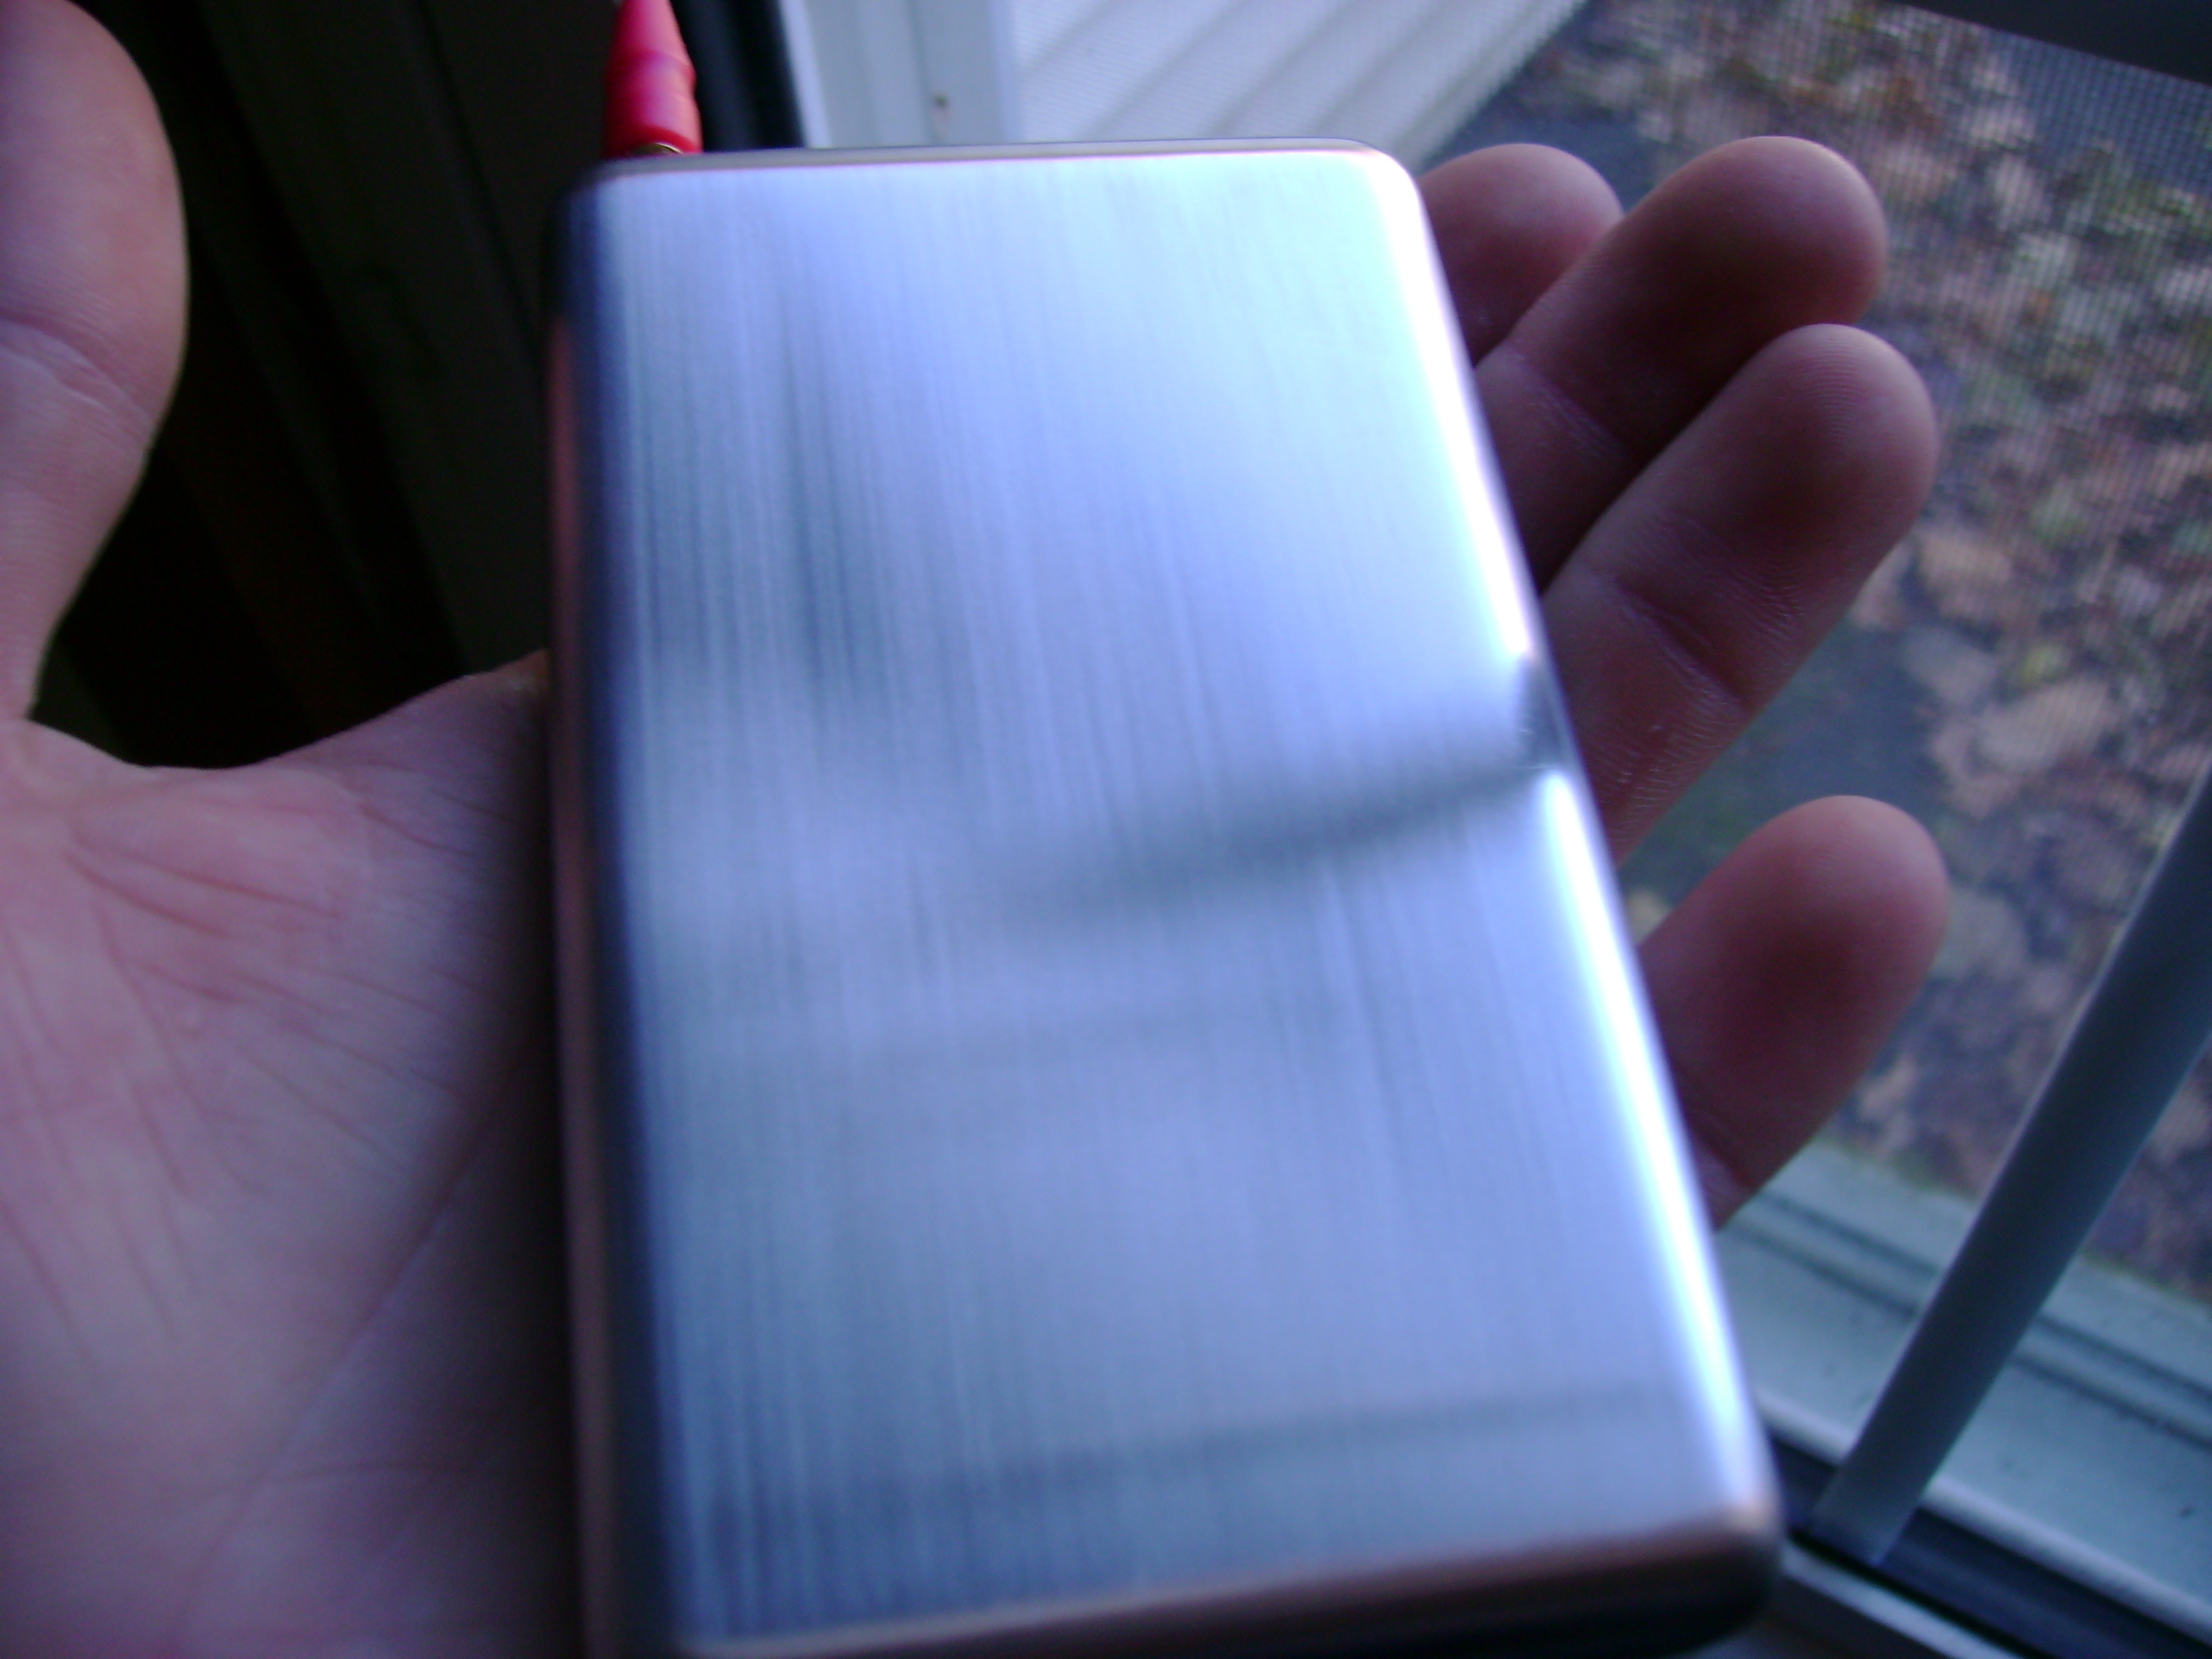
Congratulations, you are done! You now have an iPod that is truly unique, and it will be the envy of all your friends. If you get any other horizontal scratches in it, help is just a ScotchBrite pad away.
Enjoy!
Enjoy!