Browser Connection to Spark Core IOT Sensors
by uCHobby in Circuits > Sensors
2082 Views, 12 Favorites, 0 Comments
Browser Connection to Spark Core IOT Sensors
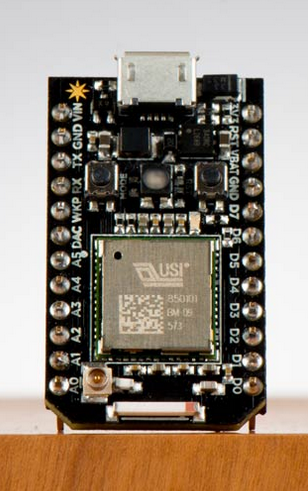
This is an introduction to simple web application development for Spark.IO core device and API service. I will walk you though your fist browser based web application which talks to your spark.io device.
This instructable is focused on what happens after you have your core up and running. You should already have it connected to your WiFi, working and have done a simple example where you flashed code into the unit via the Spark IDE.
I have the web side of this code up on my server. You can give it a at try before you create your own version with this instructable. Spark Core Demo Web App.
My initial discovery and much of the material used here was triggered by a workshop at the Austin/Round Rock Tech shop. This Tech Shop may start teaching classes on the Spark Core. I have my fingers crossed that they do. I see the Spark as an excellent solution for Makers to do some IOT work.
To get started you need...
- Google Chrome Browser
I'm sure you can use other browsers and make all this work, but I will assume you have Chrome. - Adobe brackets
This is an awesome free/open source web development IDE from Adobe. It provides a nice place to edit our files and it connects with Google Chrome to run the applications. It even has a built in web server!. This makes our work super easy. - Files from GitHub: SparkIO-Client.
We will be working with these files. Download the zip (bottom right on right side panel) and expand into a directory or if you have Git installed you can do a clone.
That's all you need for now...
Load the Sample Firmware Into Your Spark Core
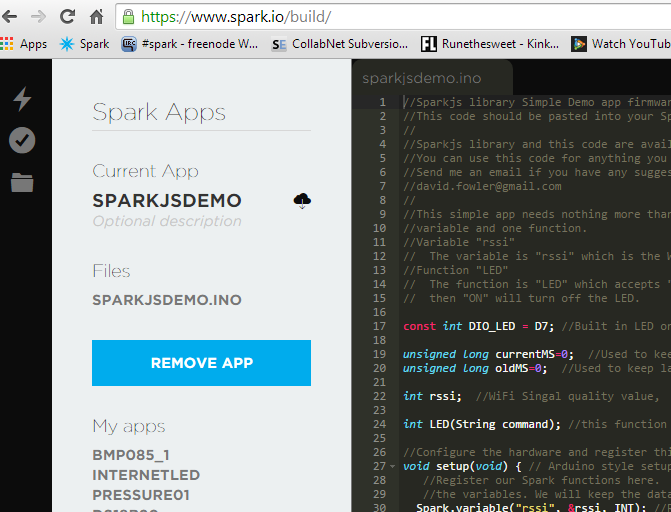
Create a new app using the firmware.cpp file from the files you downloaded from GitHub.
- Open your browser and head over to your Spark Core IDE and Create a new app.
- Open the firmware.cpp file from the directory where you saved the GitHub files.
- Open this file with a text editor, select all the lines and copy (right click copy)
- Paste all the lines over all the content in the Spark Core IDE, then save it there.
- Flash this sample code into your device.
- You will need to your Core's device ID and the access token, here's how.
- Click on the target cross hair icon in the far left, lower bar of the IDE. It's called "cores"
- Click on the ">" next to your core, top of the list, to revel the ID code. Copy this someplace for later.
- Click on the gear icon on the very bottom left to revel the access token. Save this too. Note that you can reset this token if you ever are concerned that someone has access to your core. Just click reset and collect the new token.
At this point you have loaded a simple demo app which can report the WiFi signal level from the core and will turn on/off an LED when commanded by our web app later... You should also have copied down and saved the device ID and access token.
Get the Web App Up in Brackets
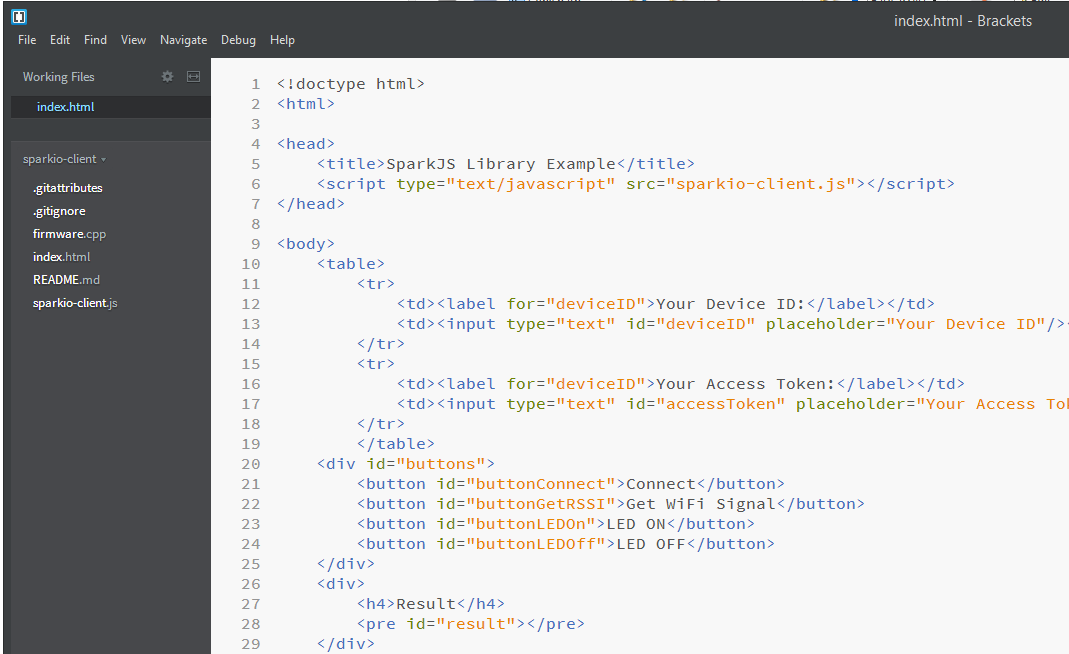
Next we will get the web application code loaded up into Brackets. This is very easy..
- Run Brackets
- Select File/Open Folder
- Navigate to the directory where you stored all the file from GitHub and select that directory
- Open the index.html file and take a look
At this point you should see the files in the left pane of the Brackets editor.
- firmware.cpp
This is the code we just loaded into your spark core. - index.html
The web application code - README.md
This is a documentation file from the Git Hub. You will want to read that later to learn more about this code. - sparkio-client.js
This is a small library I put together to make things easy. Its only about 100 lines of code but it handles the request for variables and function calls via the Spark API so we can focus on the web application.
Run the Web App to Control Your Spark!
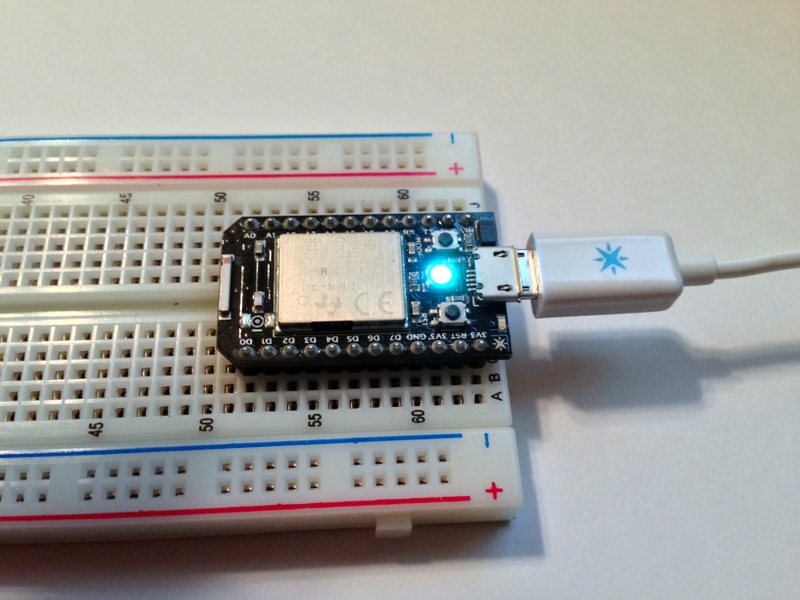
Ready to run the web application?
At this point you should have the core sitting ready with it's LED cycling a Cyan (blueish) color. This shows it's connected and ready to talk. You should have already flashed the demo firmware into your core. And, you should be looking at the index.html file in your Brackets IDE. If so, click the bolt icon on the upper right side of the Brackets editor.
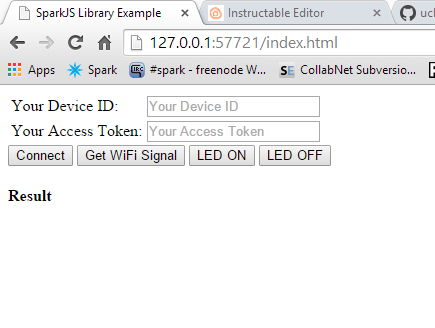
Chrome should fire up showing the simple web app. Like the picture here.
Copy your deviceID and access token into the edit boxes on the page.
Click "connect" and if all goes well you will see a line of text in the result like below in the Result area of the page.
Get Status Response:{"id":"<your device ID>","name":"<your device name>","connected":true,"variables":{"rssi":"int32"},"functions":["LED"],"cc3000_patch_version":"1.29"}
If you got that, your golden.. if not, double check that your core is connected and that you have the correct device ID and access Token.
What is all that in the response?
The API repsonse is JSON a data format used by the web, sort of like XML. There are several fields of data shows in this "status" response. These fields have the format of name:value and I'd say it's pretty clear what each one is. You can read more about JSON and JavaScript on the web.
Read a Variable from your core
Now that you are talking, you can get the RSSI signal from your core. This is a measure of how strong the Wi-Fi signal is for the core. Click the Get Wi-Fi signal button to see something like...
Get RSSI Response:{"cmd":"VarReturn","name":"RSSI","result":-44,"coreInfo":{"last_app":"","last_heard":"2014-11-27T08:39:16.006Z","connected":true,"deviceID":"<your device ID>"}}
Here we see that we asked for RSSI and got -44 as the result.
Control your Core LED
Try the LED buttons next. You should see the small blue LED near the USB connector turn on and off almost the instant you press the buttons.
You will see some more JSON results on the web app but it's not that important in this instance. Just showing that things work.
Learning More and Customizing
JavaScript Code
The code is heavily documented. If you have some experience with web development (HTML) and JavaScript you should be able to follow along with the comments. The more complex code is kept in the sparkio-client lib.
Spark Core Firmware
This code is also heavily documented. You will be right at home if you have done Arduino development in the past.
The spark core documentation is awesome for the firmware and API side.
This is a Web App and will run on almost everything
If you have a server to place the files just copy the index.html and the sparkio-client.js files to your server and point your browser there. If you don't have a server, you might try using Drop Box or Google Drive. I made this work fine with Drop Box but had trouble with Google Drive.
Lifehacker has an article showing how to use Drop Box to serve up pages. This worked for me.
Customizing your app.
The first thing would be connecting a sensor or something to control to your Spark Core. The Spark IDE includes lots of libraries for reading sensors like temperature and controlling things like servos. After your core is reading and controlling things, you can add code to publish the sensor data as variables and functions to use for controlling things. Then you can adapt the index.html file to read those variables and call those functions.
Security
One thing to consider with devices like this... you want to keep your device ID and access token secret. Do not put those values into your java-script files as anyone can just view source to get them. Might not be a big deal if your device just measures temperature someplace, but if your controlling your garage door or something else...
You will be tempted to place these long codes in your code so you don't have to enter them each time you run the app. If you do this, I recommend that you put your app in a password protected directory on your server.
Another option would be to use local storage so that you would only have to enter them once on each device you loaded the app on. This is the approach I plan, it's just a bit complex for an initial demo application.
There are a lot of options to deal with security, for home projects you don't have to worry too much, but for production products it's a serious concern.
My Core
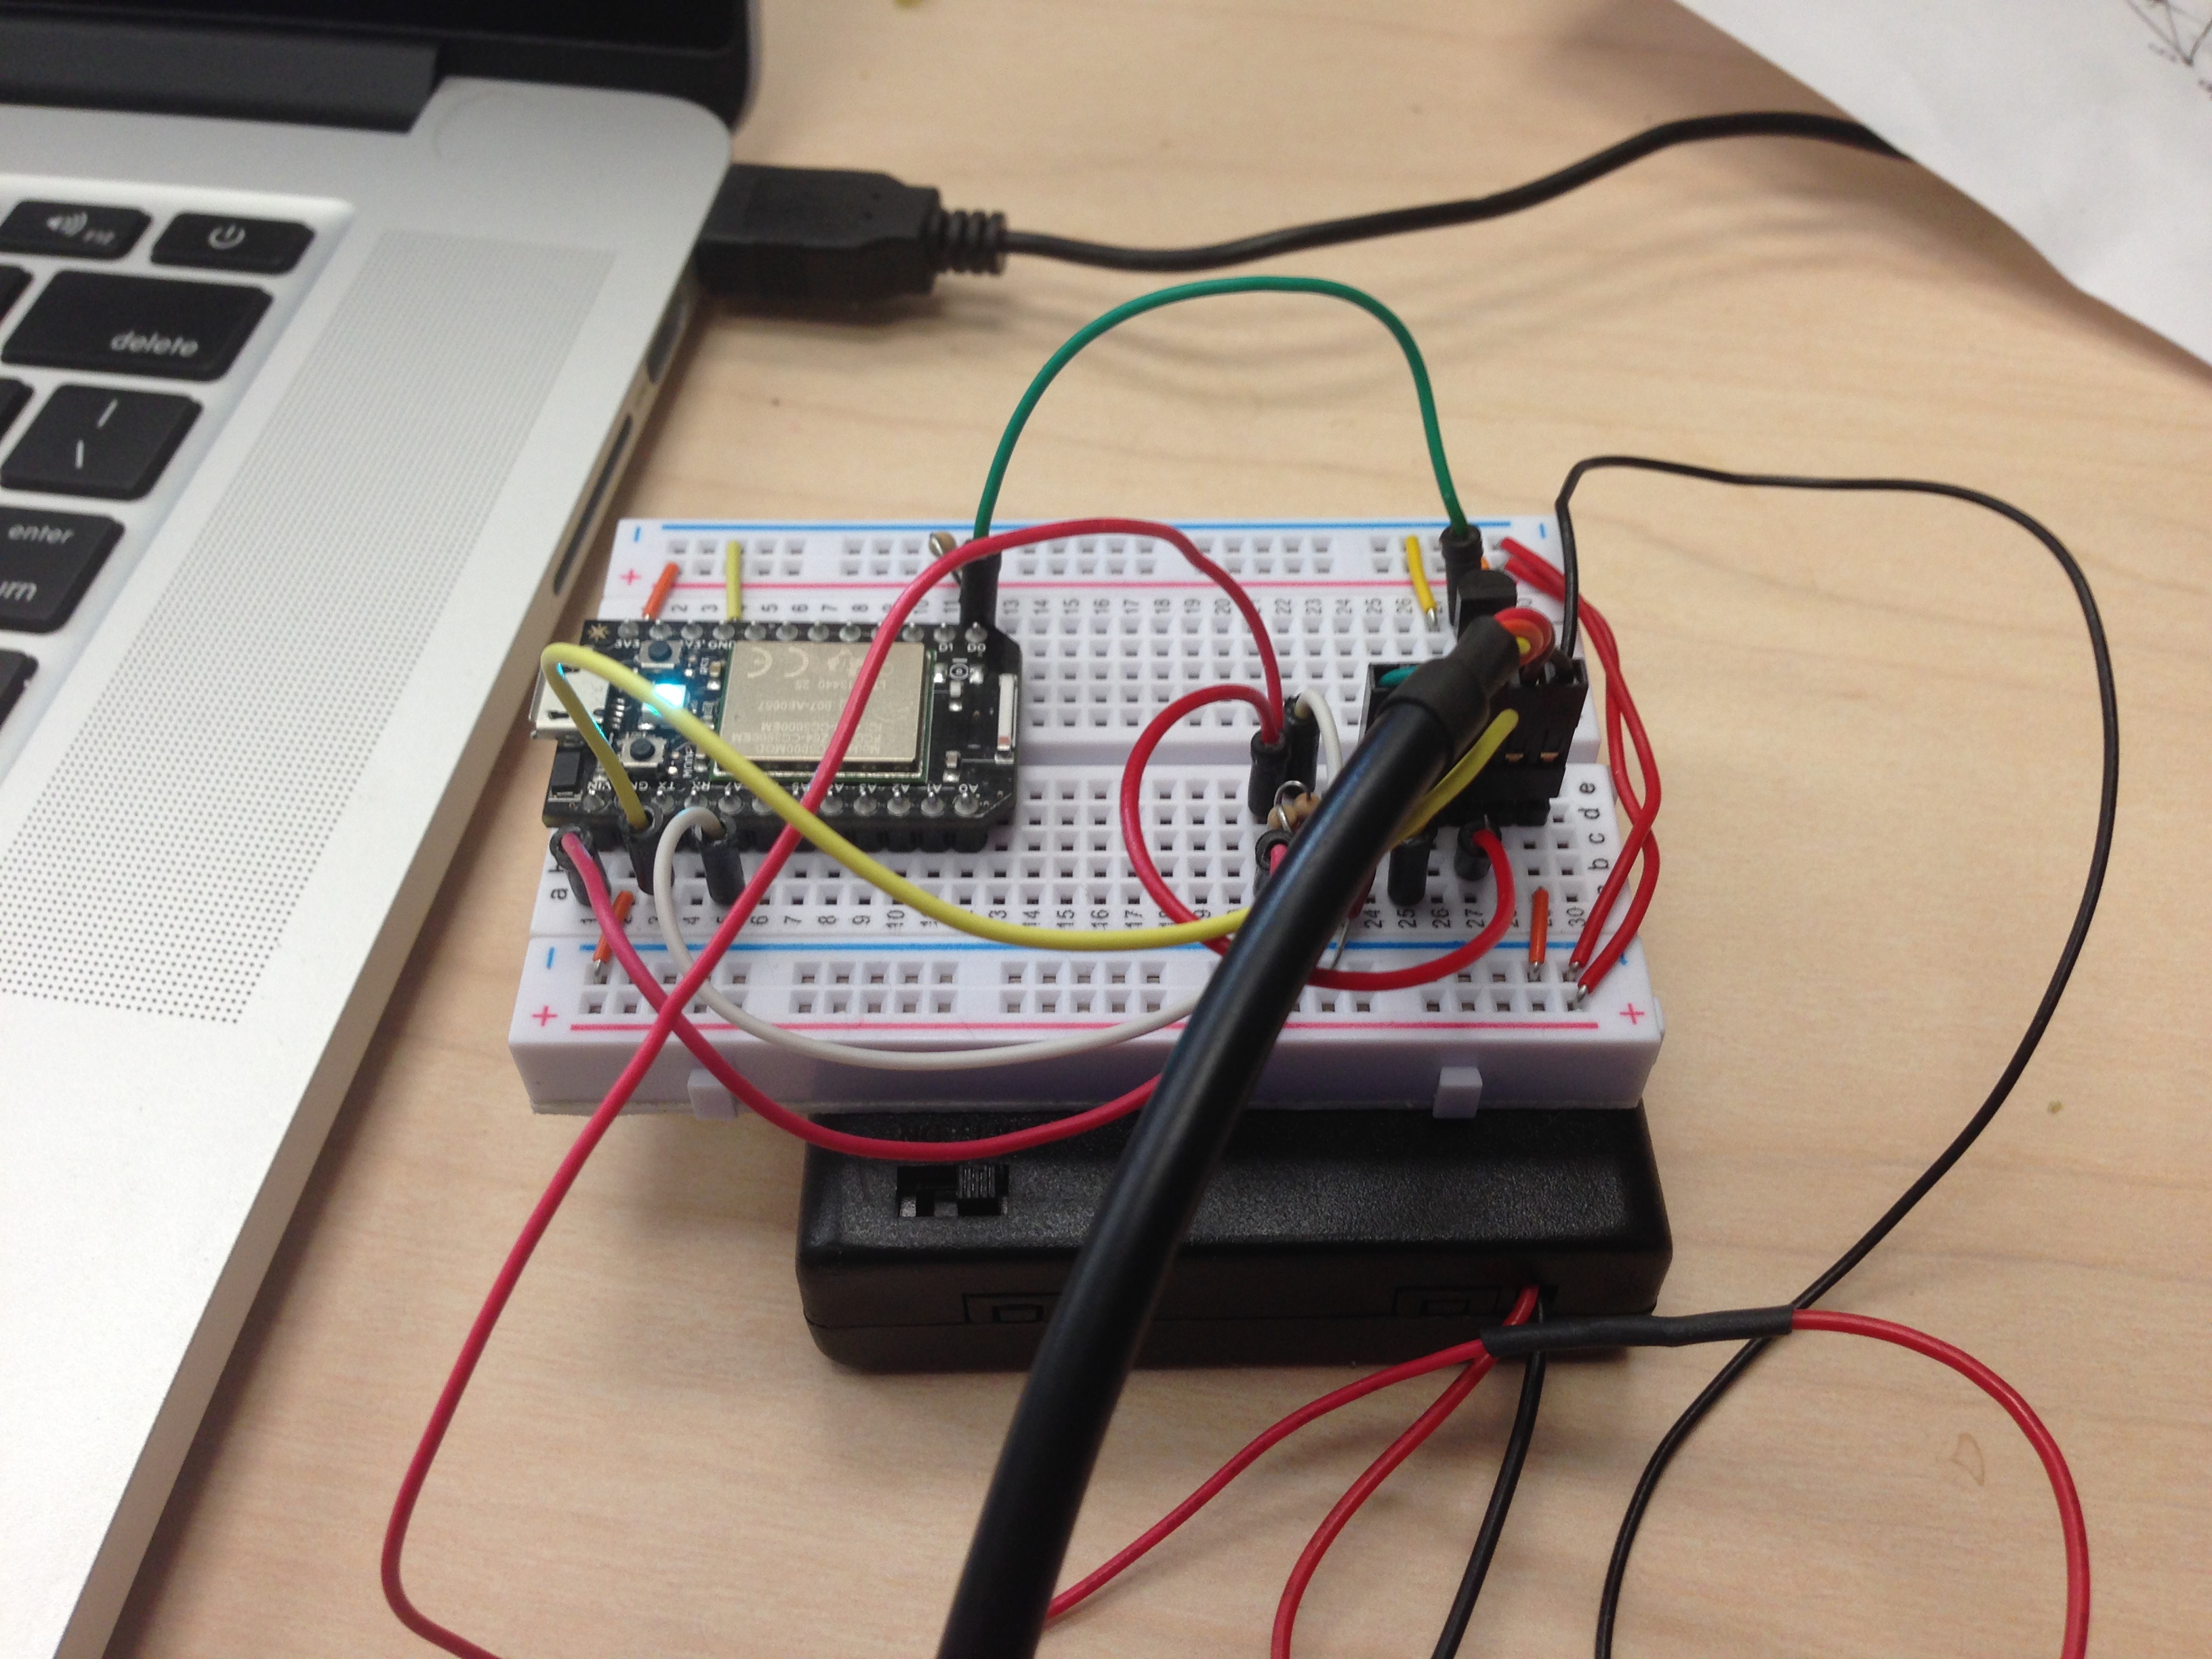
In the picture here you see my Spark Core in it's current configuration. I have an FTDI cable being used for serial debug data and to power the core. I also have a 4XAA battery pack so I can leave it someplace to take readings. The battery pack is setup to be read on an ADC input so I can see how it's doing. I find this setup works great for initial research and I could do an instructable about it if there is interest. Let me know in the comments if you want that...