Brownie 8mm Movie Camera - Mini Media Centre
by lonesoulsurfer in Circuits > Reuse
35878 Views, 252 Favorites, 0 Comments
Brownie 8mm Movie Camera - Mini Media Centre
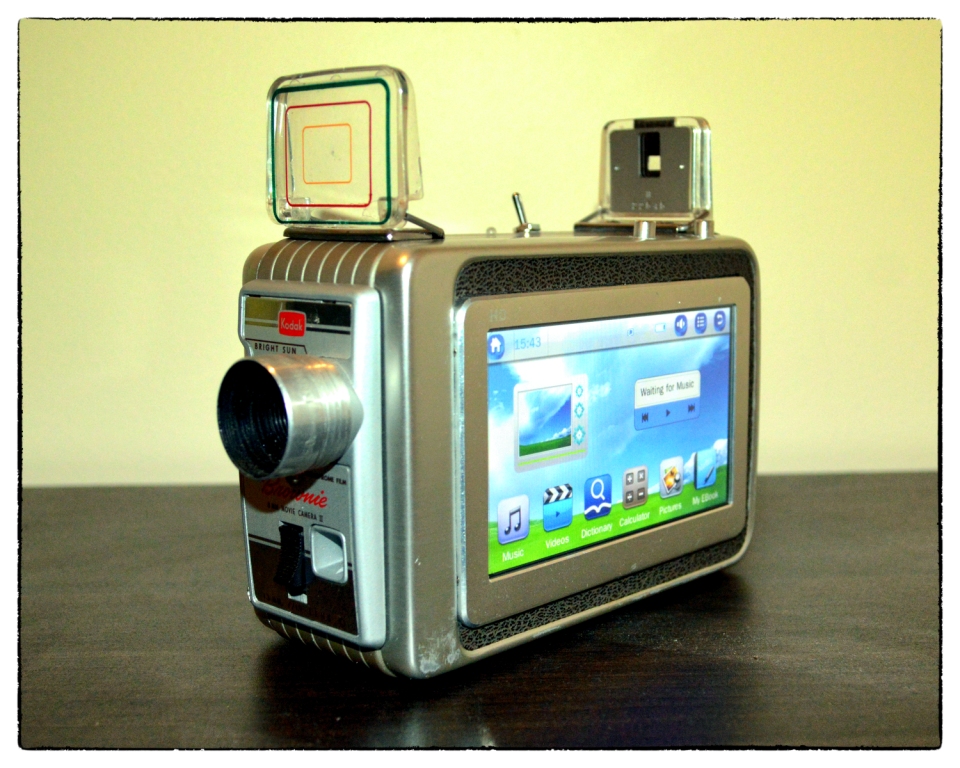
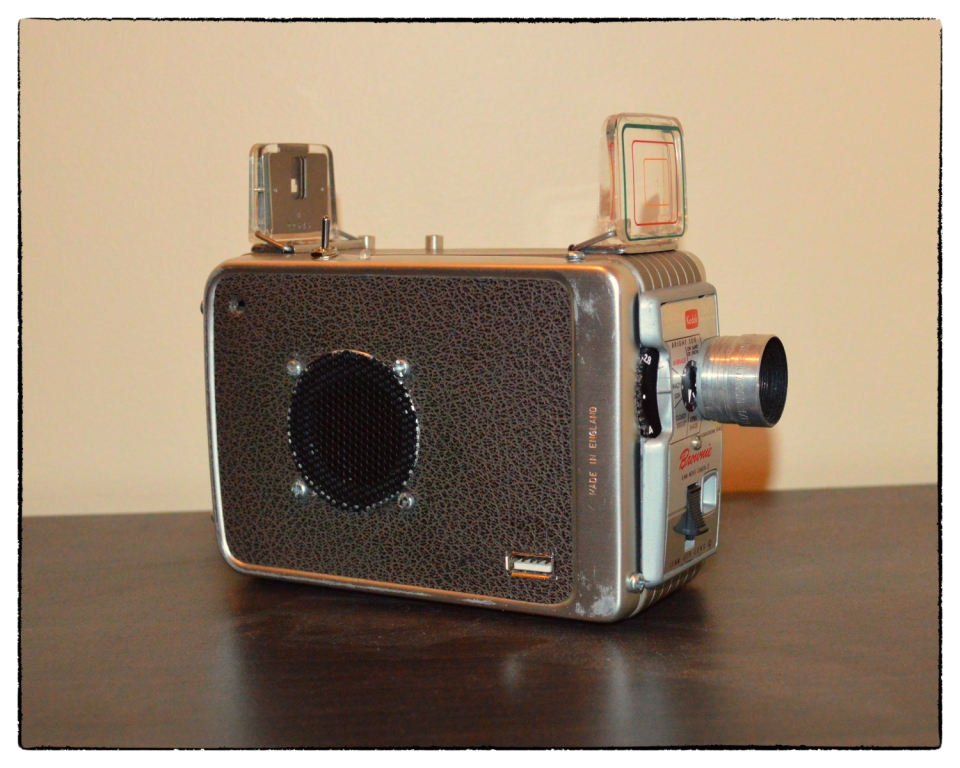
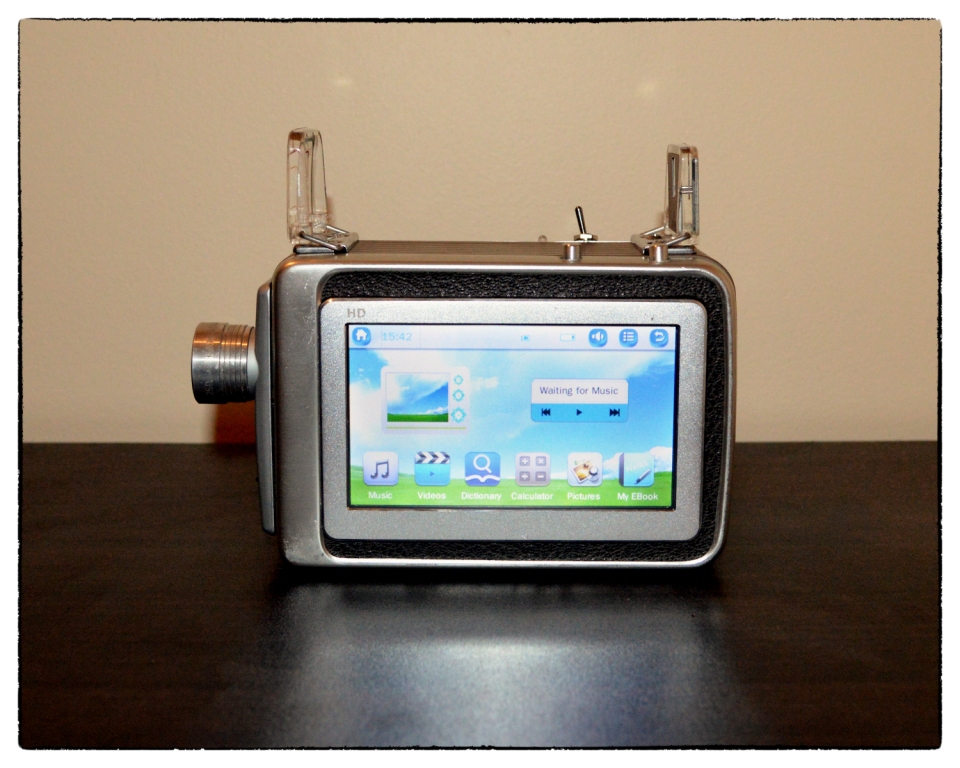
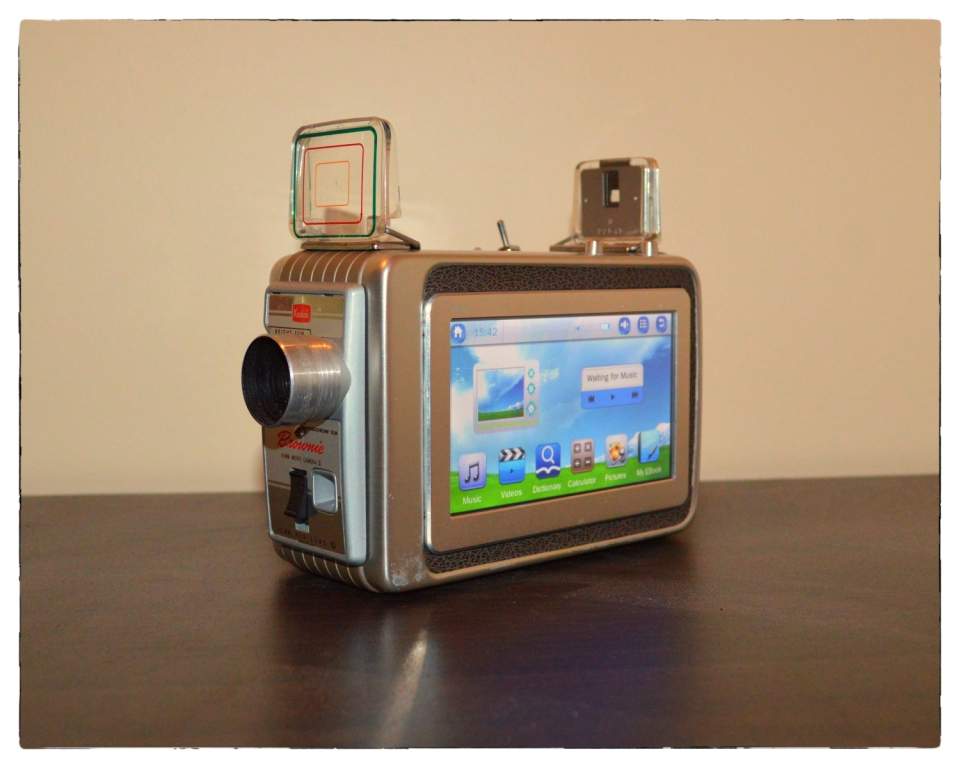
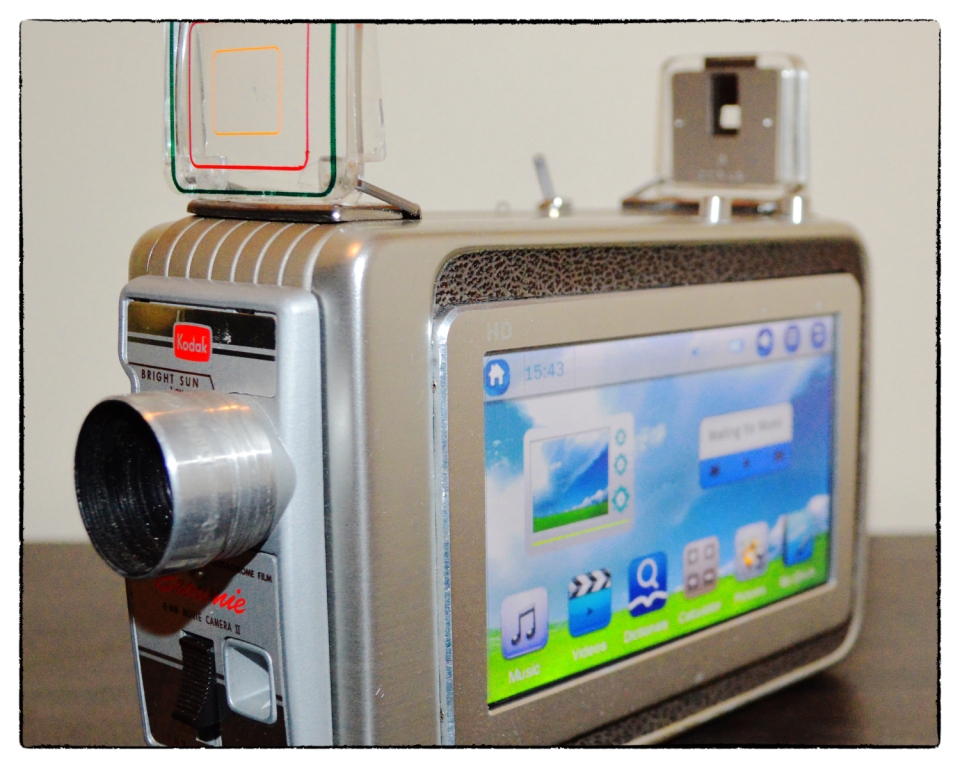
Convert an 8mm Brownie movie camera into a mini media centre.
Firstly the bad news - you have to destroy a vintage movie camera. The good news though is these Kodak Brownie 8mm movie camera's are a dime a dozen and can be purchased really cheaply on eBay.
The Kodak Brownie 8 Movie Camera is a true icon of the 1950's post war era. The Kodak Brownie range of camera's were always in a box type shape which makes them perfect for hacking and adding bits inside of them. It's never easy cutting into something as aesthetically beautiful as the Brownie movie camera, but there were literally millions of these made, so take comfort in the knowledge that your not cutting into something rare.
Anyhow your actually giving this old camera a new lease of life. It 's probably sat in someone's darkened cupboard for the last 40 years where no-one can get any enjoyment from it.
So what can the mini media centre do? Well it can play music, movies and photos. It also has a built in speaker which can really pump out the tunes. It can be plugged into the wall and also has re-chargeable batteries so is portable.
It's not a hard mod but will take some patience and time to ensure all of the cut-outs are done correctly.
Here's a quick video of it in action:
If you want to make one of your own or are curious as to how I did it, then read on.
Bits and Pieces to Gather
.jpg)
Parts List:
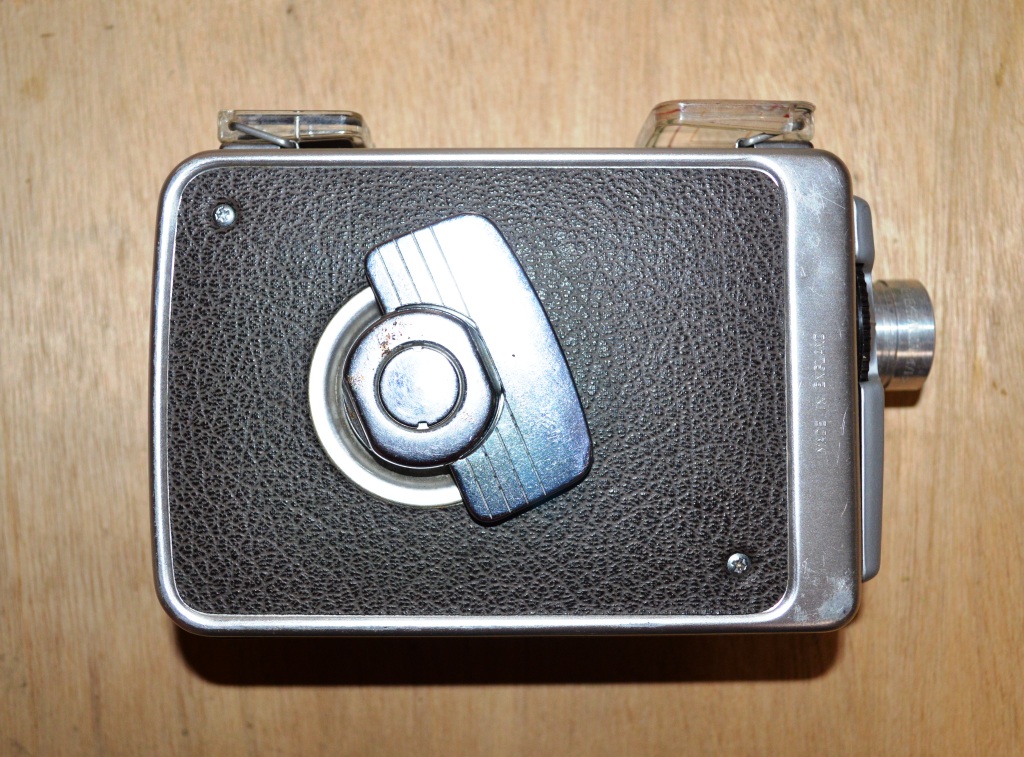
1. Bownie 8mm Movie Camera - eBay
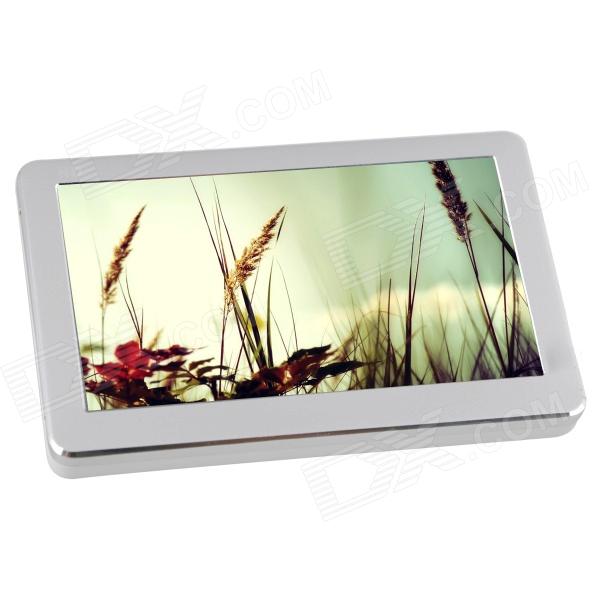
2. MP5 / MP3 player. - Deal Extreme.
3. USB cord - Comes with the MP3/5 Player
4. 90 degree MINI-USB Male to USB Female adapter - eBay
5. 3.5mm male to 3.5 male audio cable- eBay
6. 3.5mm female to female adapter - eBay
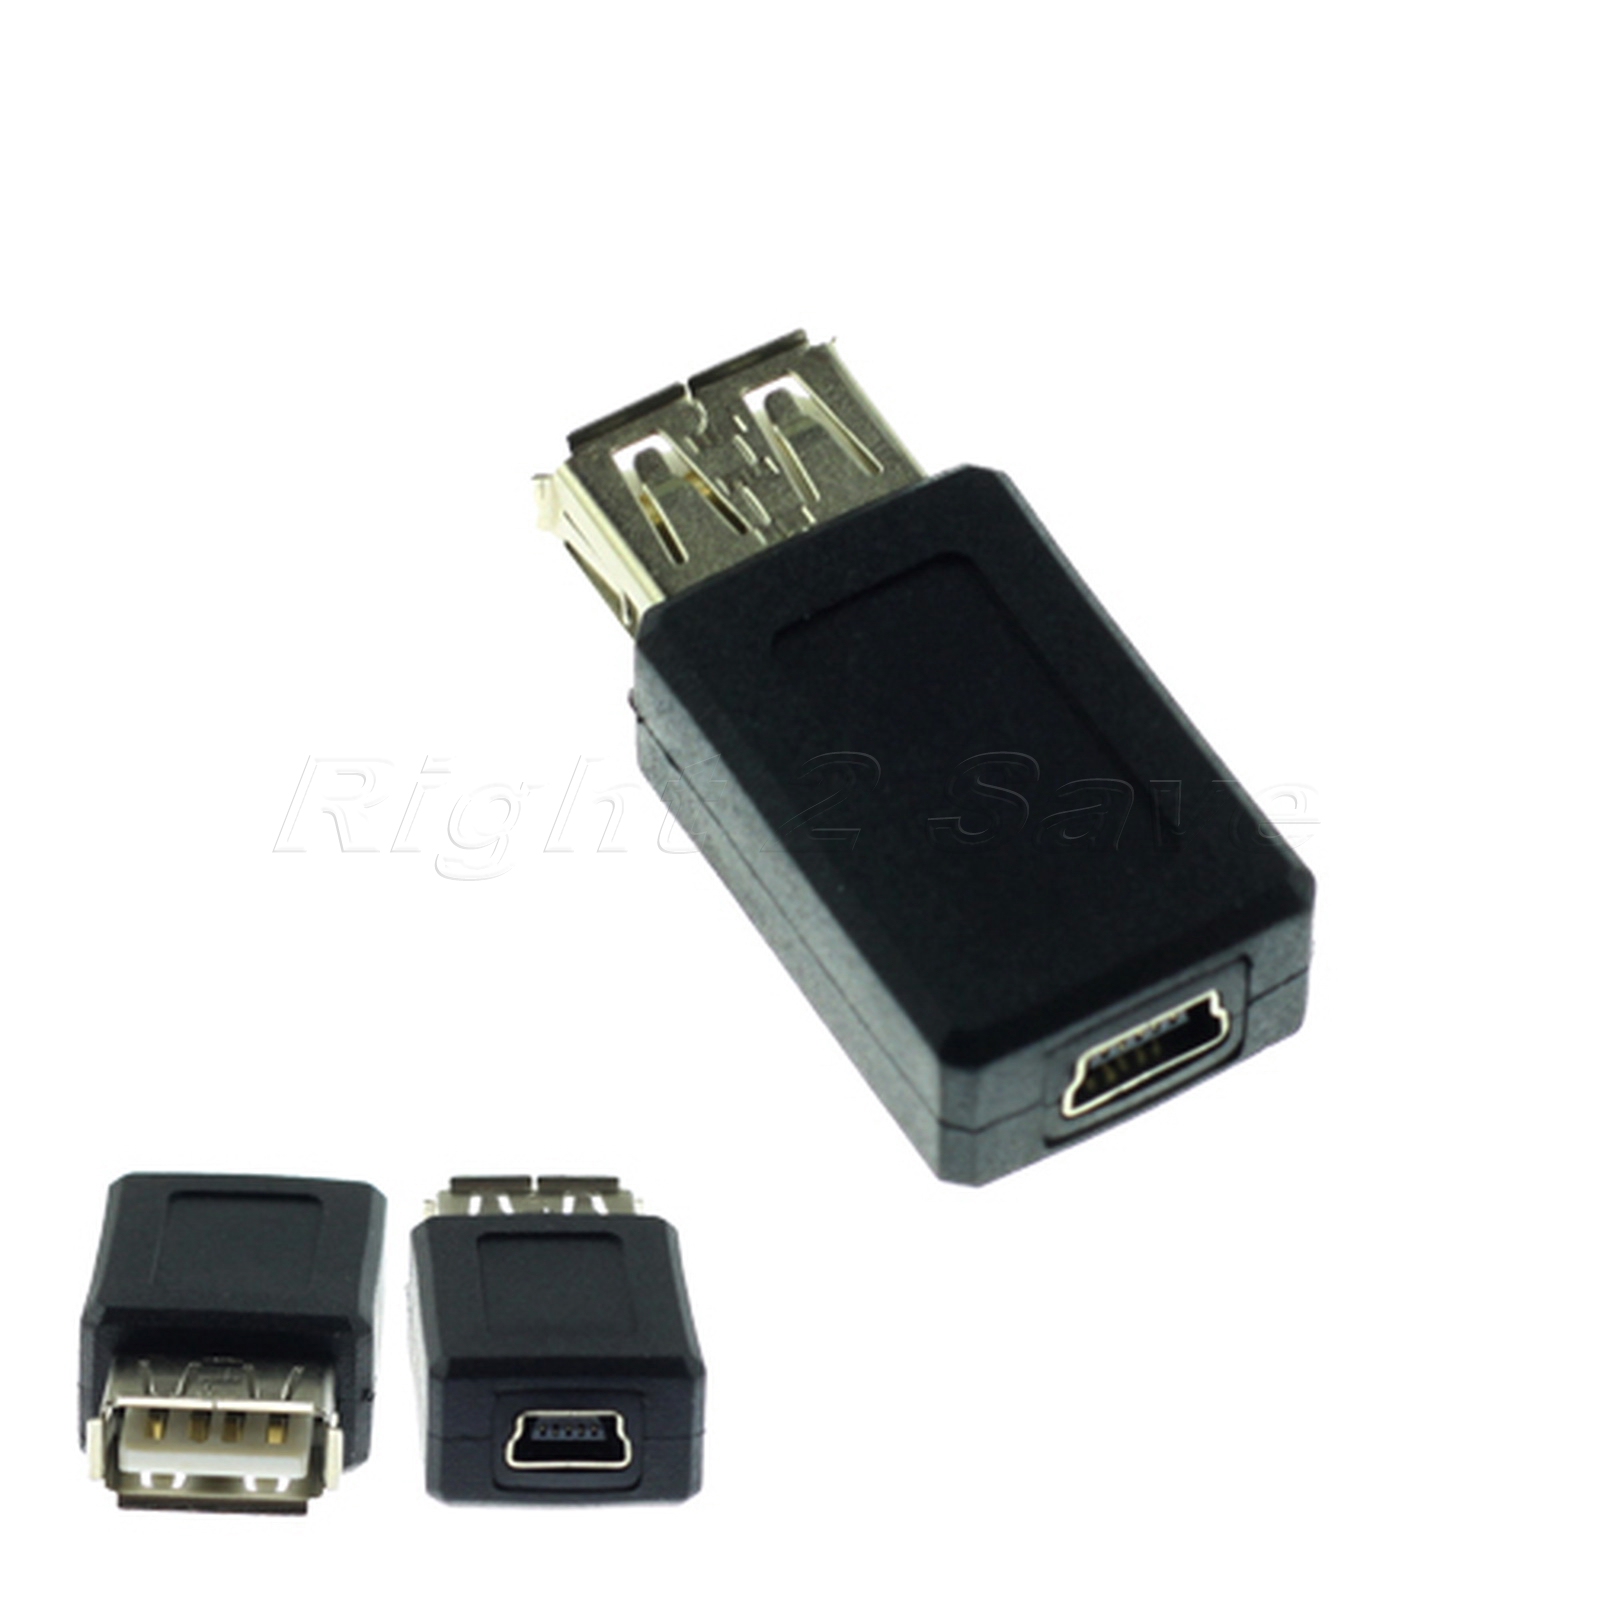
7. USB Female to Mini USB Female Adapter - eBay
8. Australian 5V power plug - eBay. If you are in the US then you don't have to worry about this as the player comes with one.
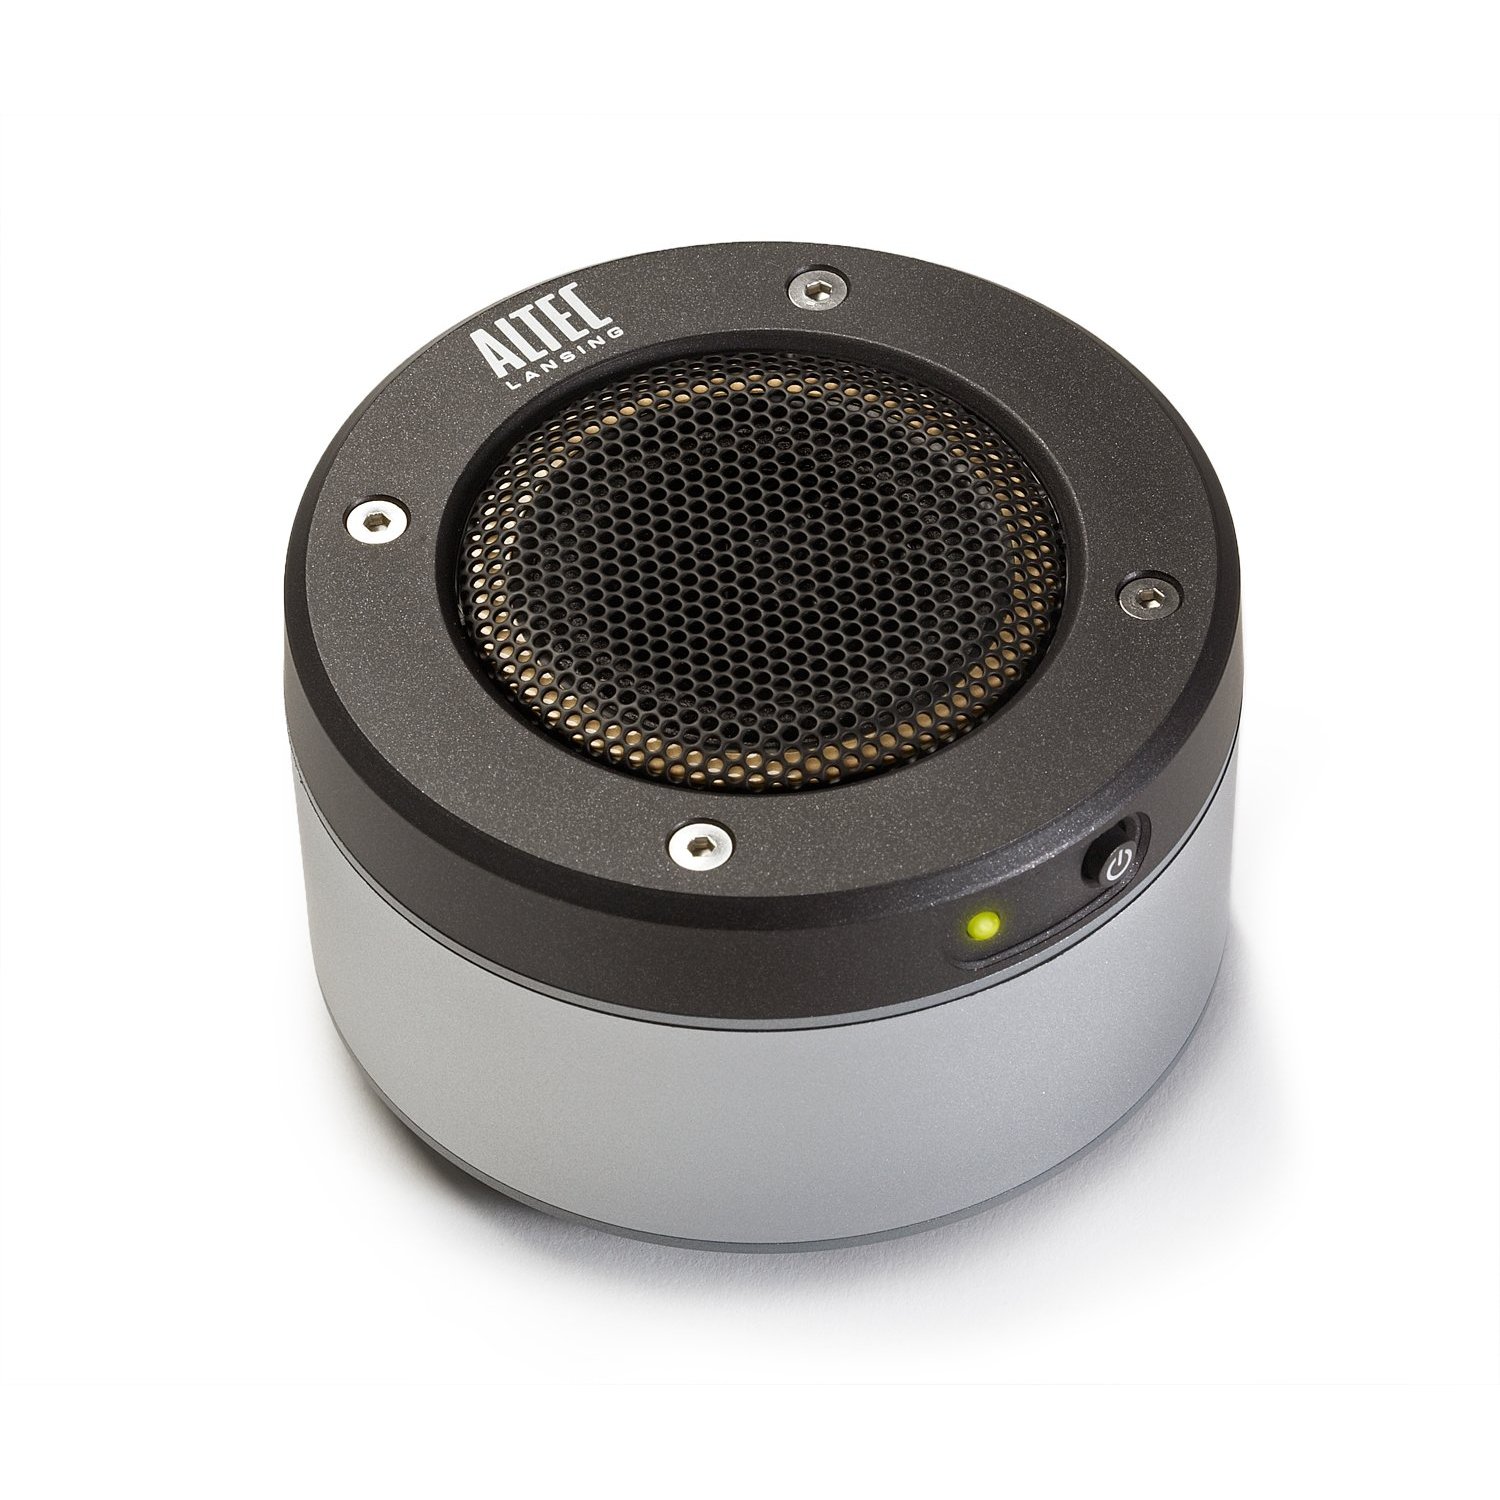
9. Speaker - eBay. I went with an Altec Lansing "Orbit" as they have great sound and are easy to hack!
10. Various small screws etc
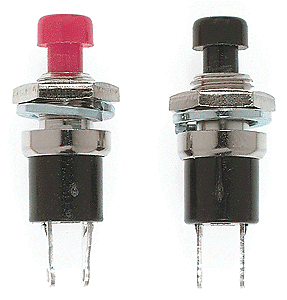
11. Plastic momentary push buttons - eBay
12. Aluminium Caps for the switches - I found mine on an old tape cassette. These arn''t necessary but make the buttons on the 8mm camera case look like the belong there
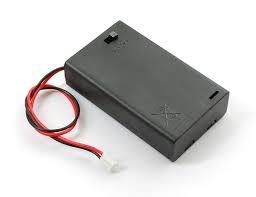
13. 3 x AAA battery holder. - eBay
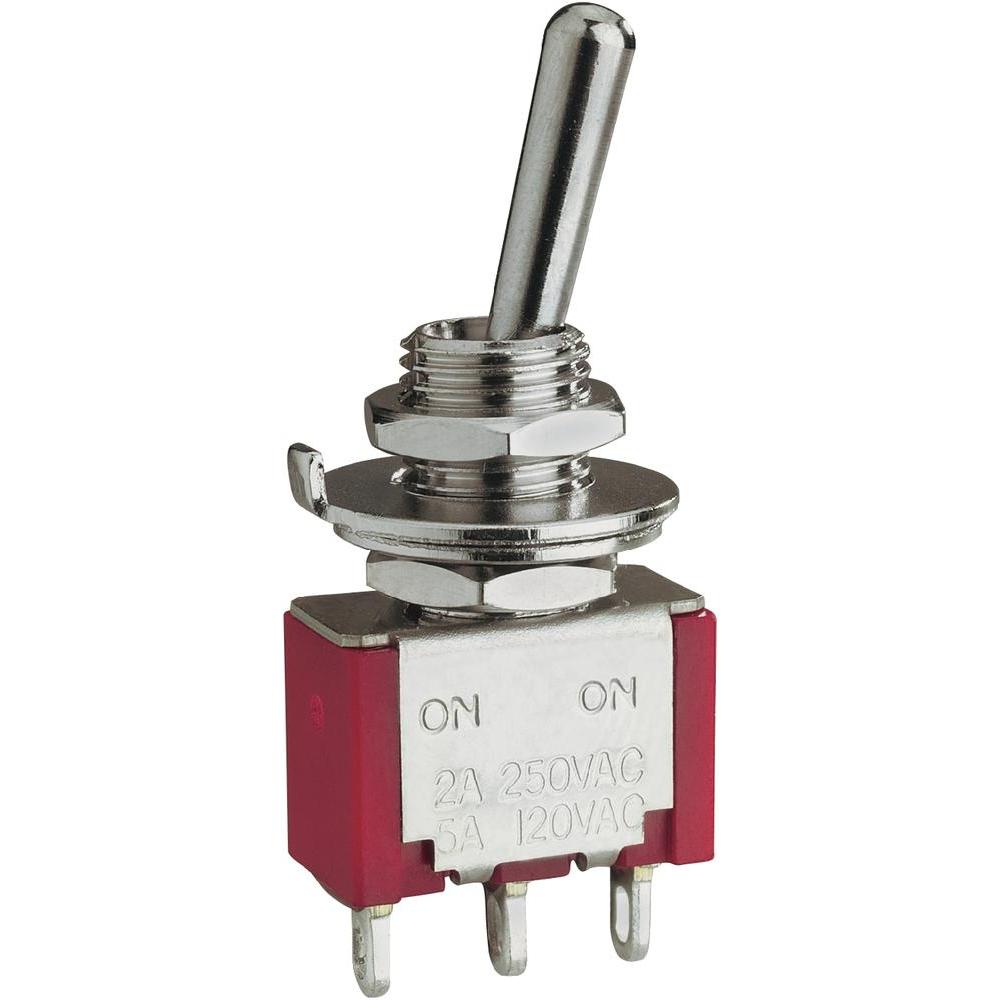
14. Toggle switch - eBay
Tools:
1. Angle Grinder
2. Dremmel (very important)
3. Various basic tools like screwdrivers, pliers etc
4. Hot glue
5. Super glue
6. Small files
7. Drill
8. Screw tap
Getting Started - the 8mm Brownie
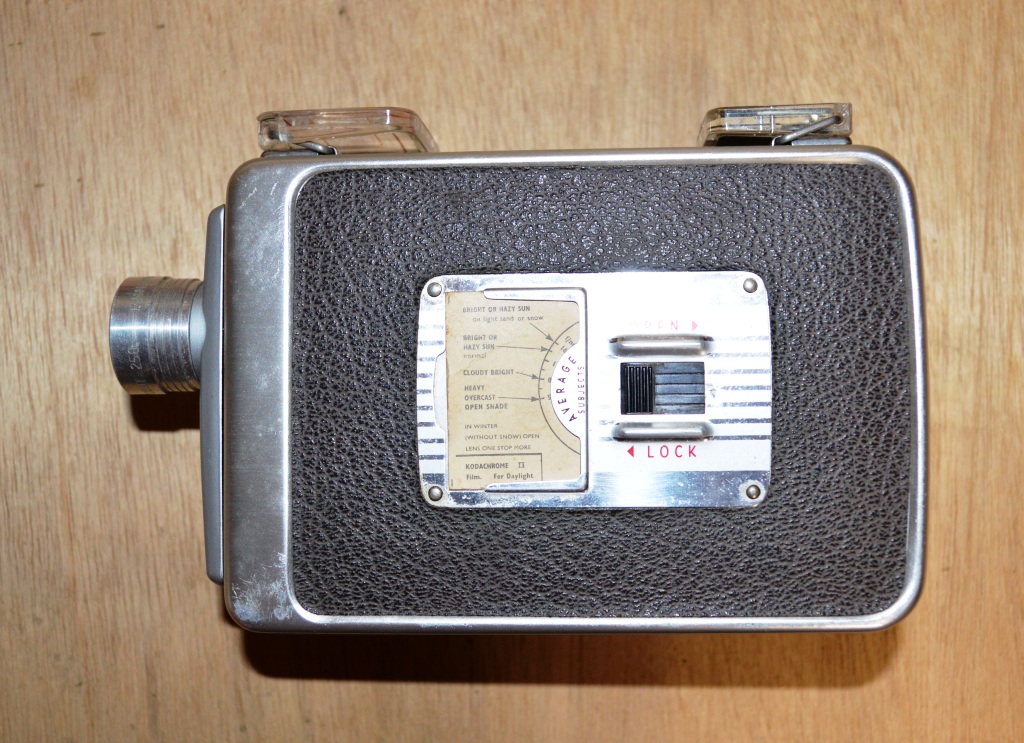
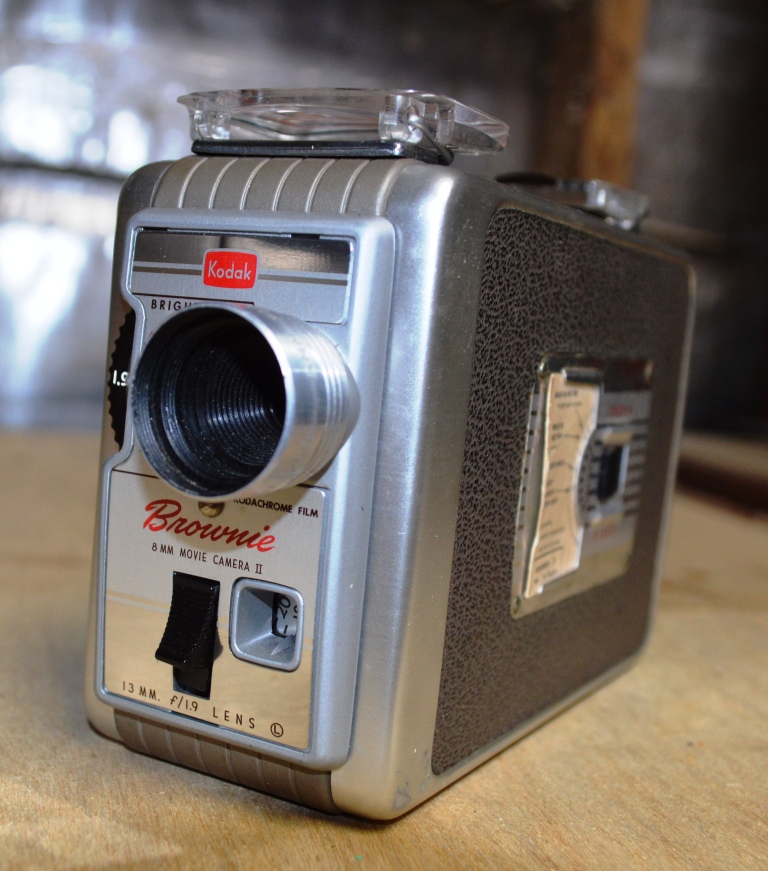
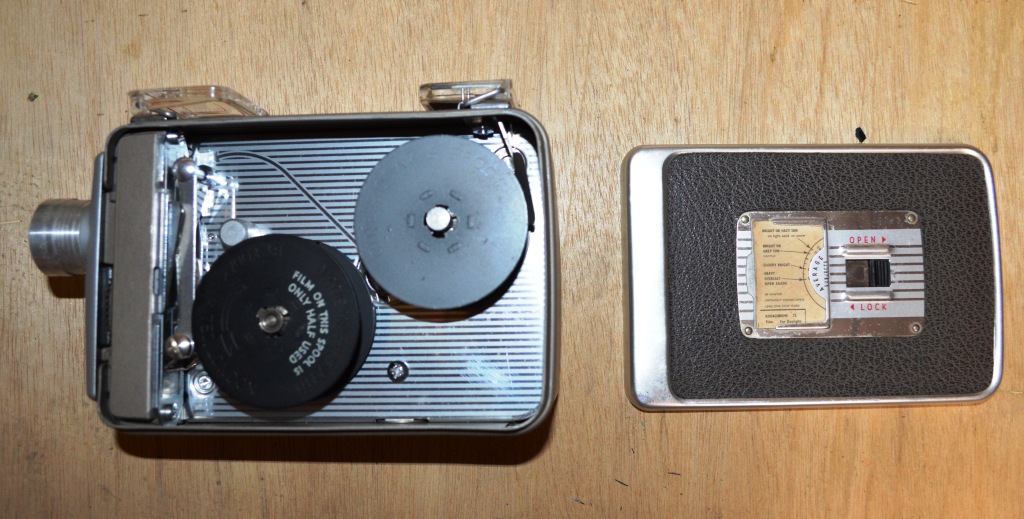
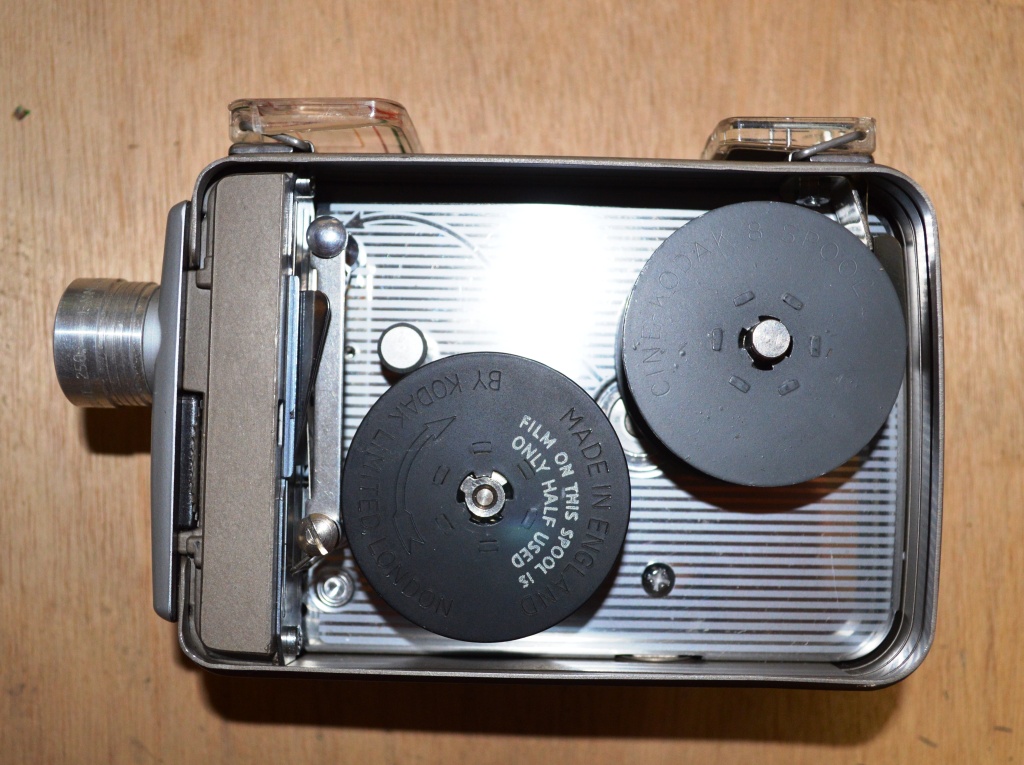
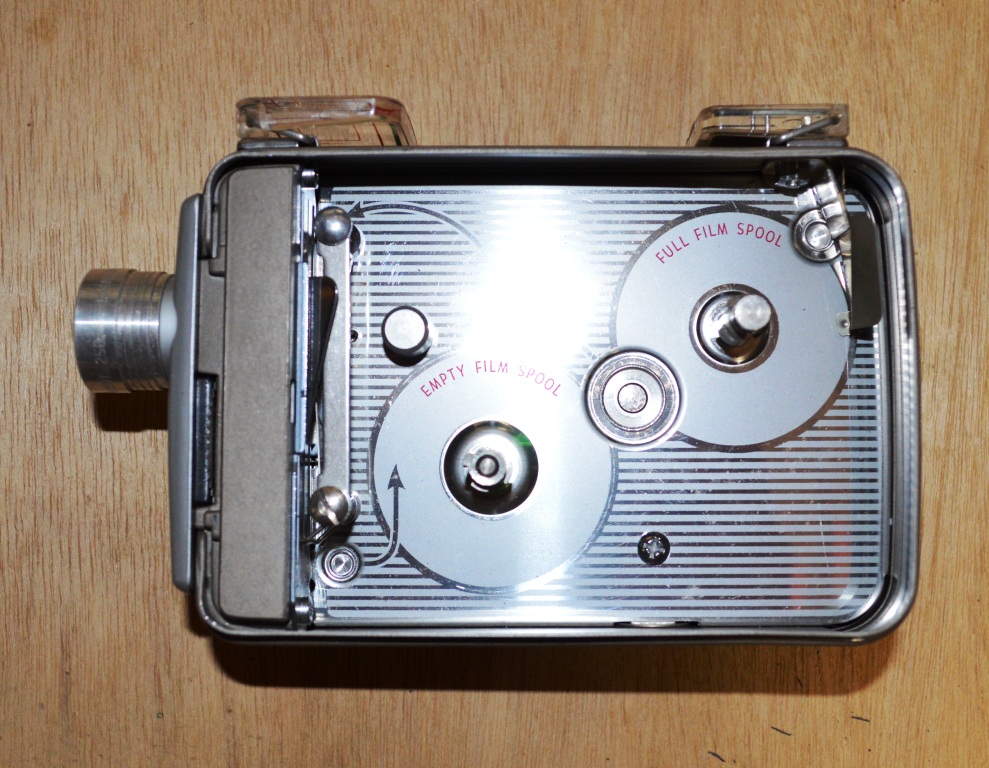
First things first. Get yourself a Brownie 8 Movie Camera. I bet if you visit a couple of flea markets or thrift shops , you'll locate one of these. If not, then eBay have a tonne of them for sale for cheap.
1. You will notice that on one side there is a small lever which opens the side of the camera. This is where the 8mm film would go onto the reels. Open this up and remove the reels if there are any.
2. The door which comes off is there you will be adding the MP3/5 player. Put this aside.
3. There are 2 screws on the other side. Un-screw these and any other screws that you can see on the camera including the one inside.
Removing the Spring and Front
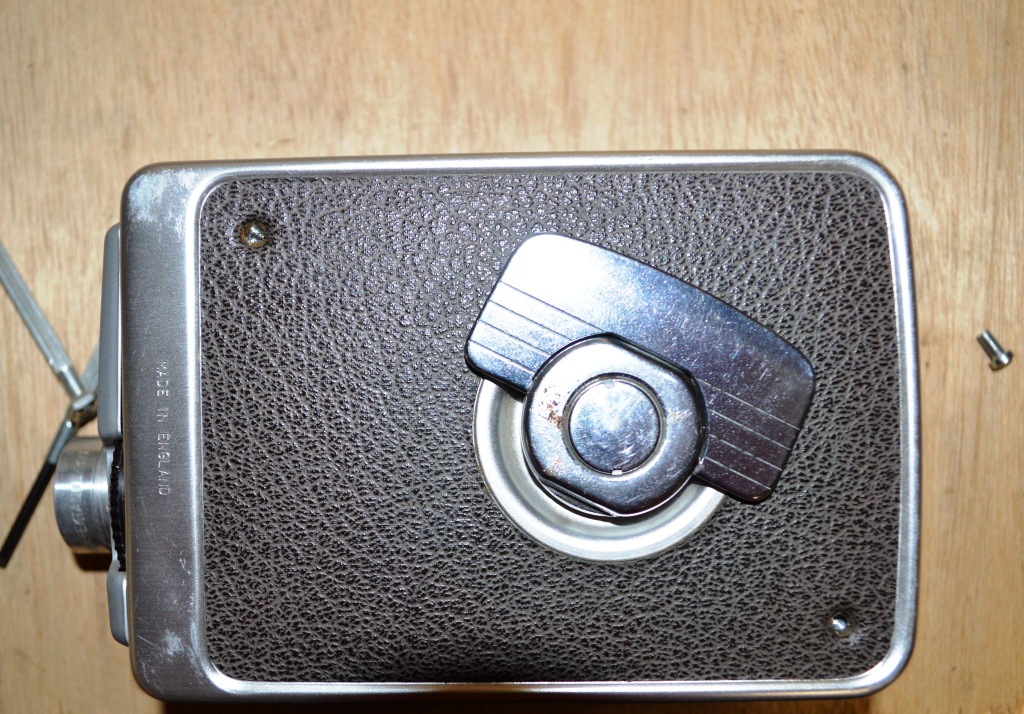
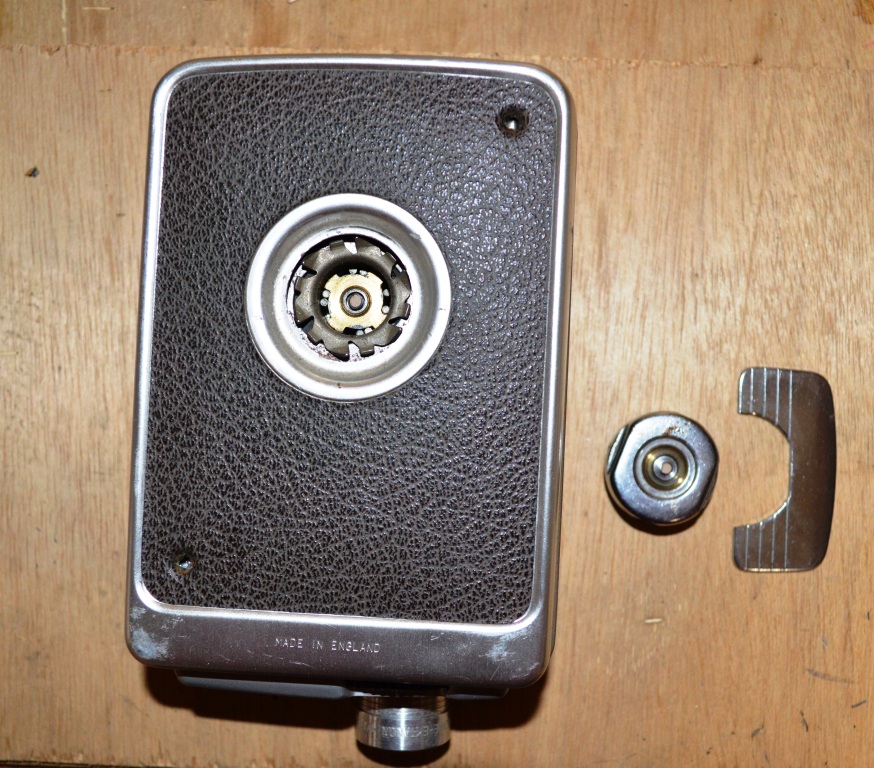
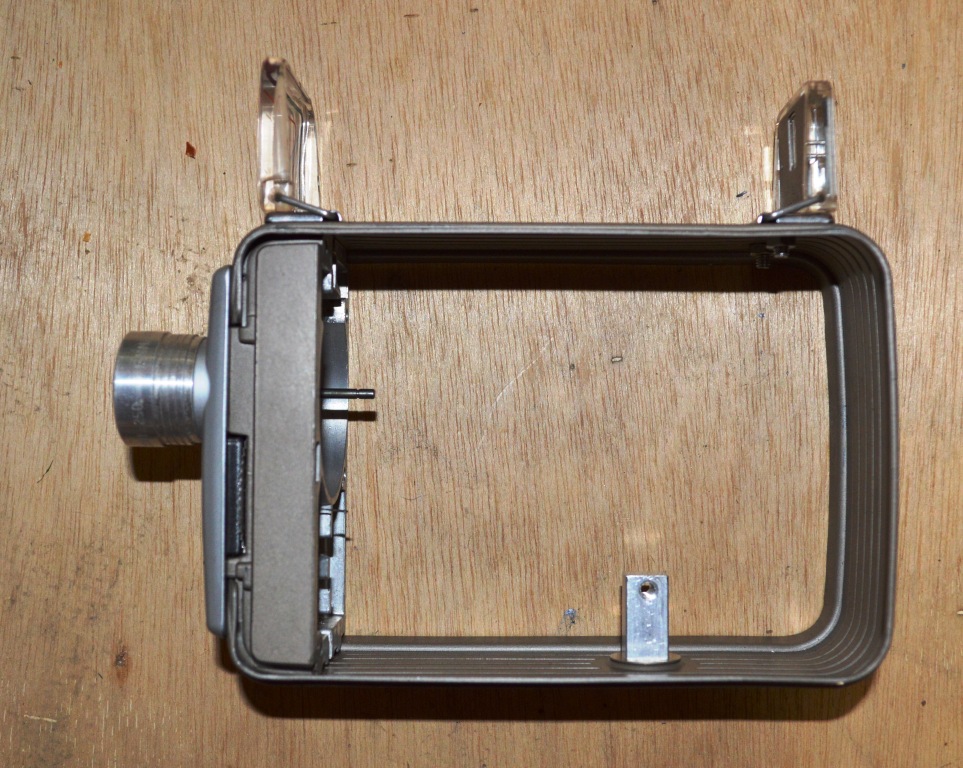
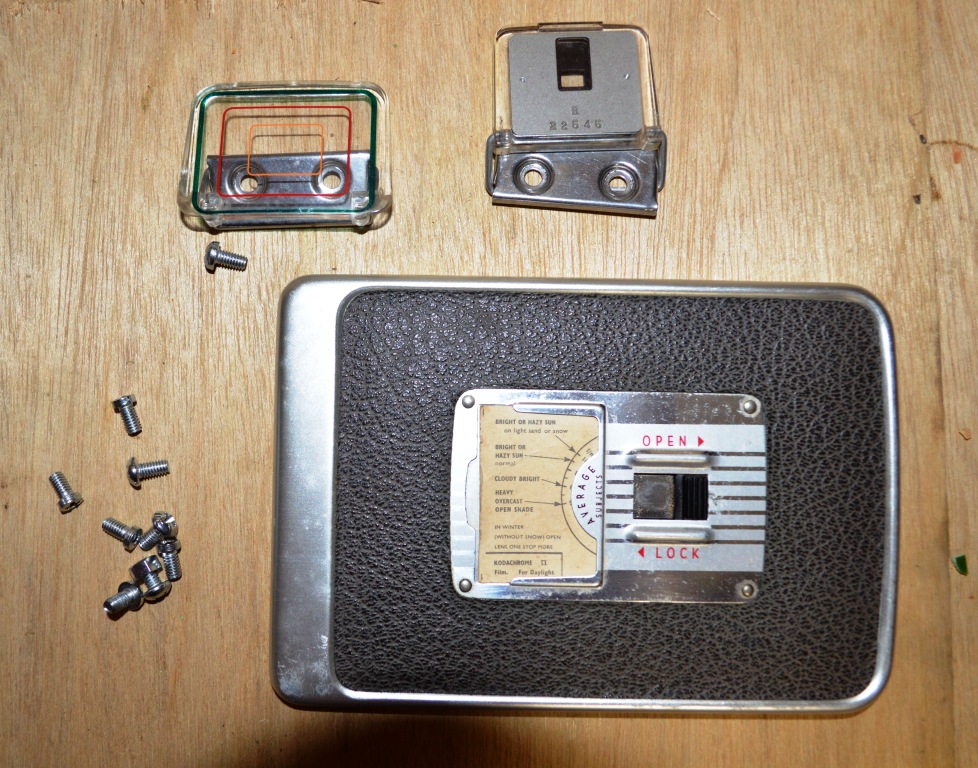
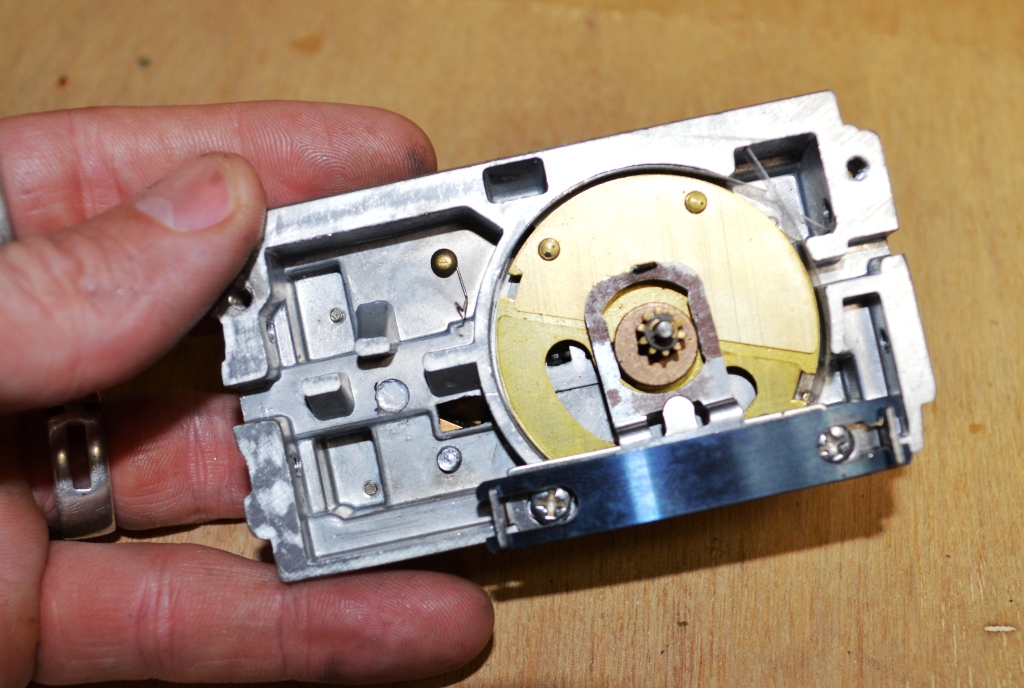
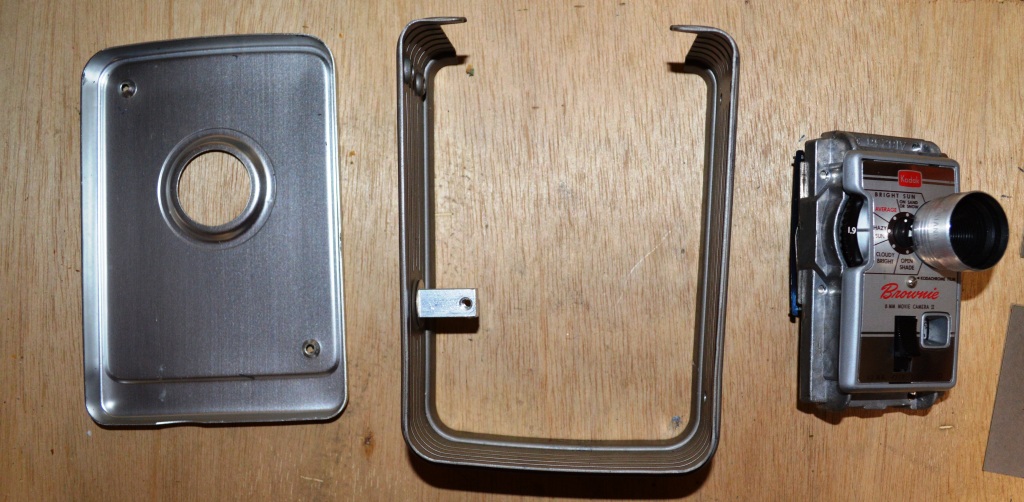
Now that you have all of the screws out will will notice that the other side wall is loose. The only way that I could figure out how to remove this was to cut off the key which is used to tighten the spring.
Steps:
1. Using a angle grinder, remove the key by cutting through both sides.
2. Use a screwdriver to lift up the small silver cover which the key was attached to.
3. Now you should be able to remove the other side as well as the spring mechanism.
4. The front where the lens is will also come away, remove this as you will need to do some re-work to it later.
Making the Hole for the MP3/5 Player - Step 1
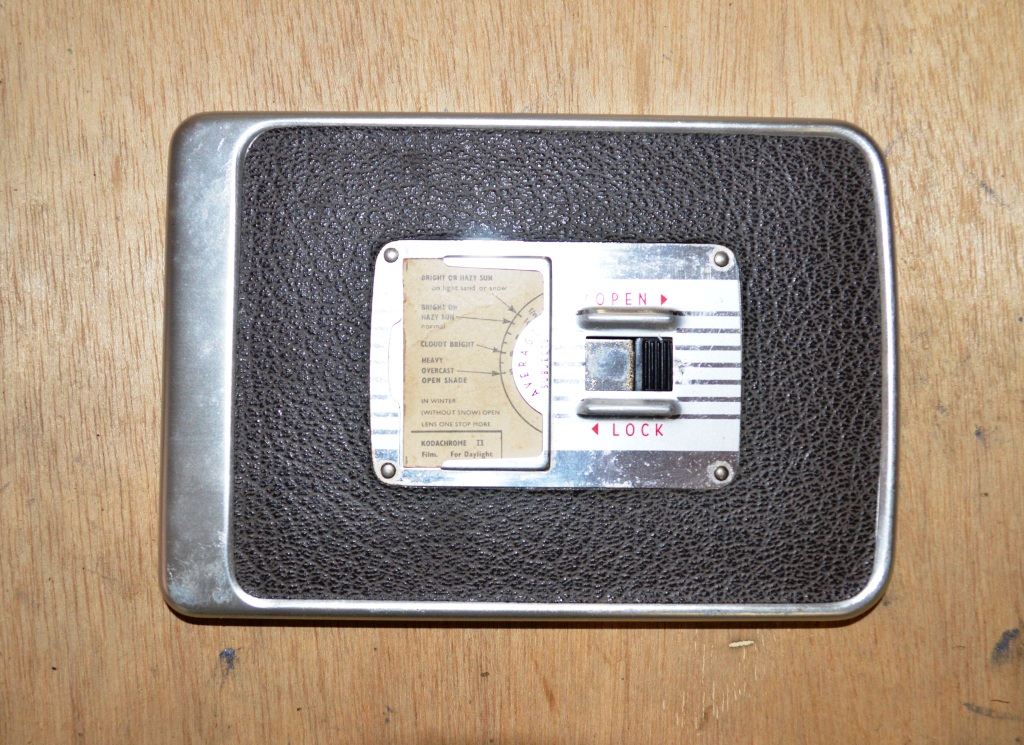
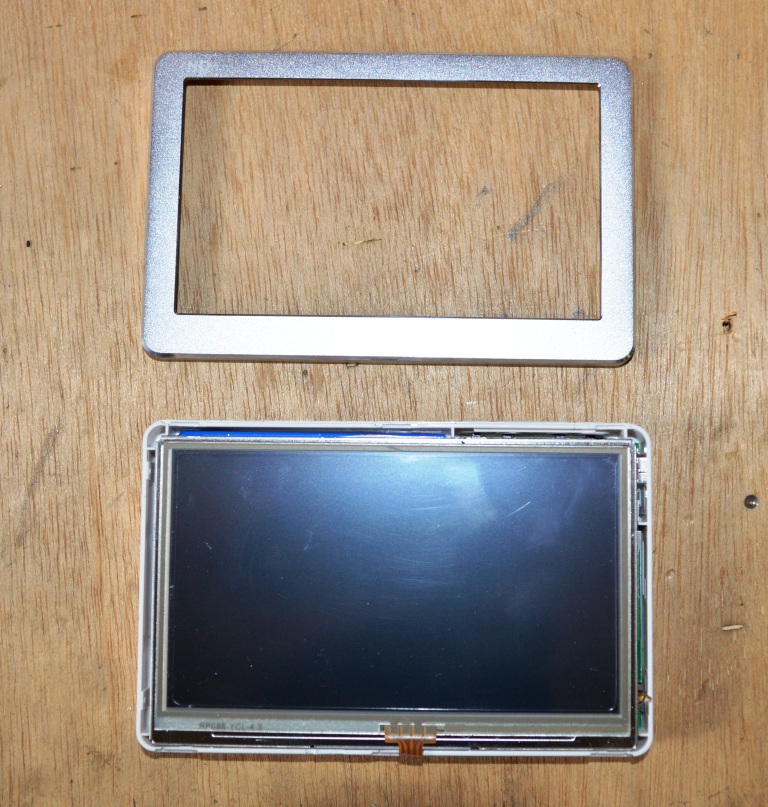
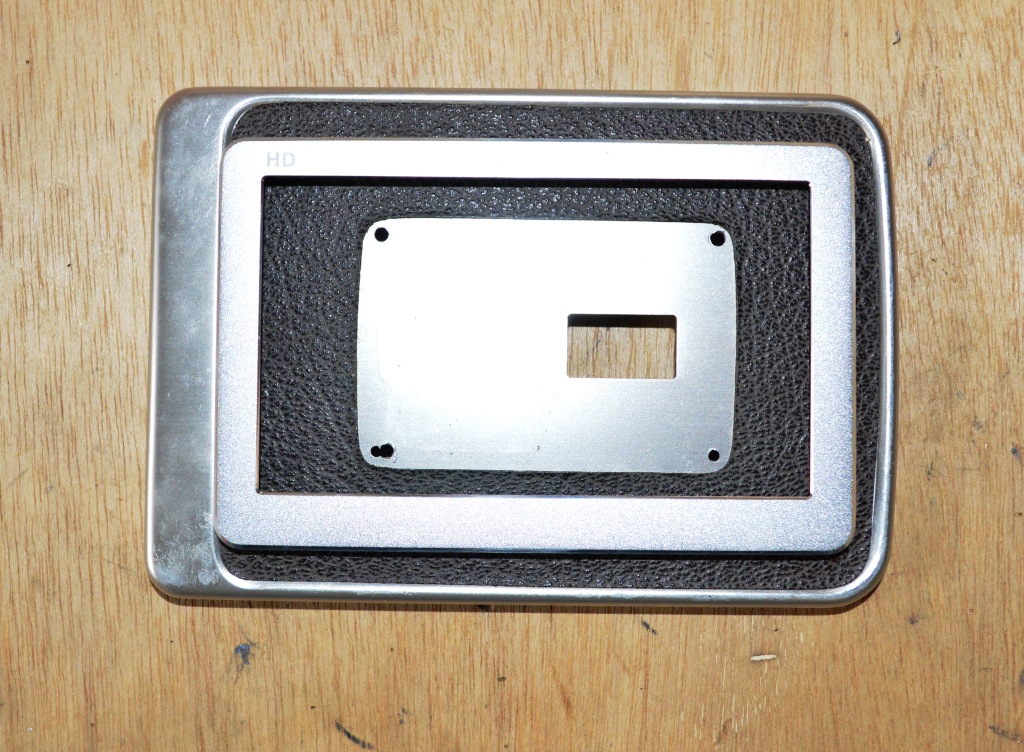
Steps:
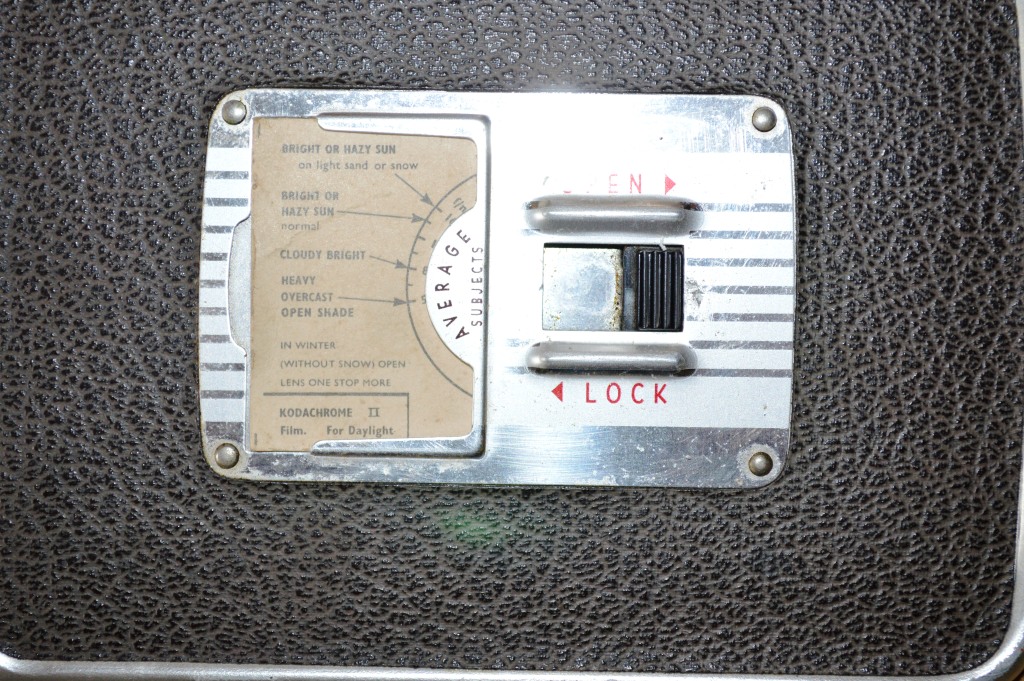
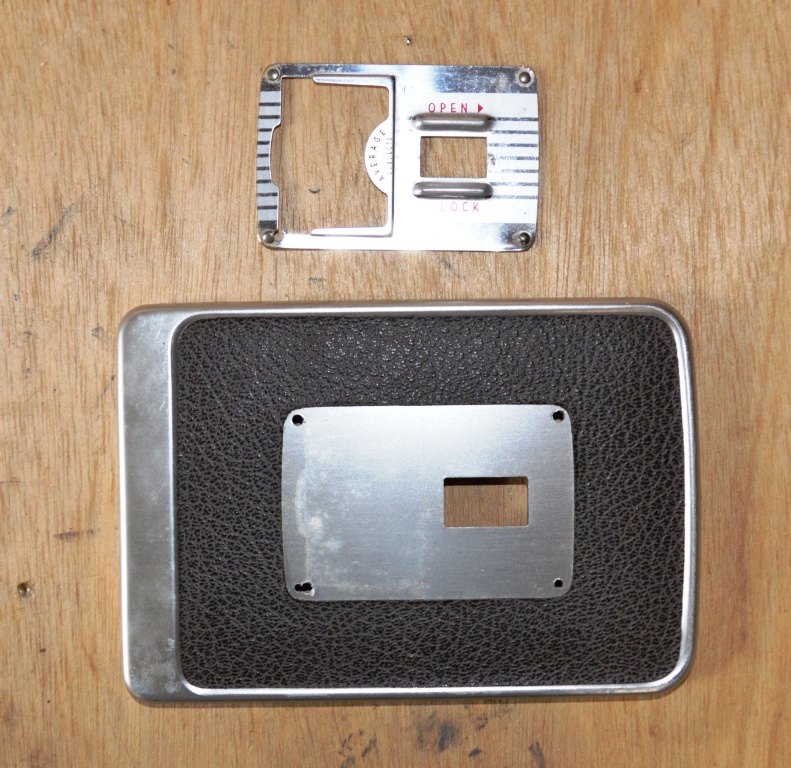
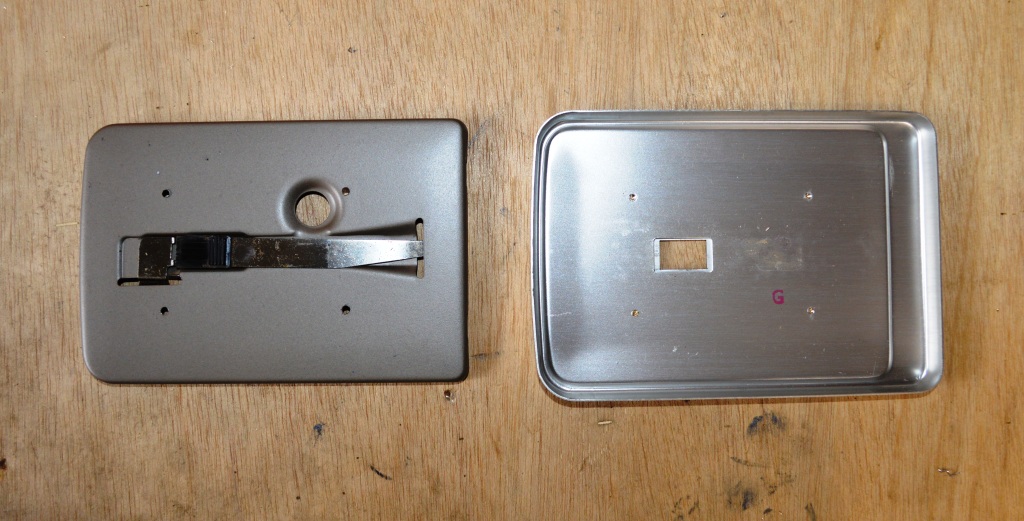
1. As mentioned before, the MP3 player will be located on the side door. First you need to remove the backing plate from the side panel. Do this by drilling out the 4 rivets on the front.
2. Remove the backing plate and discard it along with the front plate.
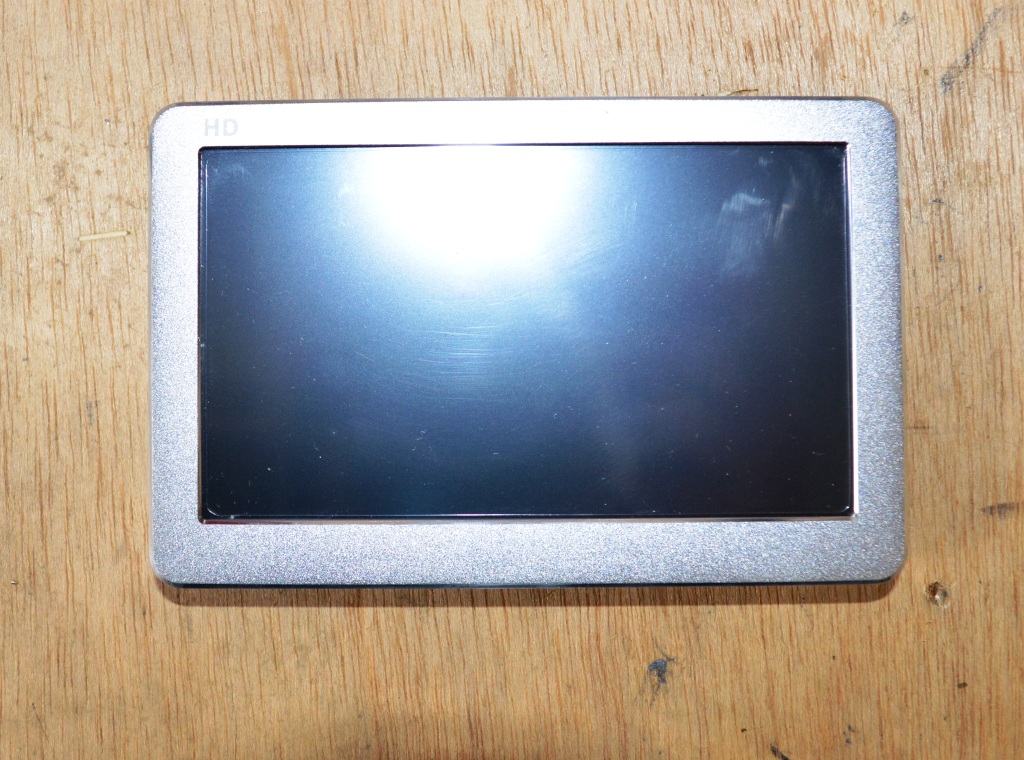
3. The MP3 player has 2 screws on the side, unscrew these and remove the cover.
4. Use the MP3 cover as a template and use an exacto knife to score around the edges and sides. Be really careful and take your time, you only want to cut through what you are going to remove.
Making the Hole for the MP3/5 Player - Step 2
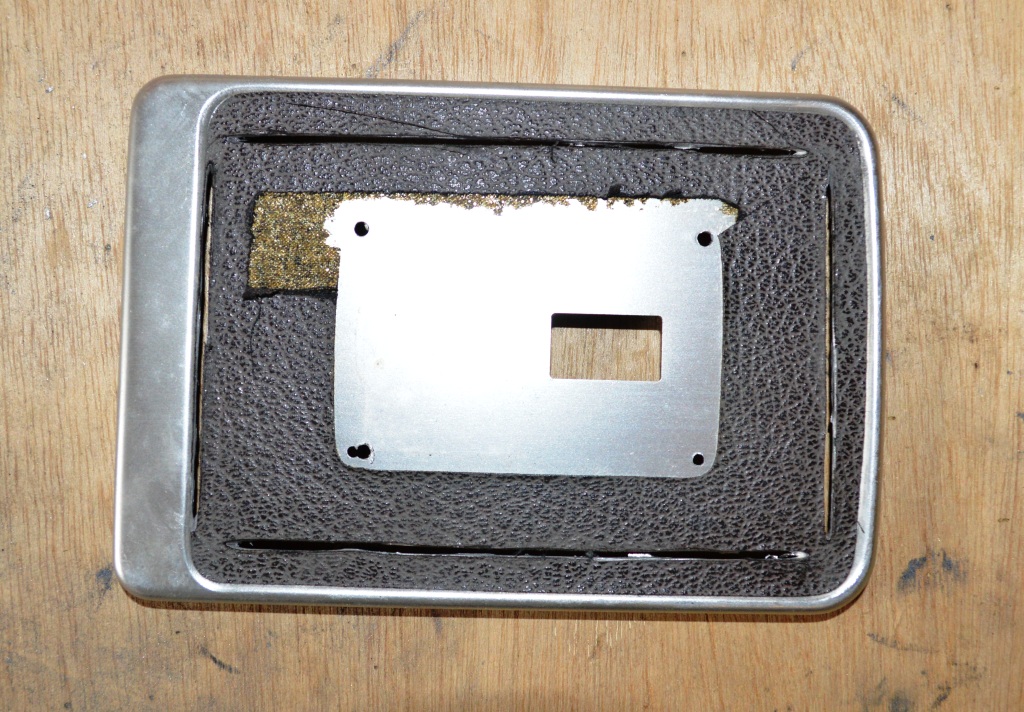
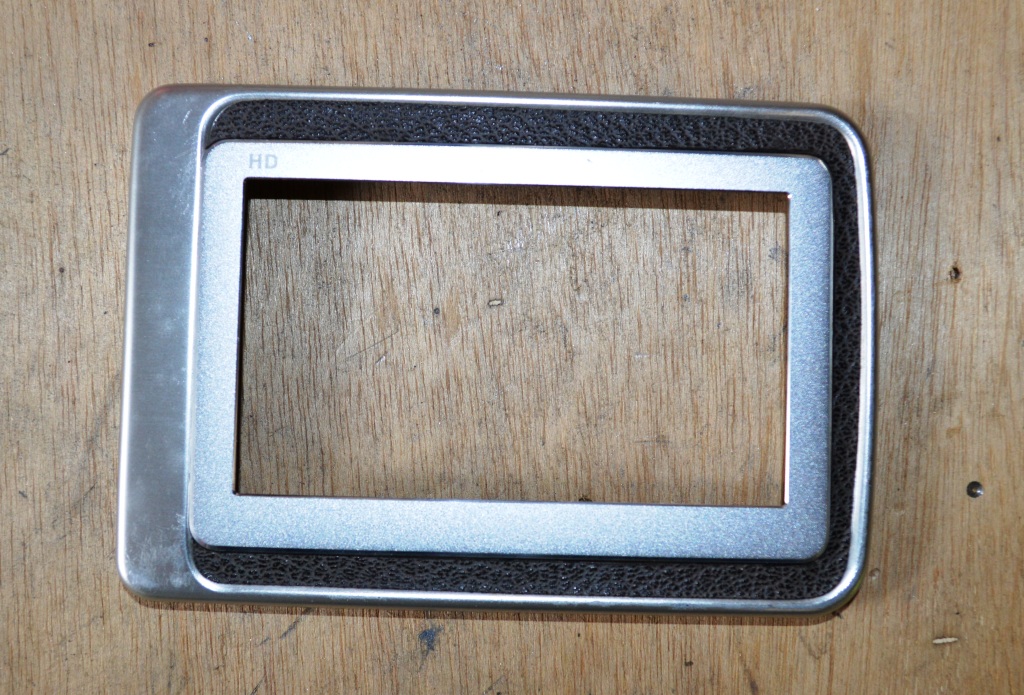
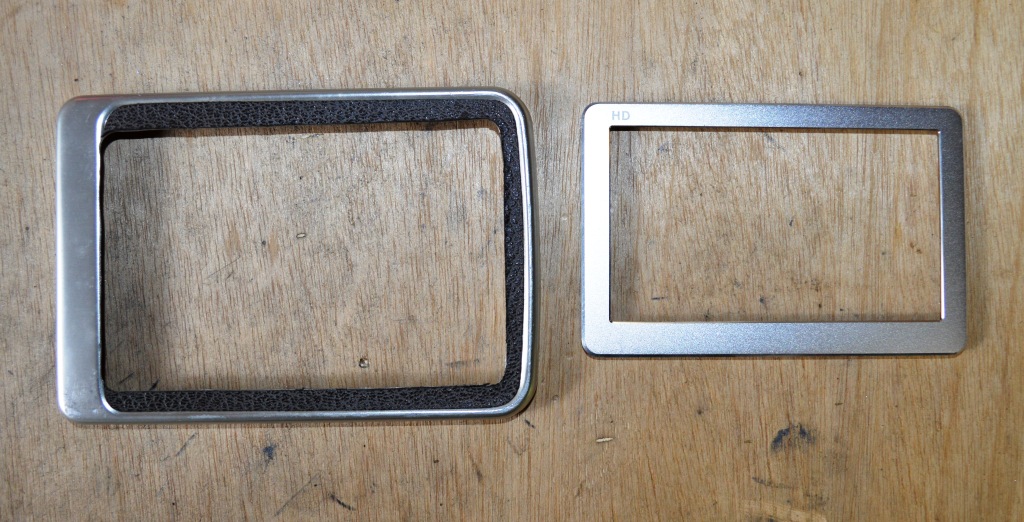
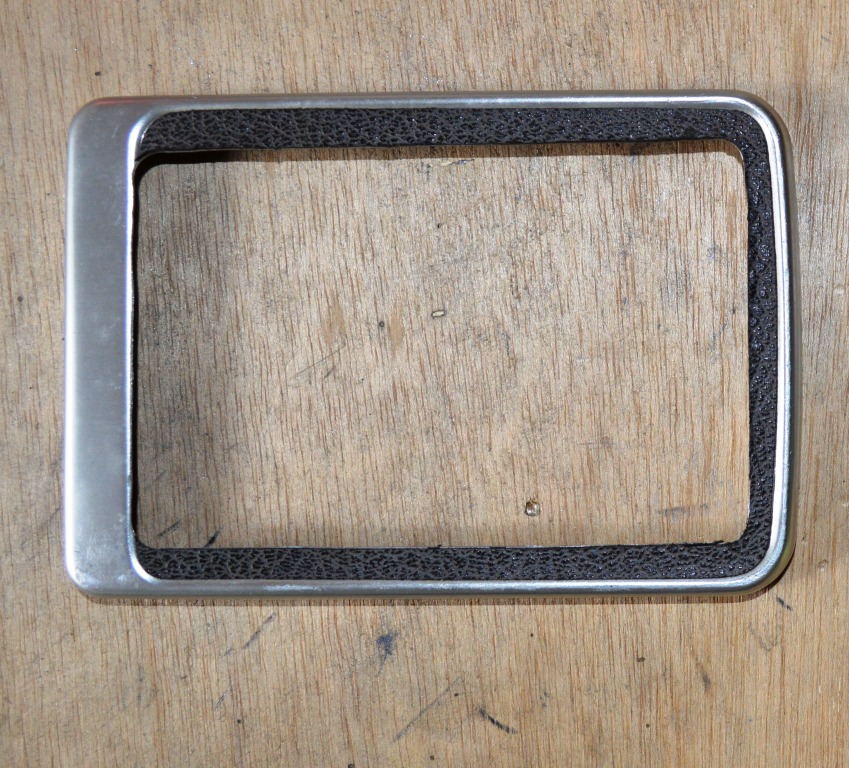
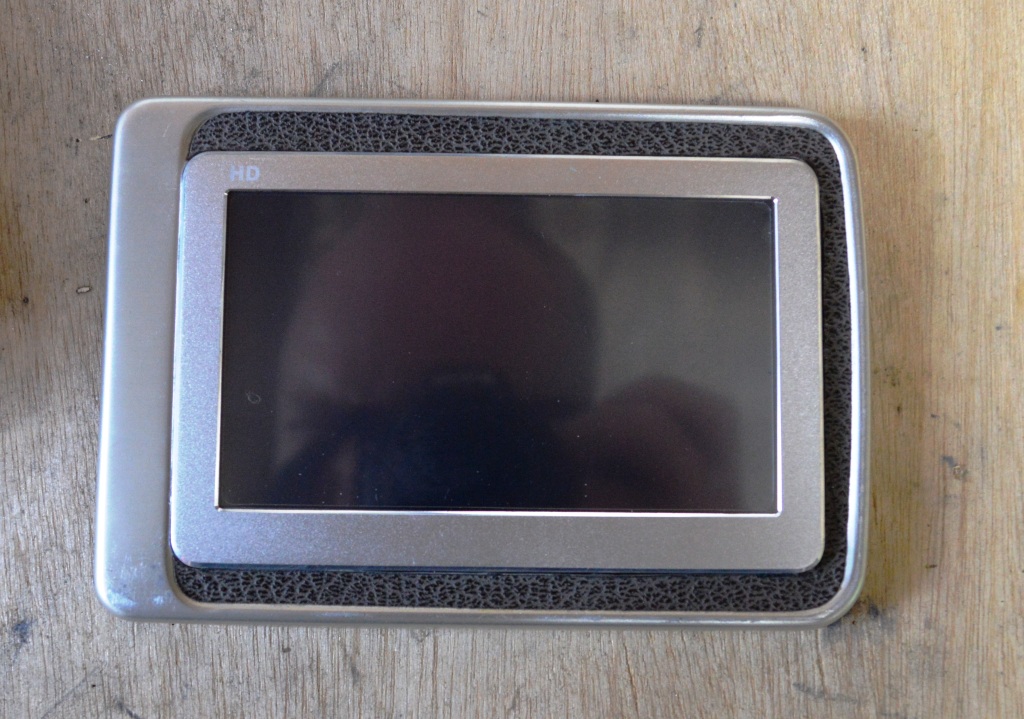
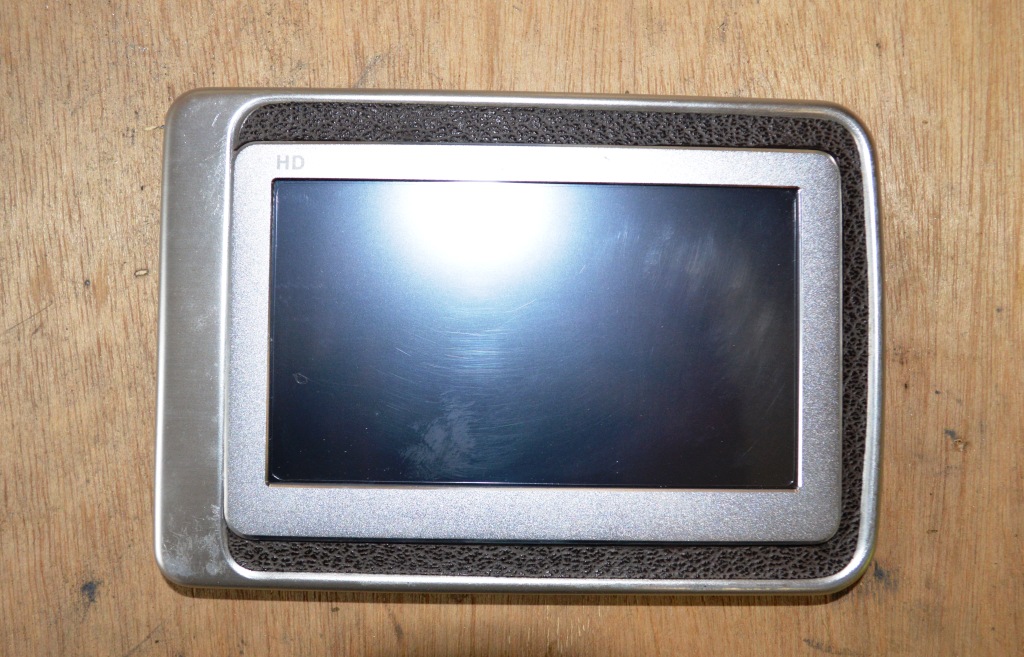
Steps:
1. Use a Dremmel and cut the straight sections leaving the rounded corners. I used a rotating cutter tool on the Dremmel to make the cuts.
2. Change the bit to a diamond one and cut through the plate on the corners. Remember that the corners need to be rounded so you just have to cut diagonally to each cut tso the middle drops out.
3. Change the bit again to a rounded sanding one (small) and round out the edges. Take your time with this - it isn't hard, just takes some patience.
4. Keep trying the MP4 frame inside the hole and make adjustments where necessary until the MP4 frame fits nice and tightly.
5. Screw back on the frame to the MP4 Player and make sure it still fits ok in the hole you just made in the side panel.
Making the Hole for the MP3/5 Player - Step 3.
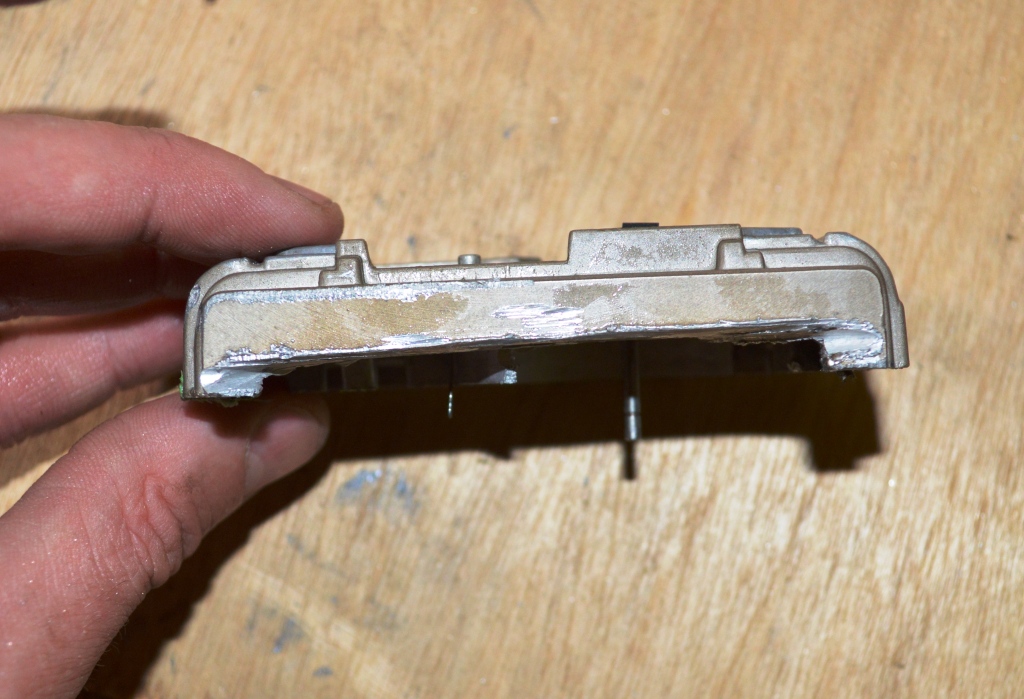
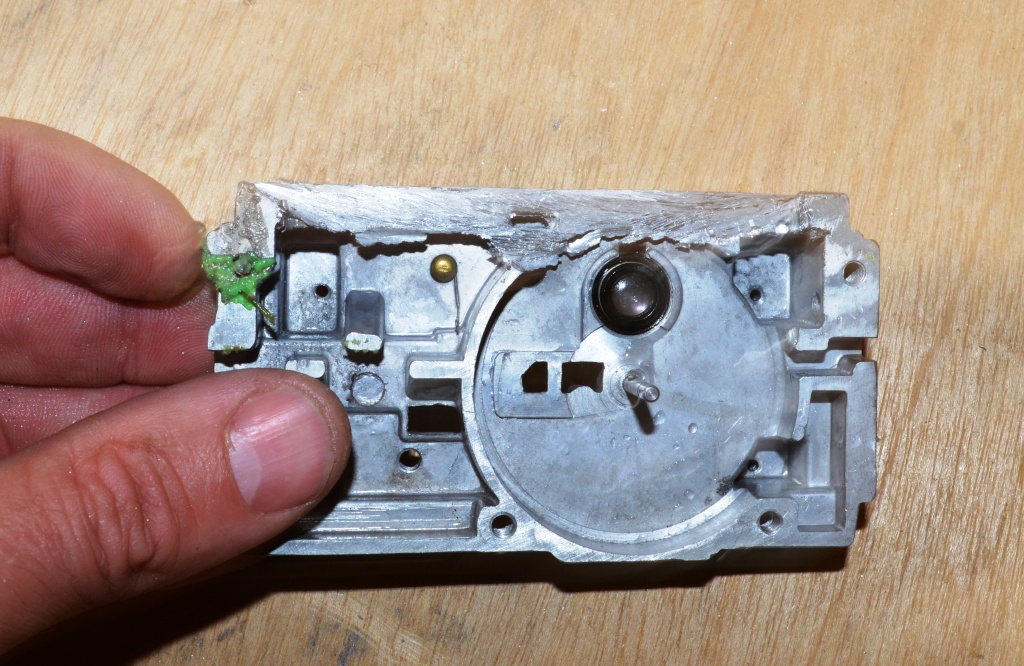
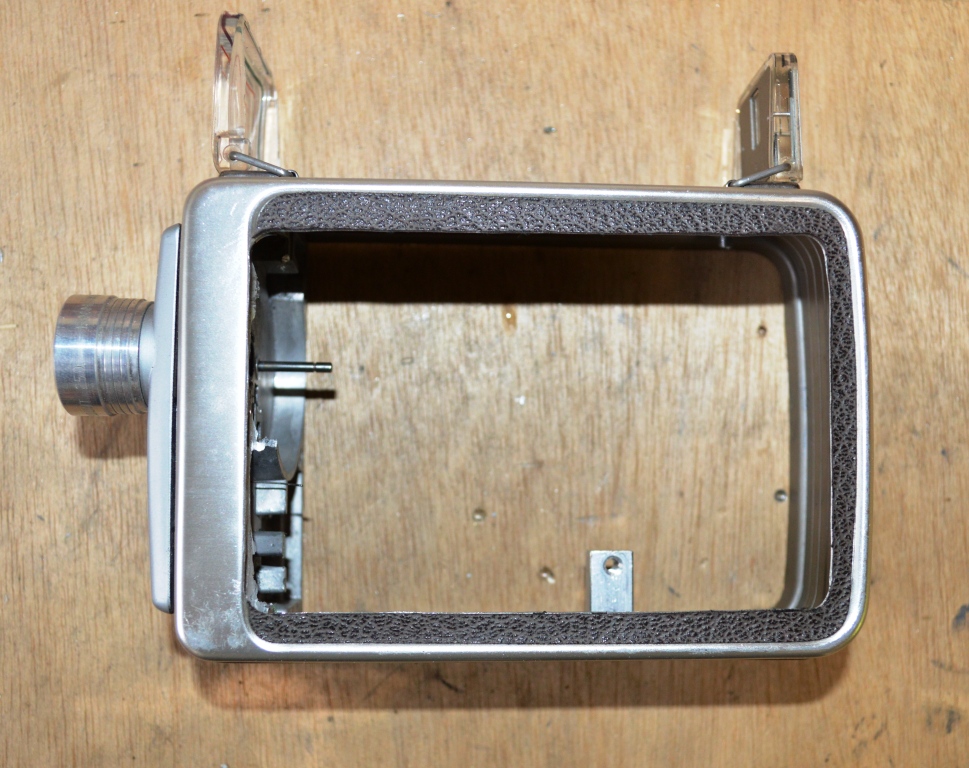
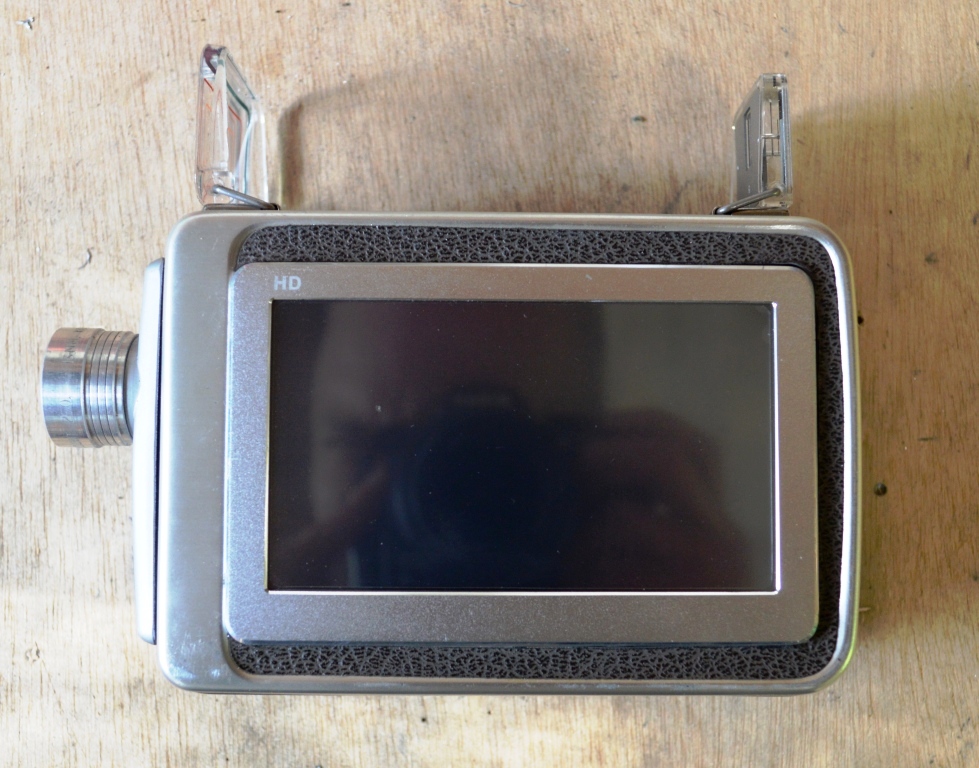
Once I had made the hole and tried to attach the cover back onto the camera I discovered that the front, aluminium cast was in the way!
Steps:
1. On the front section of the camera, remove the screw at the front. Behind the front plate there are 2 more screws, undo these as well and take everything apart. There aren't too many pieces so if you forget how some bits go don't stress just glue things back into place.
2. Remove a small section of the front of the camera with an angle grinder. This will take some time as aluminium is a hard to cut.
3. Re-screw everything back together.
4. Test with the MP4 screen again to ensure it fits.
Adding the USB Connections - Part 1
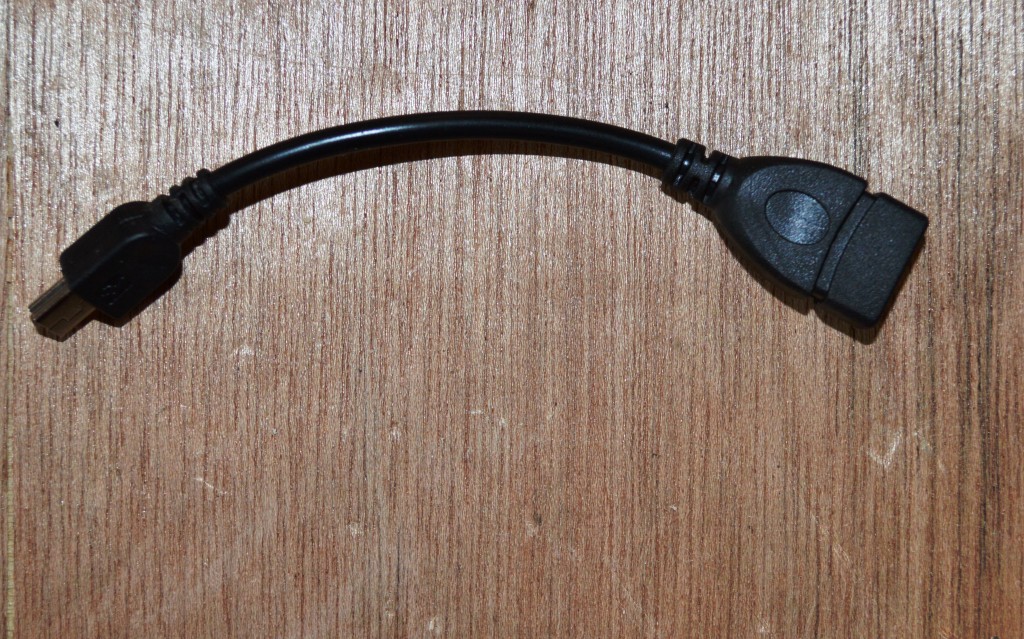
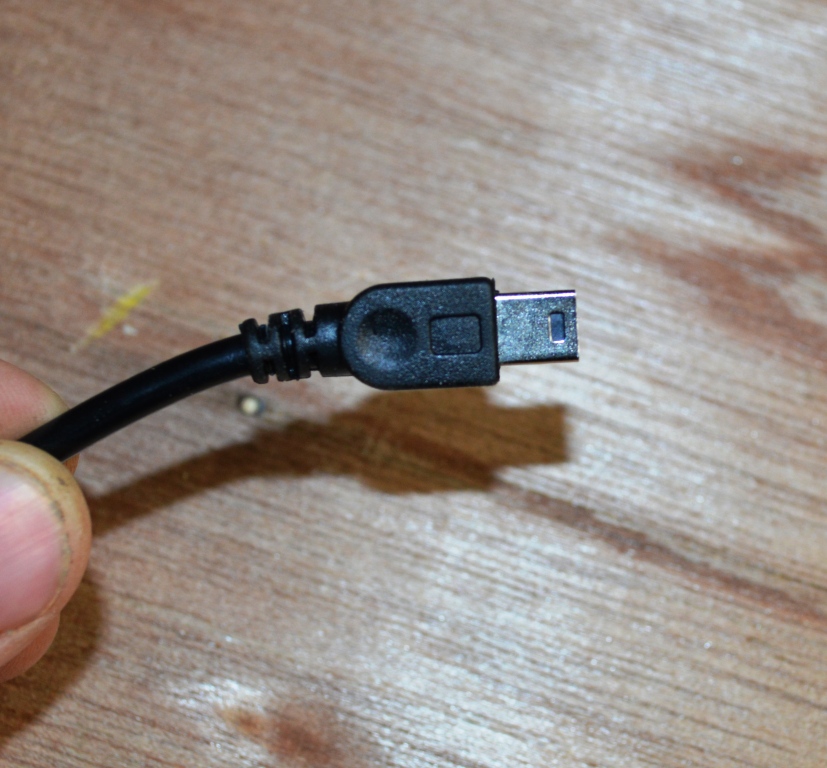
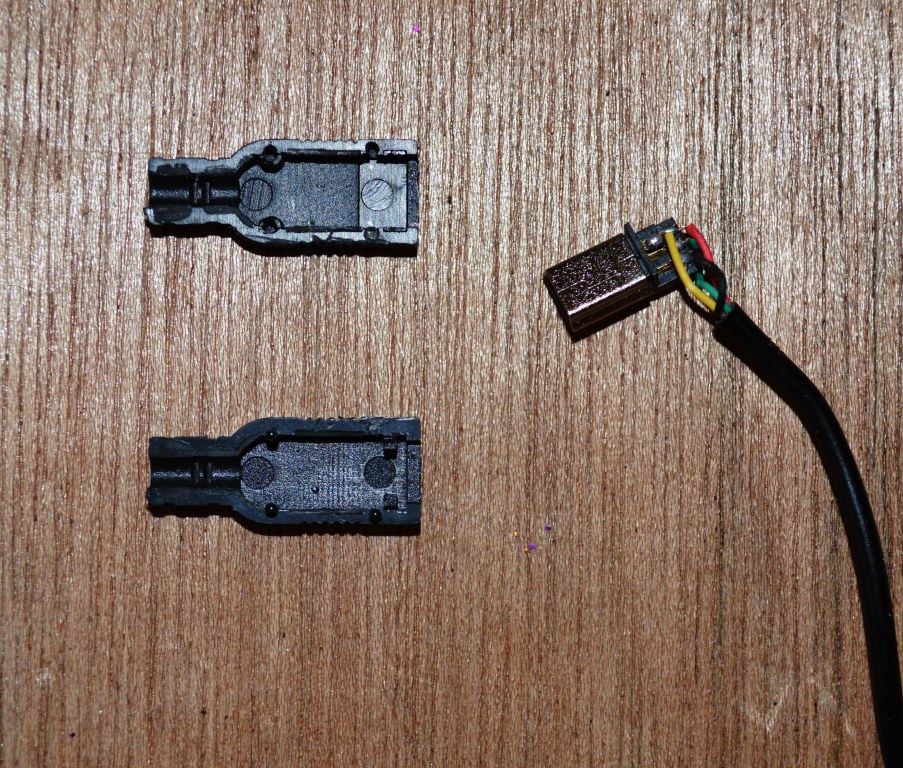
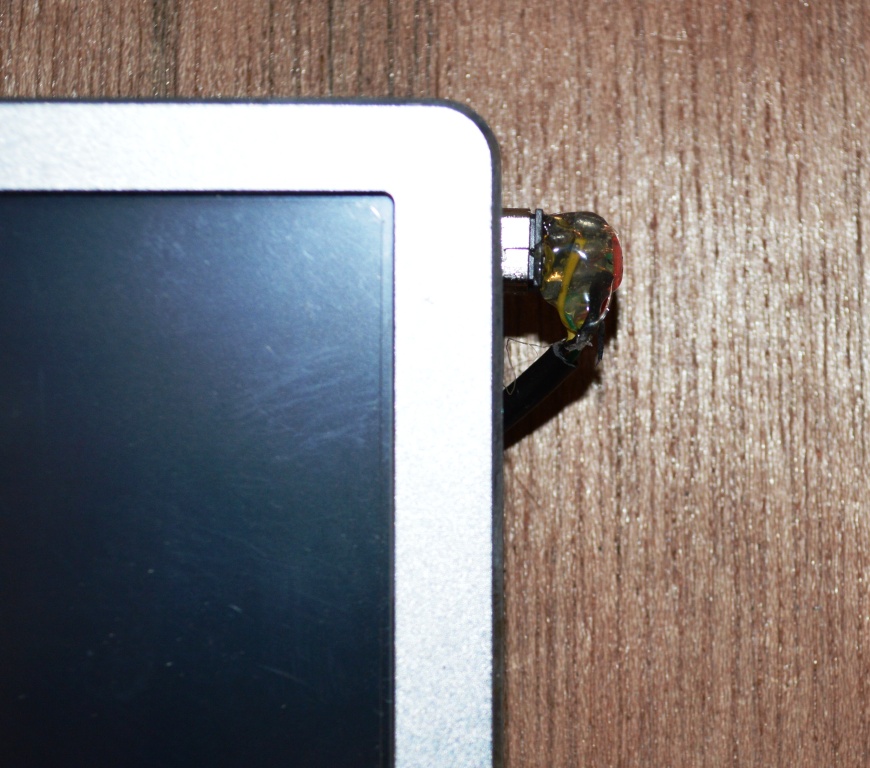
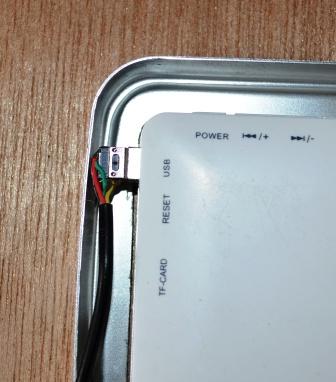
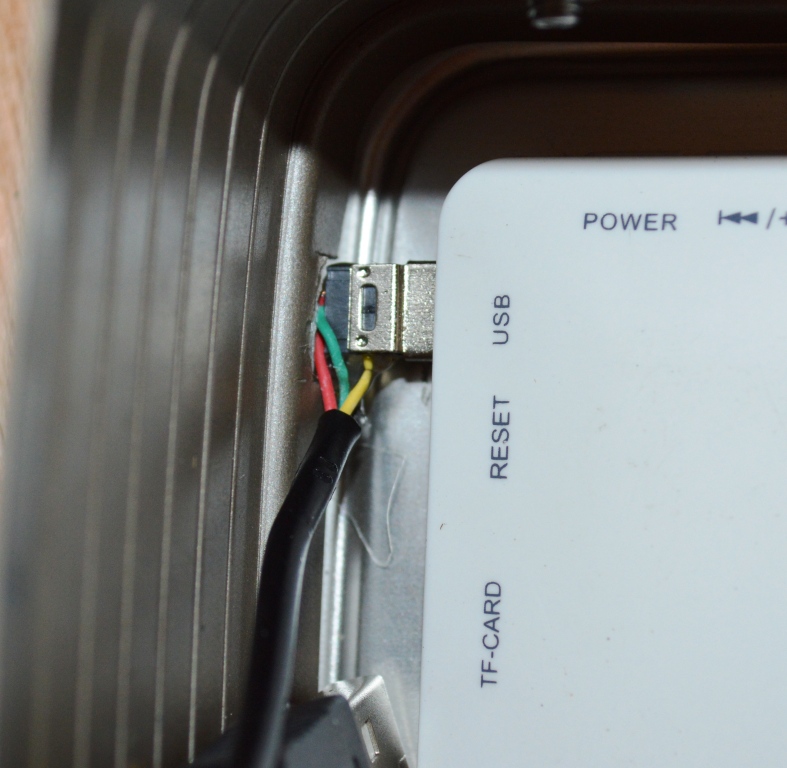
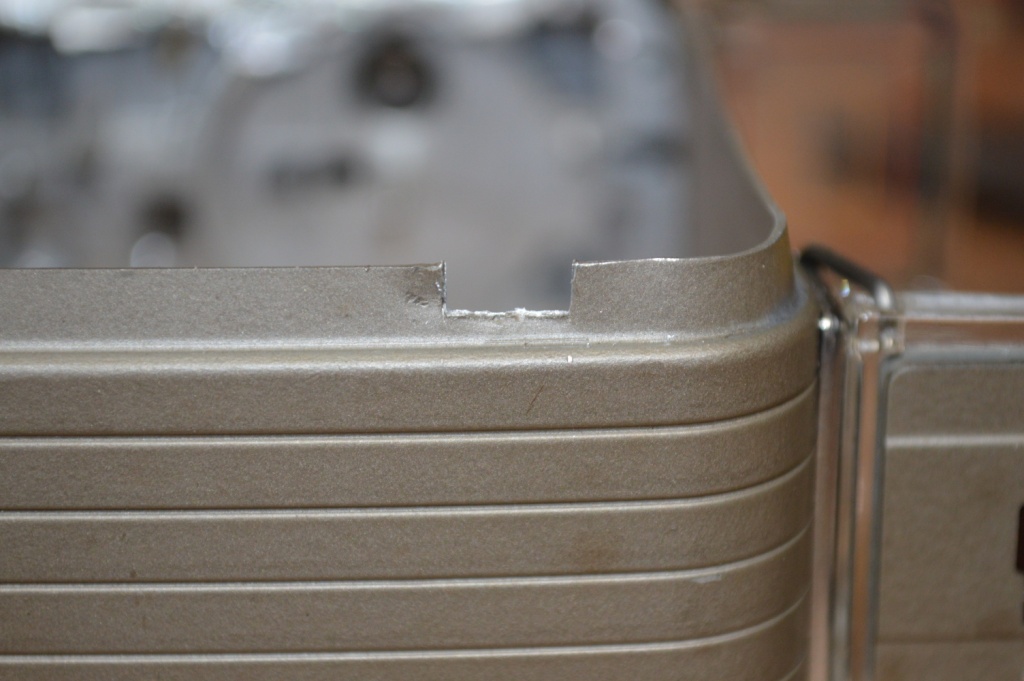
Firstly you need to modify the USB cable that came with the MP5 player.
Steps:
1. Undo the case on the male USB end
2. Add some hot glue to the wires so they don't come loose.
3. Make a small cut in the main frame so the USB fits into the casing correctly.
Steps:
1. Undo the case on the male USB end
2. Add some hot glue to the wires so they don't come loose.
3. Make a small cut in the main frame so the USB fits into the casing correctly.
Adding the USB Connections - Part 2
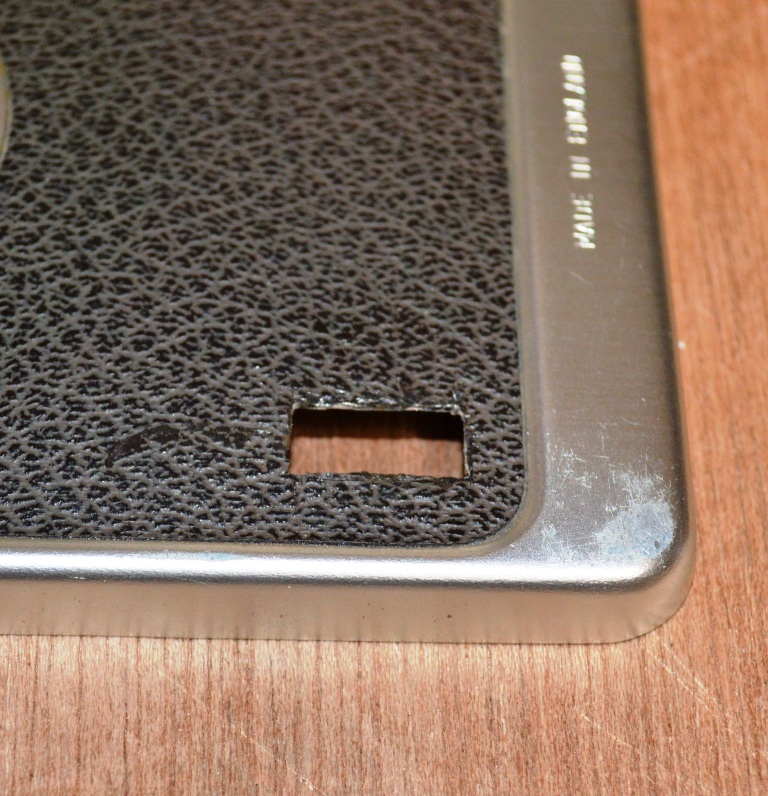
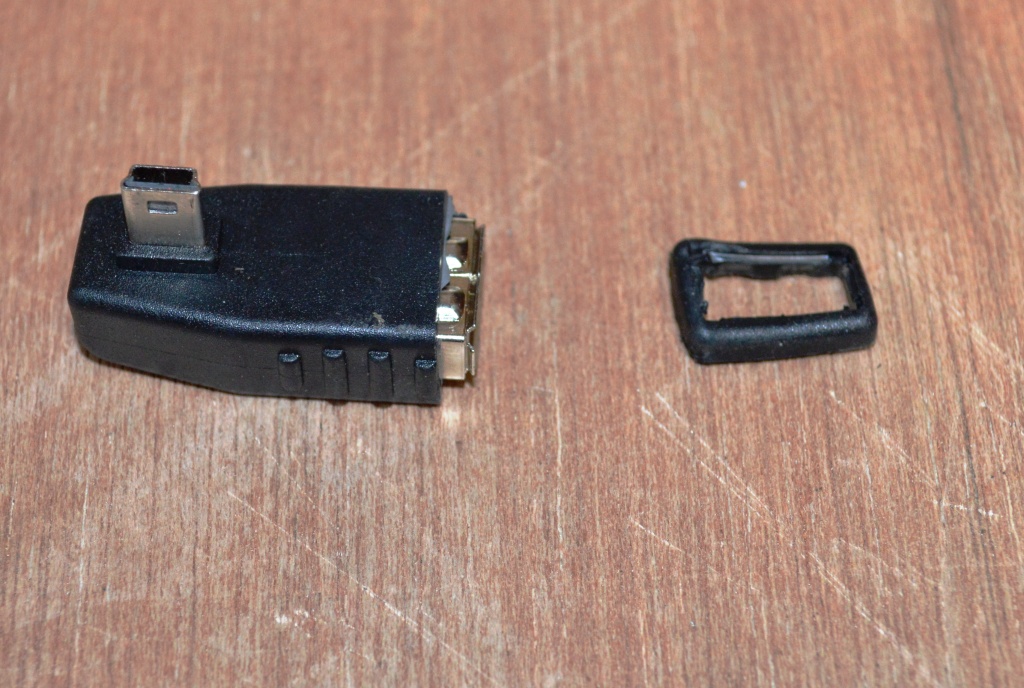
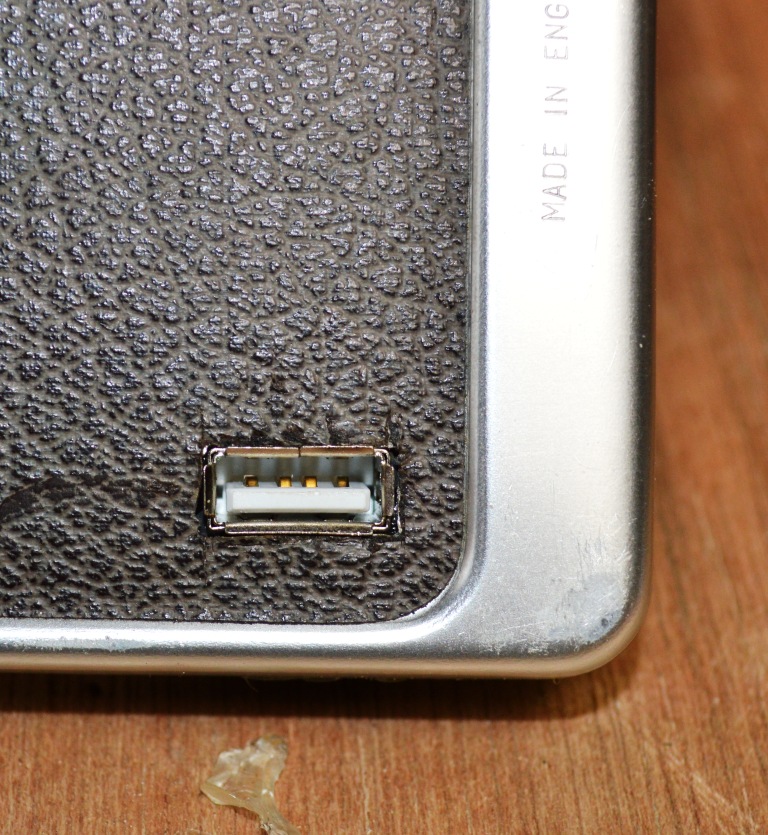
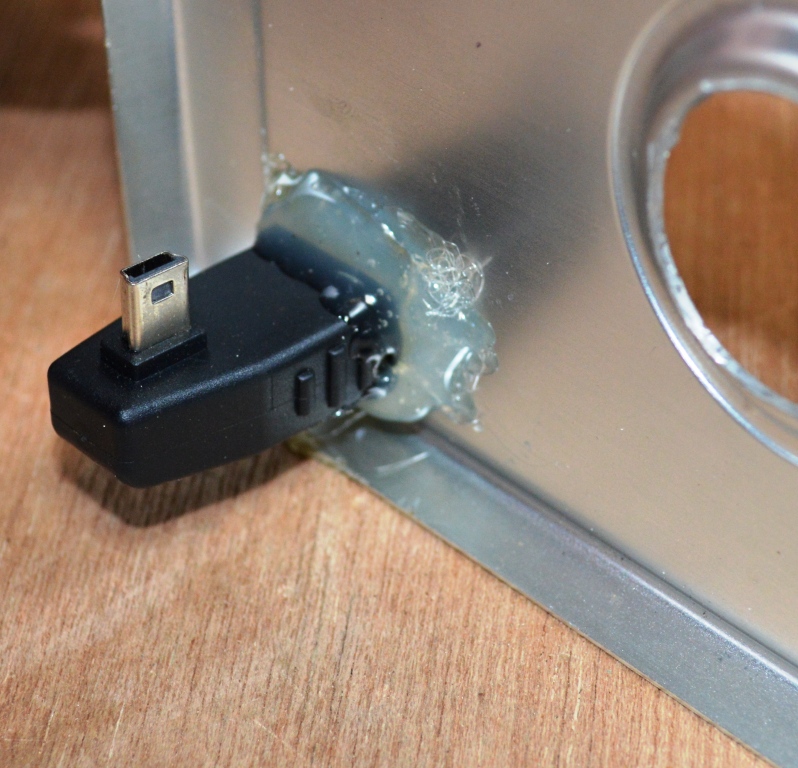
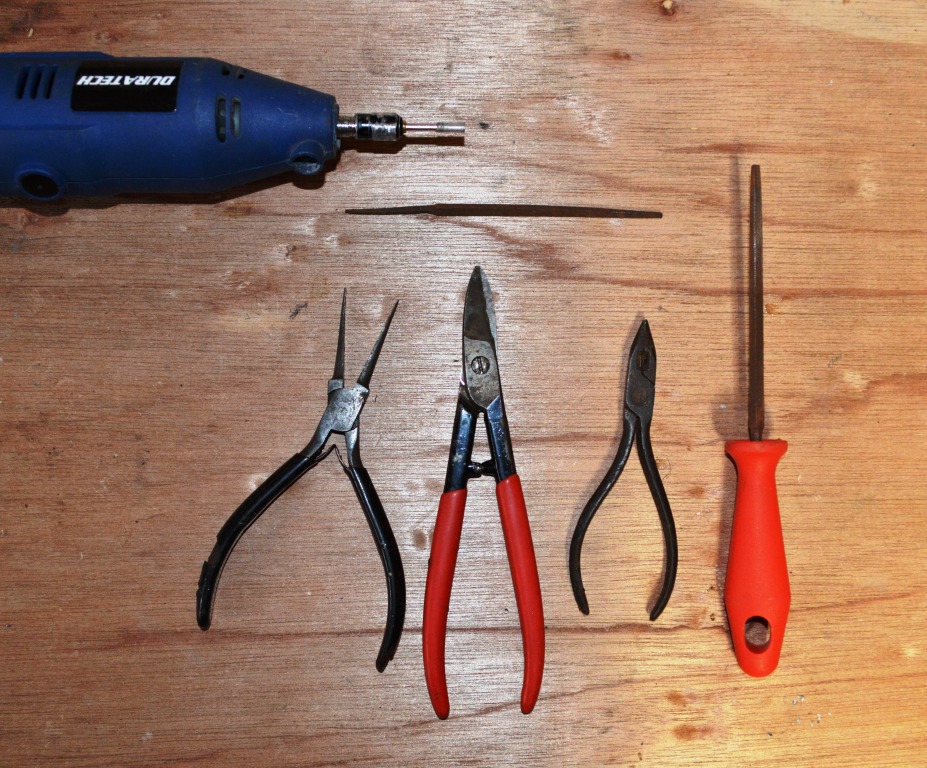
Next you will need to make a hole in the casing to enable to connect the MP5 to a USB
Steps:
1. Decide where you want the female USB to come out of the case.
2. Use a dremmel to make the hole.
3. Next I went with some wire cutters and carefully cut away the excesss metal.
4. To square it all off, use some small files
5. Hot glue into place
Steps:
1. Decide where you want the female USB to come out of the case.
2. Use a dremmel to make the hole.
3. Next I went with some wire cutters and carefully cut away the excesss metal.
4. To square it all off, use some small files
5. Hot glue into place
Adding Switches and Attaching the MP3/5 Player
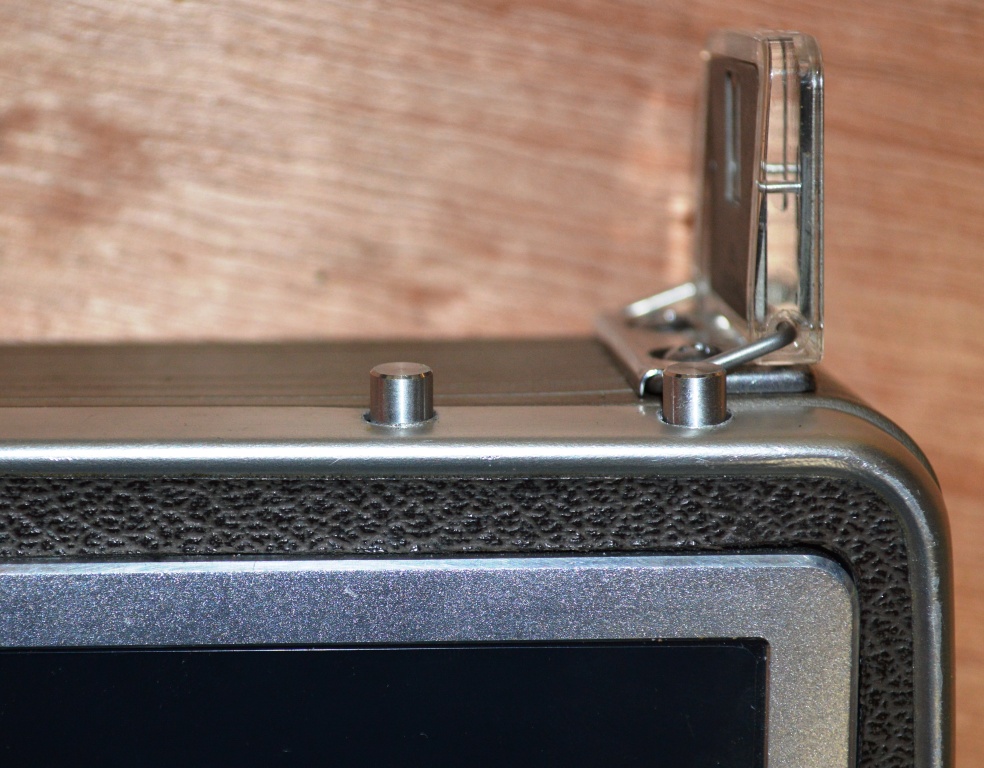
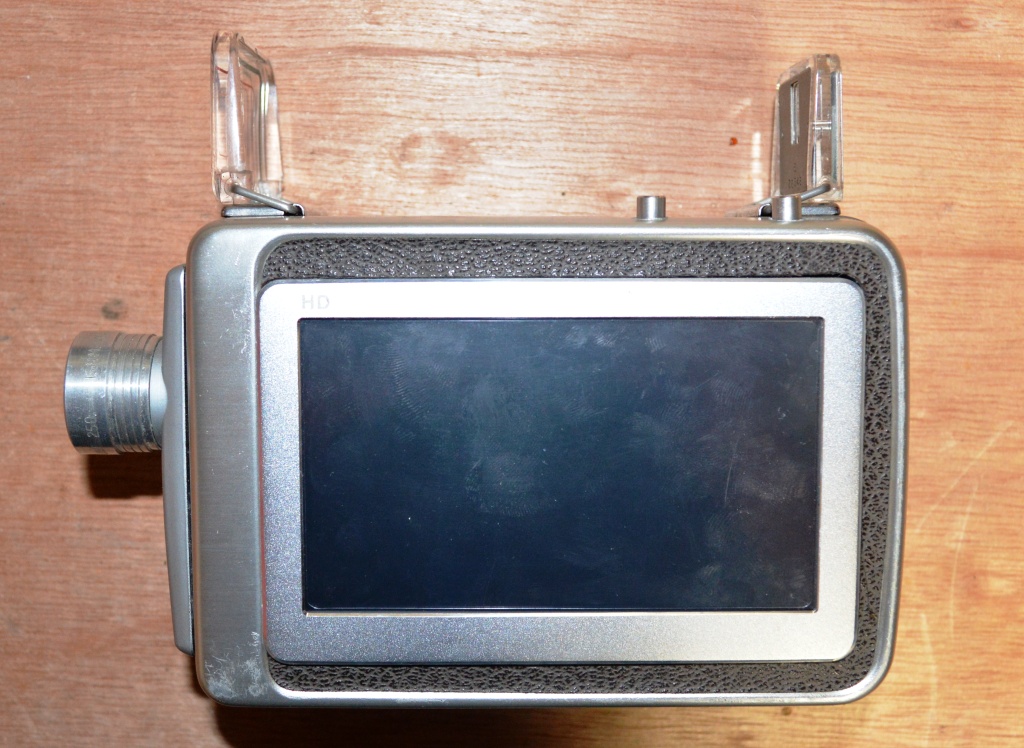
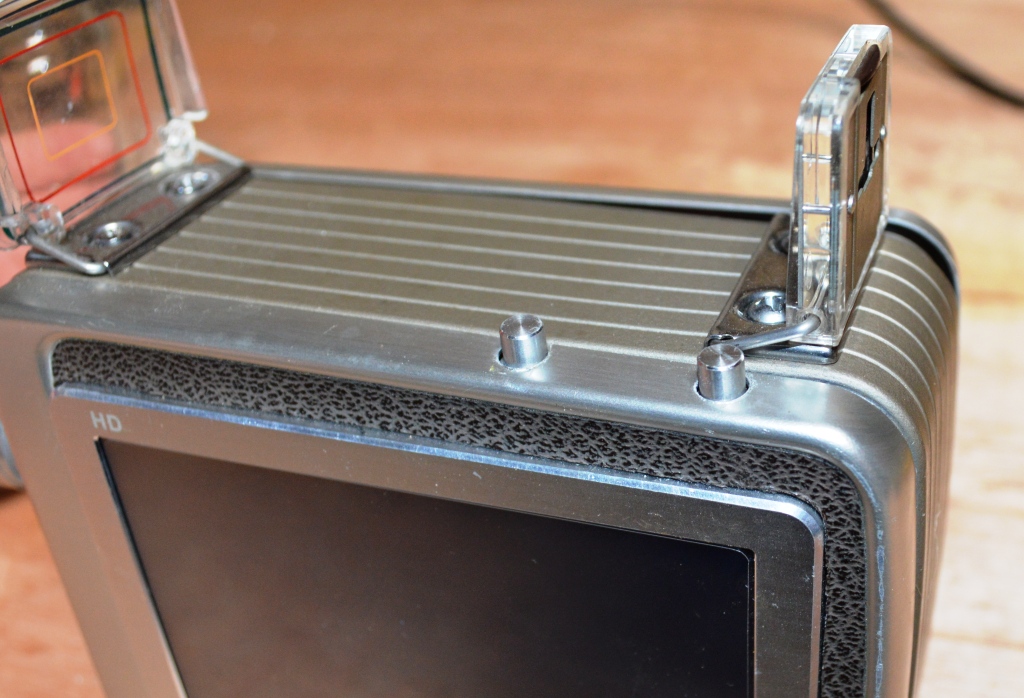
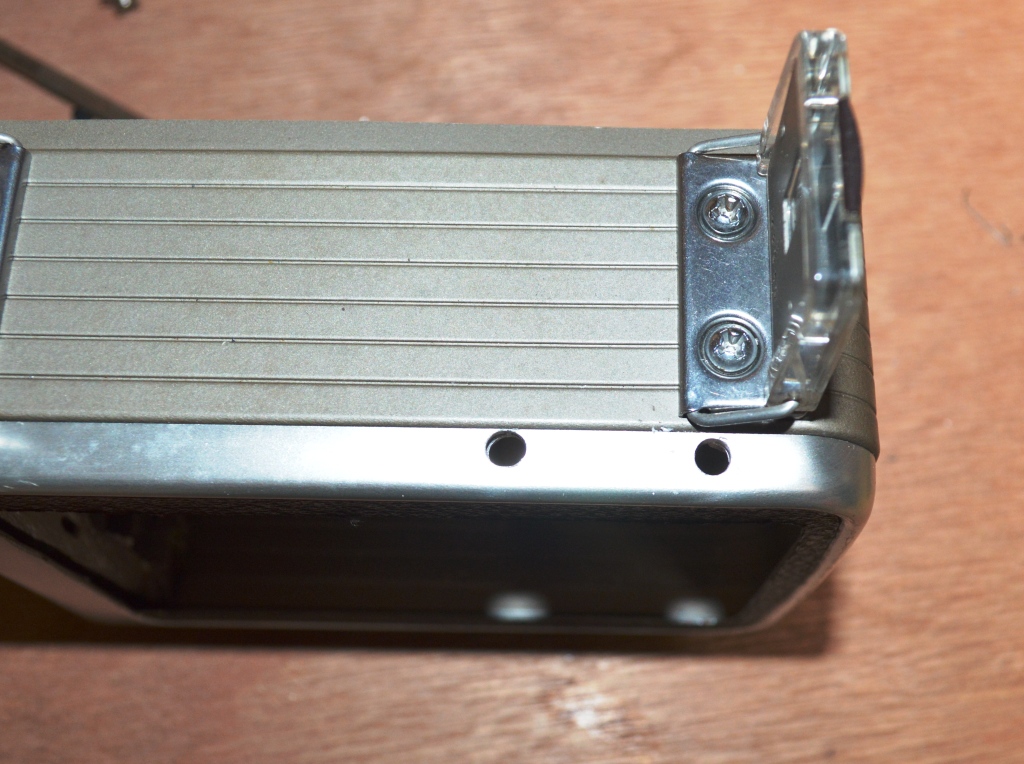
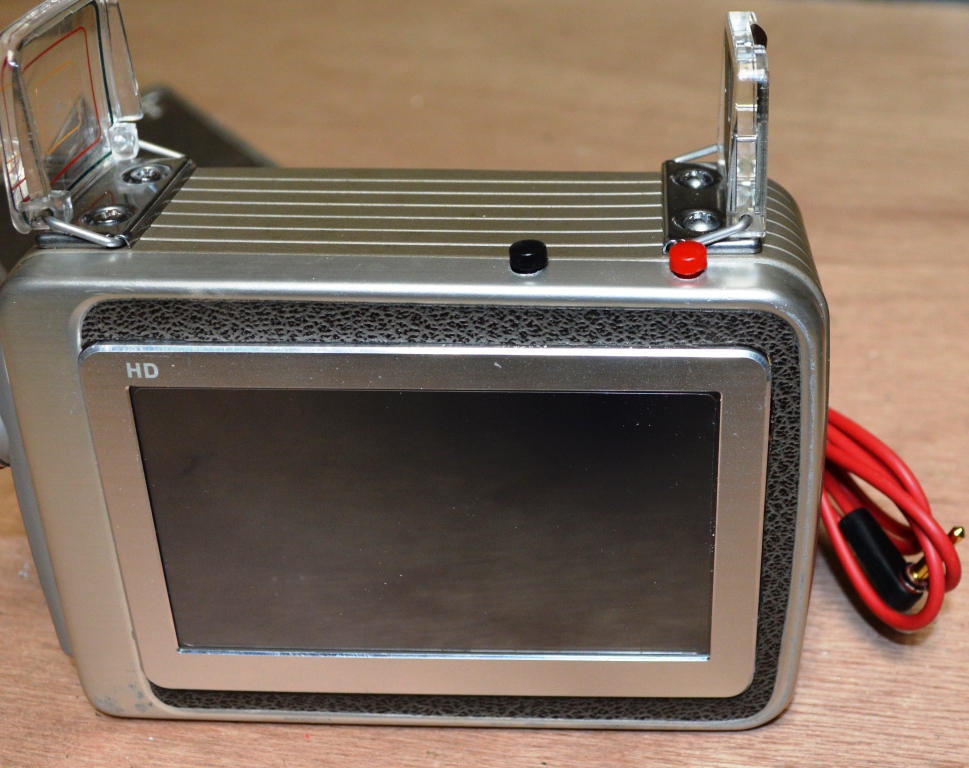
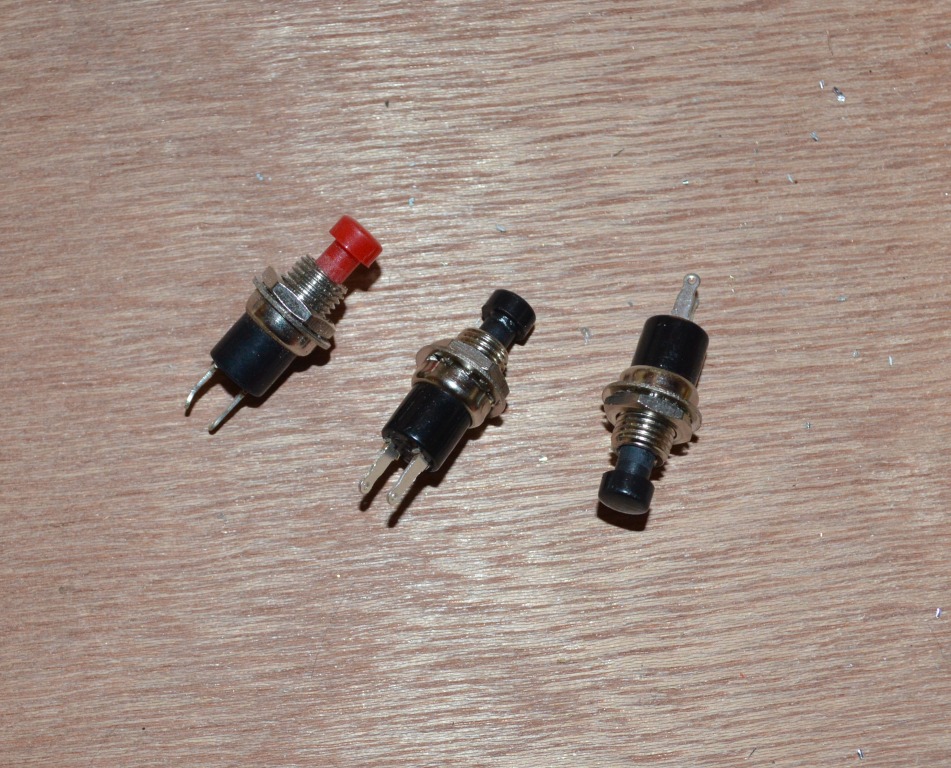
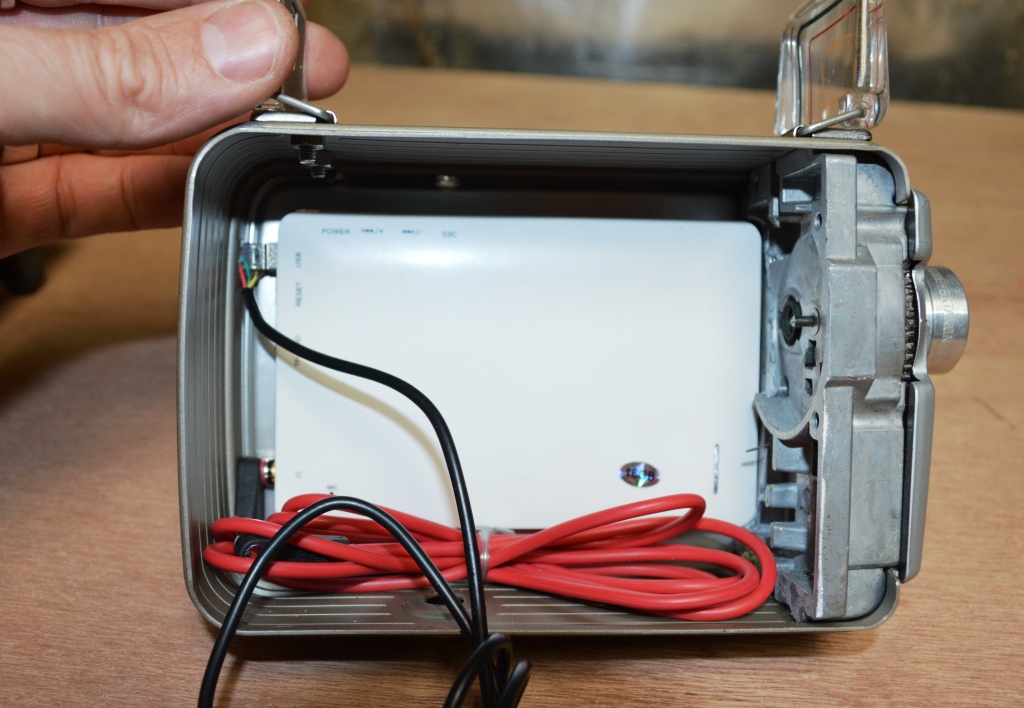
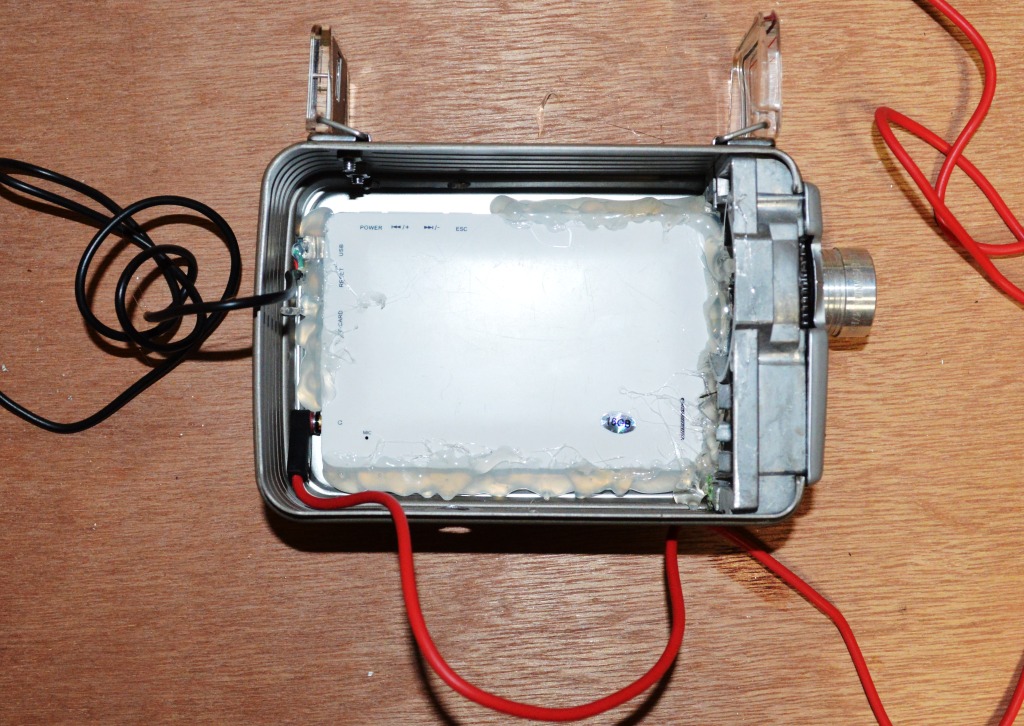
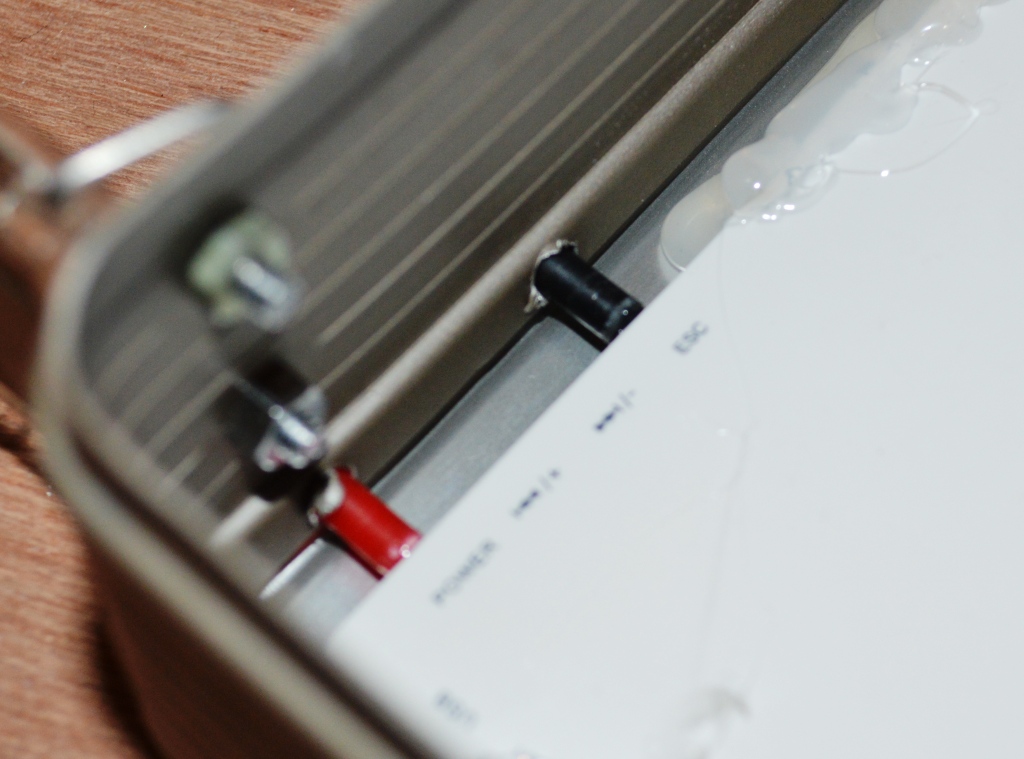
The next step involves adding some push switches so you can turn the MP3/5 player on and off.
Steps:
1. Pull apart some momentary switches. Your after the actual button that you push. These will need to be long enough to reach the MP3/5 buttons.
2. Drill some holes in the top of the camera in-line with the esc and on/off buttons on the MP3/5.
3. Connect the modified USB to the player. and also a 3.5 audio jack. This need to be one with a 90 degree bend in it so it will fit.
4. Put the MP3/5 player into the hole of the camera and adjust until you are happy with the position, remembering to line up the button holes.
5. Hot glue everything into place. Yes I know it will be hard to remove the player or cords if something fails but this really is the easiest way to ensure a strong fit,
Revision: I wasn't happy with the switches as they don't really work with the overall look of the camera. I decided to do the following to ensure a better look. I came across an old cassette player which had some switches capped with aluminium caps.
1. I used the same buttons but turned the upside down so the fat end was against the switch on the MP3/5 player.
2. I added the aluminium caps to the inverted switches and added super glue to fix in place.
3. Carefully super glue the switch to the MP3/5 buttons. You really have to be careful here - too much glue will mean the button on the MP3/5 player will also be stuck and then your in a world of pain. I used a match and shaved the end so it a had flat end. Then I just got a little glue and dipped into the end and lightly touched the bottom of the modified switch.
Adding the Speaker - Part 1
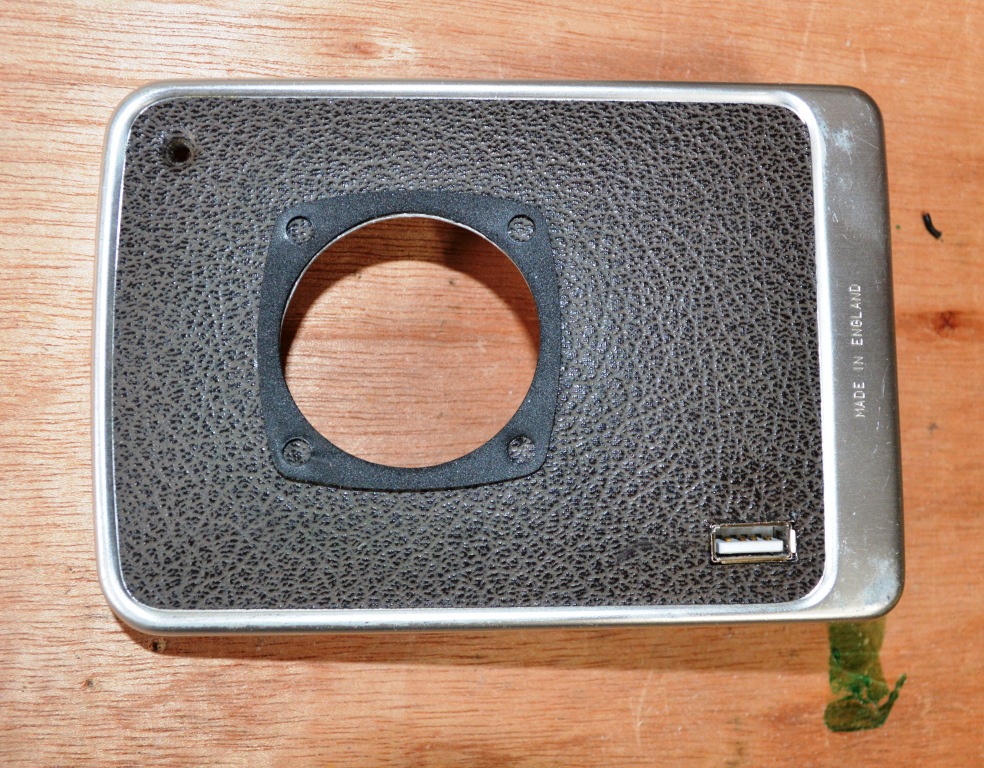
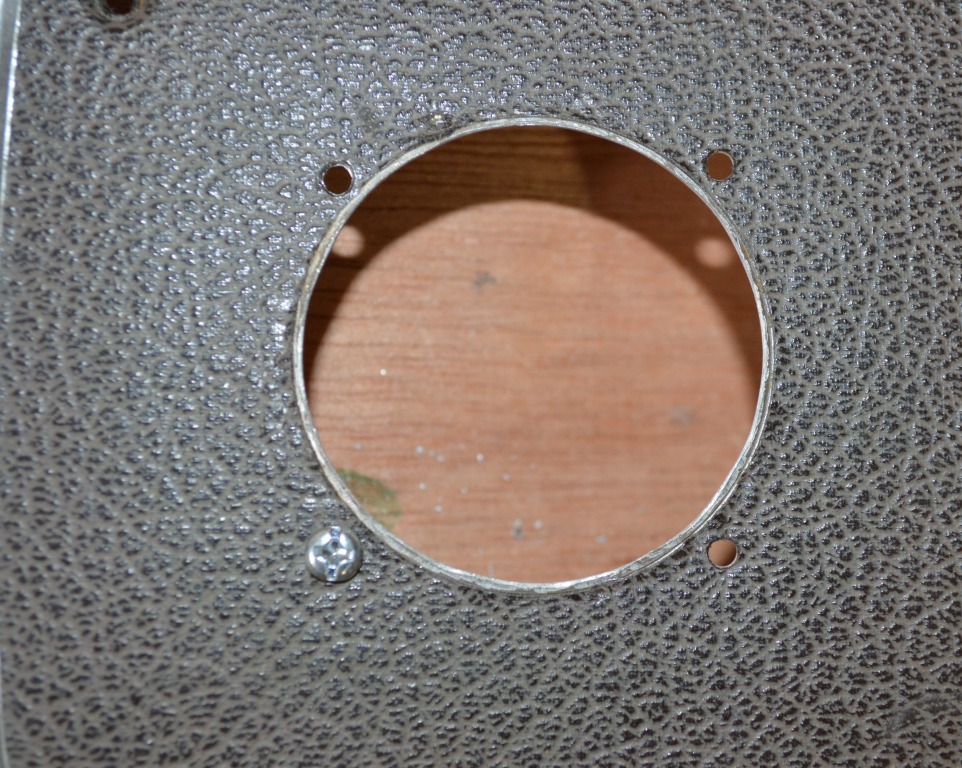
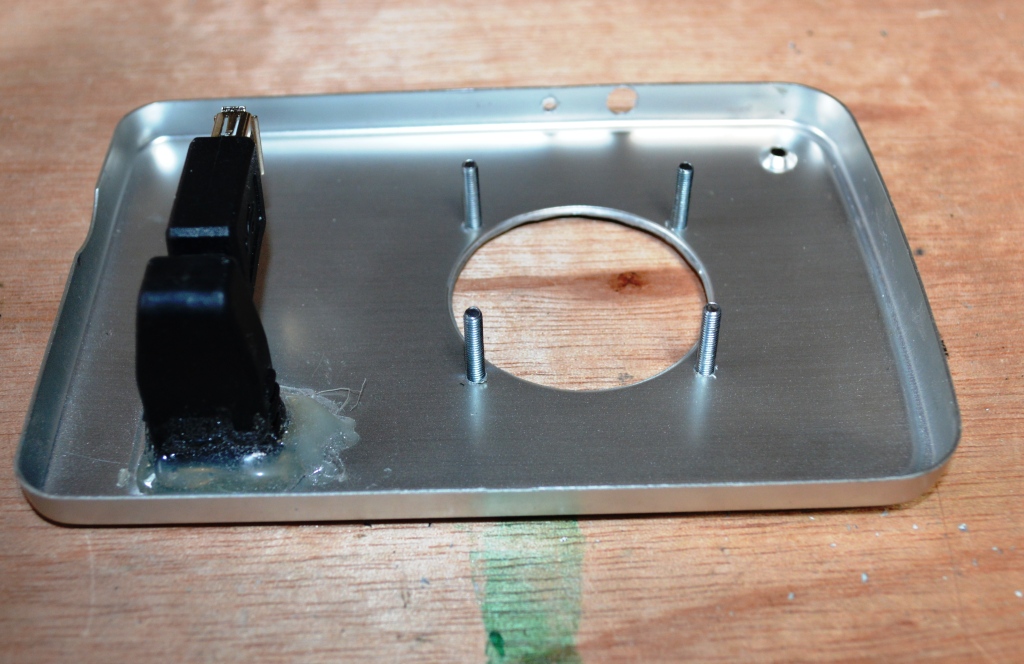
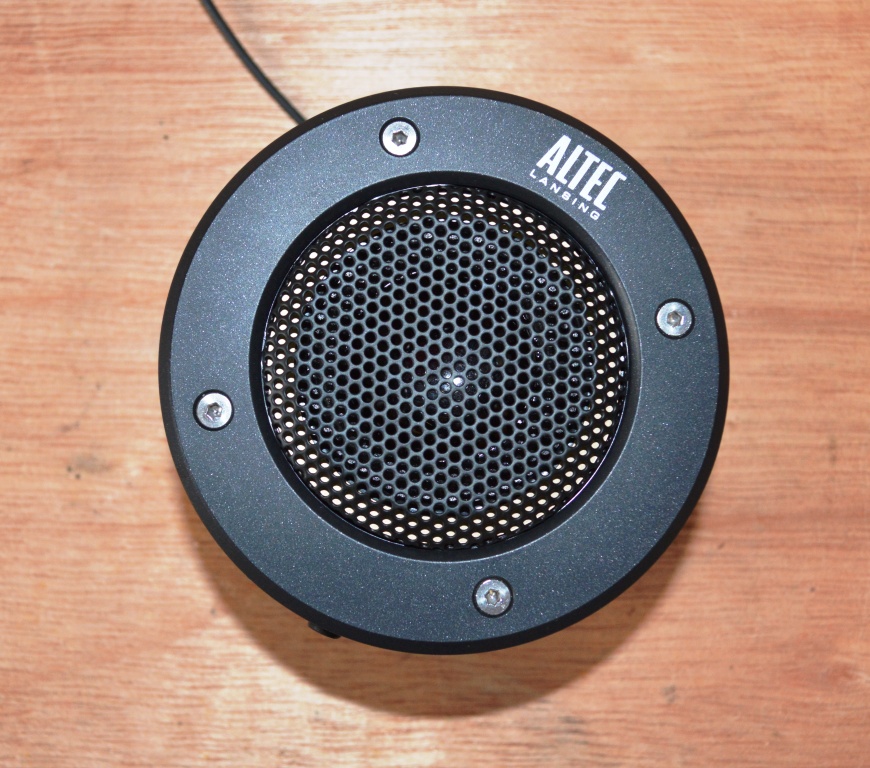
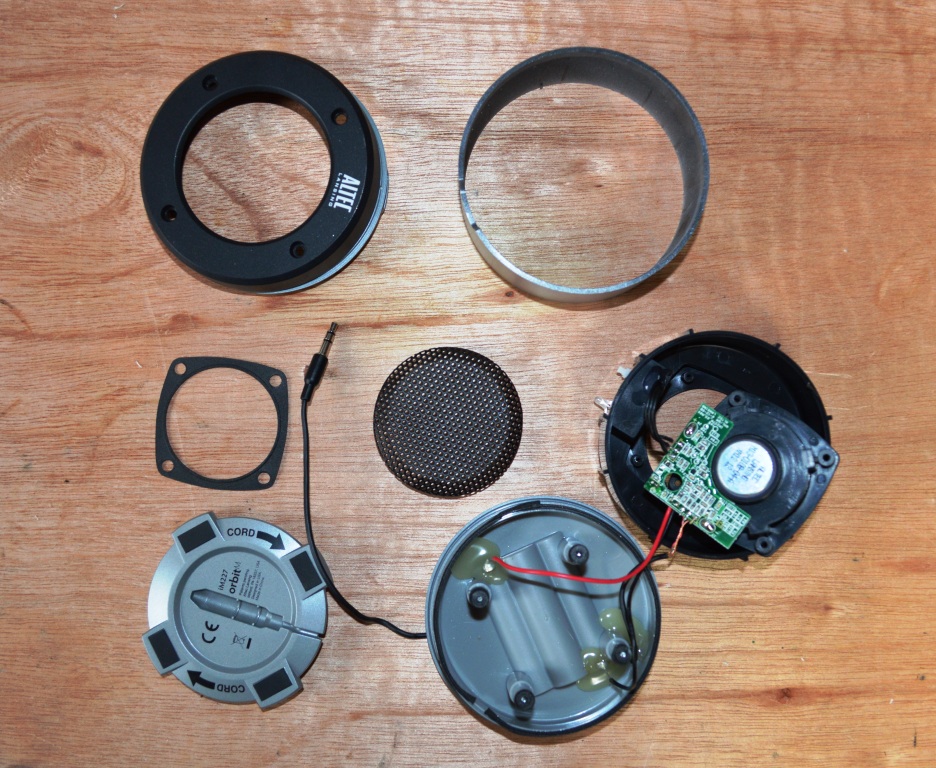
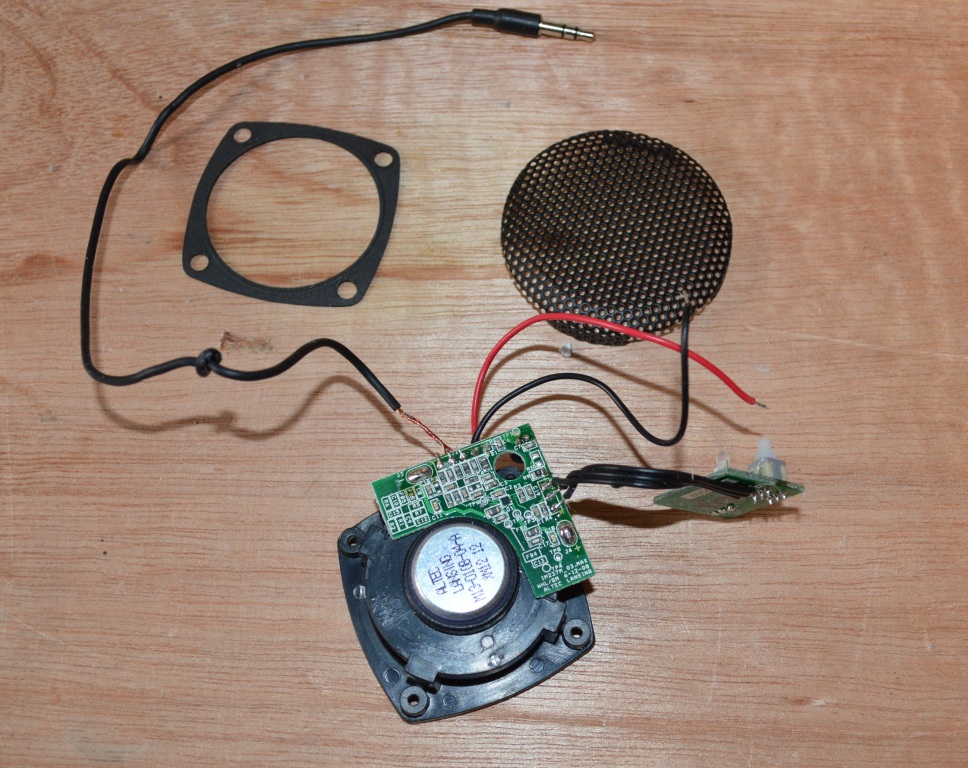
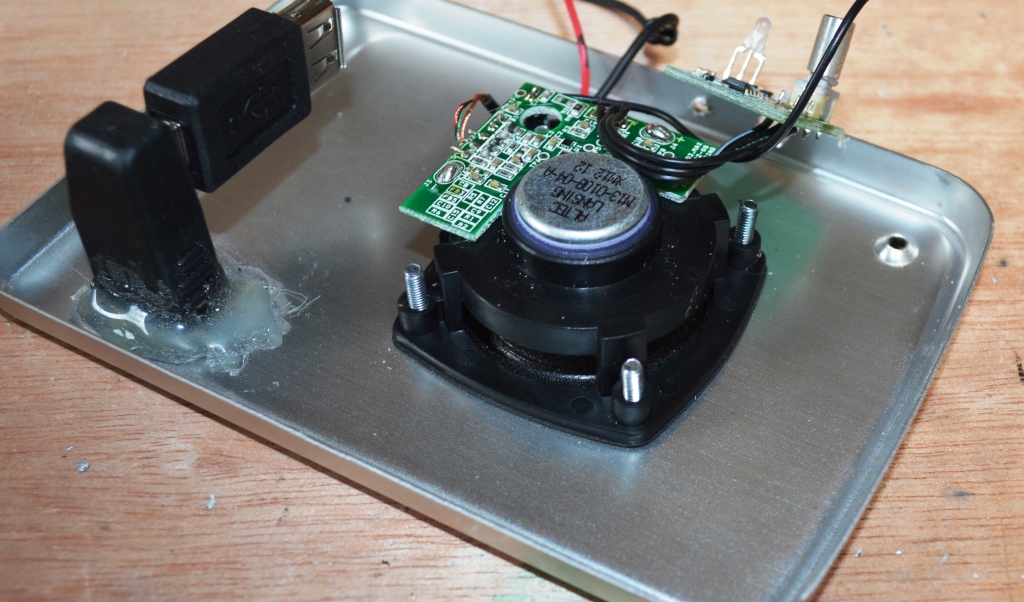
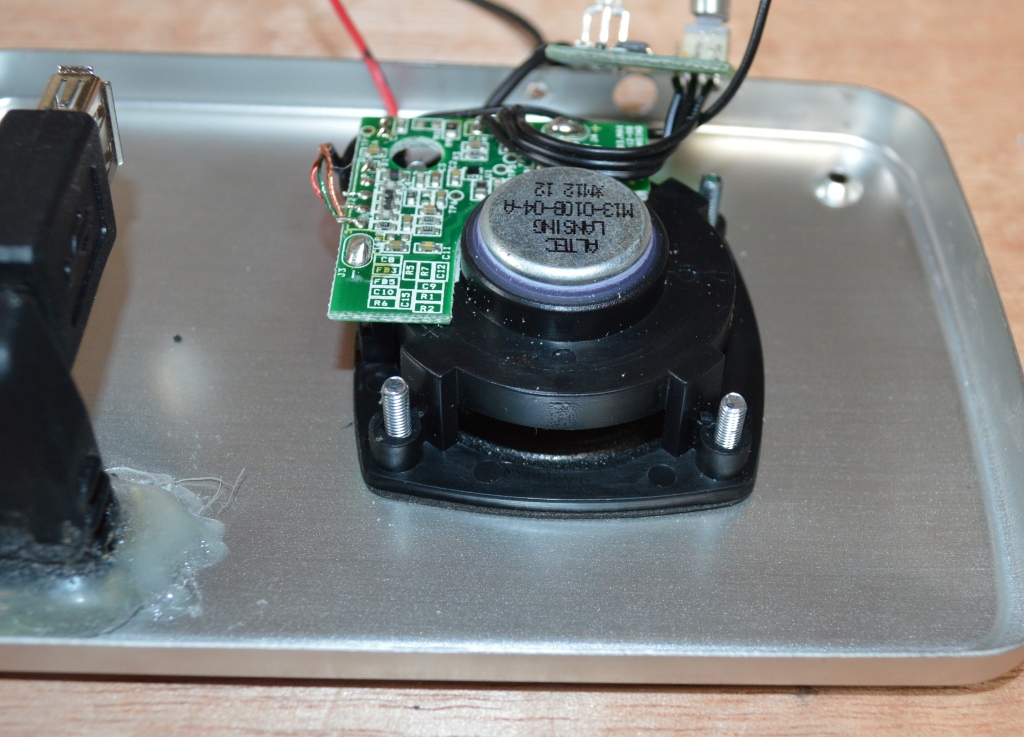
So now it's time to add the speaker. I choose this speaker as it has a great sound for it's size.
Steps:
1. First you need to enlarge the hole where the speaker will go. Do all of your measurements to ensure that you make the modifications in the right places.
2. Use a pair of small tin snips to enlarge the hole and then smooth with a dremmel. I used the sanding attachment to get a smooth finish
3. Pull apart the speaker. Remove all of the wiring from the cowl so you only have the speaker, on/off switch and wiring.
4. Use the speaker gasket as a template and drill 4 holes into the camera casing.
5. Insert 4 small bolts into the holes.
6. Push the speaker onto the bolts. You may have to enlarge the holes in the speaker to accommodate the bolts (i did).
7. Use some small nuts to hold into place.
Adding the Speaker - Part 2
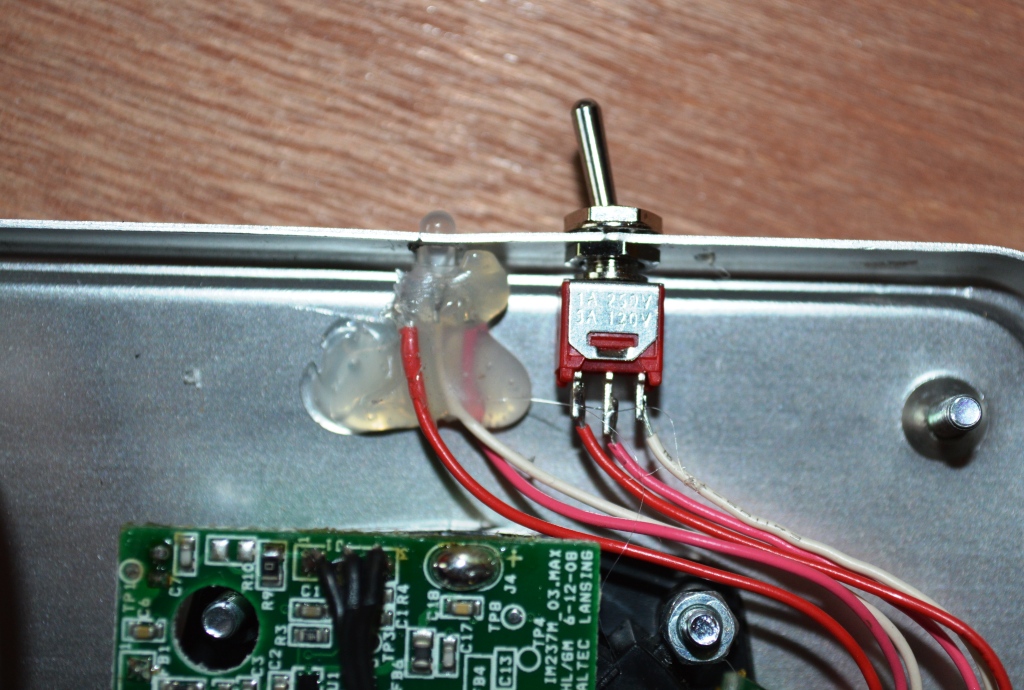
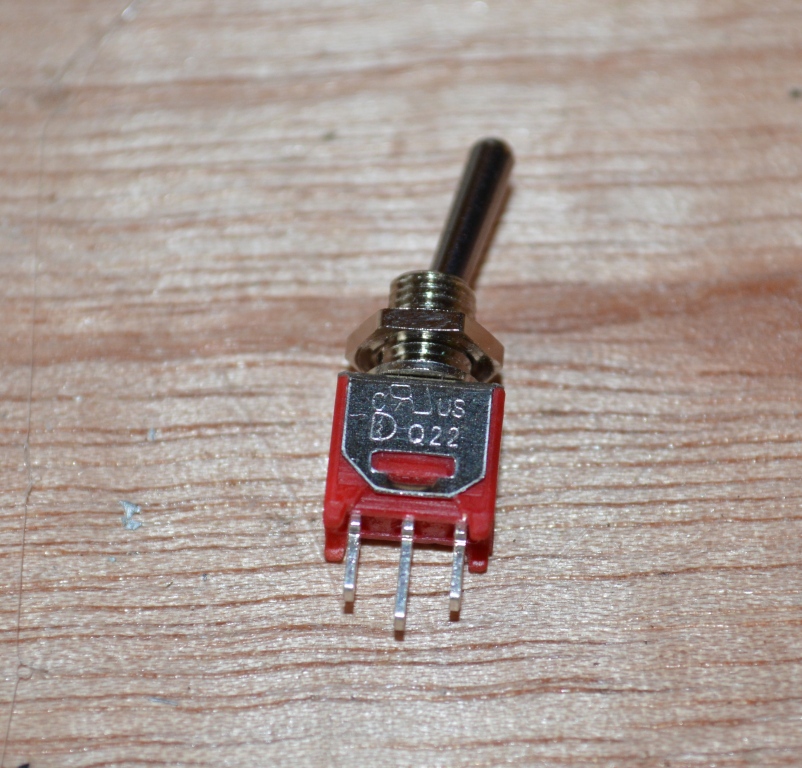
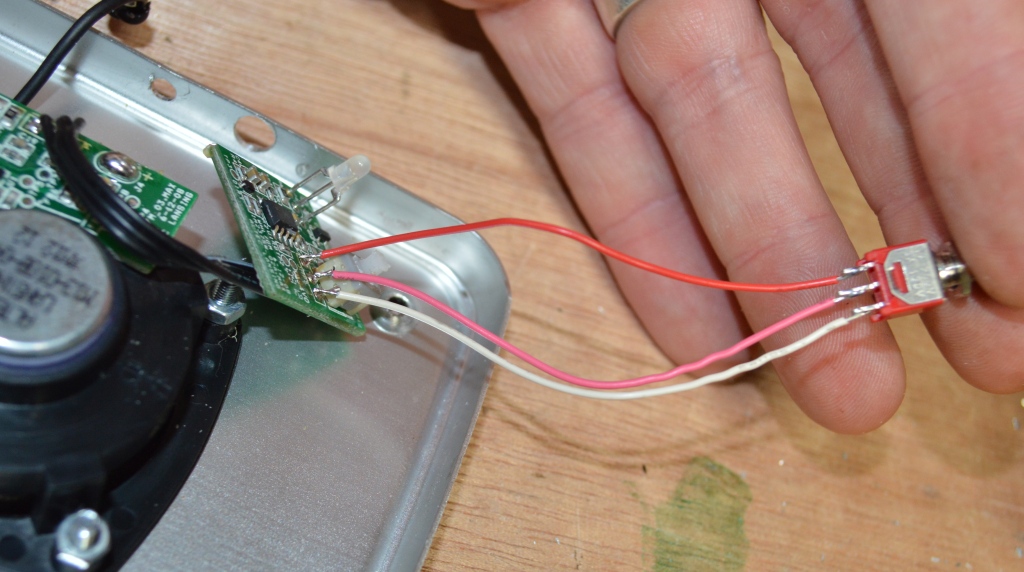
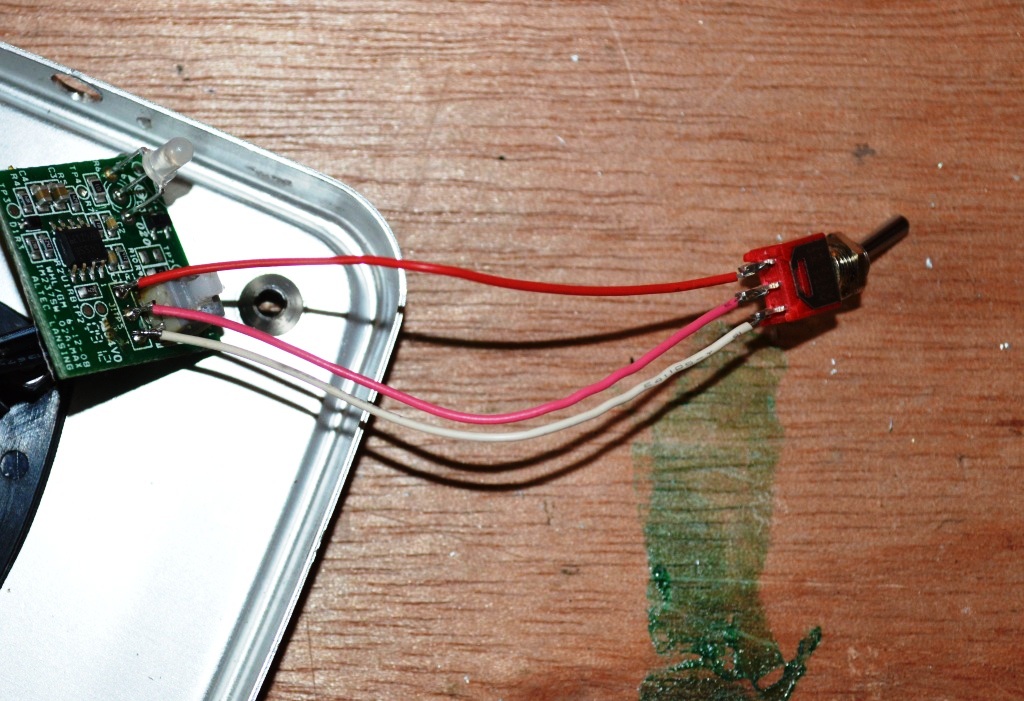
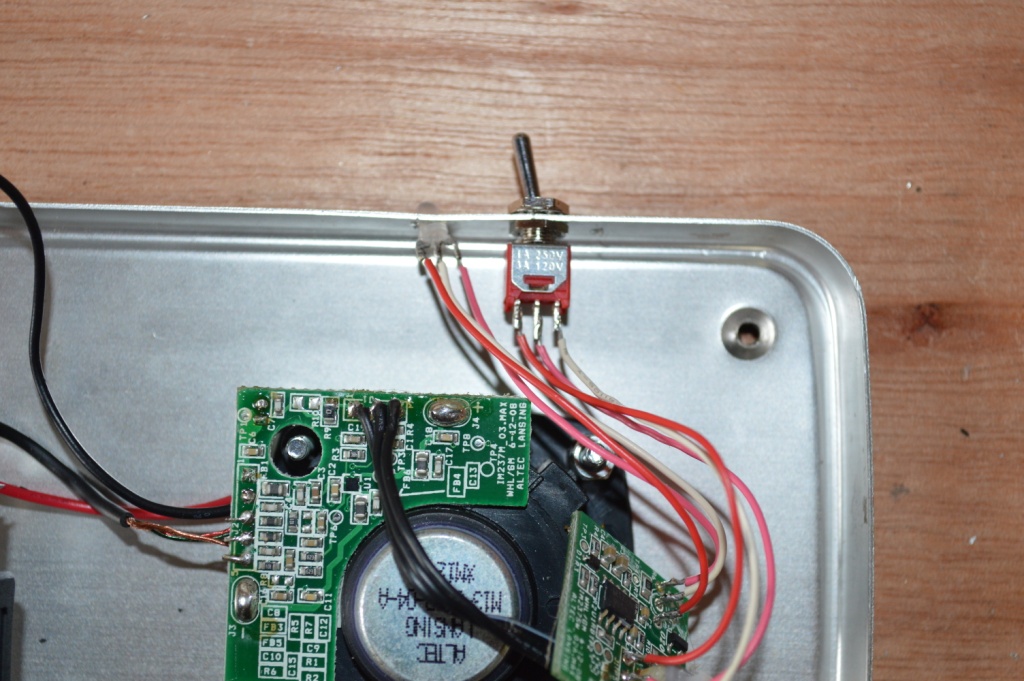
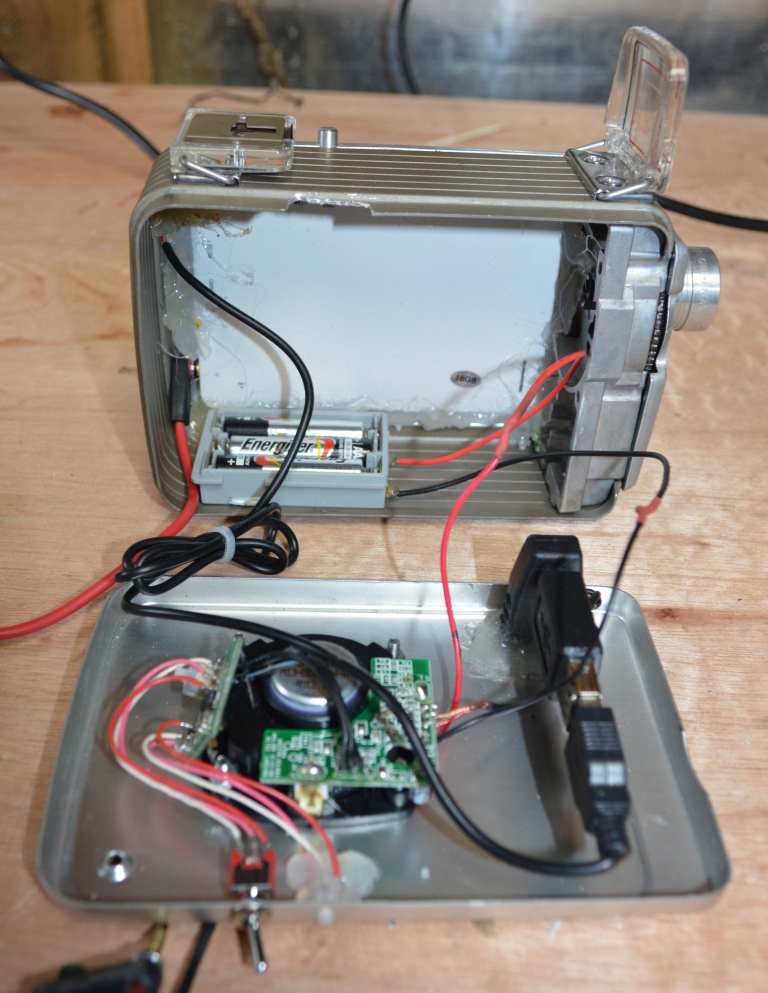
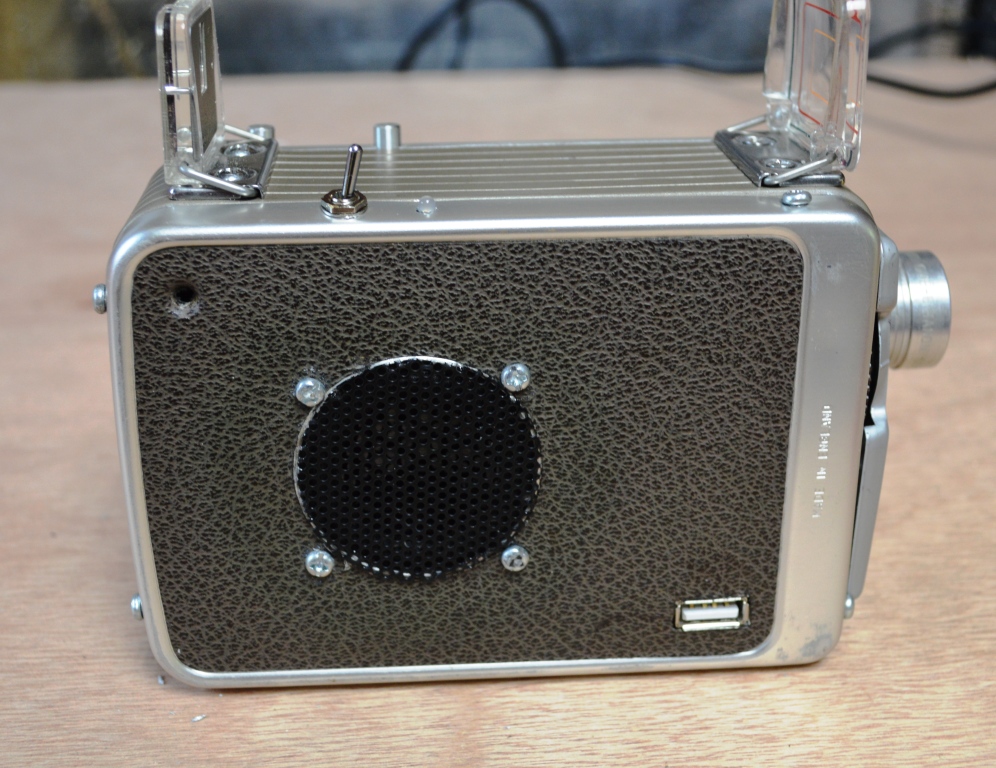
The next step is to add the switches and drill some holes into the top of the camera for the switches and LED indicator.
Steps:
1. Determine where you want to put the LED indicator light and switch. I decided to go with a toggle switch as it was a lot easier than trying to work out how to mount the switch that the speaker comes with.
2. Drill the holes for the toggle switch and LED.
3. Solder 3 wires onto a toggle switch and solder the other ends to the ends of the black wires that are coming from the main circuit board on the speaker.
4. Cut the LED in the middle, solder on some wires to each leg and then solder the other ends of the wire to the cut sections on the circuit board. This will allow you to extend the LED and put it anywhere you want.
5. Hot glue into place the LED and attach the toggle switch.
6. On the main body of the camera there should be 2 drilled holes for the switch and LED. You need to actually cut out this section of the body so you can easily remove this side of the camera. Use a pair of tin snips and remove the metal.
7. Lastly, you will need to solder on a new battery pack for the speaker. Attach some wires to the wires from the speaker and add some heat shrink. Solder onto the battery pack. Secure the battery pack to the bottom of the camera with some grip tape.
8. Lastly, super glue the wire mesh to the side of the camera. Initially I just trimmed off the tags on the wire mess and stuck it on with super glue. There were a couple of problems with this. 1 - it didn't look very good and 2 - it vibrated when music was played loud. I decided to trim it down and have it flush with the speaker. This stopped the vibbration and I thi k it looks better as well.
Attaching All of the Wires
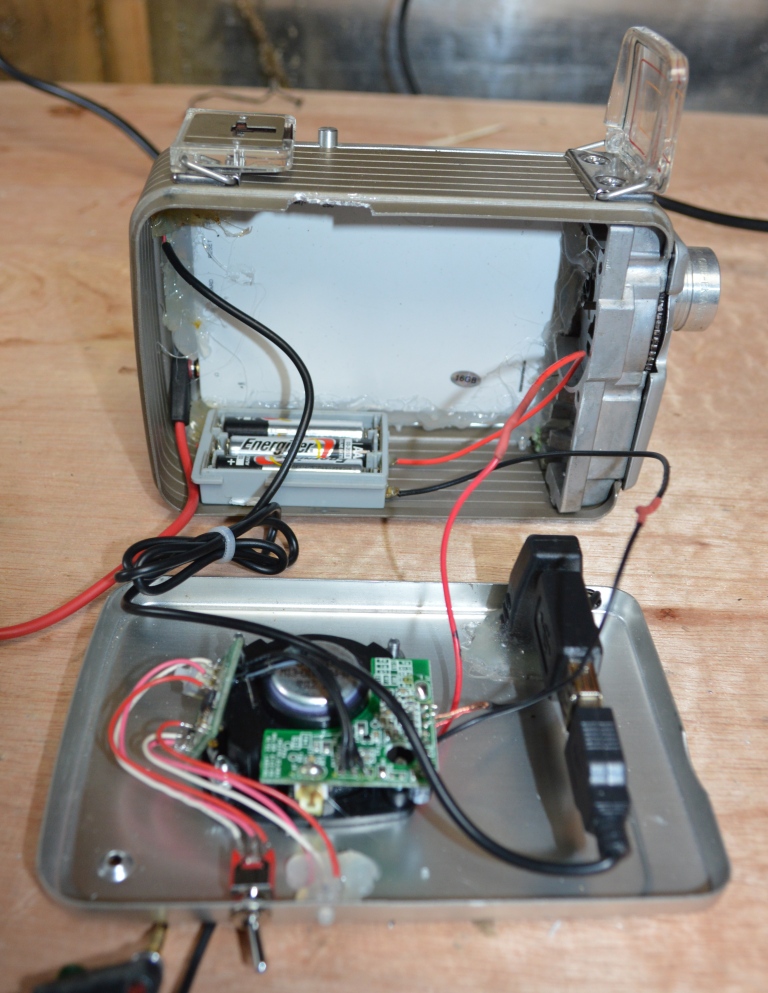
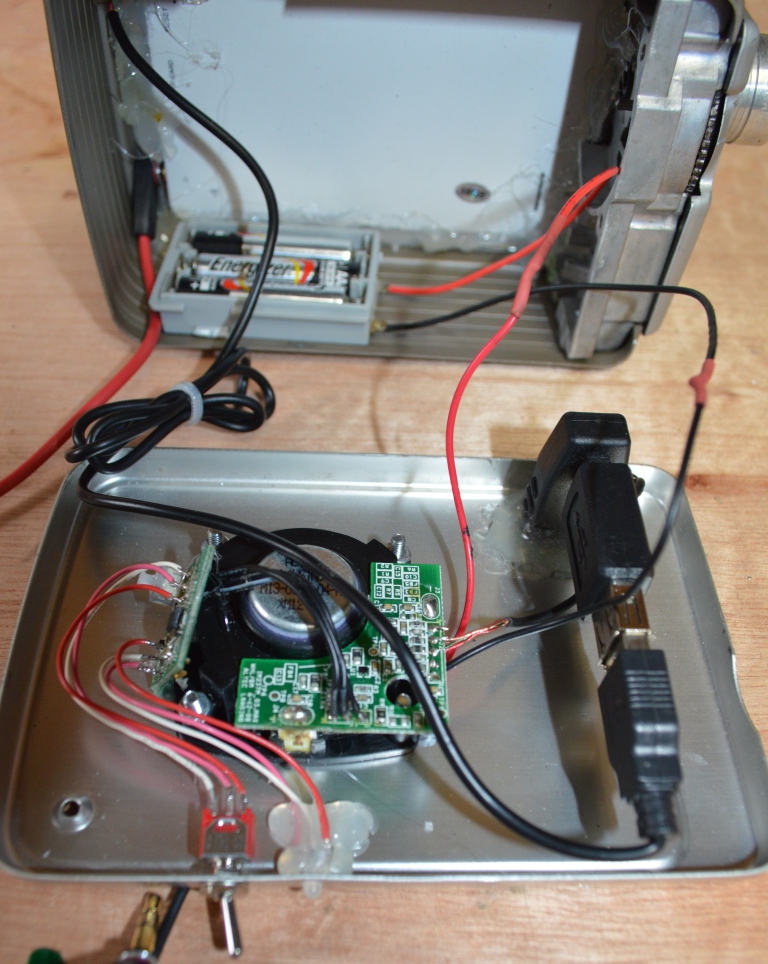
Now you have everything in place, it's time to plug everything in.
1. The USB from the MP3/5 should be plugged into the female outlet.
2. The audio jacks can either be attached using a female to female adapter or you can just cut the wires and attach together.
1. The USB from the MP3/5 should be plugged into the female outlet.
2. The audio jacks can either be attached using a female to female adapter or you can just cut the wires and attach together.
Attaching the Side of the Camera
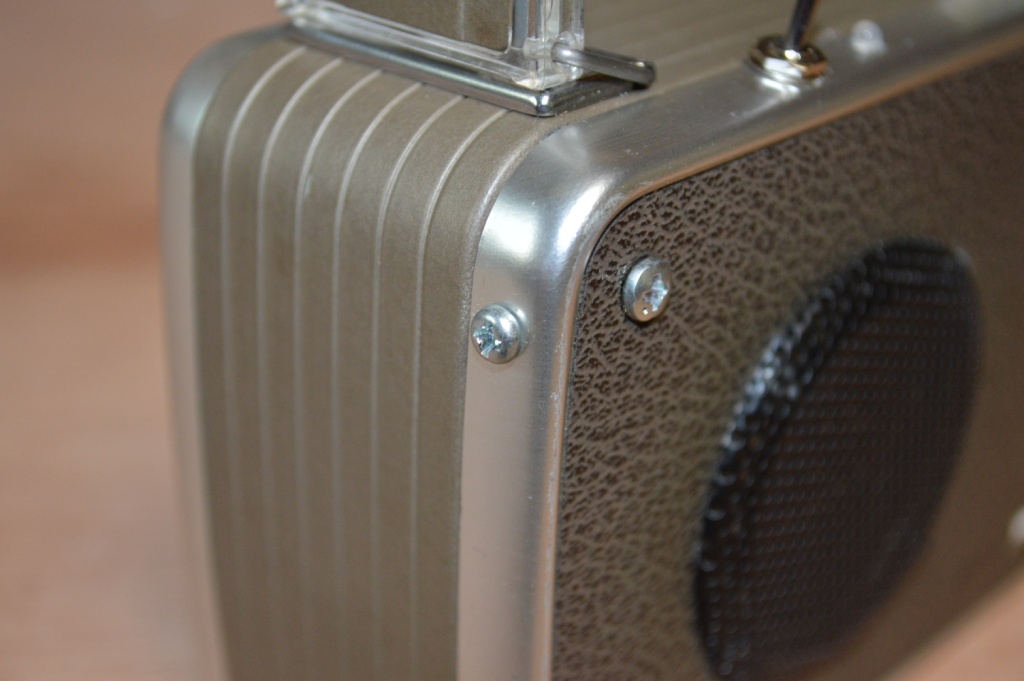
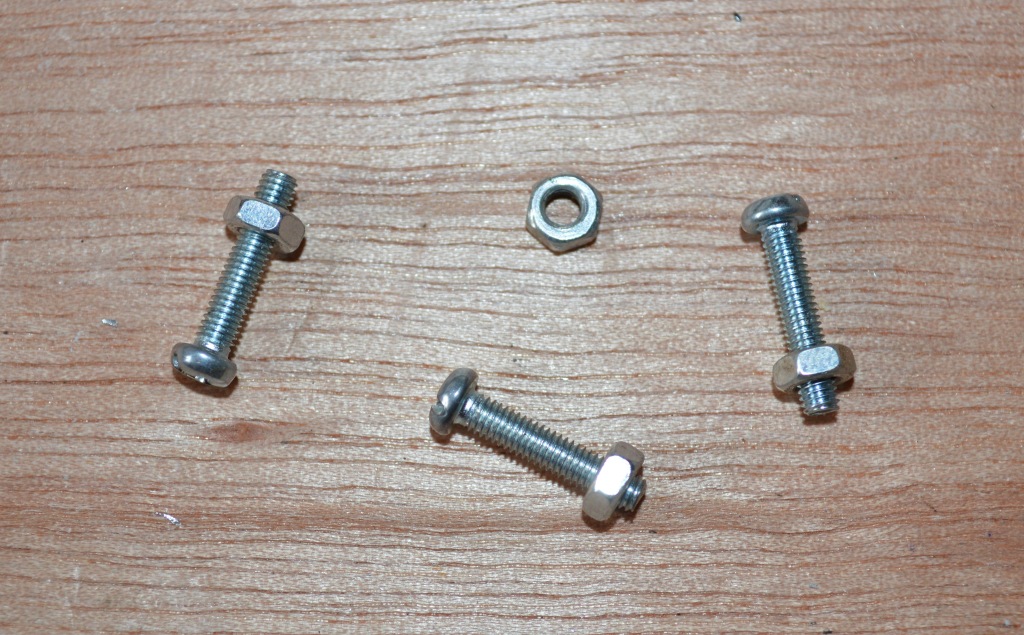
Steps:
1. Decide where the best place is to attach the side to the body of the camera and drill a couple of holes.
2. Screw in some self tapping screws to secure into place.
1. Decide where the best place is to attach the side to the body of the camera and drill a couple of holes.
2. Screw in some self tapping screws to secure into place.
Finished
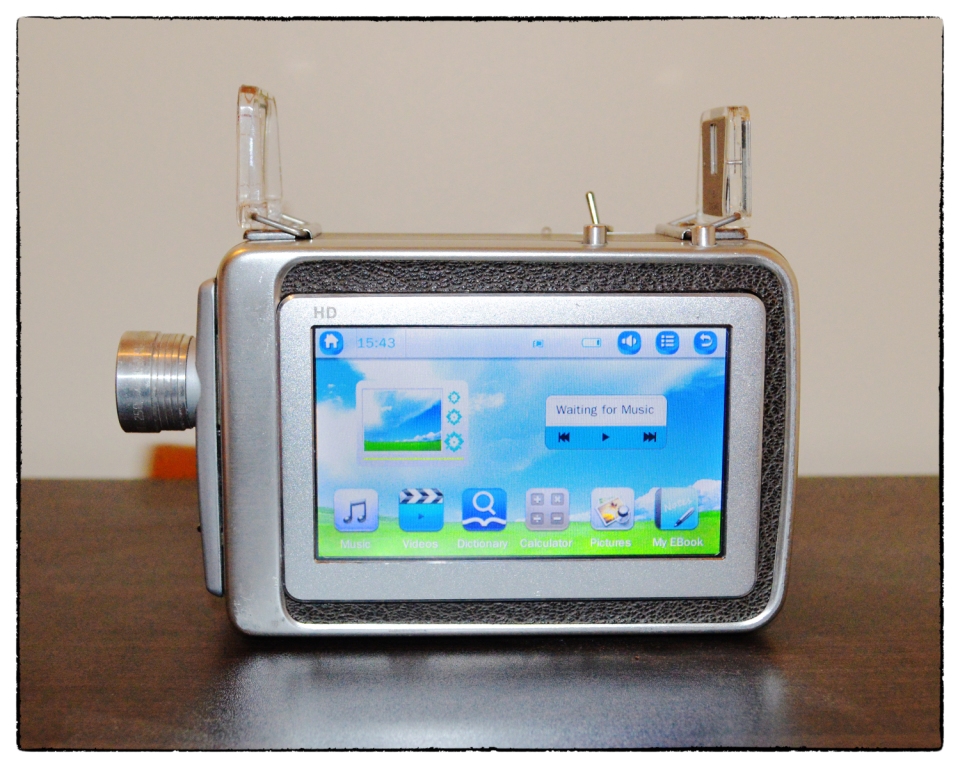
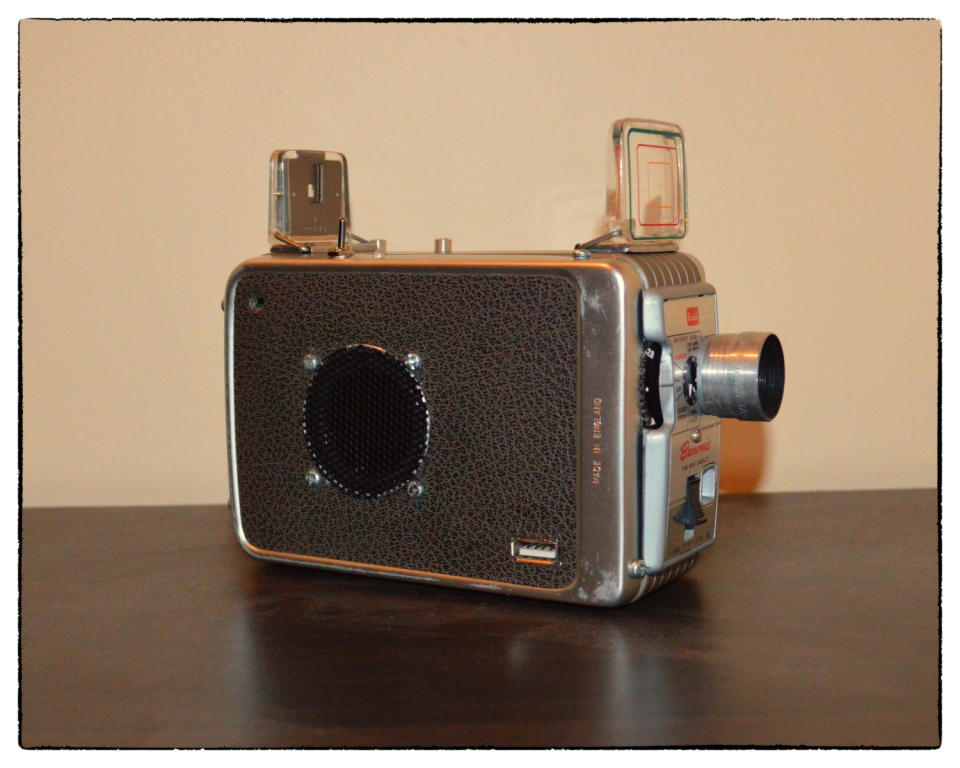
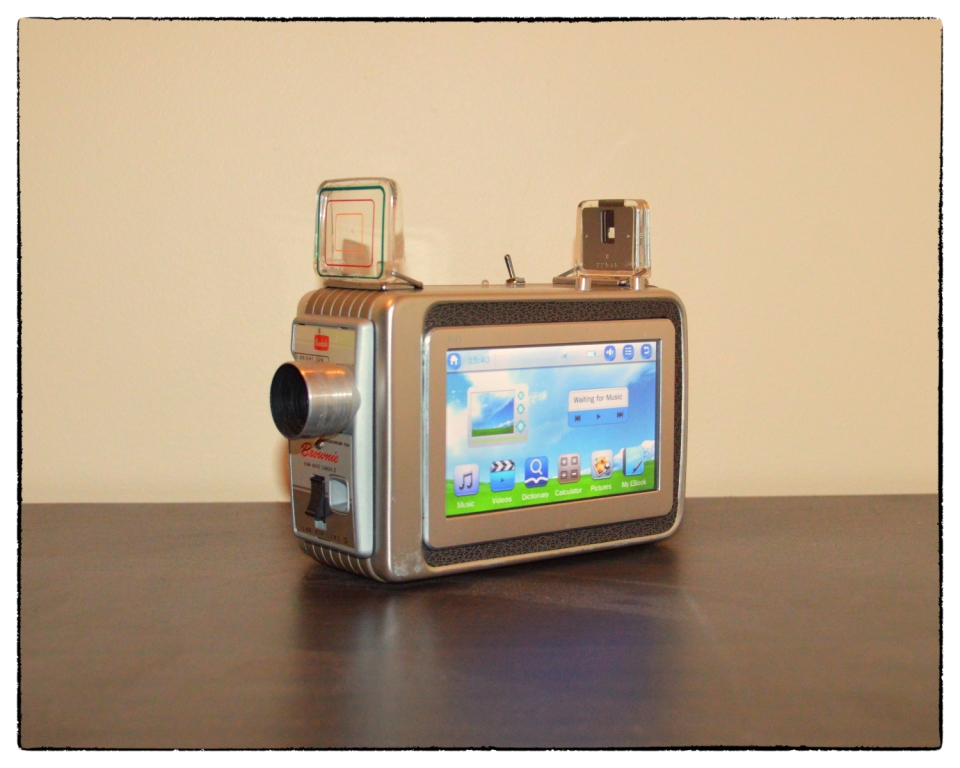
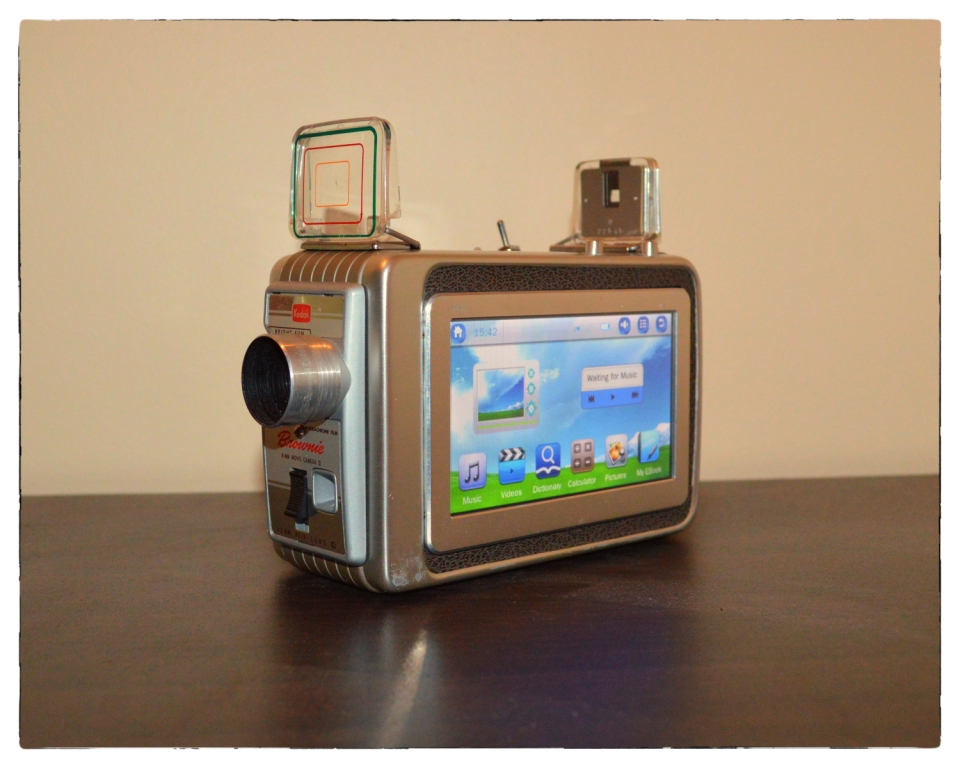
Now all you need to do is to download some music, photos and movies into the MP3/5 player and your away!
The great thing about this player is you can just drag and drop any of your iTunes files into it without having to format anything.
Notes and suggestions
- If I was to do this again I would probably try and come up with a better way to secure the MP3/5 player to the camera. Just adding hot glue works but removing it if something needs to be fixed with be a pain in the arse.
- All of the wires need to be shorter. If you're going to make one - then make sure that you purchase short jacks and USB's.
- I think I could have easily reduced all of the different USB adapters if I had thought about it more. Not that it matters too much but it would have made sense for the USB for the MP3 player to go directly into the Female USB.
- I think the switches worked well and I'm pretty chuffed with how they look to the rest of the camera.
- Overall, I think that it turned out great. It was a lot of fun trying to work out each problem as it arose, and I learnt a lot about modifying and cutting with limited tools.