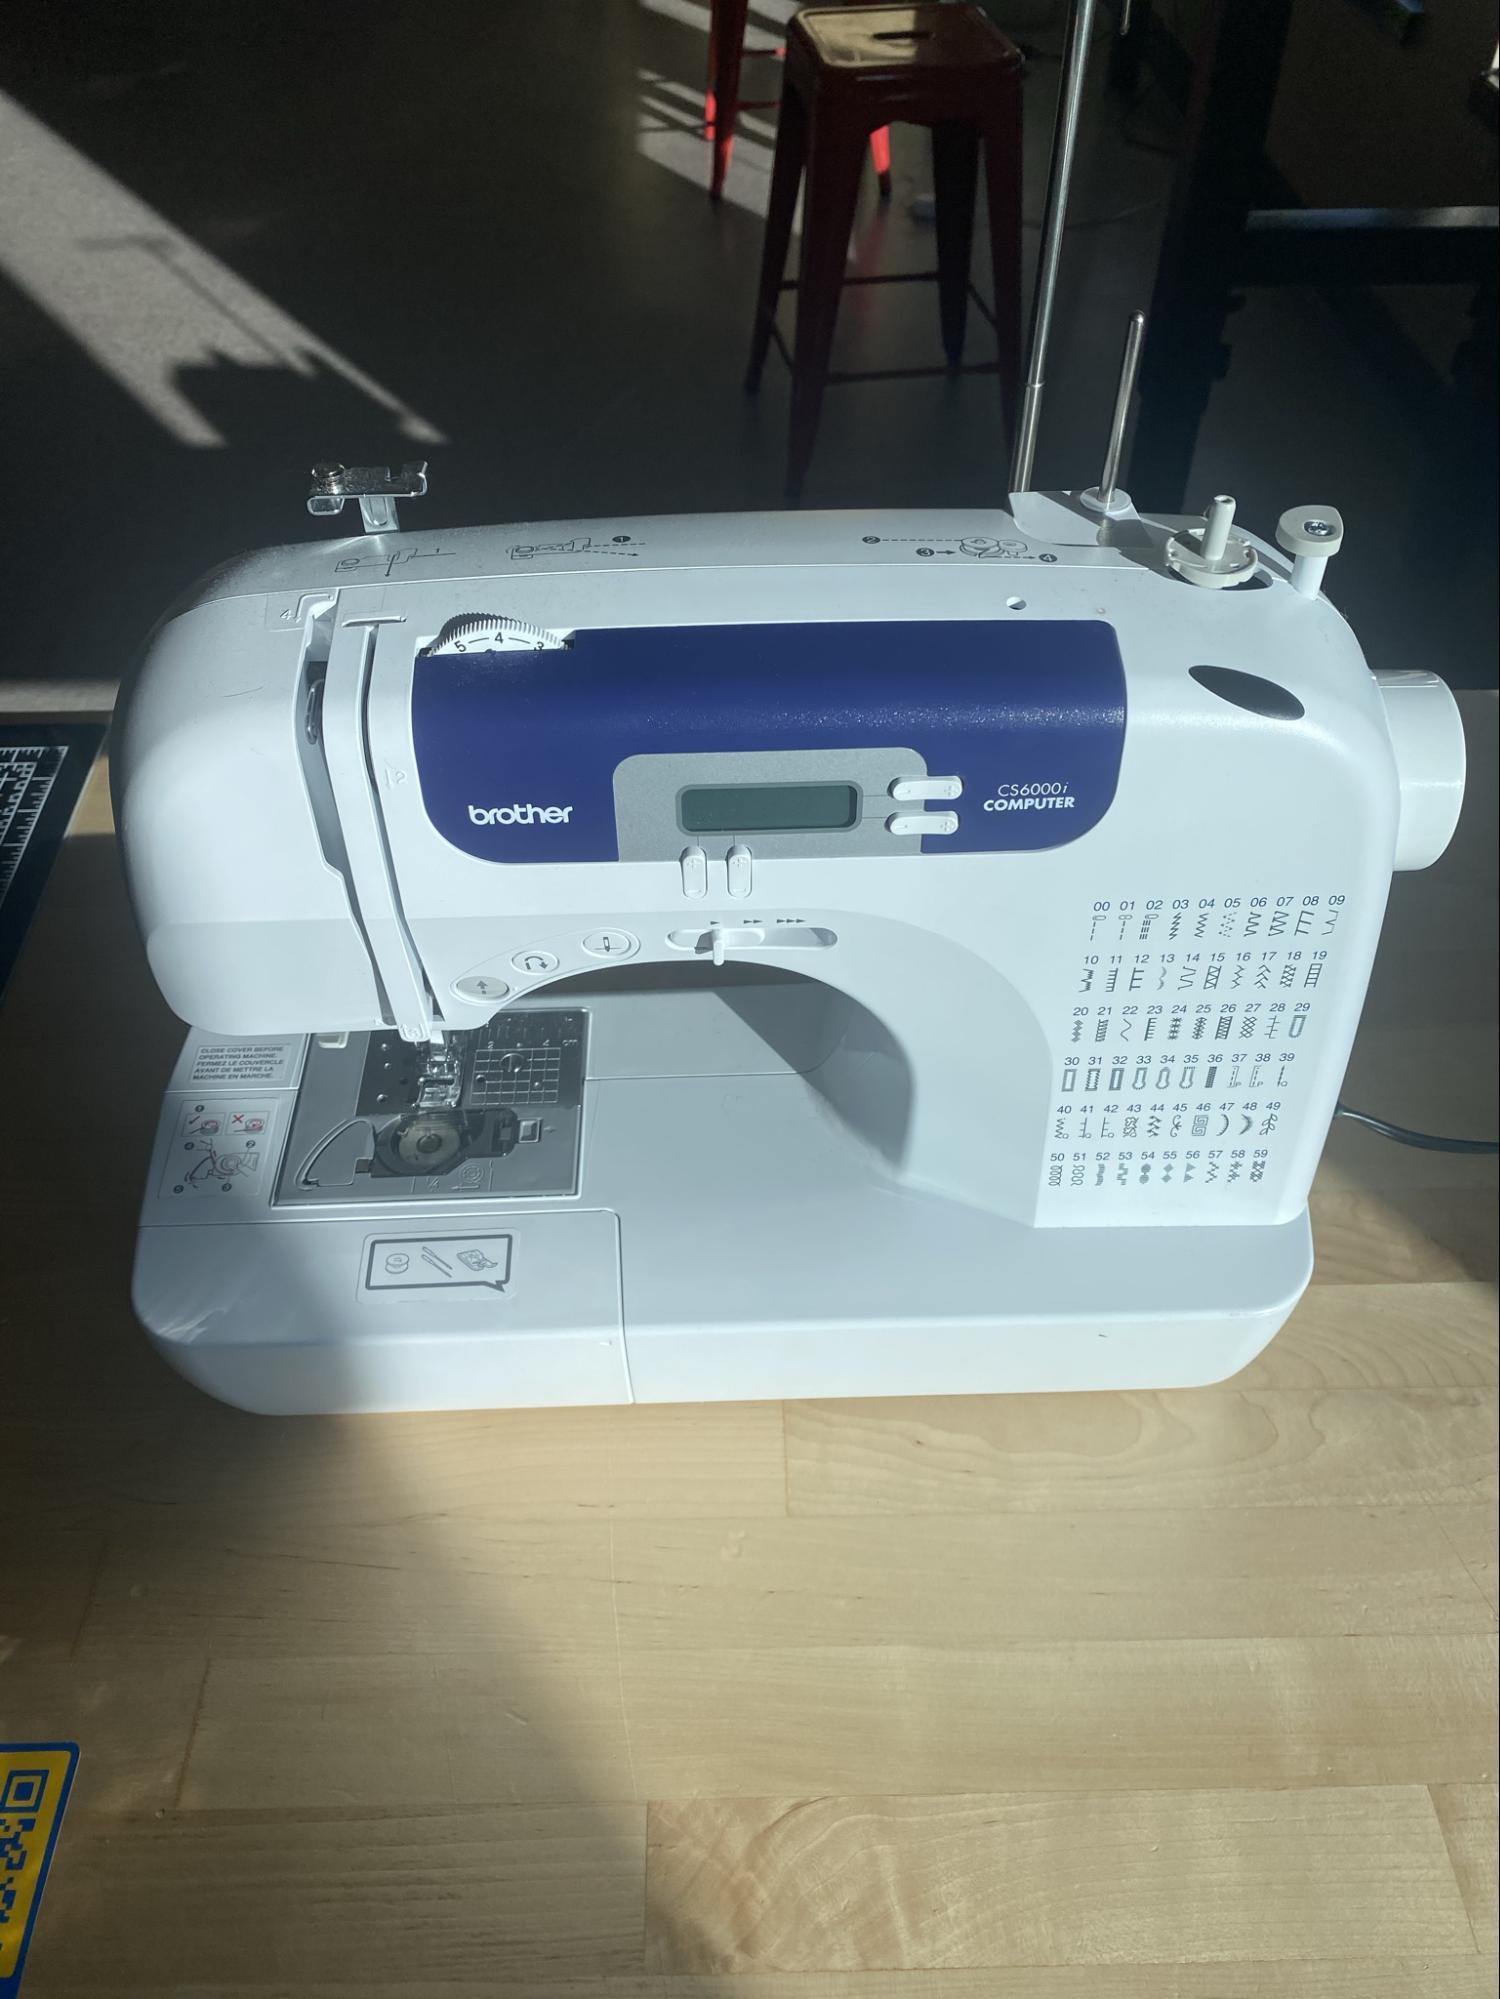
Brother CS6000i Sewing Machine Setup
2649 Views, 2 Favorites, 0 Comments
Brother CS6000i Sewing Machine Setup
.jpg)
This guide will walk you through the upper and lower threading of the machine.
Raise the Presser Foot and Needle
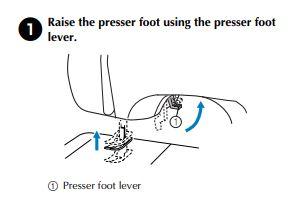
Make sure the presser foot and needle are raised. This will make the rest of the process easier.
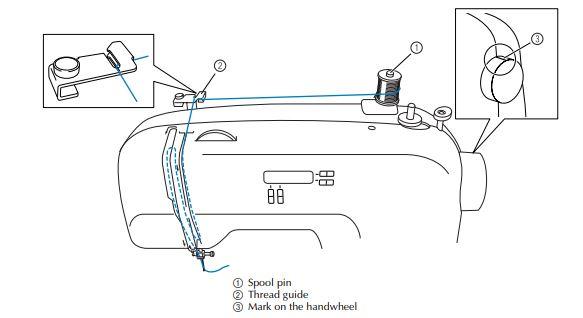
Setup Machine Support
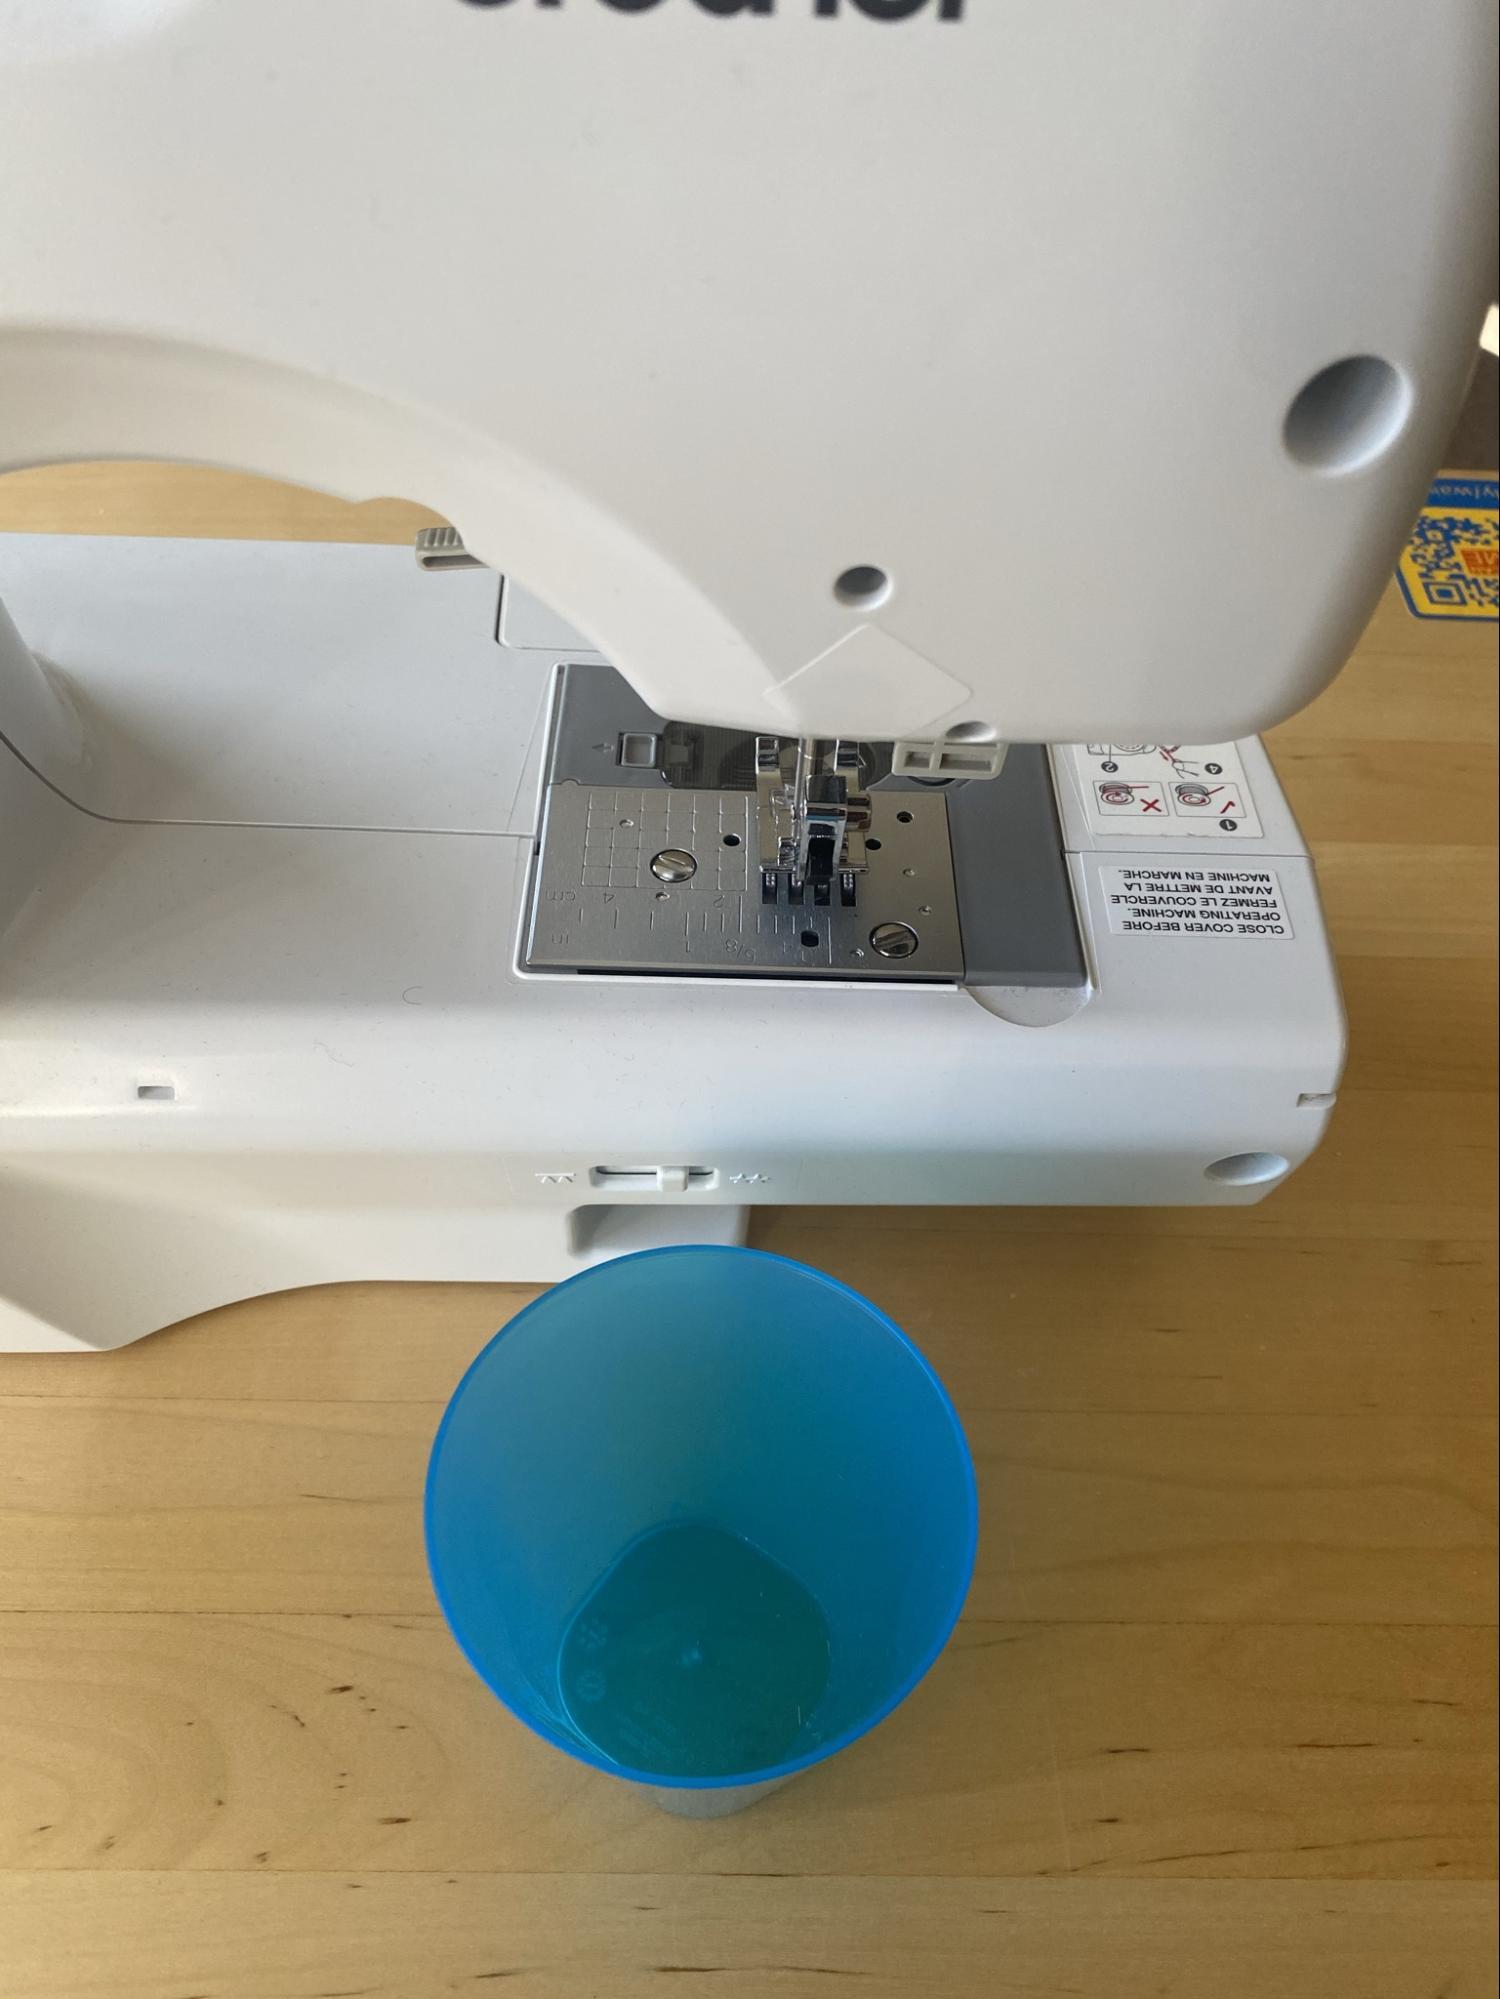
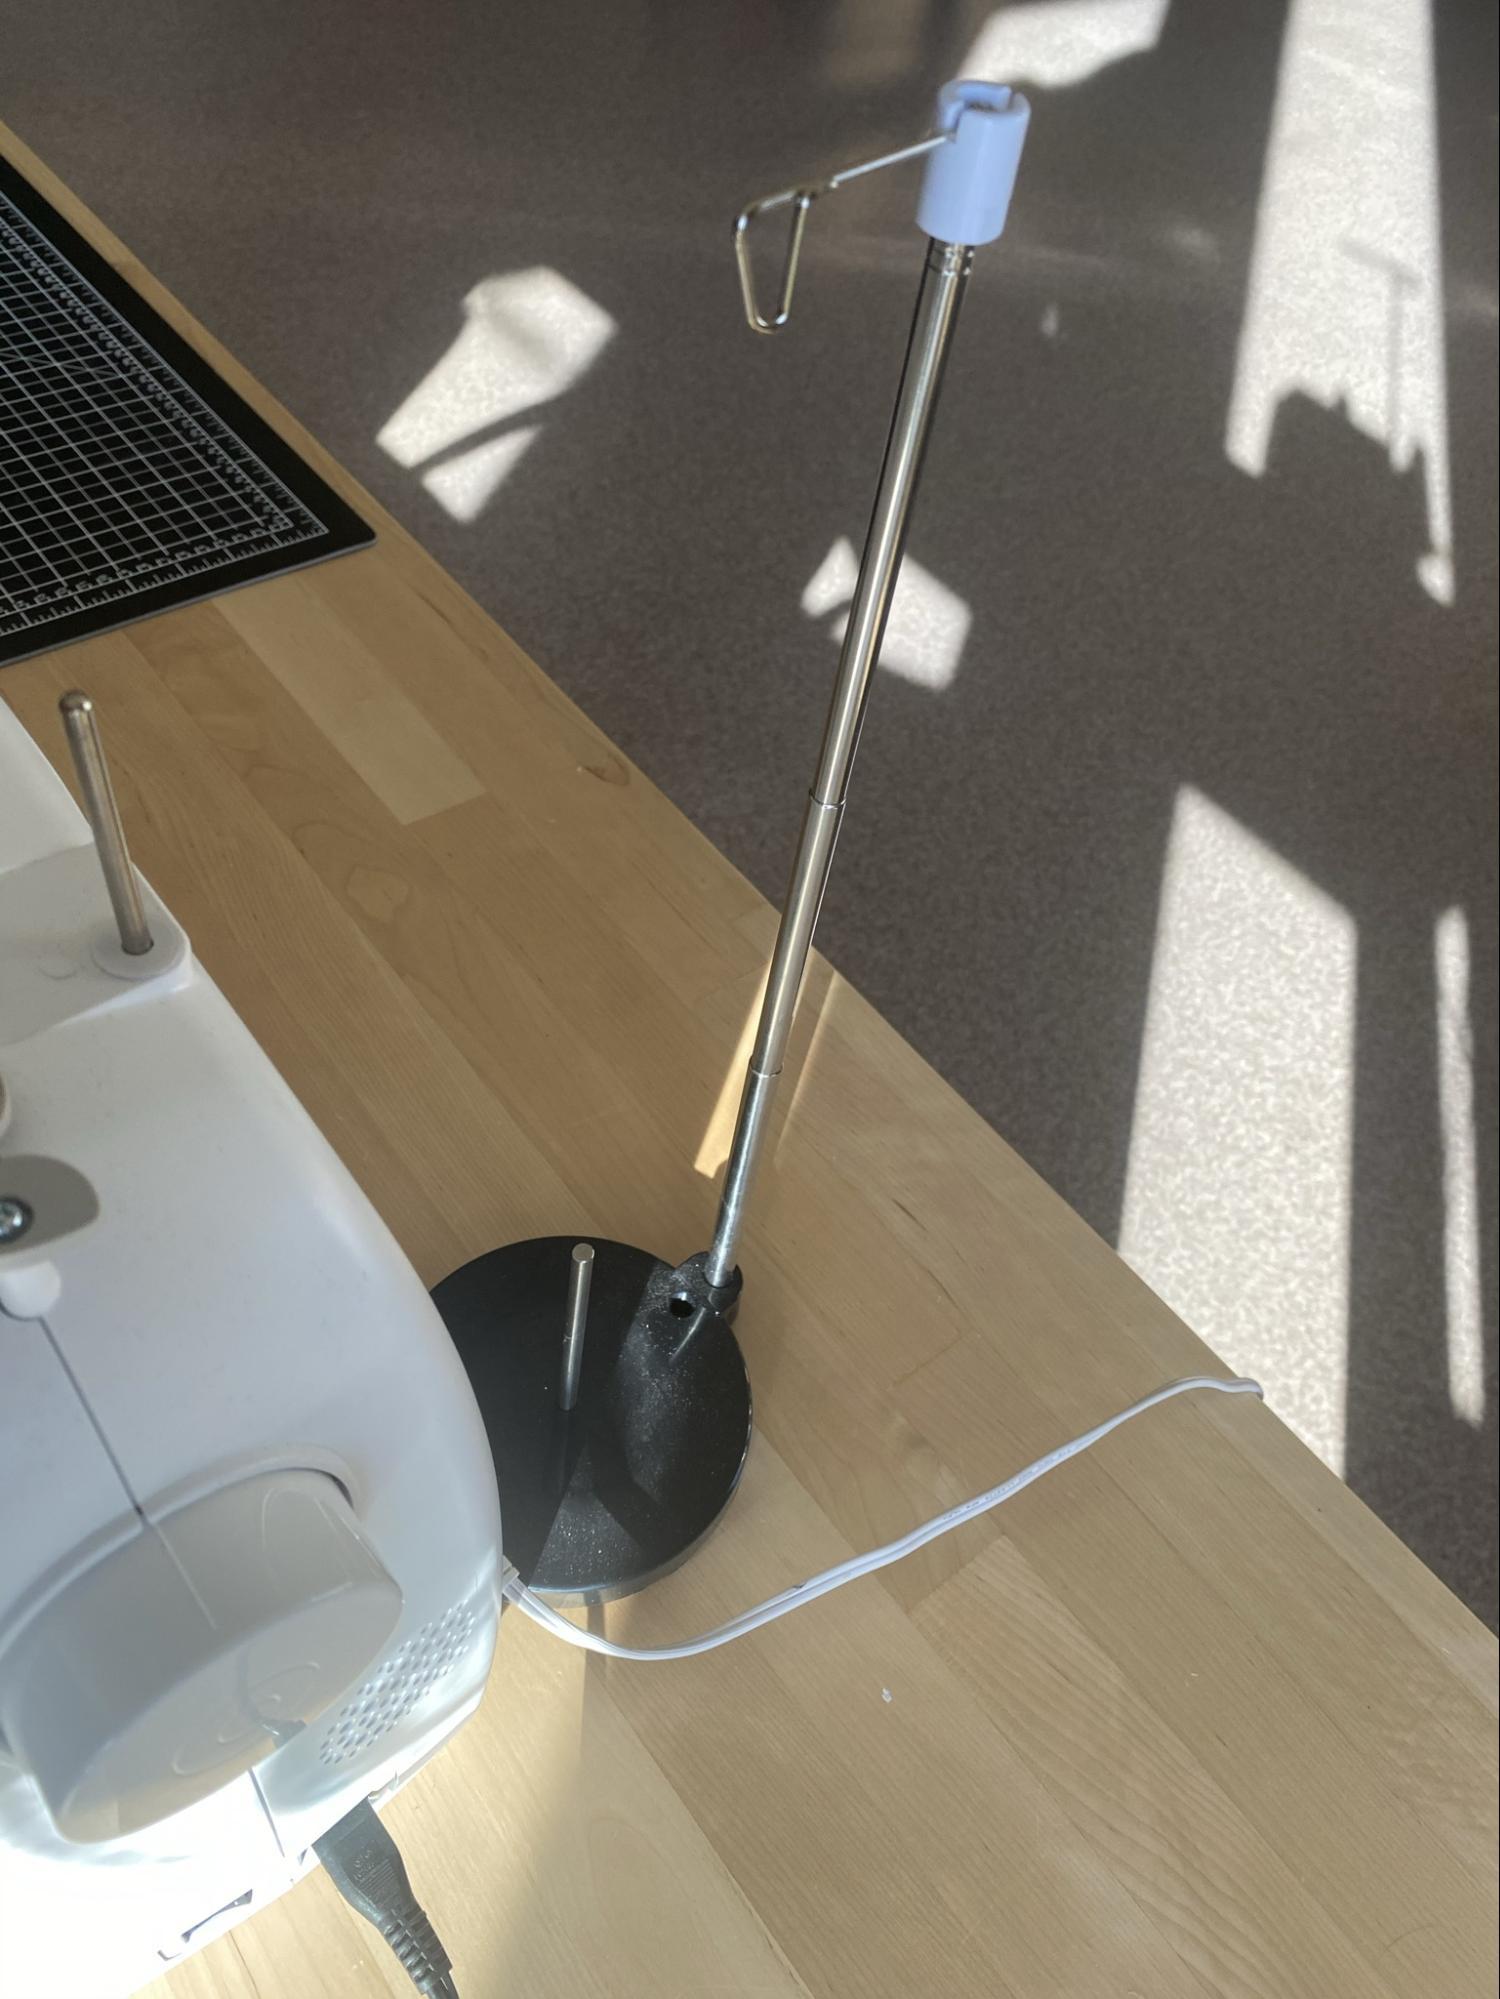
Locate either the thread stand or cup behind the machine. These machines work better with less tension on the thread. Through trial and error, we’ve found that using a thread stand or cup to hold the thread works best.
Setup Machine Support
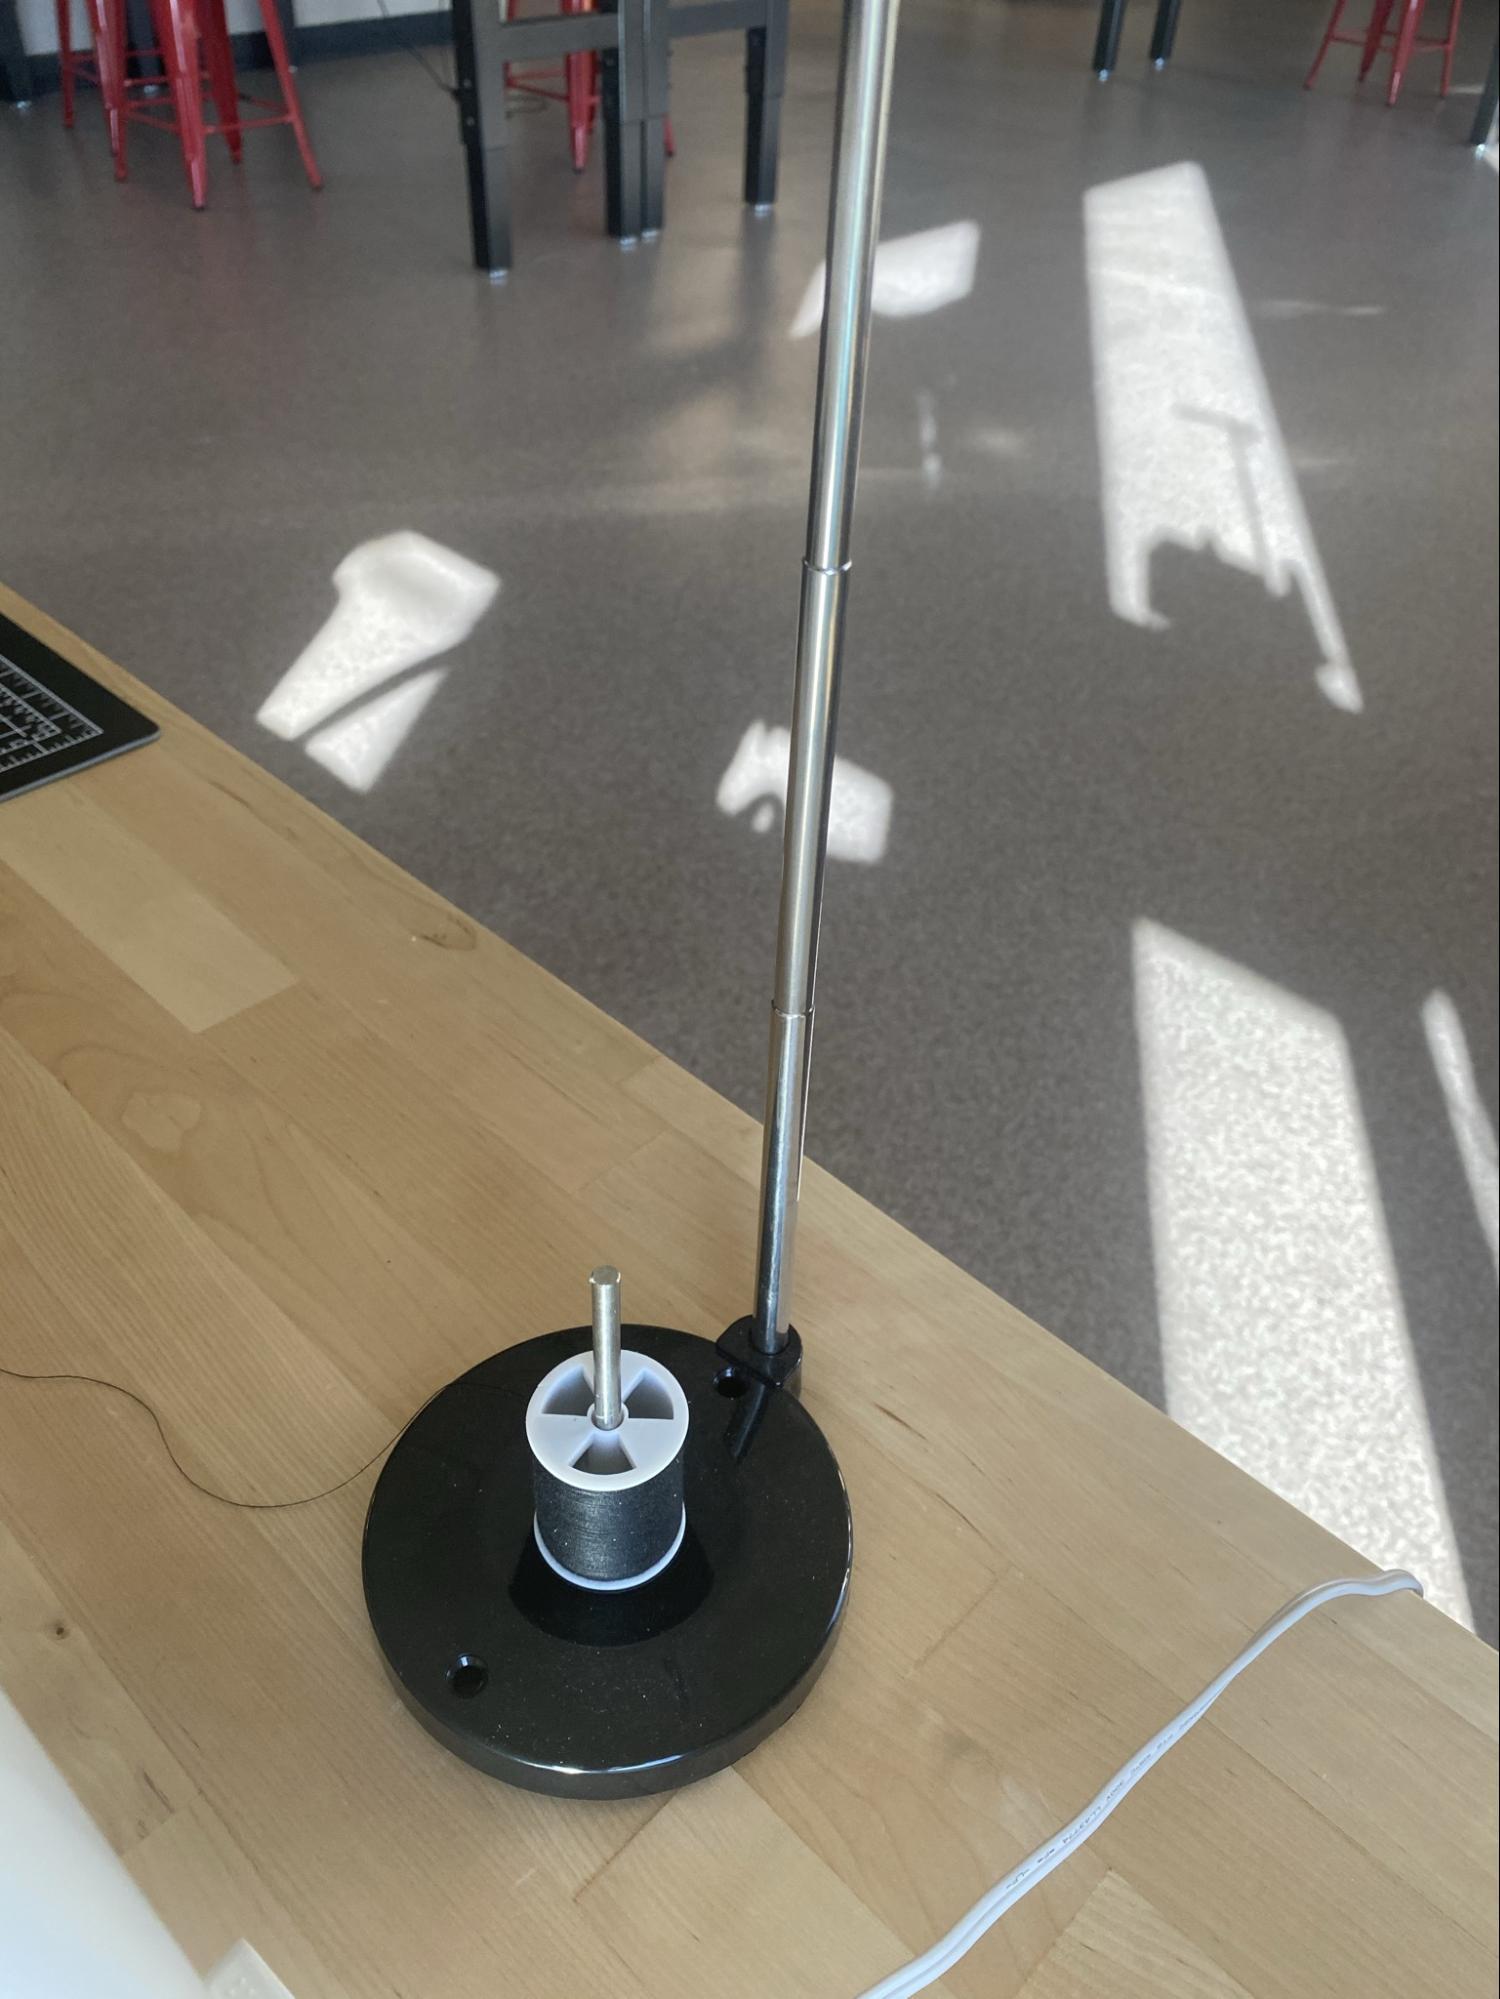
Place the thread on the thread stand or in the cup.
Setup Machine Support
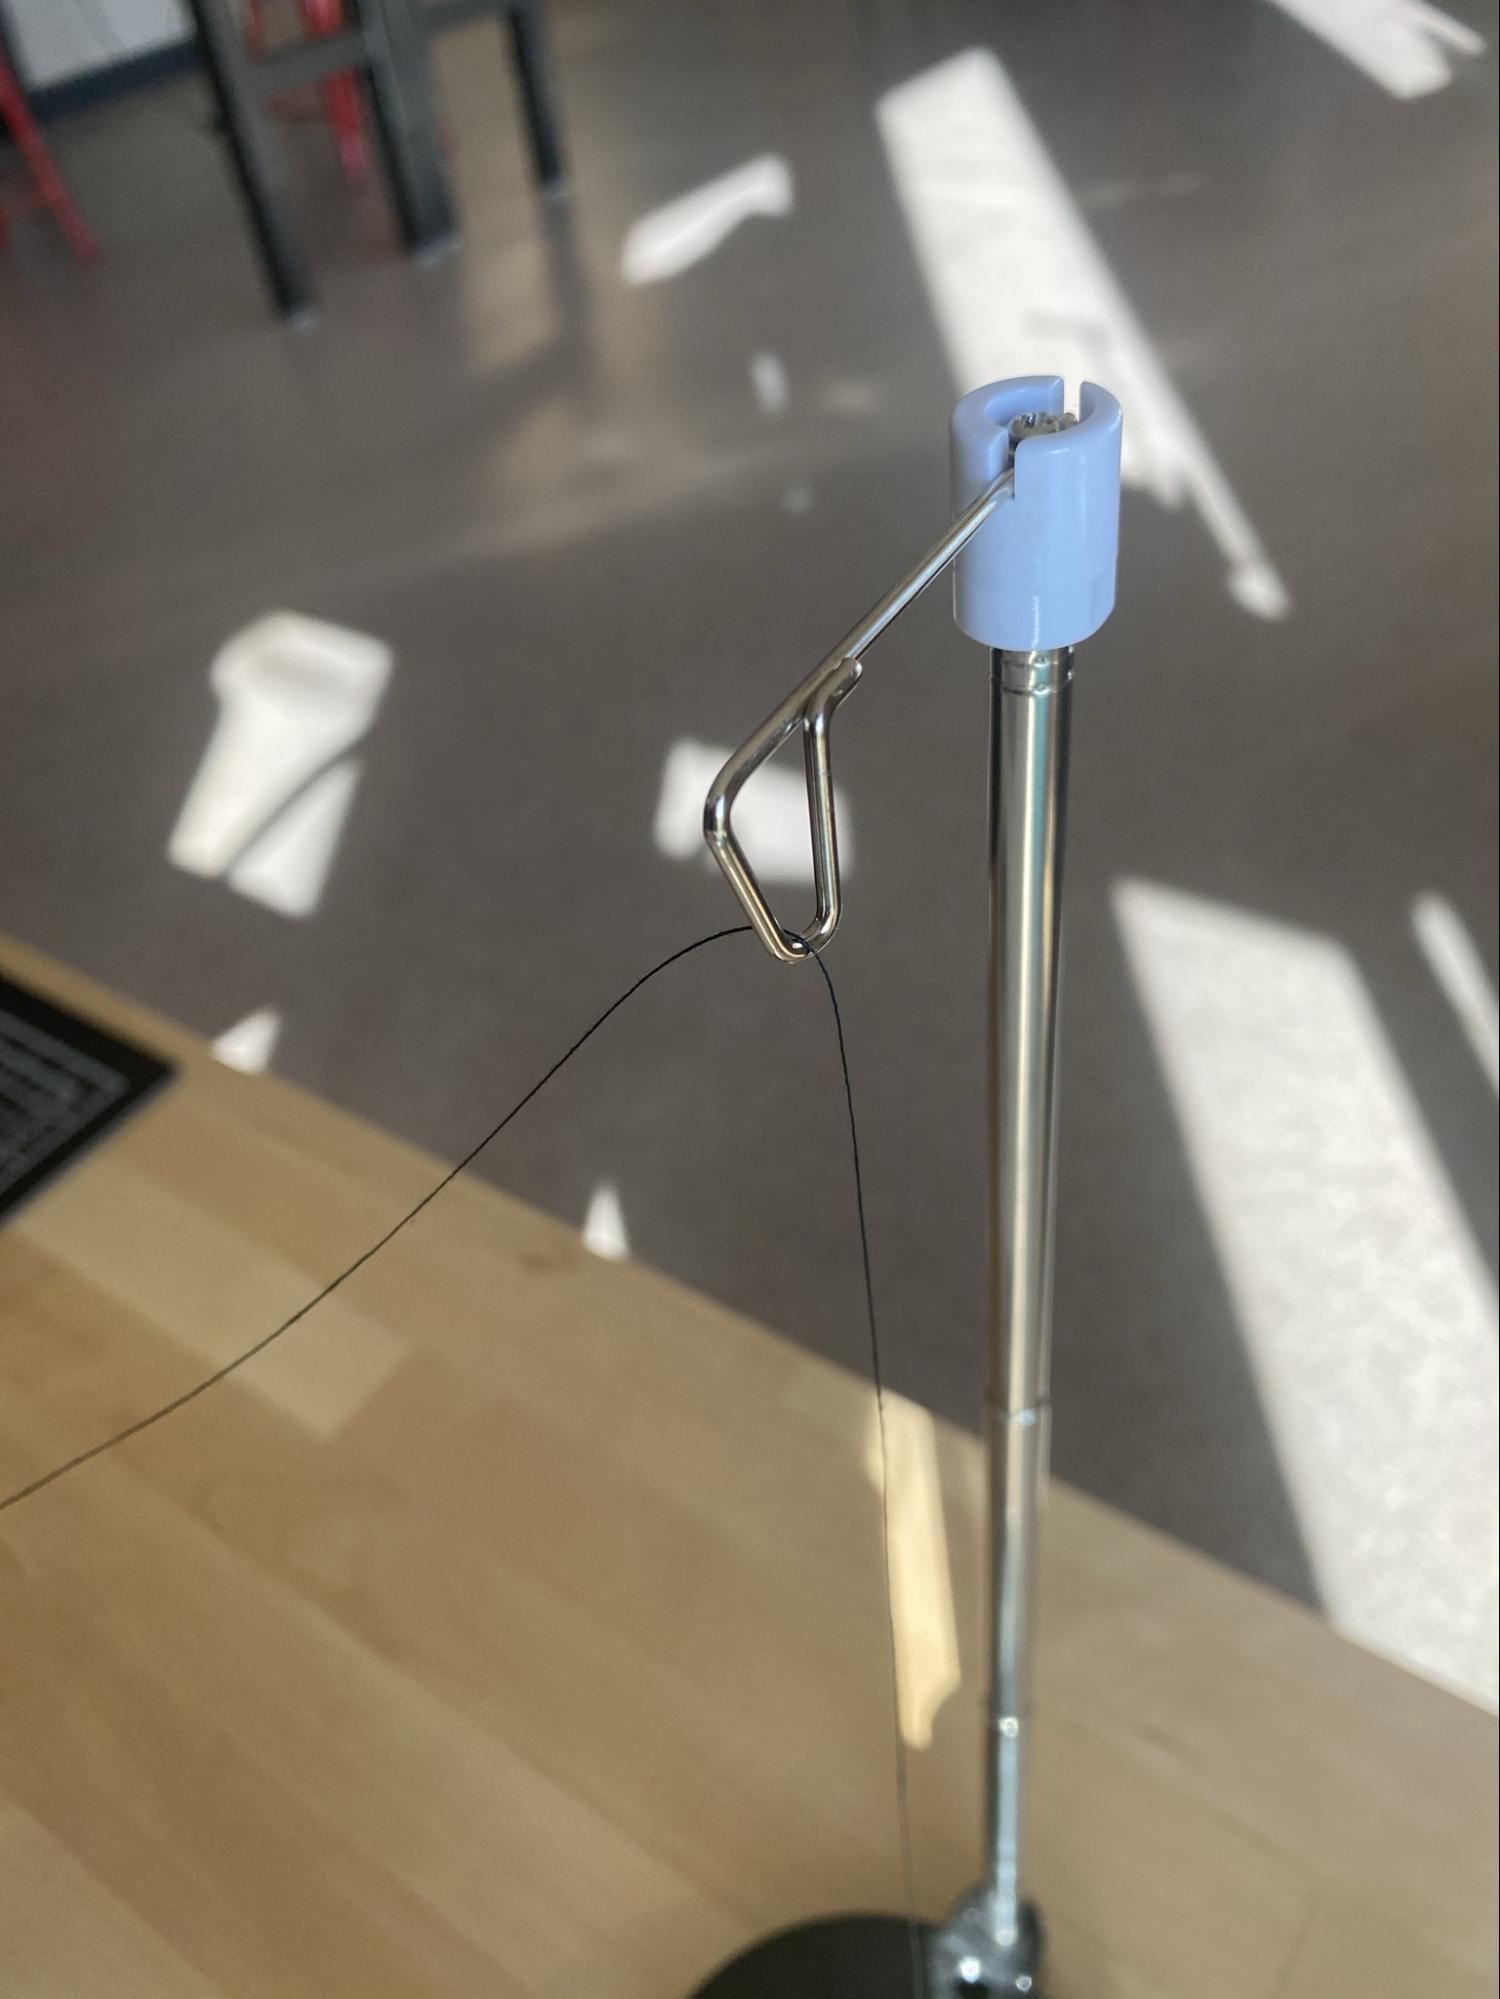
If using the thread stand, pull the thread through the metal loop at the top.
Threading on the Machine
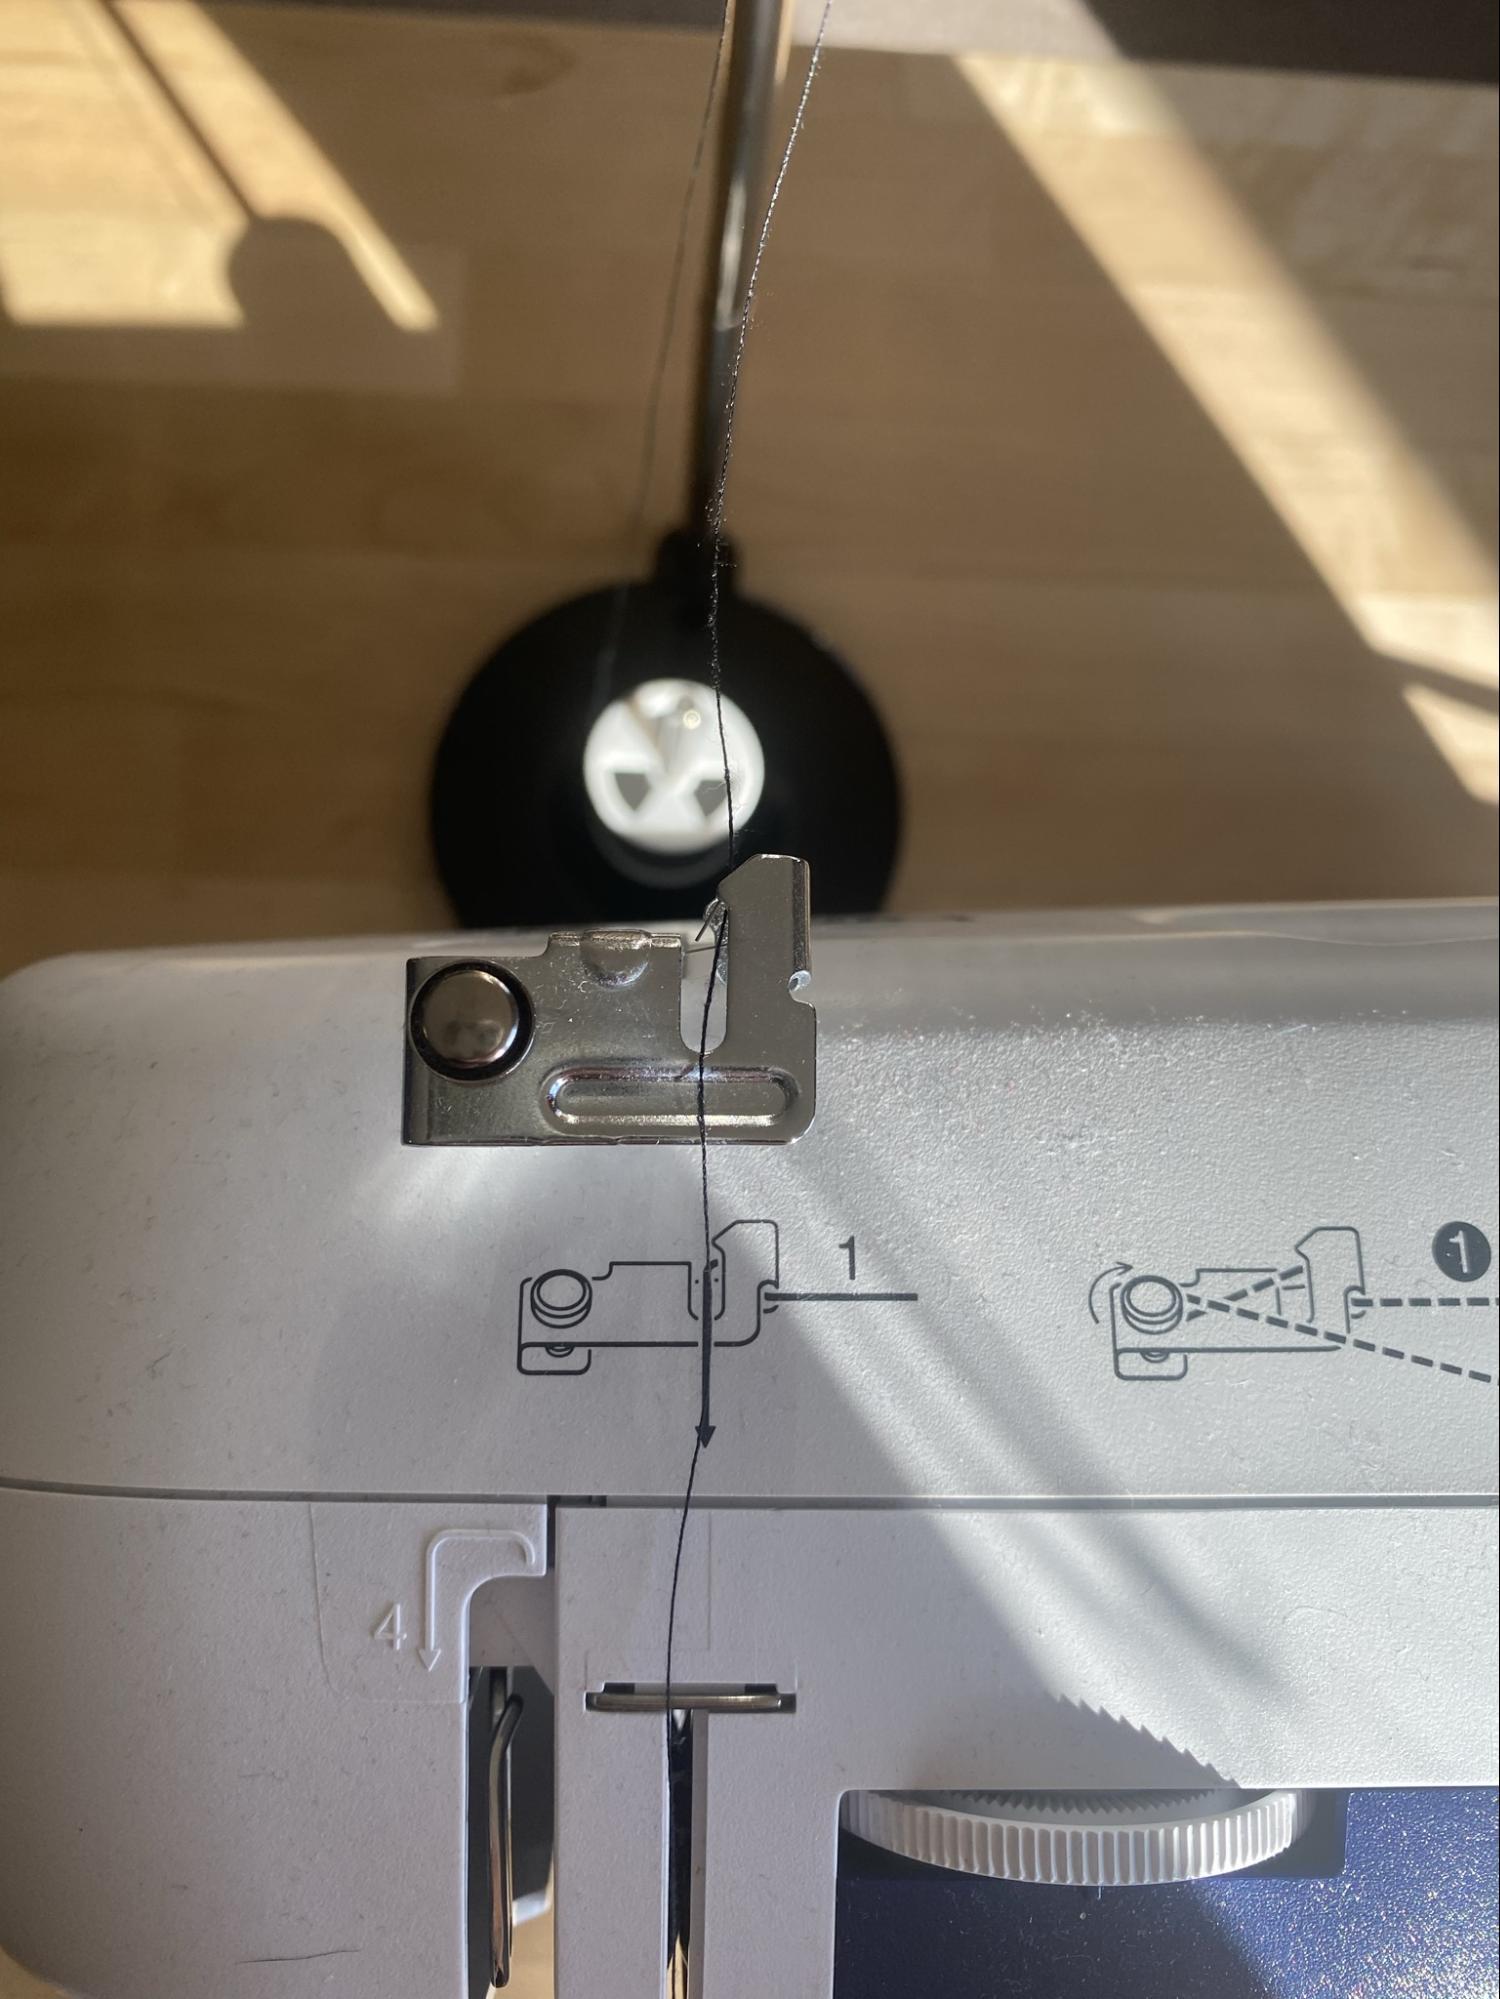
Pull the thread through the clip. There are written instructions on the machine and this is labeled as Step 1:
Threading on the Machine
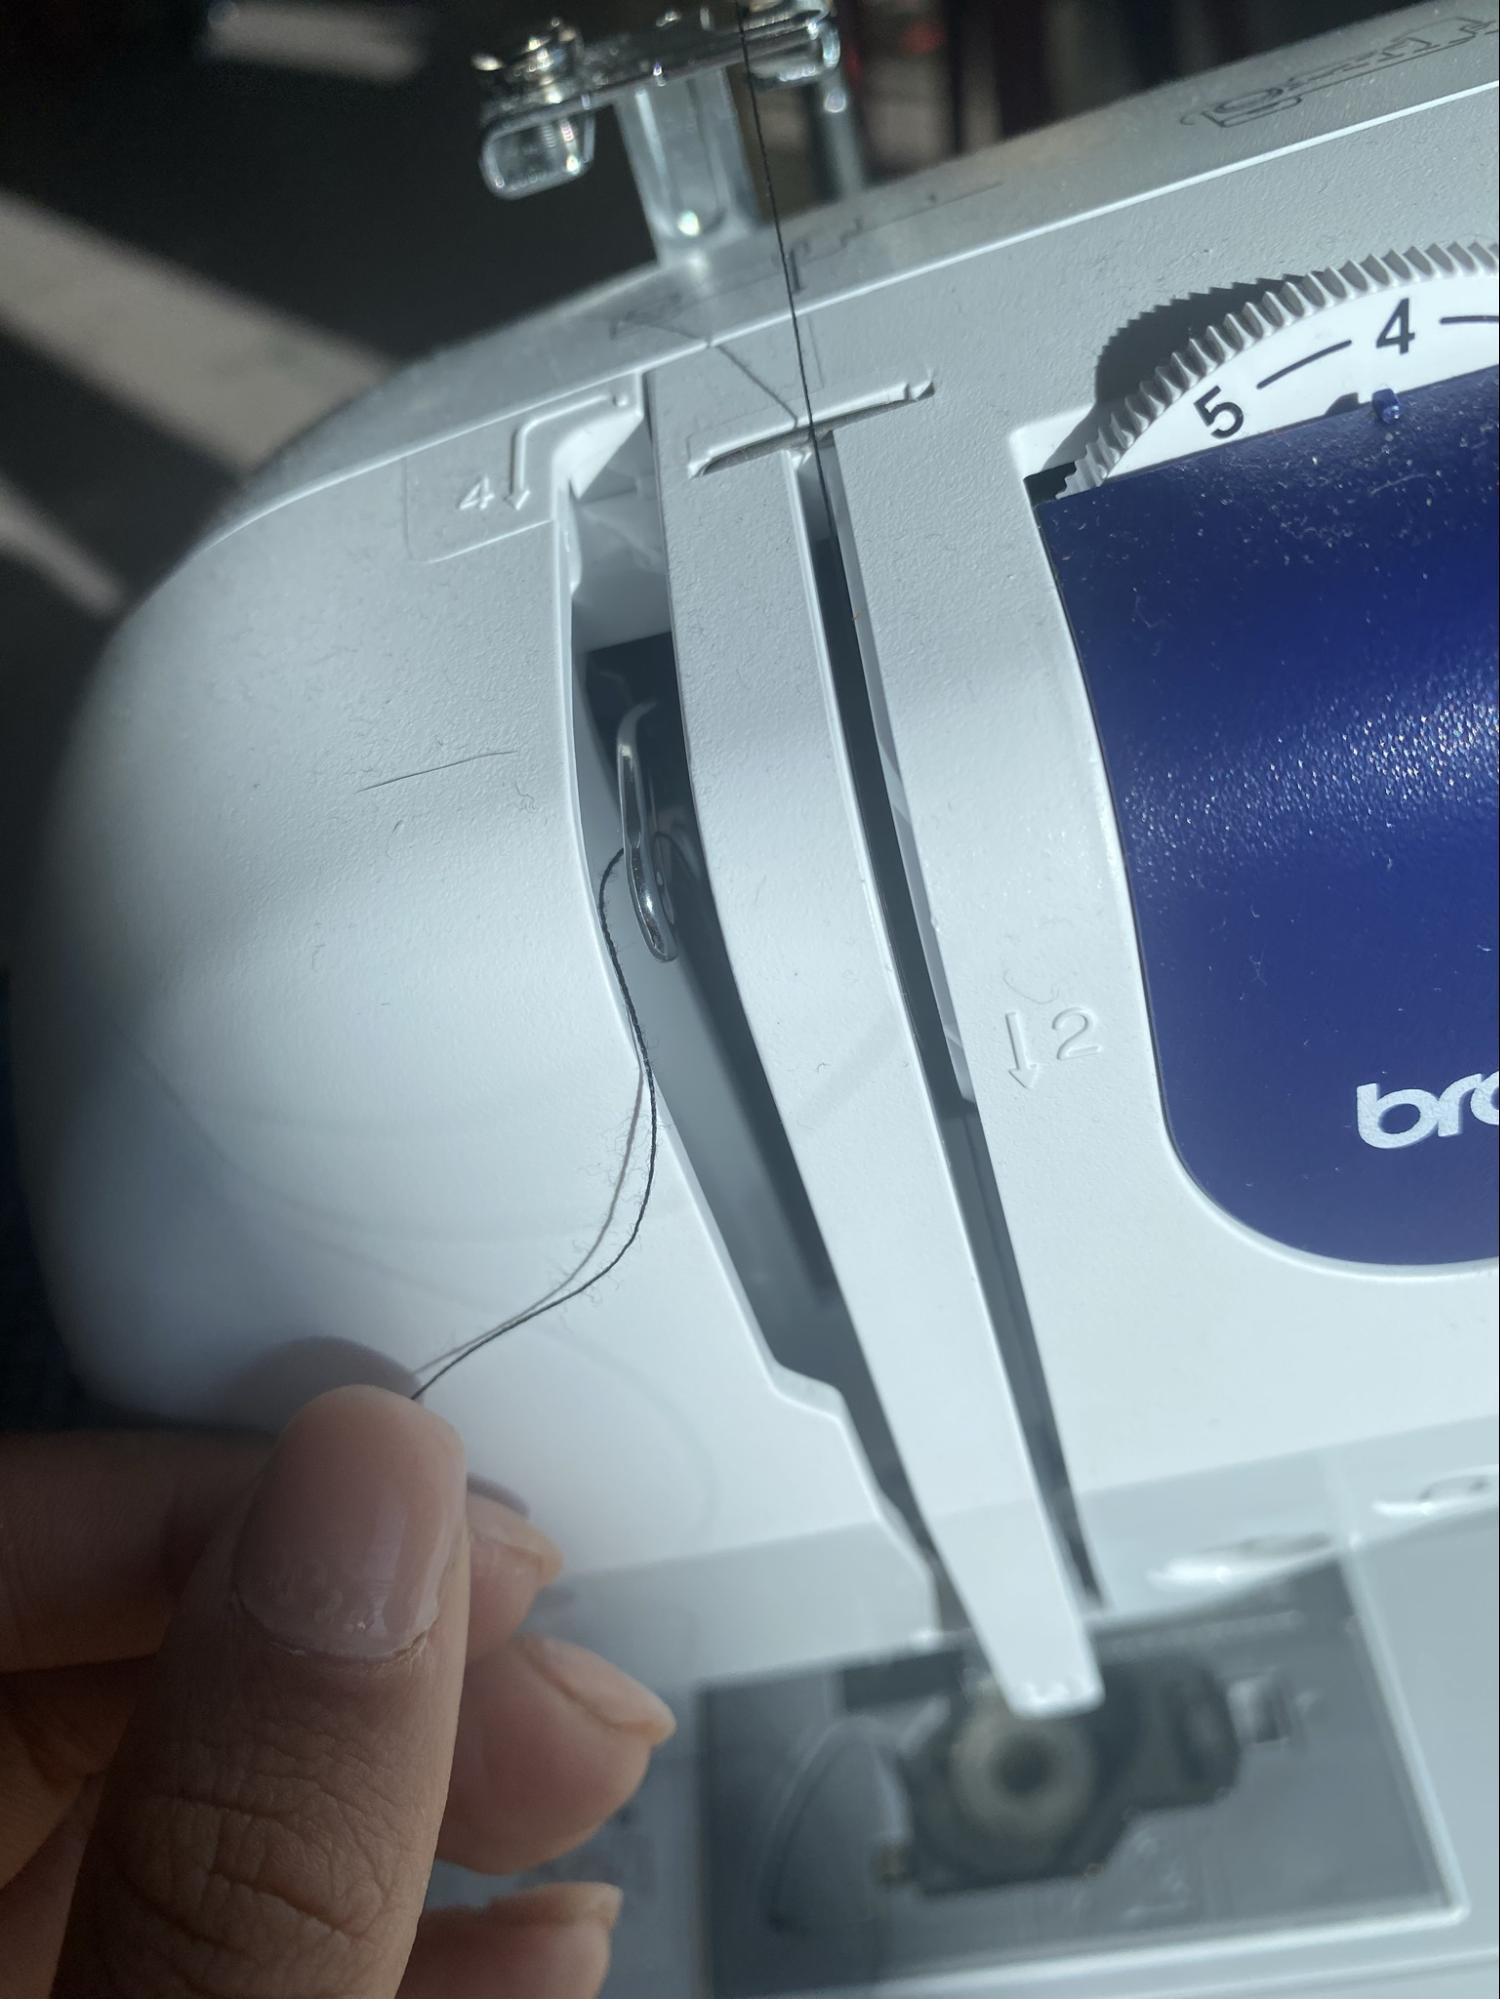
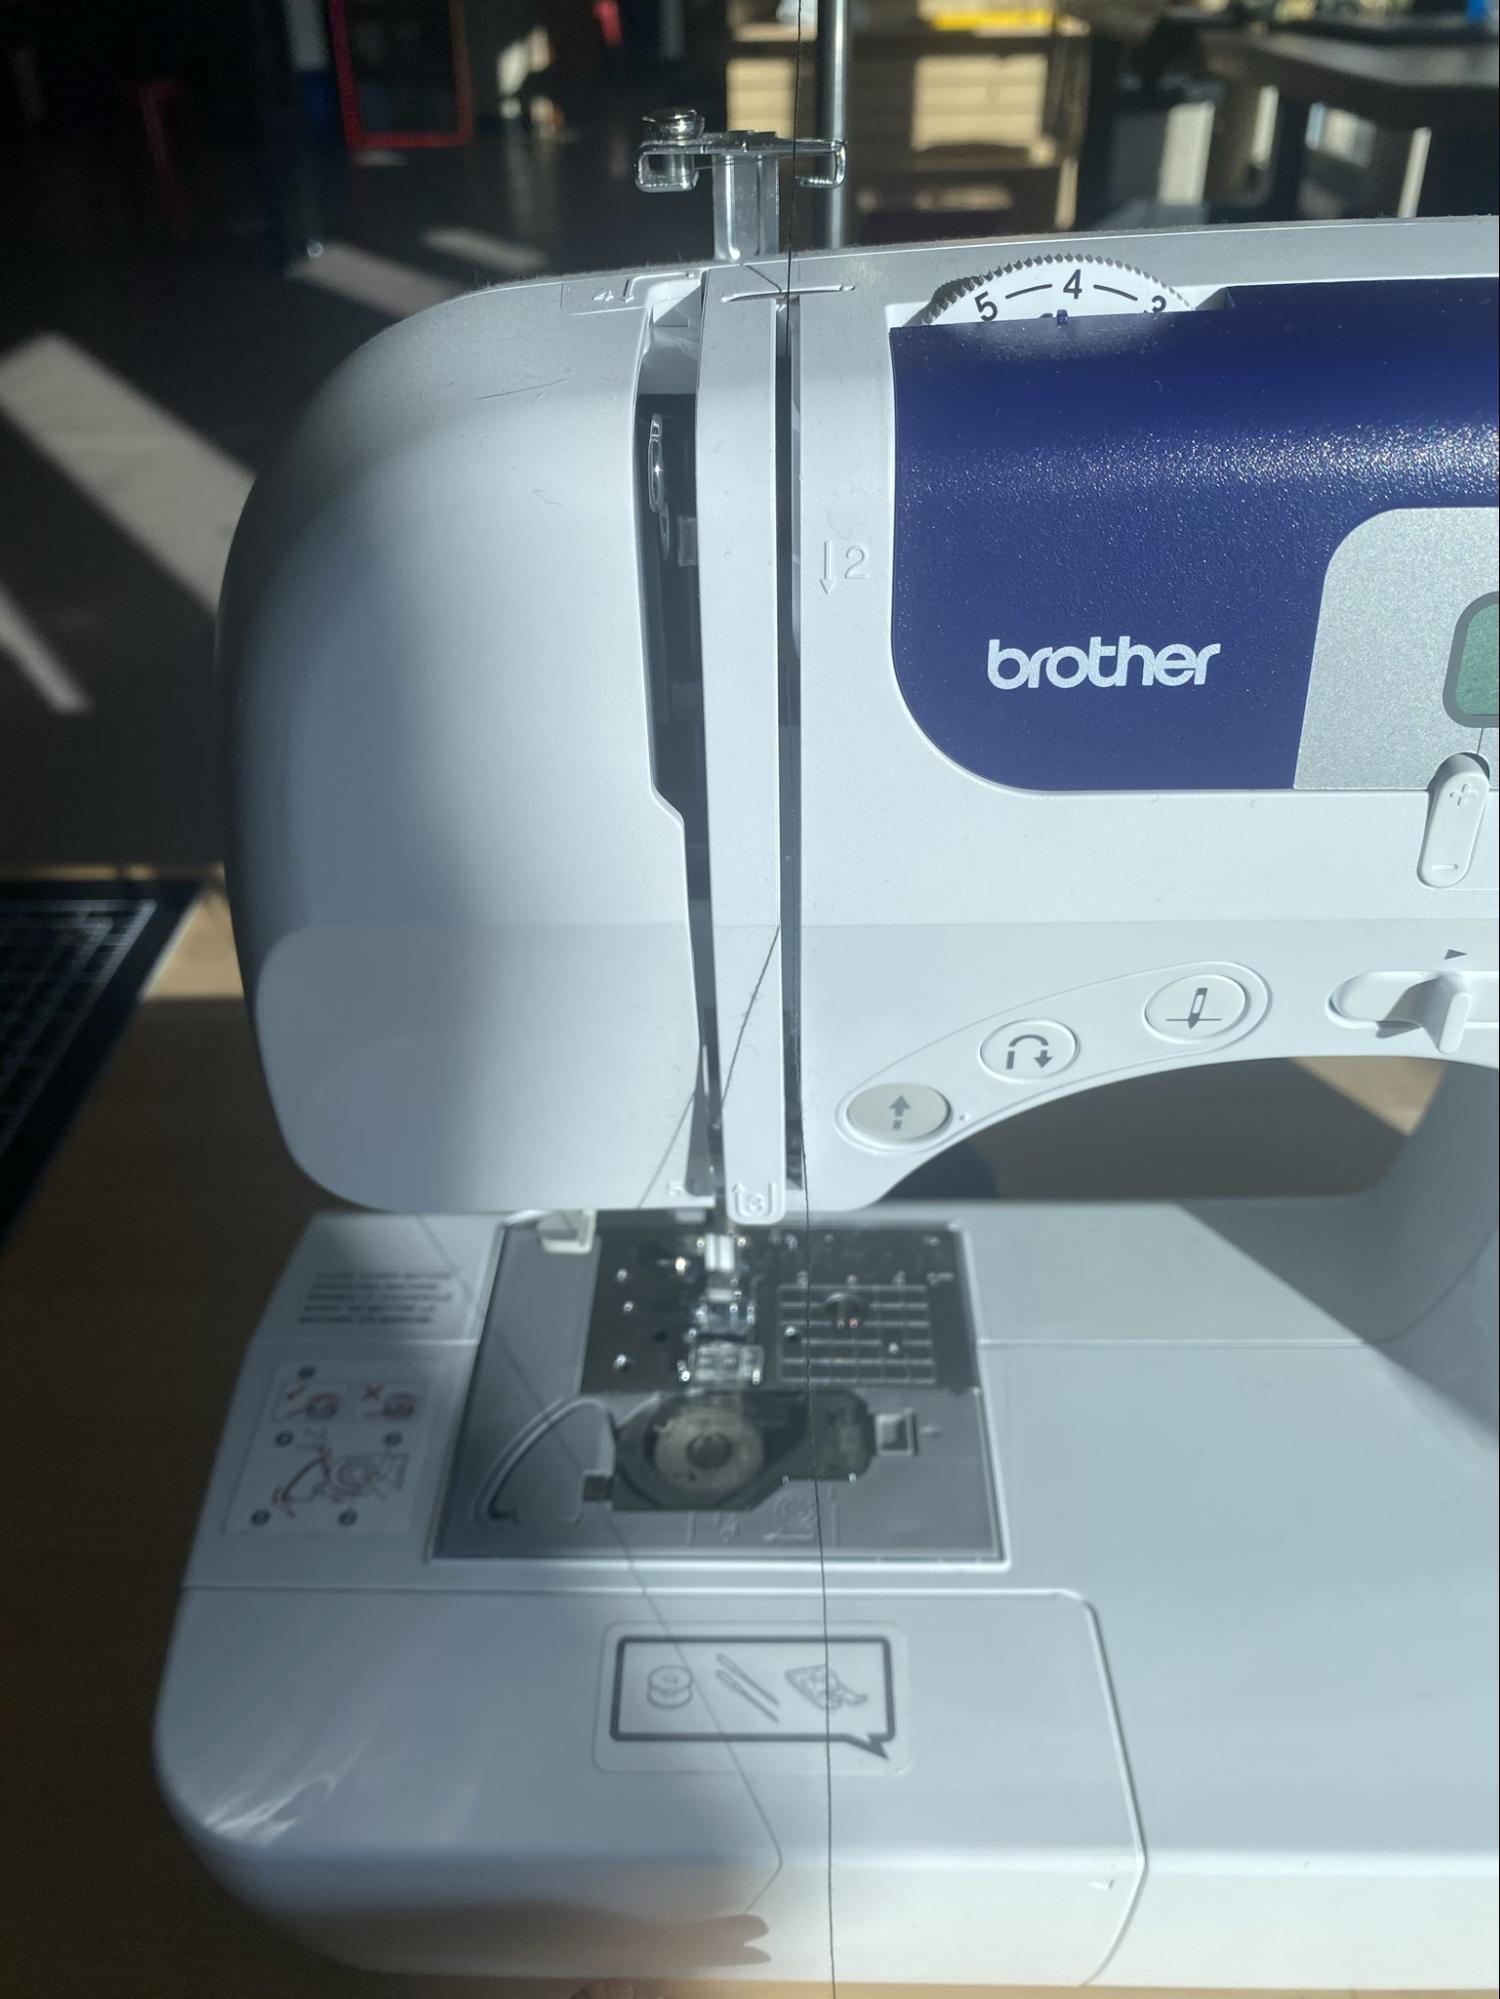
Pull the thread down the right-side slot, up the left side, through the hook, and down the left-side again. These will be labeled as steps 2, 3, 4 & 5 on the machine
Threading the Needle
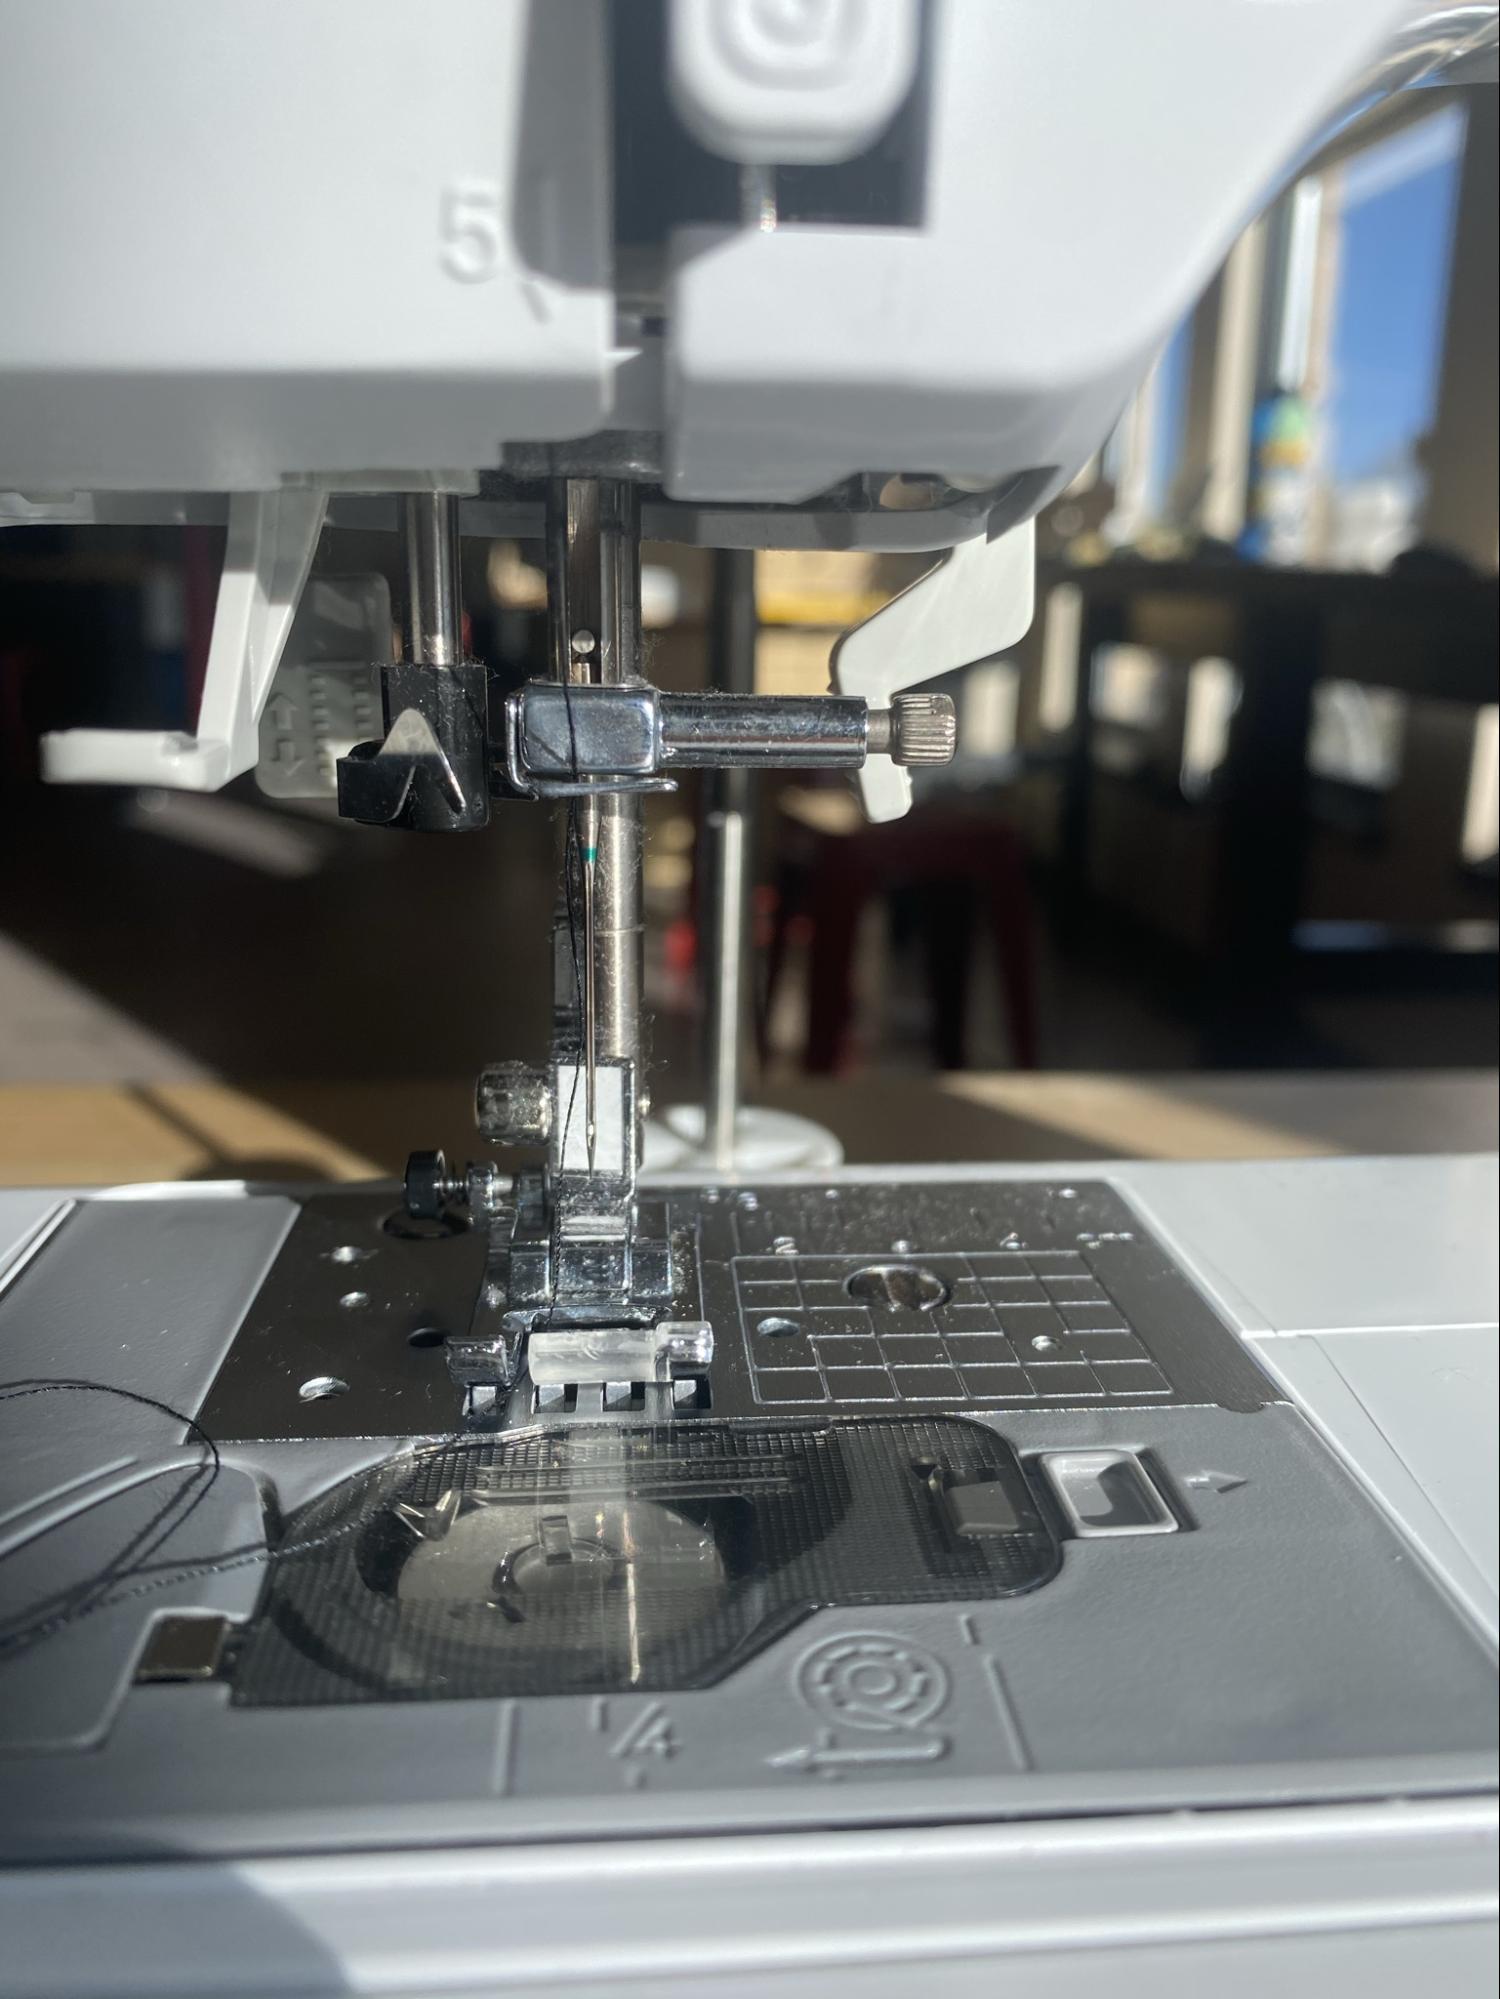
Pull the thread behind the small metal clip at the top of the needle.
Threading the Needle
Gently push the thread through the needle. It may help to cut the thread for a fresh edge on the thread. If you’re unable to thread the needle, ask a staff member for assistance to use the auto-threader.
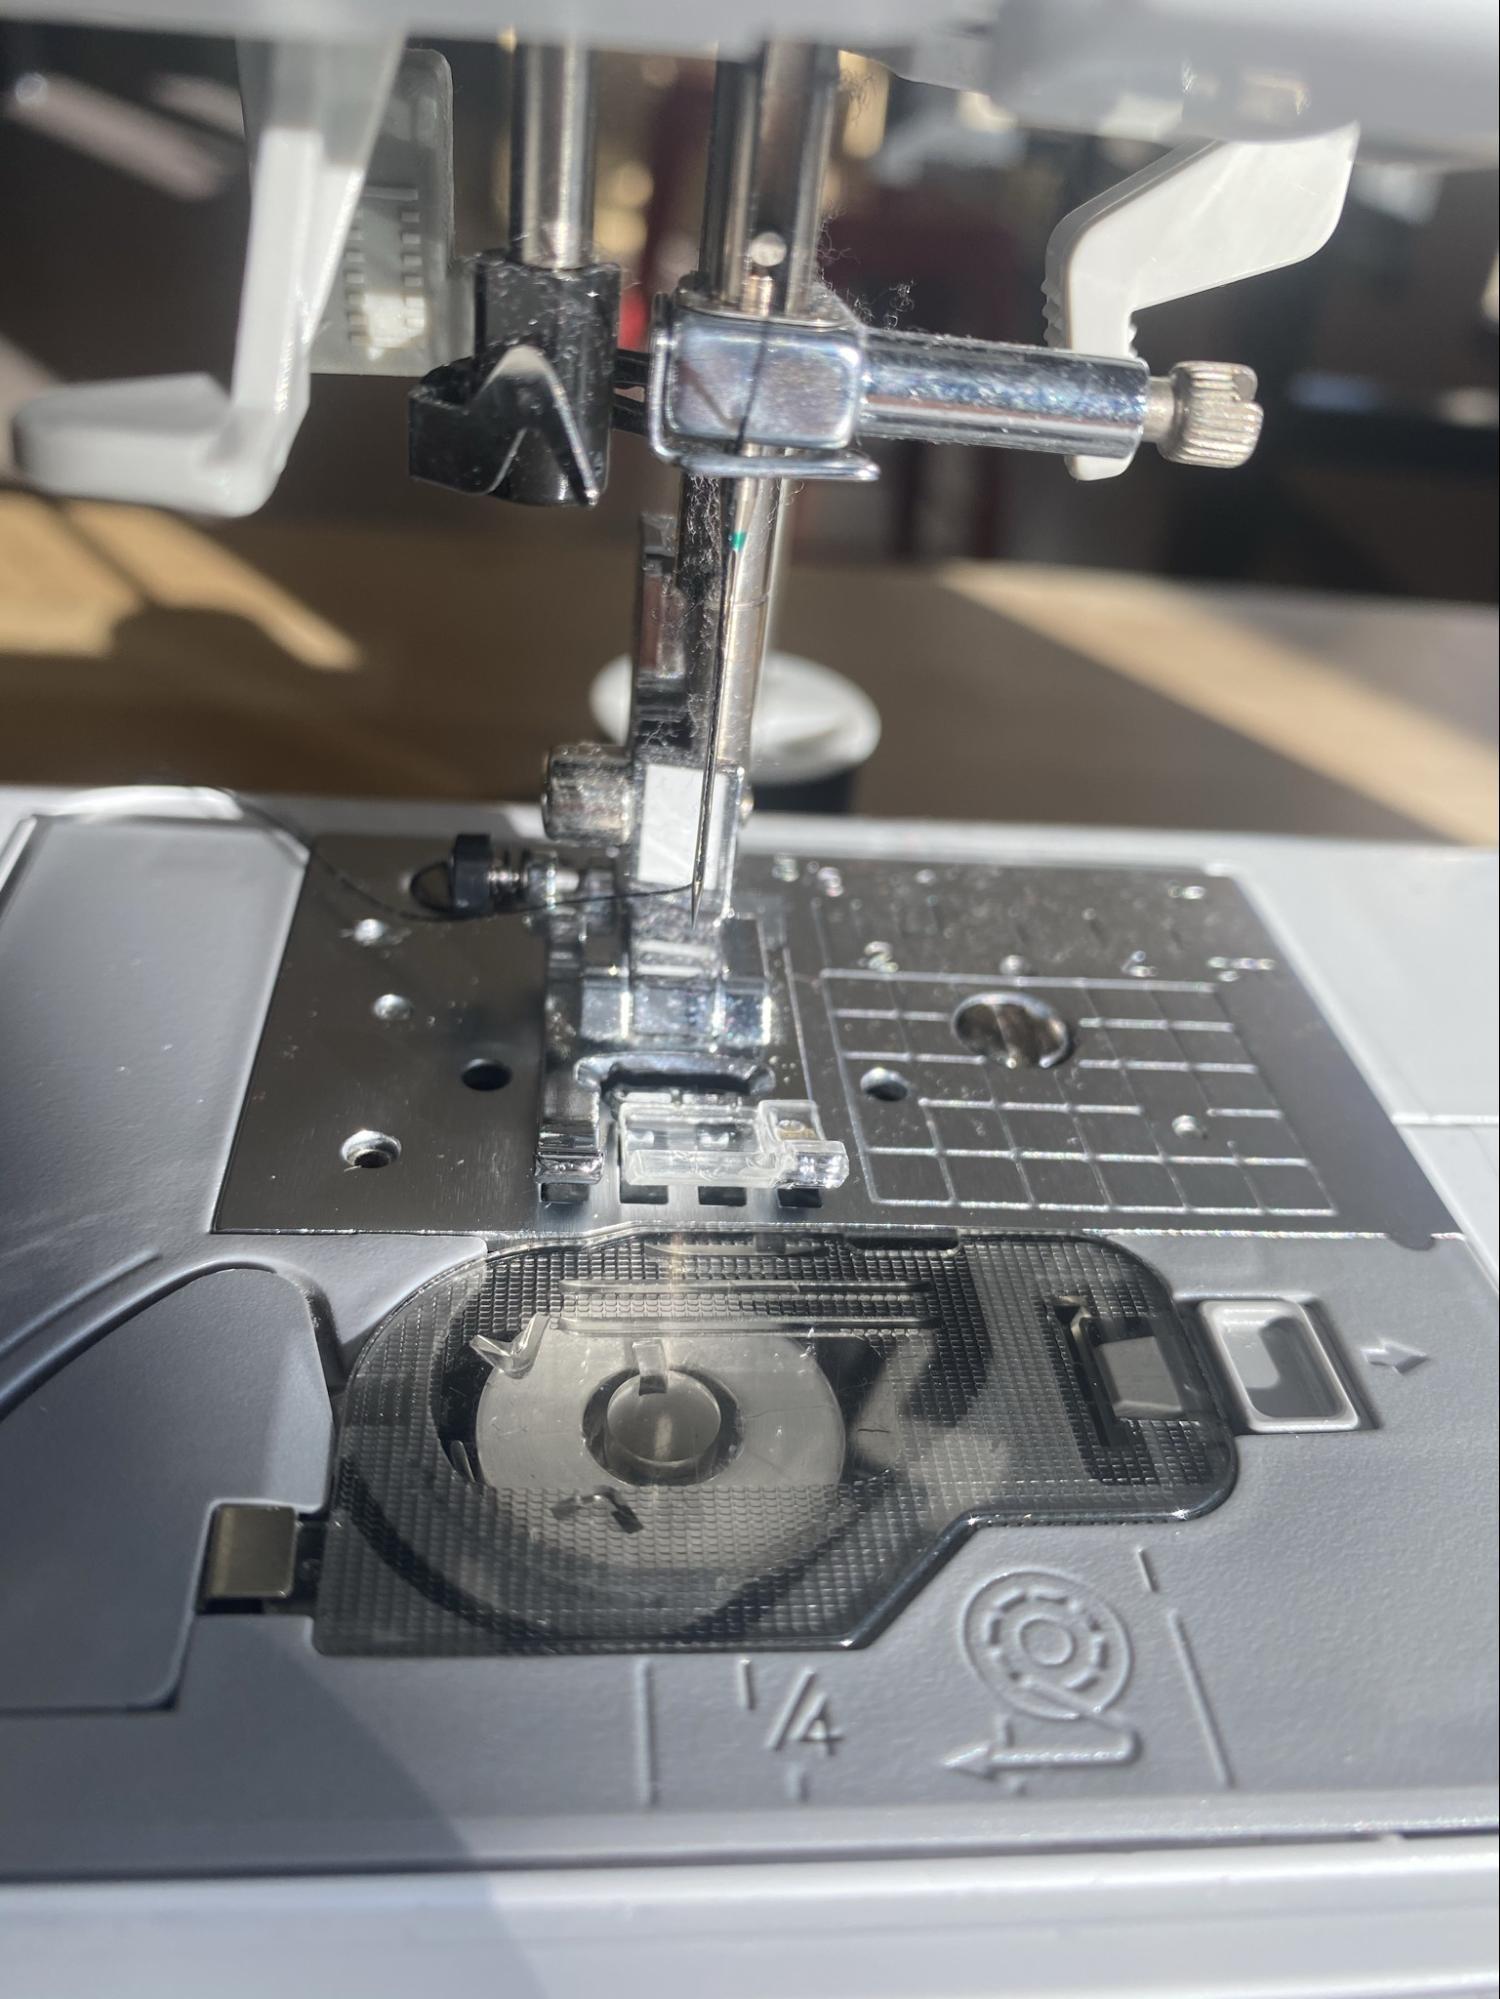
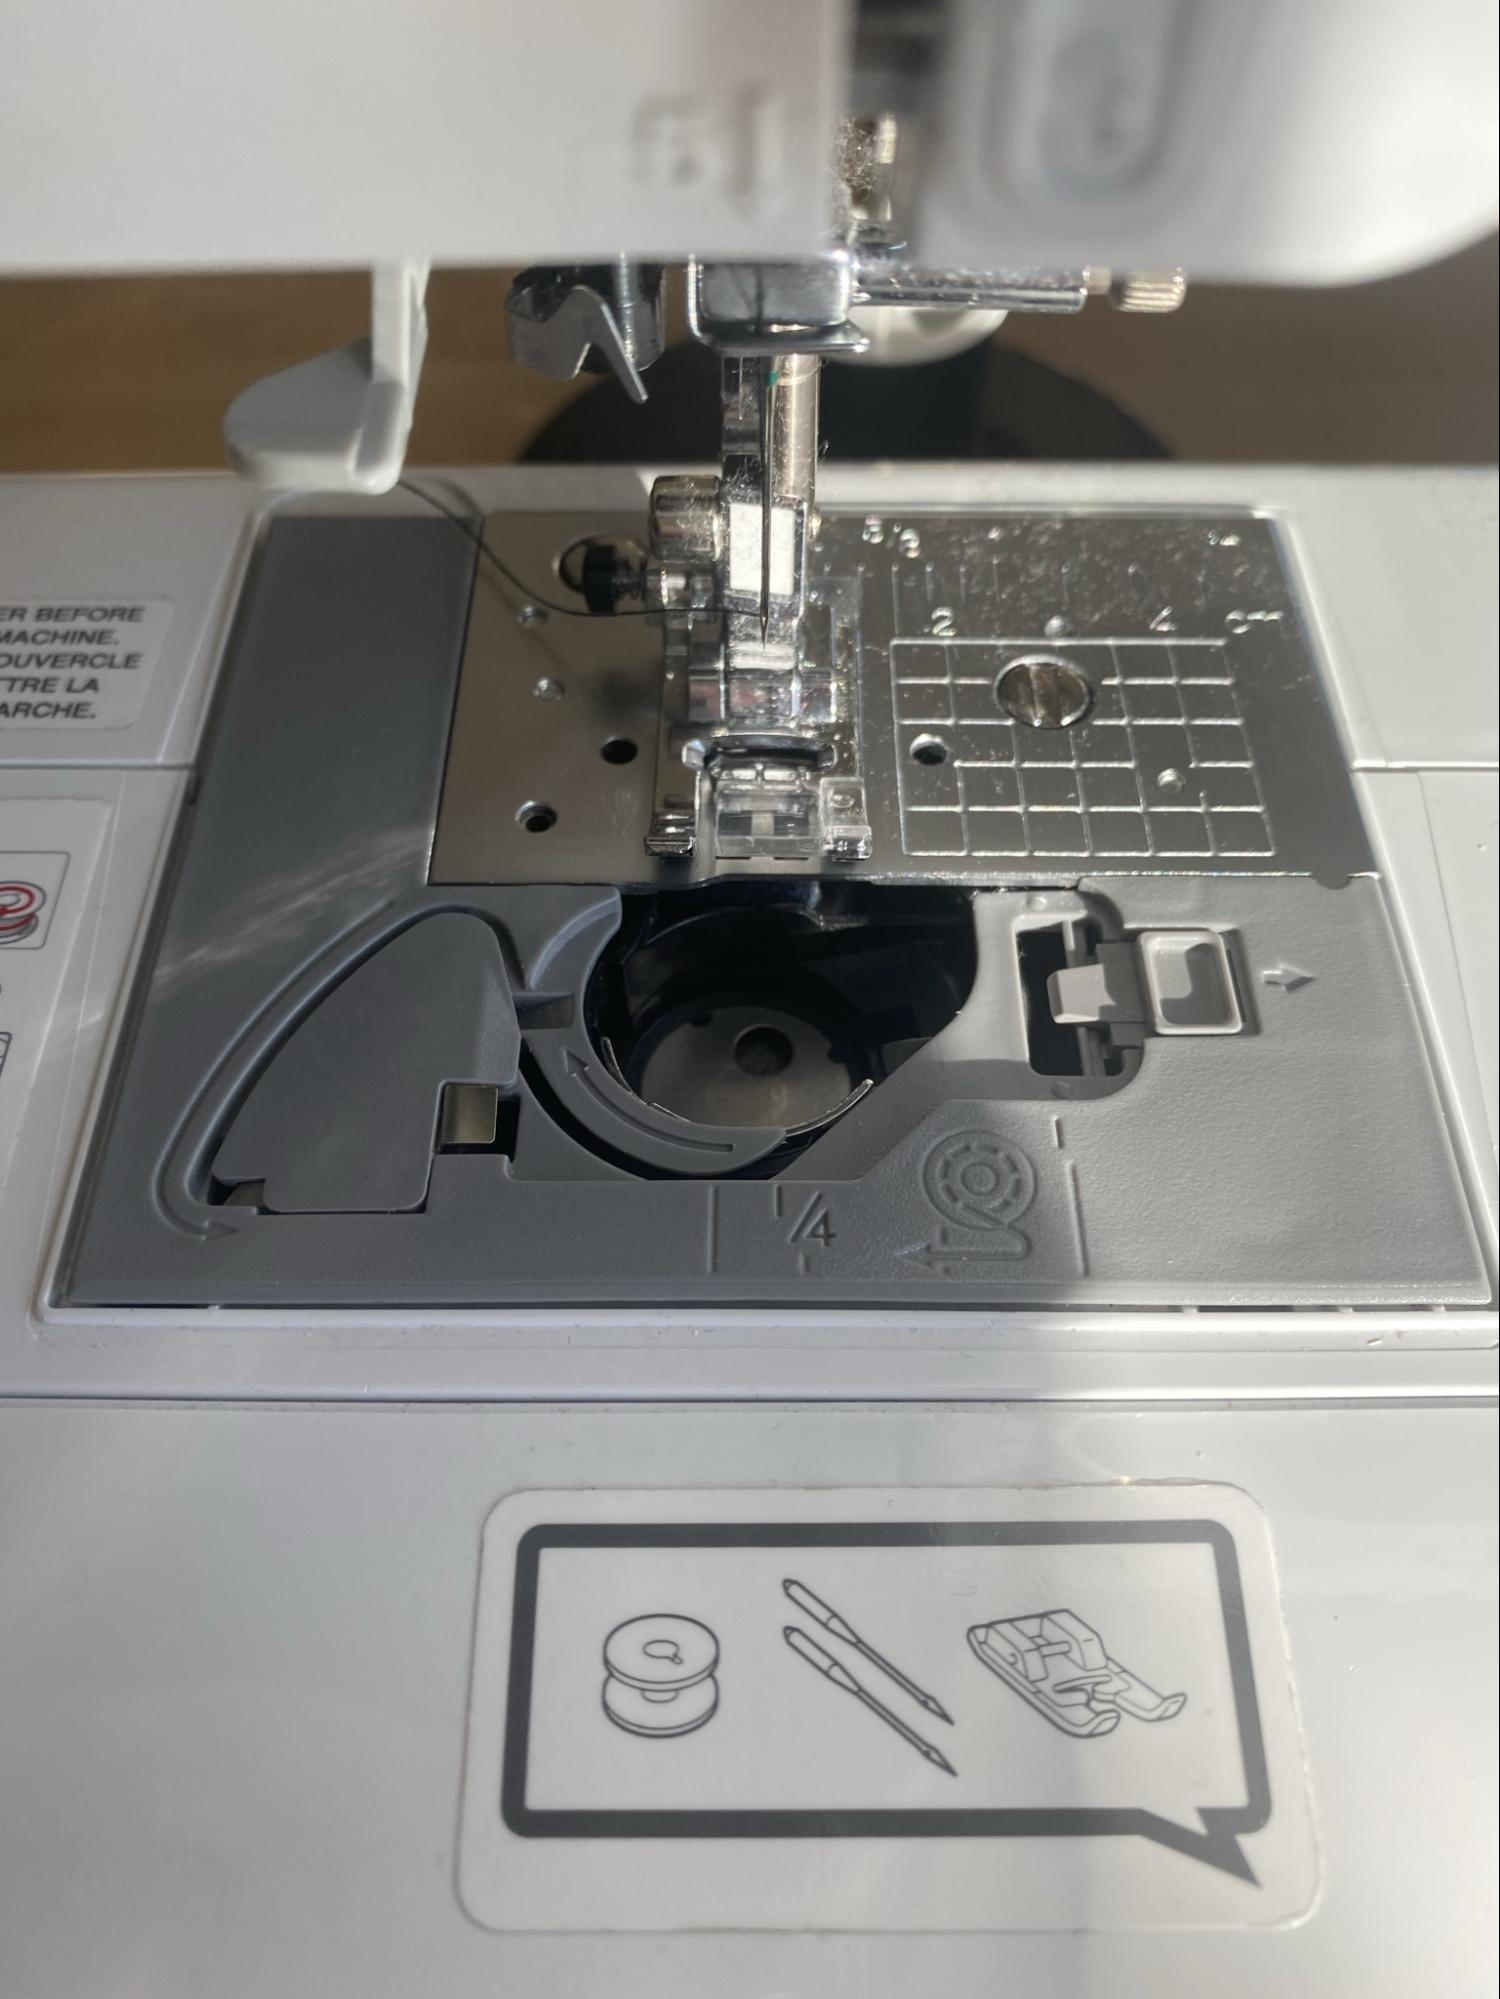
Threading the Bobbin
The bobbin is often already threaded. If you see that the bobbin is low on thread or empty, you will need to add a new one.
Threading the Bobbin
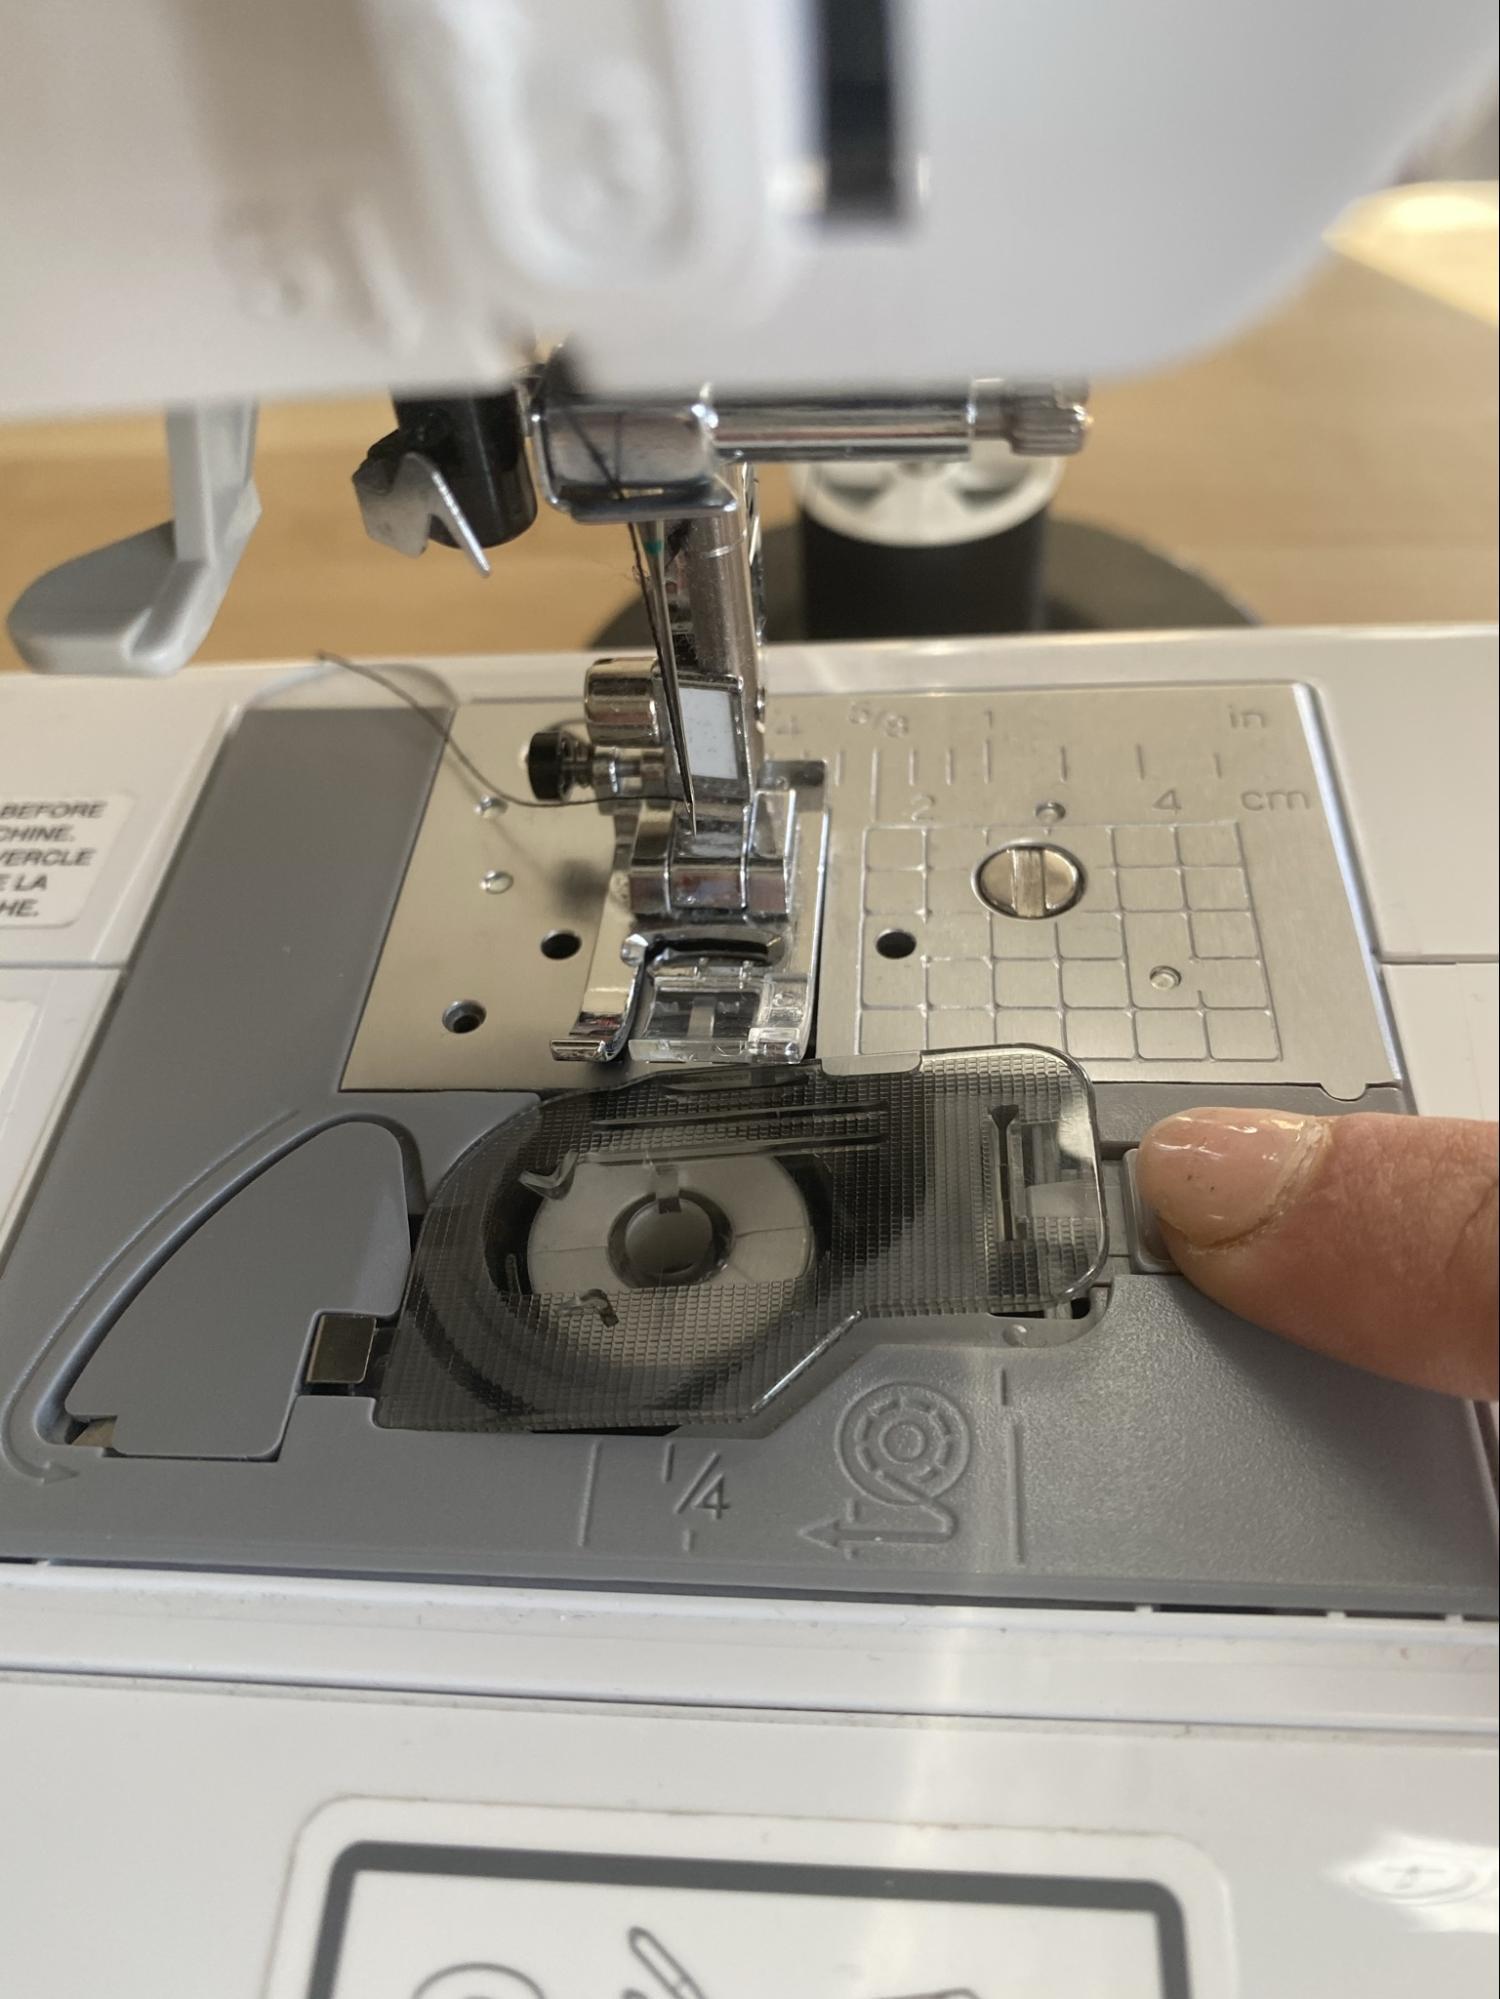
Push the slide cover to pop the right side of the plastic cover.
Threading the Bobbin
Remove the plastic cover.
Threading the Bobbin
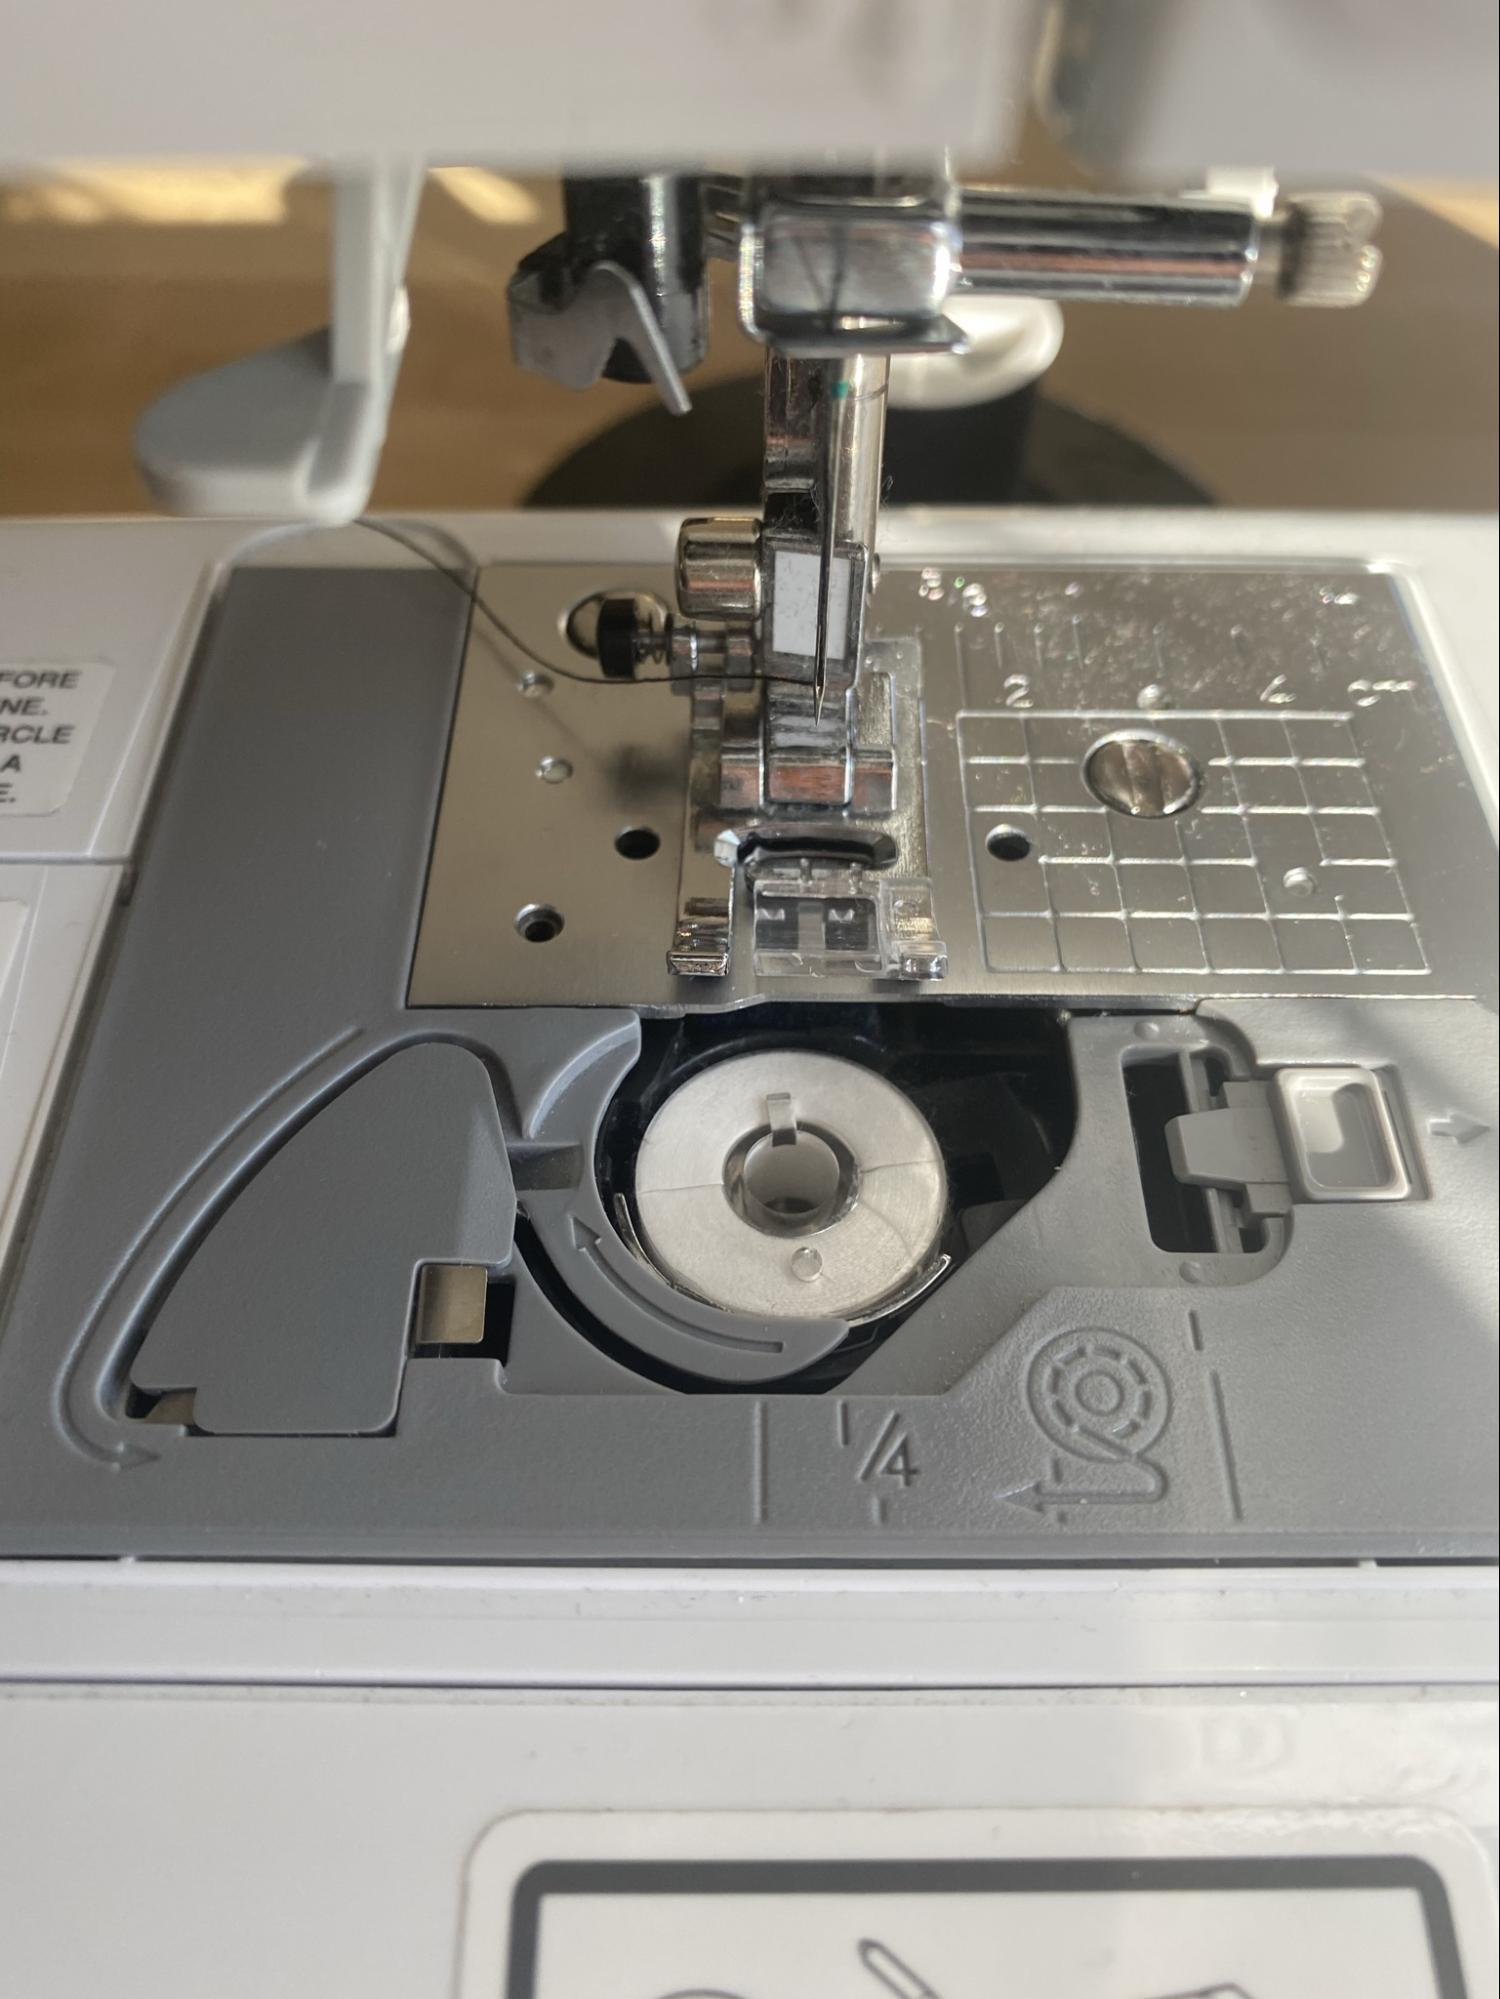
Remove the used bobbin.
Threading the Bobbin
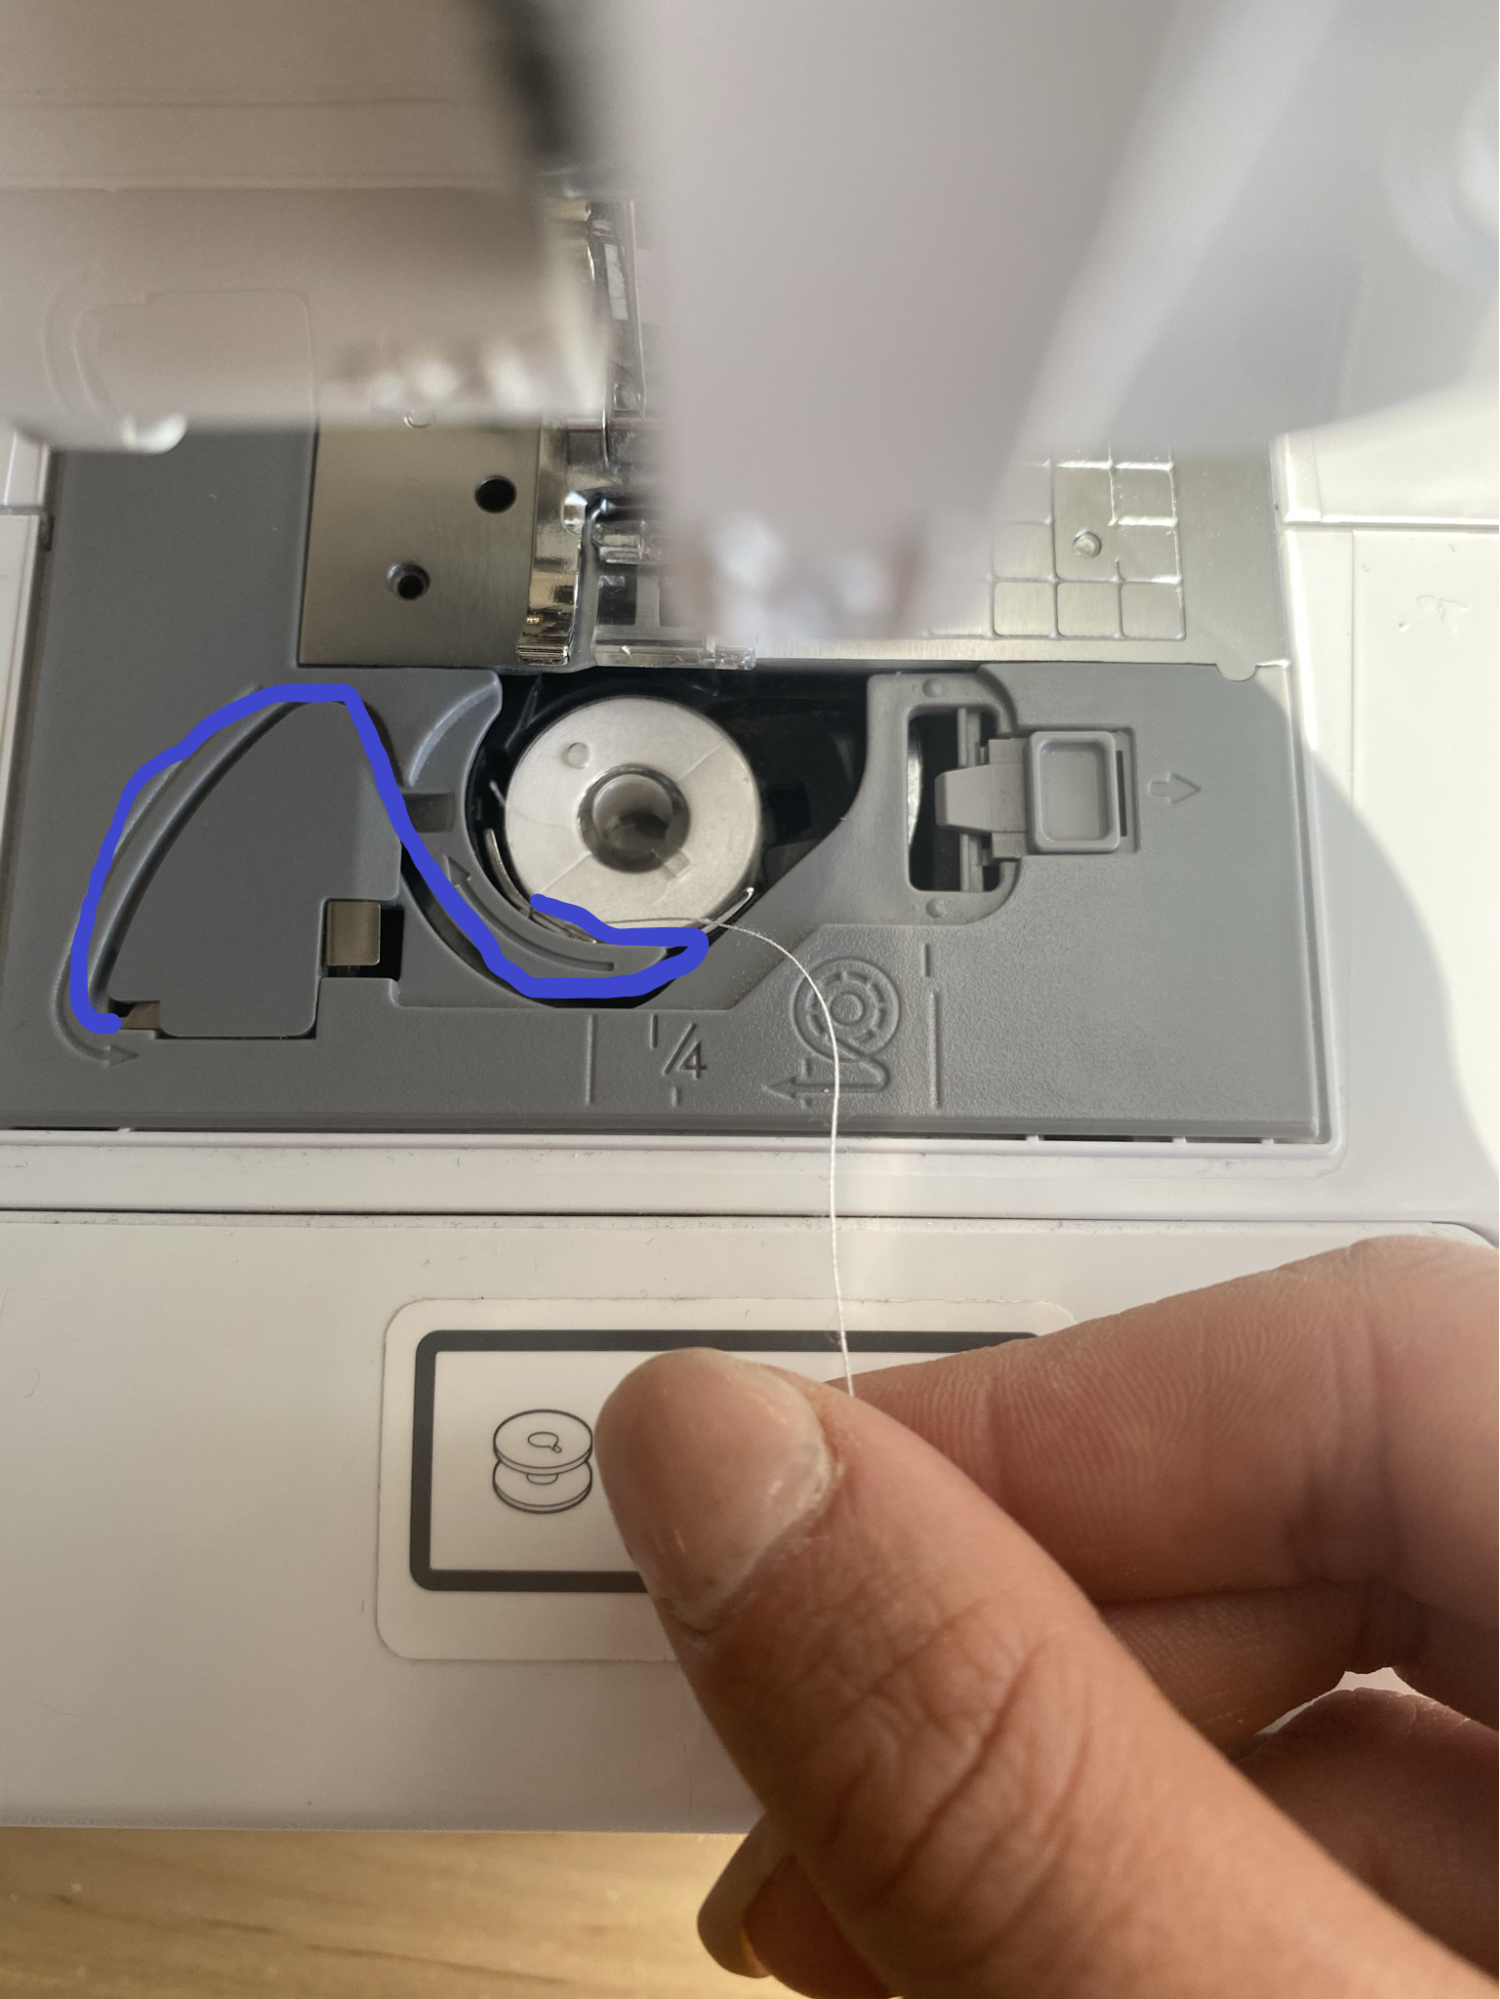
Replace with a new bobbin or different bobbin color, and pull the thread out, and around following the blue line in the drawing.
Threading the Bobbin
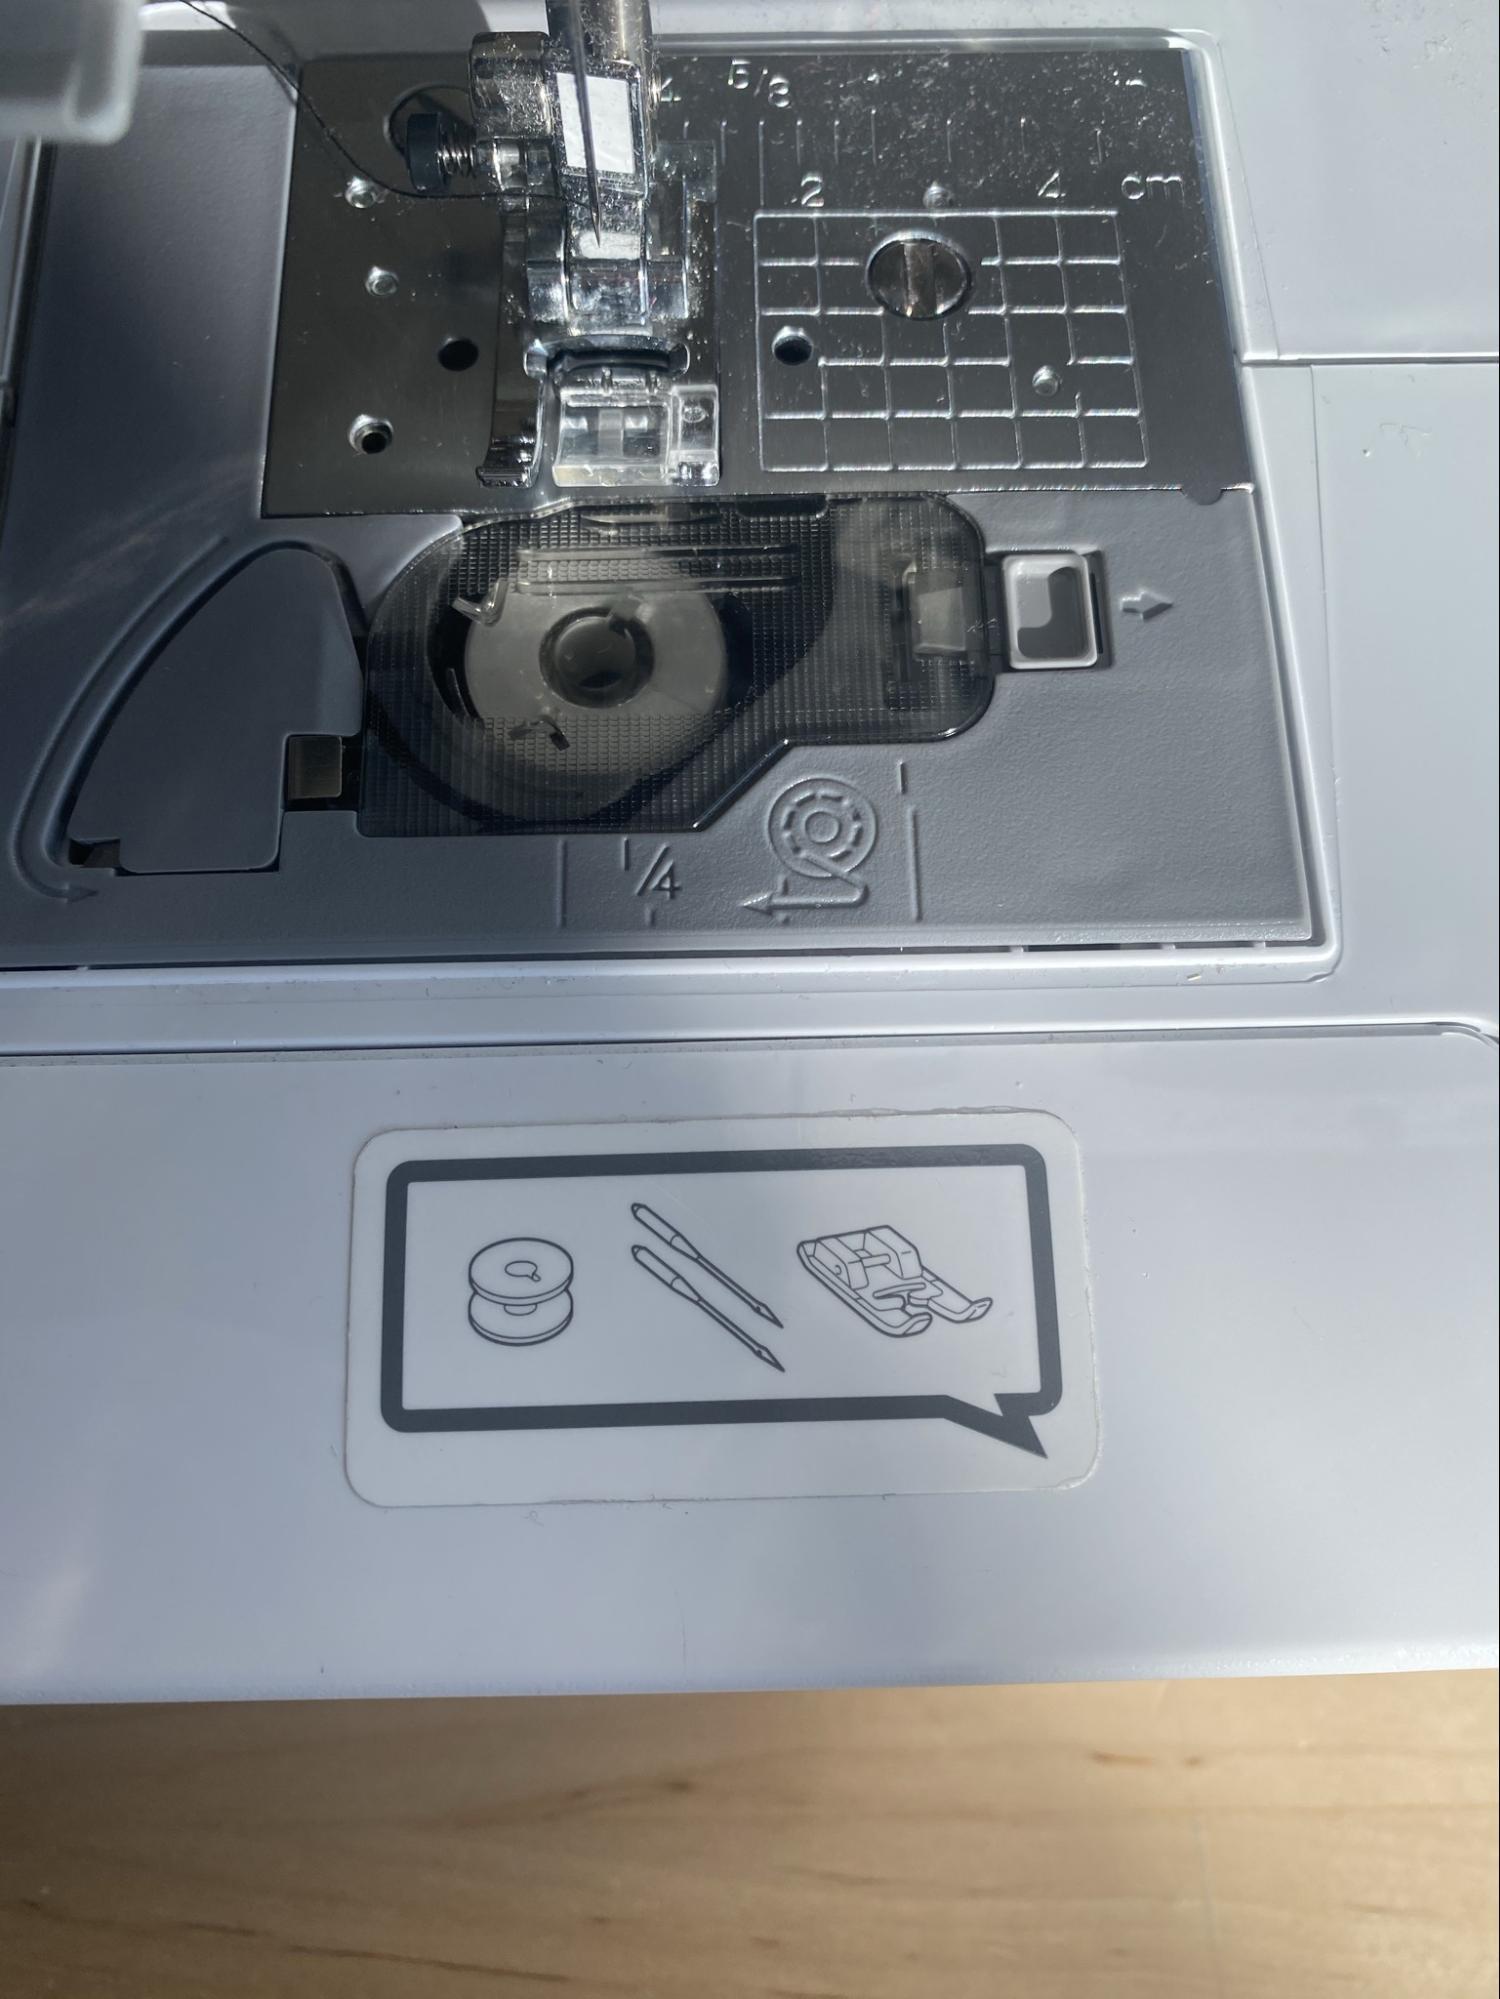
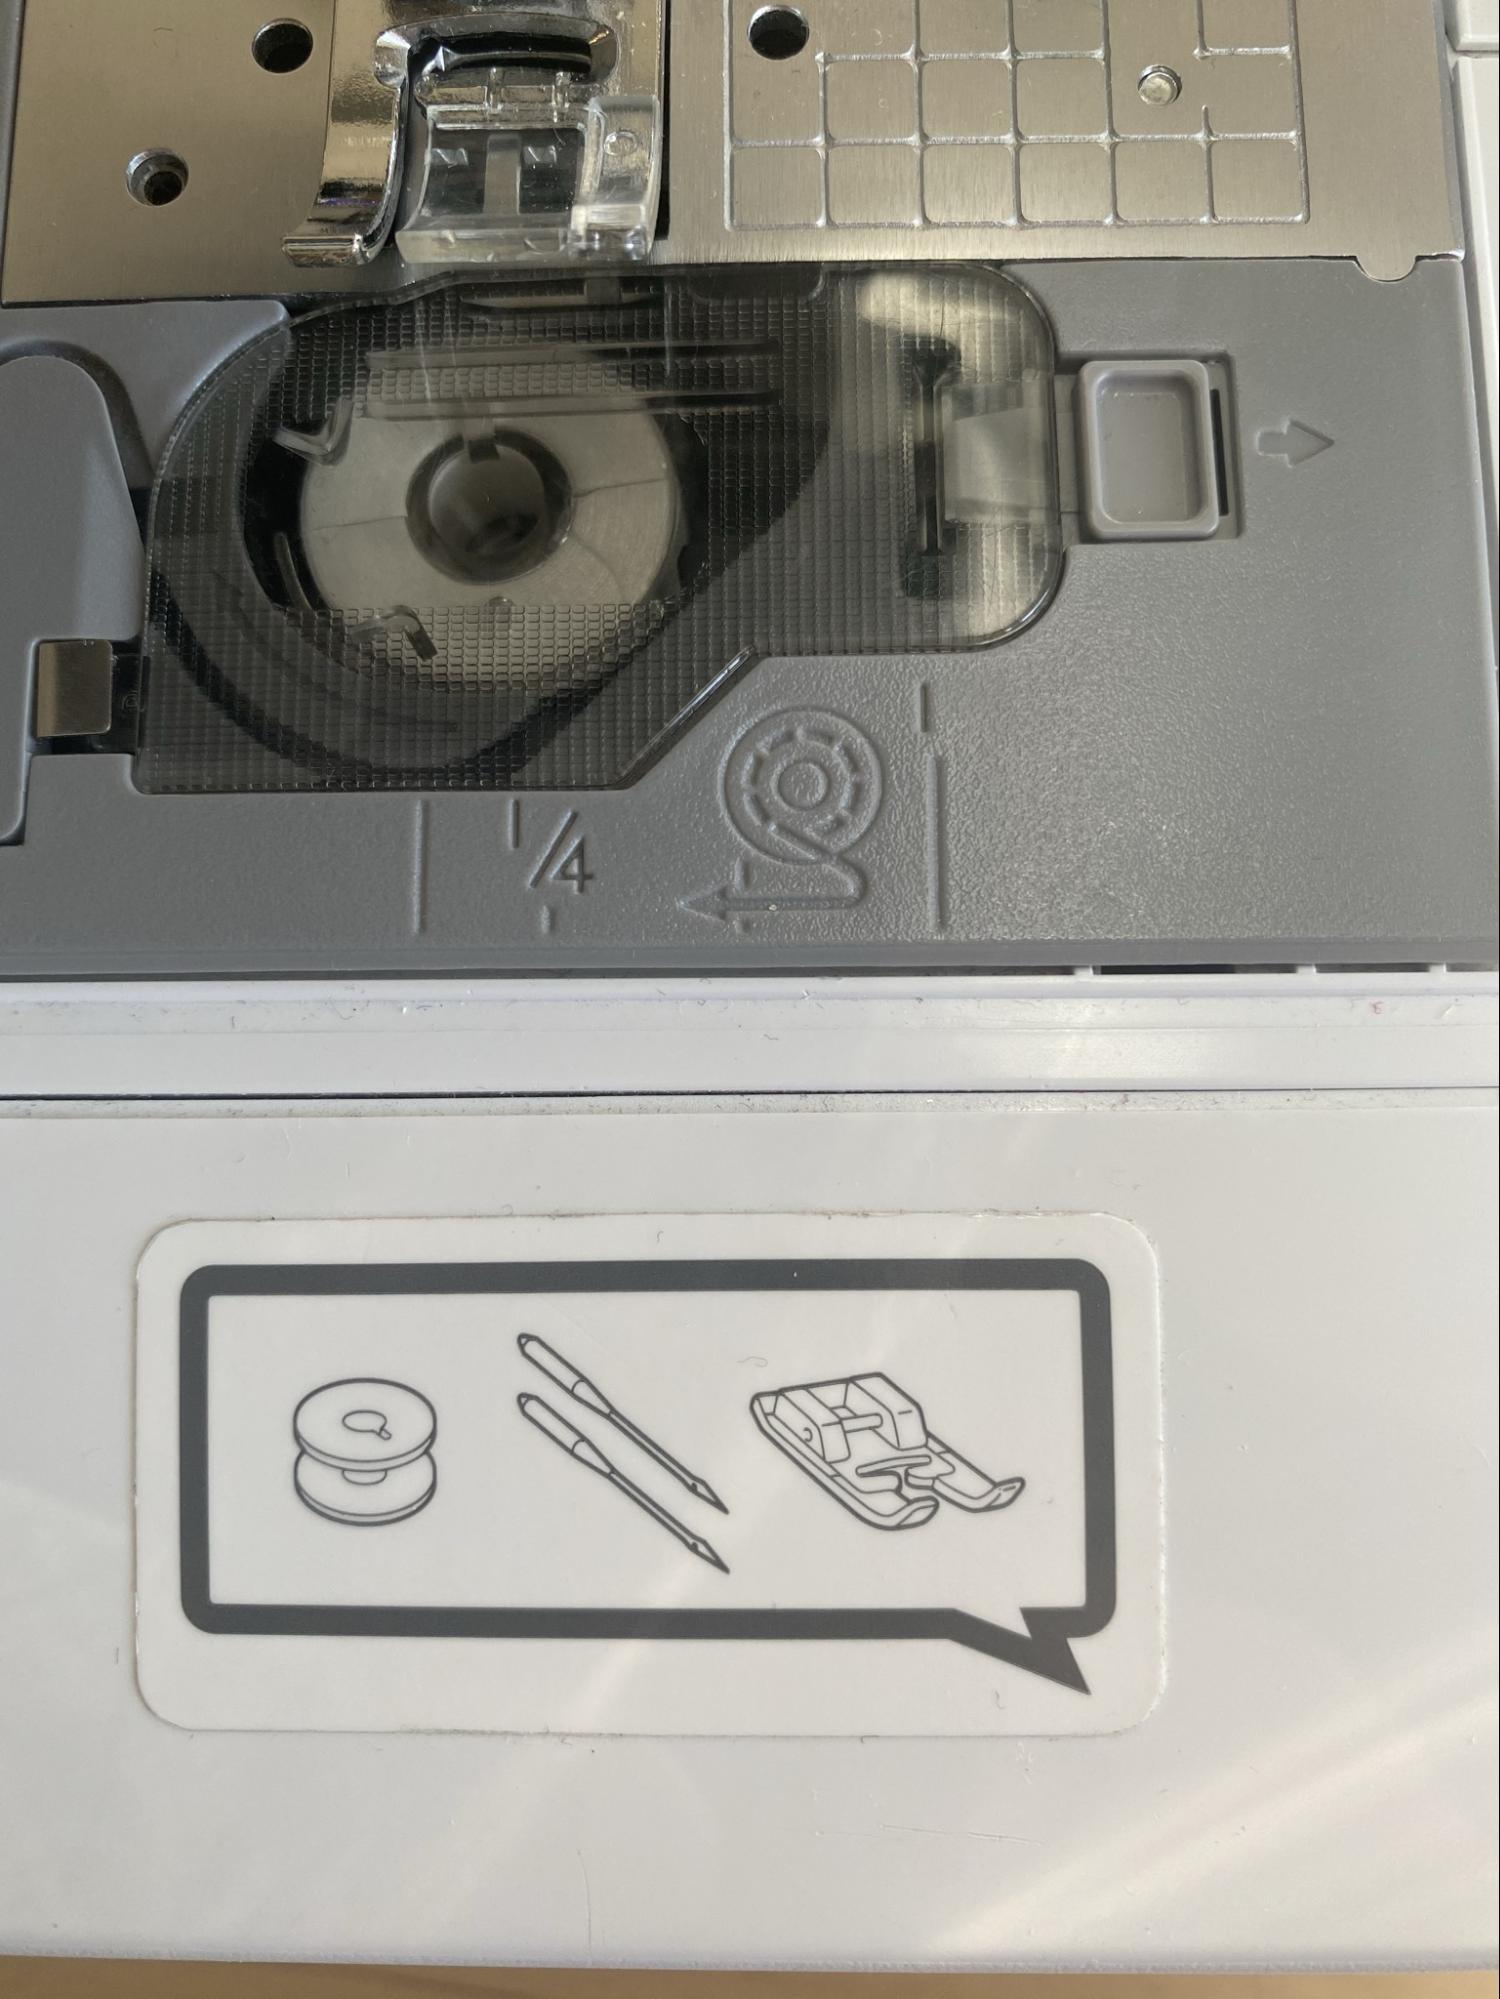
Replace the bobbin cover
the Machine Is Now Threaded and Ready to Use.