Breathing Wall: Projection Mapping Onto a Moving Surface Using a Depth Camera
by Behnaz Farahi in Craft > Digital Graphics
8216 Views, 36 Favorites, 0 Comments
Breathing Wall: Projection Mapping Onto a Moving Surface Using a Depth Camera
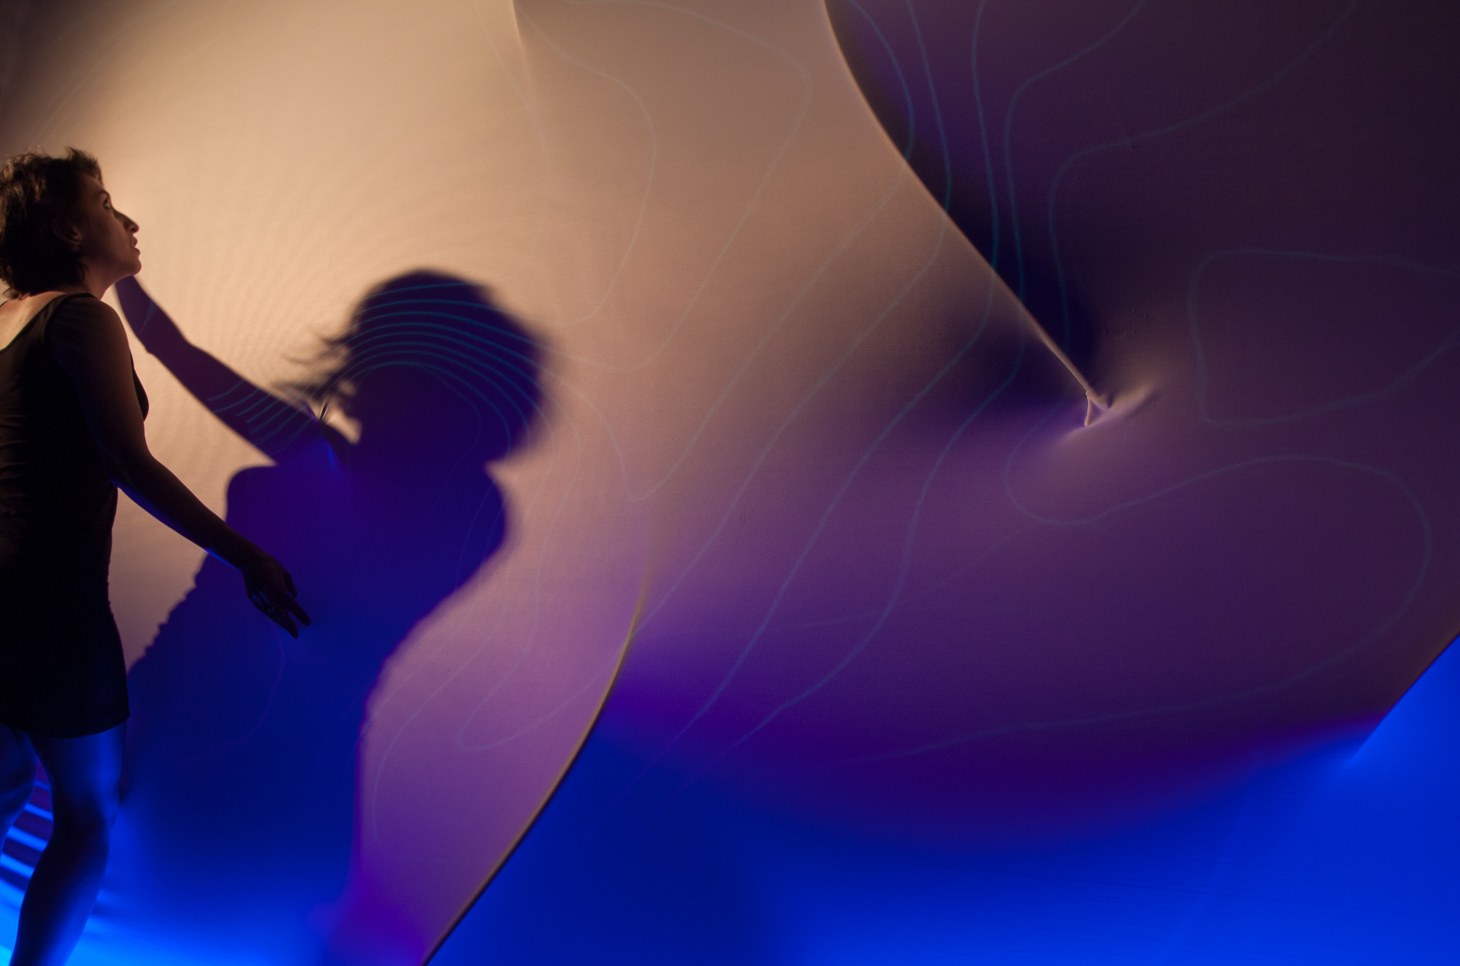
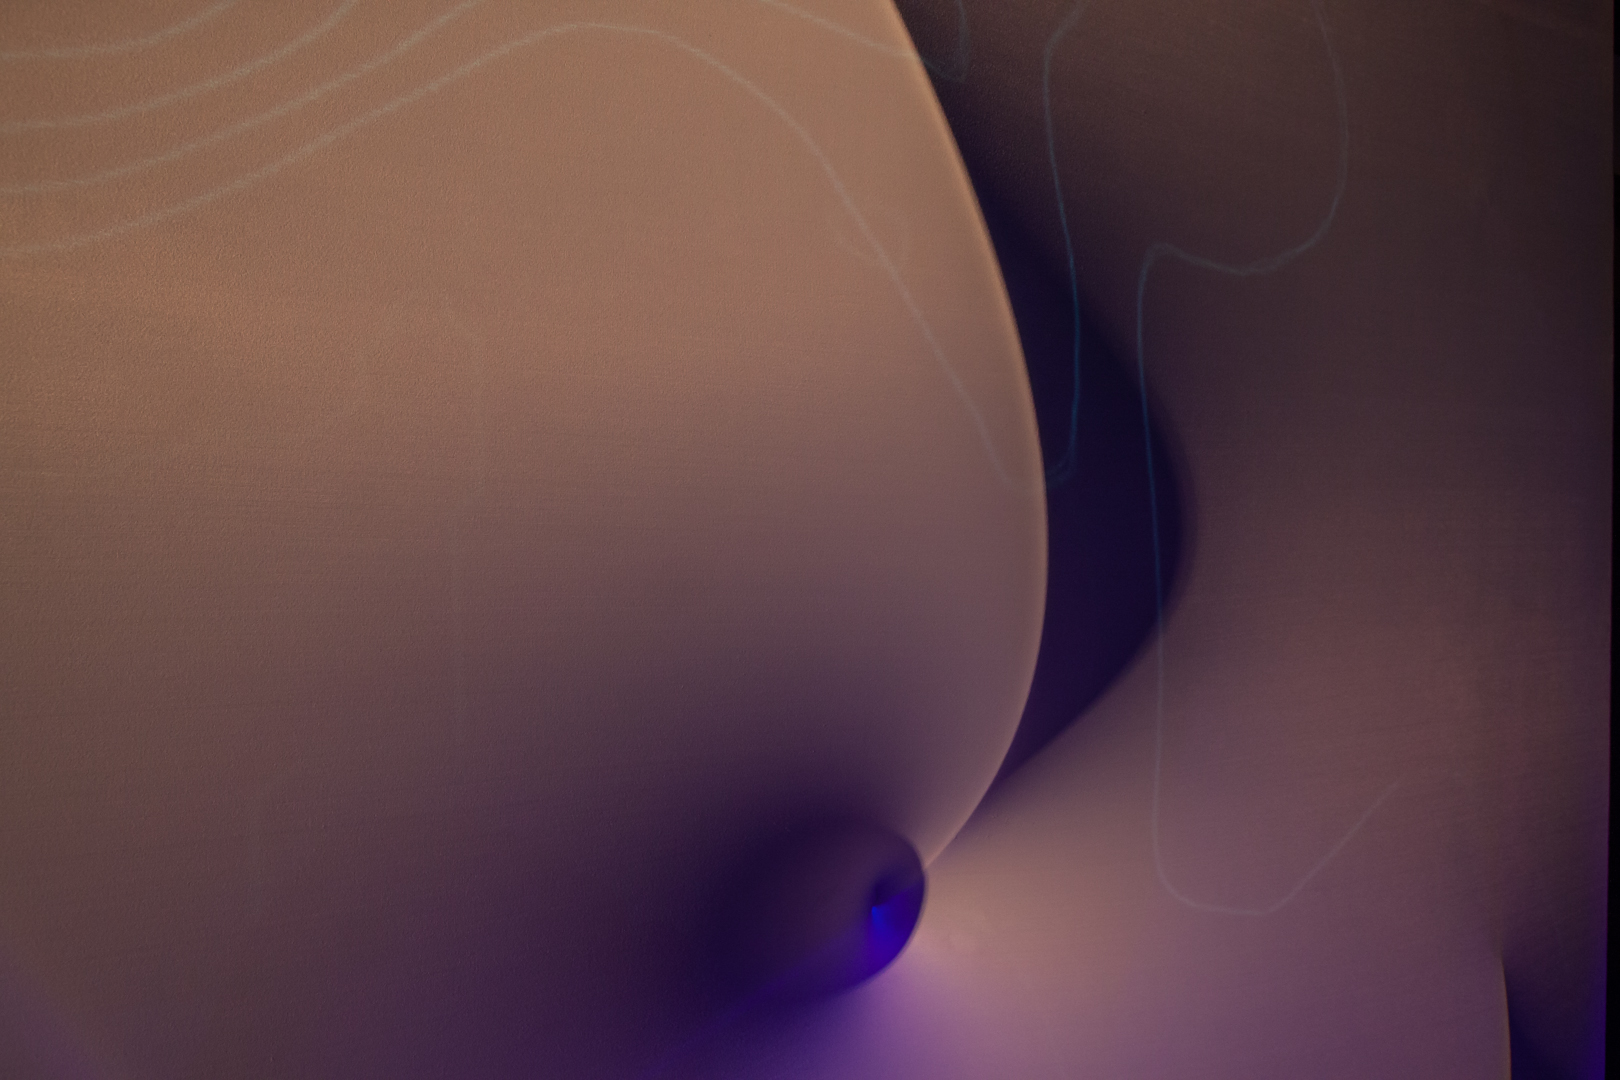
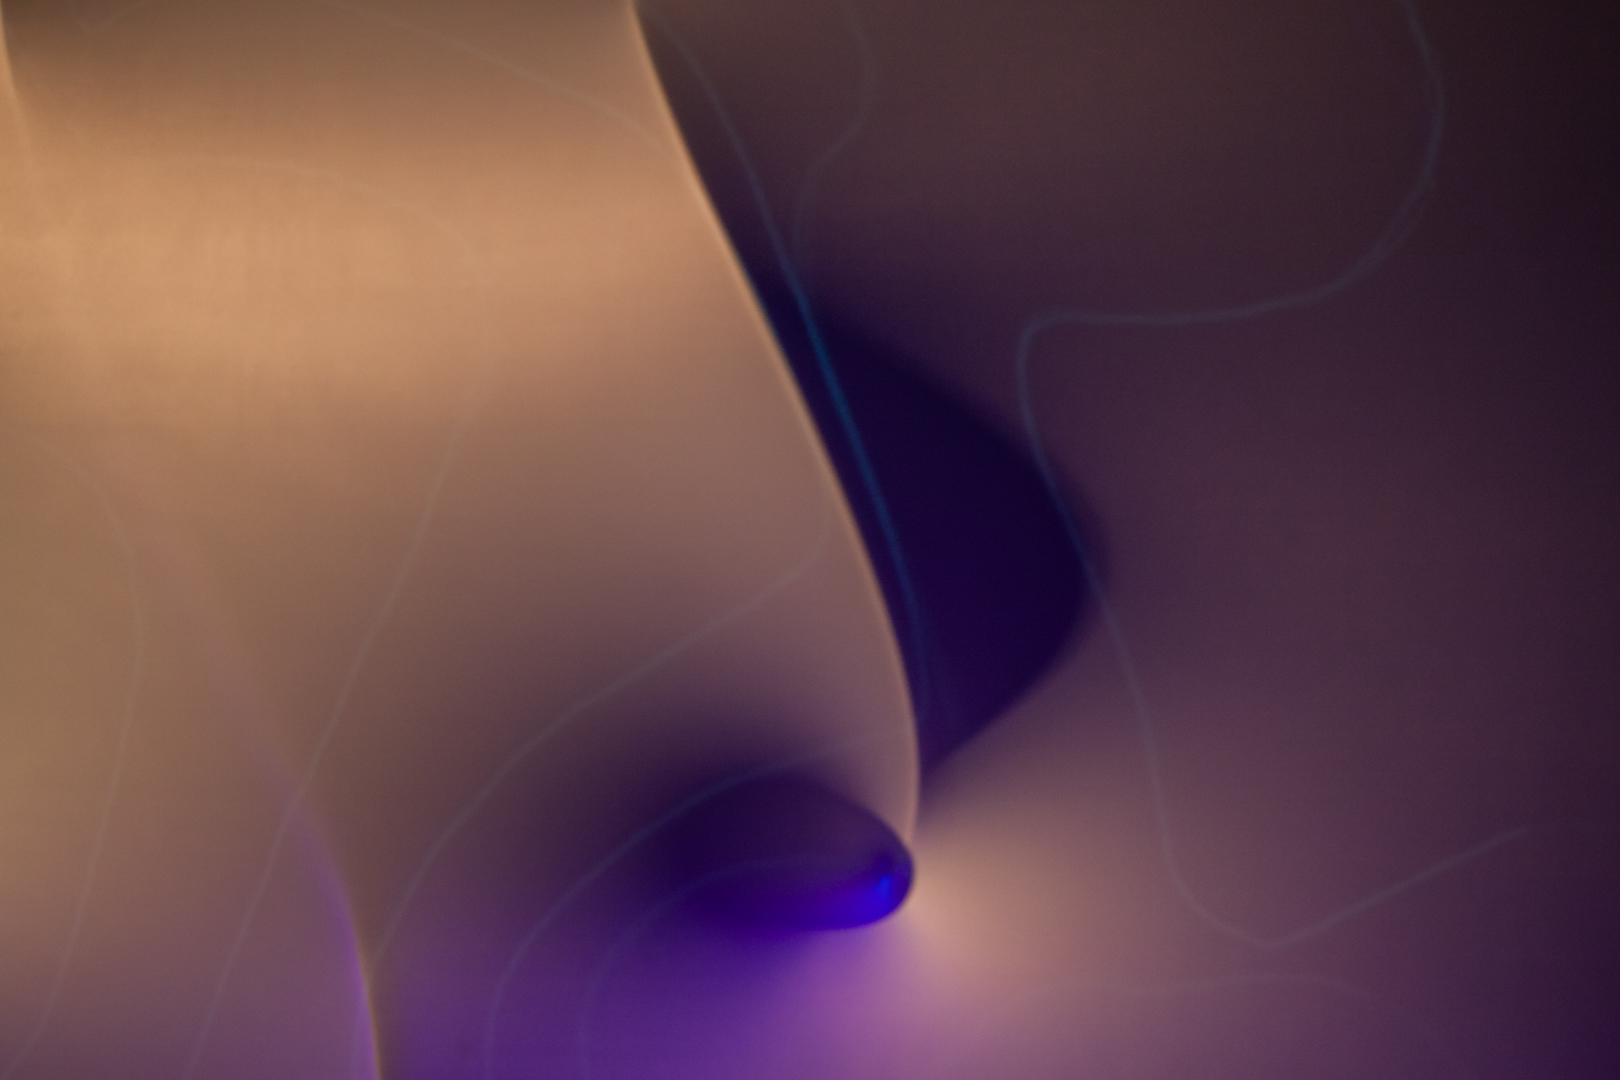
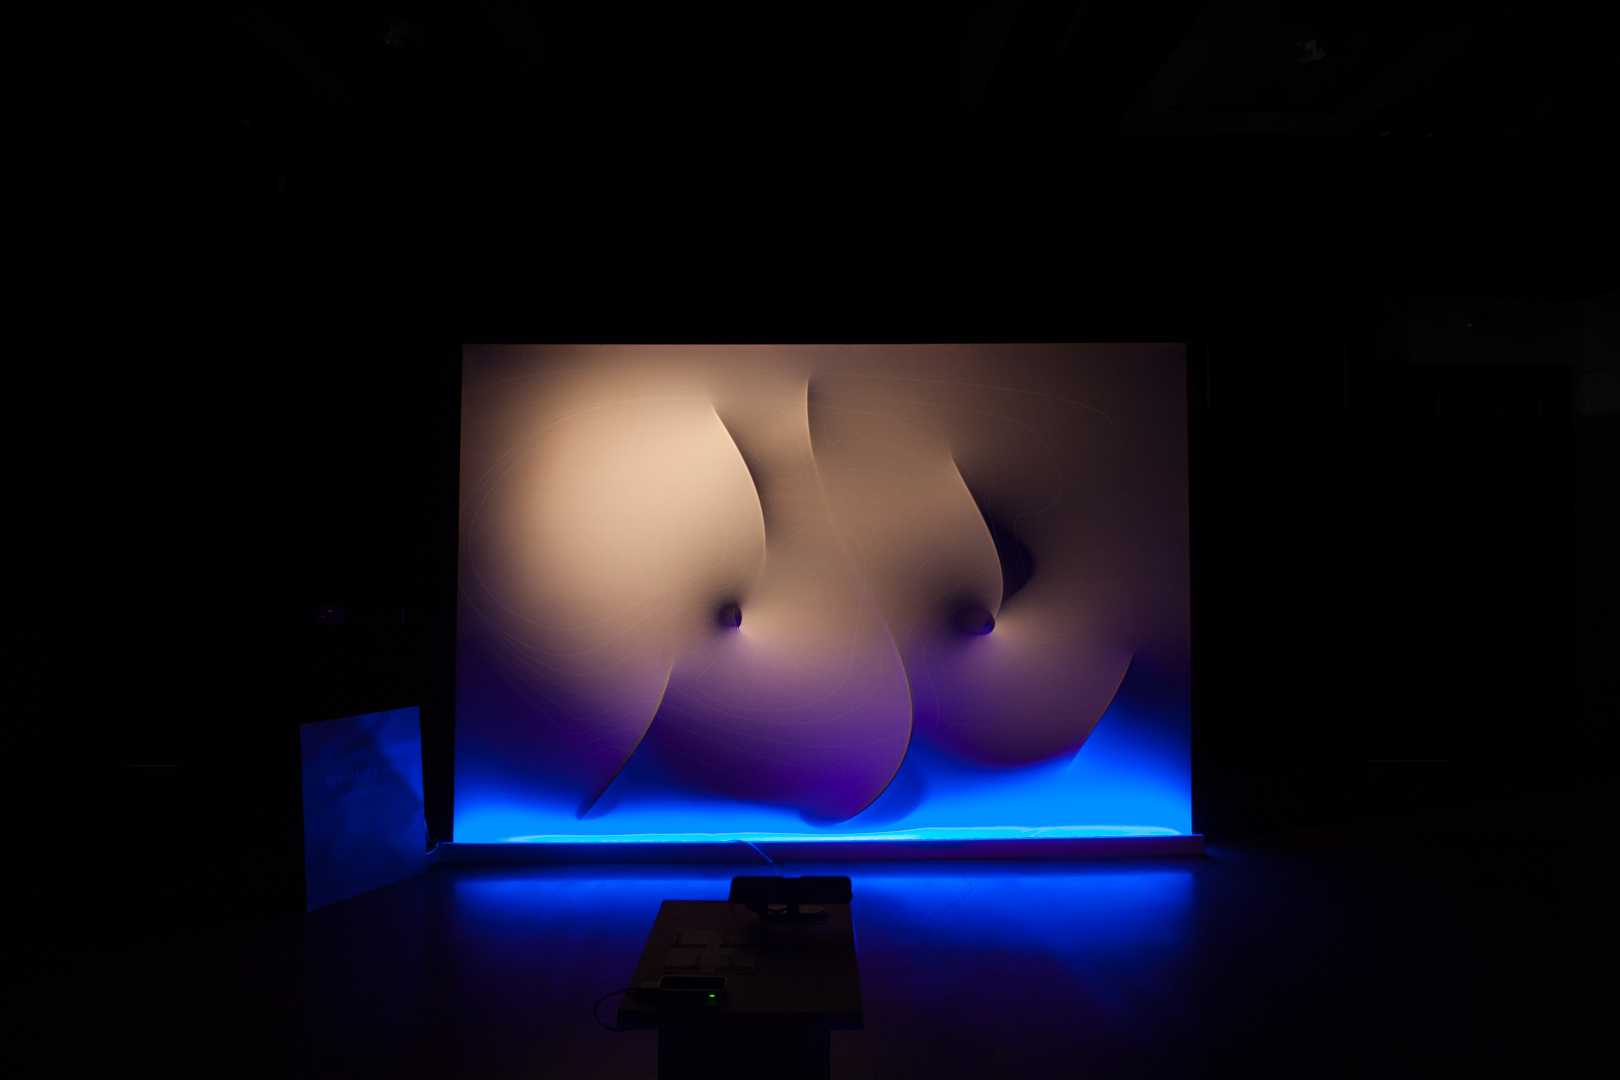
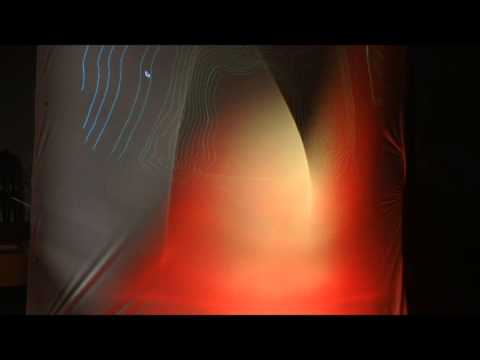
Wouldn't it be nice if we could sense information about the surface of objects at our fingertips? The way we touch objects, how firm we press them and generally how we move info the physical space can all be reflected onto the surface of the surrounding environment.
Through this project I am going to show how to do a real time projection mapping onto the surface. This project is part of an interactive art installation, about which you can find more information here: http://www.behnazfarahi.com/204244/3324945/galler...
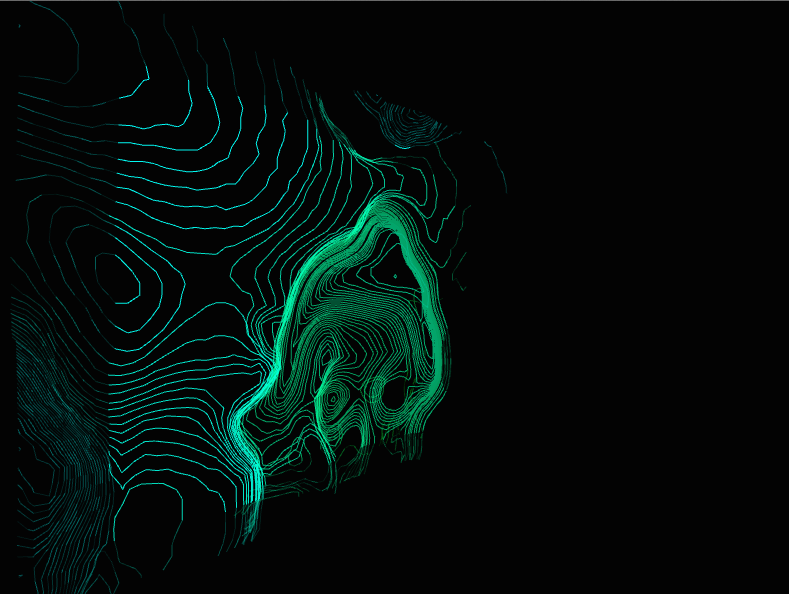
The main objective of the projection mapping is to project Contour Lines for displaying spatial information about the surface in real time. Moreover, real-time projection mapping in this project connects the digital world to the physical world and increases the awareness of the audience about the physical environment.
For whom can this project be useful? If you are a kinetic artist and need to have real time projection mapping which displays special information about surface changes, or you are interested in creating an environment which increases physical interaction within the surface of the surrounding environment by the way that you touch and move in a space, you might find this project interesting.
Why topographic lines? The underlying concept is that contour lines are lines that connect data points of equal value and are displayed as lines to convey this information to the viewer. Traditionally these values demonstrate changes in elevation from the surface to generate a contour map of a landscape terrain or topography.
In “Breathing Wall 2.0” since the rods moved the surface, information about the surface was constantly changing. The audience generates various physical movement on the surface of the wall by their hand gestures while the new surface data information is processed and projected onto the surface. What is interesting here is the fact that projection and physical movement are locked into a feedback loop. However, you might be interested in persuading your audience to touch the fabric and become involved with the surface.
So the procedure I used is as follows:
Leap Motion >Informs the movement of the wall (Arduino & processing) > Depth Camera captures new information (processing) > receives data and maps projection accordingly
Please note: In my final design video the projection lines were deliberately very subtle but you can change the density of lines based on your need.
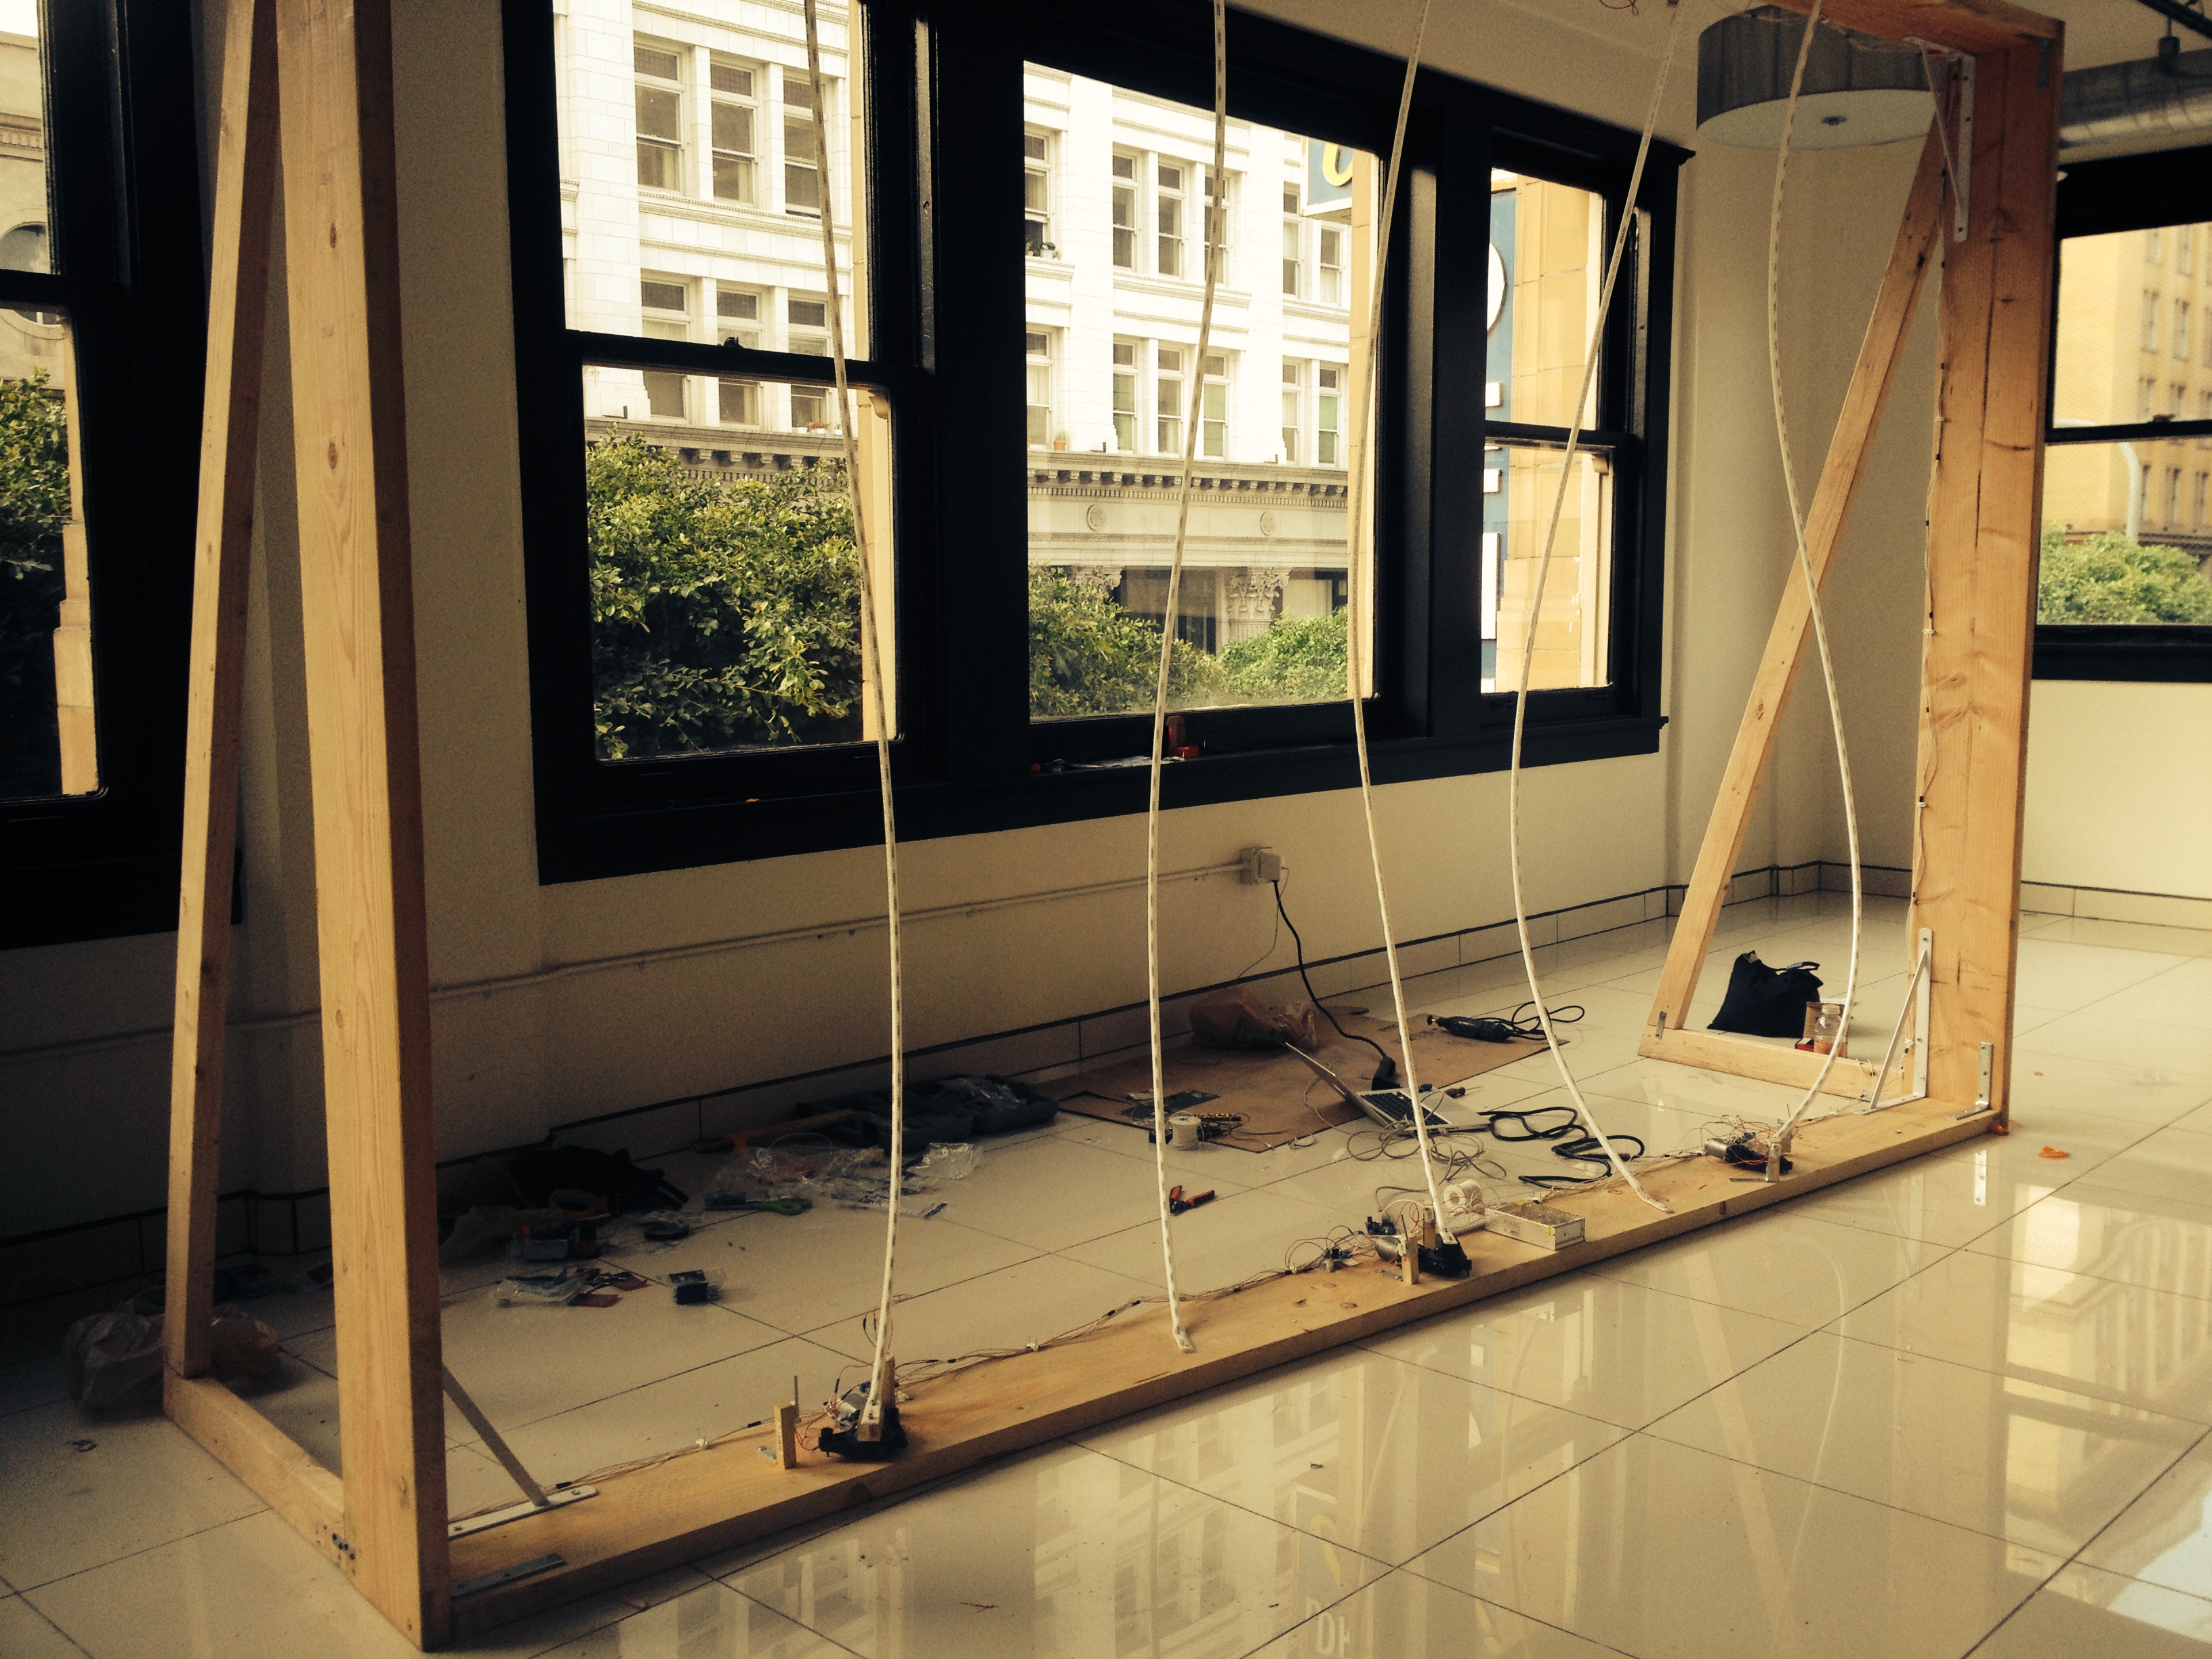
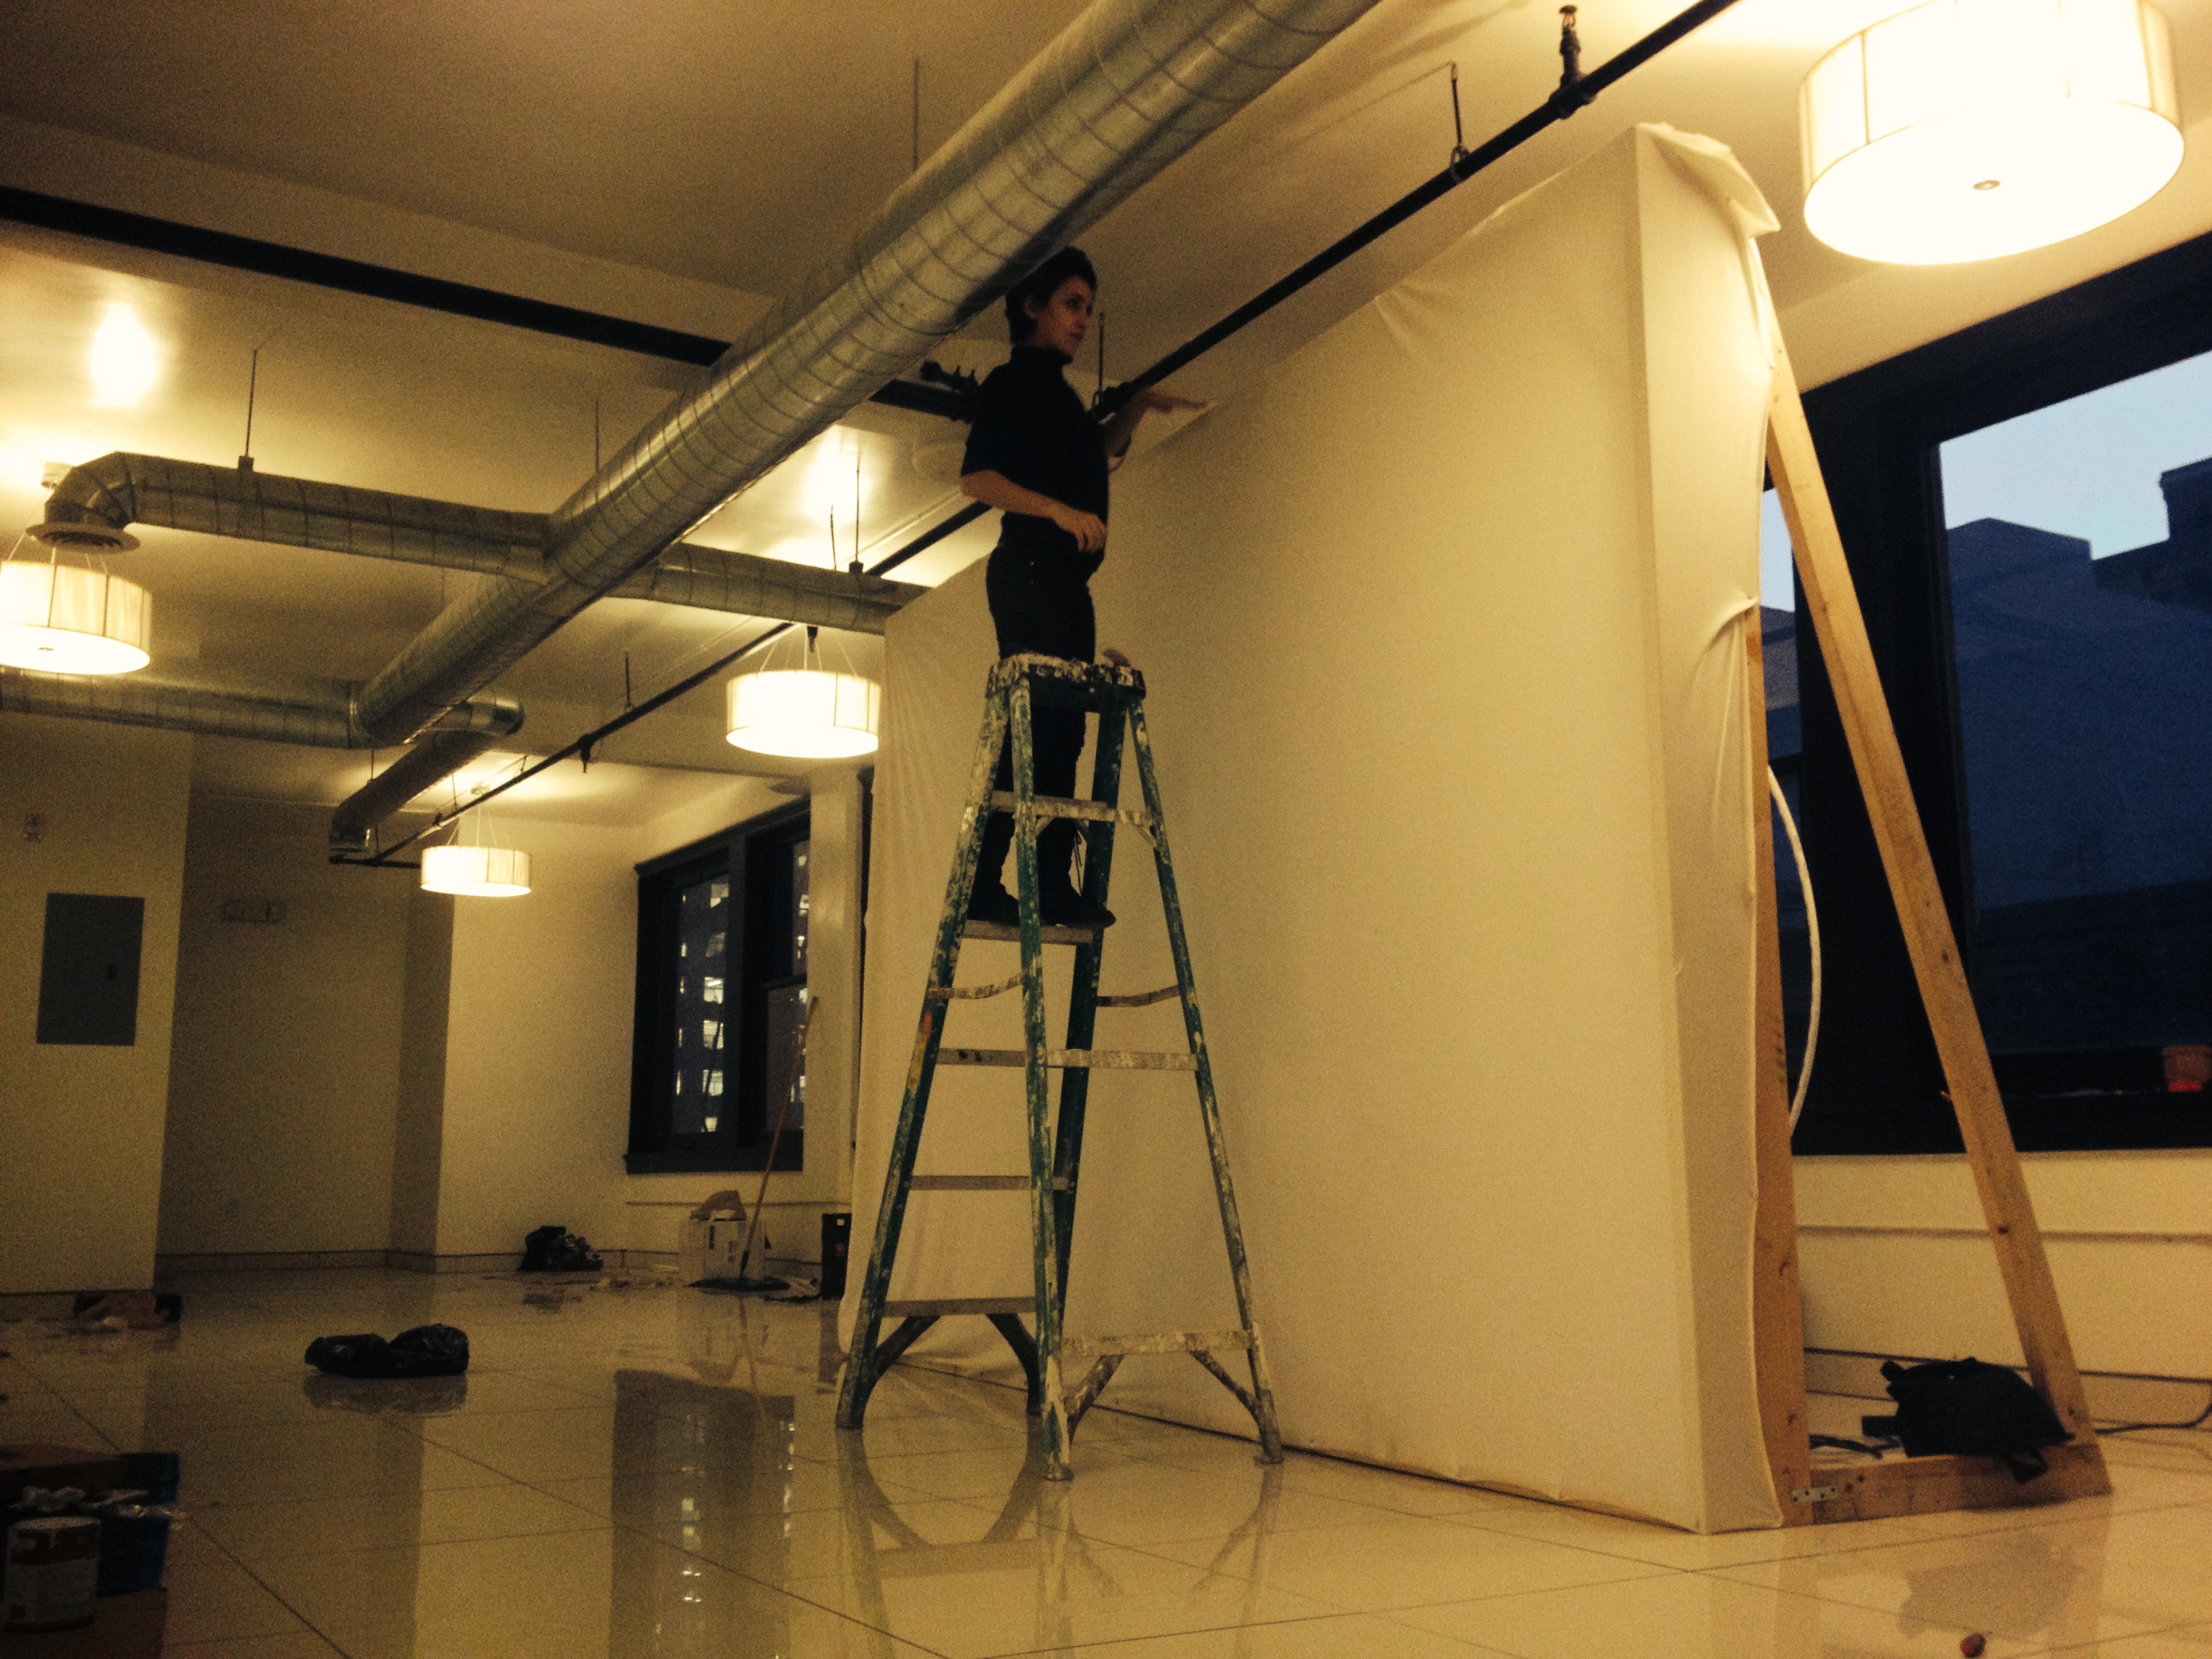
Step 1: Make the Wall
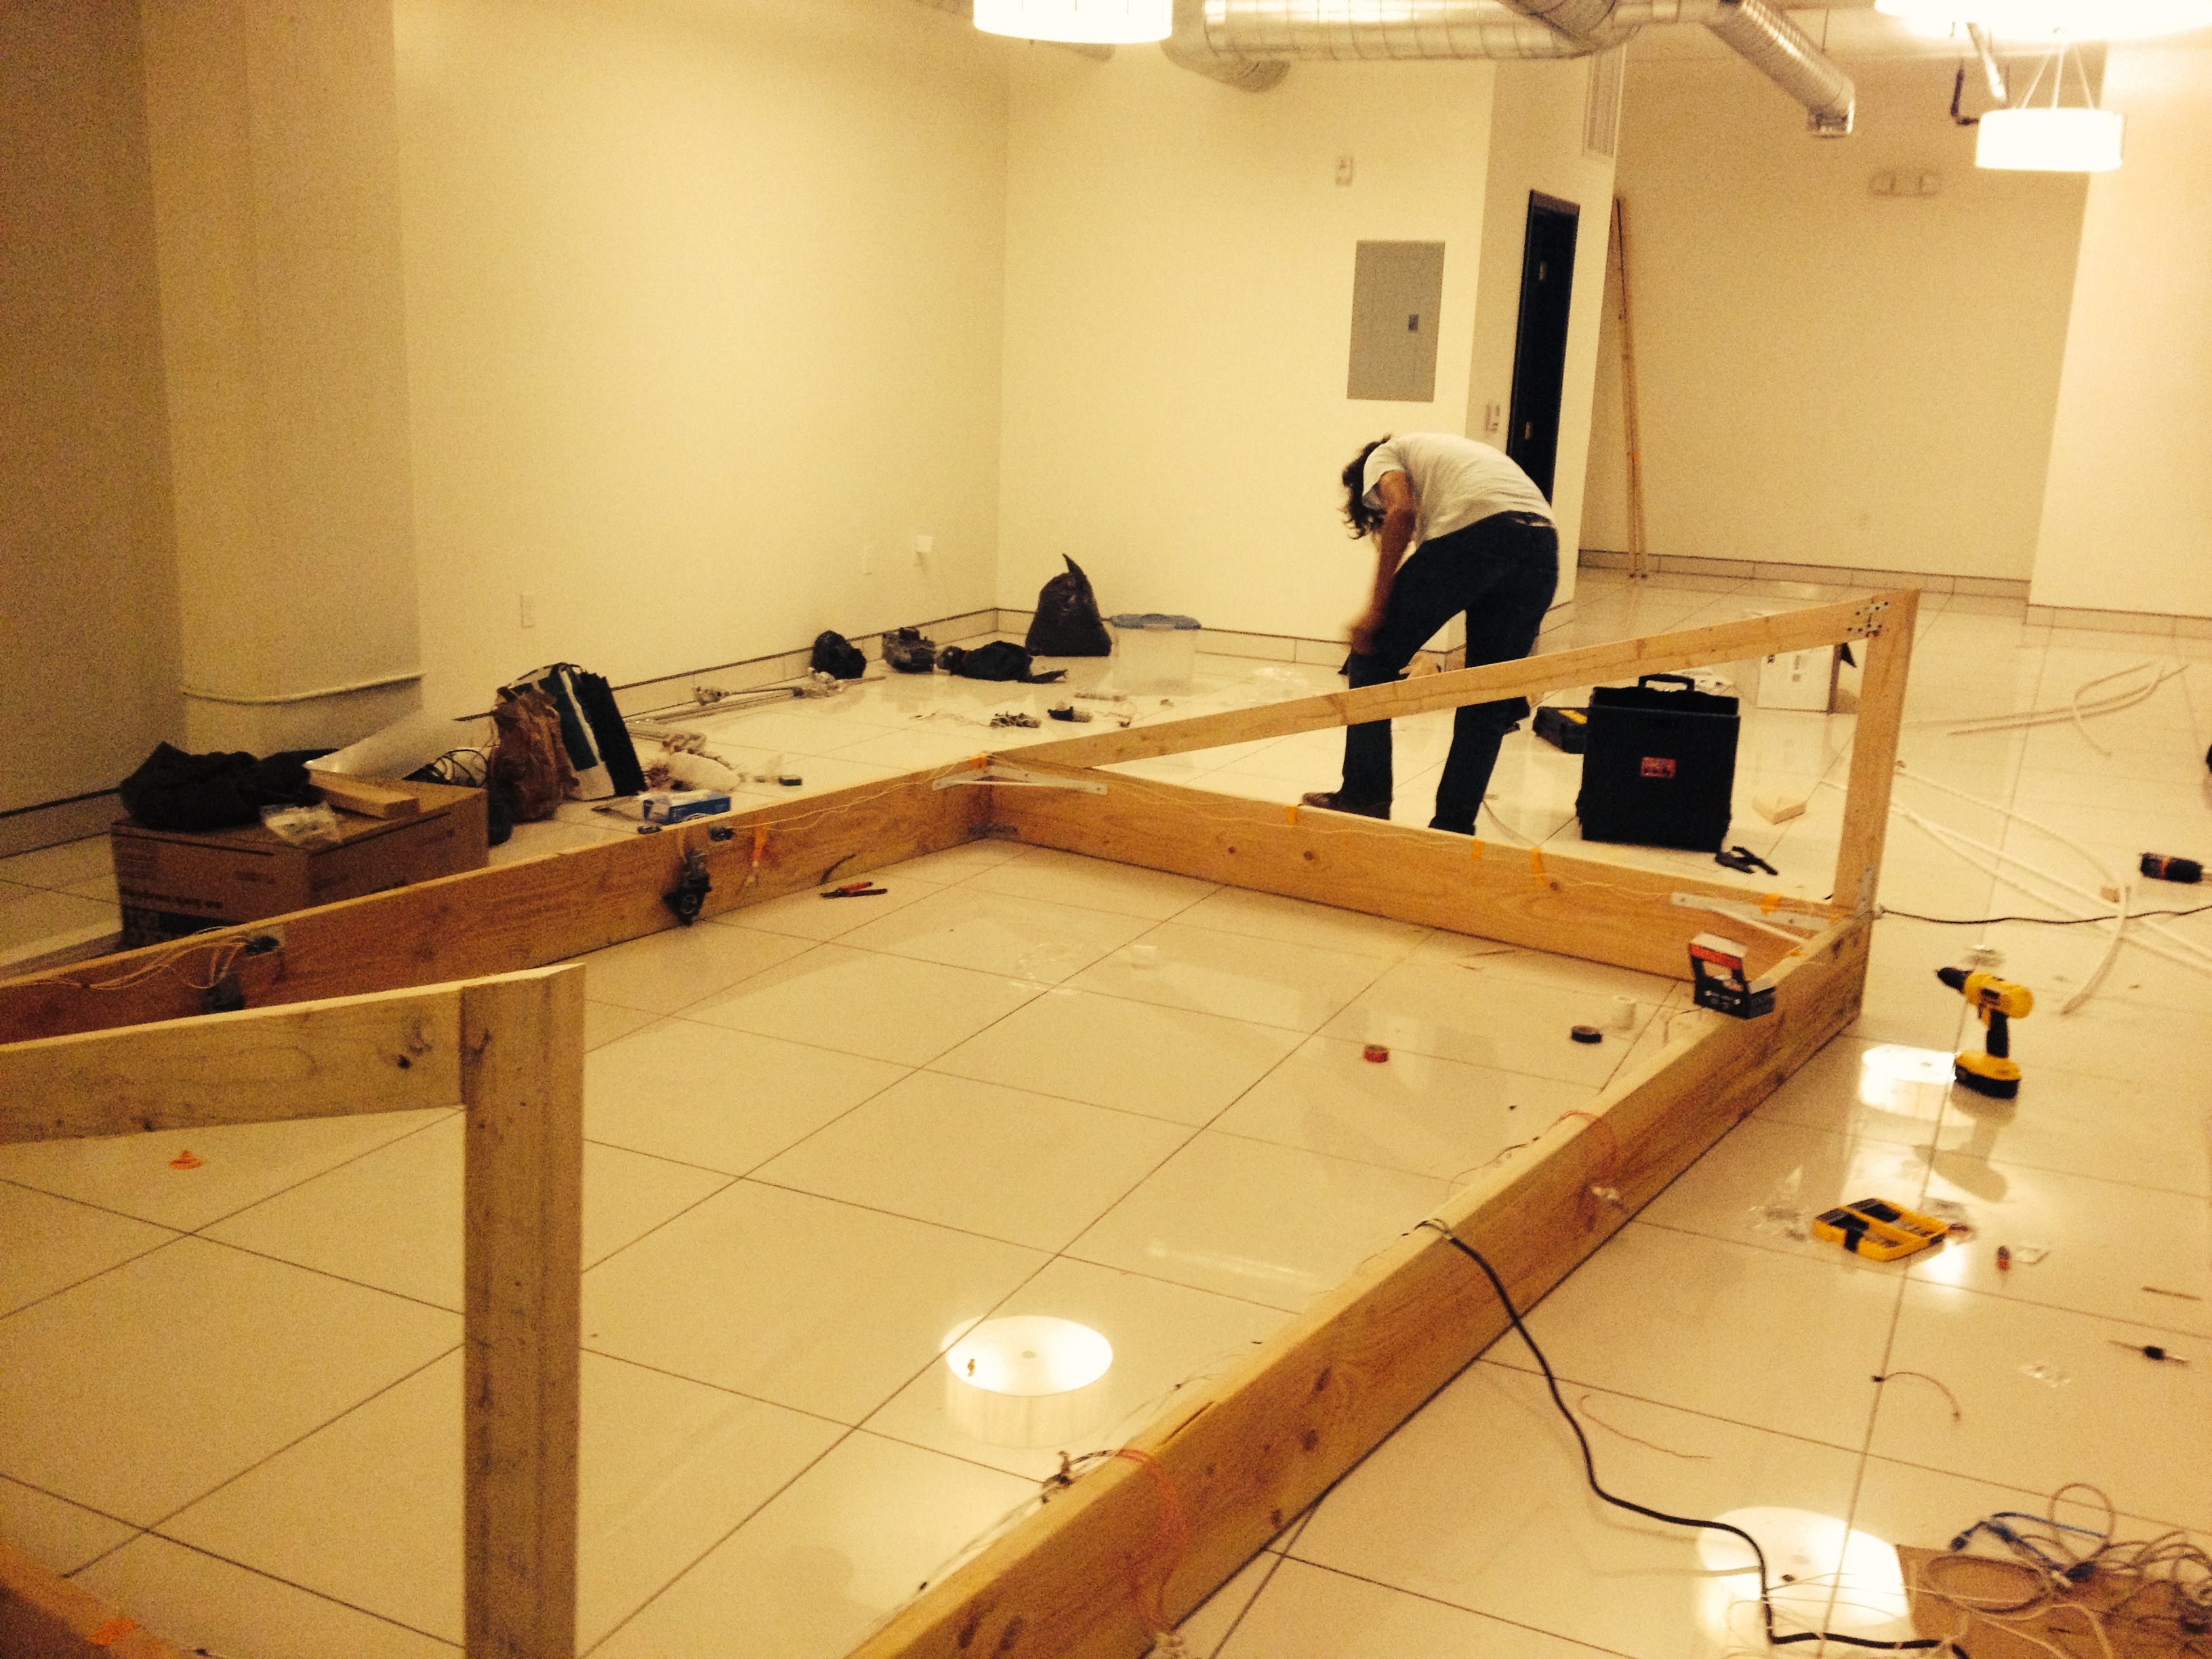
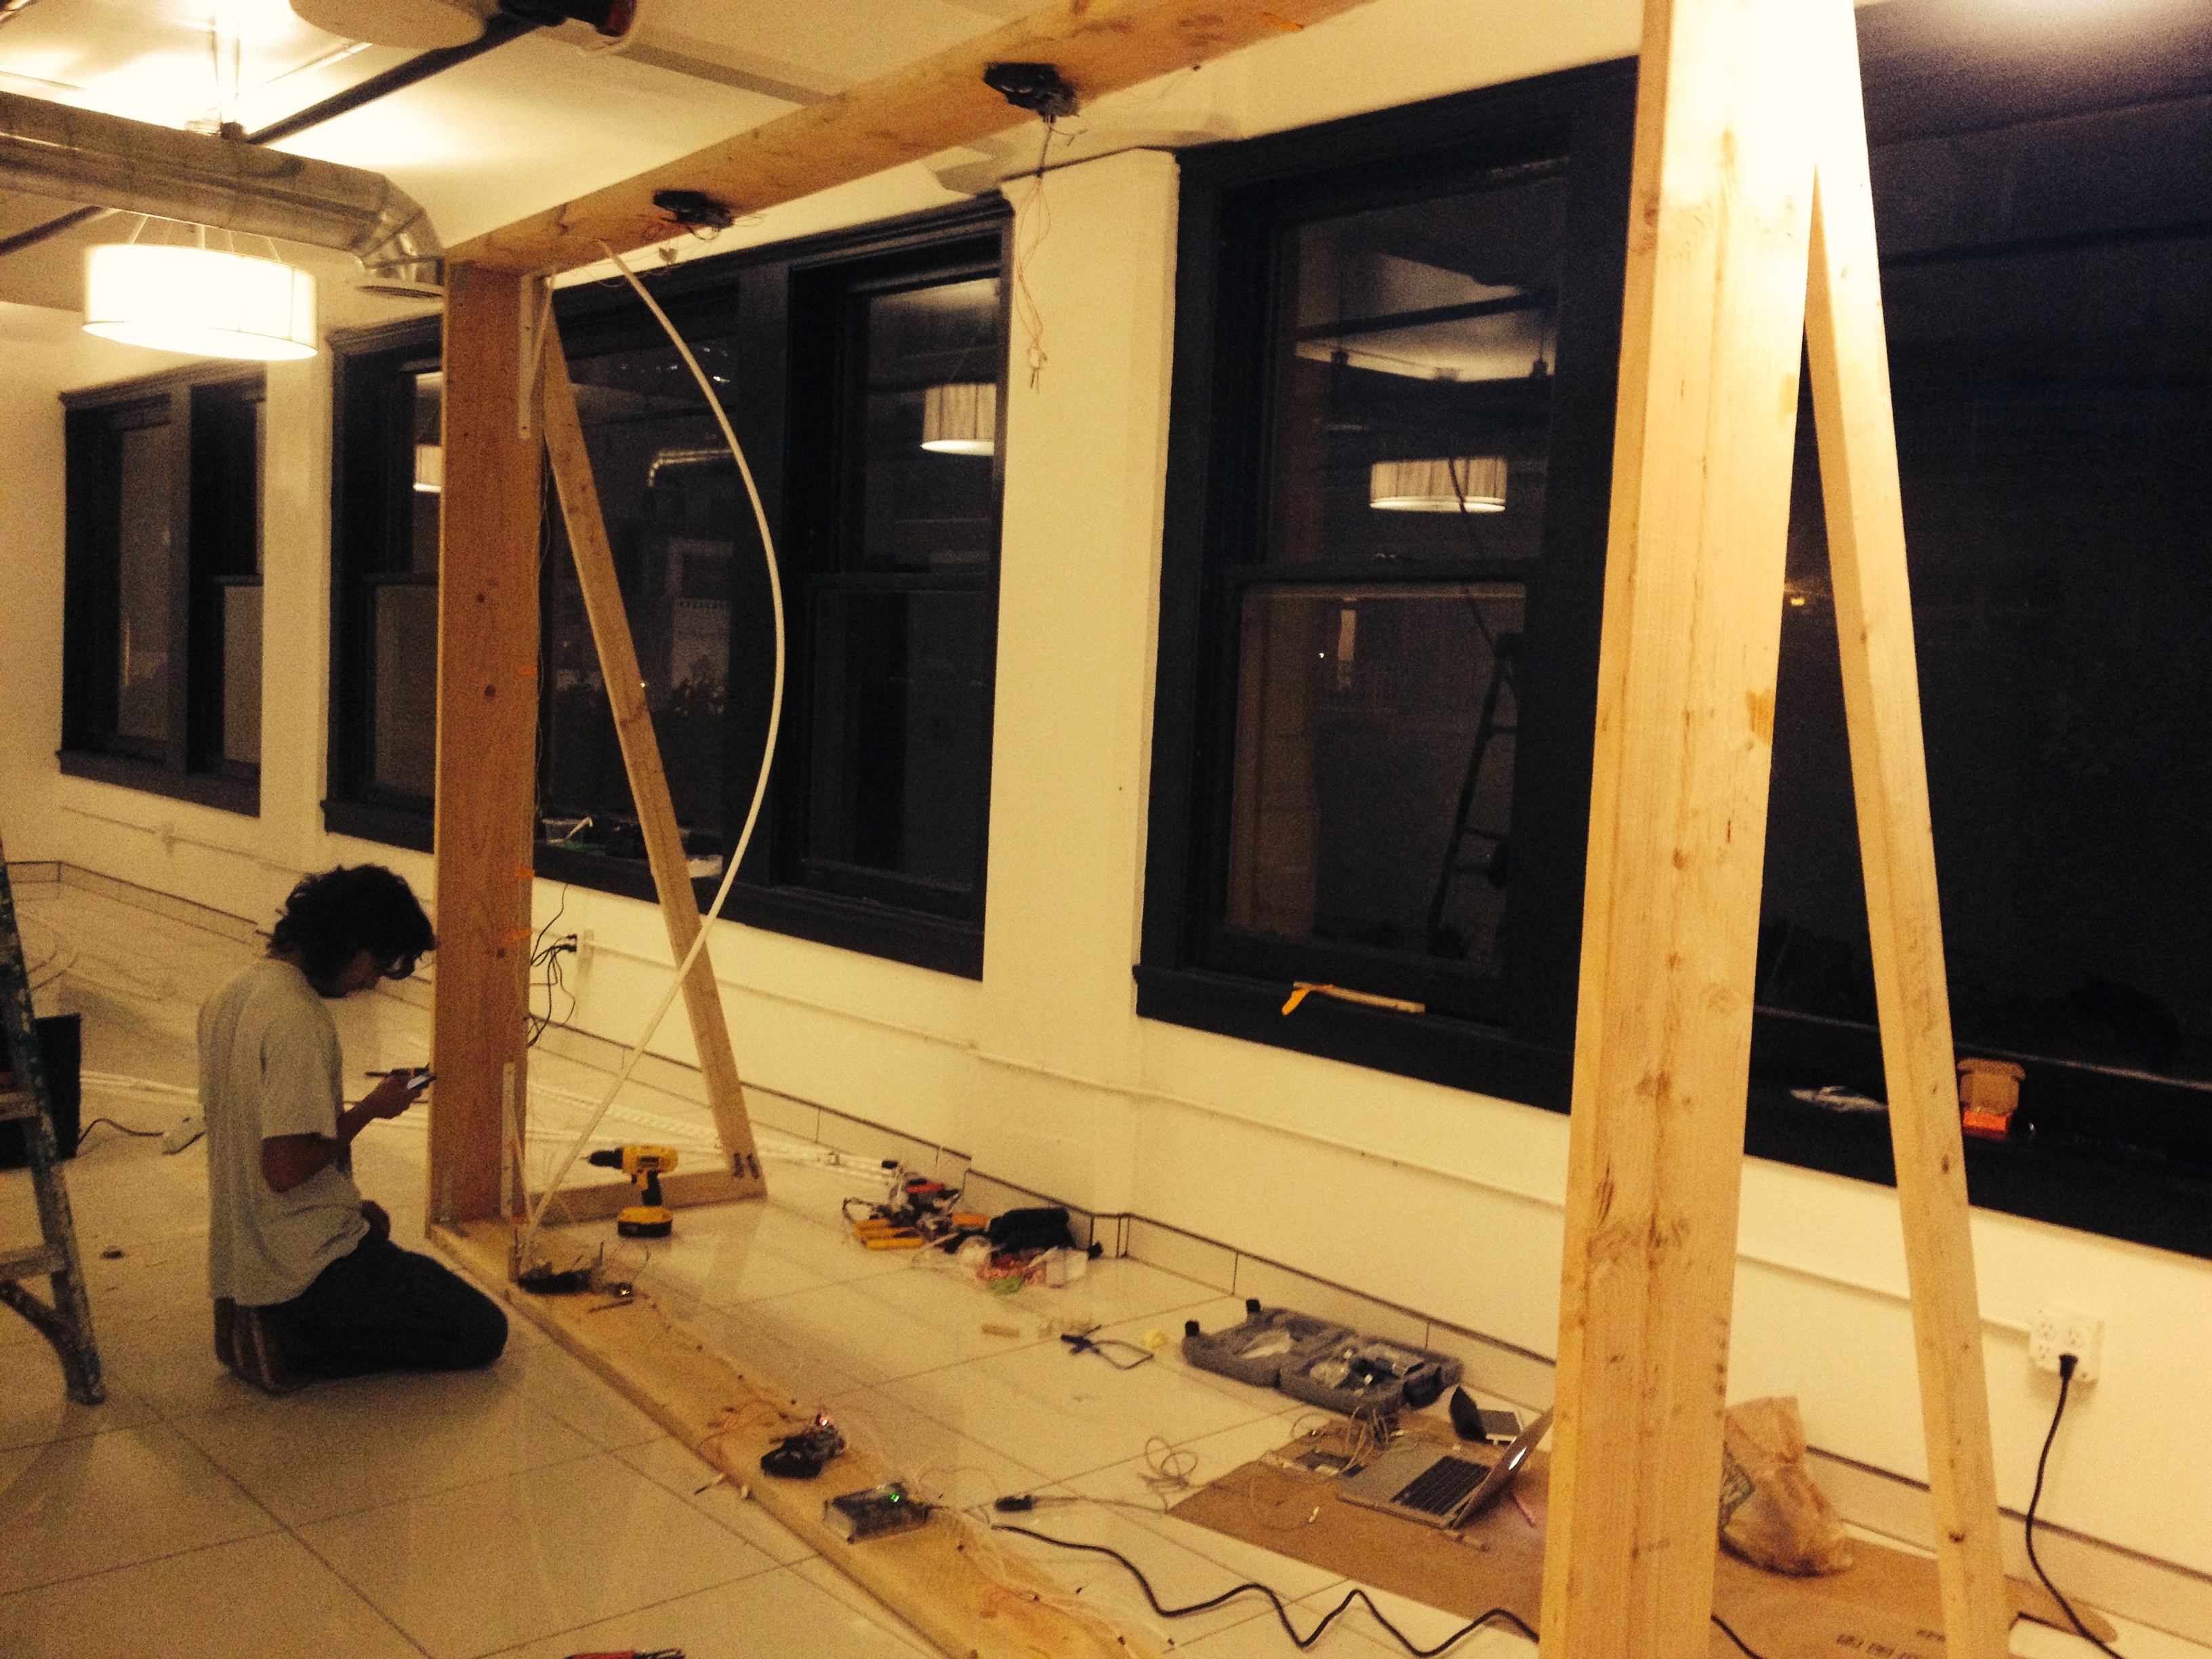
Materials
Lumber from home depot for making a frame structure (my frame was 12*8 ft)
Wood Screws
L Brackets
Four way stretchable fabric “Spandex”, 10*12ft.
1.2” Flexible PVC pipe from home depot
Tools
Ausus Xtion PRO depth camera (http://www.asus.com/Multimedia/Xtion_PRO/)
(You can also use Microsoft Kinect (http://www.microsoft.com/en-us/kinectforwindowsdev/default.aspx))
A laptop
A projector (size and power is up to you)
staple gun
Screw Gun
Table saw or jigsaw
Software
Processing (download it from here: http://processing.org/)
Optional (If you are interested to make it automated and light up see bellow)
LED Light Strips - (Search Amazon.com)
Arduino
DC motor (I found 8 car window motor which lift up the window in car)
Make a frame structure with lumbers.
Cover the frame with your stretchable fabric. Also please make sure your fabric has enough width before making your frame. Most of local fabric stores carry 5ft wide fabric, but if you are lucky you can find some 10ft wide 4way stretchable fabric. The installation part is very ad hoc; you have to know how to not overstretch the fabric as this limits the movement, but at the same time not make it too loose on the other hand as this causes it to wobble. You can use pins first and then use a staple gun to fix it to the frame.
Step 2: Set Up Your Projection and Your Depth Camera
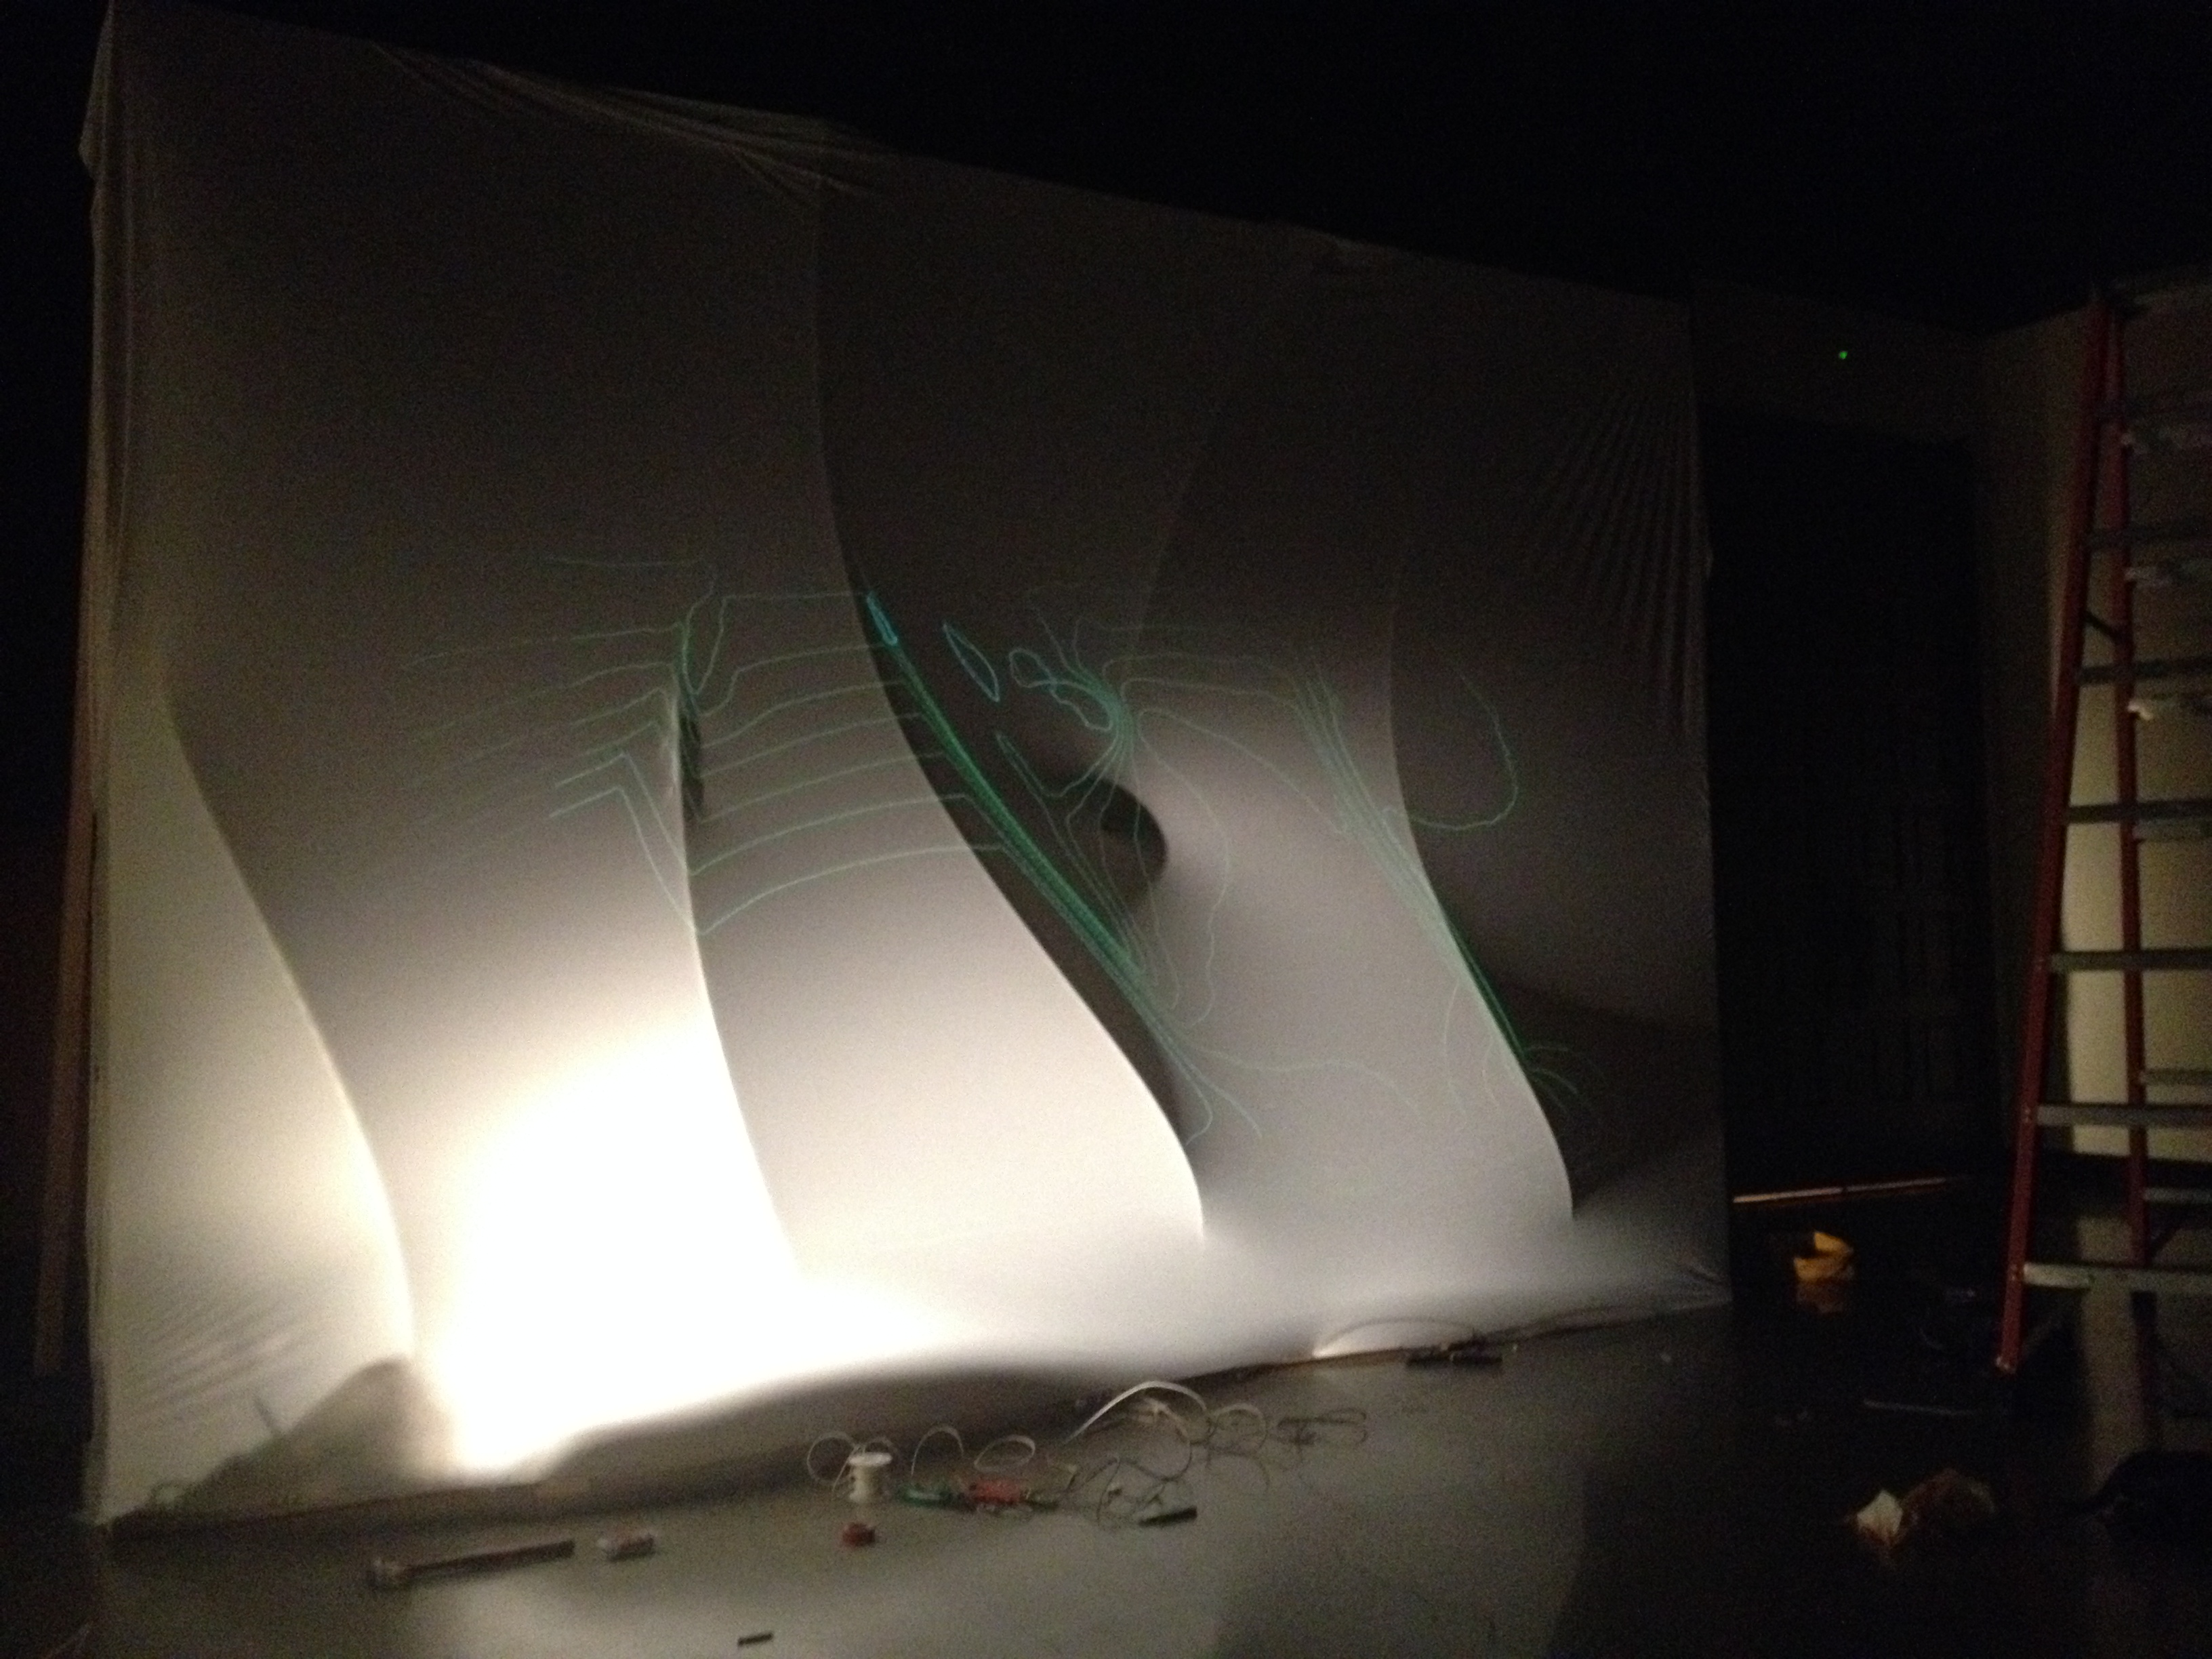
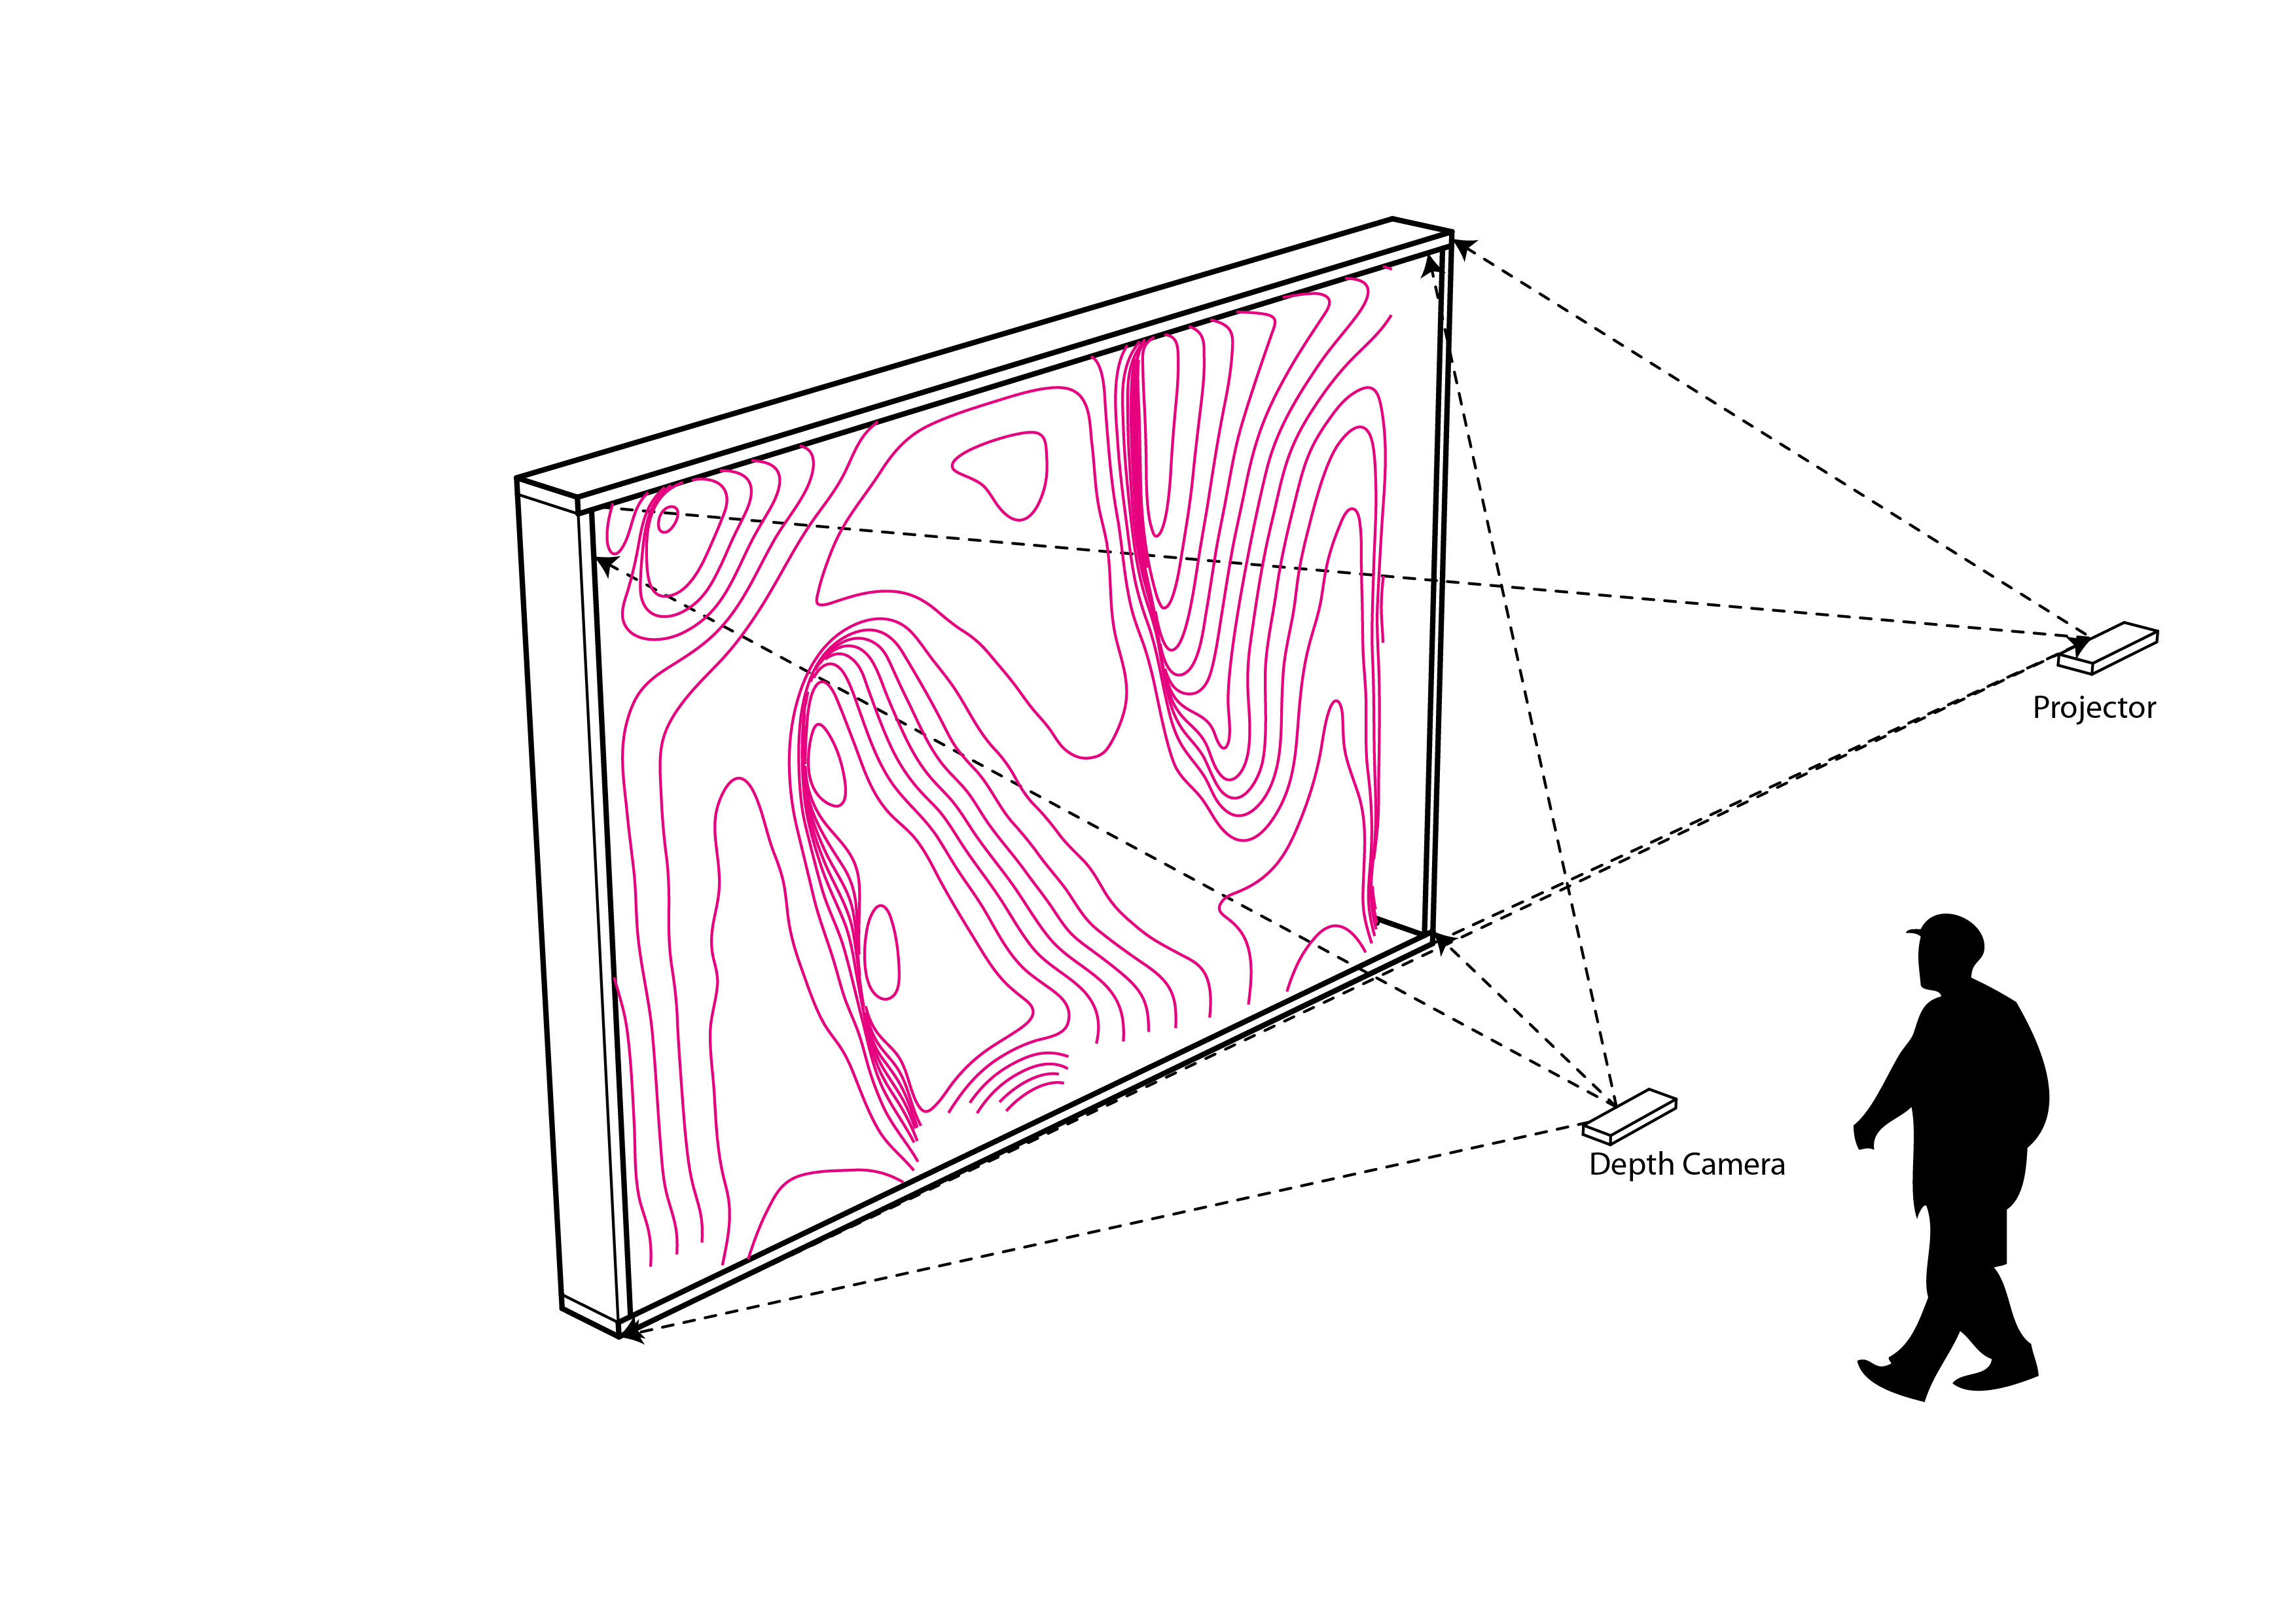
Set up your projection either in front or back of your installation. With front projection, it is worth mentioning that it is important to set your projection high enough to prevent the shadow of the users appearing on the surface. You might be able to use back projection depending on the space you have available (if you use back projection you need to mirror your output from processing). Also it is important to make sure that your projector is positioned right in the middle to prevent extra adjustments.
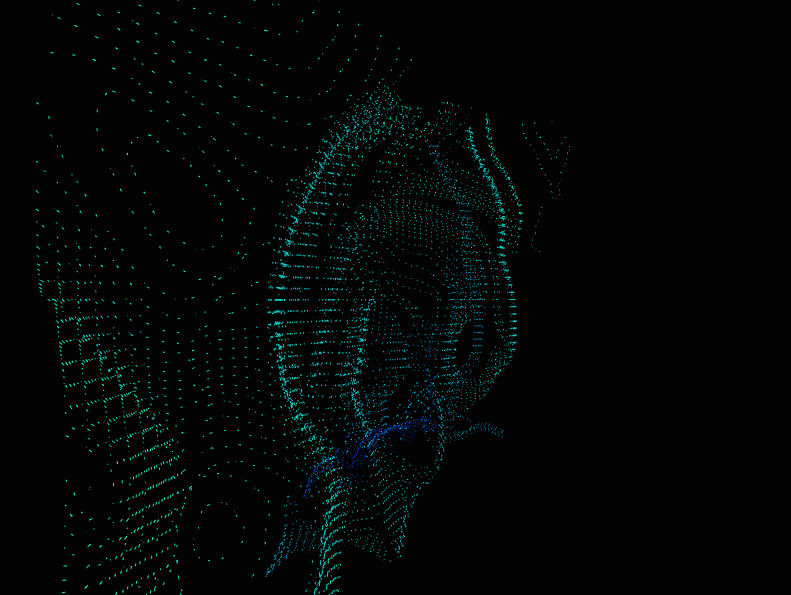
Set up your Depth Camera in front of the wall centered on the middle of the frame. Setting the right location of projection and the Depth Camera is important so be careful to synchronize them as best you can. Also please note that you can always use any other form of camera - such as any RGB webcam - to capture the surface information, and then your topographic lines will be based on the brightness of the image rather than their special data. In both cases the lighting of the piece is very important for capturing enough information about the surface.
Step 3: Set Up Your Program

If you don’t have processing installed please download it from here http://processing.org/.(I am using processing 2.1 on mac).
Open up your processing, you also need to install the library called “blob detection” by going to Sketch> Import Library> blobDetection.
You also need to install the SimpleOpenNI library again by going to Sketch>Import Library>SimpleOpenNI.
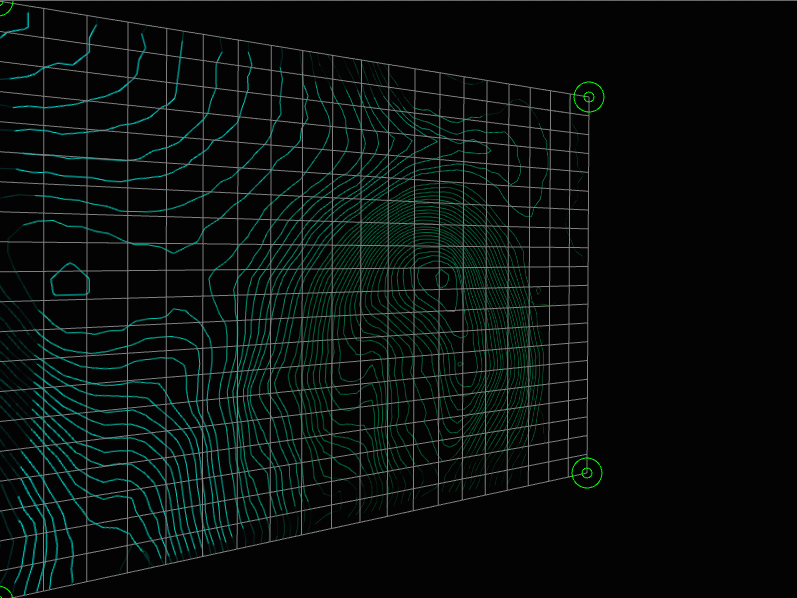
If you need further adjustment of the image projected into your surface or if you want to project with some angle you can use the library called “Keystone” from here http://keystonep5.sourceforge.net/”.
Since the system of movement is entirely independent of that of projection, I run two systems with two different computers. So the code is just for the projection of topographic lines.
First, I was looking for this effect, in which contour lines generated based on the brightness of the image captured.
now that everything is set up; run the program and enjoy.