Break Down of 3DS Max

Before we begin lets go over what 3DS Max is:
3DS Max is a computer program developed by Autodesk media and entertainment specifically designed for 3D graphics, with this we are able to create 3D models and animations which can be imported in various game engines for example UDK (Unreal development kit). Autodesk have also produced other software such as Maya and Mudbox which are also programs to be used in 3D modelling.
What can we use 3D models for?
3D models are used in all types of media today such as: Movies, TV shows and of course Games. In all of these media categories all 3D models will have been created using 3DS Max or other programs such as Blender.
In animated movies 3D modelling can be used to create fictional characters, items such as, vehicles, weapons and inanimate objects such as trees, bins, lamp posts, etc.
Using 3D modelling in TV adverts such as the Evian commercial where babies were able to roller skate after drinking the bottled water.
In Games 3D Modelling is the most used i would say out of the 3 media categories as the entire game will be modelled in 3D programs, as we create the landscape, characters and the assets.
Geometric Theory
Now, what is Geometric Theory?
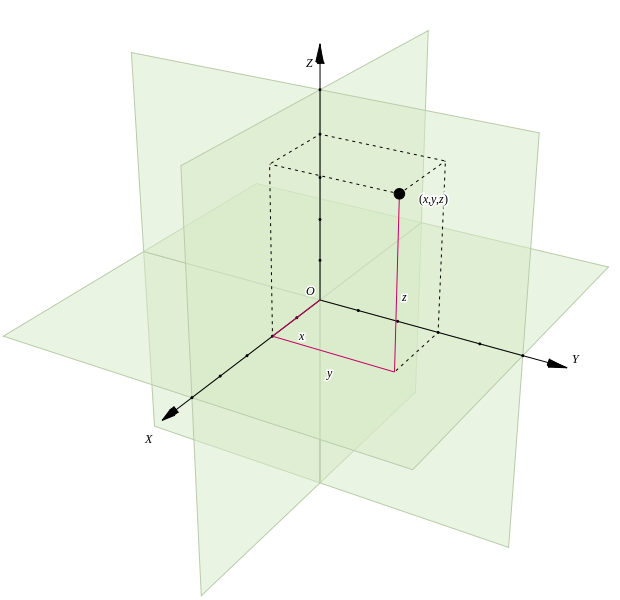
3DS Max uses a system called Cartesian Co-ordinate system which is a 3 point system that uses x, y and z as reference. As you plot your 3 points on your graph these are your length, width and depth.With these points plotted the programme then calculates the rest of the shape this is shown in the picture above using the dotted line (the purple lines are the points that have been plotted already on the grid).
using this system allows us to add vertex from the edges, this system calculates directly between 2 points using default as this is the easiest calculation. one point is a vertex, two points would make it an edge, while using three points makes a triangle and finally using four points will allow us to make a poly which once created means we can make a variety of different shapes.
Animation
What is animation?
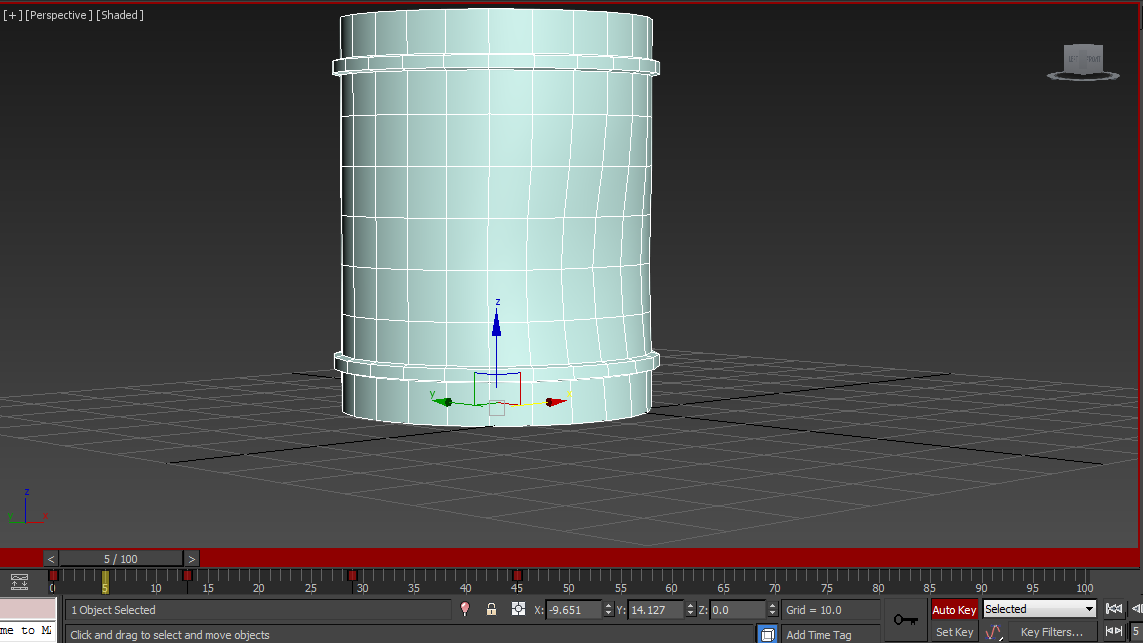
Using 3DS Max there is a way of animating our assets we have built, we can use the 'auto key' button which is located underneath the timeline, using this allows us to move the asset we have created this will also automatically place a key frame on the timeline which makes it easier.
Using information from http://knowledge.autodesk.com/support/3ds-max
we know there is a forward kinematic in 3DS Max that uses a form of hierarchy system, this involves objects labelled as parent and child, an example of this would be a robotic arm which has a base (the base is the parent) this then moves the arm 360 degrees (in this the arm is the child). when using this system if you are to move the parent object all child objects will move as well, however you were to move the child object it will move alone and will not affect the parent.
There is another way to animate using an inverse kinematic which will work the opposite way, this means instead of using parent objects (the base) it will work from the opposite point using the child object (the end) this will manipulate all of the child objects in the hierarchy.
Building an Asset
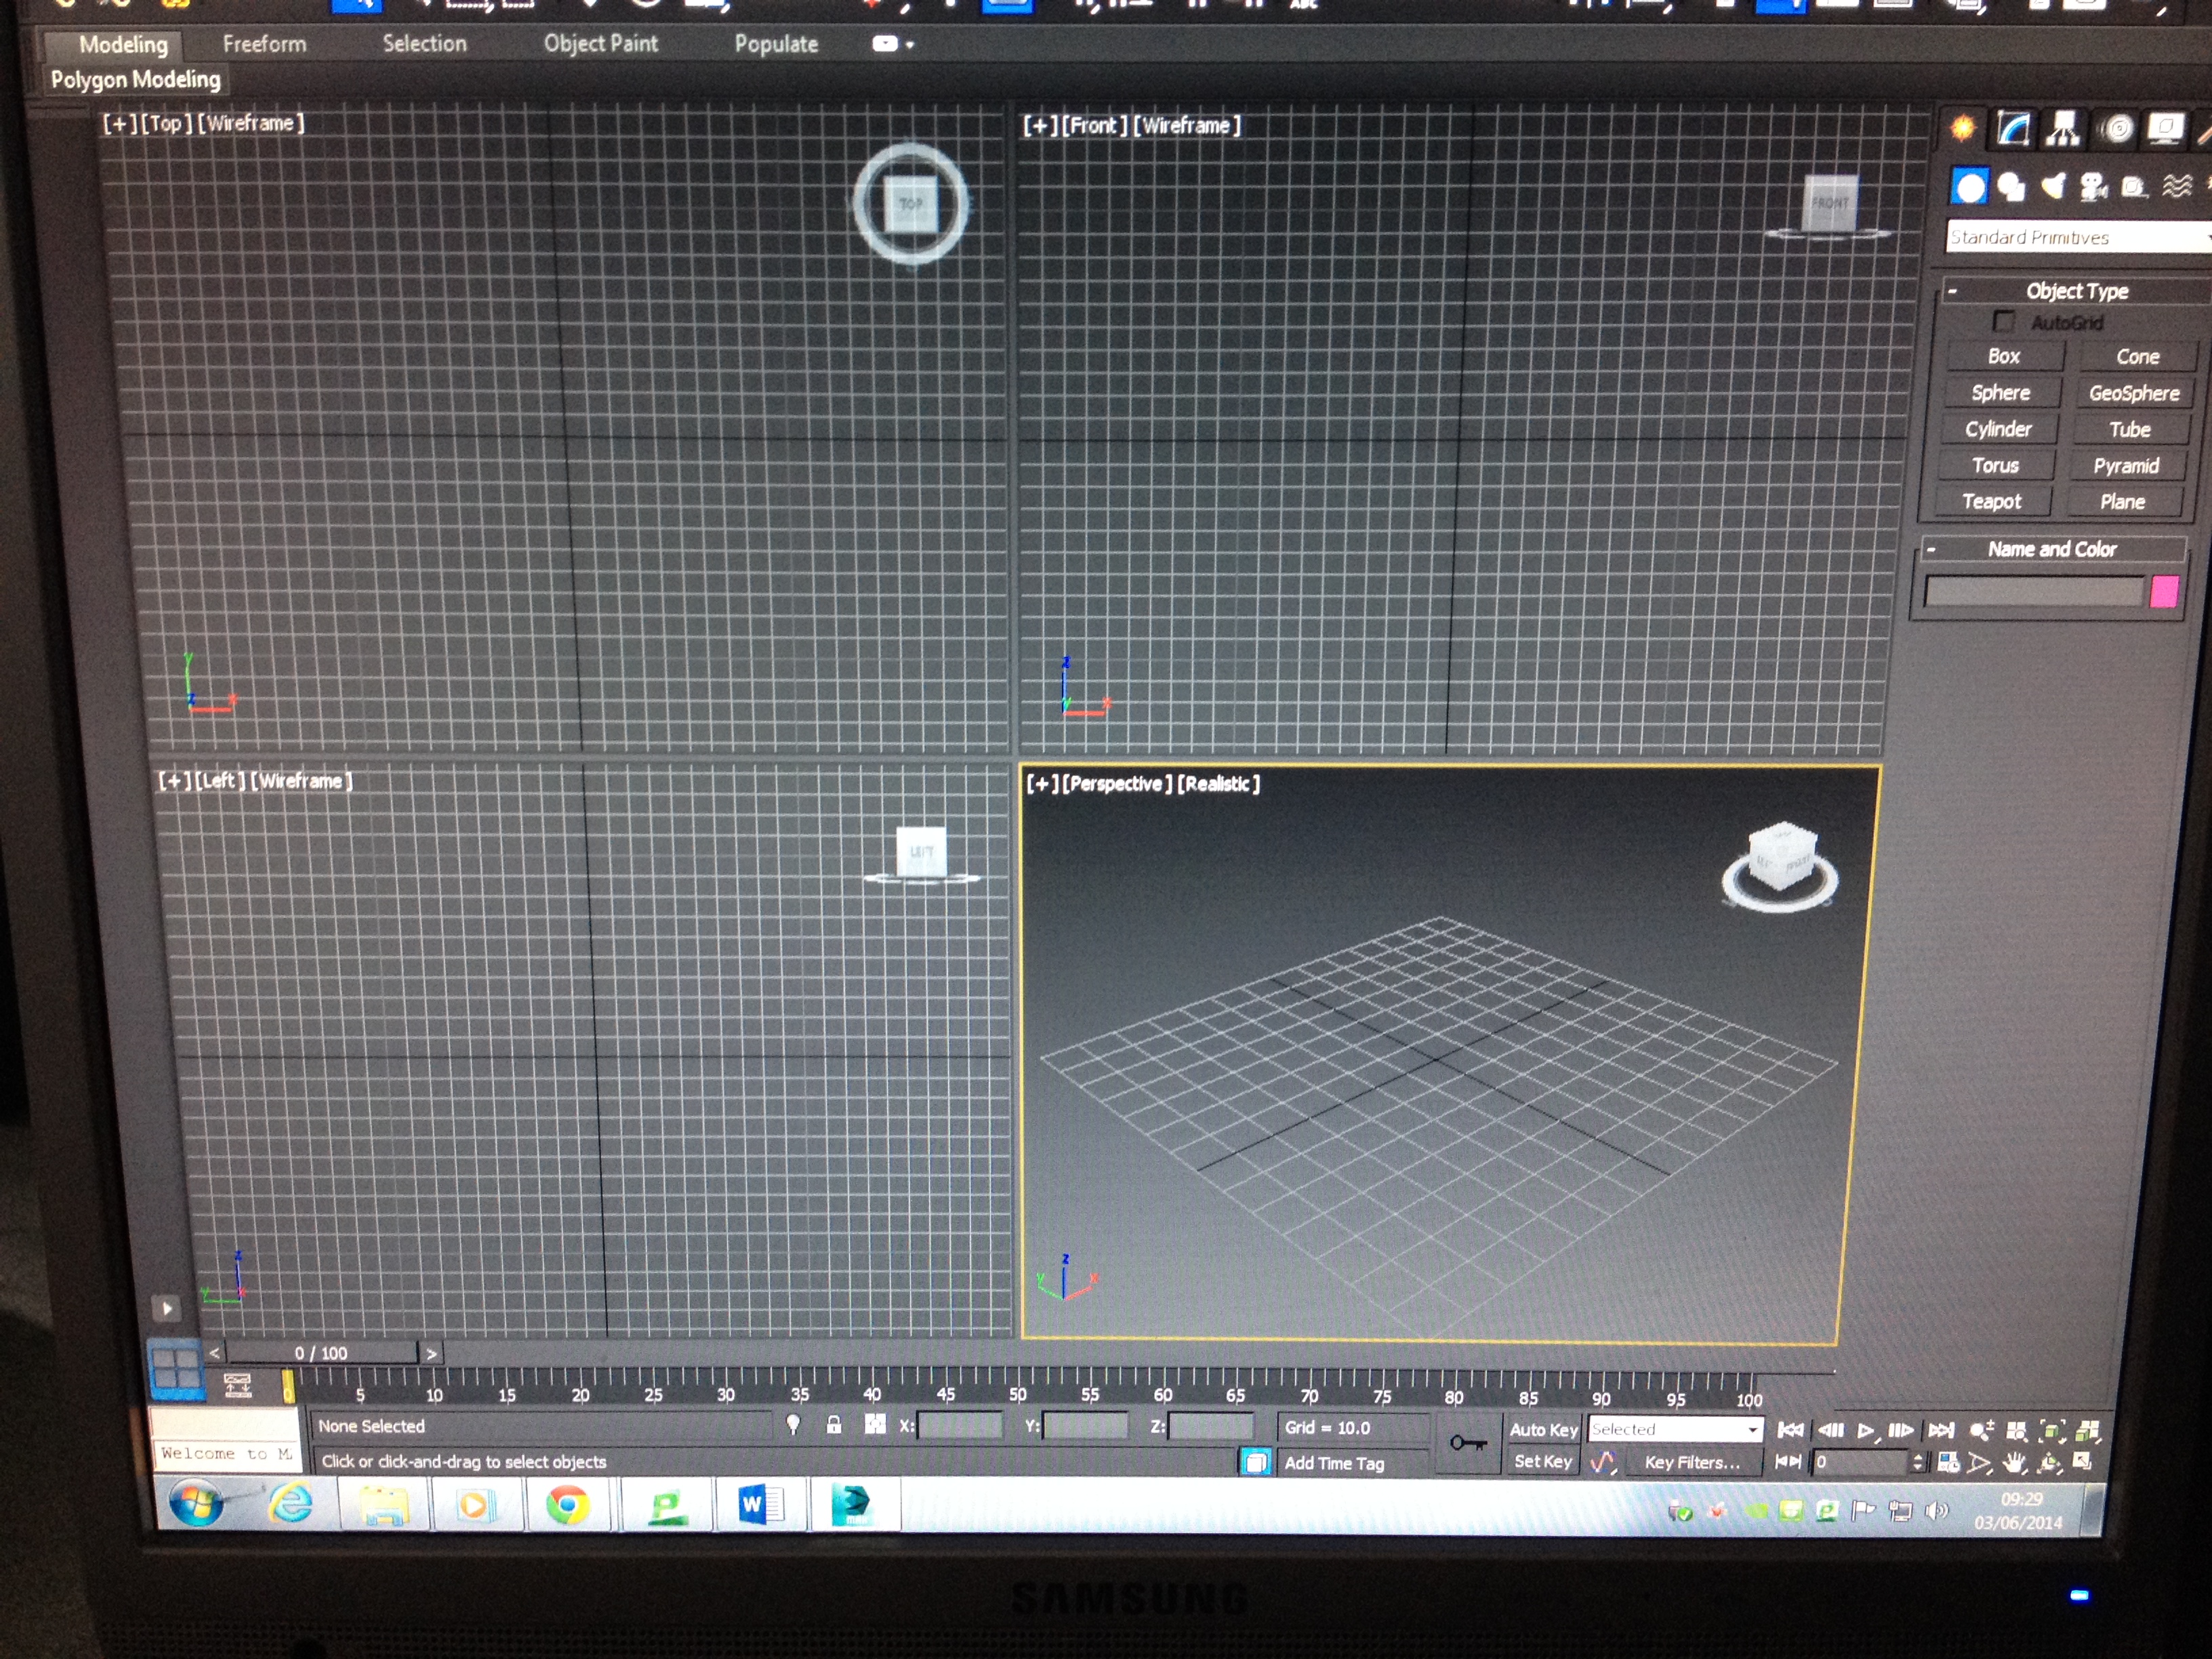
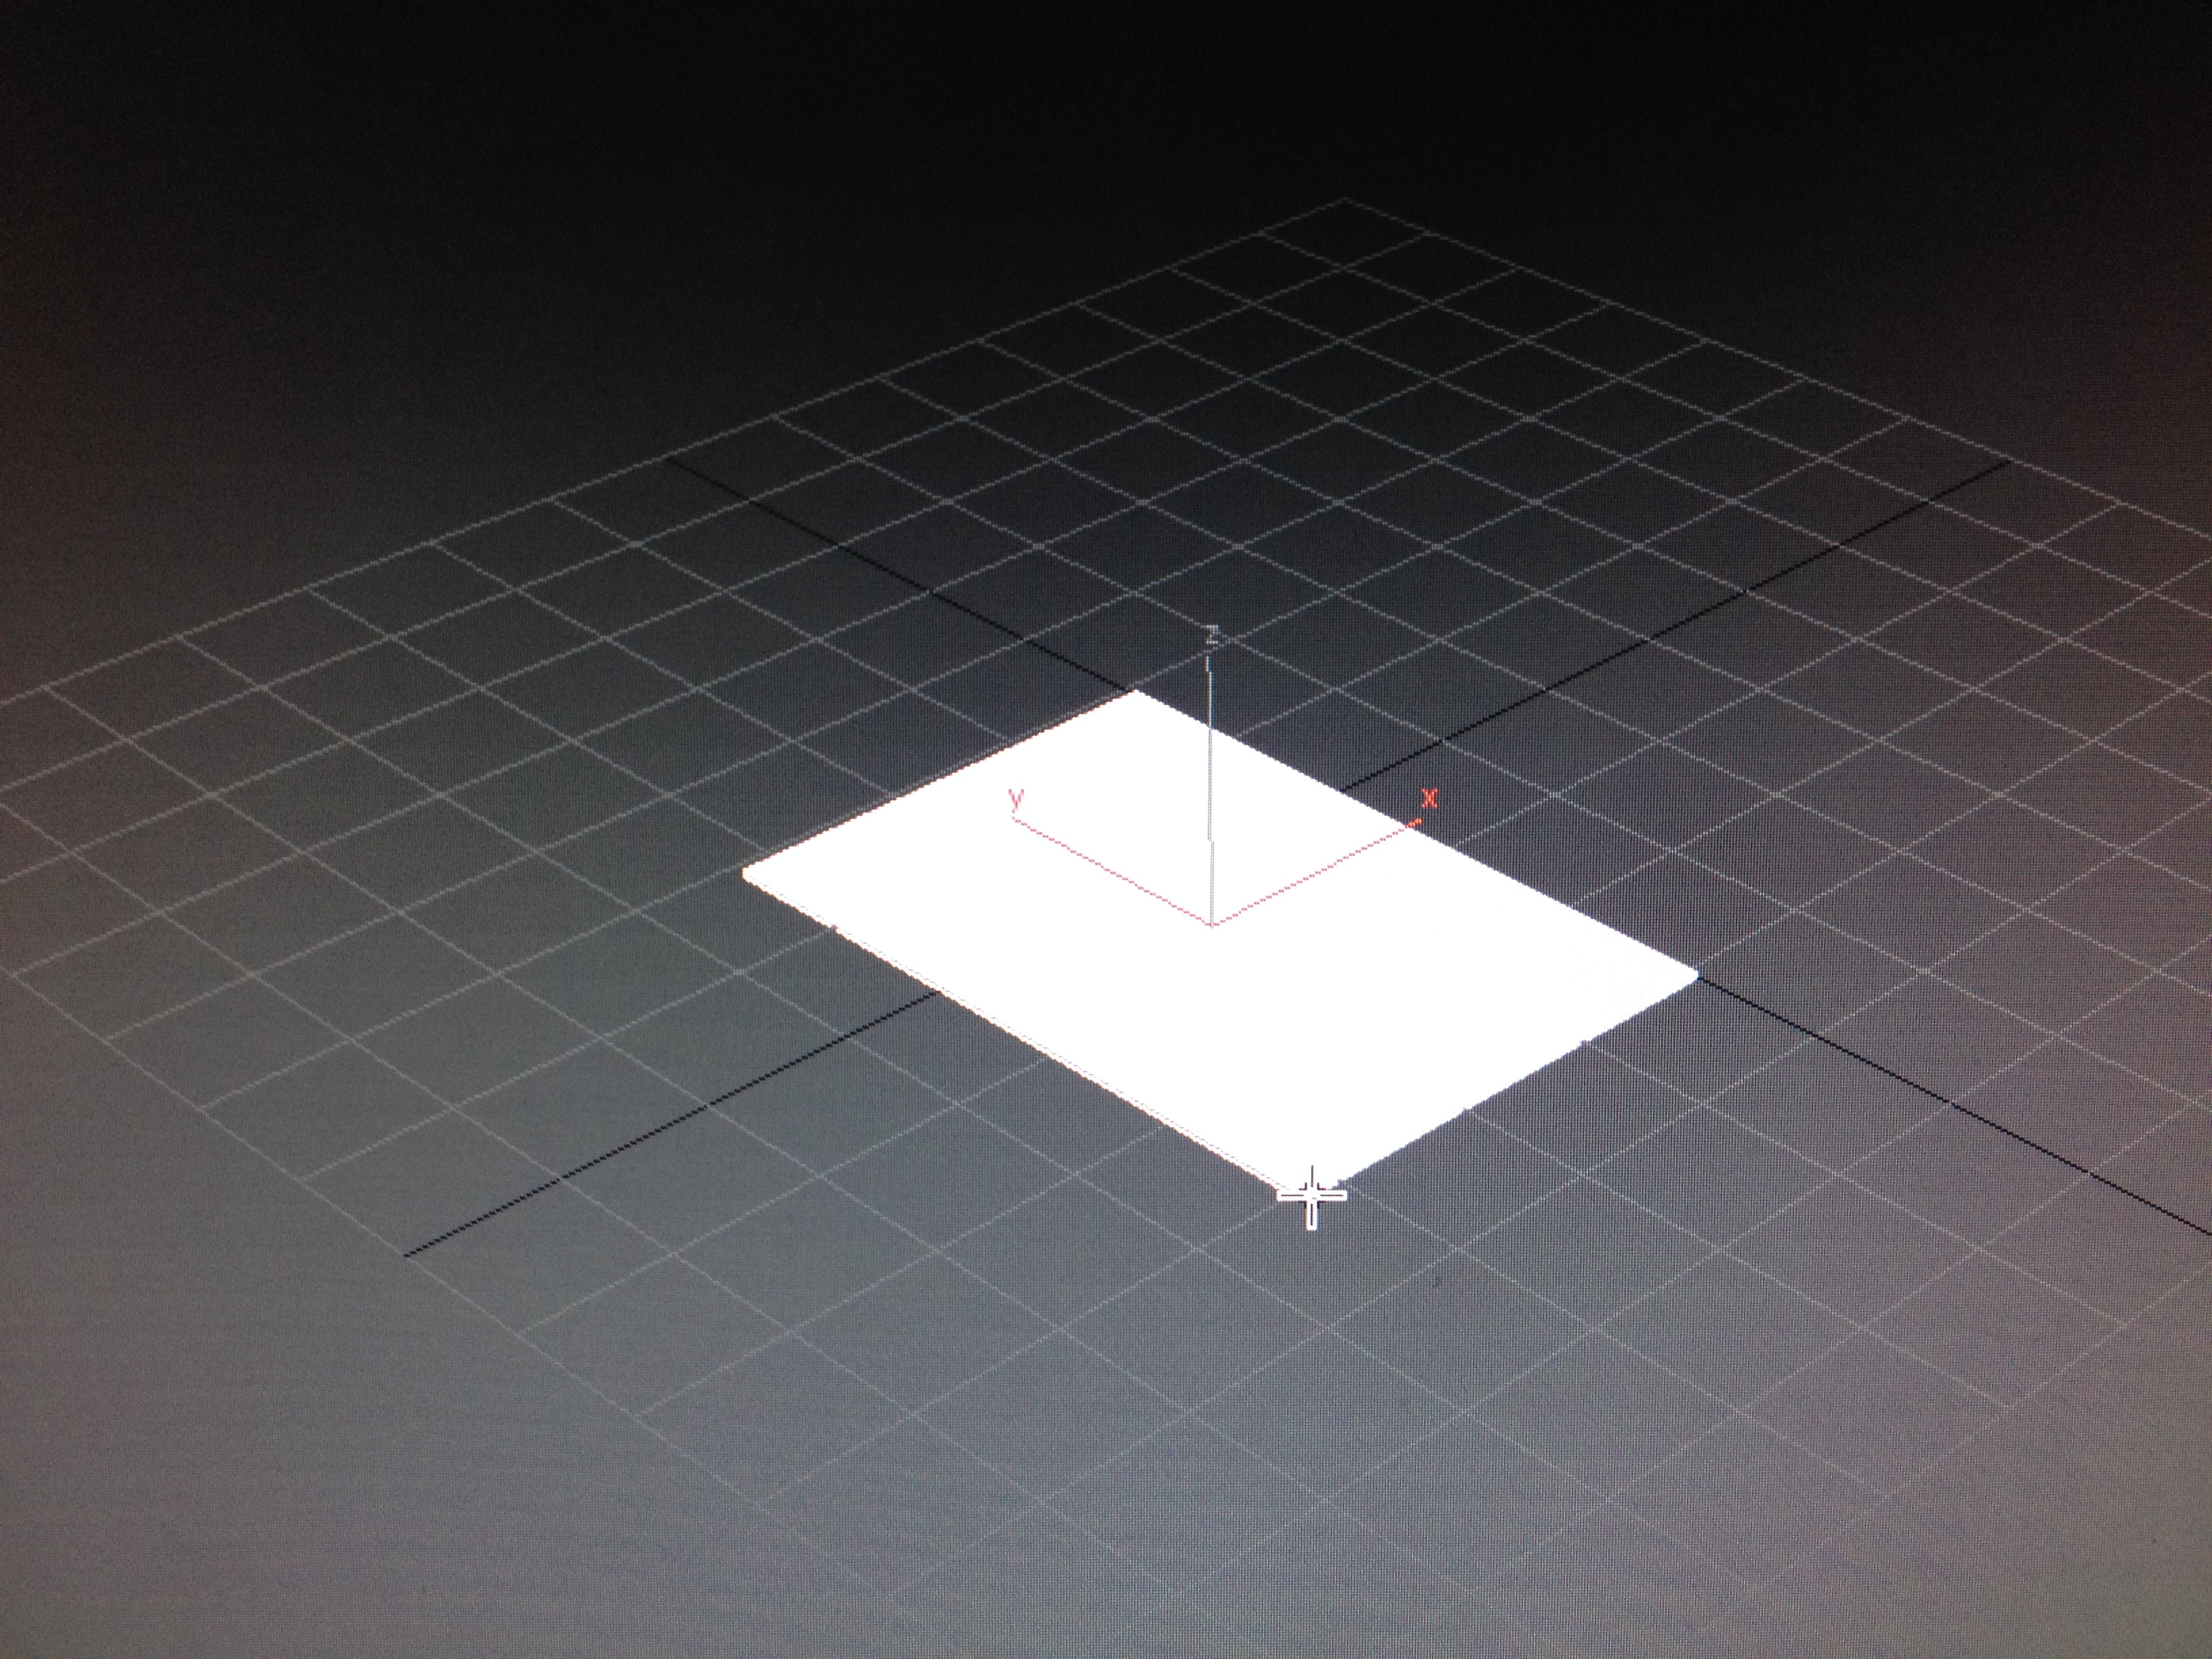
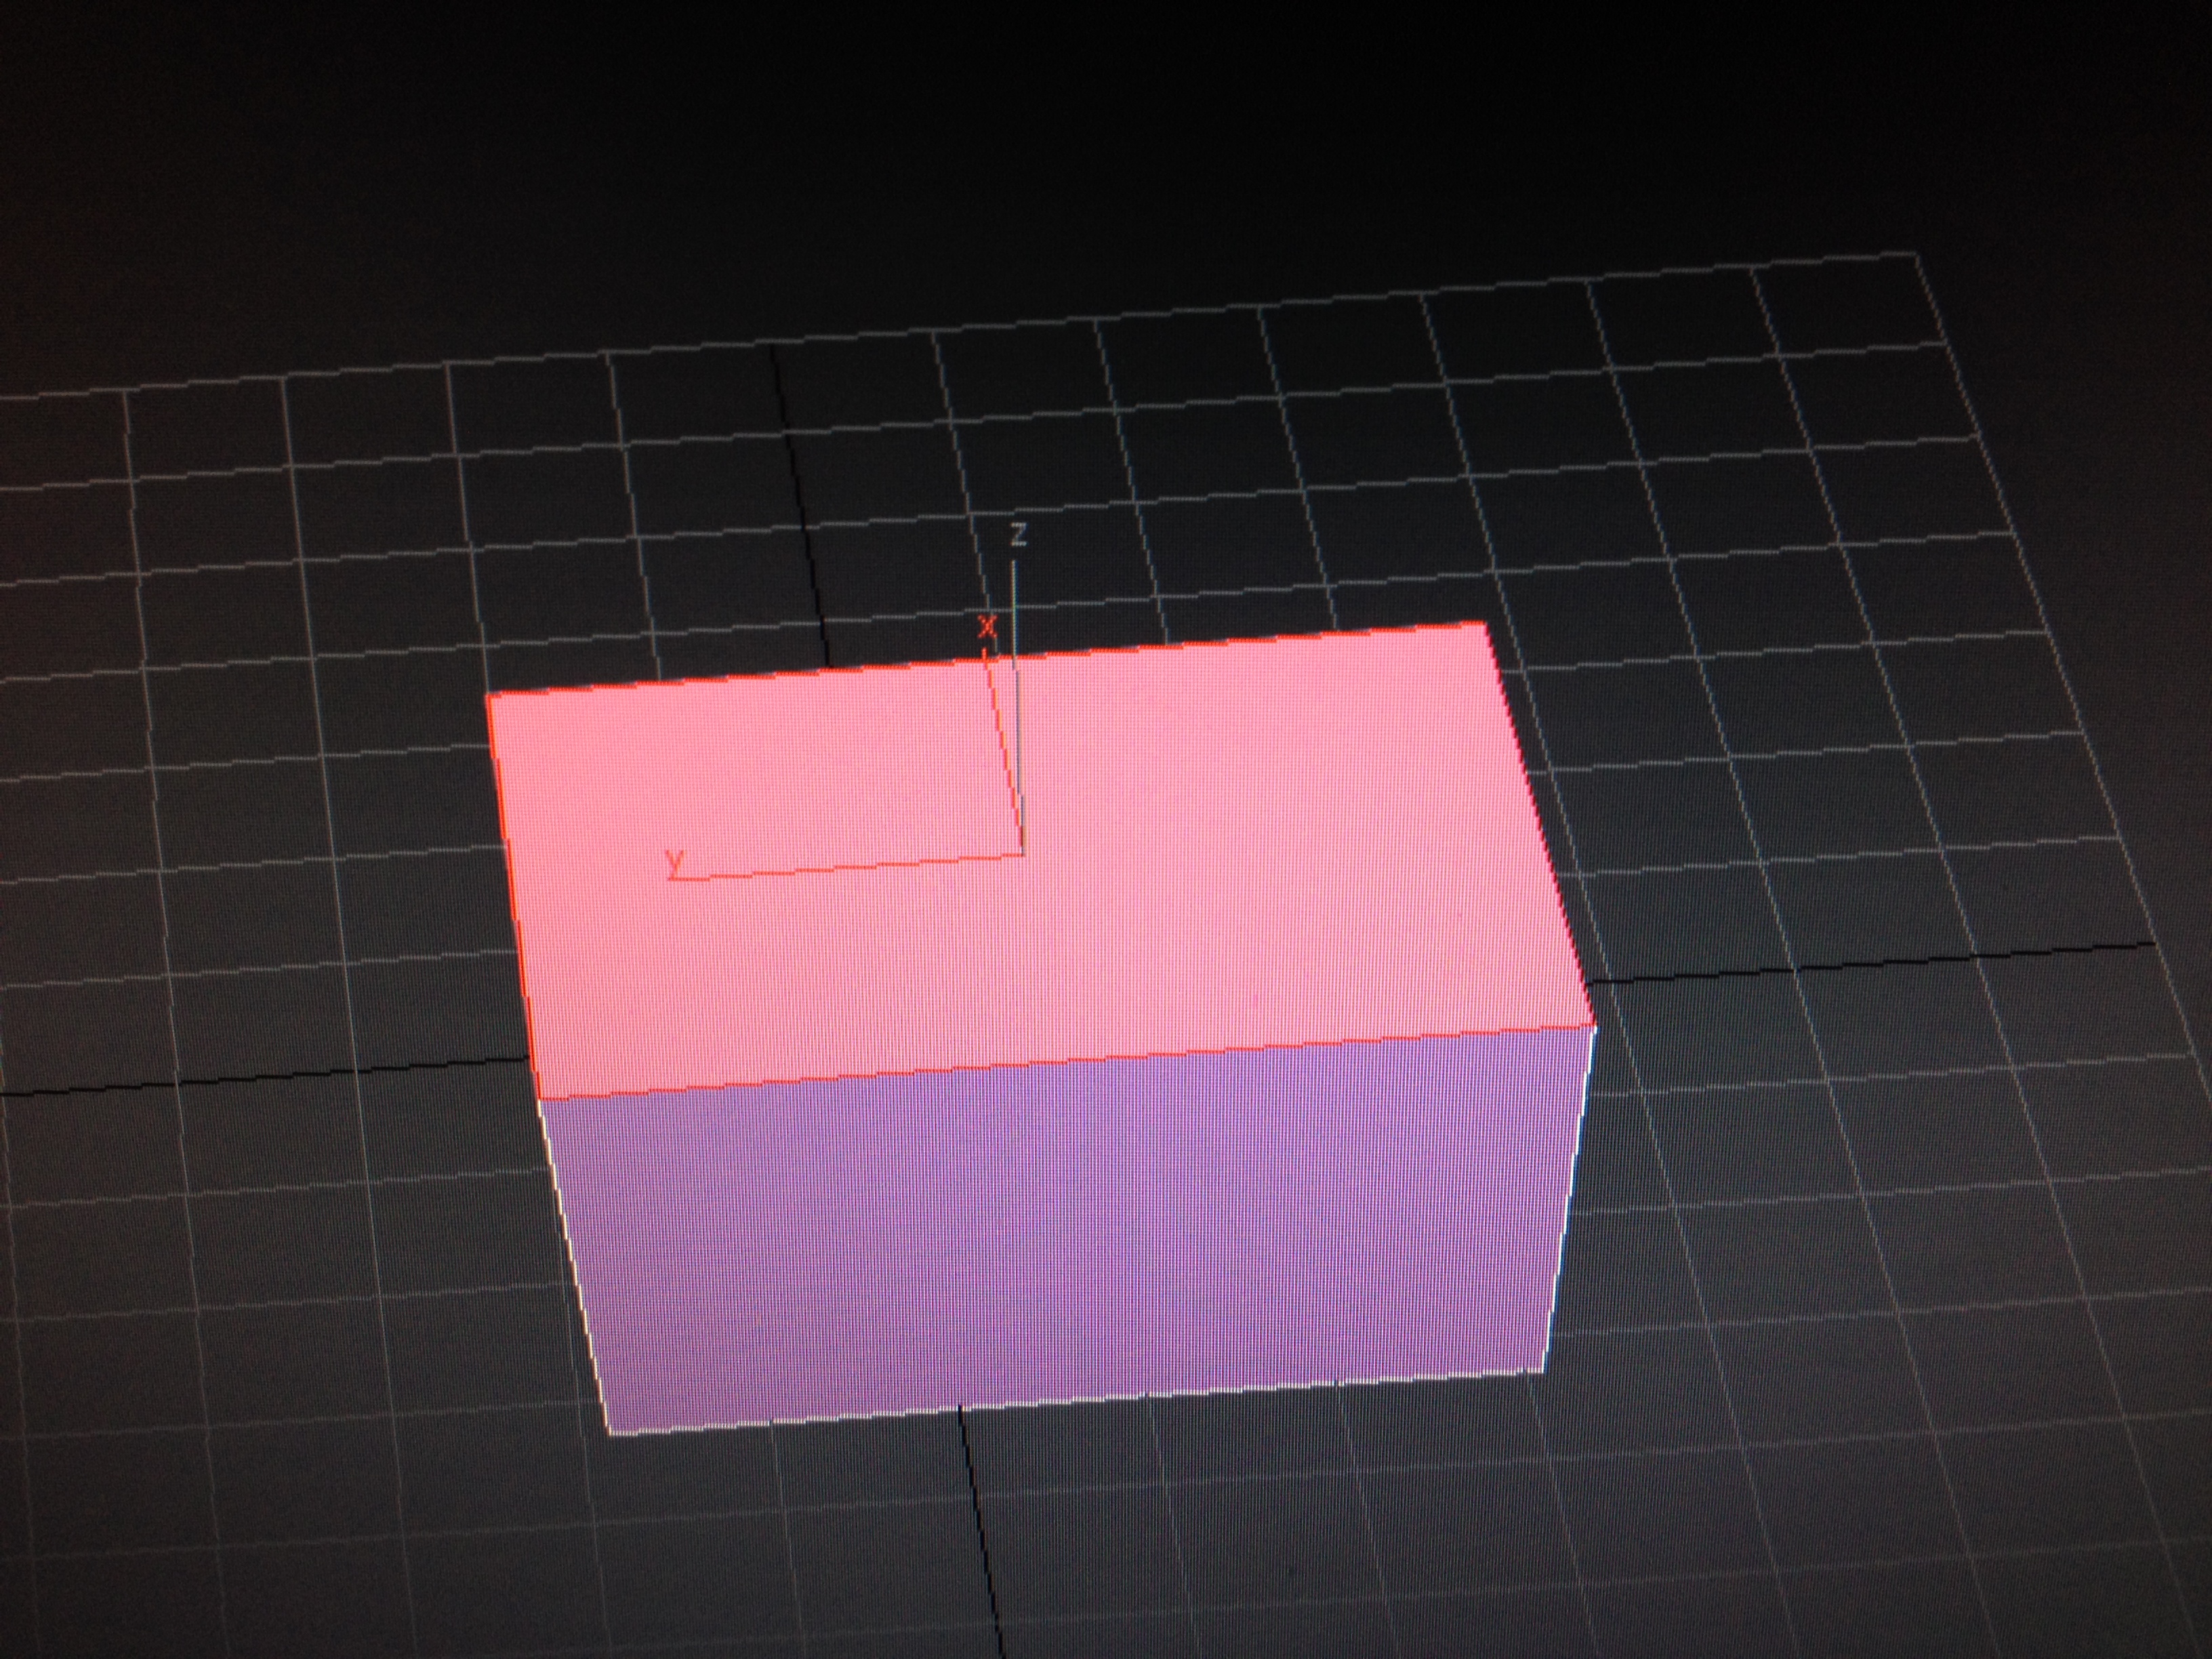
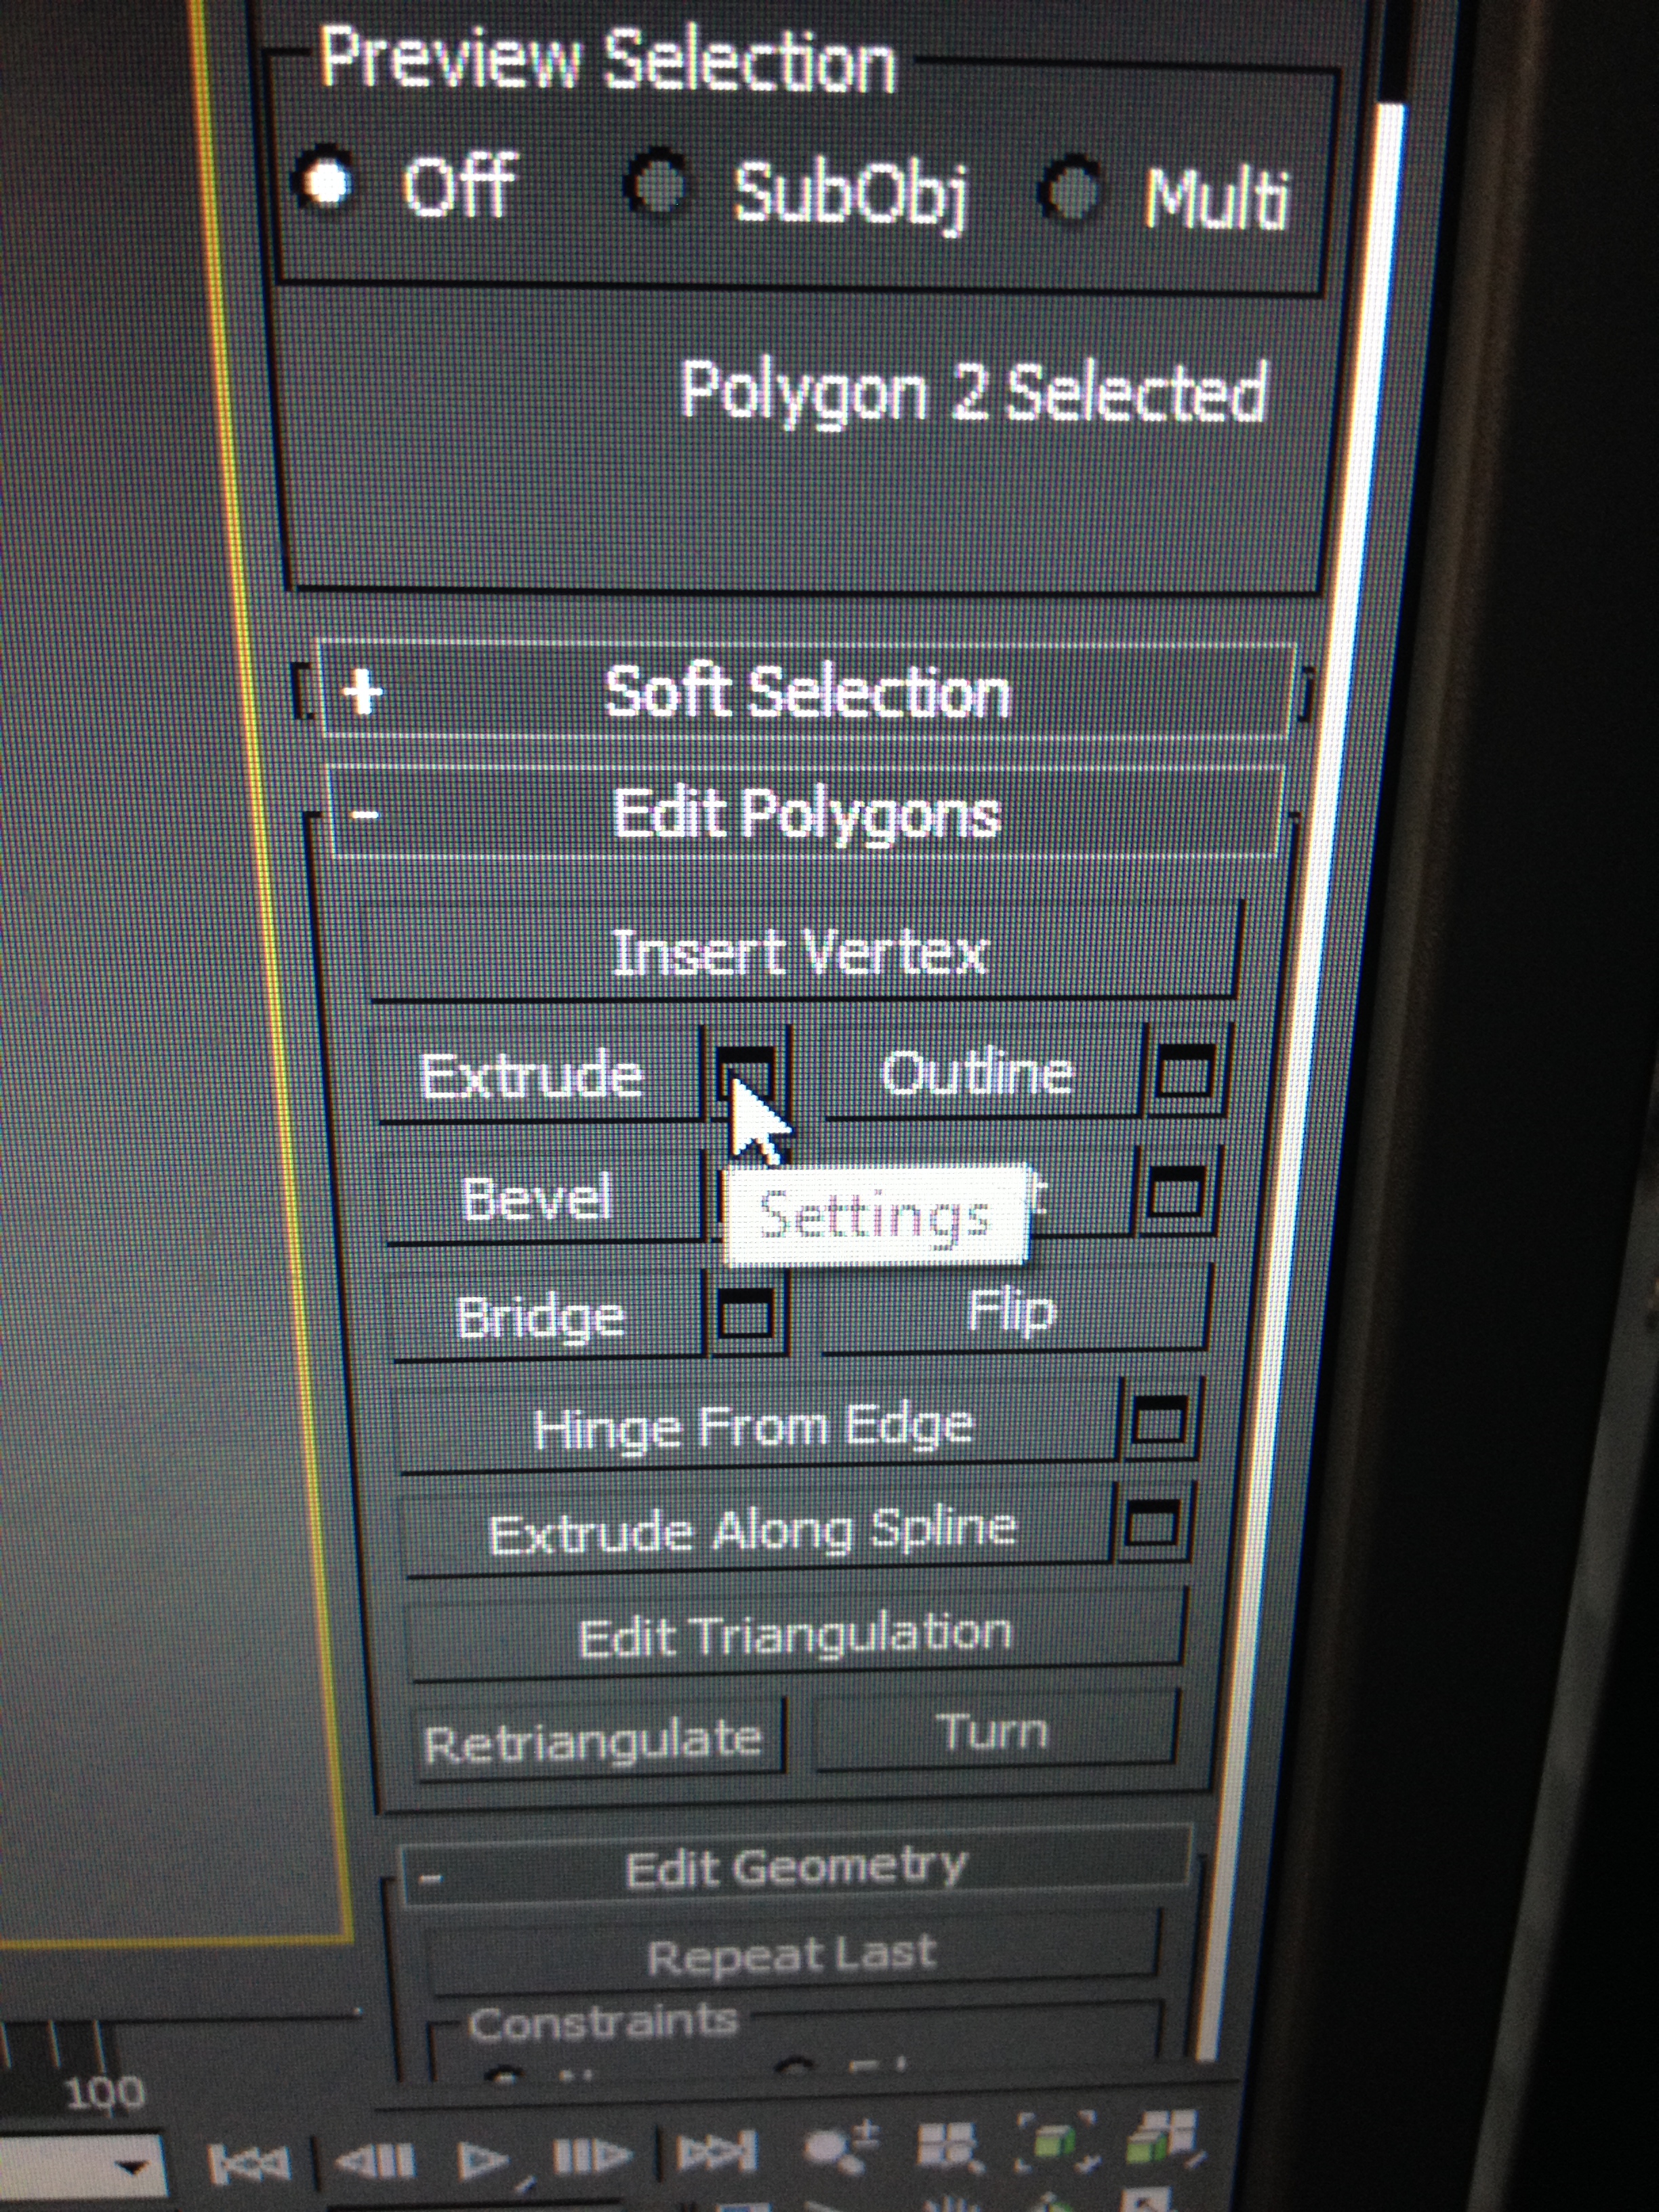
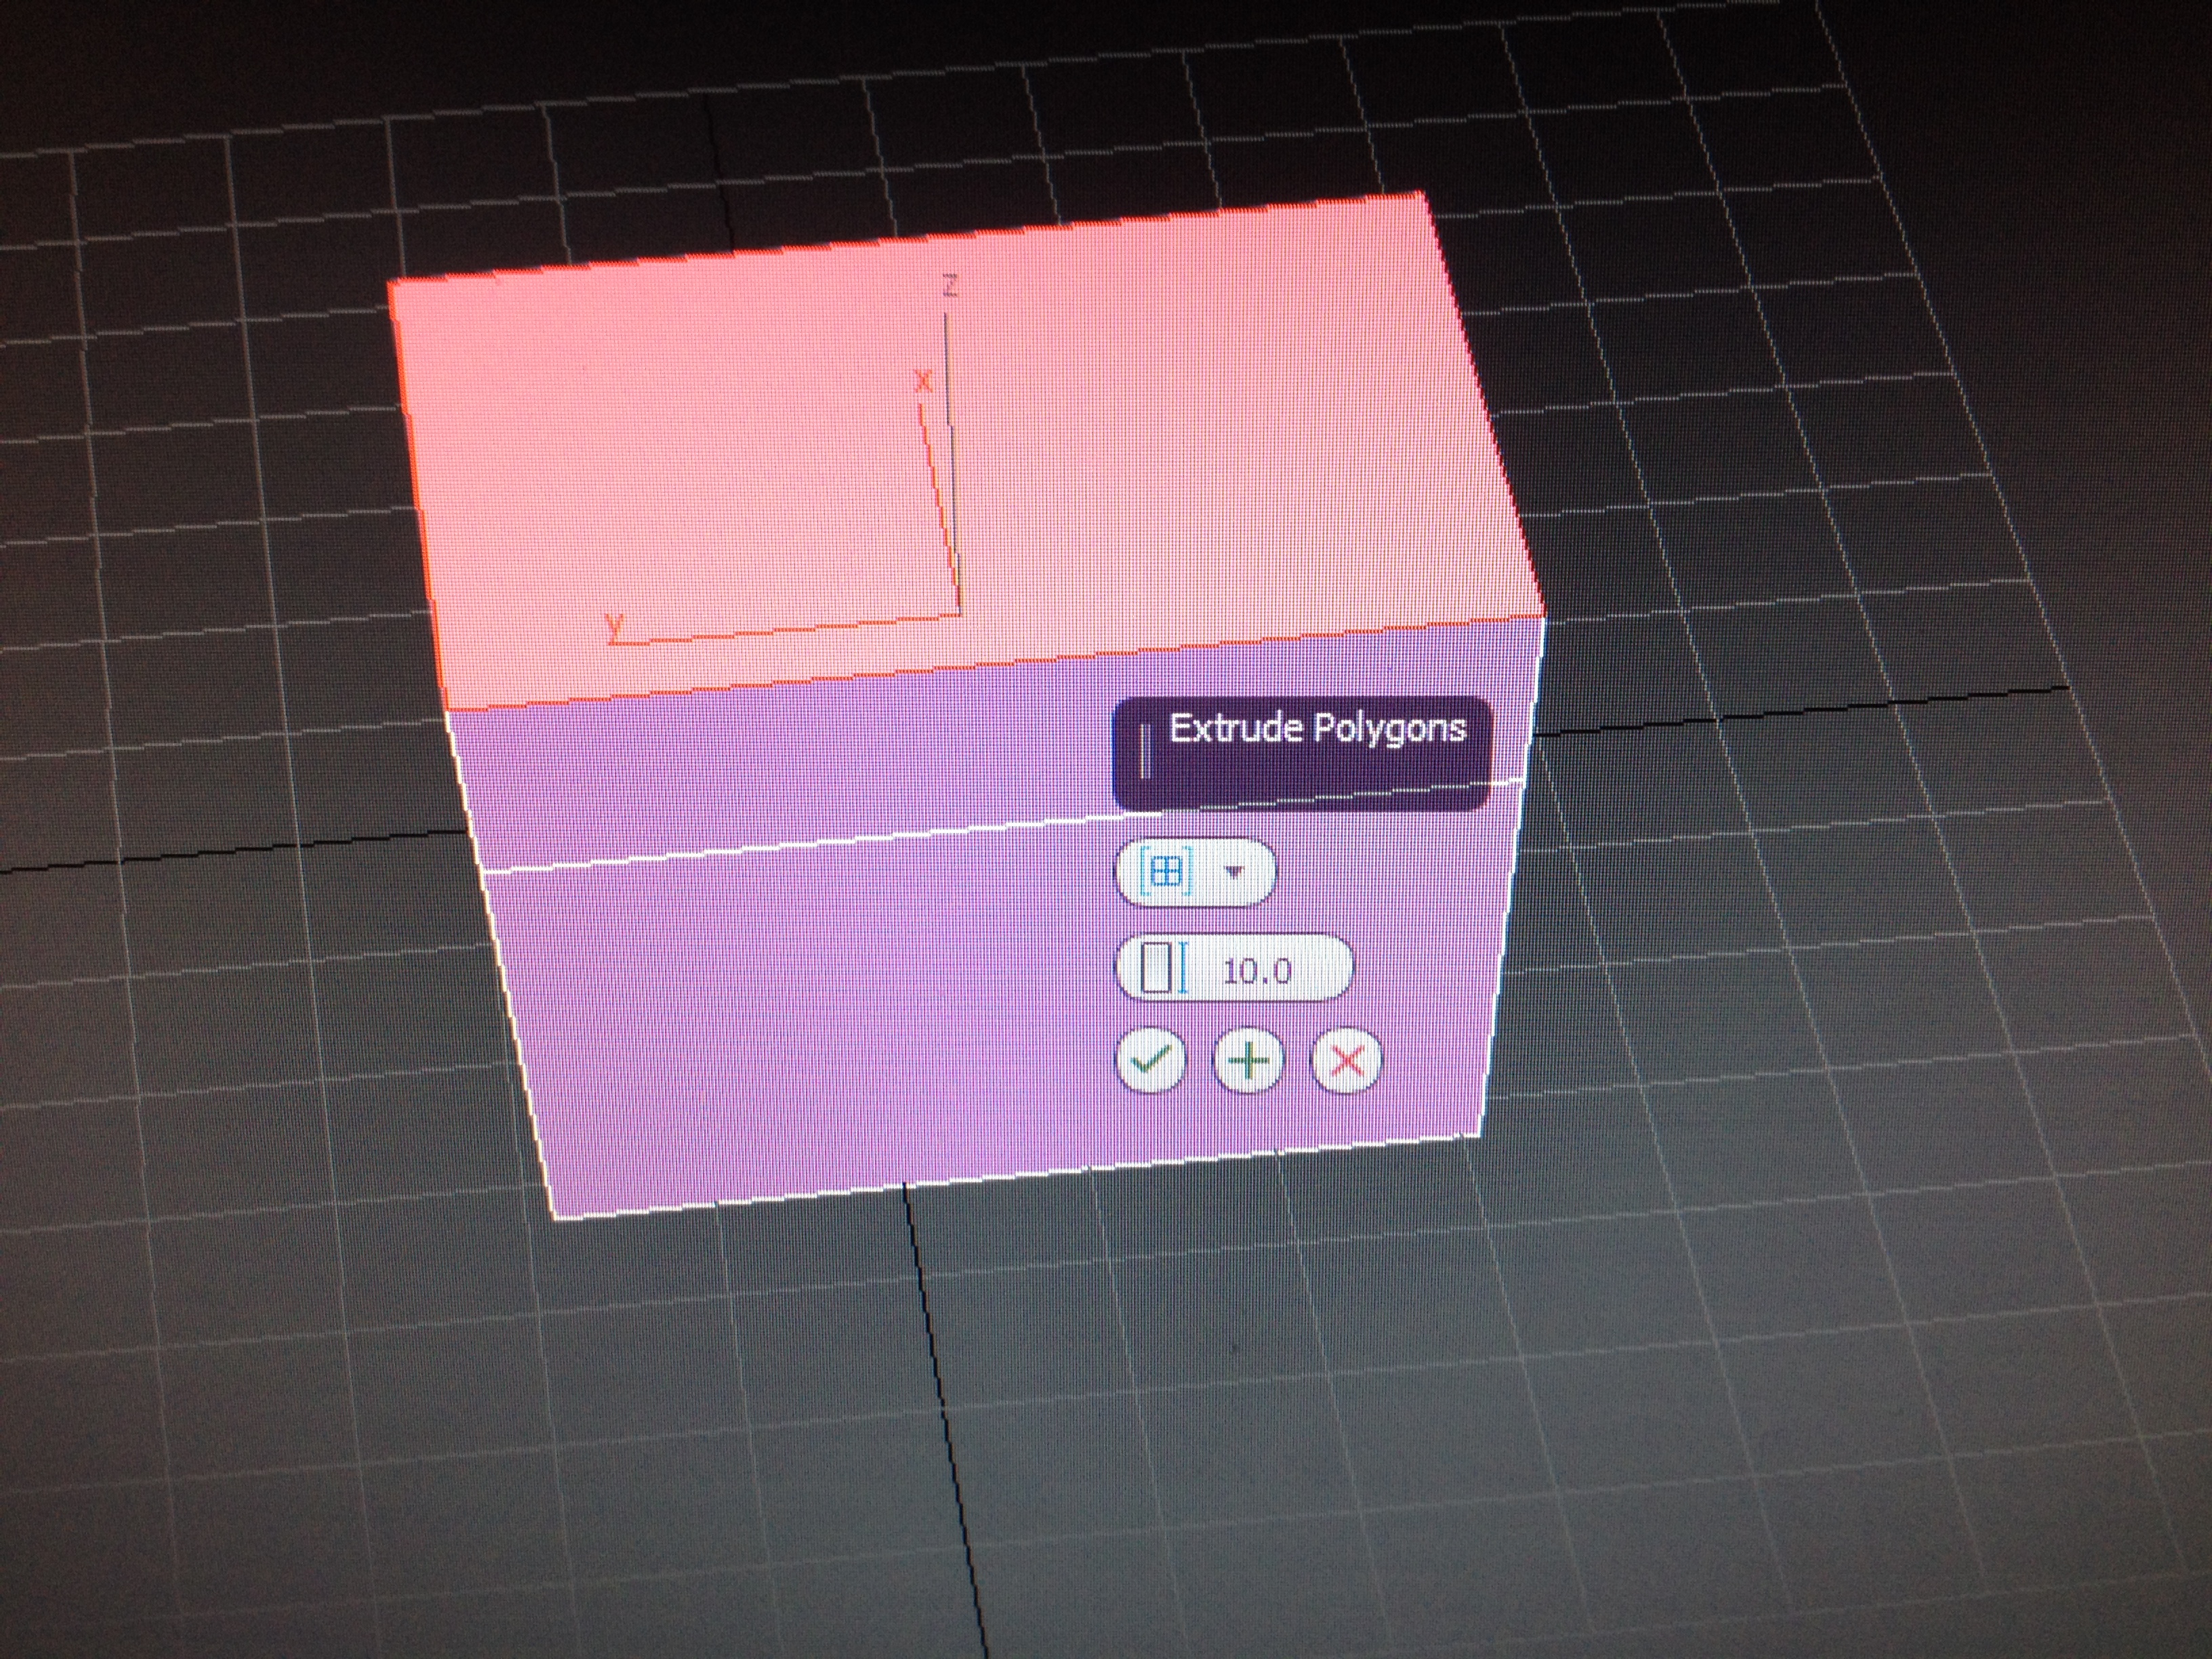
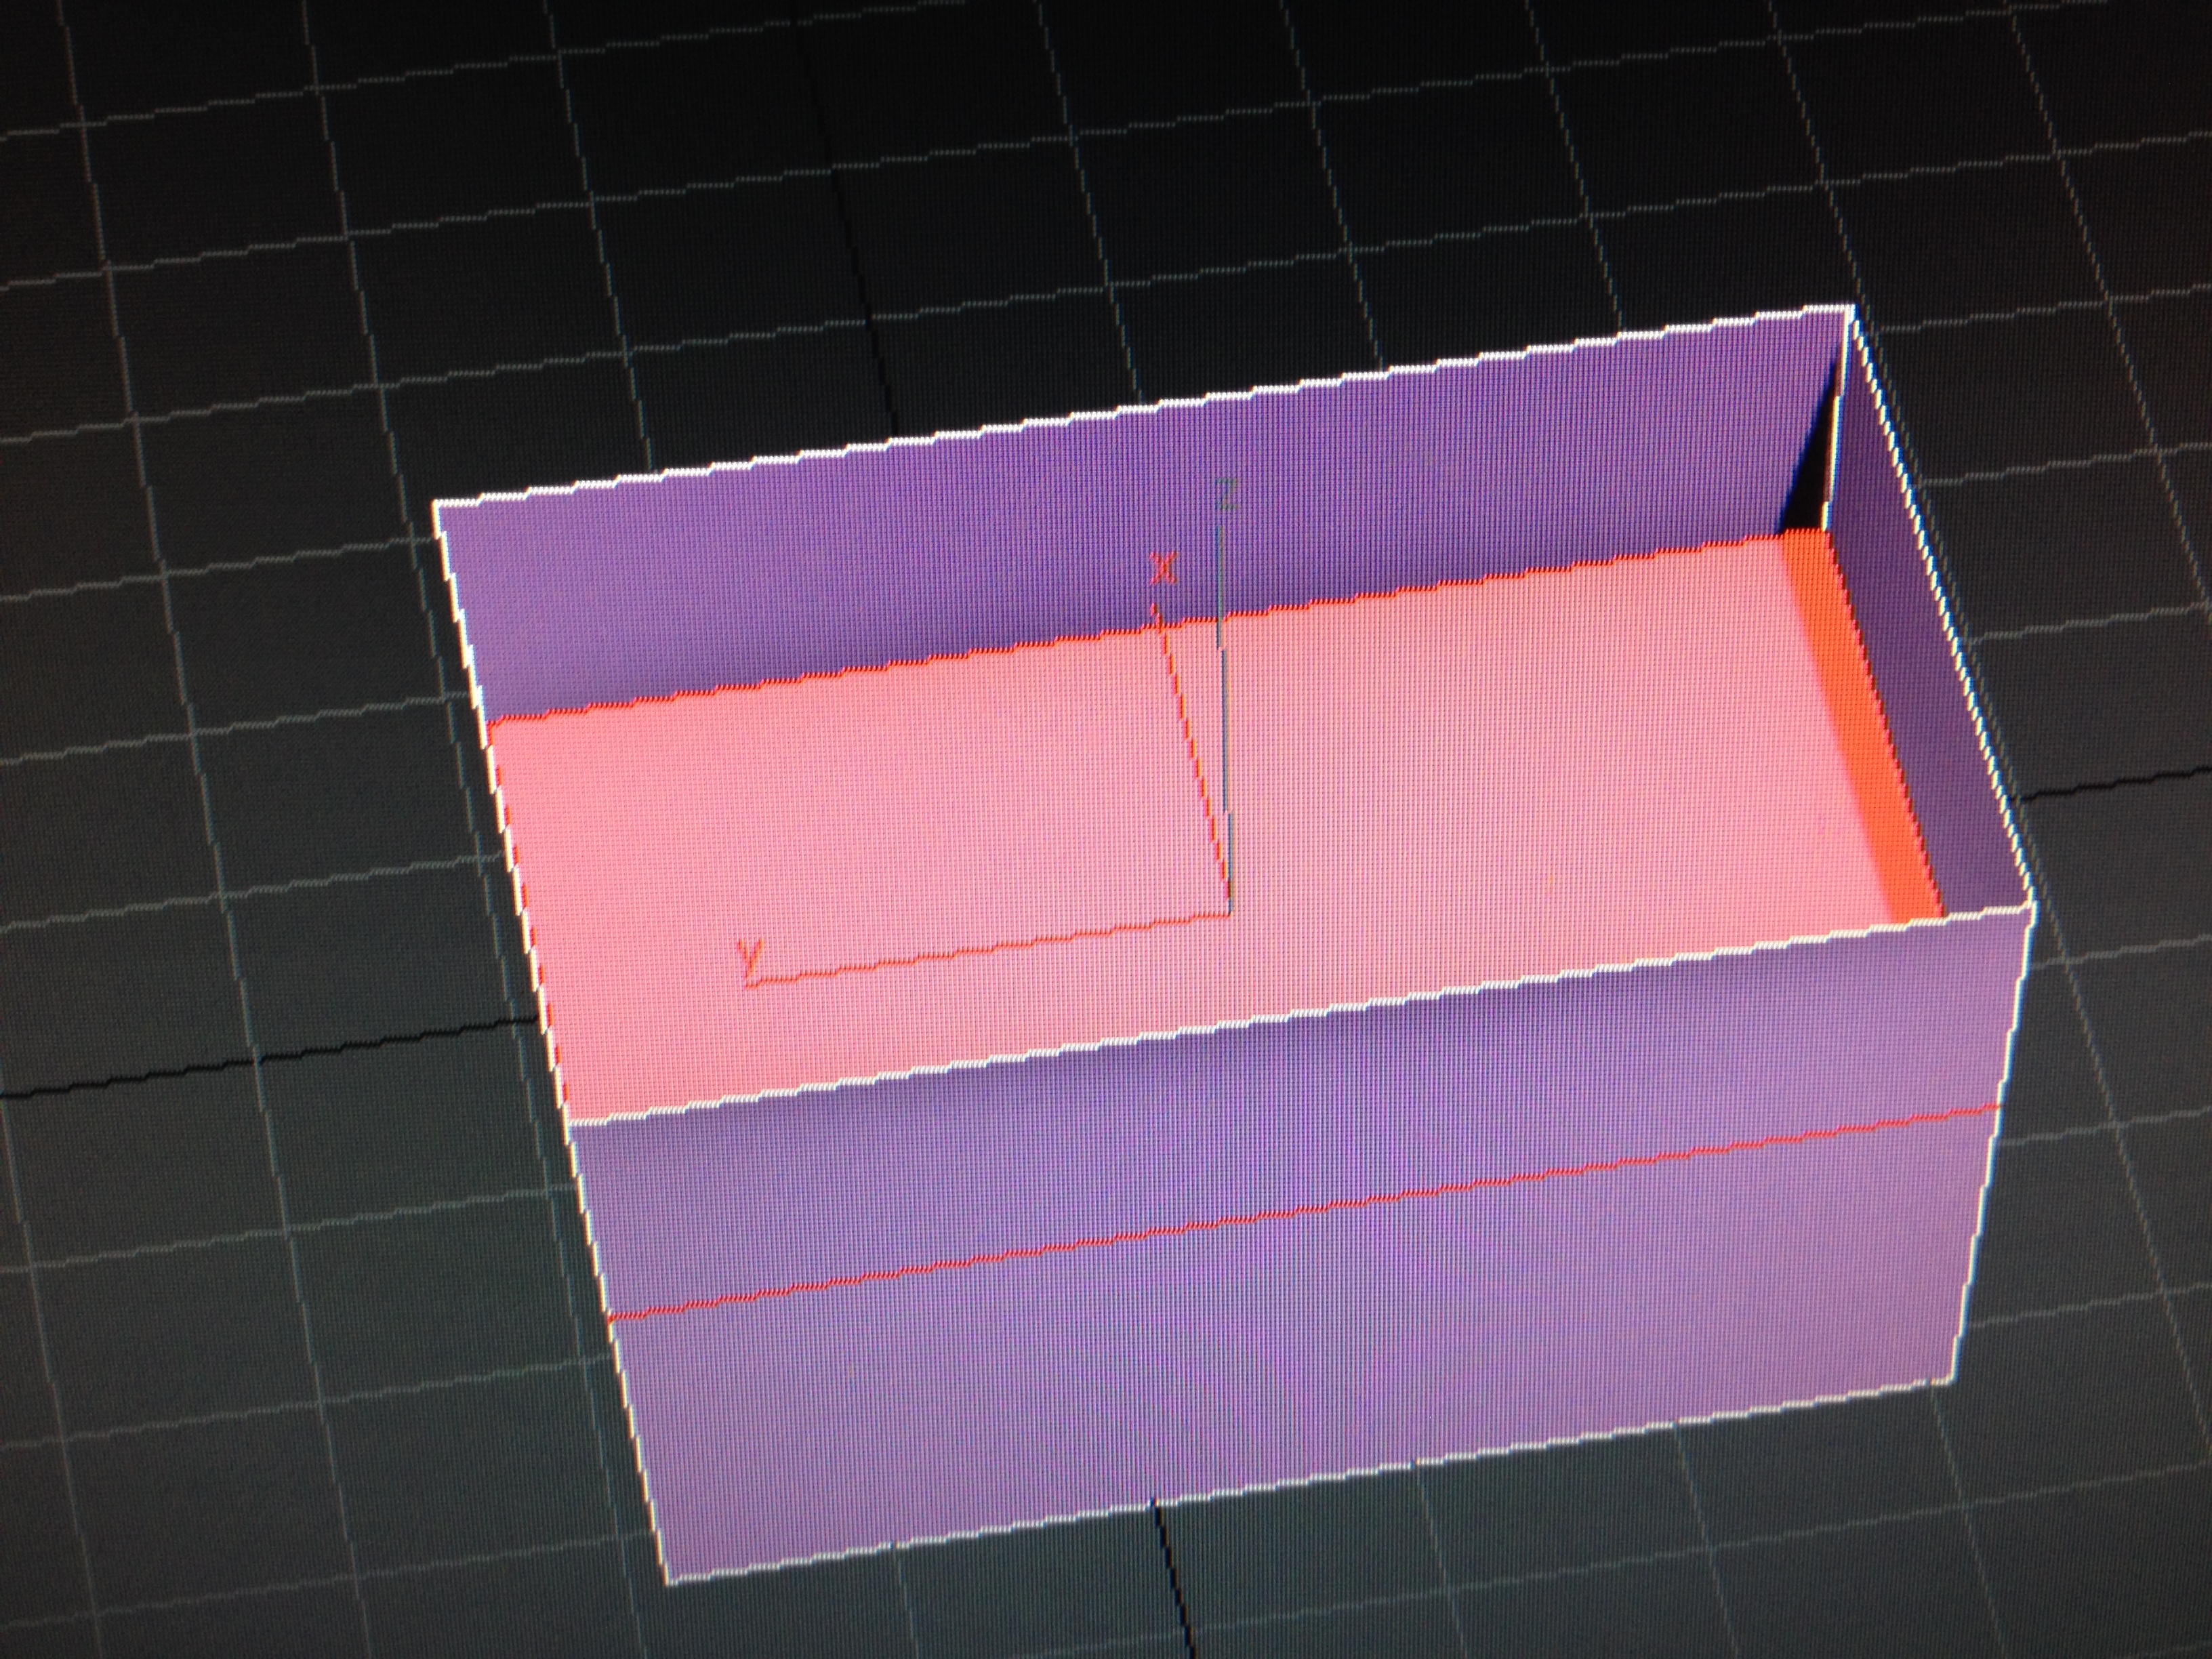
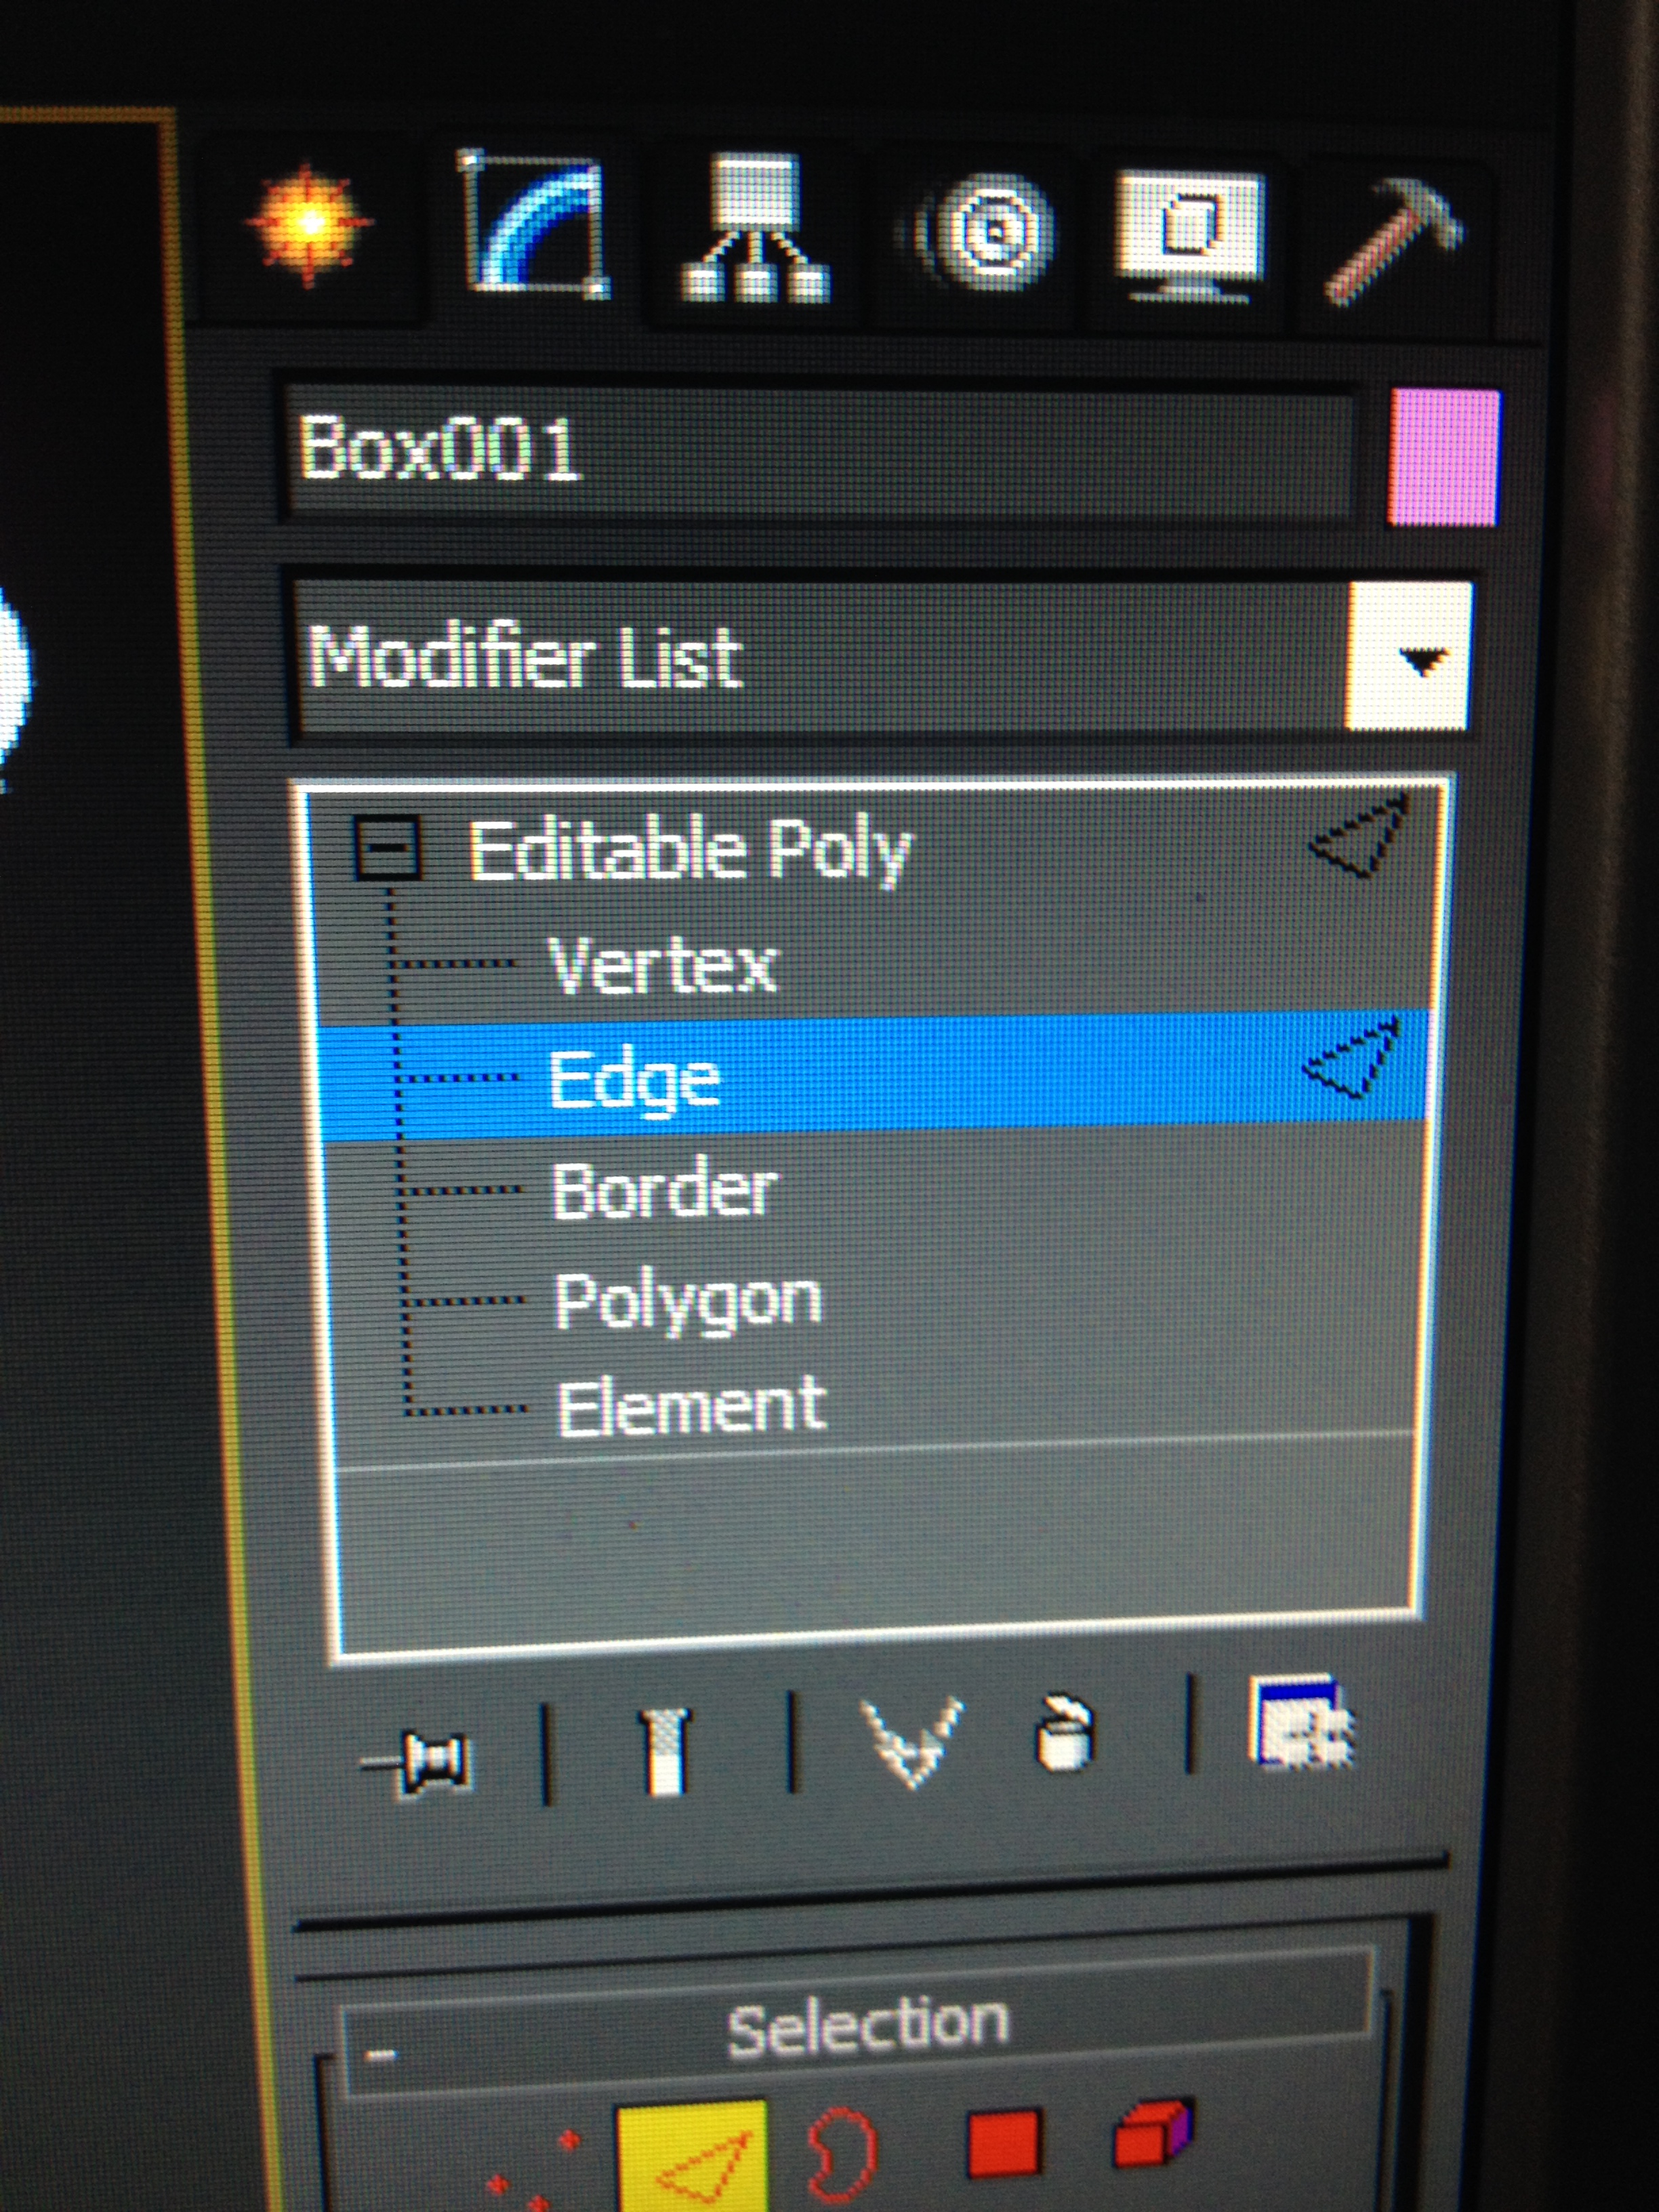
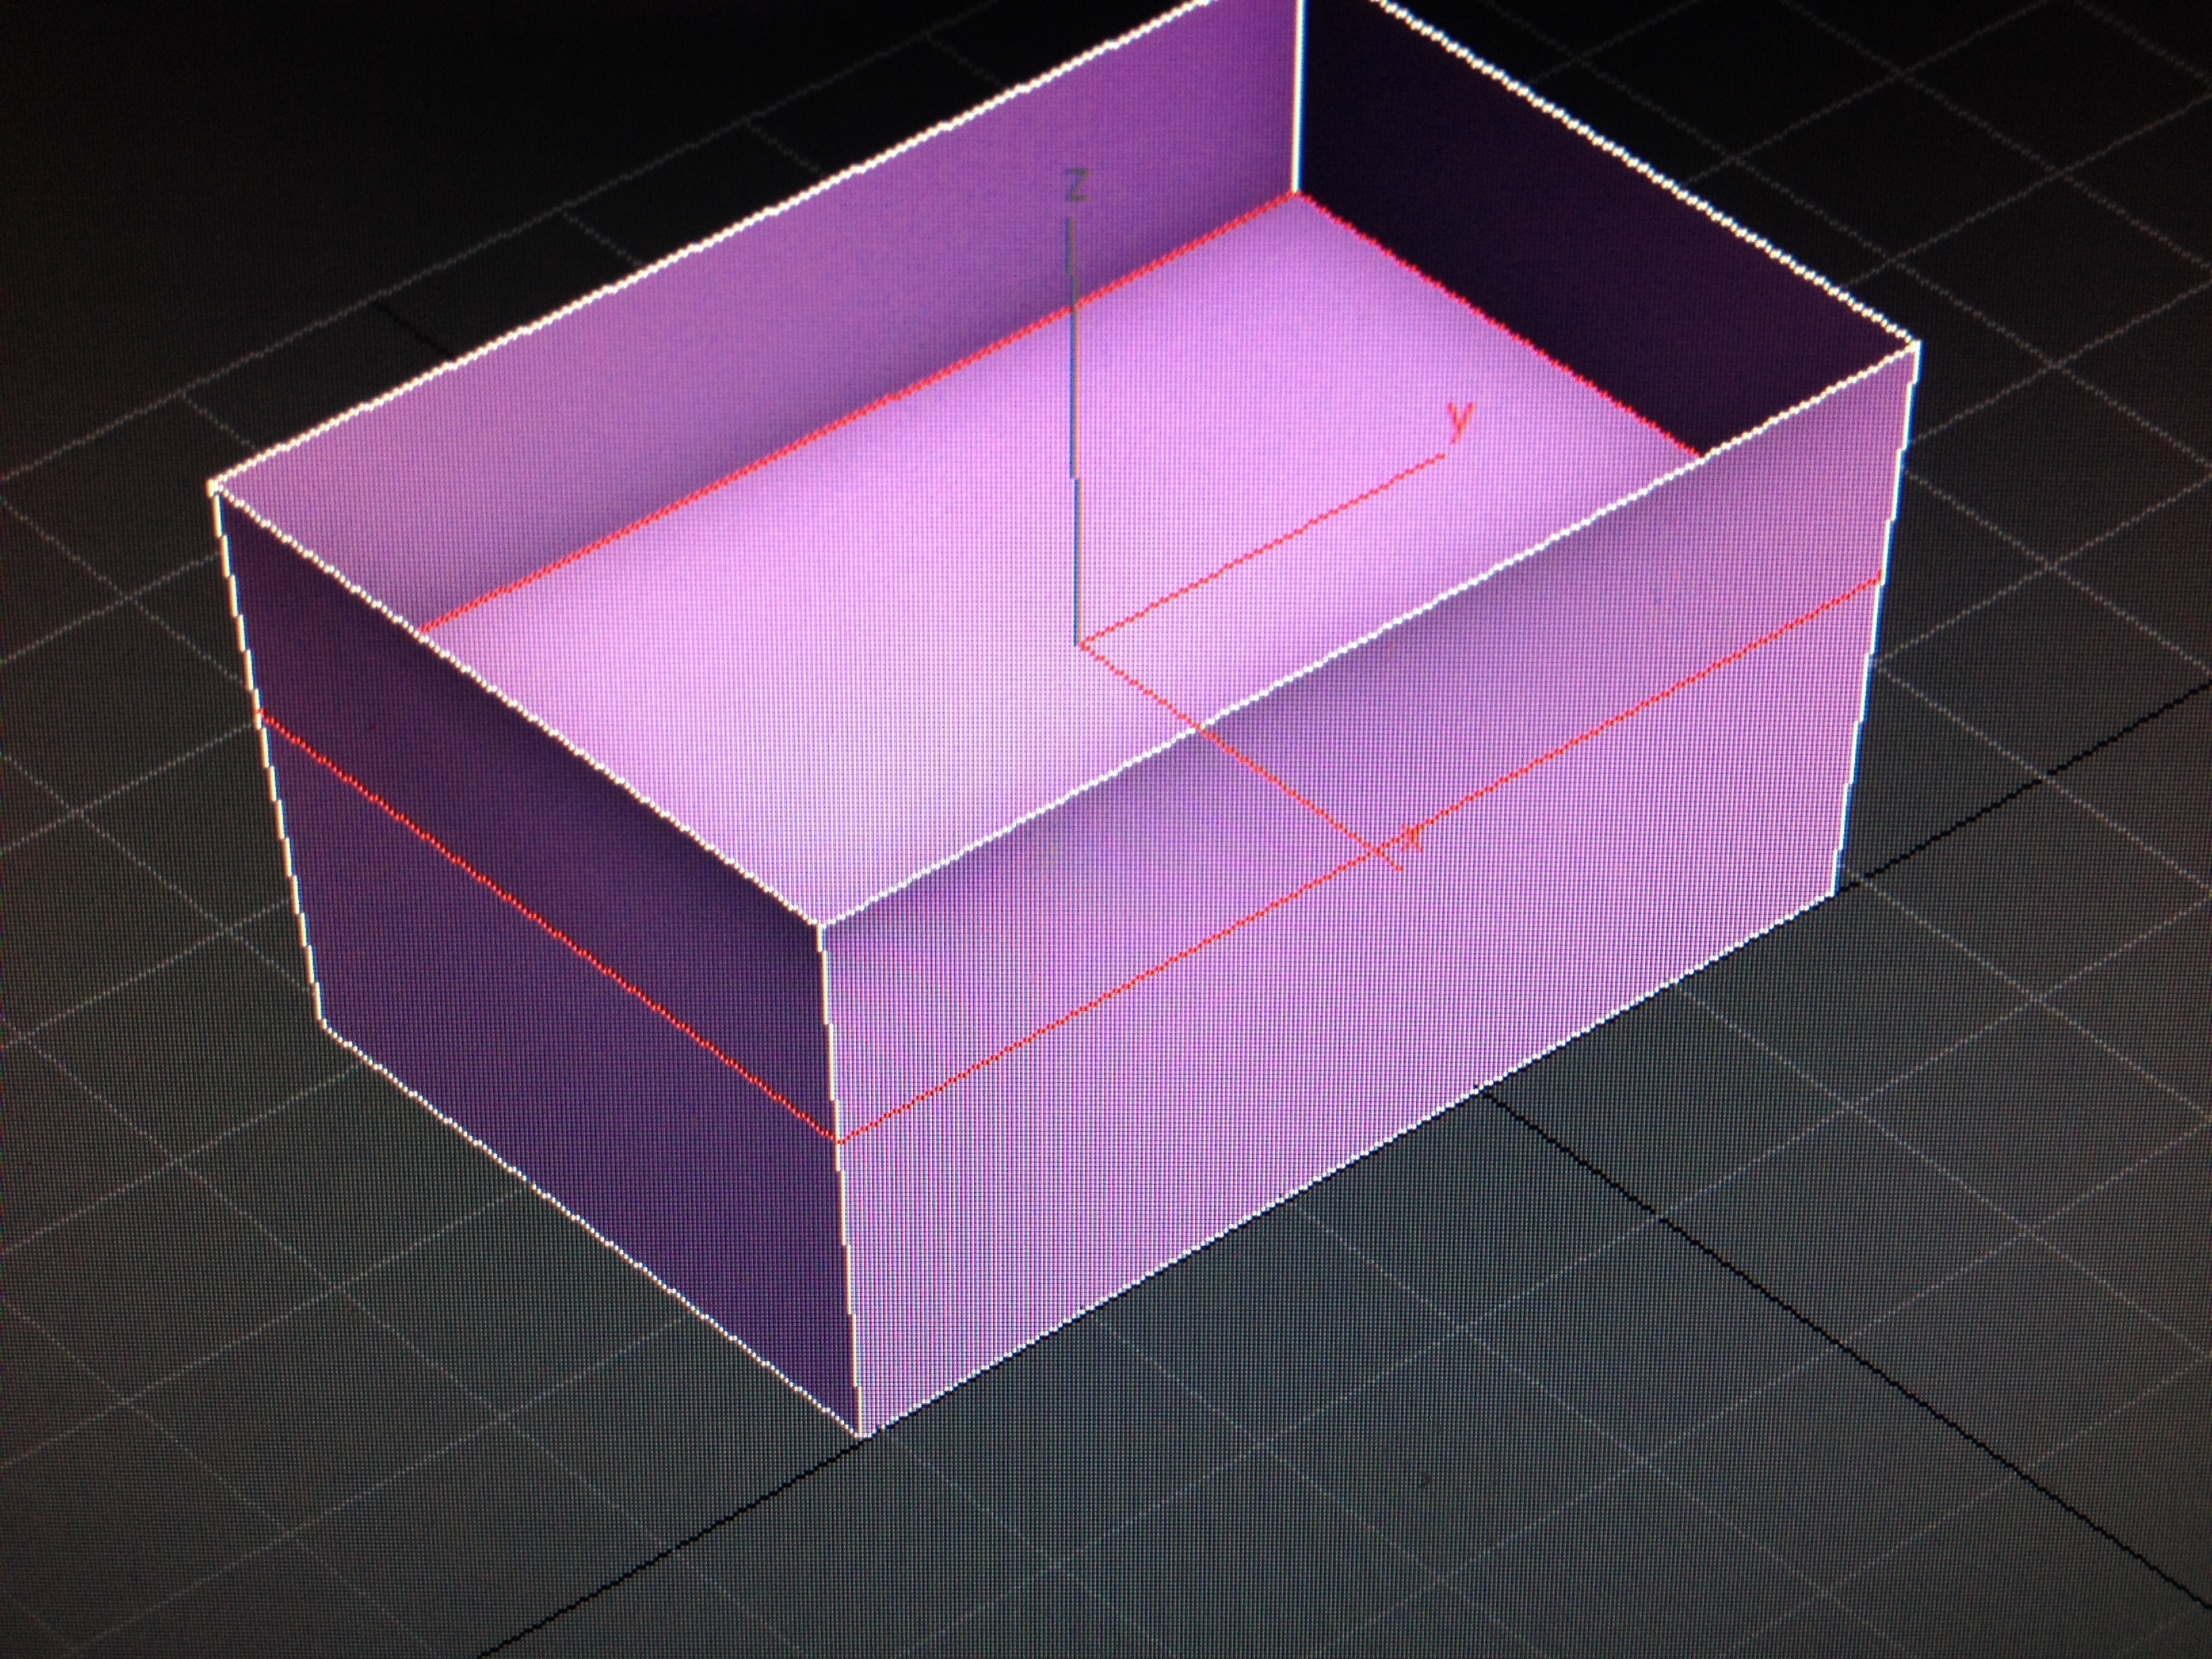
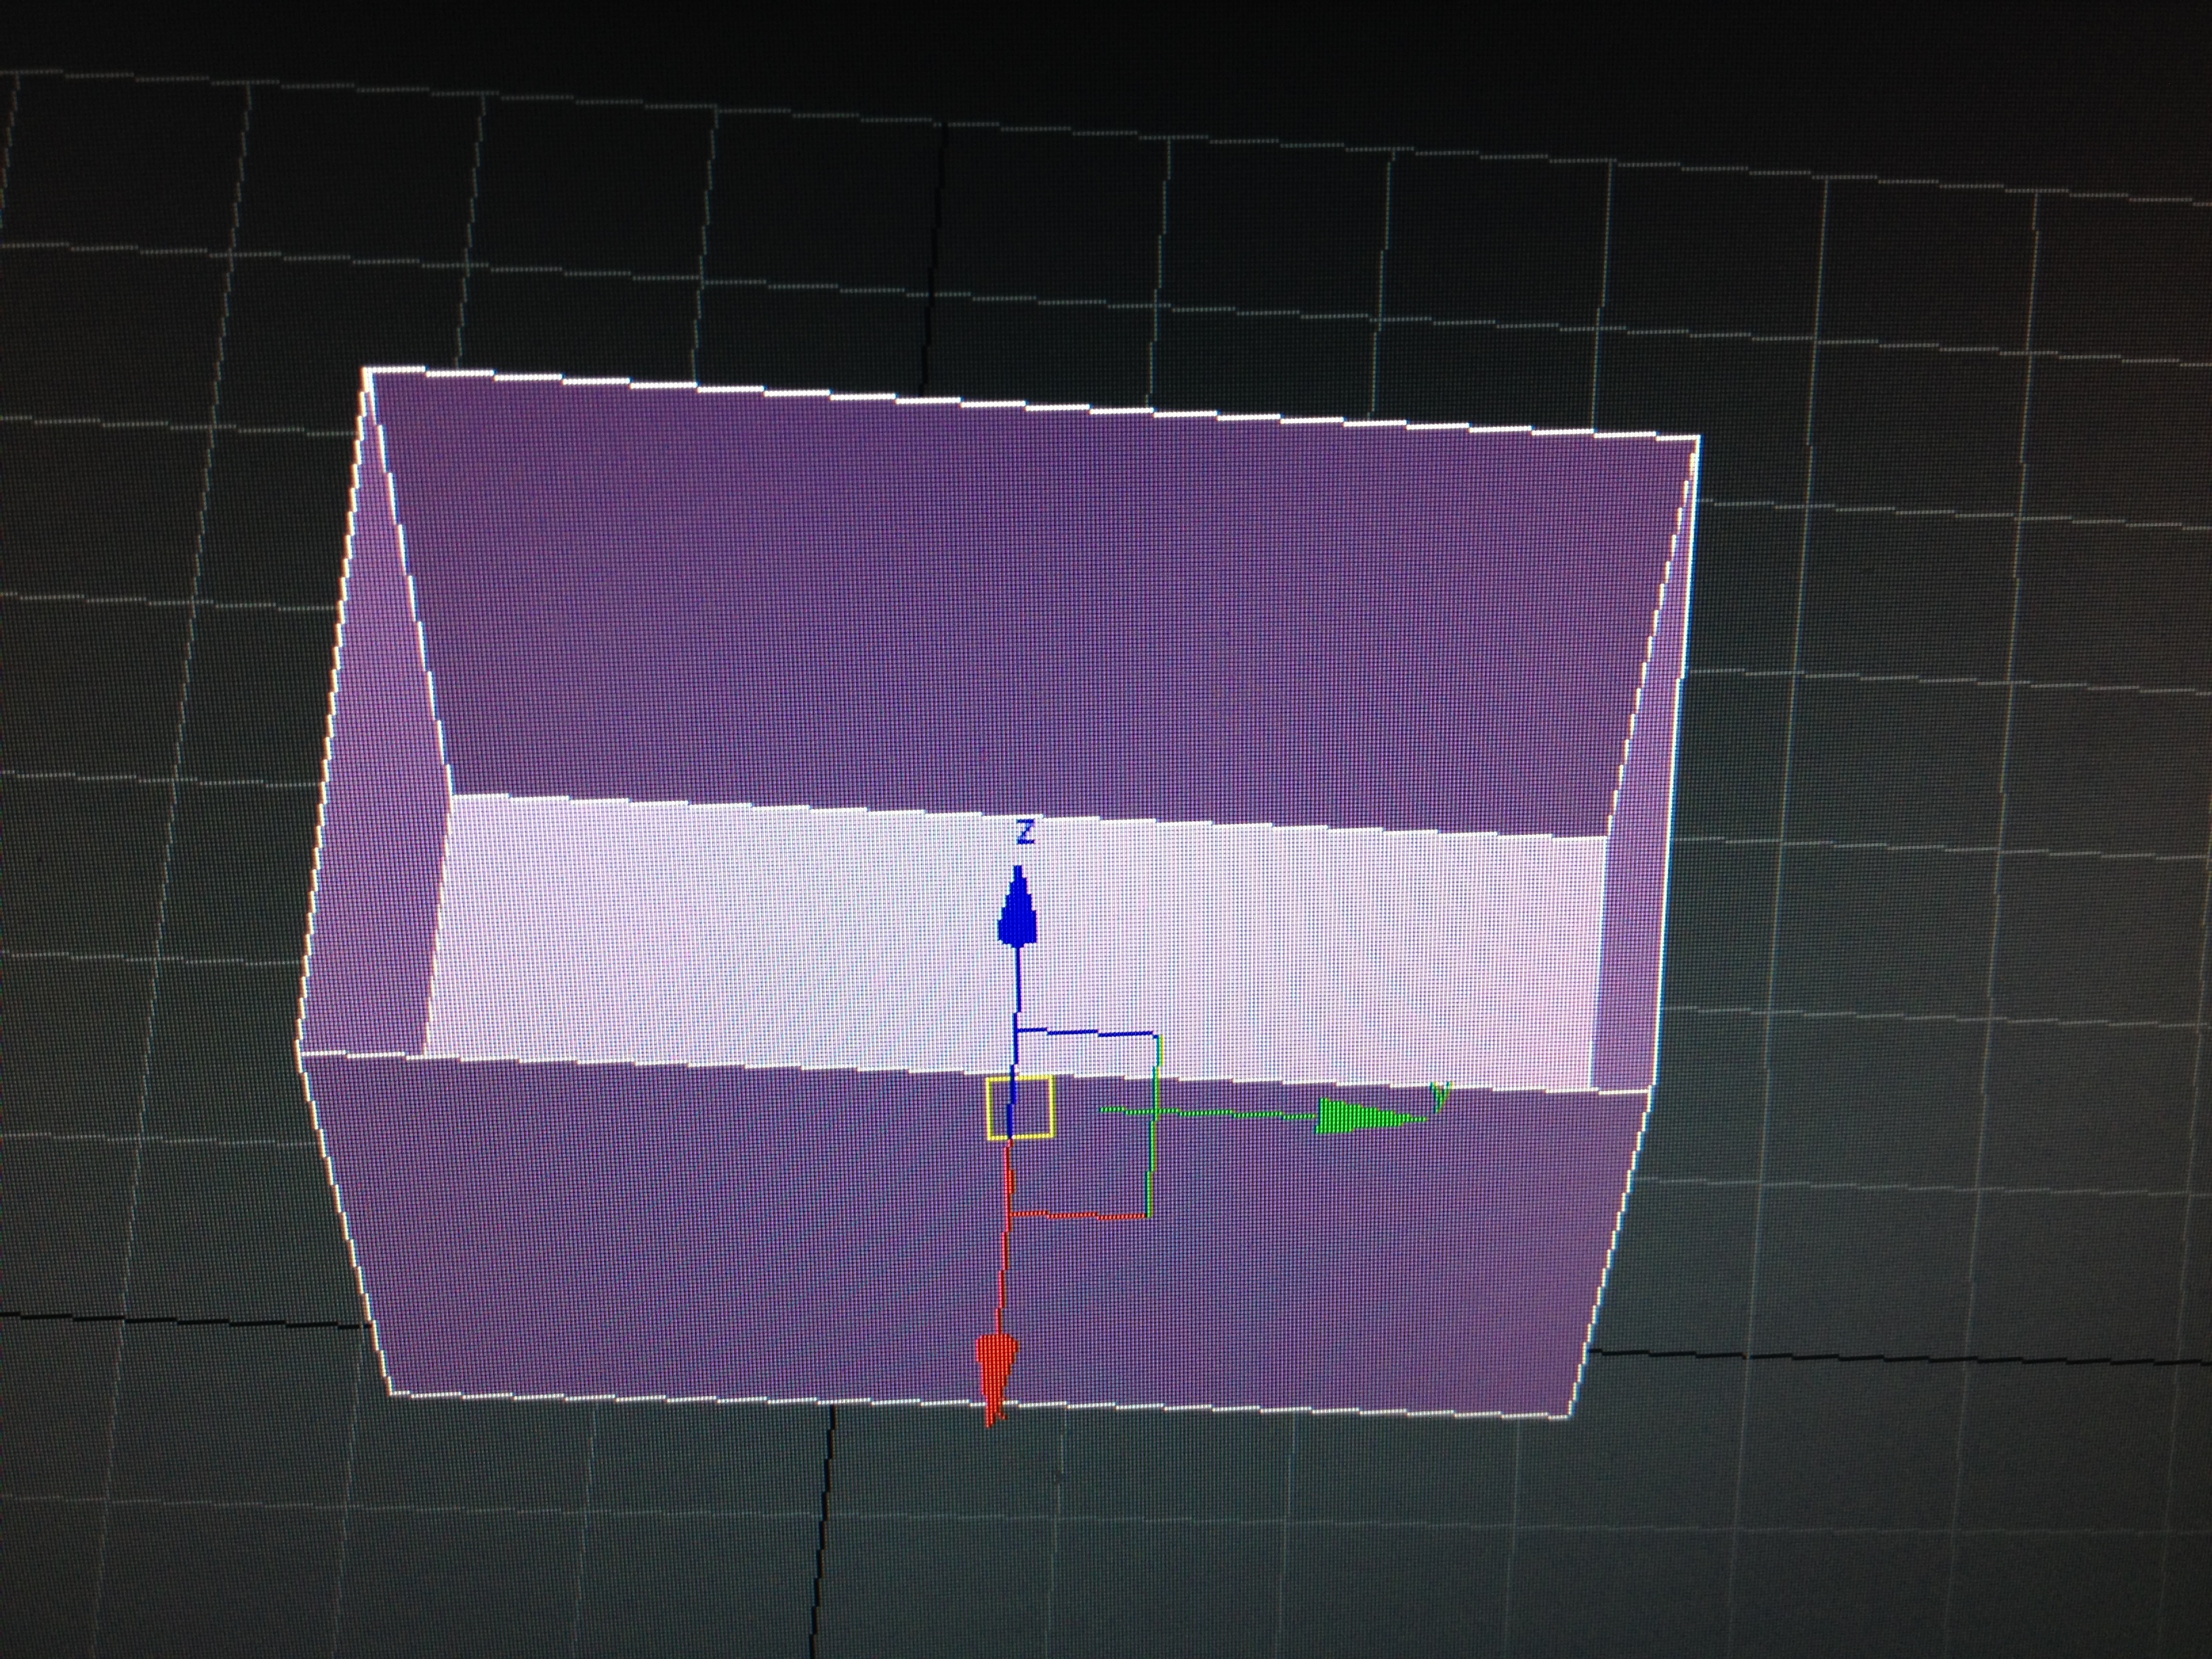

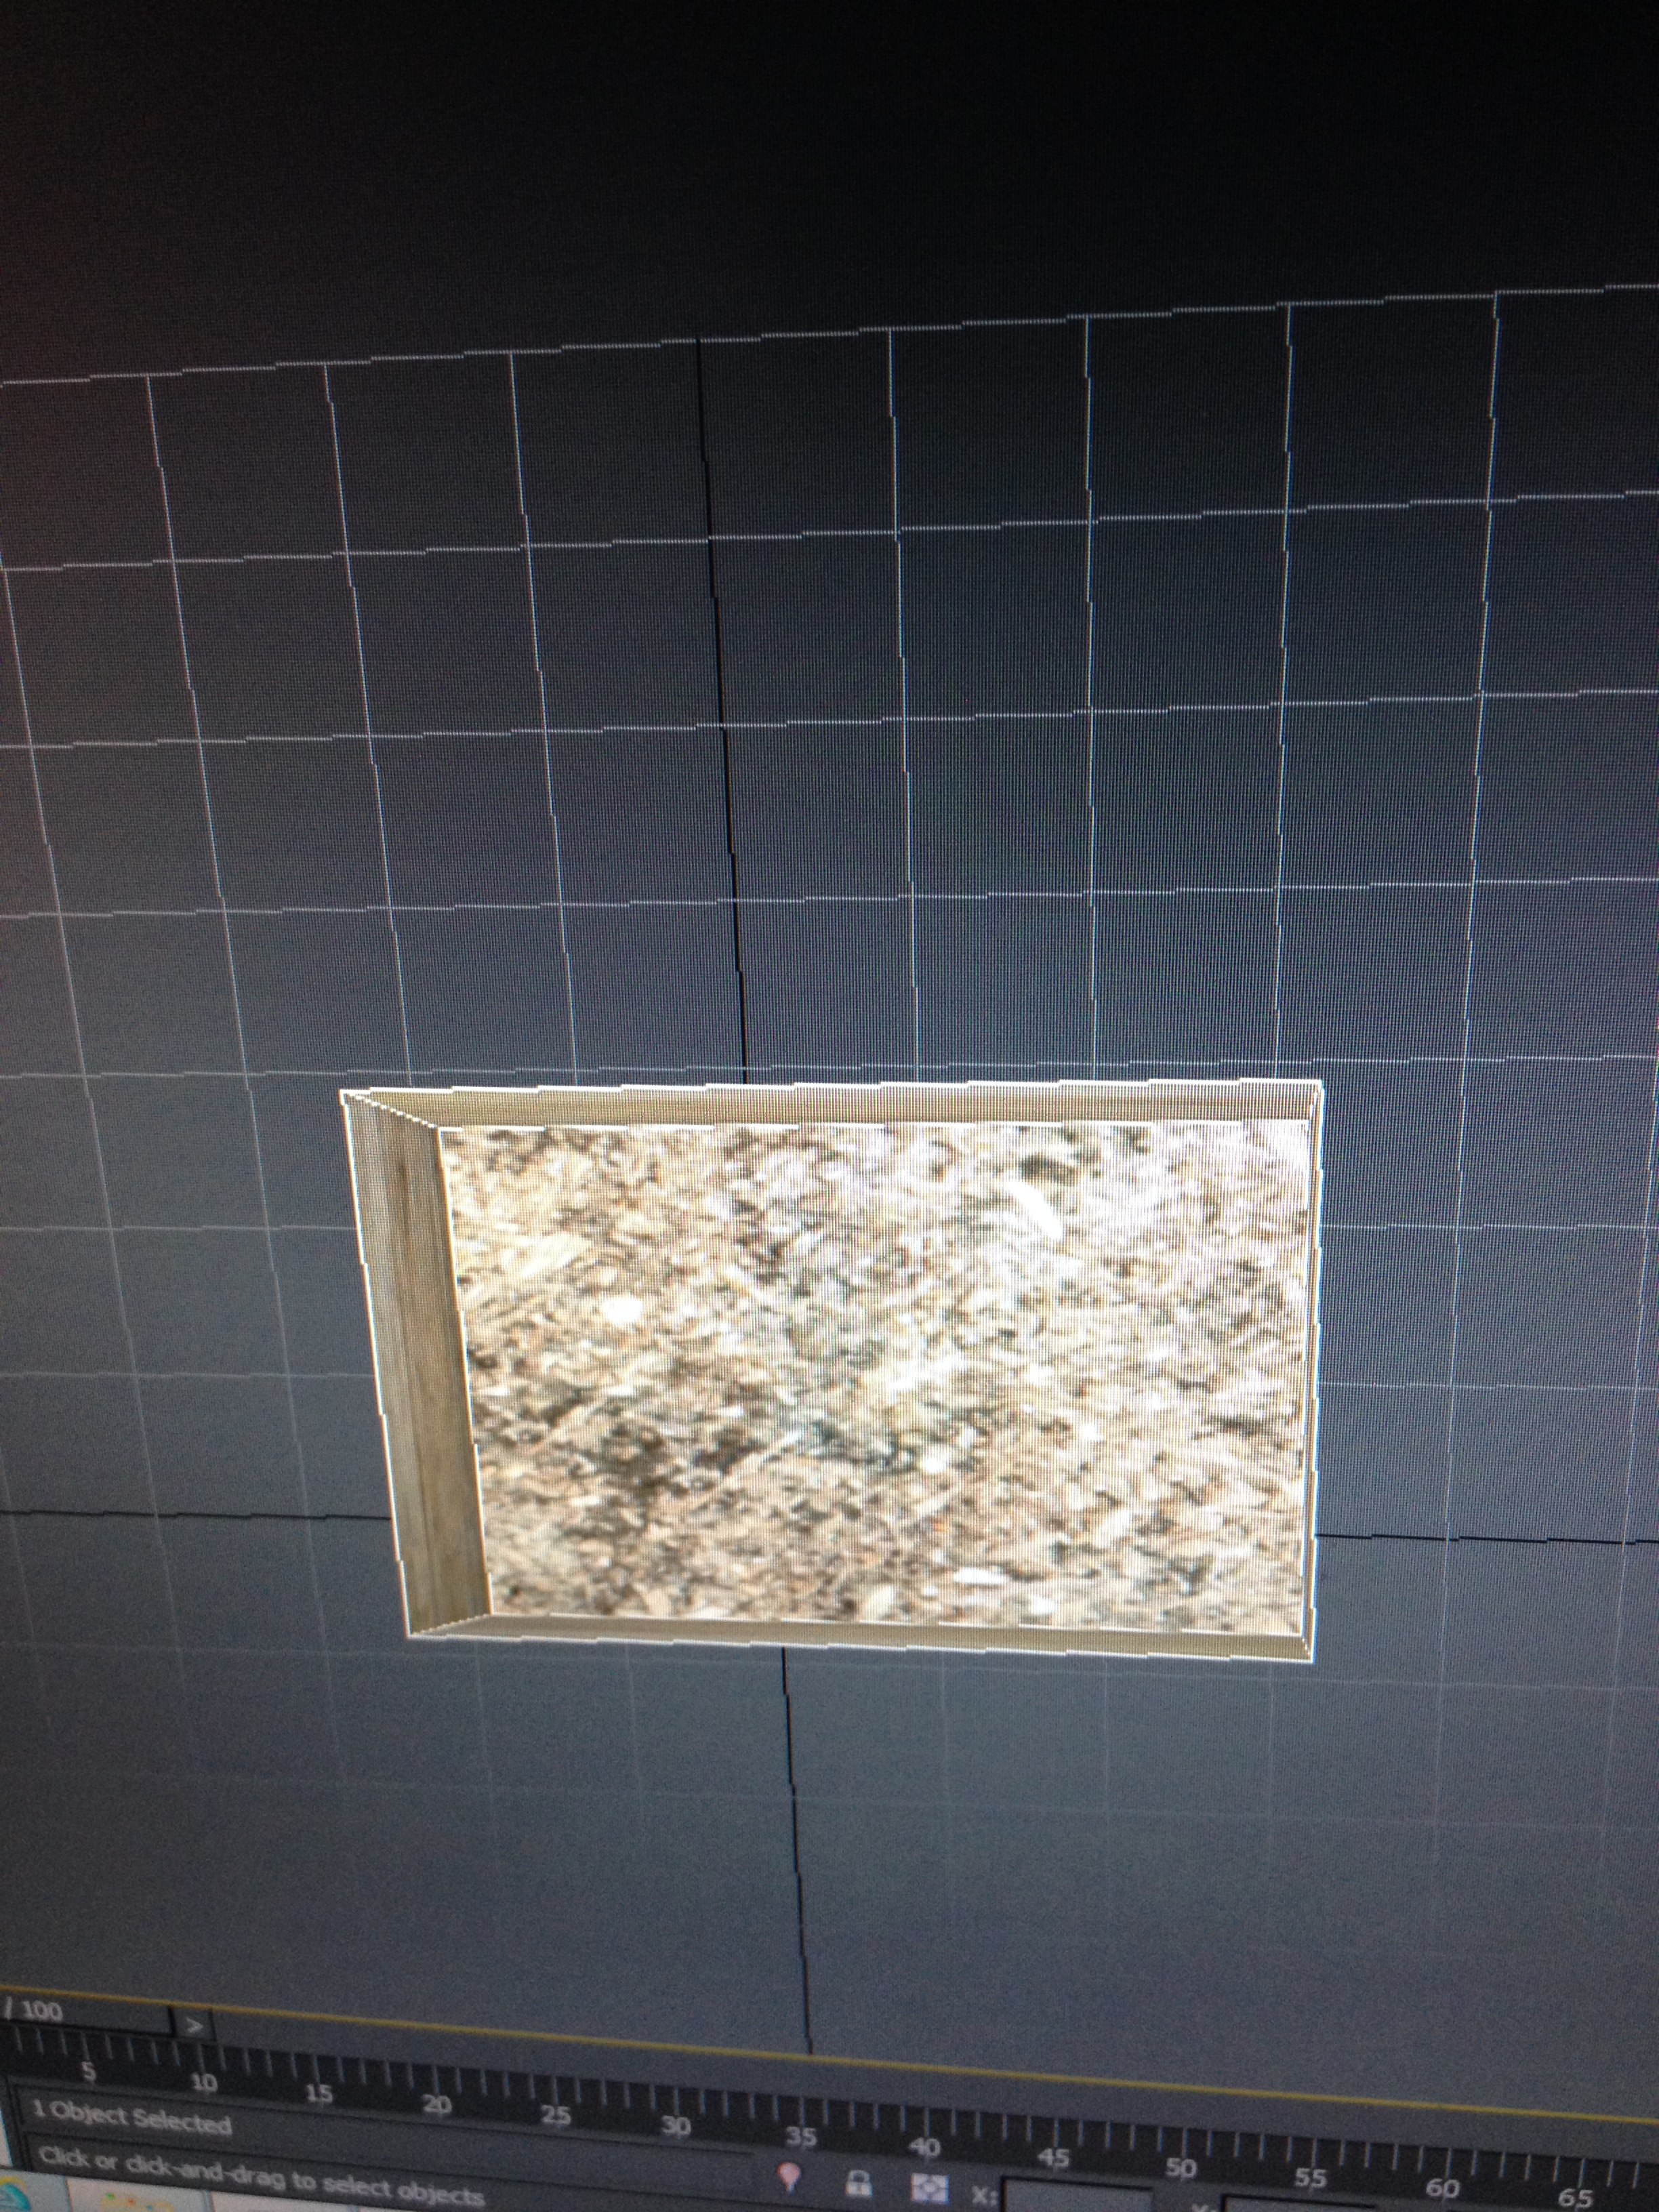
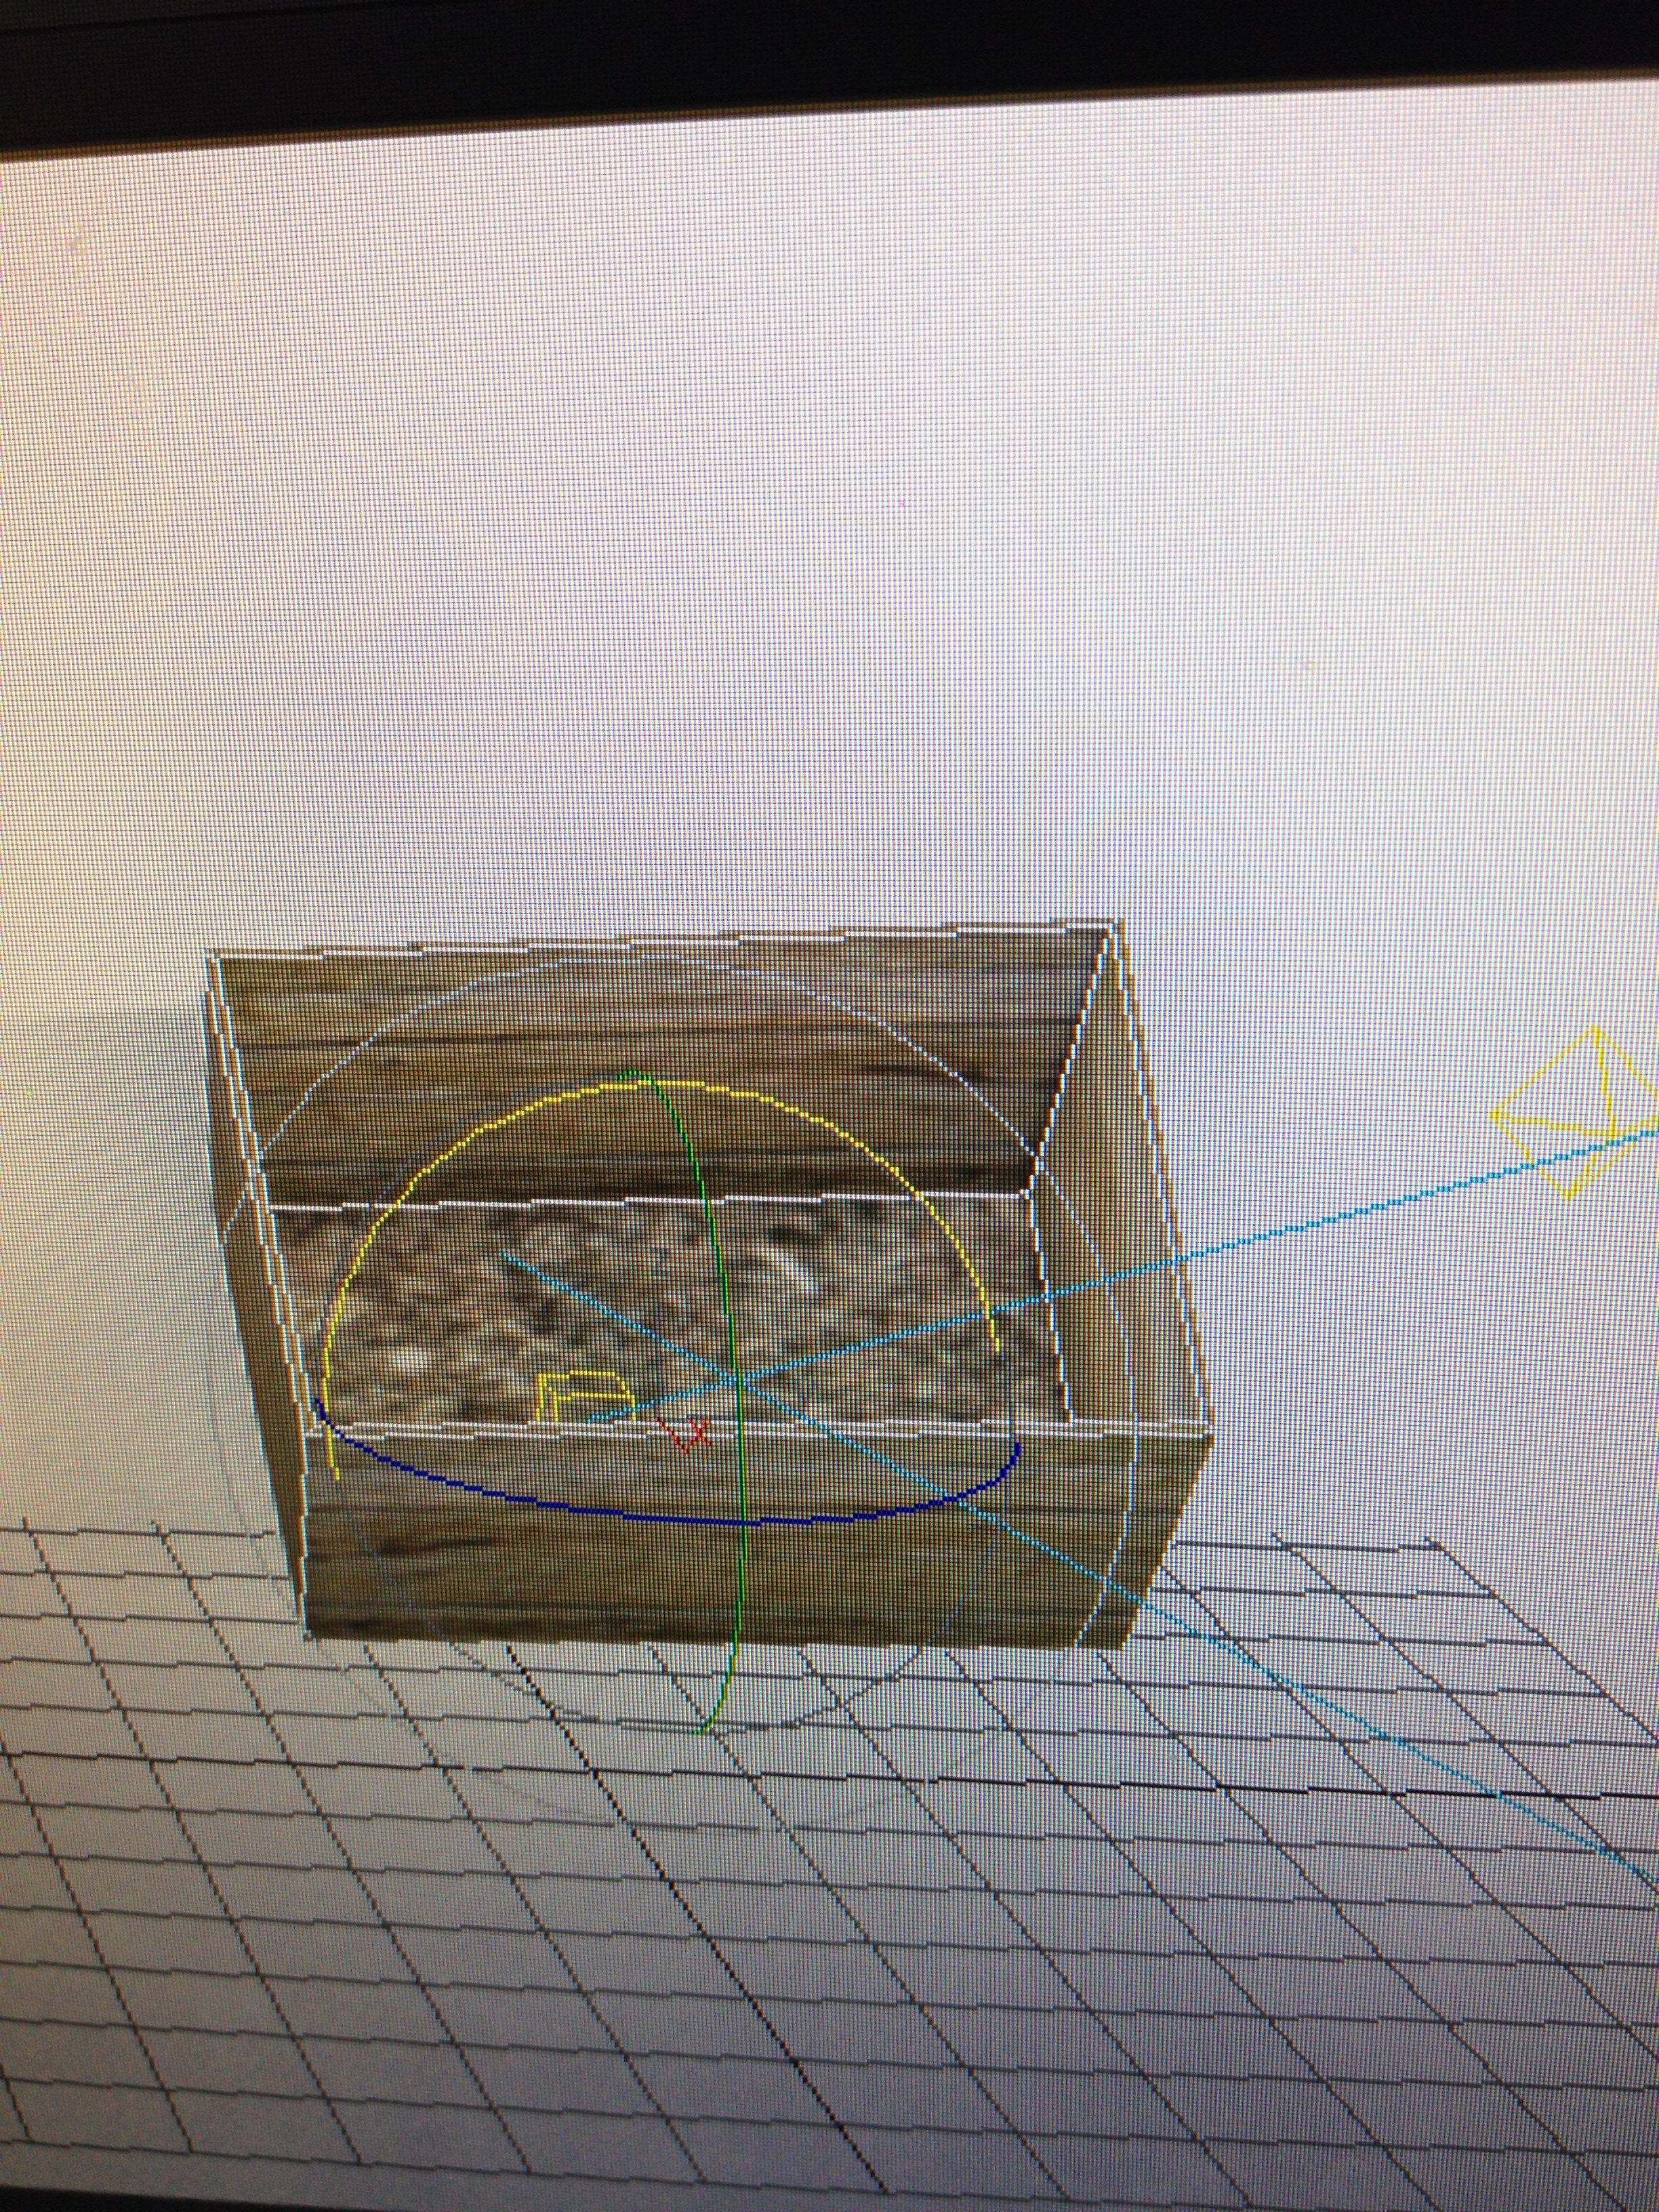
For this I have decided to make a rather simple box just to give you a basis of how the system works.
First we will load up 3DS Max, once it has loaded we are faced with this window.
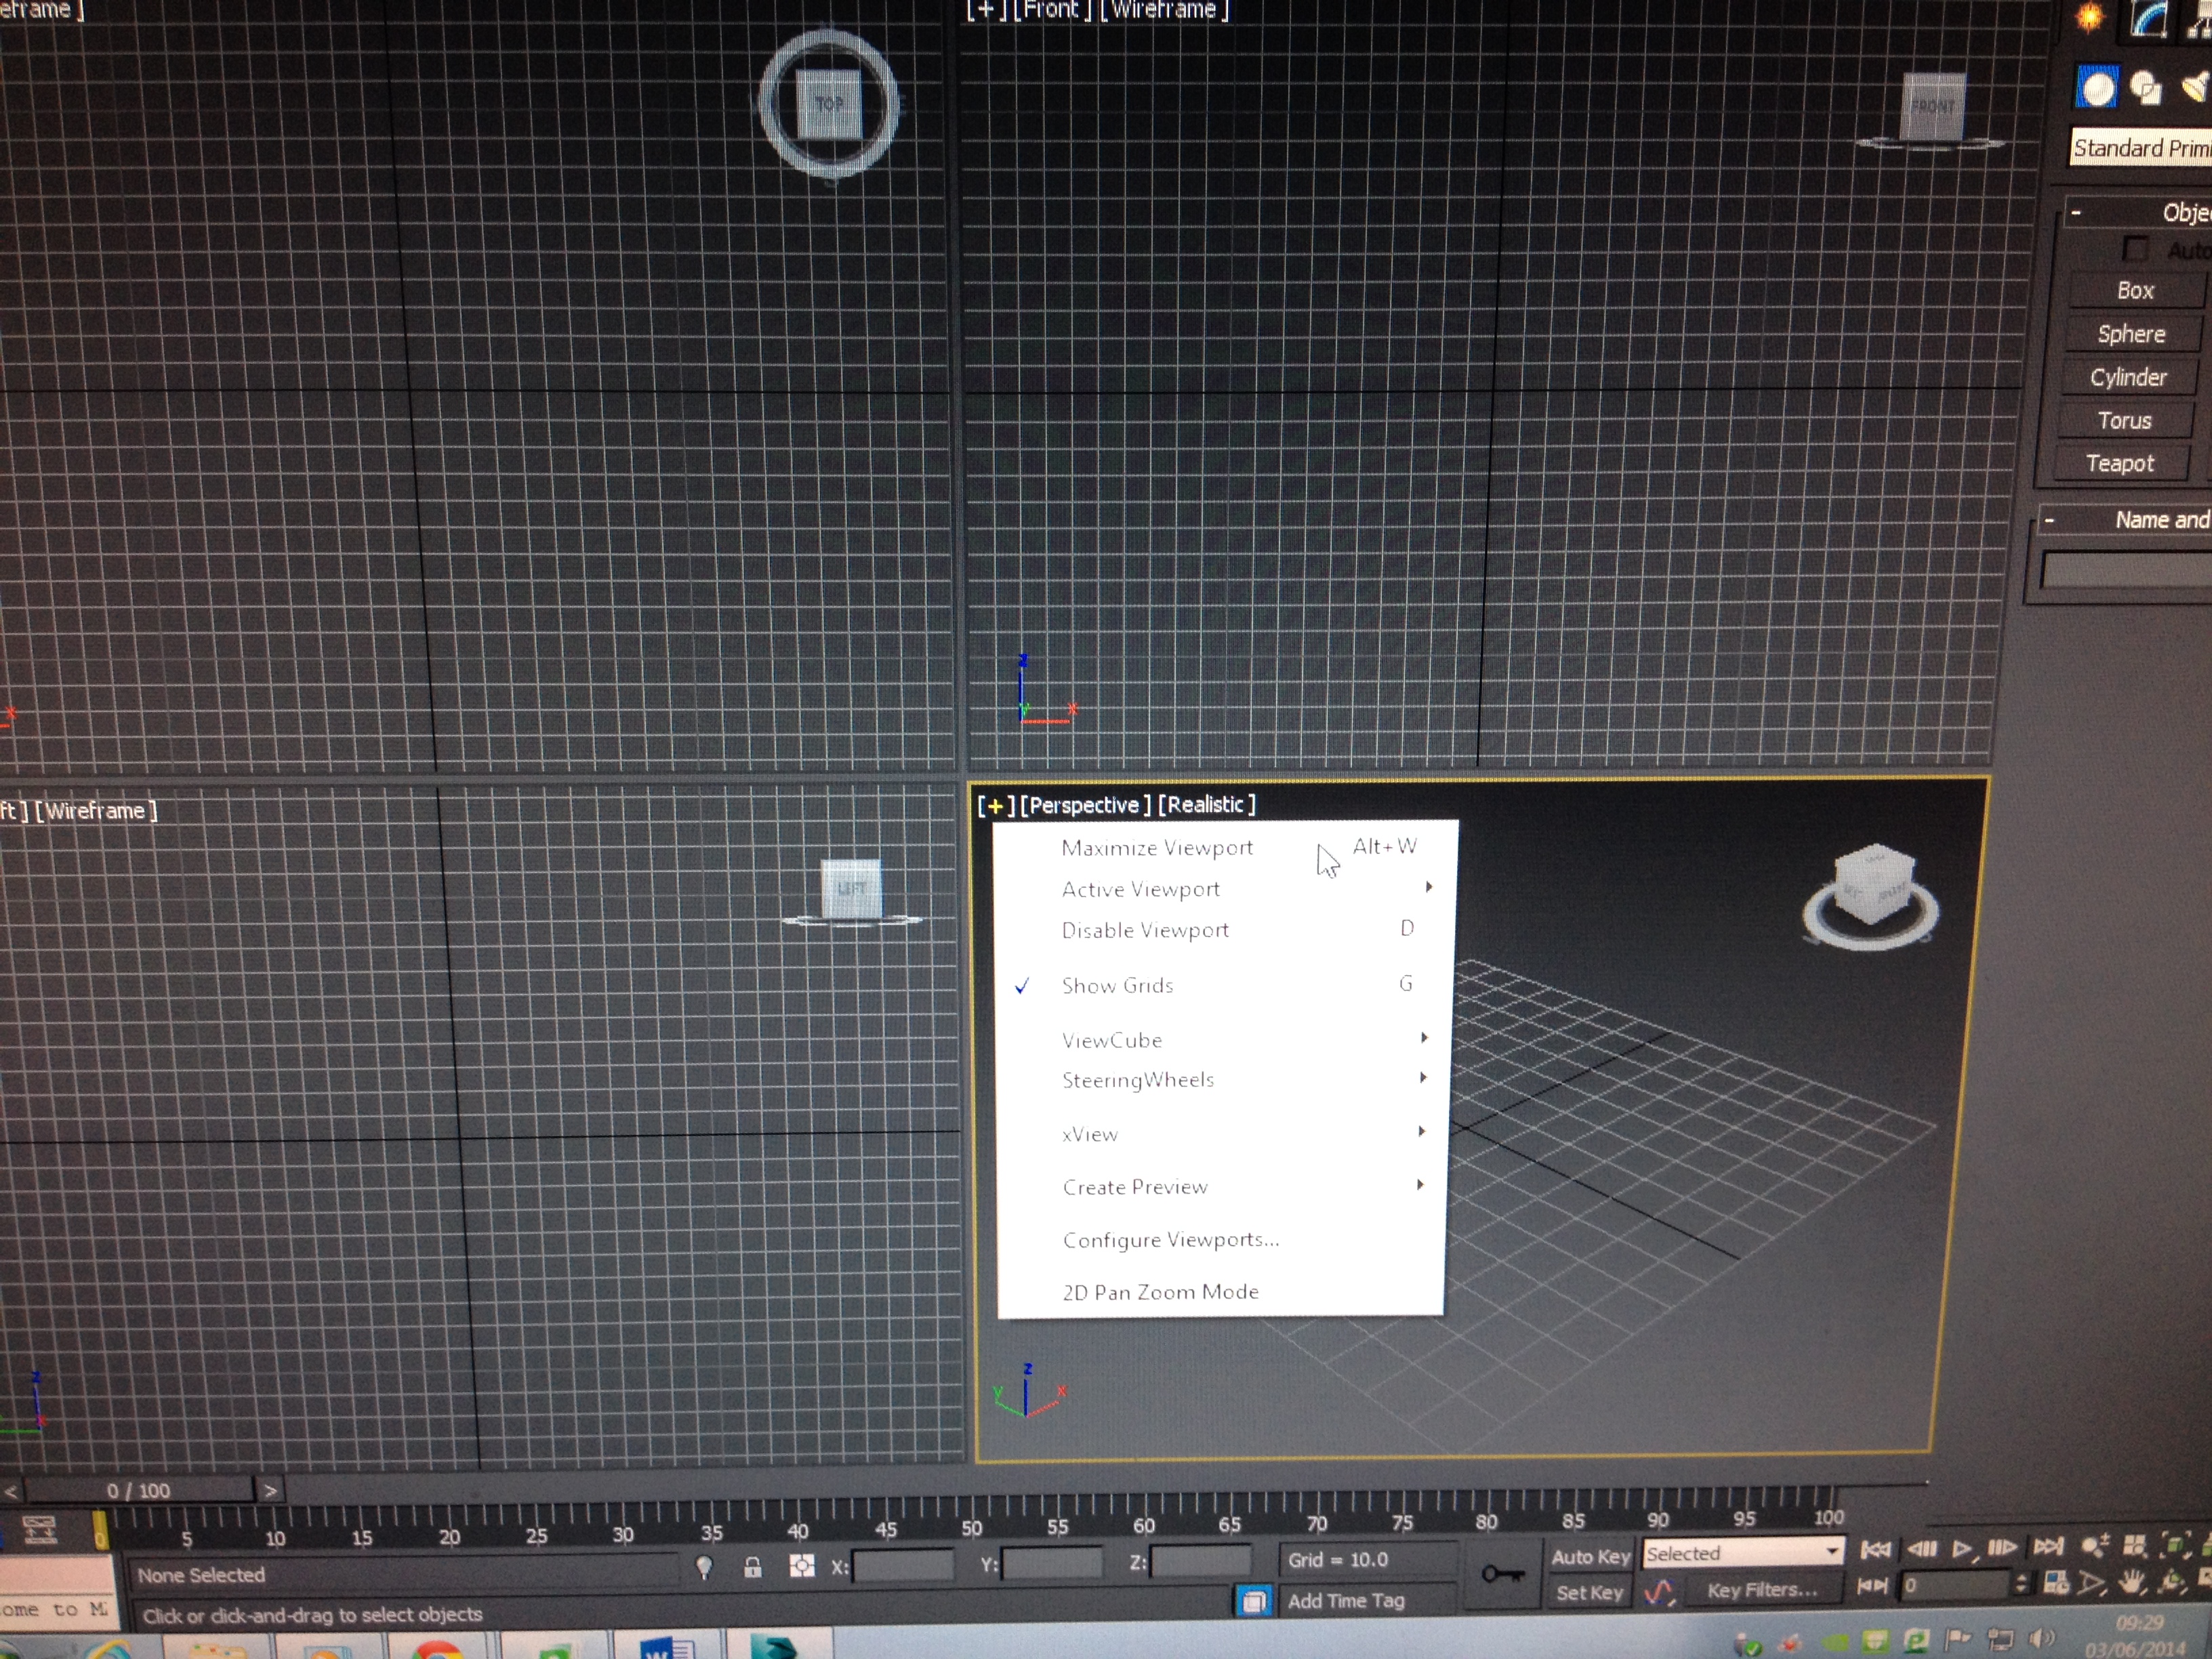
as you can see (image 1) there are 3 larger grids which are a top, middle and bottom view, The smaller window is the view we will use for the box so we shall expand this window (image 2).
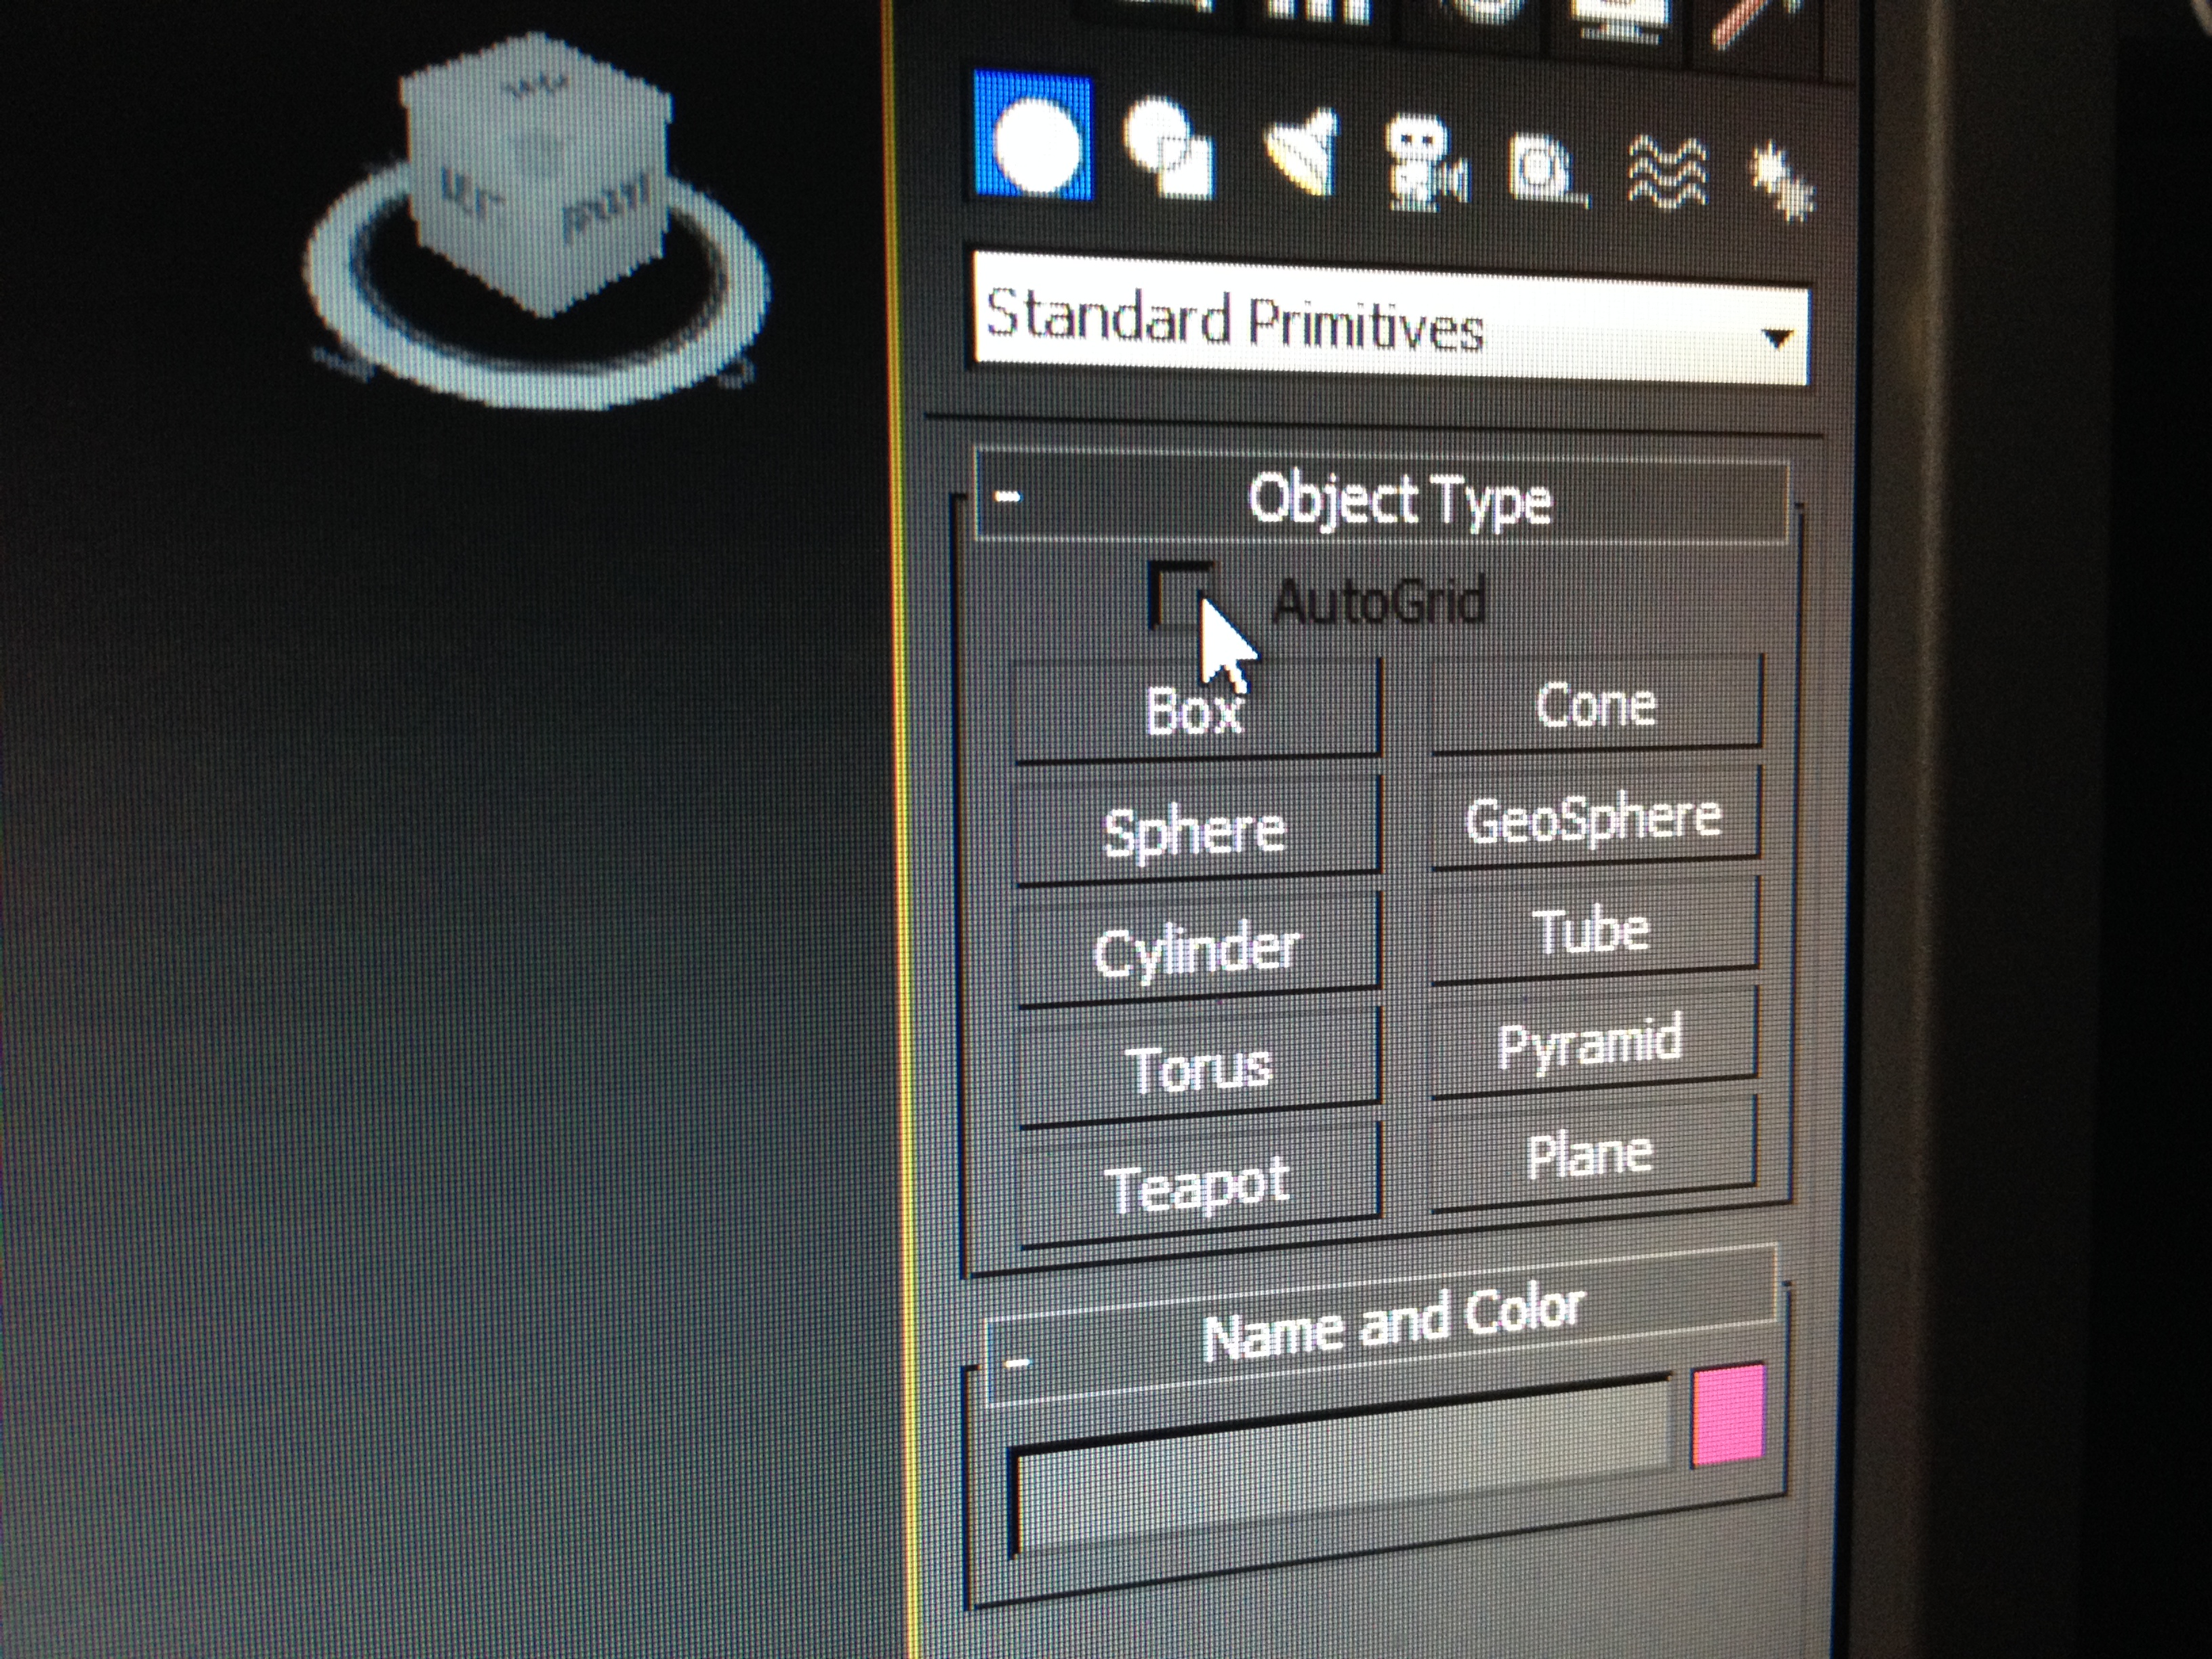
1. we will begin our box by going over to the right side of the screen (image 3) and clicking on the box option, for this we need to click and hold the left mouse button drag to make the base (image 4), as you release the mouse button you can now make the box the height you want by moving the mouse up until you click again (image 5).
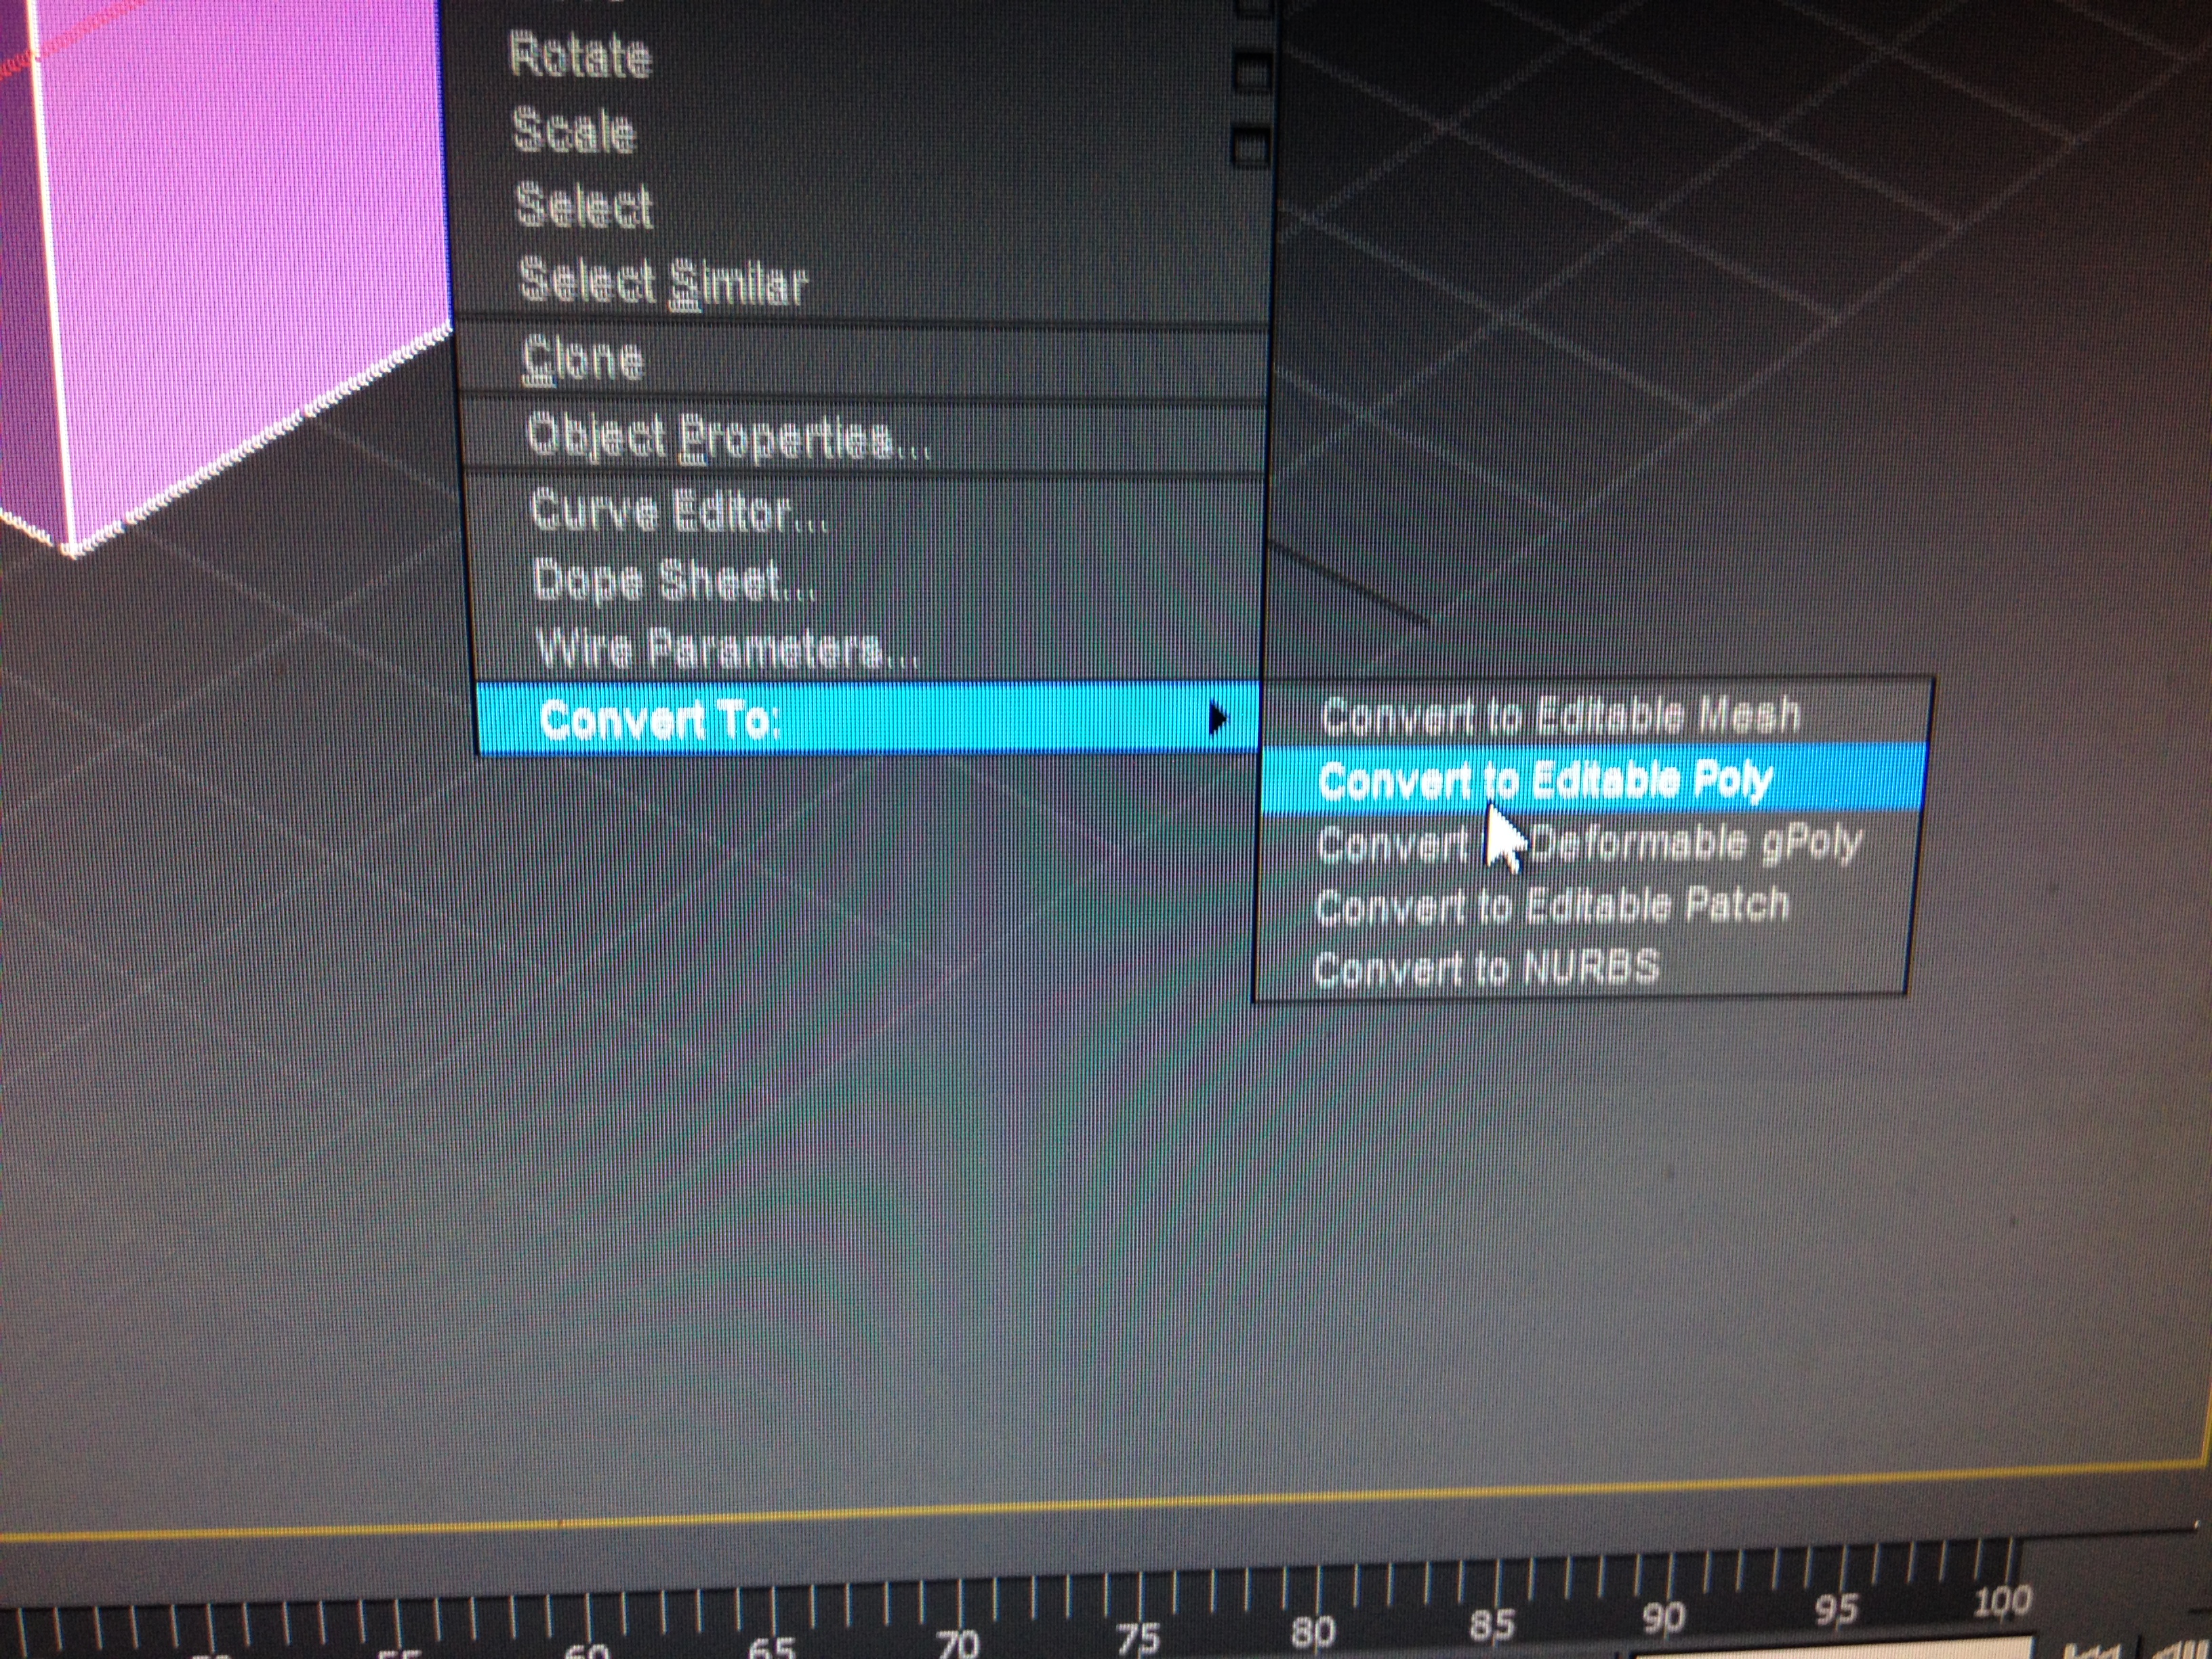
2. Now we shall right click the box we have created and move down to convert this will open another box to reveal an option to convert to editable poly (image 6). This means we can now change different aspects of our box and not just the height or position.
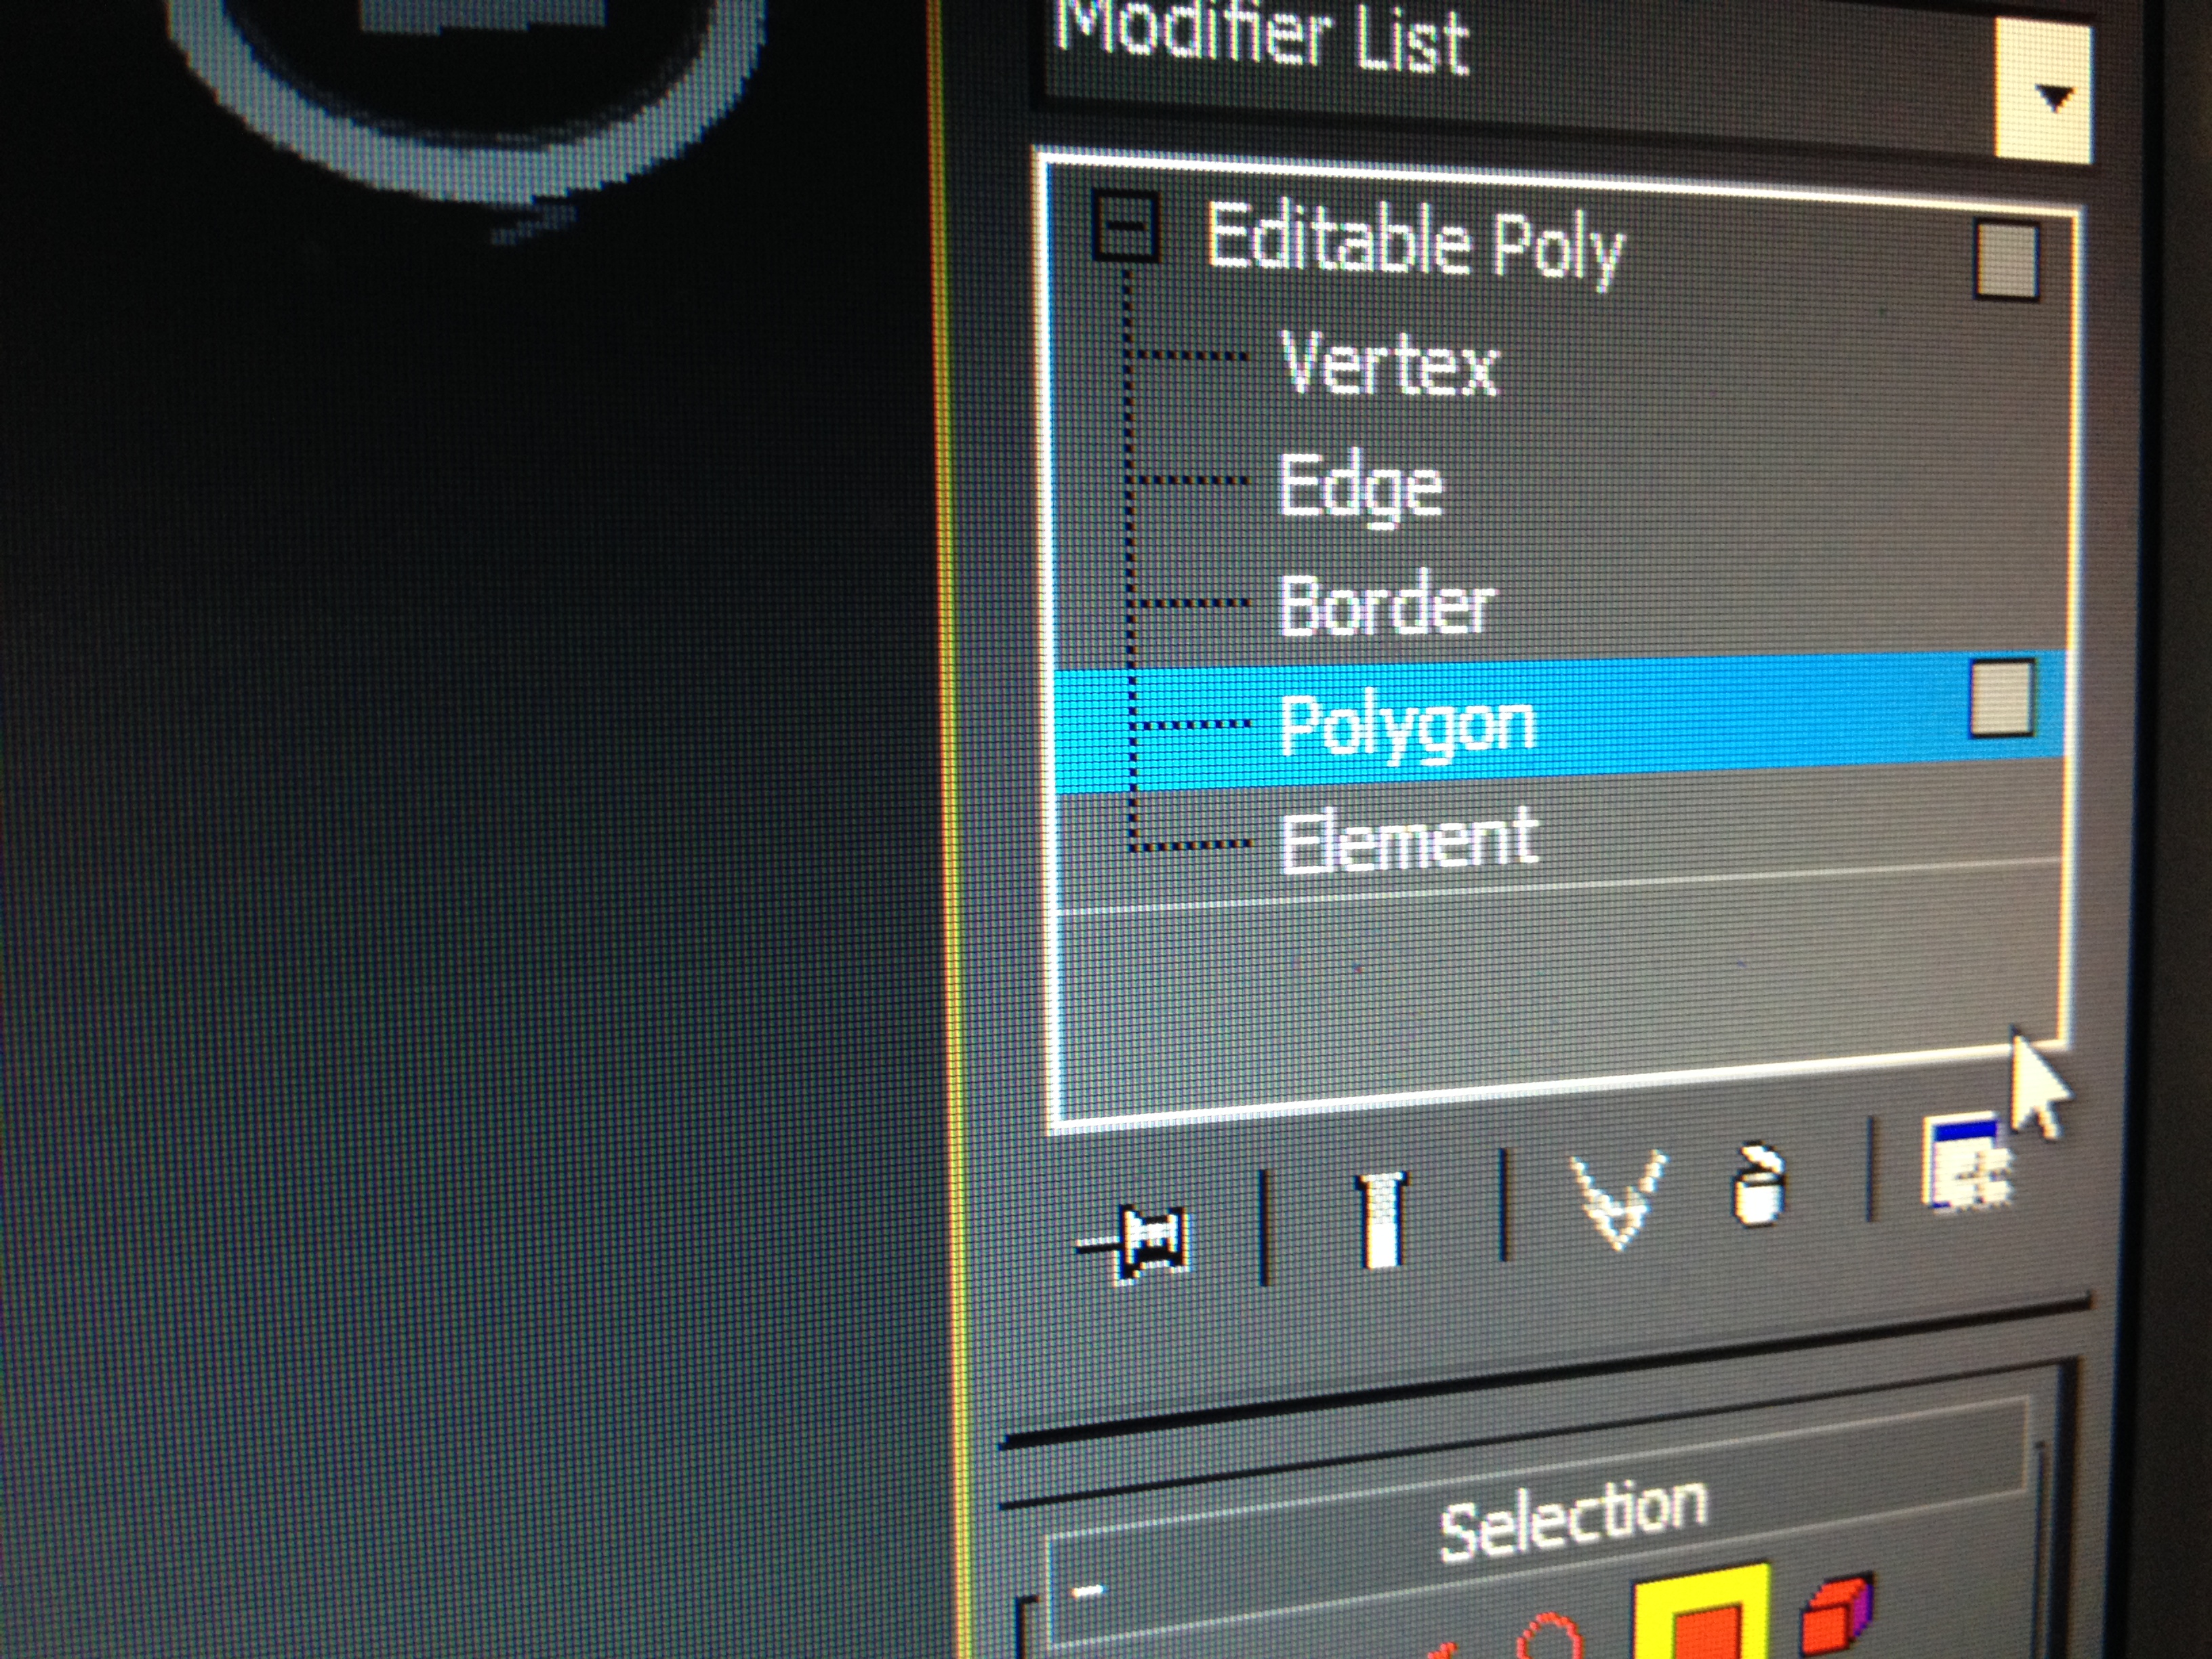
3. Now we have converted to an editable poly we are going to select polygon on the right side menu (image 7) then we shall select the top part of our box which will turn a darker red colour. After the top part of our box has been selected we then move back to our menu on the right and locate the option to extrude (image 8).
4. Once we have selected the extrude option we will be faced with a new option displayed over our object (image 9) type in (-10.0) and hit enter (image 10)
5. After you have entered the desired amount we then go back to our right hand menu and select edge (image 11) after selecting this option click on the new line that has been created within the box holding down CTRL to select more than one (image 12).
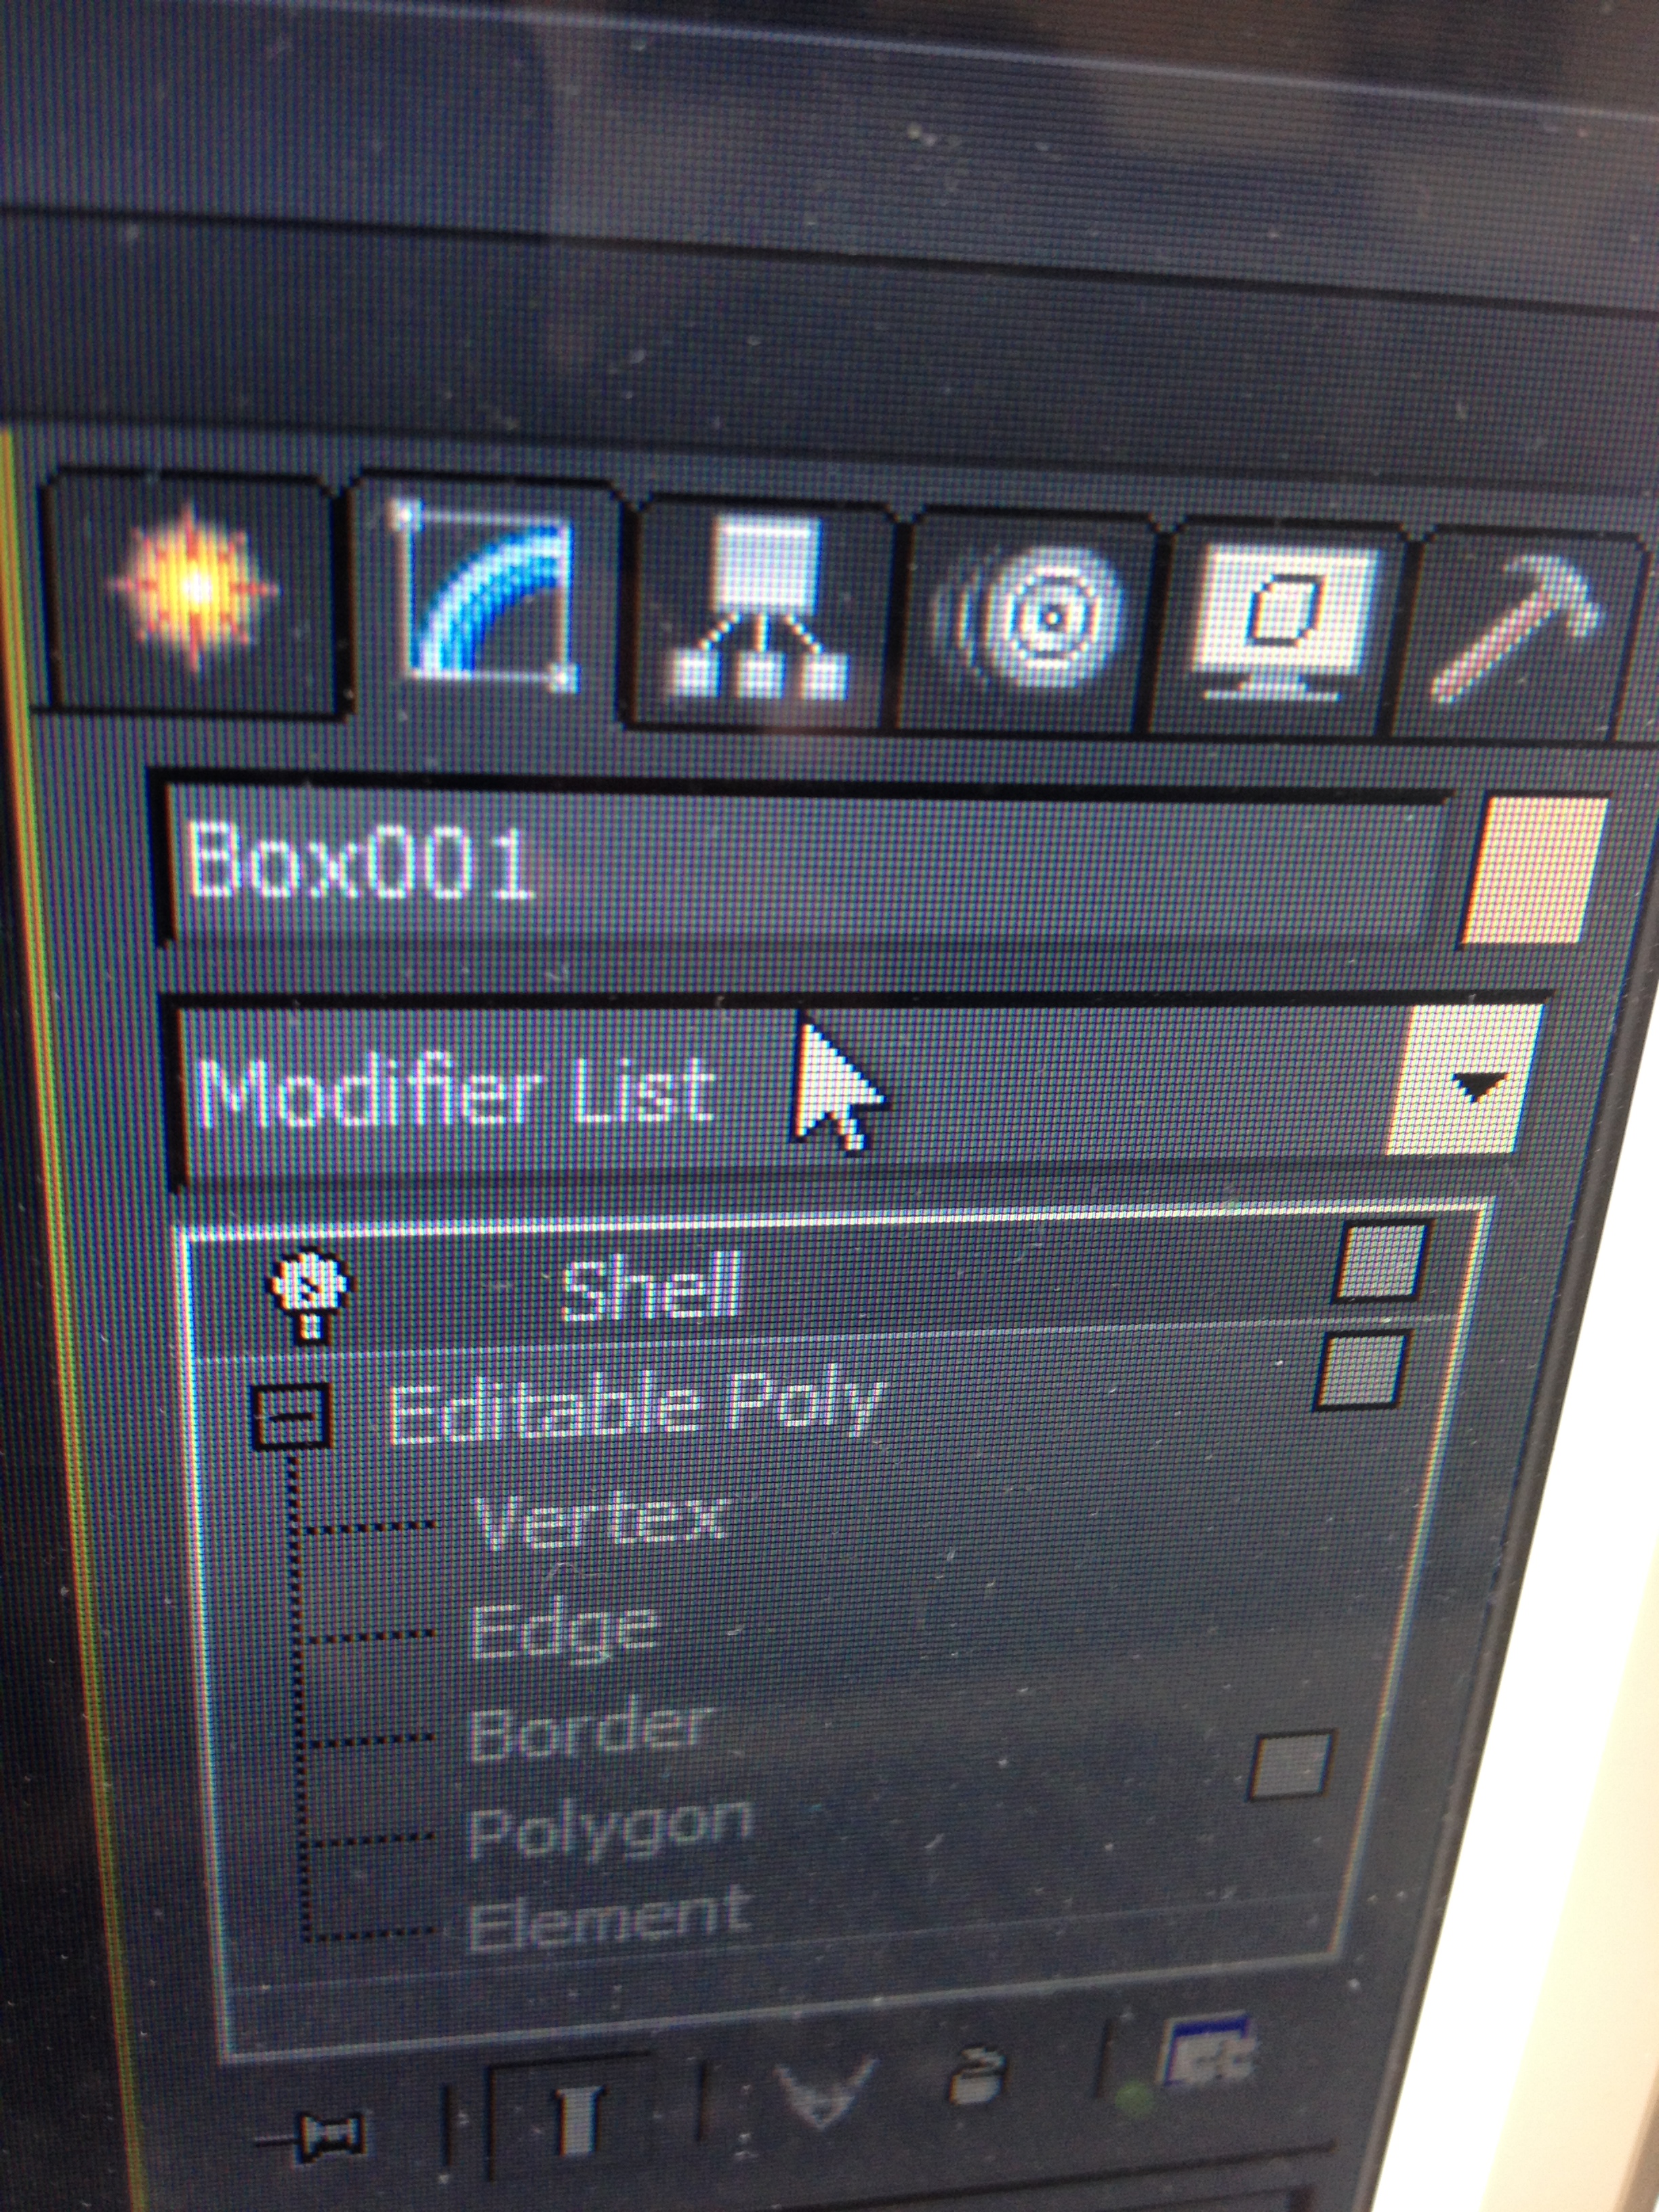
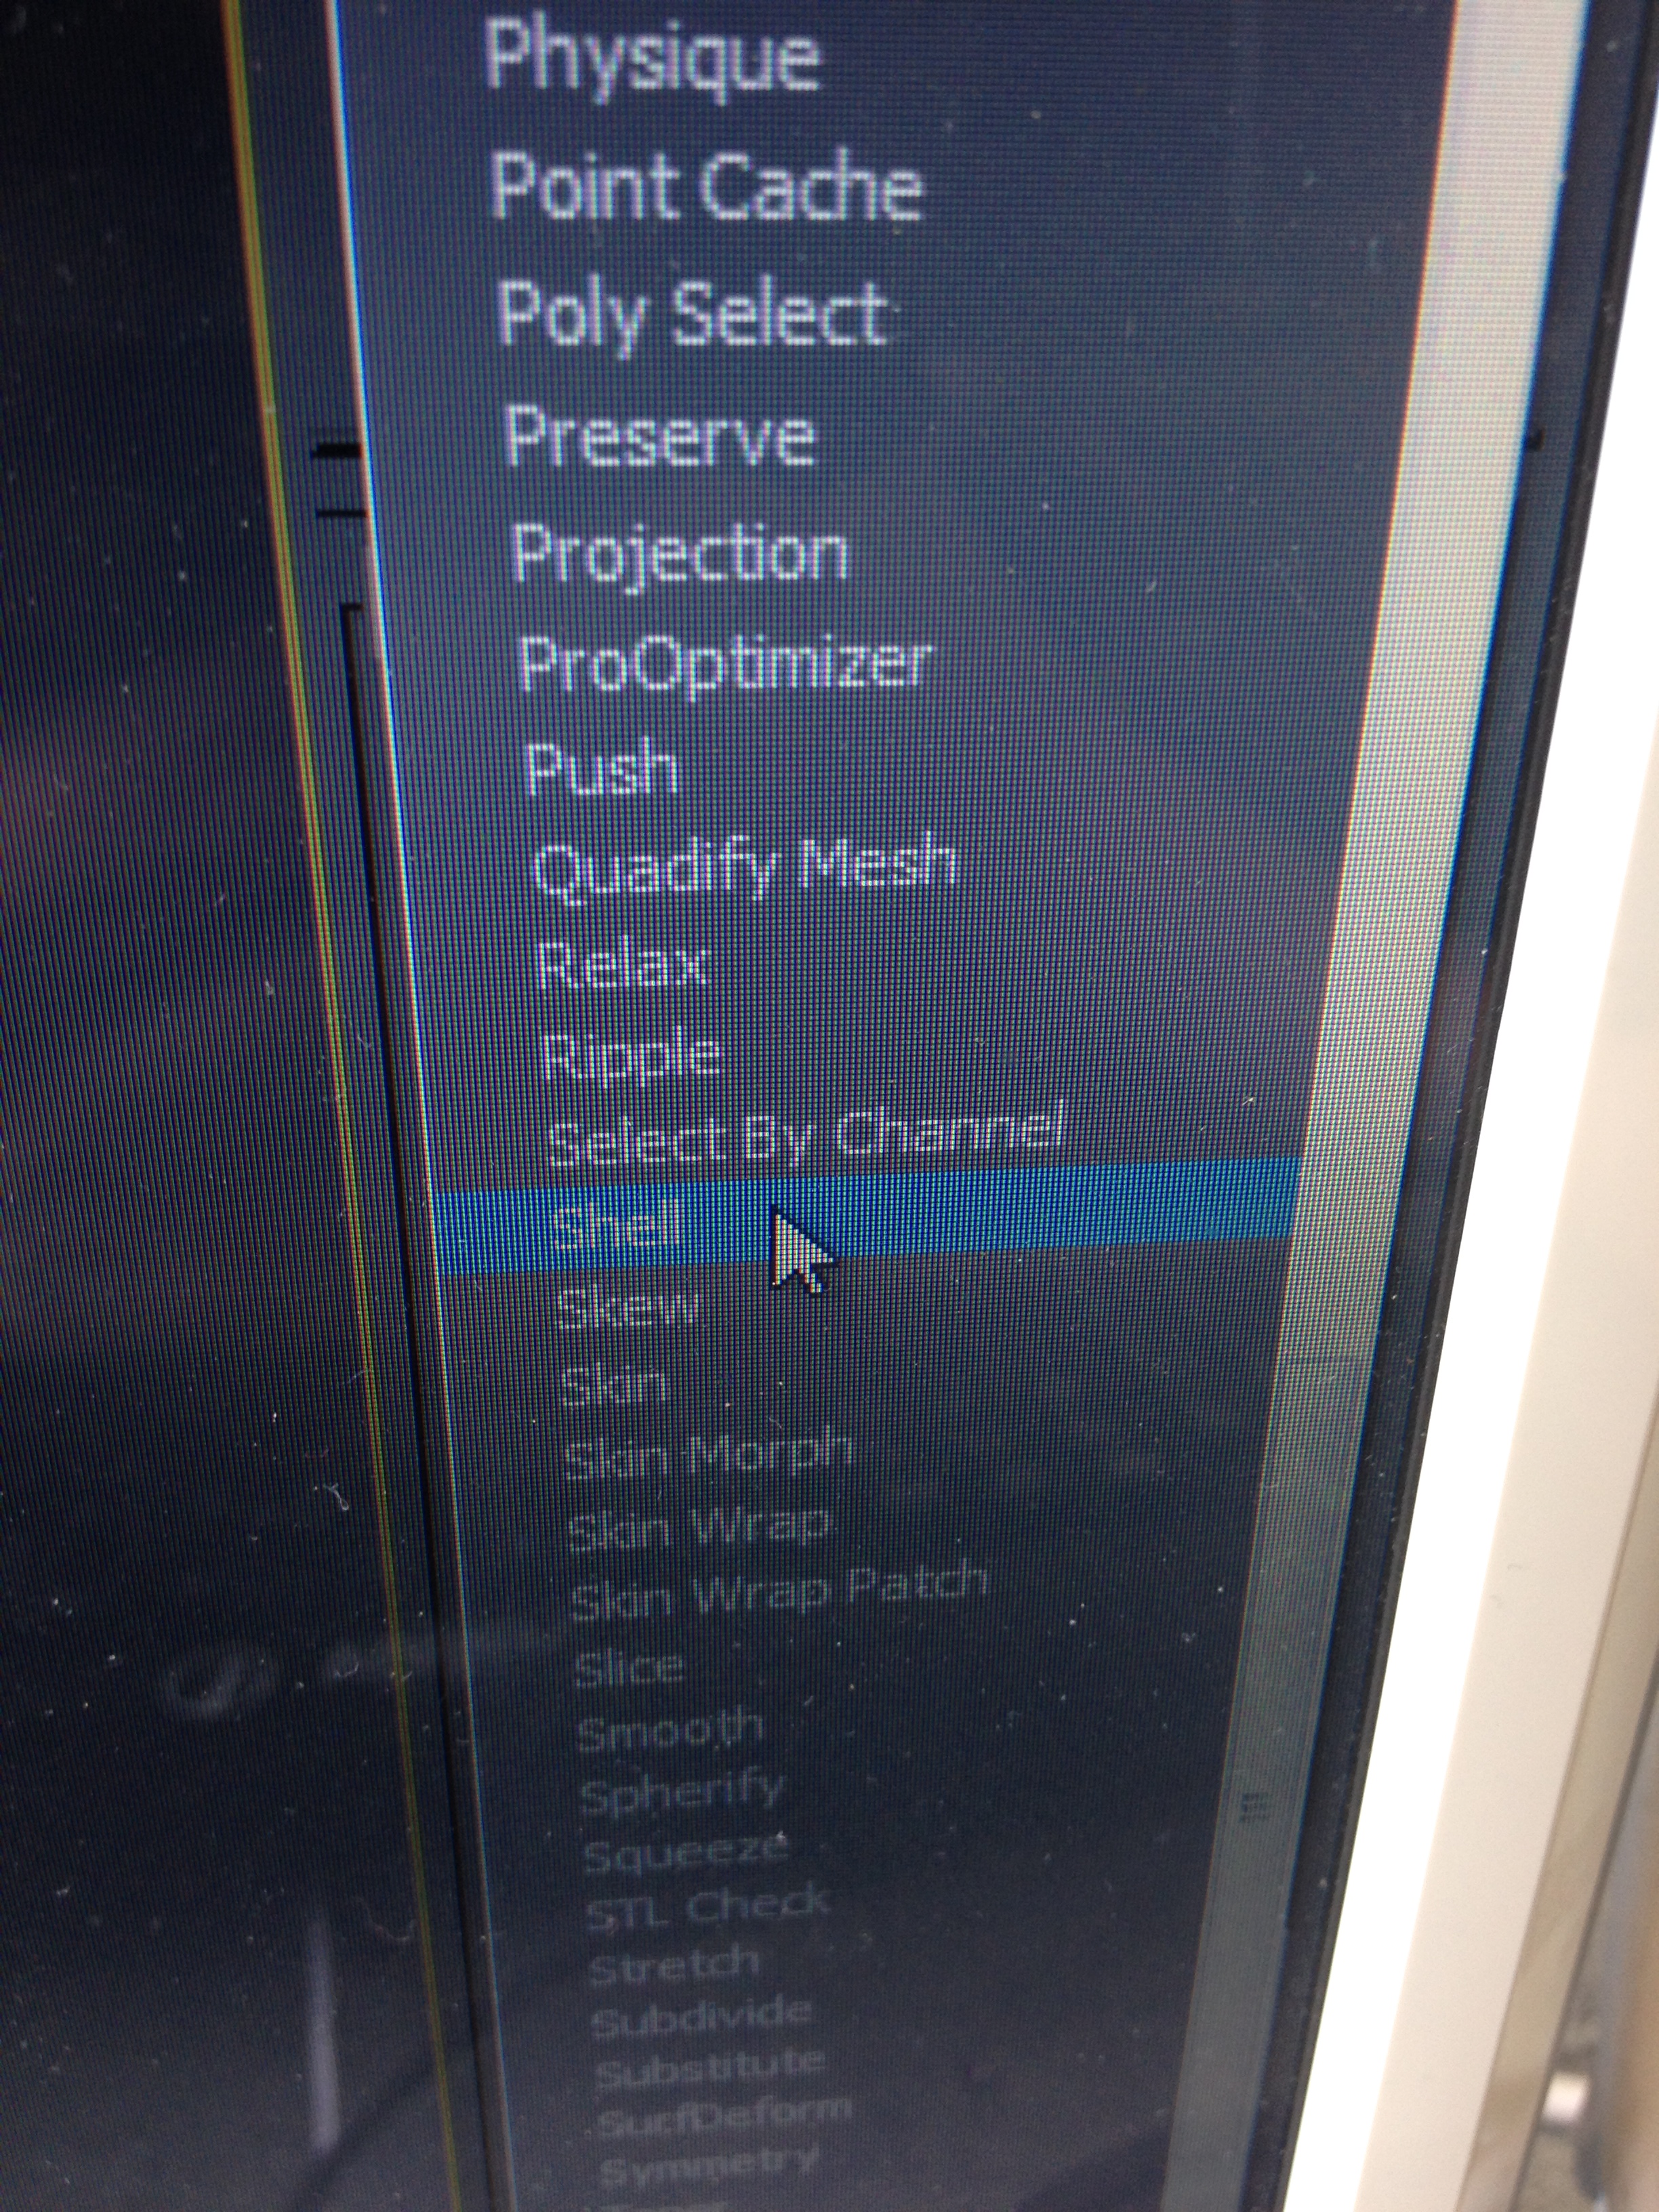
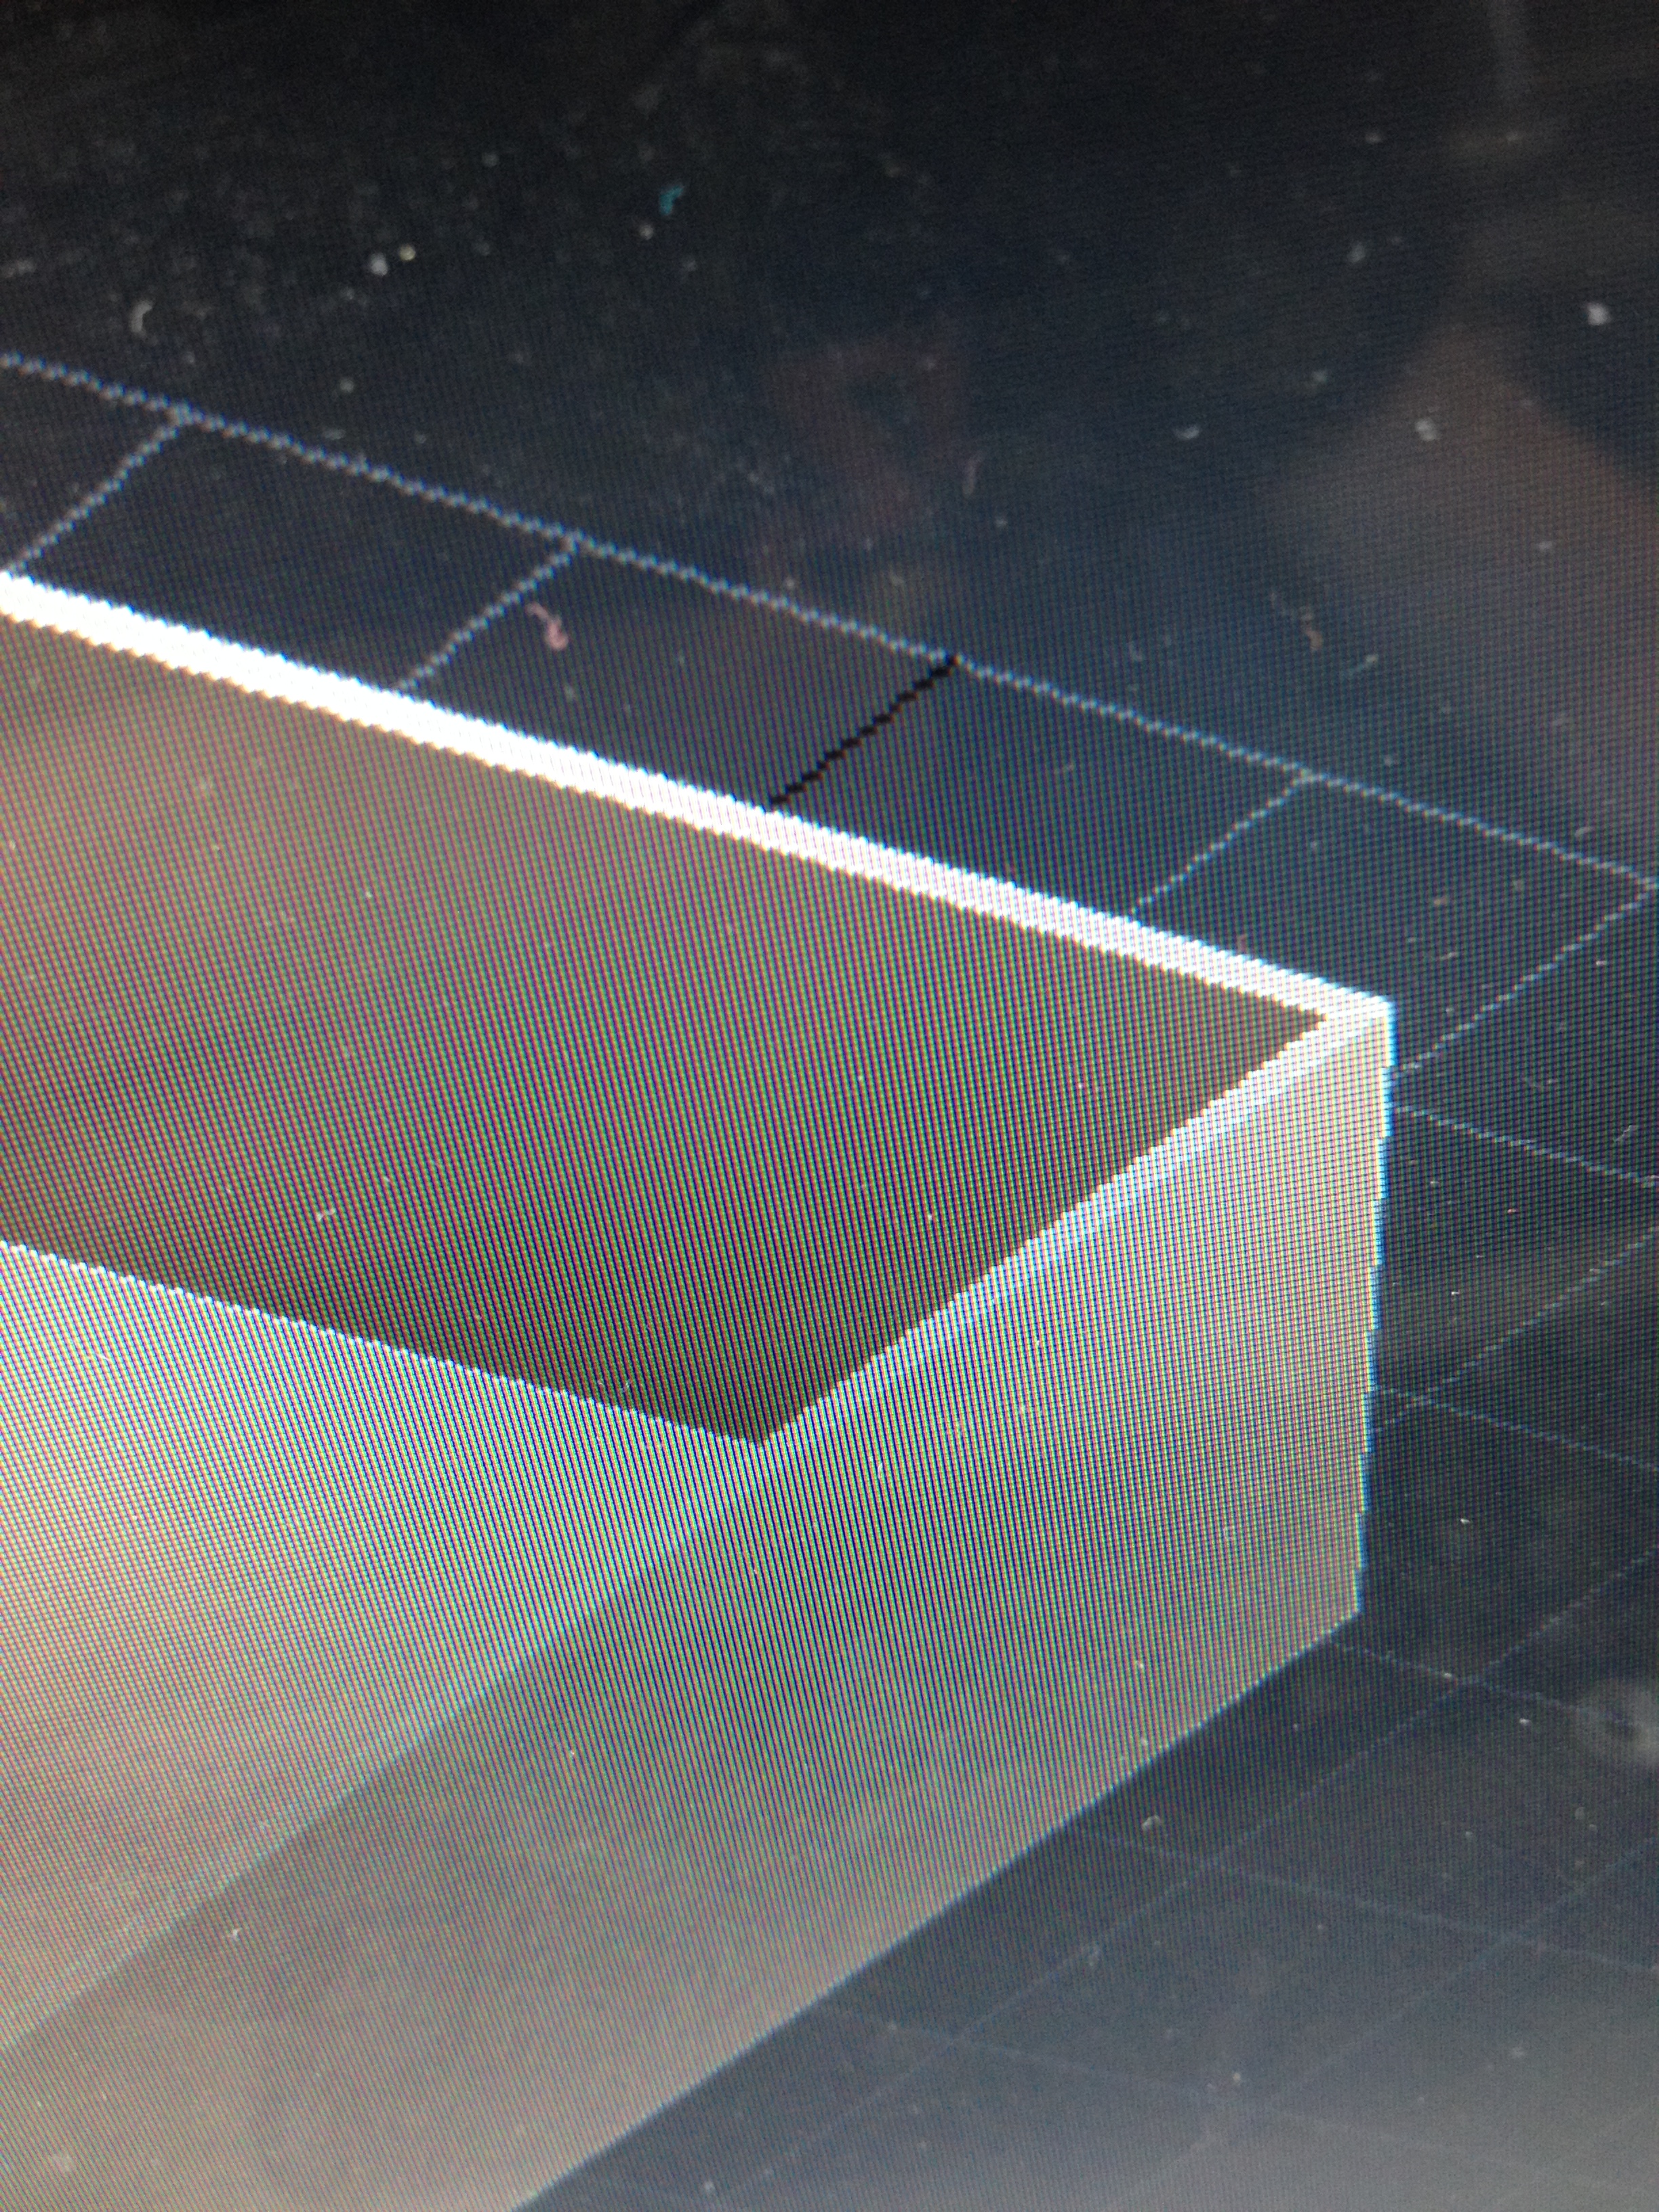
6. Once all of the middle edges have been selected we simply delete them leaving an opening to what will become our box. (image 13). To give our box more of a realistic look we will highlight the whole box, go back to our right hand menu and click on the modifier list (image 14) then we shall search for shell (image 15) once the shell has been placed the box will have some thickness to it (image 16).
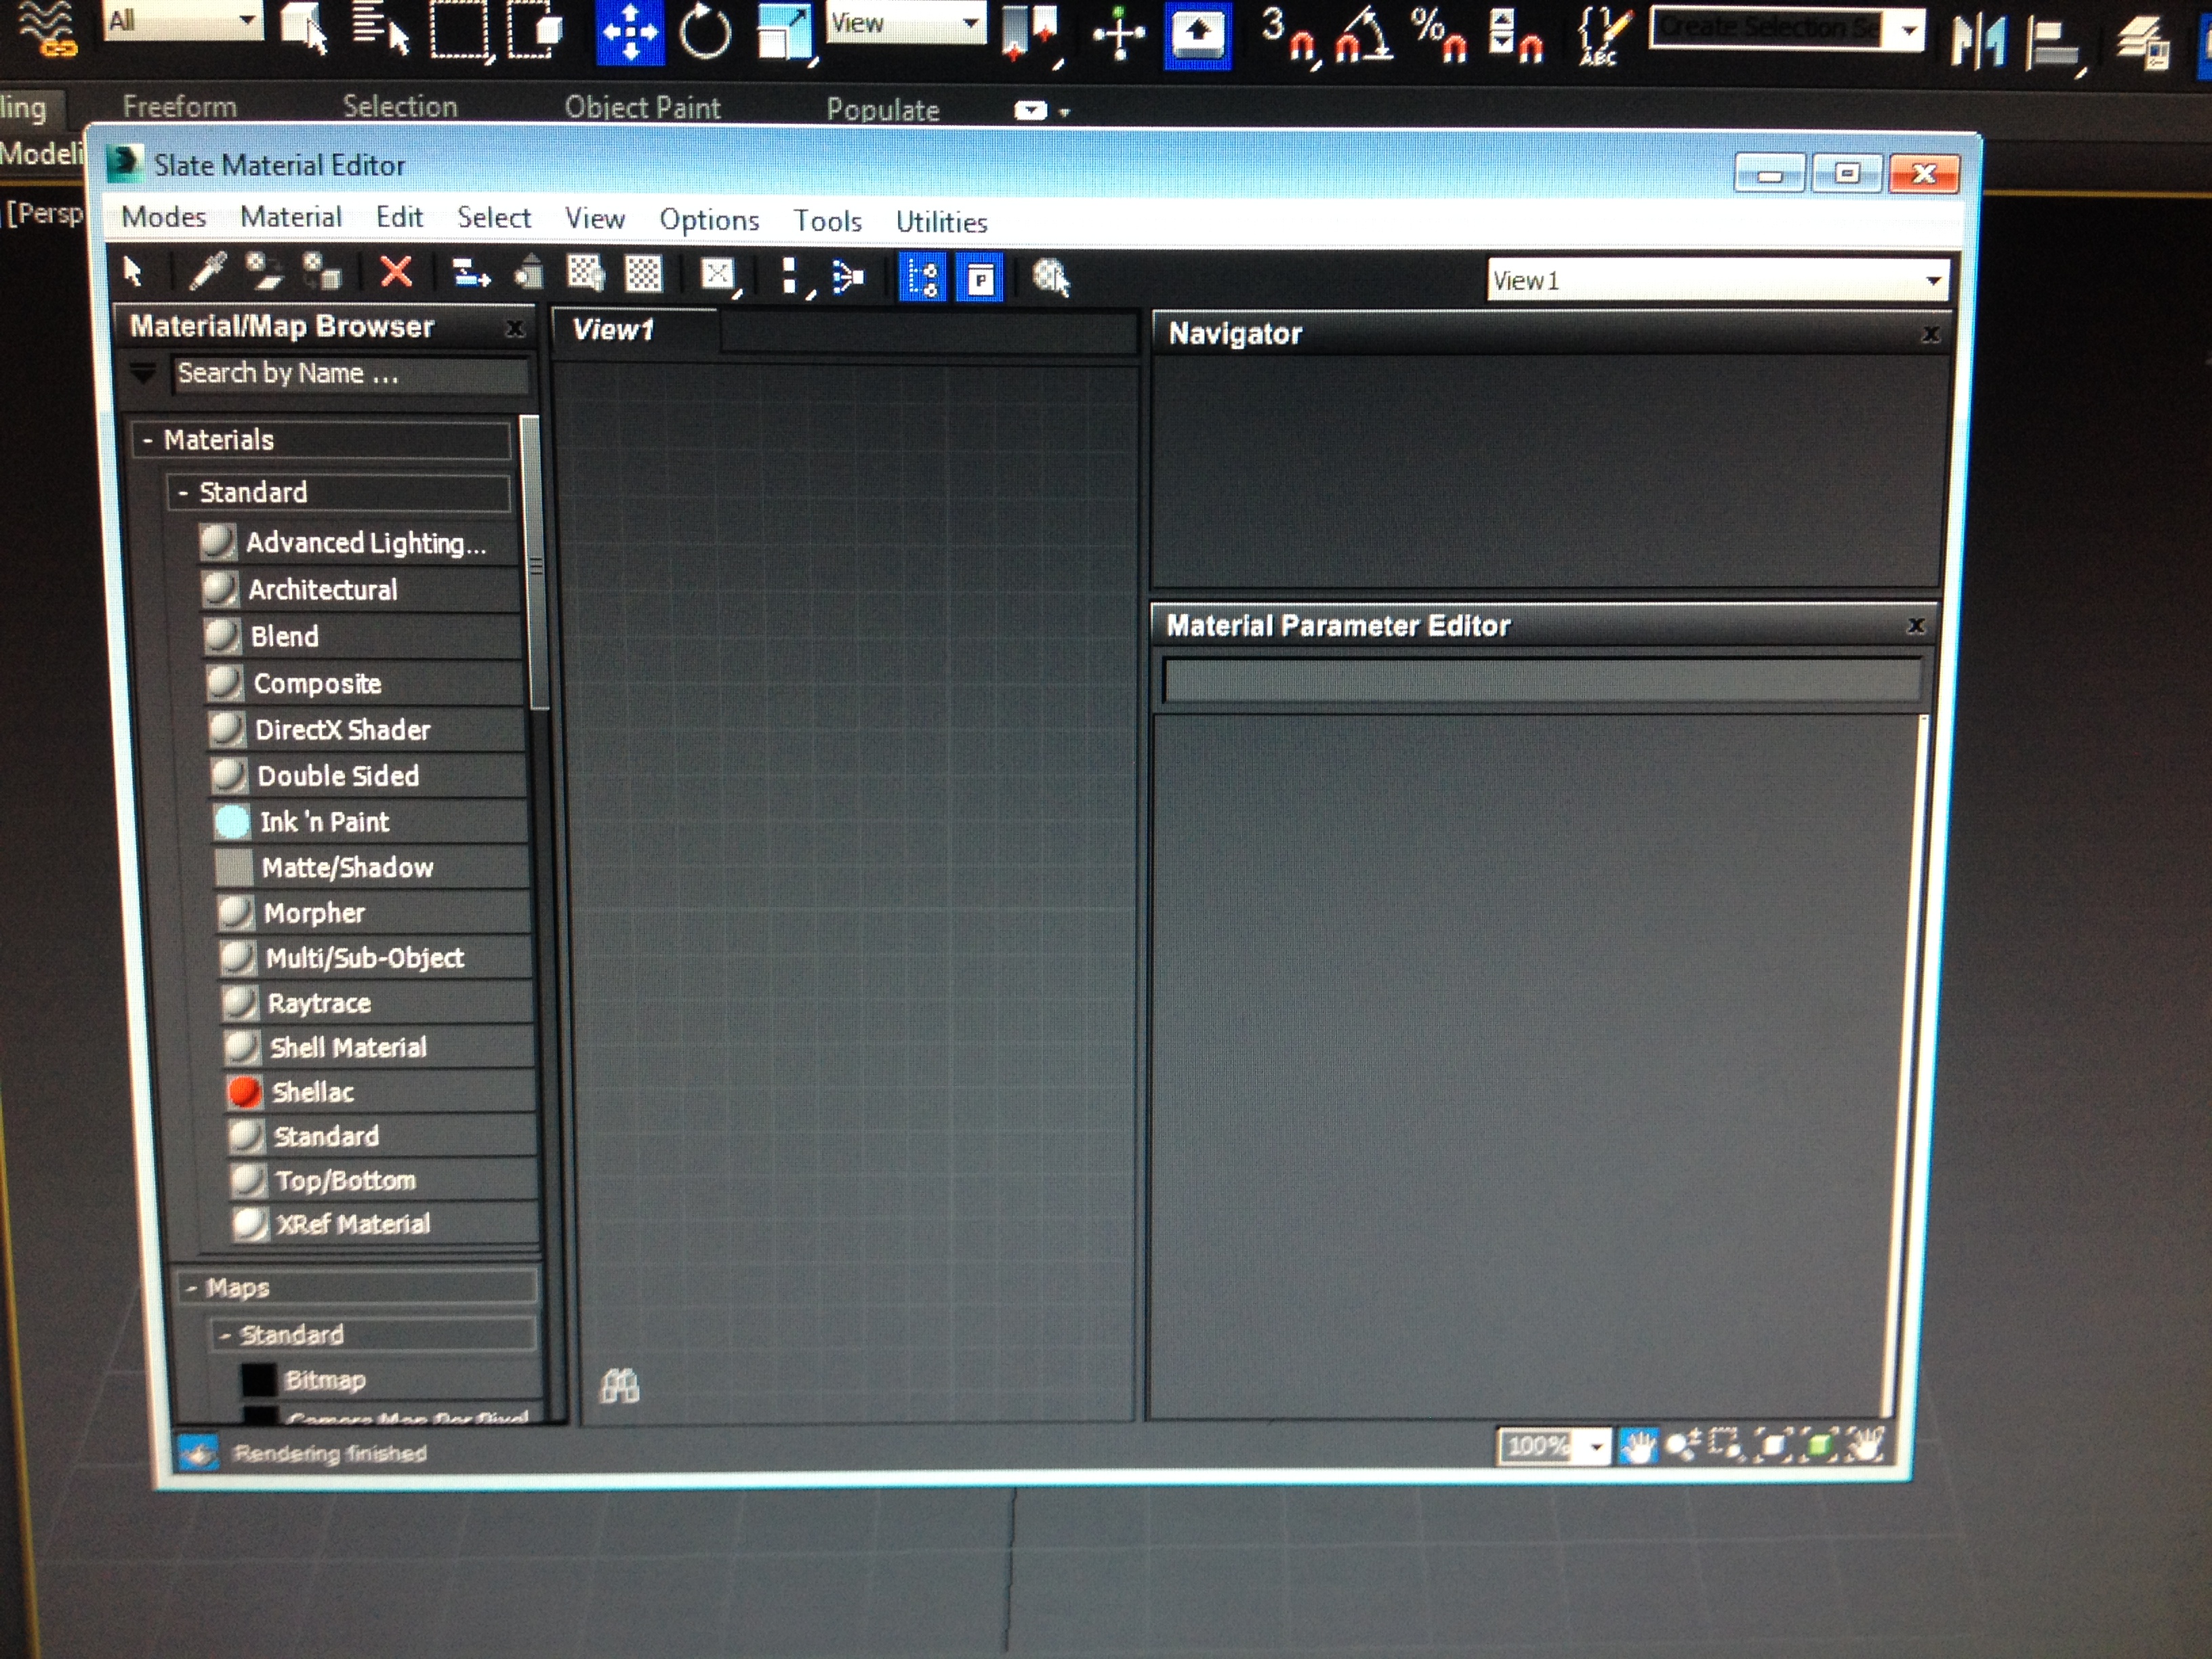
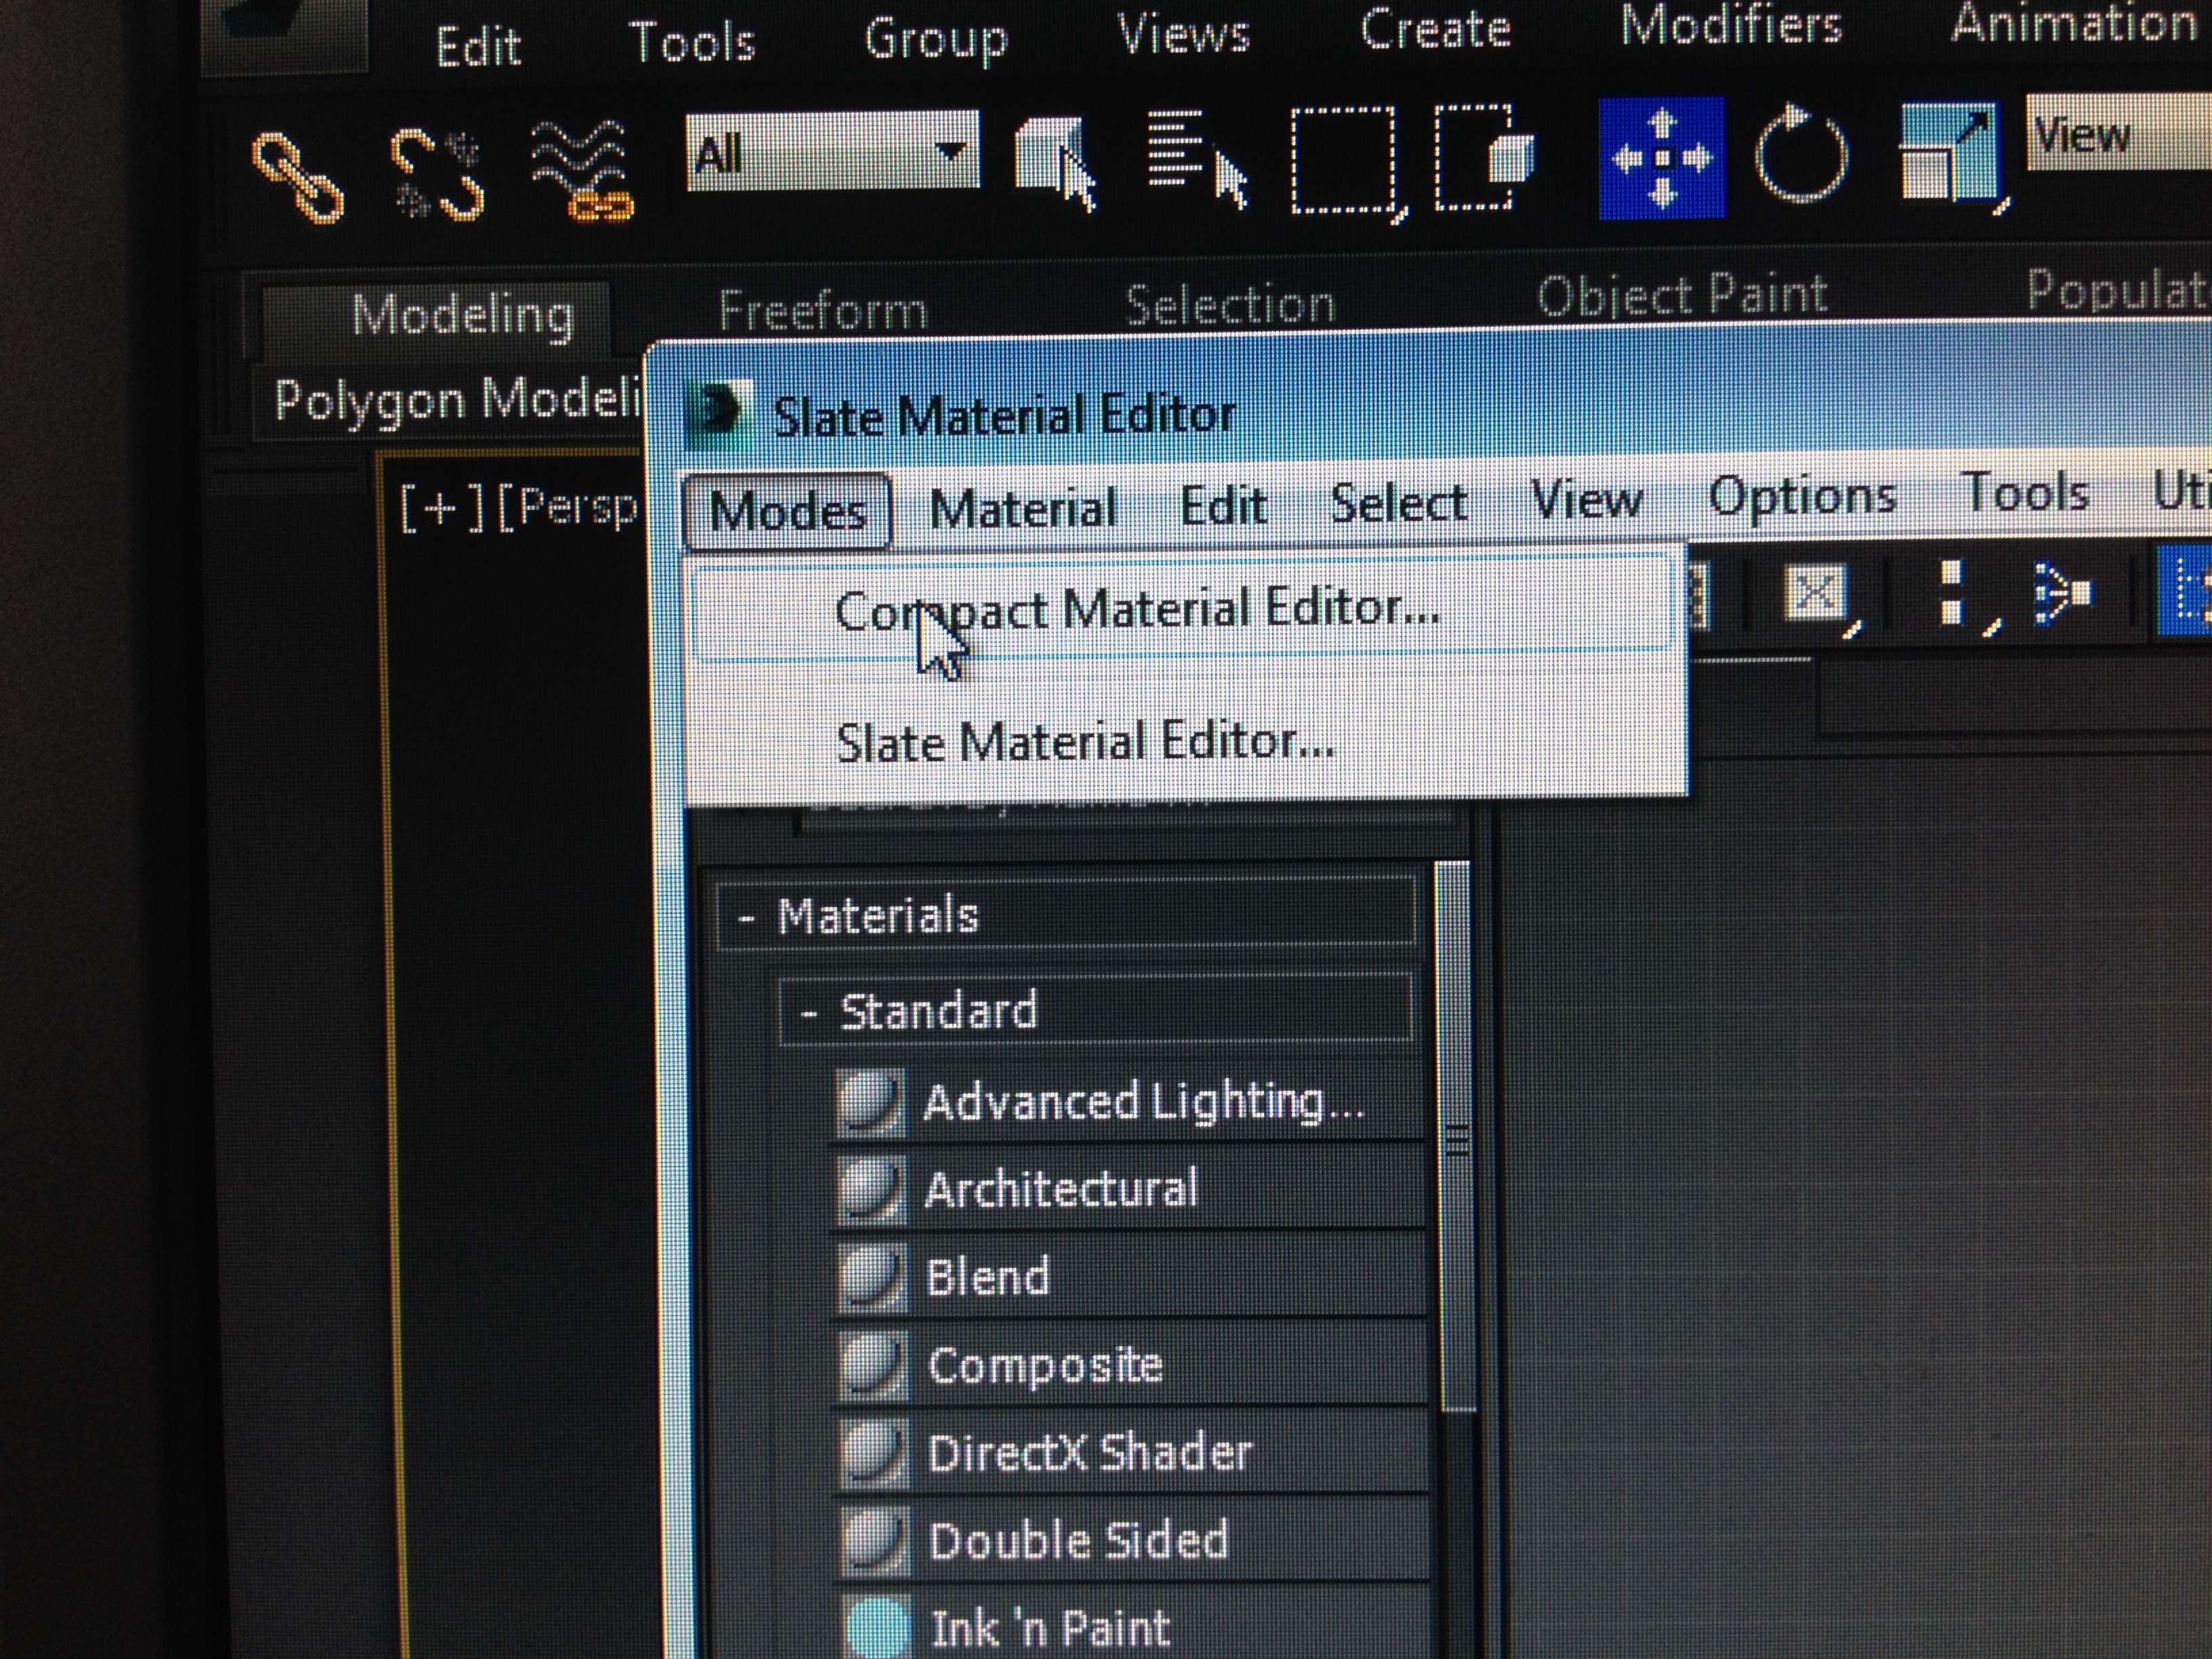
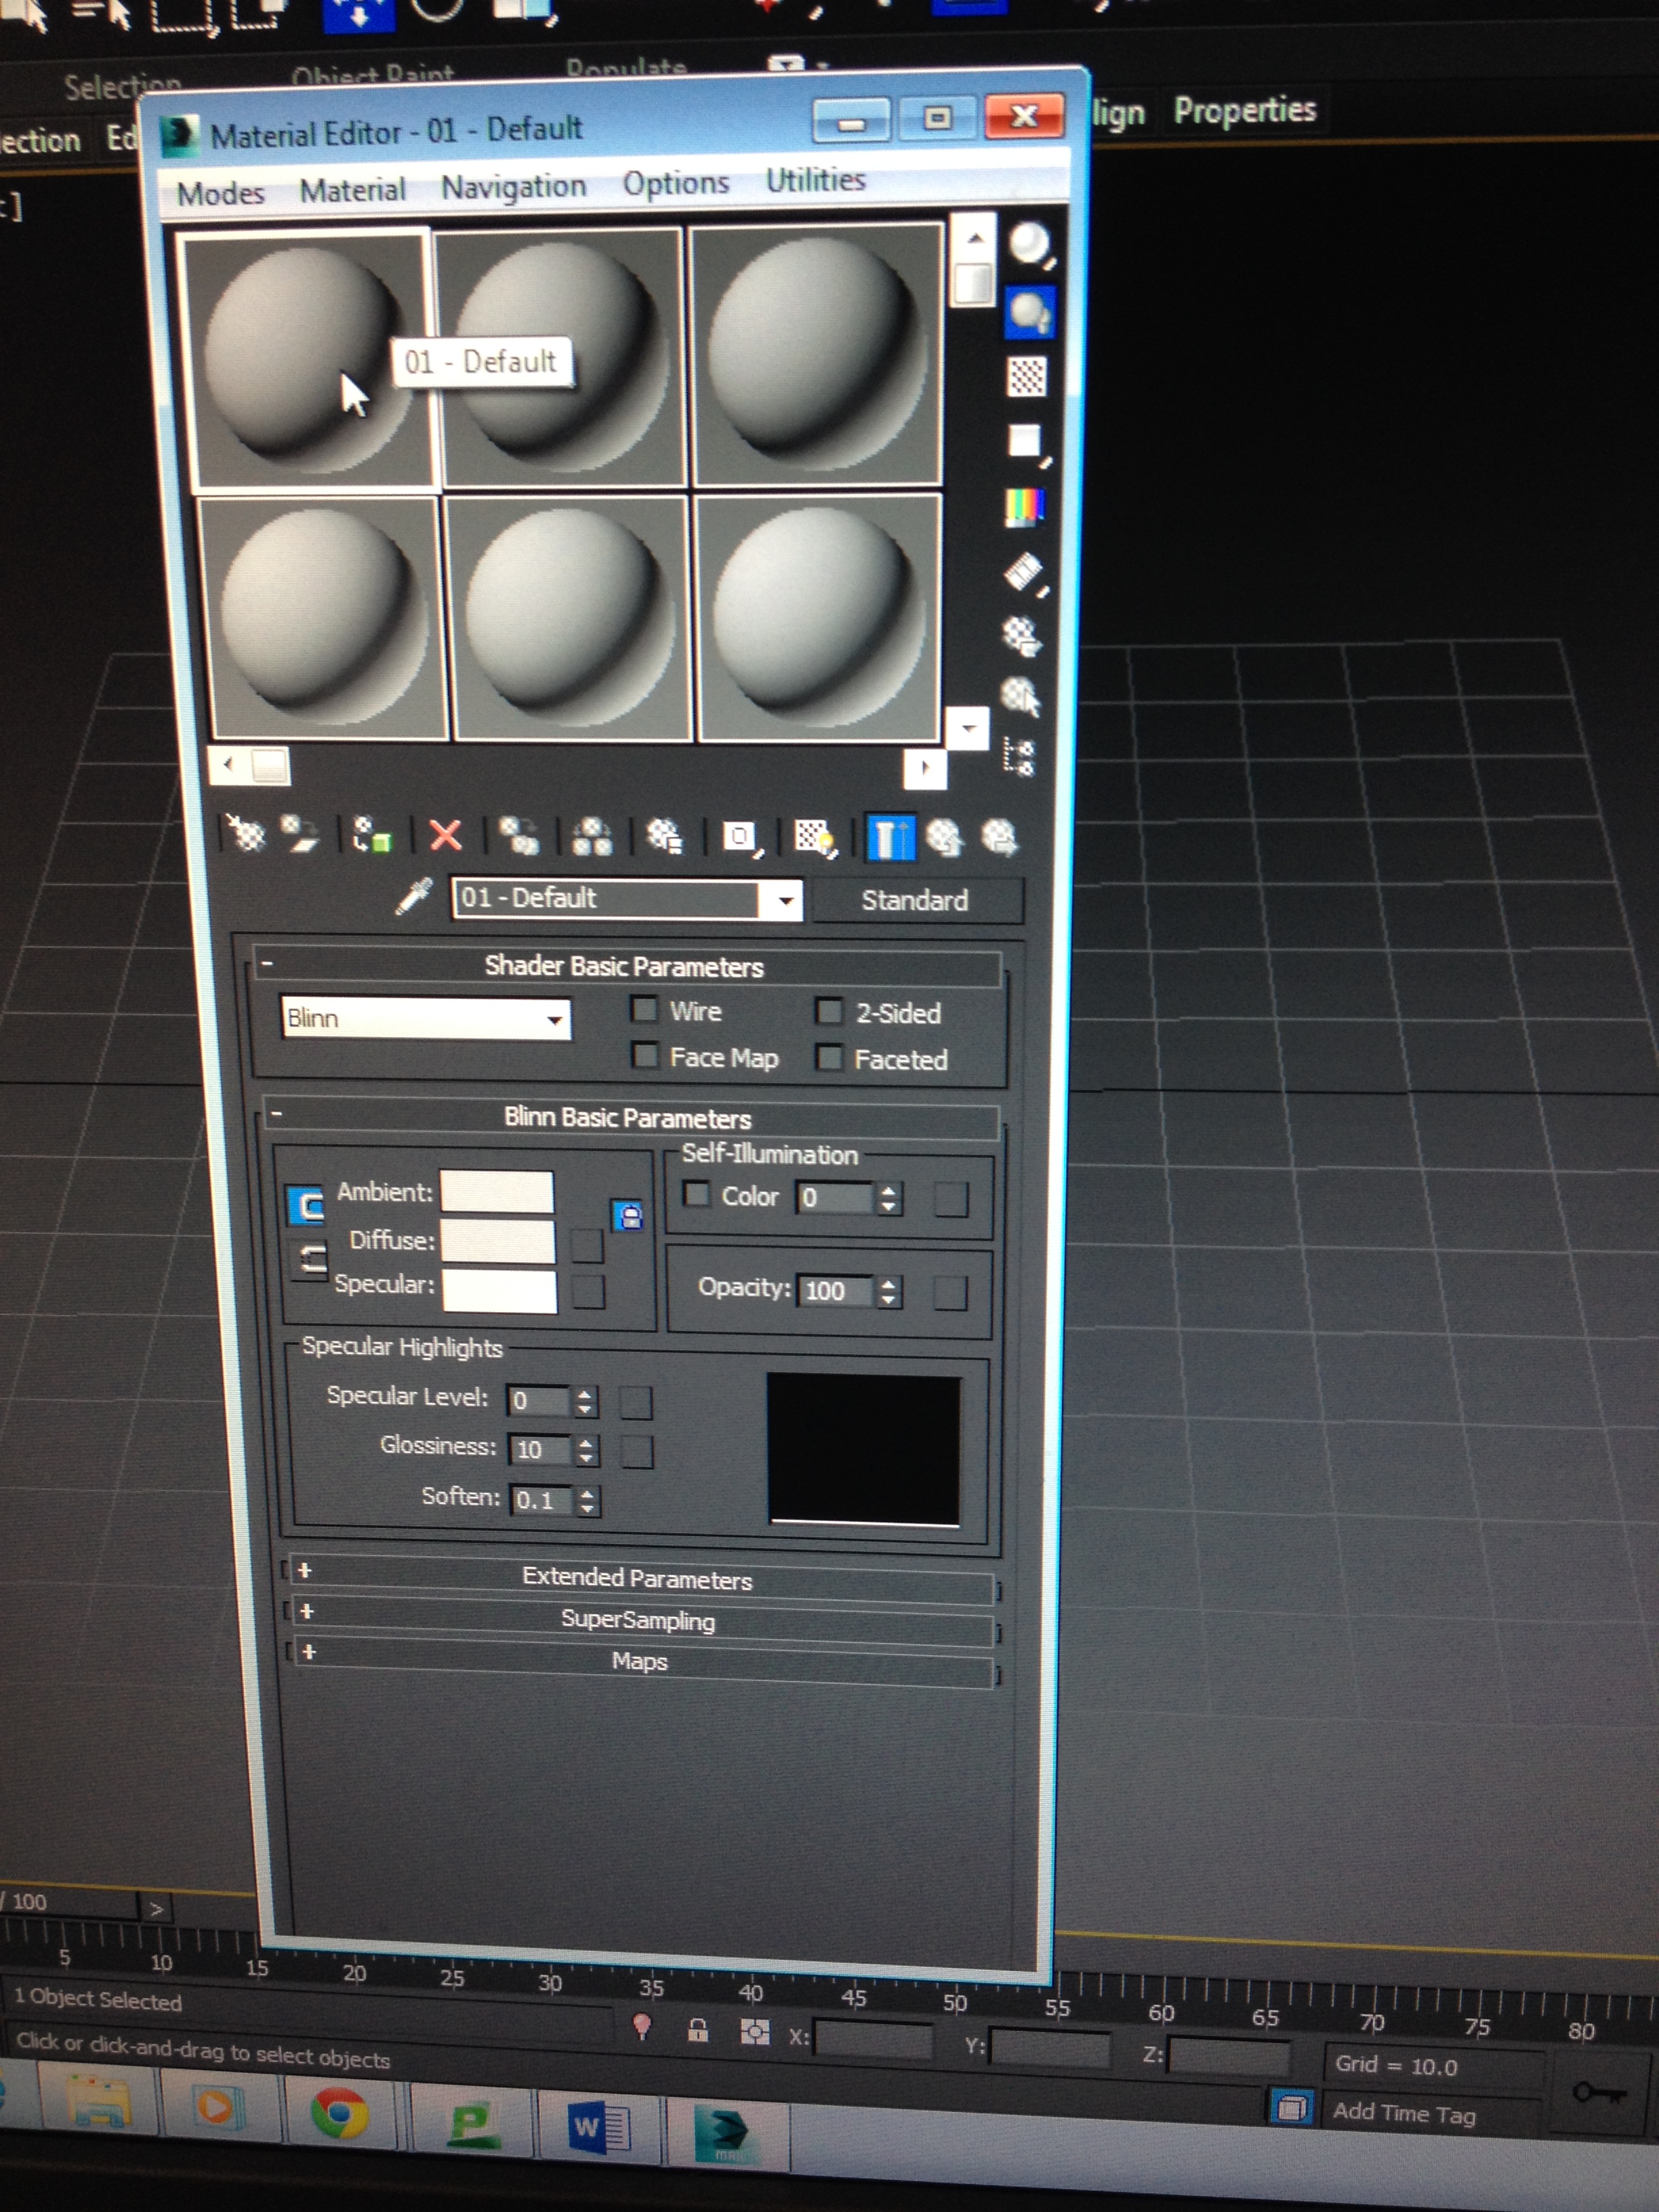
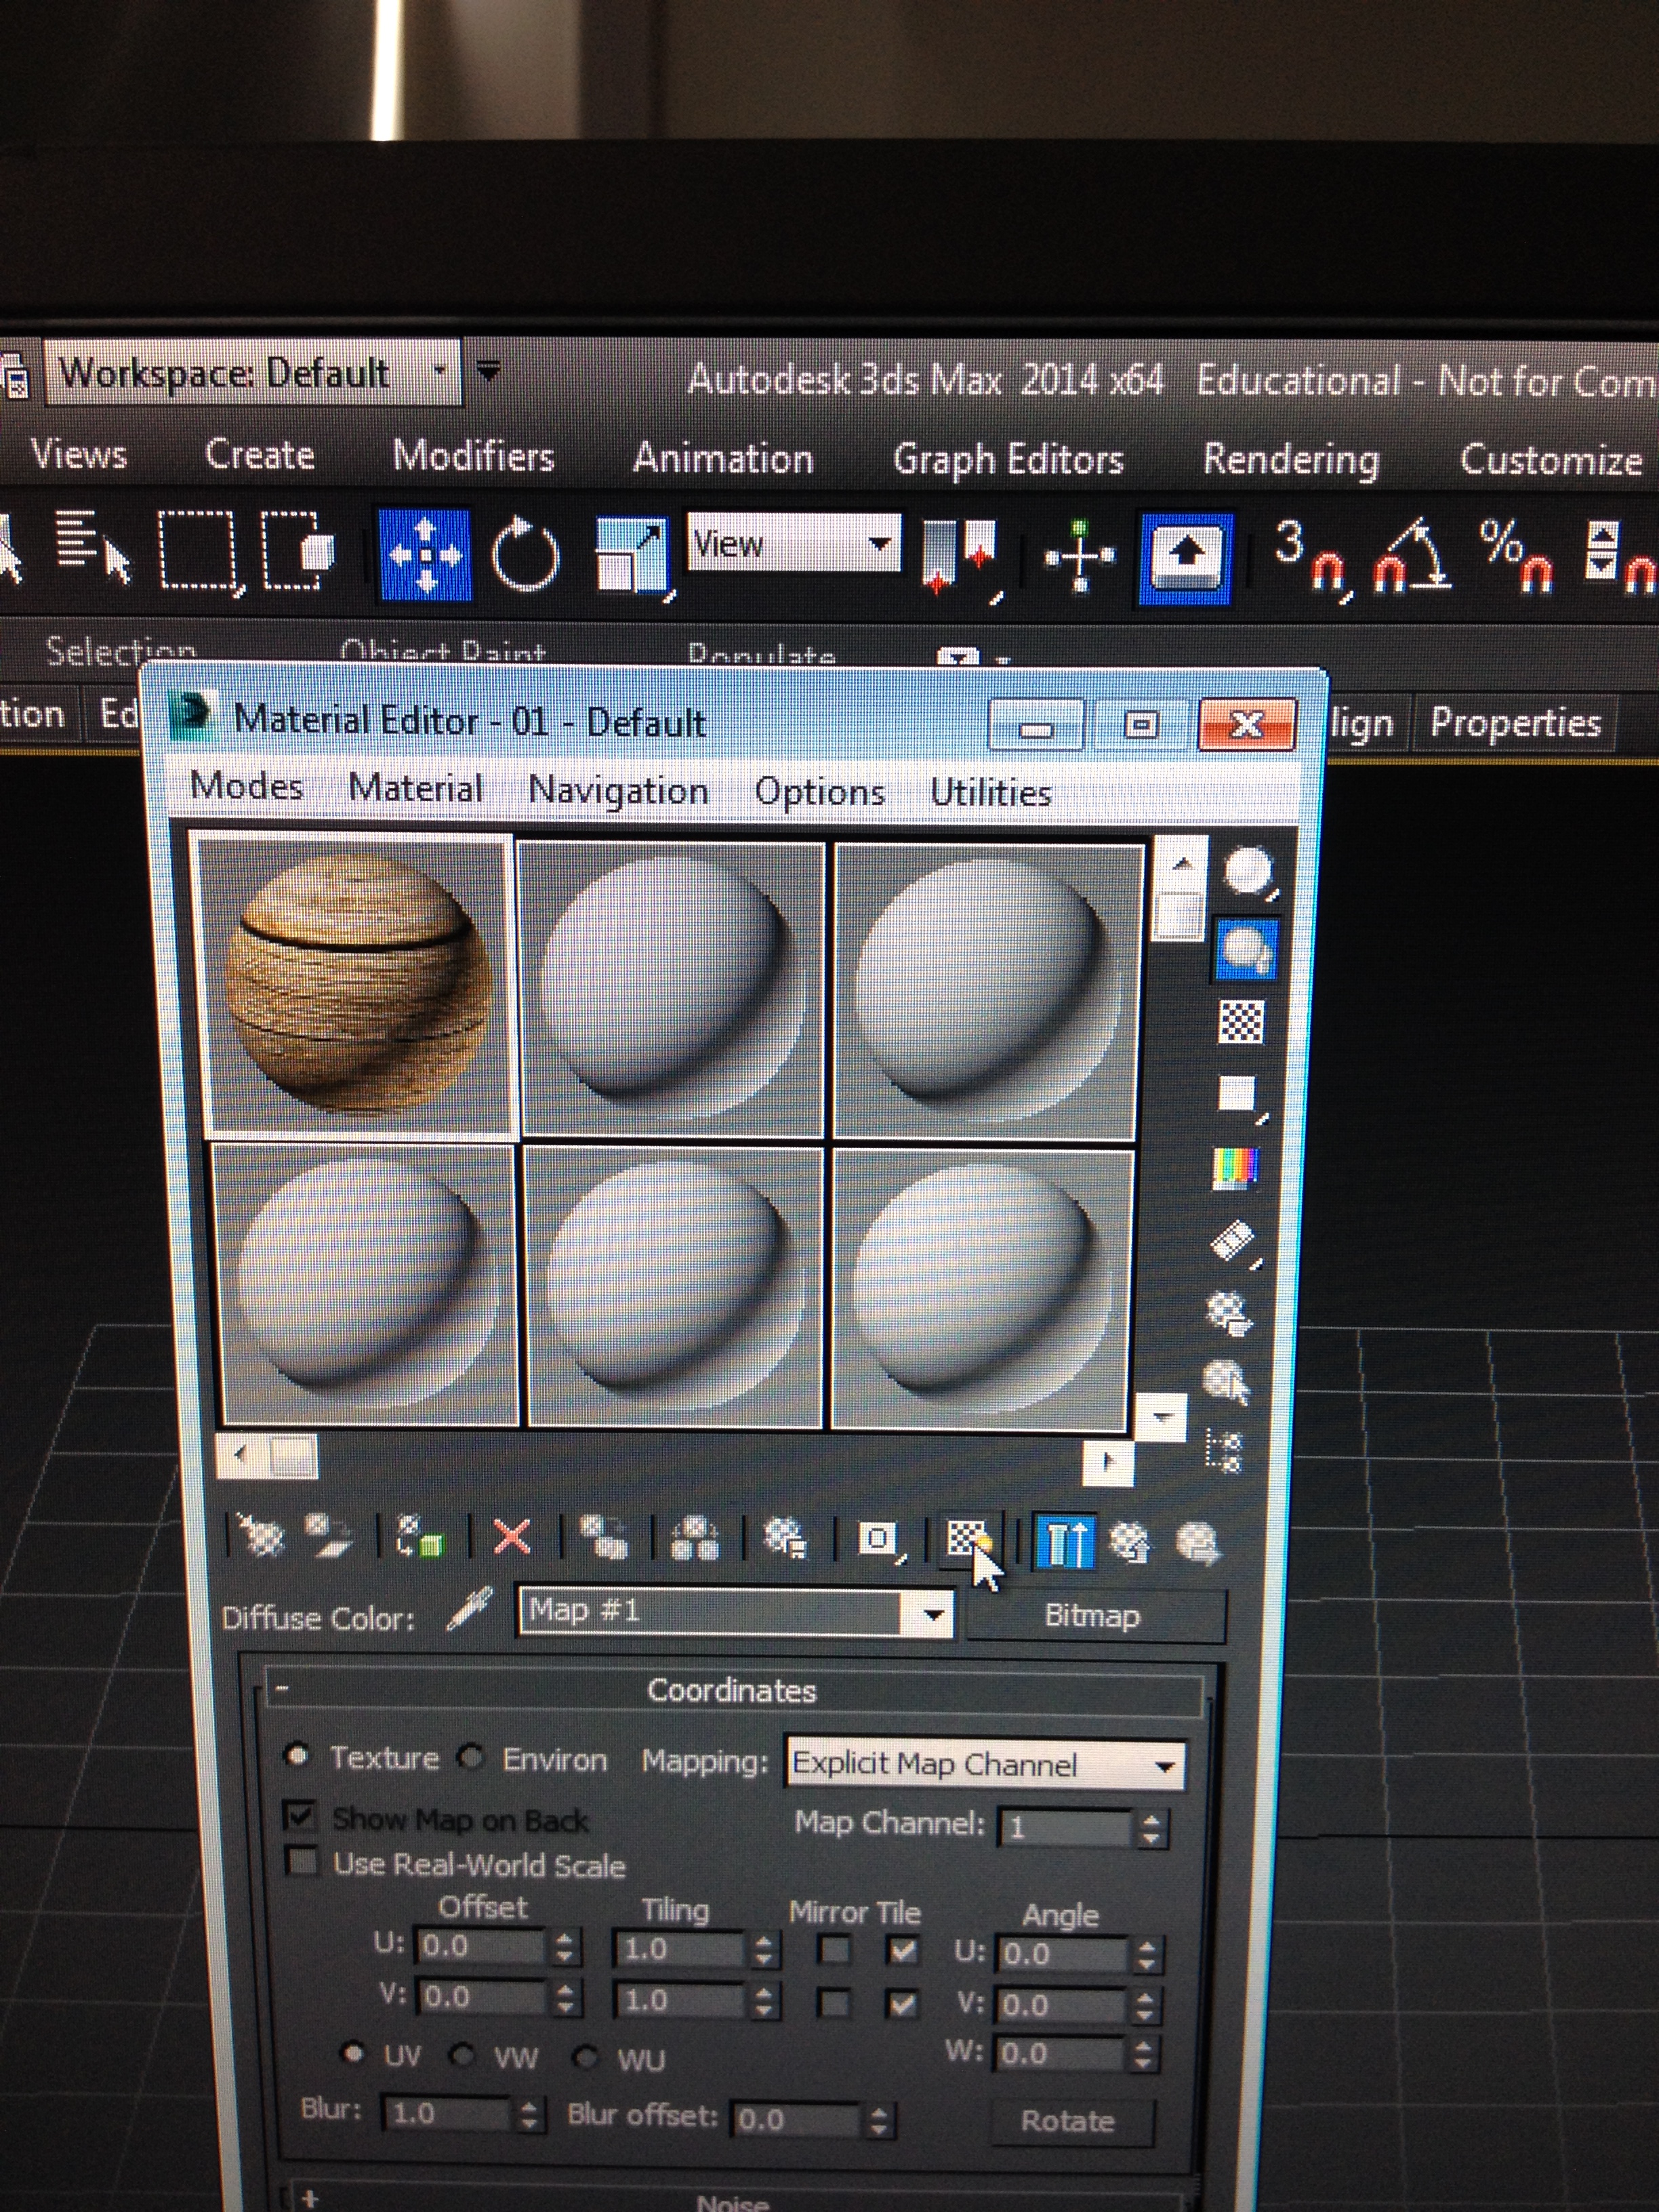
7. Now that the box has been created albeit basic we shall add a texture to it just to show how it is done. to add a texture we will press ( M ) on the keyboard to open up a menu (image 17) we will then make the menu more compact (image 18), this will give us the new menu (image 19).
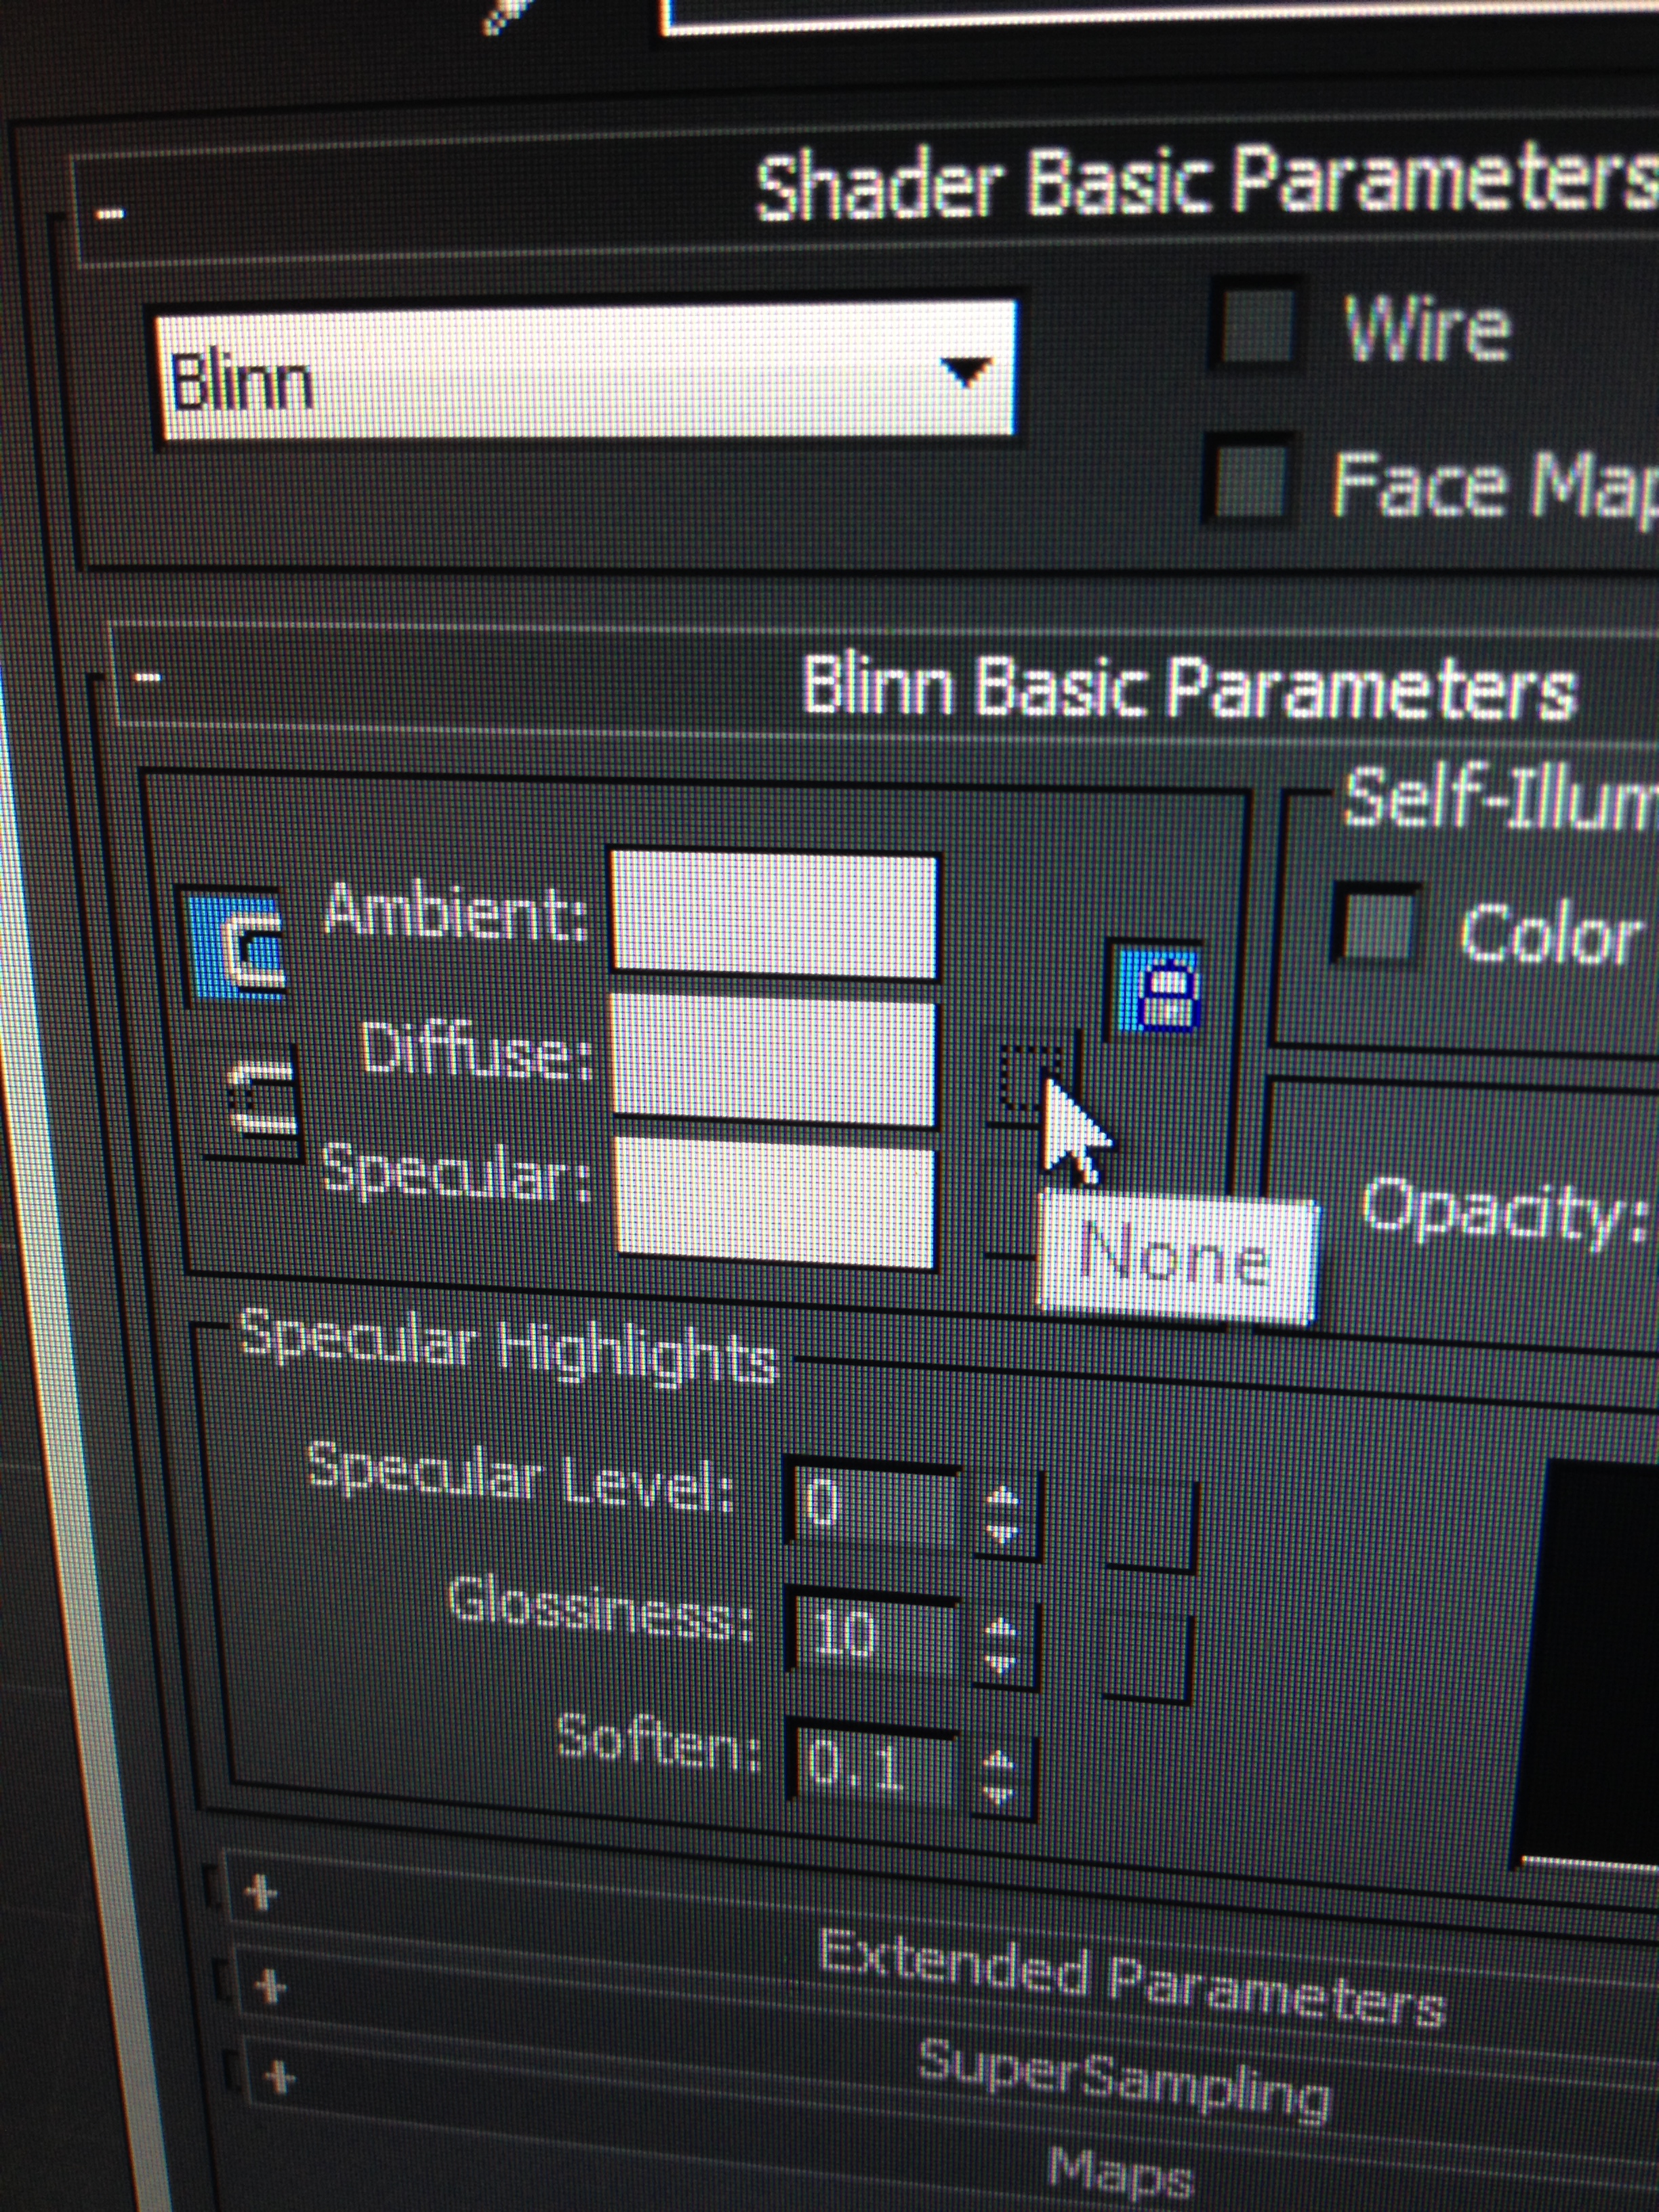
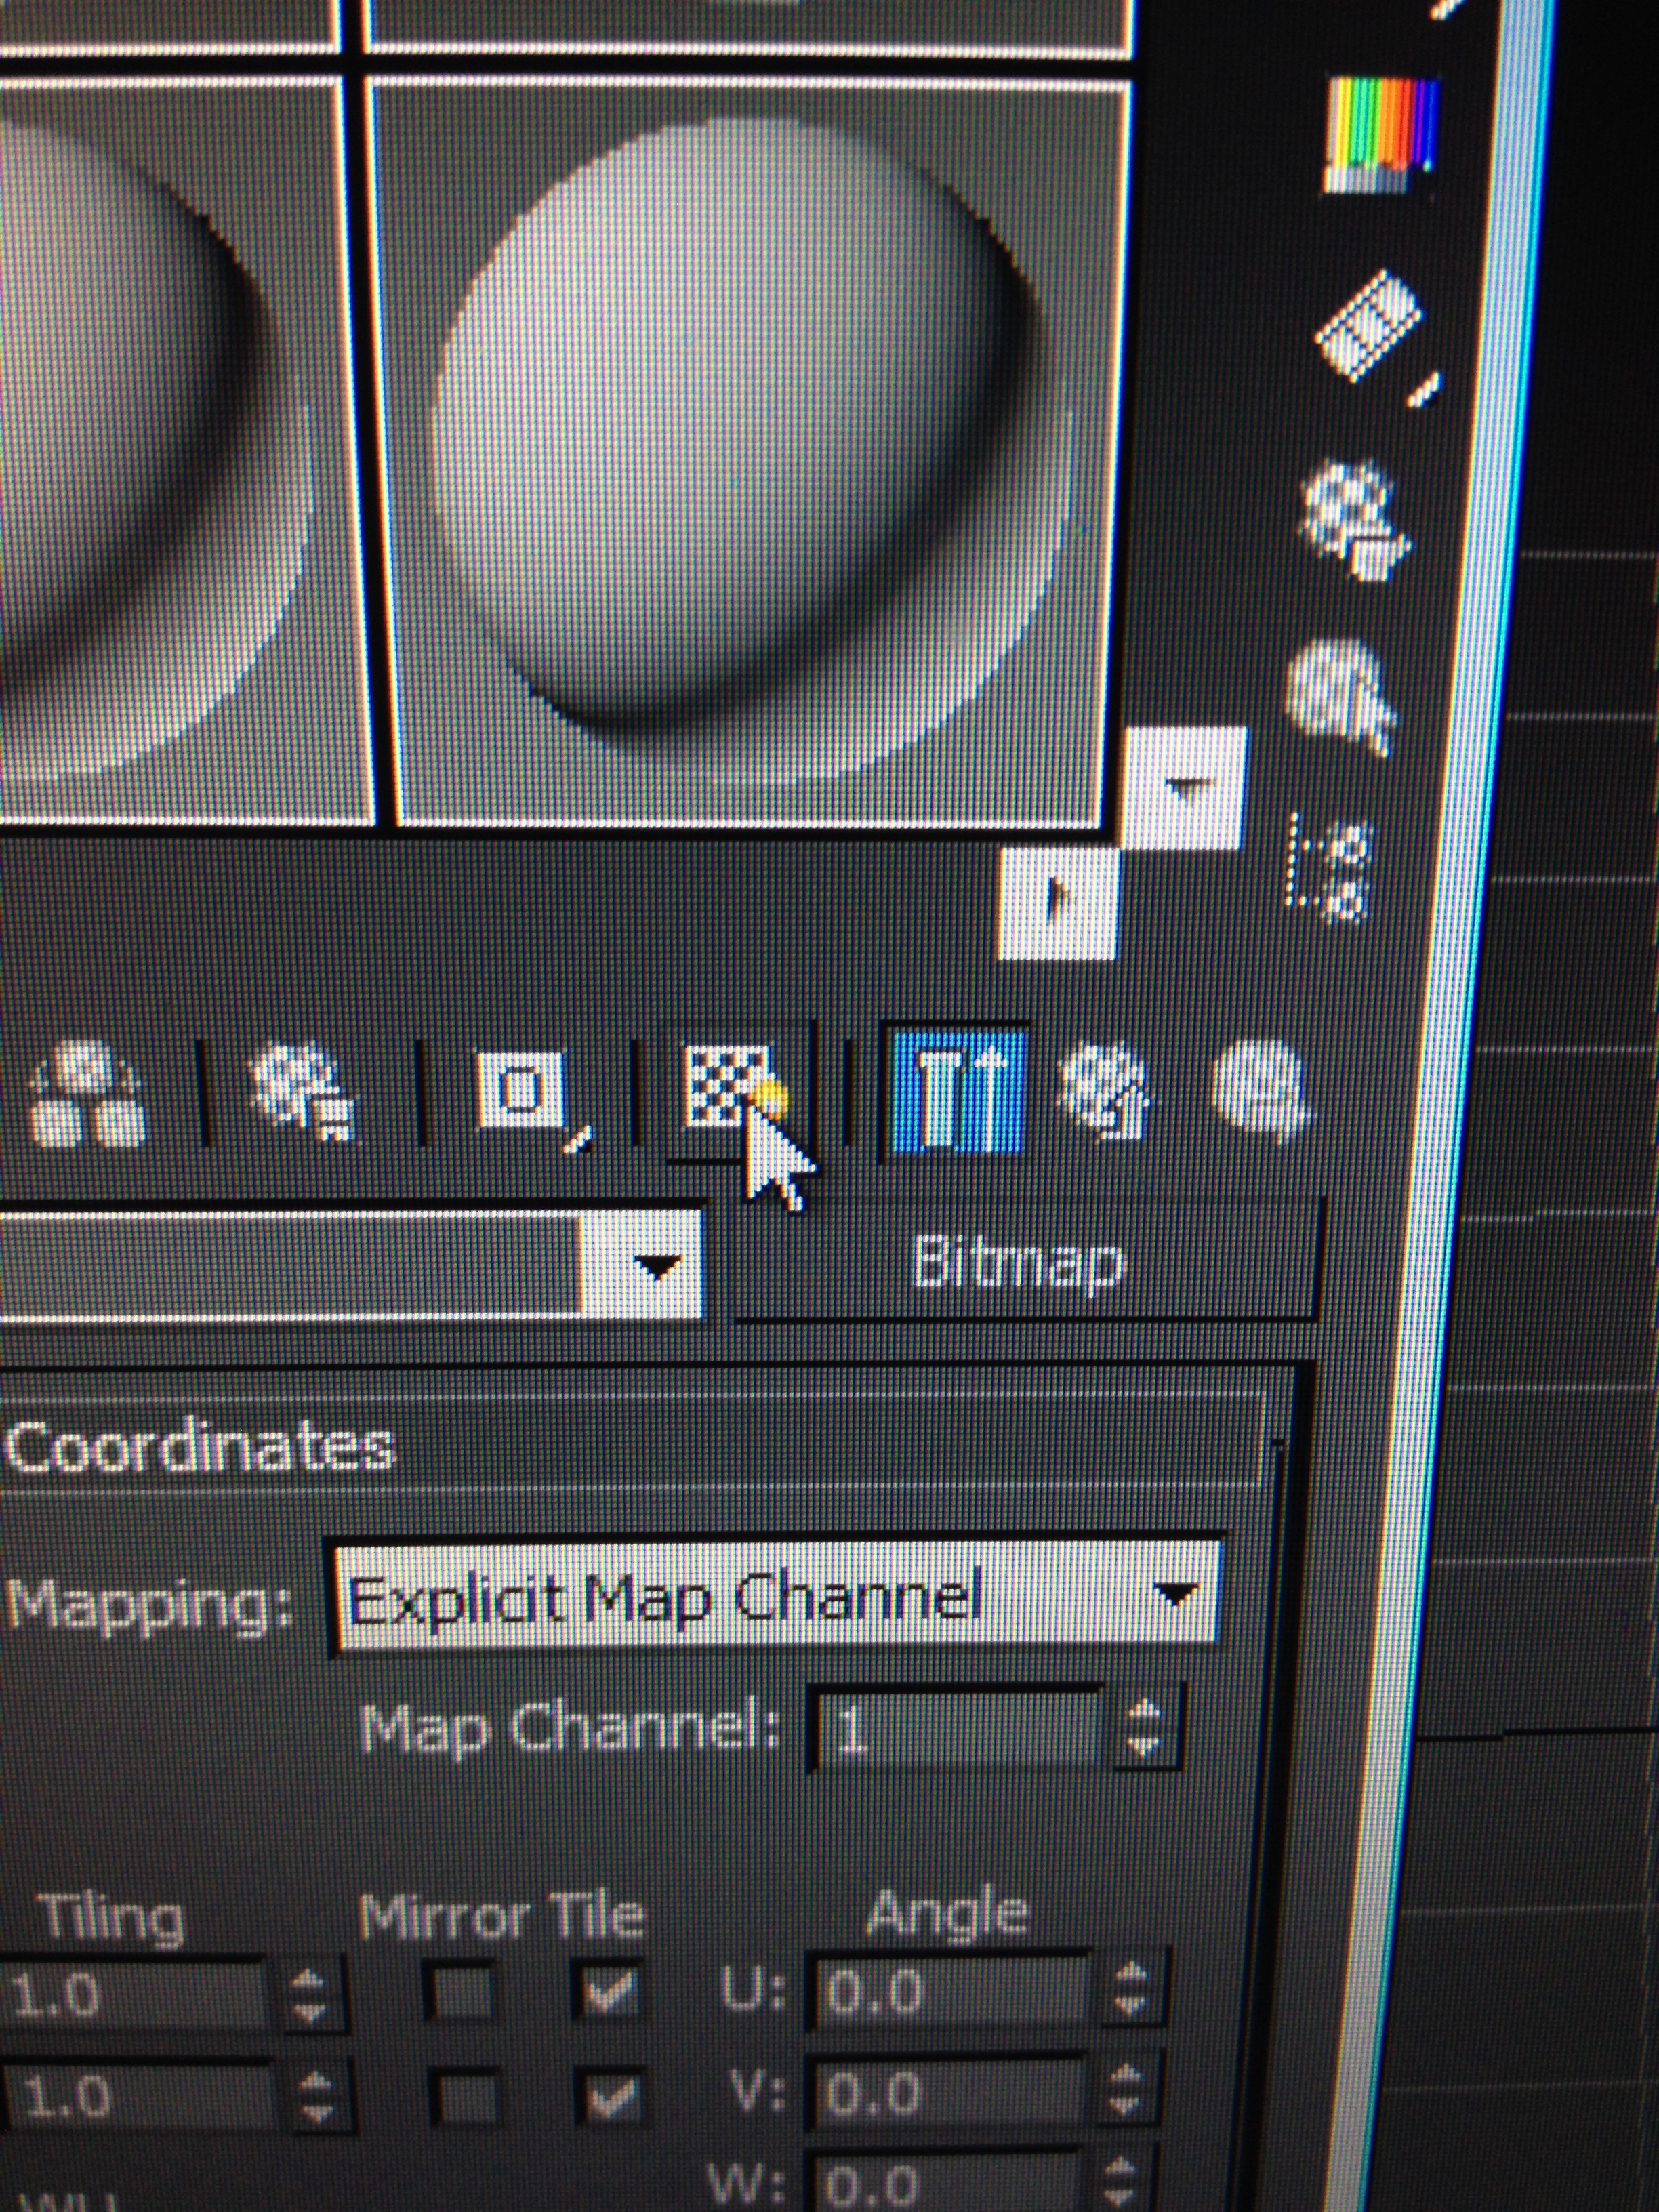
8. Now we have the new menu we move down to click the small box next to diffuse (image 20). Here I have searched for an image texture of a wooden crate, after the image has been saved to the pc we then click on the bitmap option (image 21) now we have a texture set up (image 22) our last step to make the texture show on our asset is clicking a small chess board like option ( image 23).
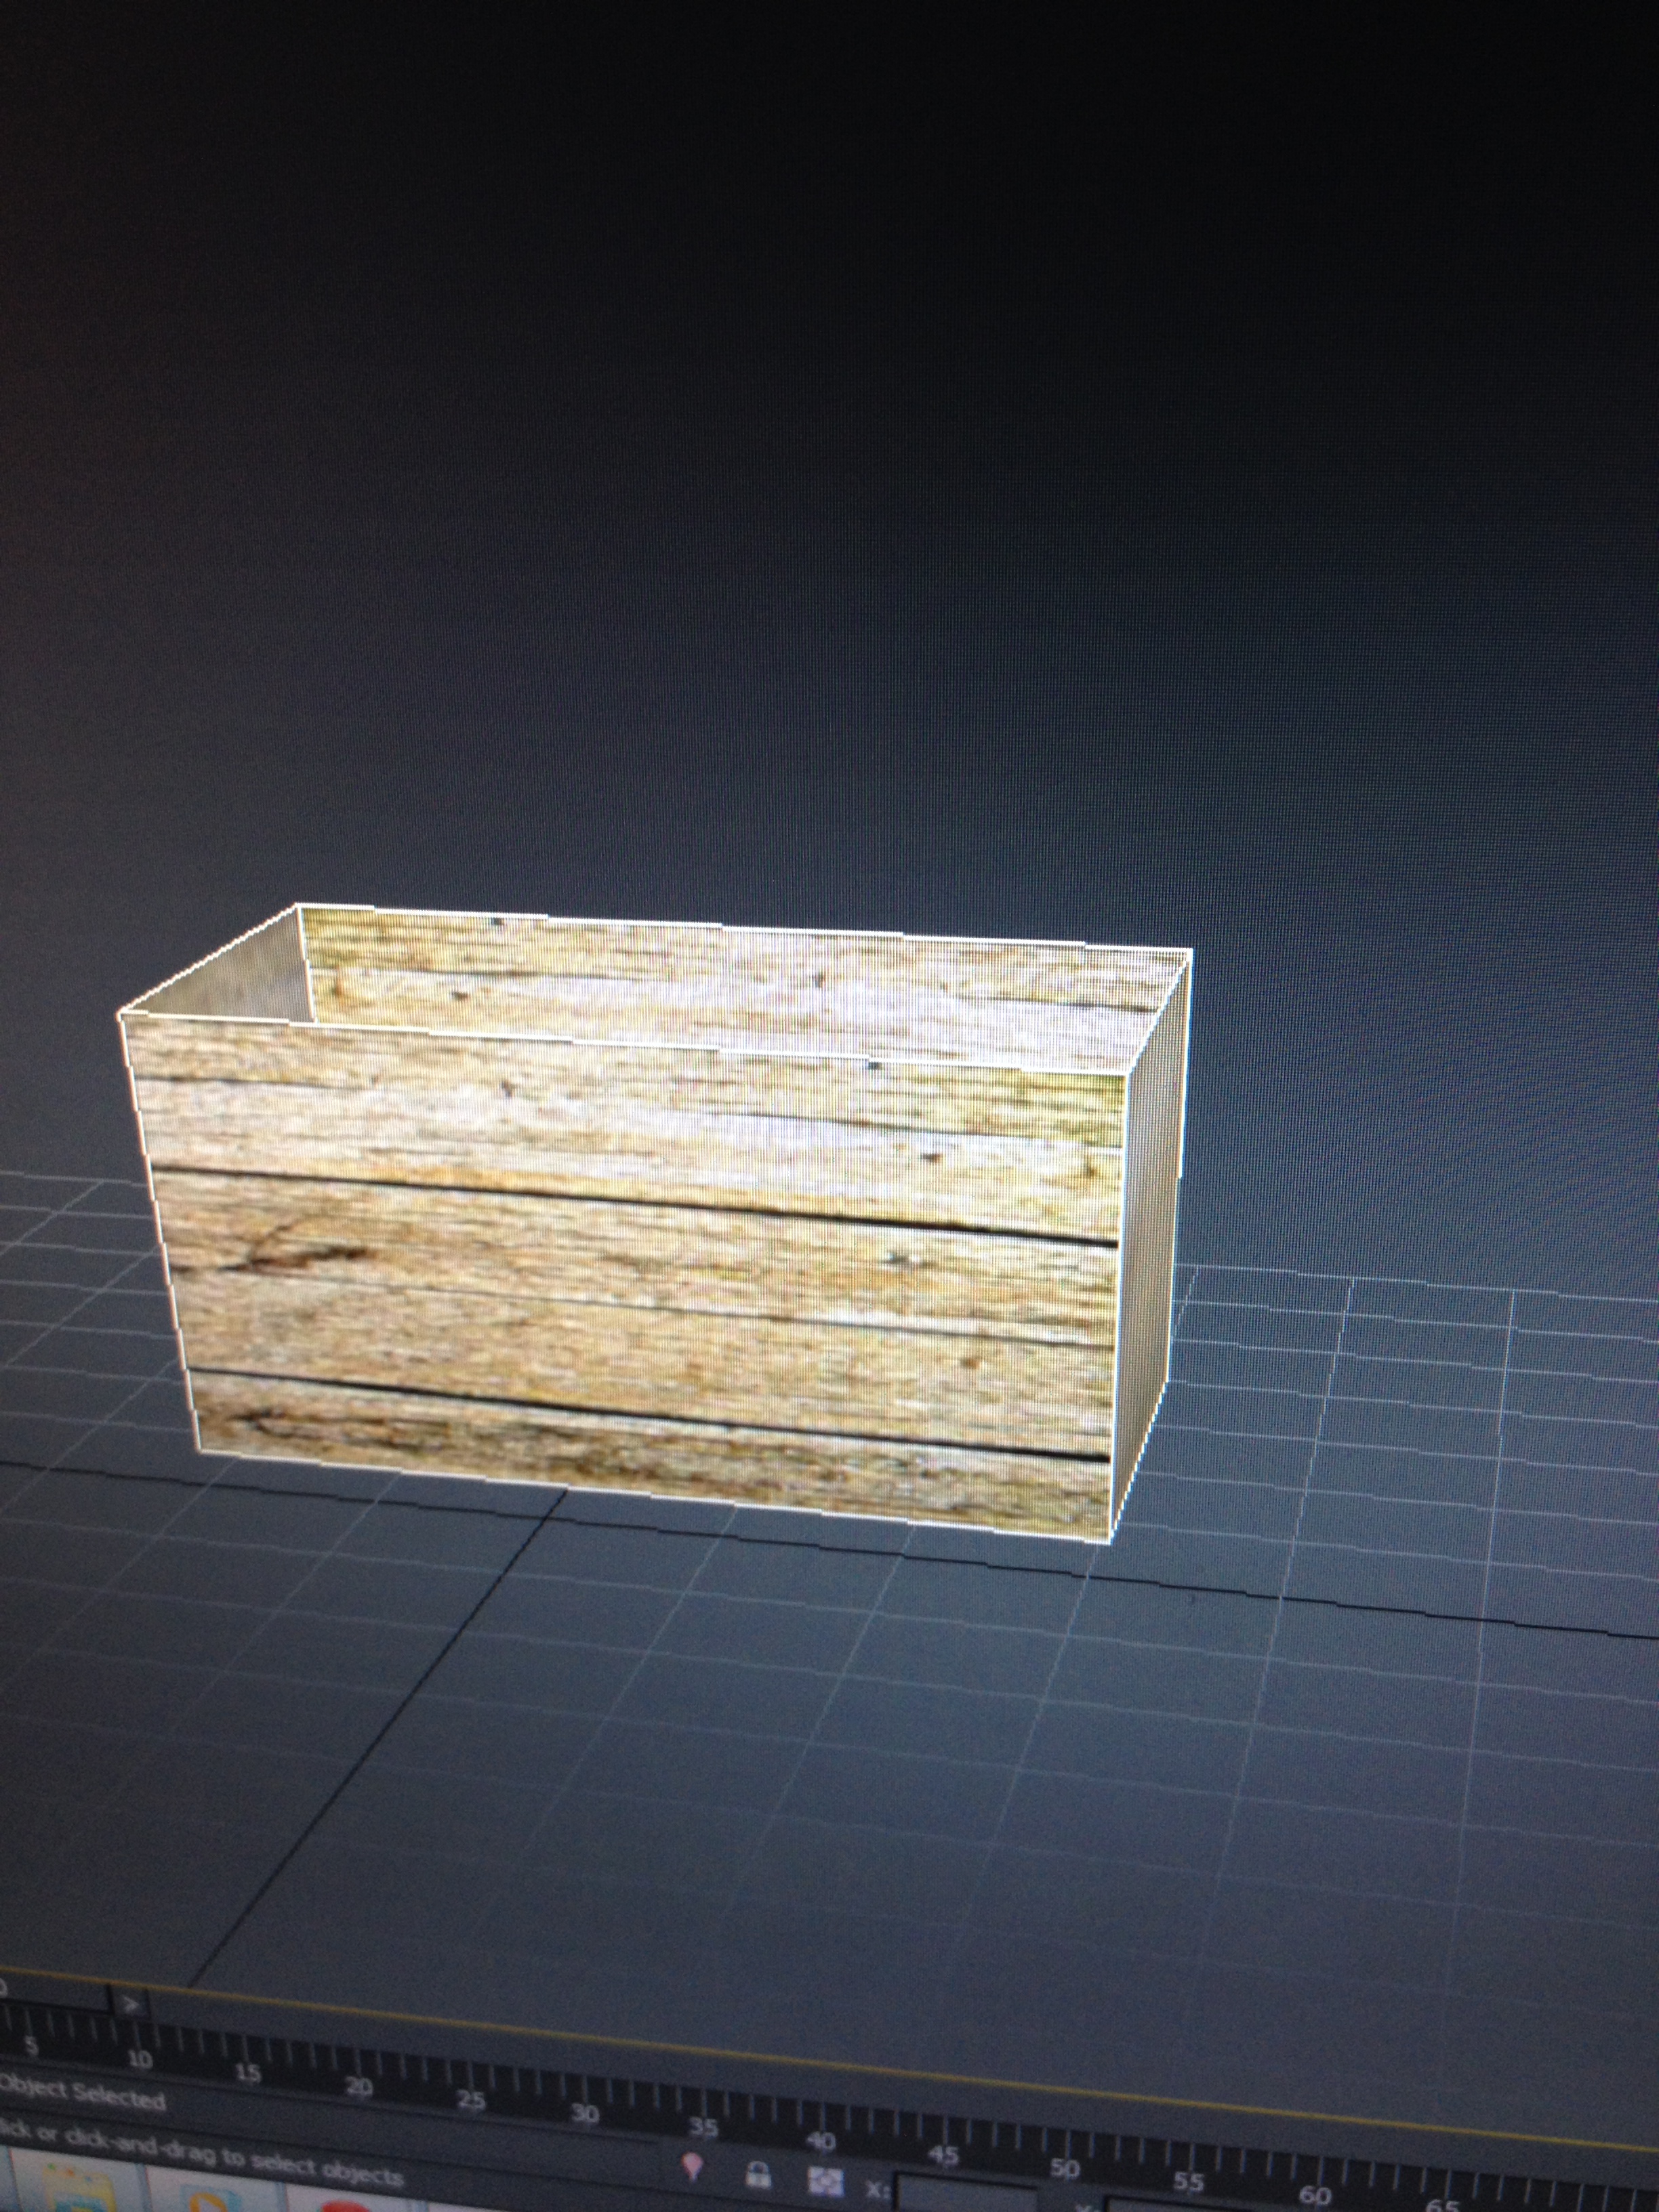
9. Finally we select the area we want to implement this image to and drag and drop the texture to the asset using the left mouse button. I have chosen a wooden pallet look and a straw image for the bottom of the box just to show how it has been done. (image 24, 25 & 26).
Conclusion
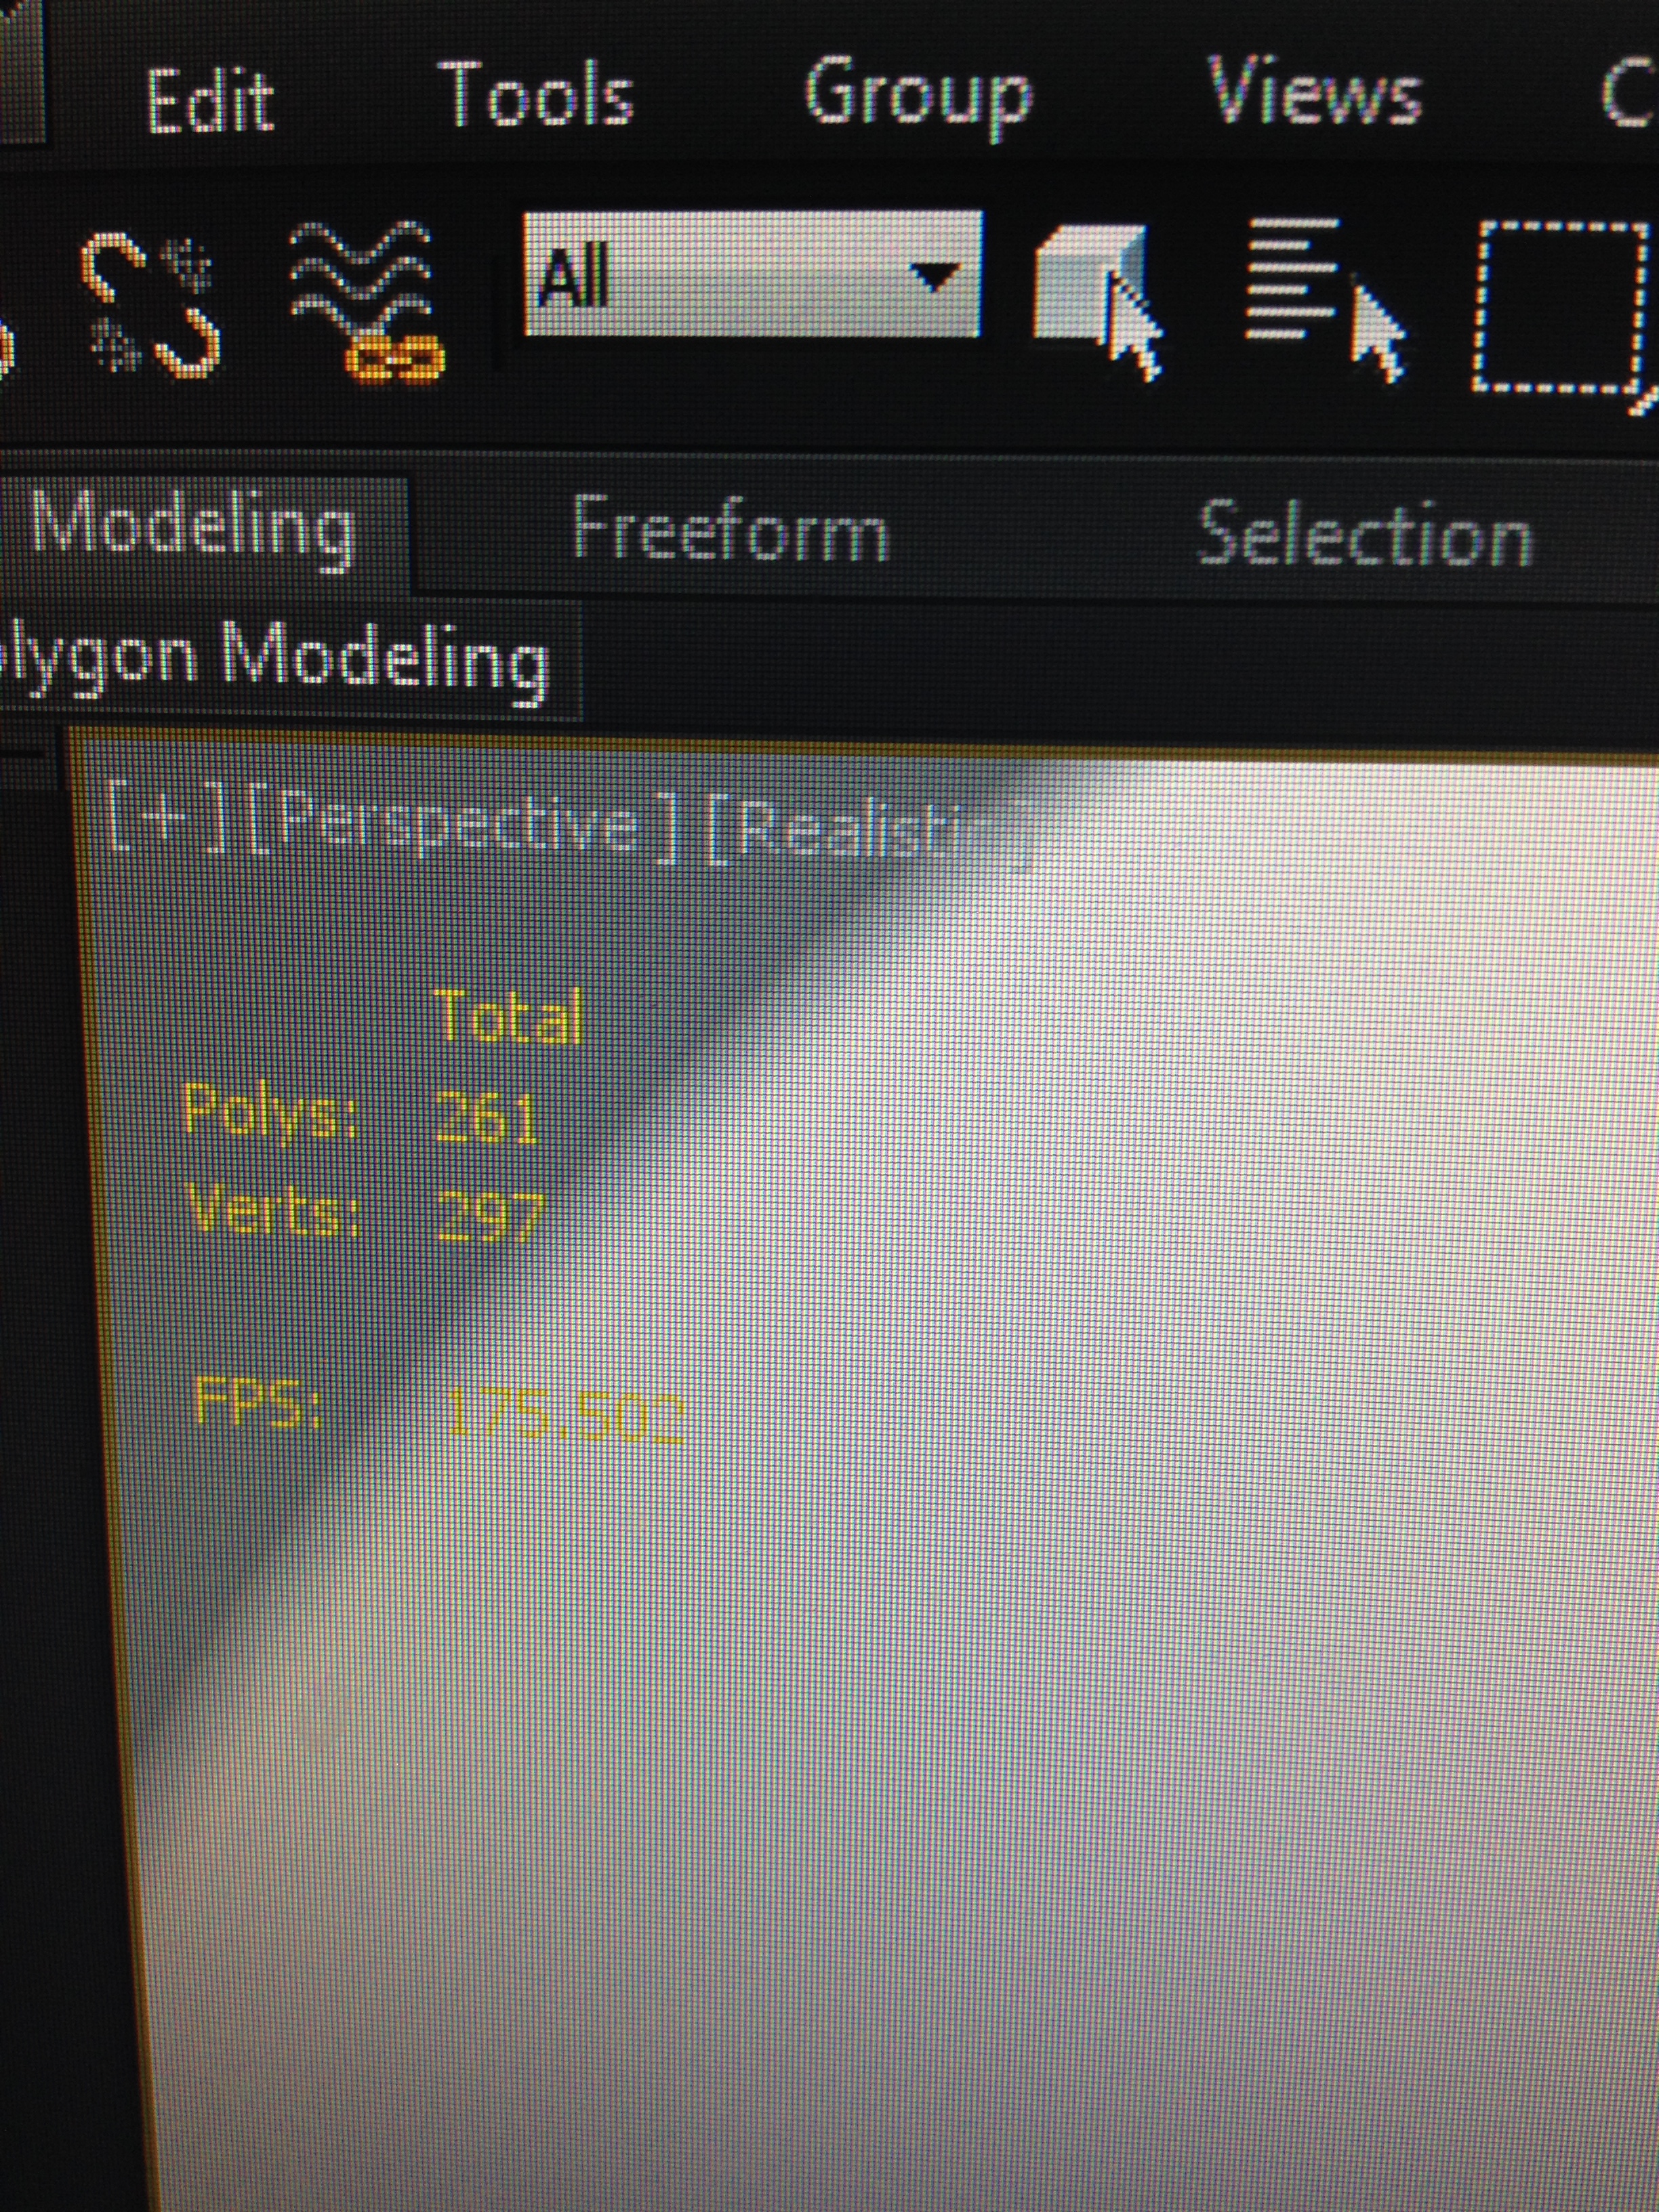
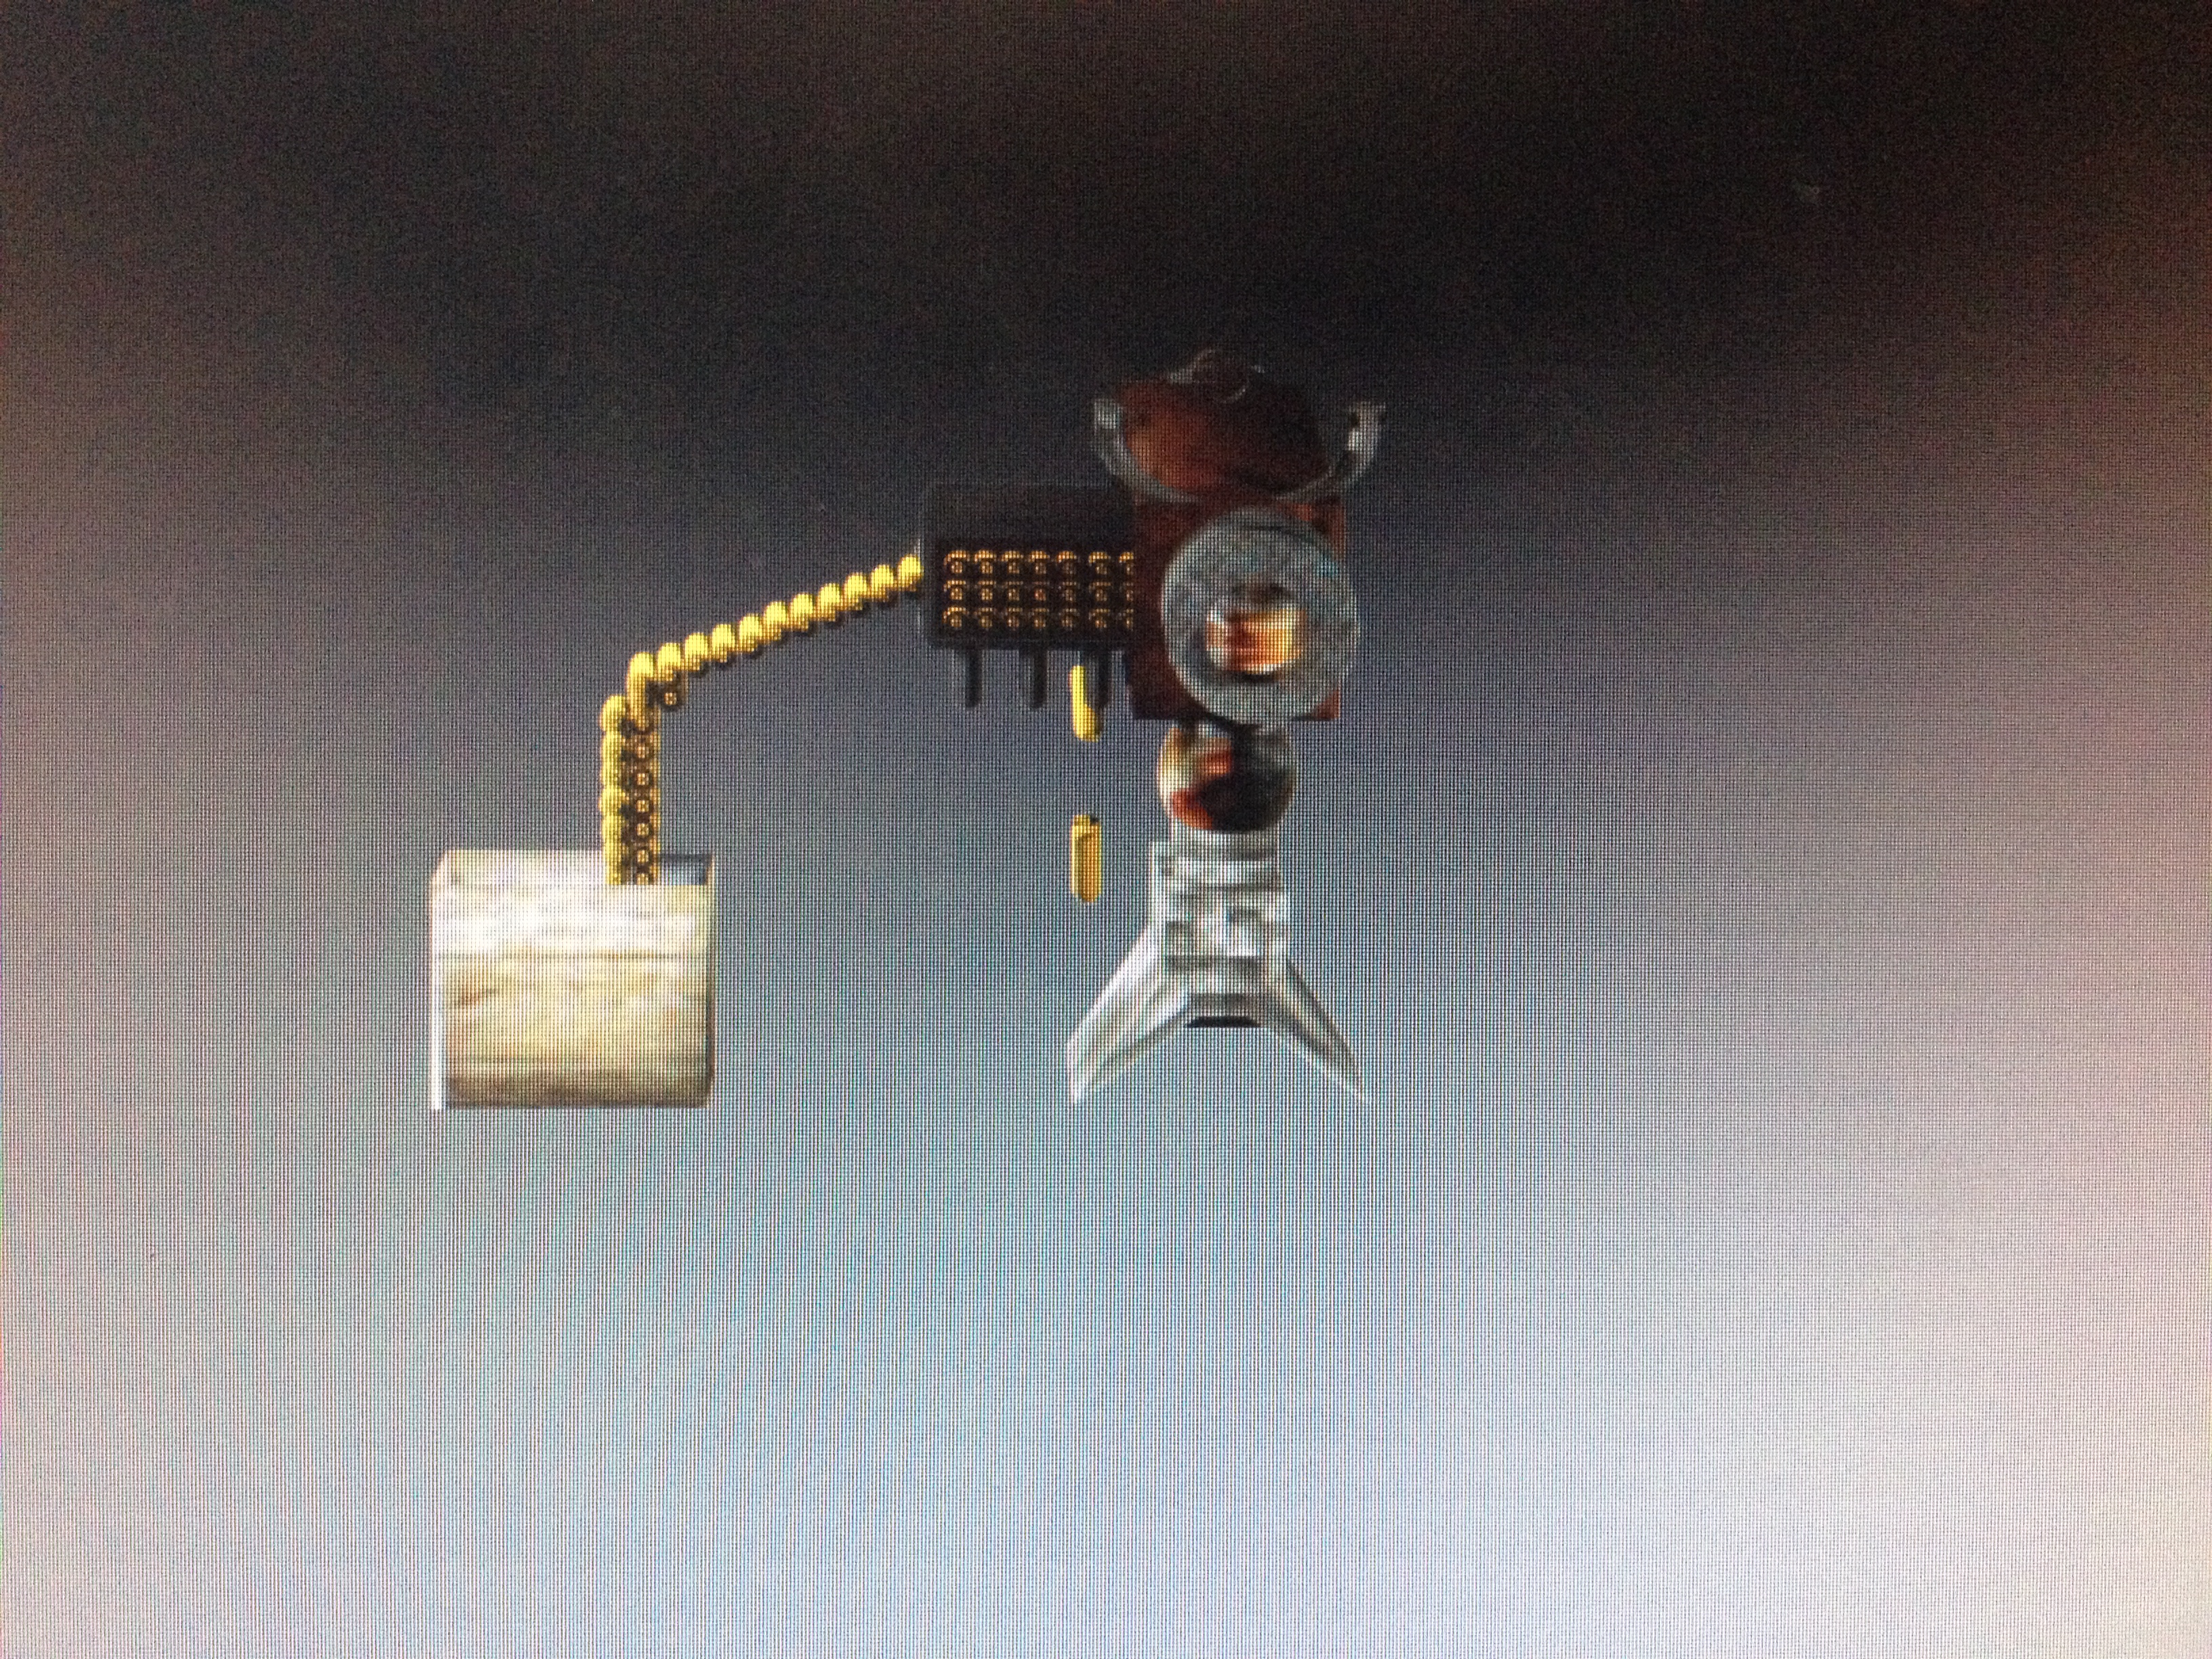
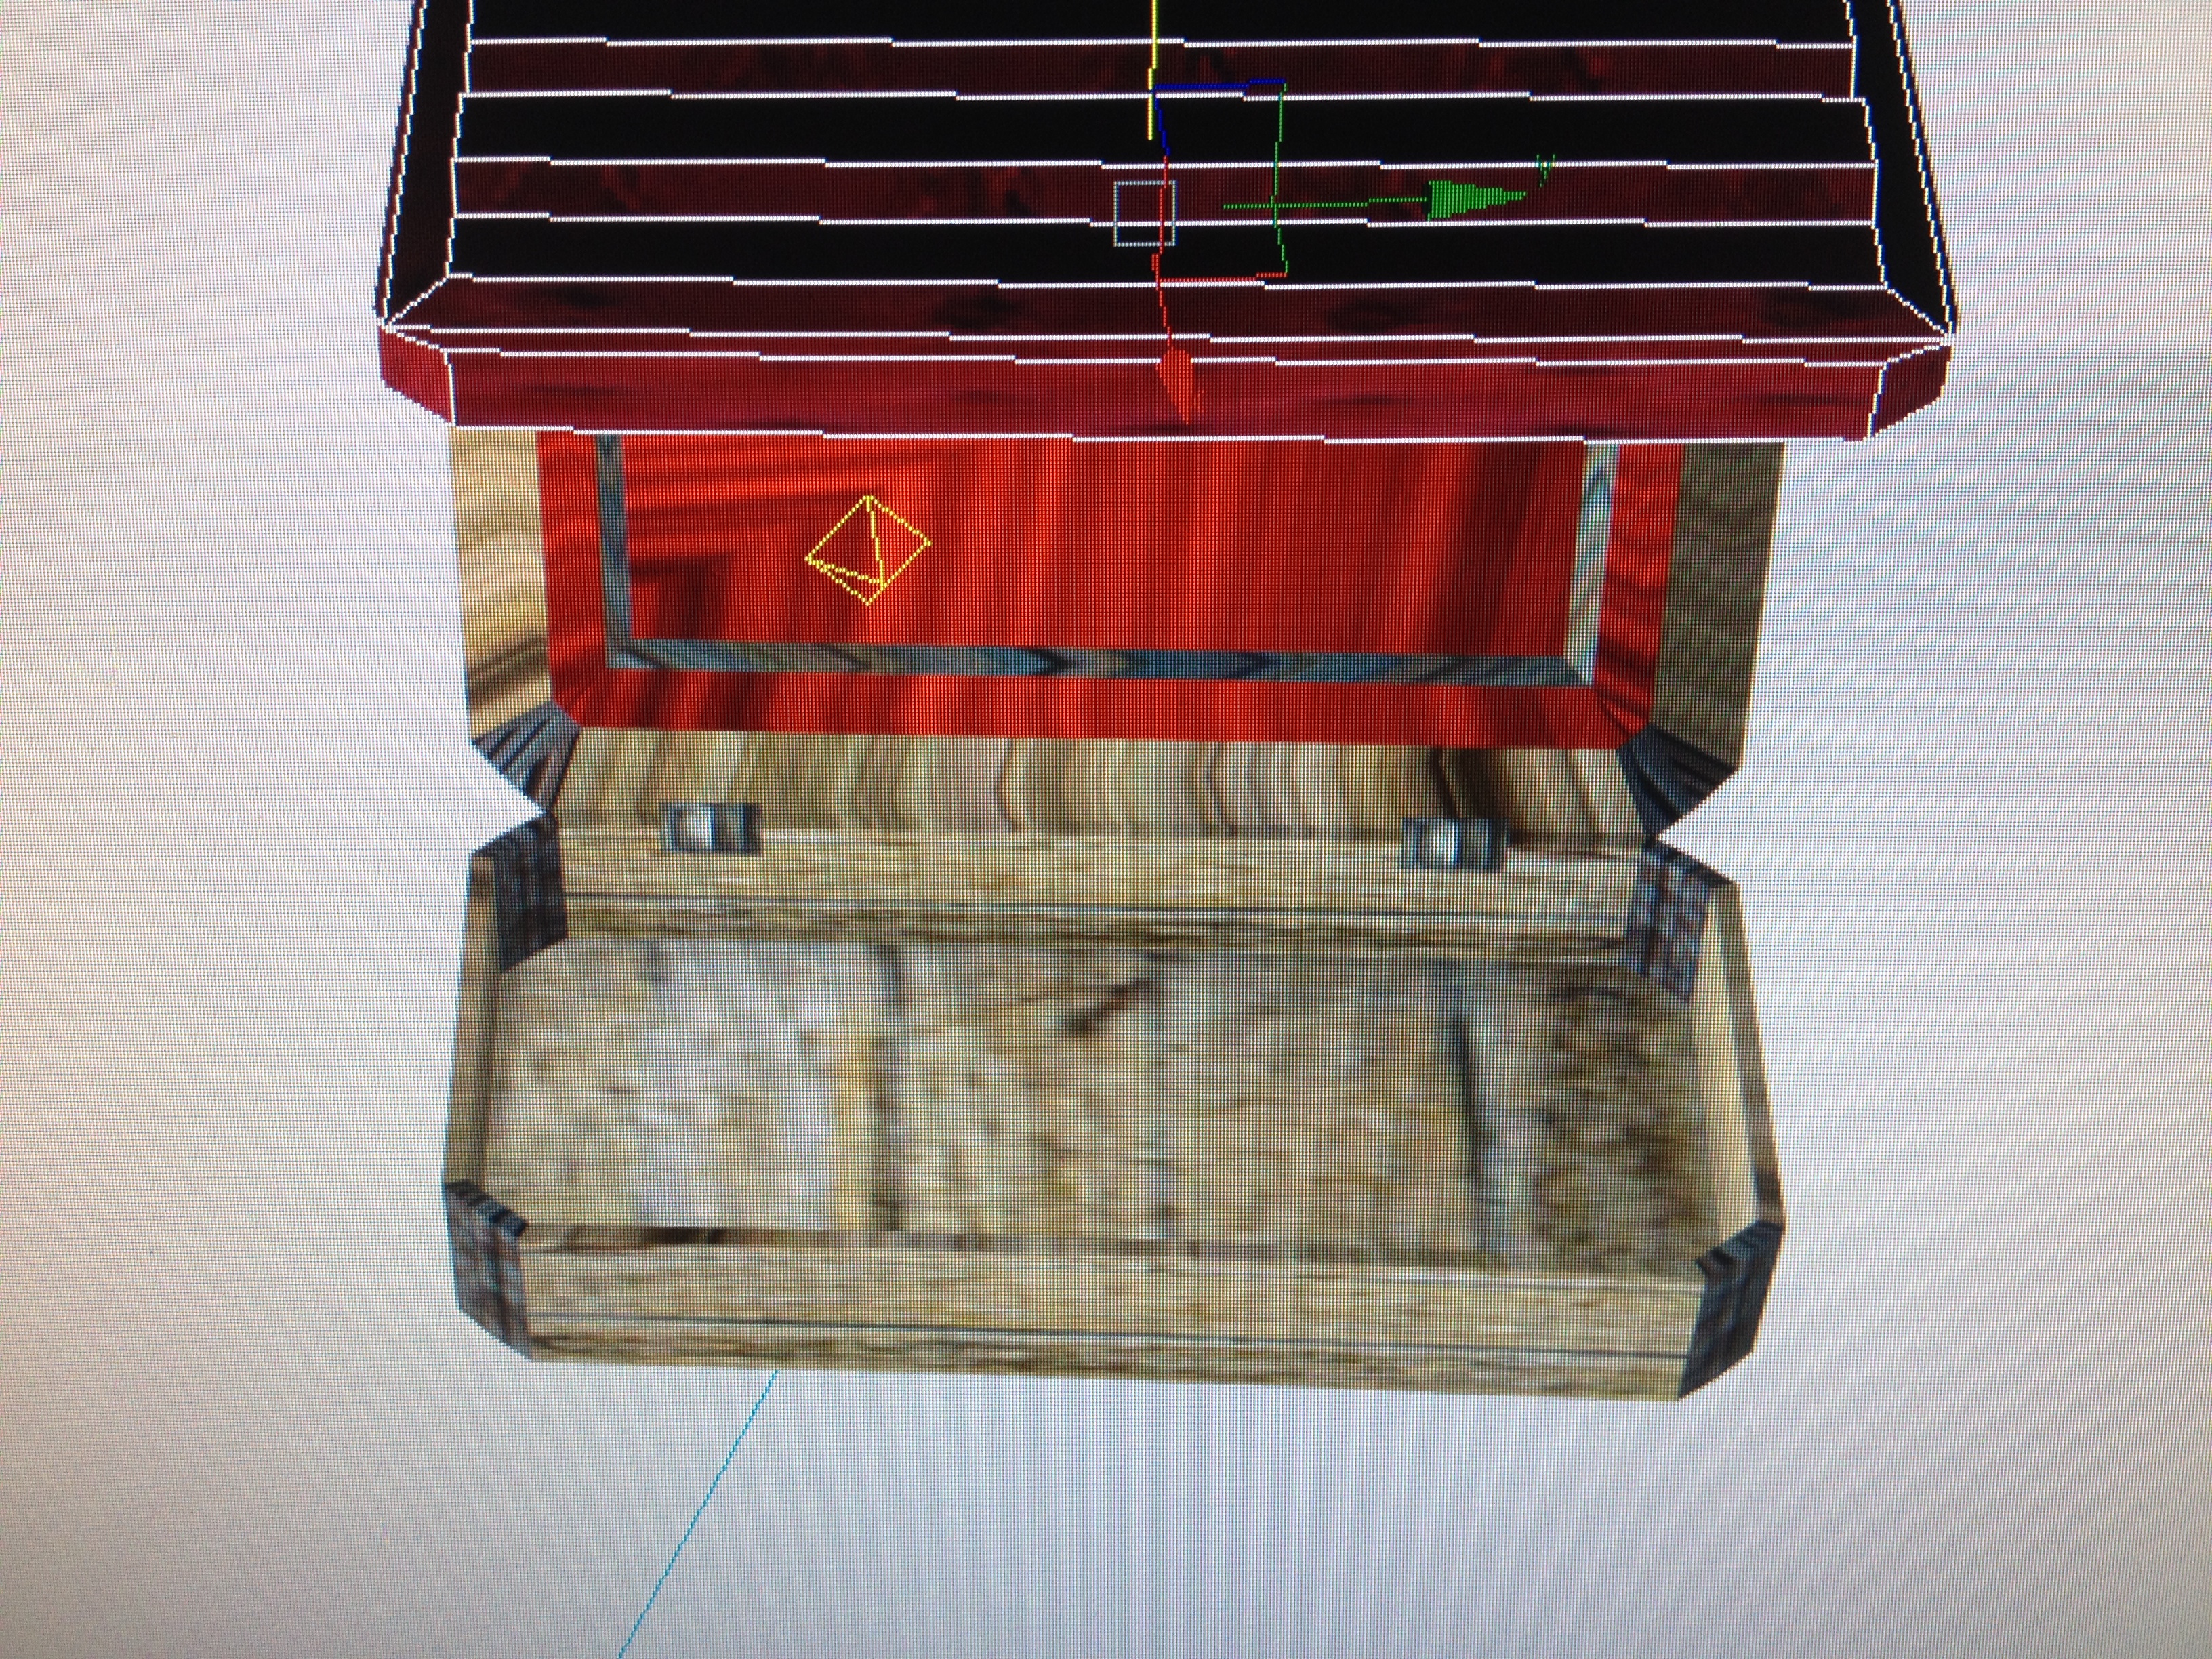
In my guide i have covered a brief introduction to 3DS Max, how it is used in various types of media (movies, games and advertisements).
we have covered certain aspects you will come across in 3DS Max with animations through key frames, inverse and forward kinematics, creating assets as well as simple texturing.
although we have covered polygons, edges there are more you will need to learn to make assets with more detail using techniques such as extruding, bridge, inset and insert vertex etc.
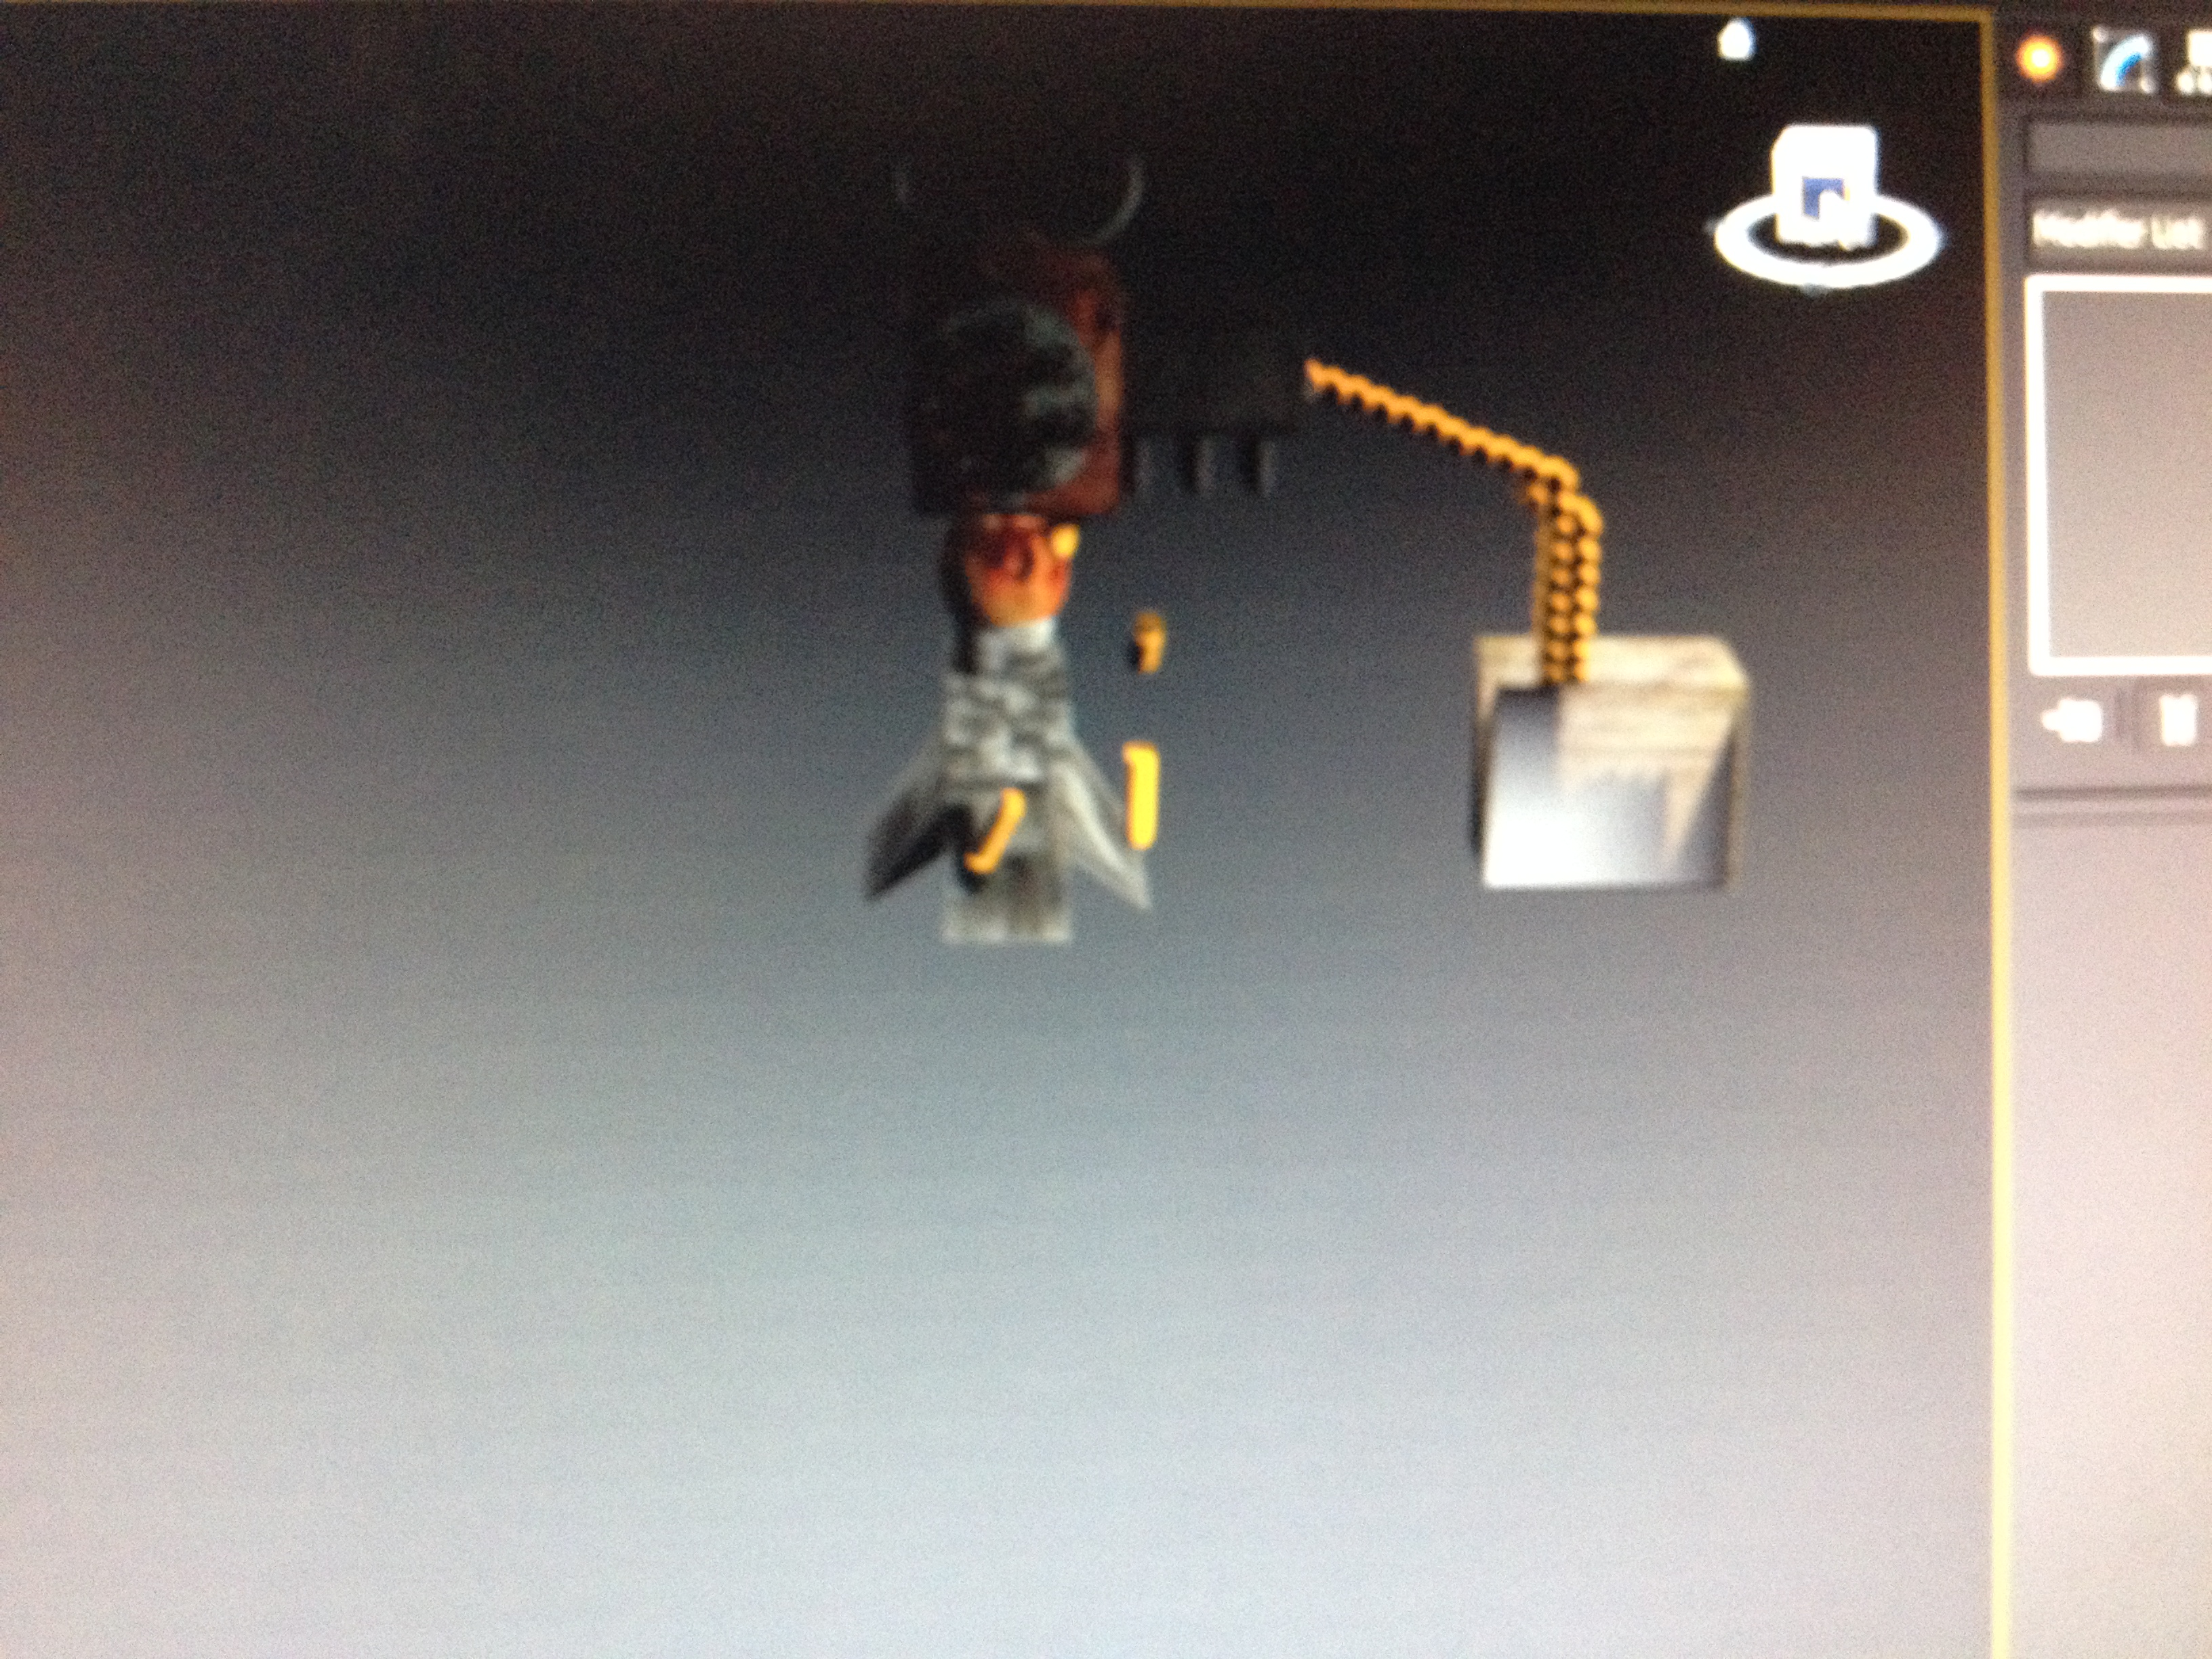
there is an option with in 3ds max that will inform you on how many polygons it has taken to create your asset you can do this by pressing ( 7 ) on your keyboard and it will appear in the top left hand corner. (image 1)
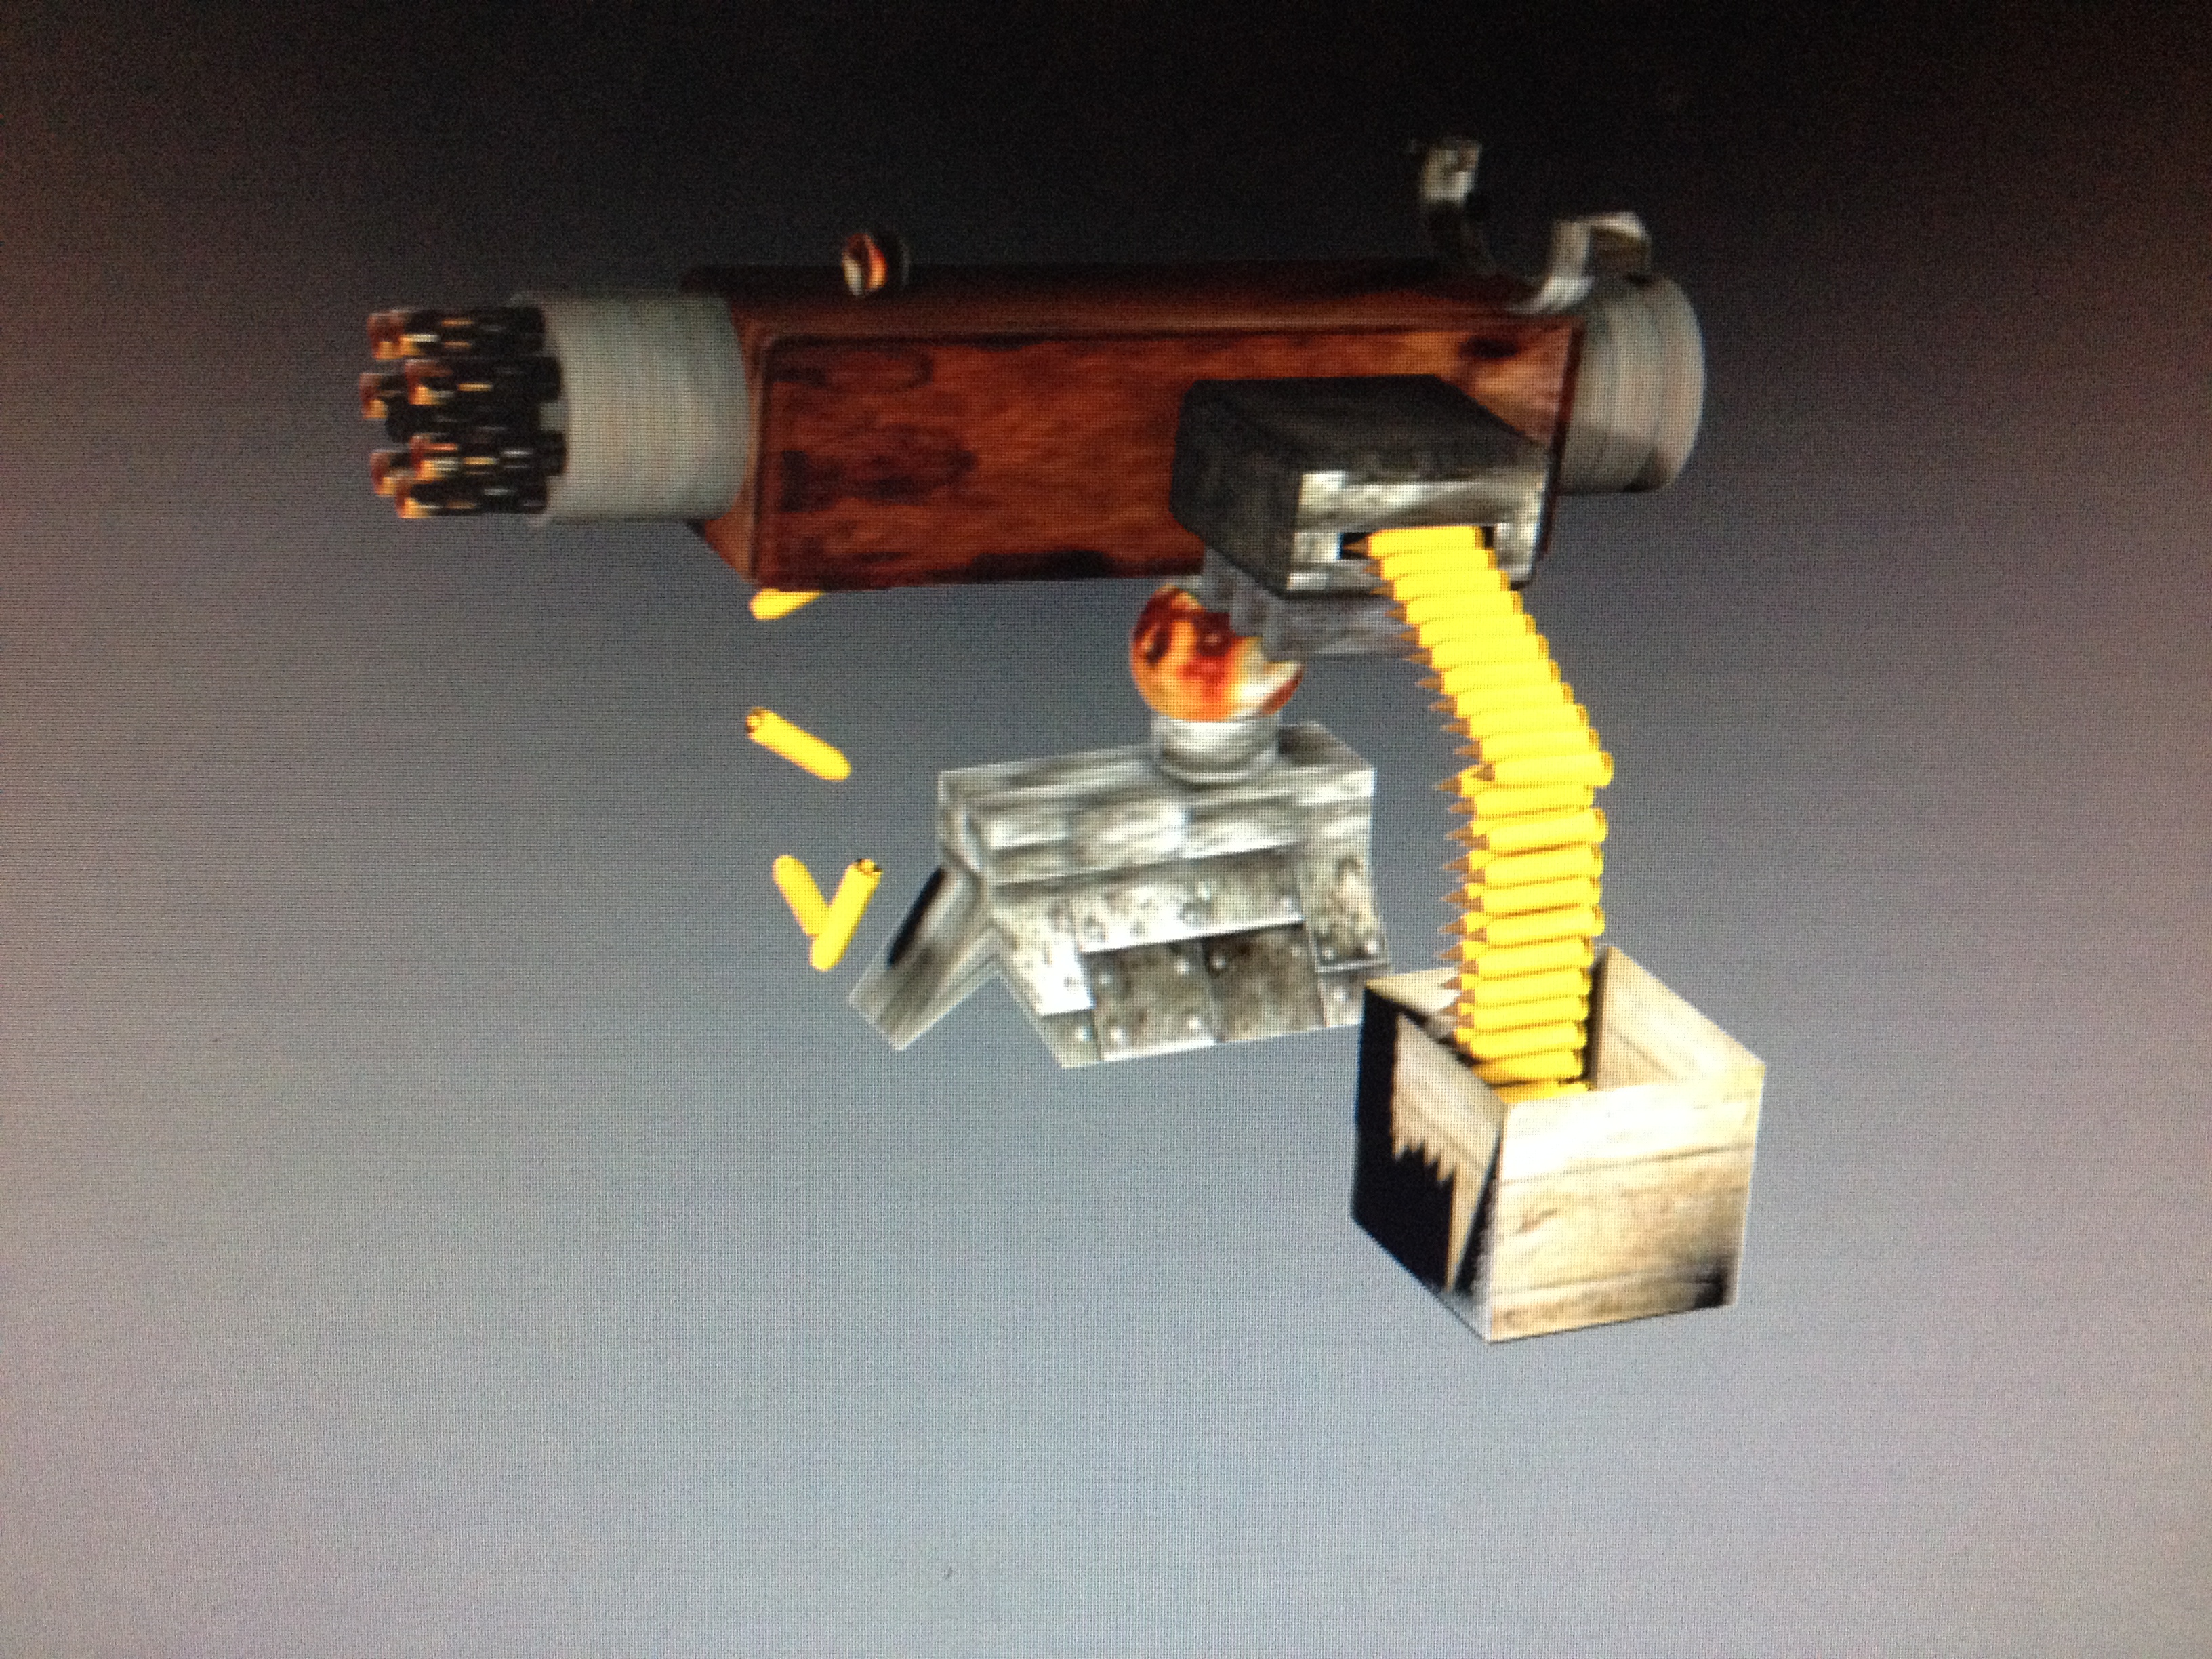
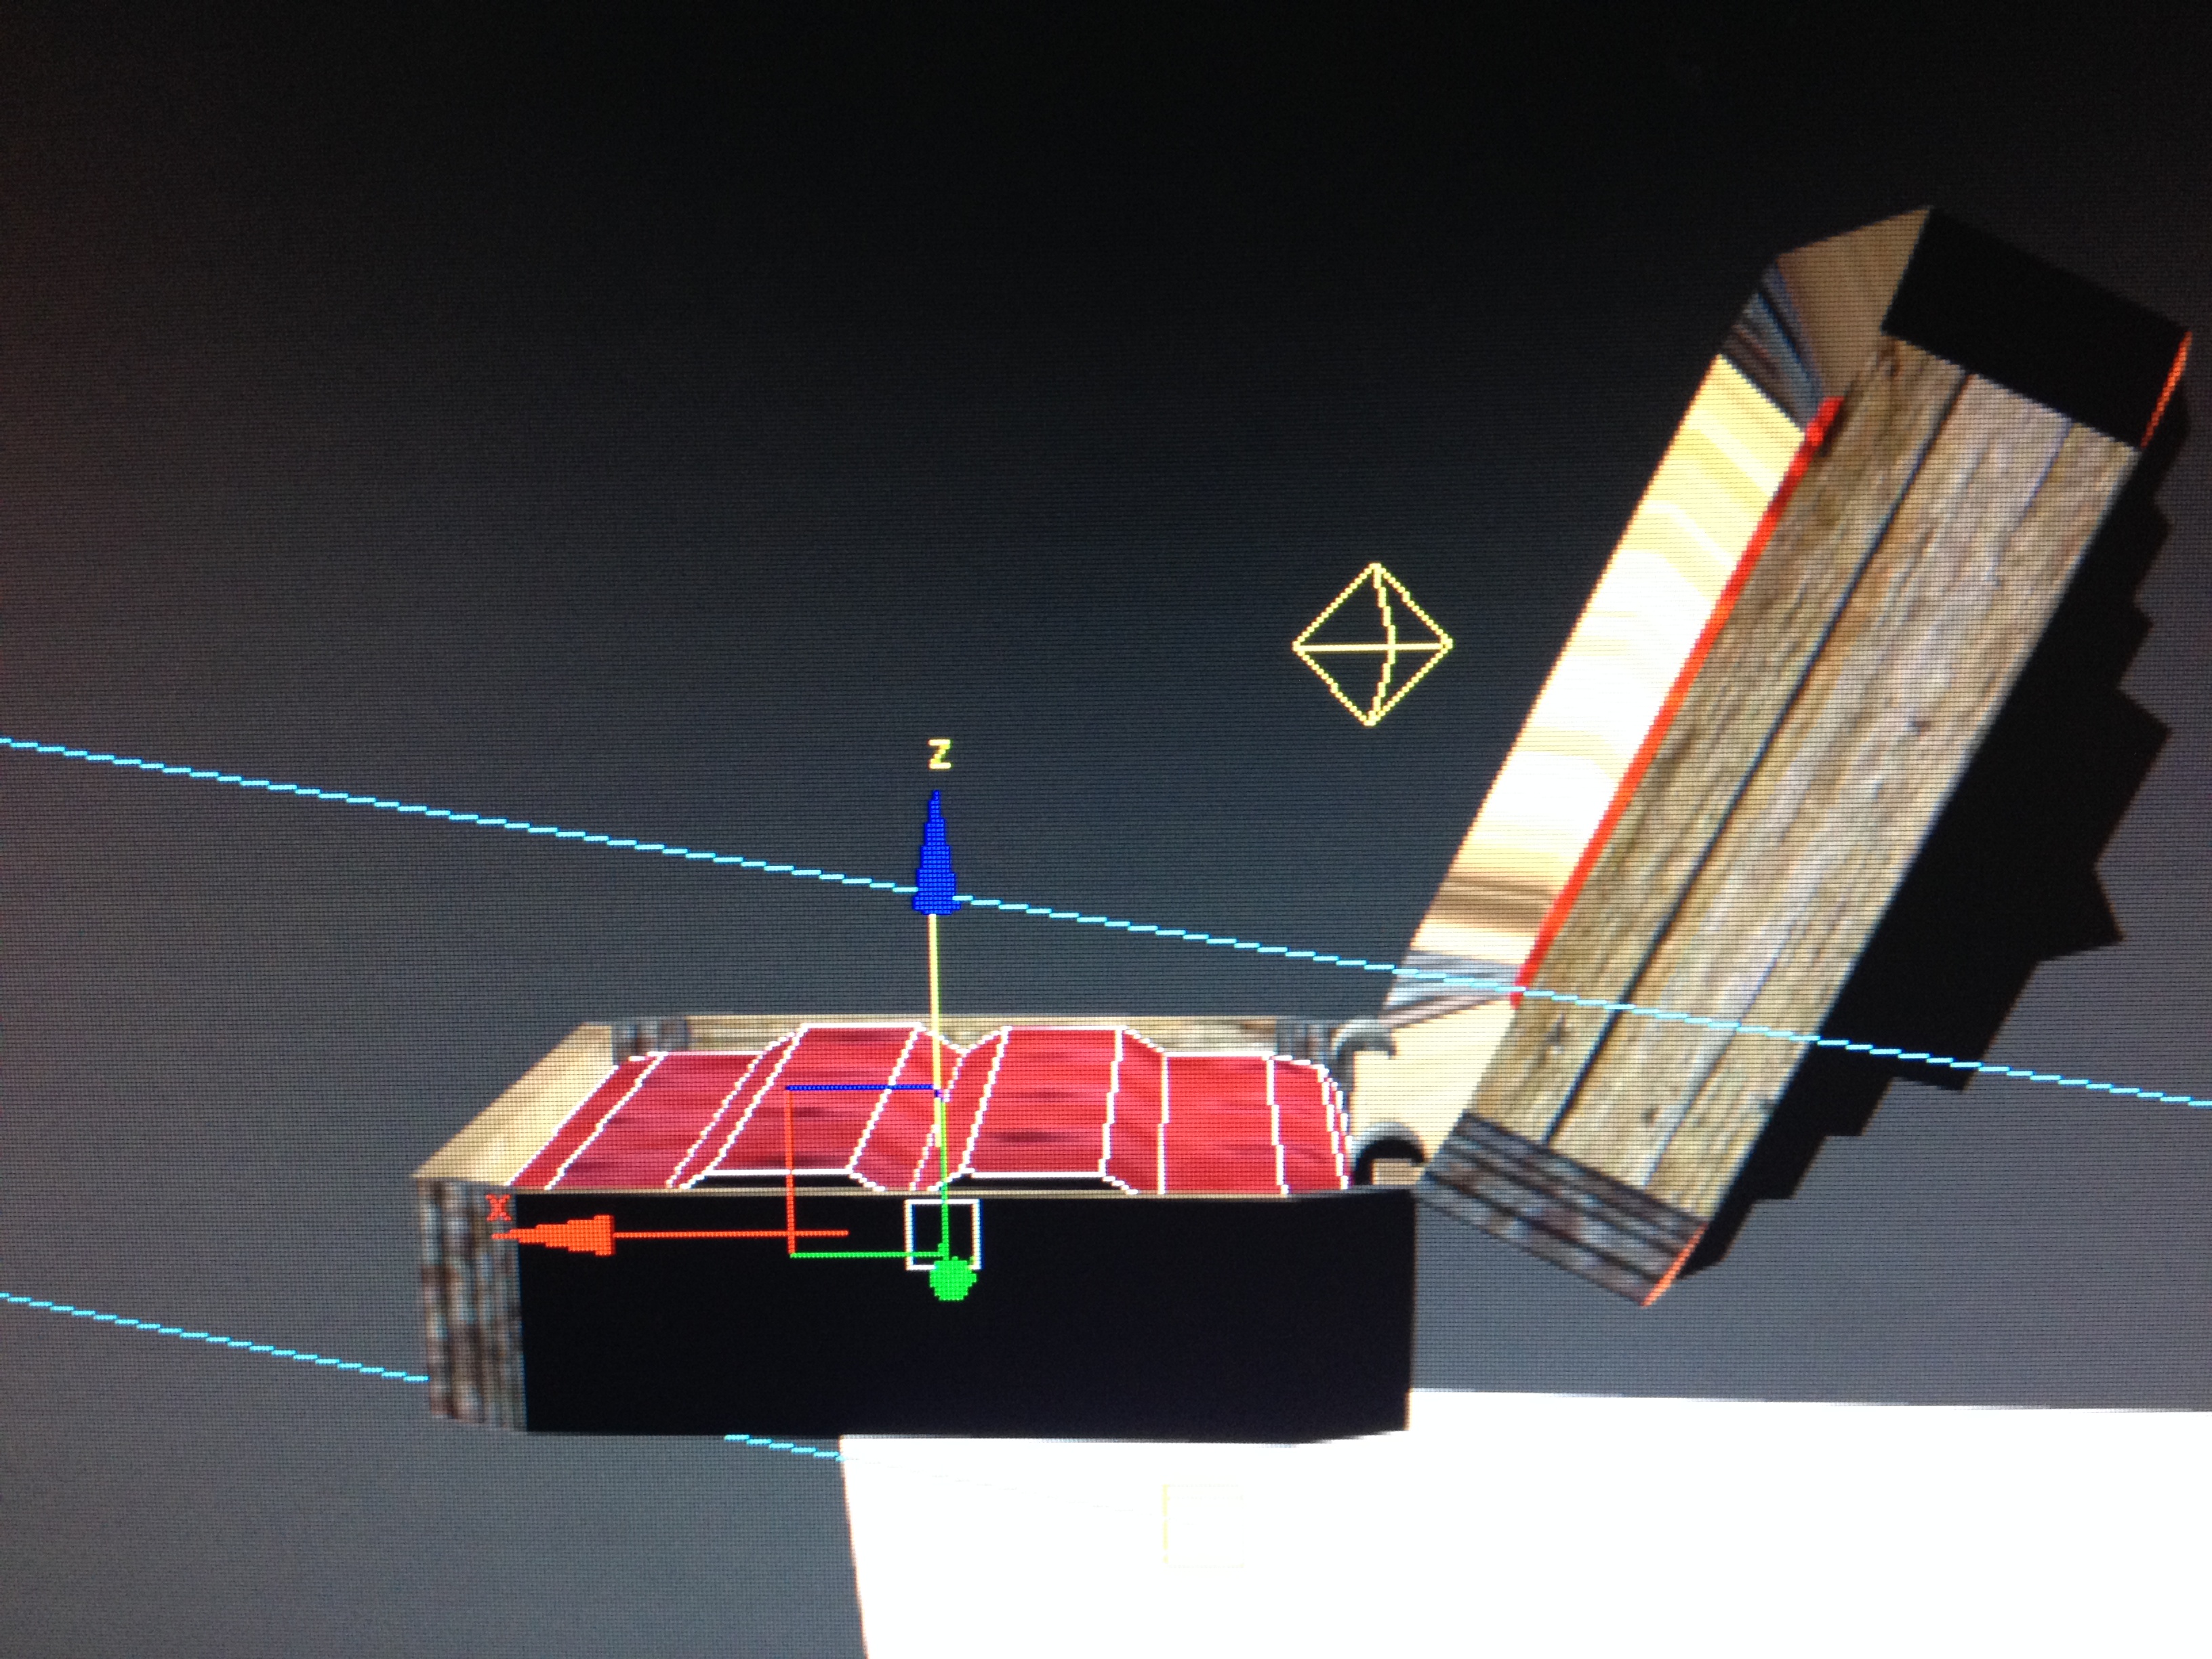
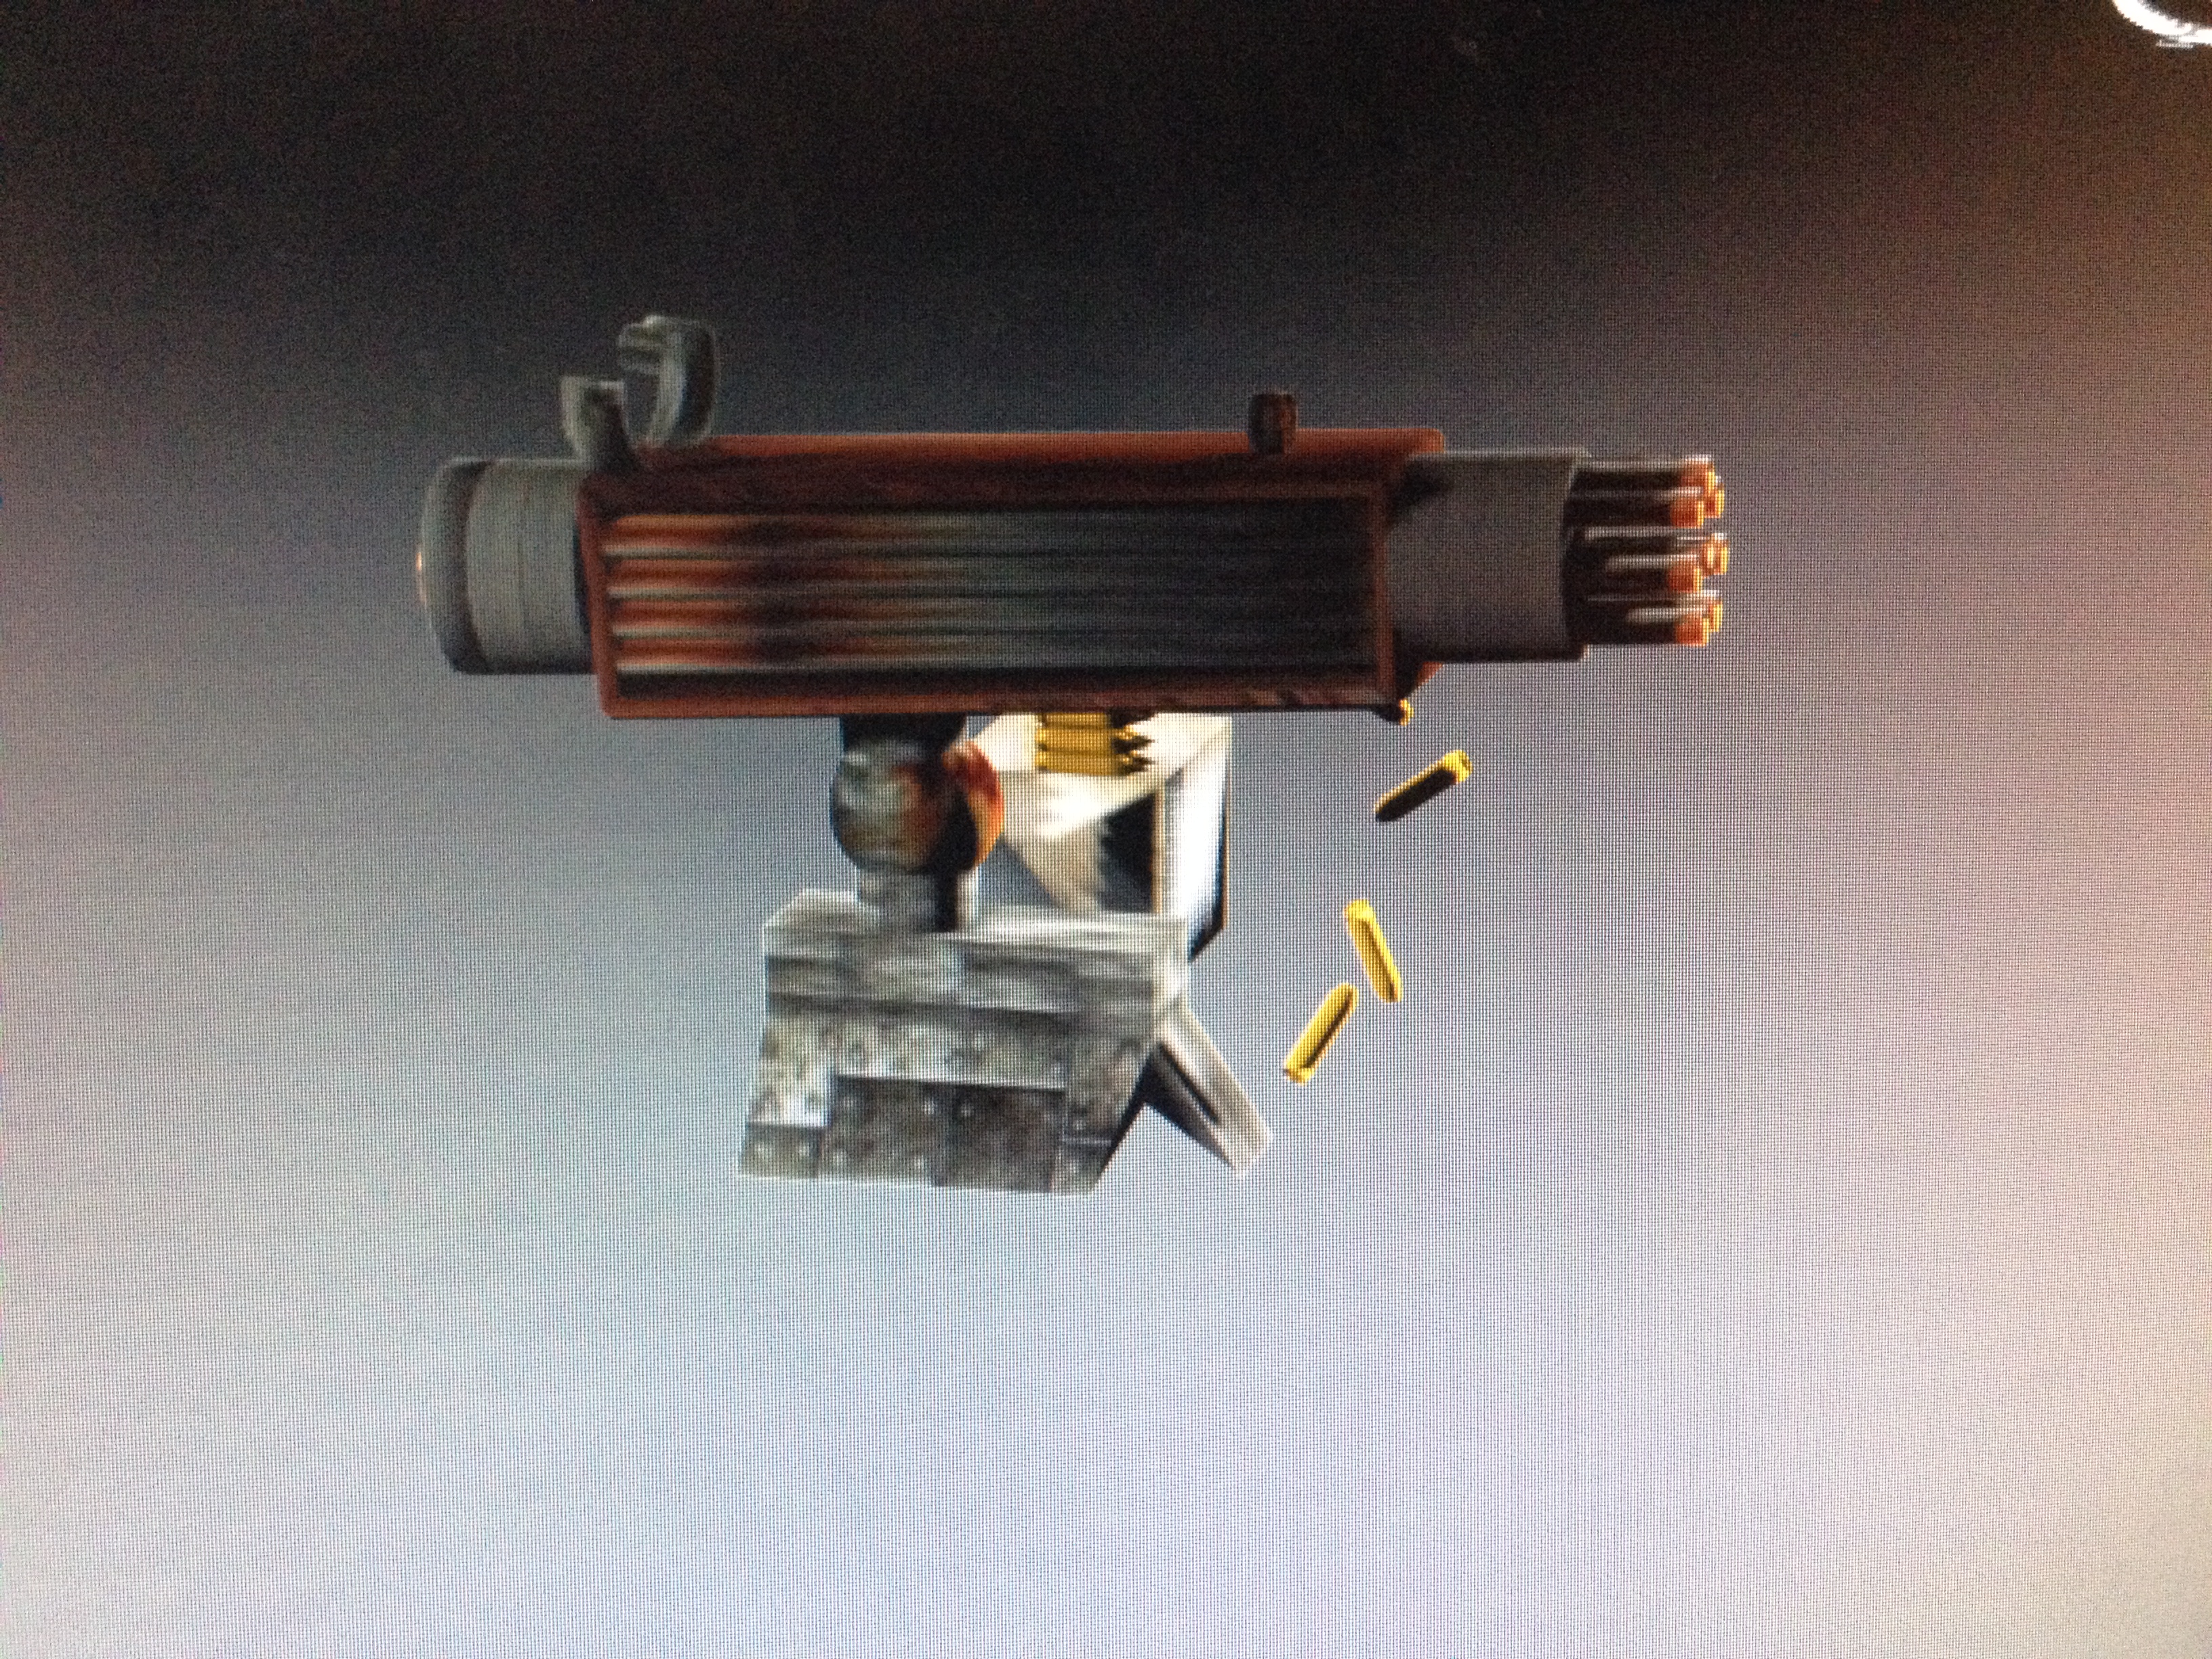
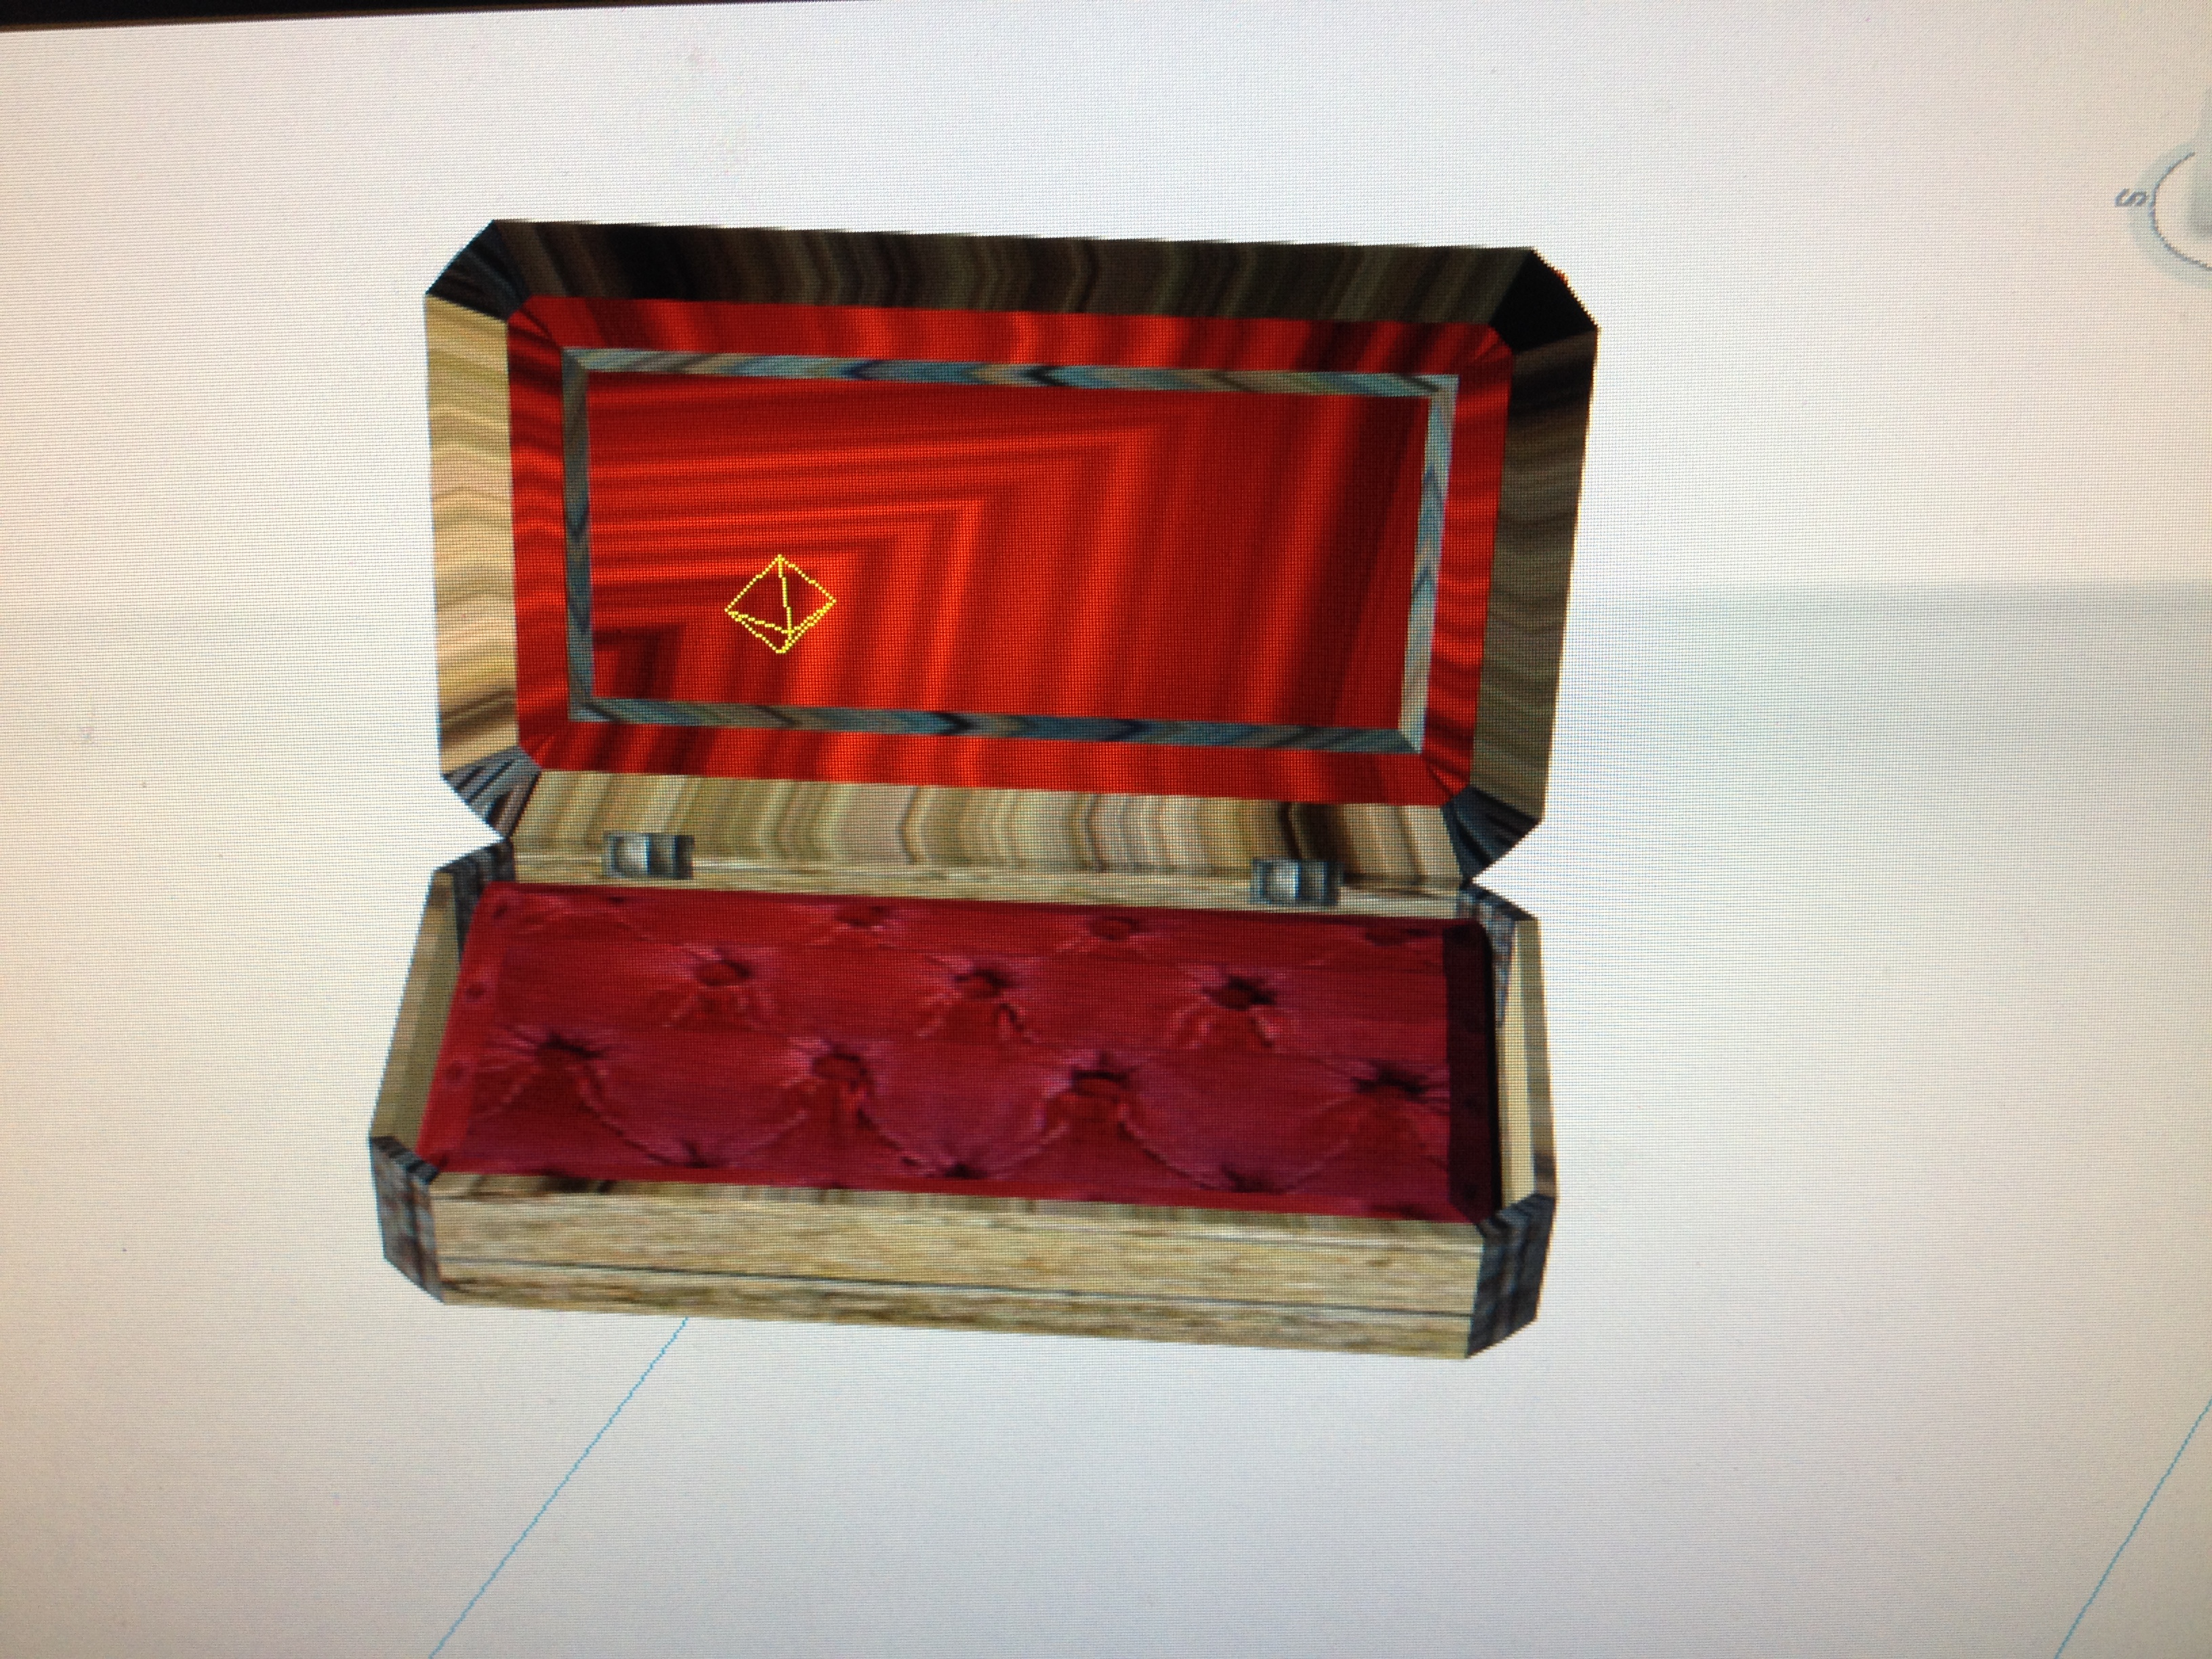
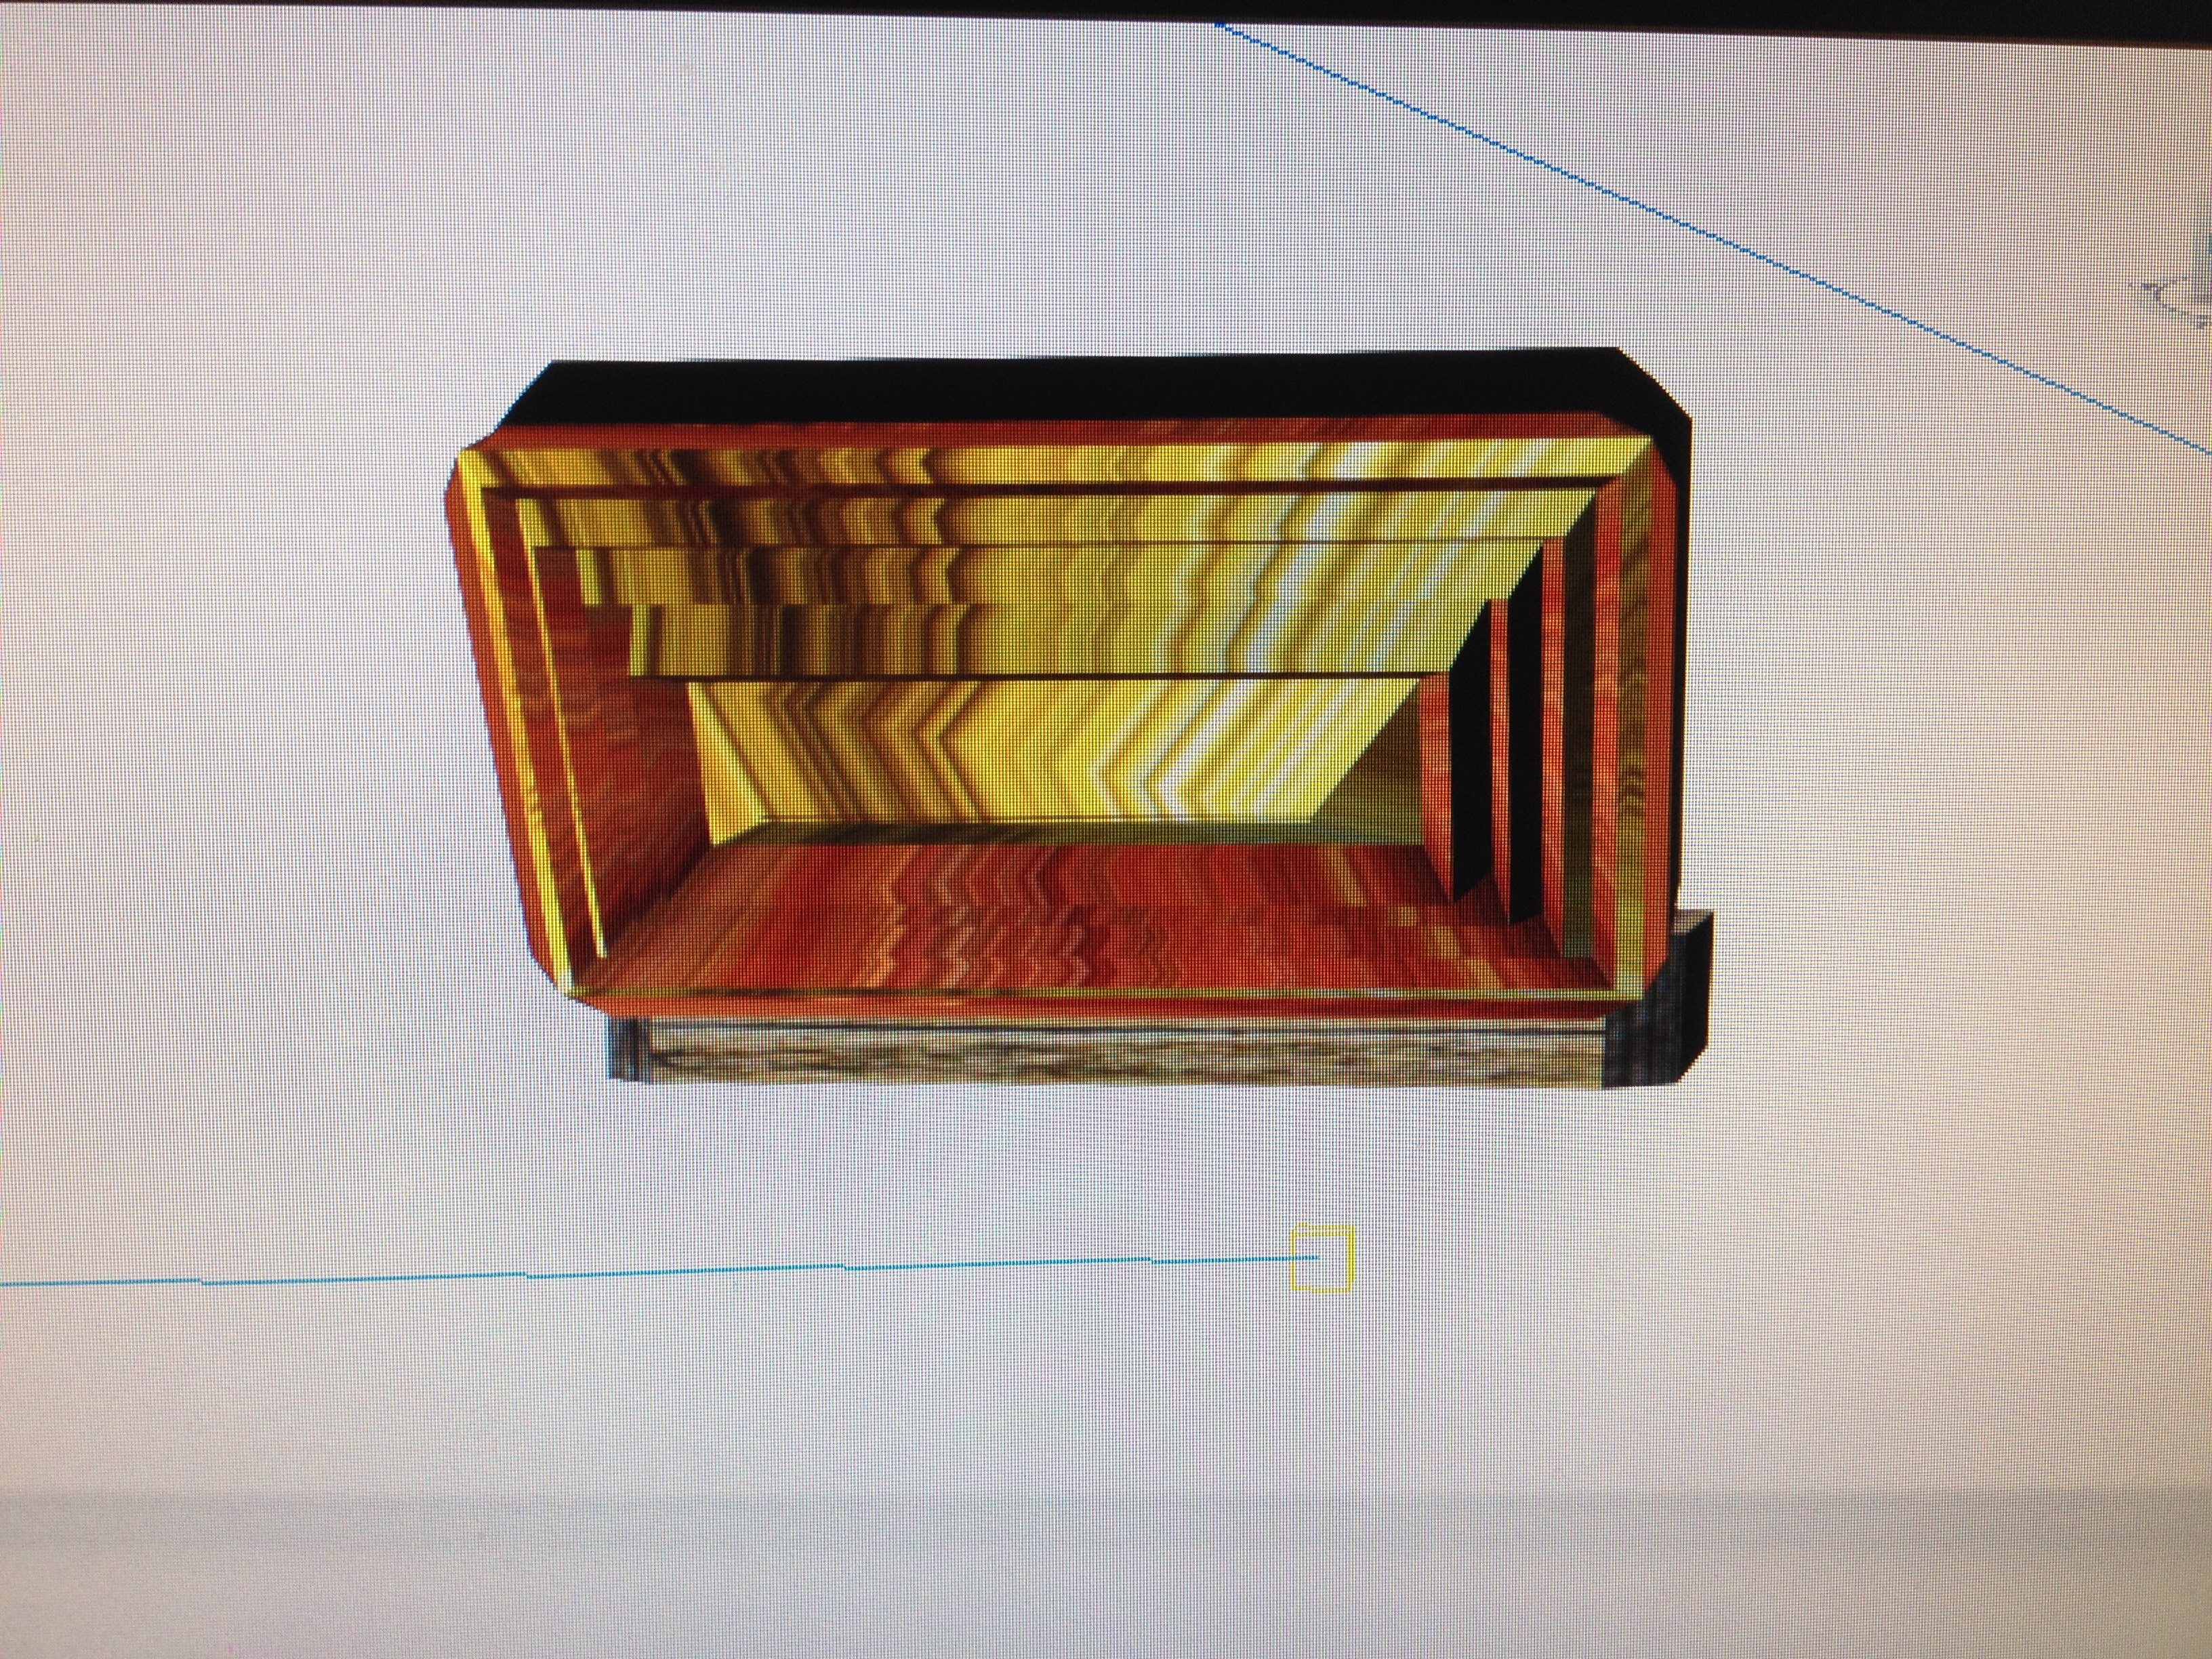
images 2, 3, 4, 5 & 6 are assets i have created using the techniques explained in this instructable.
for more information i would advise using this youtube channel https://www.youtube.com/user/3dsMaxHowTos