Braille Adapted Keyboard With Stickers for People With Different Visual Abilities
by Vladi421 in Living > Life Hacks
396 Views, 3 Favorites, 0 Comments
Braille Adapted Keyboard With Stickers for People With Different Visual Abilities
An apology for my writing in English, I'm from Mexico.
Currently inclusion is a topic that is talked about a lot, but the same number of actions are not carried out to carry it out. This is reflected in people with some different capacity, since not enough tools are created to facilitate day-to-day activities and if they exist, it is at a high cost. On this occasion, The "instructable" will focus on people with different visual abilities and an indispensable tool today, the computer.
The use of this tool has become highly relevant for anyone in school, work and personal settings. This is why the use of the computer should be facilitated for people with different visual abilities and for this the keyboard will be modified with paper stickers that will have Braille writing. This tool is easy to perform and also cheap. The steps are described below.
Materials
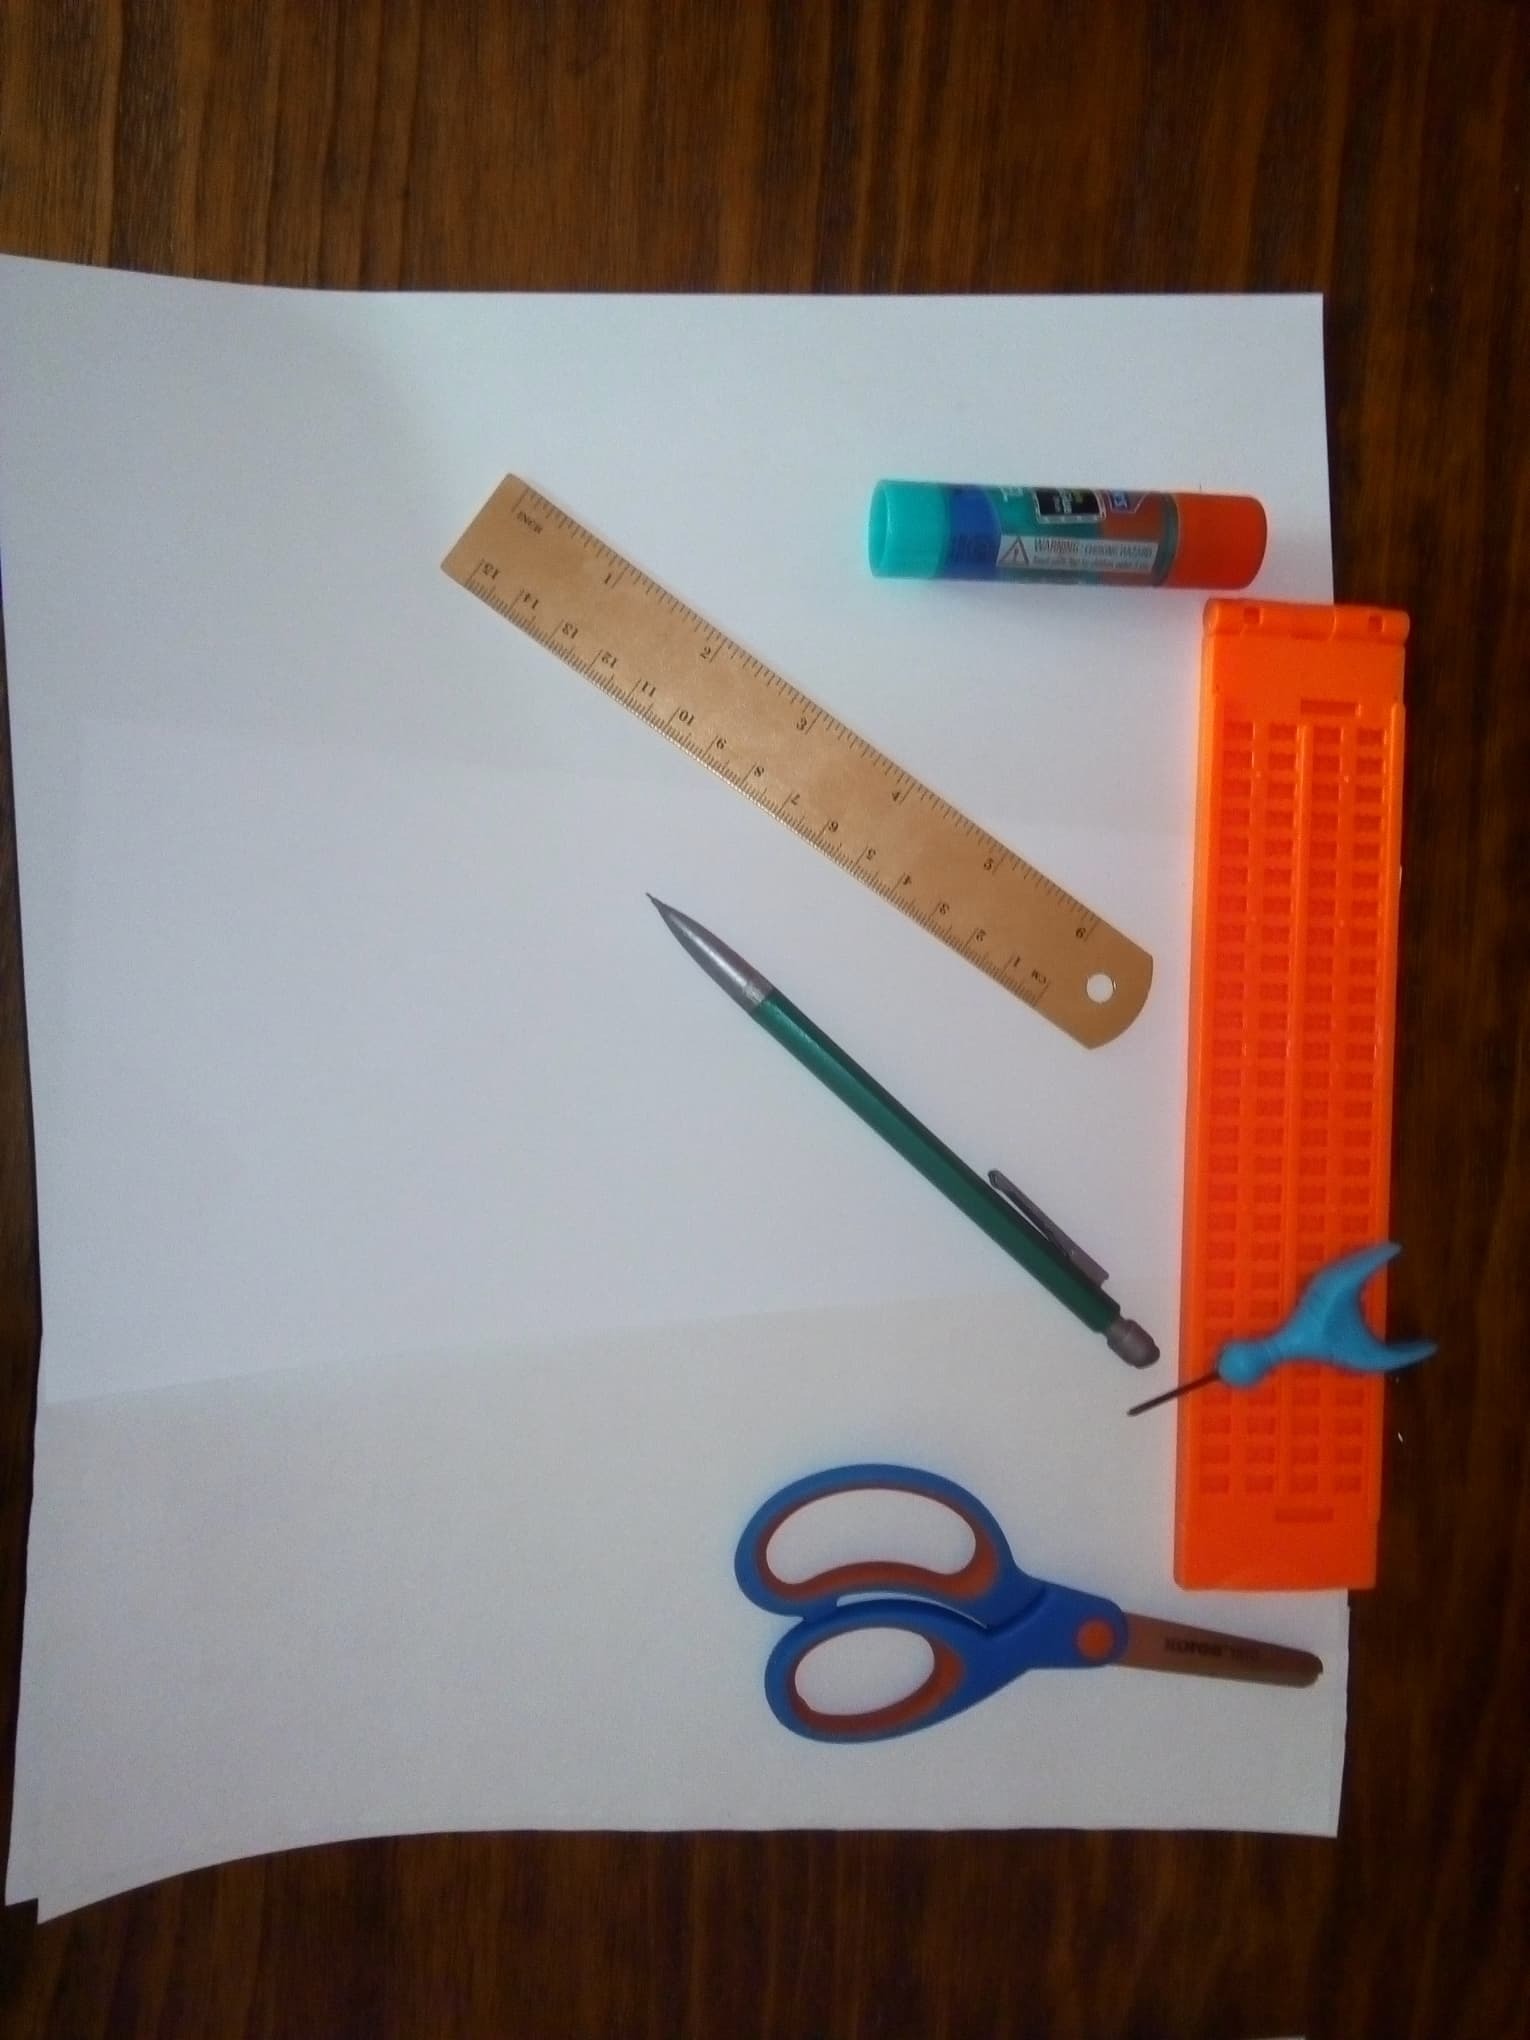
They will need:
4 sheets of A4 size paper (or it can also be 2 sheets of cardboard or opaline paper)
Strip.
Awl.
Scissors.
Adhesive paper.
Pencil.
Rule.
Glue stick.
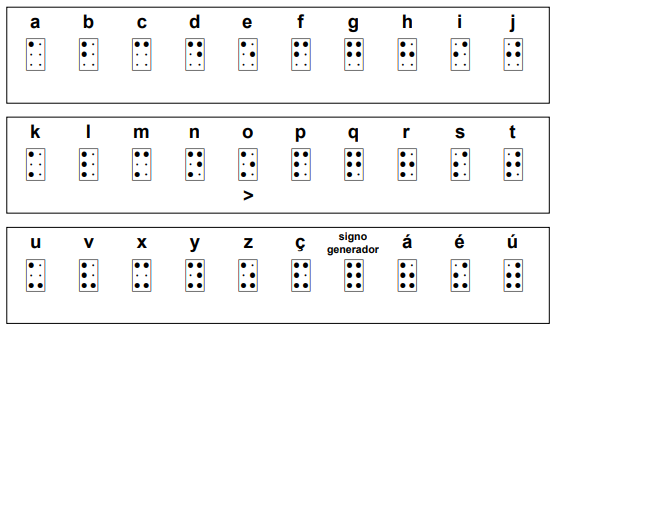
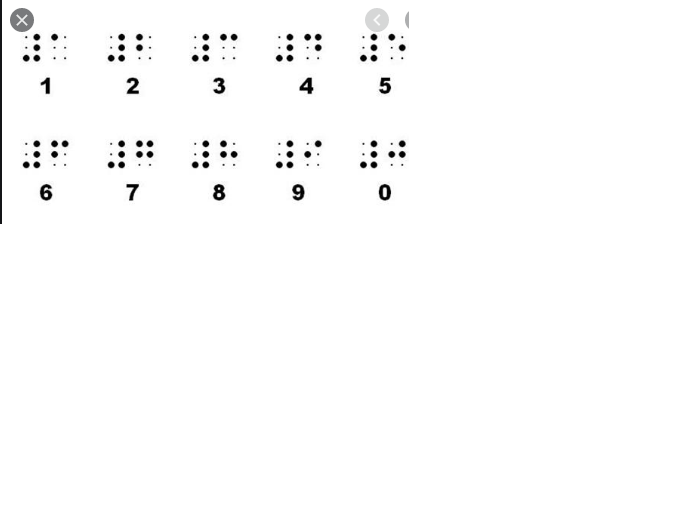
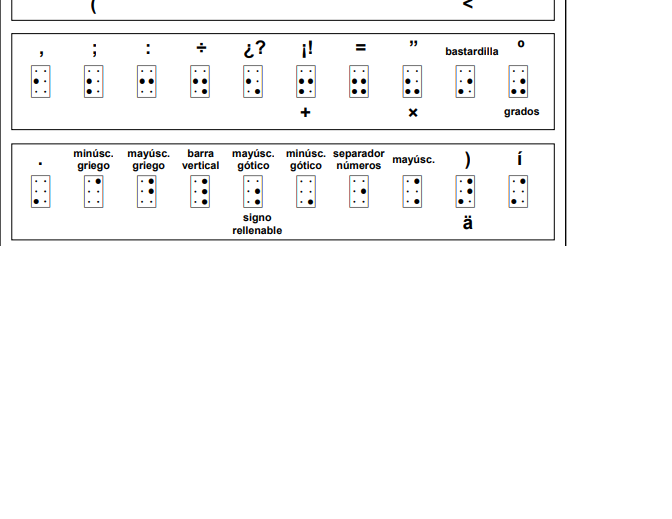
Braille alphabet
Note: The strip and the punch can be obtained online for approximately $ 7.91 at the following link.
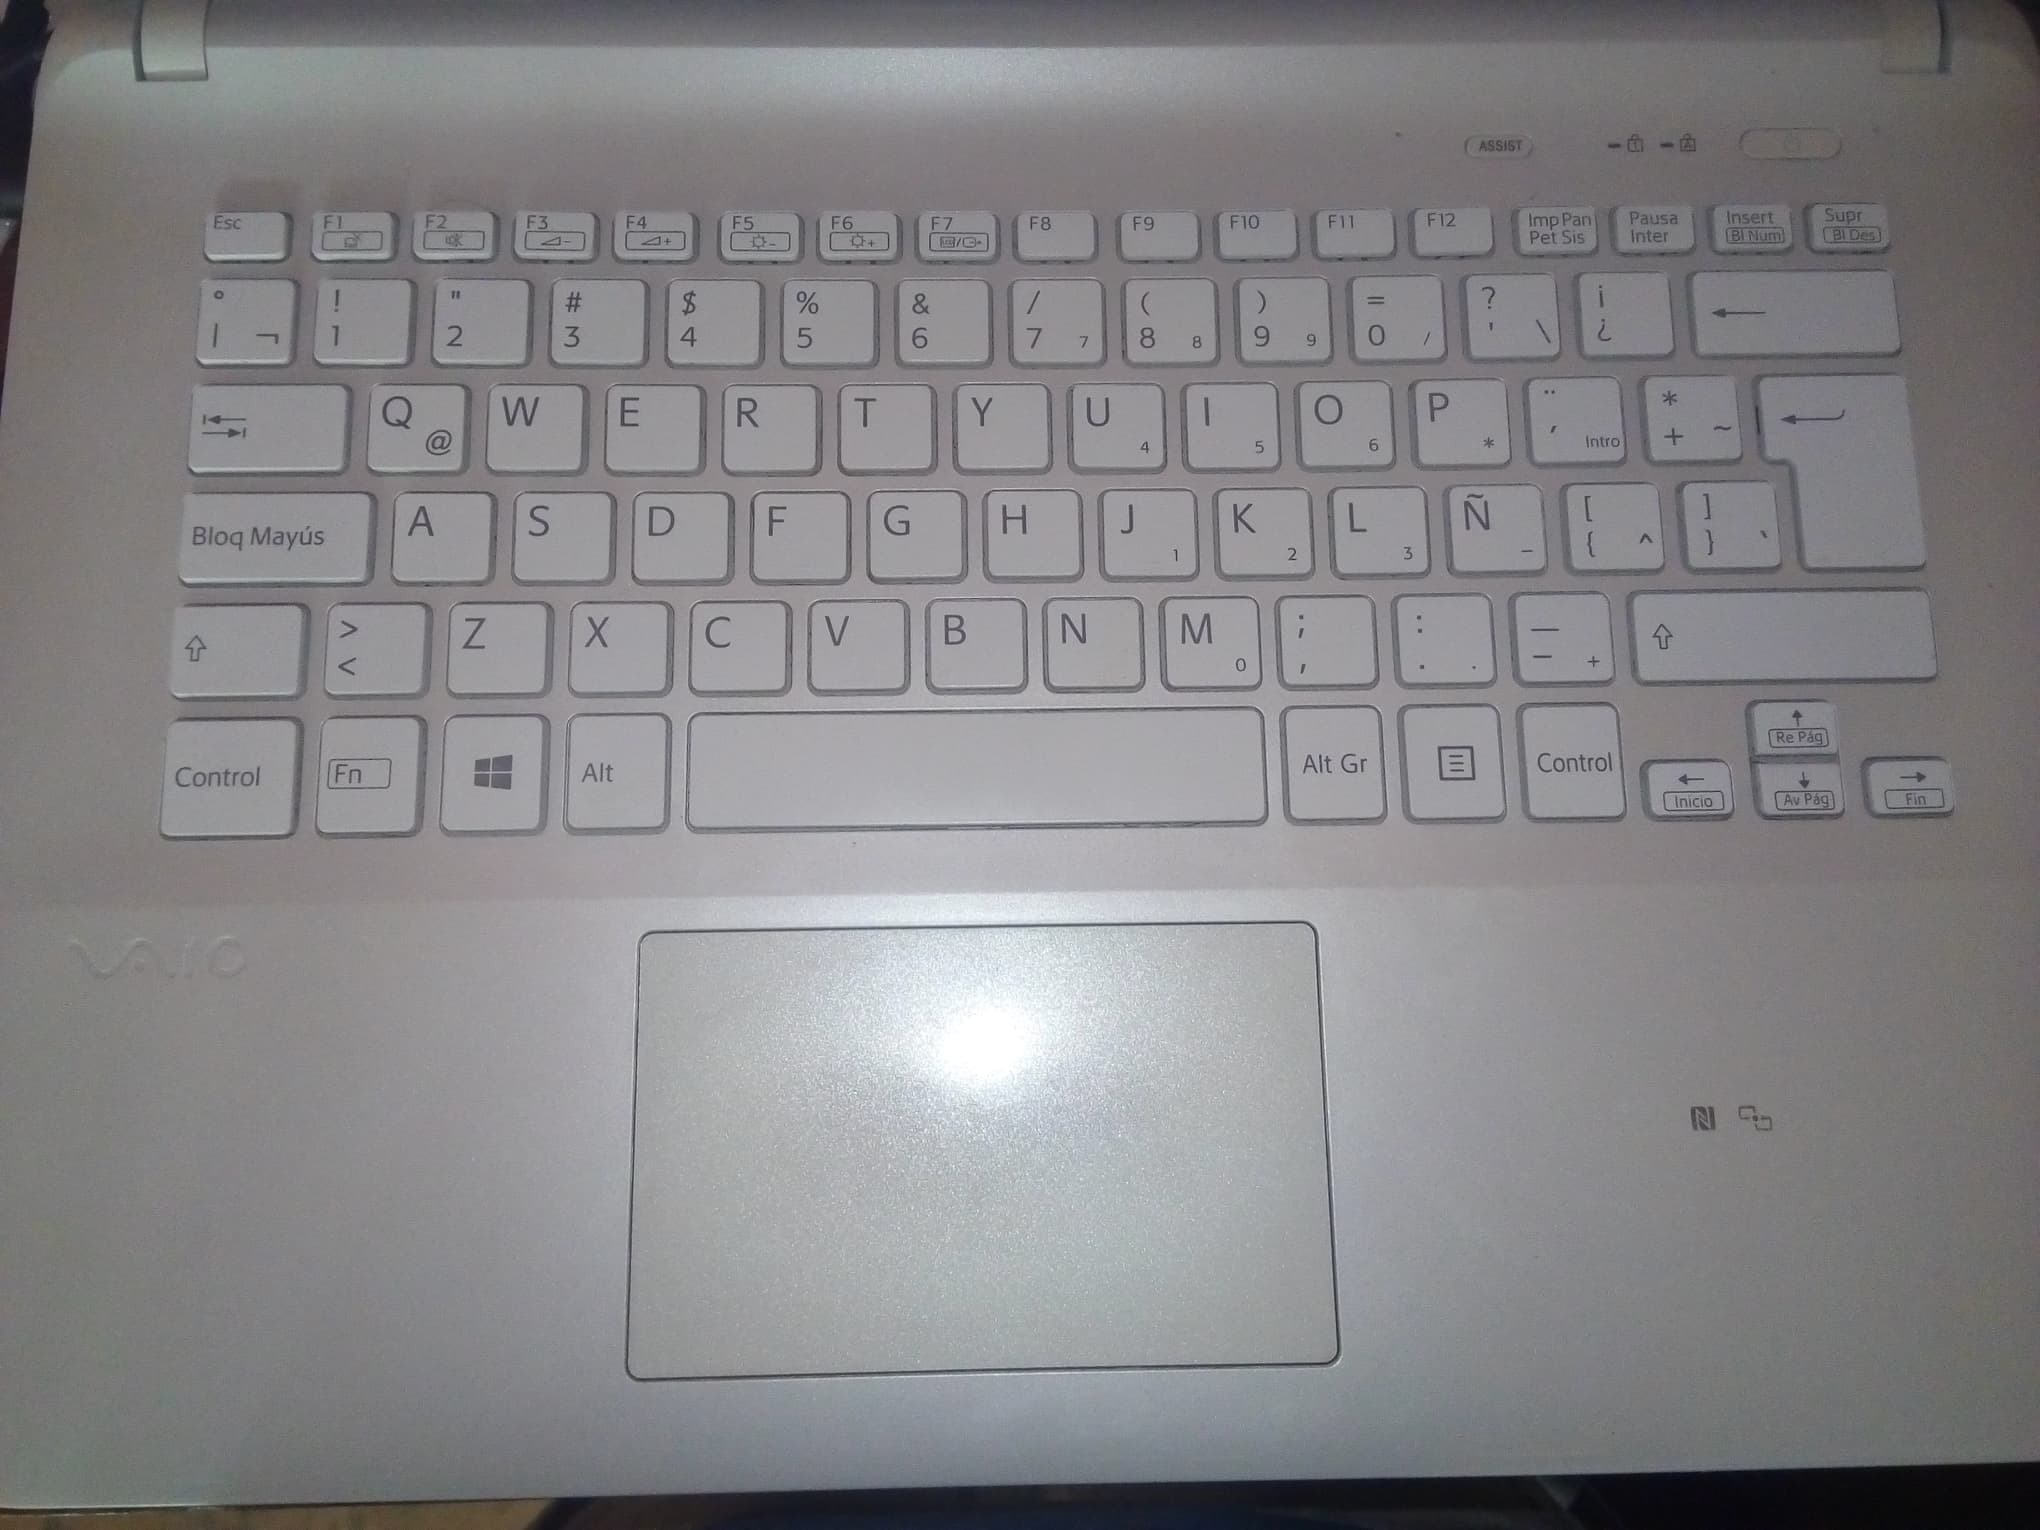
Measure Keys
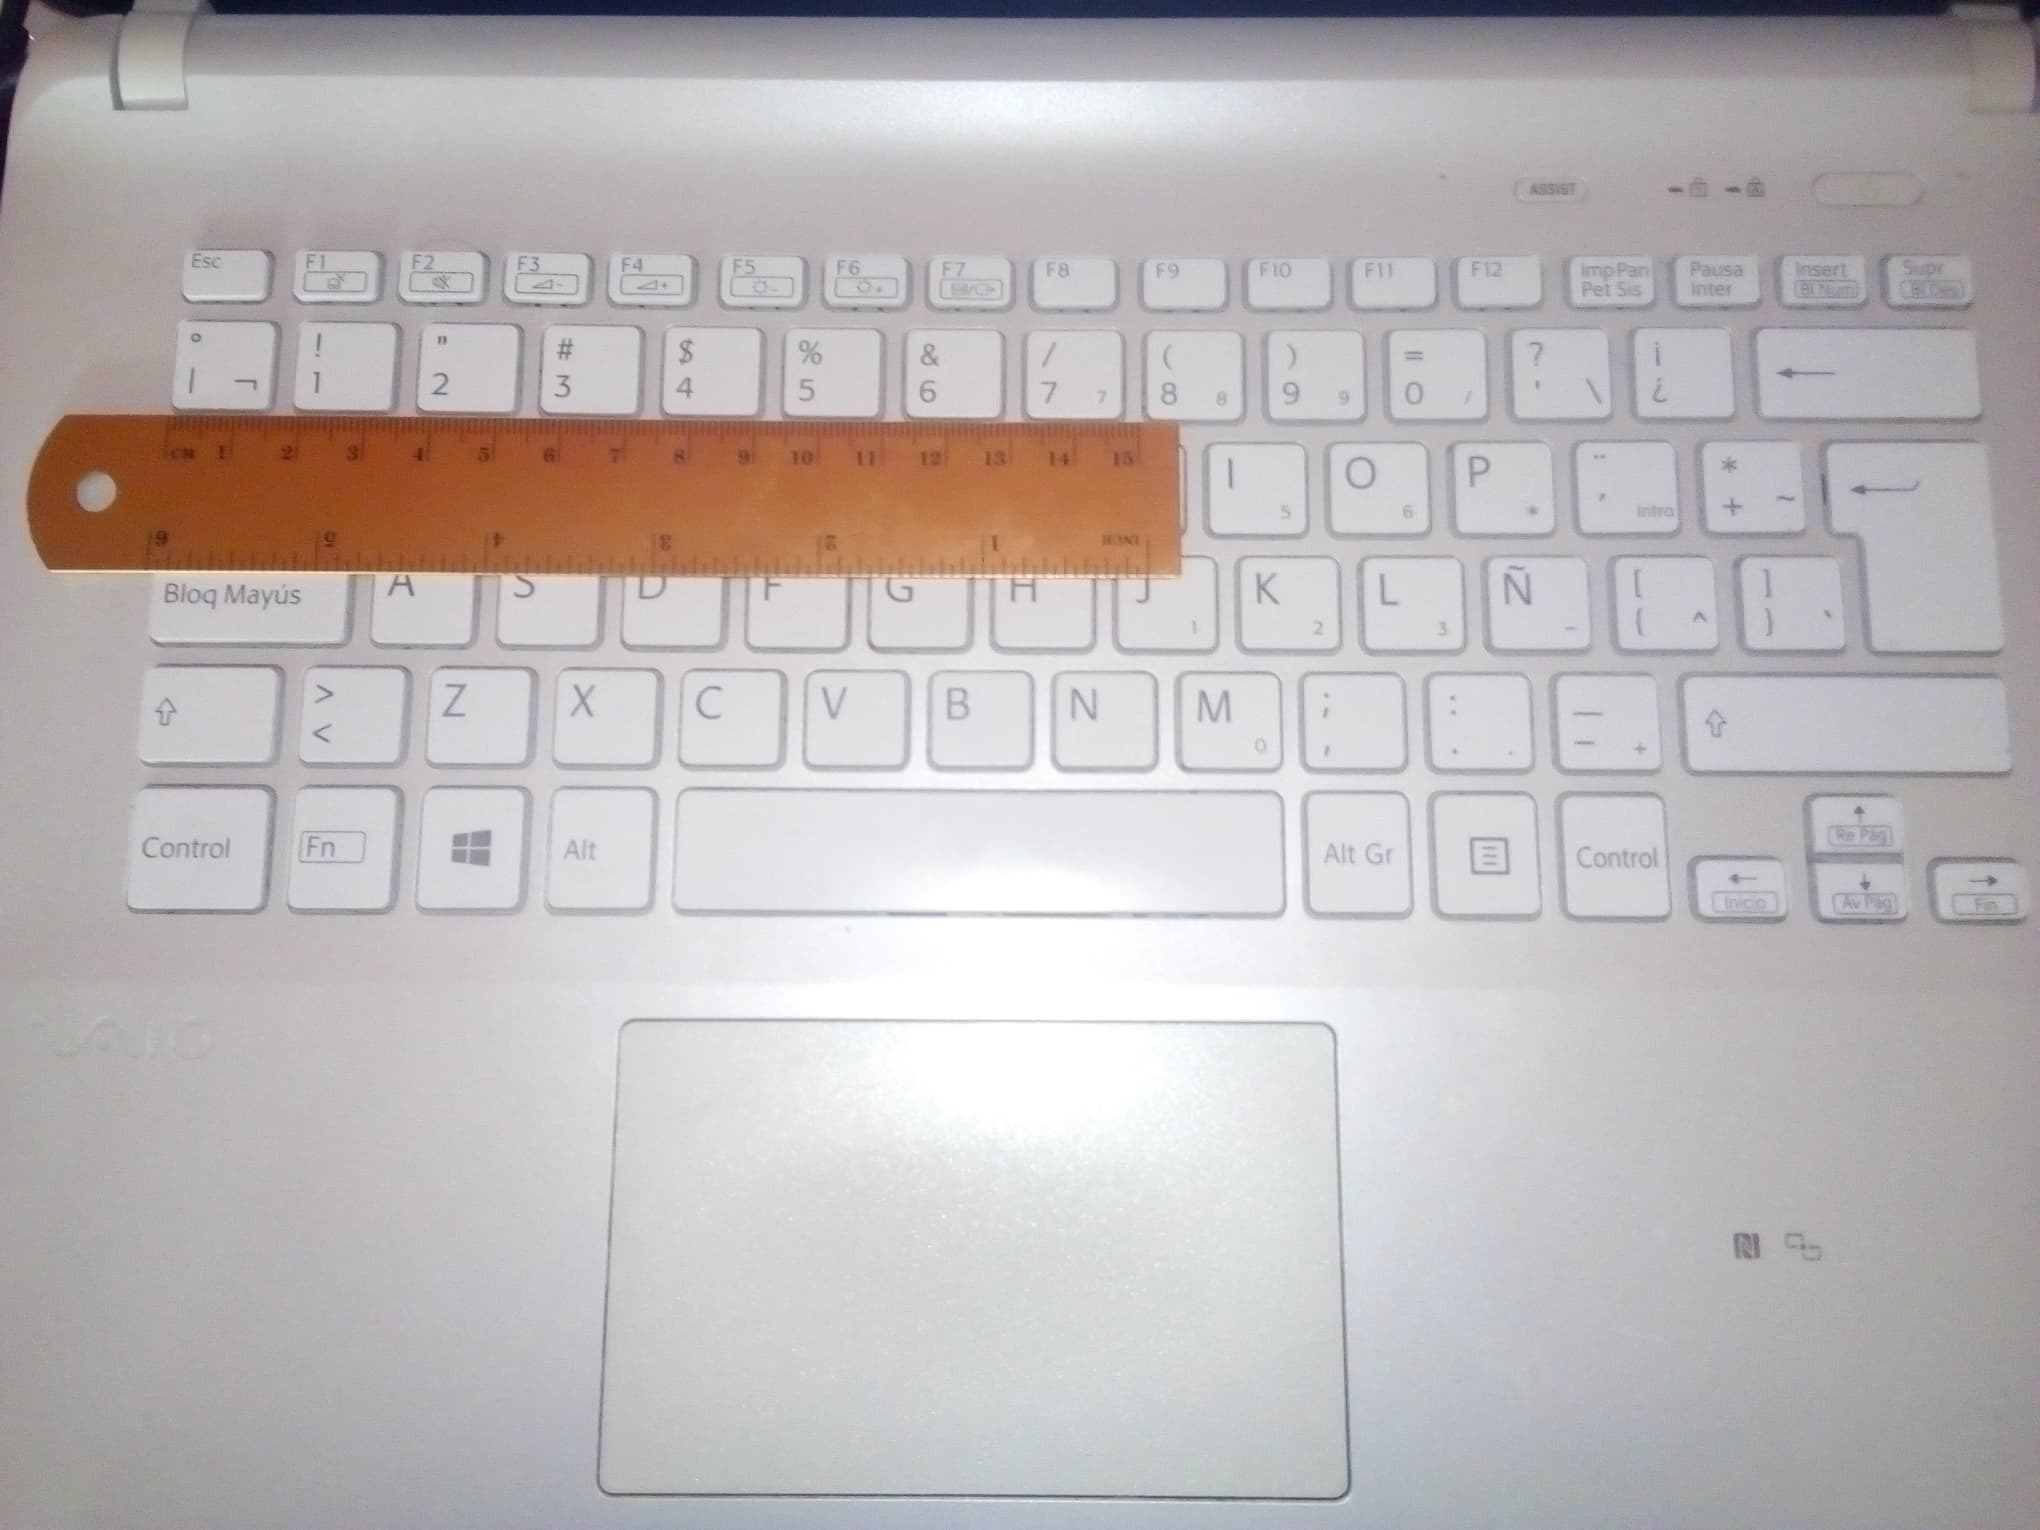
Then with a ruler we will measure the different keys that make up the keyboard to modify.
The alphanumeric keys measure the same so it is enough to measure one.
The special function keys still have a constant measurement so just measure one.
The other keys may vary in size, so it is recommended to measure one by one.
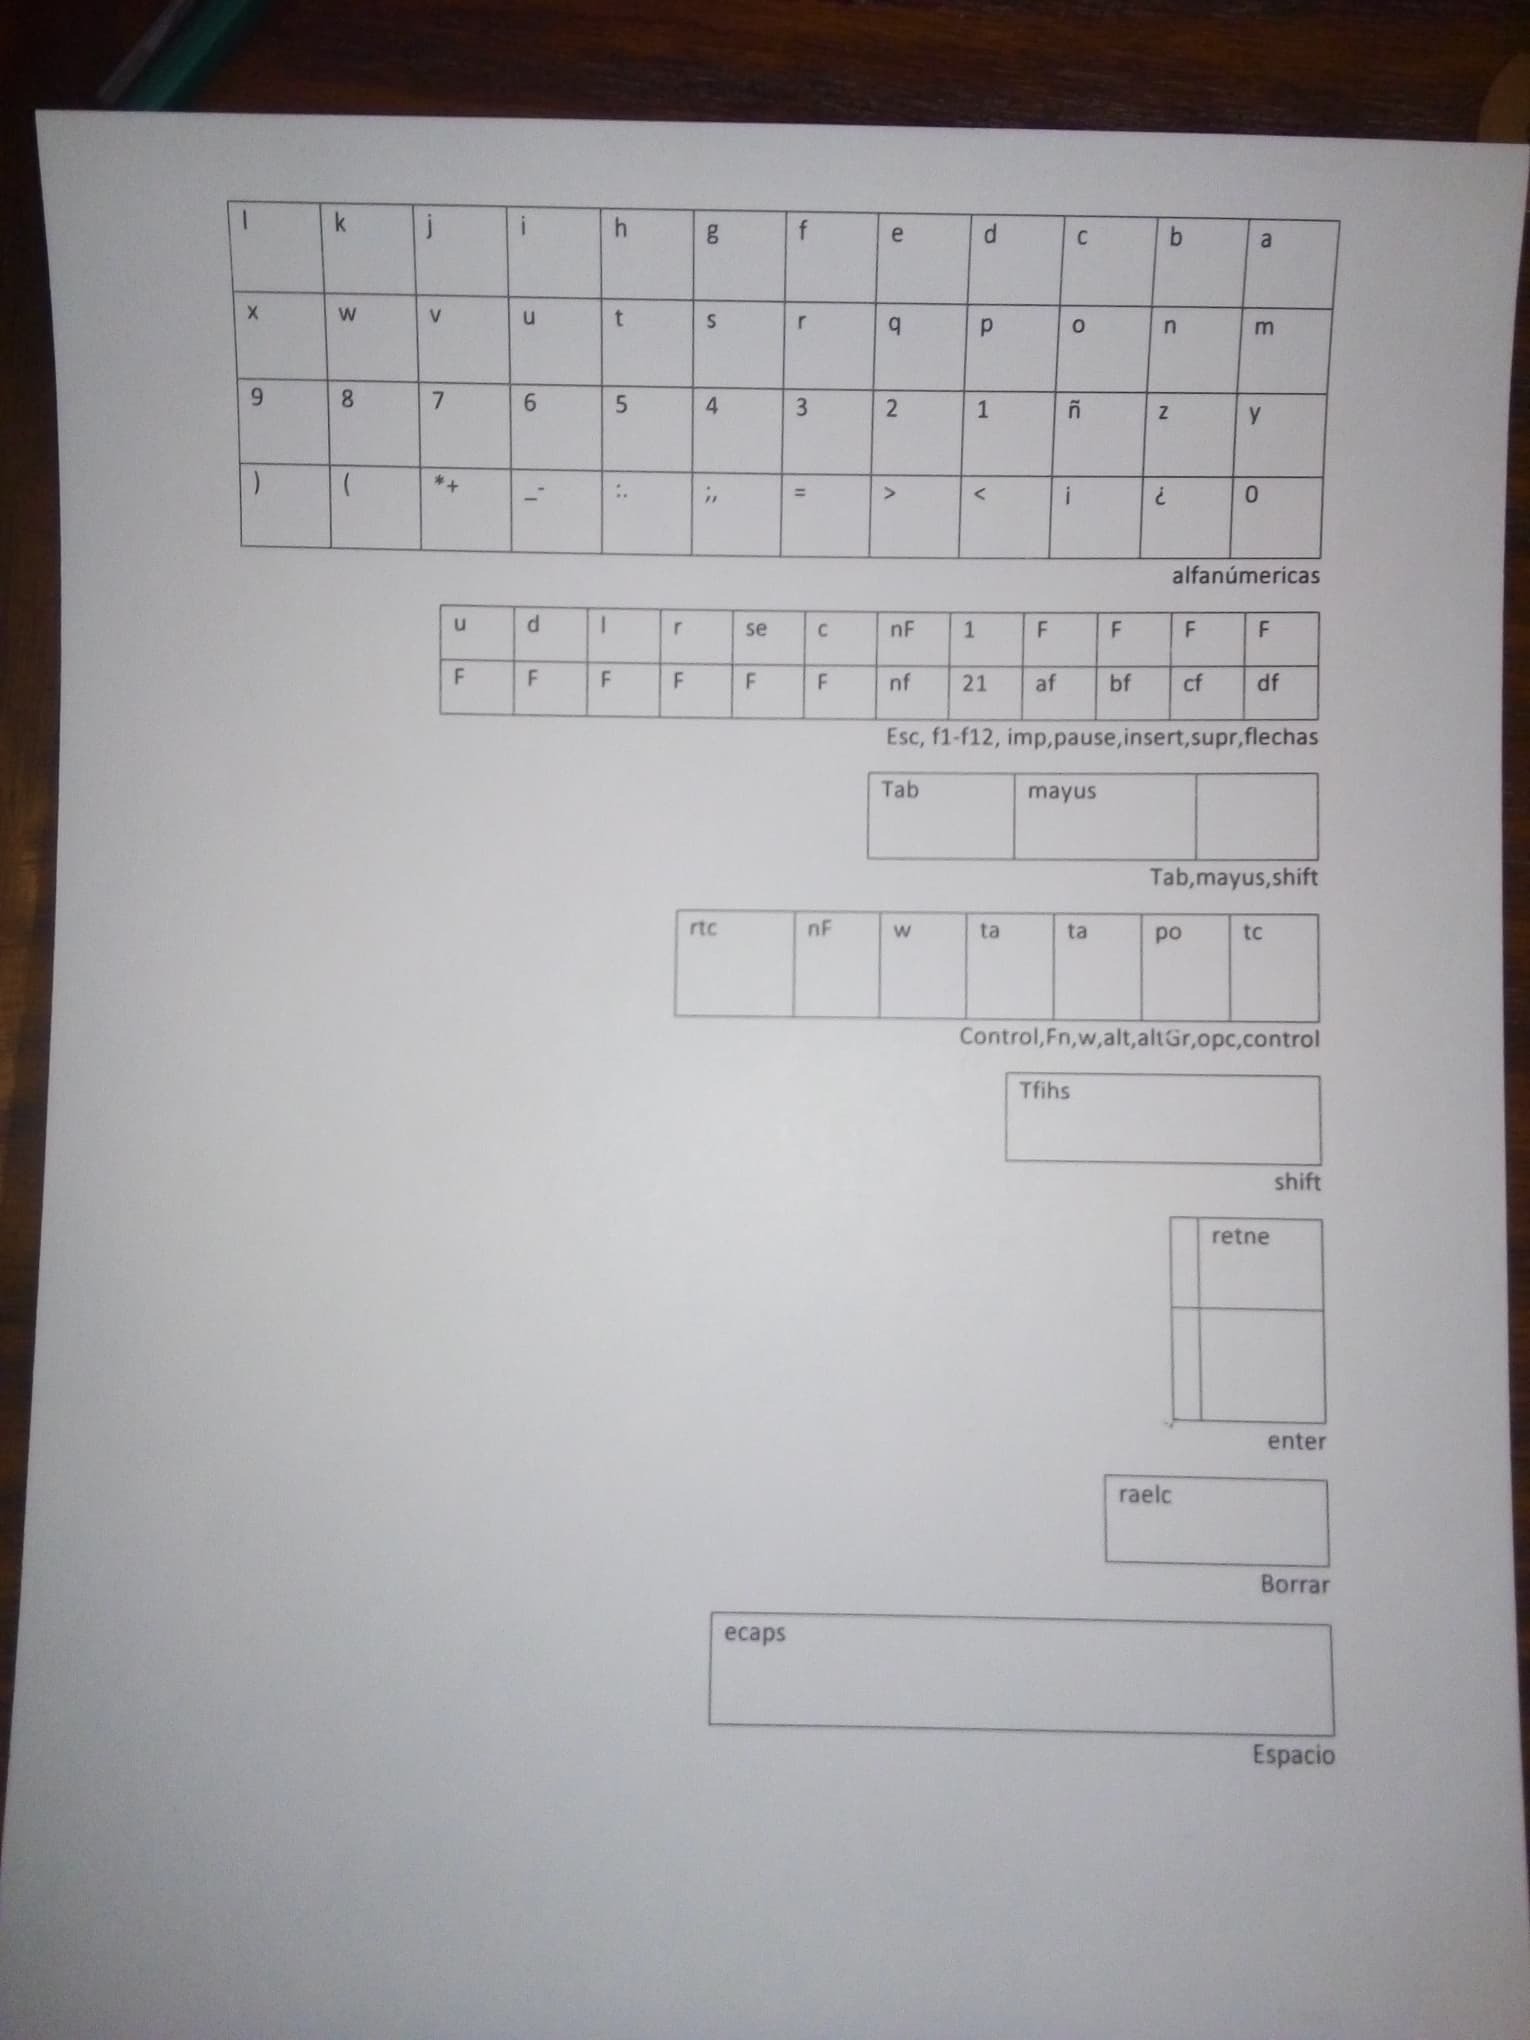
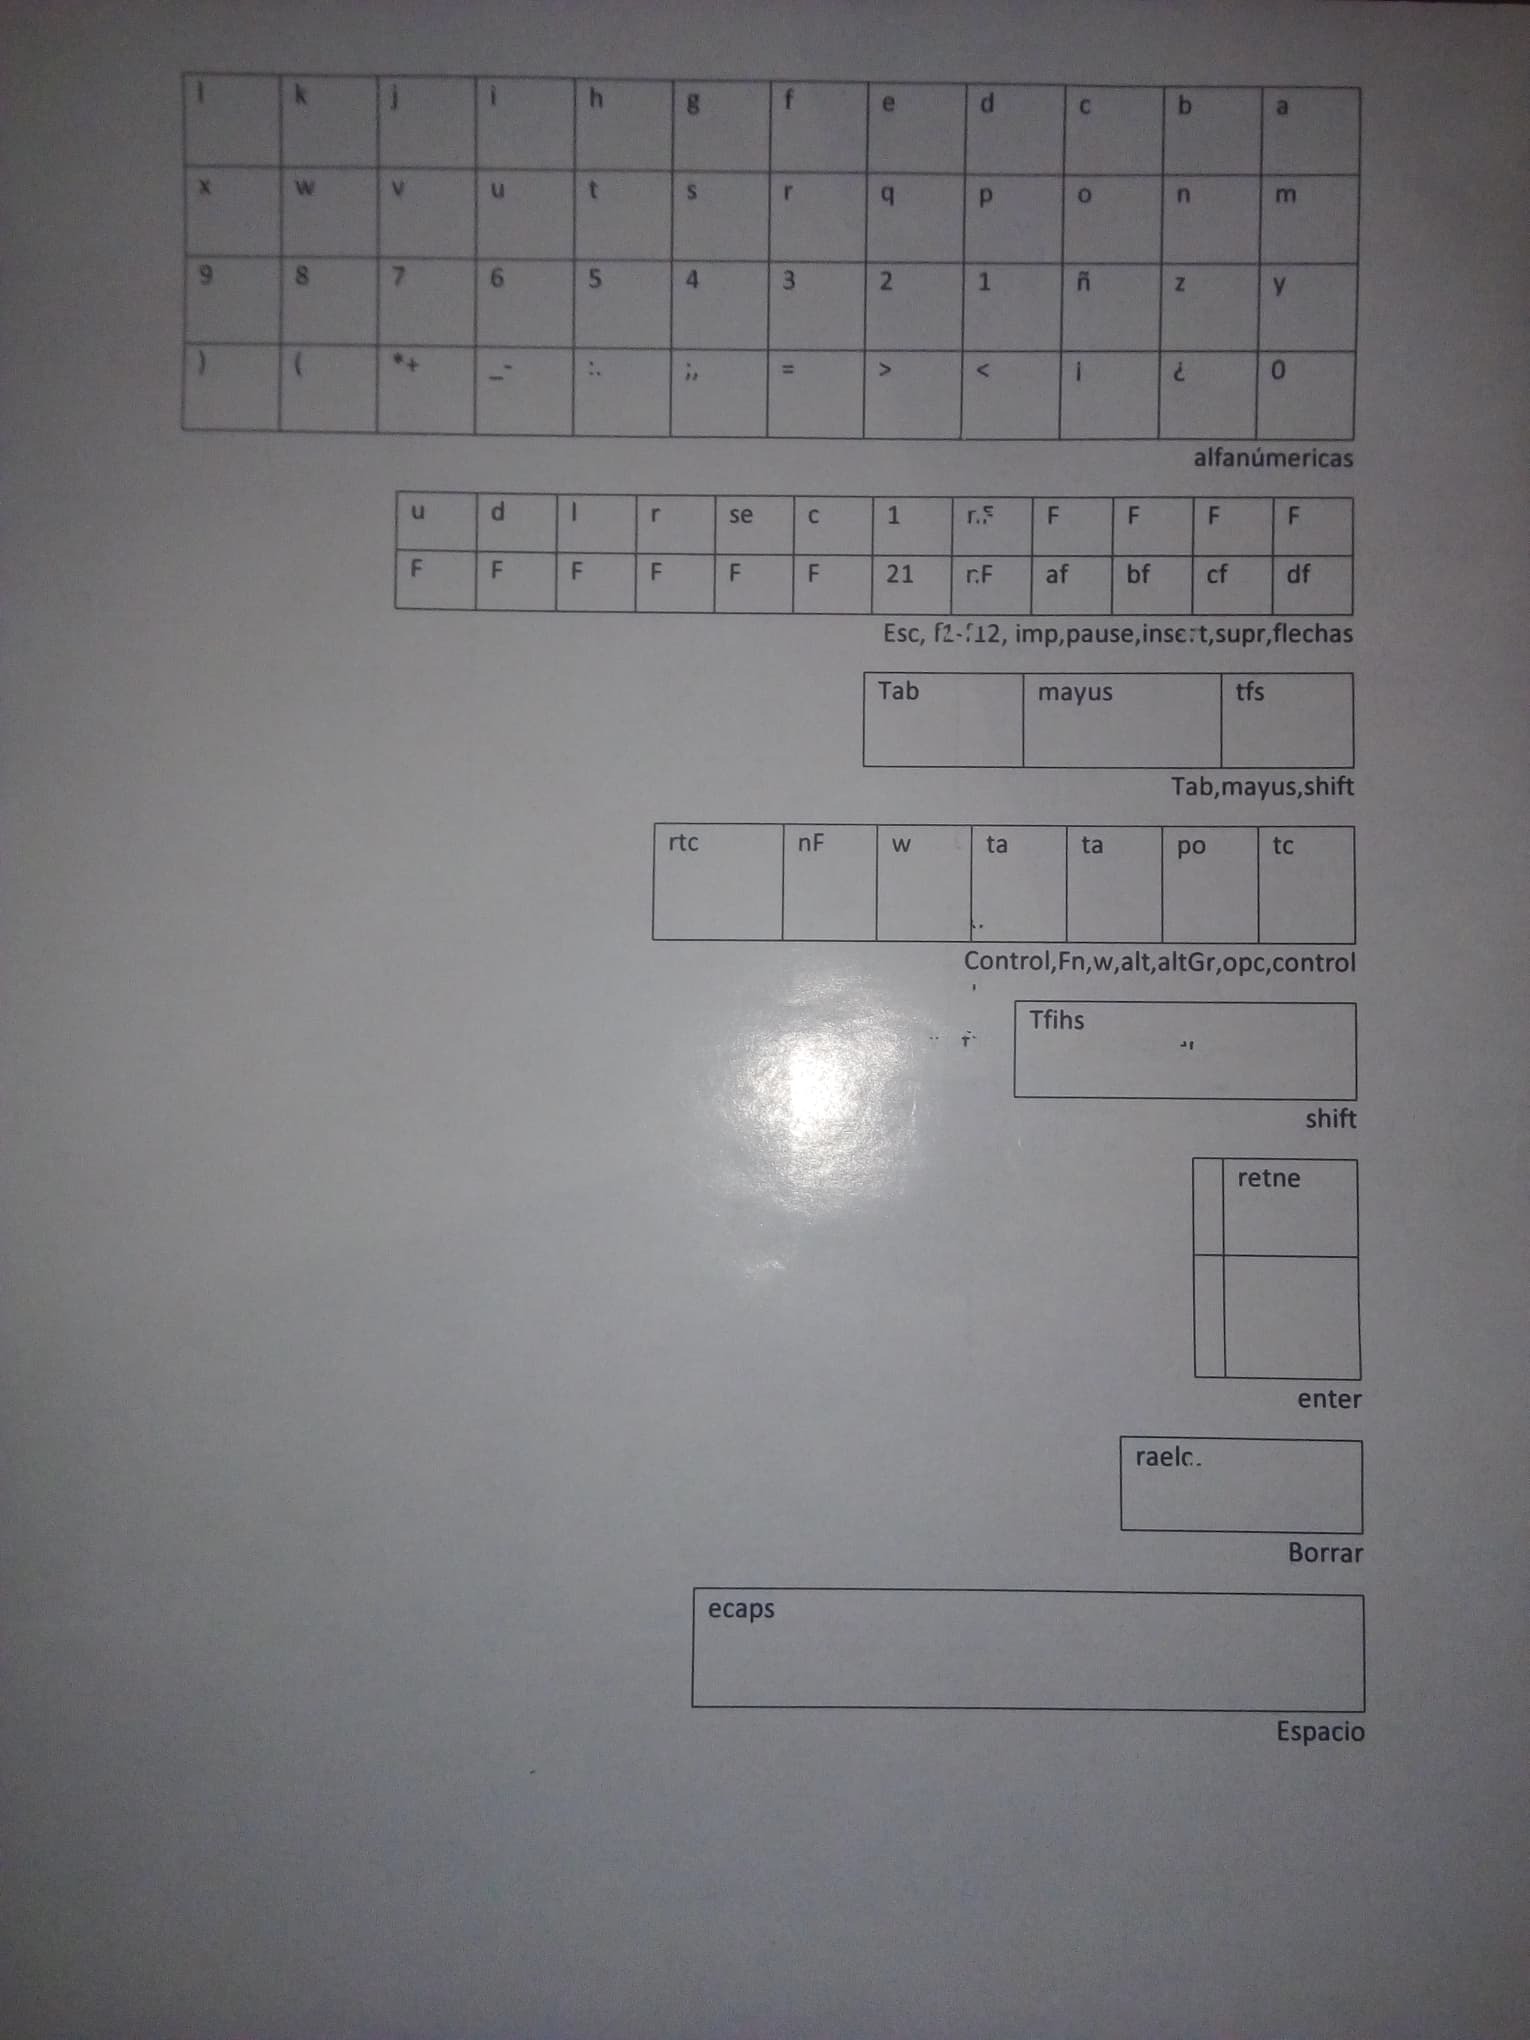
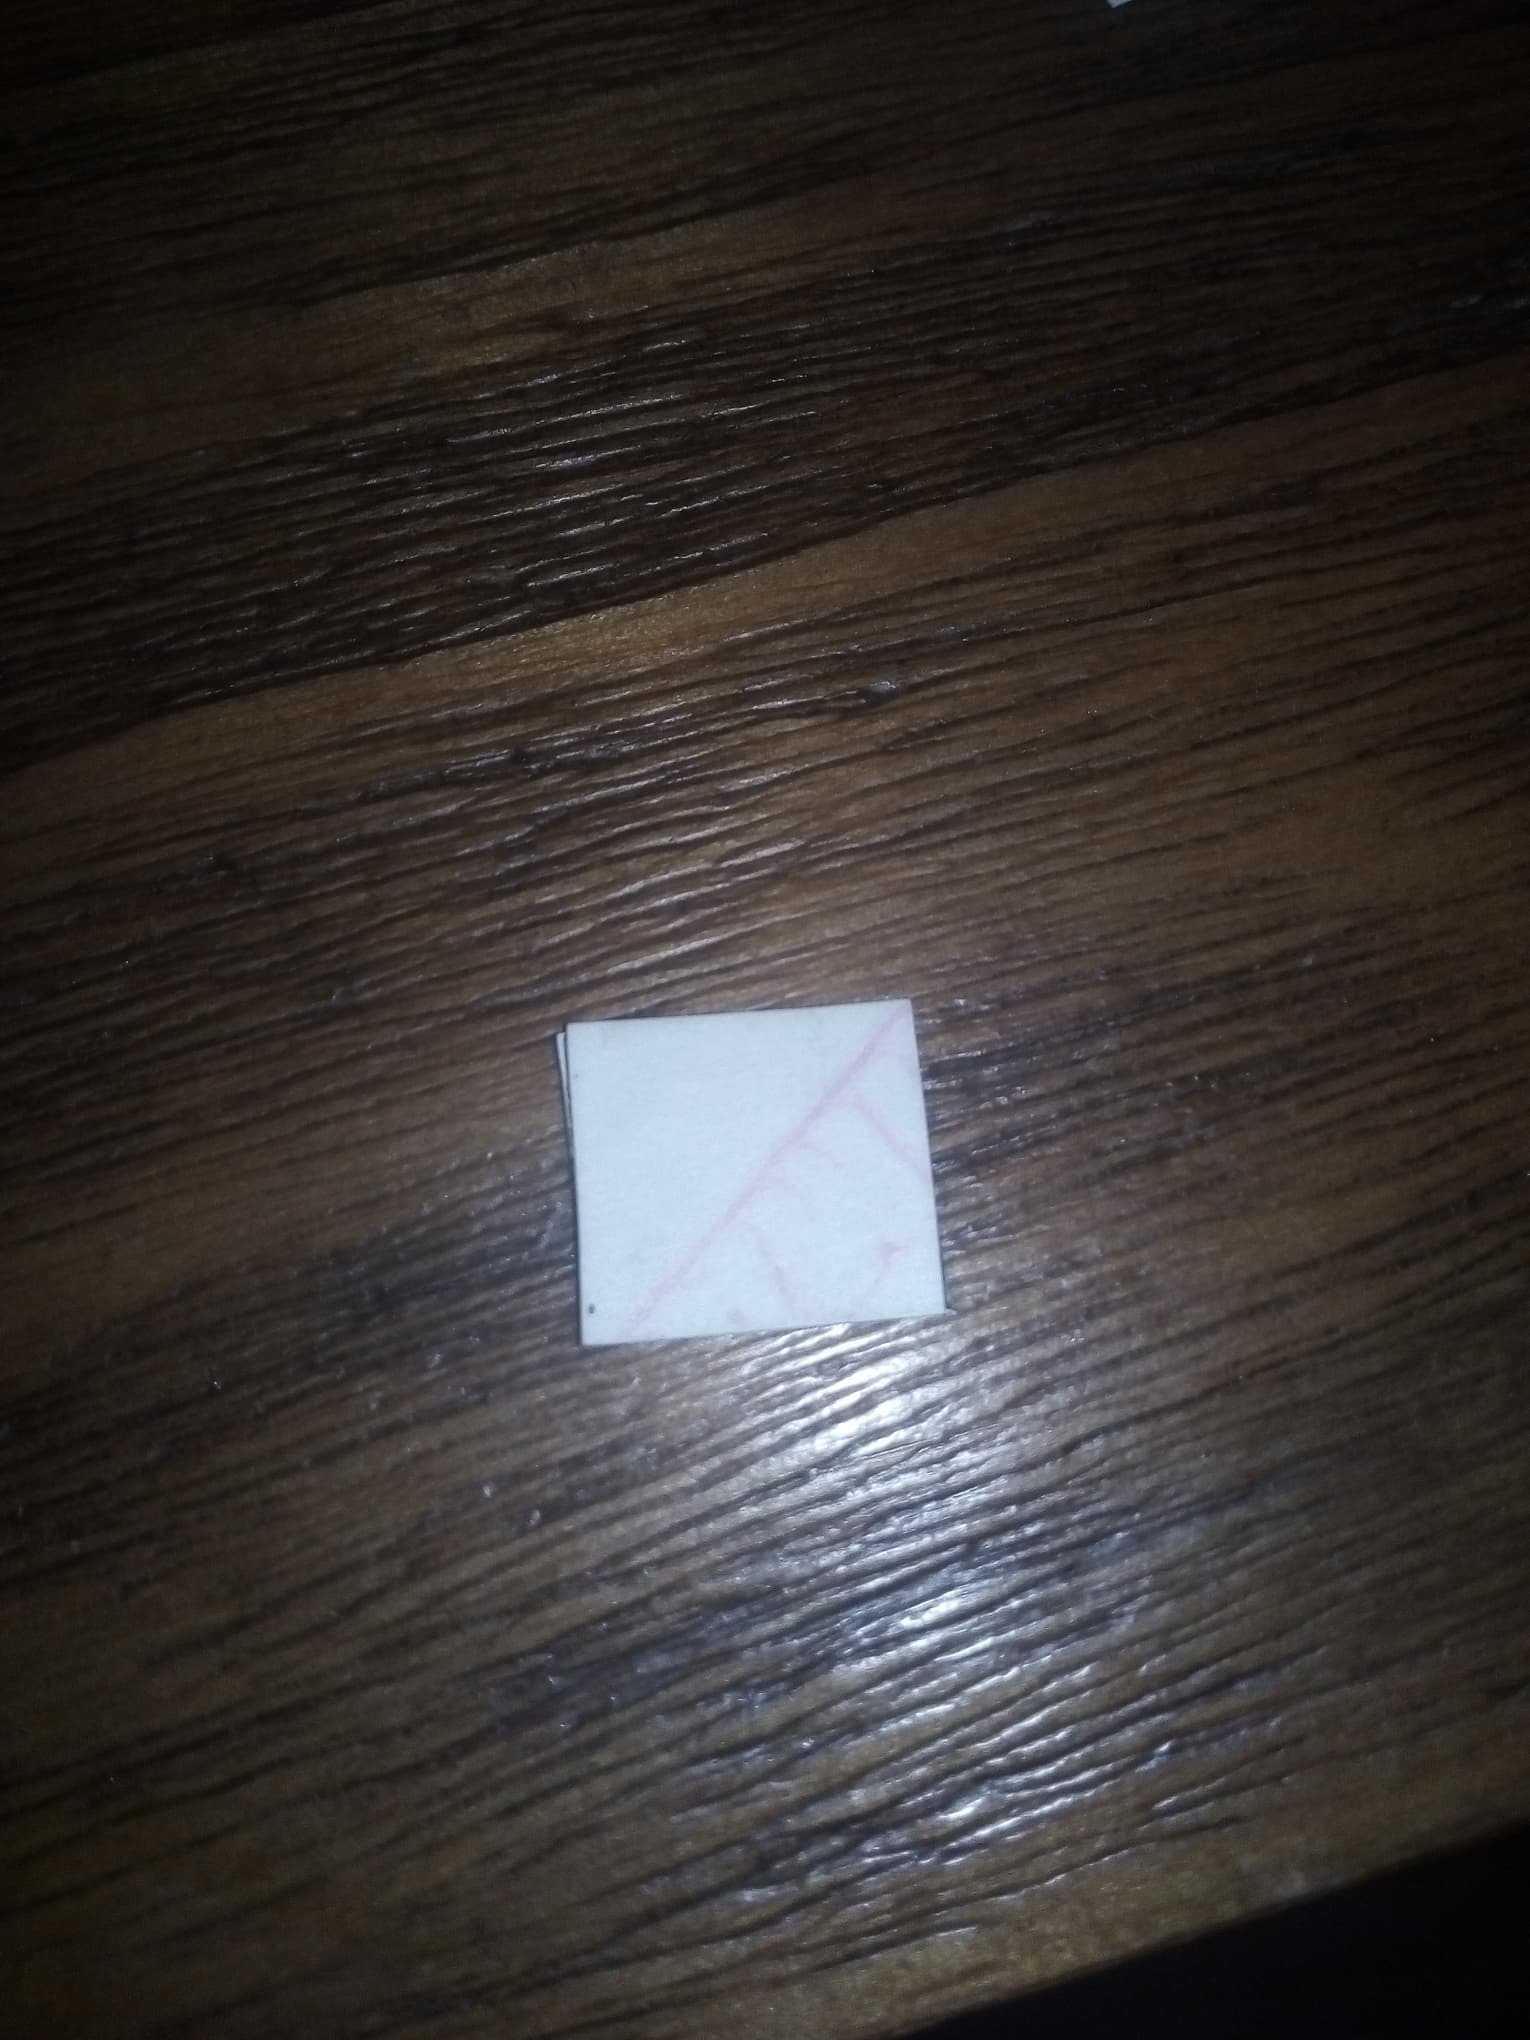
Design Border
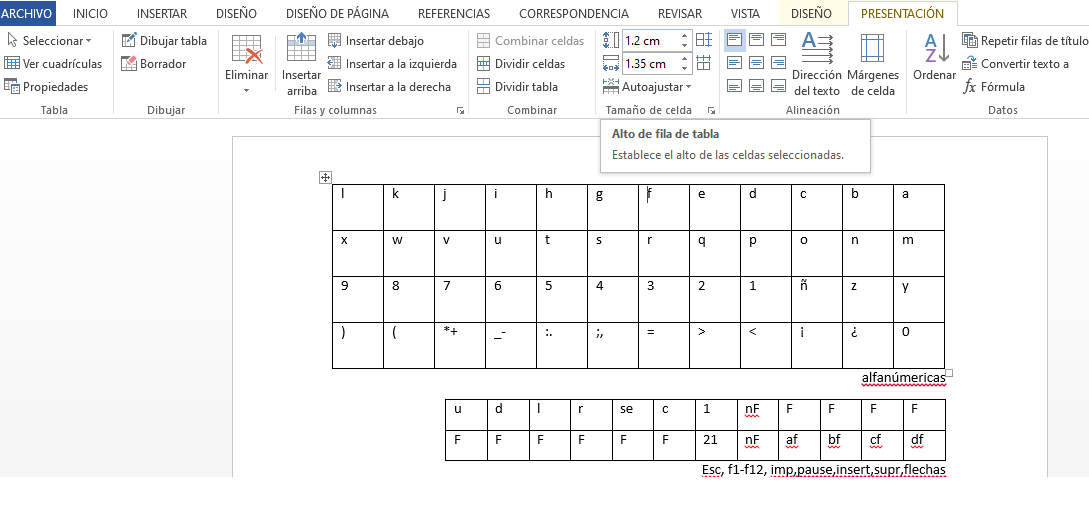
Then the margins of all the keys will be made, this to serve as a reference when writing and cutting it. In this case, a text editor will be used to print it and thus facilitate the creation of the margins, but it can also be done manually with a pencil and ruler.
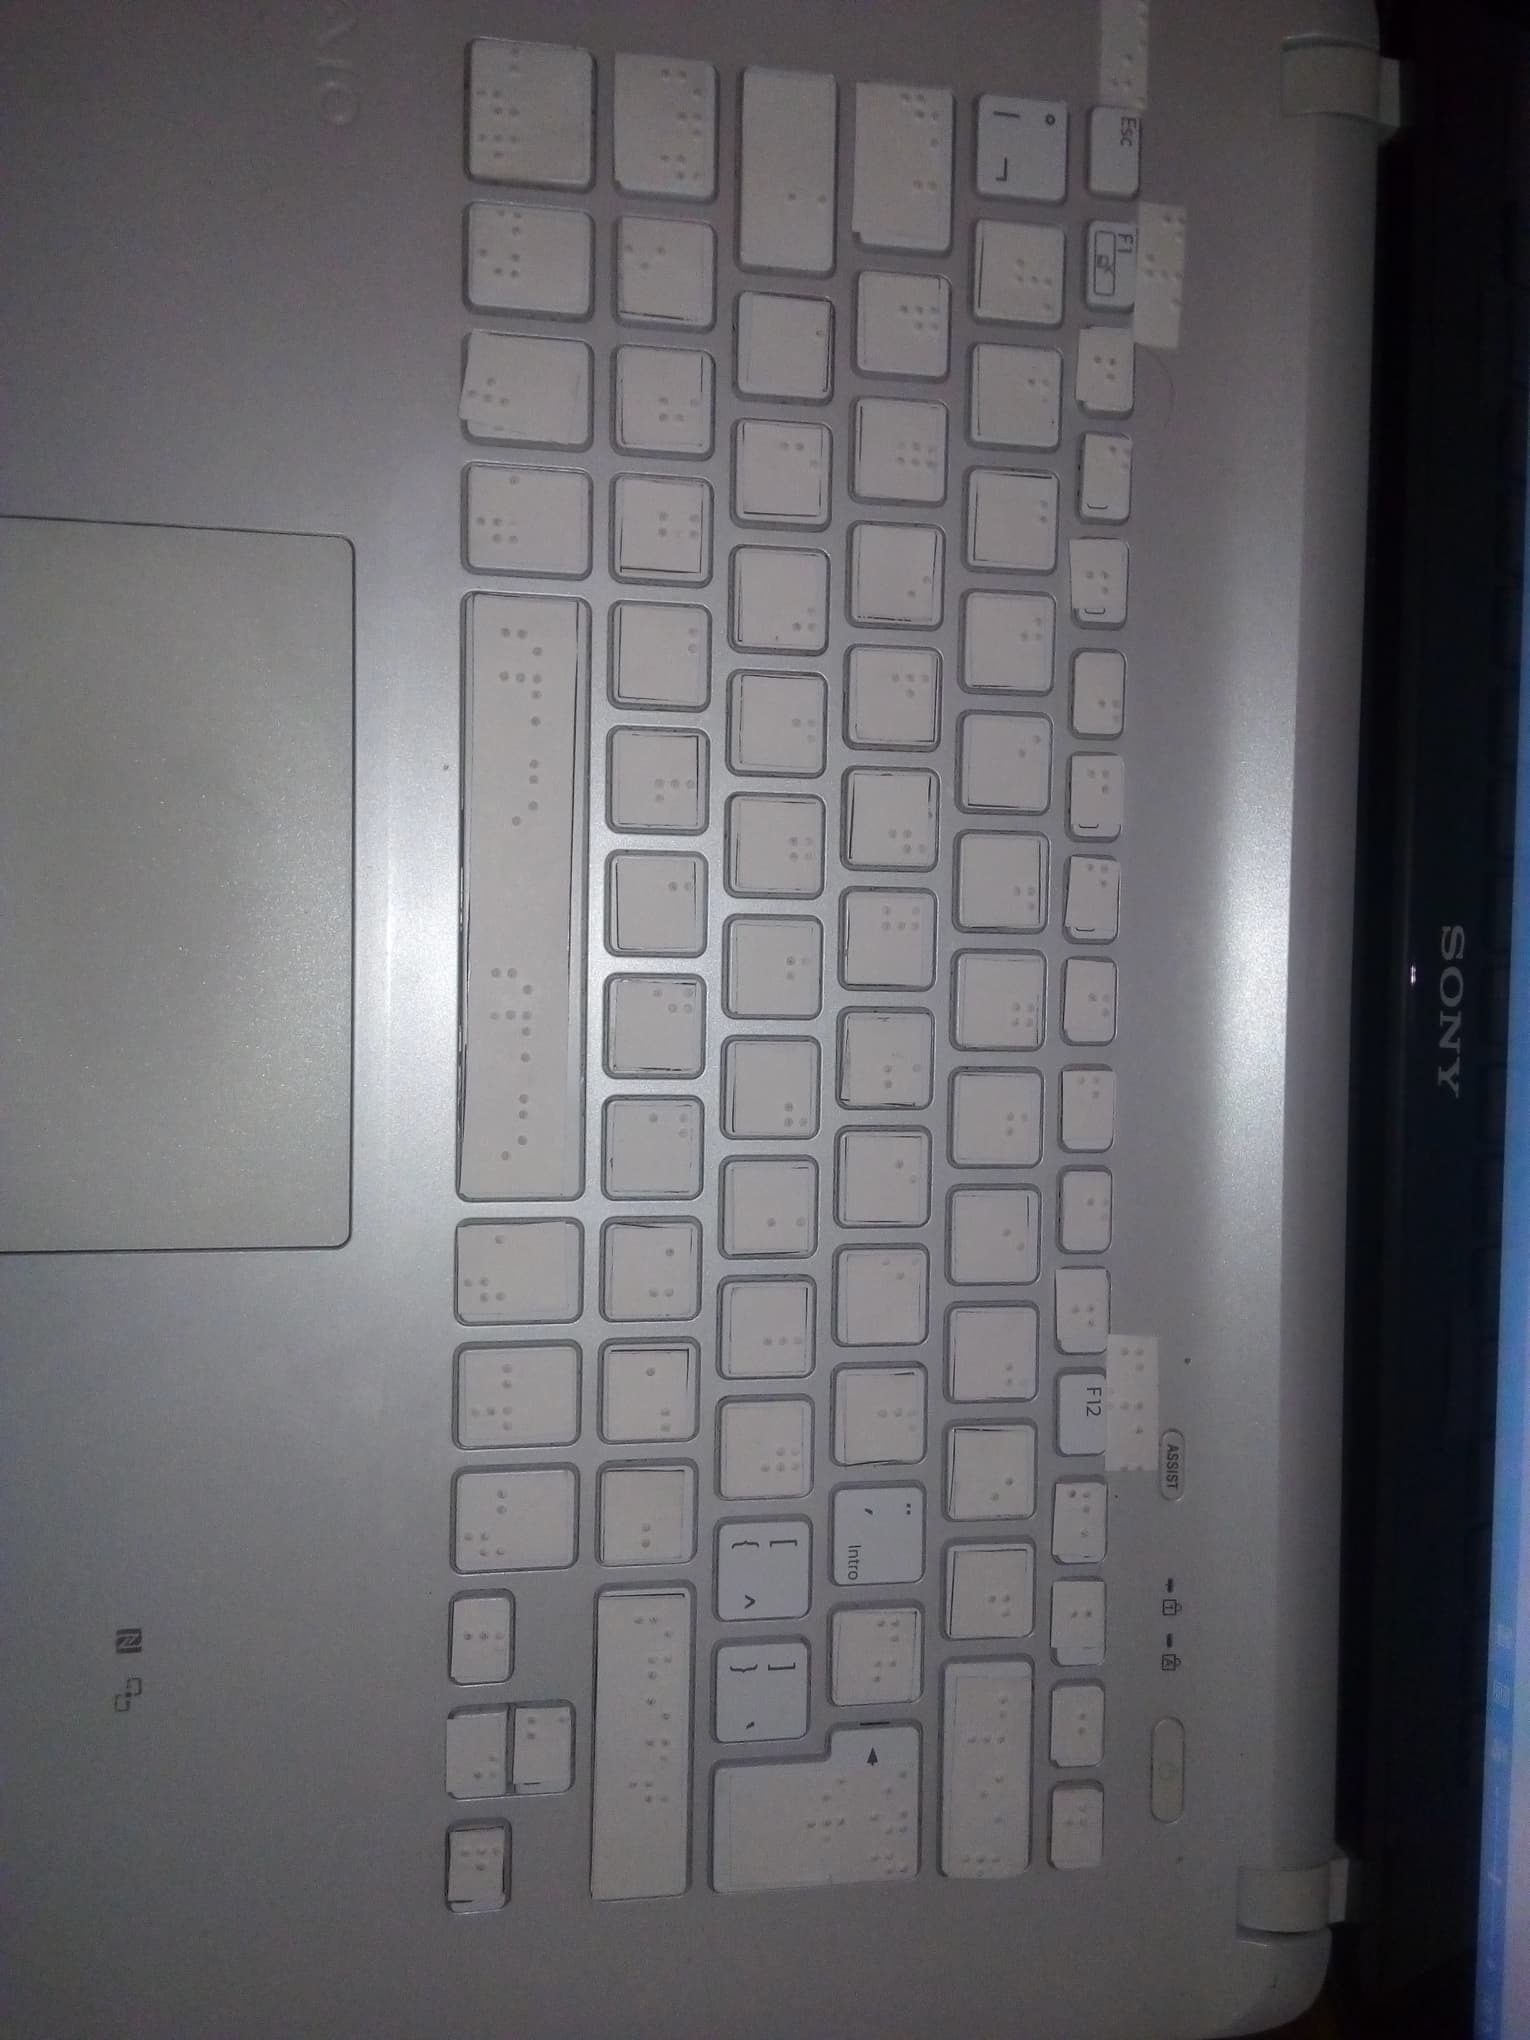
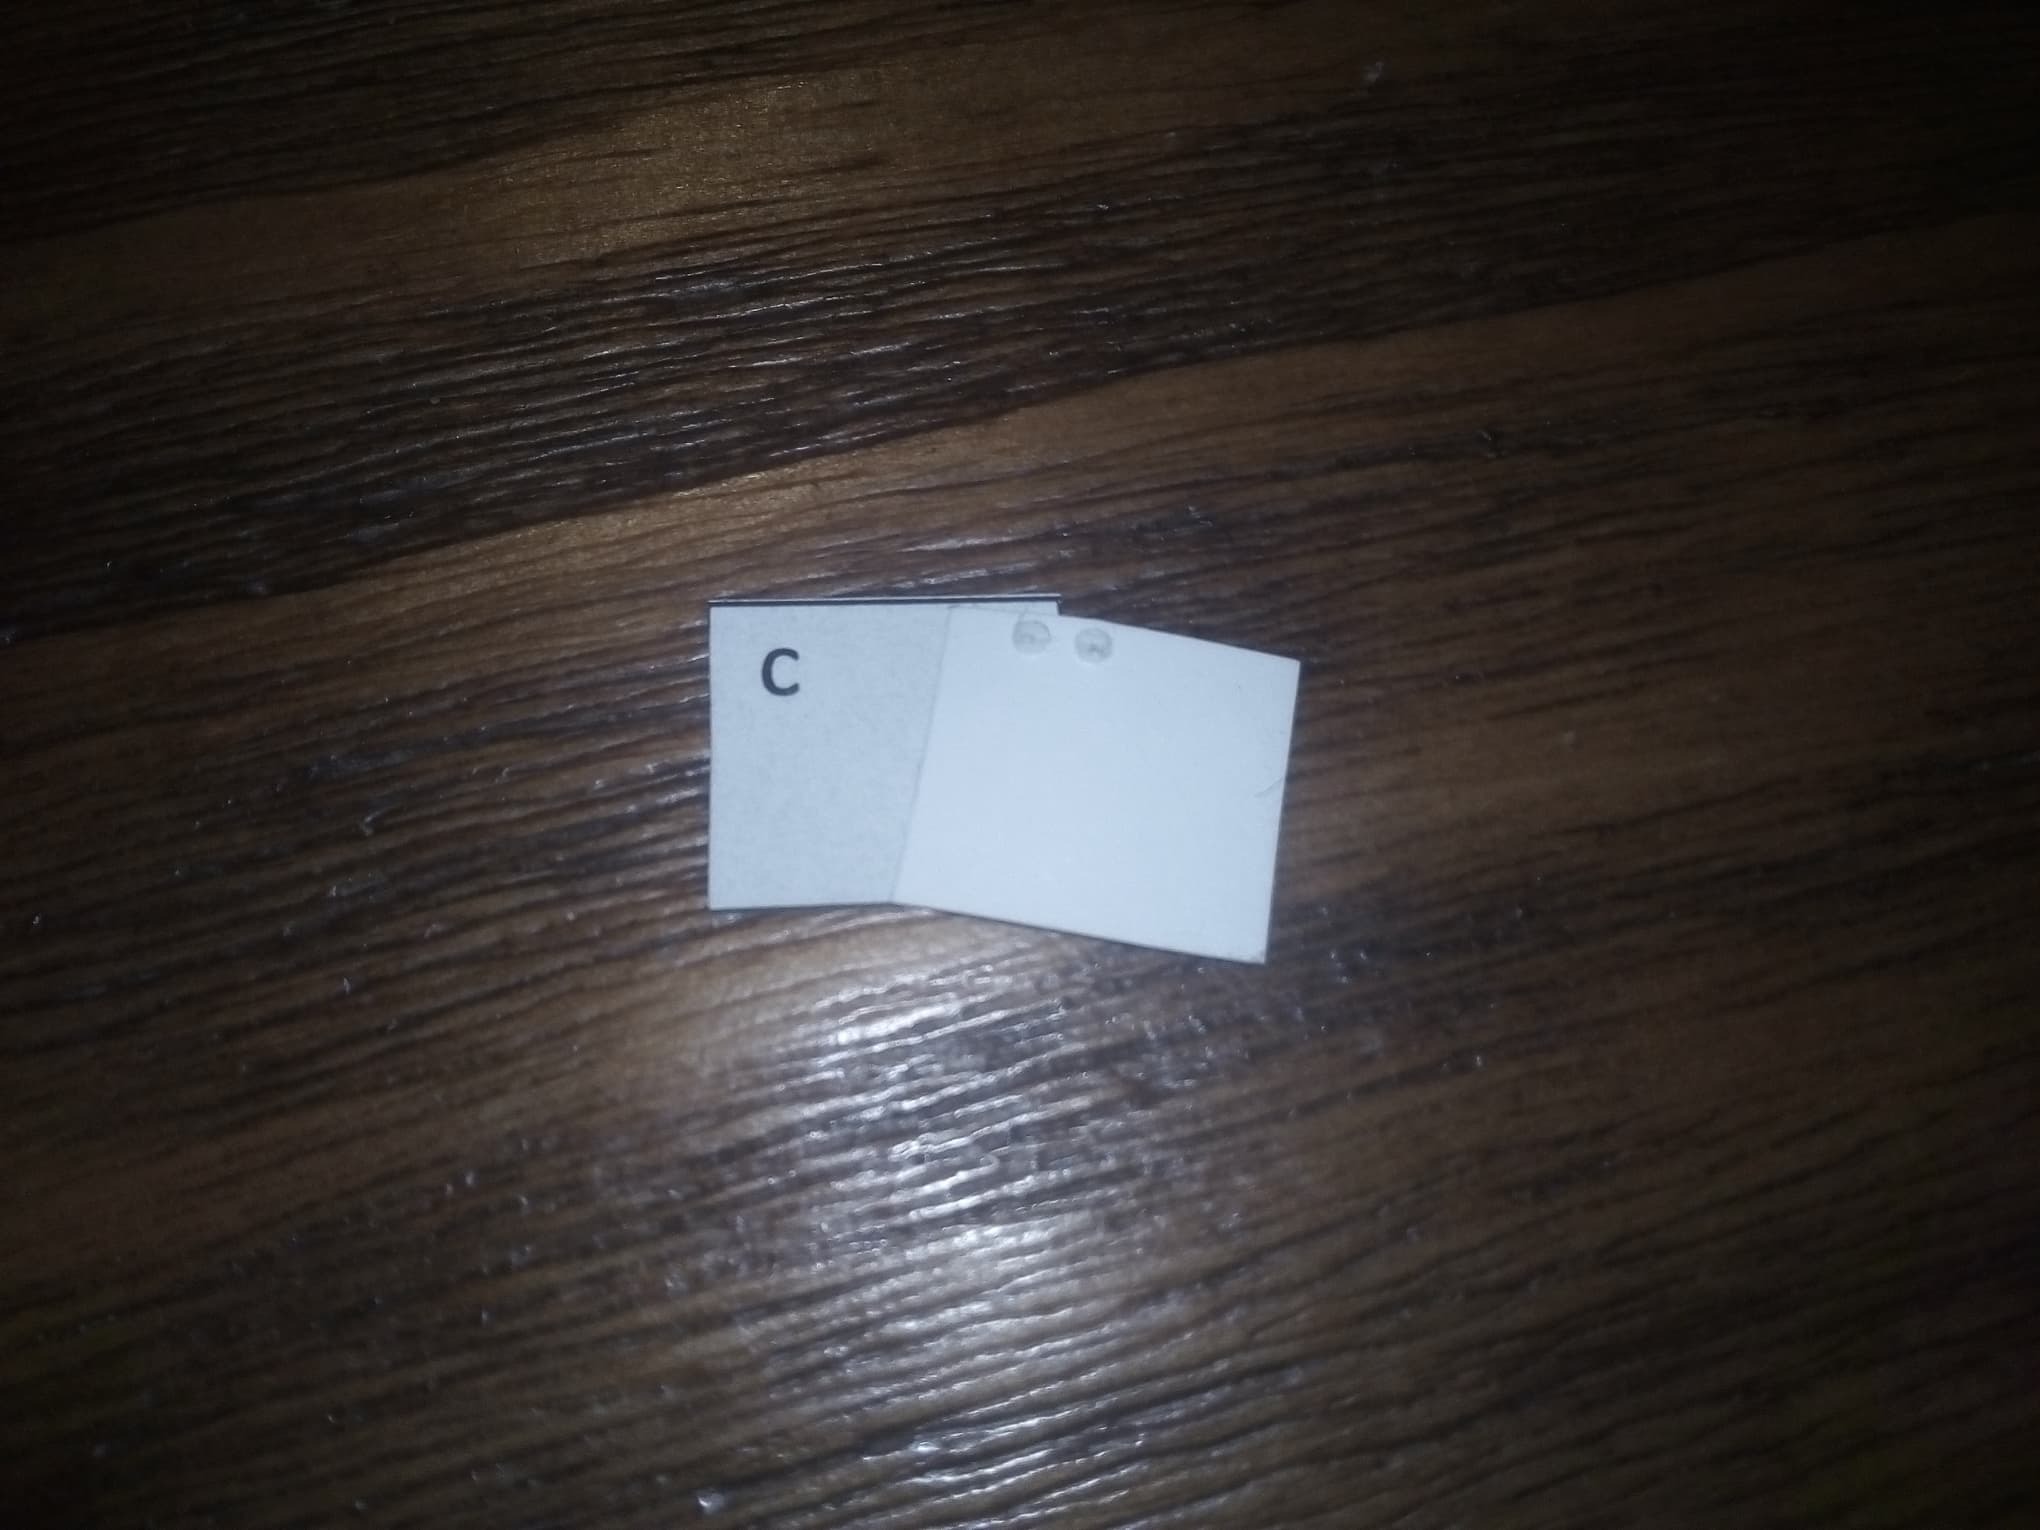
Braille Writing
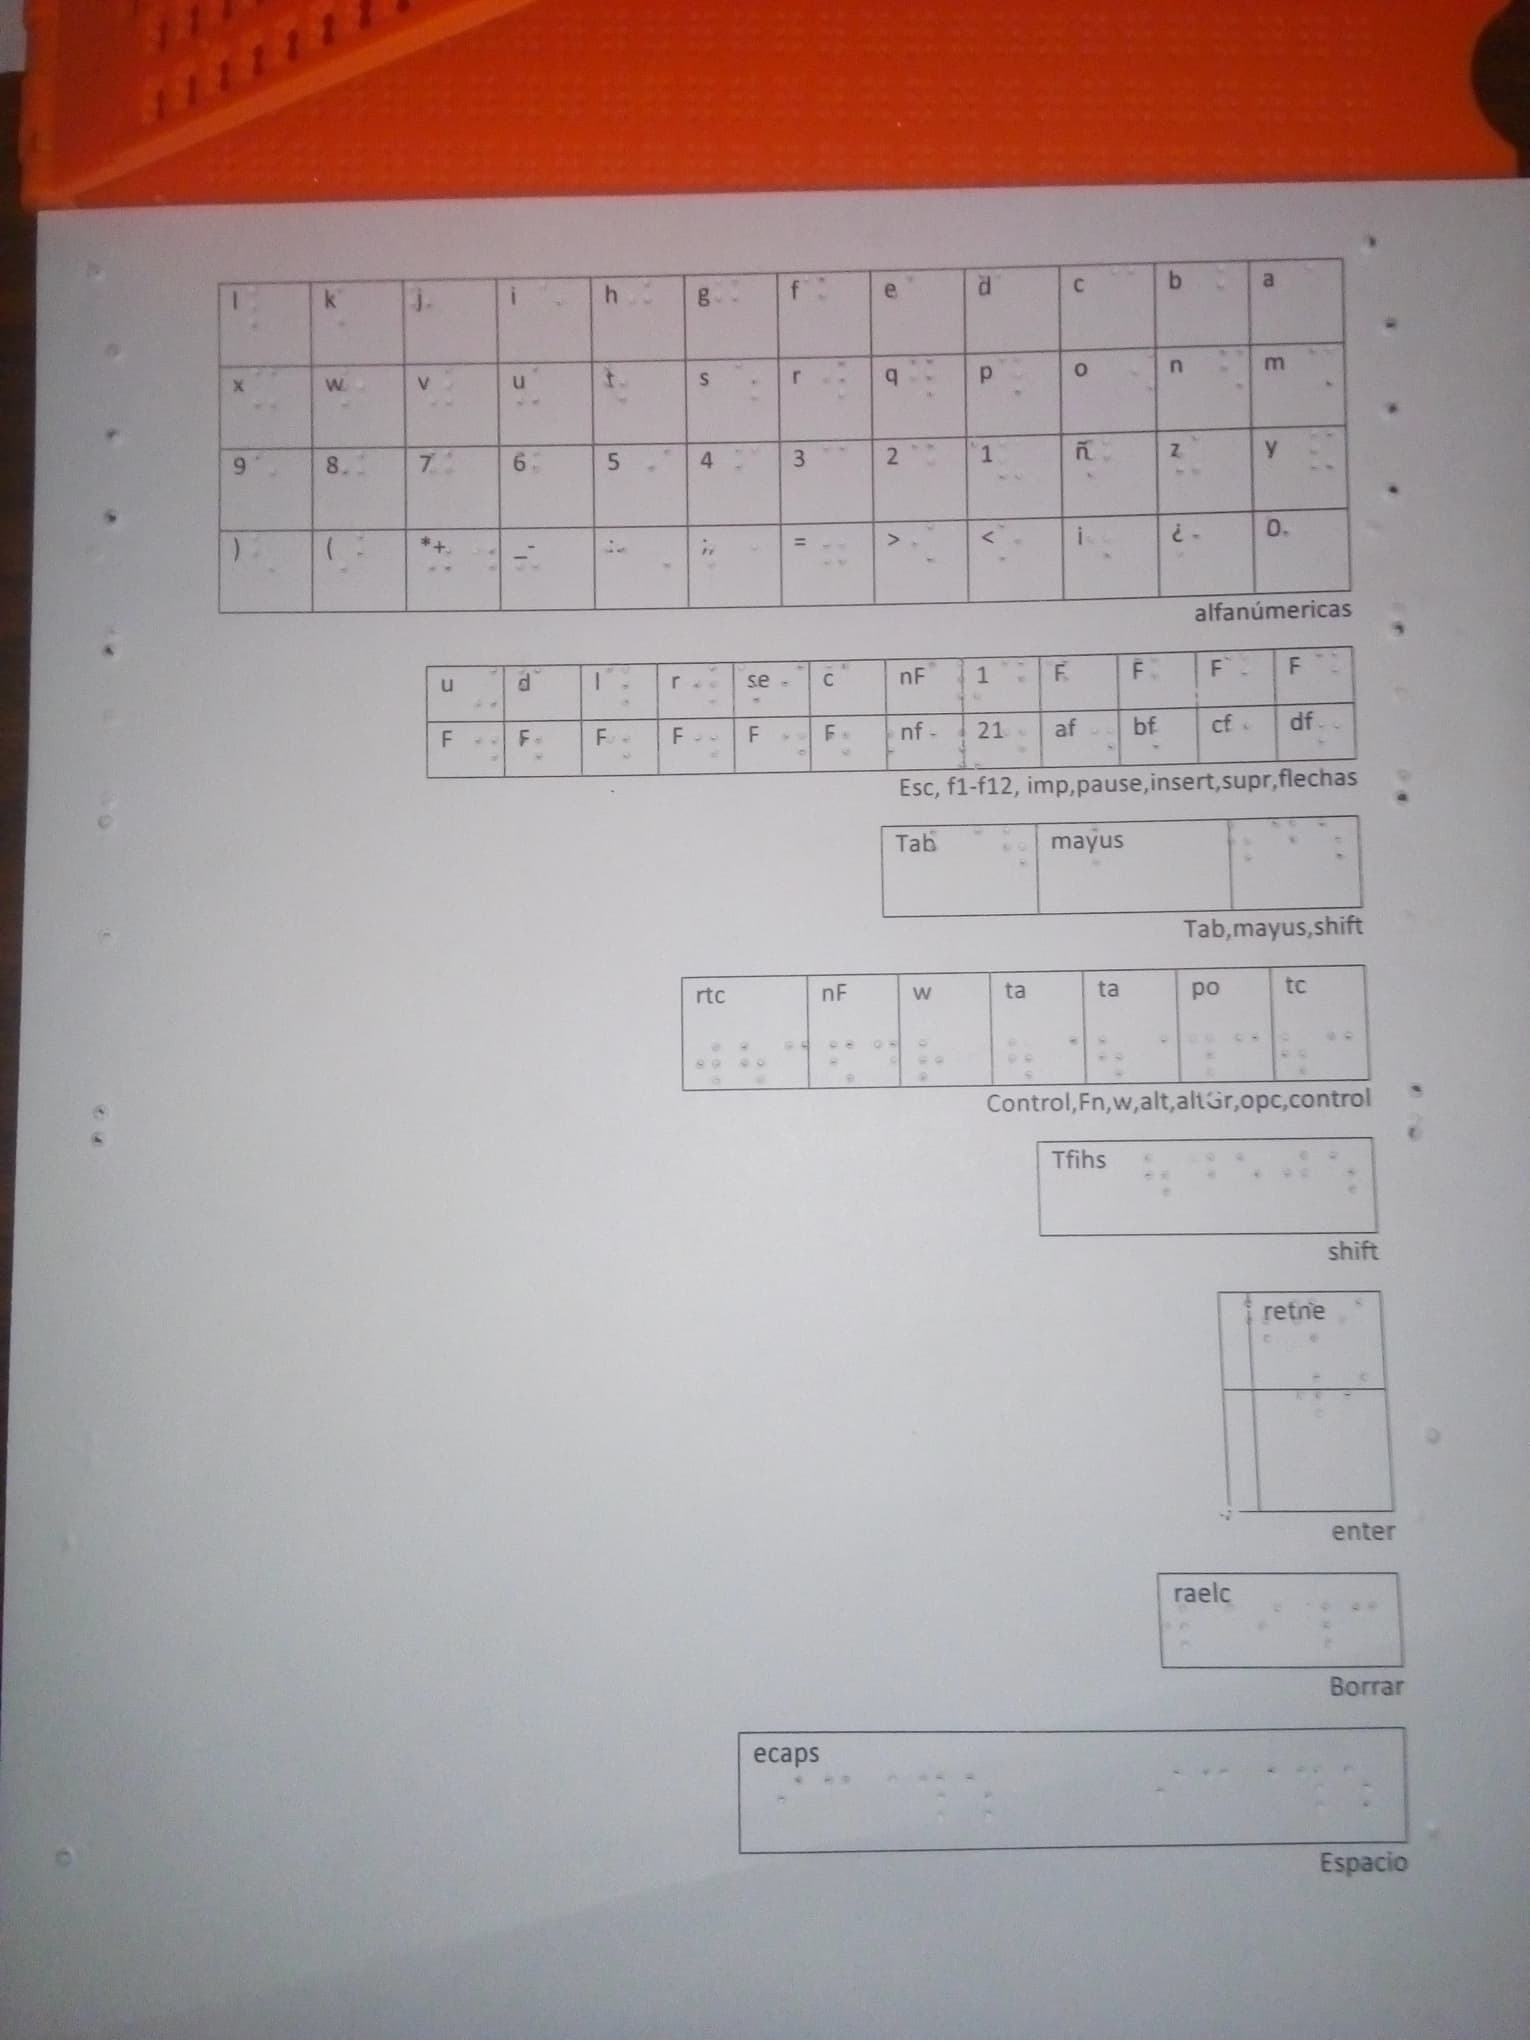

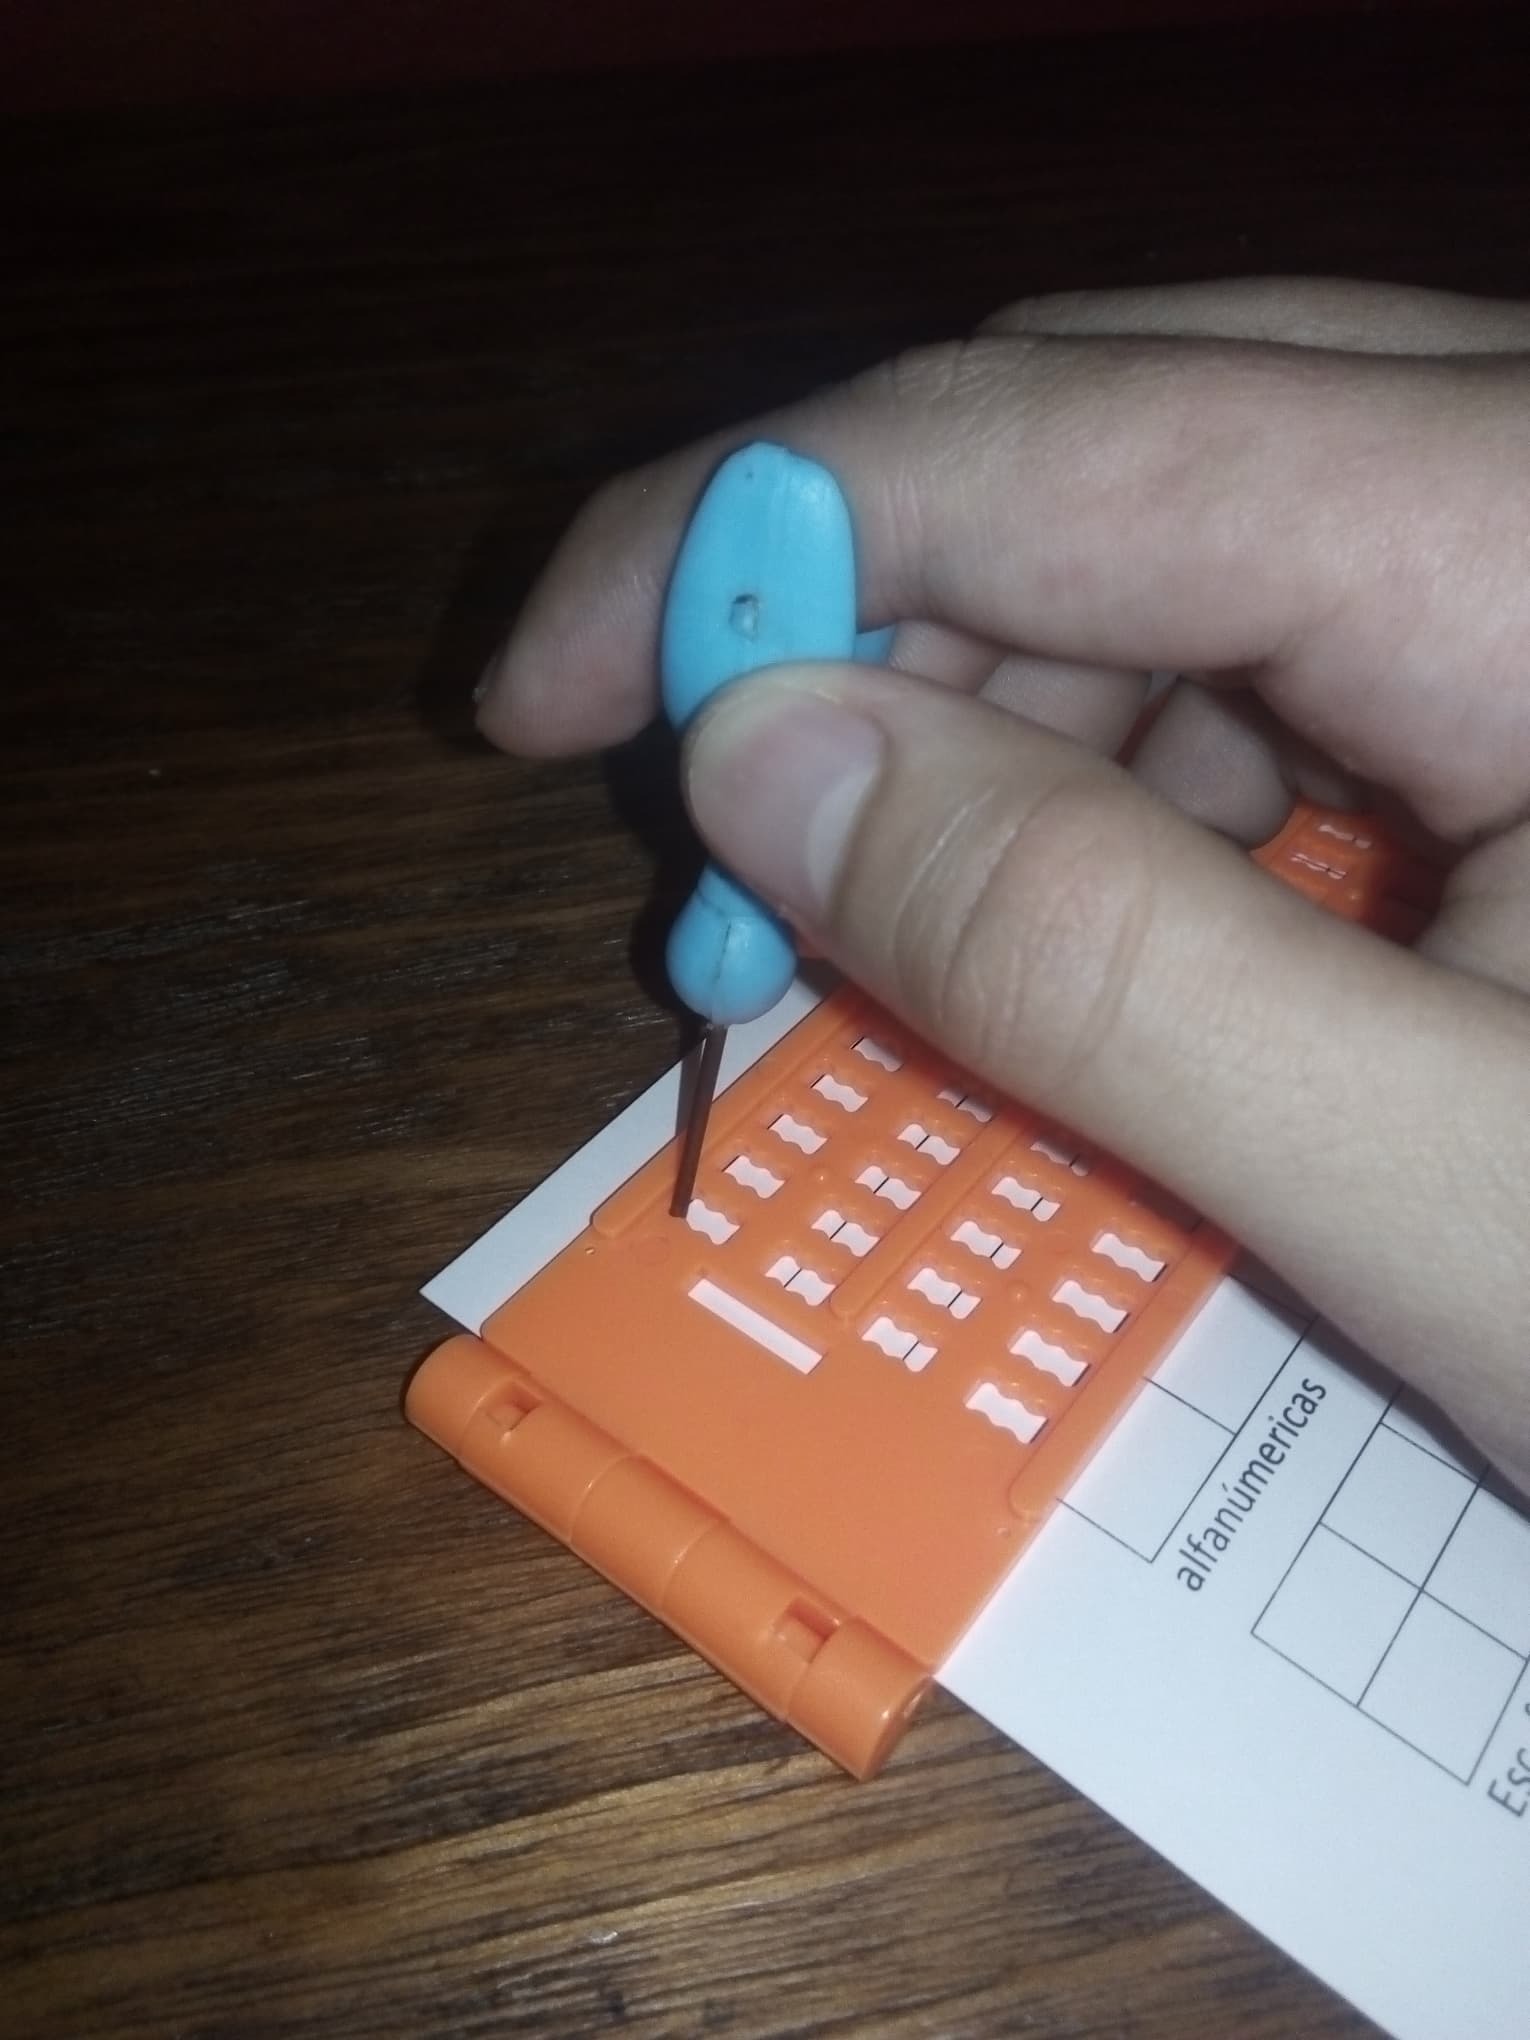
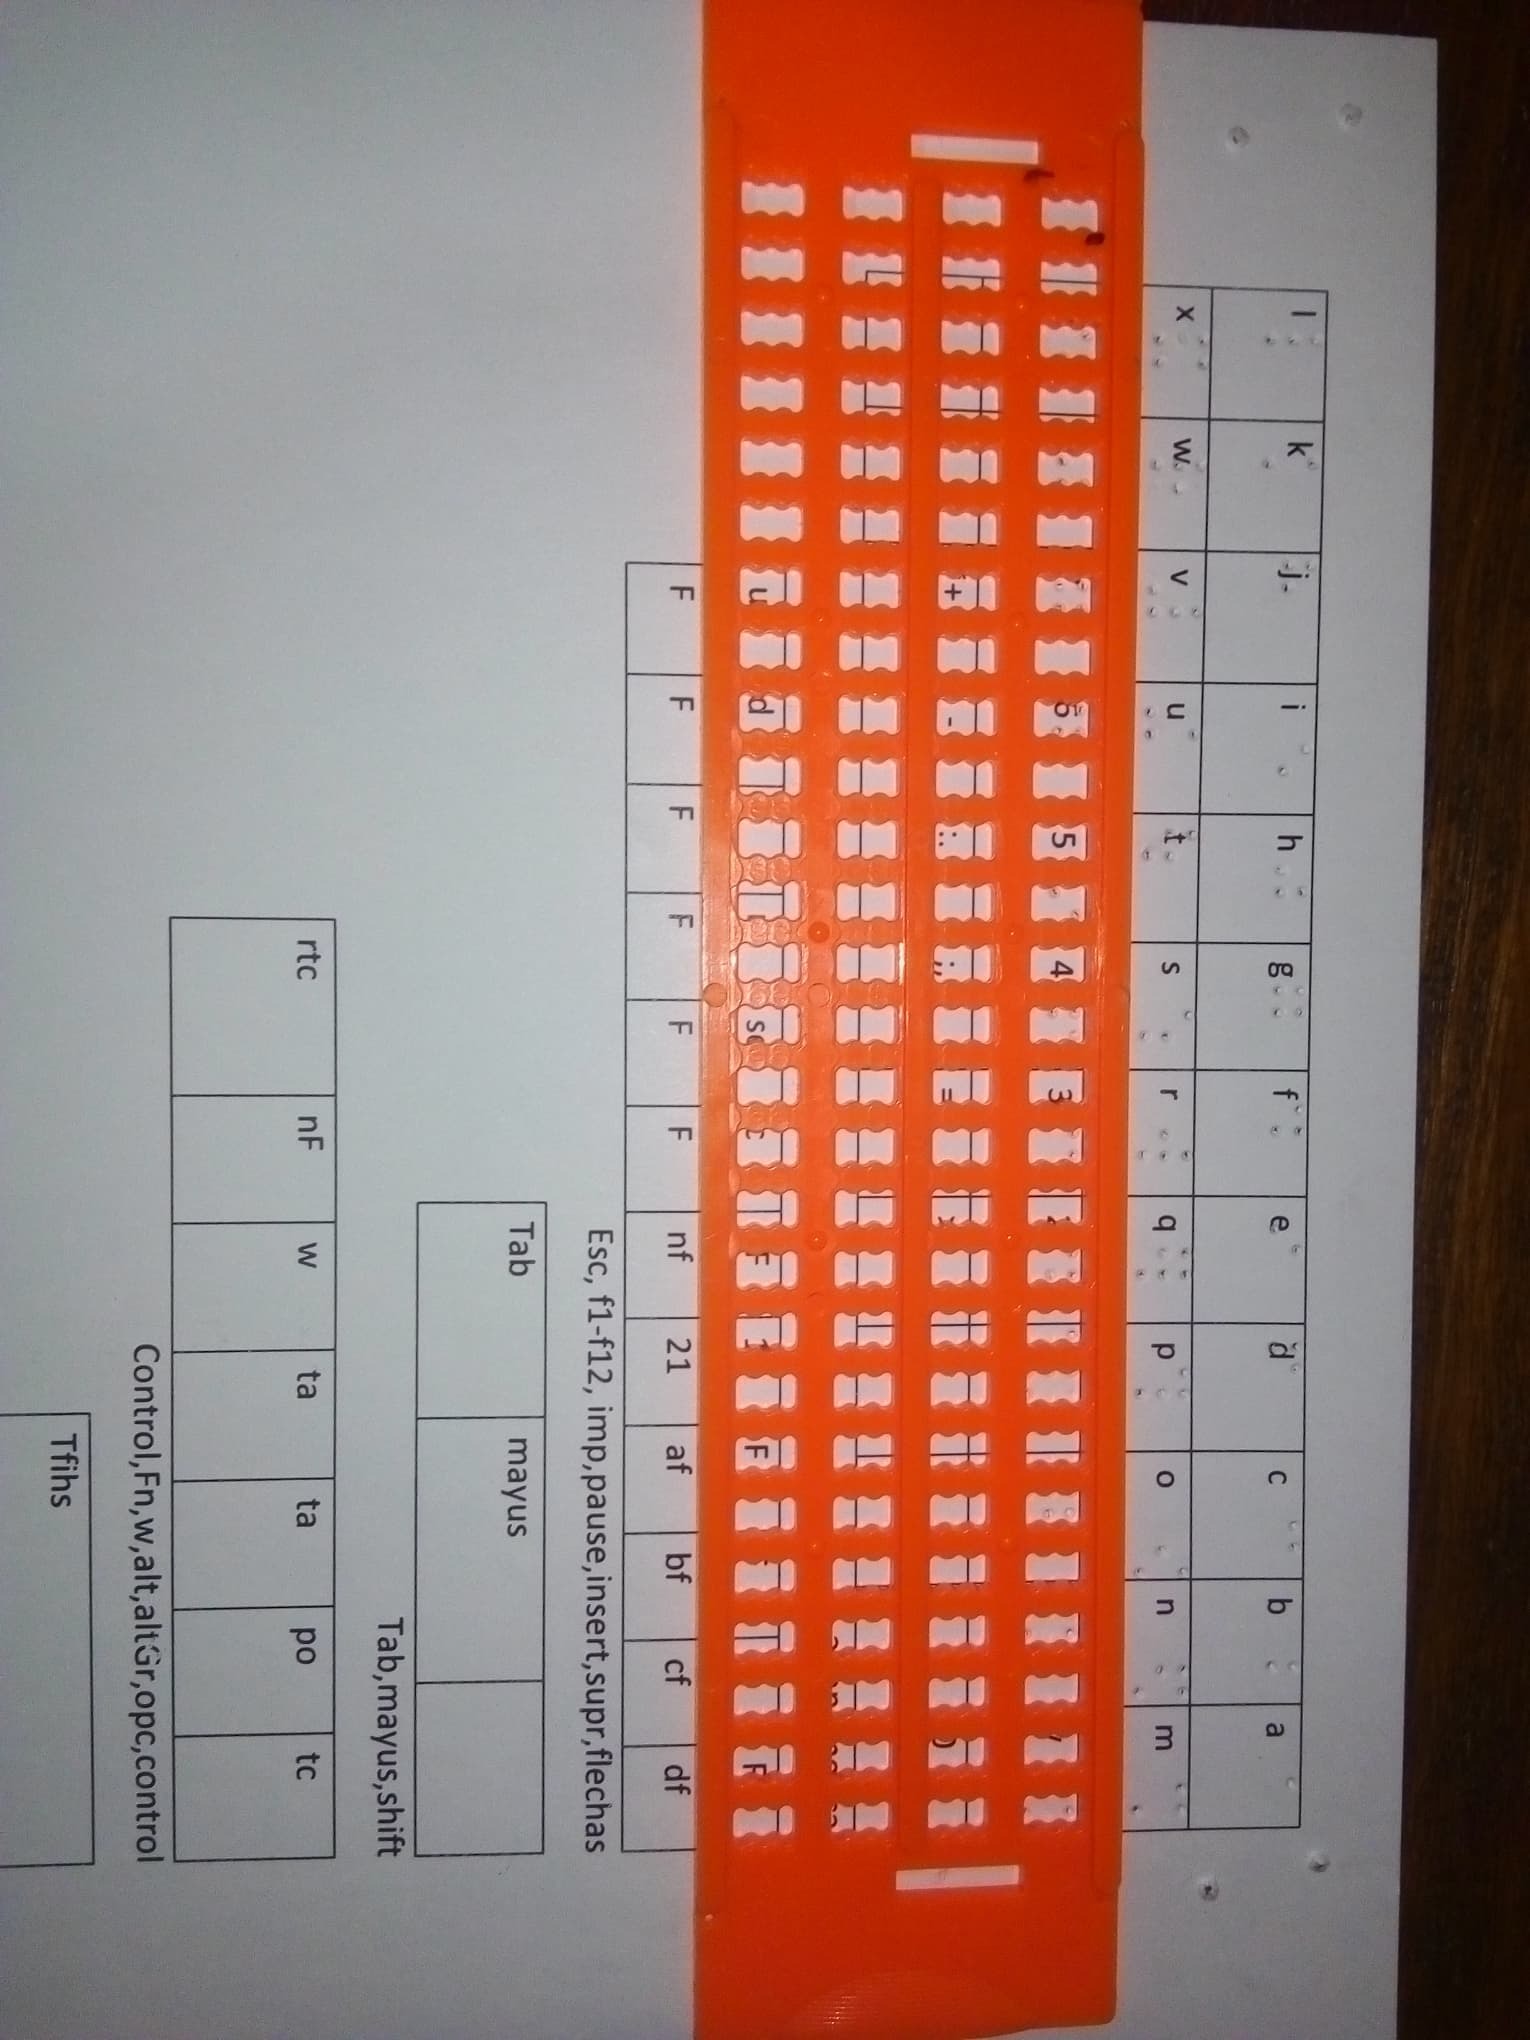
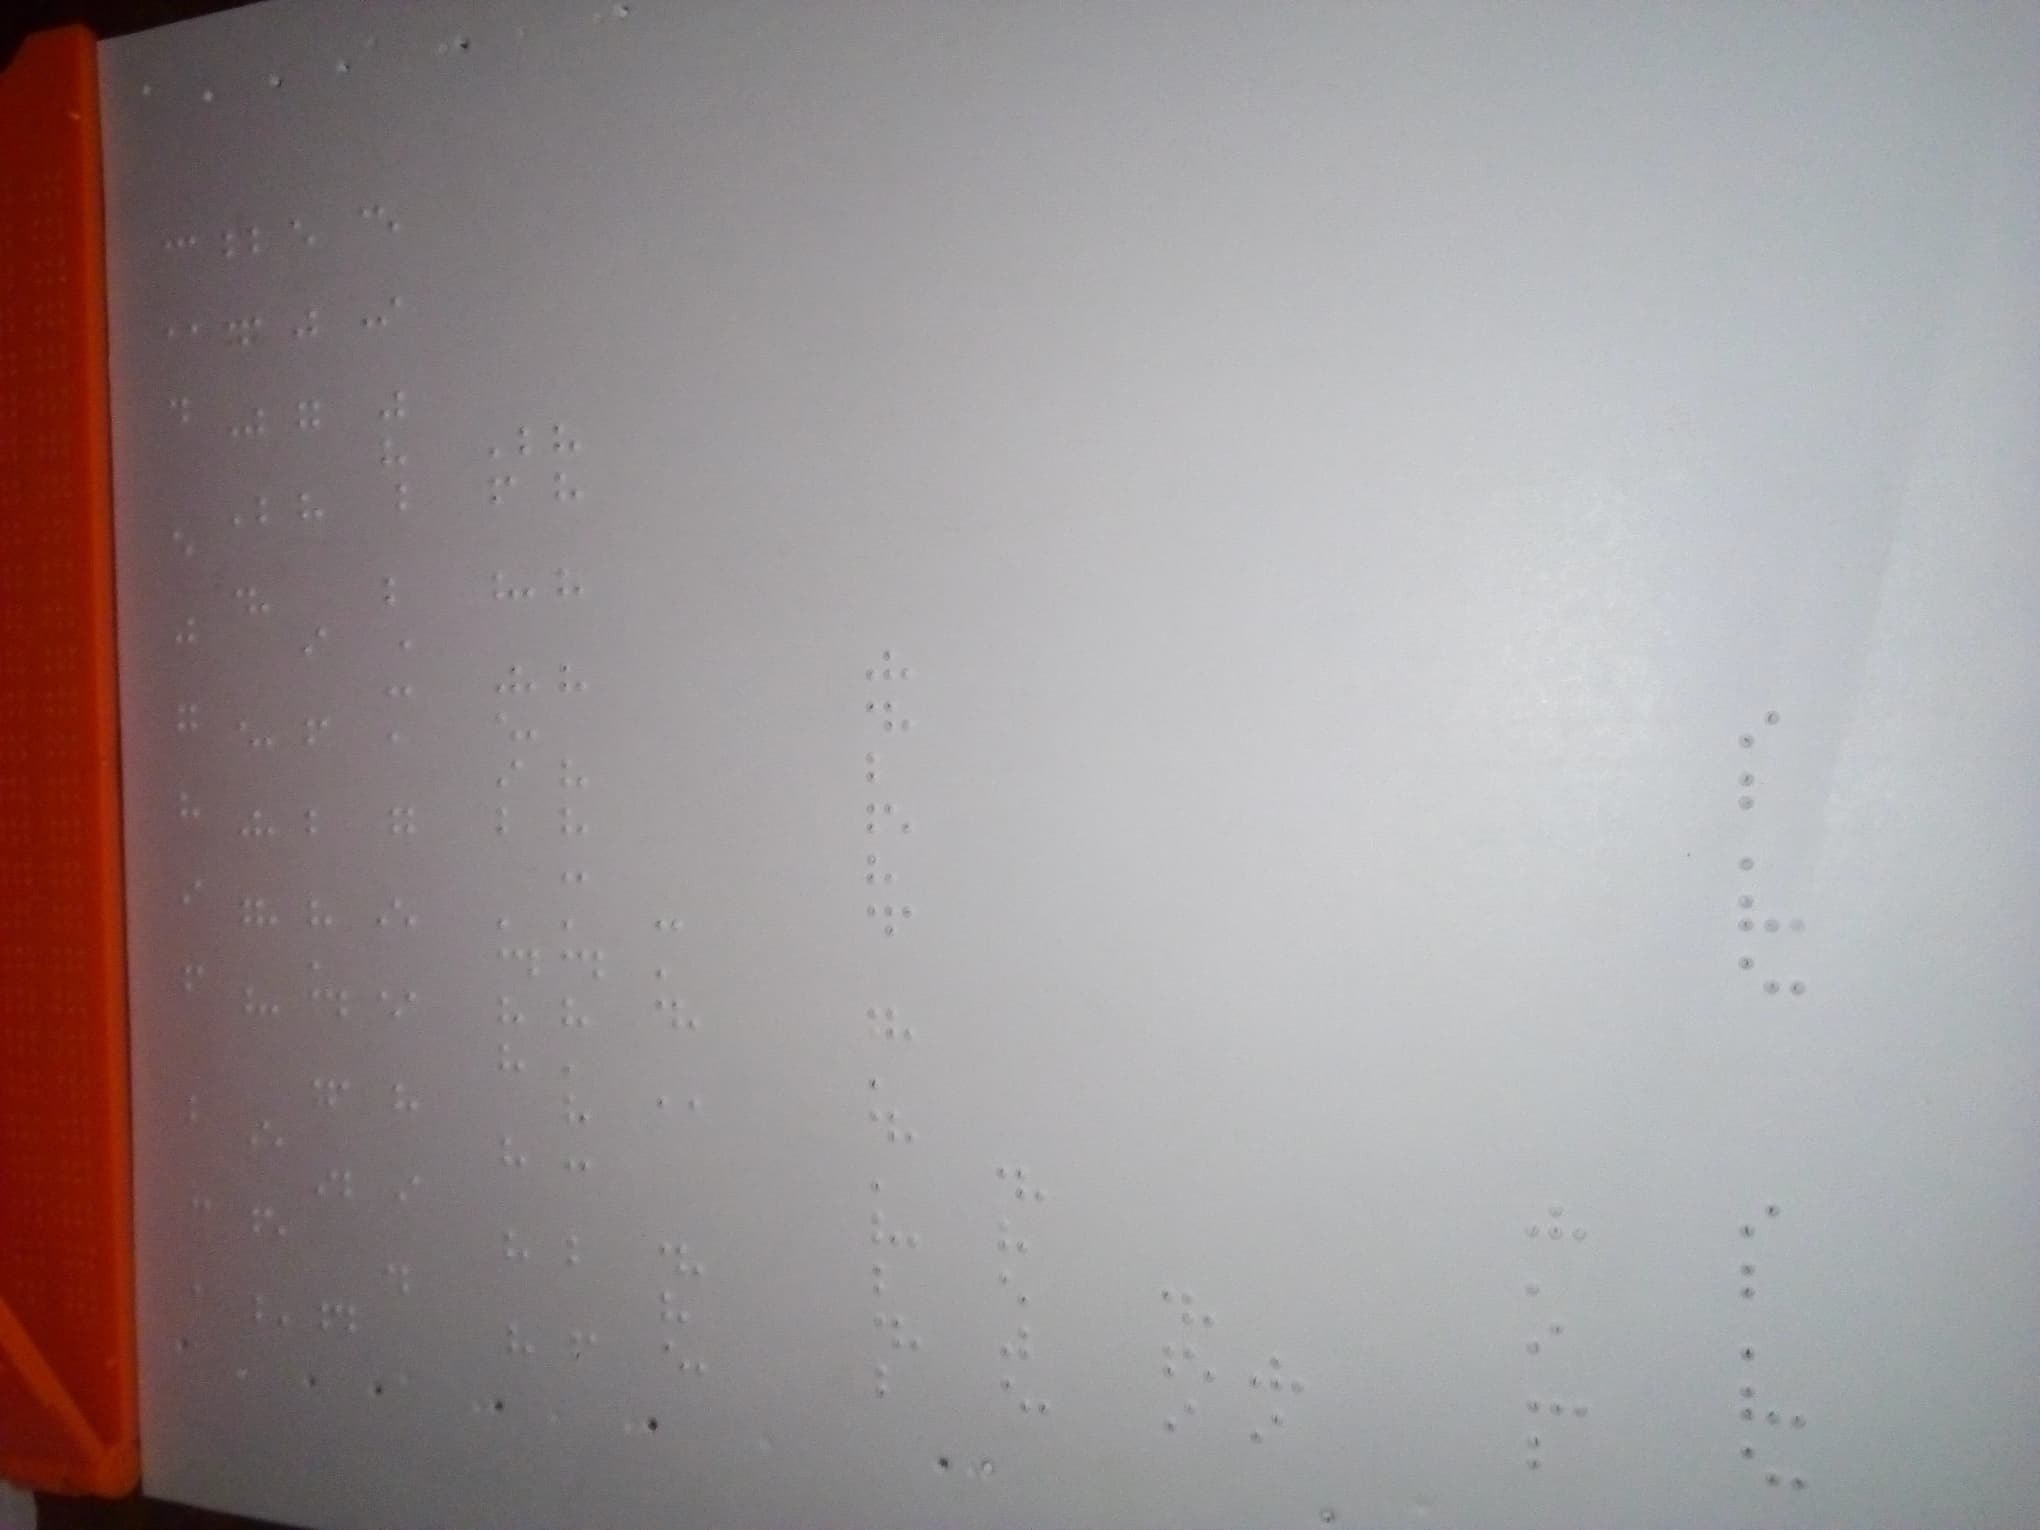
Once you have the margins printed on the sheets of A4, opaline or cardboard paper, you proceed to write within them the character or function that corresponds to it in Braille. For this, you will first start with the letters and numbers. Then with the special functions and finally with the keyboard tools.
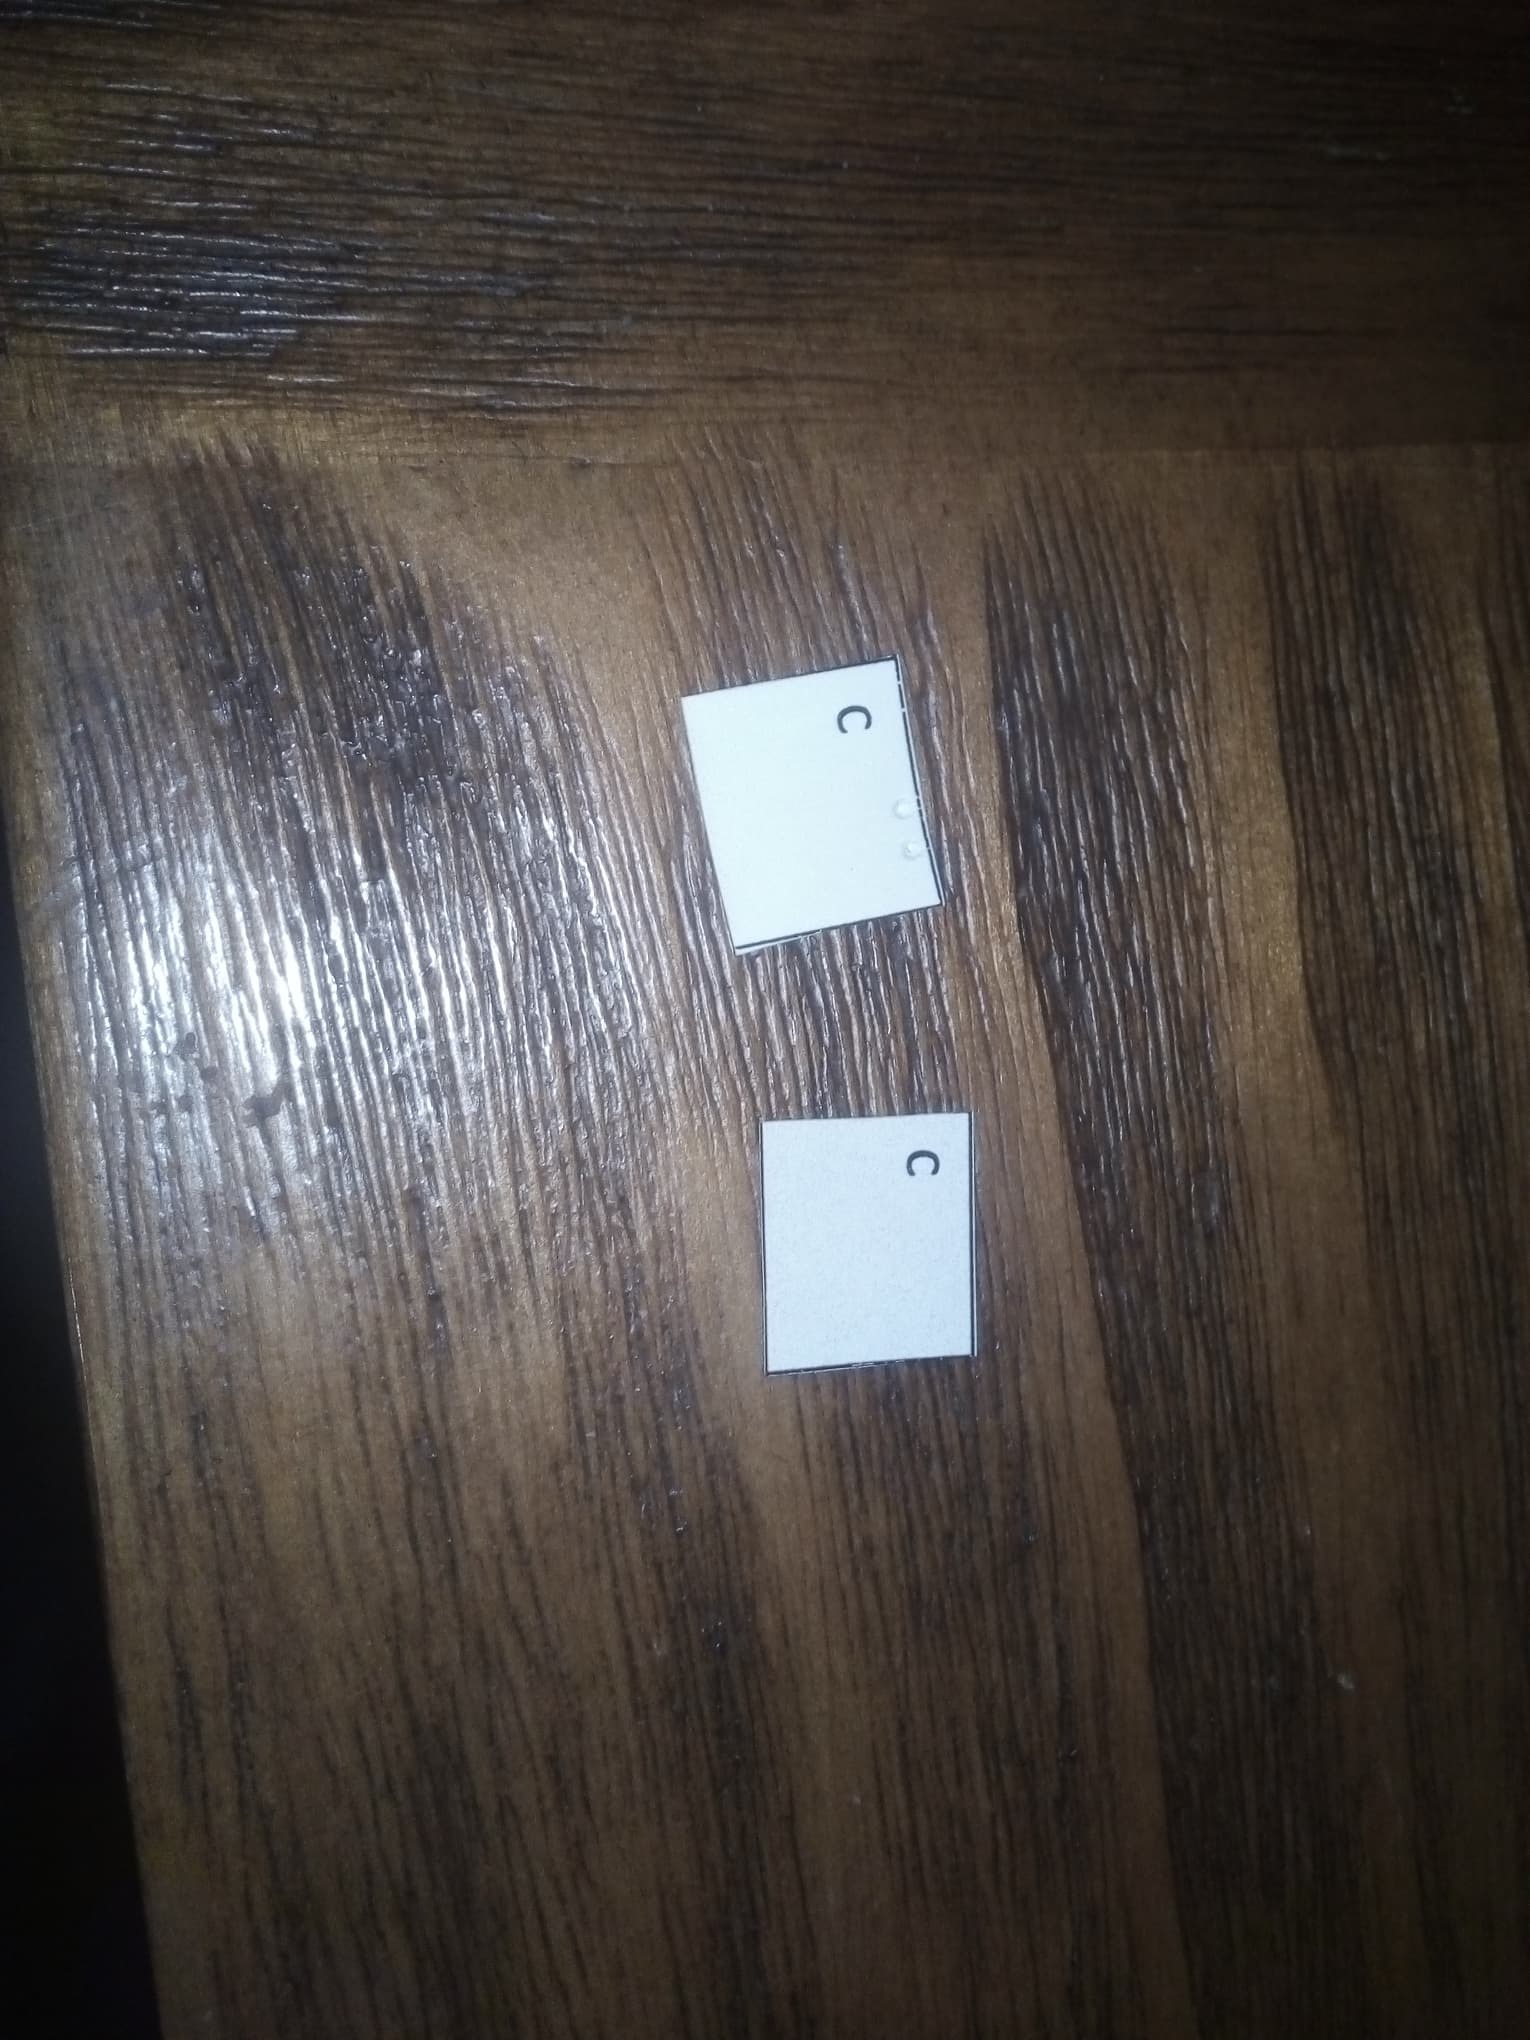
note: Braille writing is written from right to left and the squares are "mirrored"
Cut and Paste Stickers.
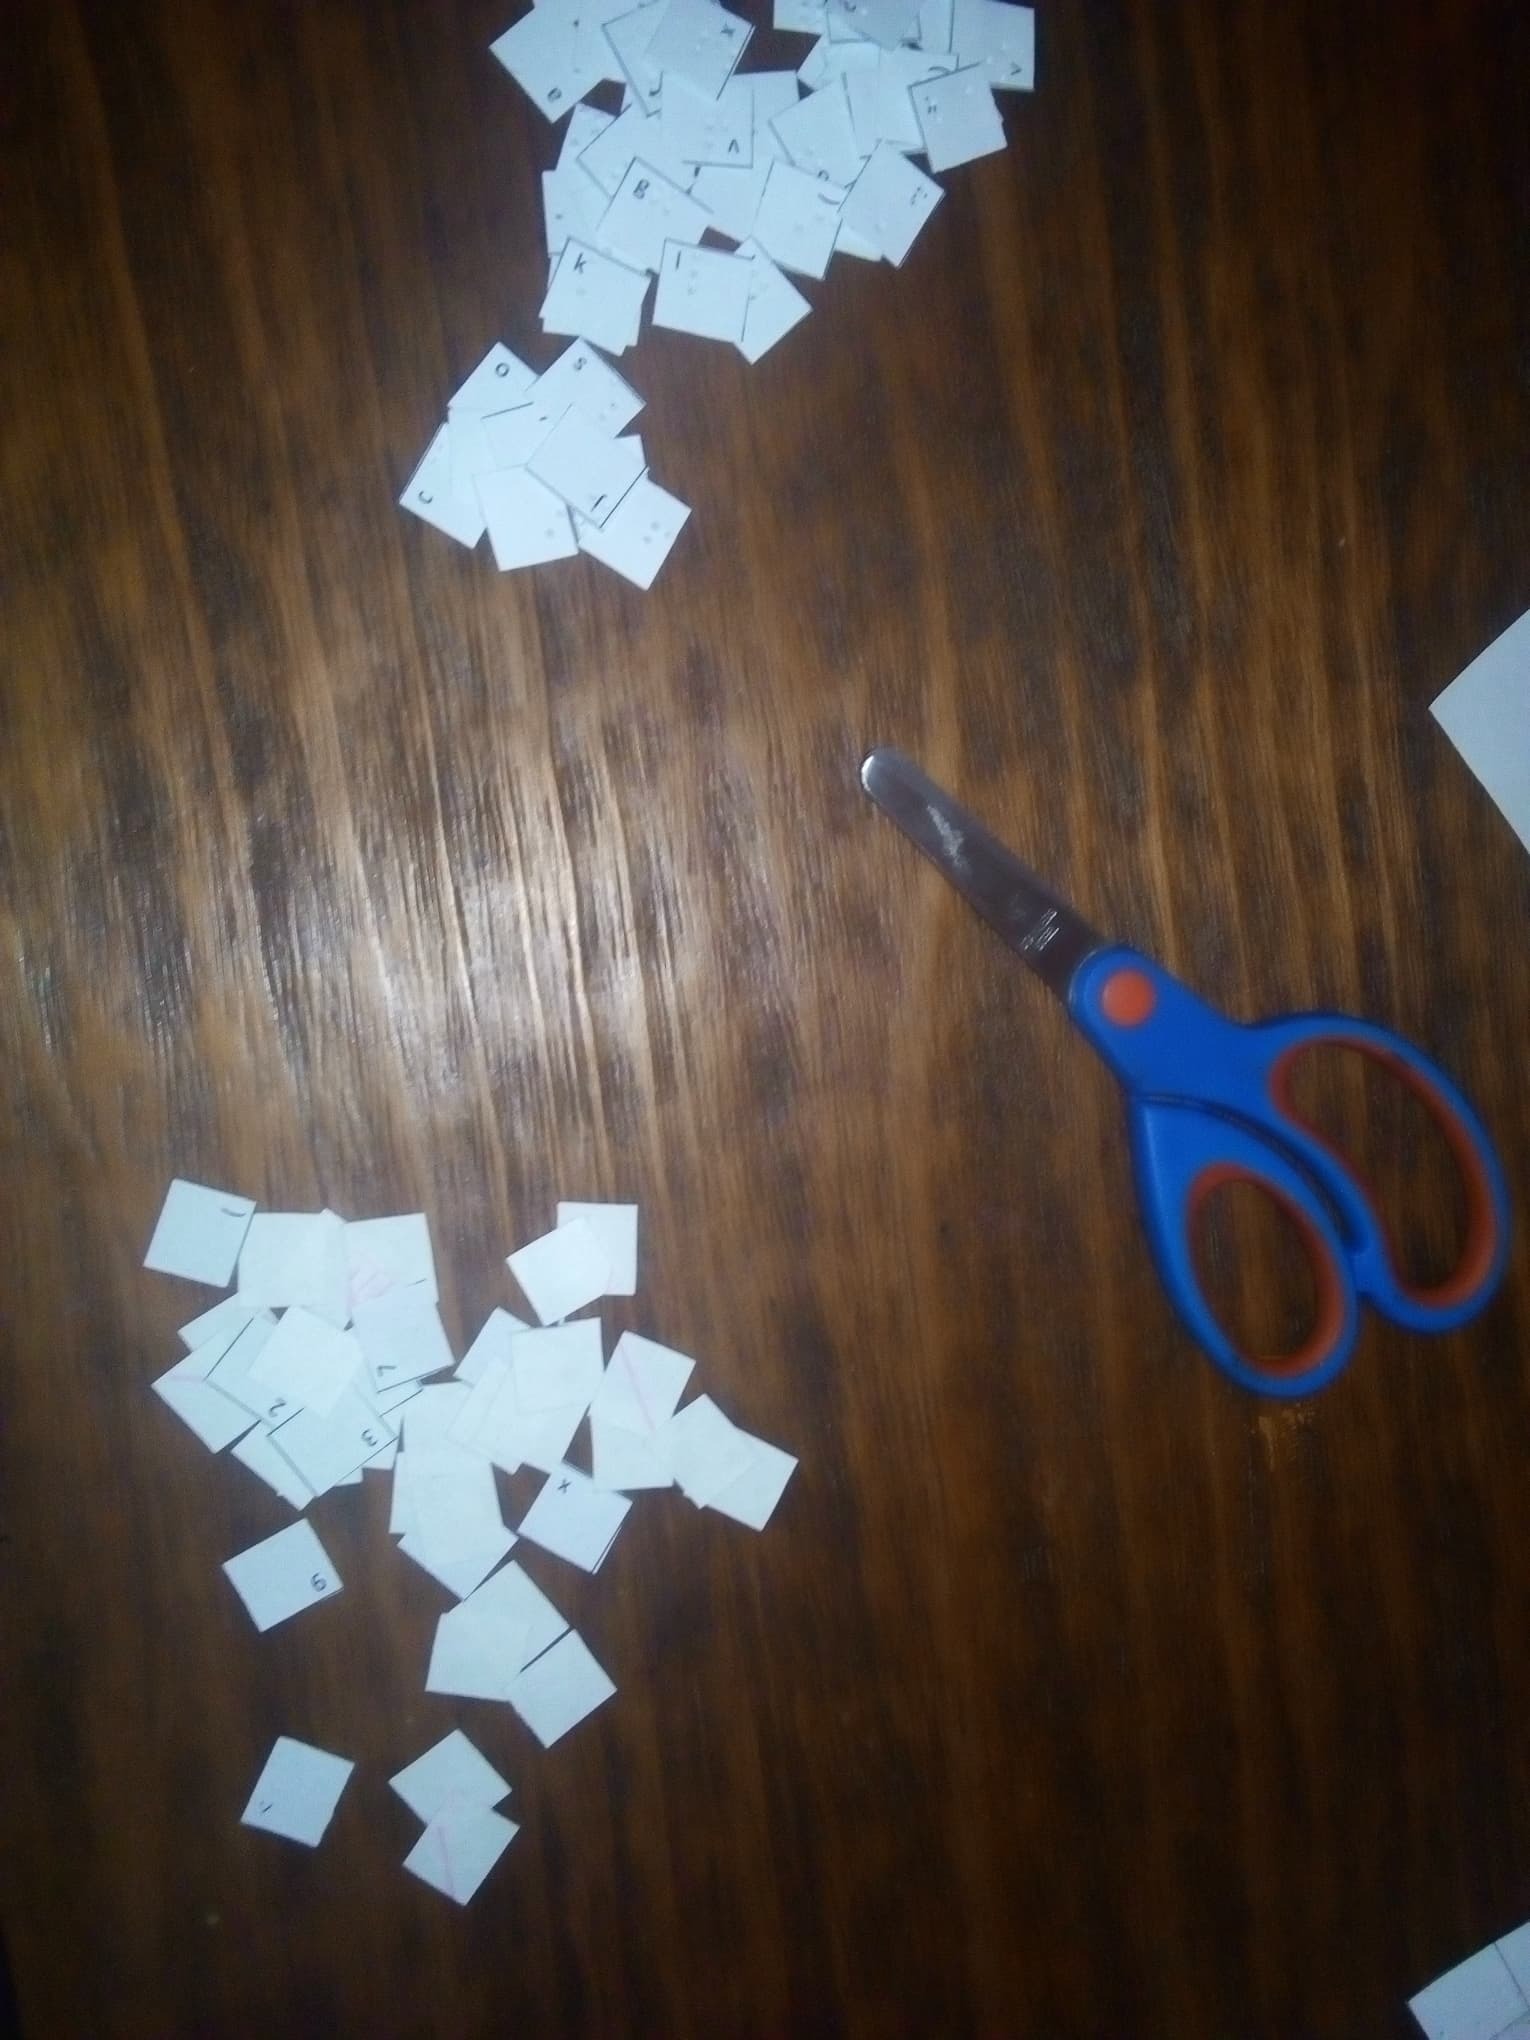
The margins will be printed again on the adhesive paper.
Now the key margins will be cut on the opaline paper and also on the adhesive paper. Once this is done with stick glue, the braille keys will be glued to the adhesive keys, ensuring that the sticking side of the adhesive paper is free.
Paste Stickers on the Keyboard
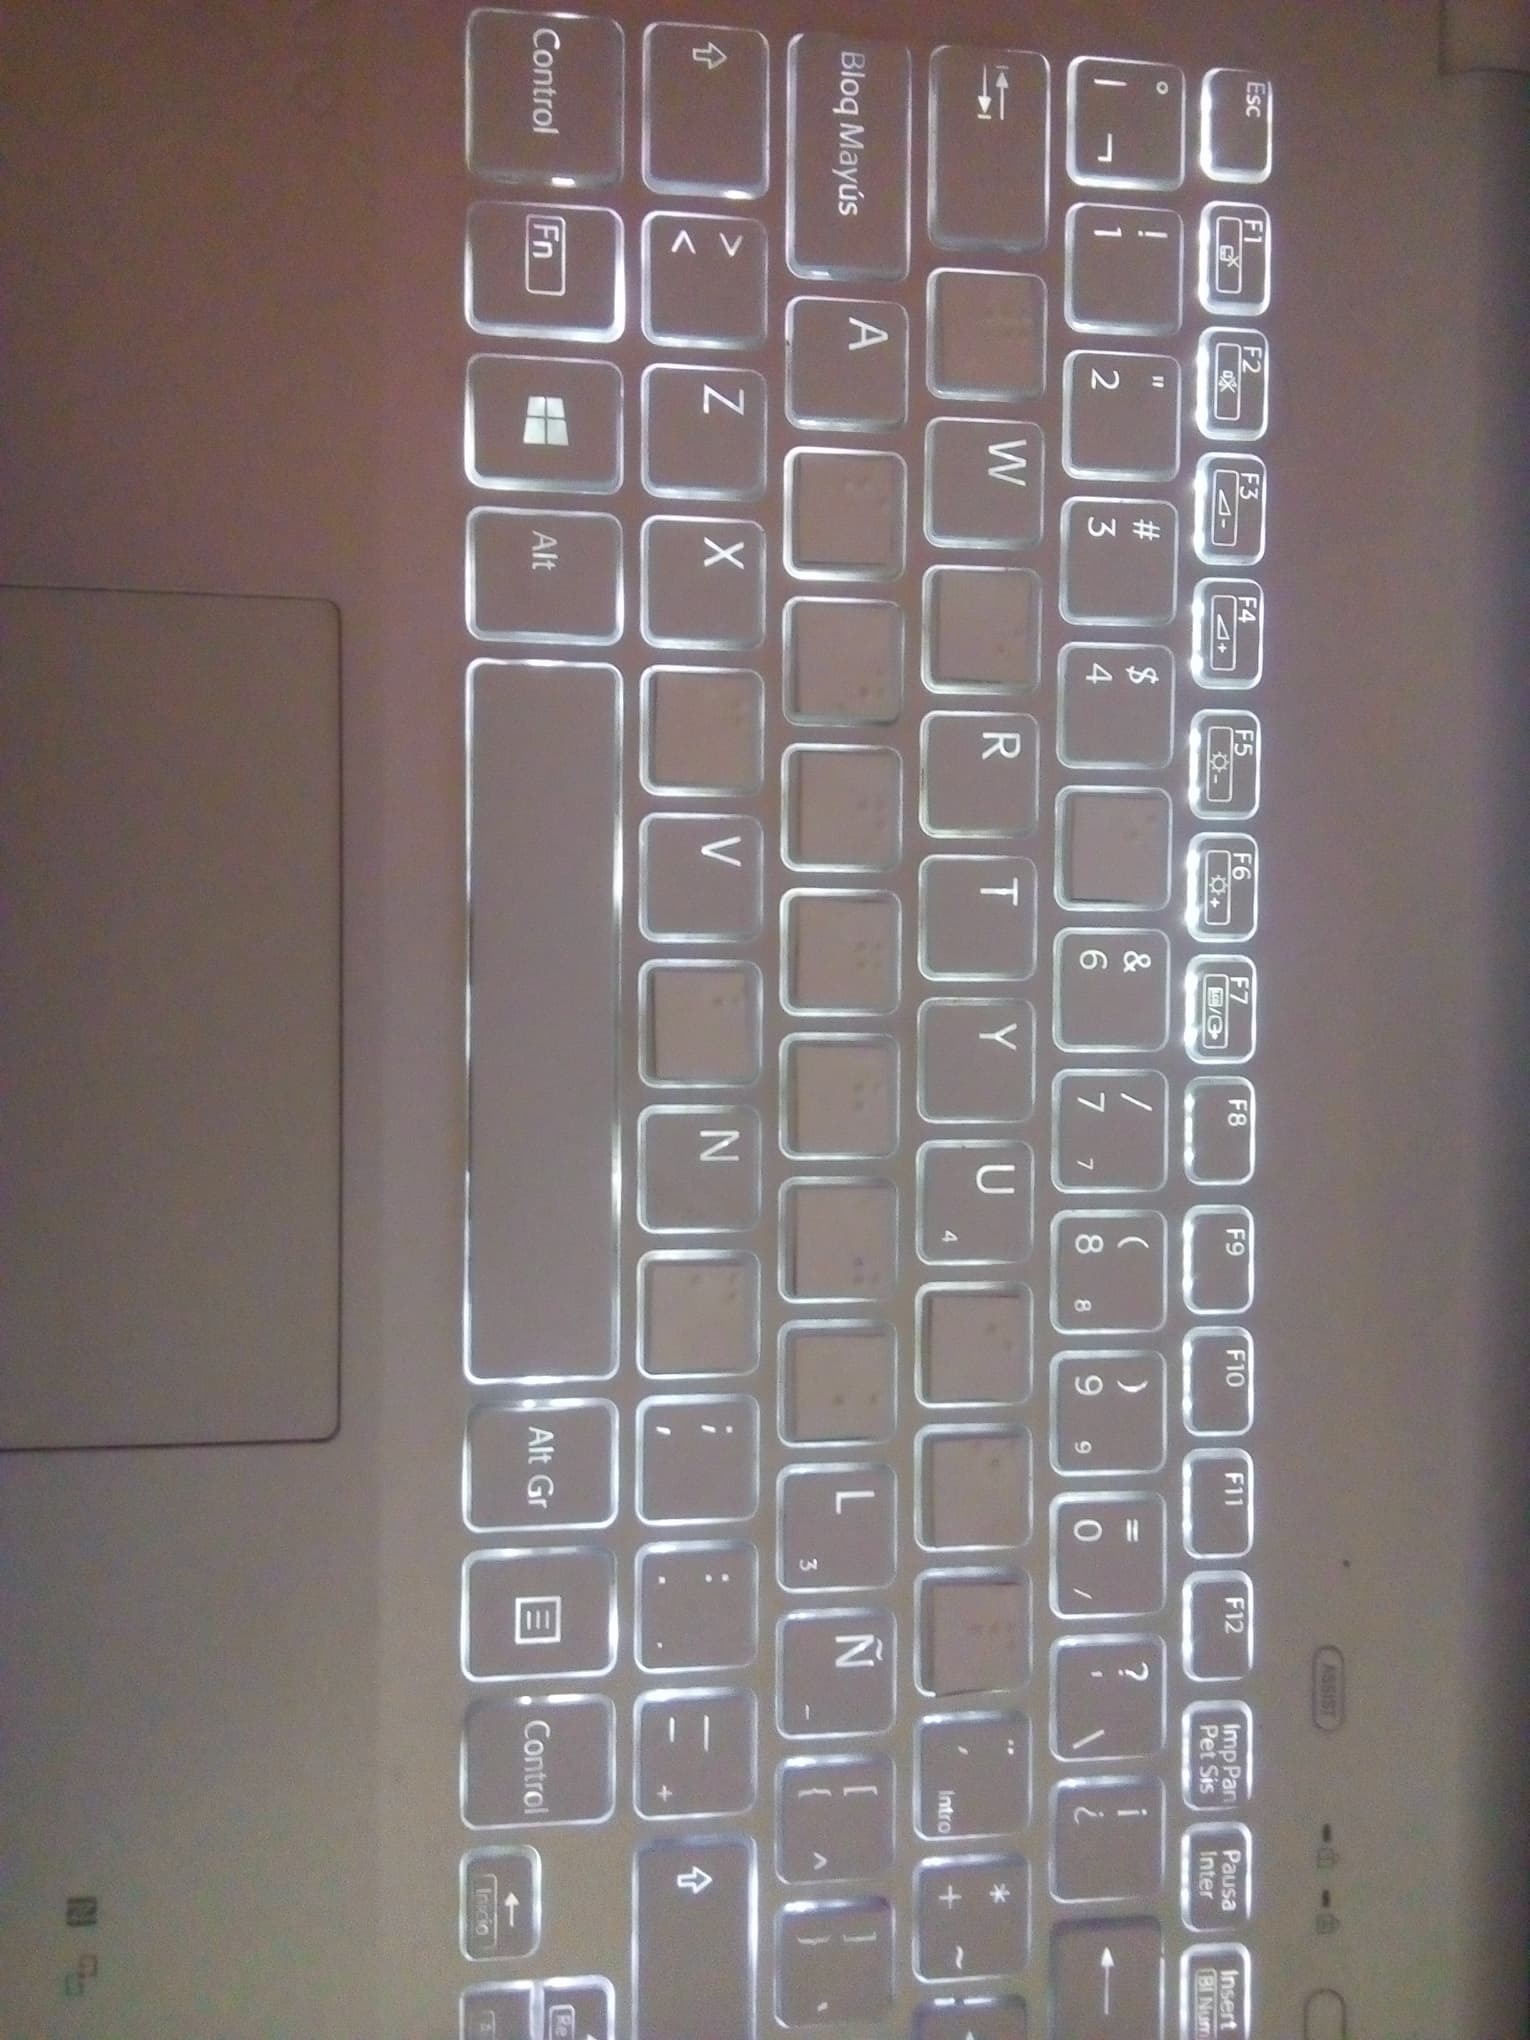
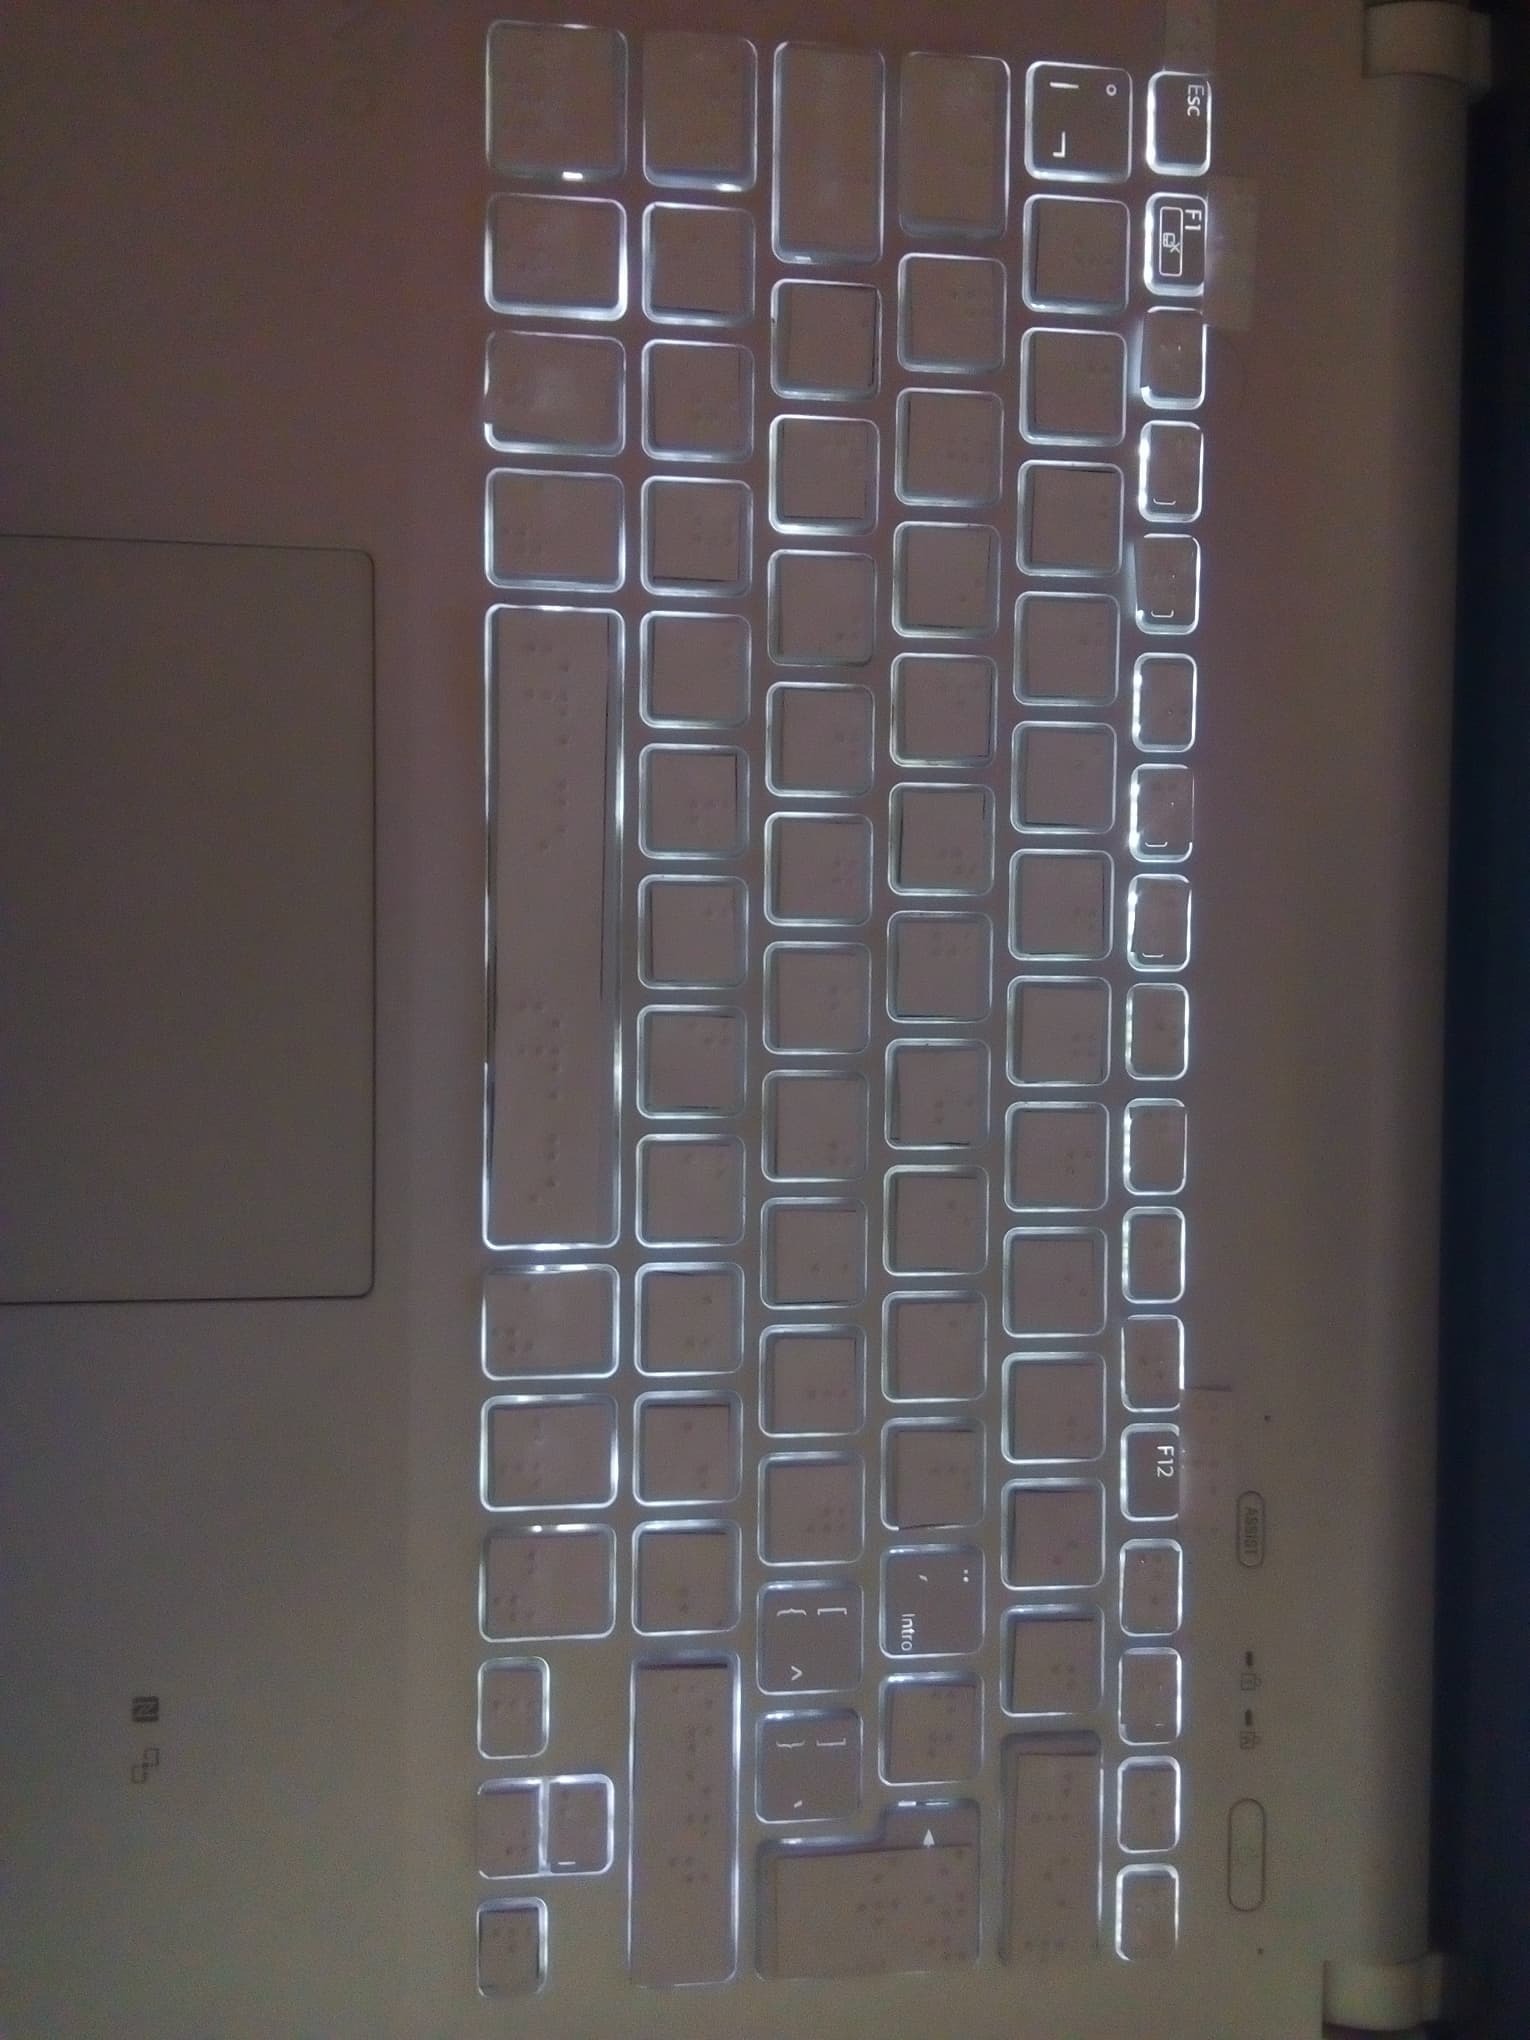

Now each key will be pasted where it belongs.
Activate Screen Reader
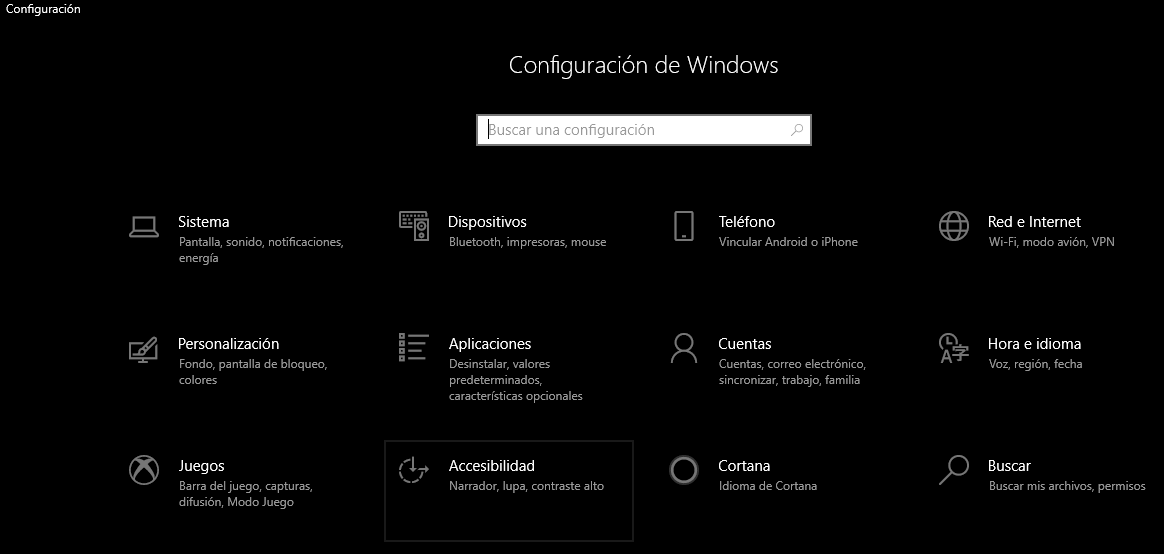
Finally, the screen reader will be activated so that people with different visual abilities can know what is happening on the computer and thus facilitate their navigation through it even more.
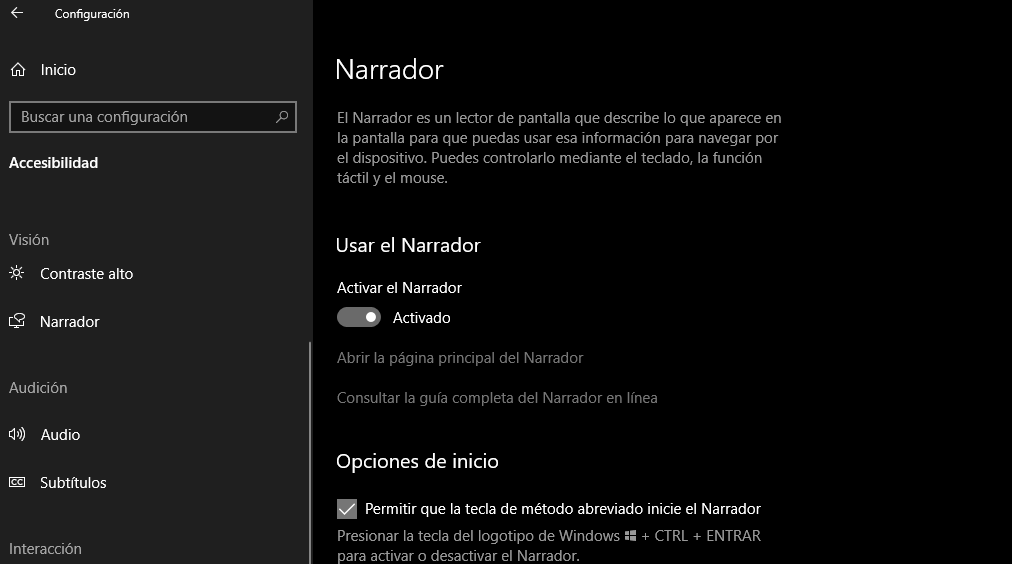
First we go to settings -> Accessibility -> Narrator and activate.
With this you can already navigate through keyboard commands on the computer and the reader will read everything that happens.
The end!