Box Mac & Cheese Stuffed Pretzels
1538 Views, 24 Favorites, 0 Comments
Box Mac & Cheese Stuffed Pretzels

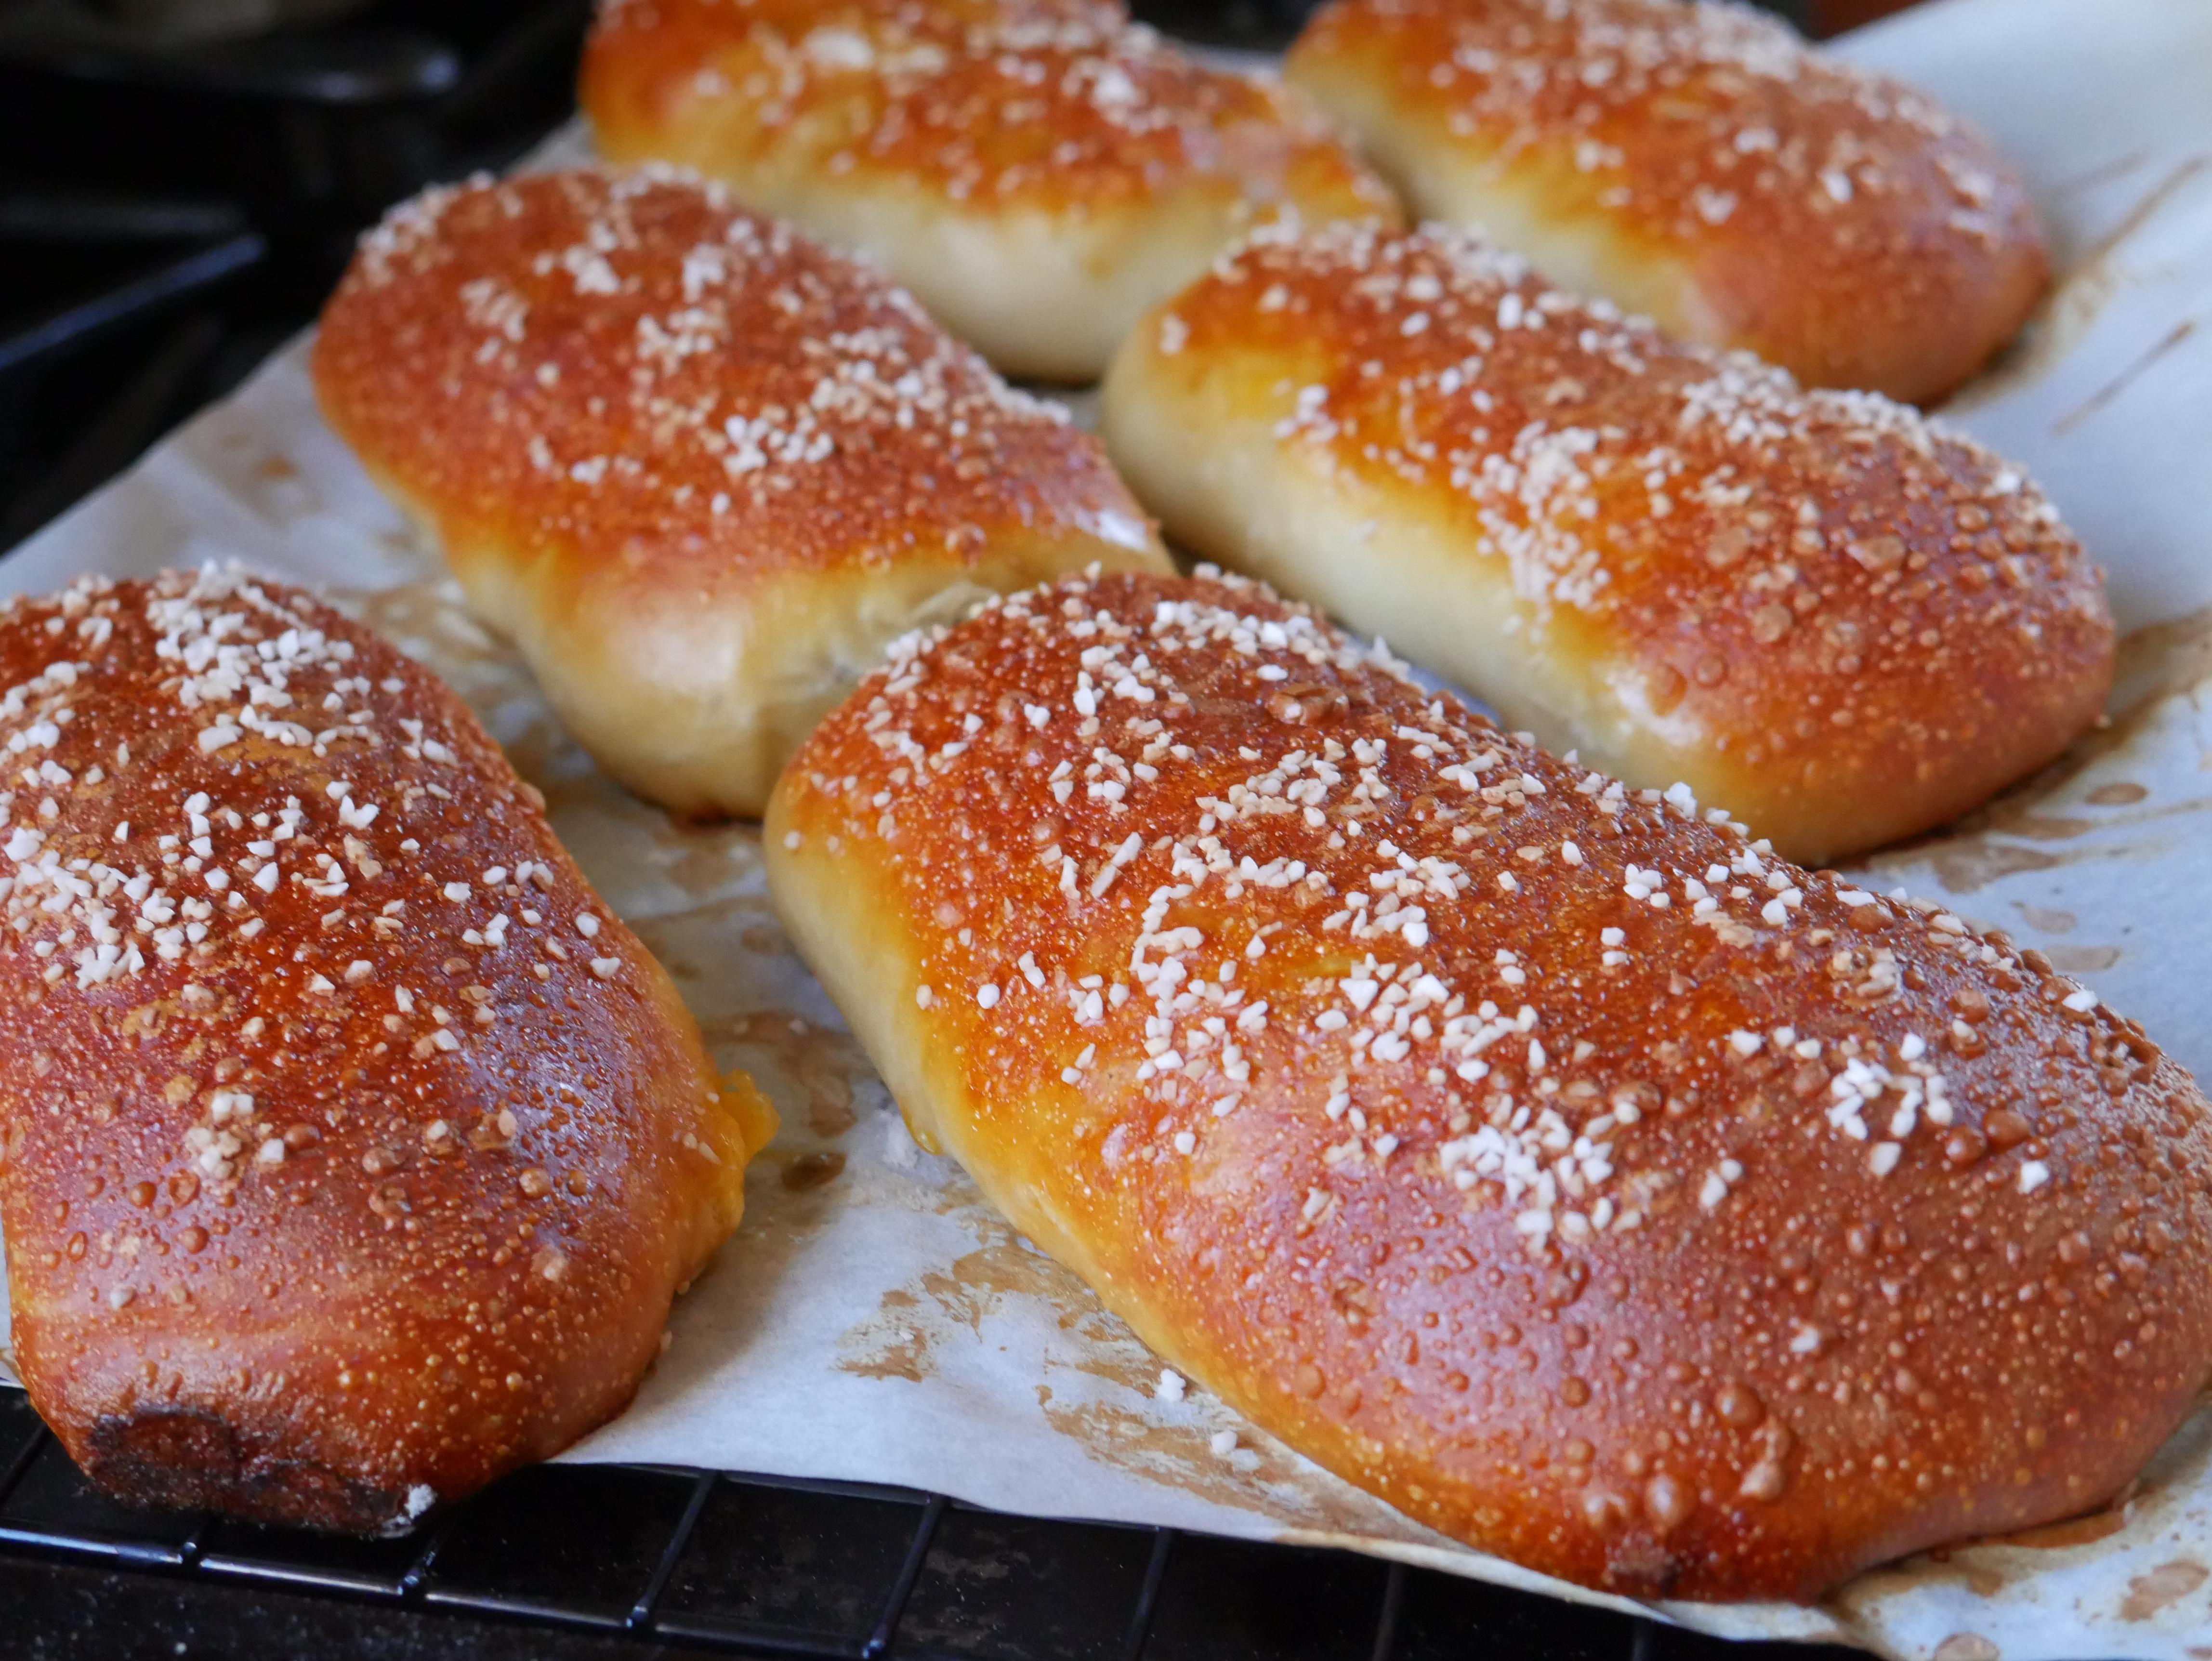
As a kid, I loved mac & cheese, but as I've gotten older, it has gotten decreasingly exciting. So I decided to fix that. What could make mac & cheese an exciting food again? Eating it in a pretzel! Putting boring boxed mac & cheese in a pretzel with cheese and benevolent bacon is the perfect solution to make mac & cheese fun and exciting. In this recipe, I'll show you how to make pretzels that are filled with mac & cheese, shredded cheese, and any meat of your choosing.
Total Time: ~2 hours
Makes: 6-8 stuffed pretzels (enough for about 4 people)
Supplies
Ingredients:
For the Filling and Topping:
- 1 box of mac & cheese
- 1½ cup shredded cheddar cheese
- ~8 slices of bacon or any other meat filling(optional)*
- Pretzel Salt for sprinkling
- Melted Butter for brushing
For the Pretzel Dough:
- 2 ½ cups bread flour (365g)
- 1 packet active dry yeast (7g)
- 3 tablespoons + 1 teaspoon sugar divided (45g+8g)
- ½ tablespoon vegetable oil (8g)
- 1 teaspoon salt (7g)
- ¾ cup + 2 tablespoons lukewarm water (210g)
**For the Lye Solution:
- 2 cups water (472 g)
- 3 teaspoons lye(sodium hydroxide) (19g)
**For the Baking Soda Solution(Alternative to lye solution):
- 9 cups water
- ½ cup baking soda
*I used Sweet Earth Benevolent Bacon to make this recipe vegetarian, this is optional but I highly recommend trying it.
**When making this recipe you can choose between a lye solution or a baking soda solution to give the pretzels their sheen. When you get to the lye and baking soda steps(steps 7 and 8), only do one or the other, not both. Although I recommend the lye method more, it is more dangerous so it is ok to go the alternative route. If you choose to use lye, you will not need baking soda and if you chose to use baking soda, you will not need lye.
Tools and Equipment:
- Stand Mixer (you may also knead by hand)
- Plastic or Stainless steel Mixing Bowls
- Sheet Tray
- Parchment Paper
- Plastic Wrap
- Medium Sauce Pan
- Skillet or Non-Stick Pan
- Cutting Board
- Rolling Pin
- Measuring and Mixing Utensils
- Oven
- Gloves
- Safety goggles or face shield
- Face Mask
Making the Pretzel Dough



.JPG)
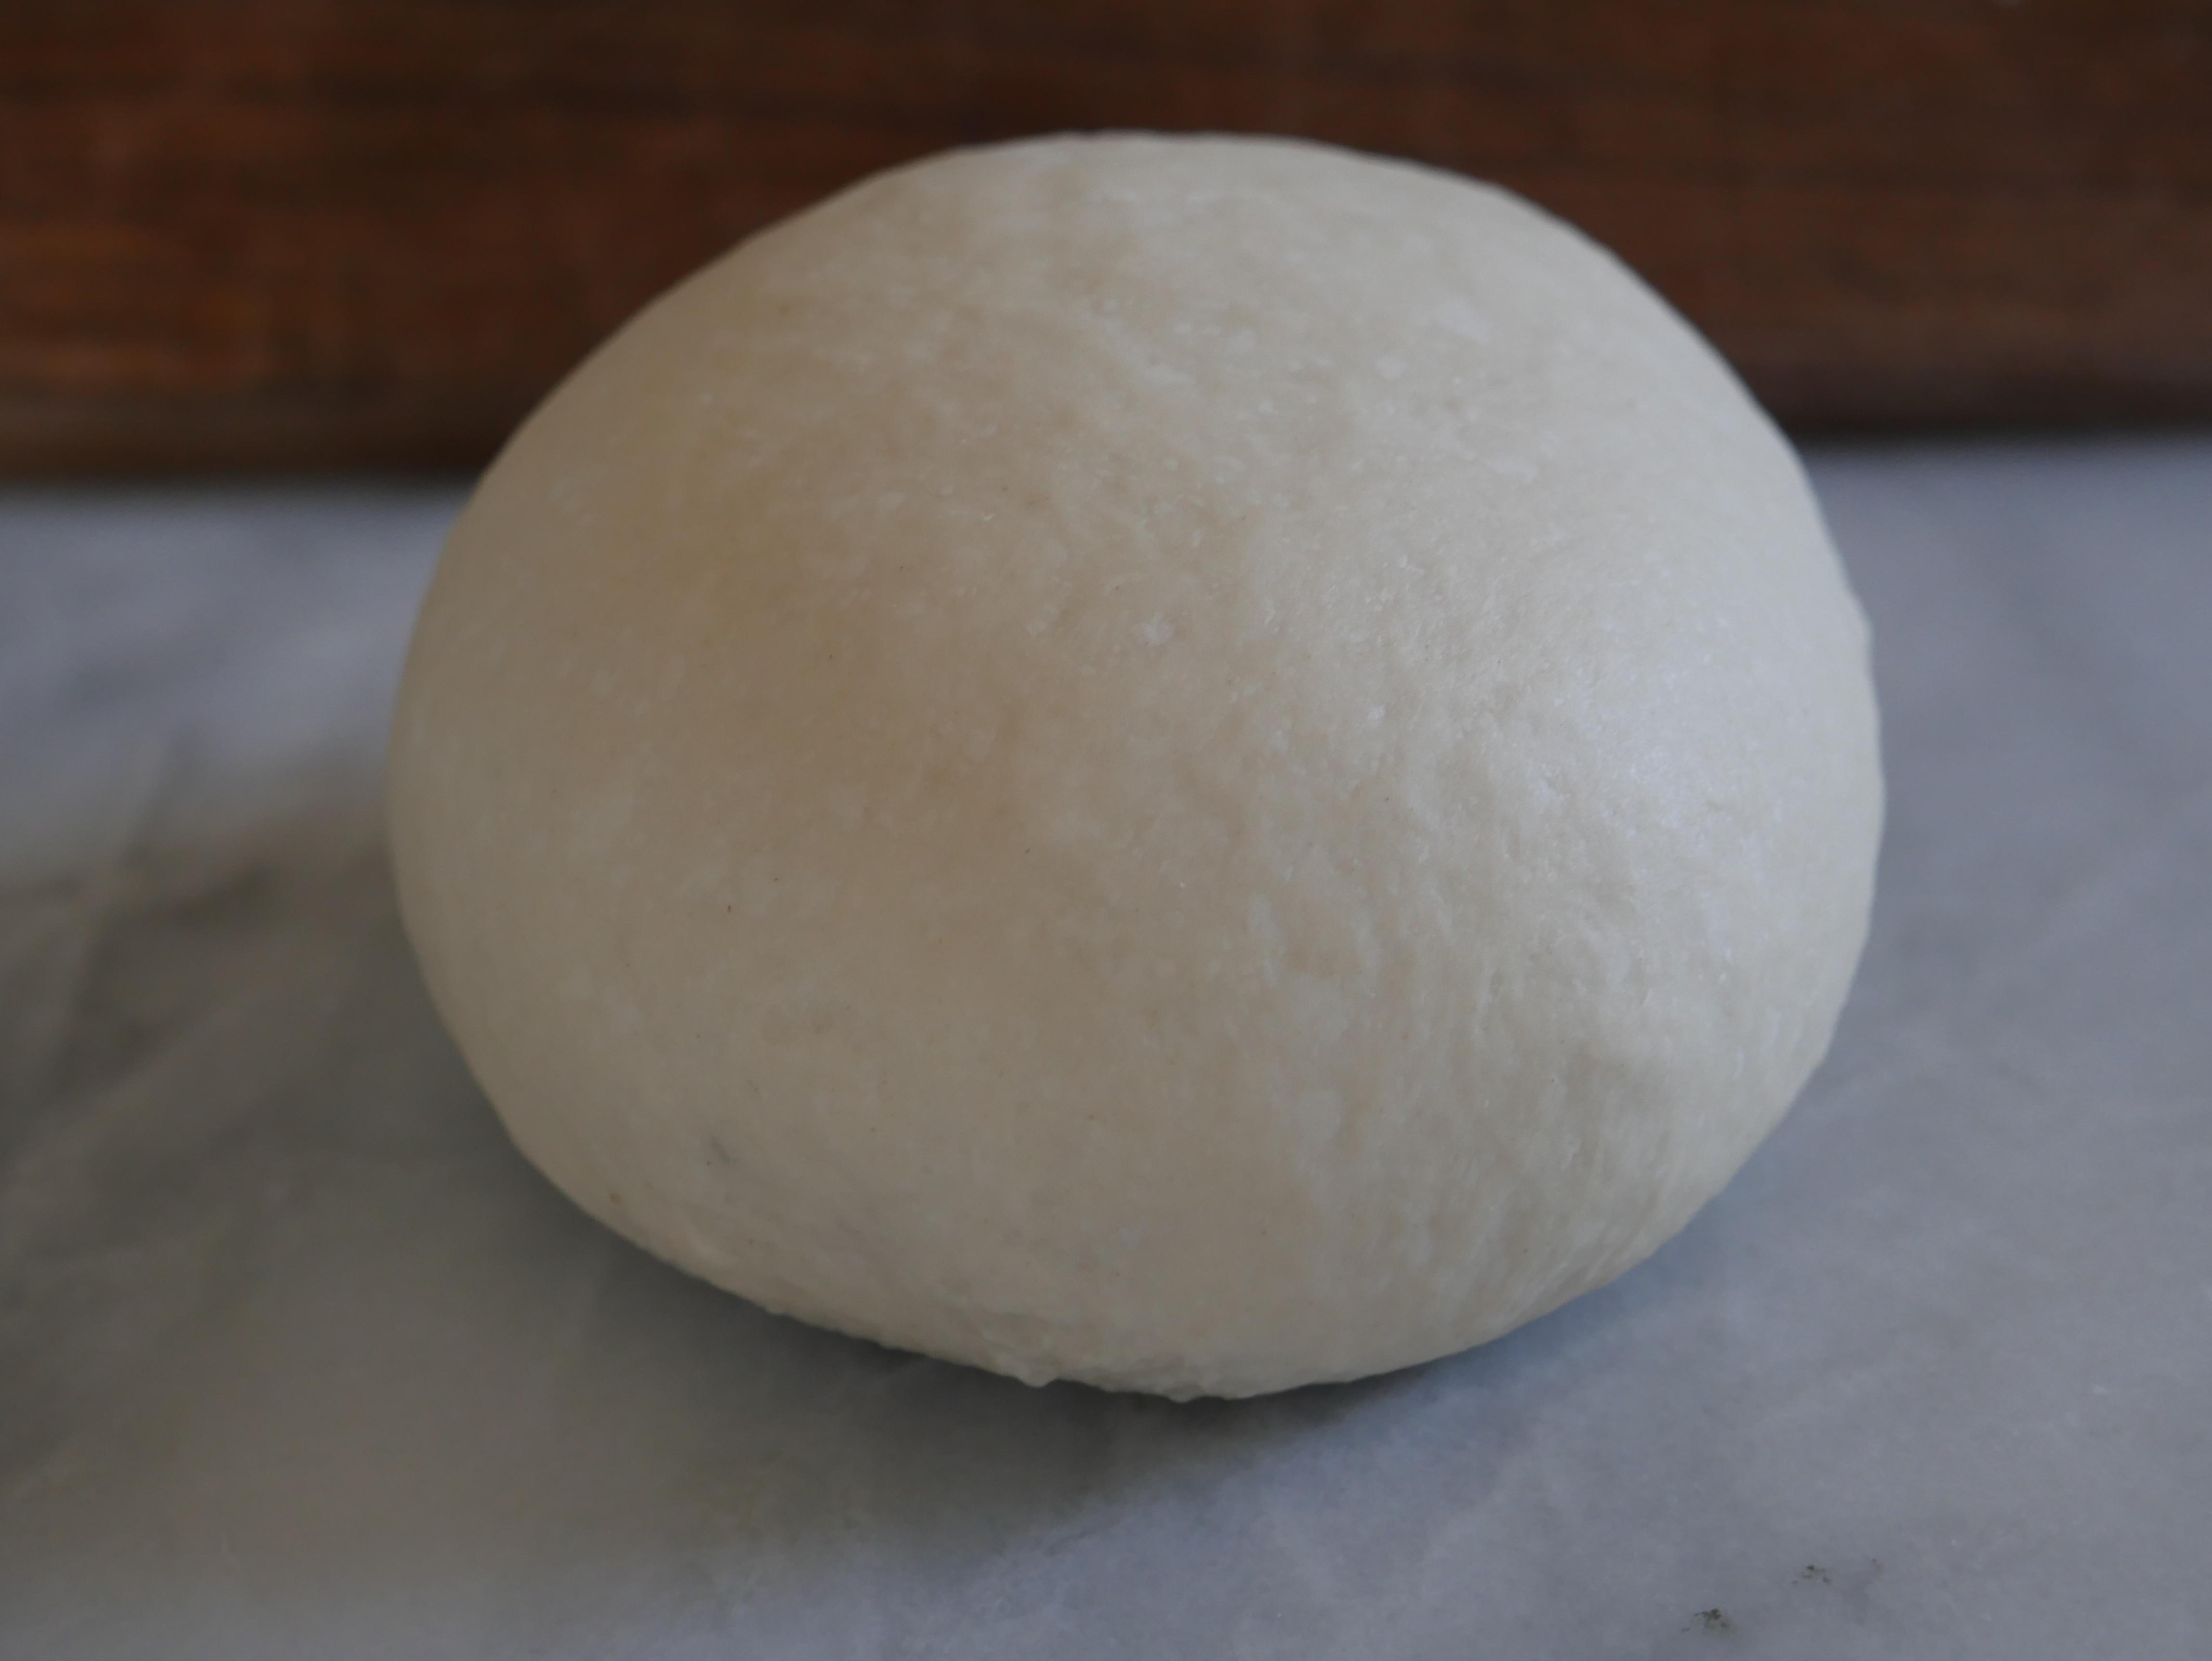

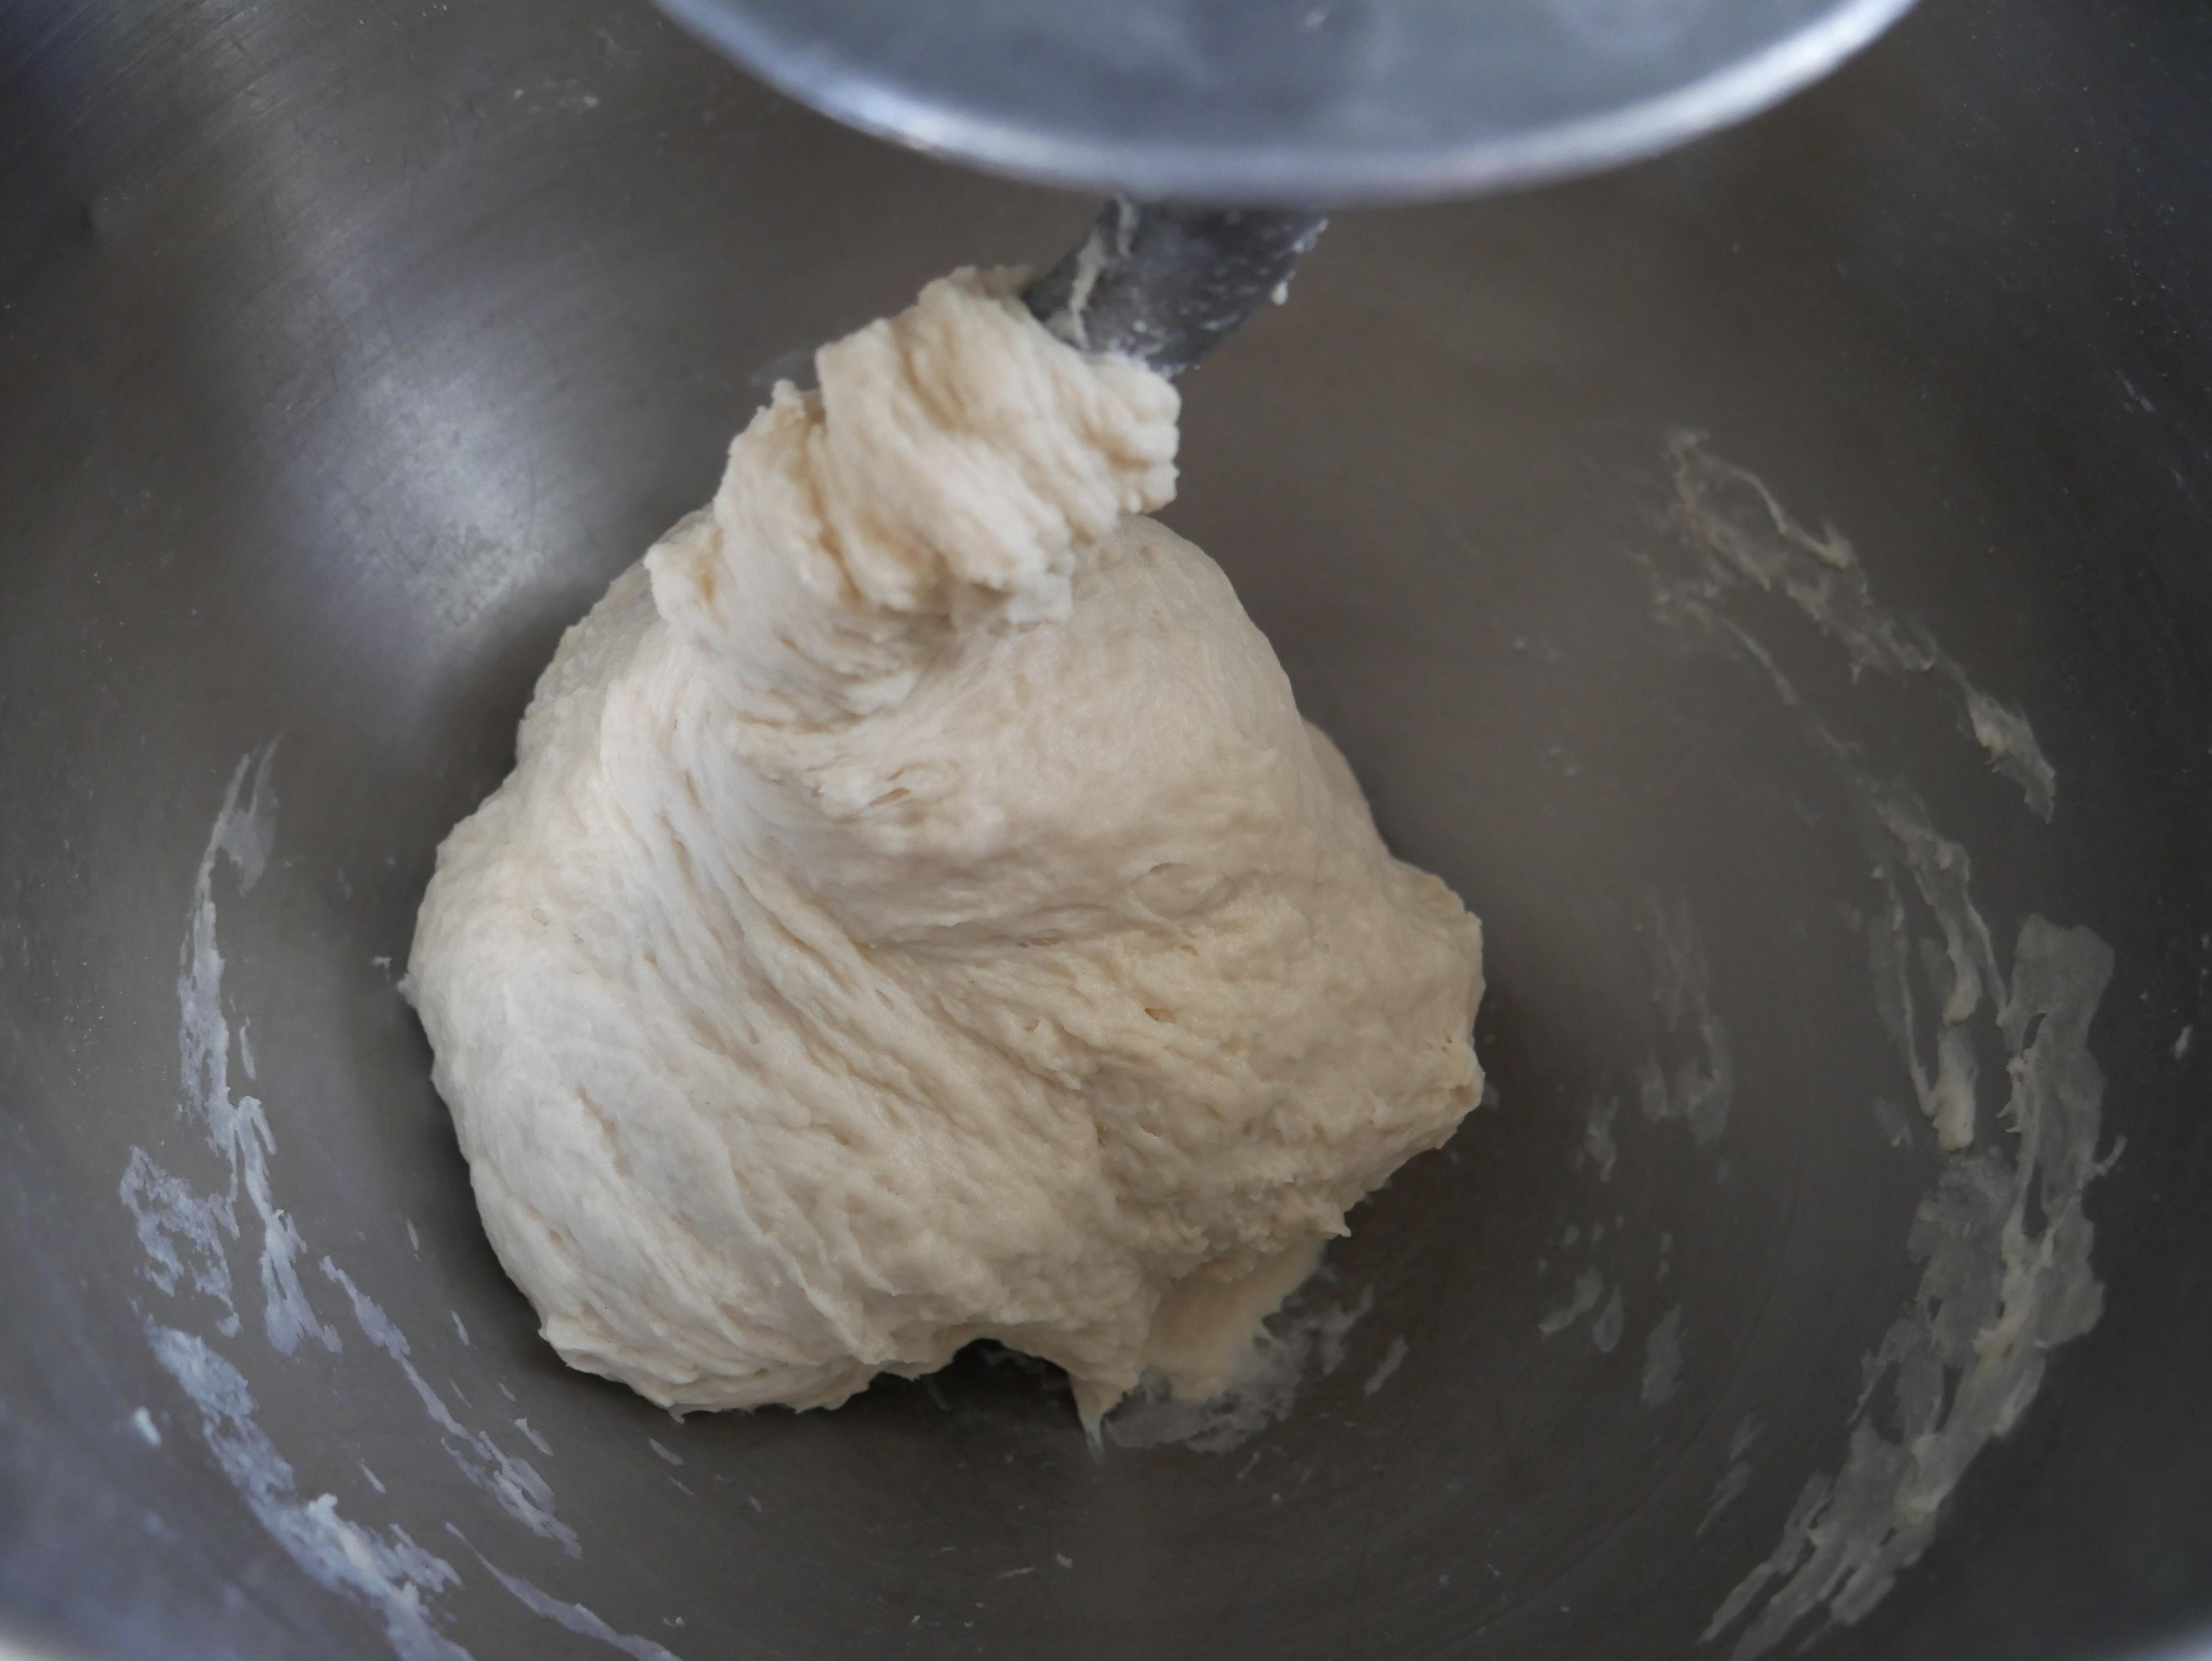
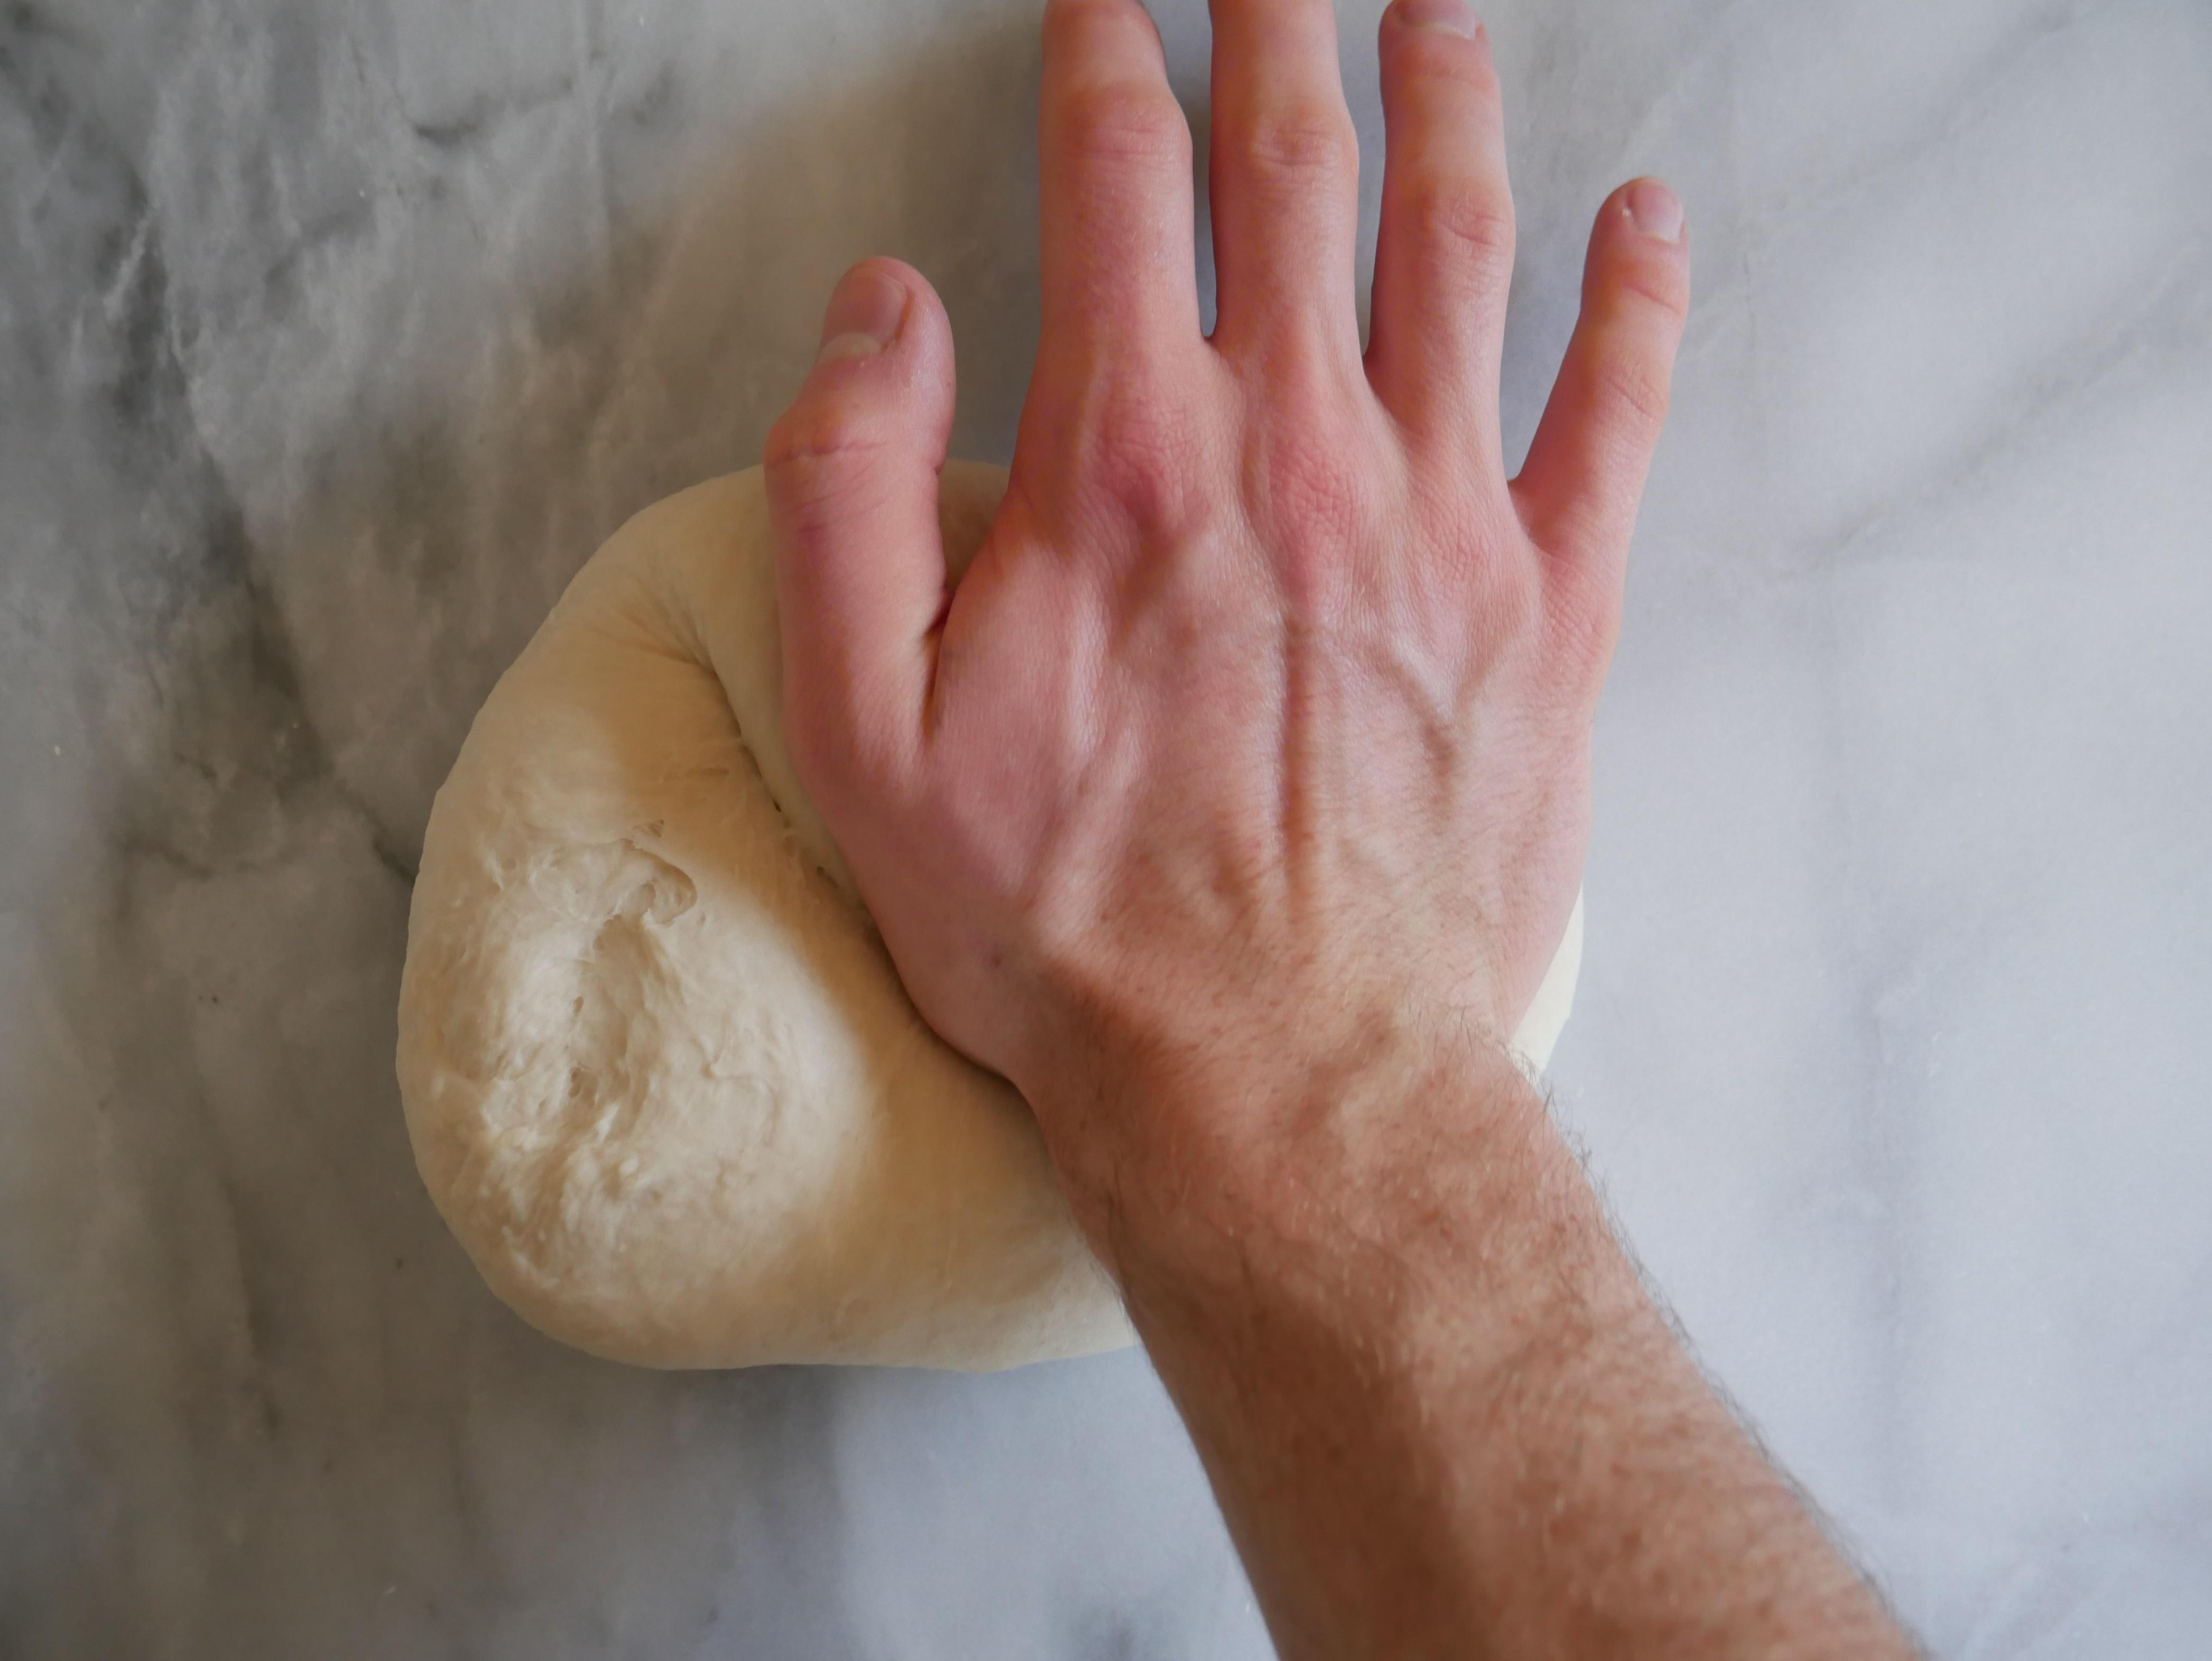
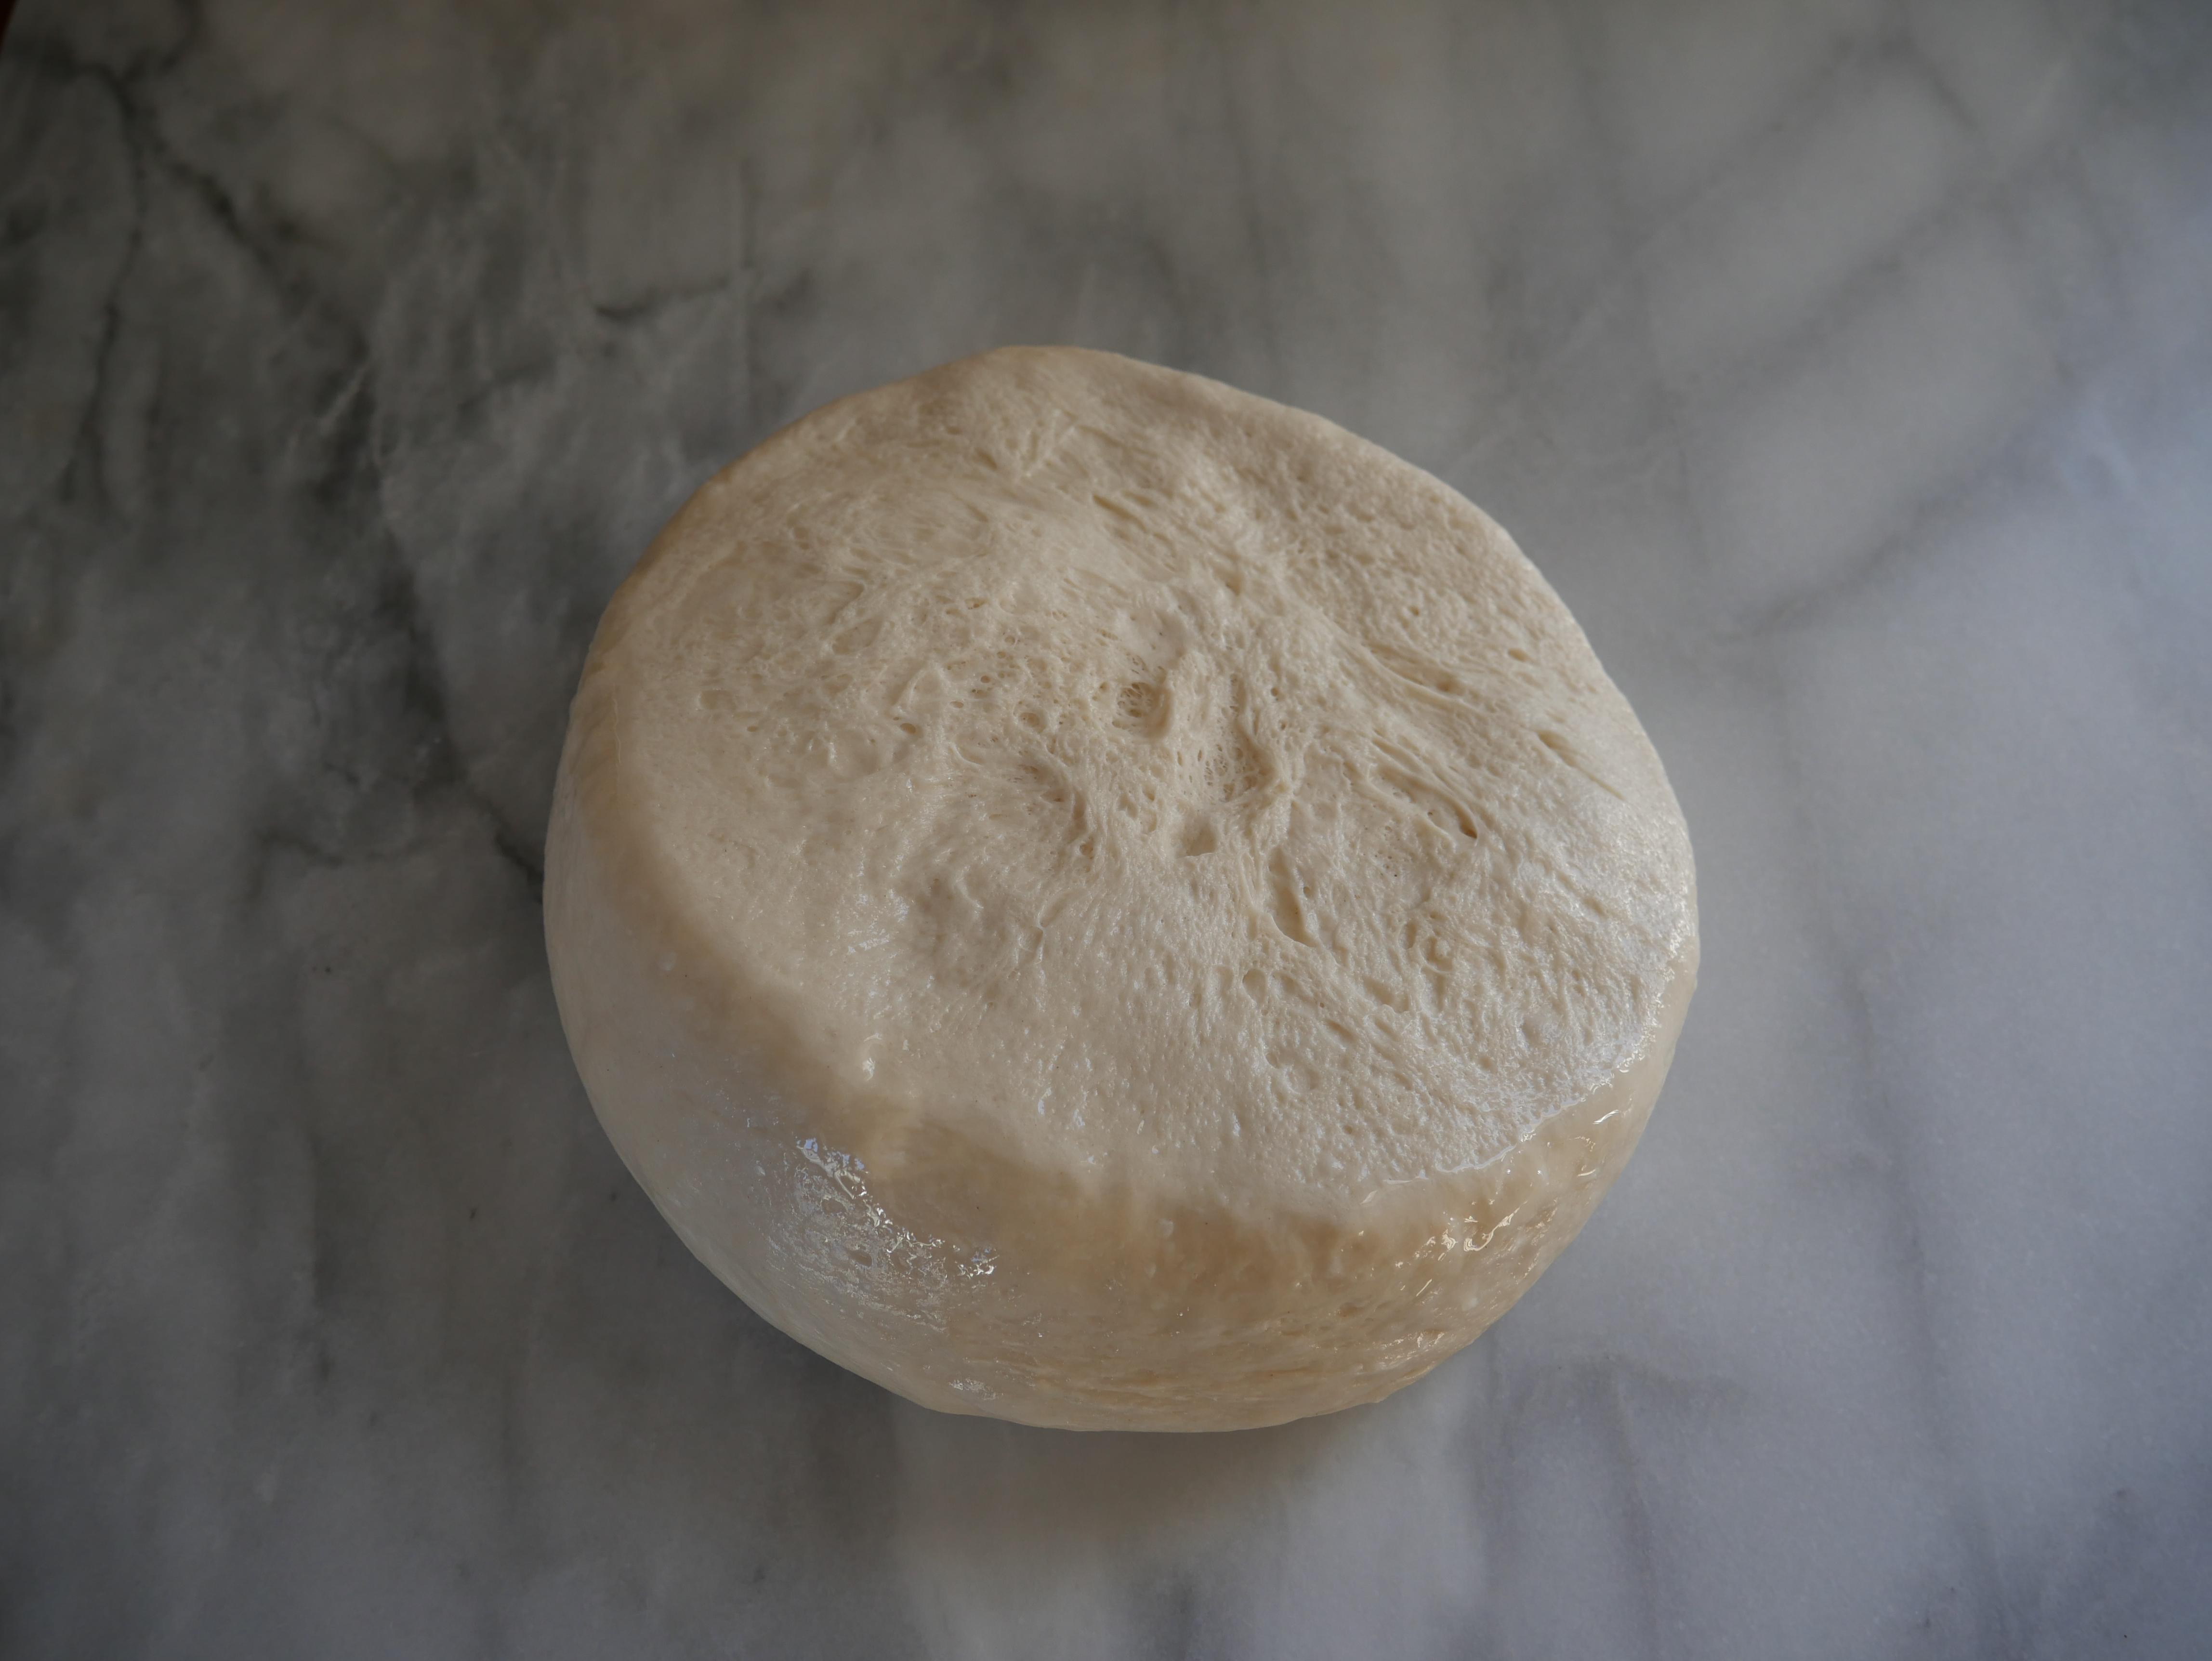
In a small bowl, mix together the ¾ cup + 2 tablespoons of lukewarm water, 1 teaspoon of sugar, and the packet of yeast. Allow the mixture to sit for about 5 minutes, while it rests mix the dry ingredients: In the bowl of a stand mixer fitted with a dough hook, mix the 2 ½ cups bread flour, the remaining 3 tablespoons of sugar, and the teaspoon of salt until combined. Once the yeast mixture is ready, add it to the dry ingredients as well as the ½ tablespoon vegetable oil. Mix on low until all the ingredients come together, you may need to assist your mixer with a rubber spatula if the ingredients are not coming together at first. Once the ingredients form into a single mass, turn the mixer speed to medium-low and mix for 4-6 minutes until it is smooth. At this point, I like to turn the dough onto a clean countertop and knead for a minute by hand, and then I shape the dough into a smooth ball. Place the dough into an airtight container, such as a bowl covered with plastic wrap, and place in a warm area for 1 hour.
Dividing the Dough
.JPG)




.JPG)
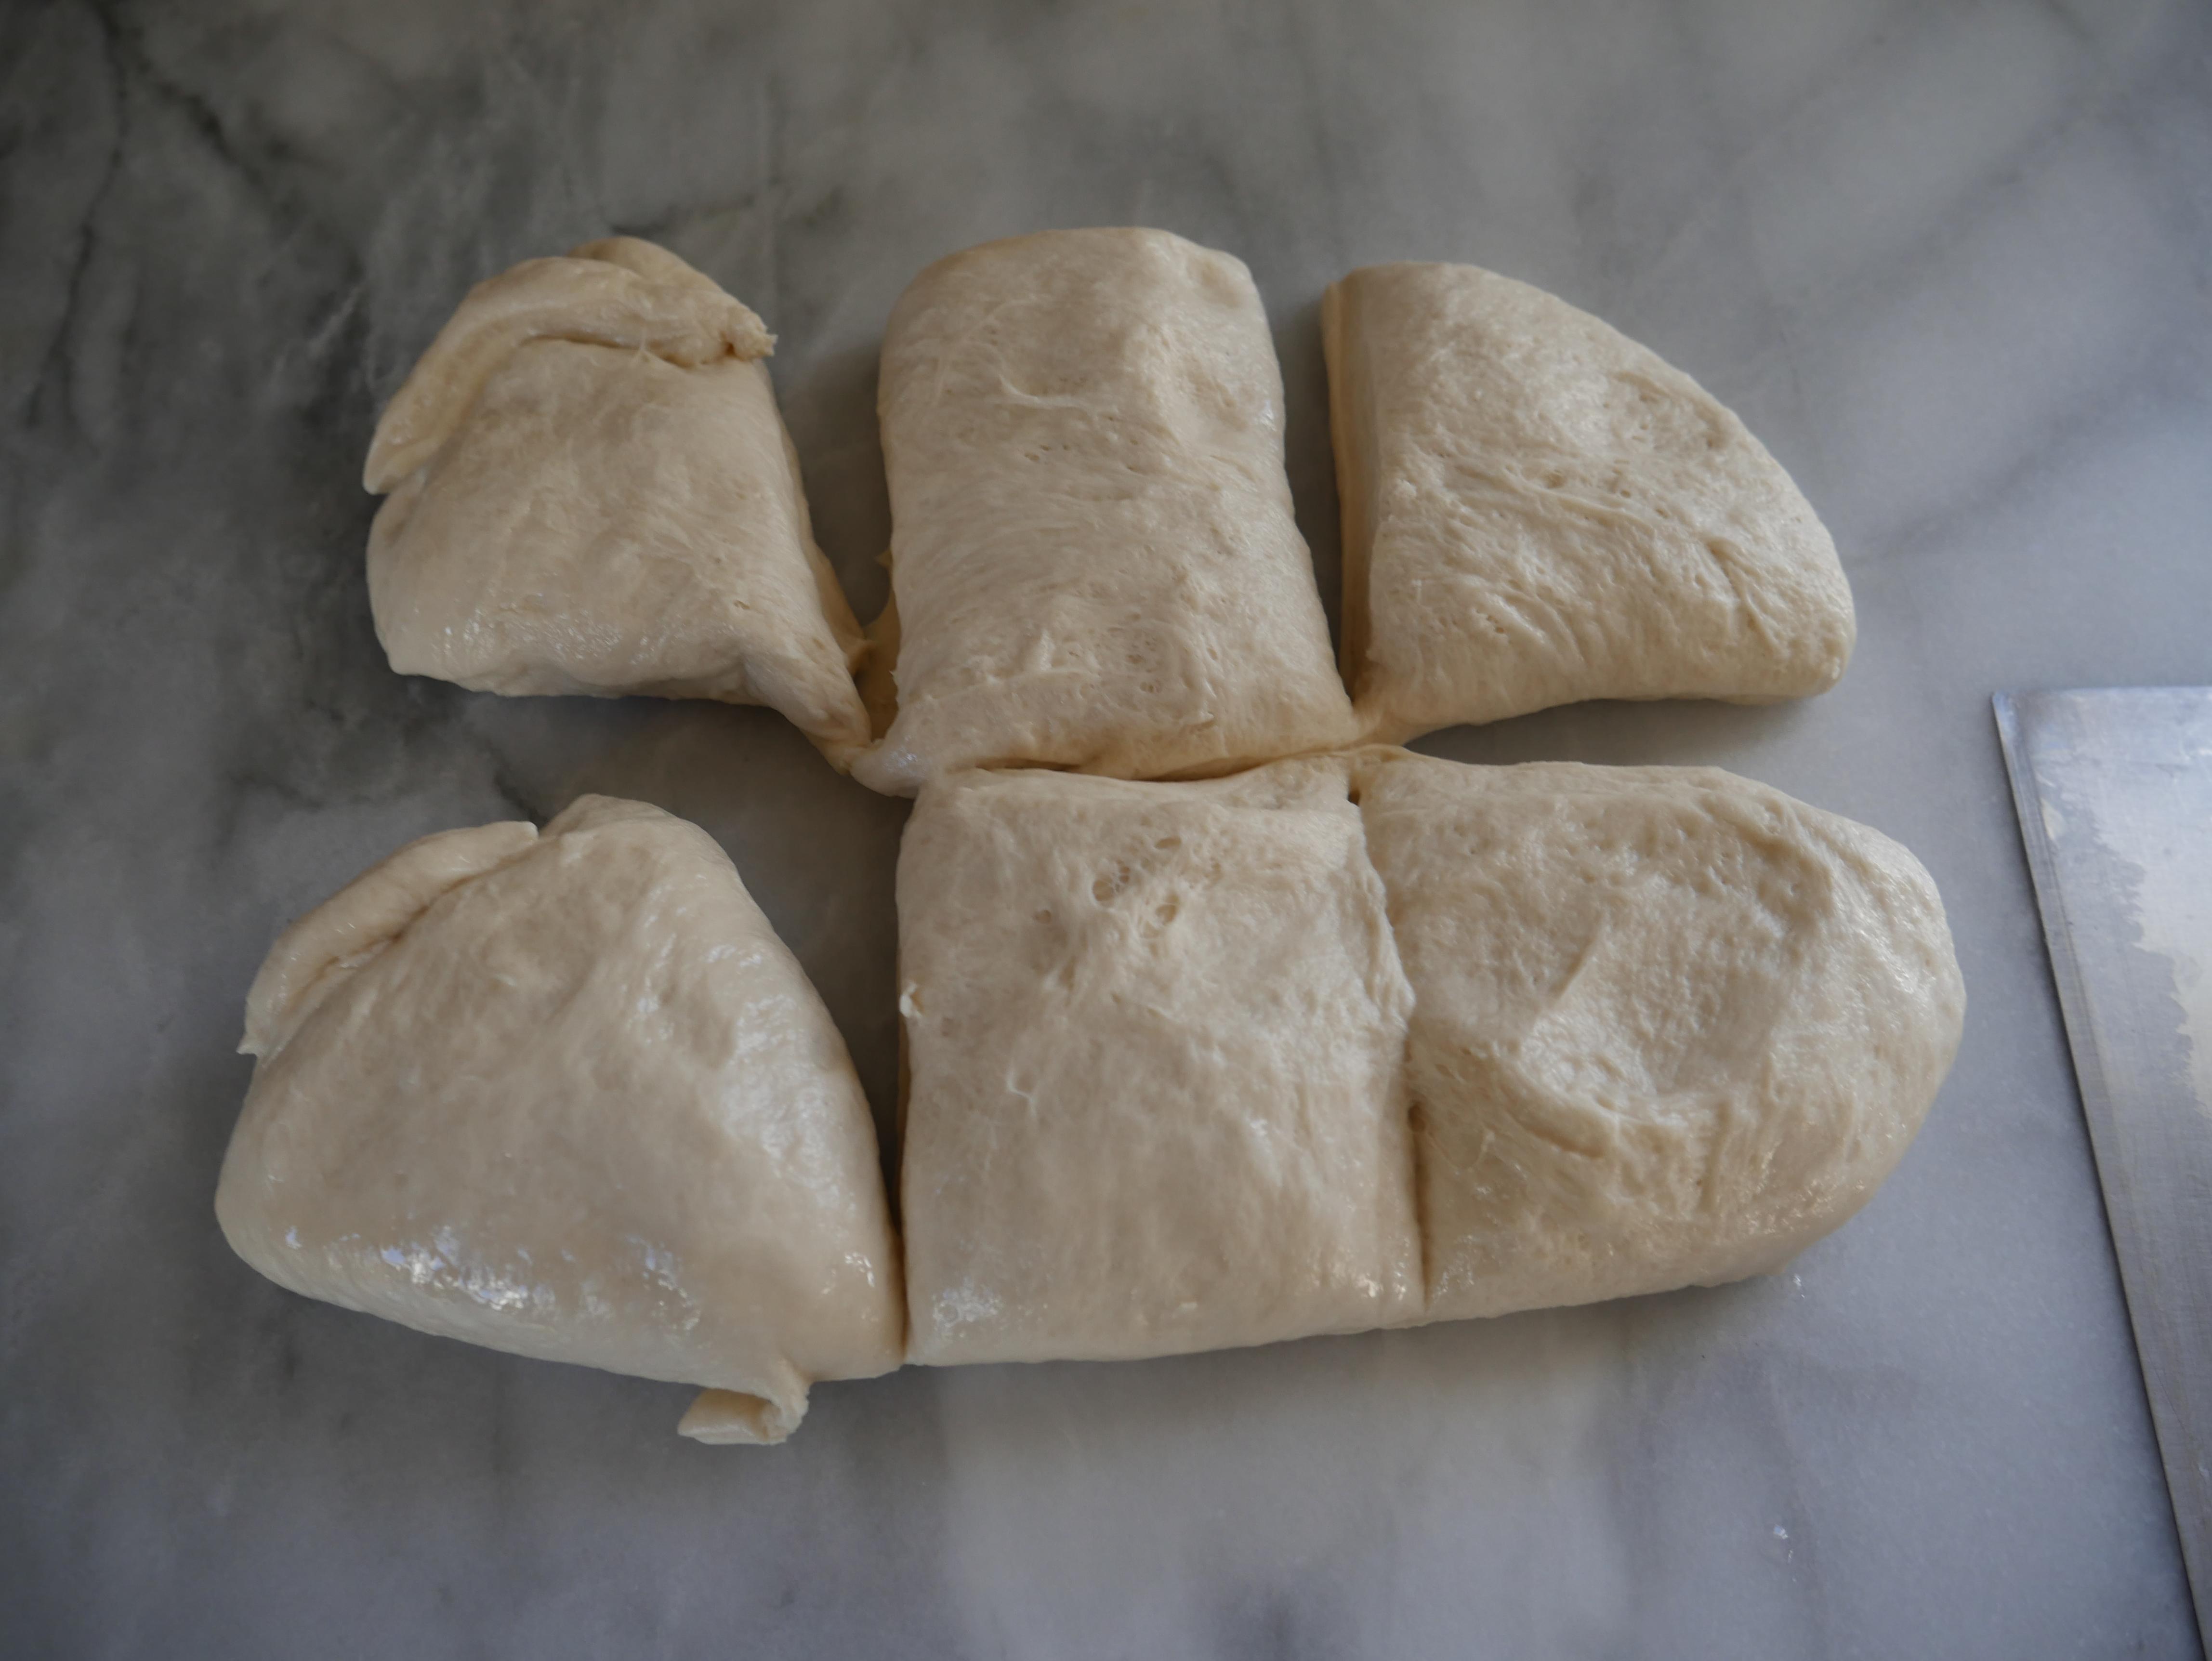
After an hour has passed, prepare a pot of water for the mac and cheese as instructed on the box. While it heats up, shape the dough: Turn the dough out onto a clean surface. Using a bench scraper or a knife, separate the dough into 6 roughly equal pieces. If you would like smaller stuffed pretzels, you may divide the dough into 8 pieces. Once the dough is divided, shape each piece into a ball. To shape the dough, cup your hand around the dough piece and with your hand perpendicular to the counter, pull the dough back towards you. Do this several times, rotating the ball a little bit after each pull, stop once the surface of the dough starts to appear tight. You shouldn't have to use flour here if possible, the stickiness of the dough is what allows it to form tension as you pull. Repeat the balling process with all of the doughs pieces. Place a piece of plastic wrap over all of the balls so they do not dry out.
Making the Mac & Cheese and Bacon


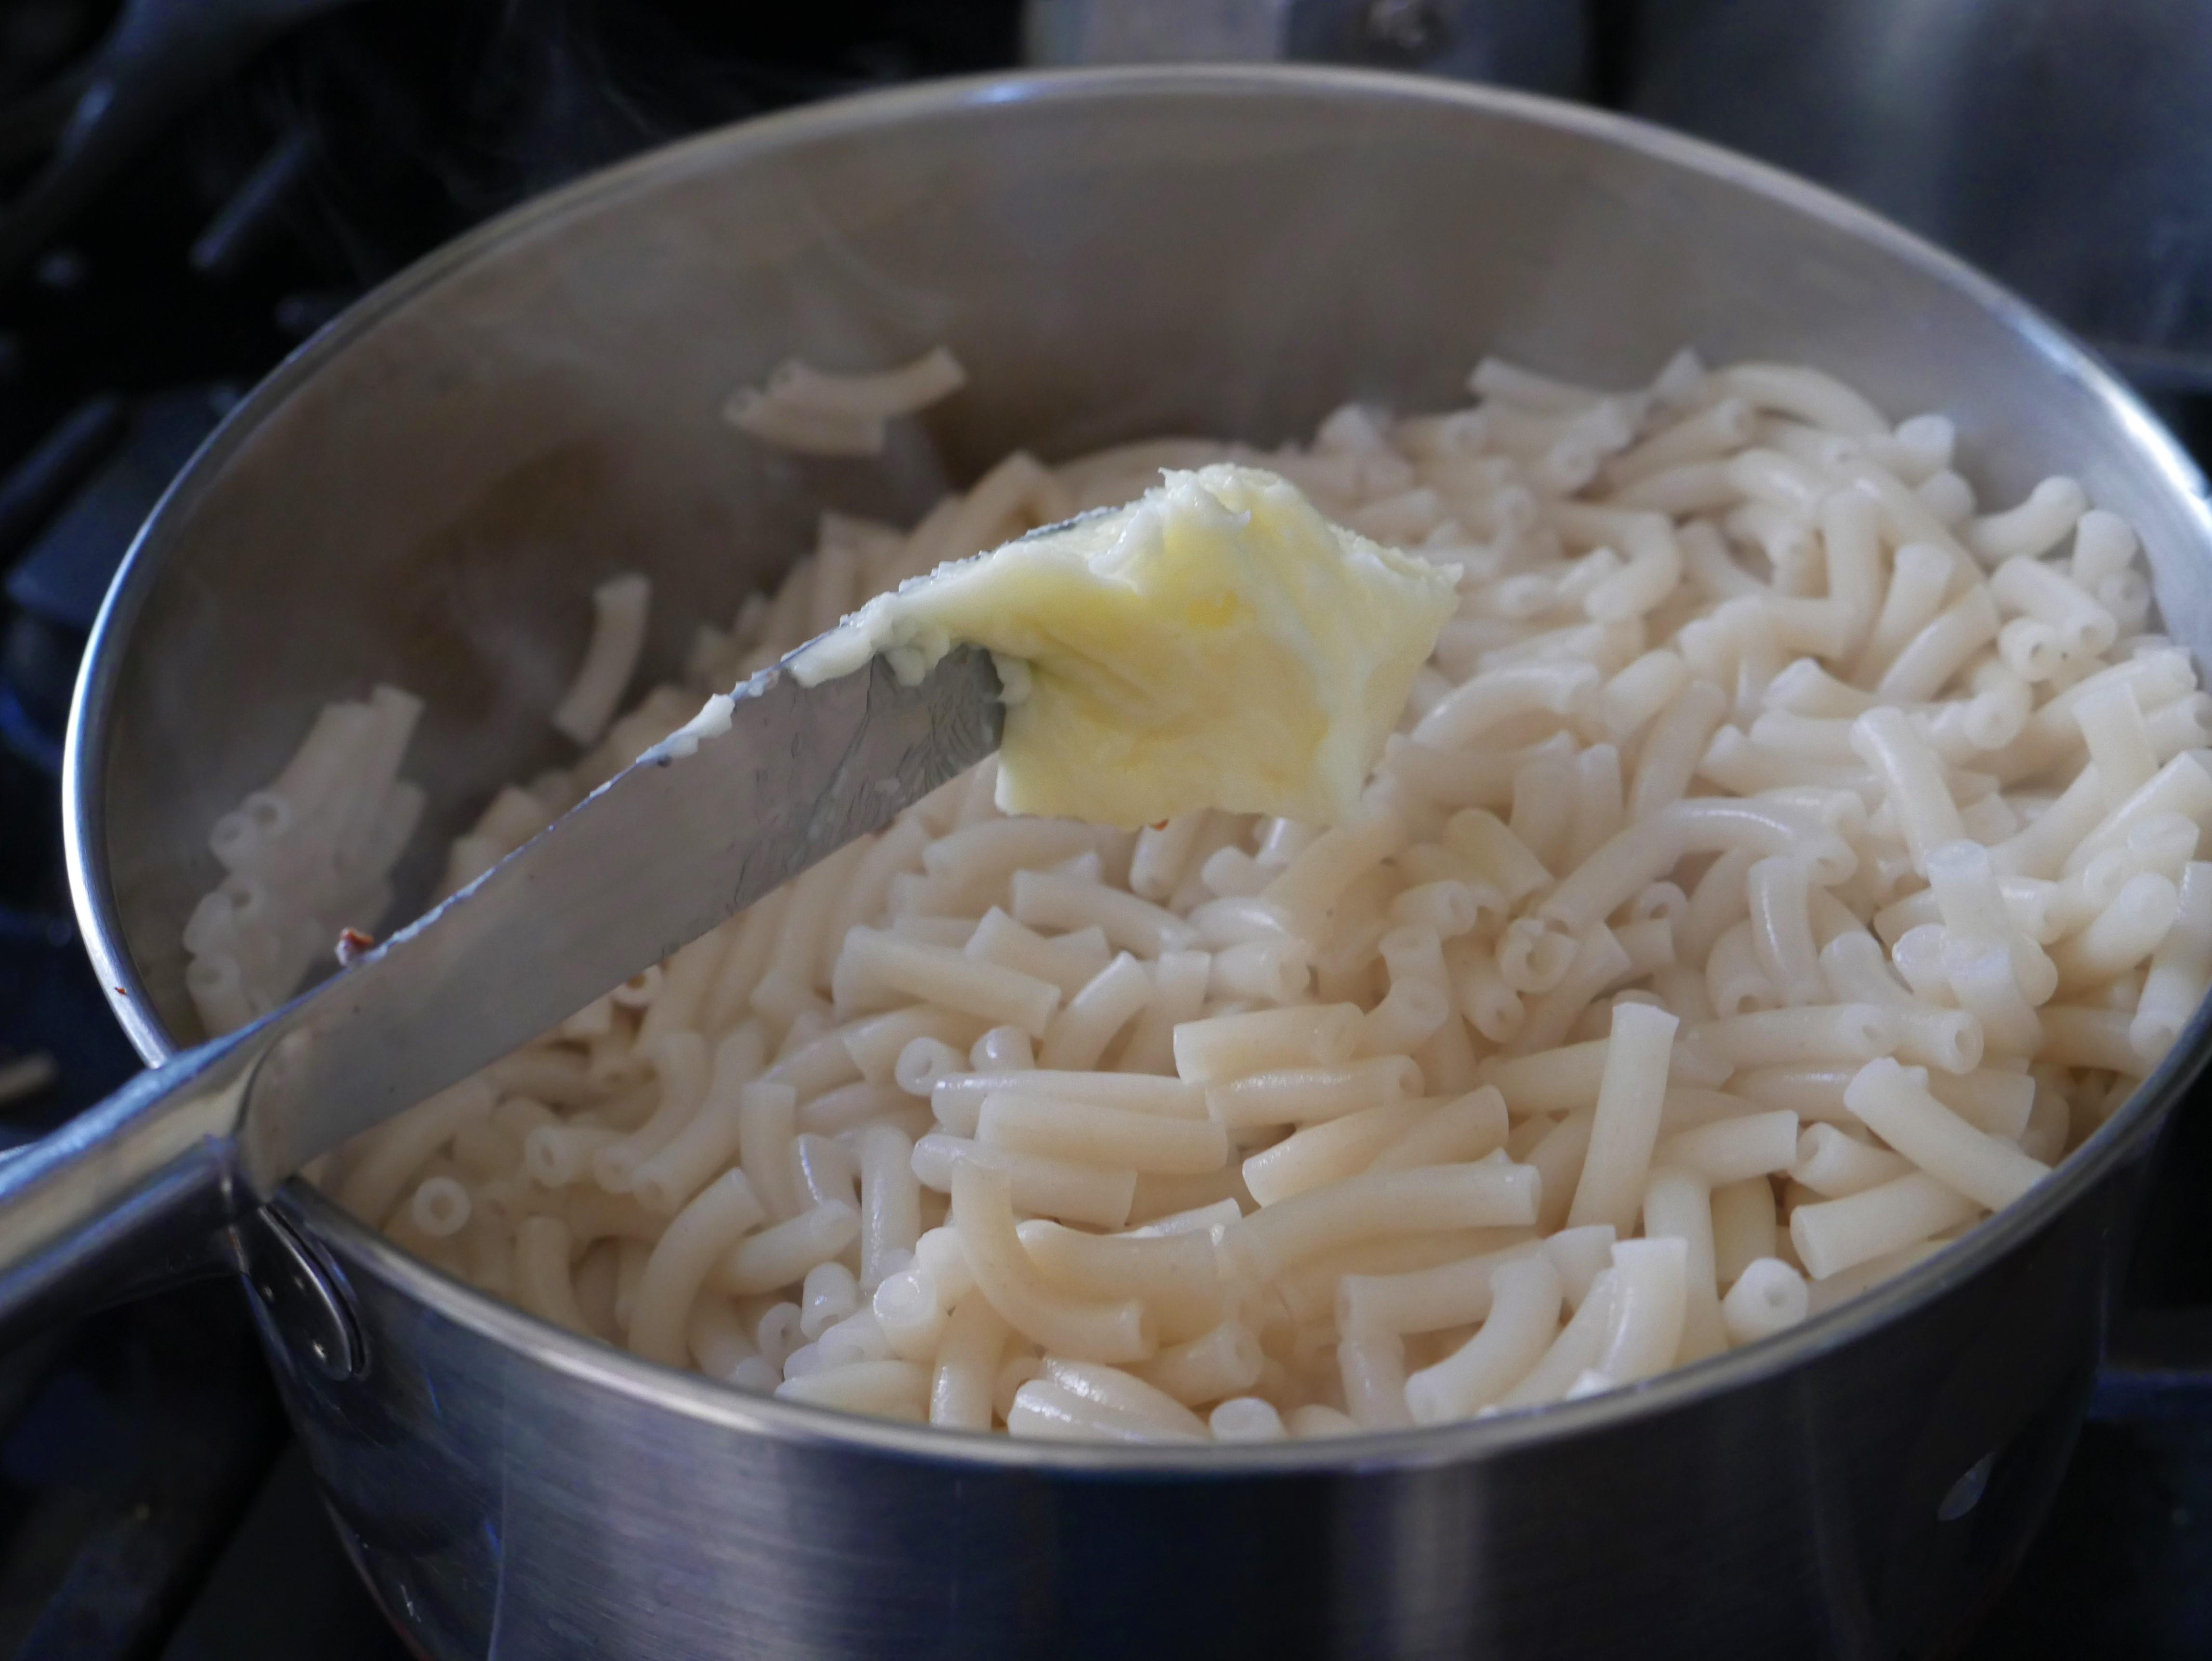
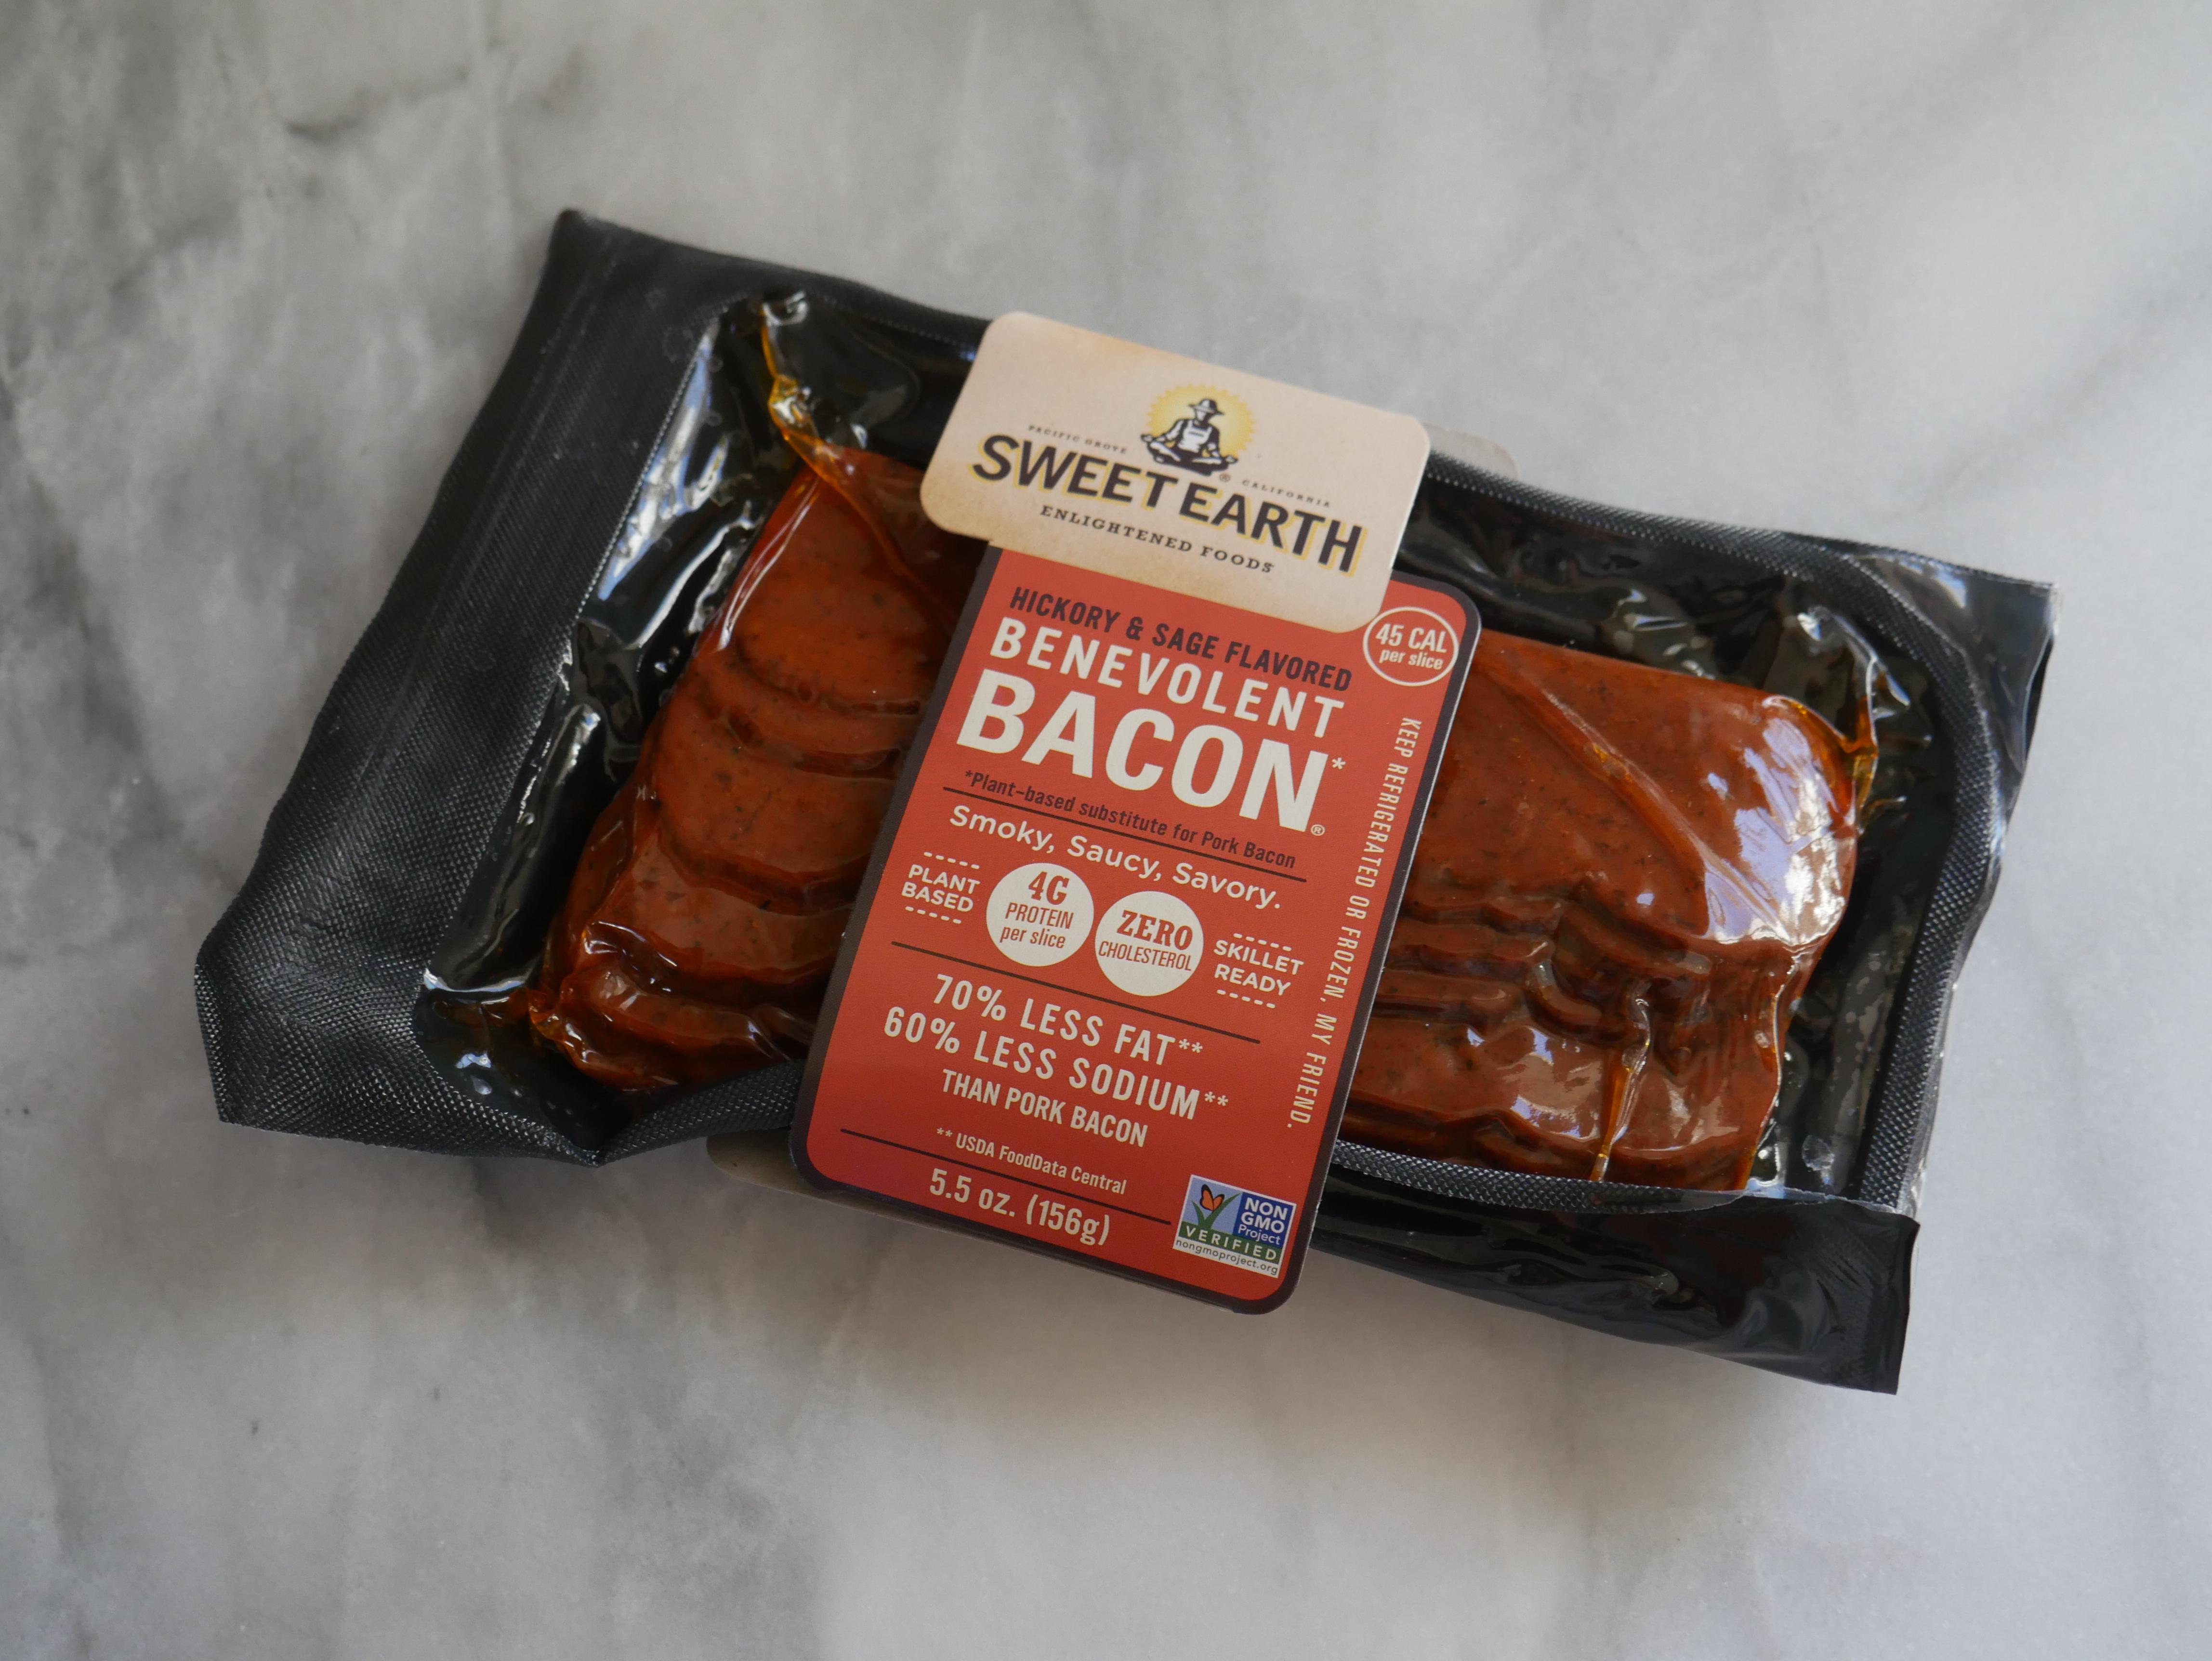

Now that the dough has been shaped, allow it to rest while you prepare the mac and cheese and bacon. Heat a skillet up with some oil in it for the bacon. Whenever the water in the pot begins to boil, add the mac & cheese, cook following the box instructions. Once the skillet is warm, add the bacon and cook as desired or according to the package, I cooked the bacon for 2 minutes on each side. Once finished, place on a plate or a rack to cool enough to touch. Strain the mac & cheese once it has boiled long enough according to the box, mine was cooked for 8 minutes. Add 2 tablespoons of butter and the included cheese packet to the strained pasta.
Preparing the Filling
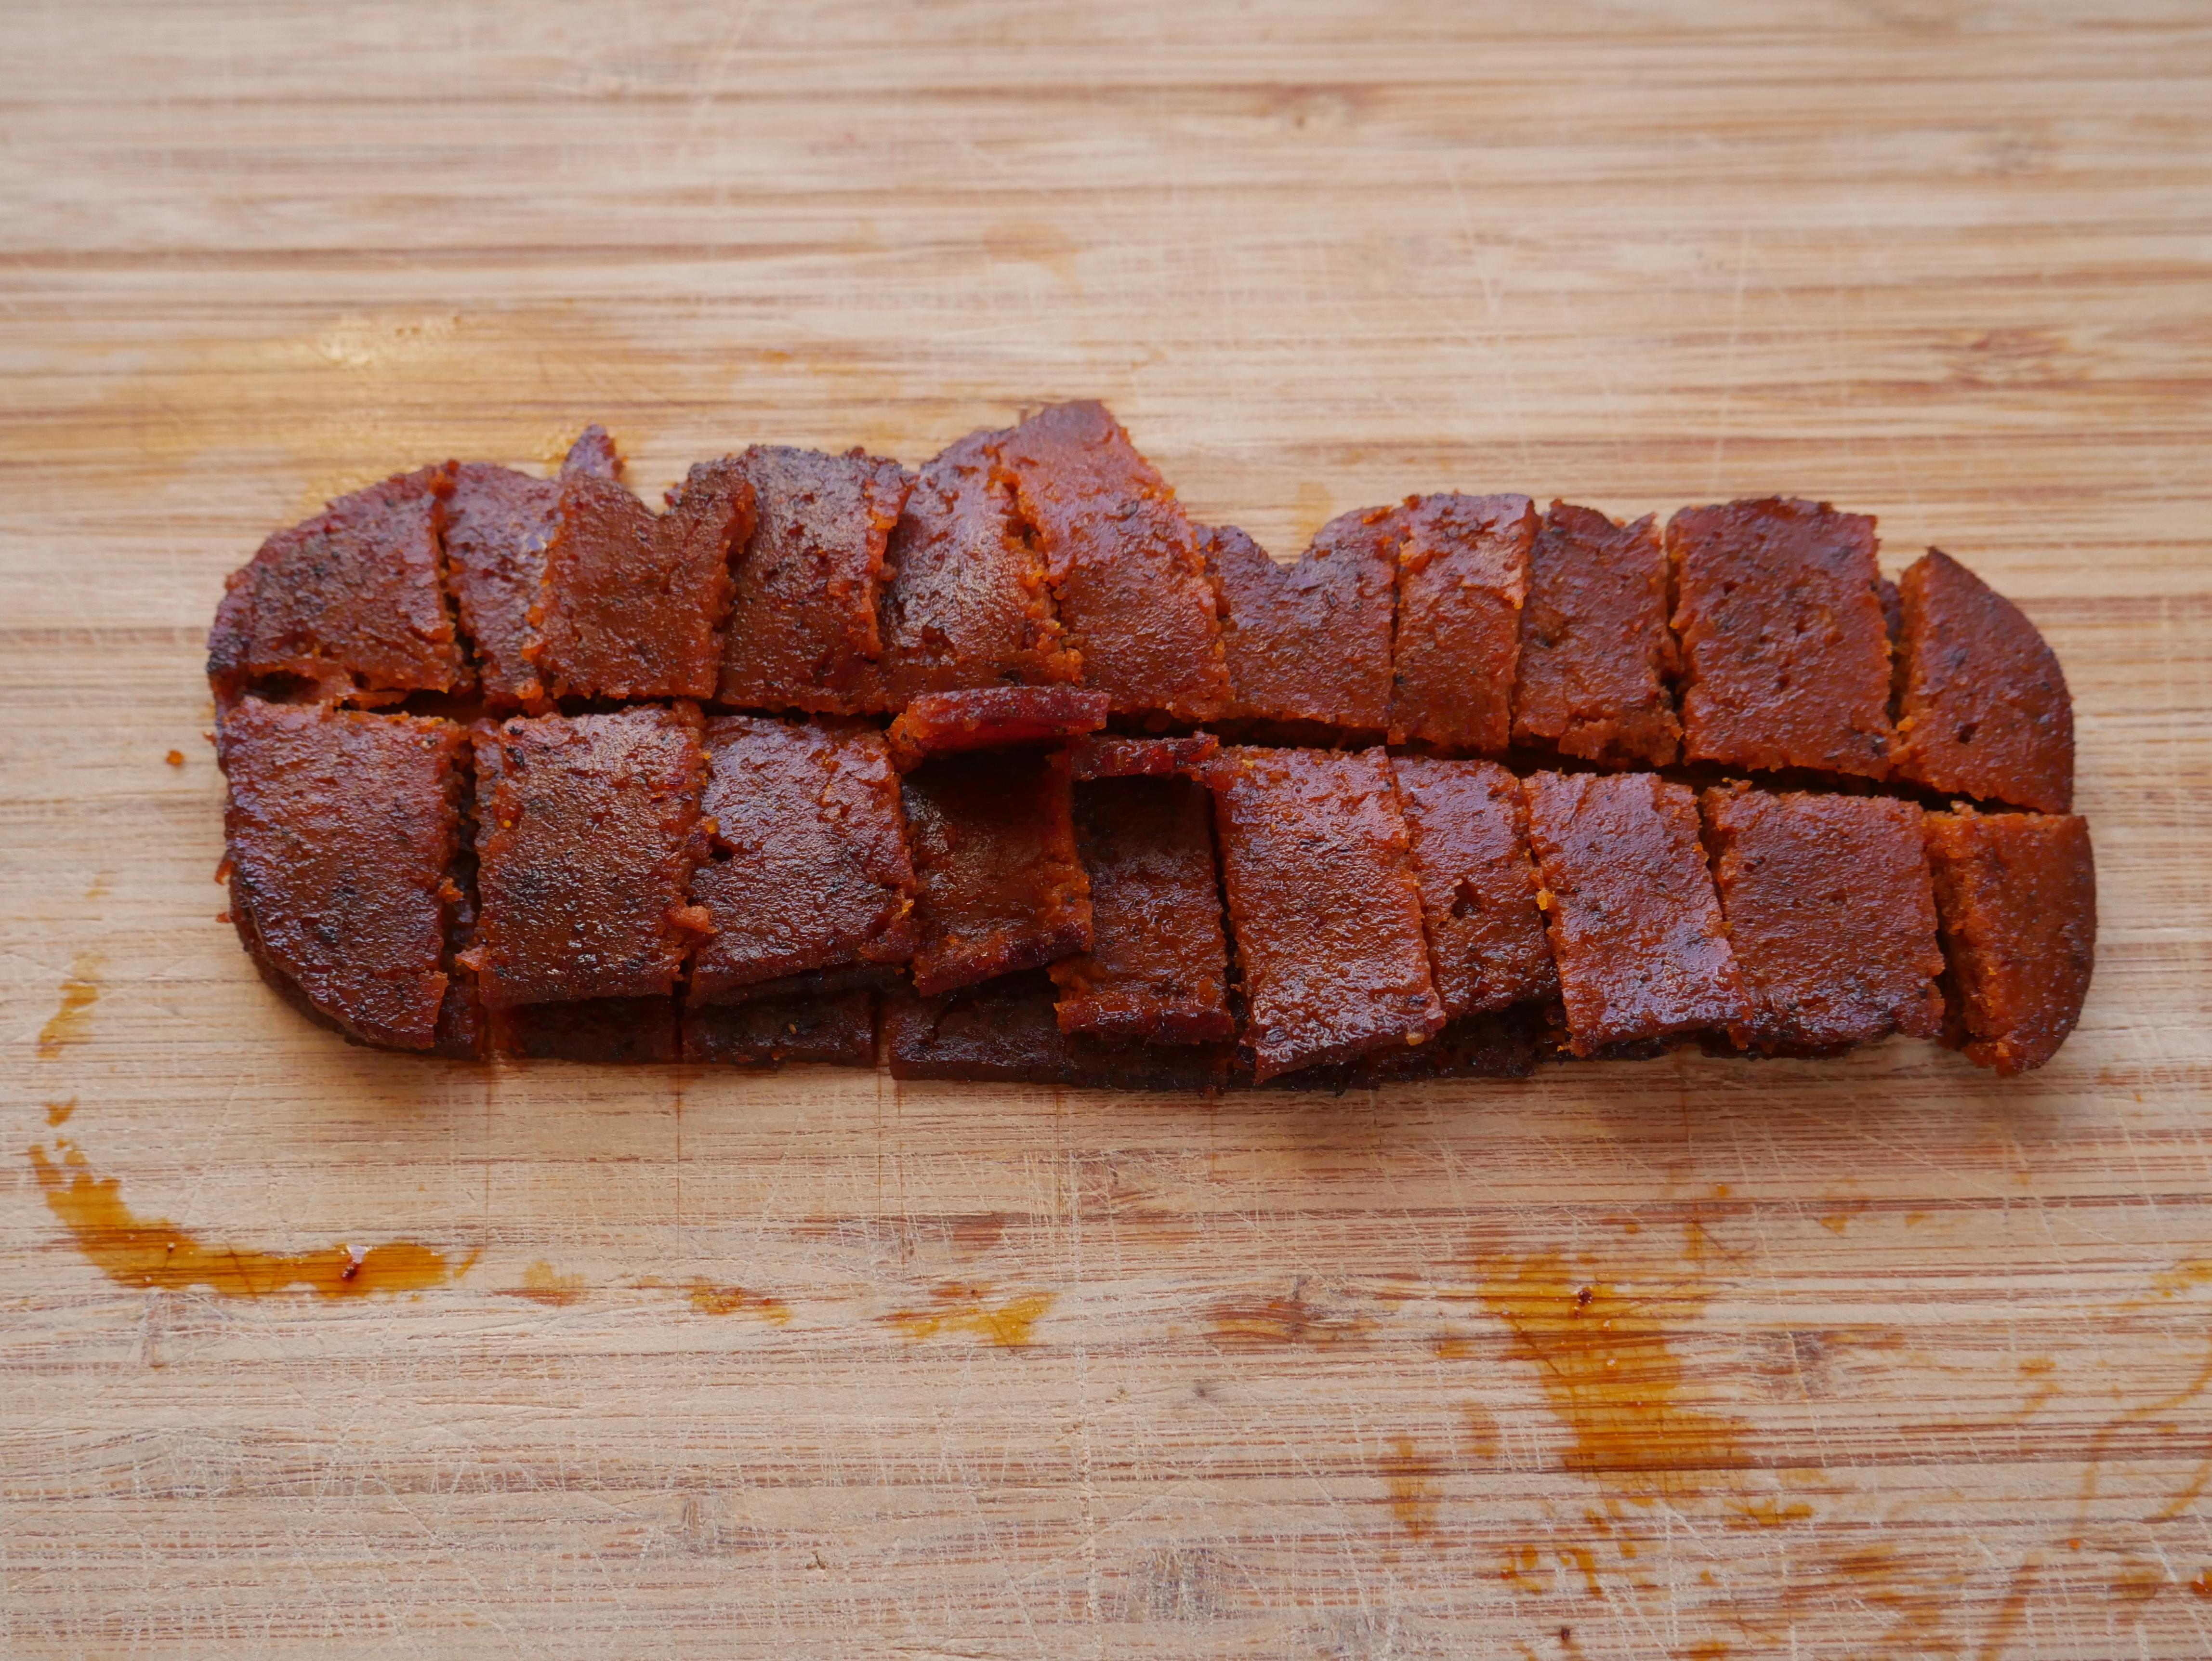

Now that the mac & cheese, as well as the bacon, are cooked, this step is very simple. First, cut the bacon down into small squares, about a half-inch wide. If your cheese is not already shredded, use a cheese grater to shred it now.
Filling the Dough
.JPG)

.JPG)
.JPG)
.JPG)


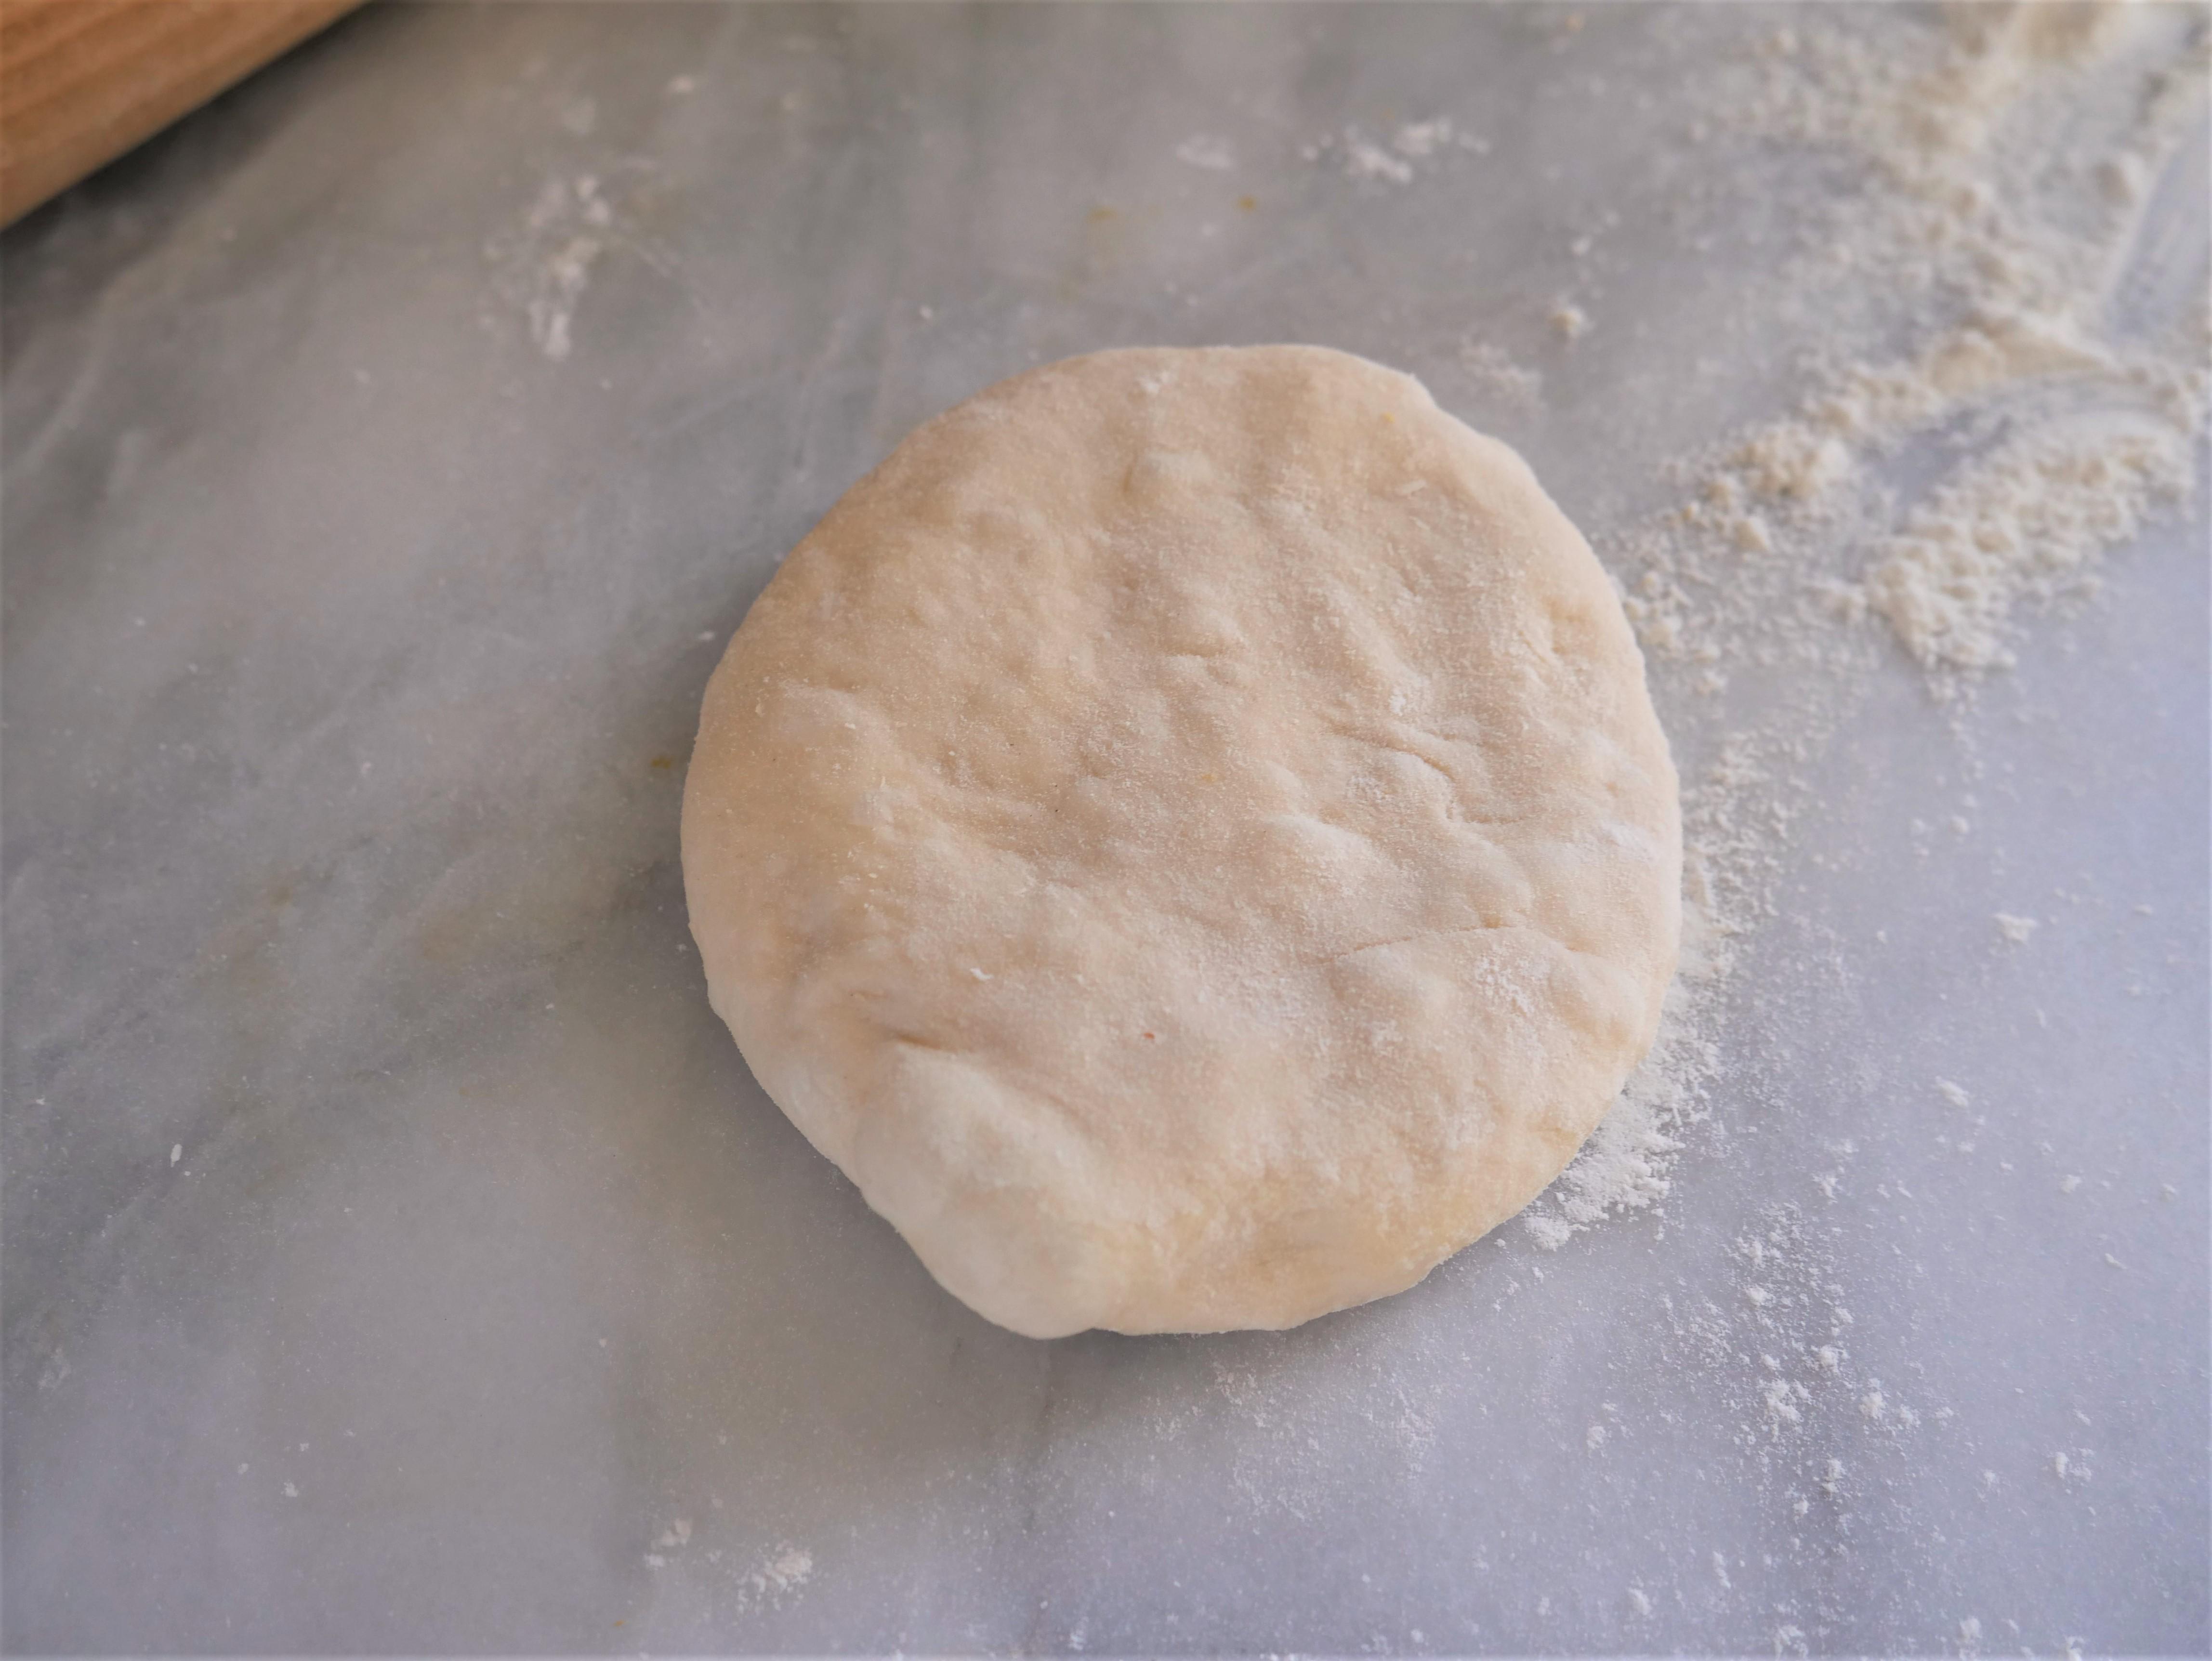
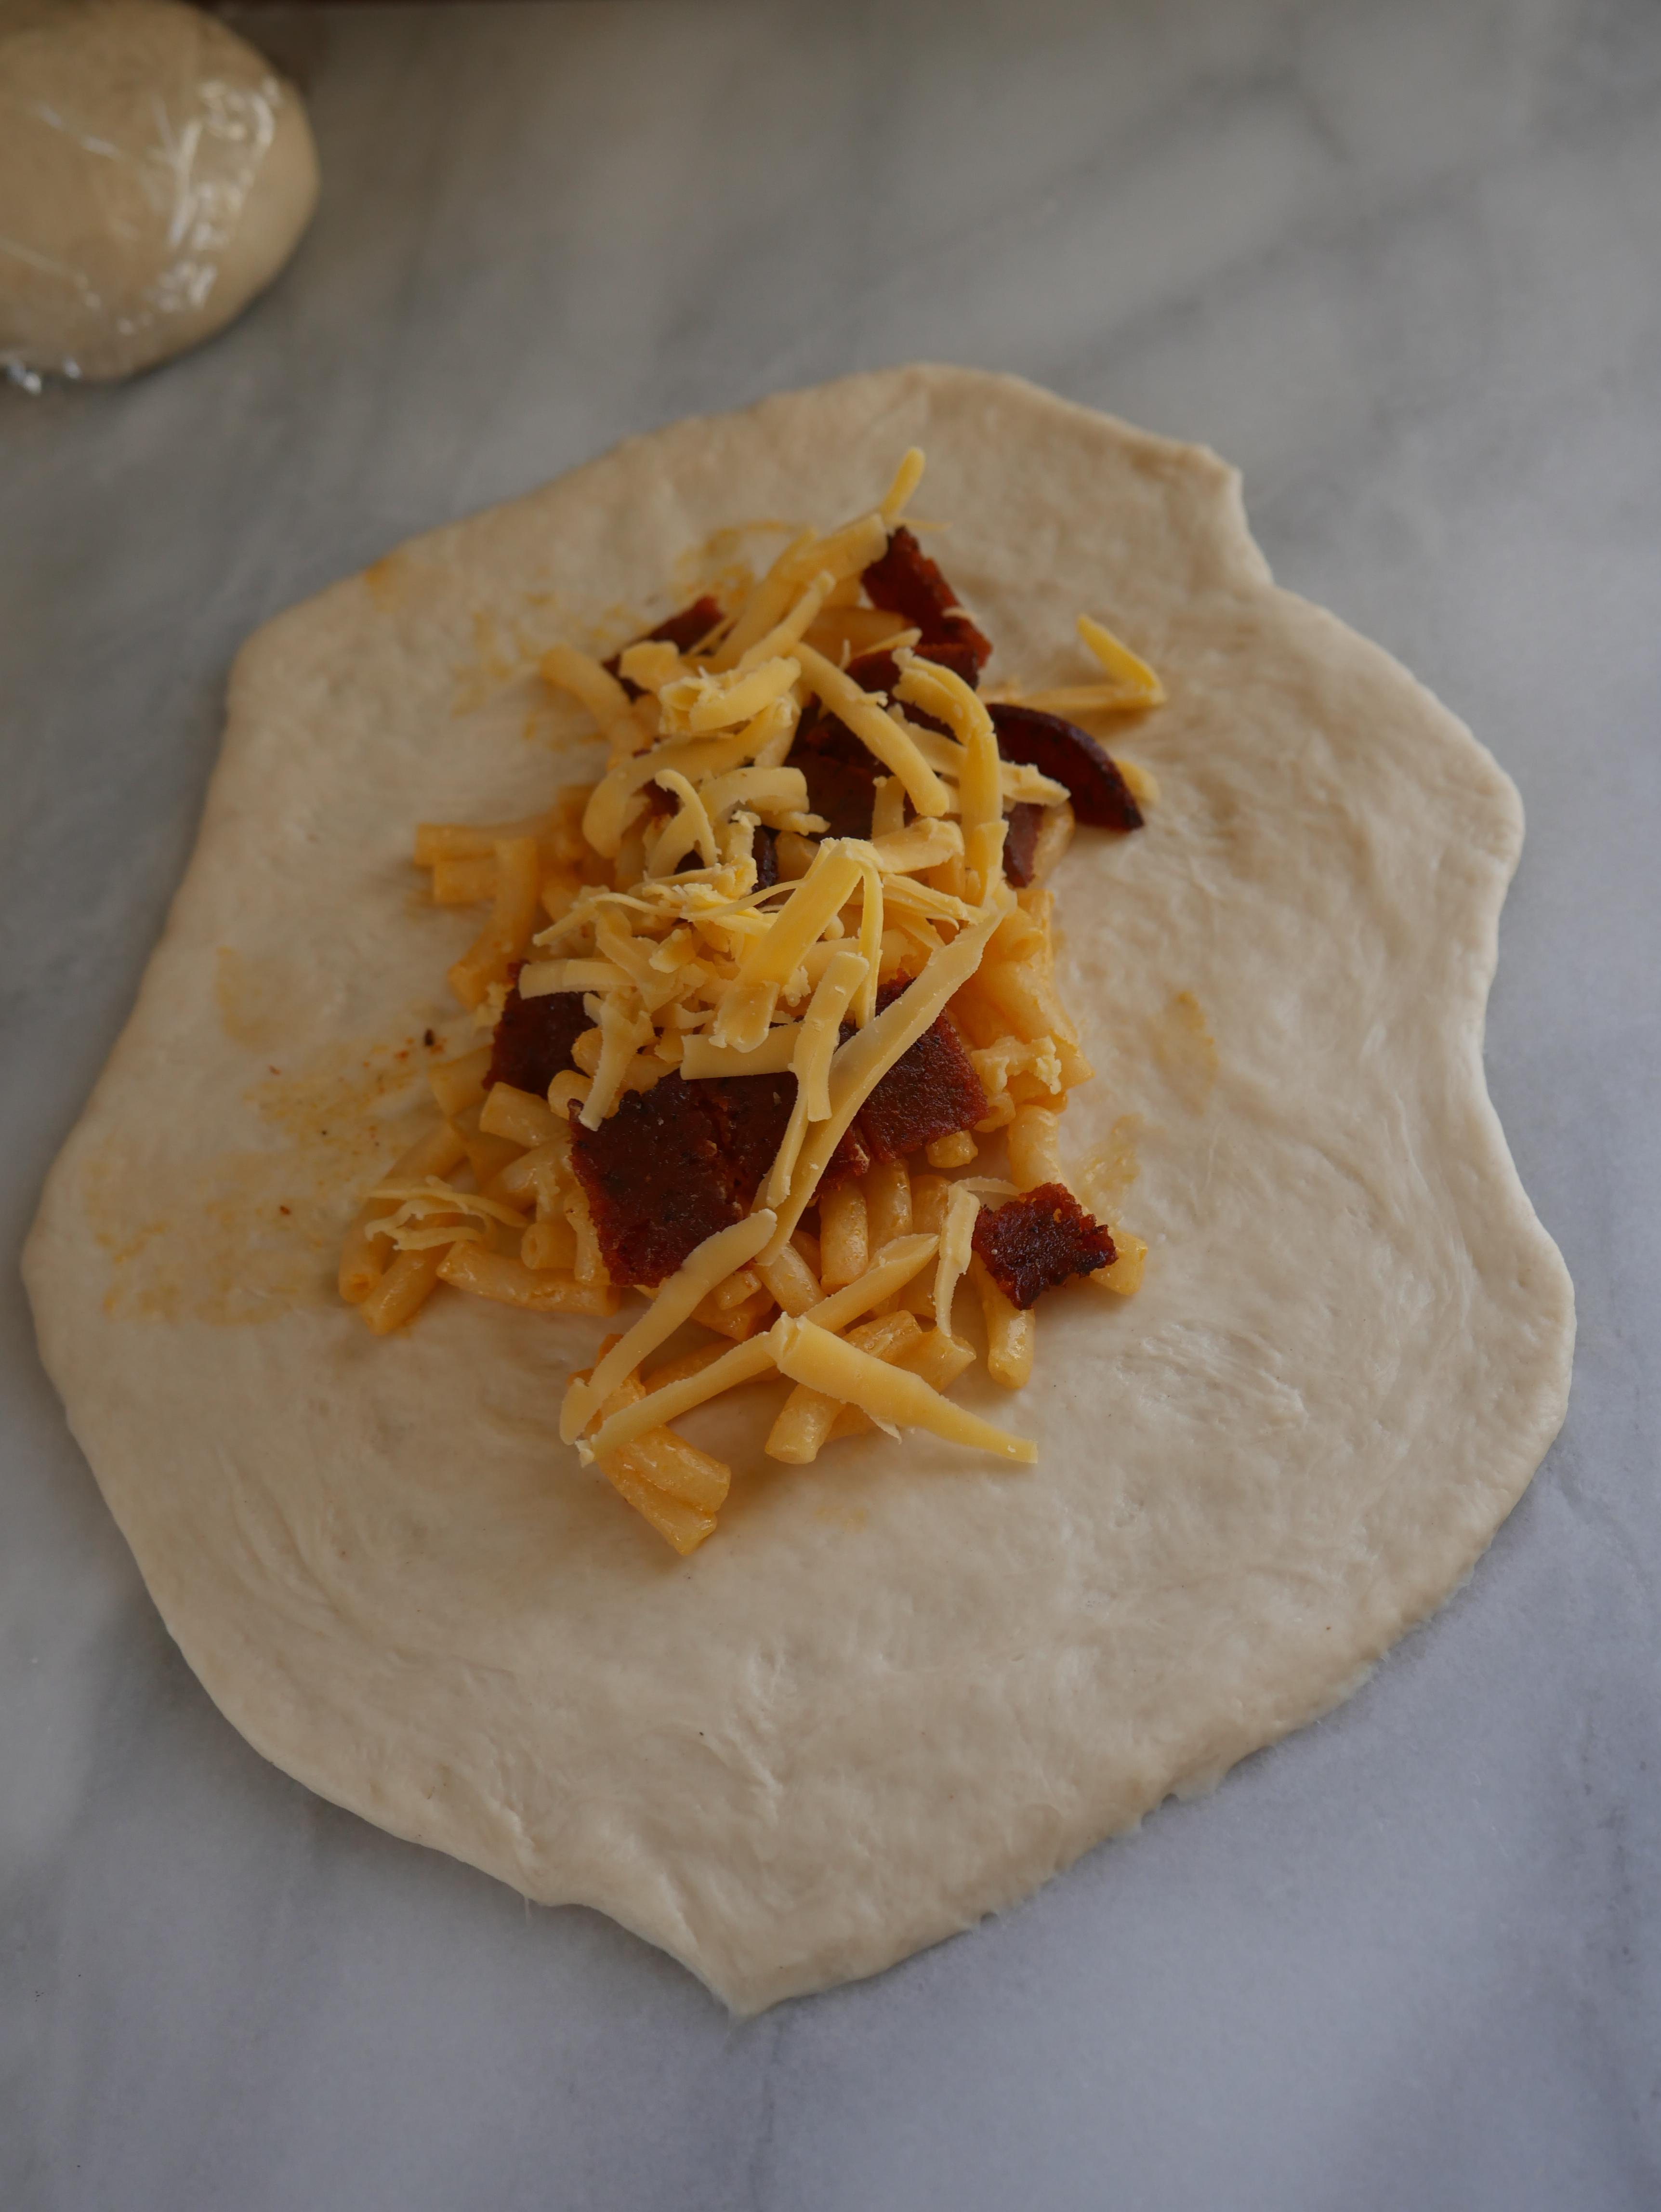
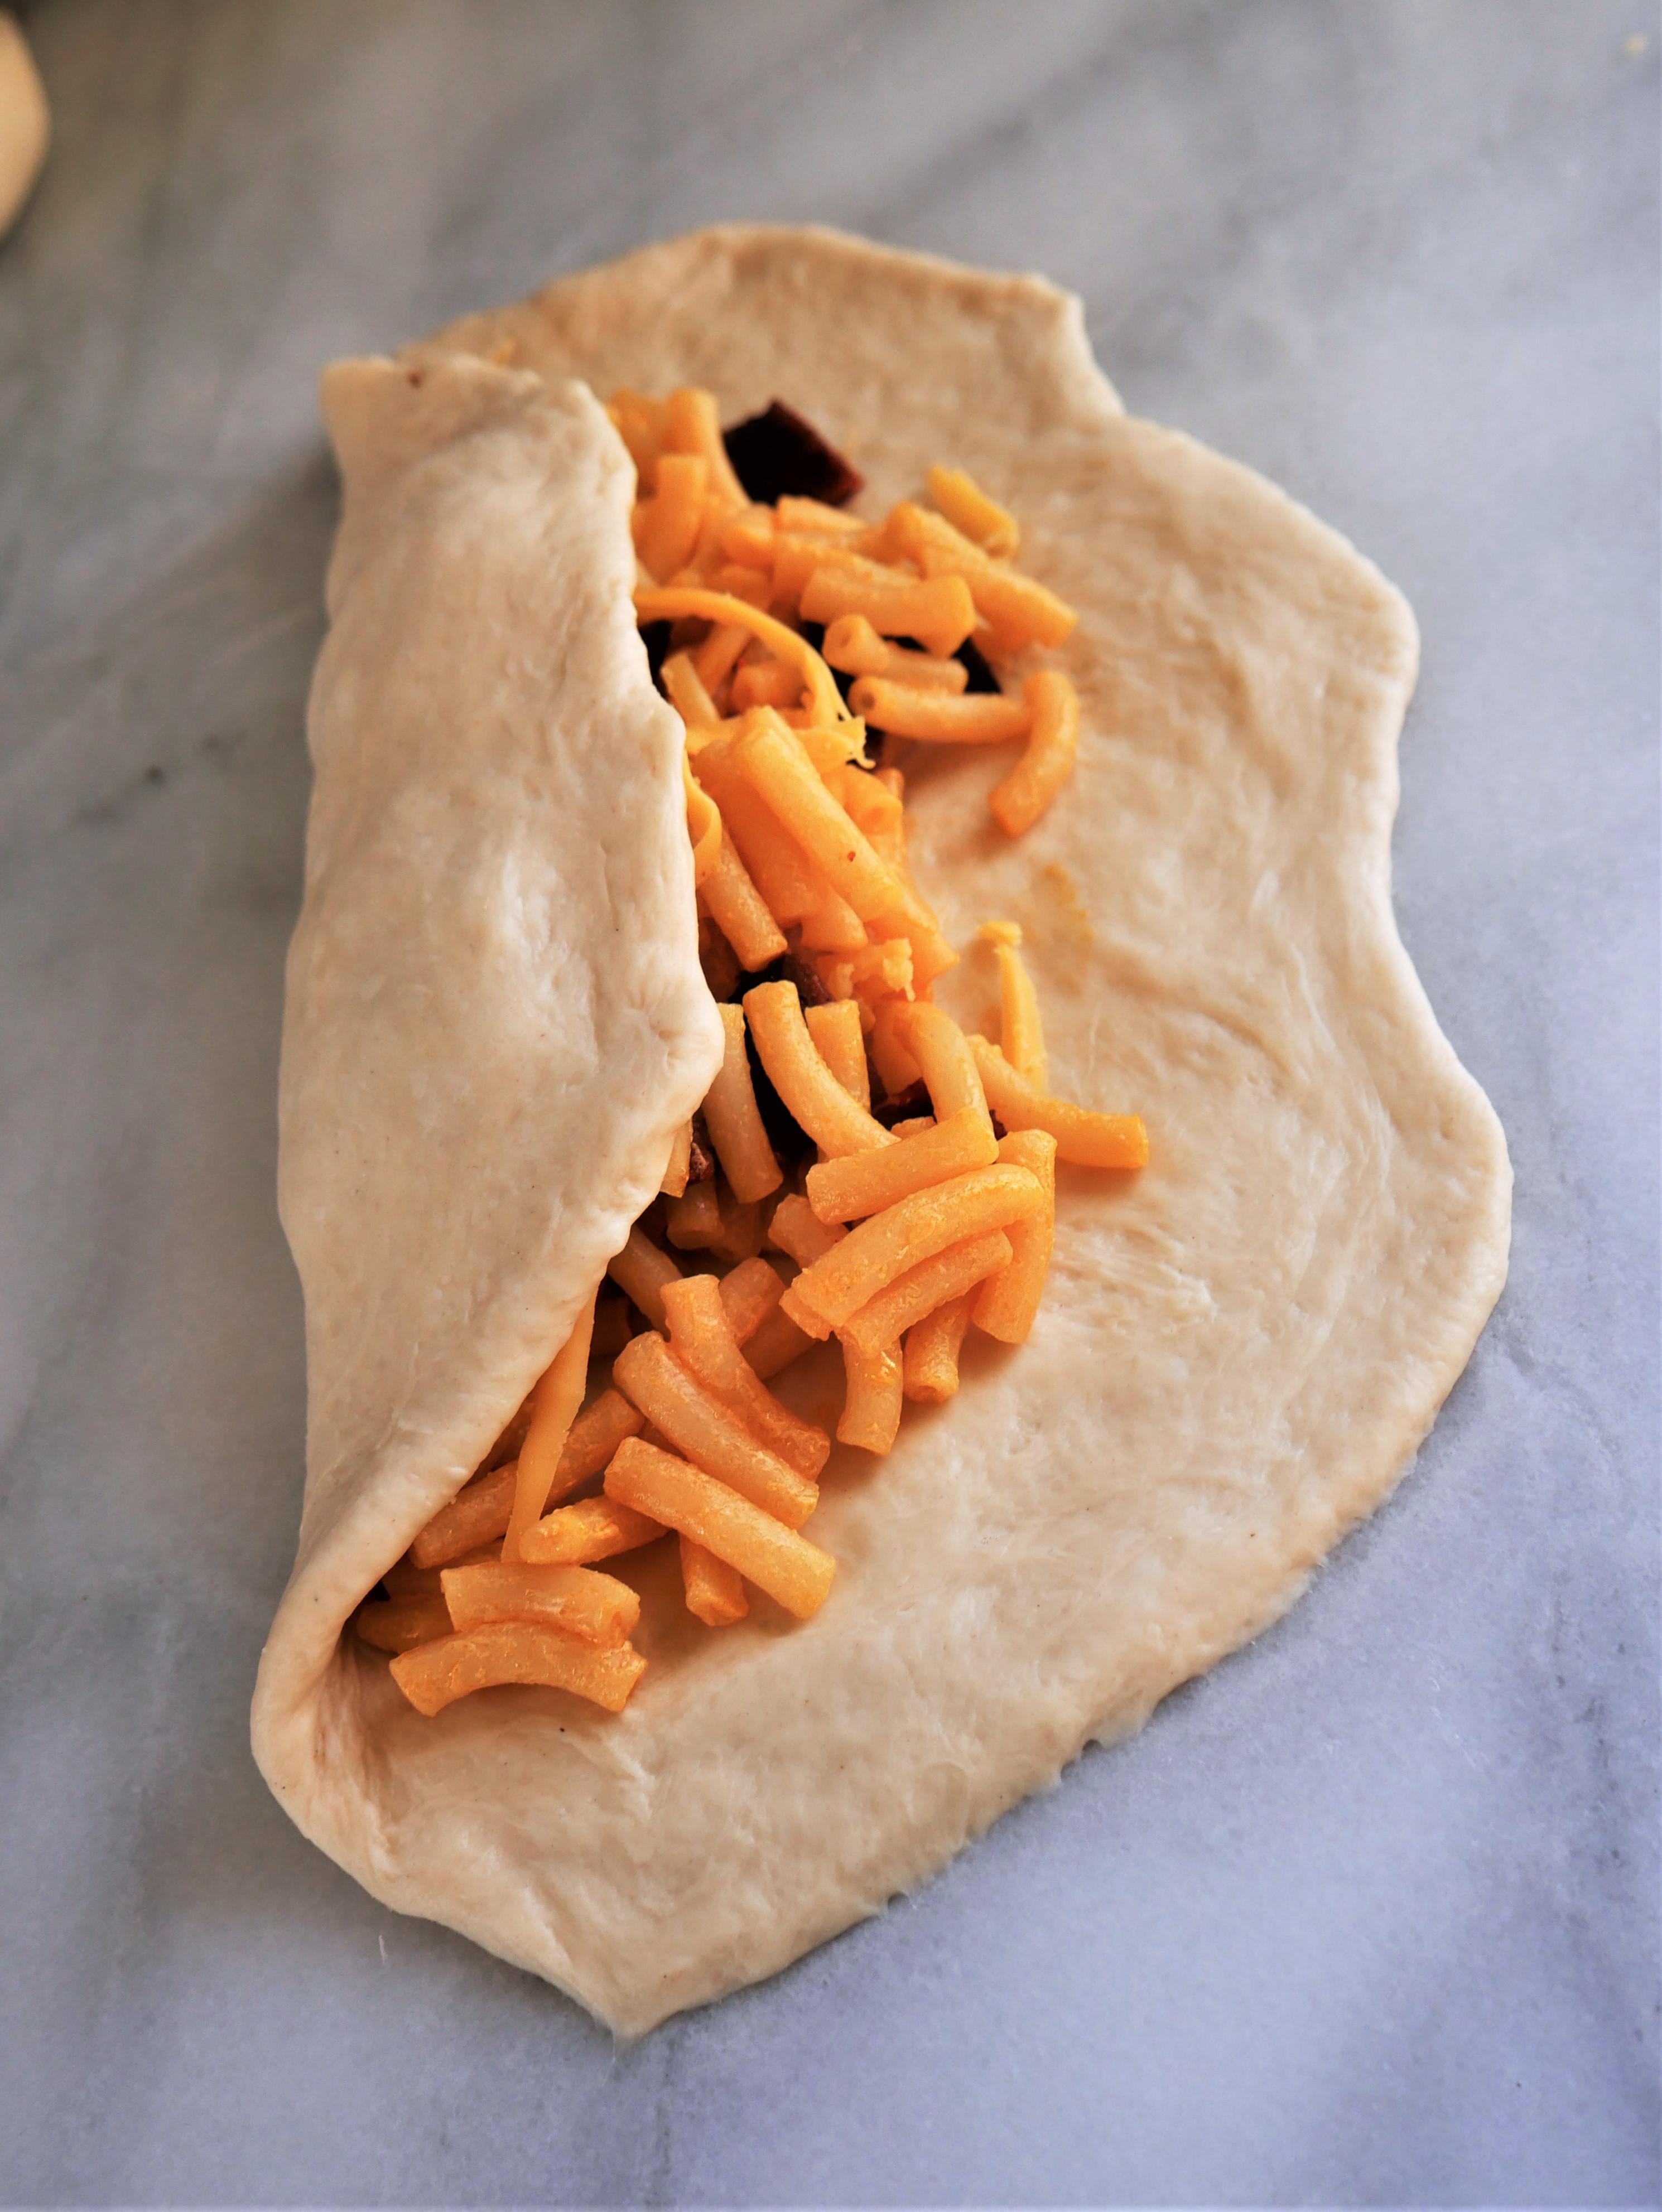
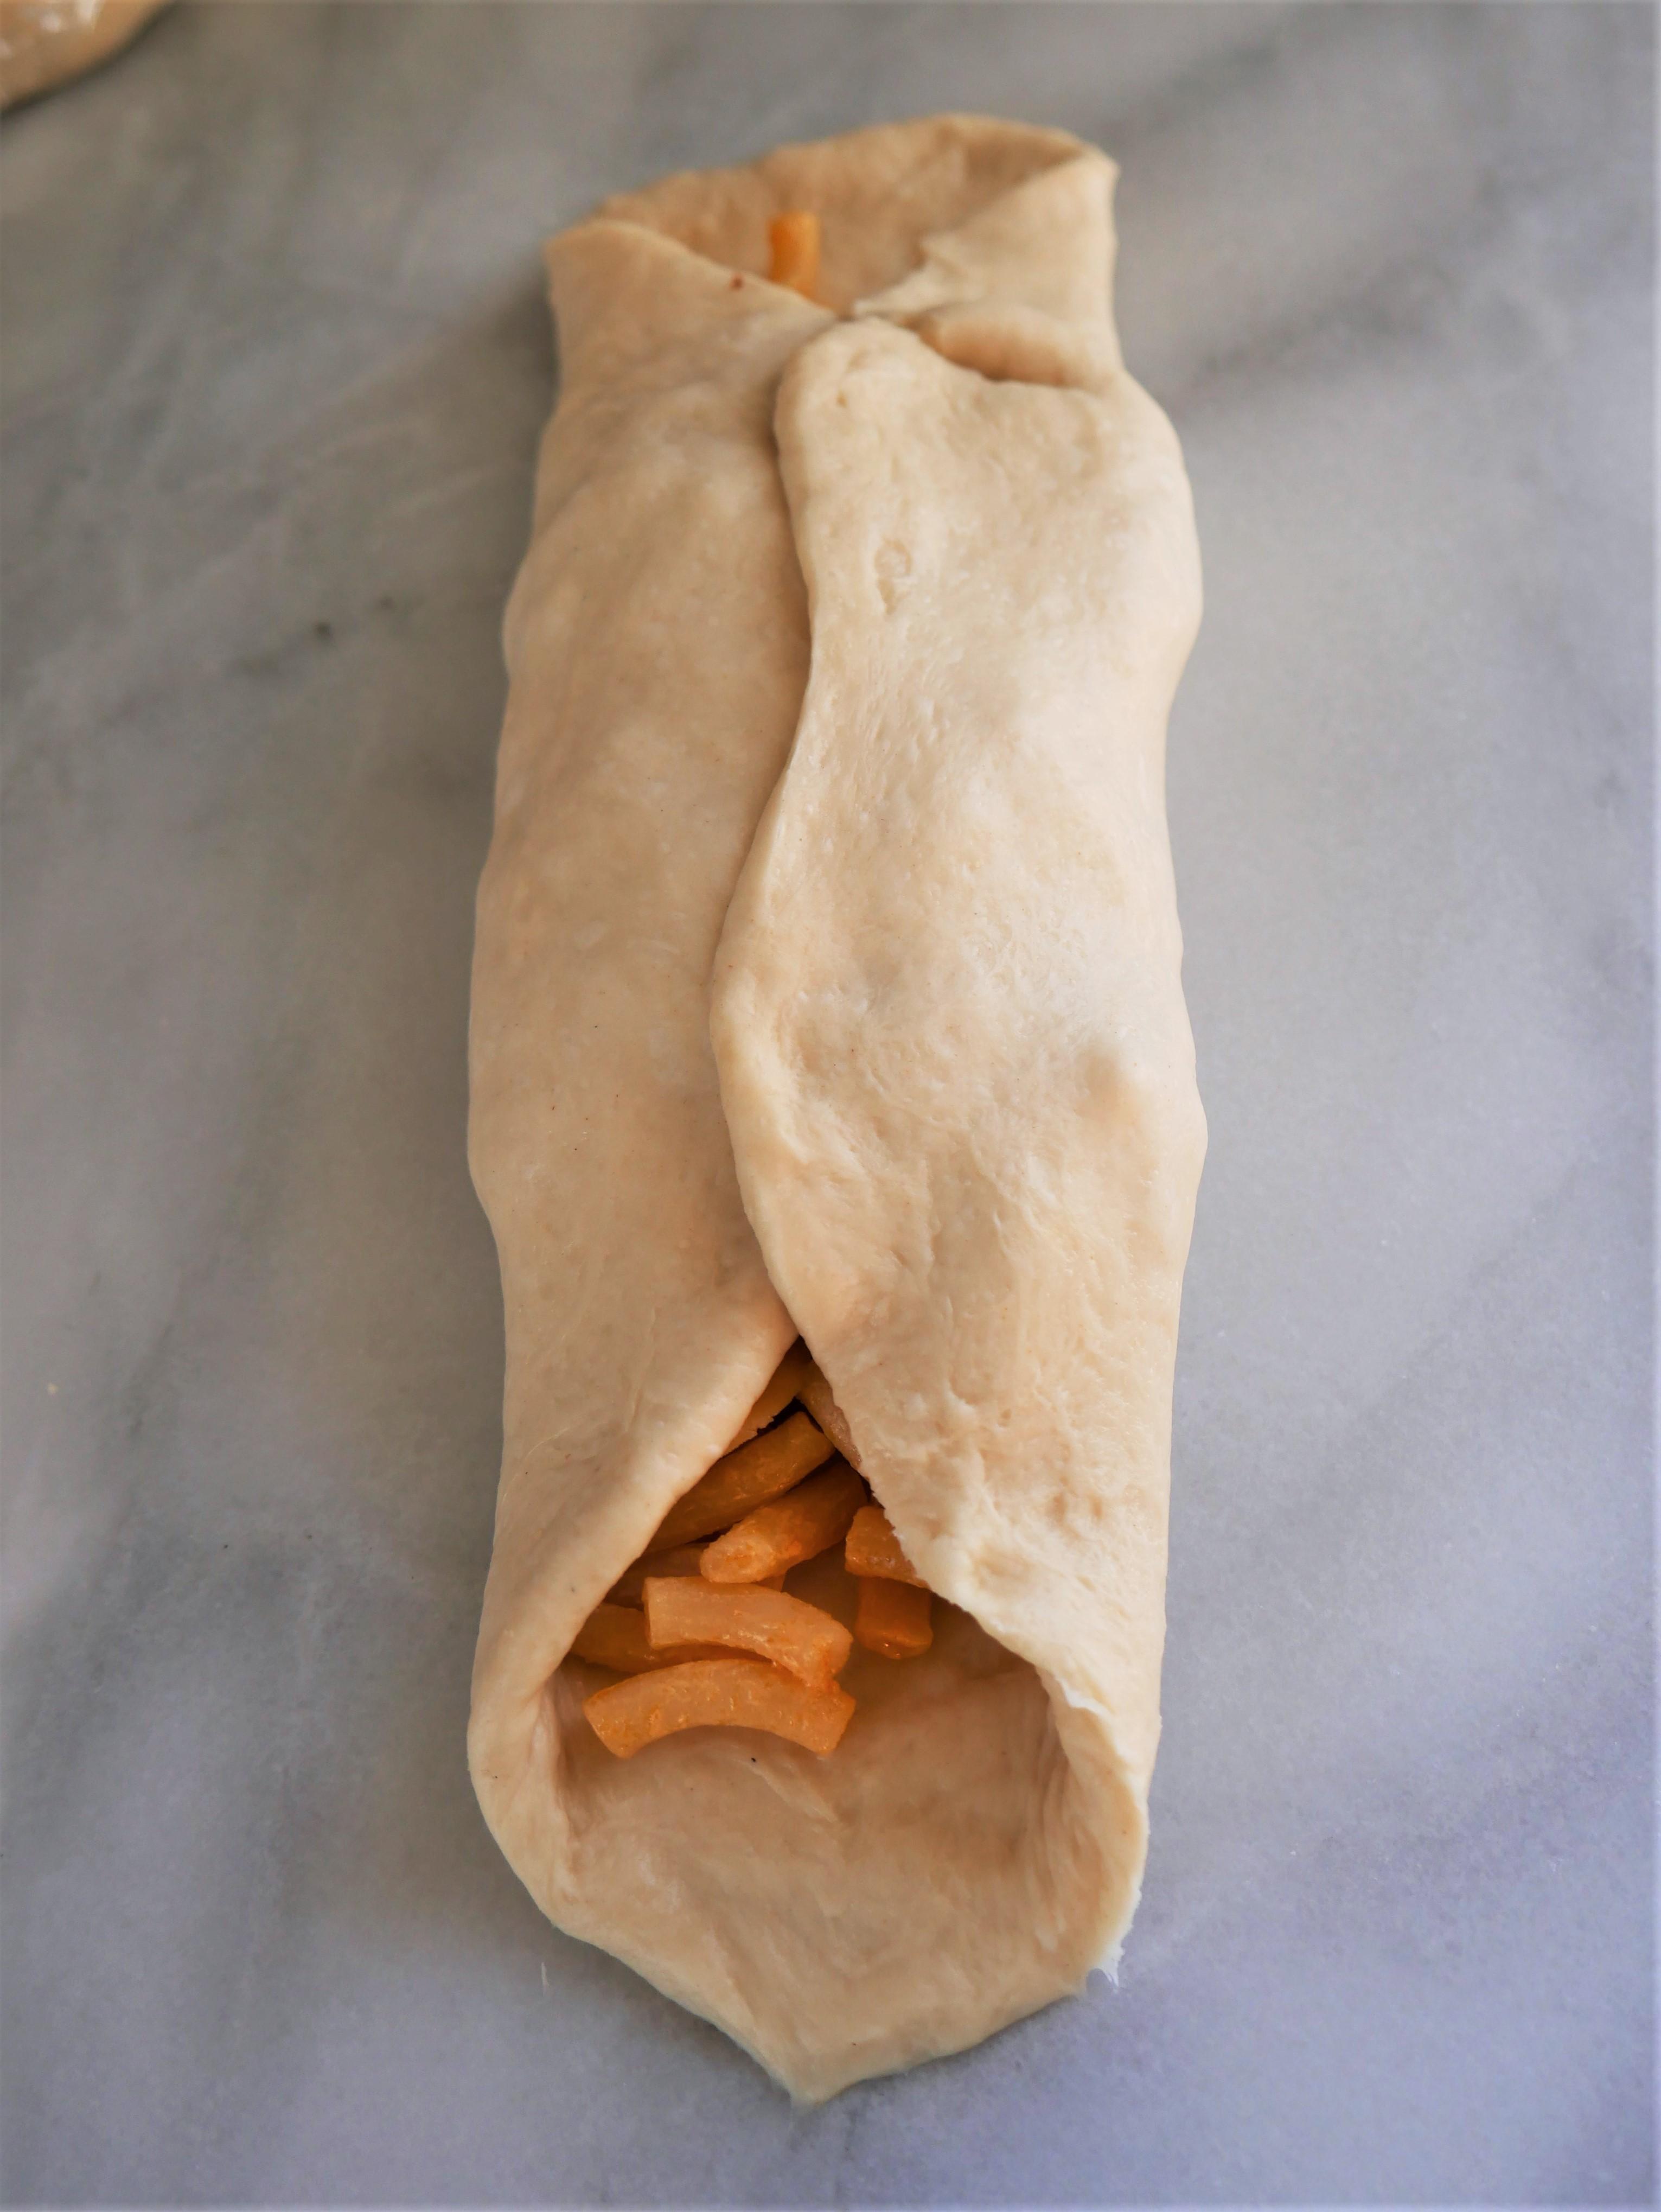
Next, you must roll out the dough balls one at a time, leaving the others covered while you work. On a lightly floured surface, flatten the dough ball into a disk. Then, using a floured rolling pin, roll out the dough until it is about a quart inch thick and forms an oval shape that is roughly 6 inches wide and 9 inches long. In the center of the oval, add about ½ cup of mac and cheese, followed by around 15 bacon bits and a ¼ cup of shredded cheese. Only fill it to the point where it is still manageable, and if you decided to make 8 pretzels, fill each one less. Once all the filling is in place lightly spritz the dough edges with water, fold the left side over, and then the right, make sure the two folds overlap by at least half an inch. Pinch the seam, then fold the bottom tab and the top tap towards the center, pinch these seams as well. Make sure all of the seams are well adhered to each other, then flip it so the seams are down. Place the finished pretzel on a parchment-lined baking sheet that has lightly been dusted with flour. Repeat the filling and folding process with all of the dough pieces. Once all of the pretzels are on the baking sheet, do not cover them and allow them to rest at room temperature until you have prepared your lye solution or baking soda solution.
At this point, you should also preheat the oven to 425°F.
LYE SAFETY


BEFORE MAKING THE LYE BATH, YOU SHOULD KNOW ALL OF THE DANGERS OF LYE:
- Lye is extremely caustic, it can cause skin burns and severe eye damage
- Lye fumes can be harmful to the lunges
- When swallowed, lye will burn the throat and could cause death
- Lye should never be open near children, pets, or anyone who is unaware of its dangers
- Lye can react with some materials, only use recommended containers and utensils, never use aluminum
TO PREVENT THE ABOVE DANGERS, TAKE THE FOLLOWING SAFETY PRECAUTIONS:
- To prevent skin burns, wear long thick gloves and make sure they are watertight before using
- To prevent eye damage, wear a face shield and or safety googles
- Although this quantity of lye will produce minimal fumes, a face mask is highly recommended, and working in a vented area is a good idea
- Keep others away from the lye unless they are also wearing proper PPE
- Use plastic bowls and utensils when possible, stainless steel is also ok but only use if it is definitely stainless steel, aluminum, and other metals can react with lye
- Bake pretzels fully before eating, lye becomes safe for consumption after it has been baked
- Do not use more than the directed amount, if possible measure by weight
- Always put the lye into the water and not the water into the lye, if you put the water into the lye it can splash or cause a small reaction.
Lye can be dangerous if it is not handled responsibly, luckily if the proper precautions are taken, it can be used safely. Lye is the only way to truly achieve the perfect pretzel skin, and that is why I think it is worth the effort. I have used lye a number of times in my kitchen and I have experienced no repercussions. If you do not want to use lye, or you simply don't have any, skip to step 8 for an alternative method using baking soda. If you would like to learn more about lye (sodium hydroxide) the following are good resources for further reading:
https://sciencing.com/use-safely-understand-its-dangers-4742114.html
https://www.cdc.gov/niosh/topics/sodium-hydroxide/default.html
Lye Bath
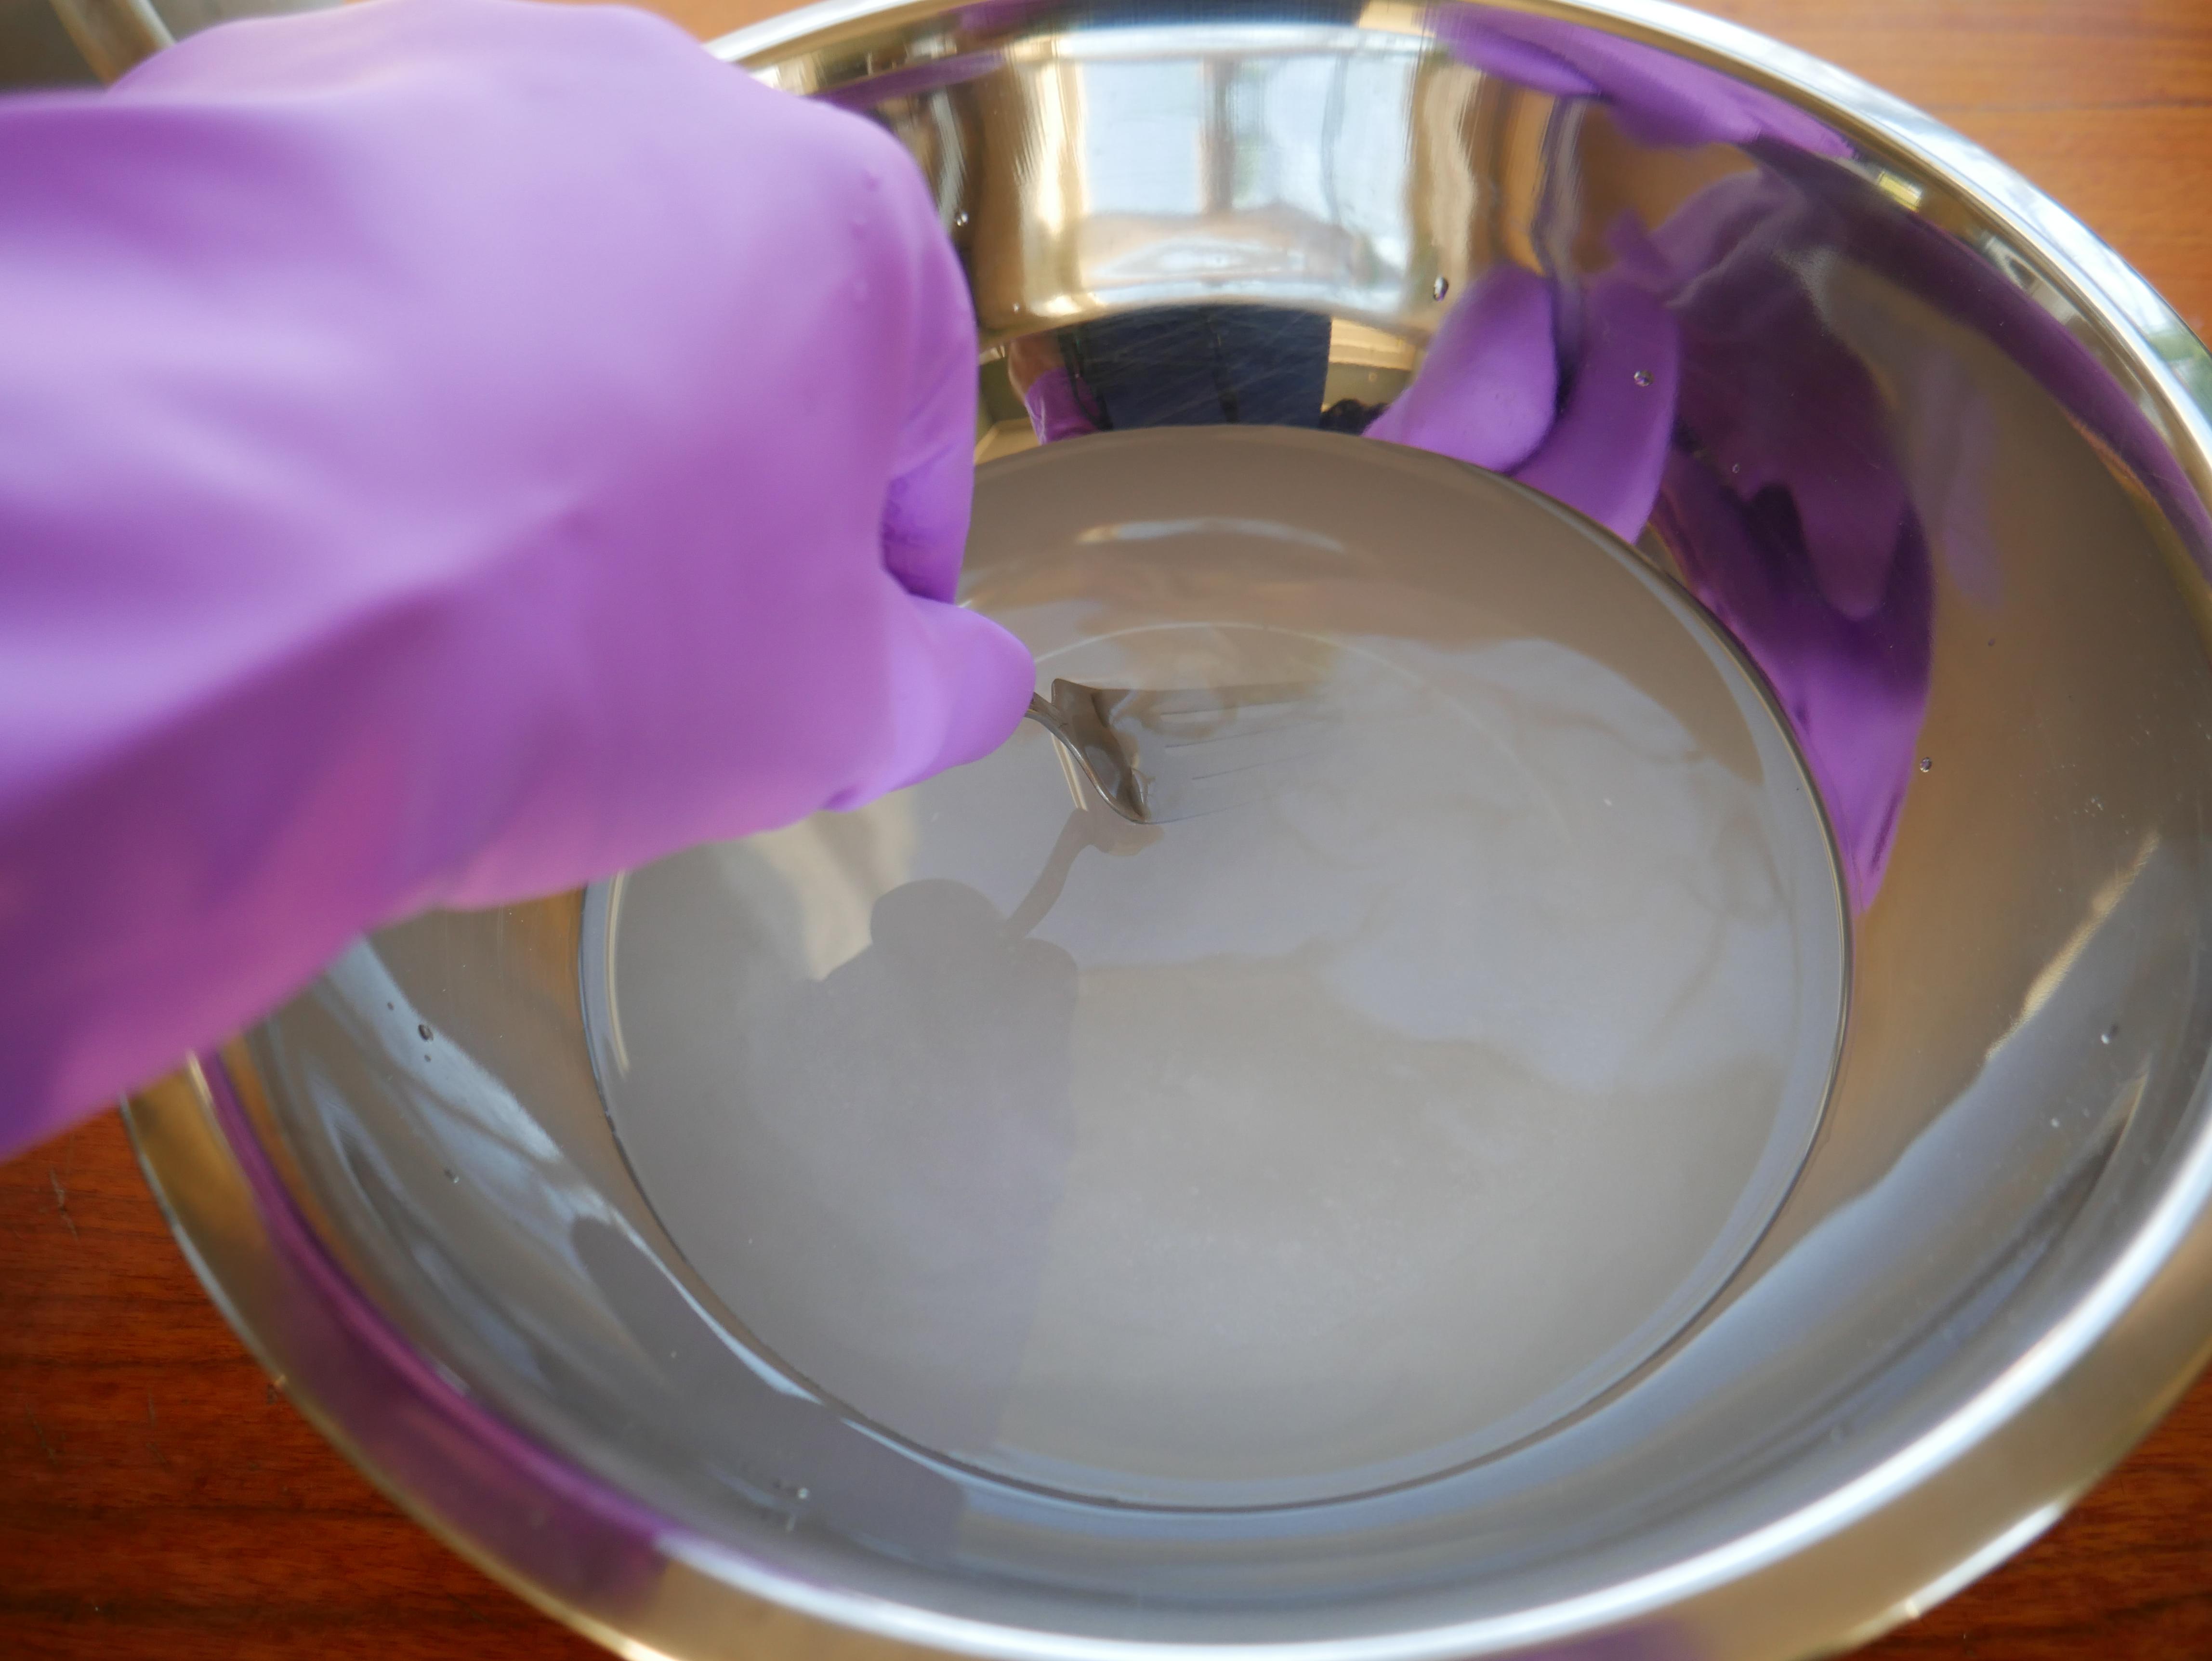


Once you have thoroughly read the entire last step, you can now mix your lye solution. First set up a clock so you can read the seconds, this website may be helpful. You should also have your pretzel salt out and place a small amount into a nearby bowl for easy access. Now, put on all of your PPE (gloves, face shield, and face mask). Next in a plastic or stainless steel bowl, not aluminum or glass, measure out 2 cups(472g) of water. Carefully measure out 3 teaspoons(19g) of lye and gently pour them into the water. Stir the lye in with a stainless steel or plastic utensil, until there are no more visible lye granules, the water should become cloudy but eventually, it should clear. Once at a time, lift a pretzel from the sheet tray, and fully submerge it in the lye for 15 seconds. Remove it and allow all the excess liquid to drain back into the bowl. Place the pretzel back on the parchment and sprinkle with salt. Repeat the 15-second soak with each pretzel until each one has been soaked and salted.
SKIP THE NEXT STEP AND PROCEED TO BAKING
Alternative Process to Lye Bathing
ONLY FOLLOW THIS STEP IF YOU DO NOT WISH TO USE LYE
If you wish to make the recipe but are worried about the dangers of lye, you can still make these pretzels using baking soda. The process for using baking soda is, however, very different:
While the pretzels are resting uncovered, fill a large stainless steel pot with 9 cups of water. Dissolve 1/2 cup of baking soda into the water, and then bring the water to a boil on the stove. Once the water is boiling, use a slotted spatula to fully submerge the pretzels one at a time into the water for 20-25 seconds (make sure to not go over 25 seconds or they will taste slightly metallic). After the allotted time, remove the pretzel from the water and allow as much liquid to drain off as possible. Place back on the parchment sheet and sprinkle with salt. Repeat with the others. Bake as directed in the next step.
Bake!


Once all of your pretzels have been dipped in lye (or boiled in baking soda), and sprinkled with salt, place them in the 425°F oven. Bake for 9-15 minutes until the pretzels are darkly browned all over. Remove the pretzels from the oven and brush with melted butter. Allow a few minutes to cool and then serve!
Enjoy!
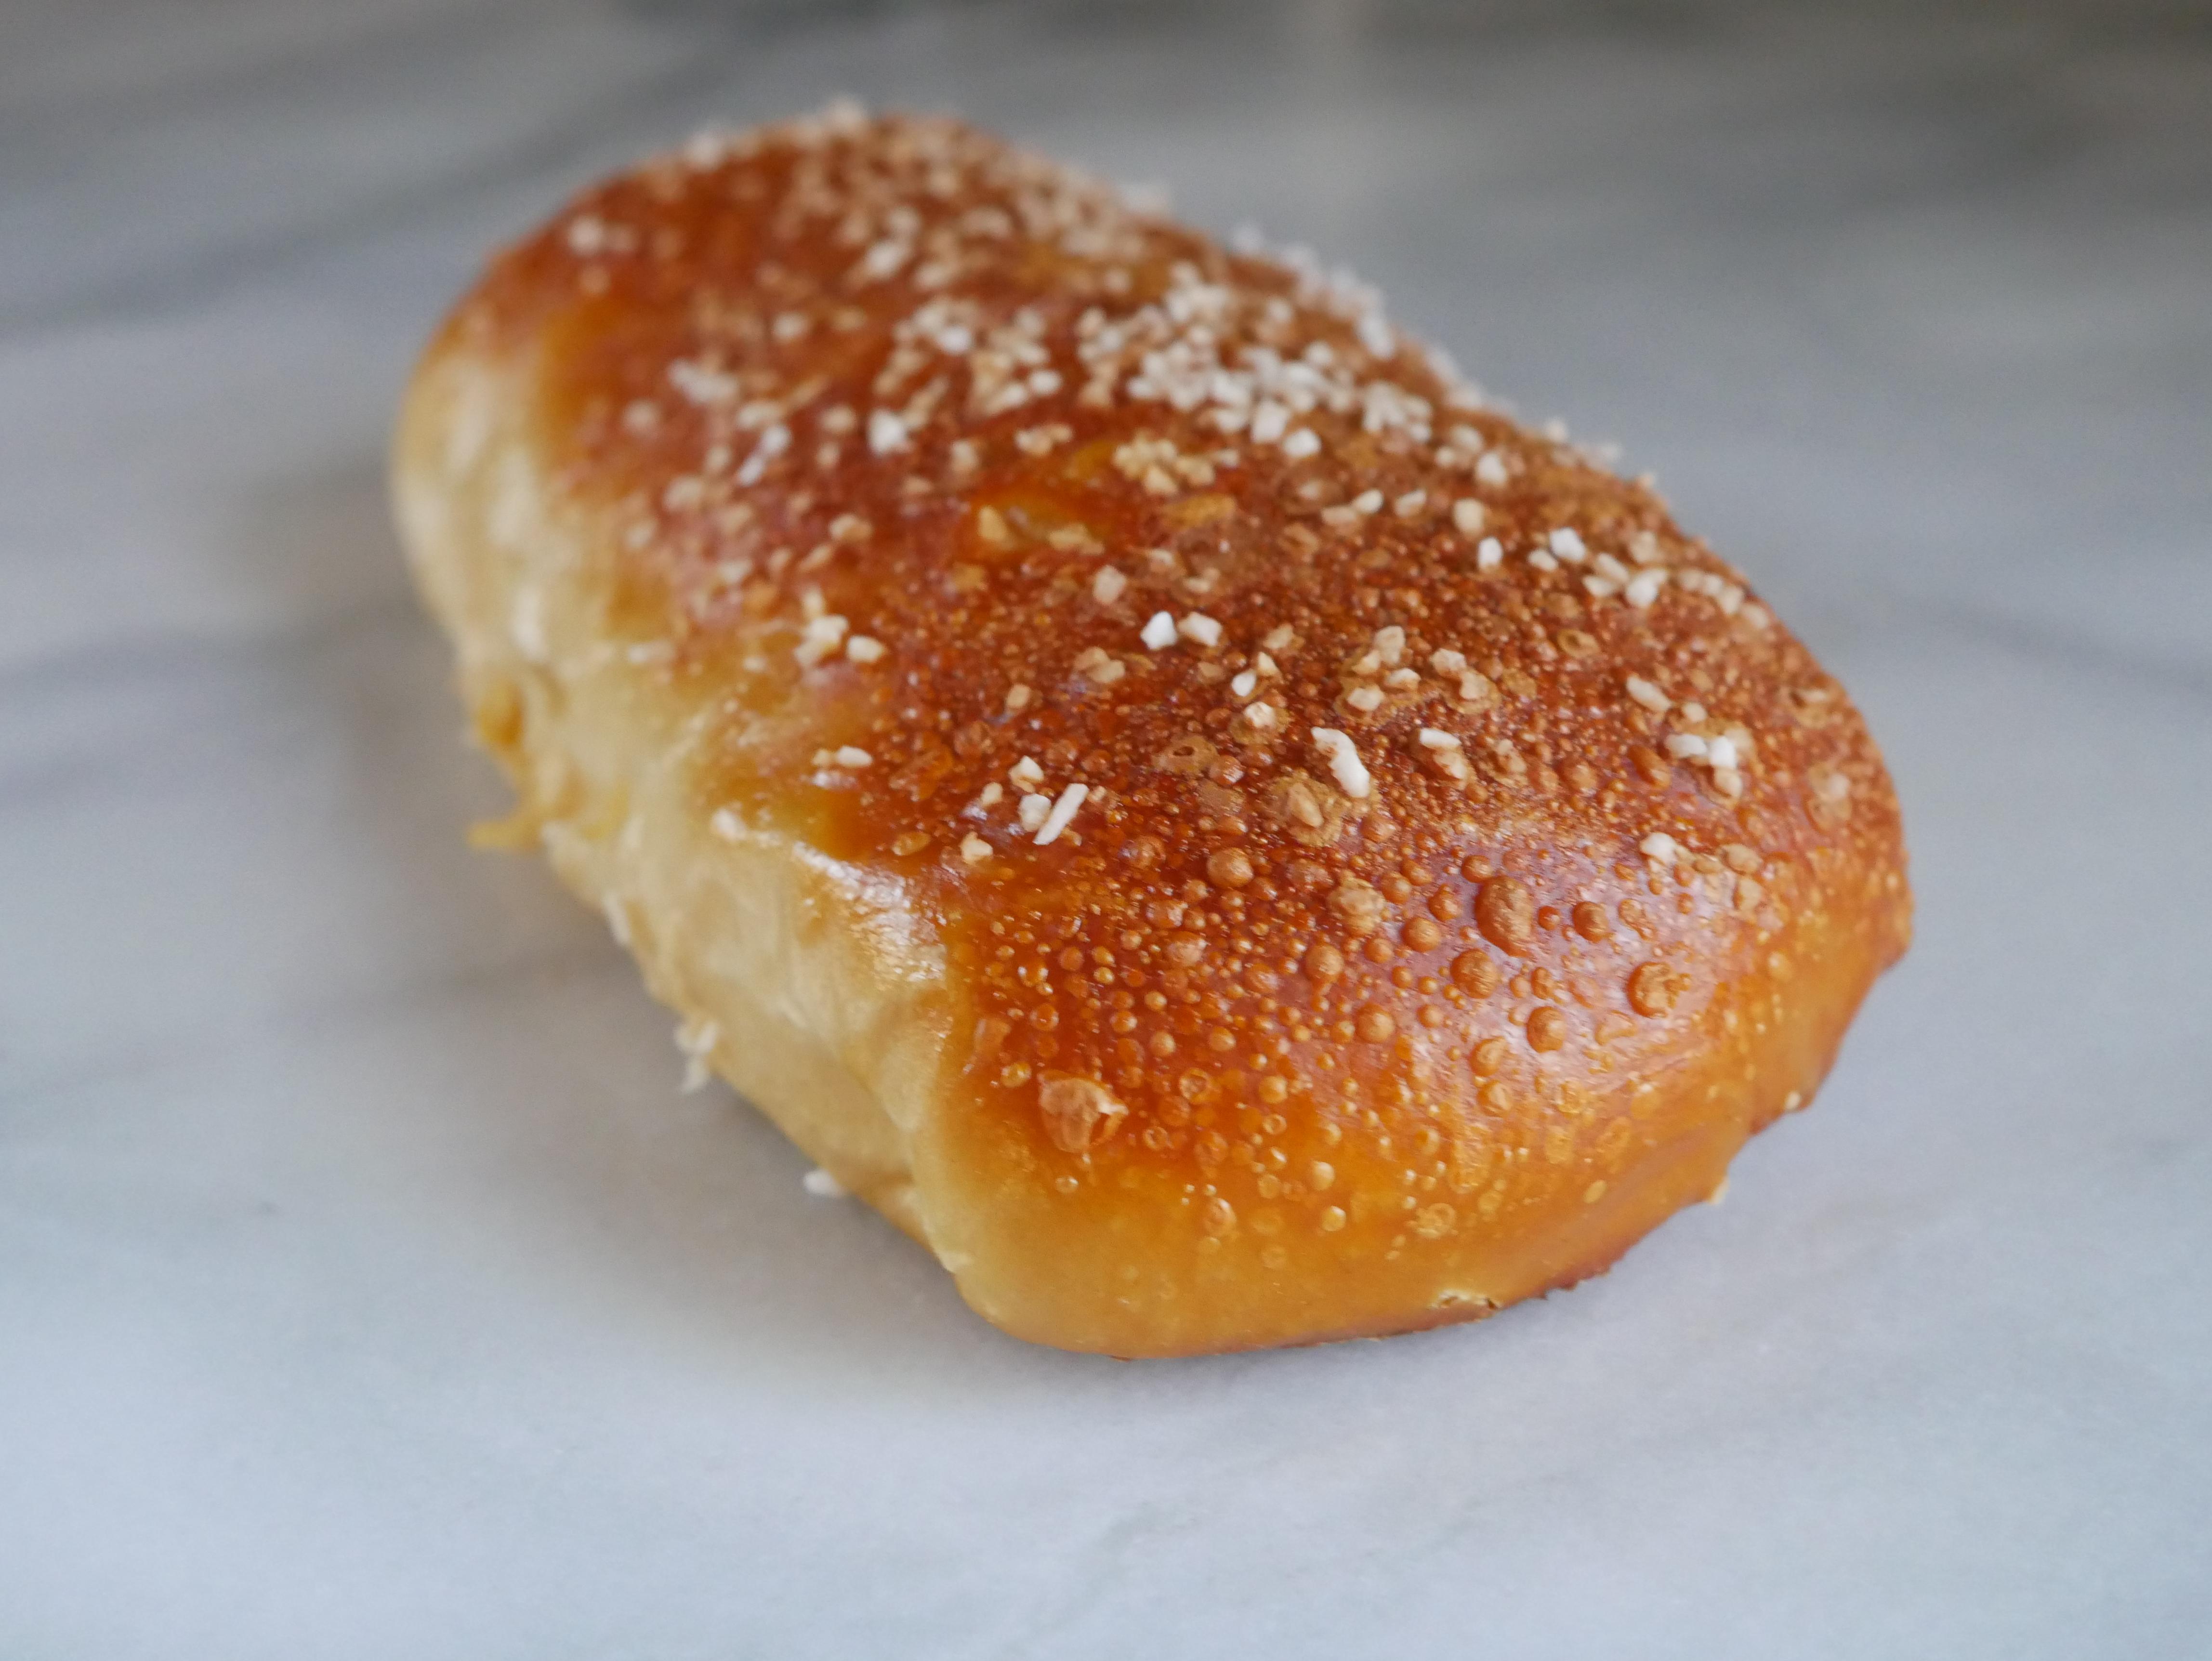
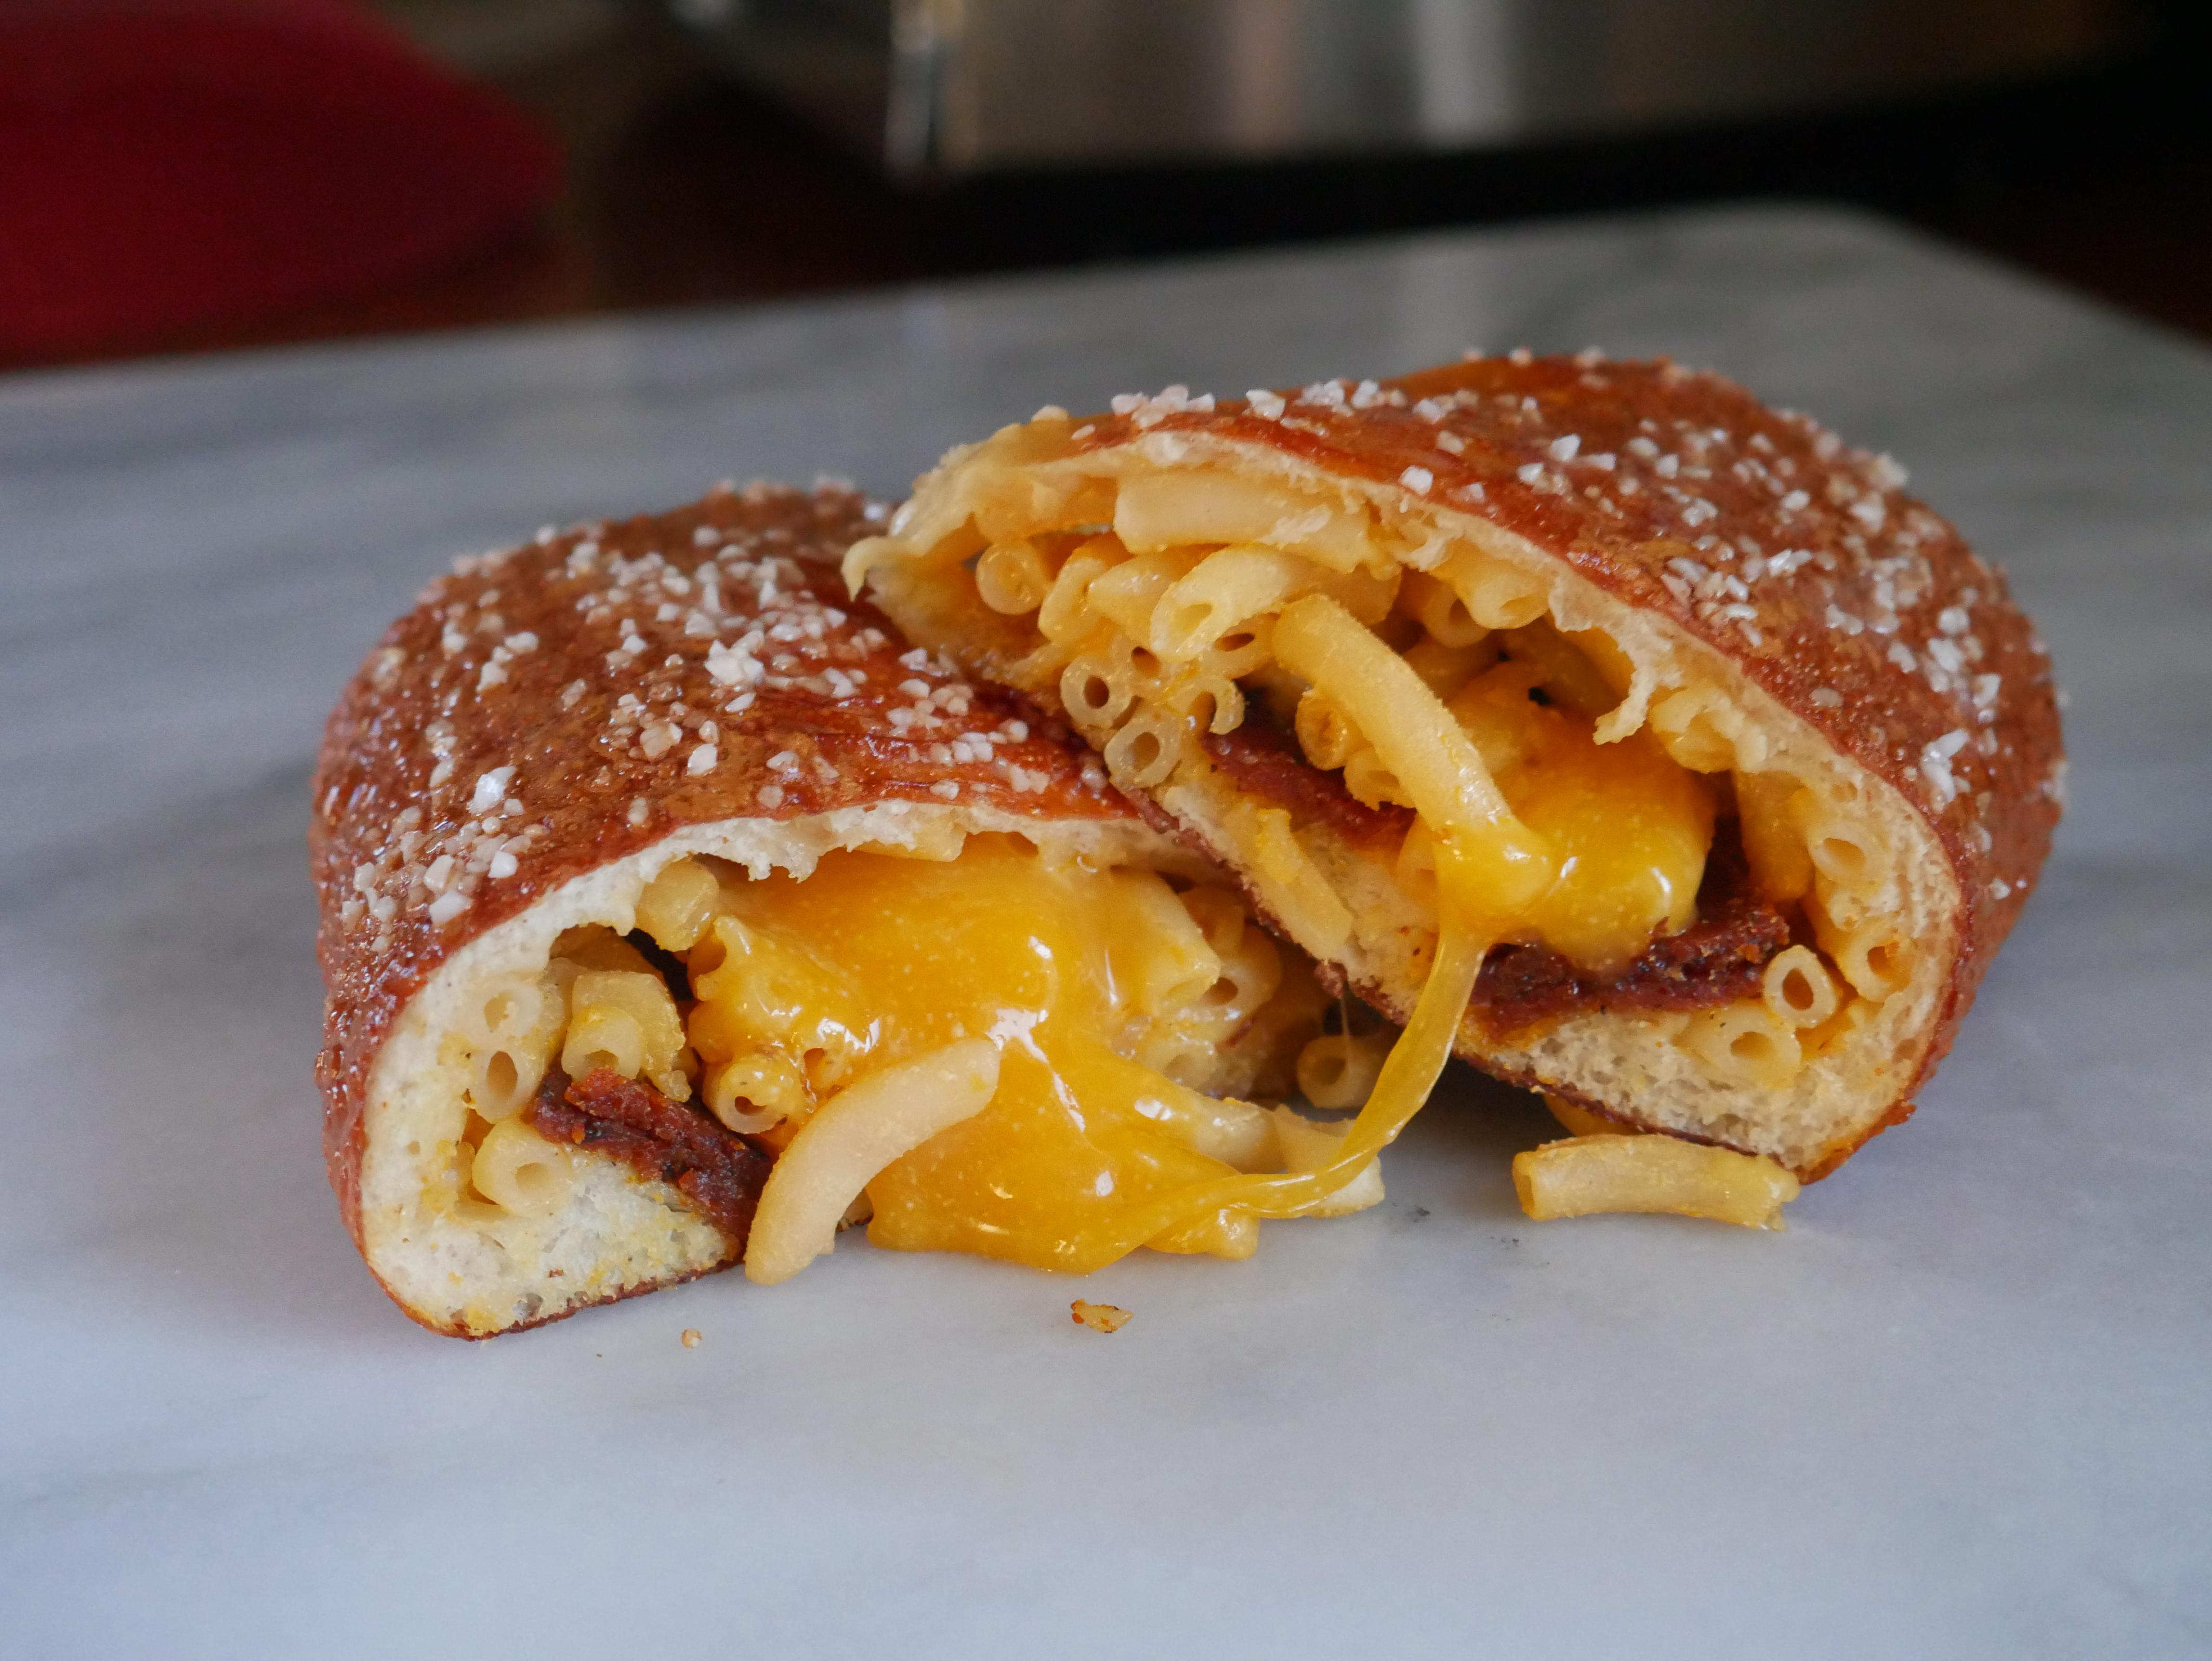
I hope you enjoyed this recipe. These were super fun to make, and even more fun to eat. These pretzels are surprisingly easy once you get the hang of it, and they are a great way to spice up boring mac & cheese. This recipe is also fun because you can experiment with different filling add-ins to compliment the mac & cheese. Please comment any filling ideas you have and share photos if you try them!