Boston Dynamics Robot Dog in Tinkercad
by TheSpaceGuy in Teachers > Robotics
2277 Views, 15 Favorites, 0 Comments
Boston Dynamics Robot Dog in Tinkercad
In this instrutable we are going to make Boston dynamic robot dog in tinkercad which I found very cool and its looks great. the best part about this robot I found that its a net step towards nature robotics combine together to give a such brilliancy.
THE AIM BEHND THIS - to create and deliver surprisingly capable robots that inspire, delight and positively impact society.
I am sharing the files with you guys so please do tell me how was it.
Downloads
Supplies
- 3D PRINTER
- TINKERCAD
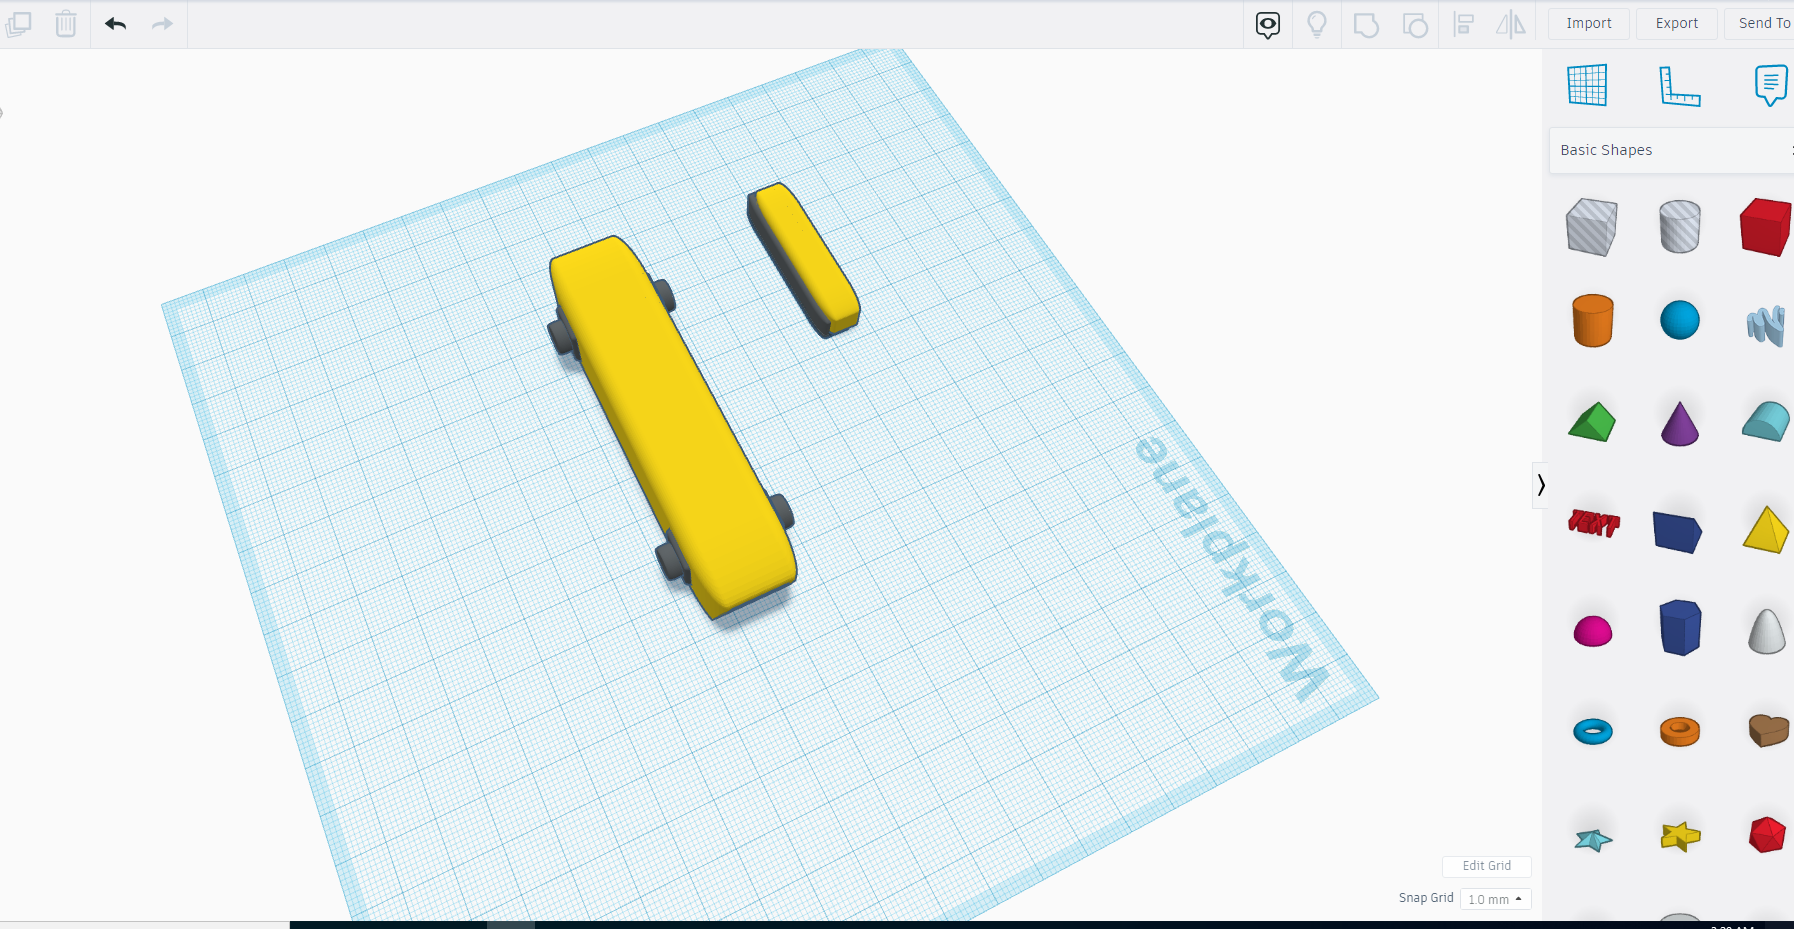
Getting Started
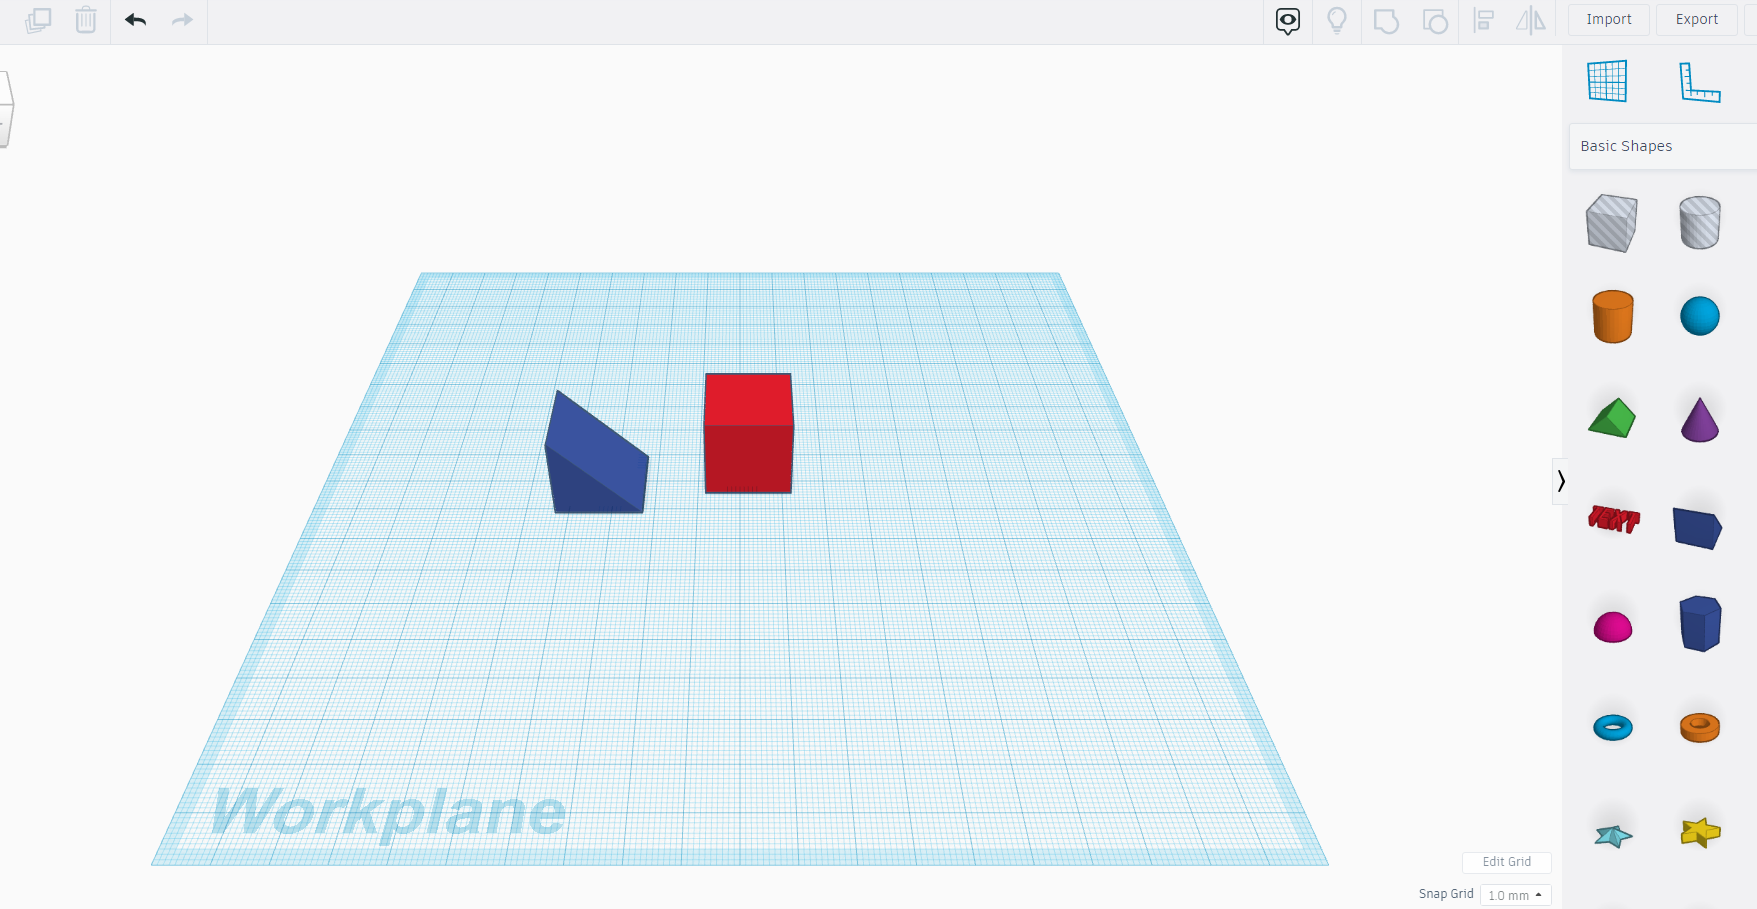
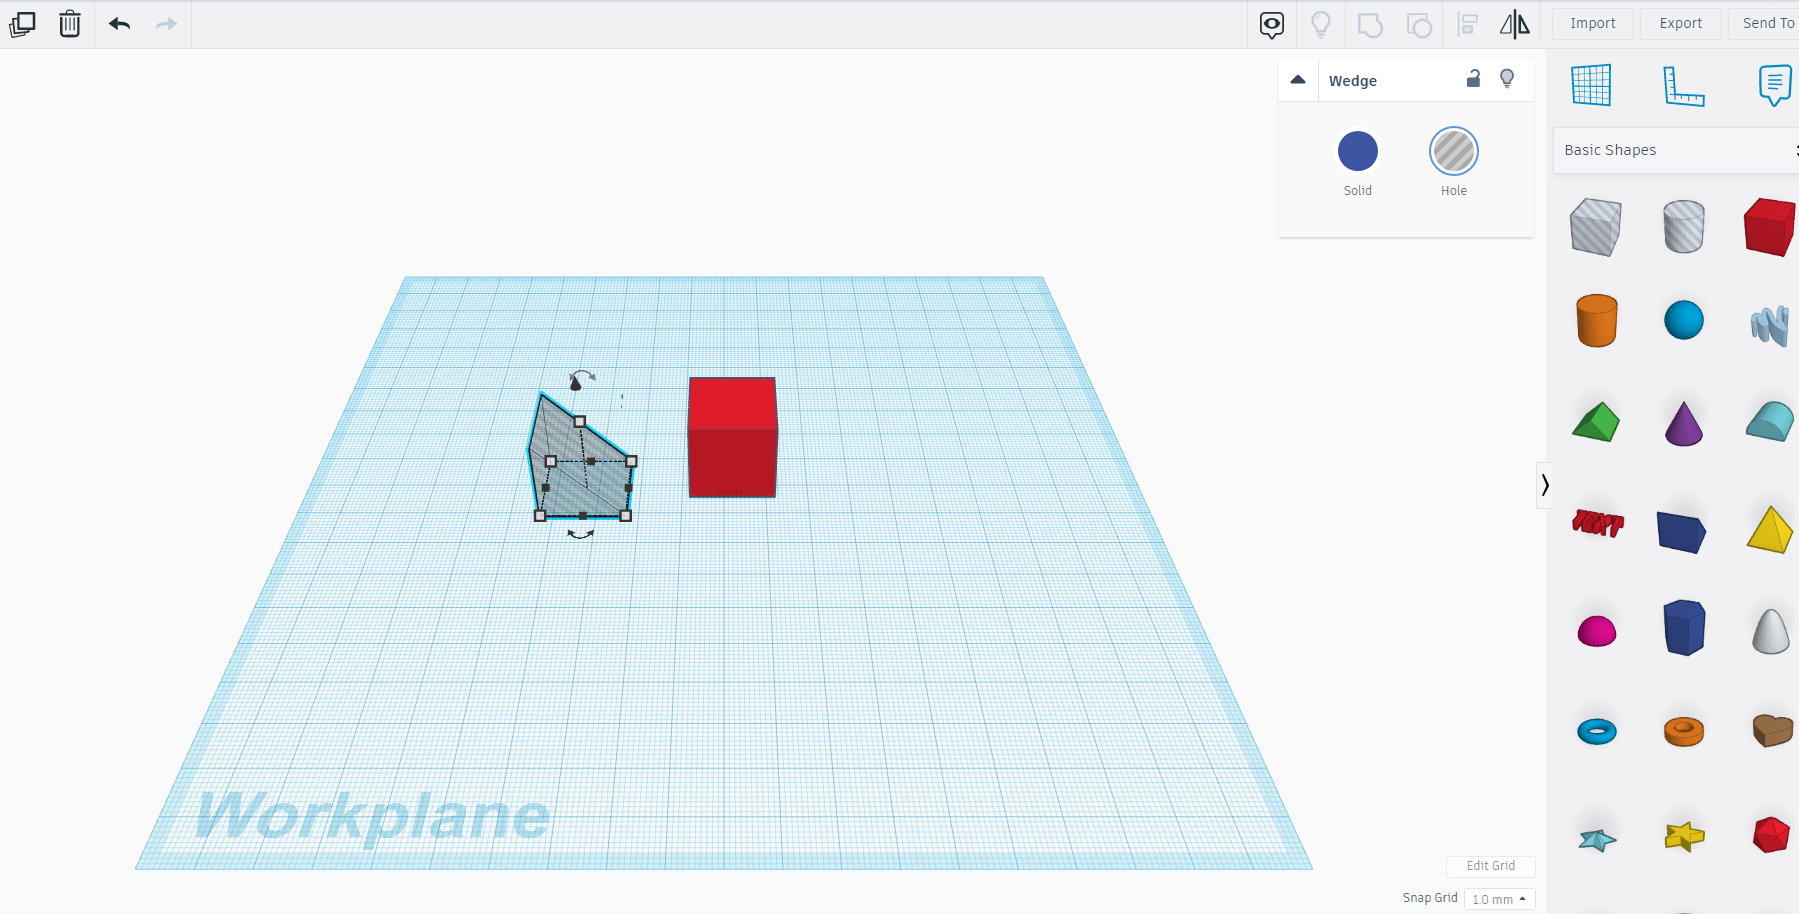
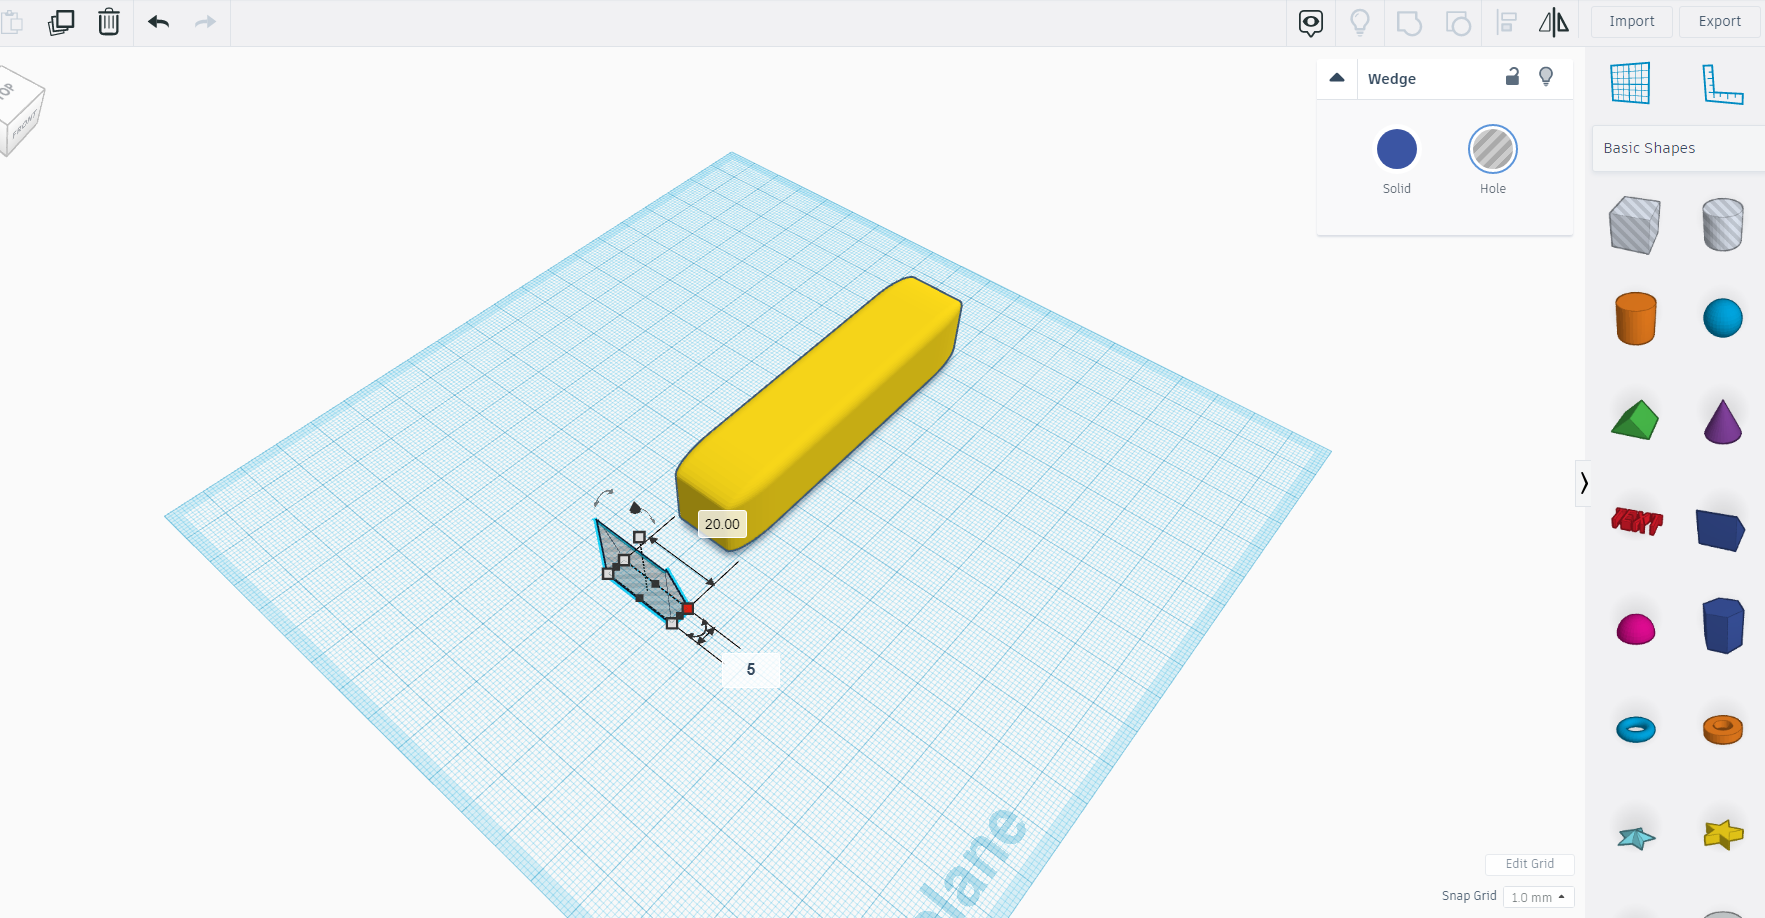
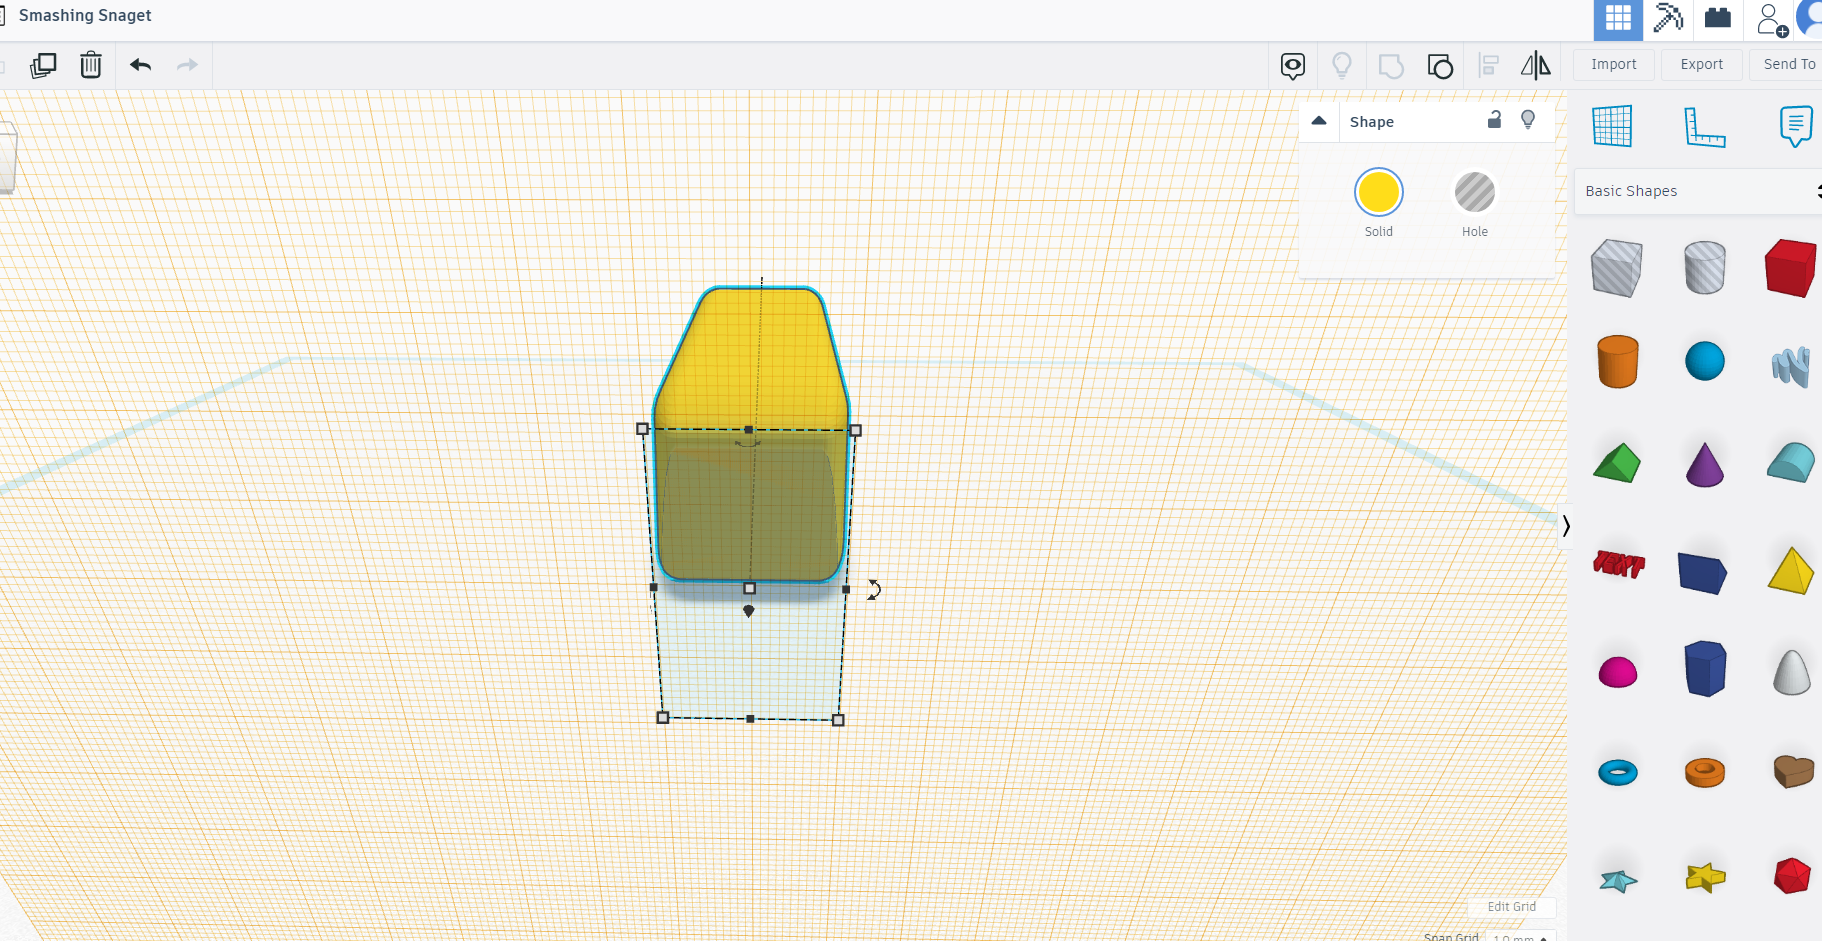
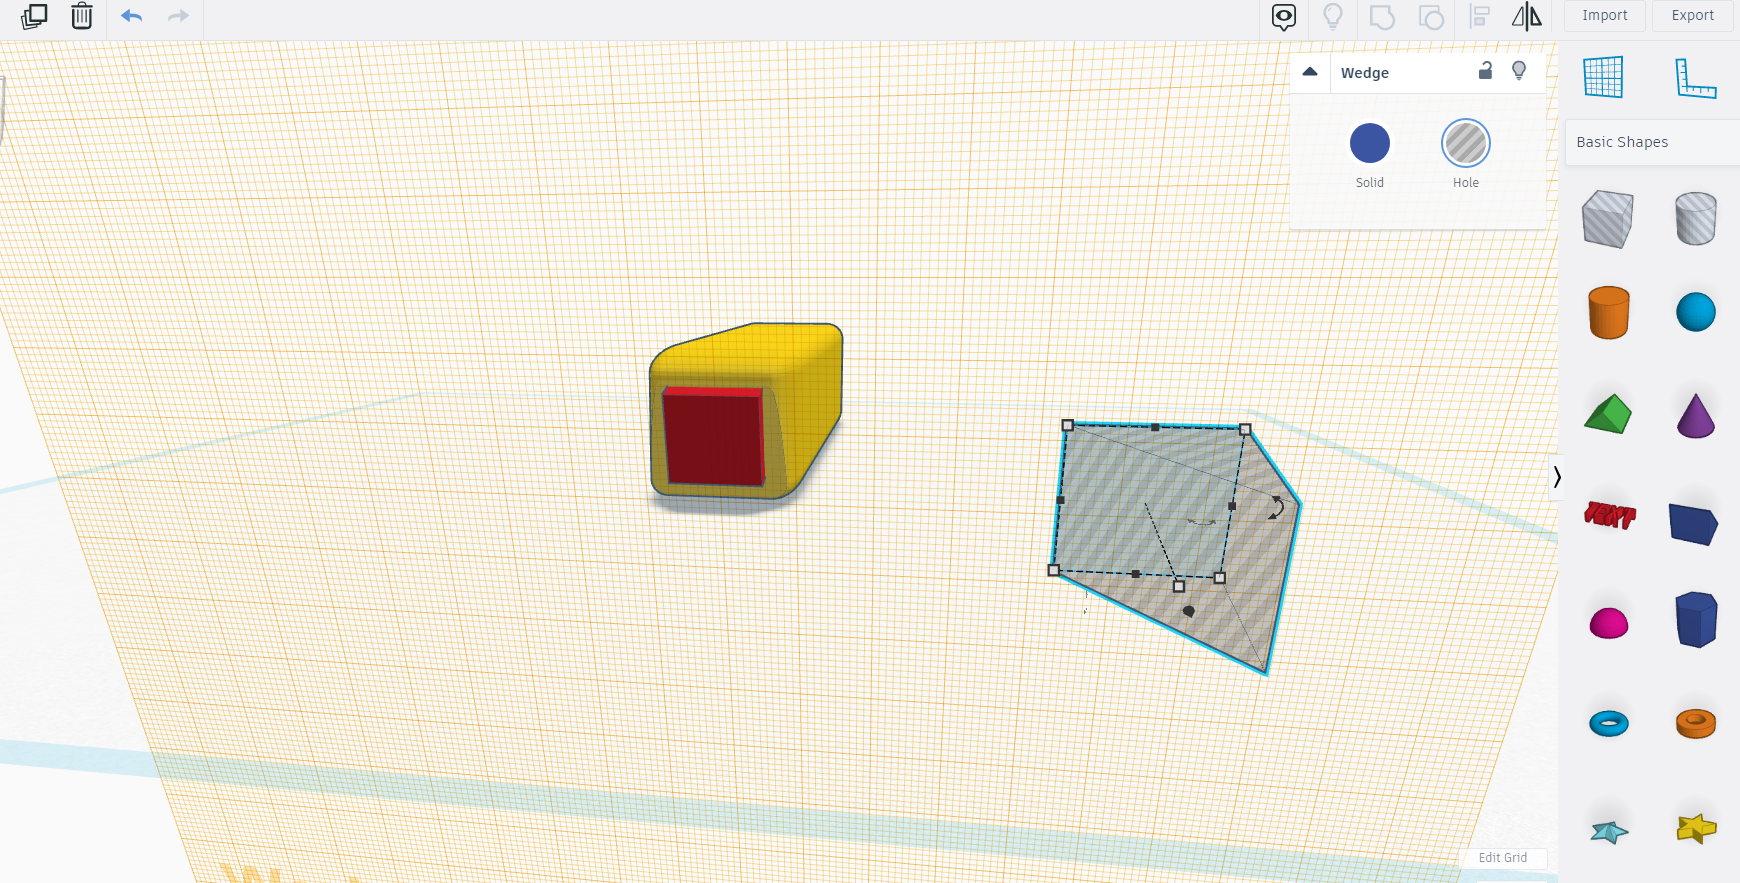
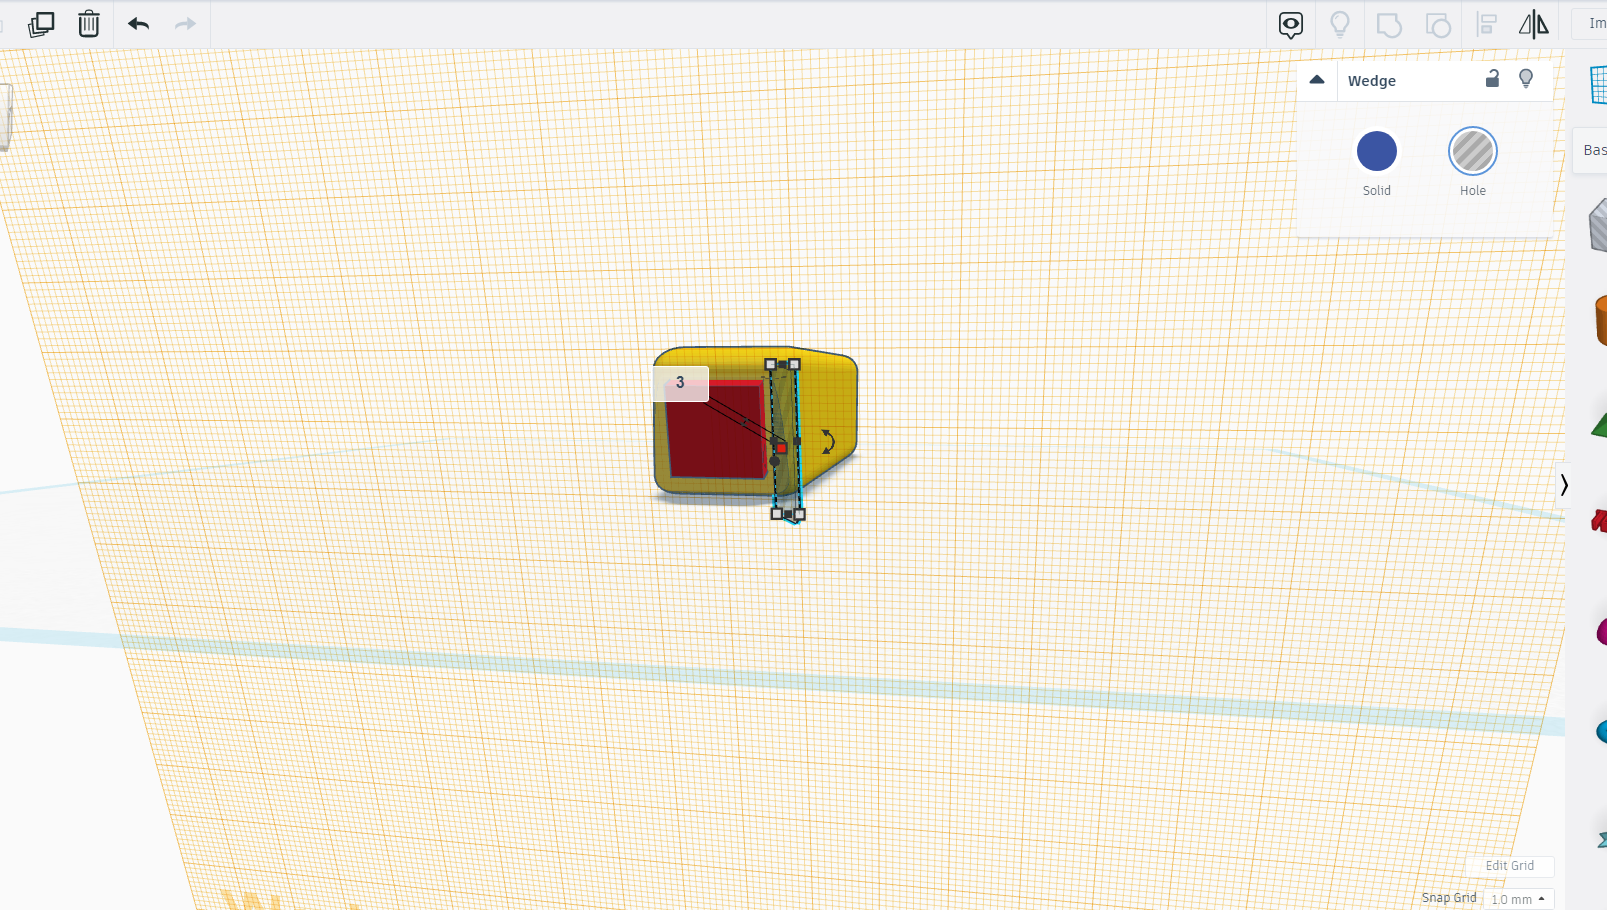
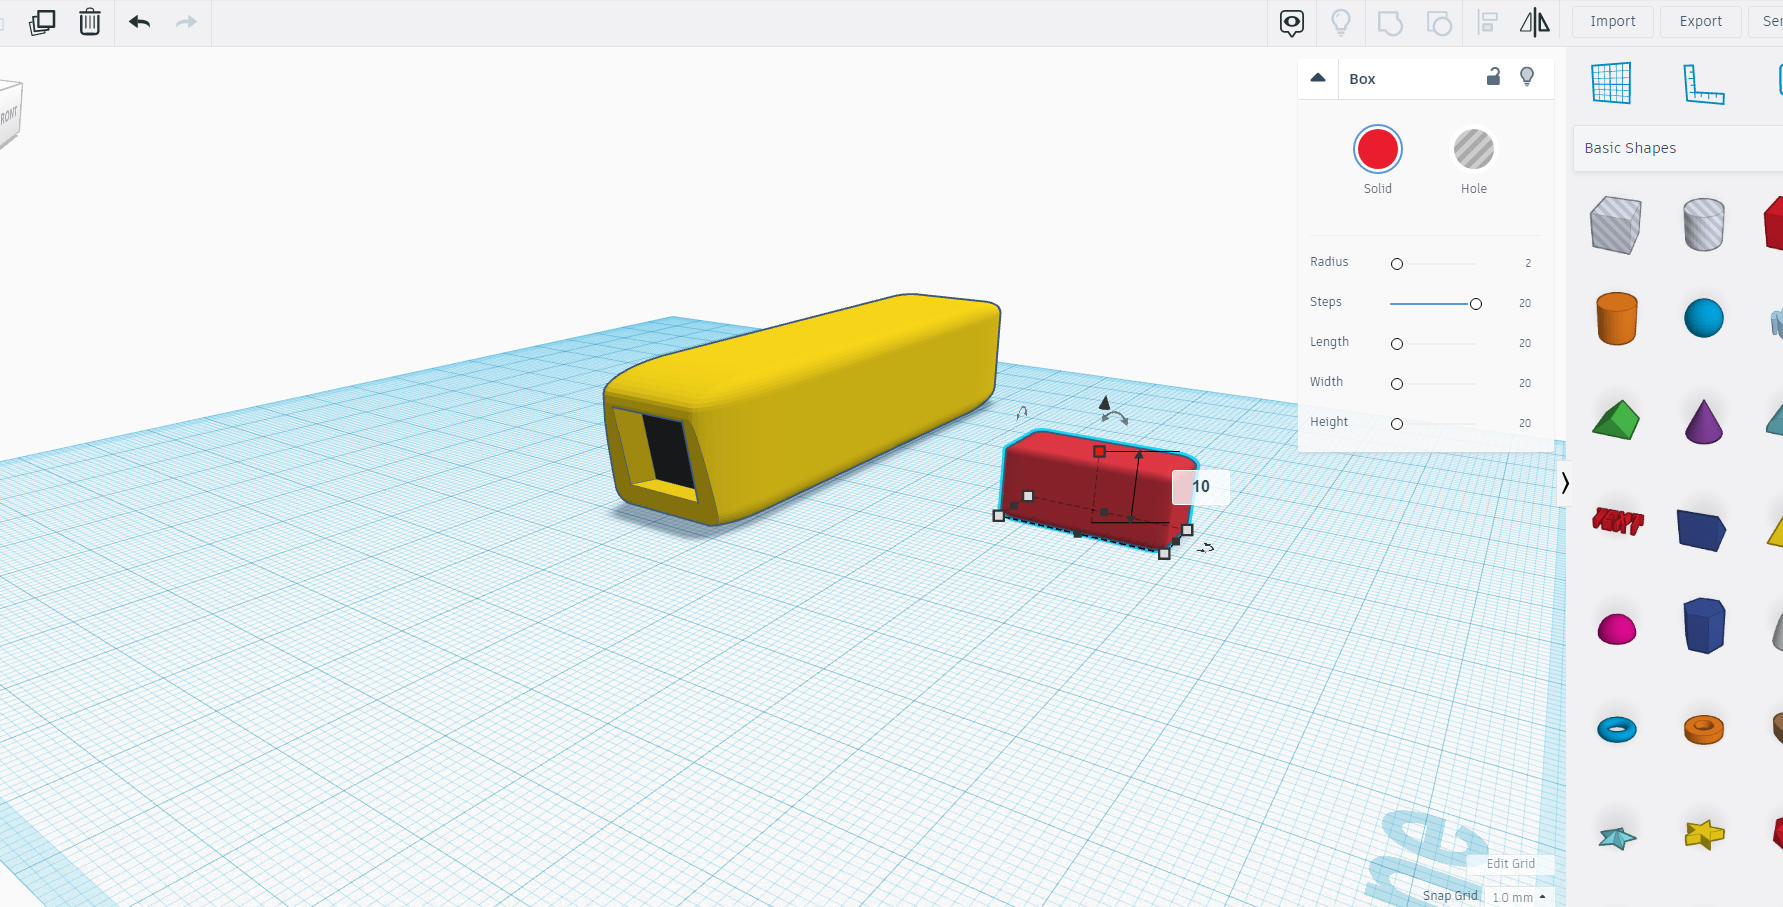
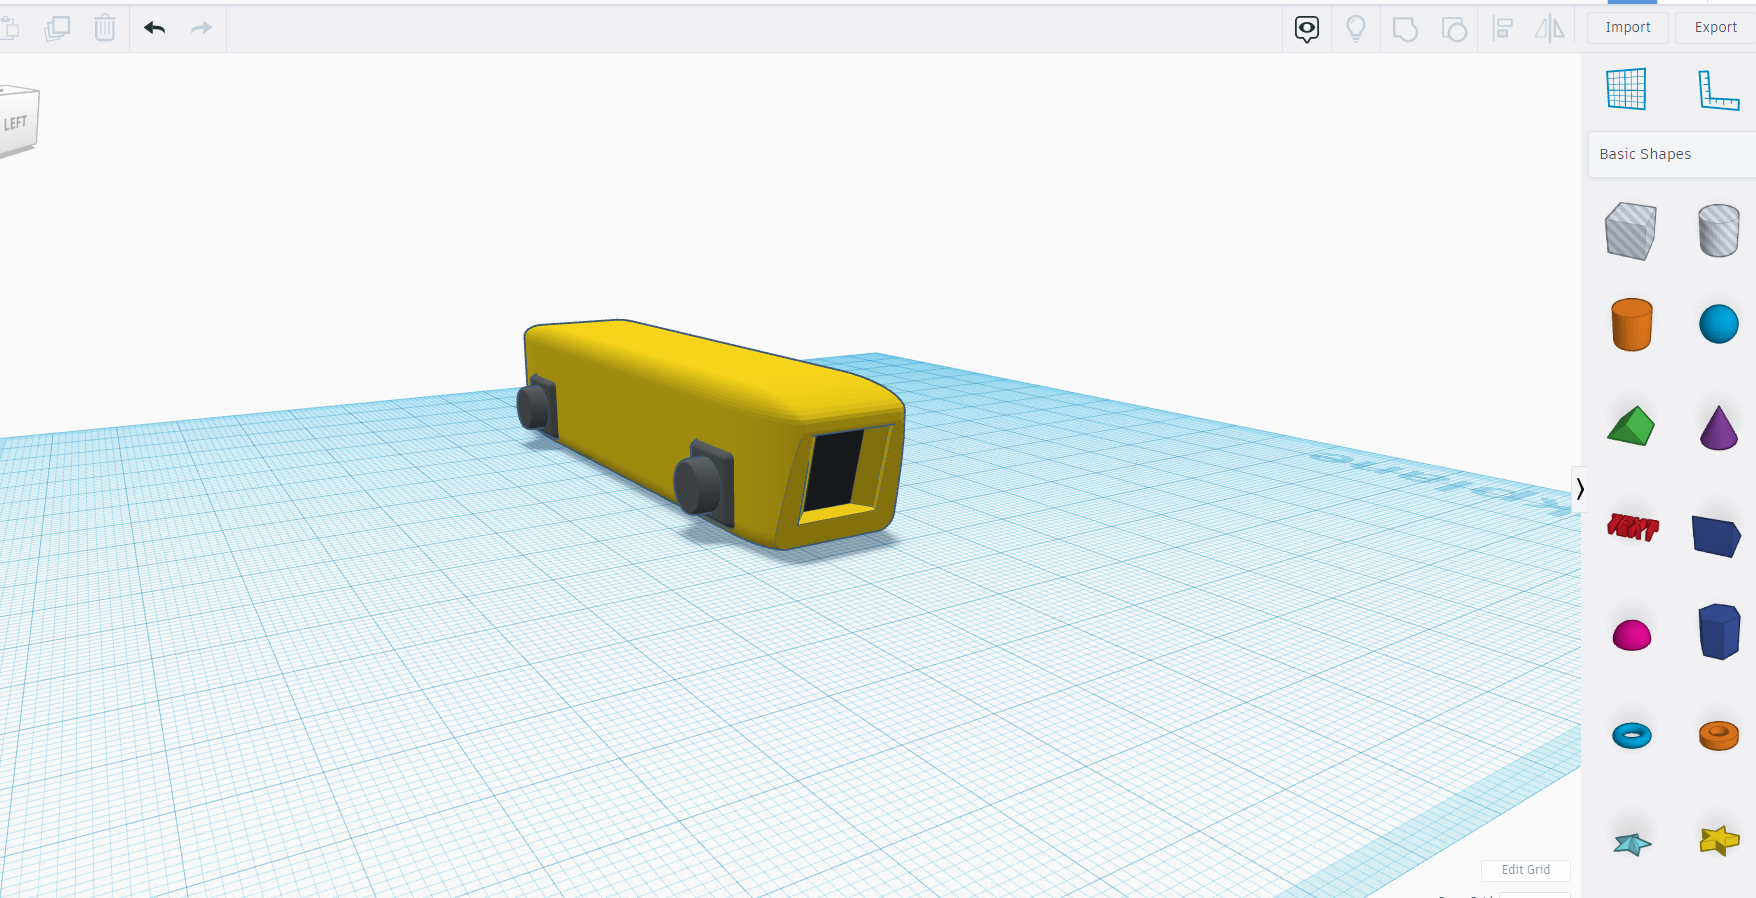
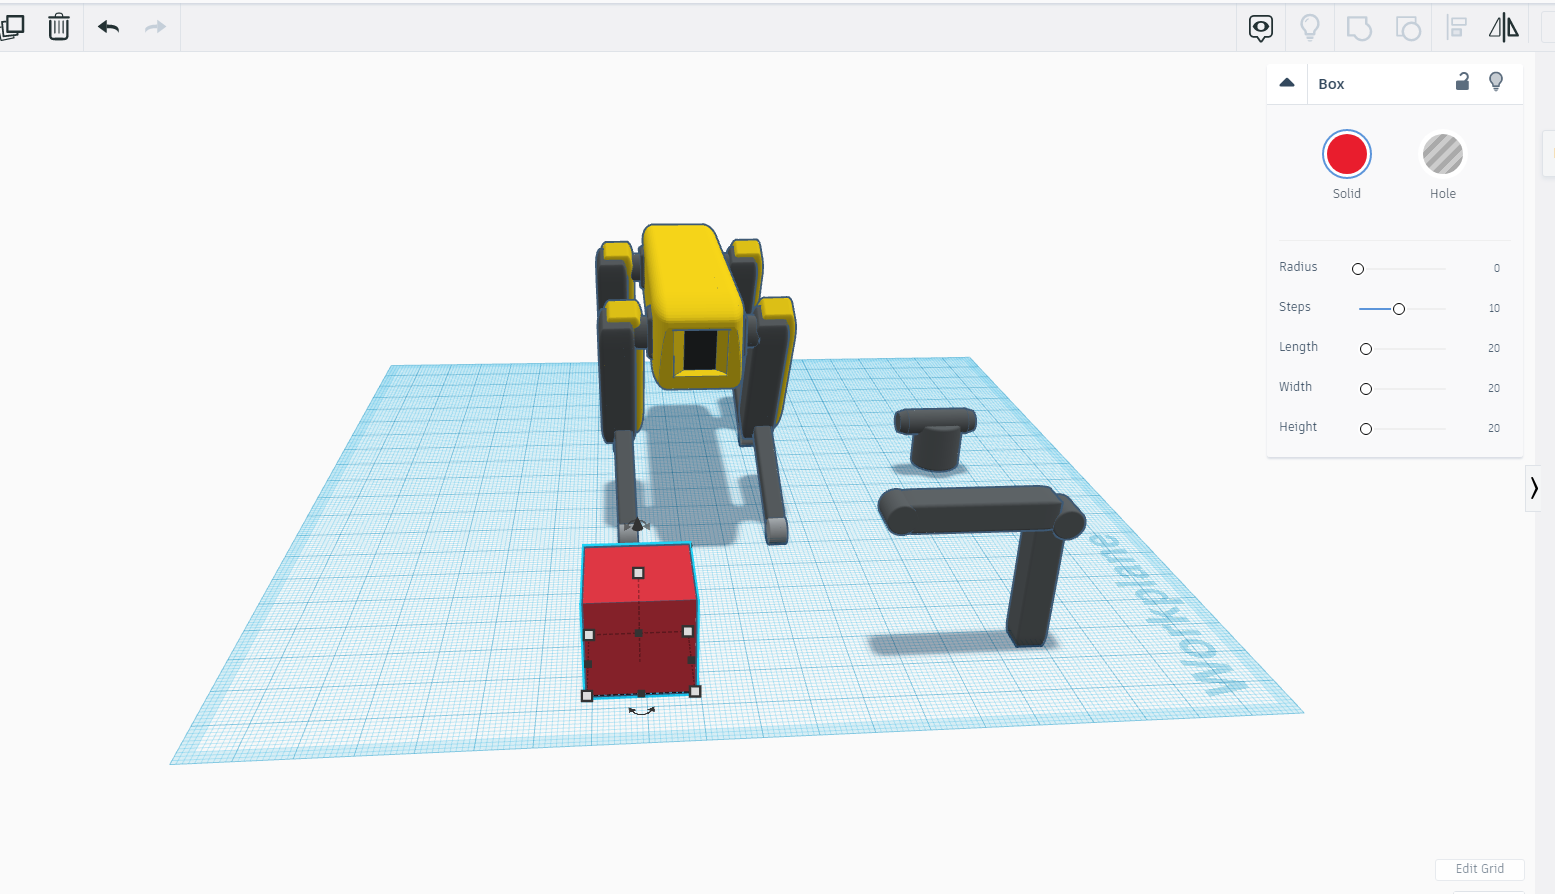
We will start with taking same basic shapes like square and wedge.
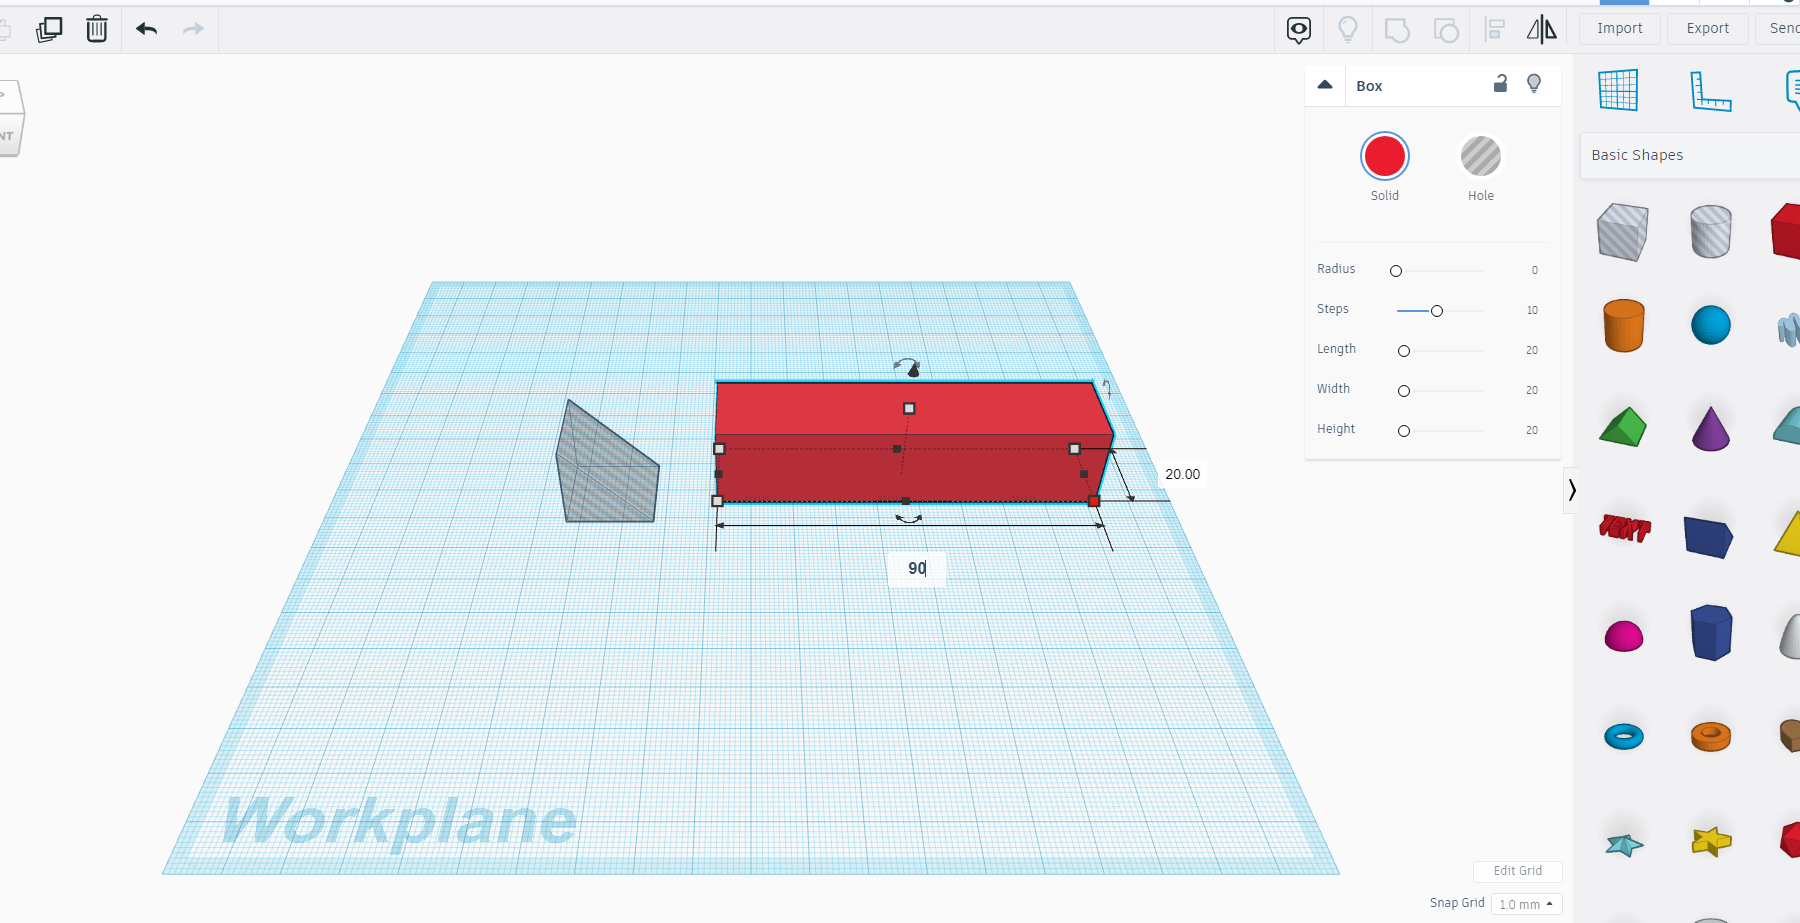
DIMENSIONS WILL BE MENTIONED IN THE ABOVE IMAGES SO PLEASE DO CHECK IT OUT.
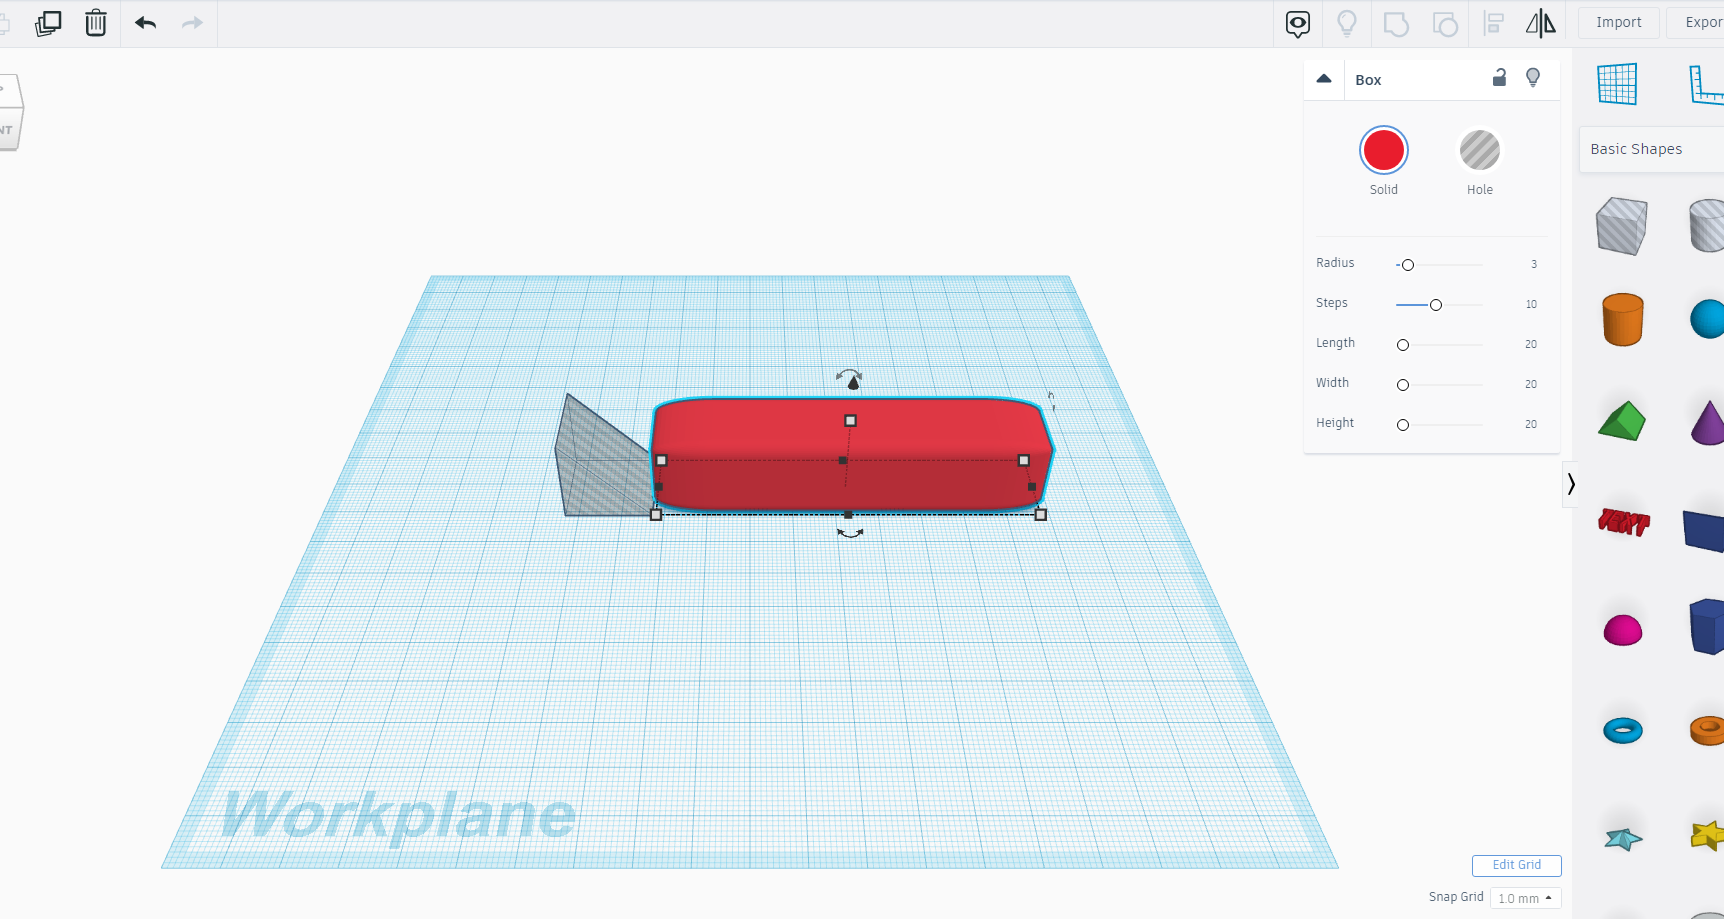
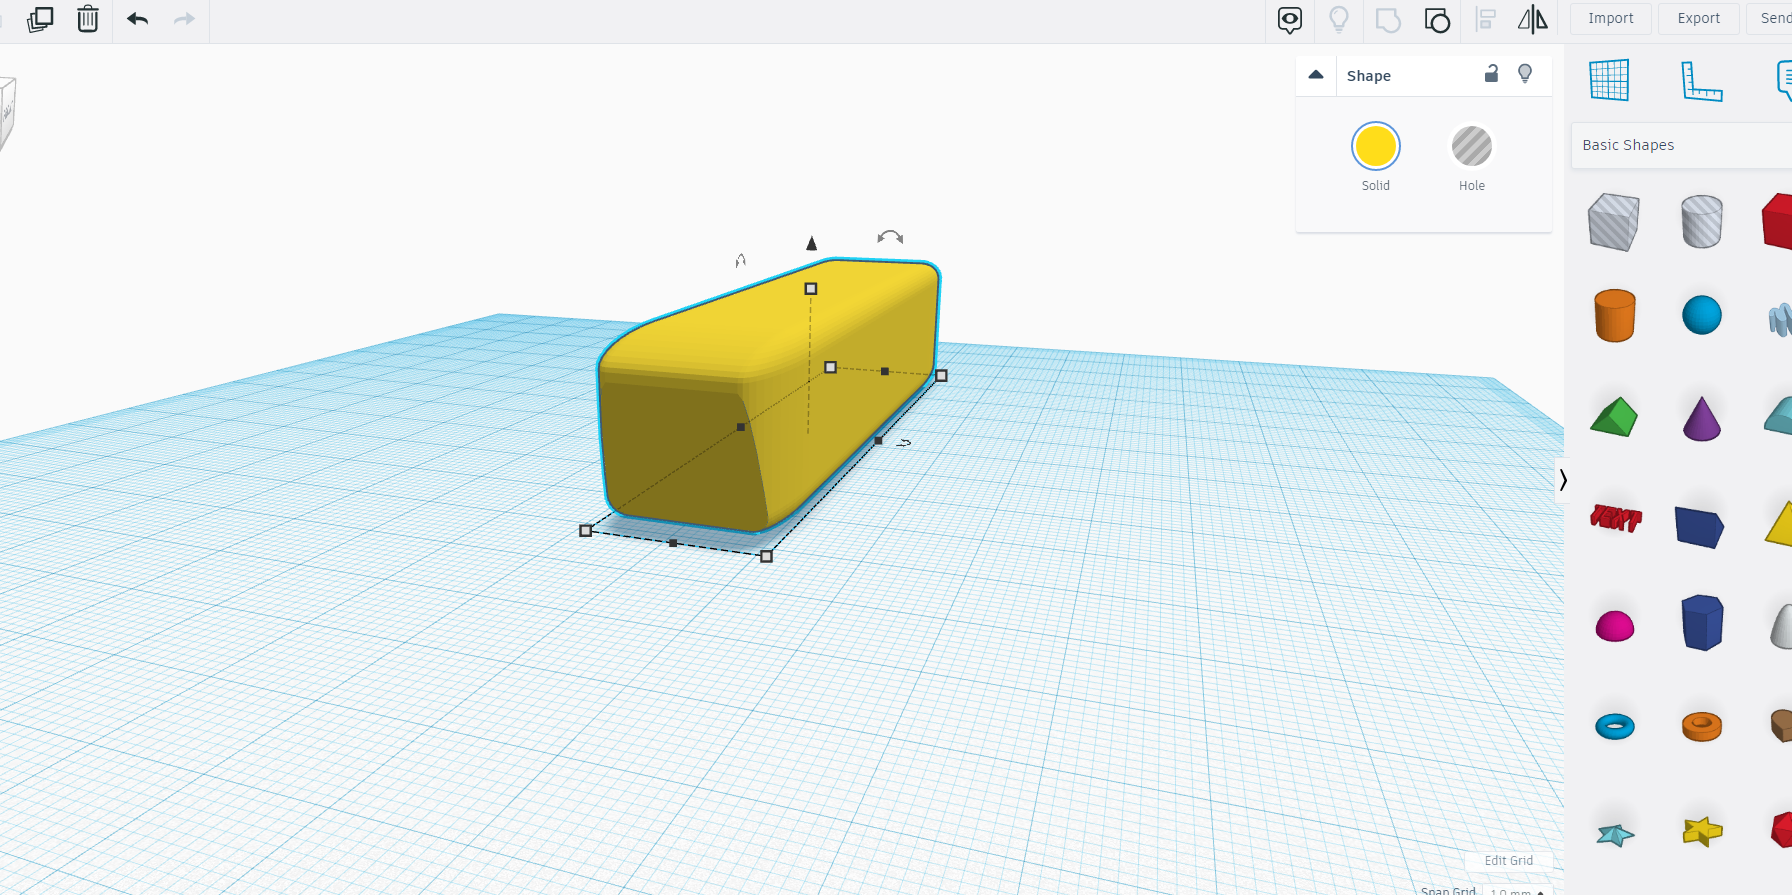
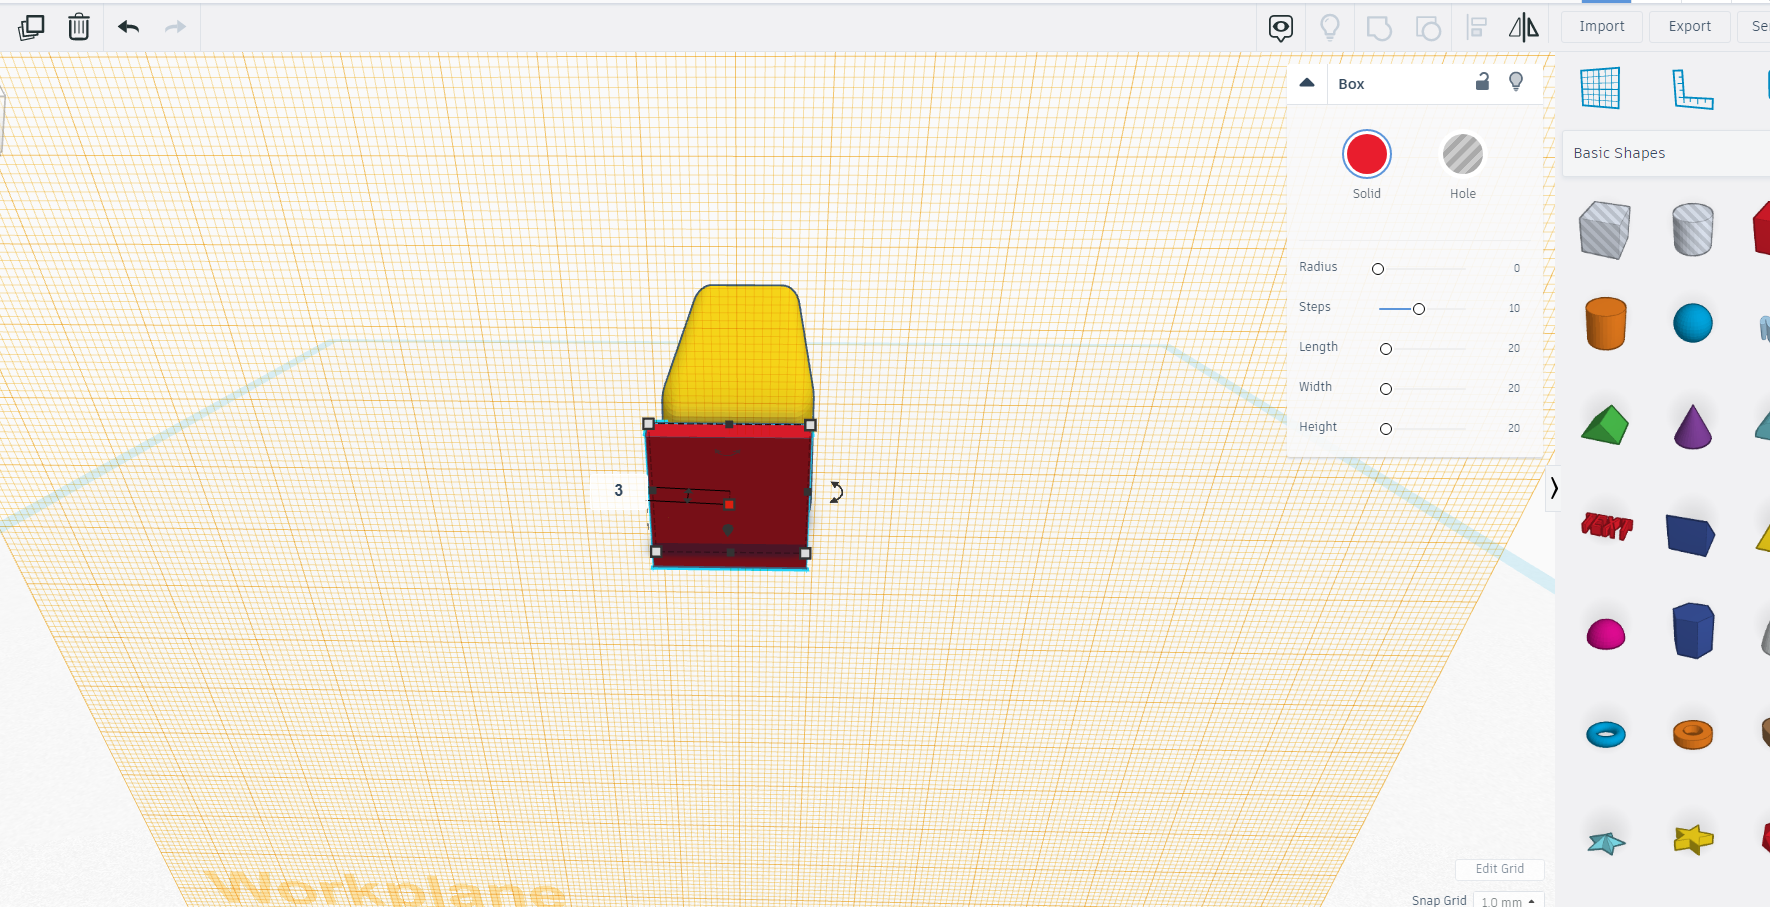
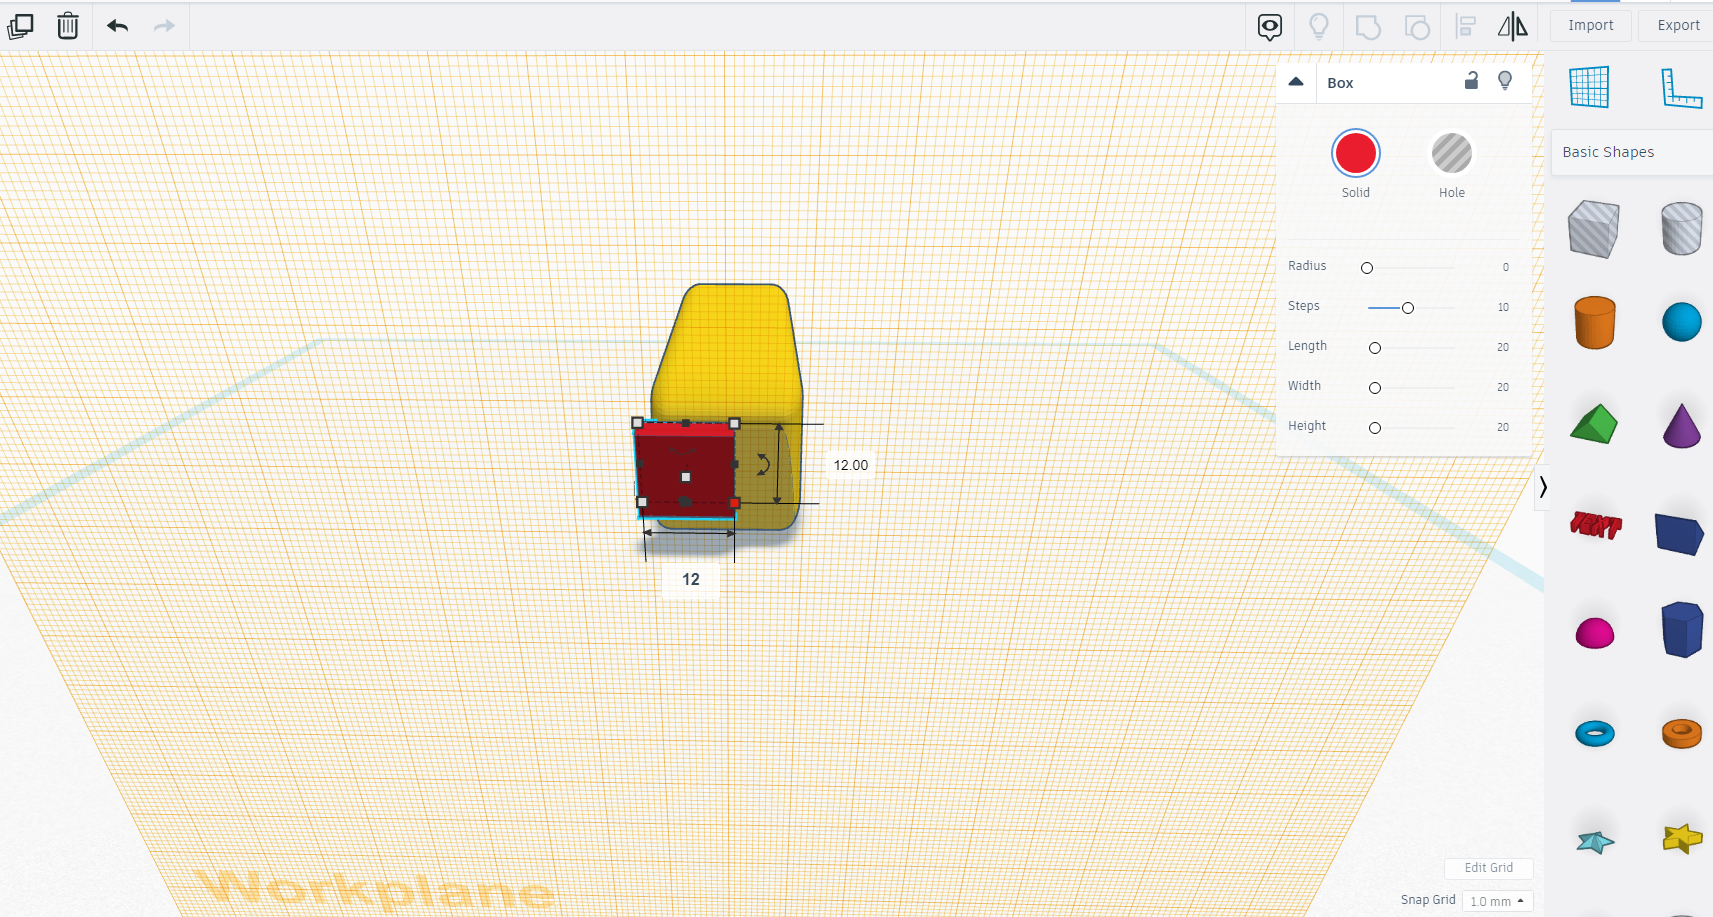
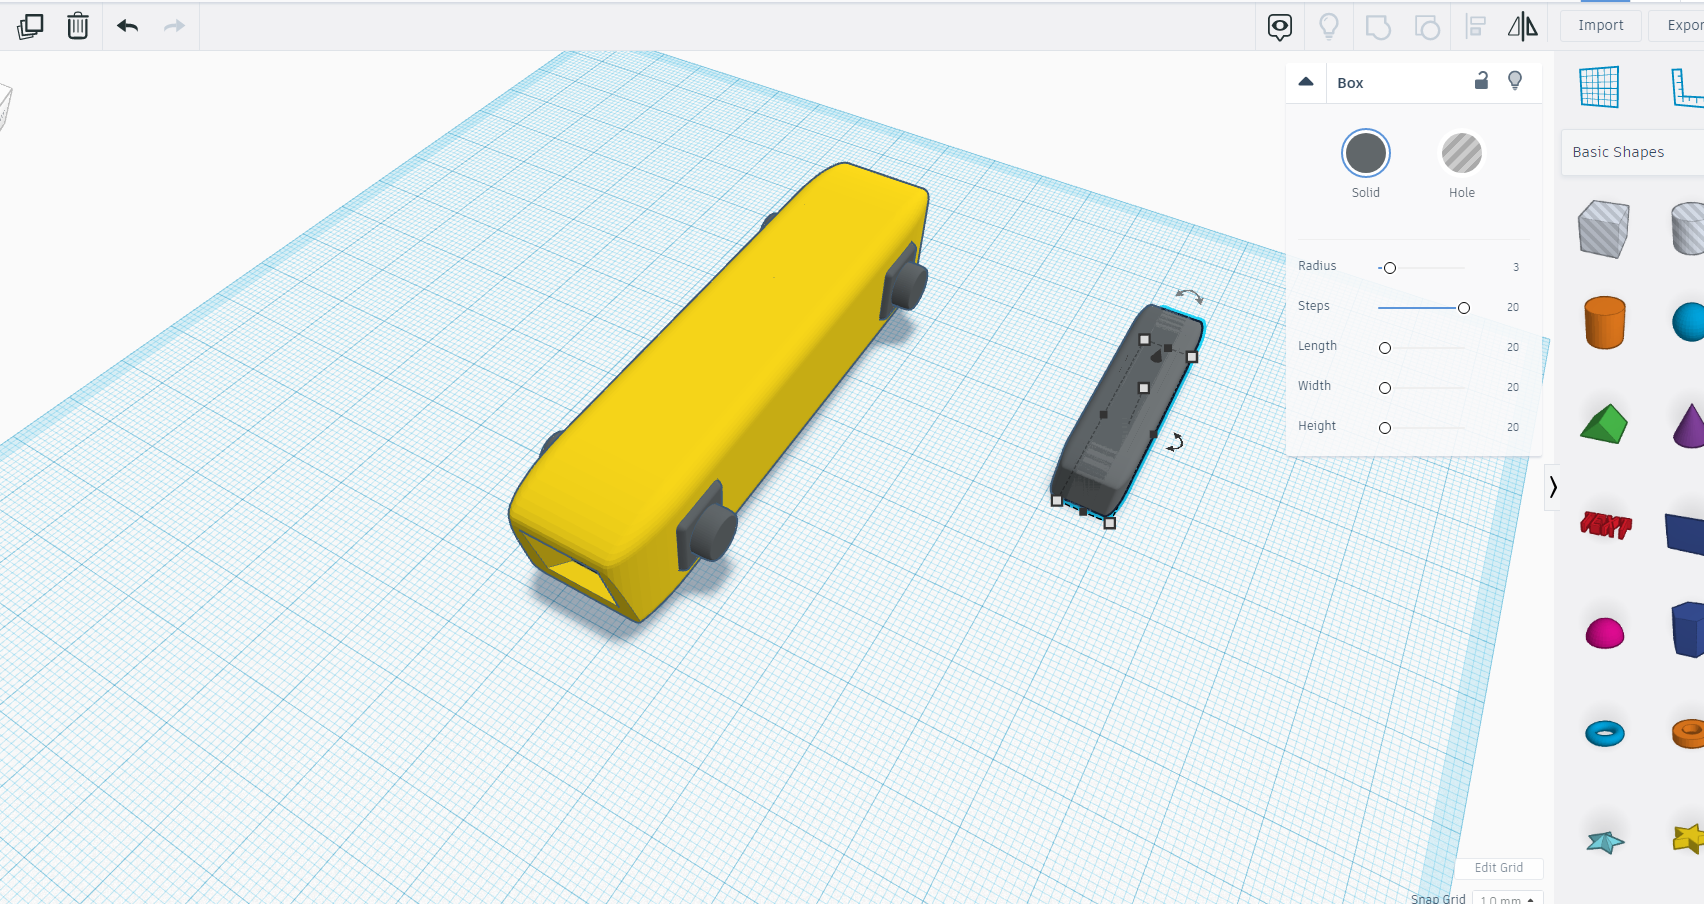
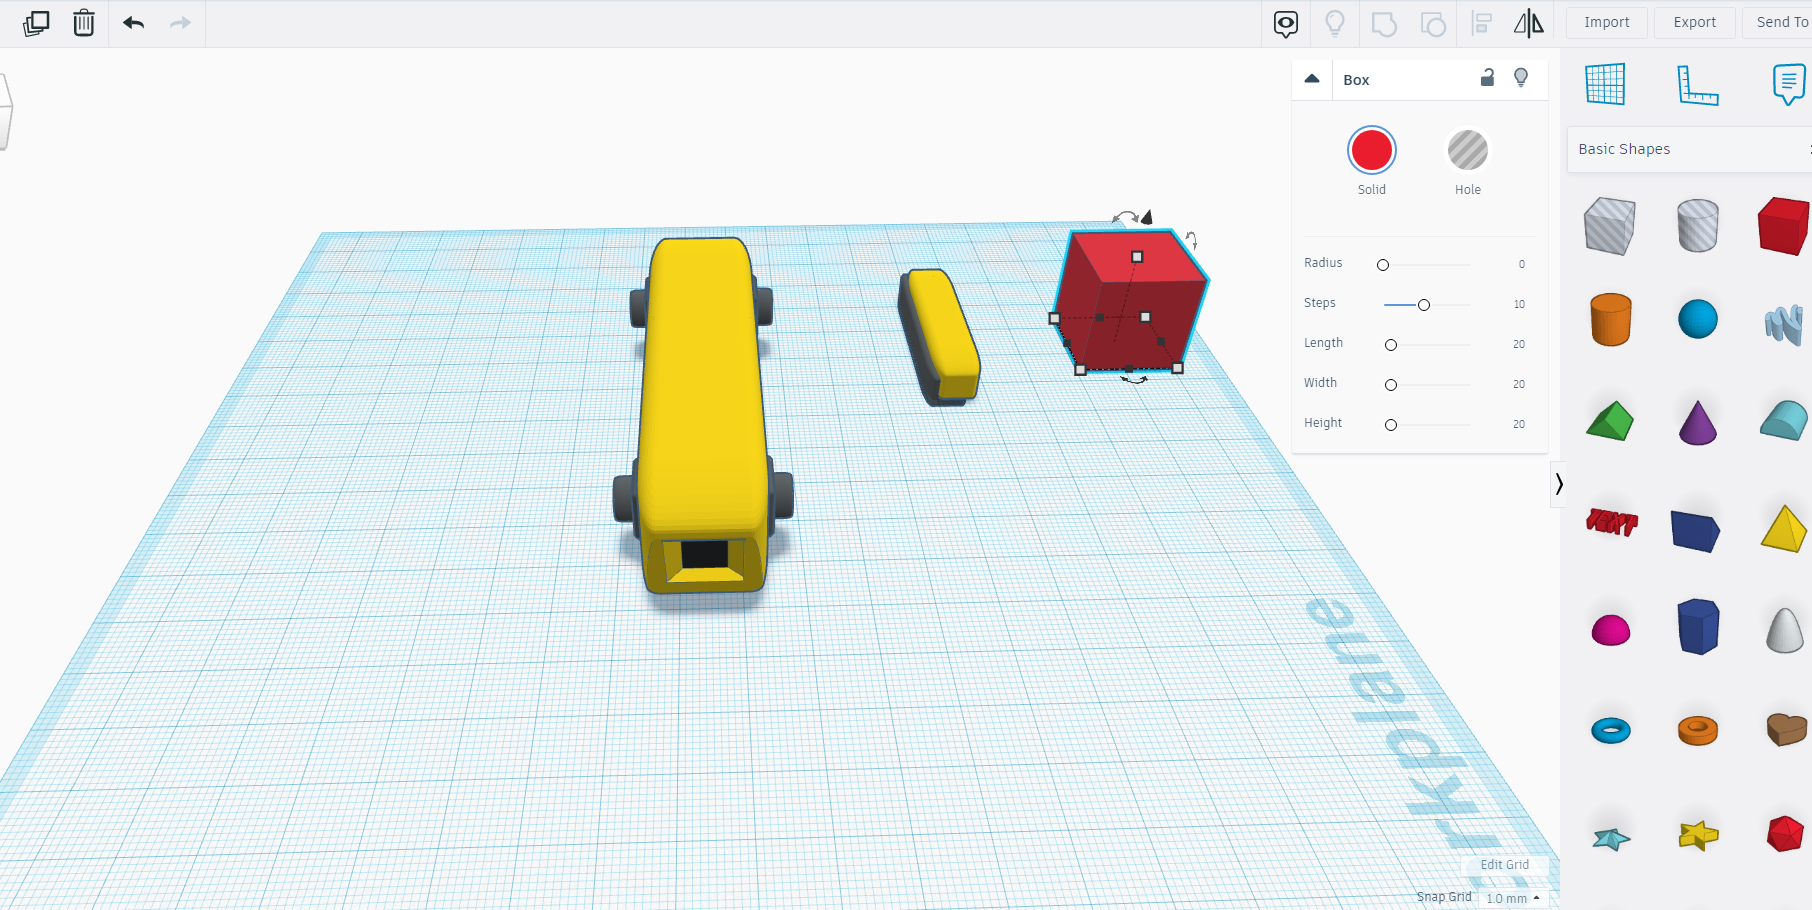
Now we will make hole in the wedge and make square sort of rectangle also make radius 3 as shown in above images.
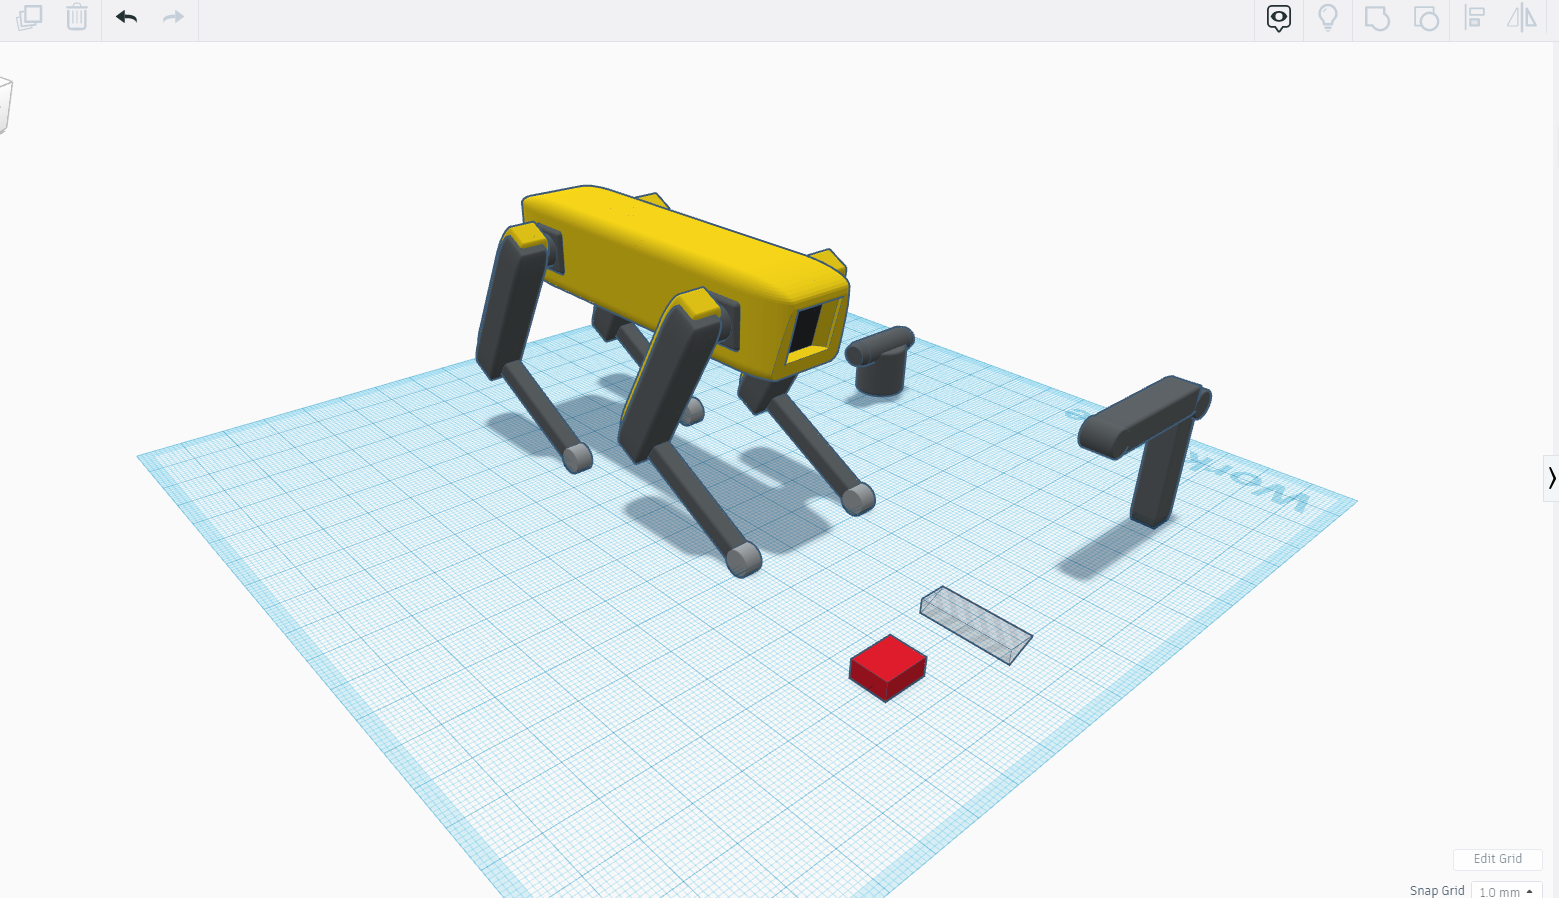
Cuts and Joints
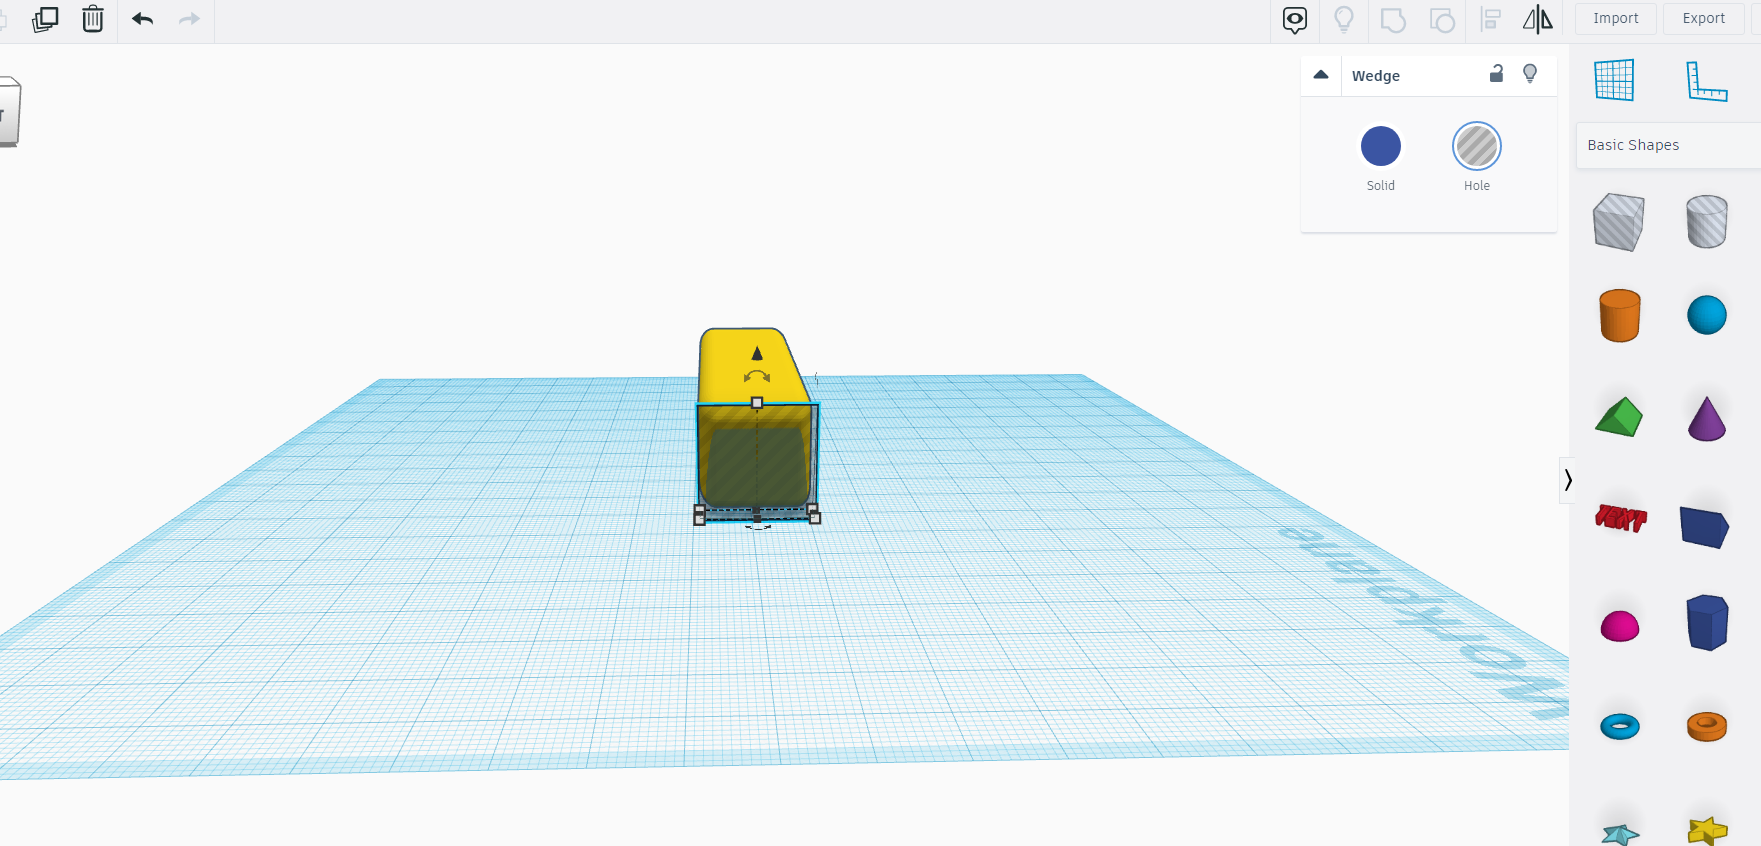
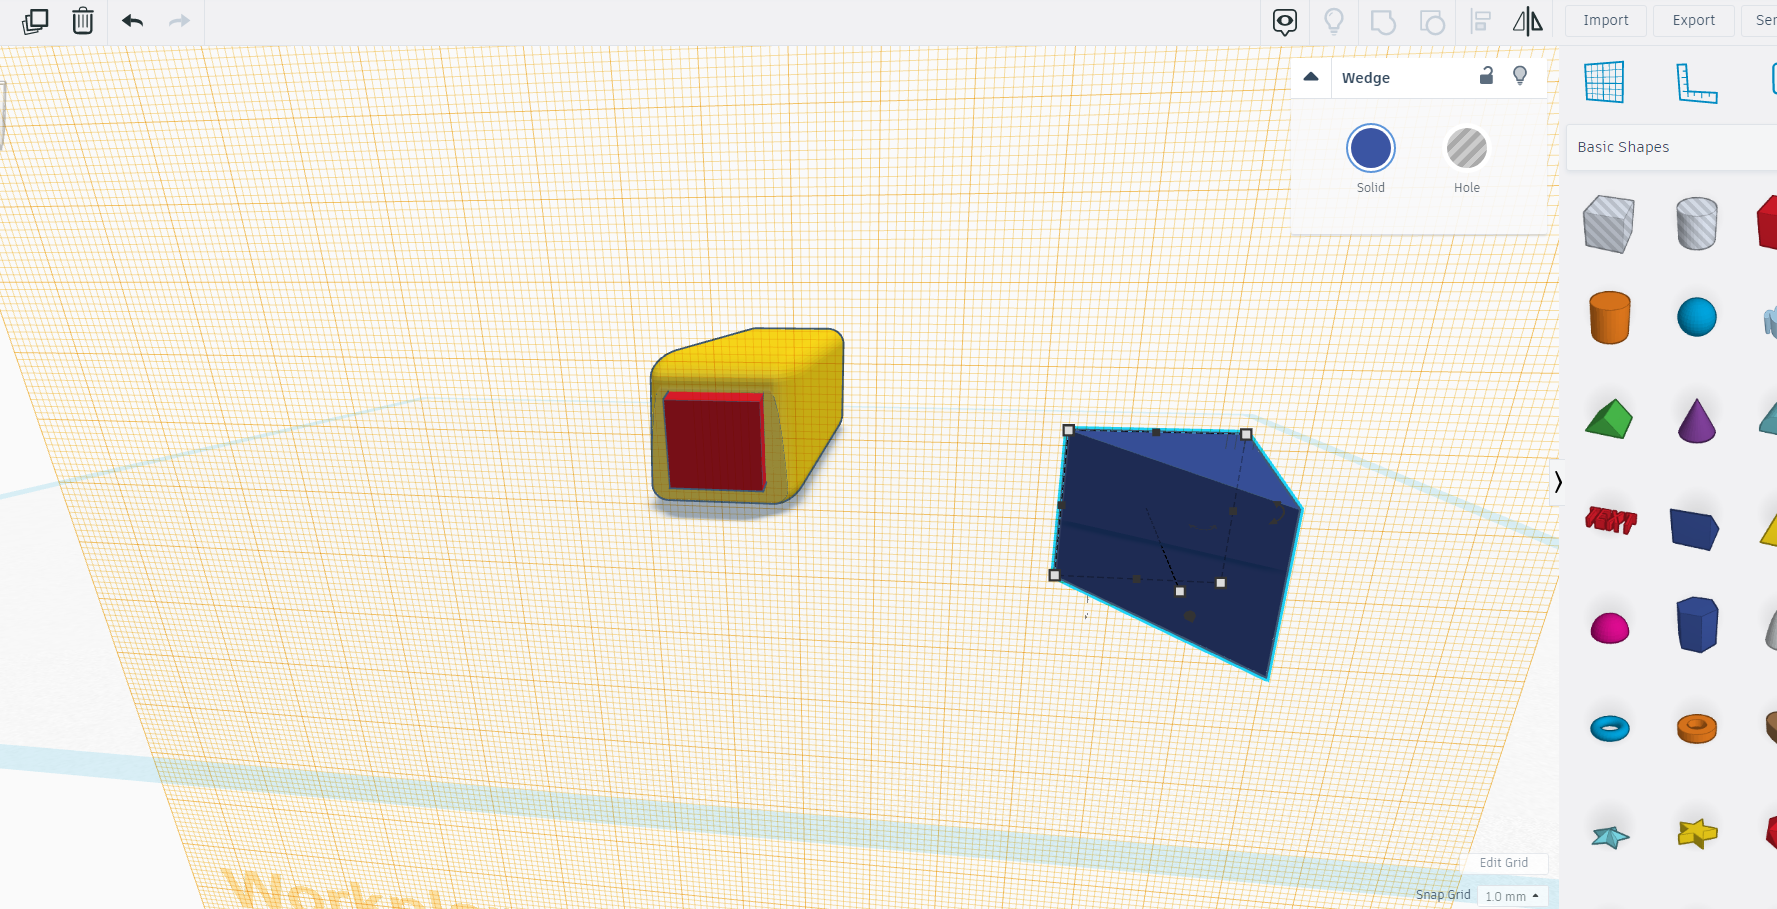
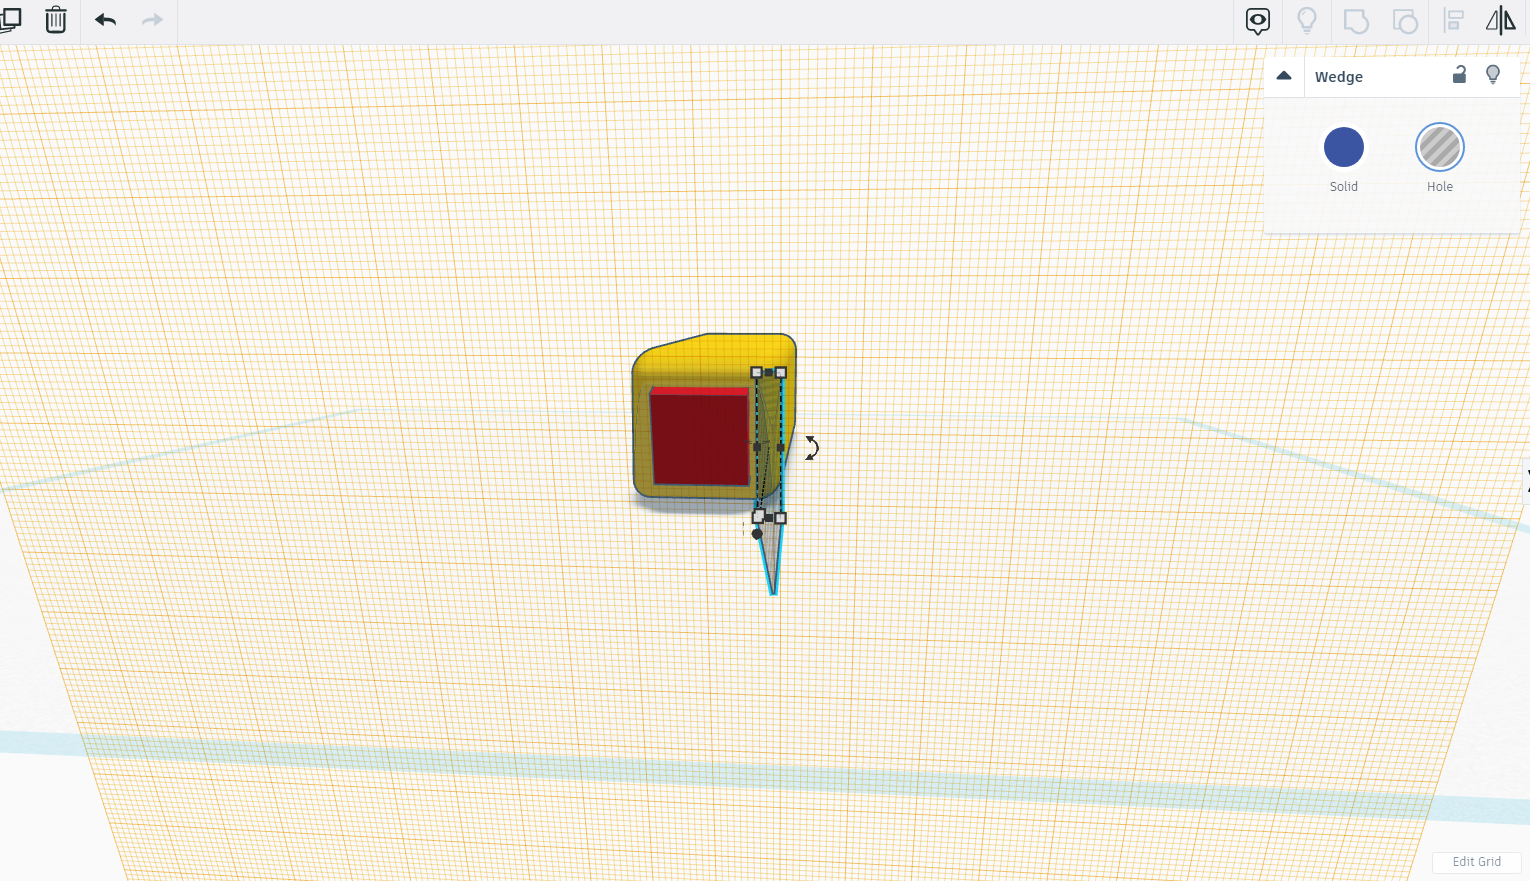
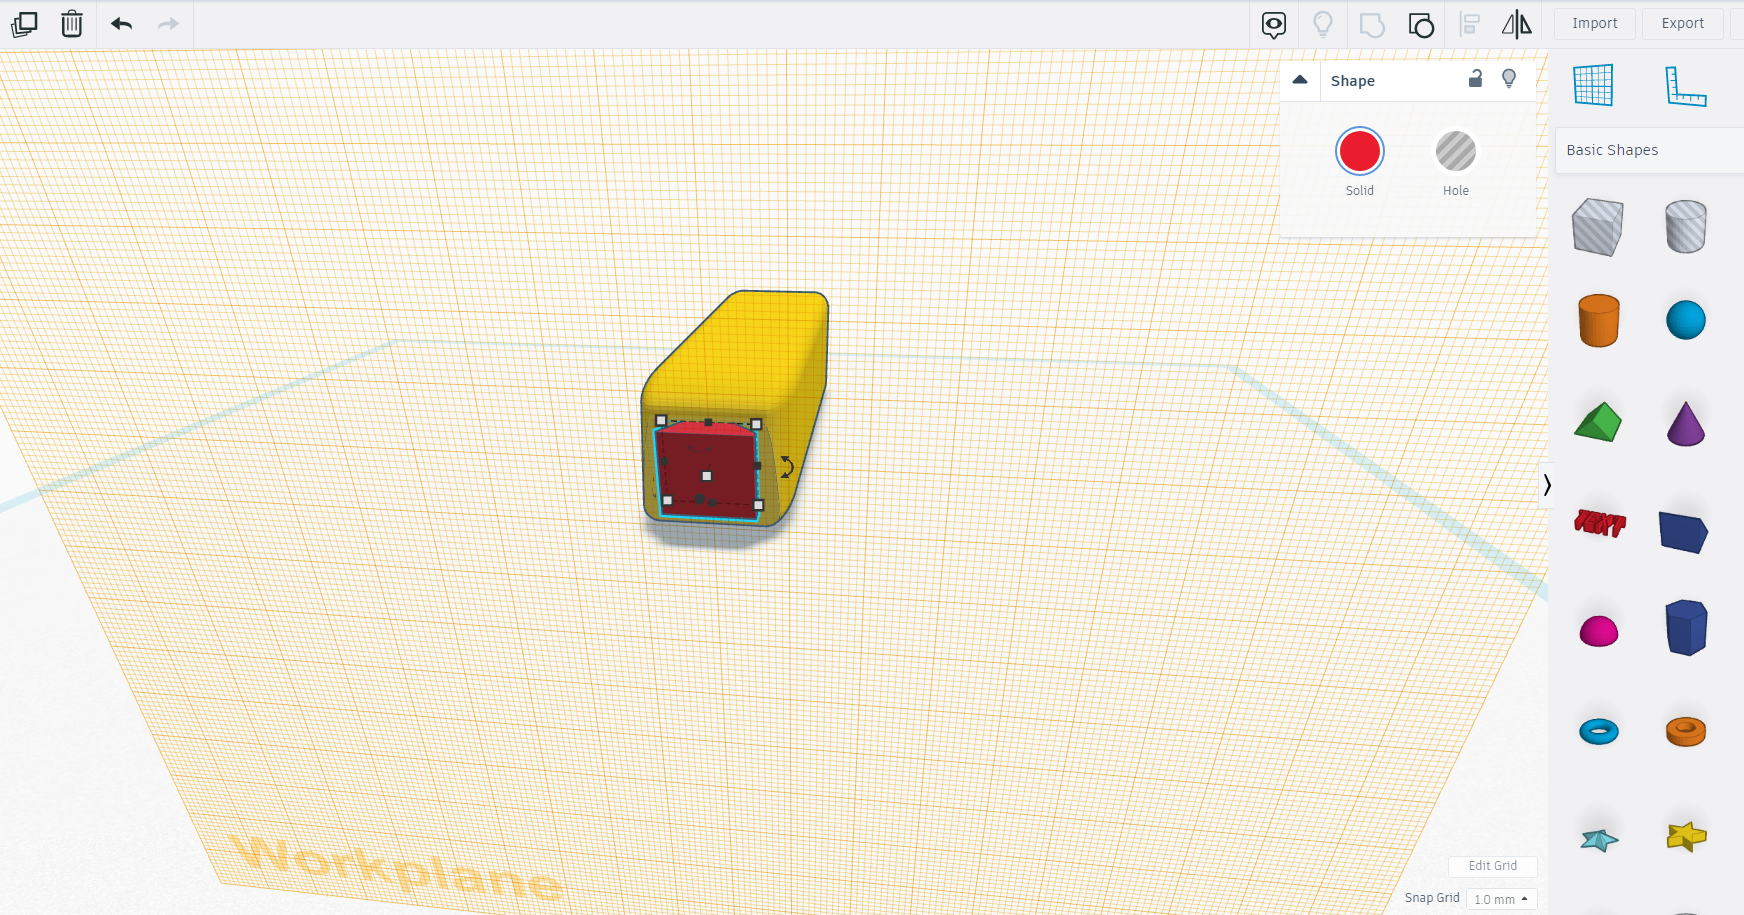
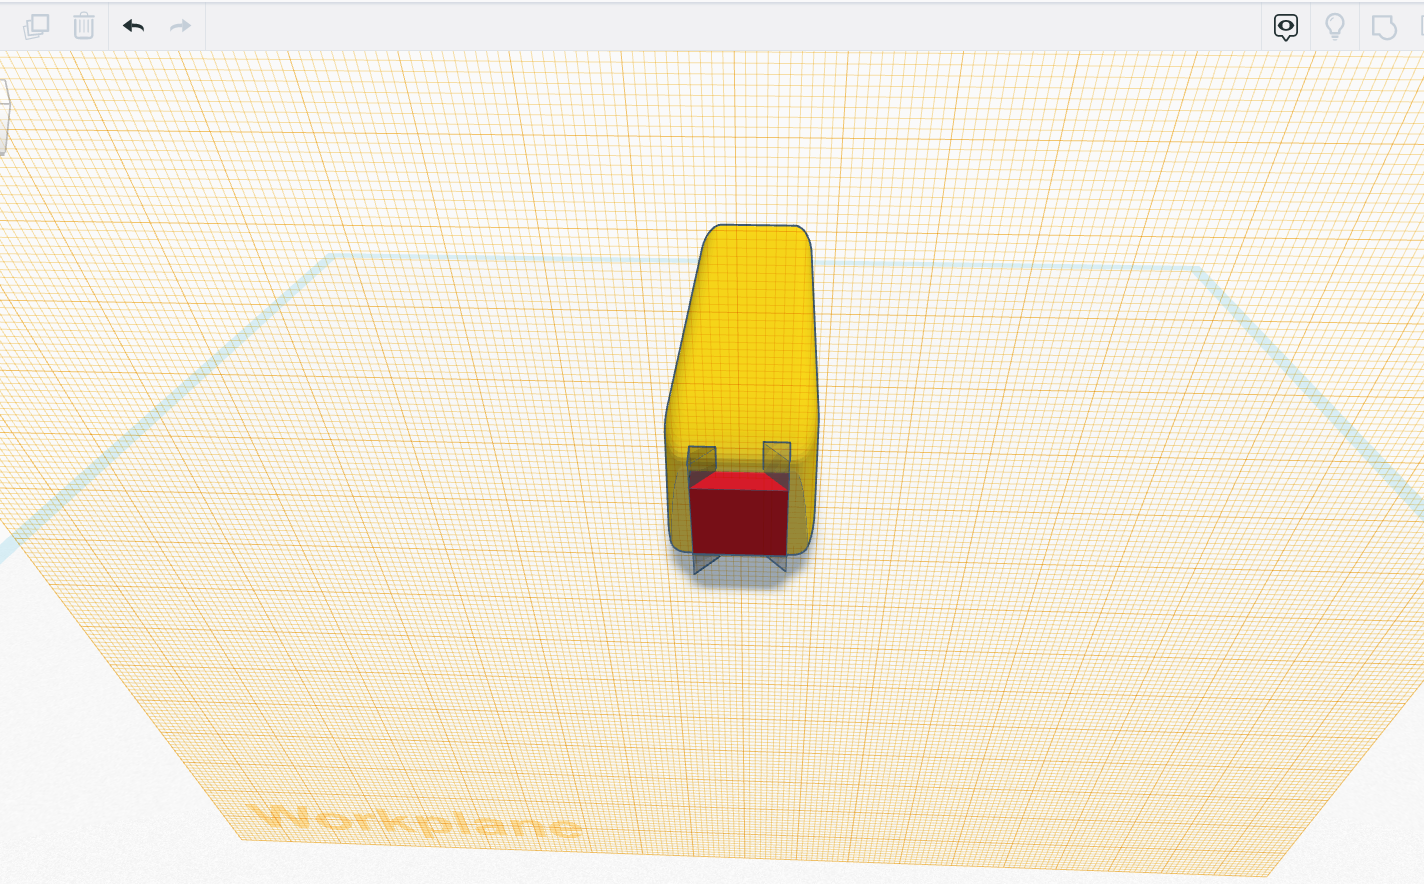
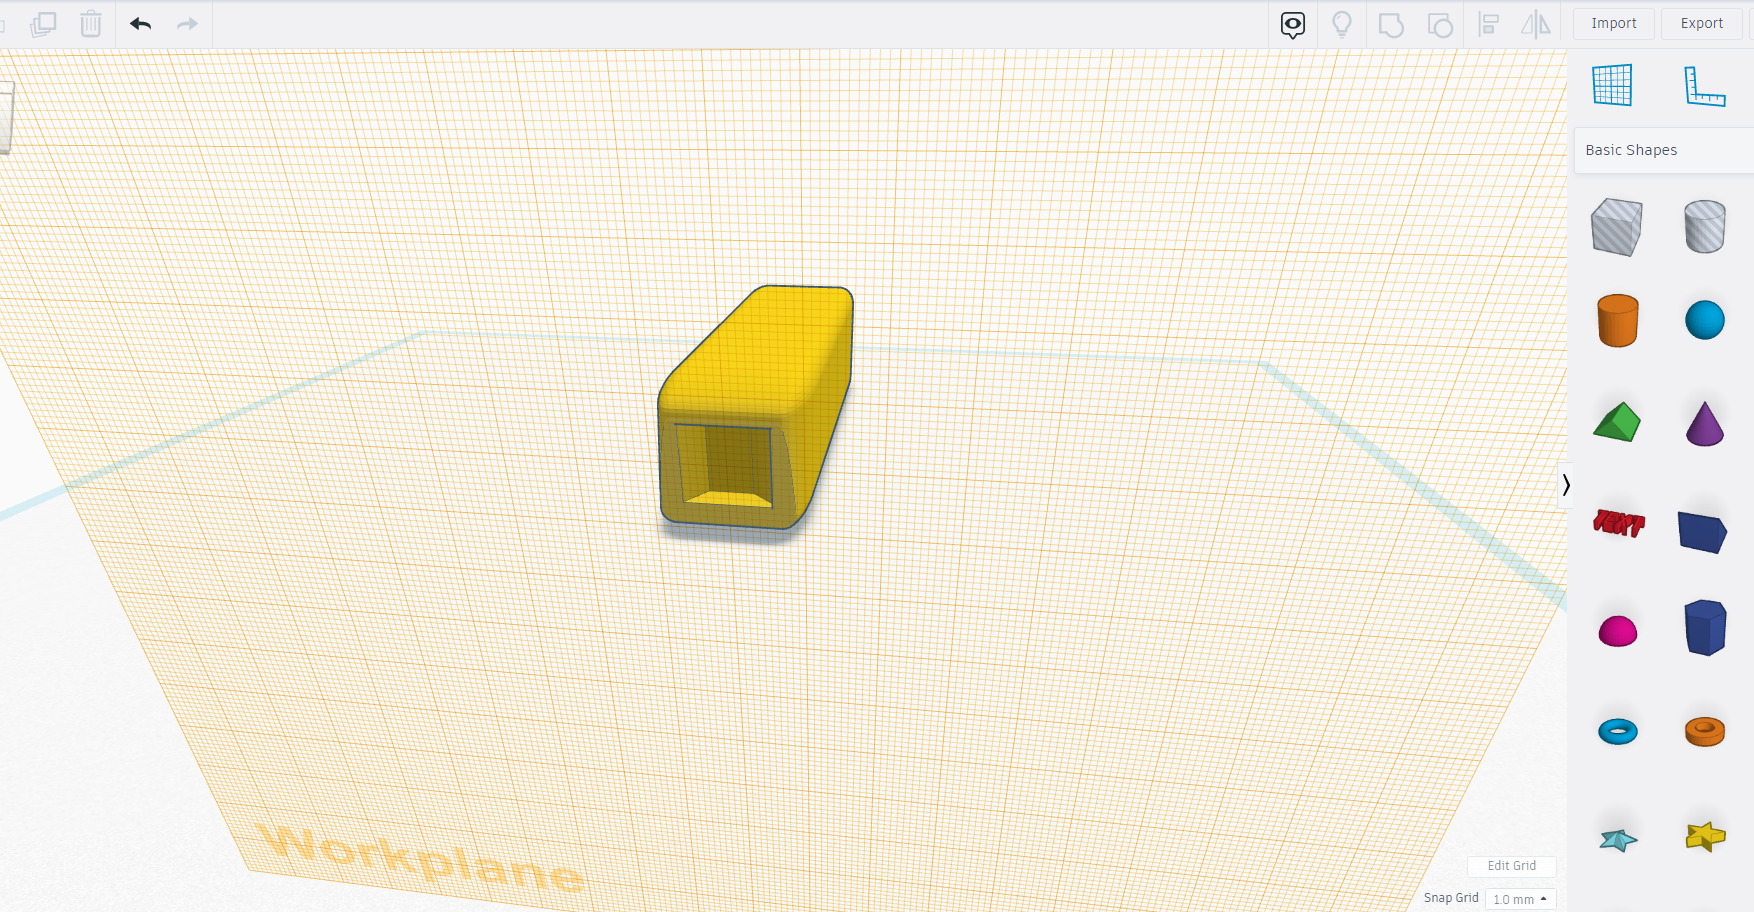

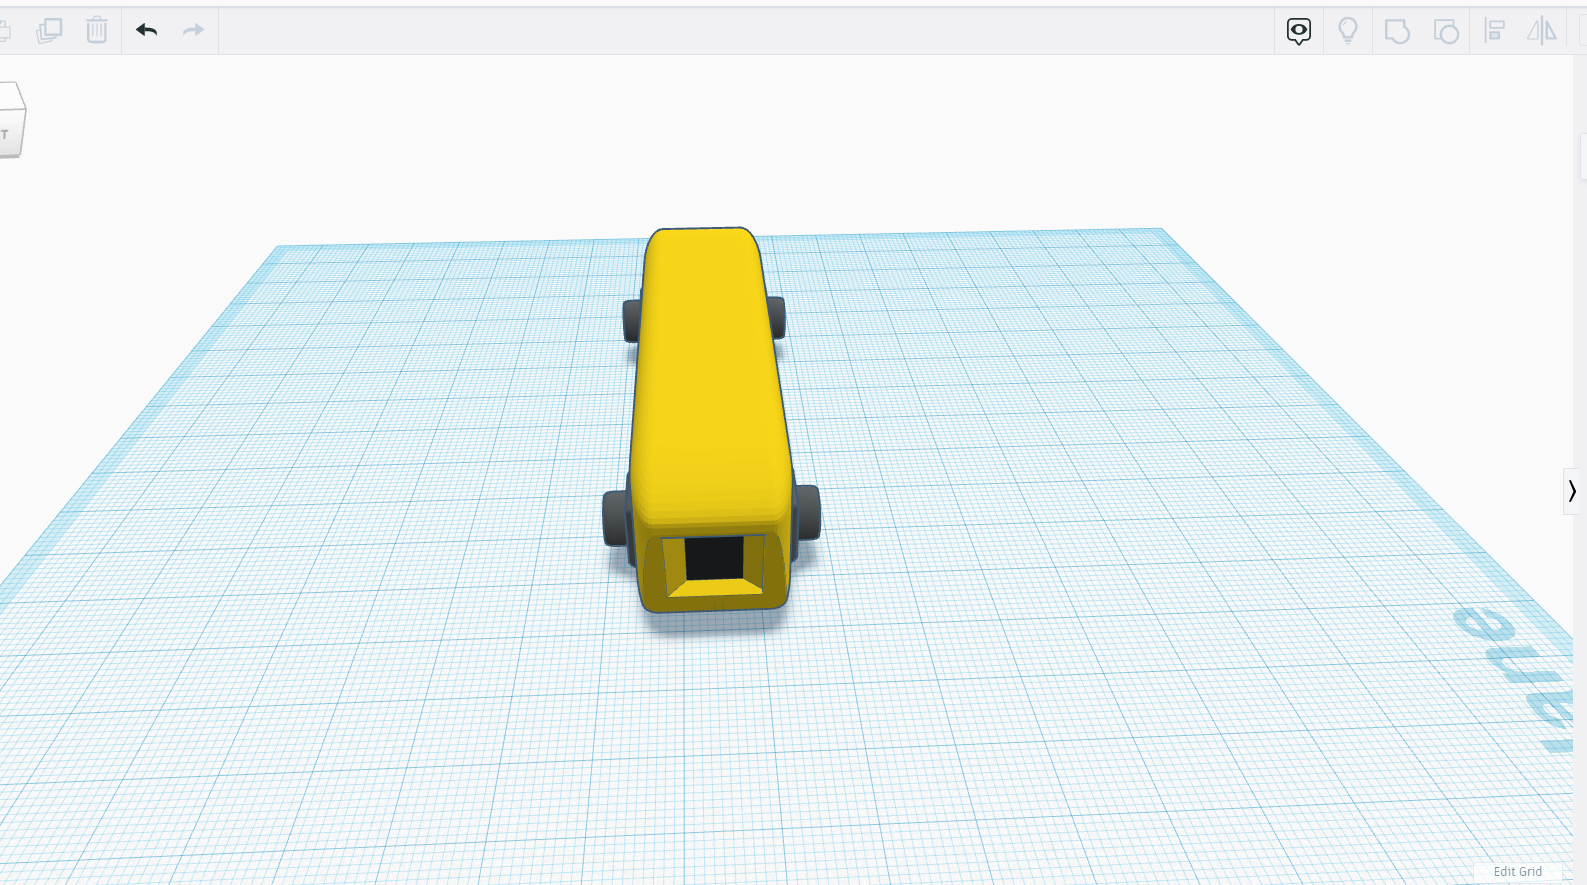
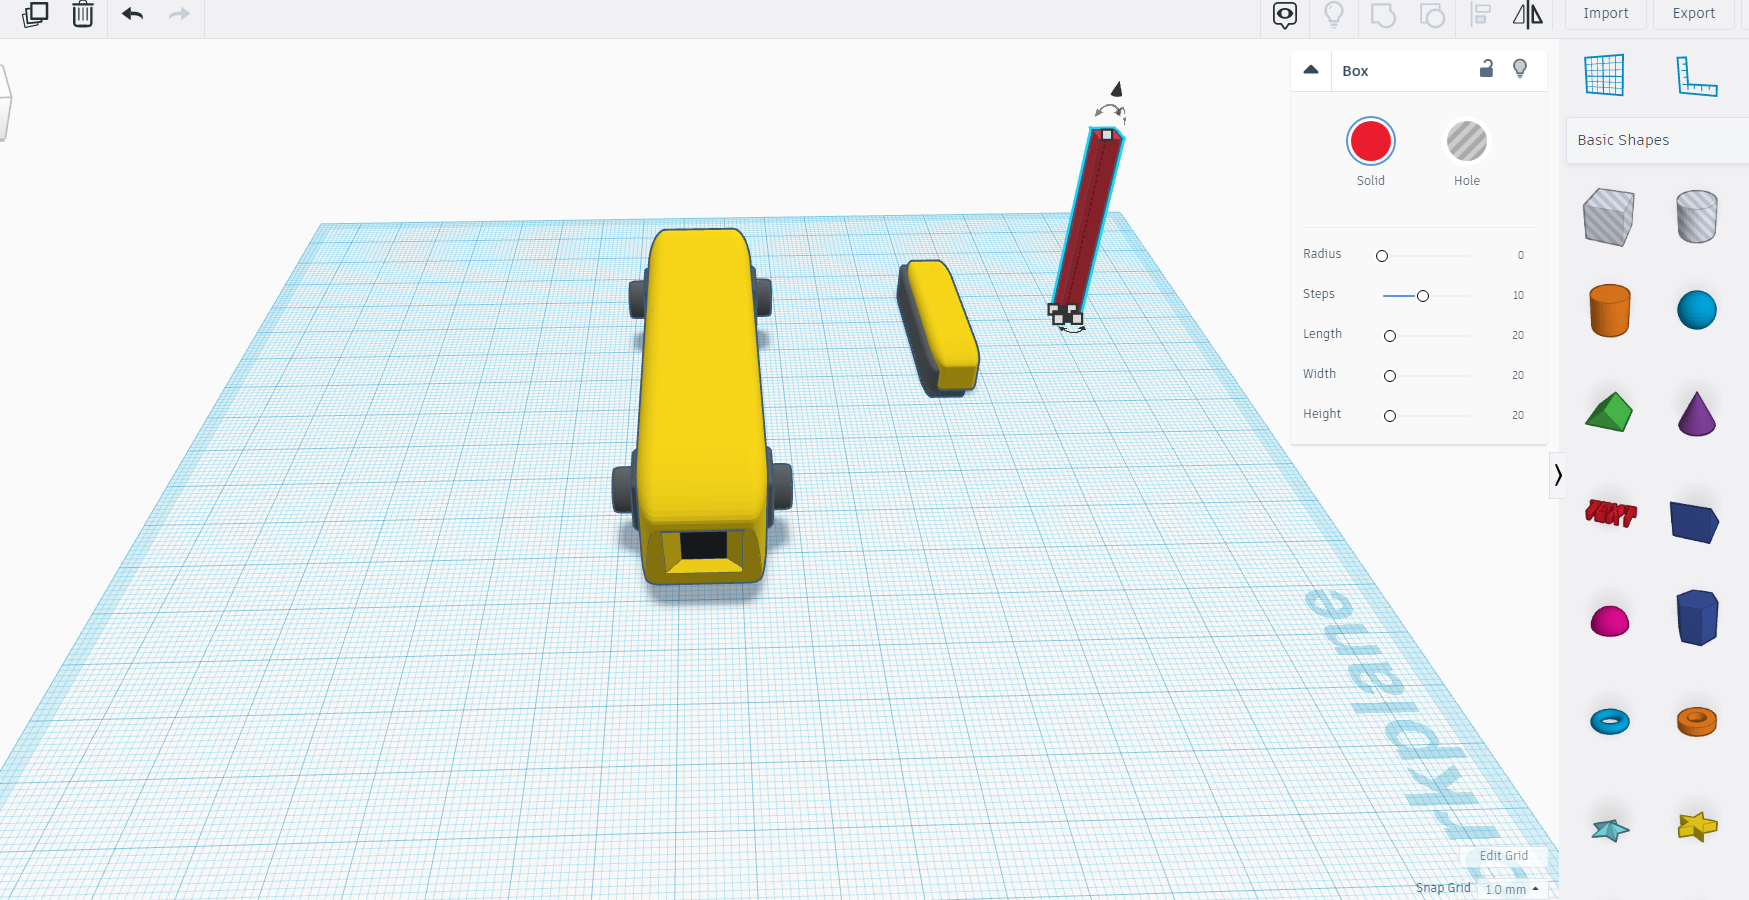
In this step we will make cuts in our rectangle from front ( try to making hollow from inside ).
Now we will chose a different plane for our work.
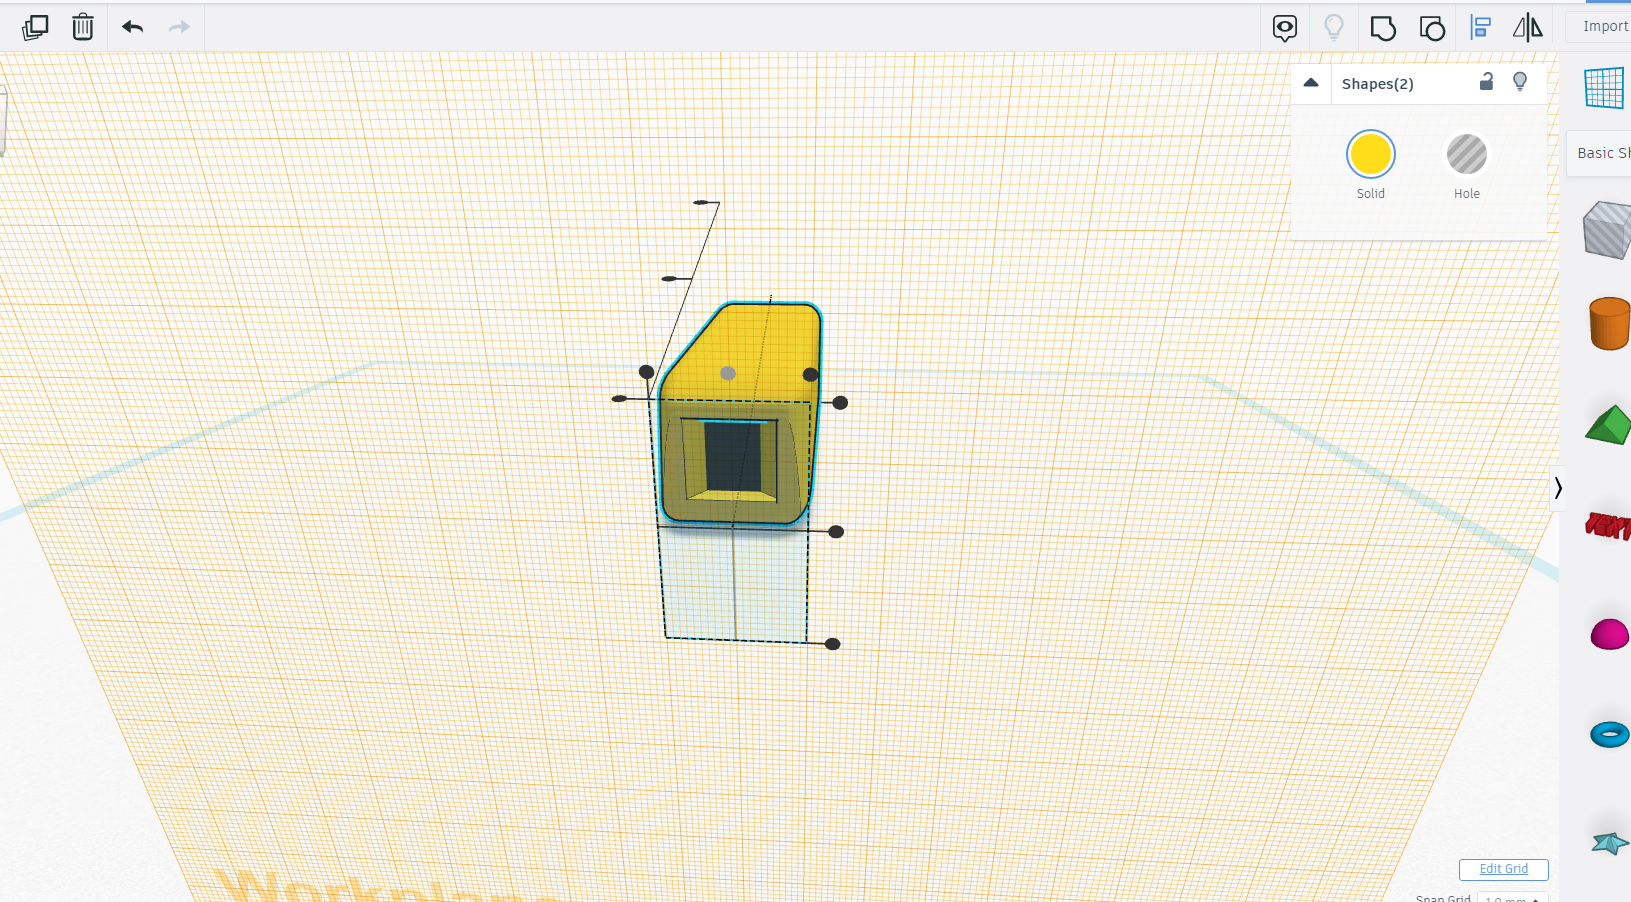
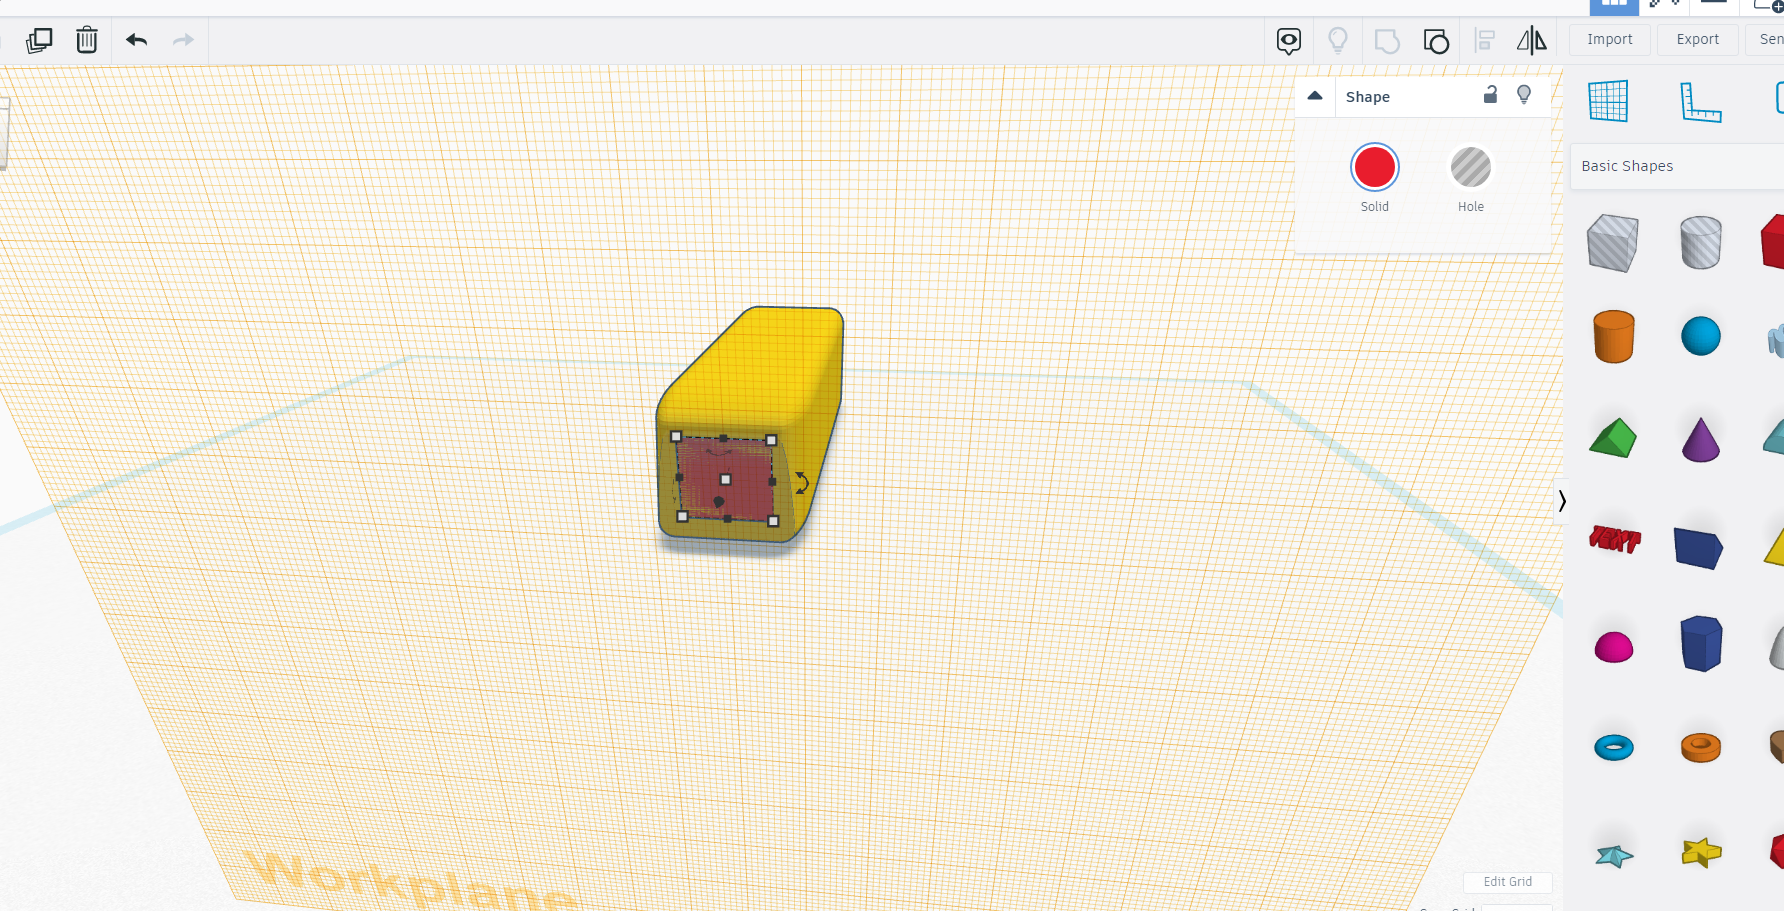
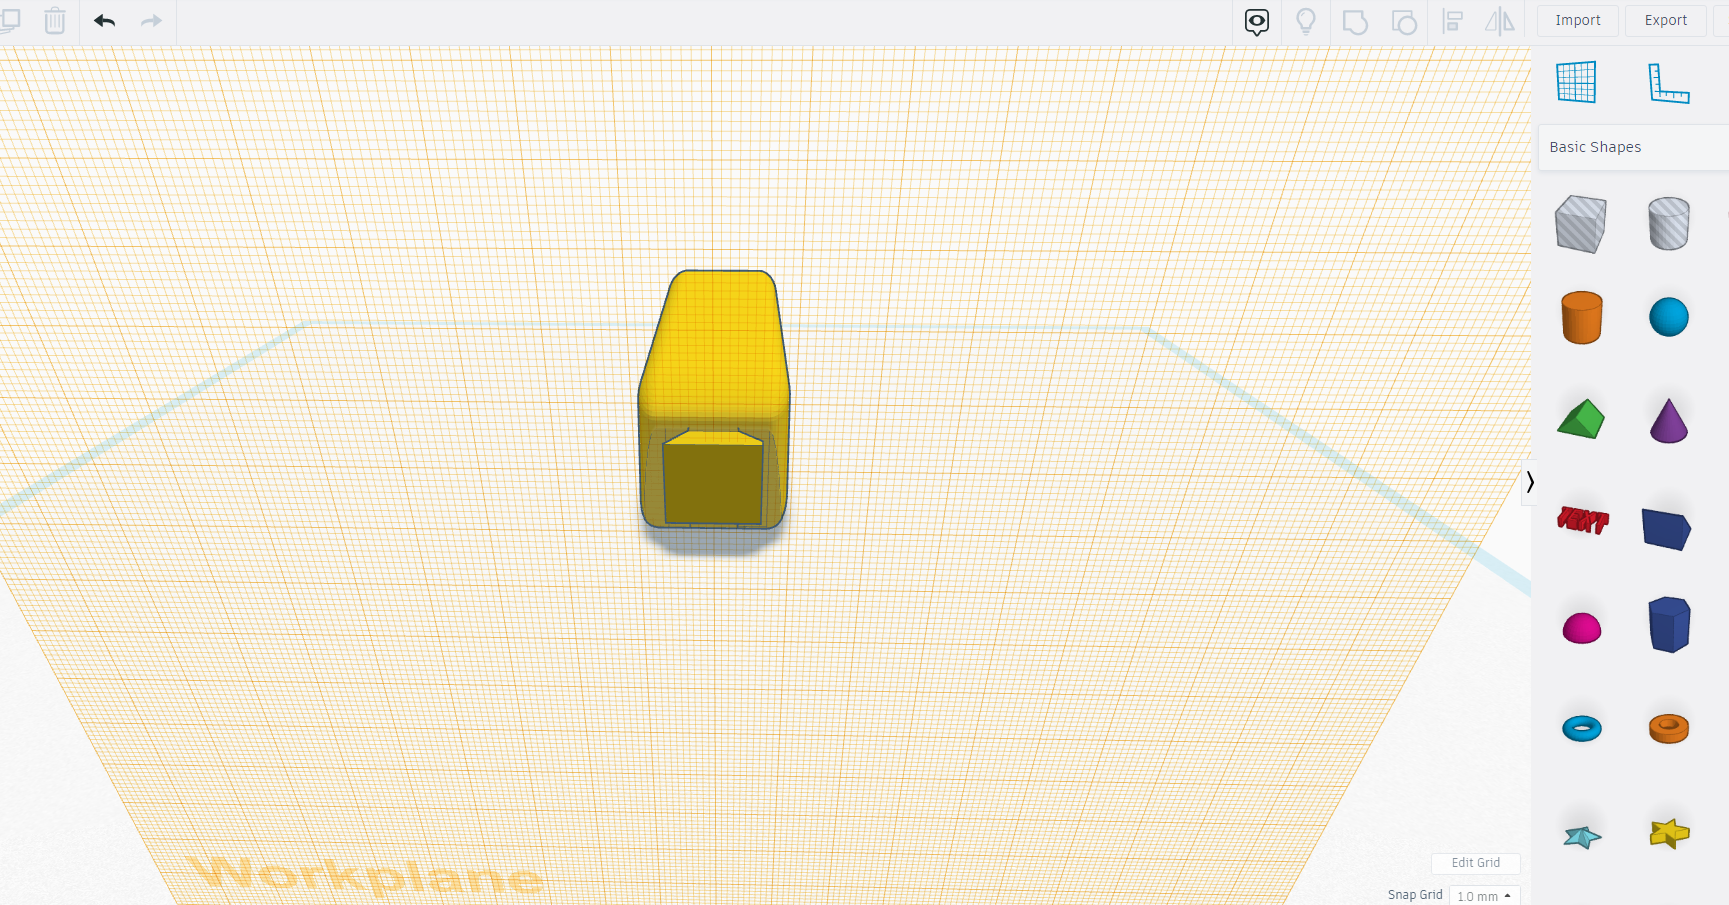
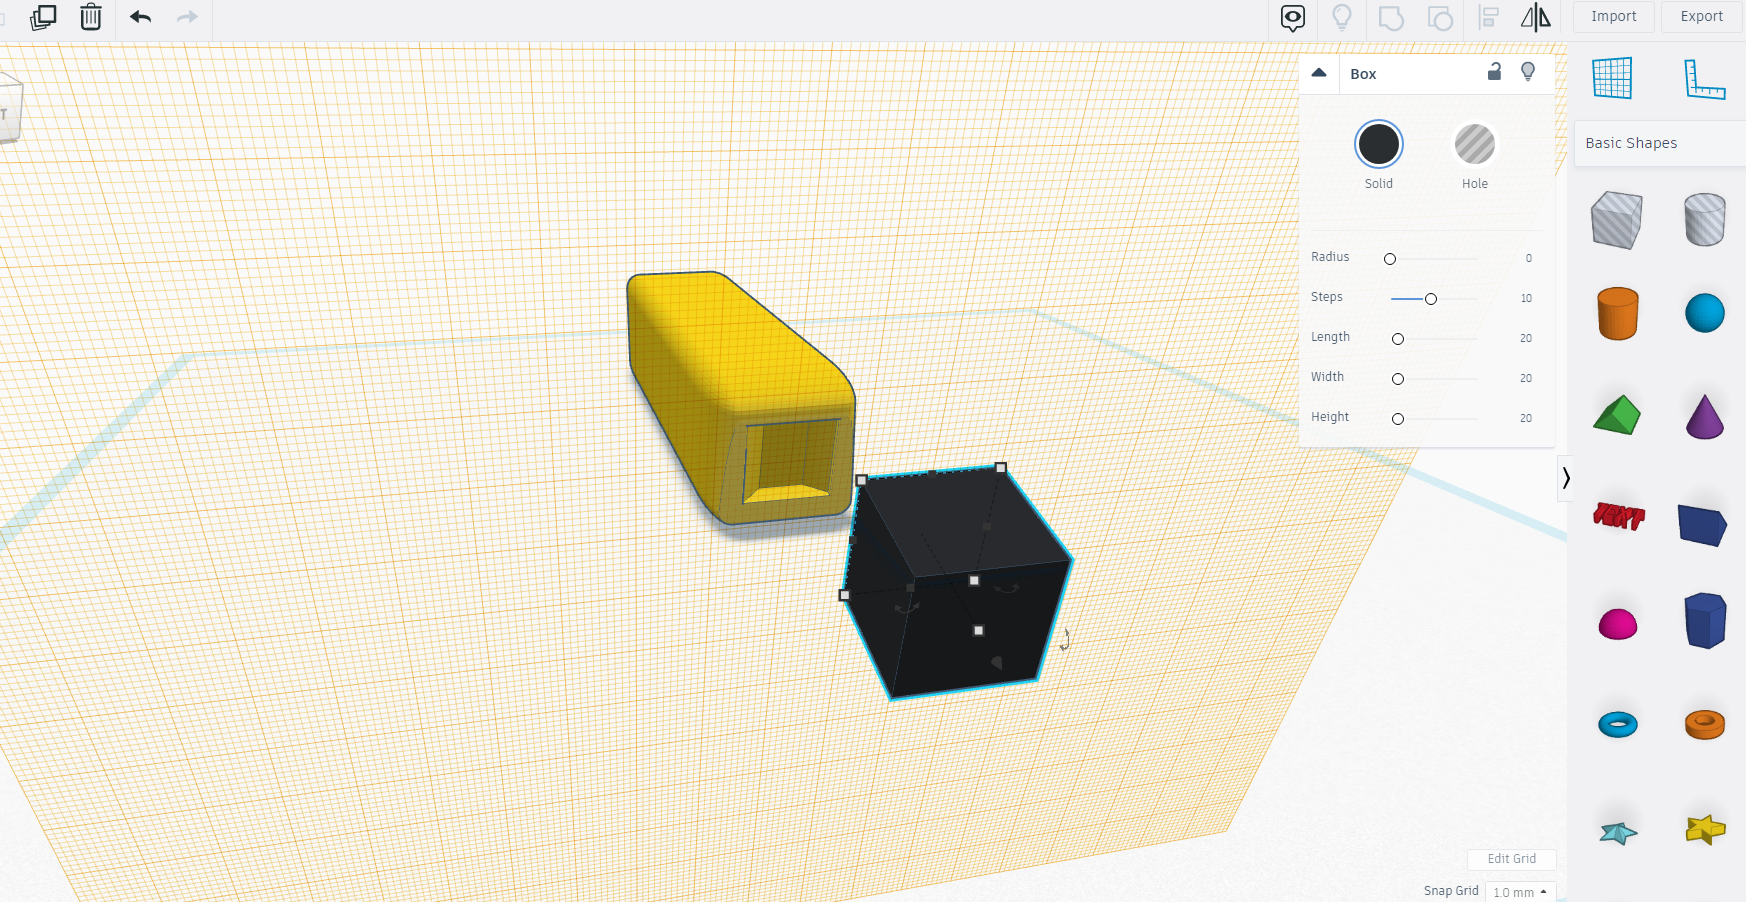
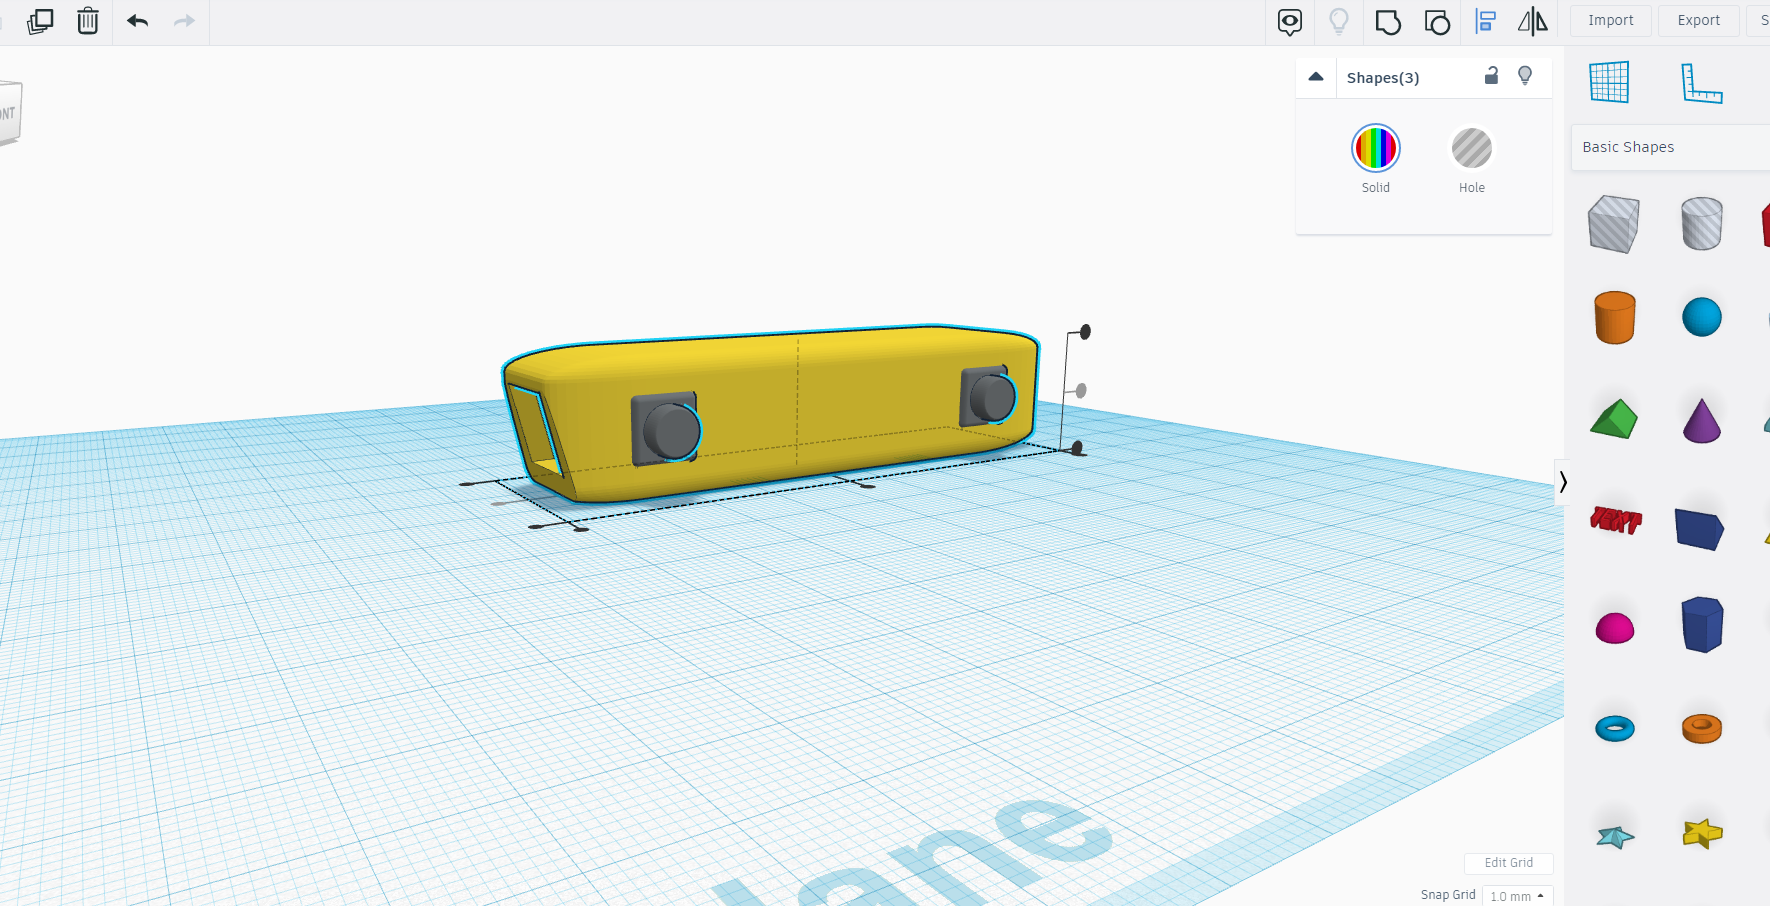
Again we will take square and wedge for this hollow cavity and do as shown in the above images.
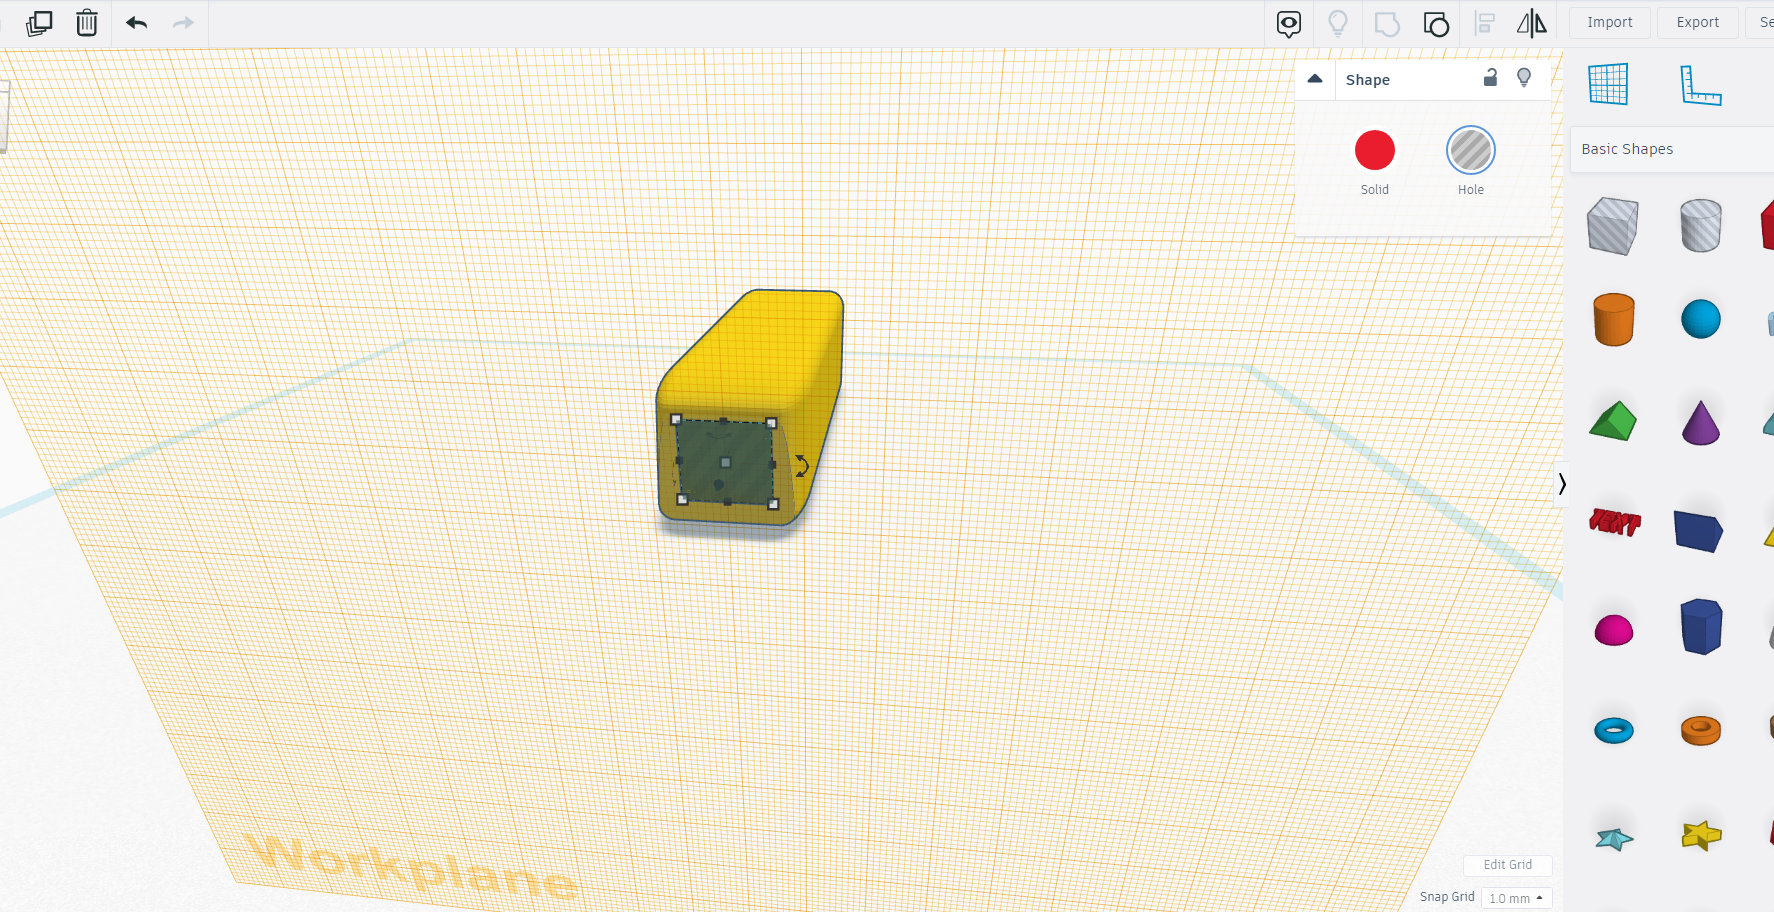
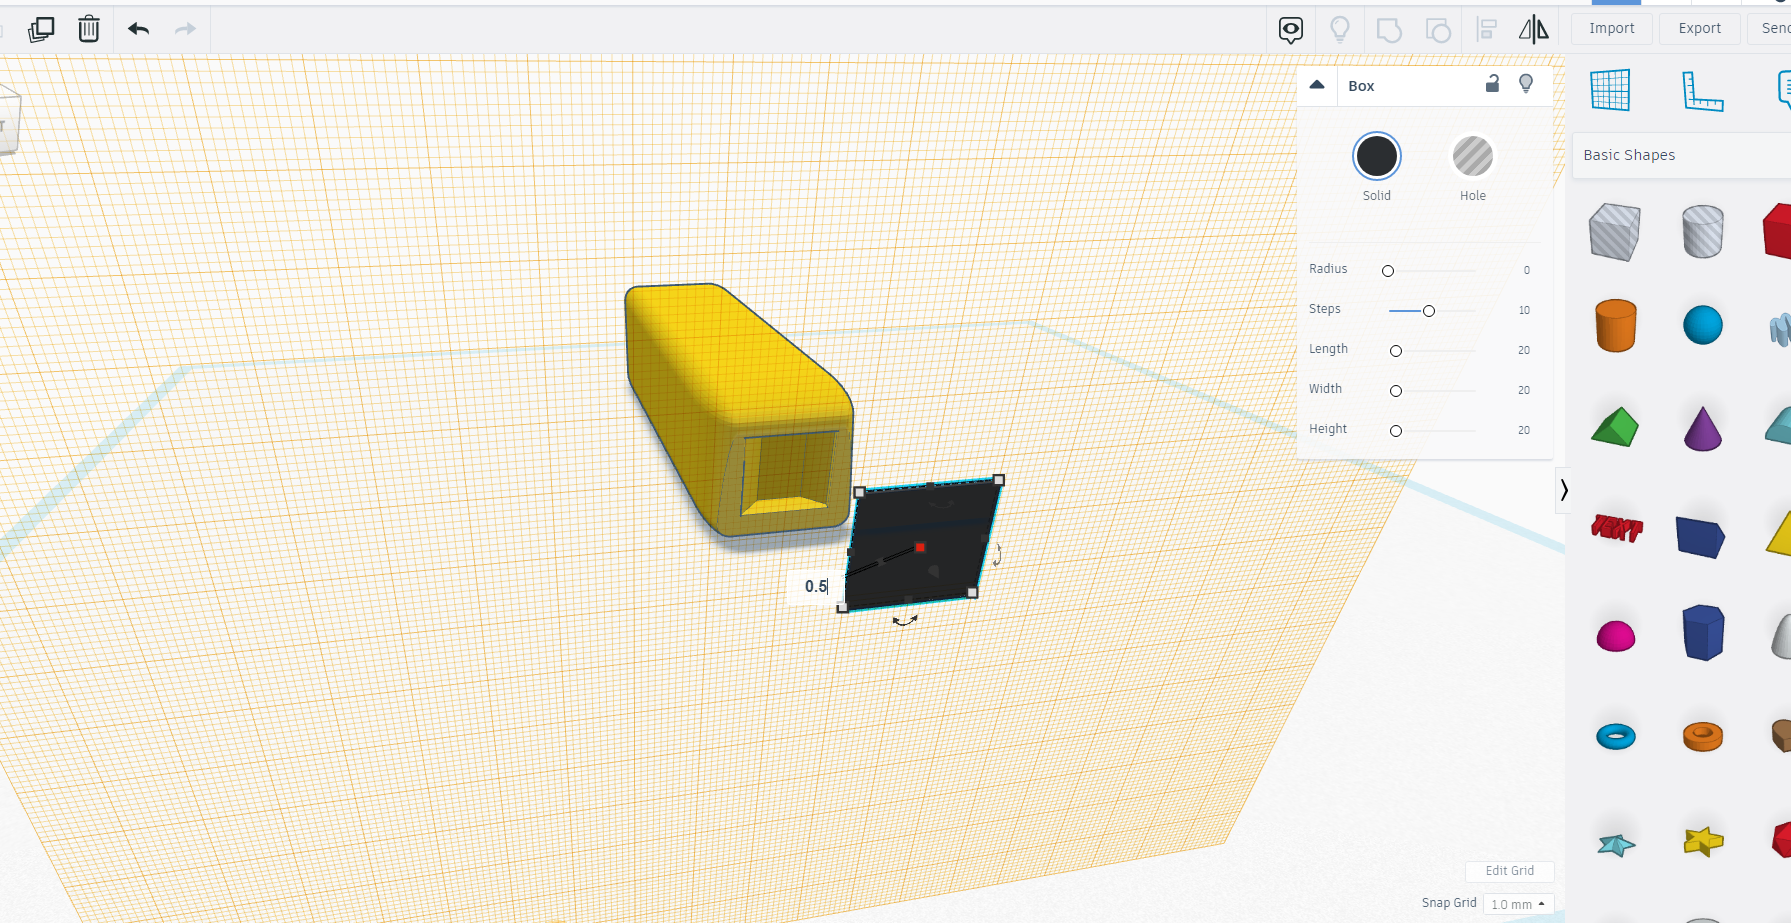
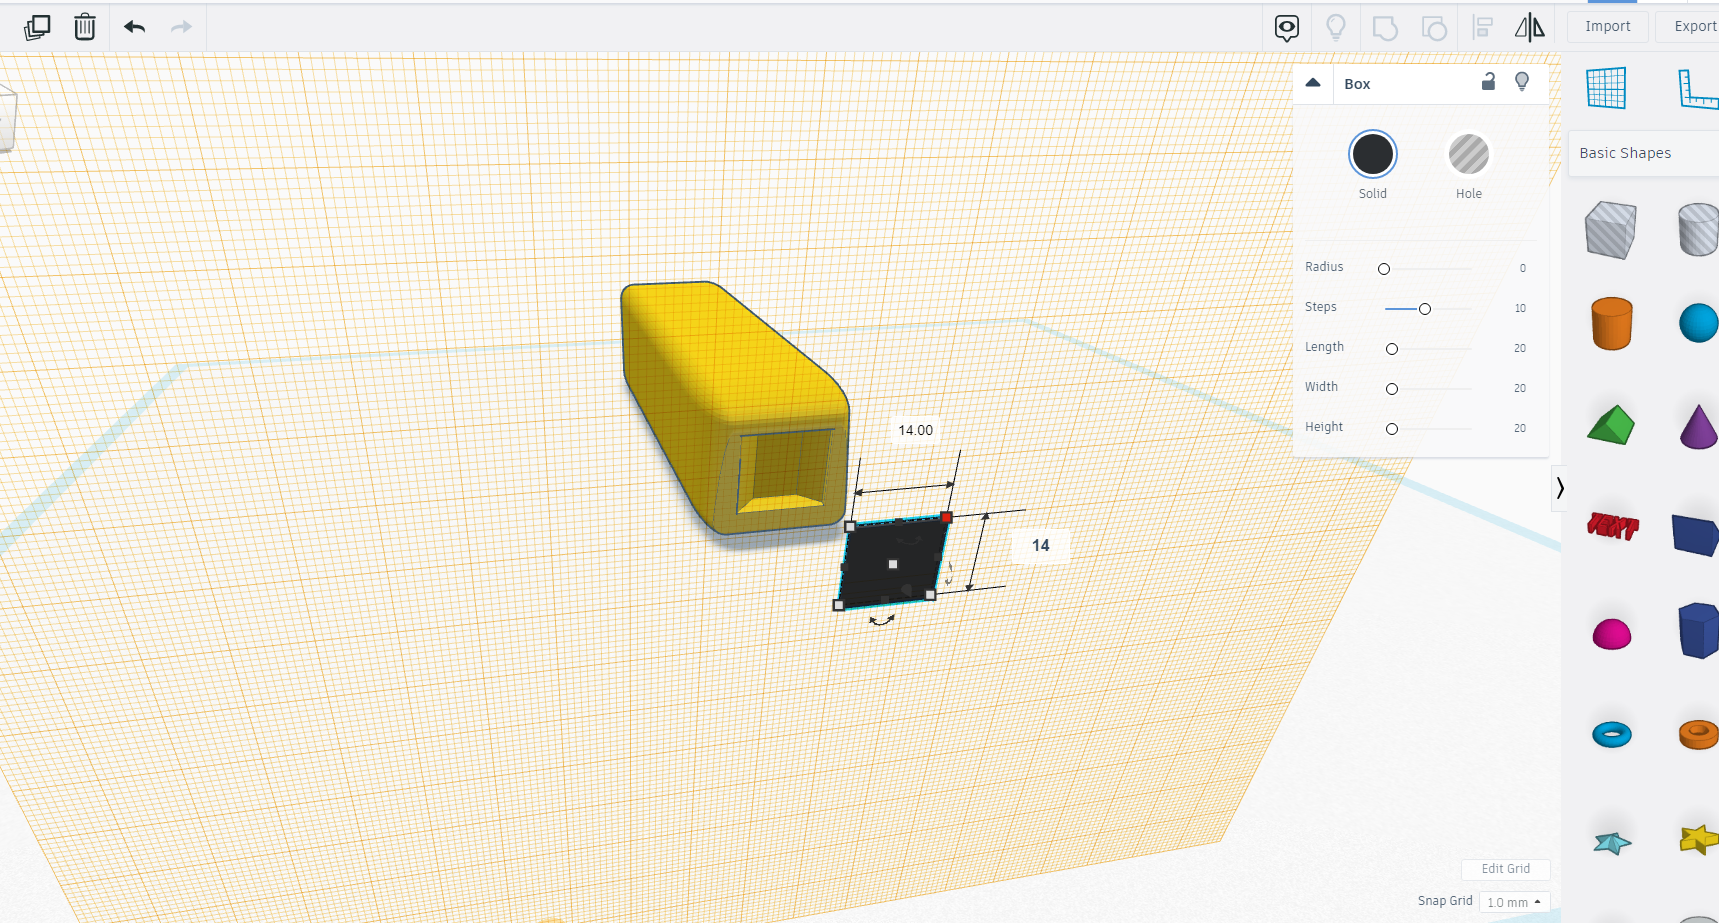
Then take a square for filling the cavity and place in the hollow cavity.
TIP- take help from above tools.
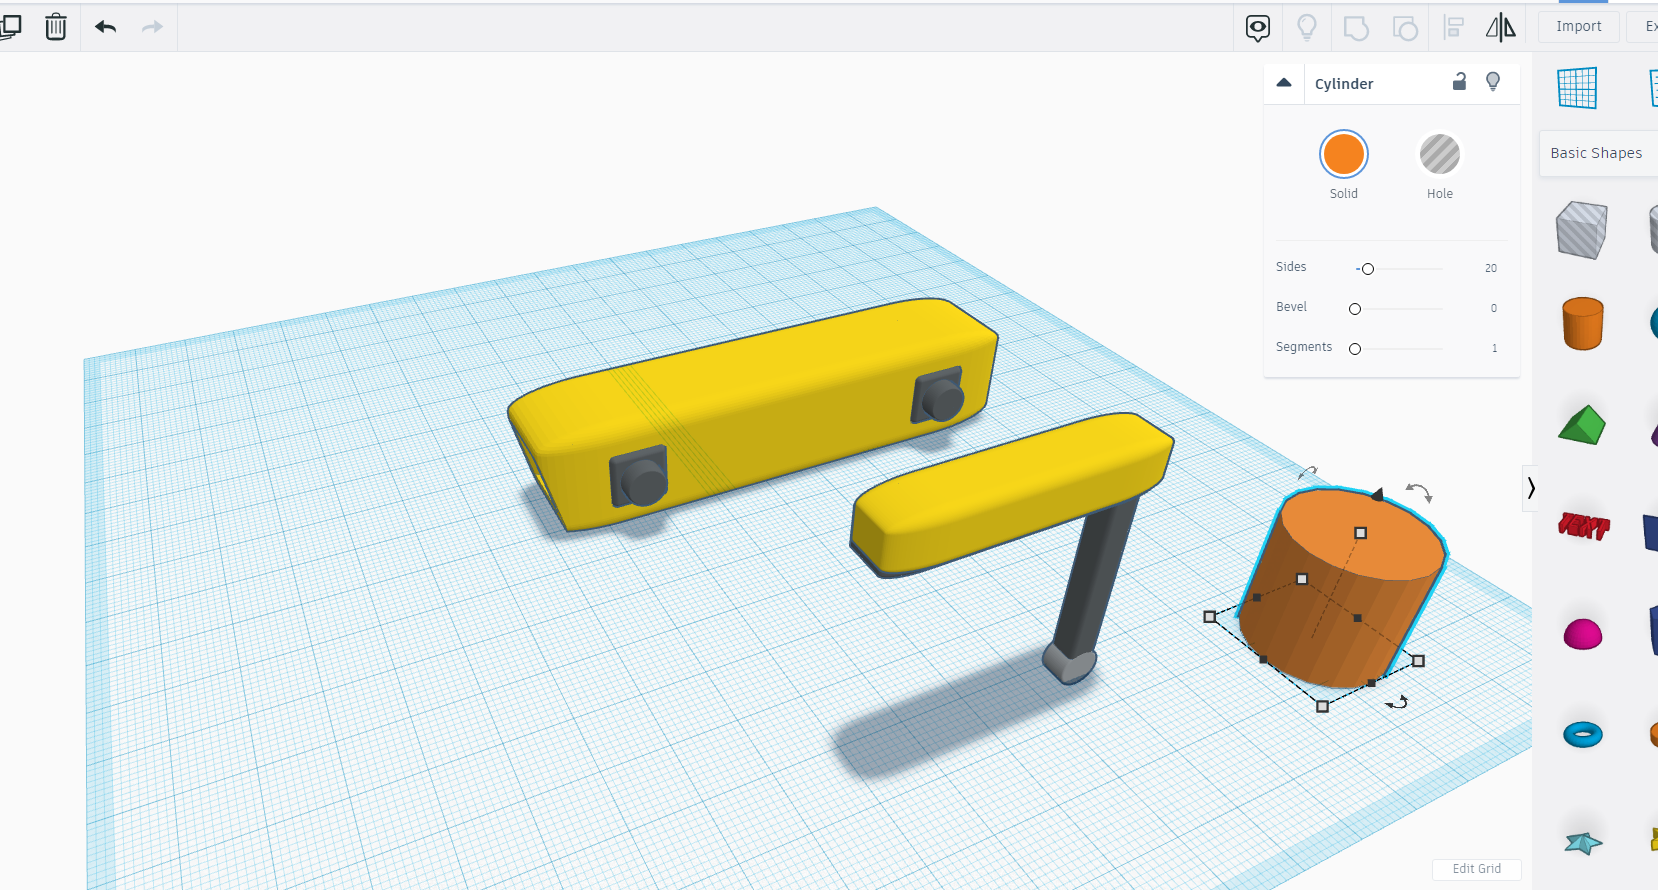
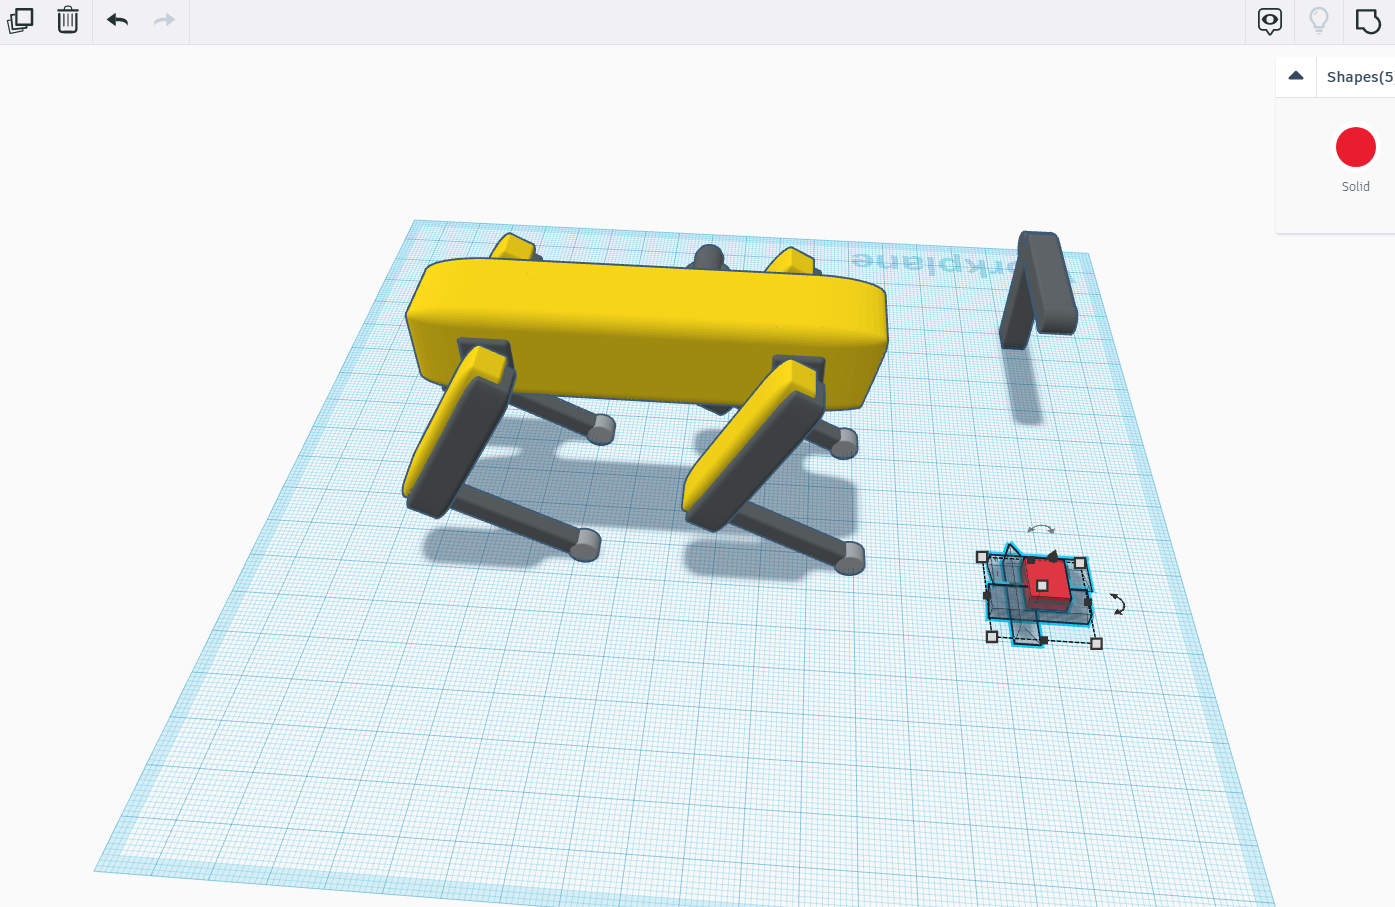
Detailing the Body
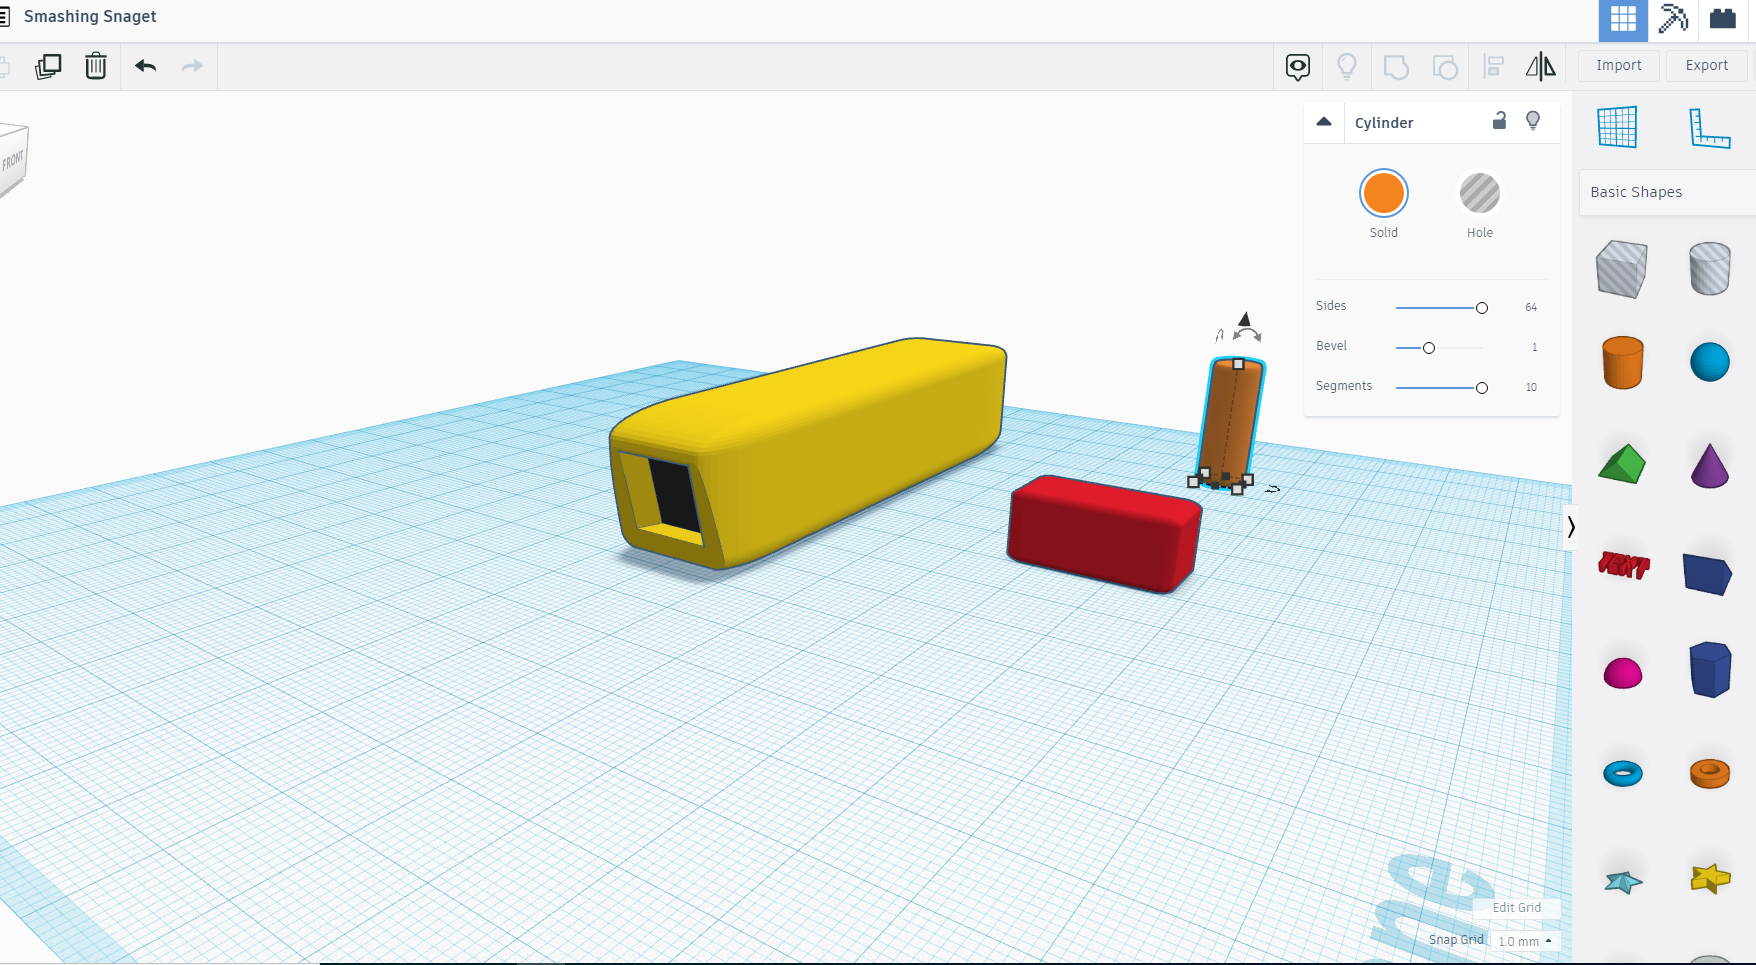
Now in this step we will make arms of the robot and yes change the plane to original.
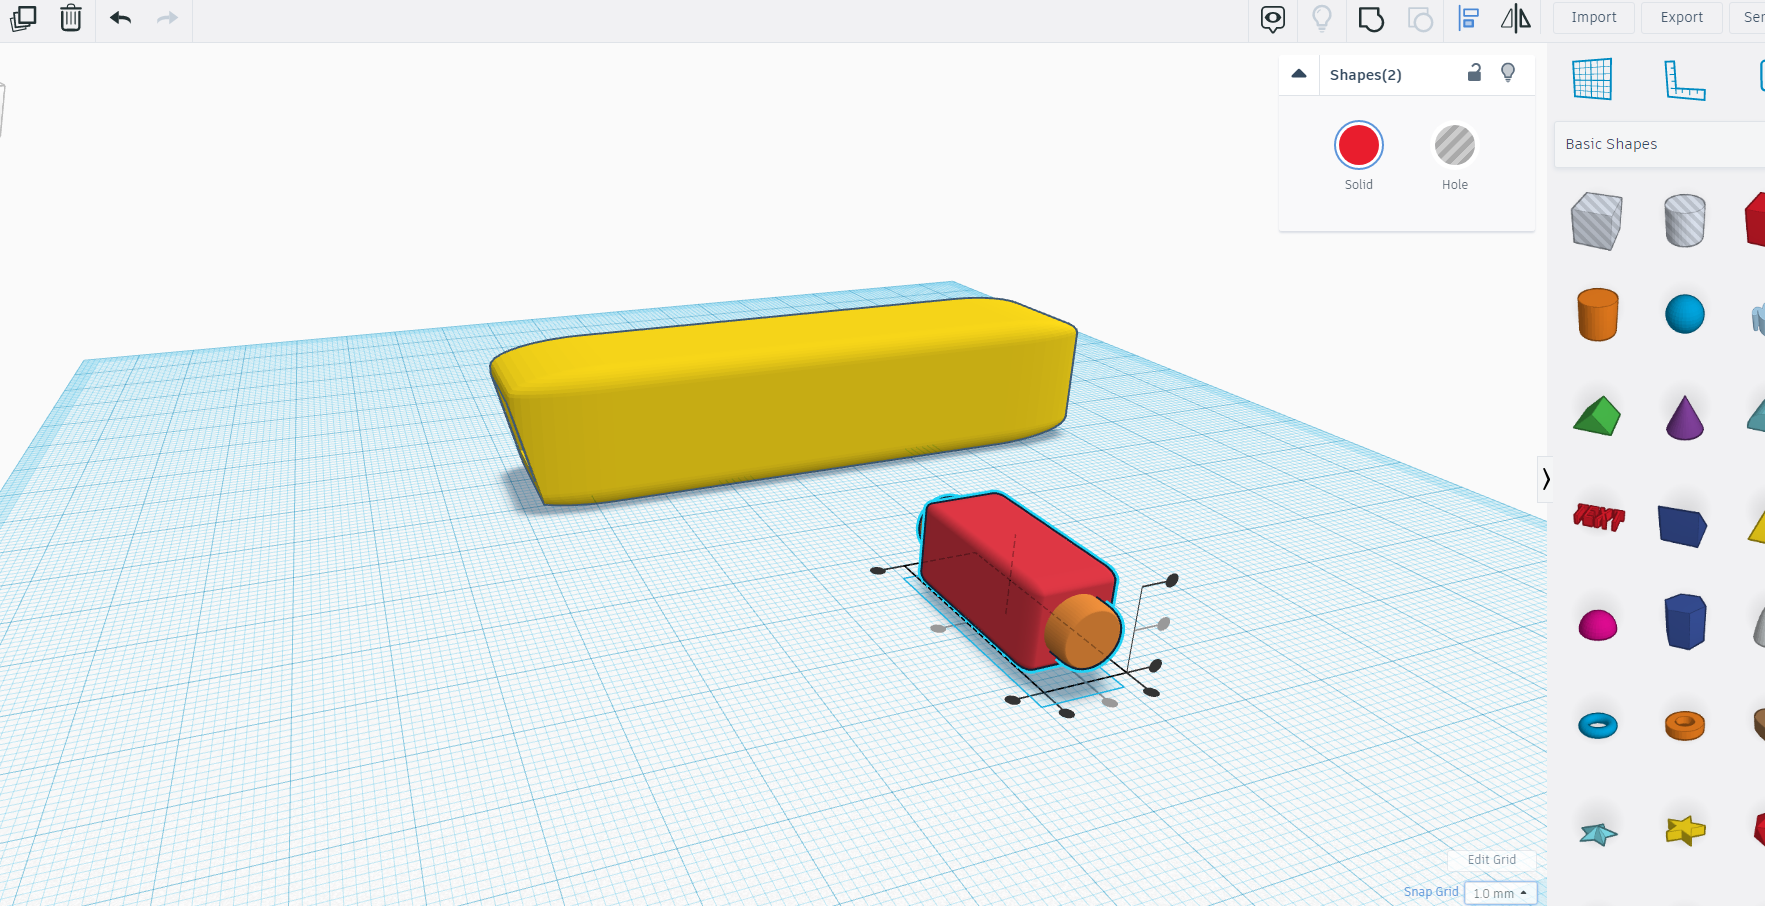
For making the arms joints take a square and a cylinder make their edges smooth and curve.
Now place the cylinder horizontally in the square with the help of align tool.
Once you make one arm joint repeat this 3 times for the other arms joints with ctrl + D.
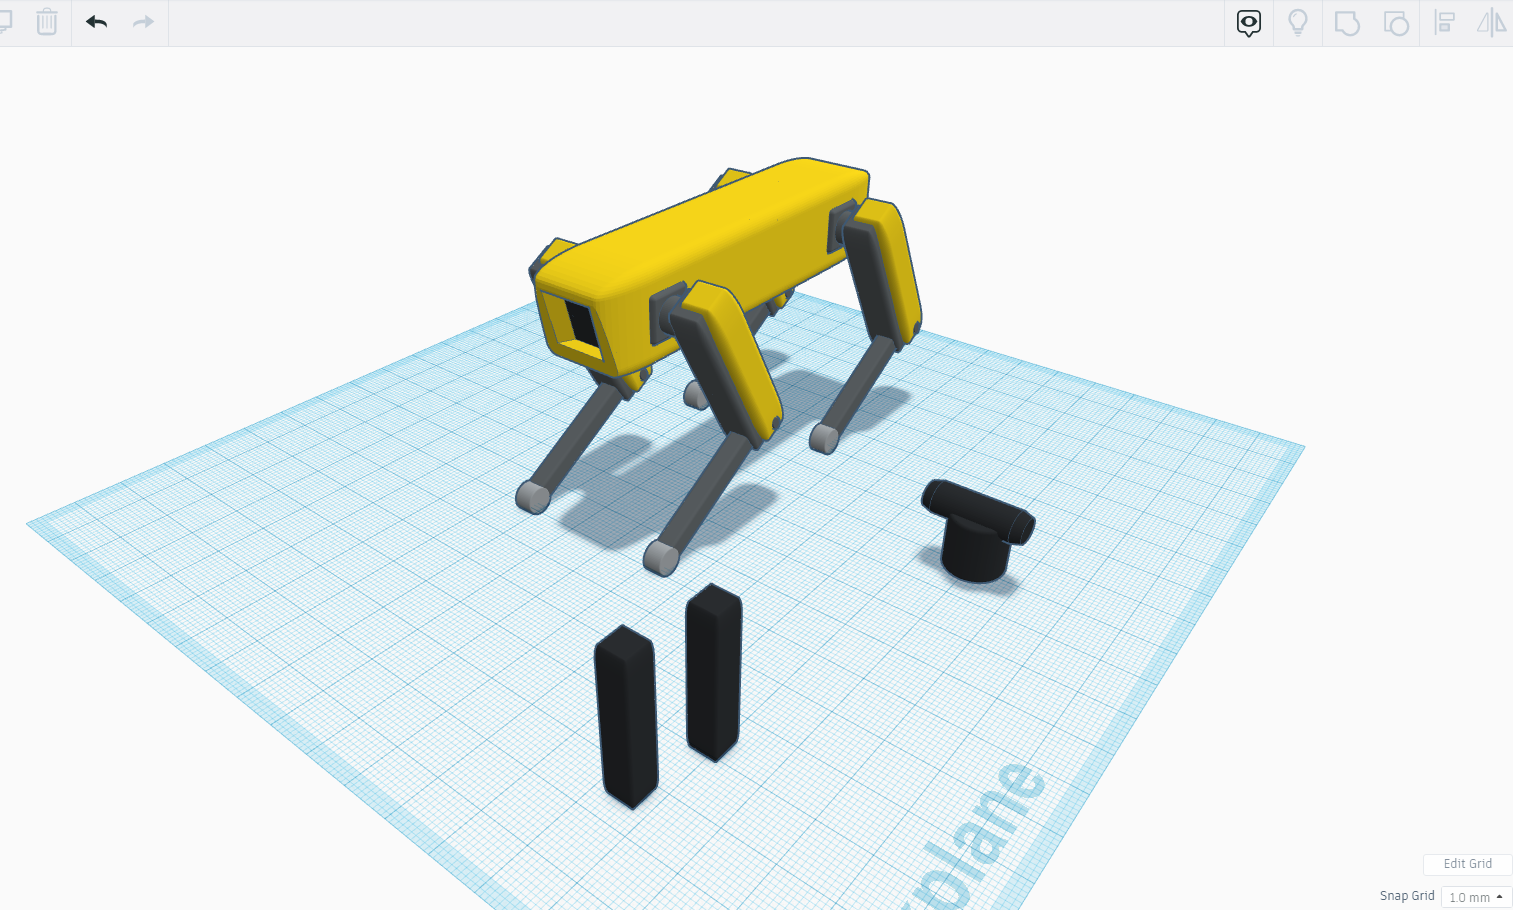
Making the Legs Parts

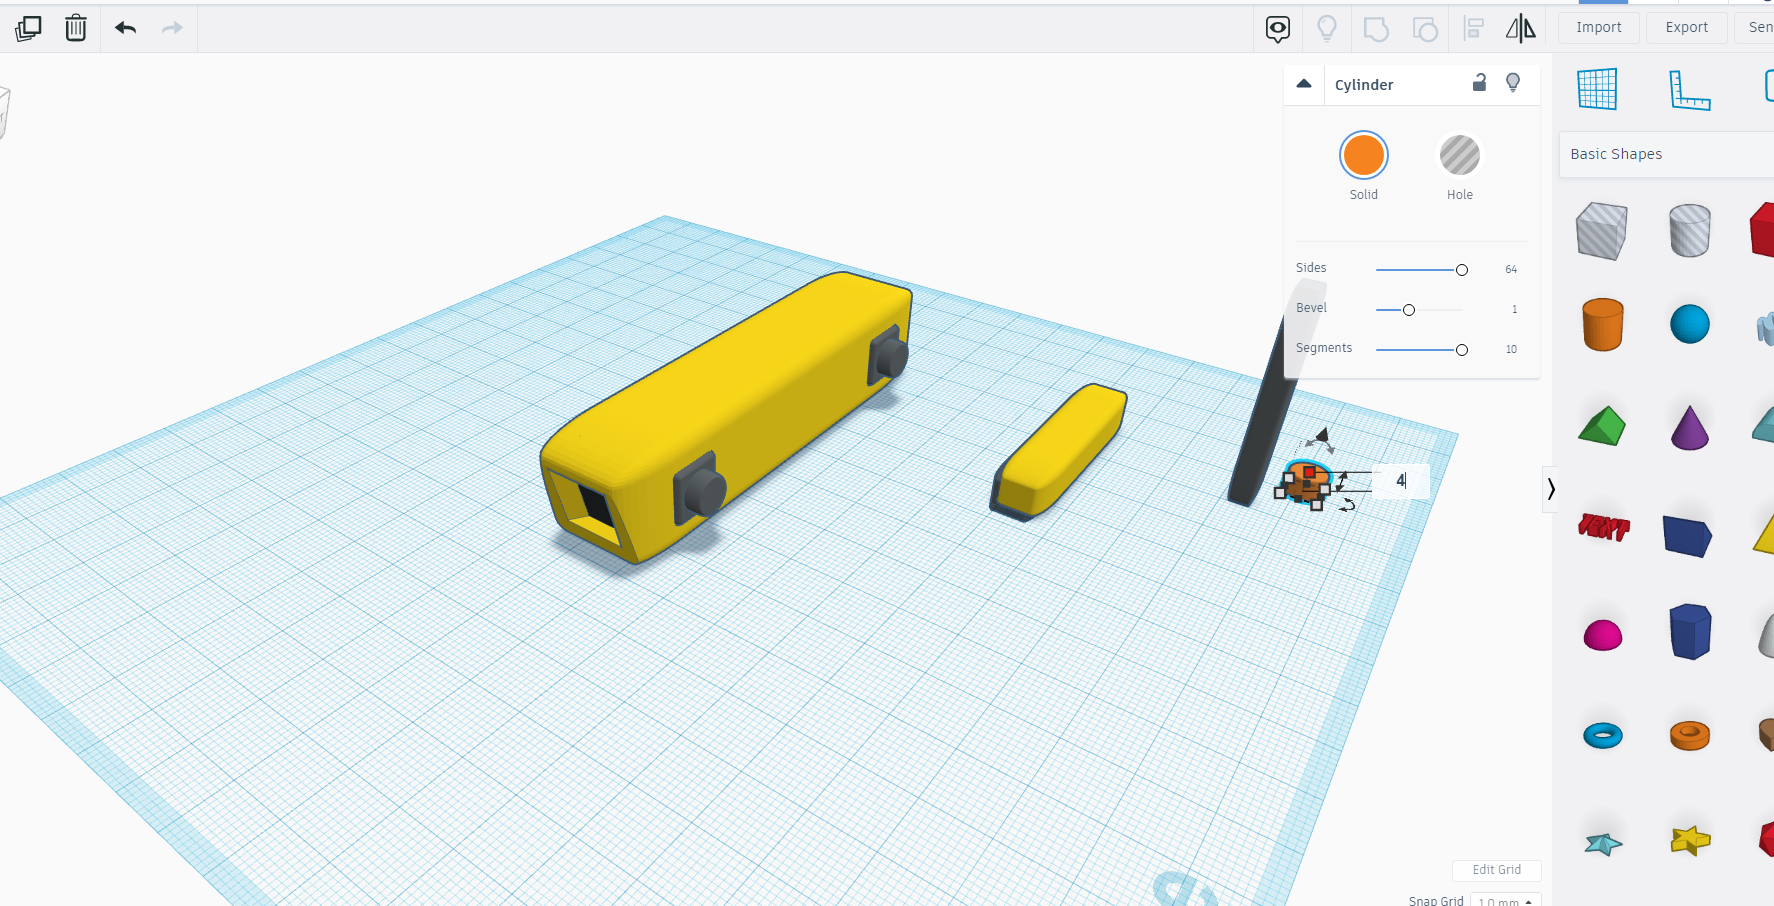
Now for the legs take a square and make it length 40 to form a rectangle.
Make its edges smooth and curve, once done use ctrl + D to make another same piece, color them and make a single part of them.
Now again take a square and make a rectangle for the leg piece as shown in above images color it black.
Now for the bottom part of the legs take a cylinder and make dimensions as shown in above images.
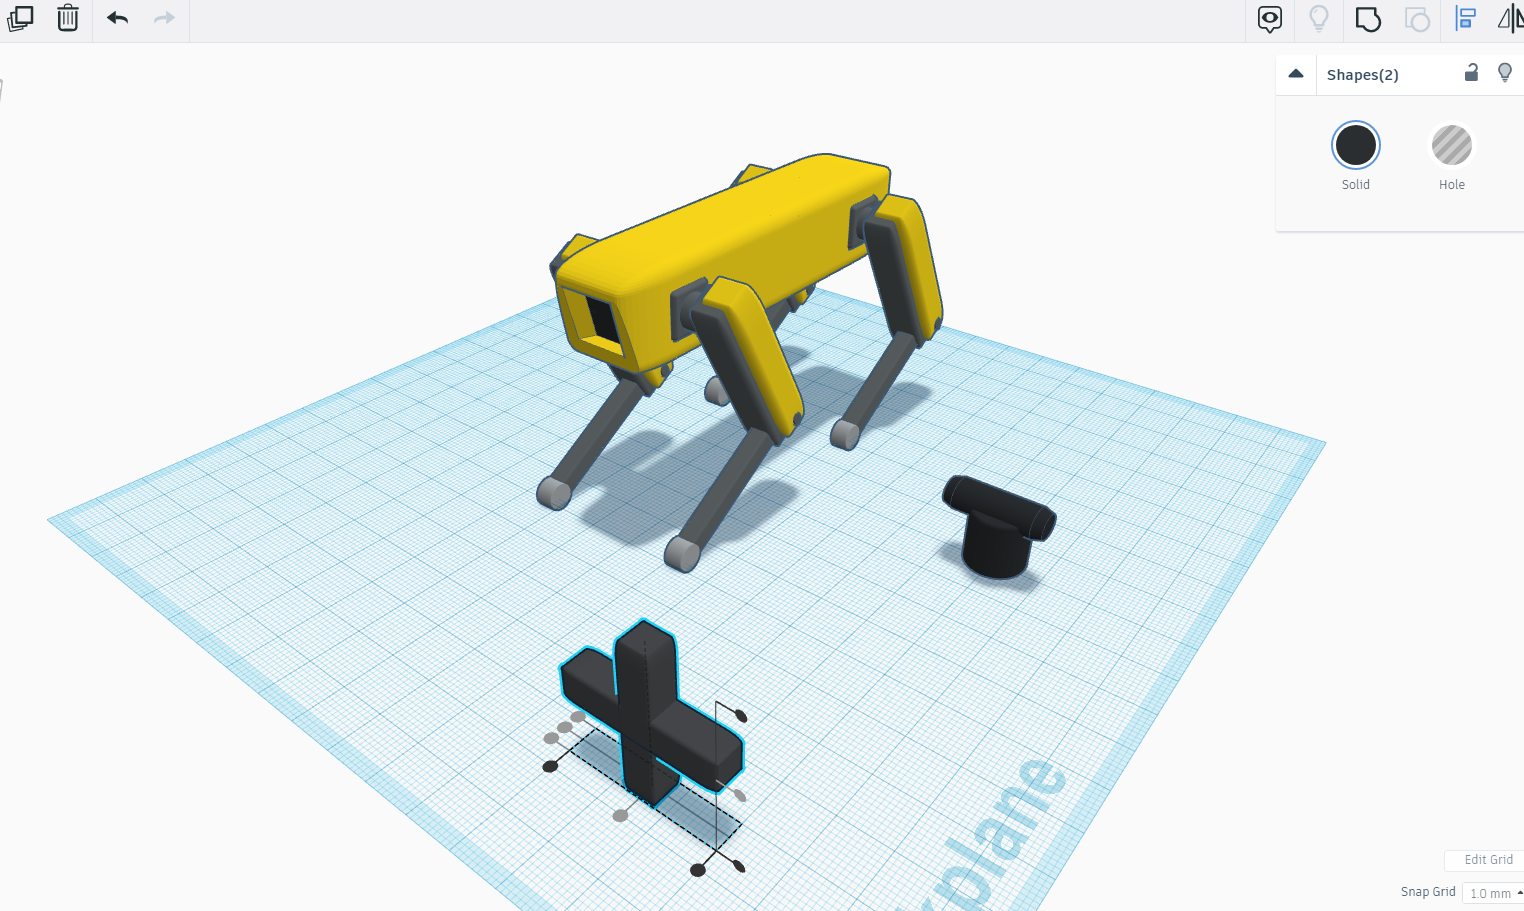
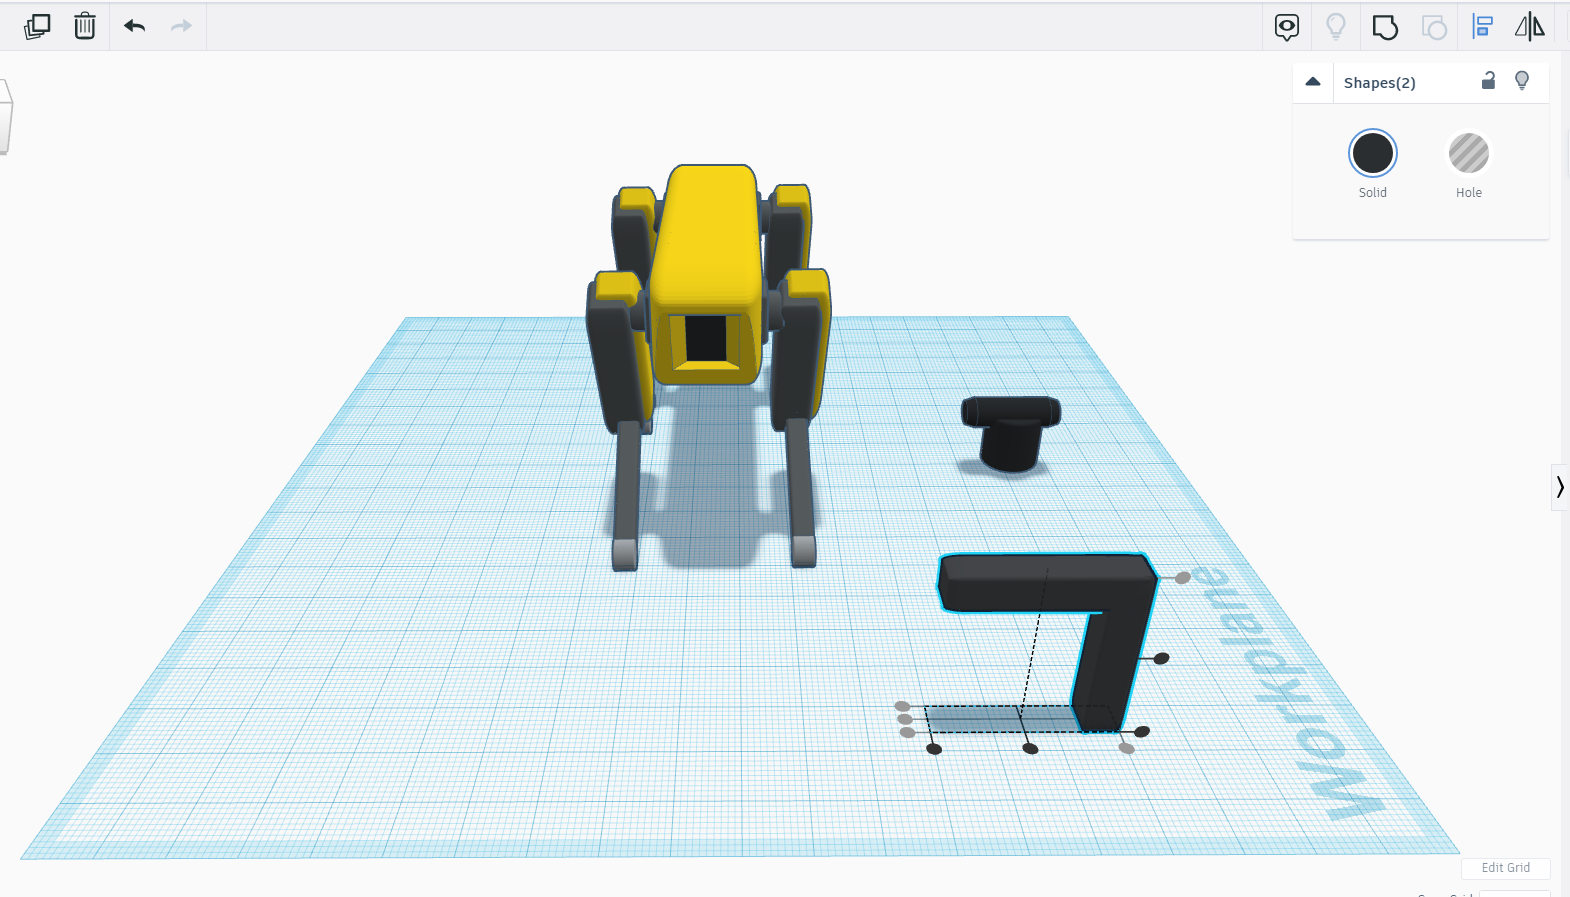
Assembling the Legs Part Together
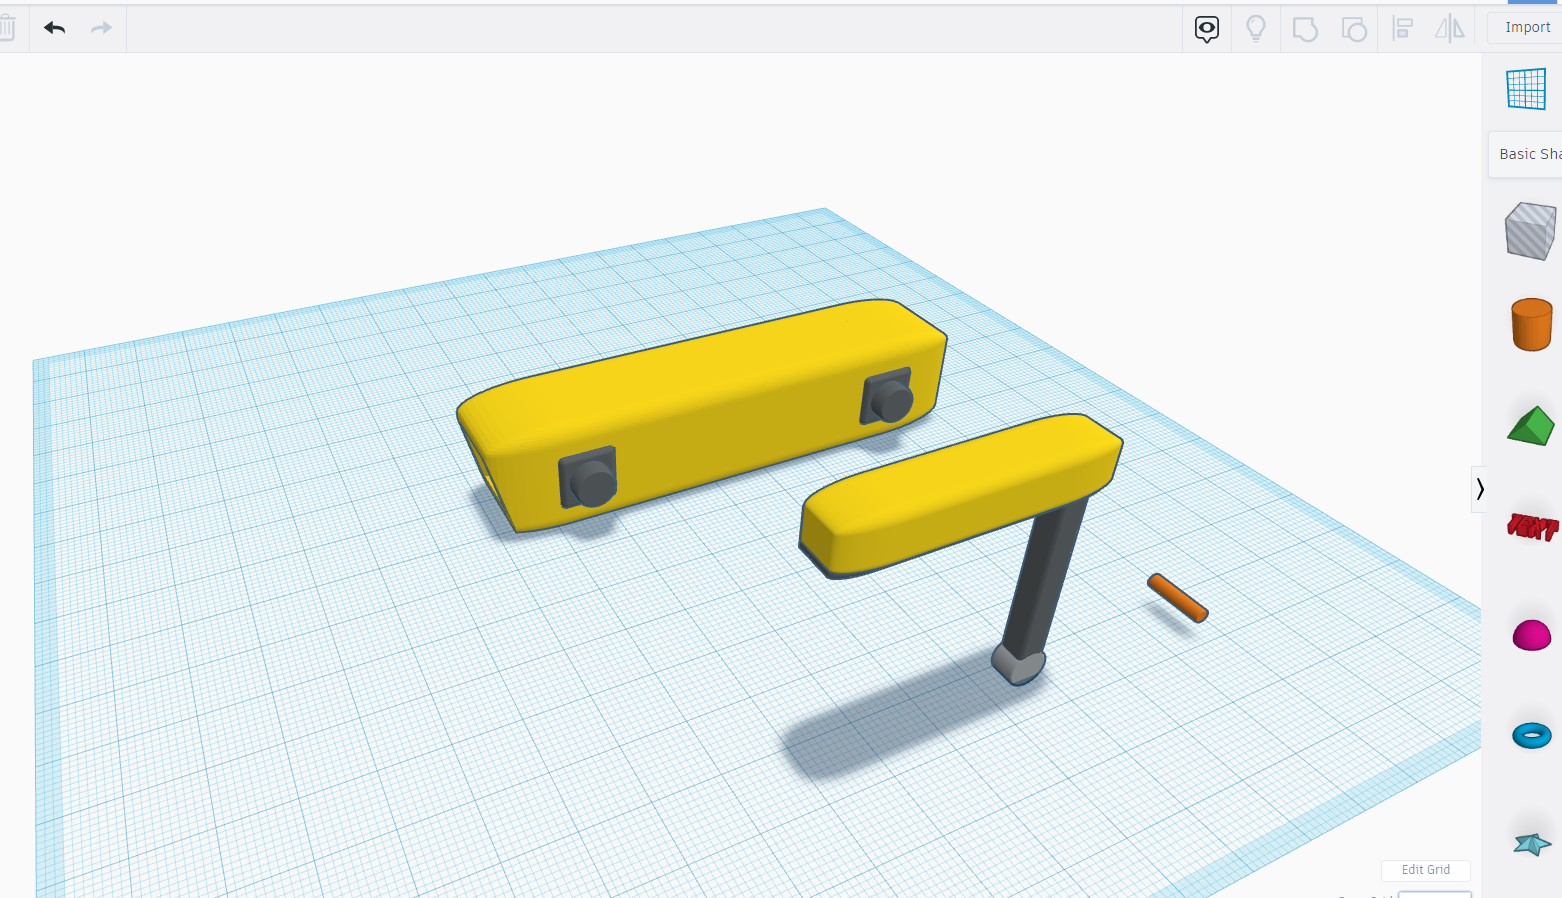
Now in this step we will assemble all the legs part that we have made in the previous step.
For assembling the parts I suggest use align tool or you can do it manually if you like.
Now for the joints take a cylinder and adjust the dimensions accordingly and place it in the middle leg portion.
Now make them a single part and turn the leg -144 degrees as shown in the pictures.
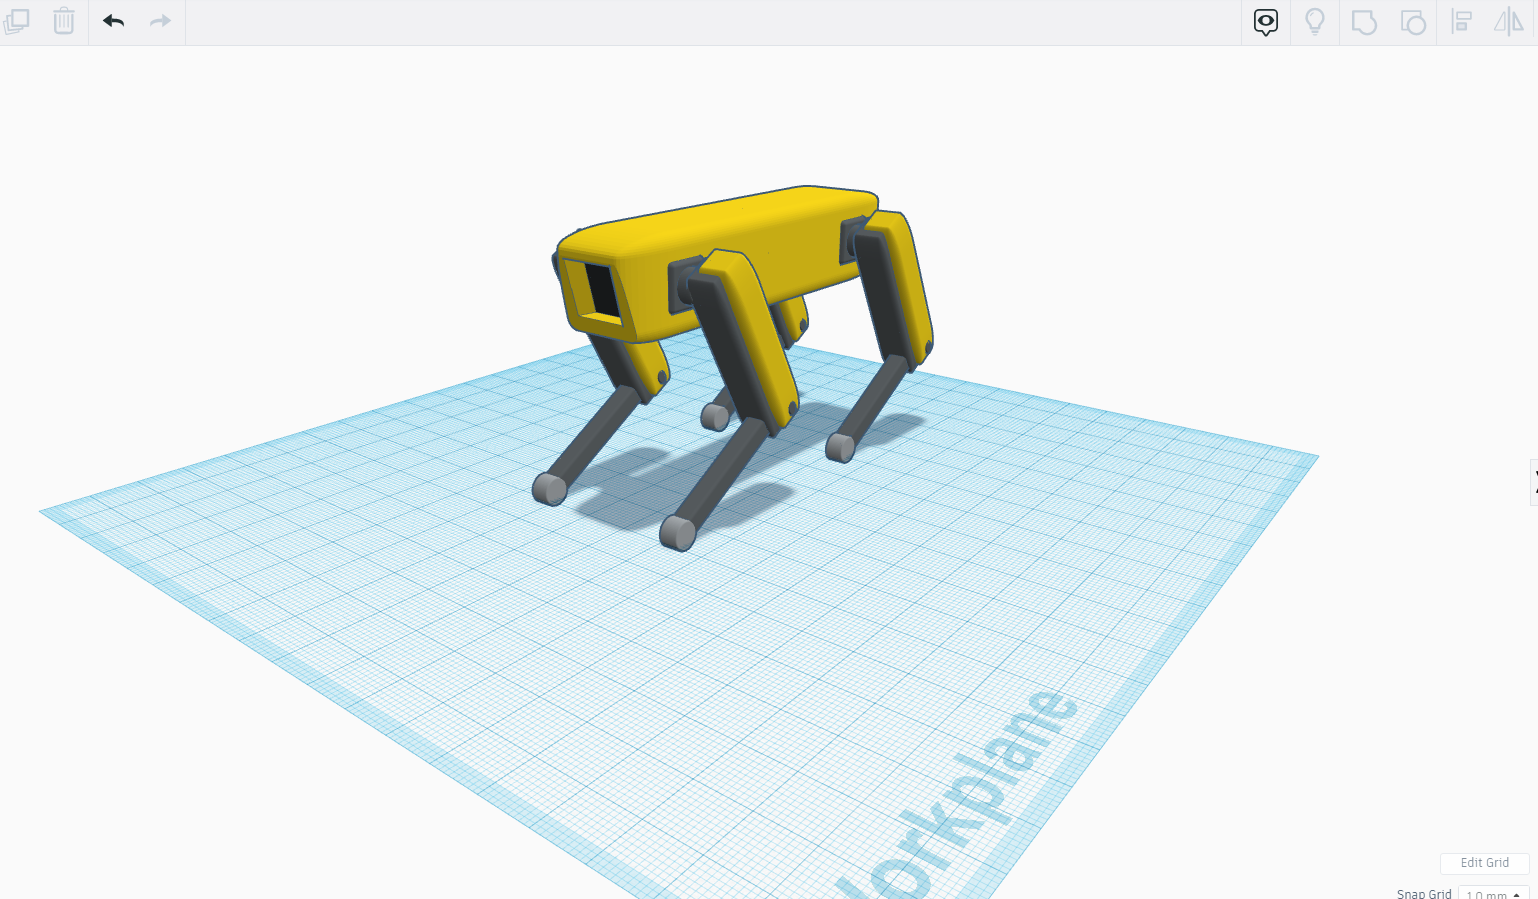
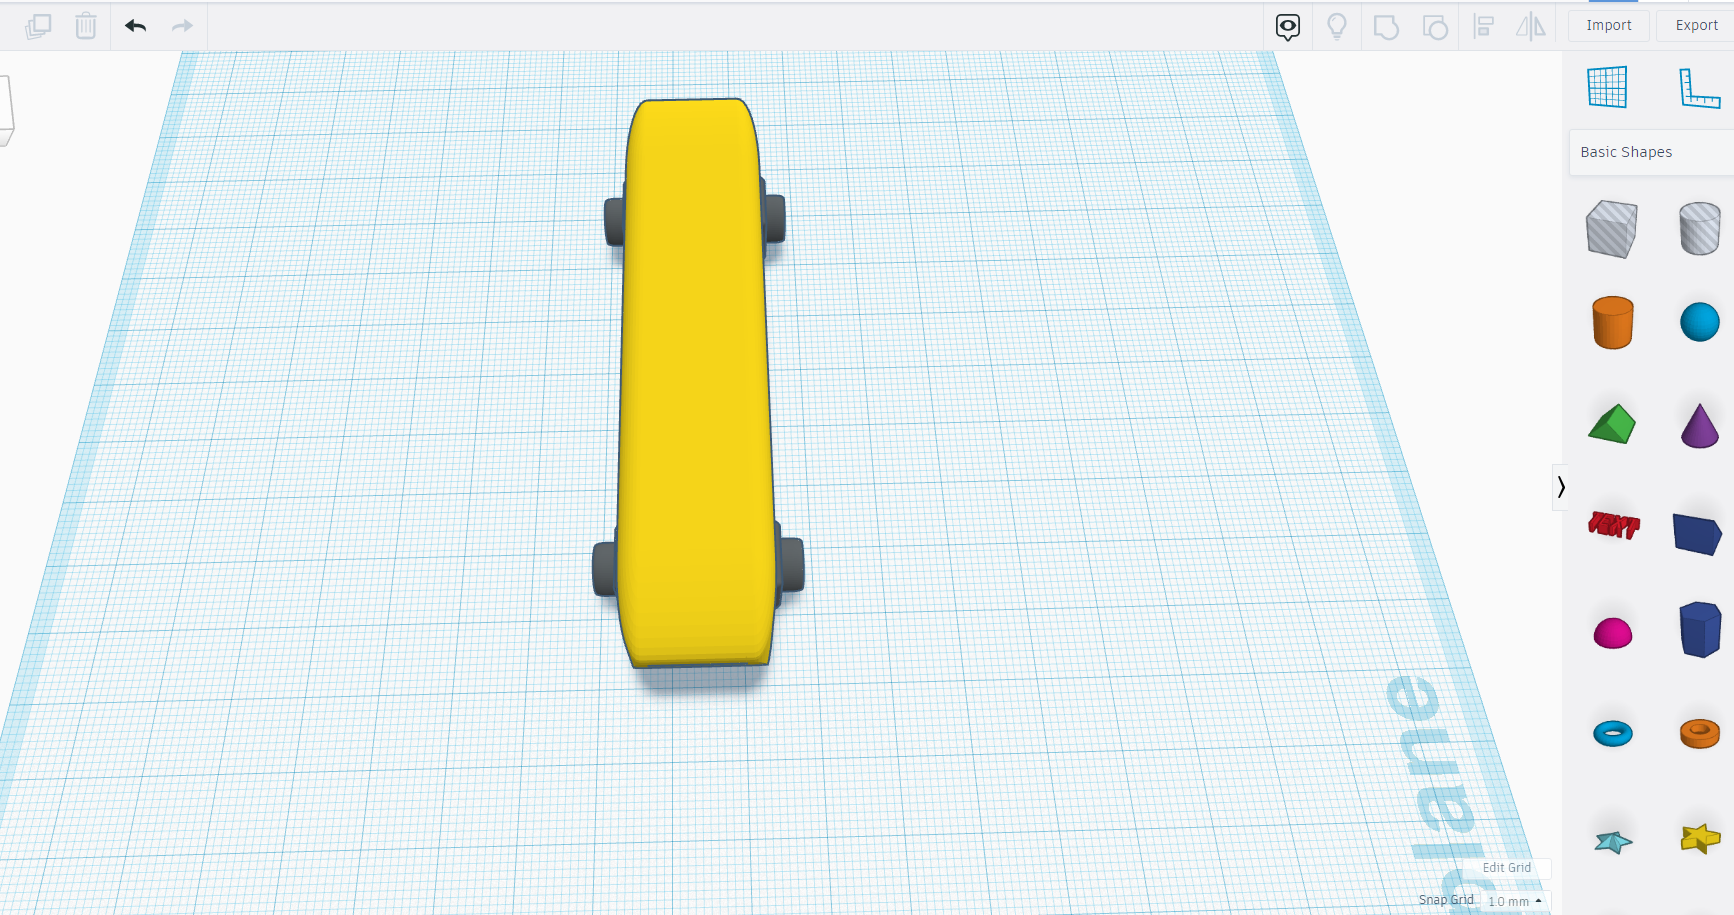
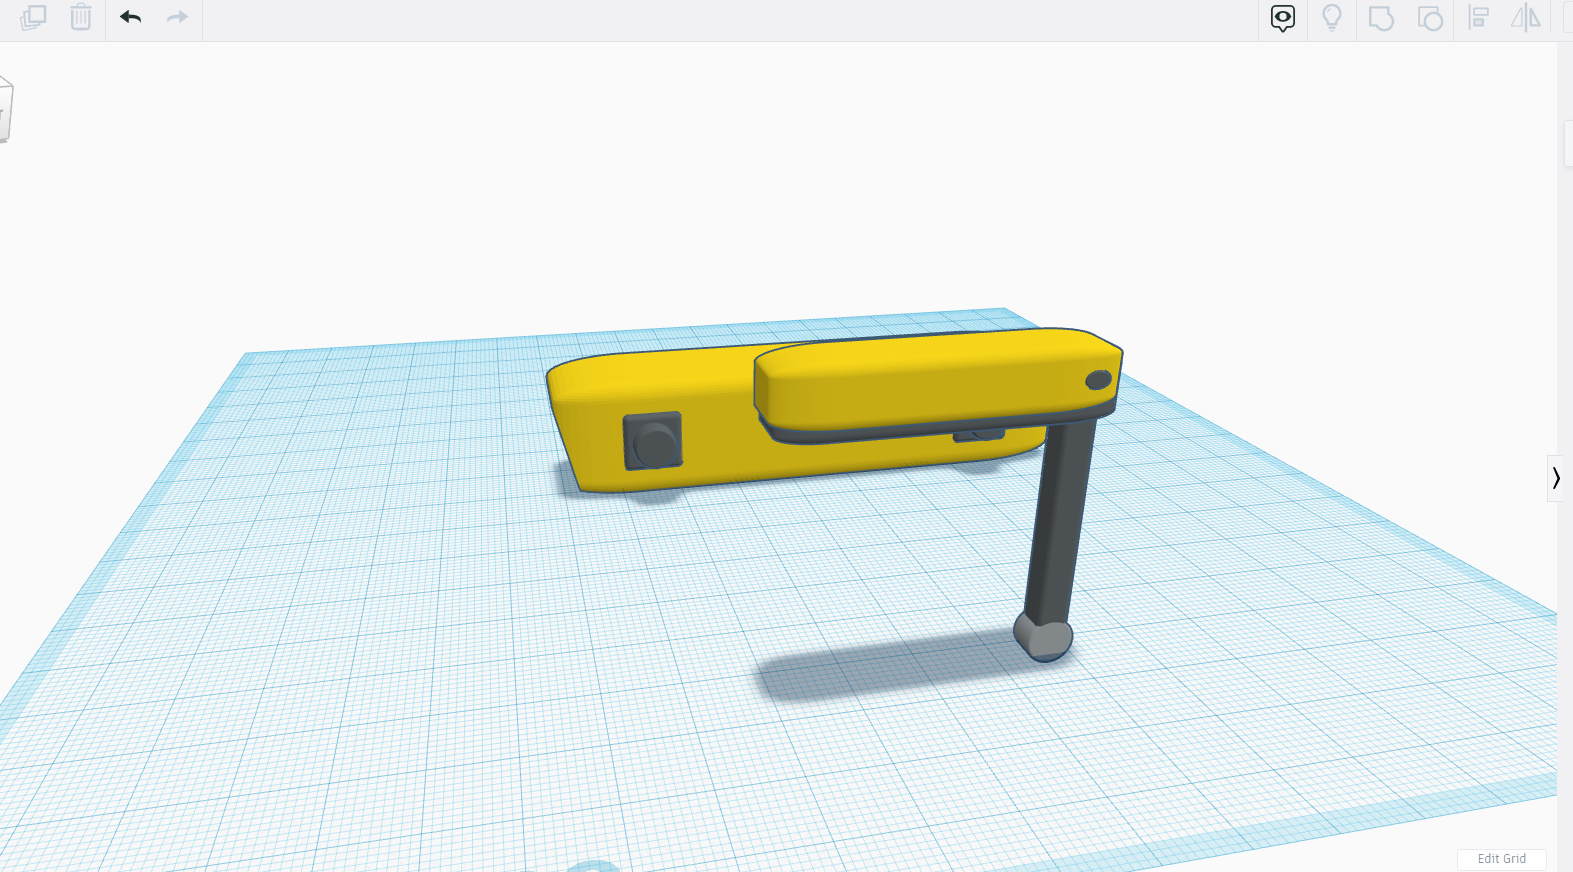
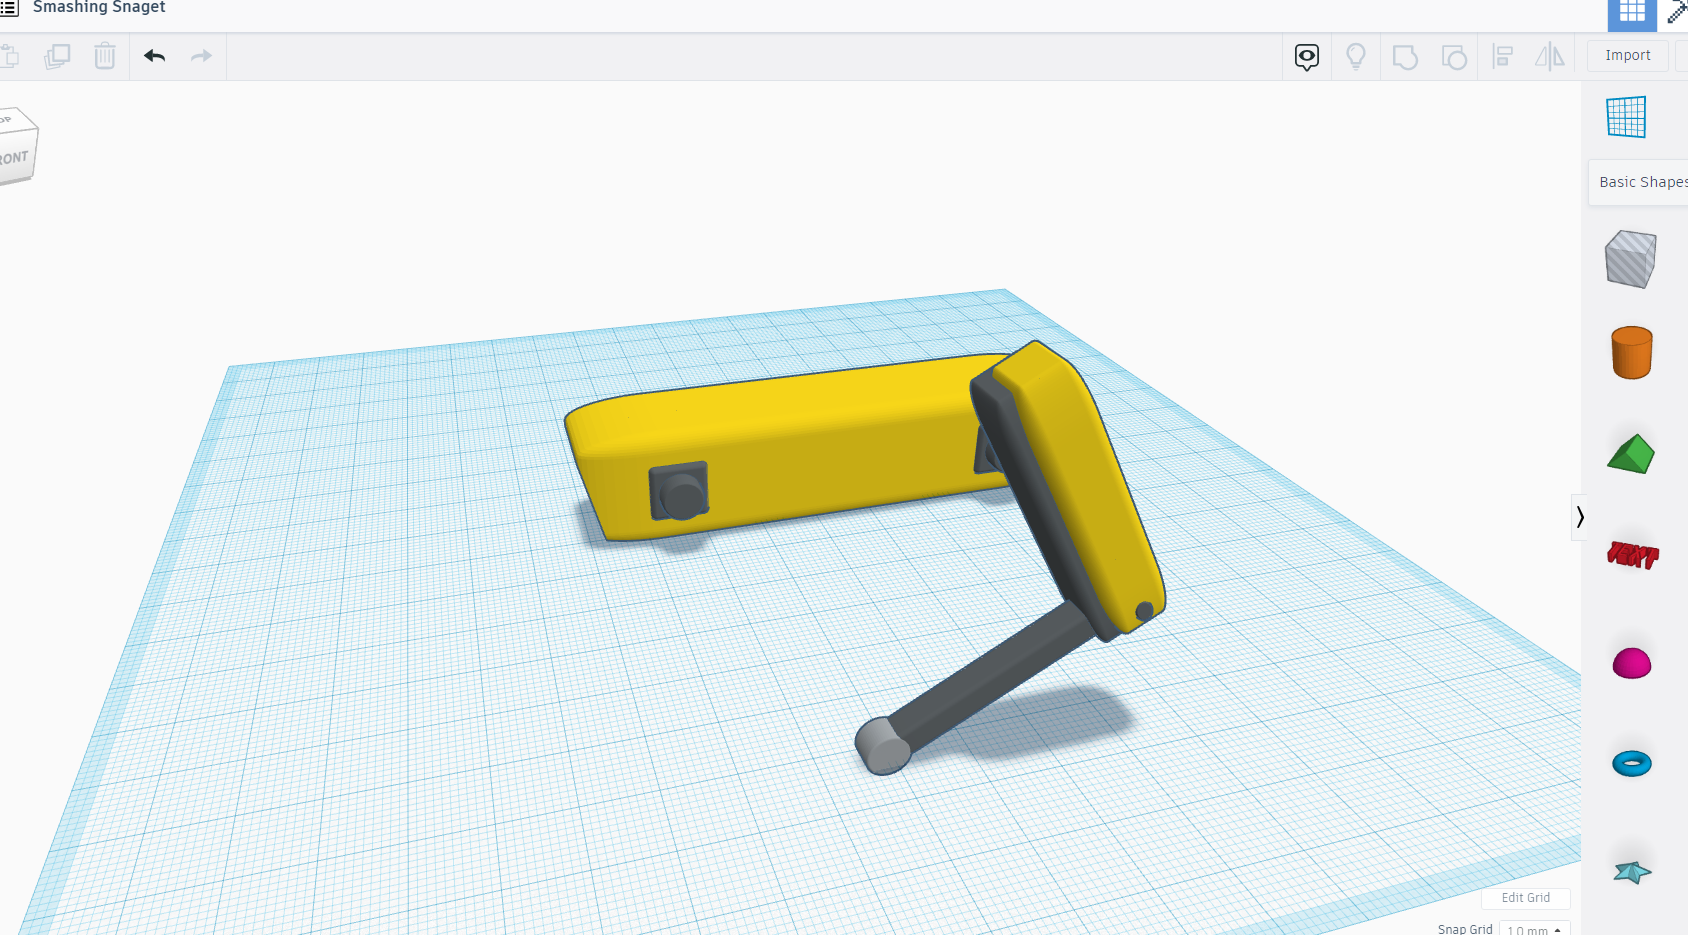
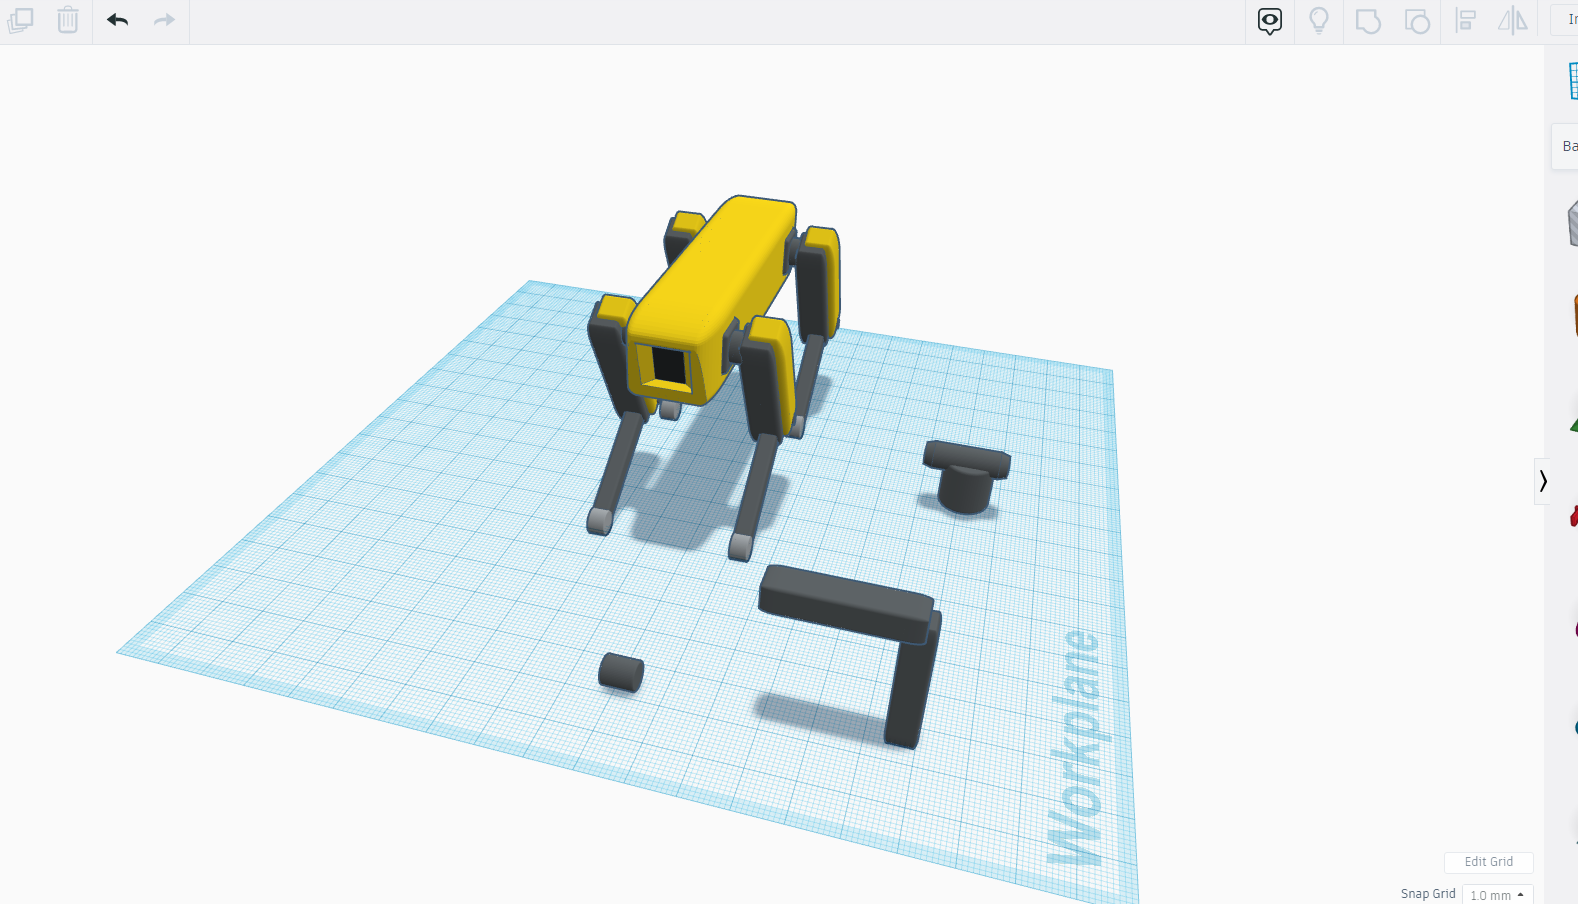
Adding the Legs to the Main Body
Once you make one leg use ctrl +D to make similar legs and join them with the body as shown in the above images.
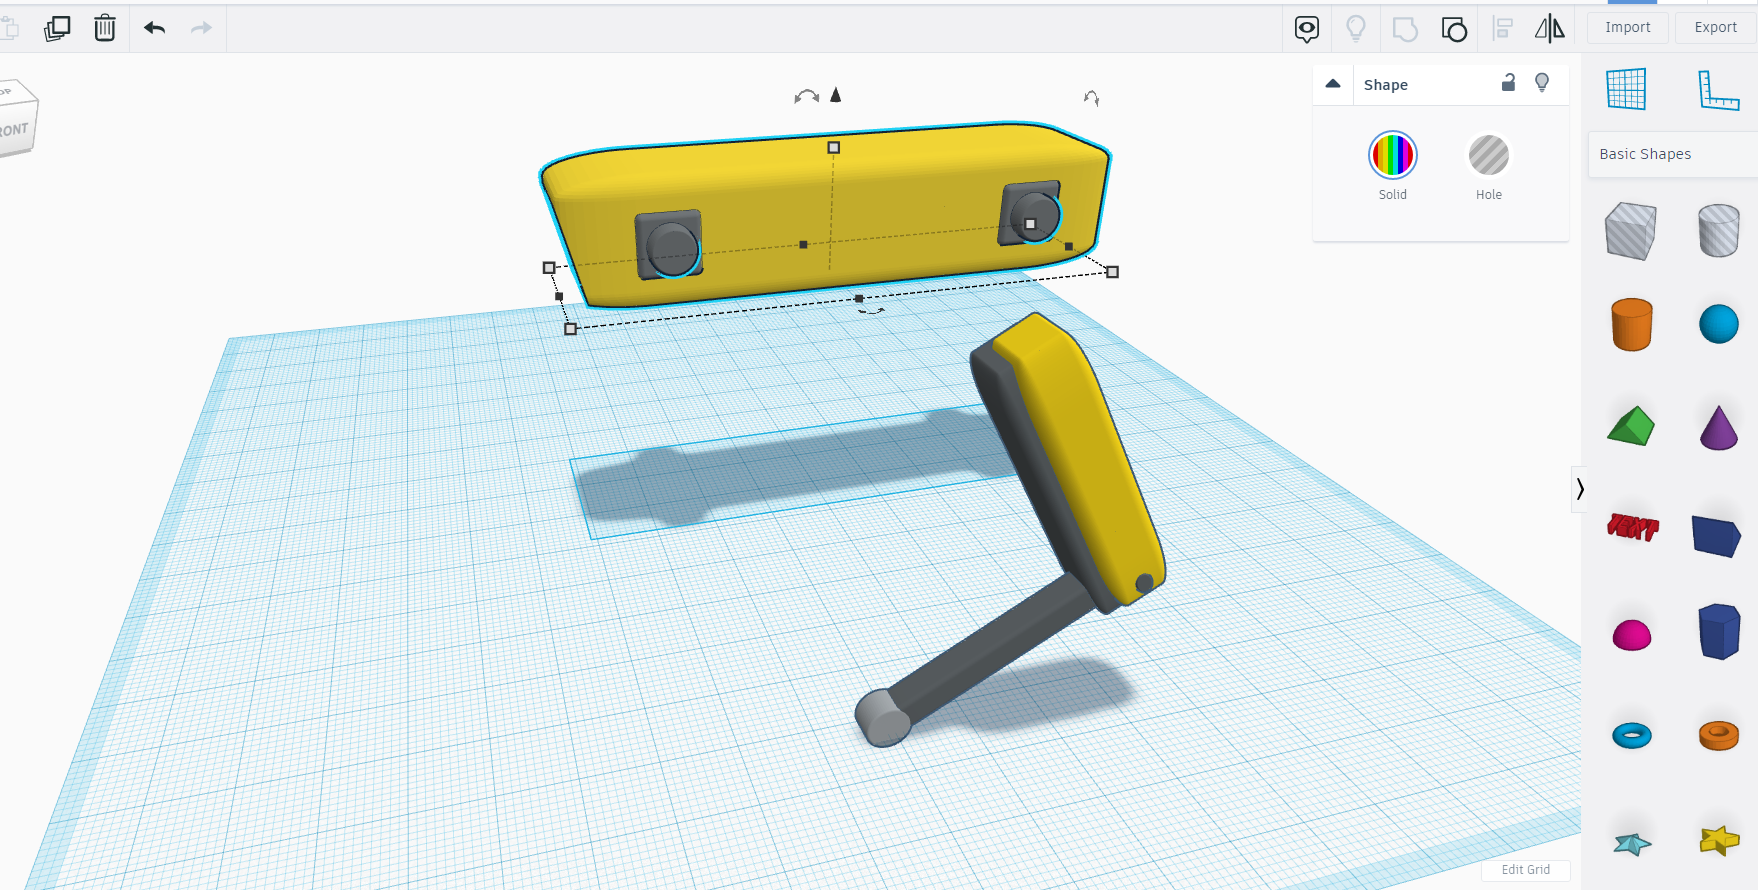
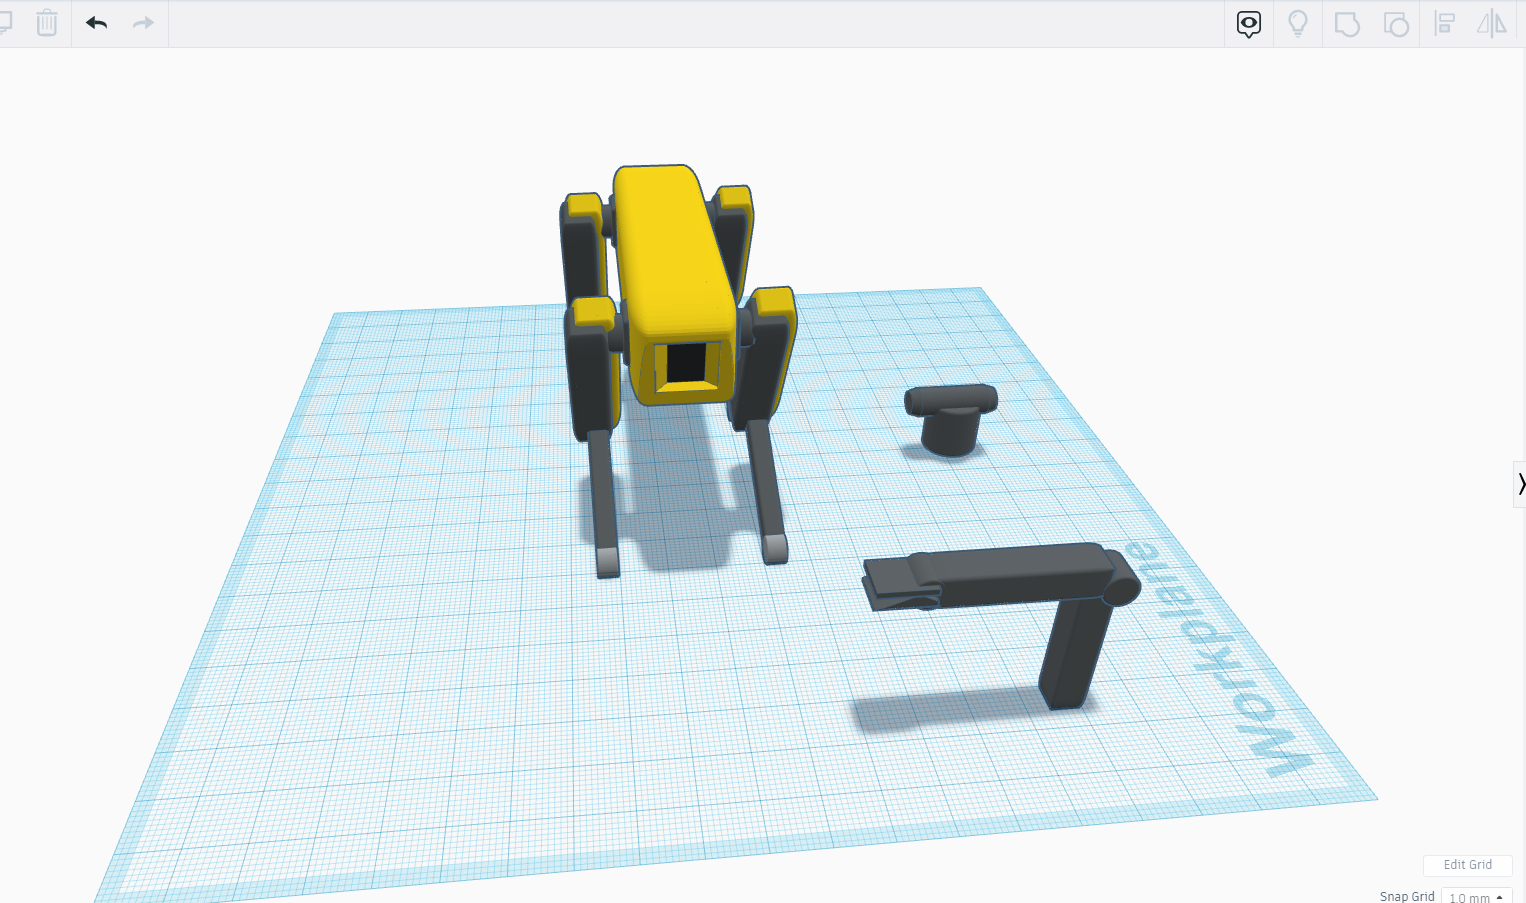
The Neck Region
Our robot body is done now we will make the neck -
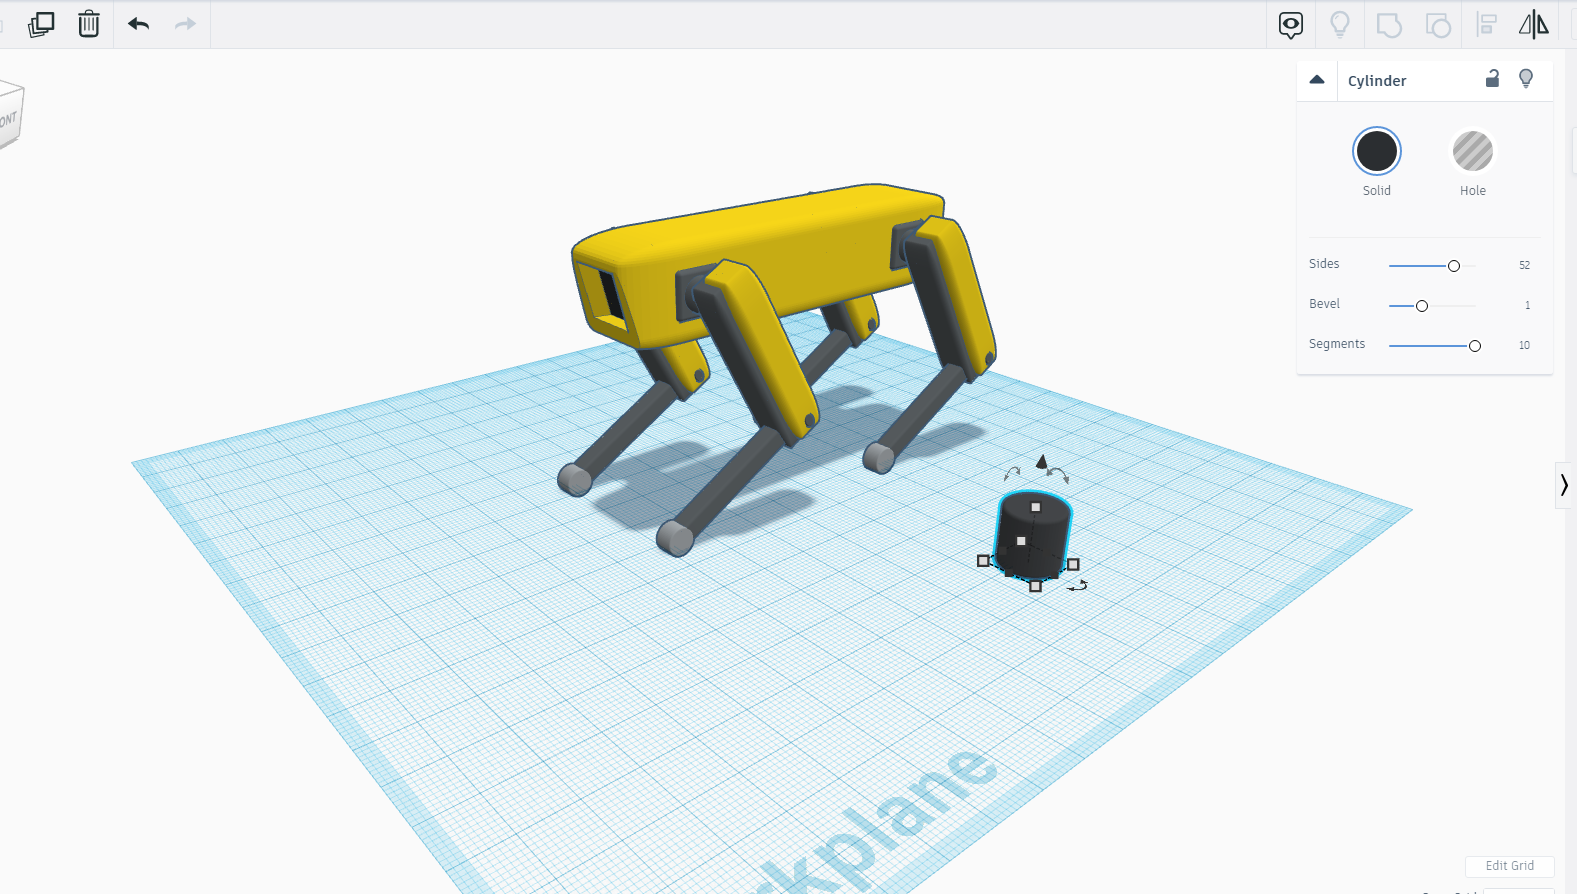
For the neck take a cylinder and make its dimension 10x 10x10 cm also make its edges smooth.
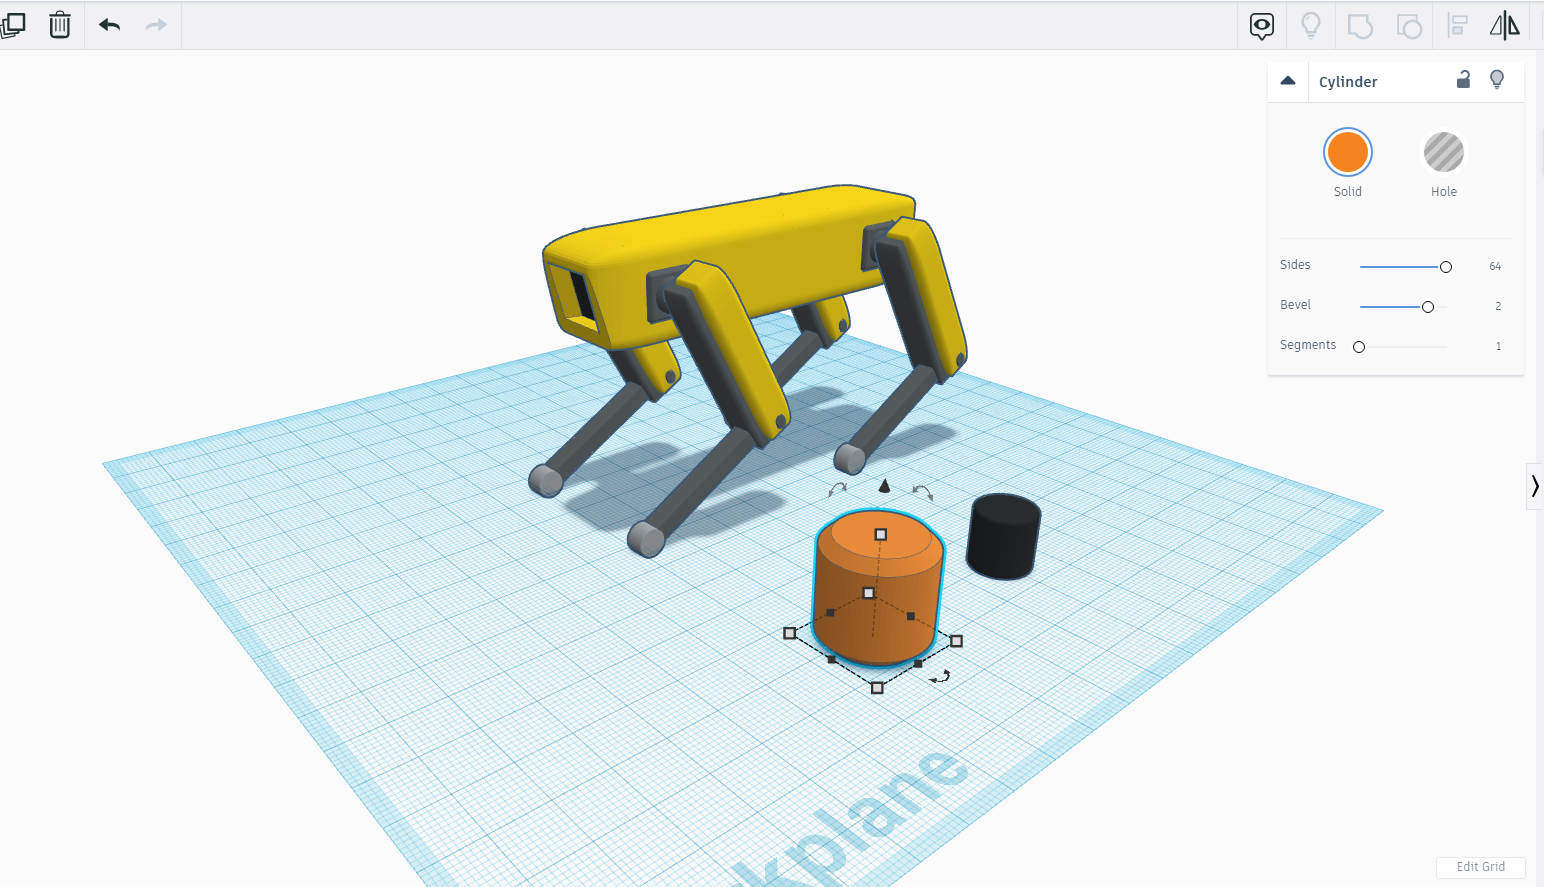
Now take another cylinder a little bigger then previous one in length and place it in top of the cylinder 1.
Use align tool :)
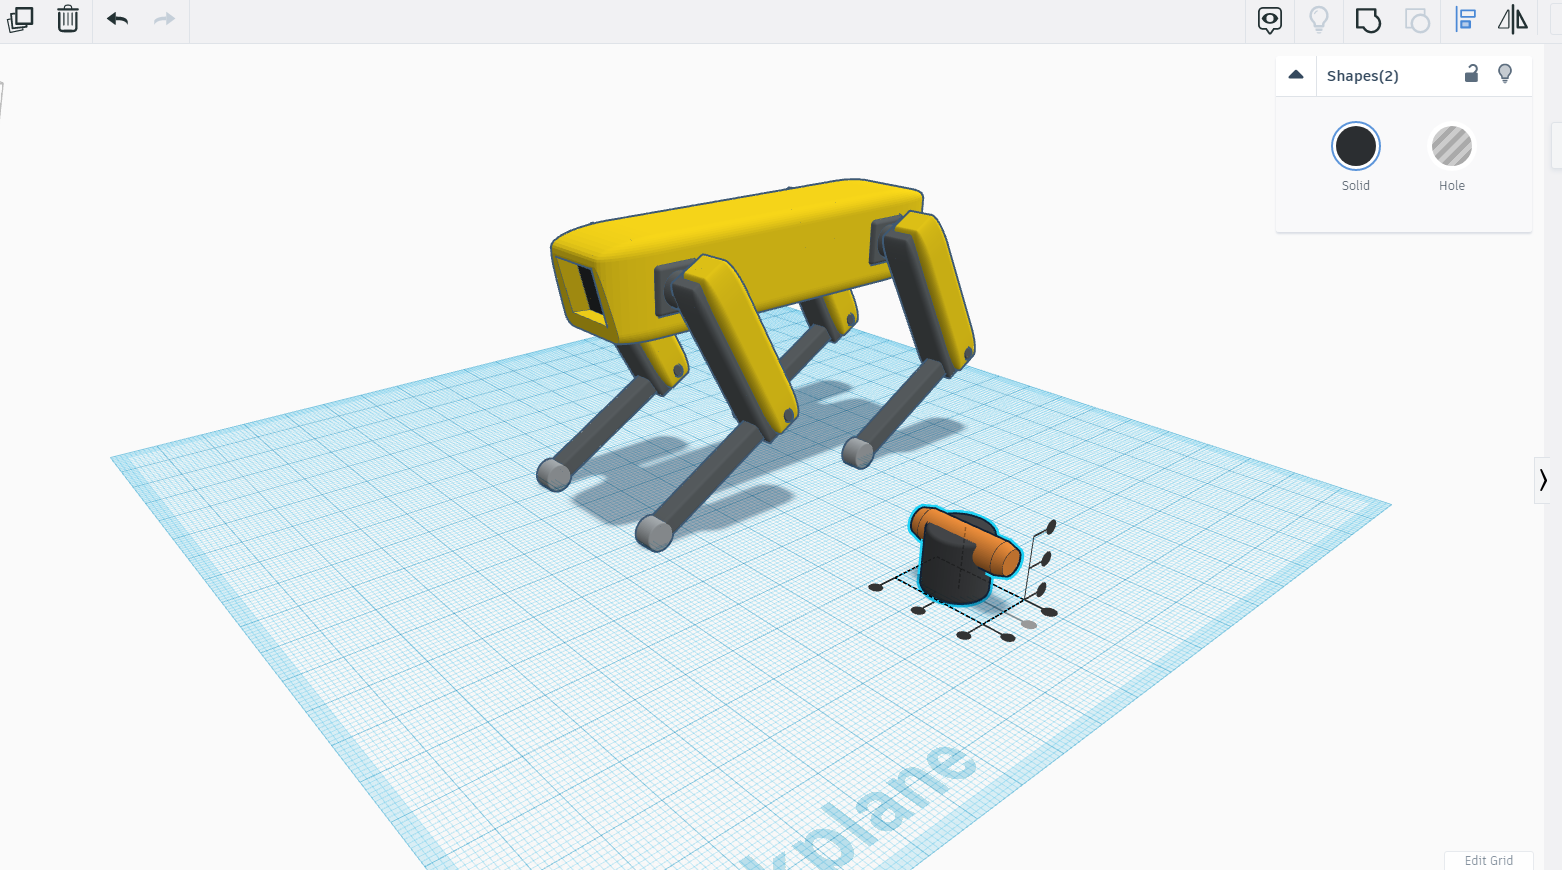
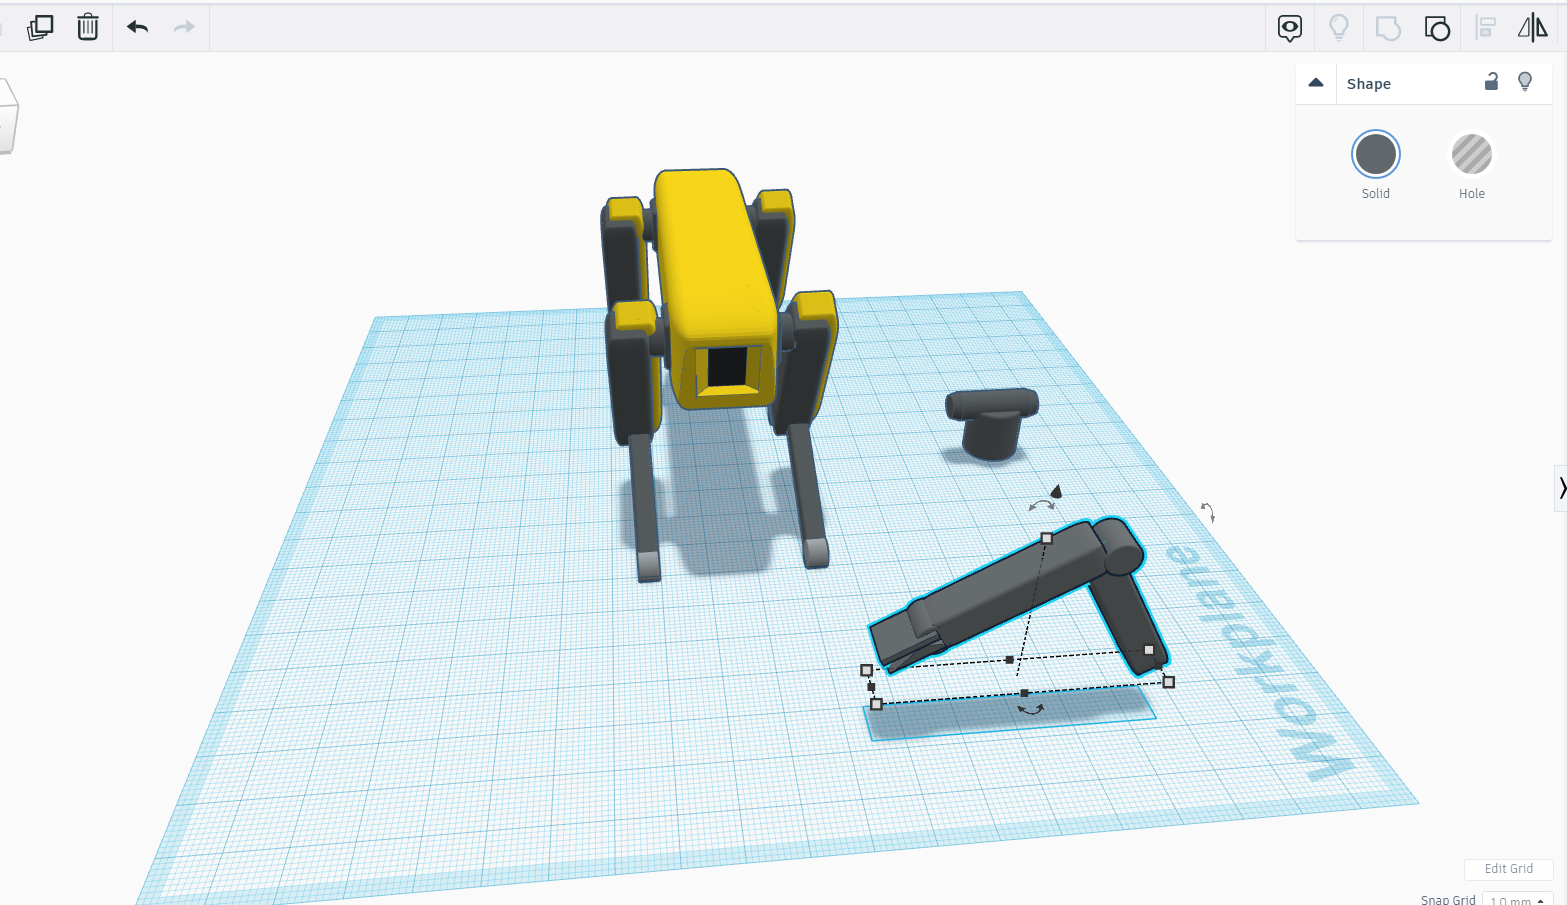
Once done, take a square and make its edge smooth and make a similar shape with ctrl+ D and place it horizontally as shown in the images.
Now take a cylinder and place it between the neck joints as shown in the above images .
The Head Part


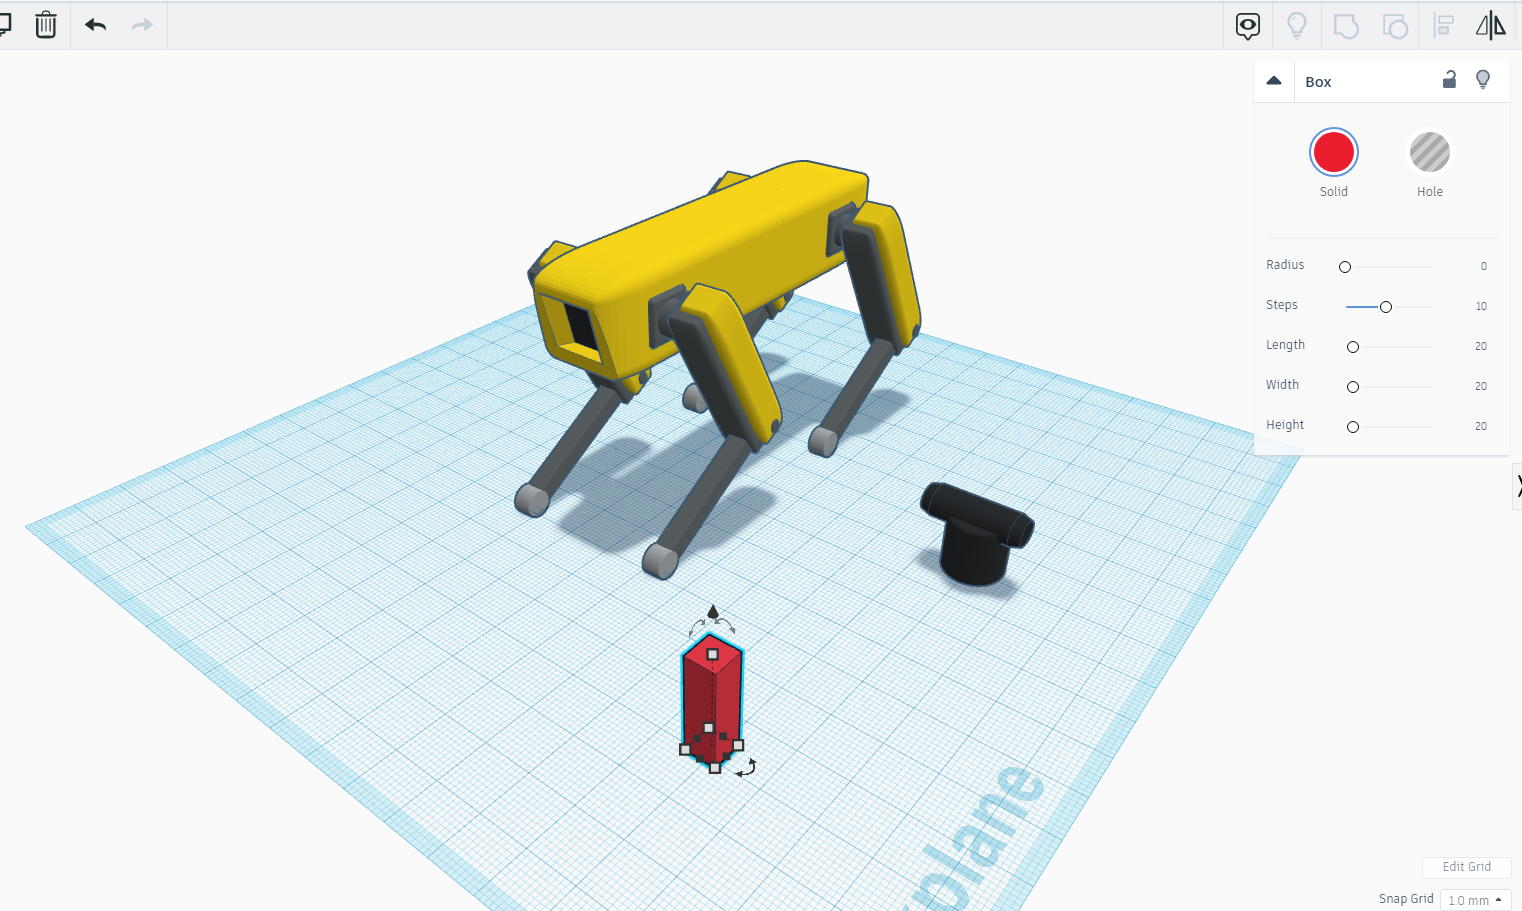
Now for the head take a square and wedge and make hole in the wedge.
Now with the help of wedge we will give shape to our head and make cut in the square.
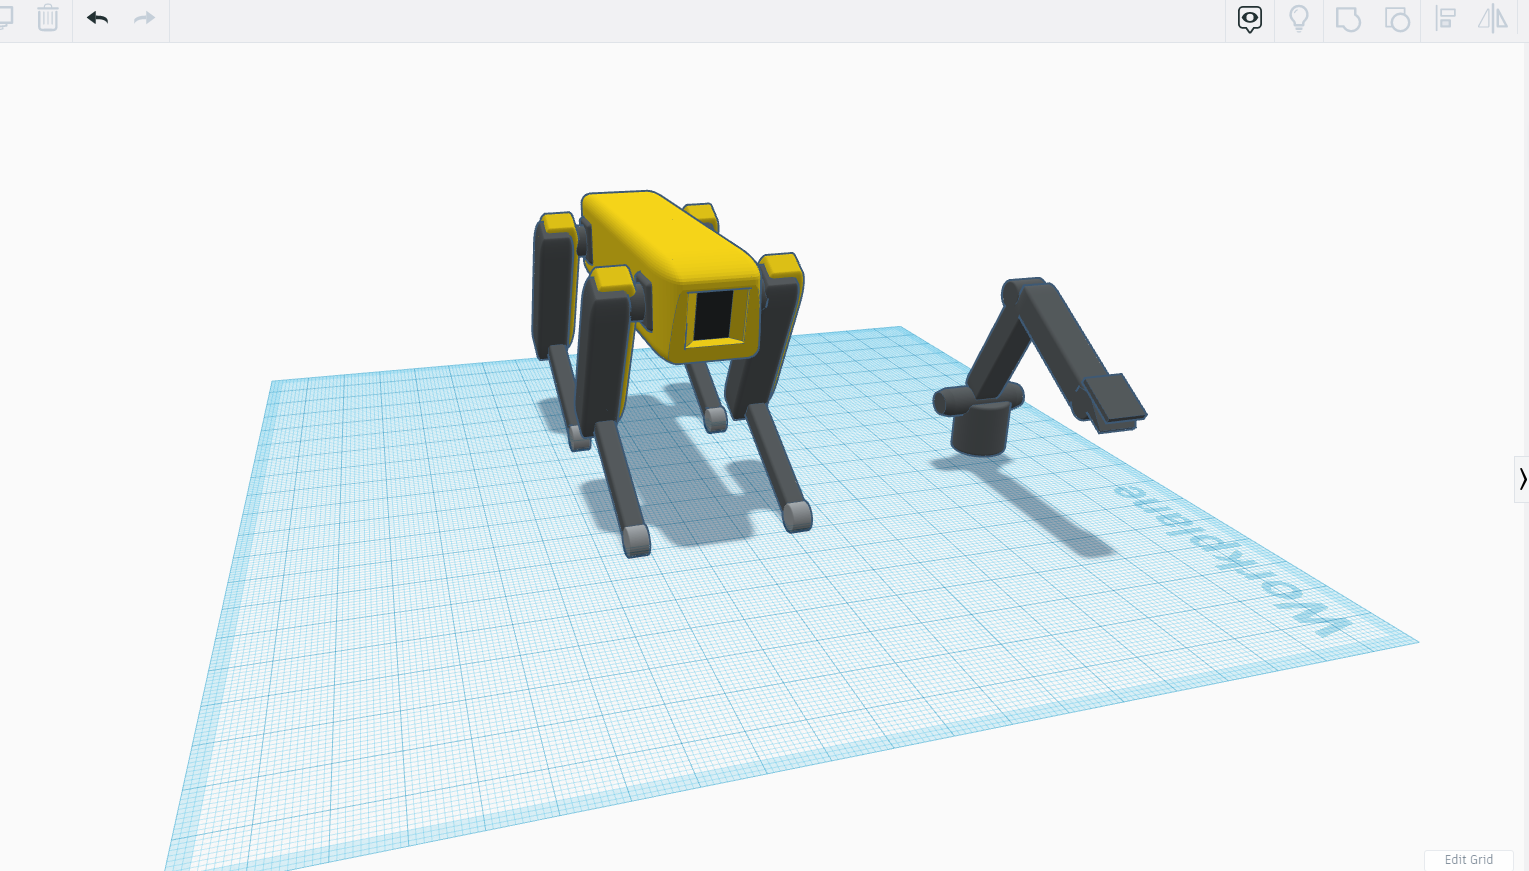
Once we will get our desired shape of the head we will assemble the all parts of neck including head .
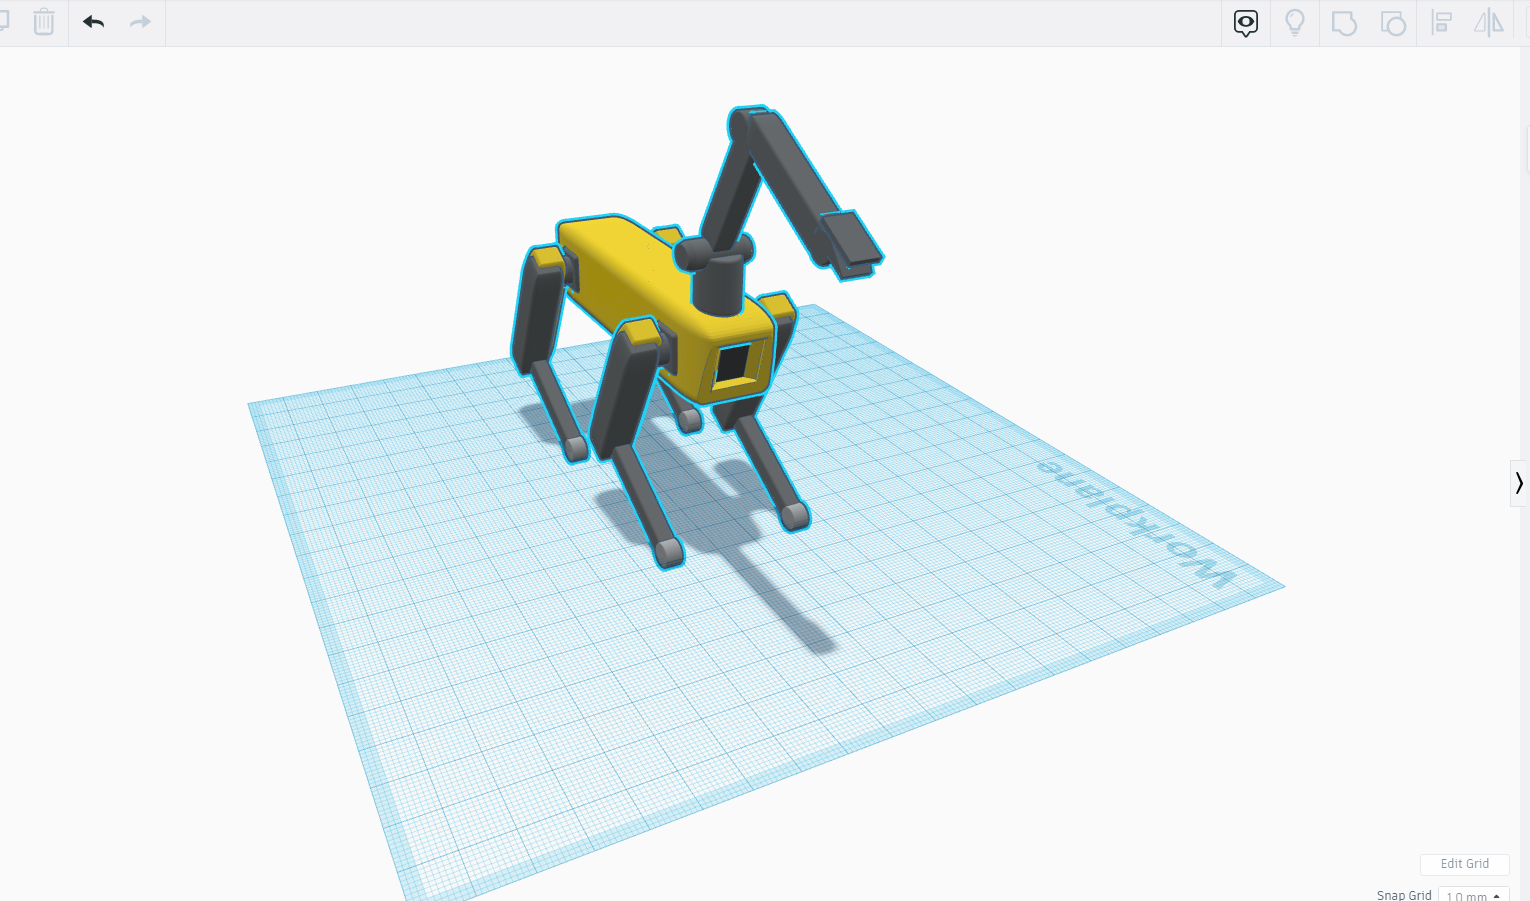
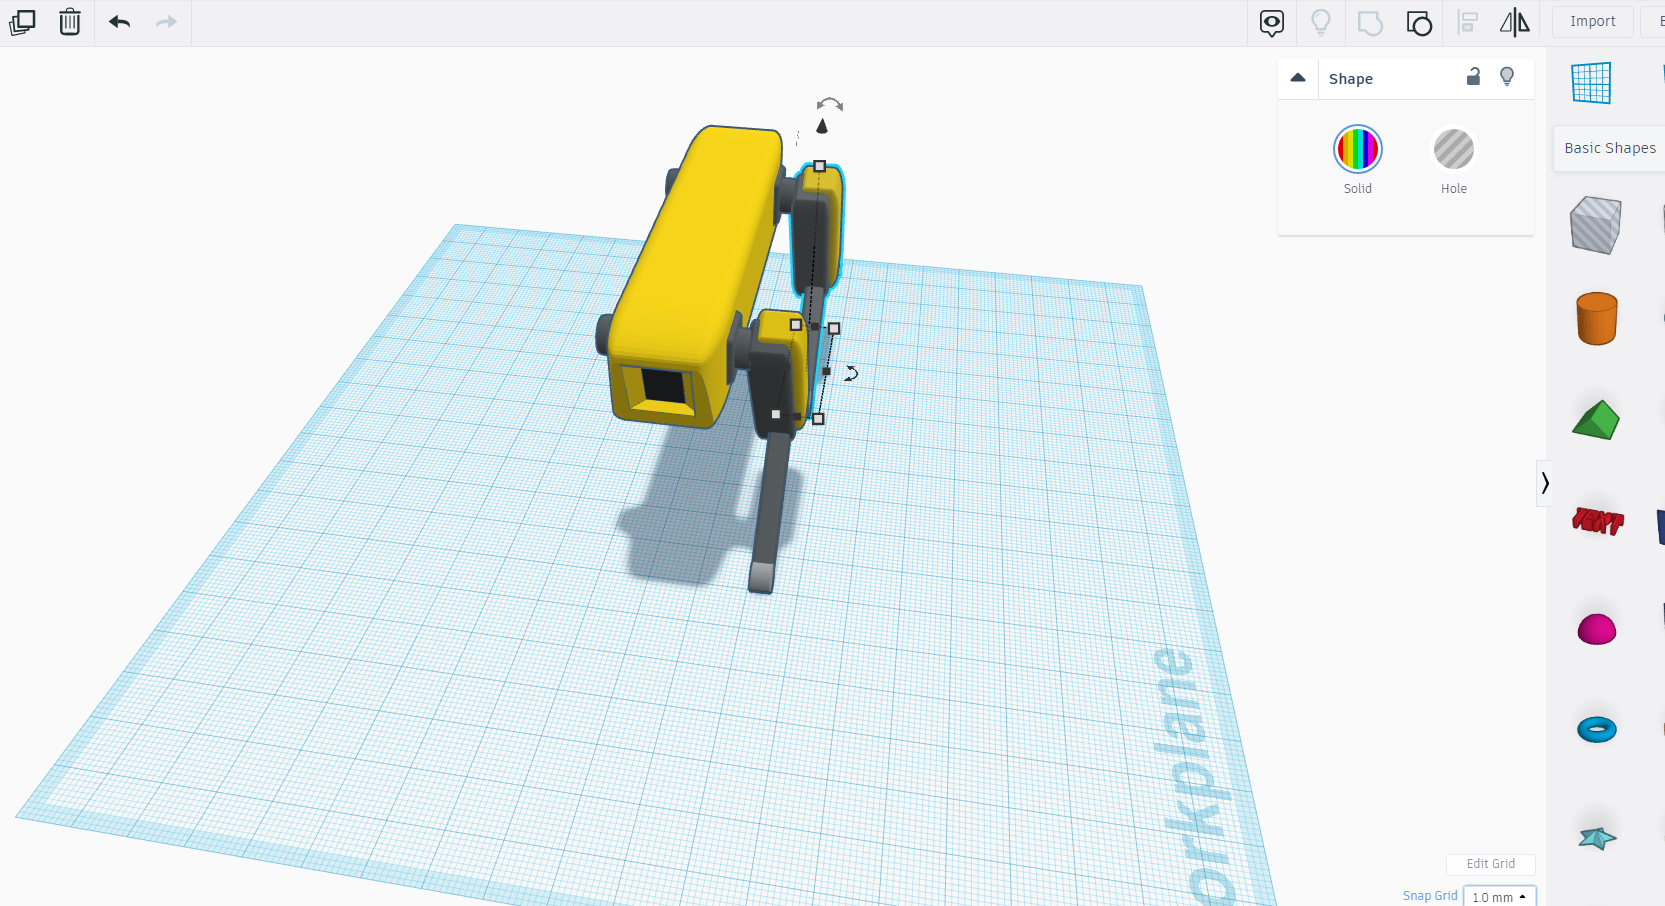
Assembling All the Parts
Now we will attach our robot head with the tube neck part and tube neck part with the cylindrical parts.
Once assembling is done tilt the whole neck and head part 30 degrees.
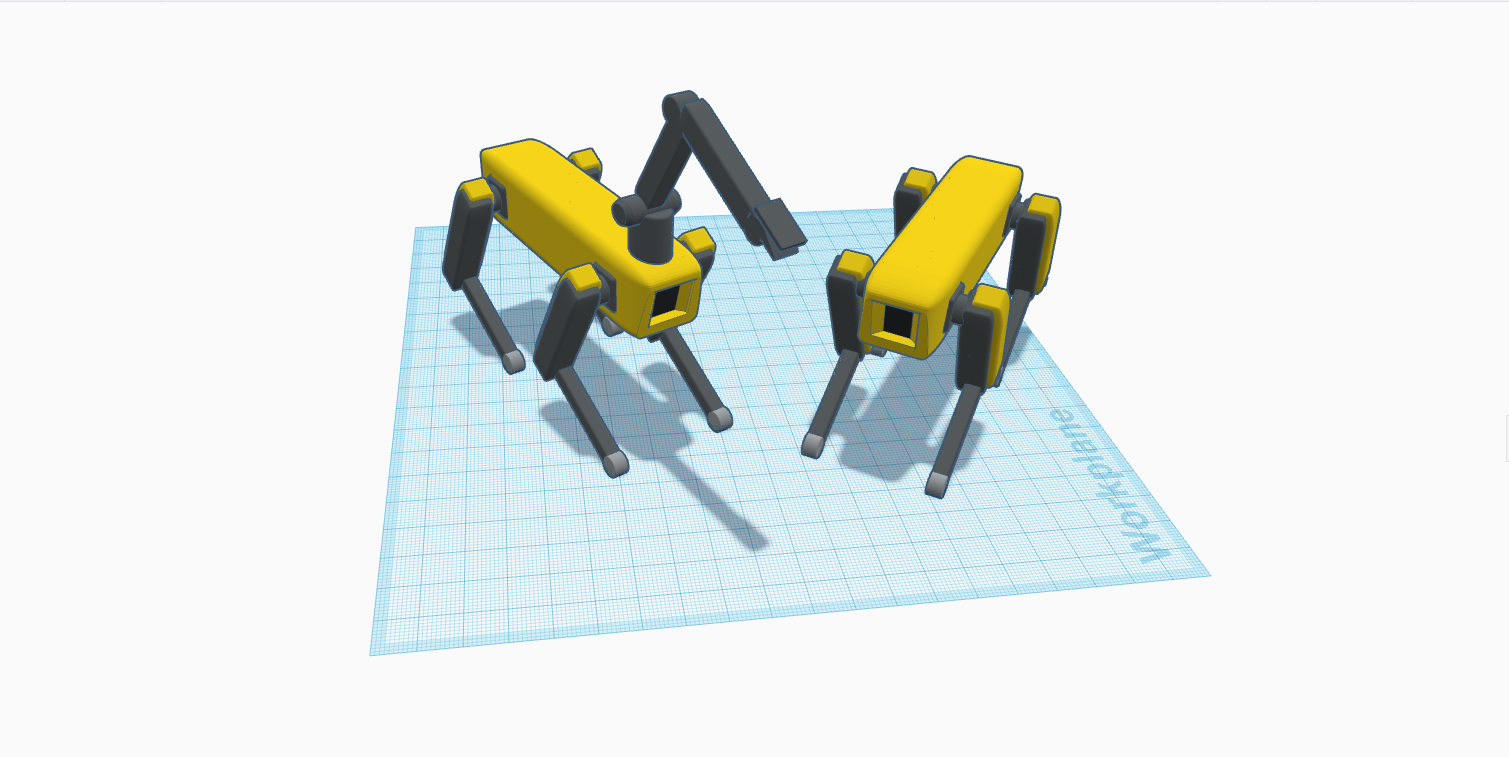
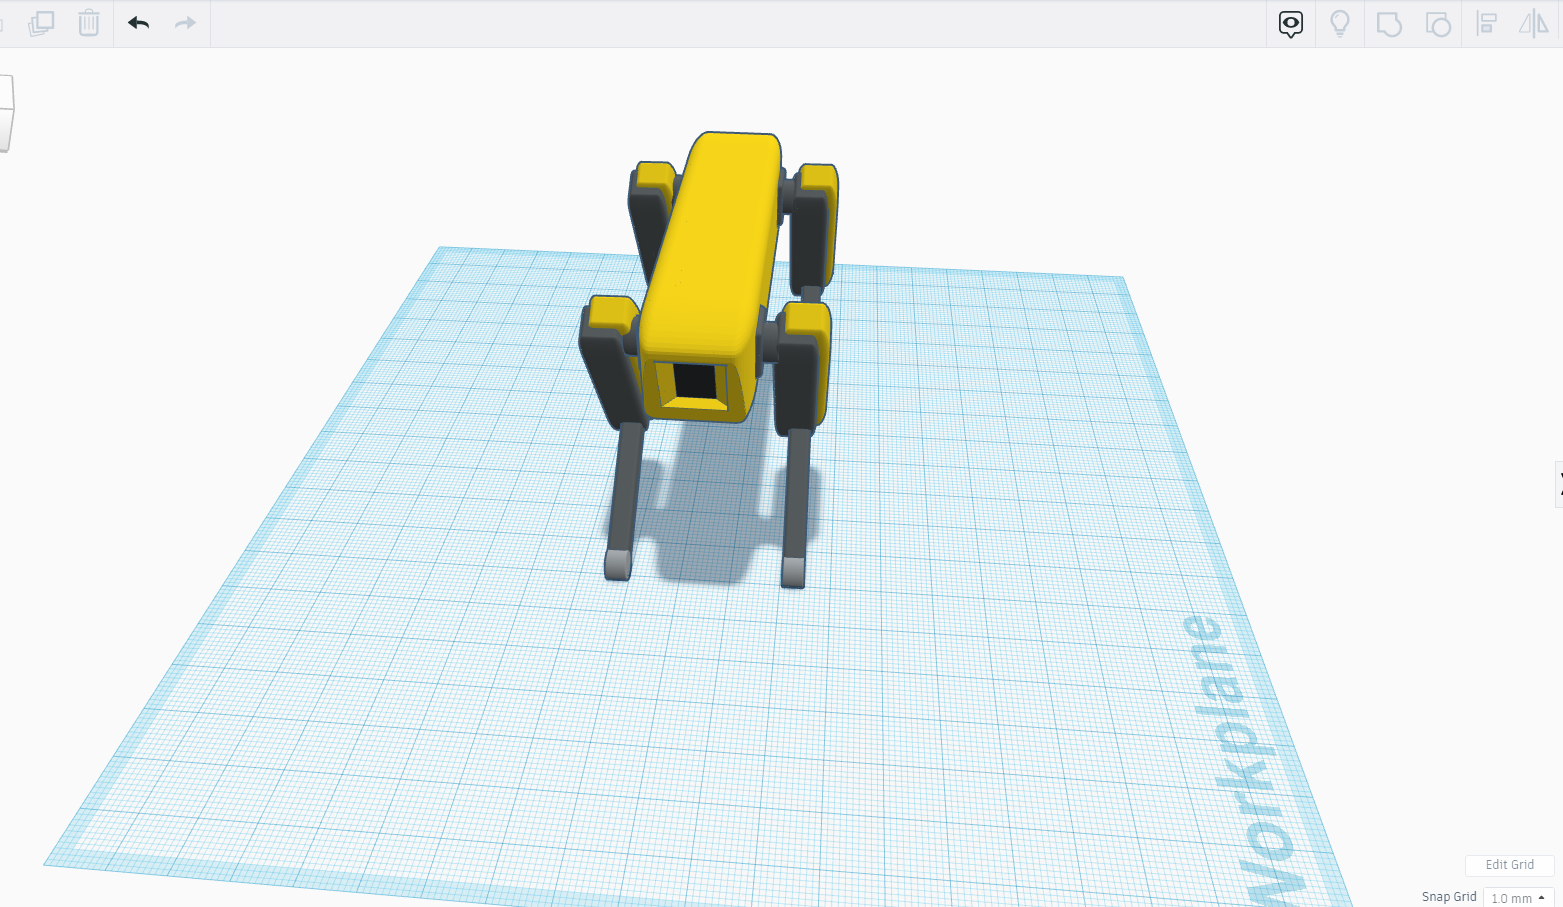
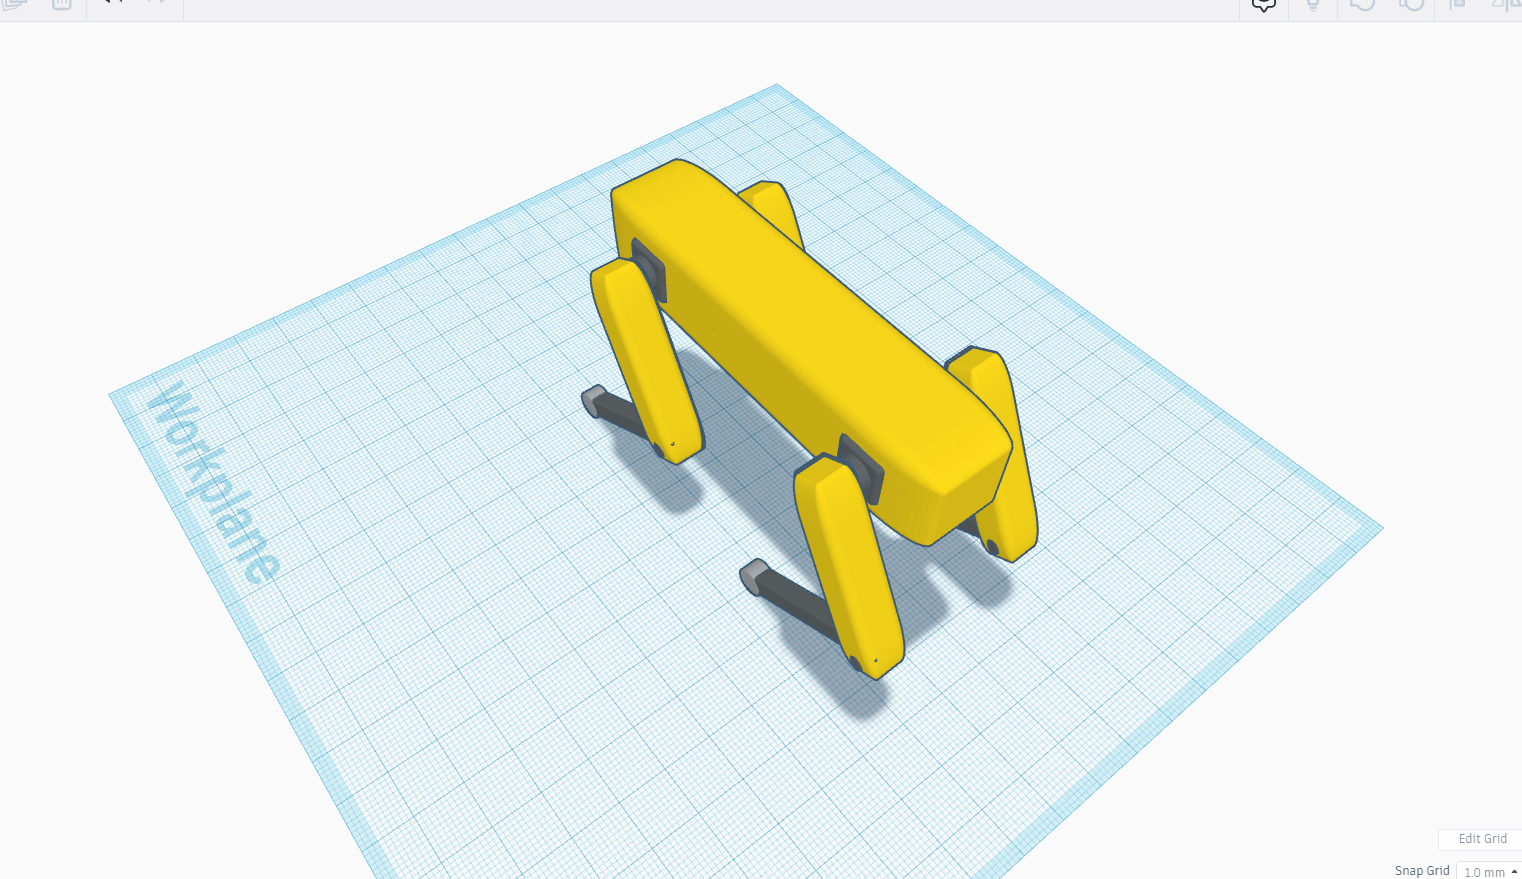
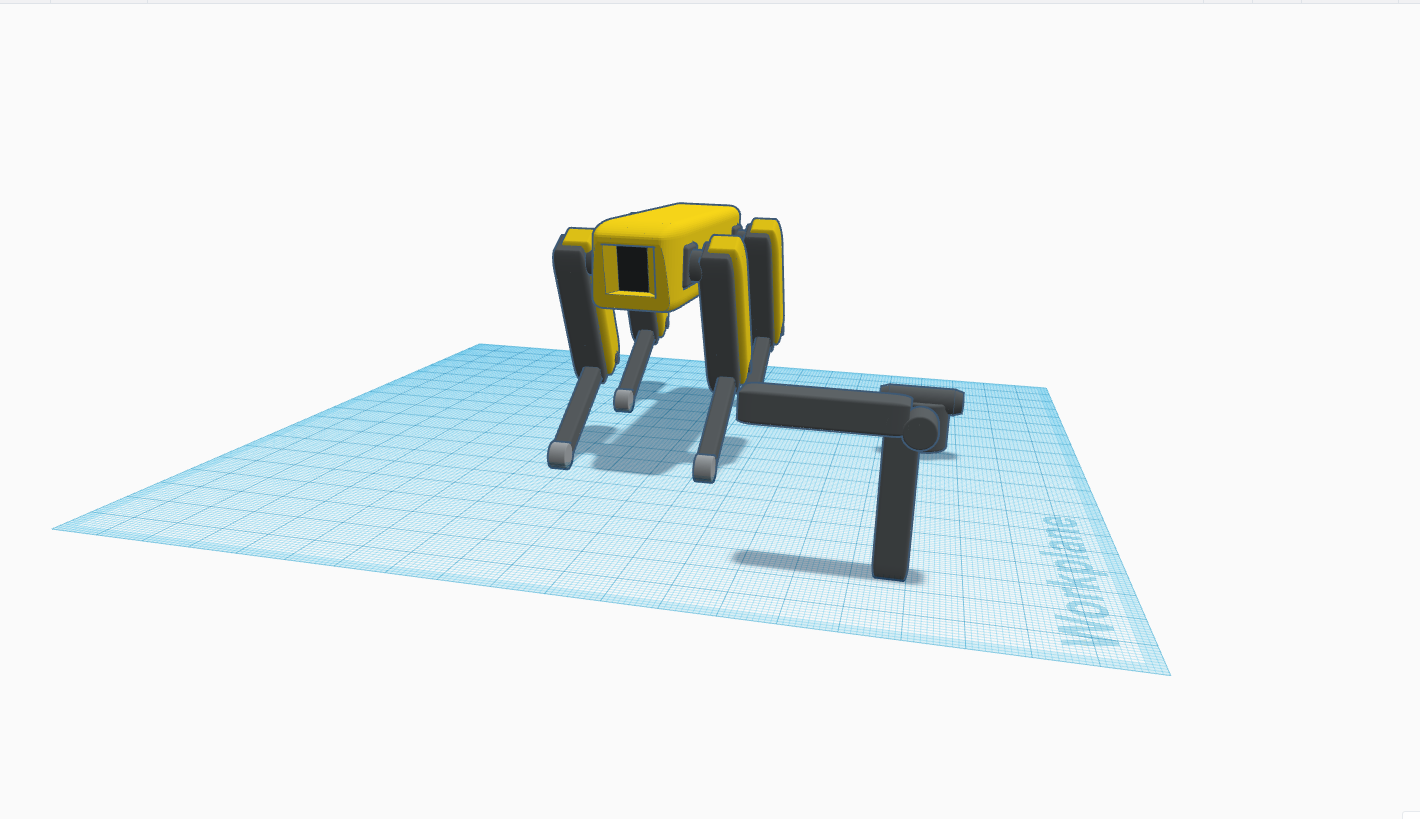
Final Assembling and Final Touches
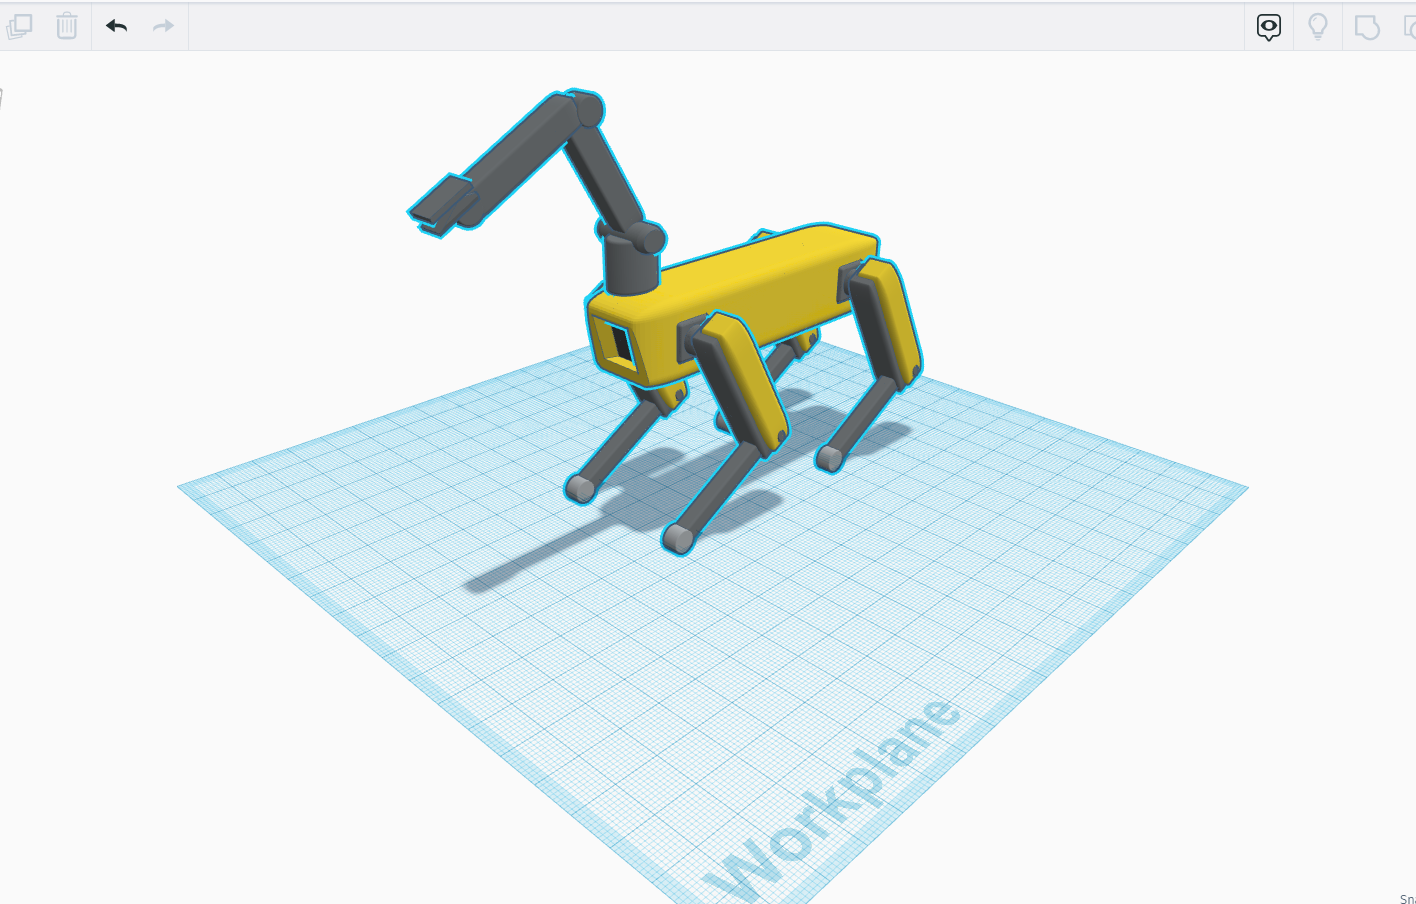
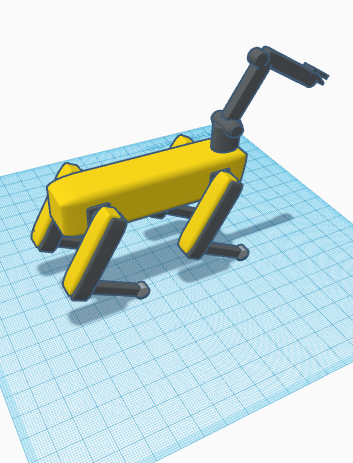
Now place the head over the main body and make them one part and you're done !!
For some final touches Render them and enjoy :)