Books for Decorating
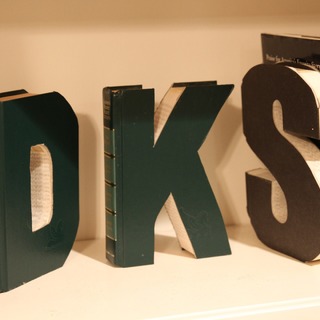
This is a great way to recycle books. I found these at the goodwill for .25 each. You can use any size book and create letters for decoration or as a bookend.
The Book
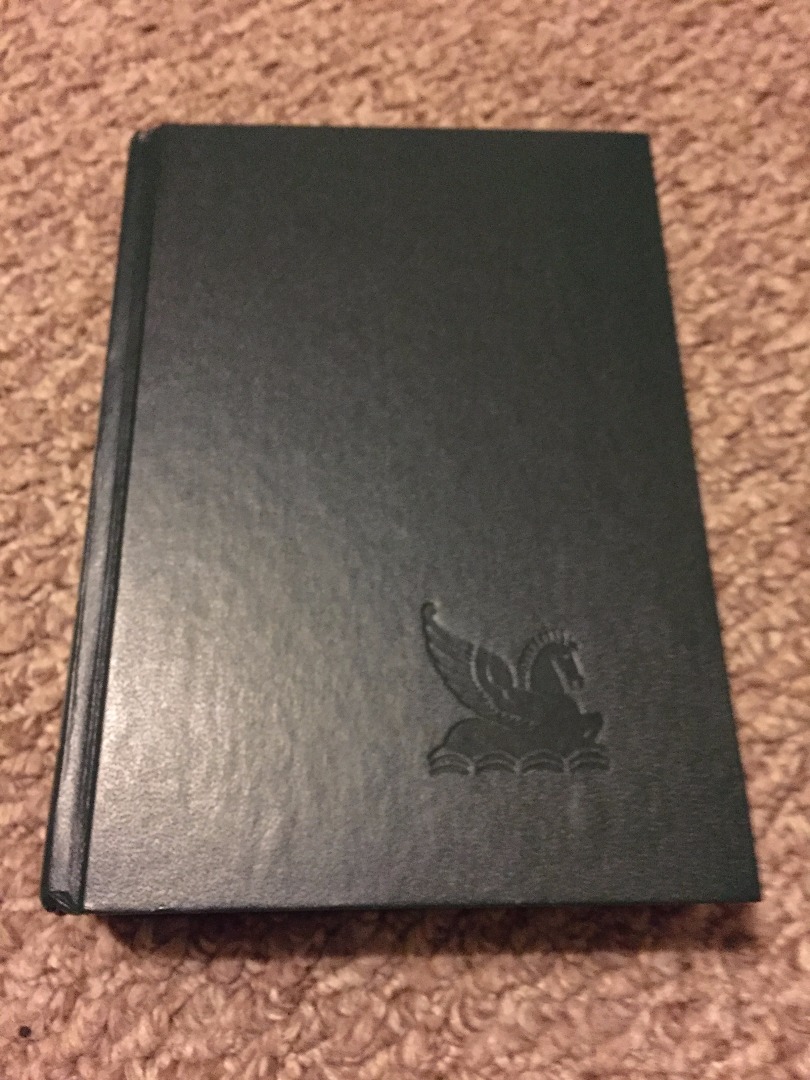
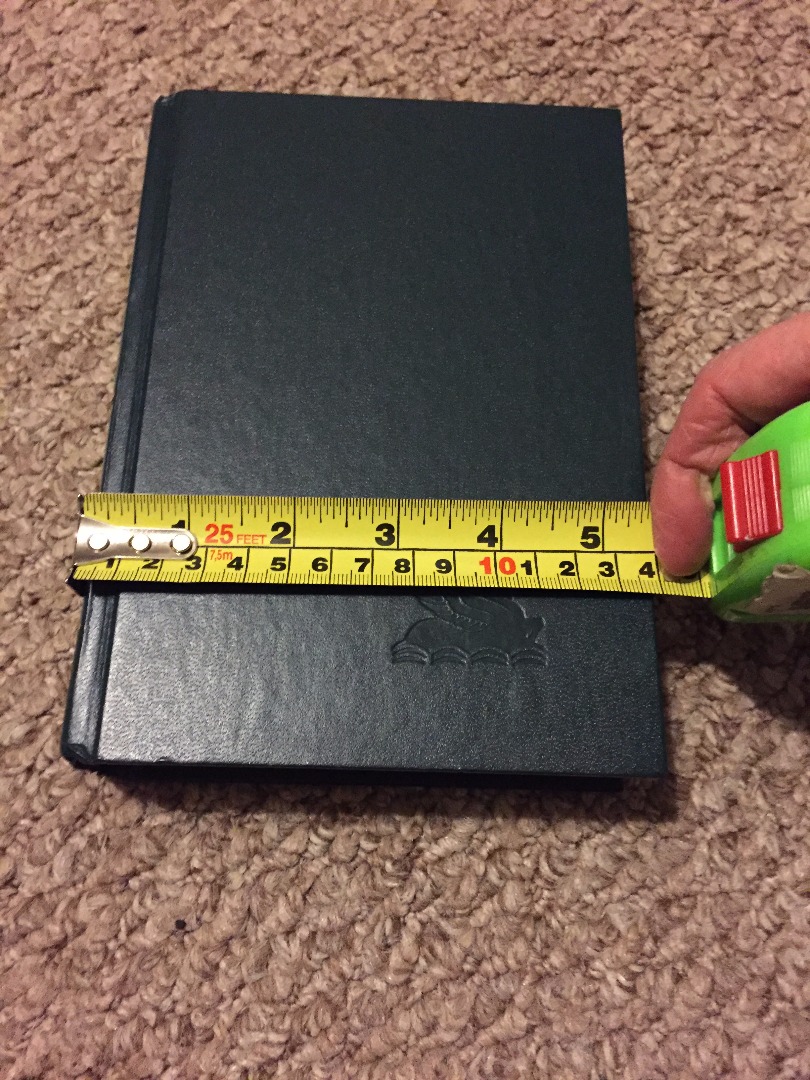
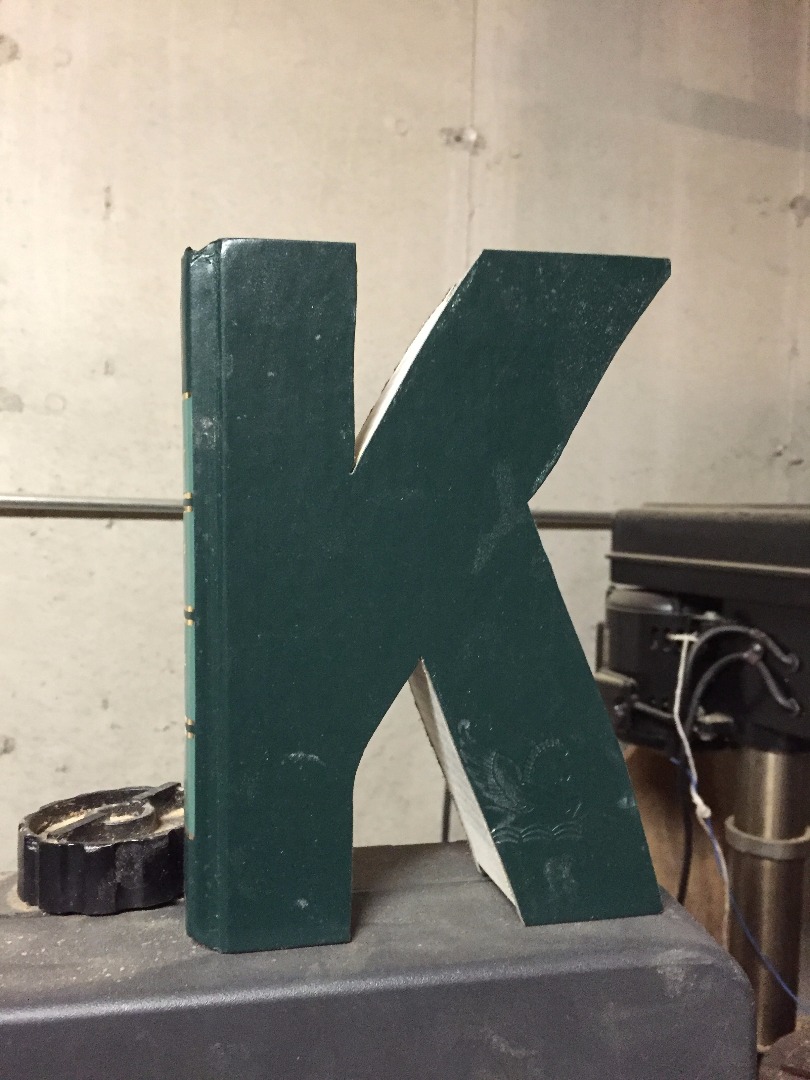
First you need to find a hard back book the size you would like your letter. Next measure the size of the book so you know how big to make your pattern. The books I am using are 5.5 by 7.5. But you can use any size hard back book.
Creating the Letter.
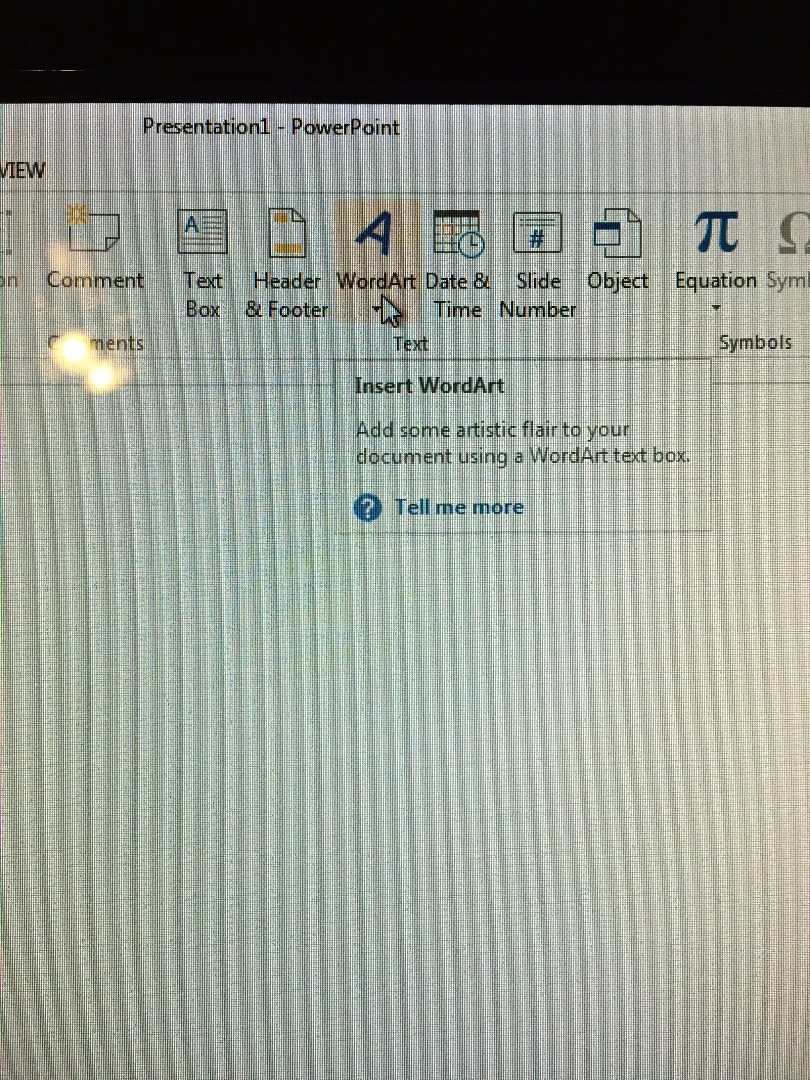
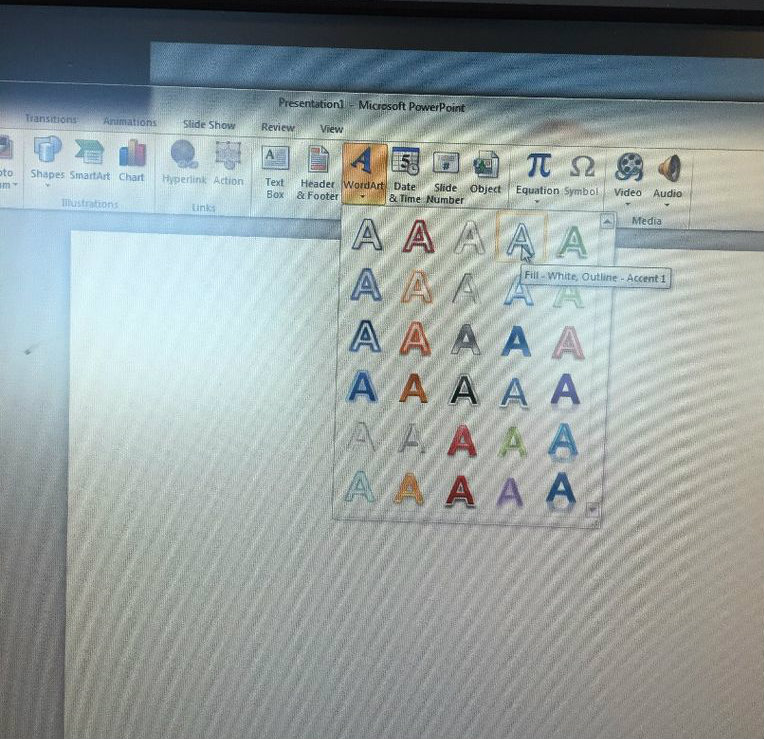
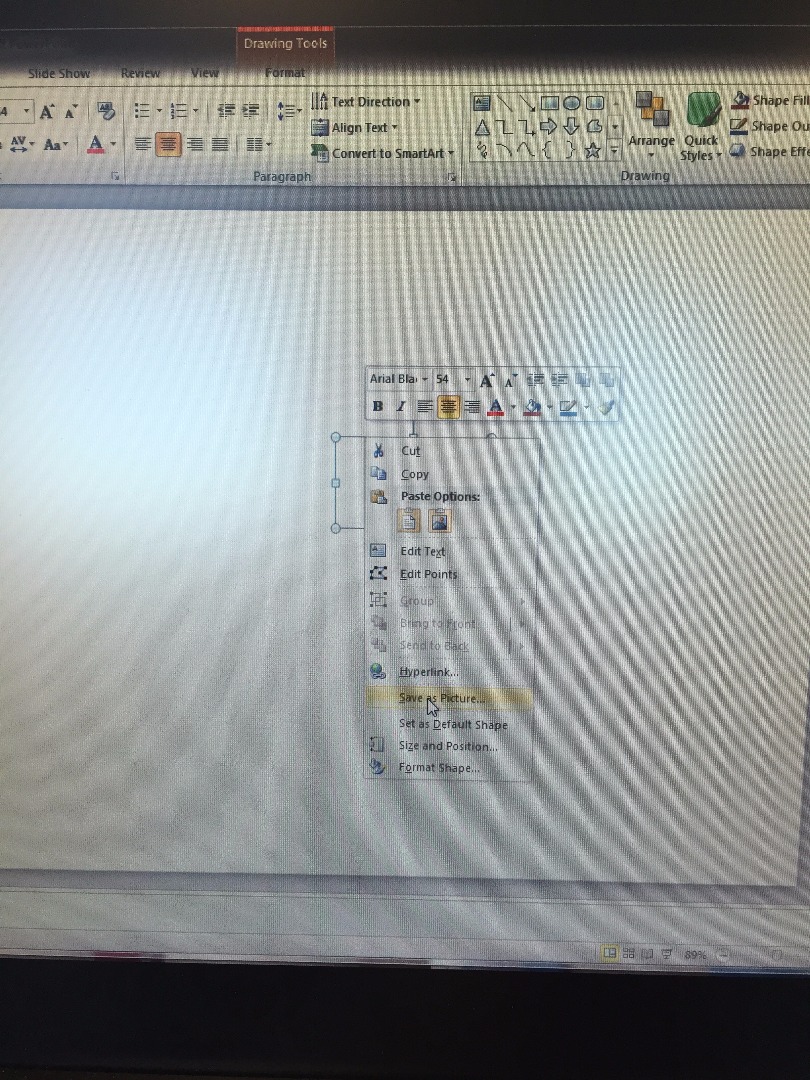
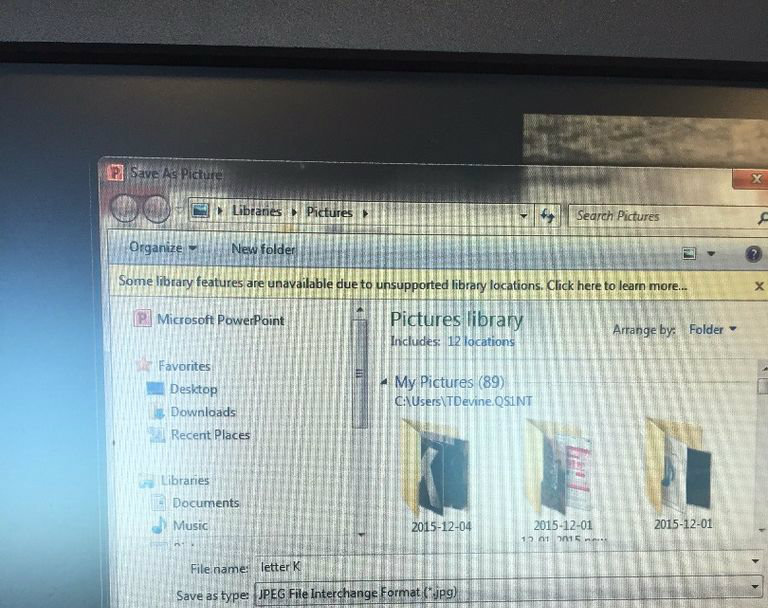
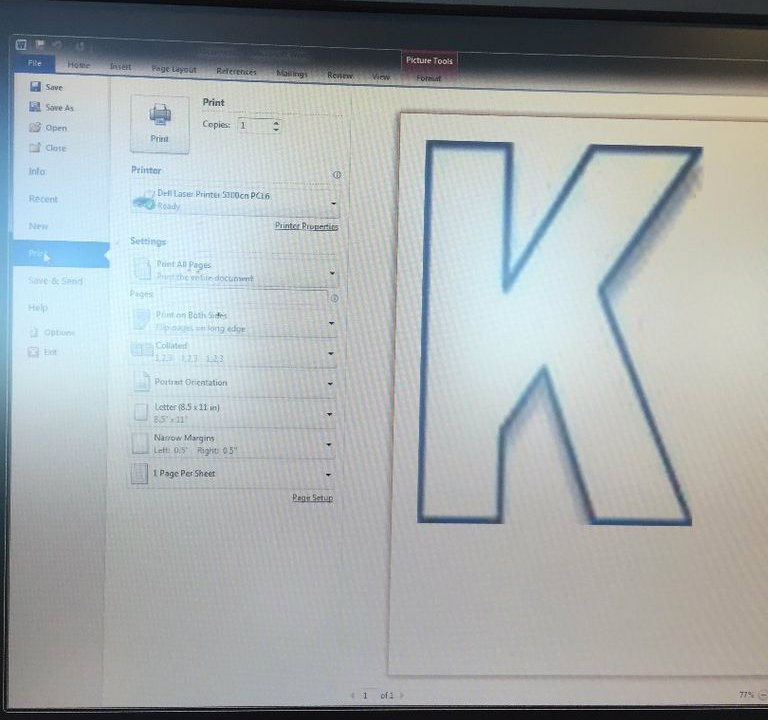
You can just draw an letter on your book. I wanted to do several and I wanted the font to match. So I am going to show you how to create the pattern using powerpoint and word. Bring up Powerpoint and start with a blank presentation. Select Wordart and choose one of the types that give you a letter with an outline. If you select one that if filled in then select the no fill option because you only want an outline of the letter. It doesn't hurt if it does you will just more ink when you print. If you want it large you can also set it as bold. Now that you have the font that you want you need to save the letter as a picture. Name it something you can easily find later.
Using Word
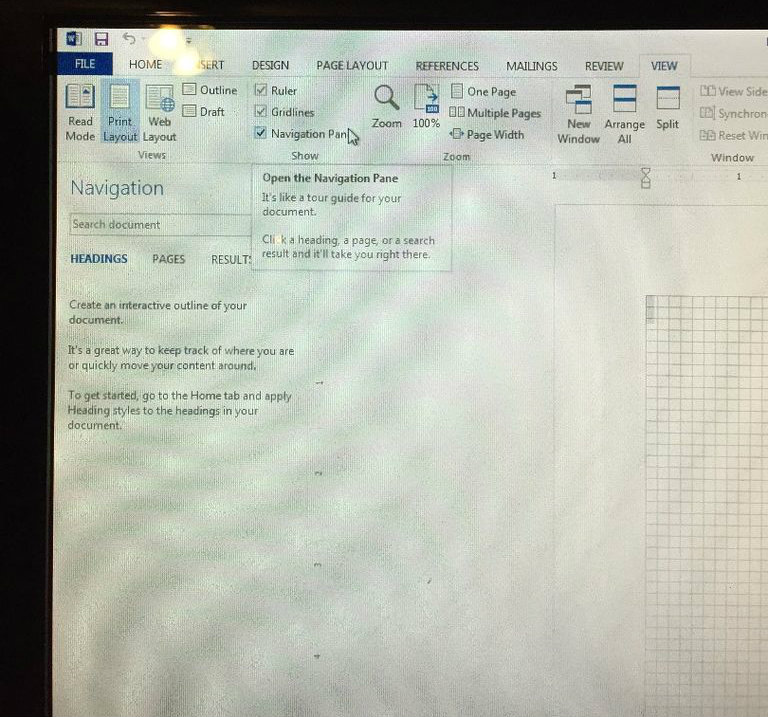
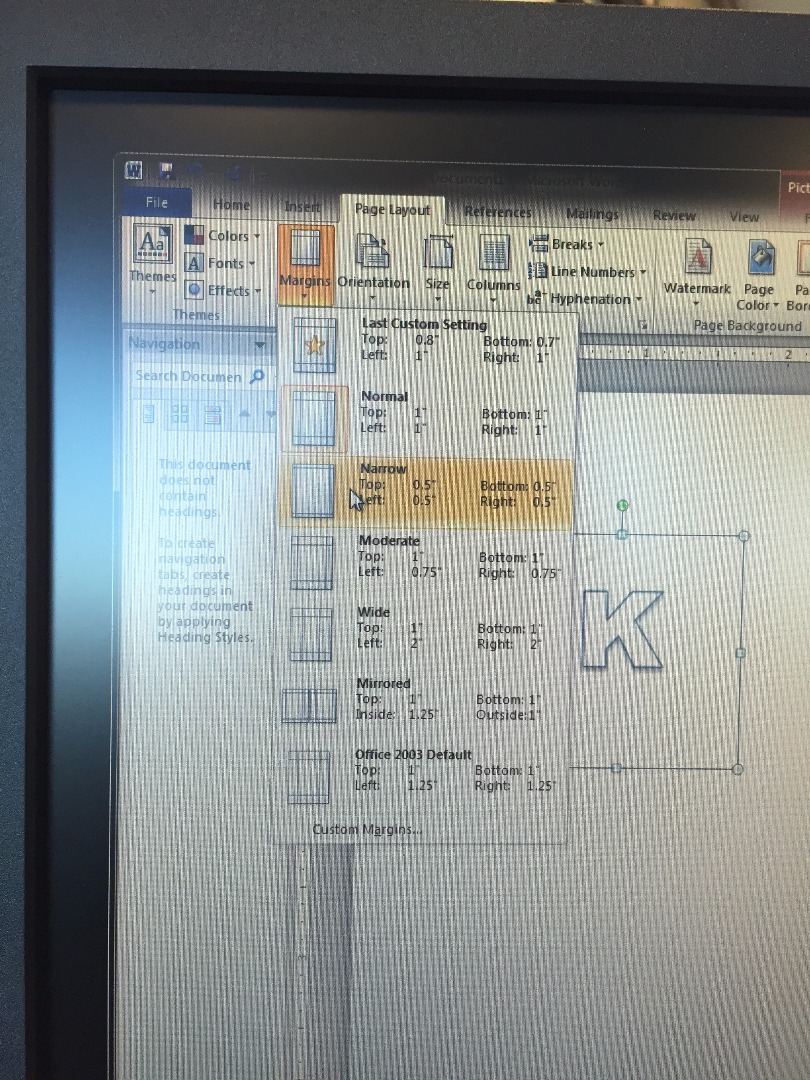
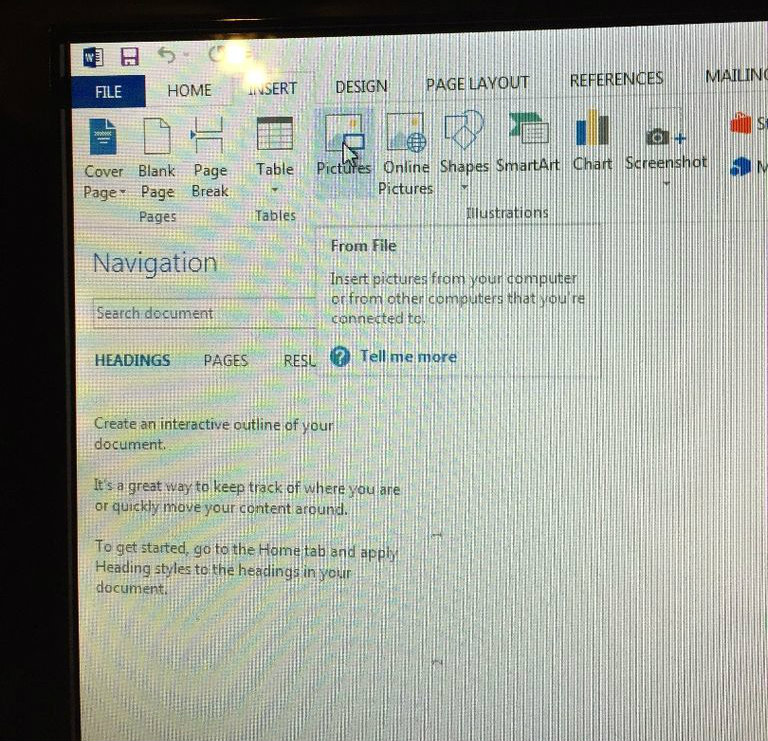
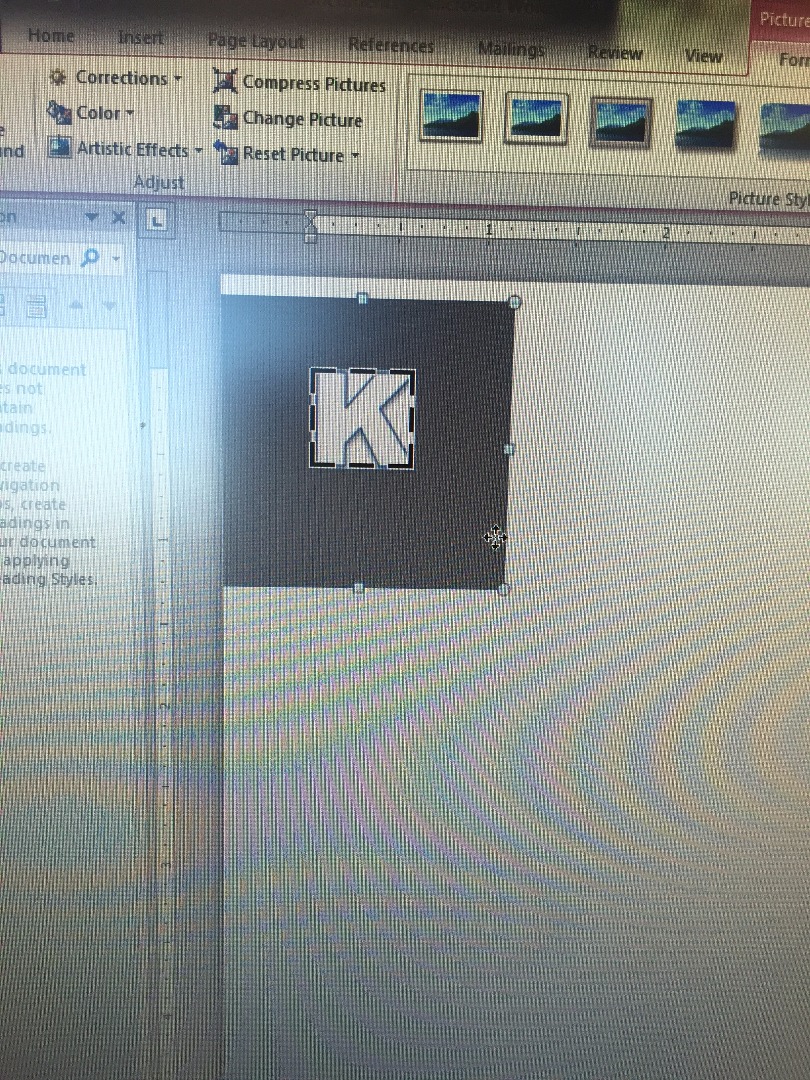
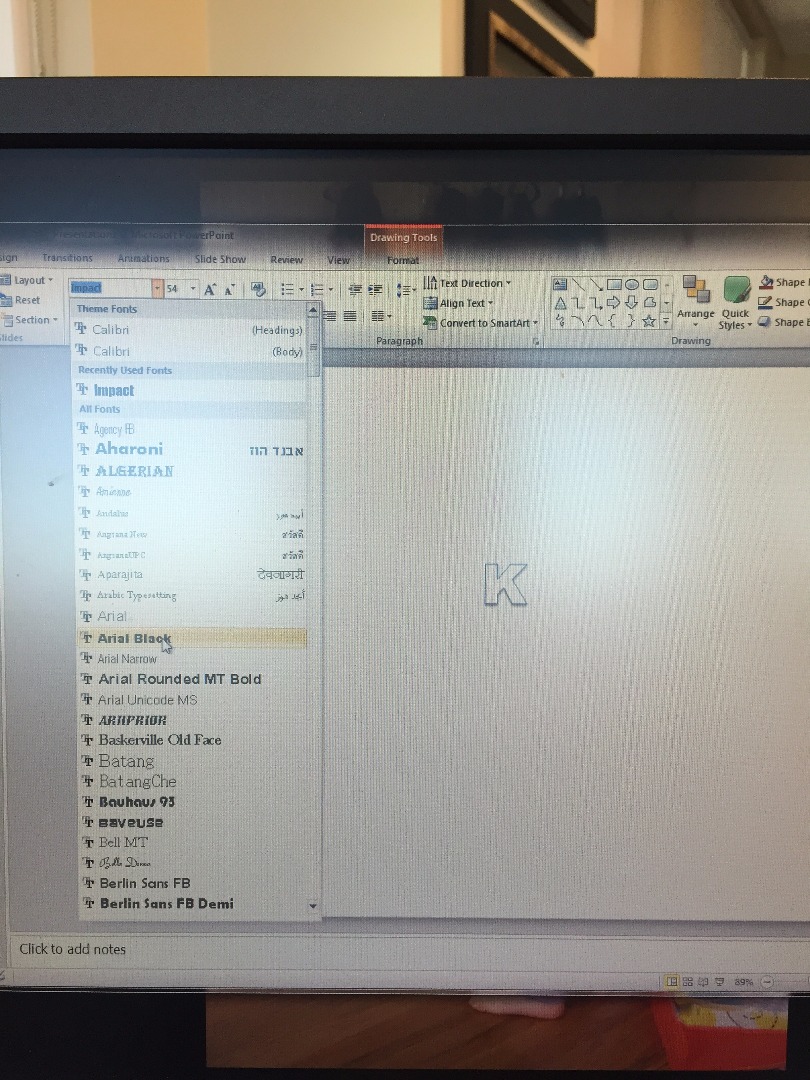
Open up Word. Turn on Ruler and Gridlines. Set your margins to Narrow. Now load in the picture you created in Powerpoint. First you need to crop down to the letter. This will make it easier when you are trying to get a good measurement. The ruler and grid will help when creating the size you want.
Enlarging the Letter
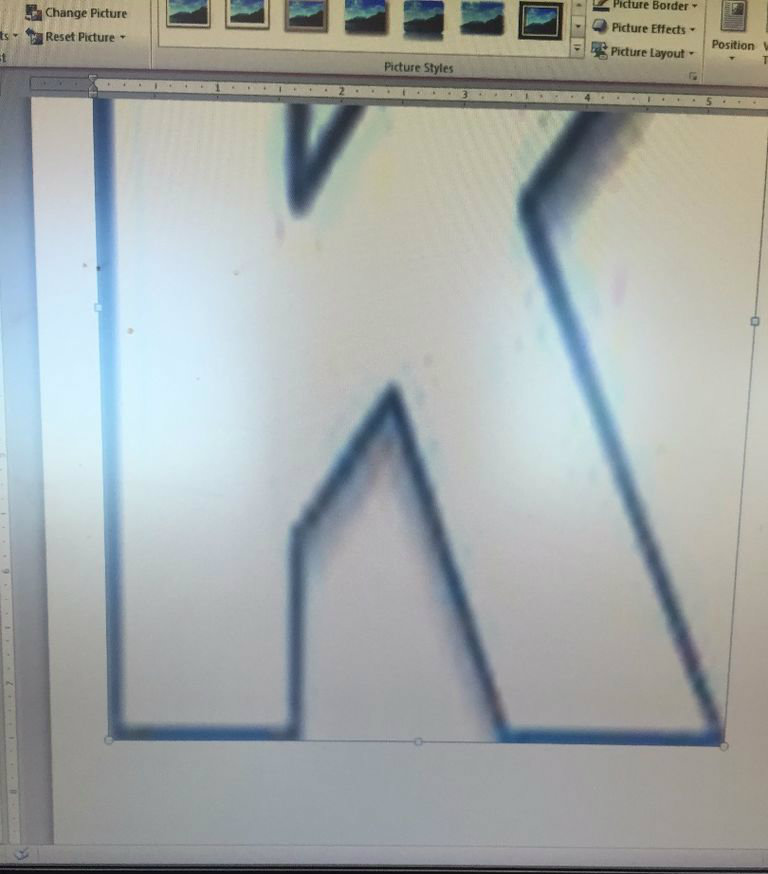
Now you want to enlarge the letter to the size of the book. Try and get as close to the size of the book as possible because you want to use the edges of the book when possible. This will make the bookend stronger. I start with making the width fit. So I made mine 5.5 inches. Now I just drag the letter to make it 7.5 in length. I know this seems like a hard way to create a pattern but since all books are not the same size I could not find stencils that would work. But you can always just free hand the letters if you are not concerned about making them match.
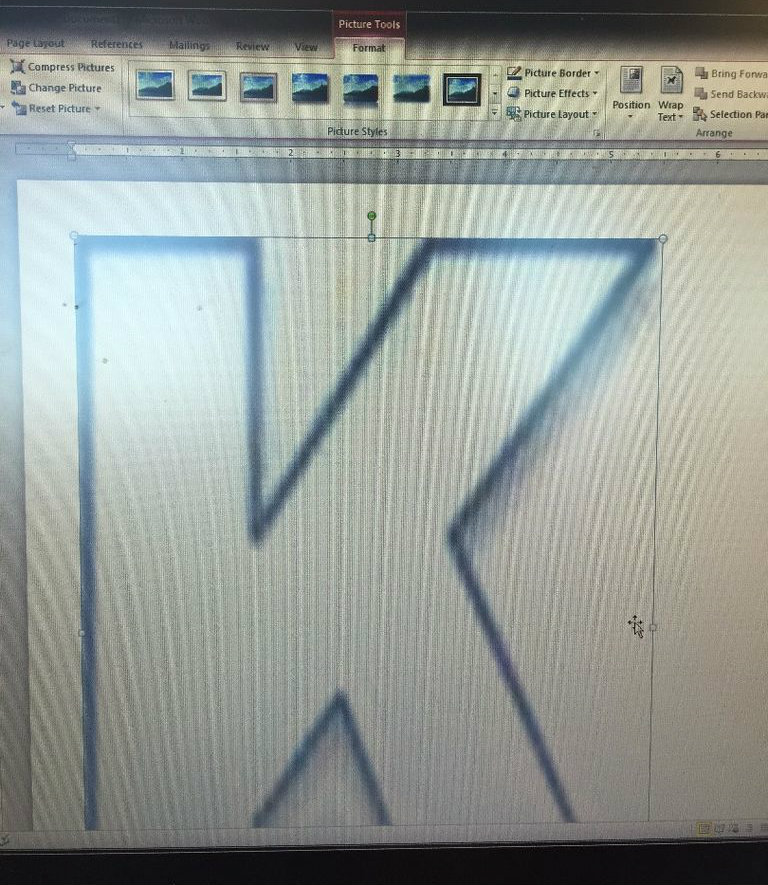
Finishing My Pattern
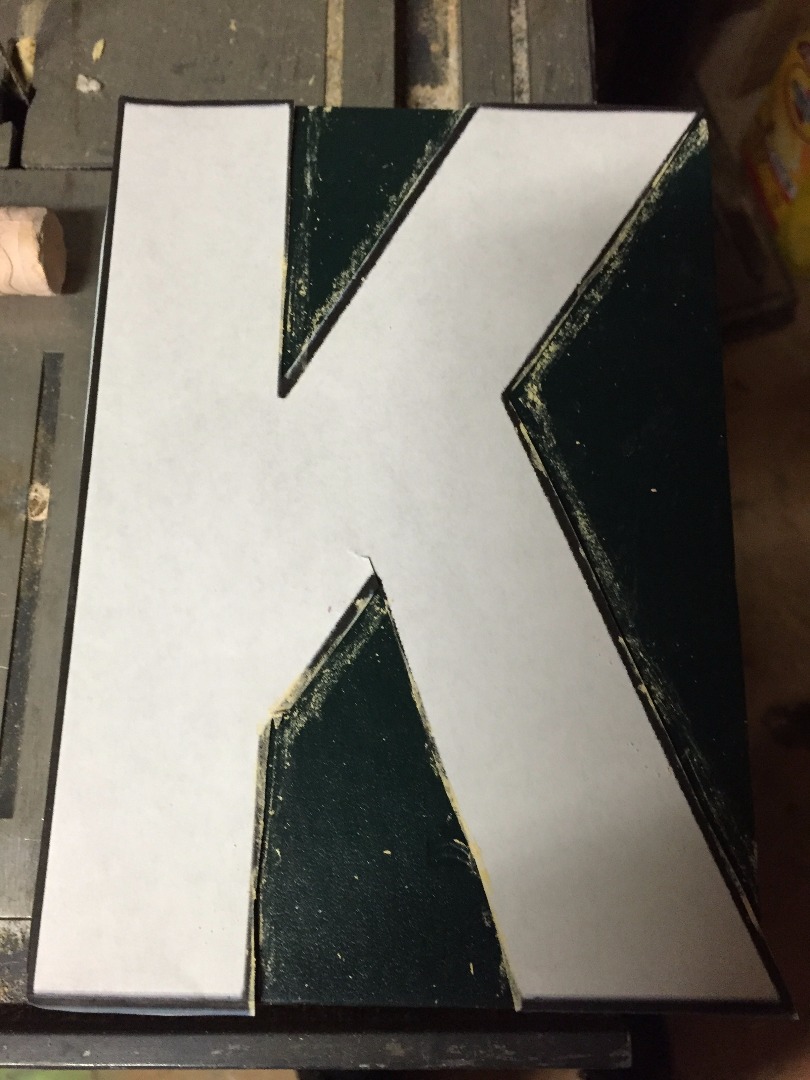
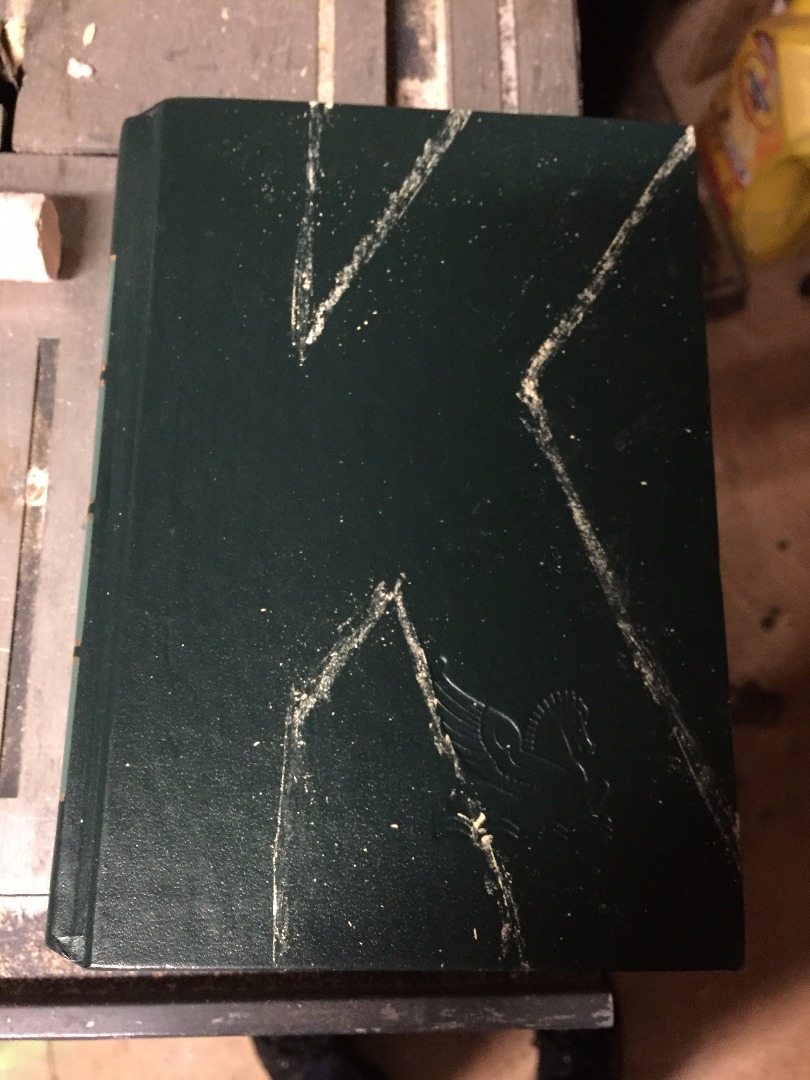
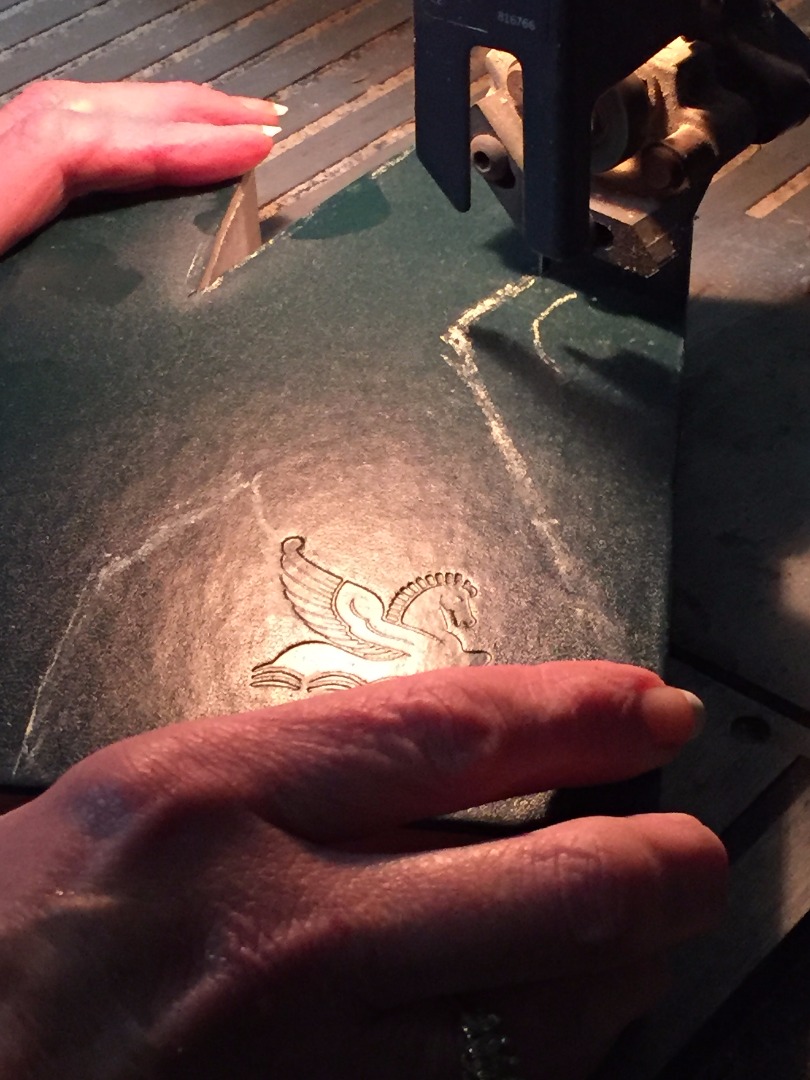
Once I have the letter the size I want. I trimmed around the letter to finish my pattern. Now put it on the book and draw around the letter. Chalk works good and easily comes off after you cut the book.
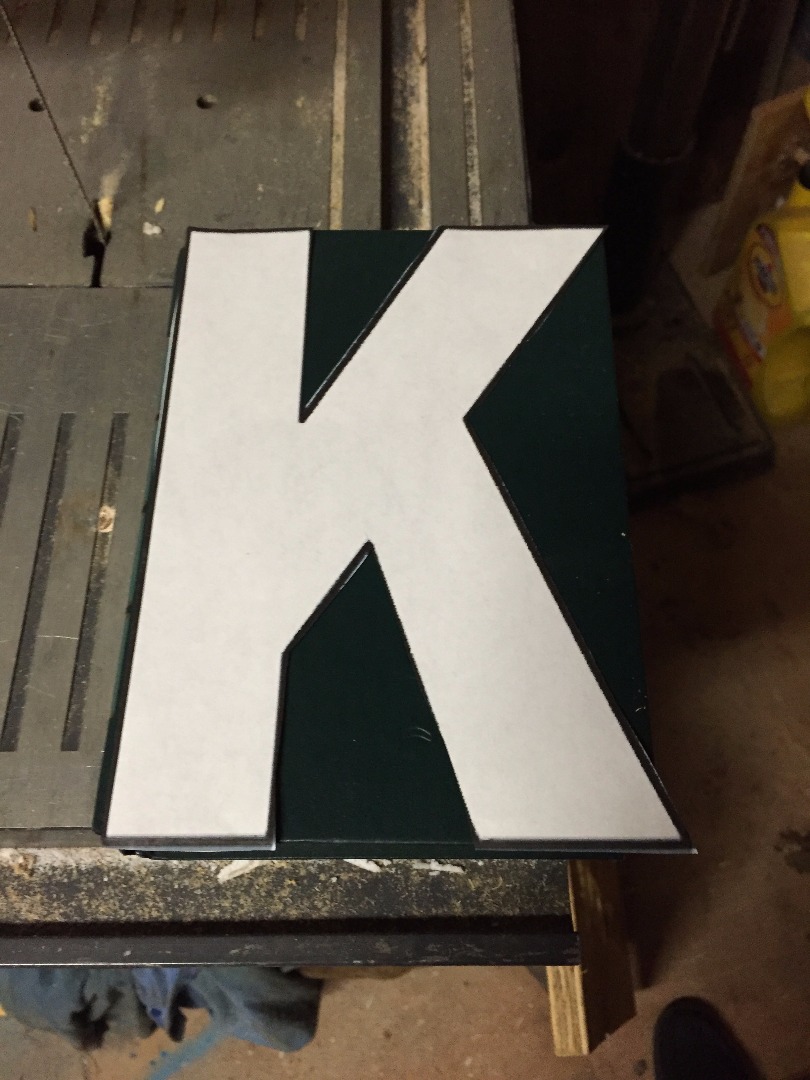
Start Cutting
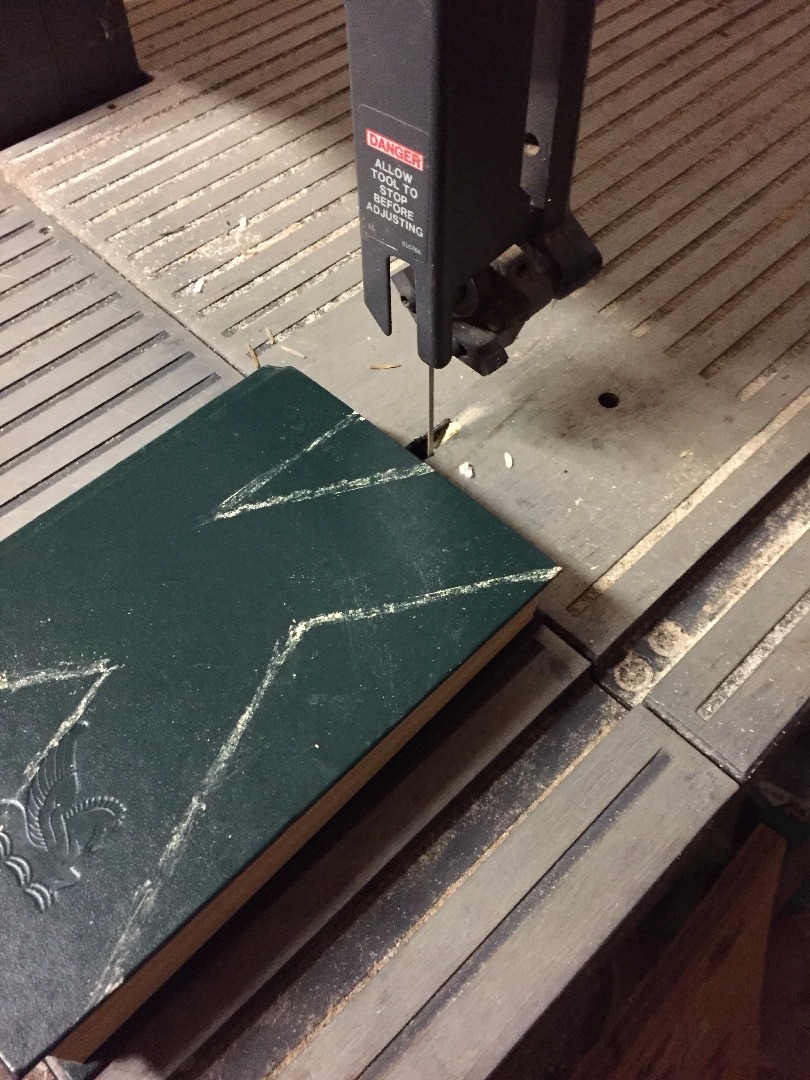
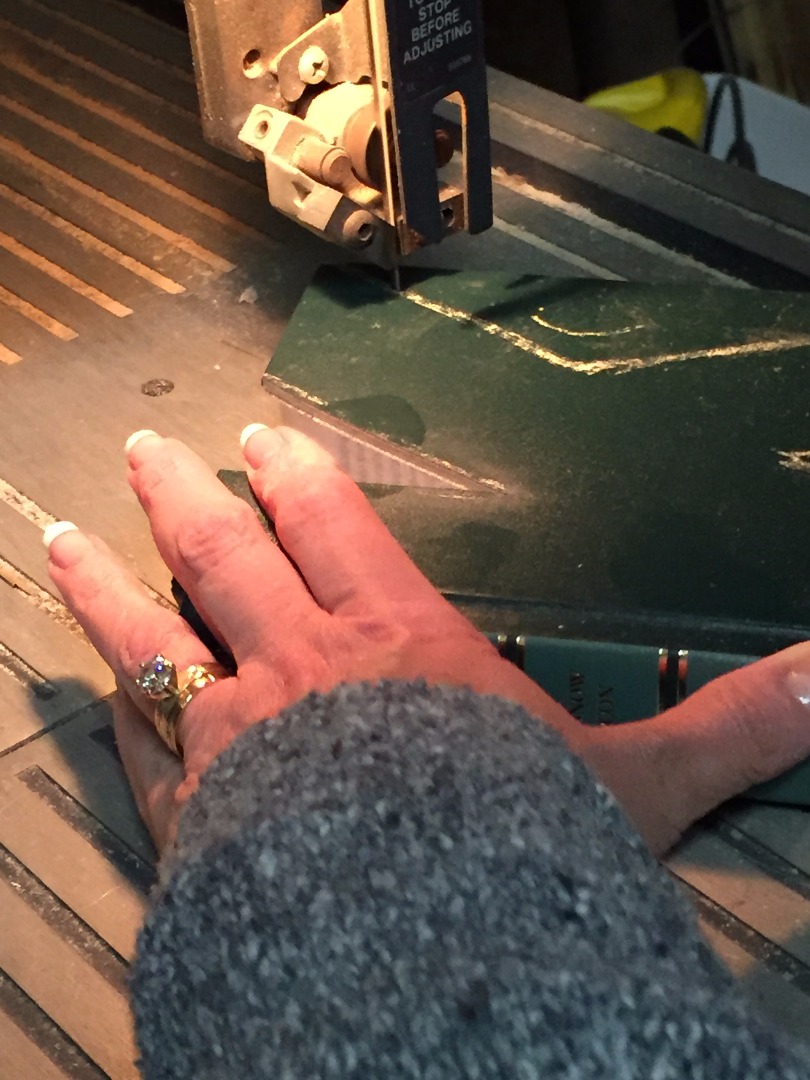
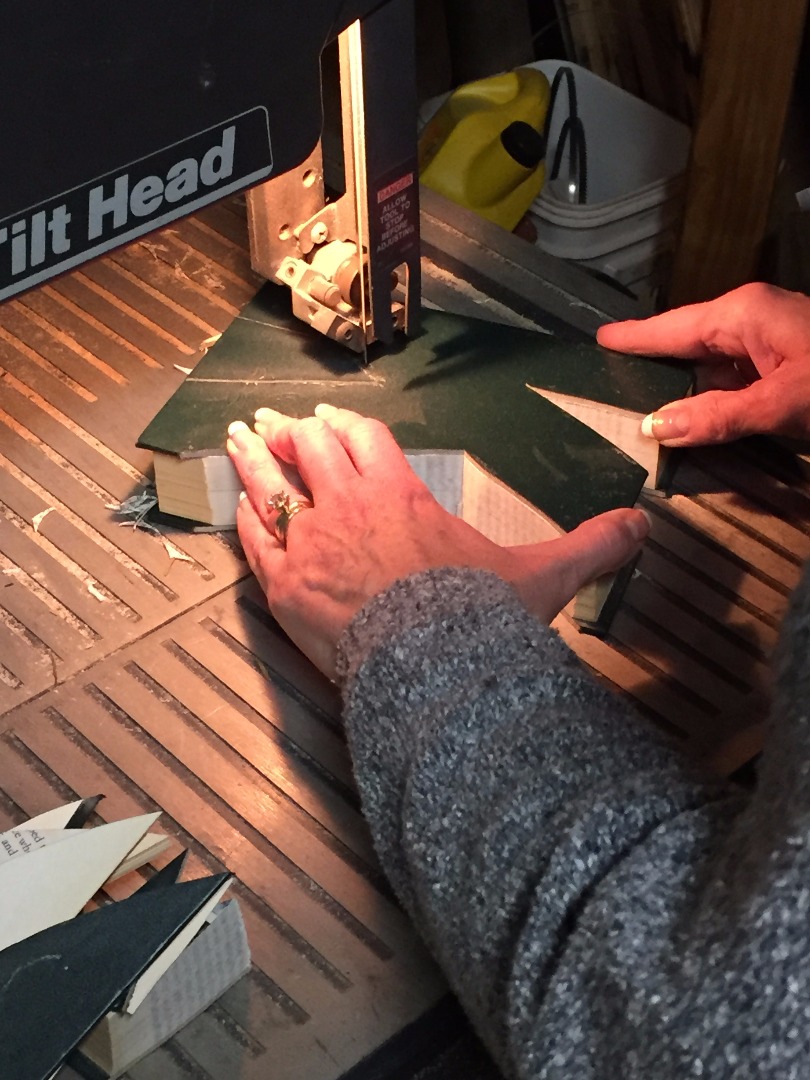
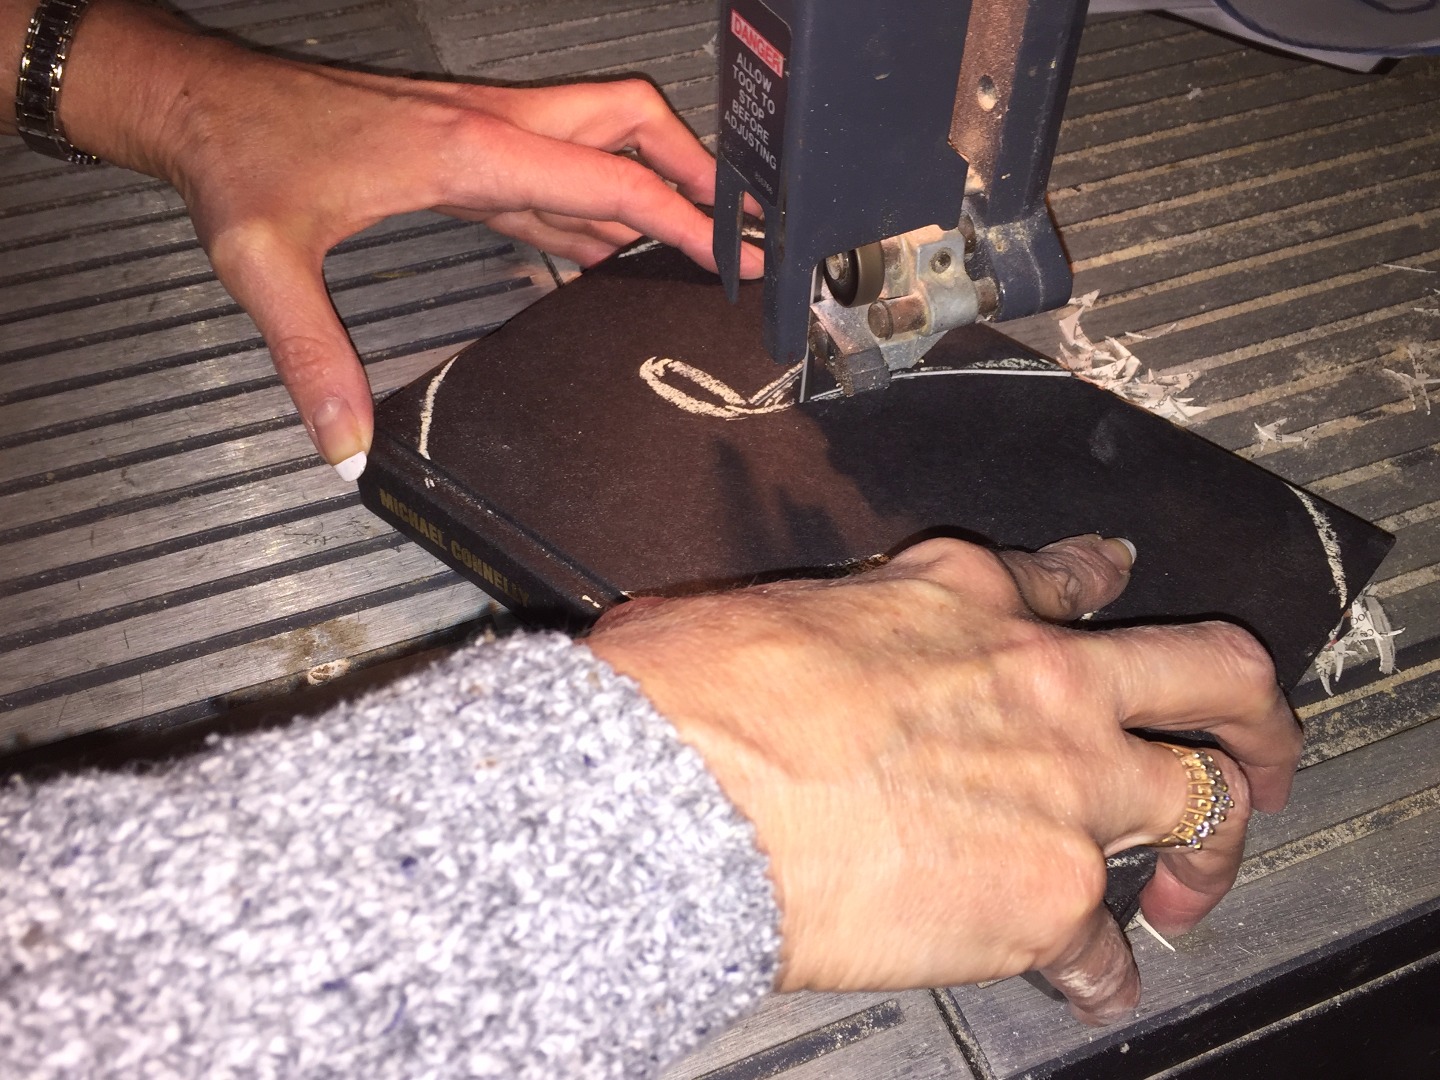
Now you are ready to start cutting. Most of the cutting I did with a bandsaw. You need to cut slow so the pages are cut straight. I am showing you a couple of different letters.
Cutting Center
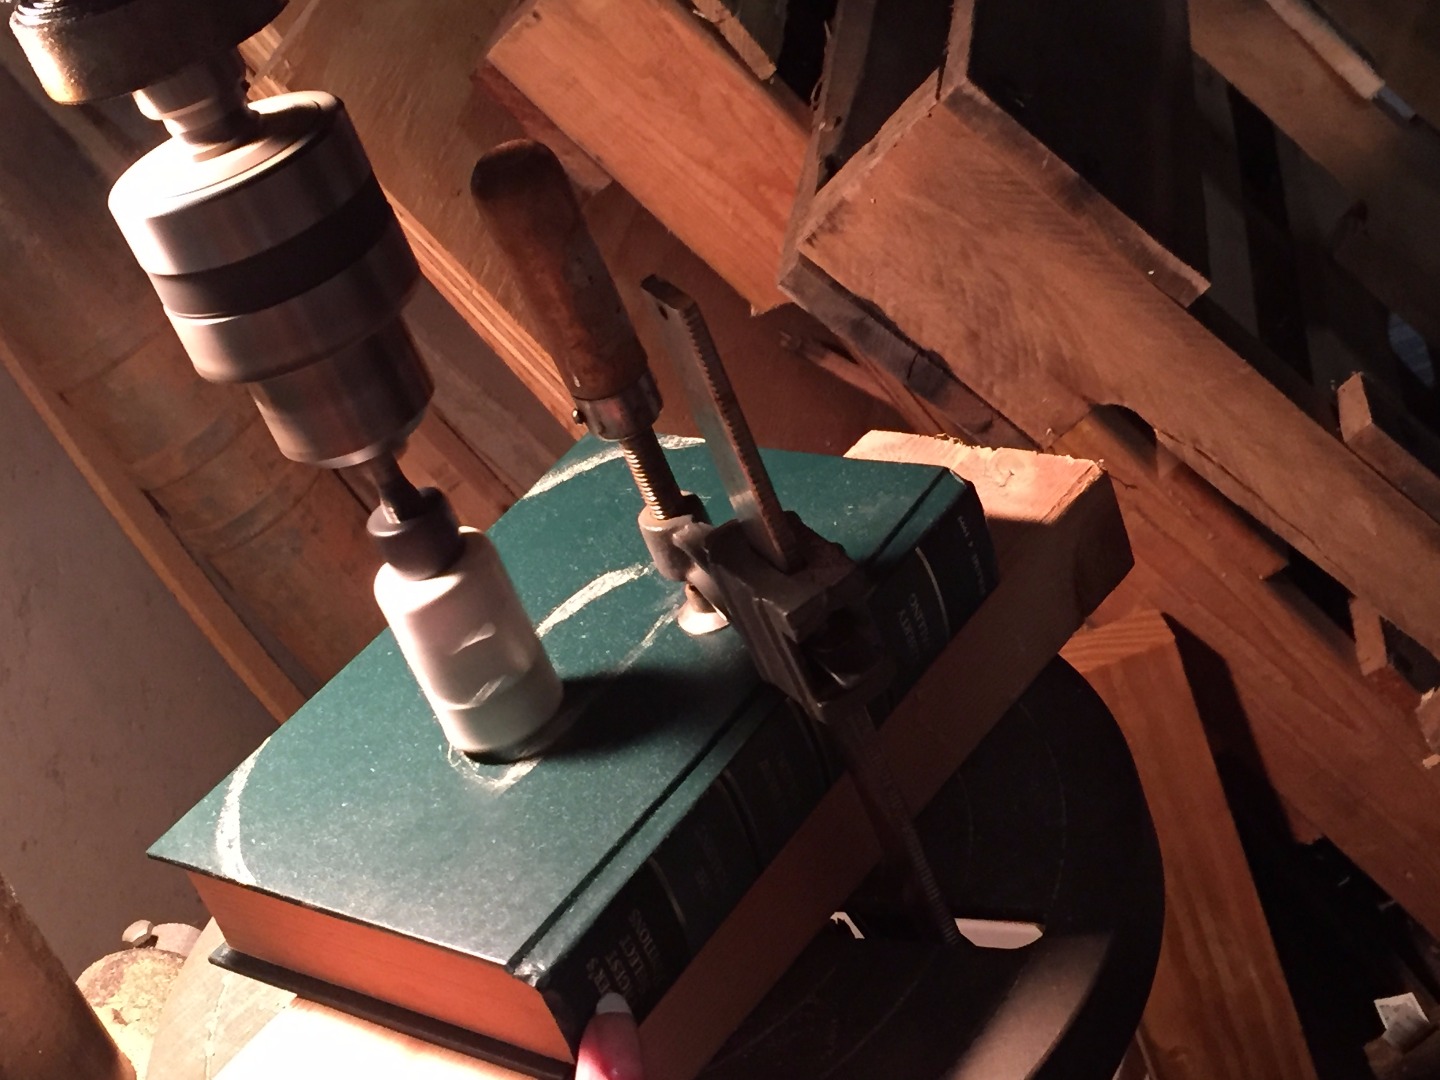
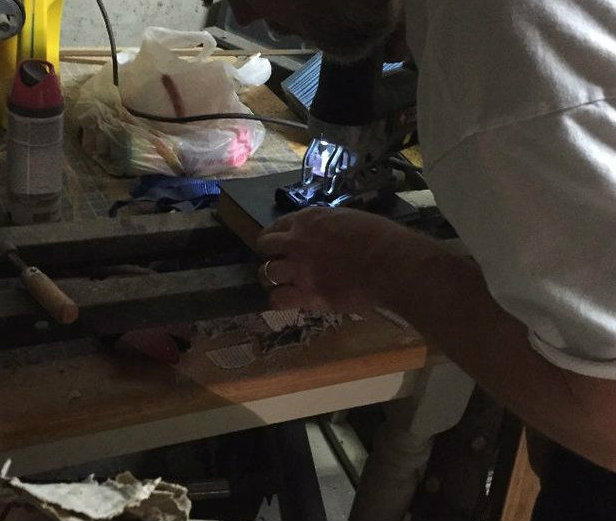
For the letter D I needed a way to cut the center. We used a hole saw blade to cut a hole. Then my son-in-law helped by using his jig-saw to cut the rest of the center. The rest of the letter I cut out with the band saw .
Complete
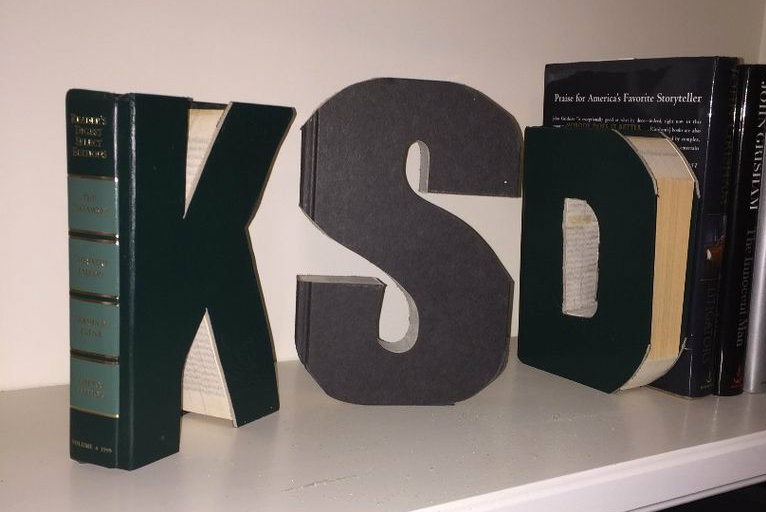
Once you finish you will want to add more letters I did someone's initials . You can spell out your name or create a cute saying I hope you have fun.