Bookmark Using Pressed Flowers
by Honey_Wafer in Craft > Books & Journals
379 Views, 1 Favorites, 0 Comments
Bookmark Using Pressed Flowers
.jpg)
Making these bookmarks is really simple and only take a few supplies. They're also very customizable and unique!
Supplies
The supplies you'll need are:
- A large book (to press the flowers in)
- Small flowers
- Paper towel (to keep book clean)
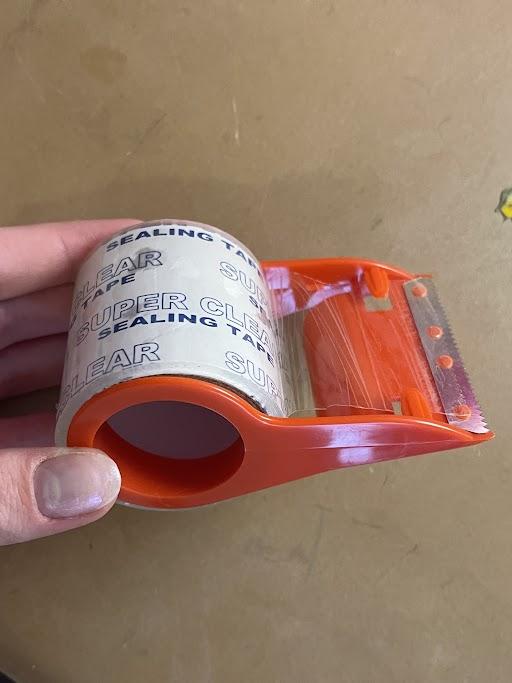
- Packaging tape
- Scissors
- Hole Puncher
- Ribbon or string
Pressing Your Flowers
.jpg)
.jpg)
.jpg)
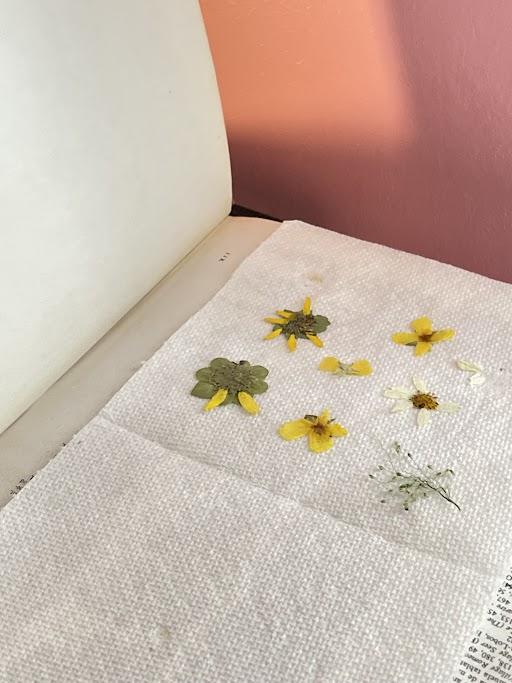
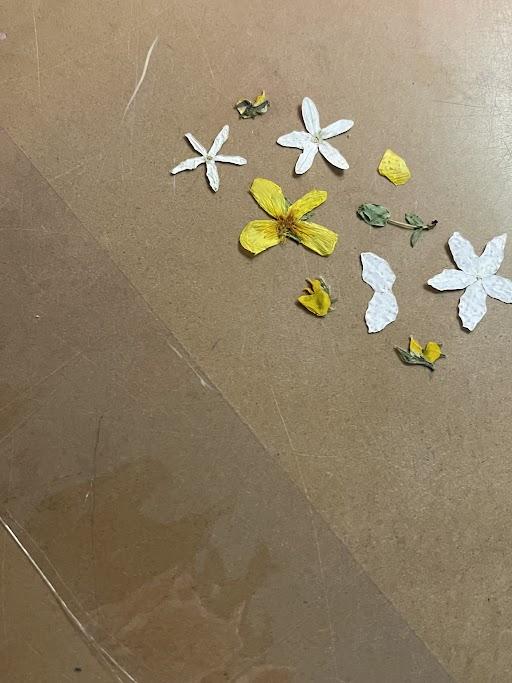
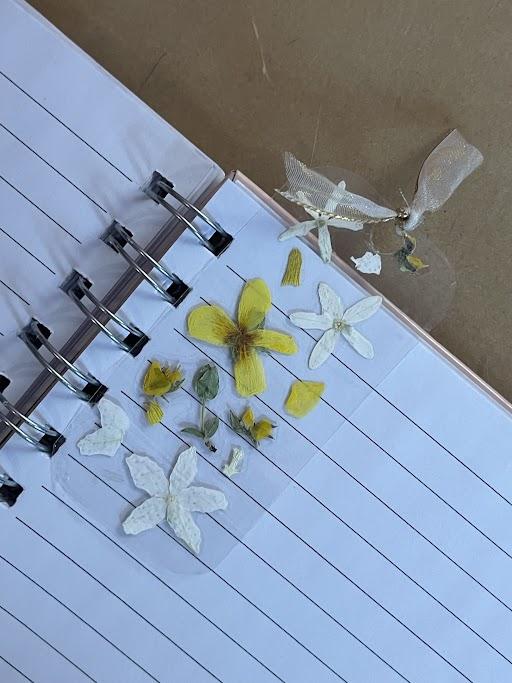
First, gather your flowers. (you don't need many) I found mine outside growing in my yard.
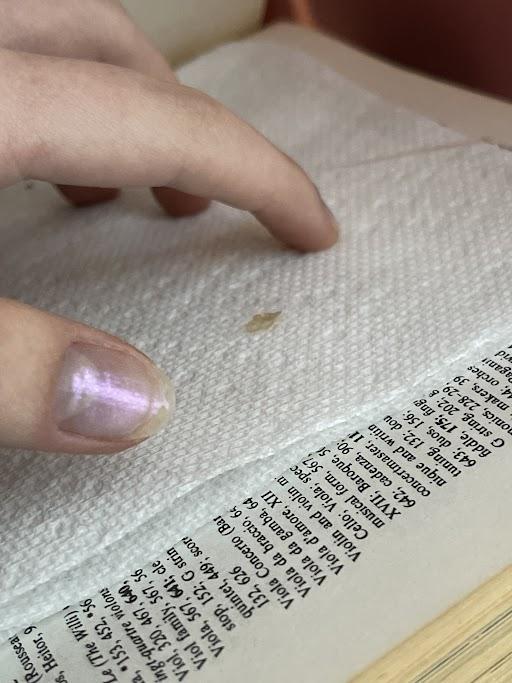
Place them on a paper towel in a heavy book and shut it (like in photos) I let my flowers sit in the book for a day or two, but it may depend on the flowers you pick. Once they're dried out, you can begin making your bookmarks!
TIP: You can also pick little petals or small plants to add as well, as long as they aren't bulky.
Setting Up
.jpg)
.jpg)
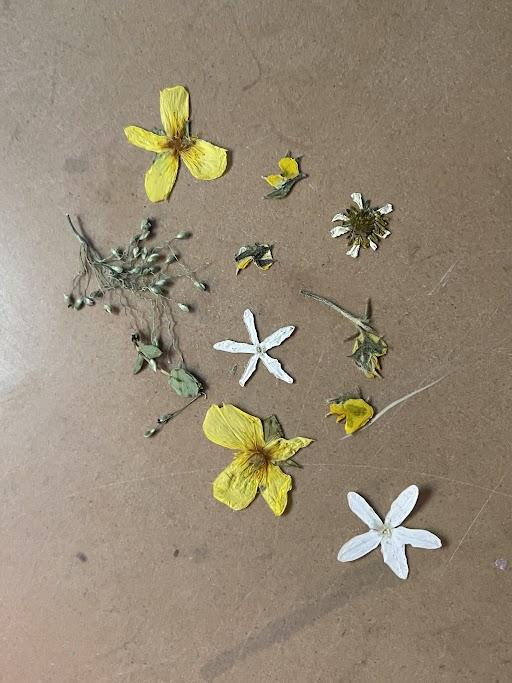
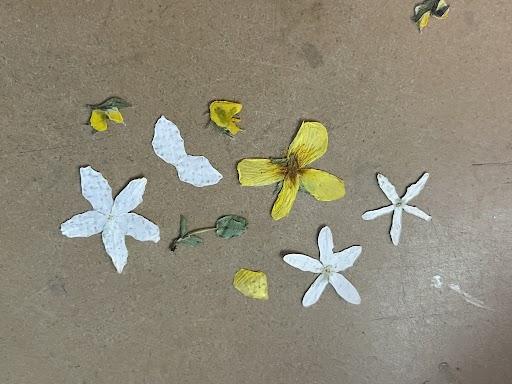
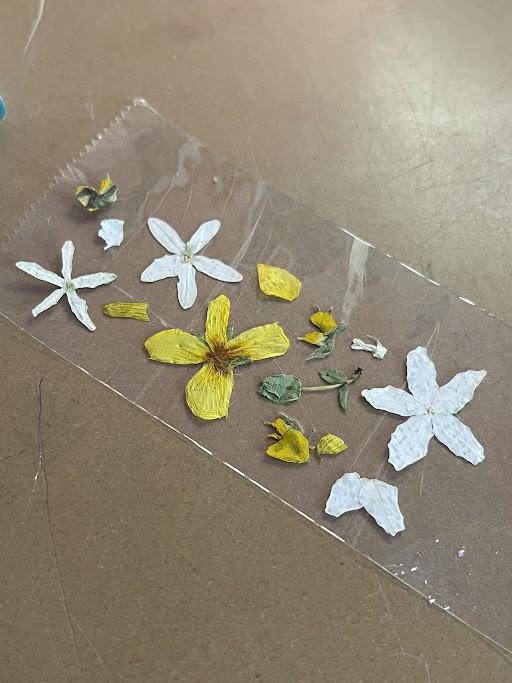
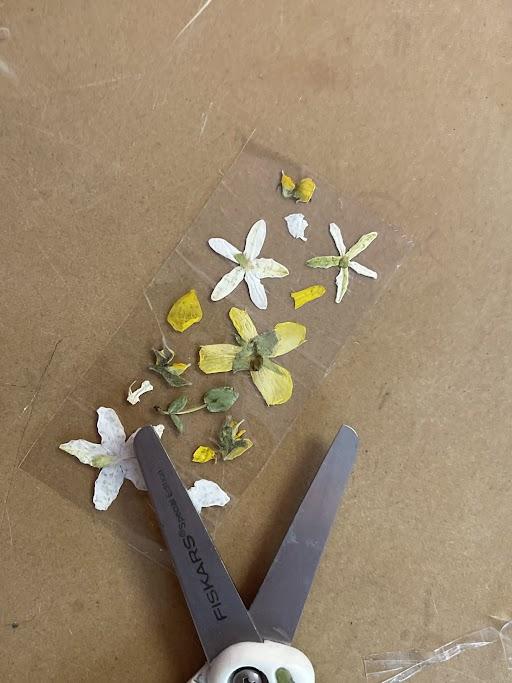
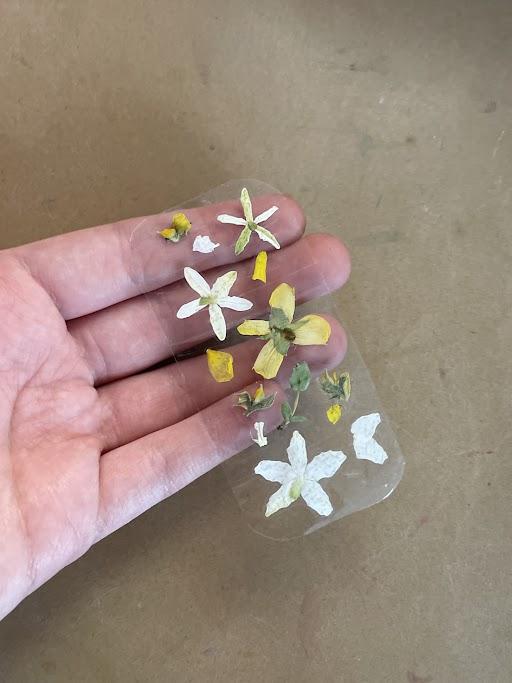
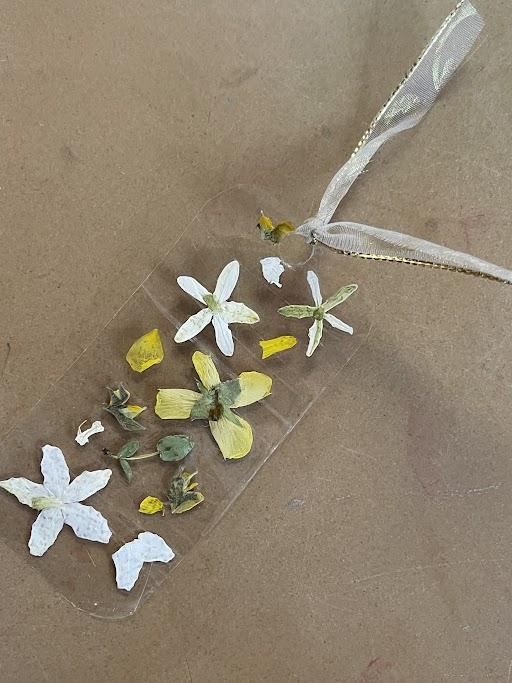
Lay your flowers out onto your workspace, and plan out how your bookmark will look. (Once the flower touches the tape, it wont come off!) You can take your time to arrange your bookmark.
Making the Bookmark
.jpg)
.jpg)
.jpg)
.jpg)
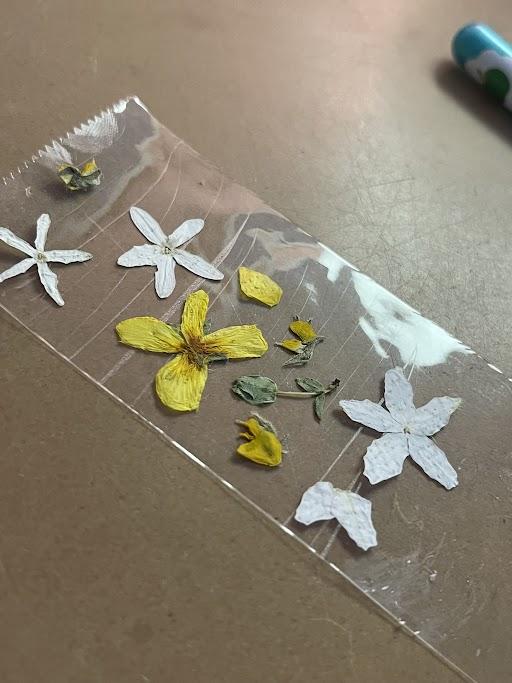
Now carefully place your flowers on the tape, then fold the tape on over the flowers. Smooth it out with your fingers or tool. Now they are secure!
Trim
.jpg)
.jpg)
.jpg)
Using your scissors, trip the sides of the tape. You can also use a paper cutter to get straighter edges, but I found the tape stuck too much to the sides. Just take your time to get straight edges. Remember to round the corners so they aren't sharp!
Finishing Touches
.jpg)
.jpg)
.jpg)
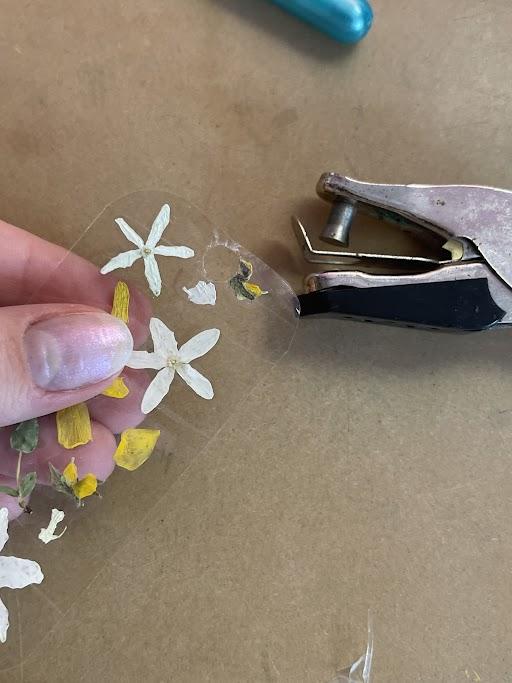
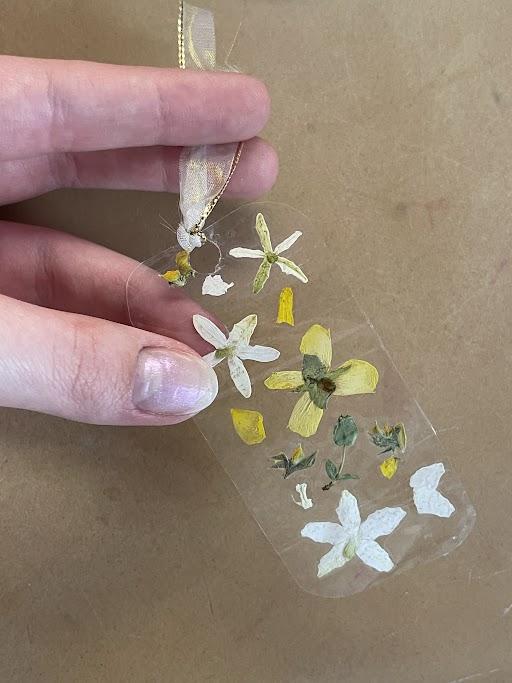
Now, use your hole puncher to make a hole at the top of your bookmark. It might take a few punches! Then tie your ribbon through the whole. If you want, you can make your ribbon longer and tie a bow!
Done!
.jpg)
.jpg)
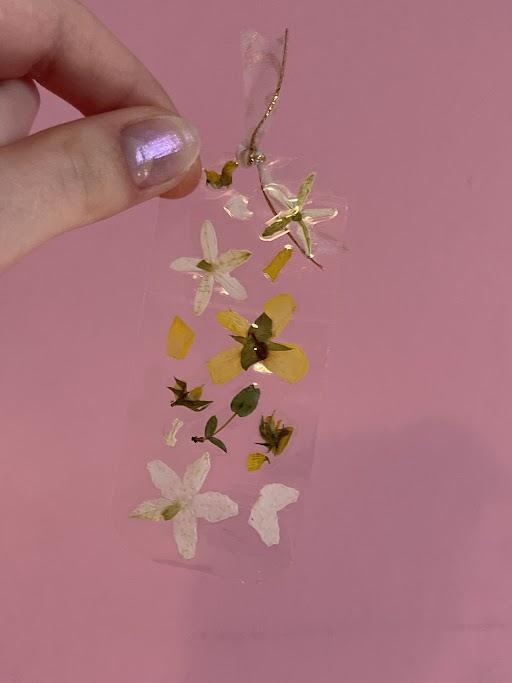
And there you have it, a cute DIY bookmark that's really simple and pretty! Hope you found this tutorial helpful! :)