Bookcase
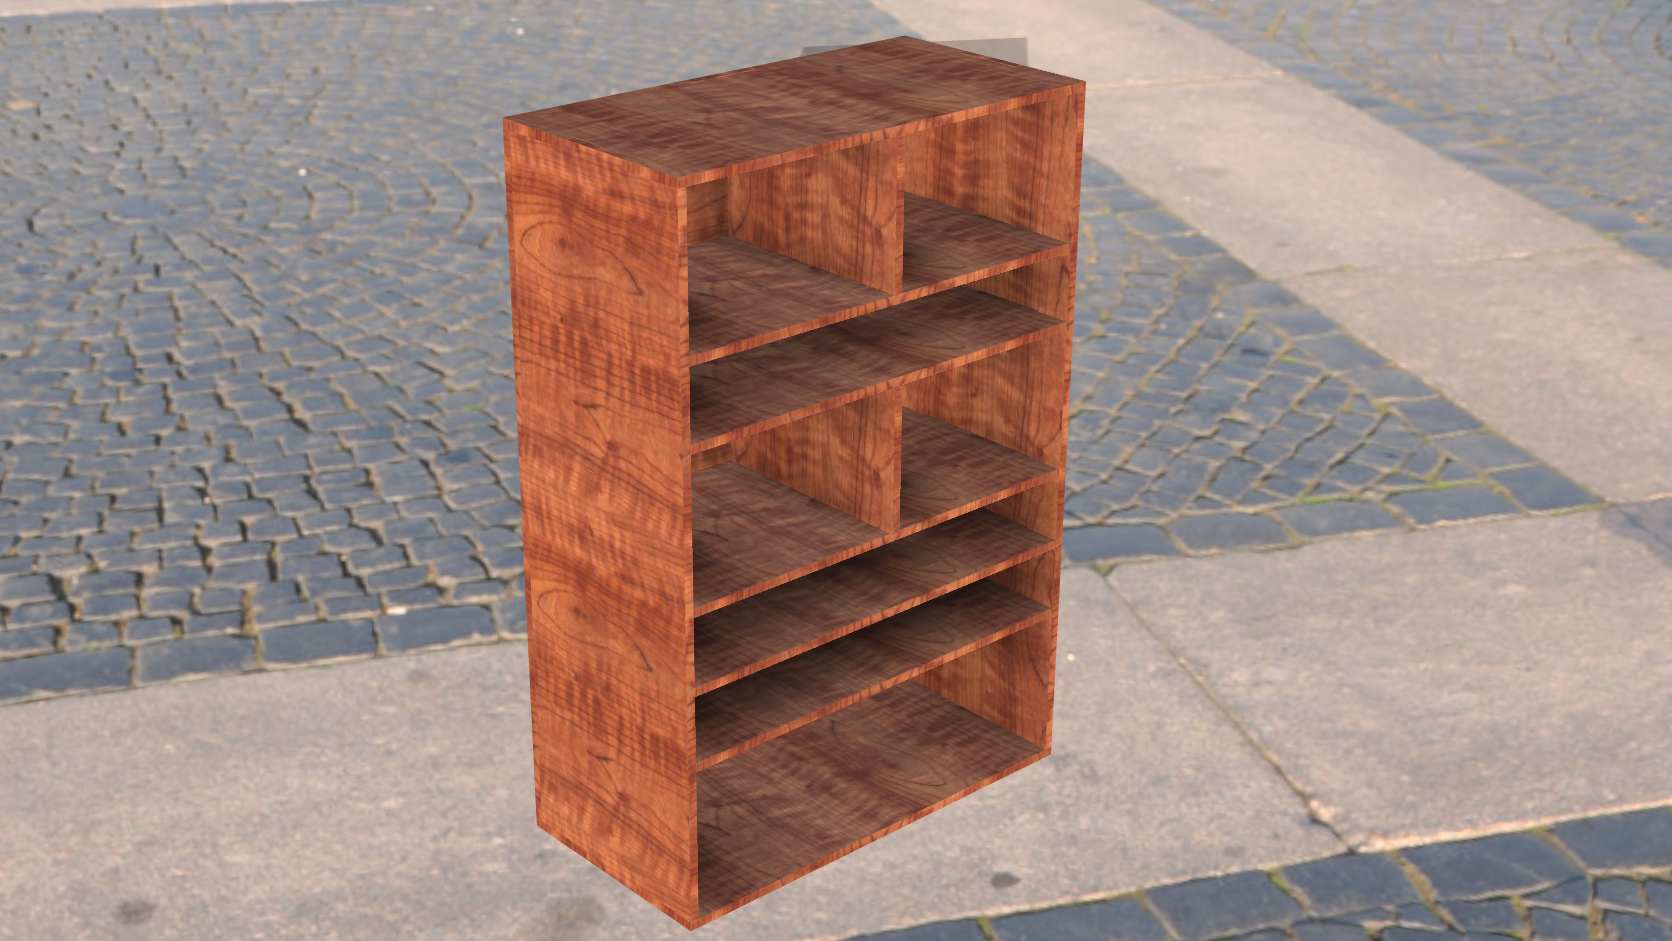
Hi guys, this project is intended for all those people who are in need of a bookcase. Well, this time I will show you how to make a bookcase in the Fusion 360 program.
Supplies


Computer
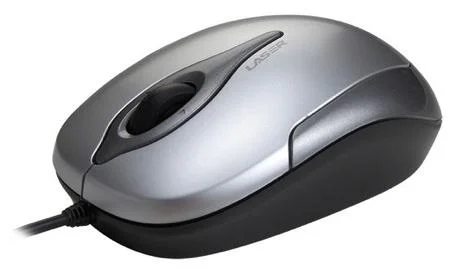
Mouse peripheral
Fusion 360
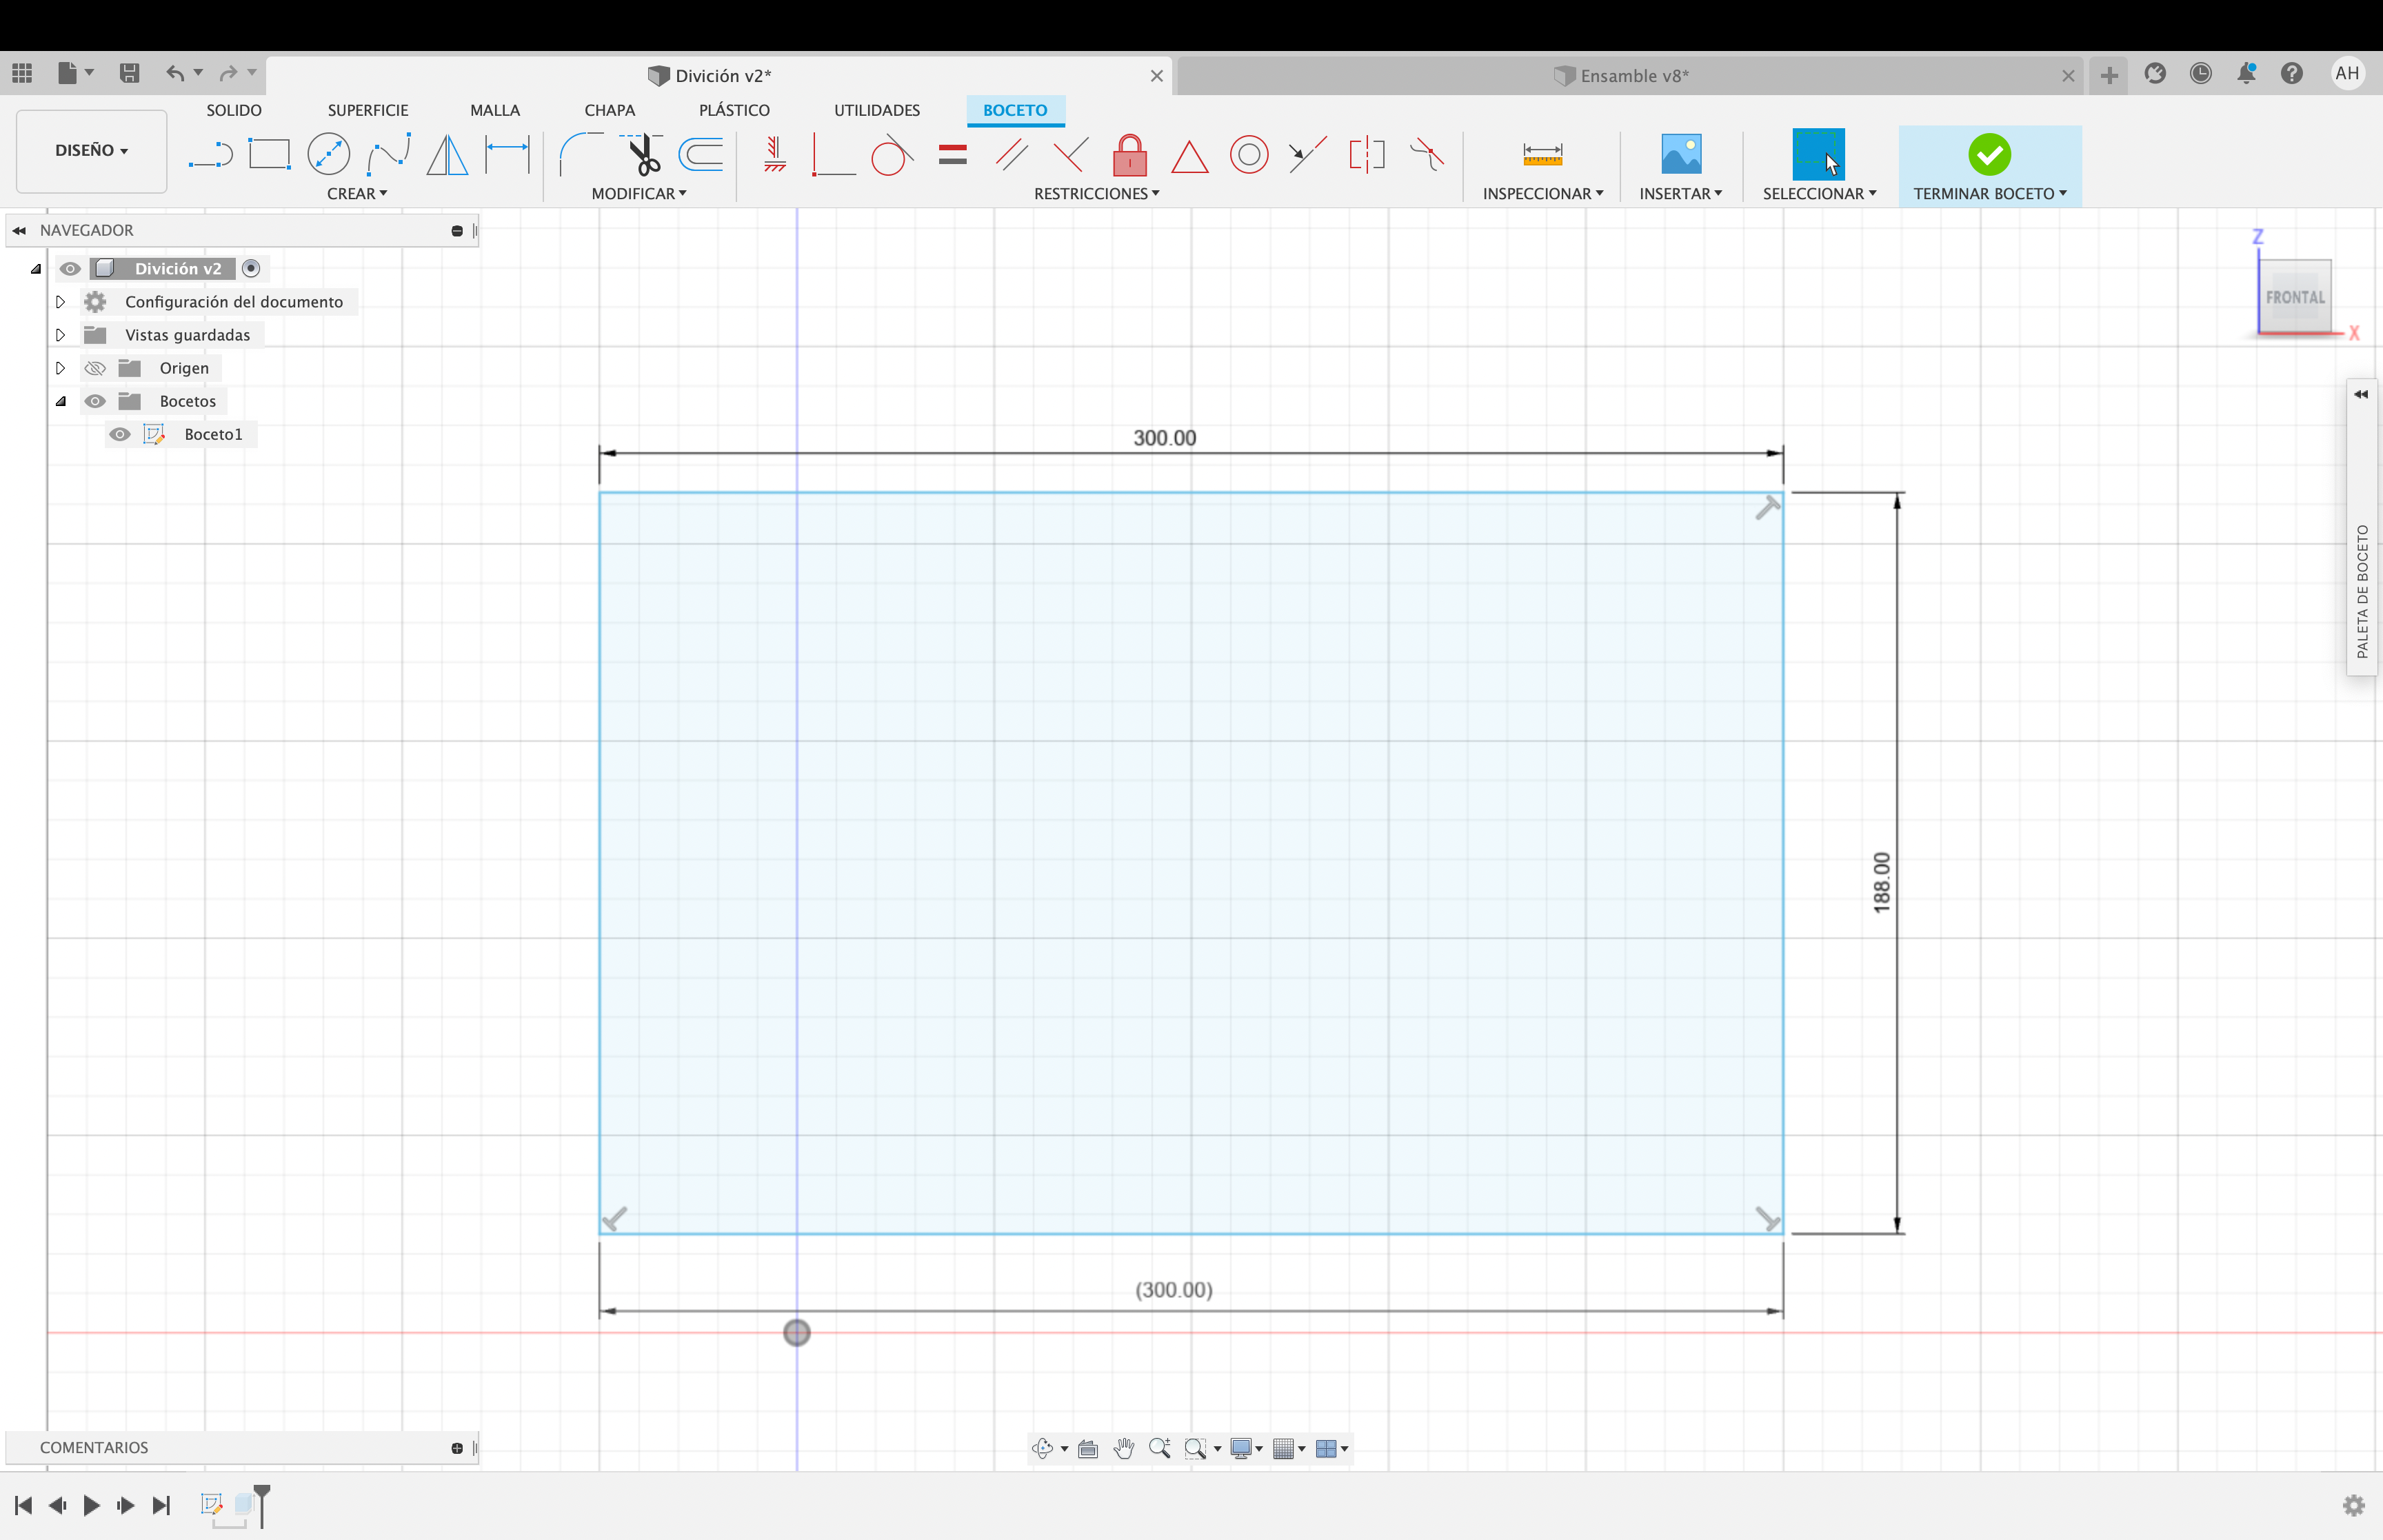
Base Face
 12.00.34.png)
 00.56.30.png)
 00.57.27.png)
 00.59.23.png)
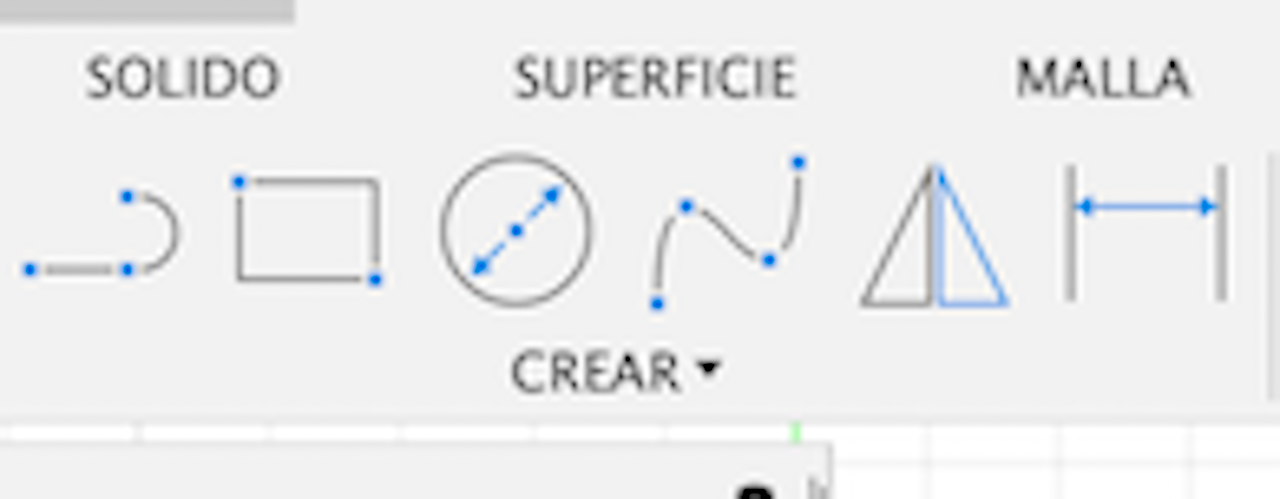
We start by creating a new sketch, between the YX axes, it is important to save our progress so that as we move forward everything is saved and we don't lose anything. After having created our sketch between the corresponding axes we go to the options bar at the top and click on "Create"; we choose "Line" or we can also press the L button, to draw our sketch with the measures I am providing. And if we want to put an exact measure to the line we want to create, we will only have to write the measure we want and we will automatically have it.
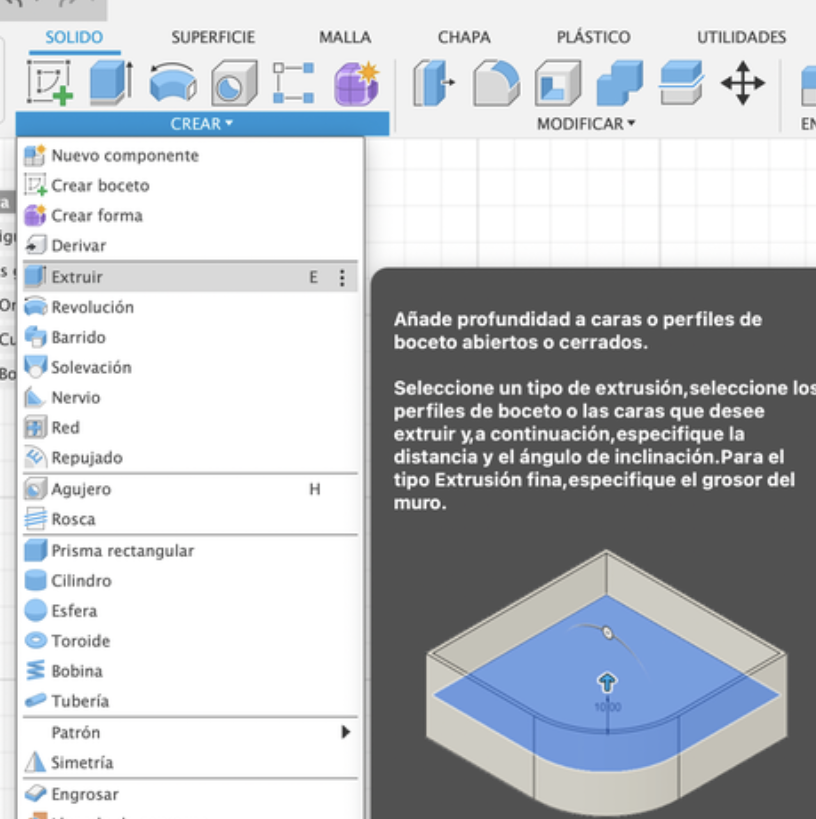
Then to give volume to our sketch we click on "Create"; we choose the option "Extrude" or we can also press the E button and give it 12 mm of volume.
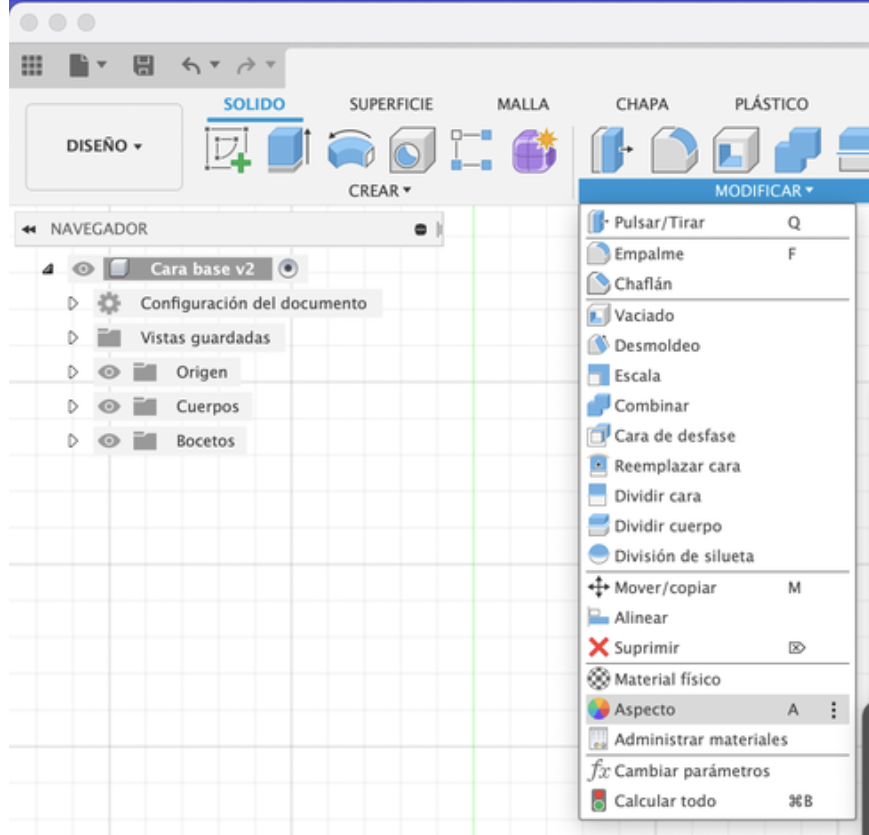
After finishing with that, to give a texture to your plane click on "Modify"; choose "Aspect", there will appear different options I would recommend you to put in Wood and choose the one you like the most, then just drag the one you choose to the plane. To finish with the base face just click on "Finish sketch" save the file and that's it.
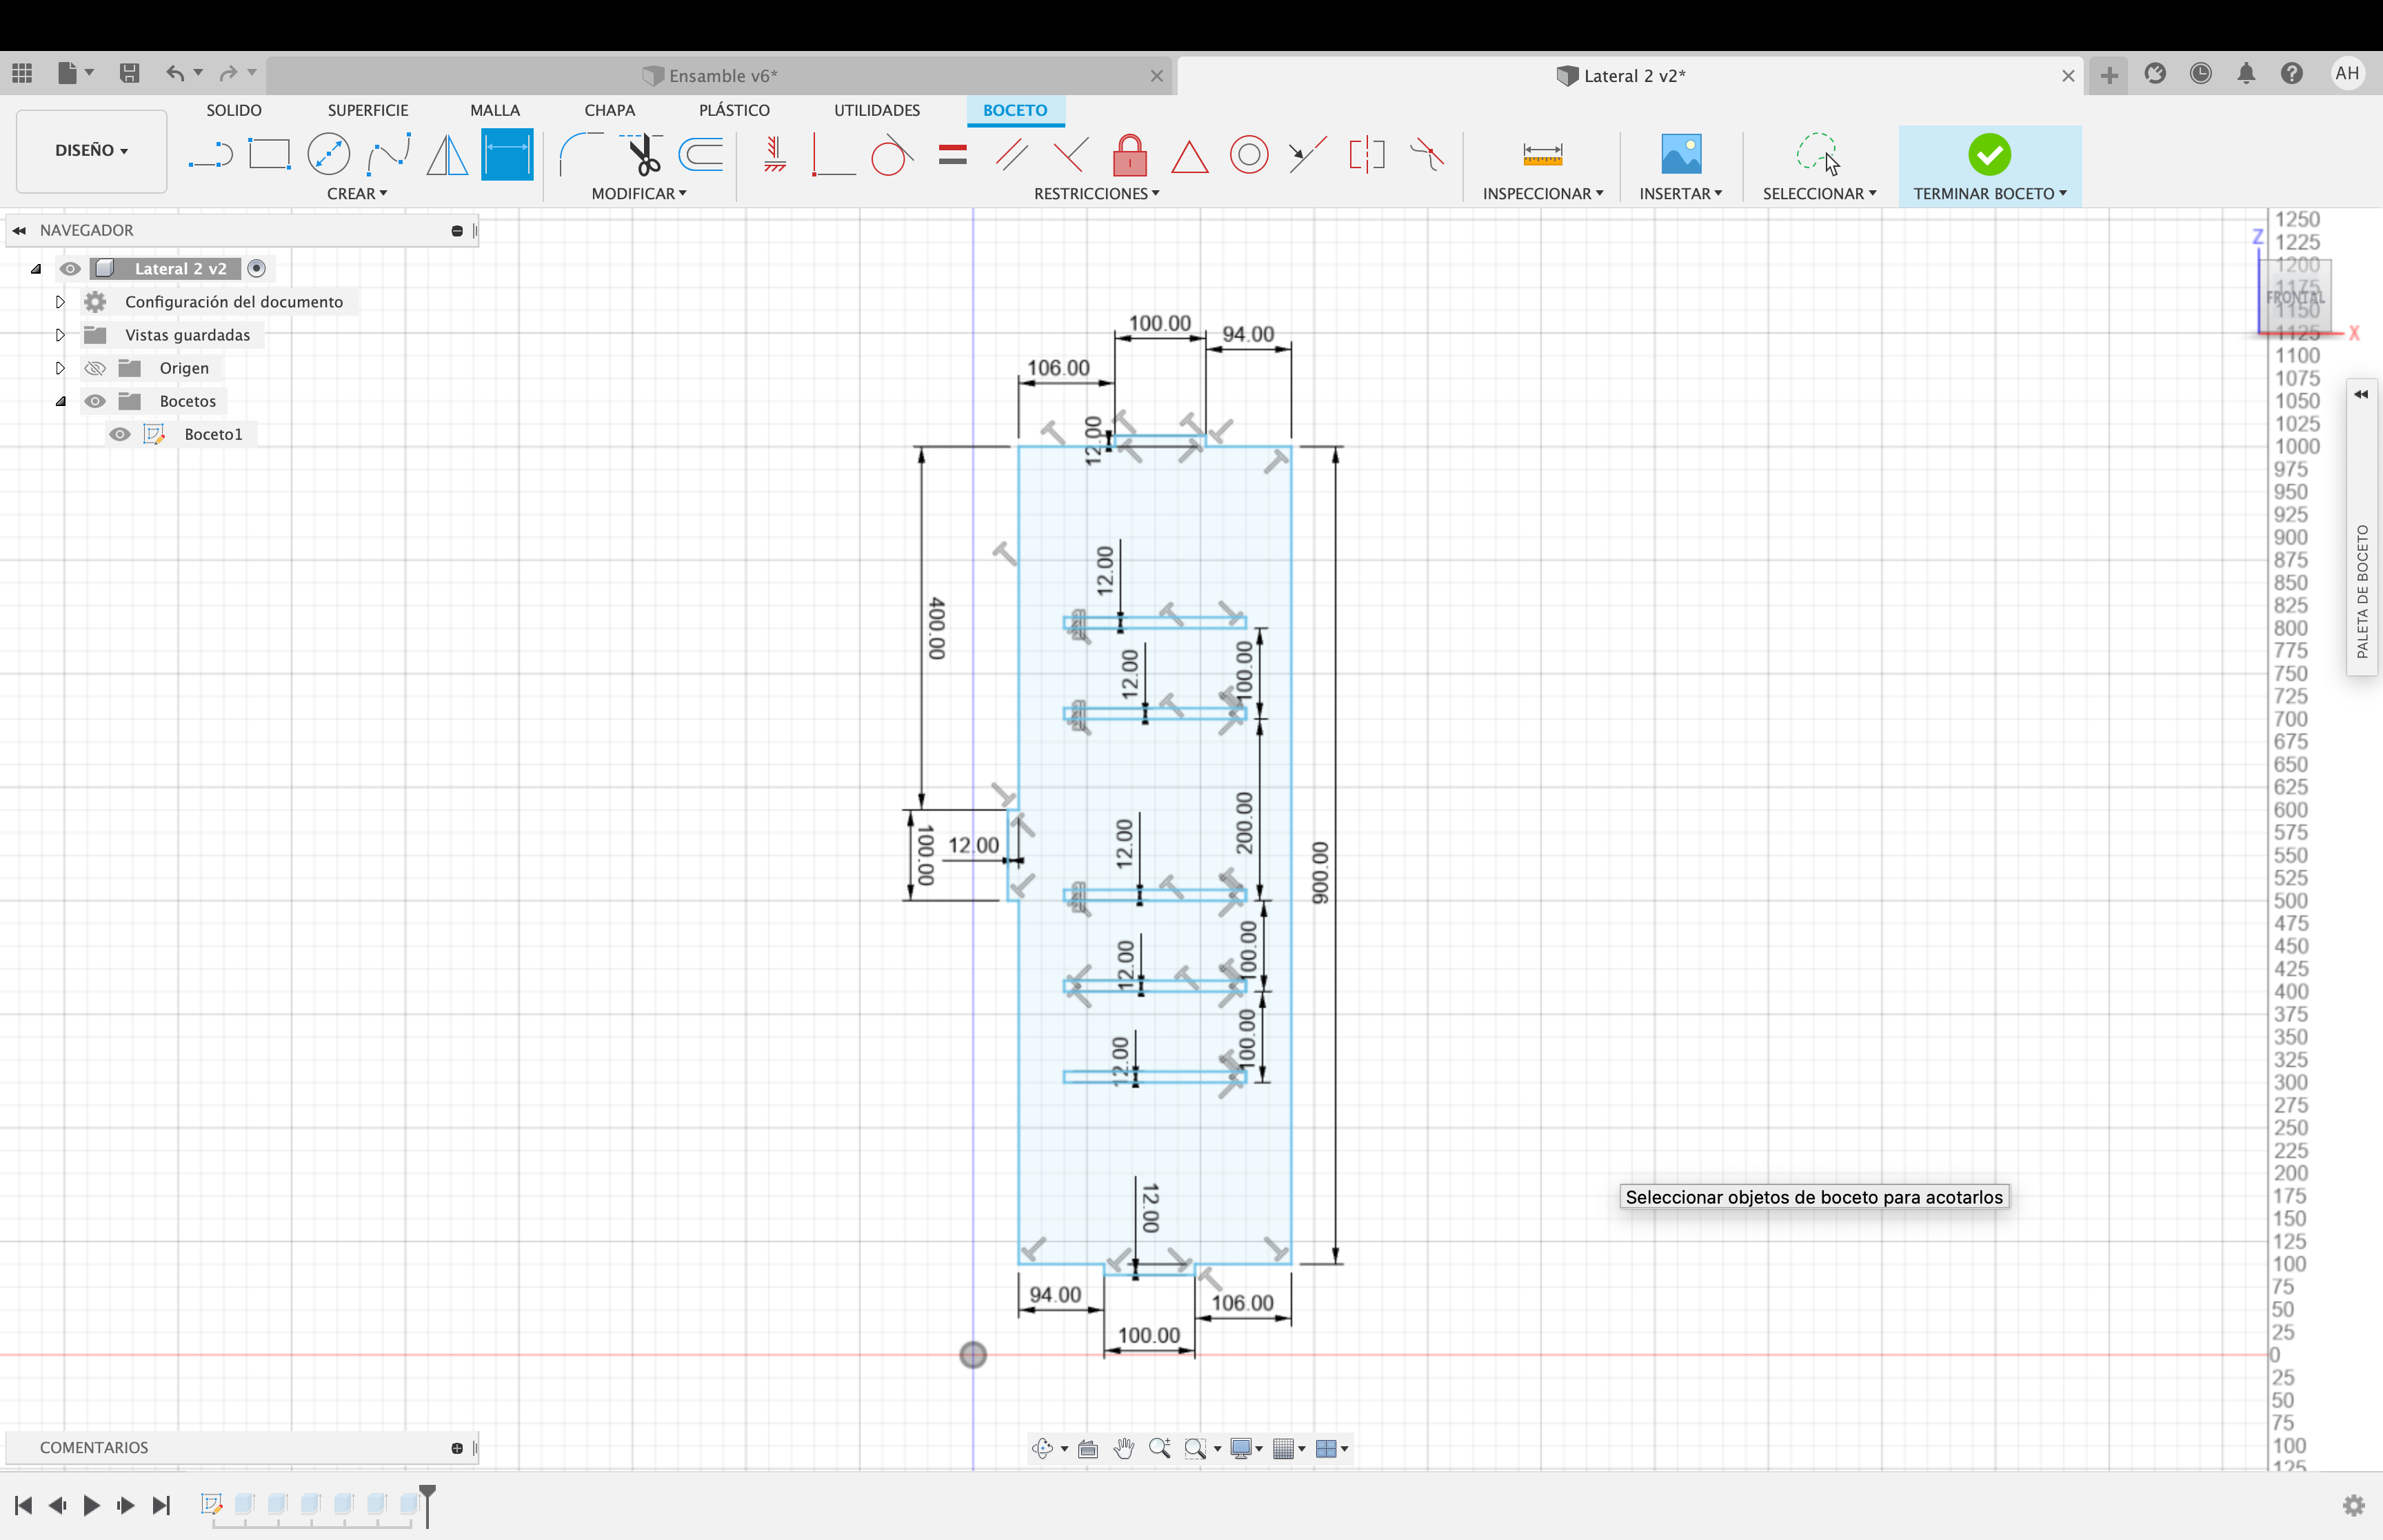
Right Side Face
 22.10.59.png)
 09.27.57.png)
 20.52.35.png)
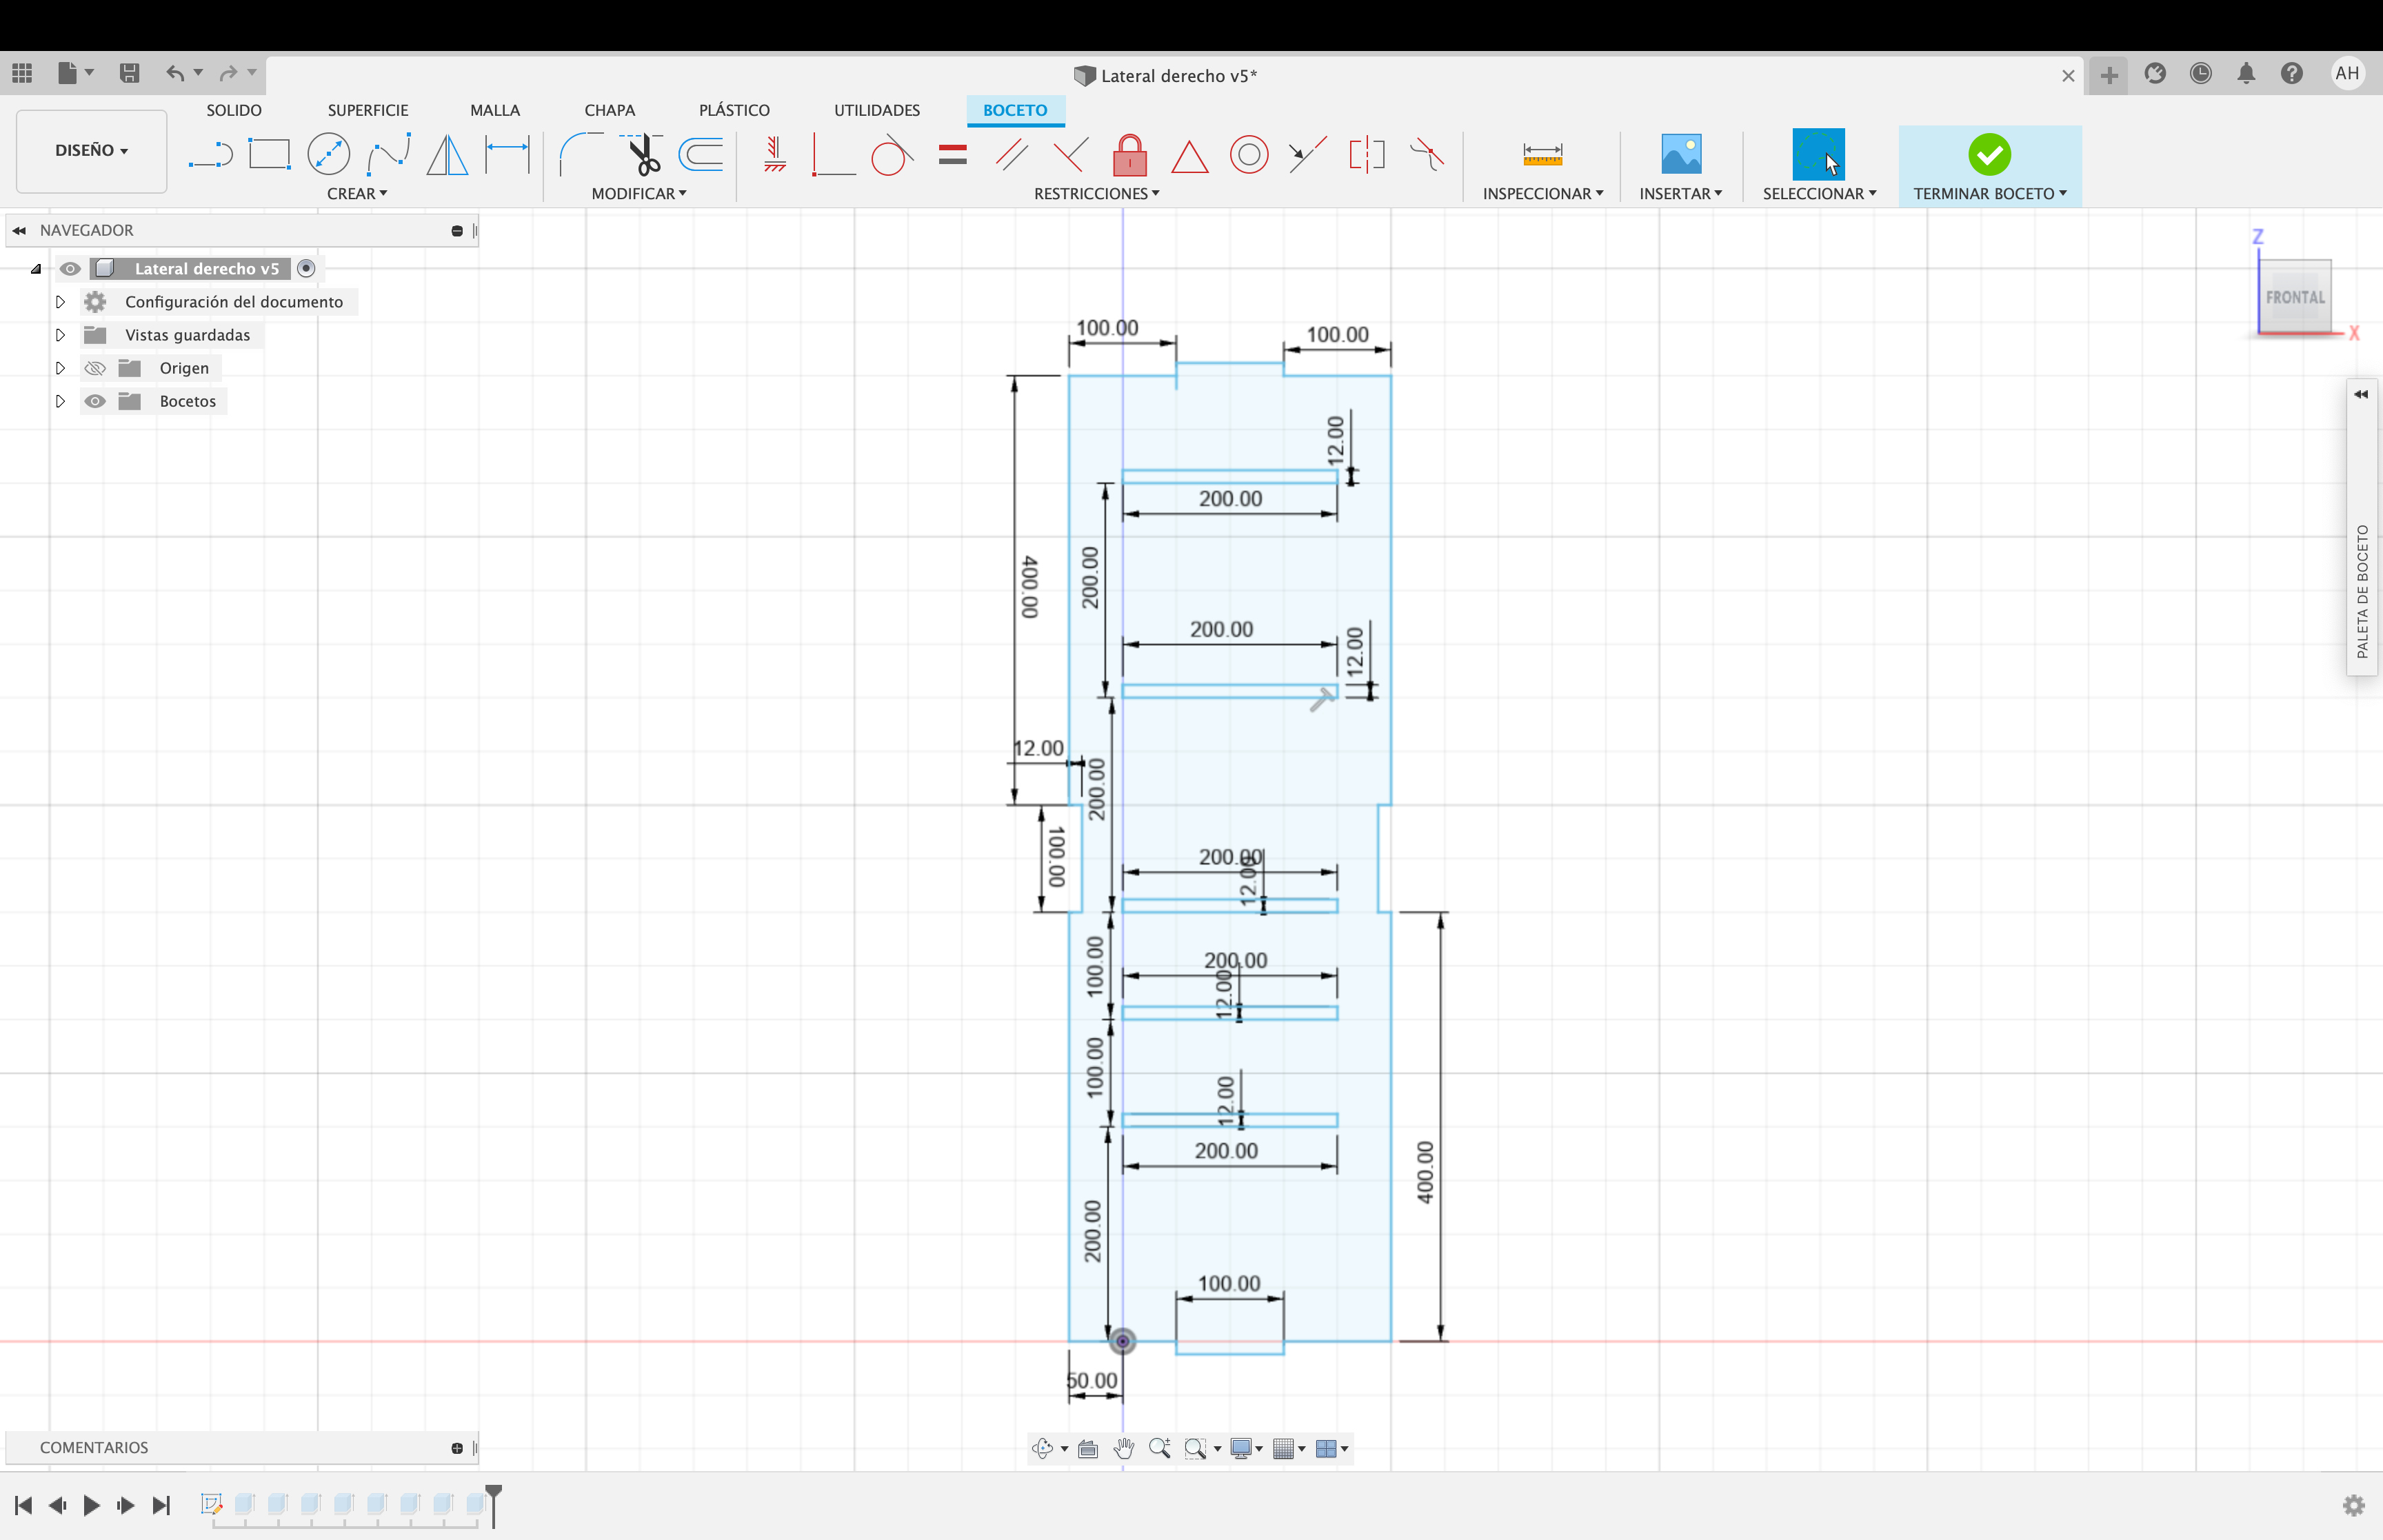
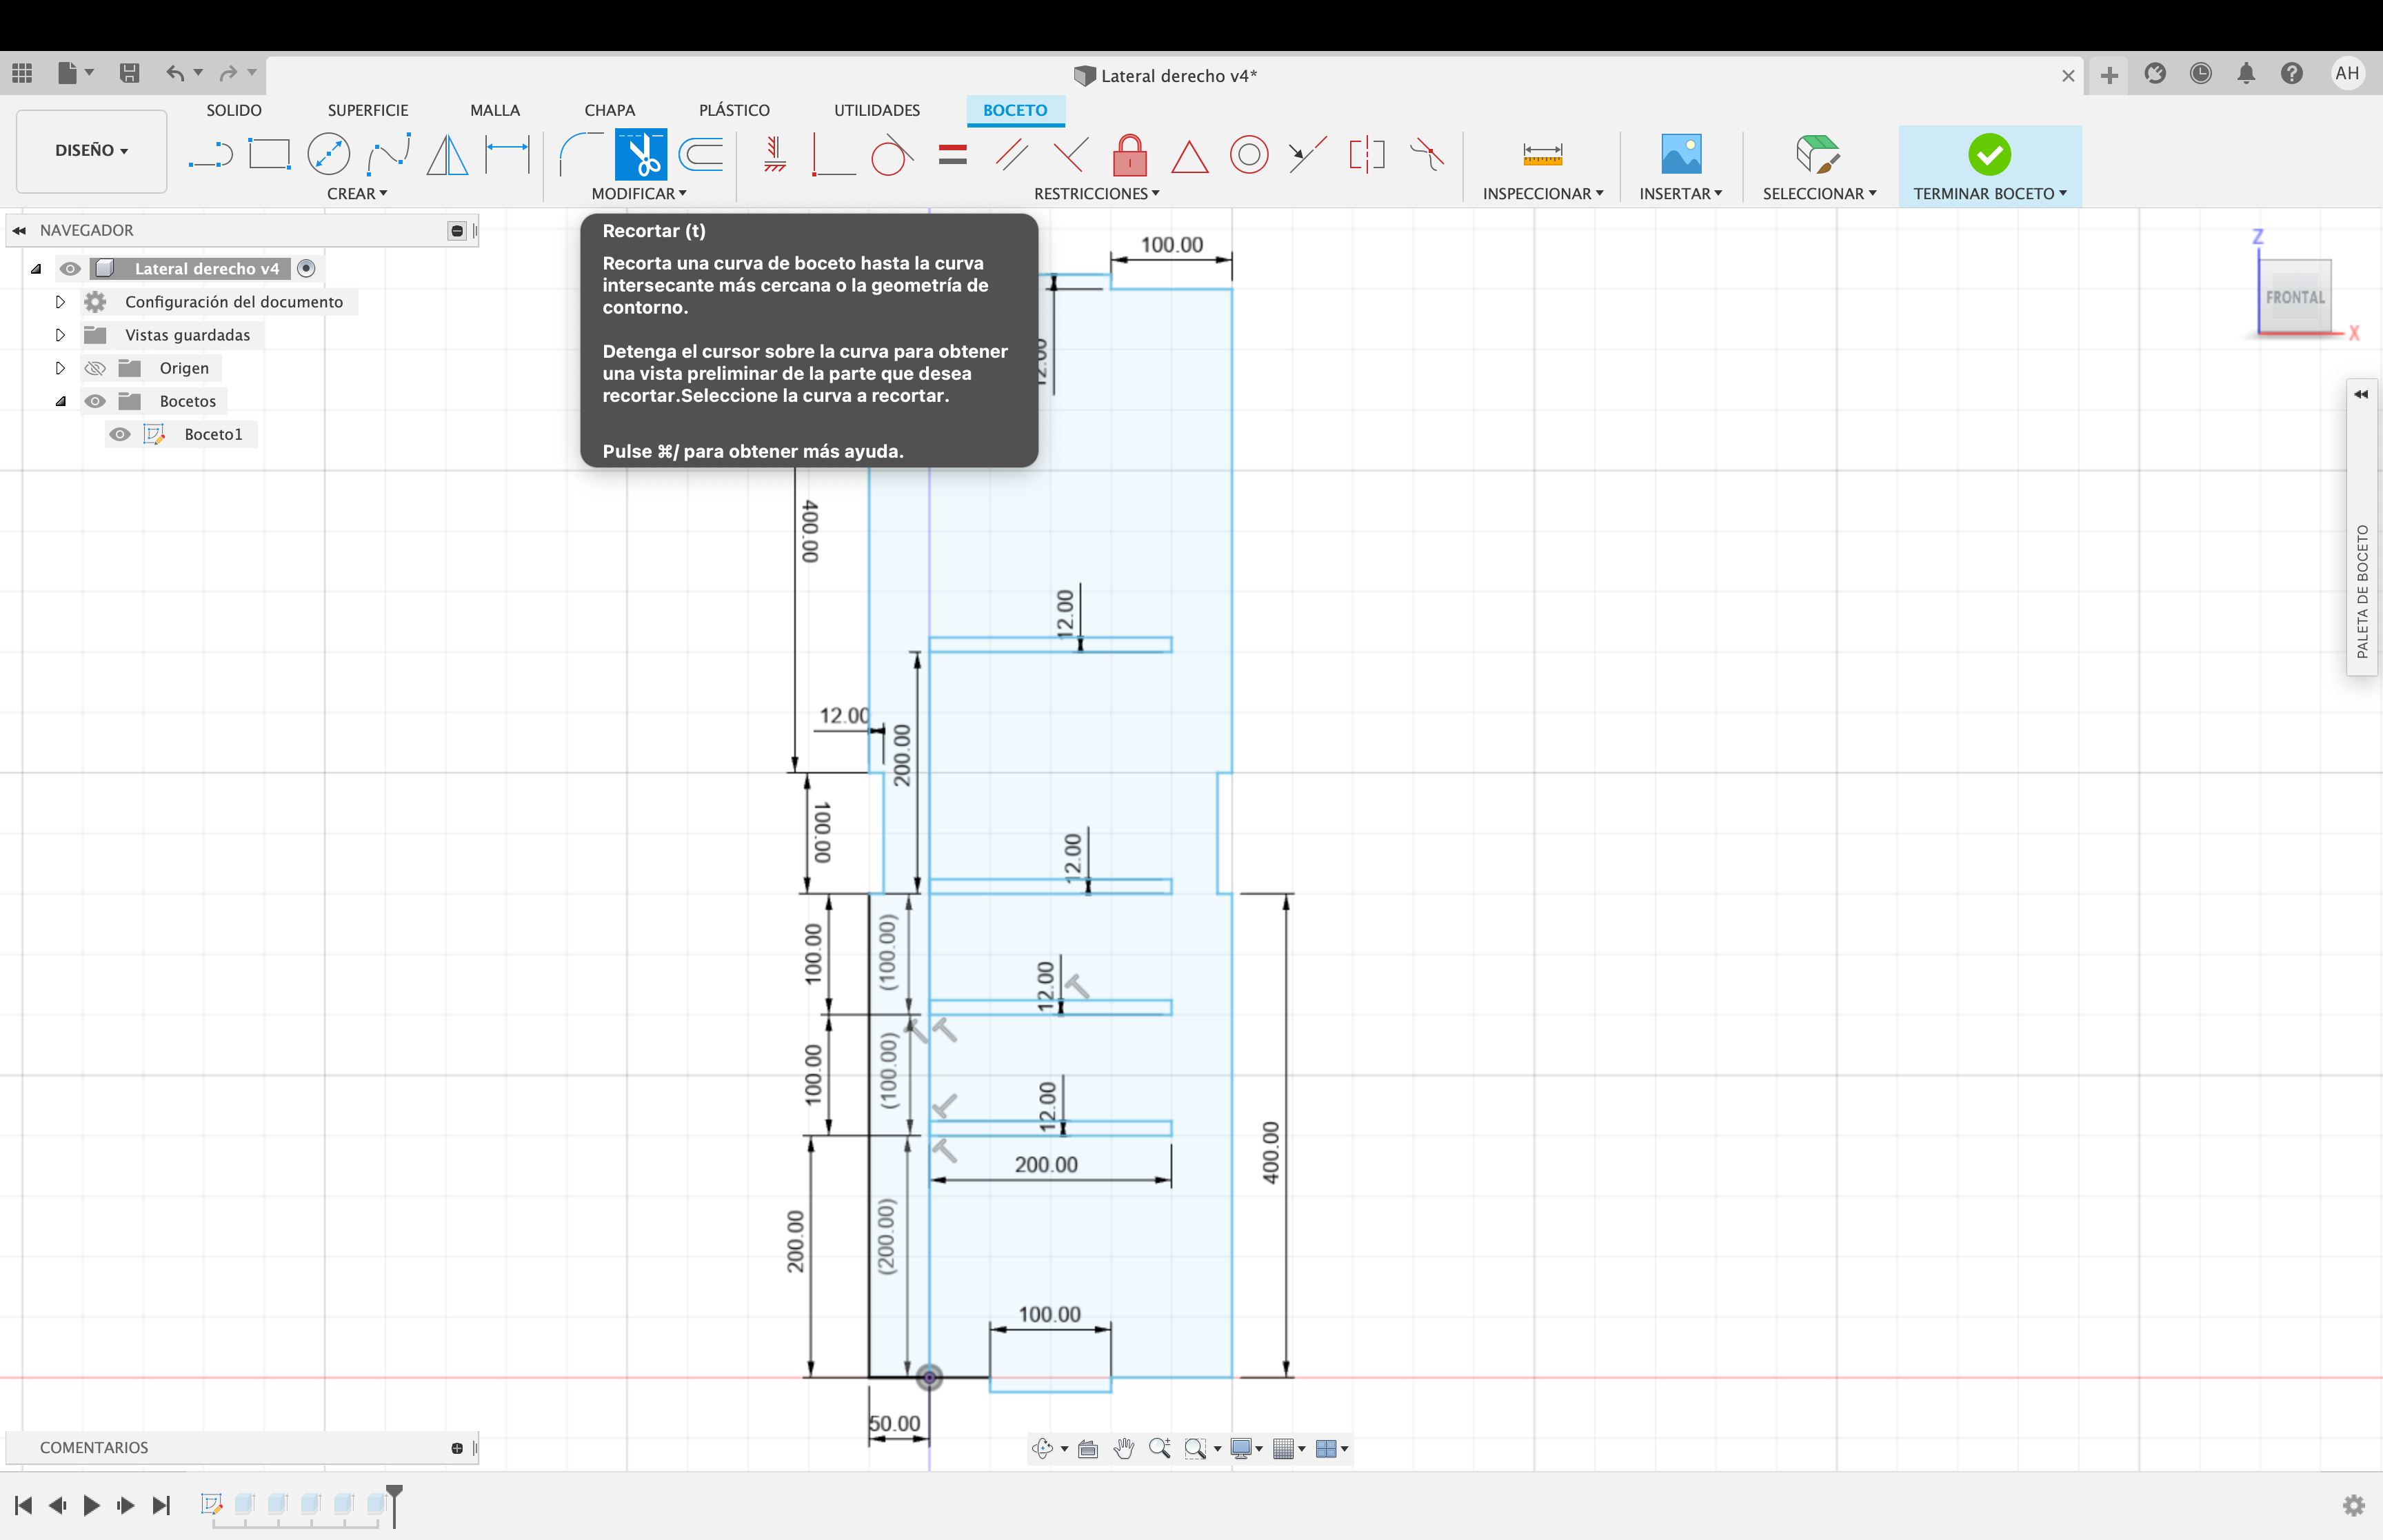
The same way we created the base face we are going to do it with the other parts of the luminous sign, only in different axes. We create a new sketch, between the ZX axes, we click on "Create"; we choose "Line" and we create the sketch with the given measures, then we click on "Finish sketch".
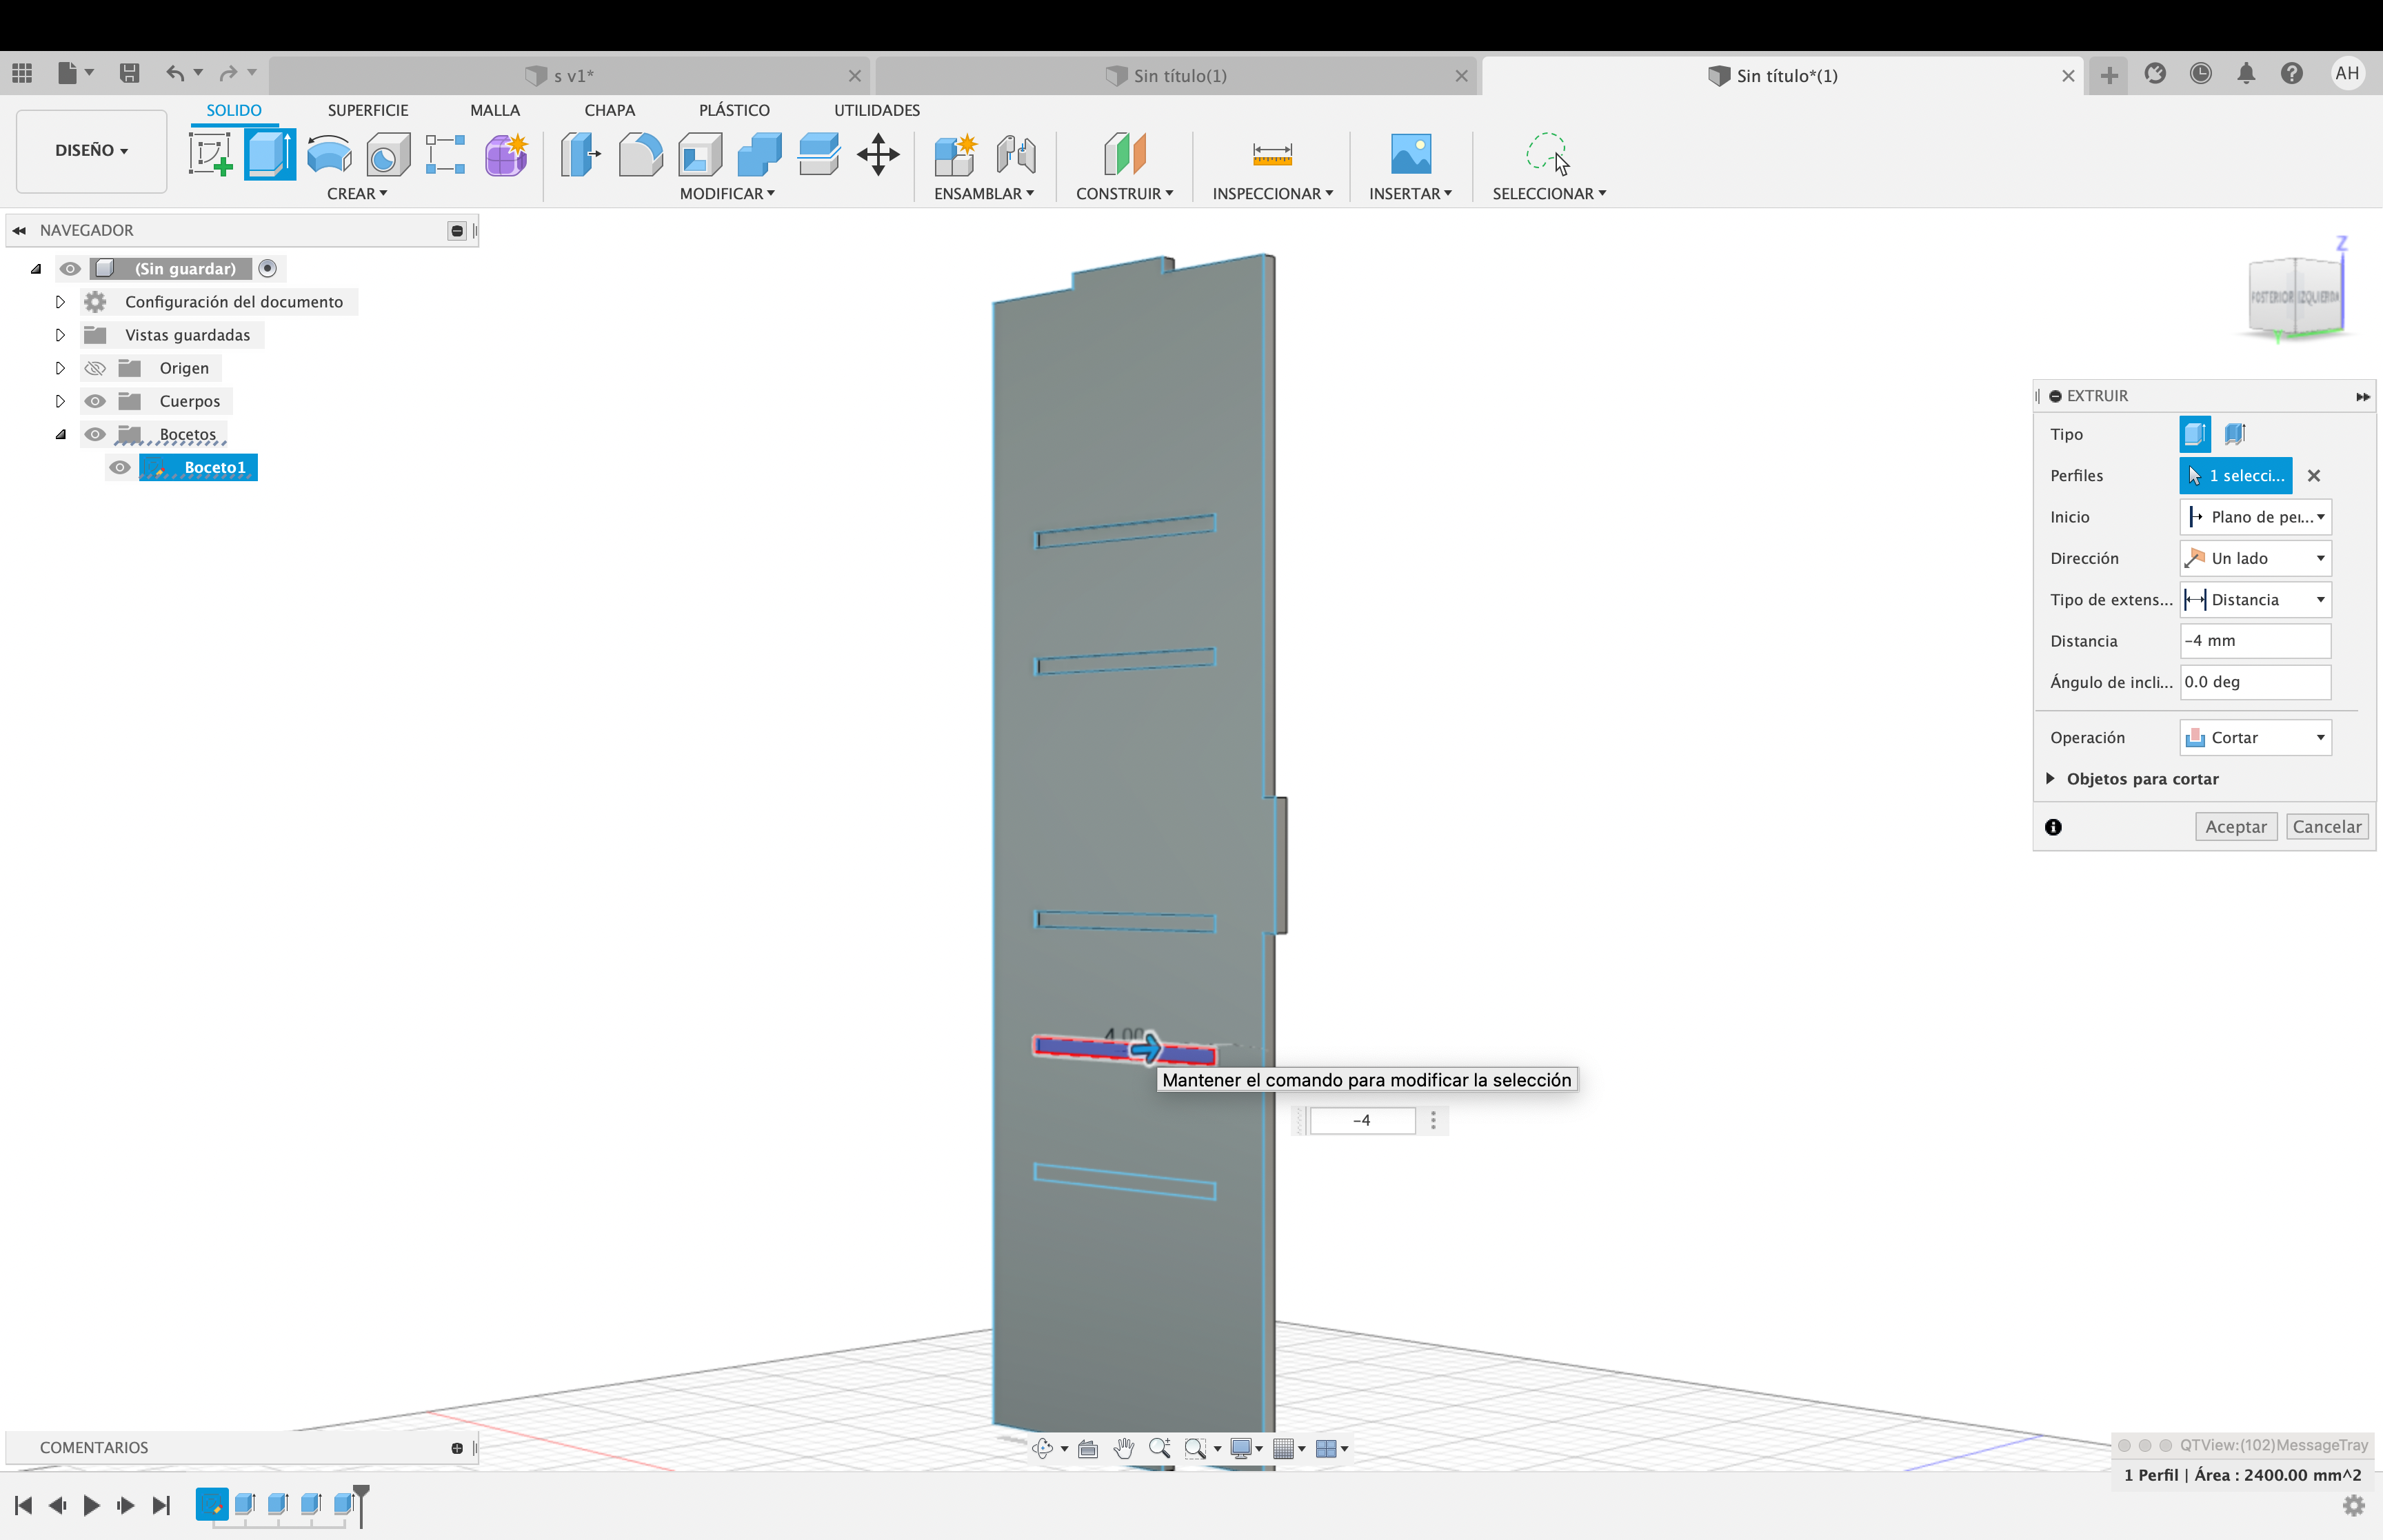
We continue by clicking on "Create"; we choose "Extrude" and we give it 12 mm of volume and we also give the slots extrude but this time it is -4mm; then we click on "Modify"; we choose "Aspect", then we select an option and we drag it to the plane. Save the file and that's it.
Left Side Face
 12.13.06.png)
The same way we created the base face we are going to do it with the other parts of the luminous sign, only in different axes. We create a new sketch, between the ZX axes, we click on "Create"; we choose "Line" and we create the sketch with the given measures, only that according to the measurements we have we make the small holes where the shelf will fit on the other side of the side, then we click on "Finish sketch".
We continue clicking on "Create"; we choose "Extrude" and we give it 12 mm of volume; and then we click on "Modify"; we choose "Aspect", then we select an option and we drag it to the plane. Just save the file and that’s it.
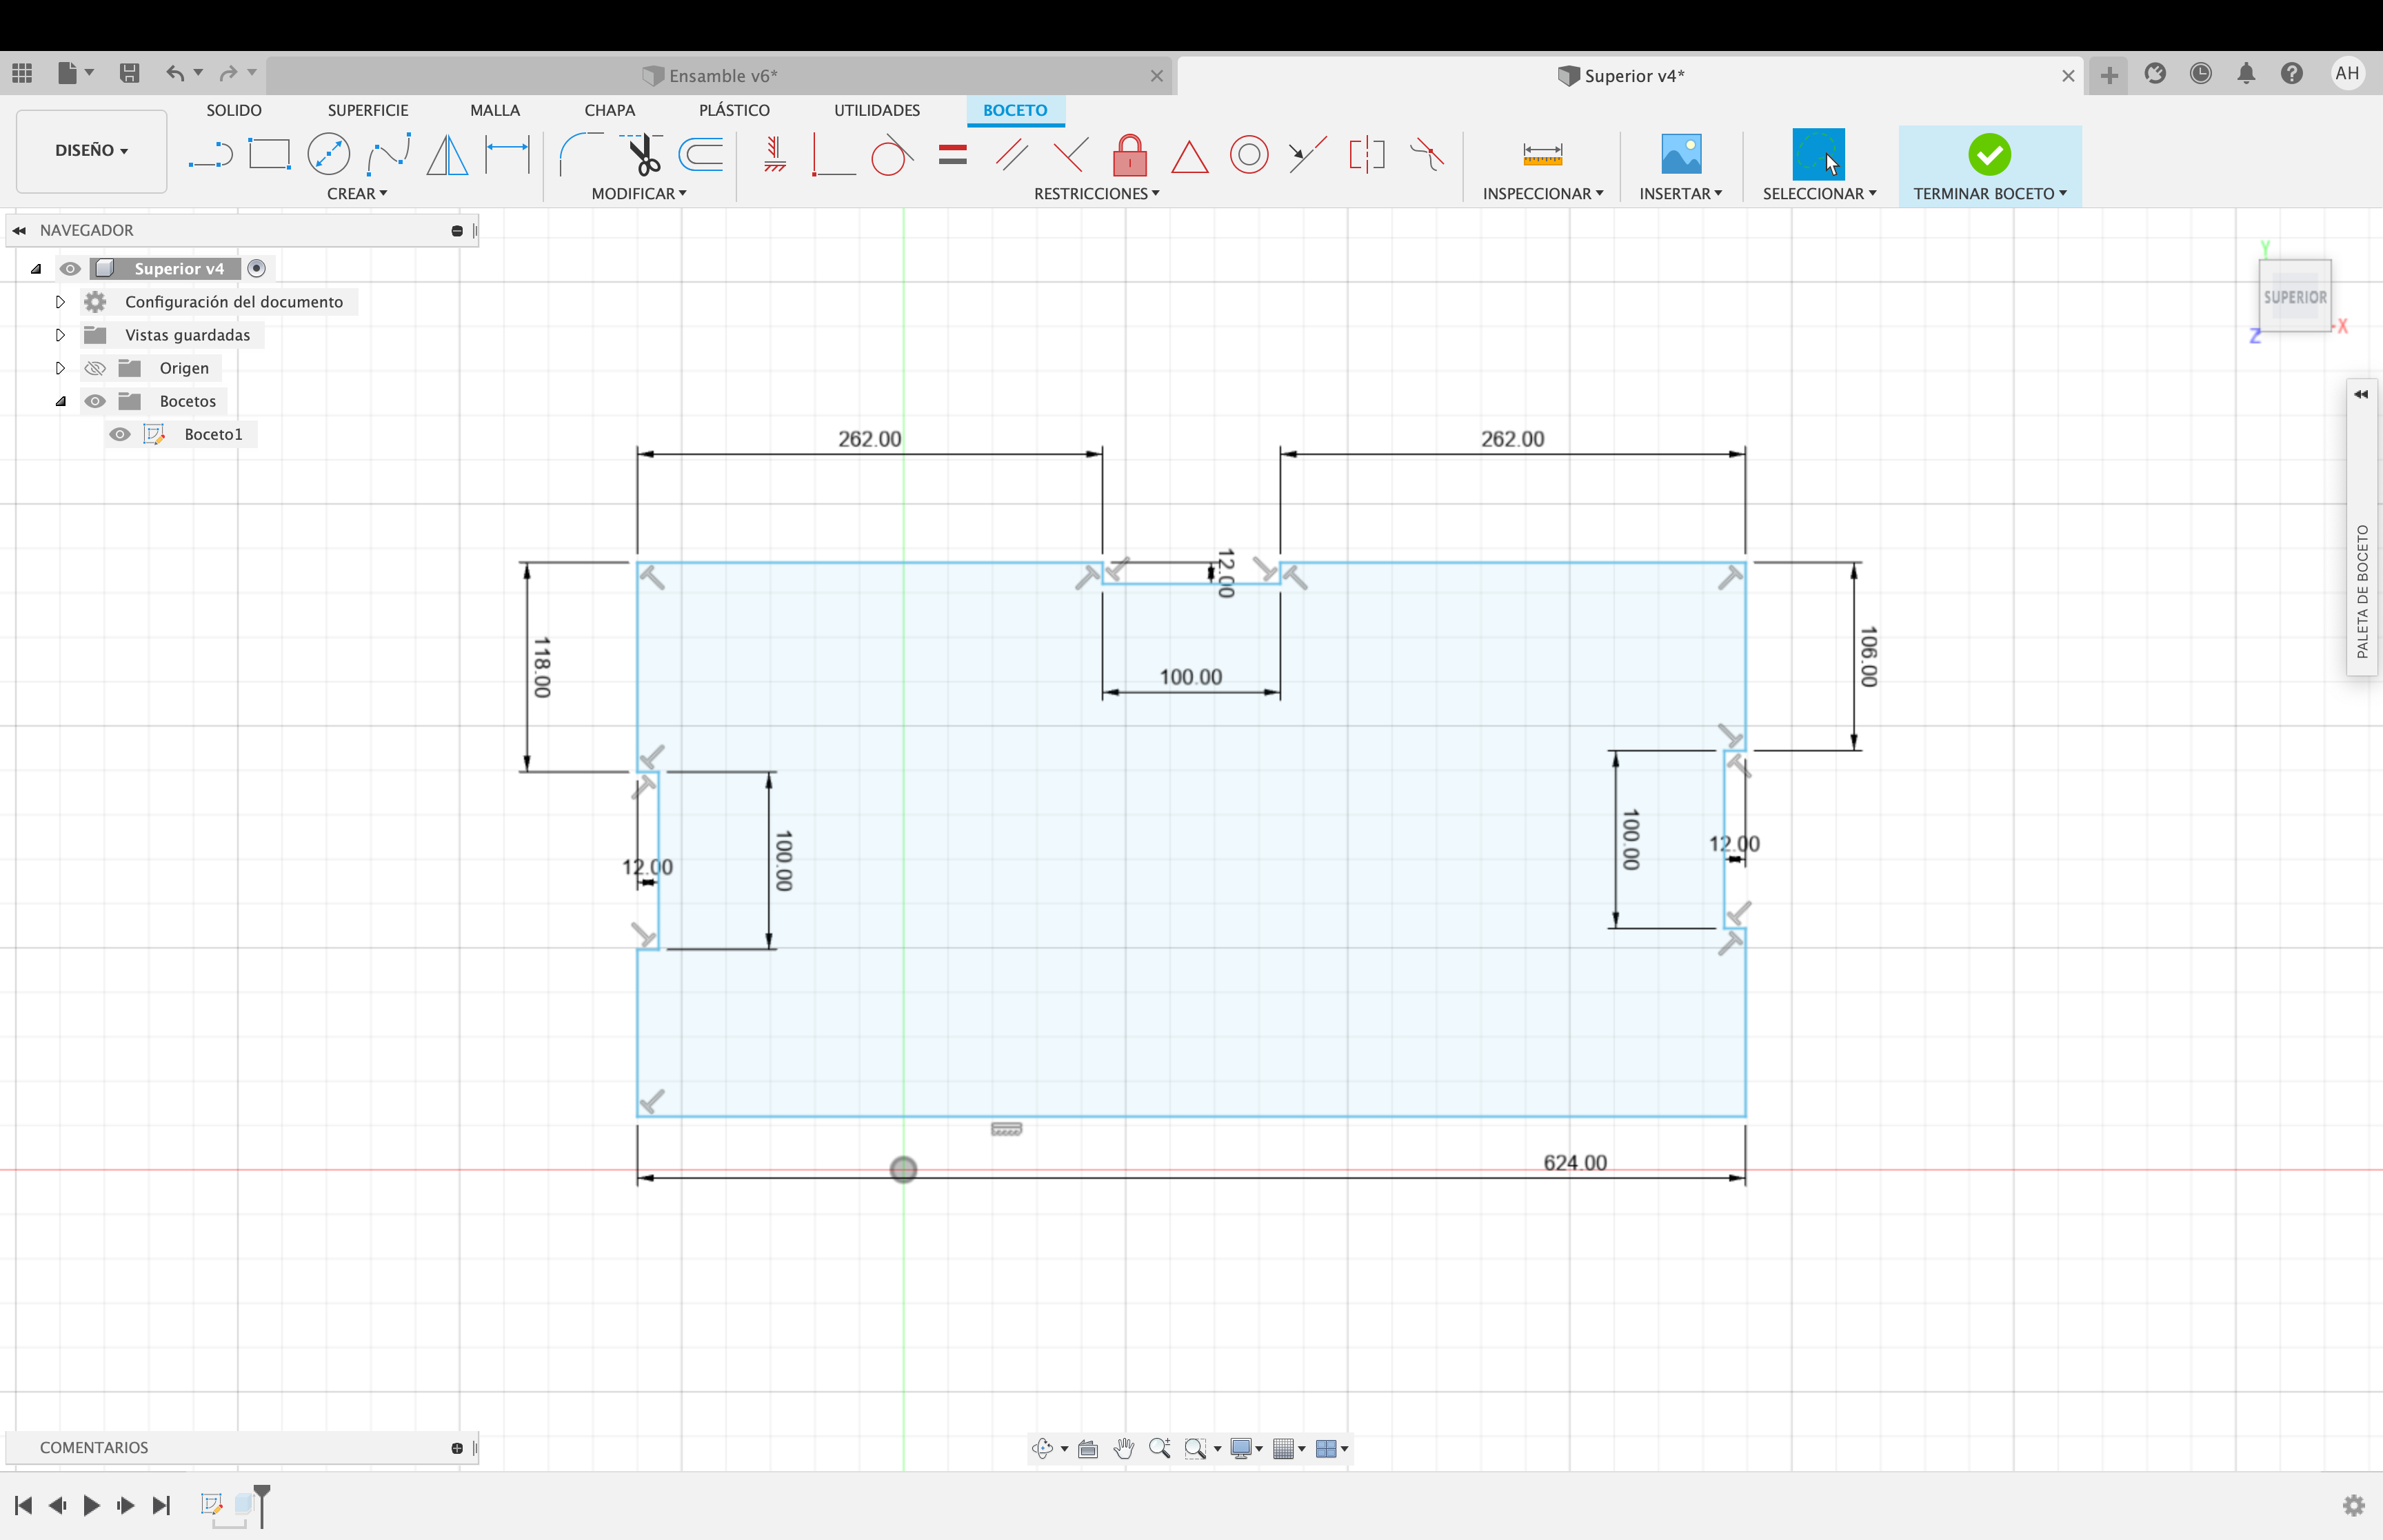
Top Face
 12.21.41.png)
We create a new sketch, between the YX axes, click on "Create"; choose "Line" and create the sketch with the given measures, then click on "Finish sketch".
We continue clicking on "Create"; we choose "Extrude" and we give it 12 mm of volume; and then we click on "Modify"; we choose "Aspect", then we select an option and we drag it to the plane. Just save the file and we are done with the top face.
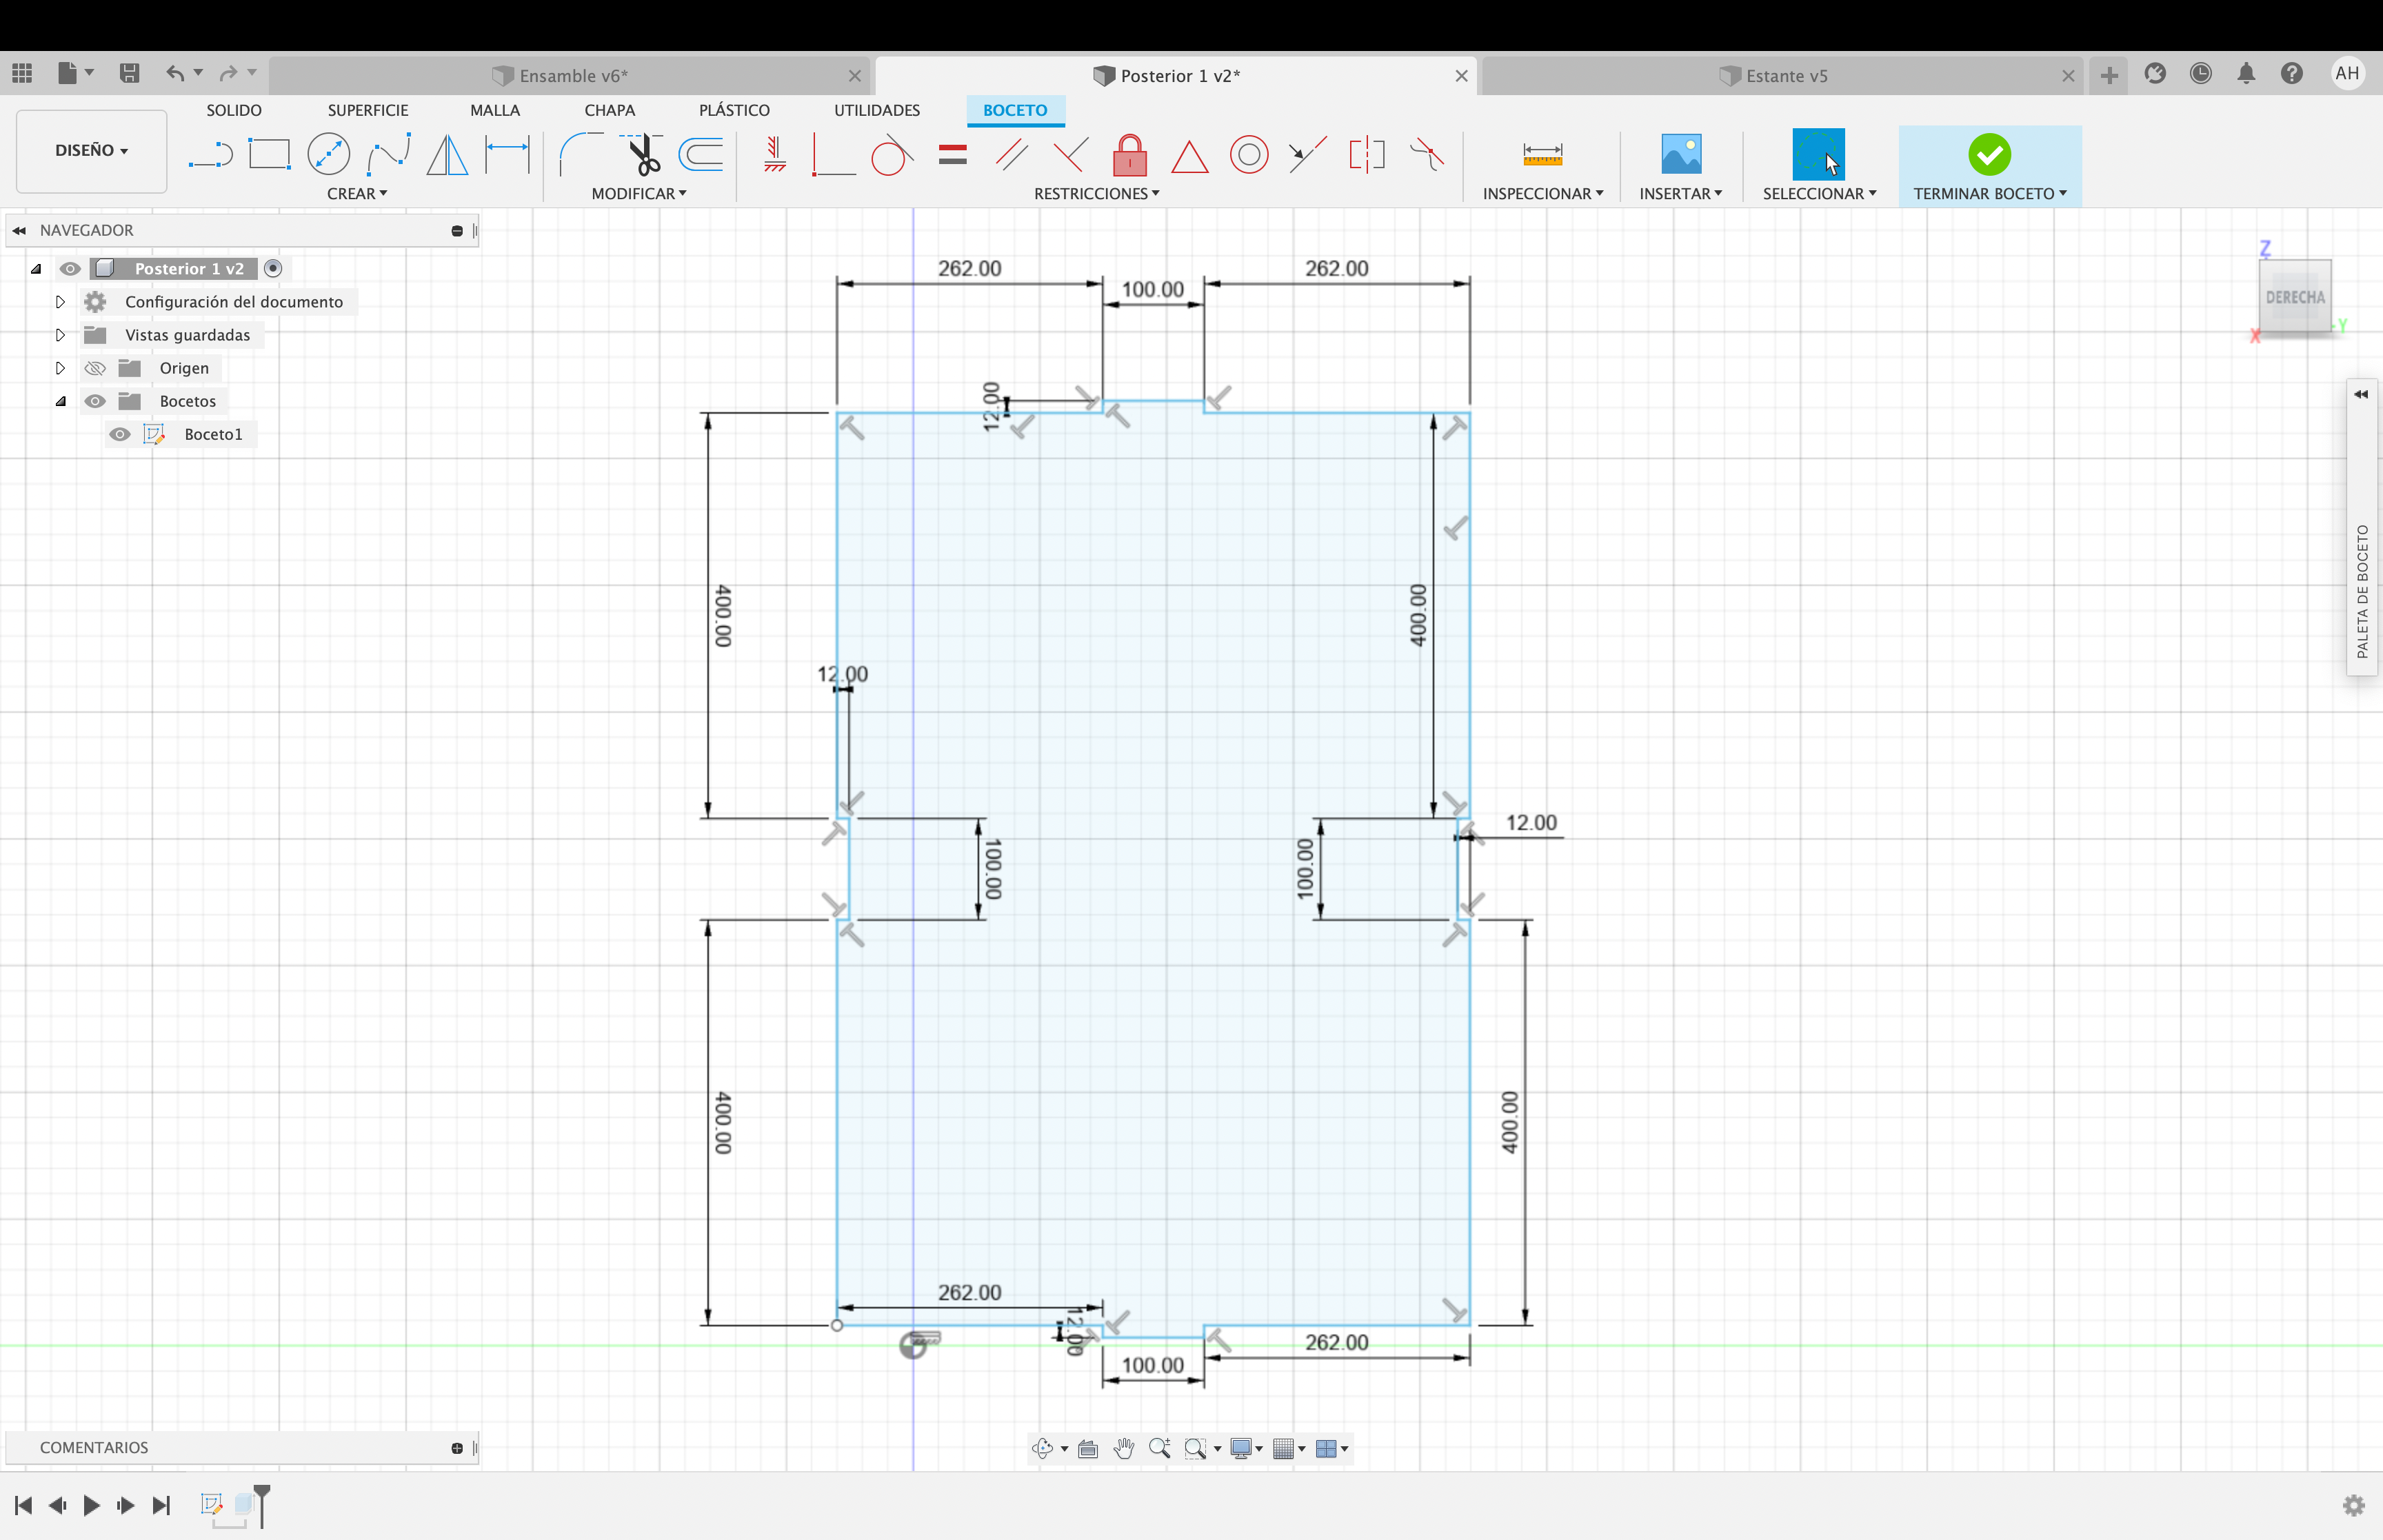
Back Face
 12.16.09.png)
We create a new sketch, between the ZY axes, we click on "Create"; we choose "Line" and we create the sketch with the given measures, then we click on "Finish sketch".
We continue clicking on "Create"; we choose "Extrude" and we give it 12 mm of volume; and then we click on "Modify"; we choose "Aspect", then we select an option and we drag it to the plane. Just save the file and we are done with the back face.
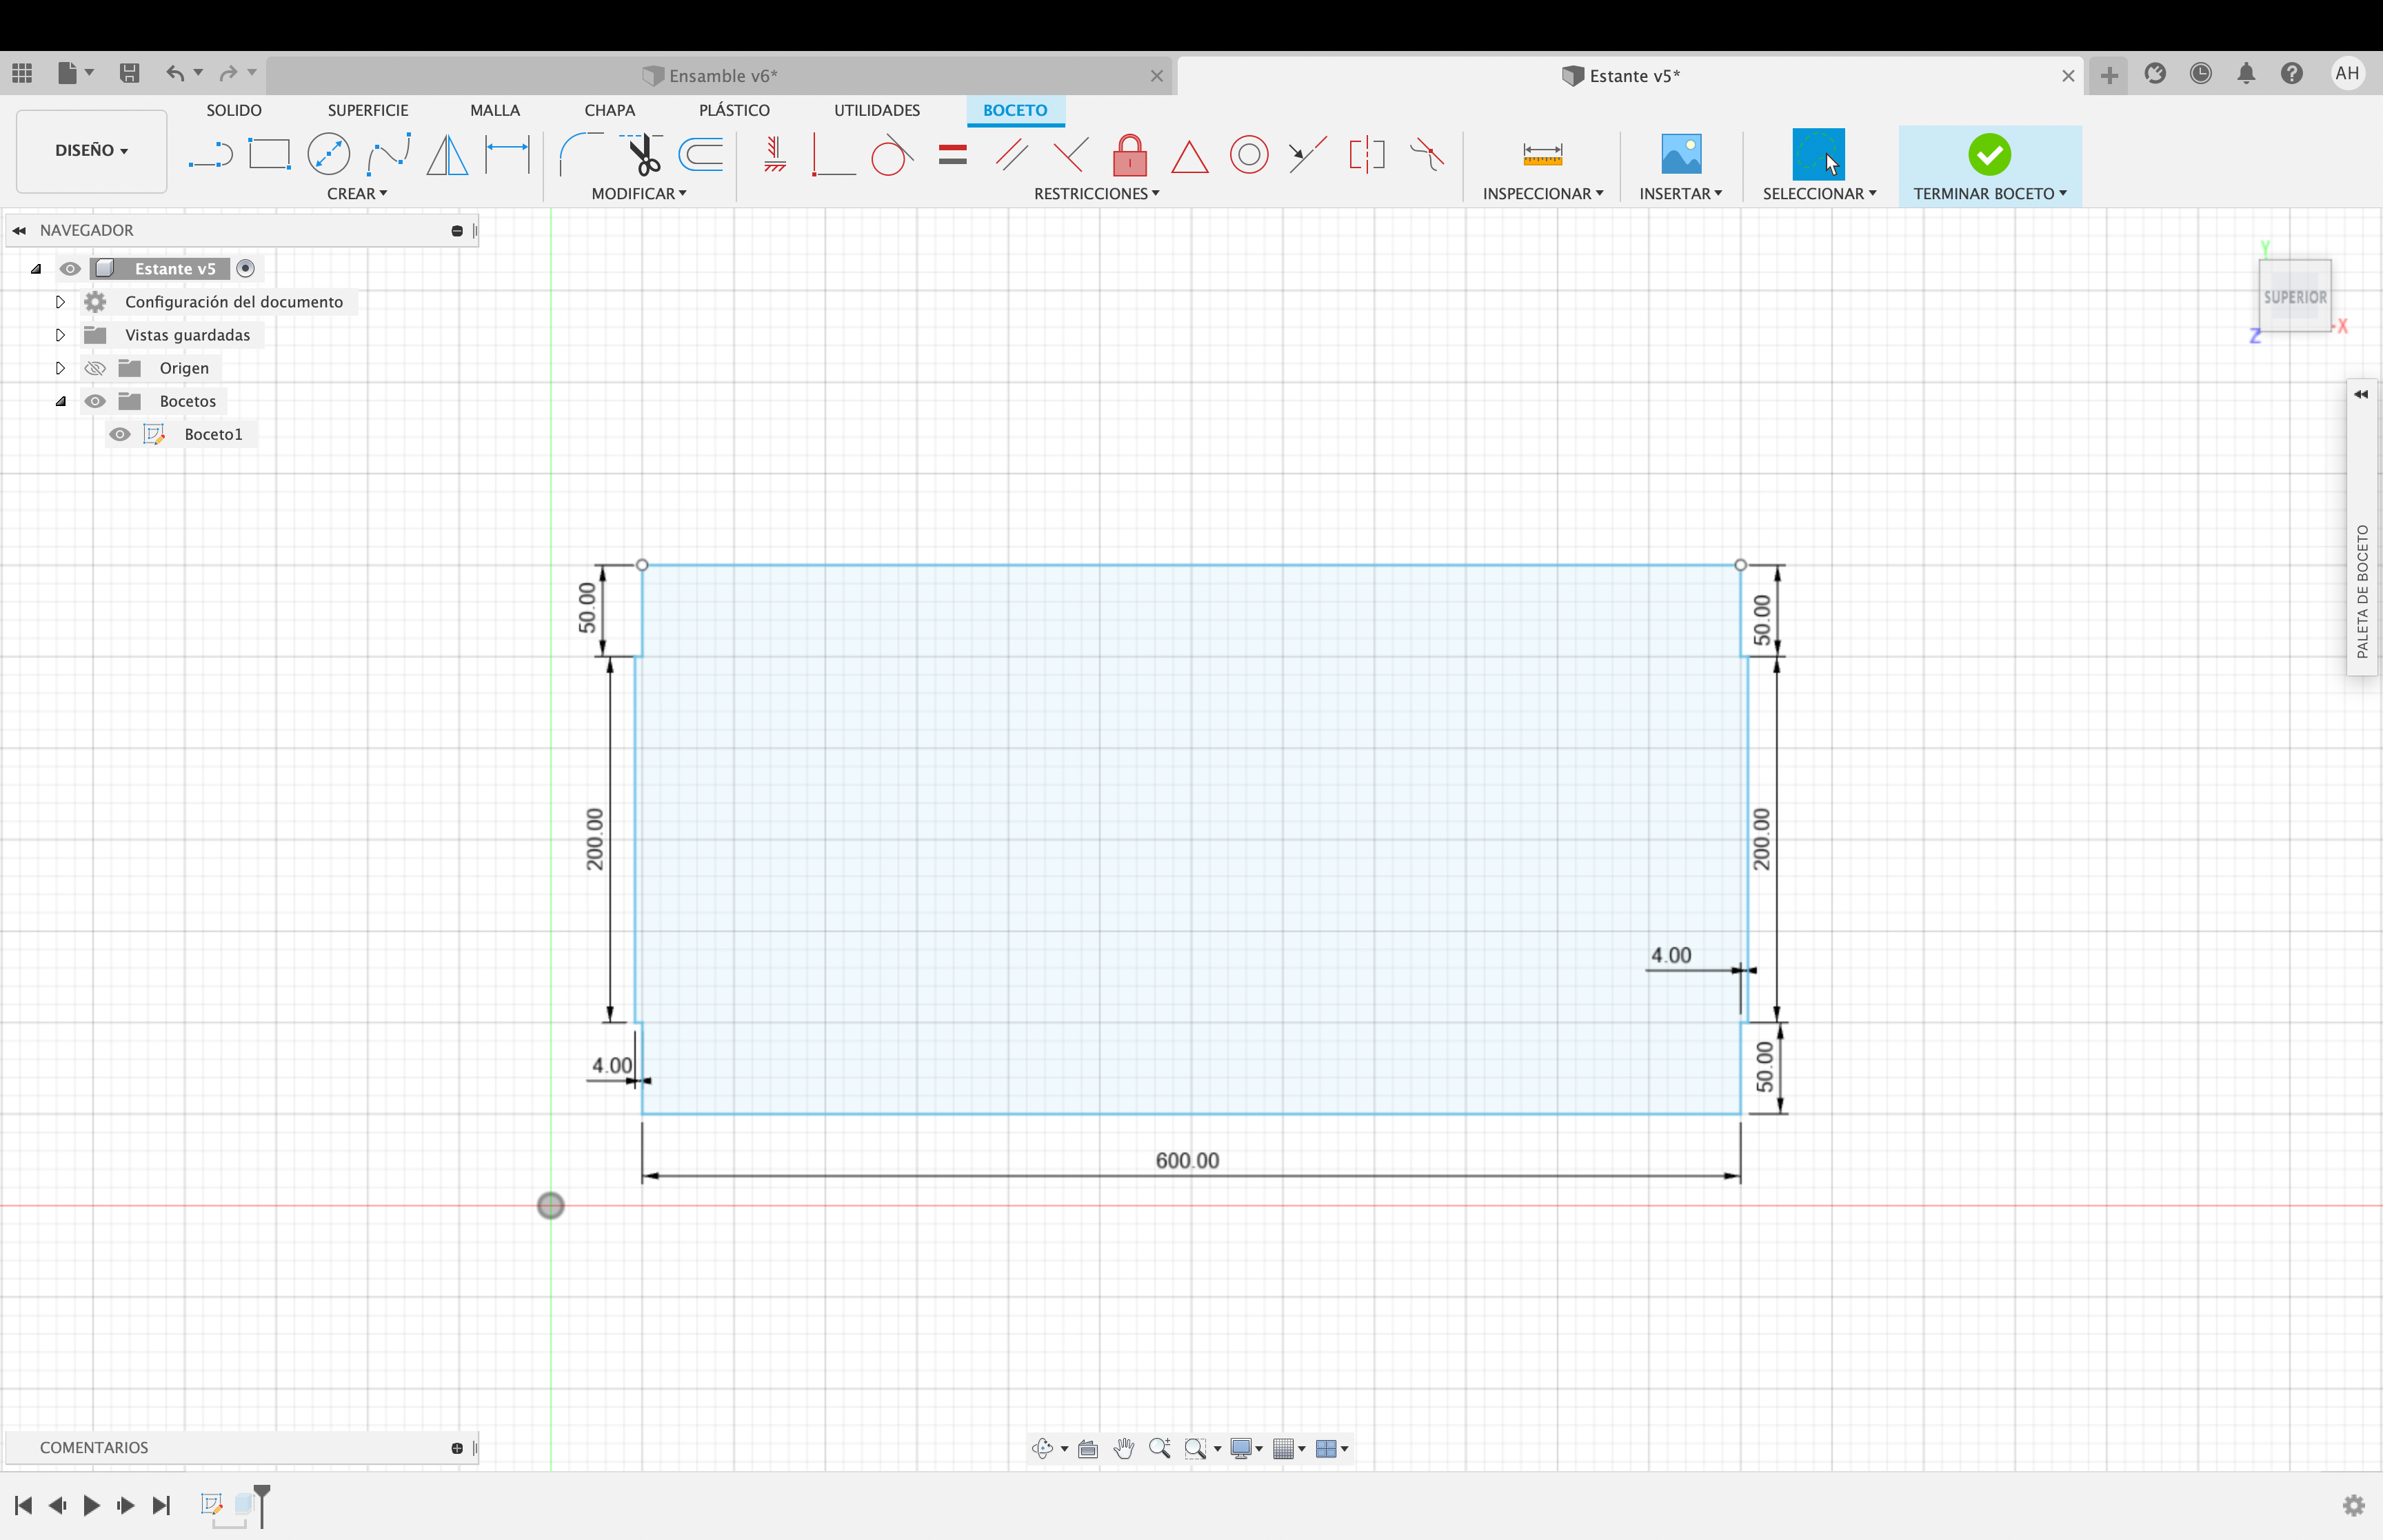
Shelf
 12.16.36.png)
The same way we created the base face we are going to do it with the other parts of the luminous sign, only in different axes. We create a new sketch, between the YX axes, we click on "Create"; we choose "Line" and we create the sketch with the given measures, then we click on "Finish sketch".
We continue clicking on "Create"; we choose "Extrude" and we give it 12 mm of volume; and then we click on "Modify"; we choose "Aspect", then we select an option and we drag it to the plane. Just save the file and that’s it.
Shelf Division
 13.01.36.png)
We create a new sketch, between the ZX axes, click on "Create"; choose "Line" and create the sketch with the given measurements, then click on "Finish sketch".
We continue clicking on "Create"; we choose "Extrude" and give it 12 mm of volume; then we click on "Modify"; we choose "Aspect", then we select an option and drag it to the plane. Save the file and we are done with the shelf division.
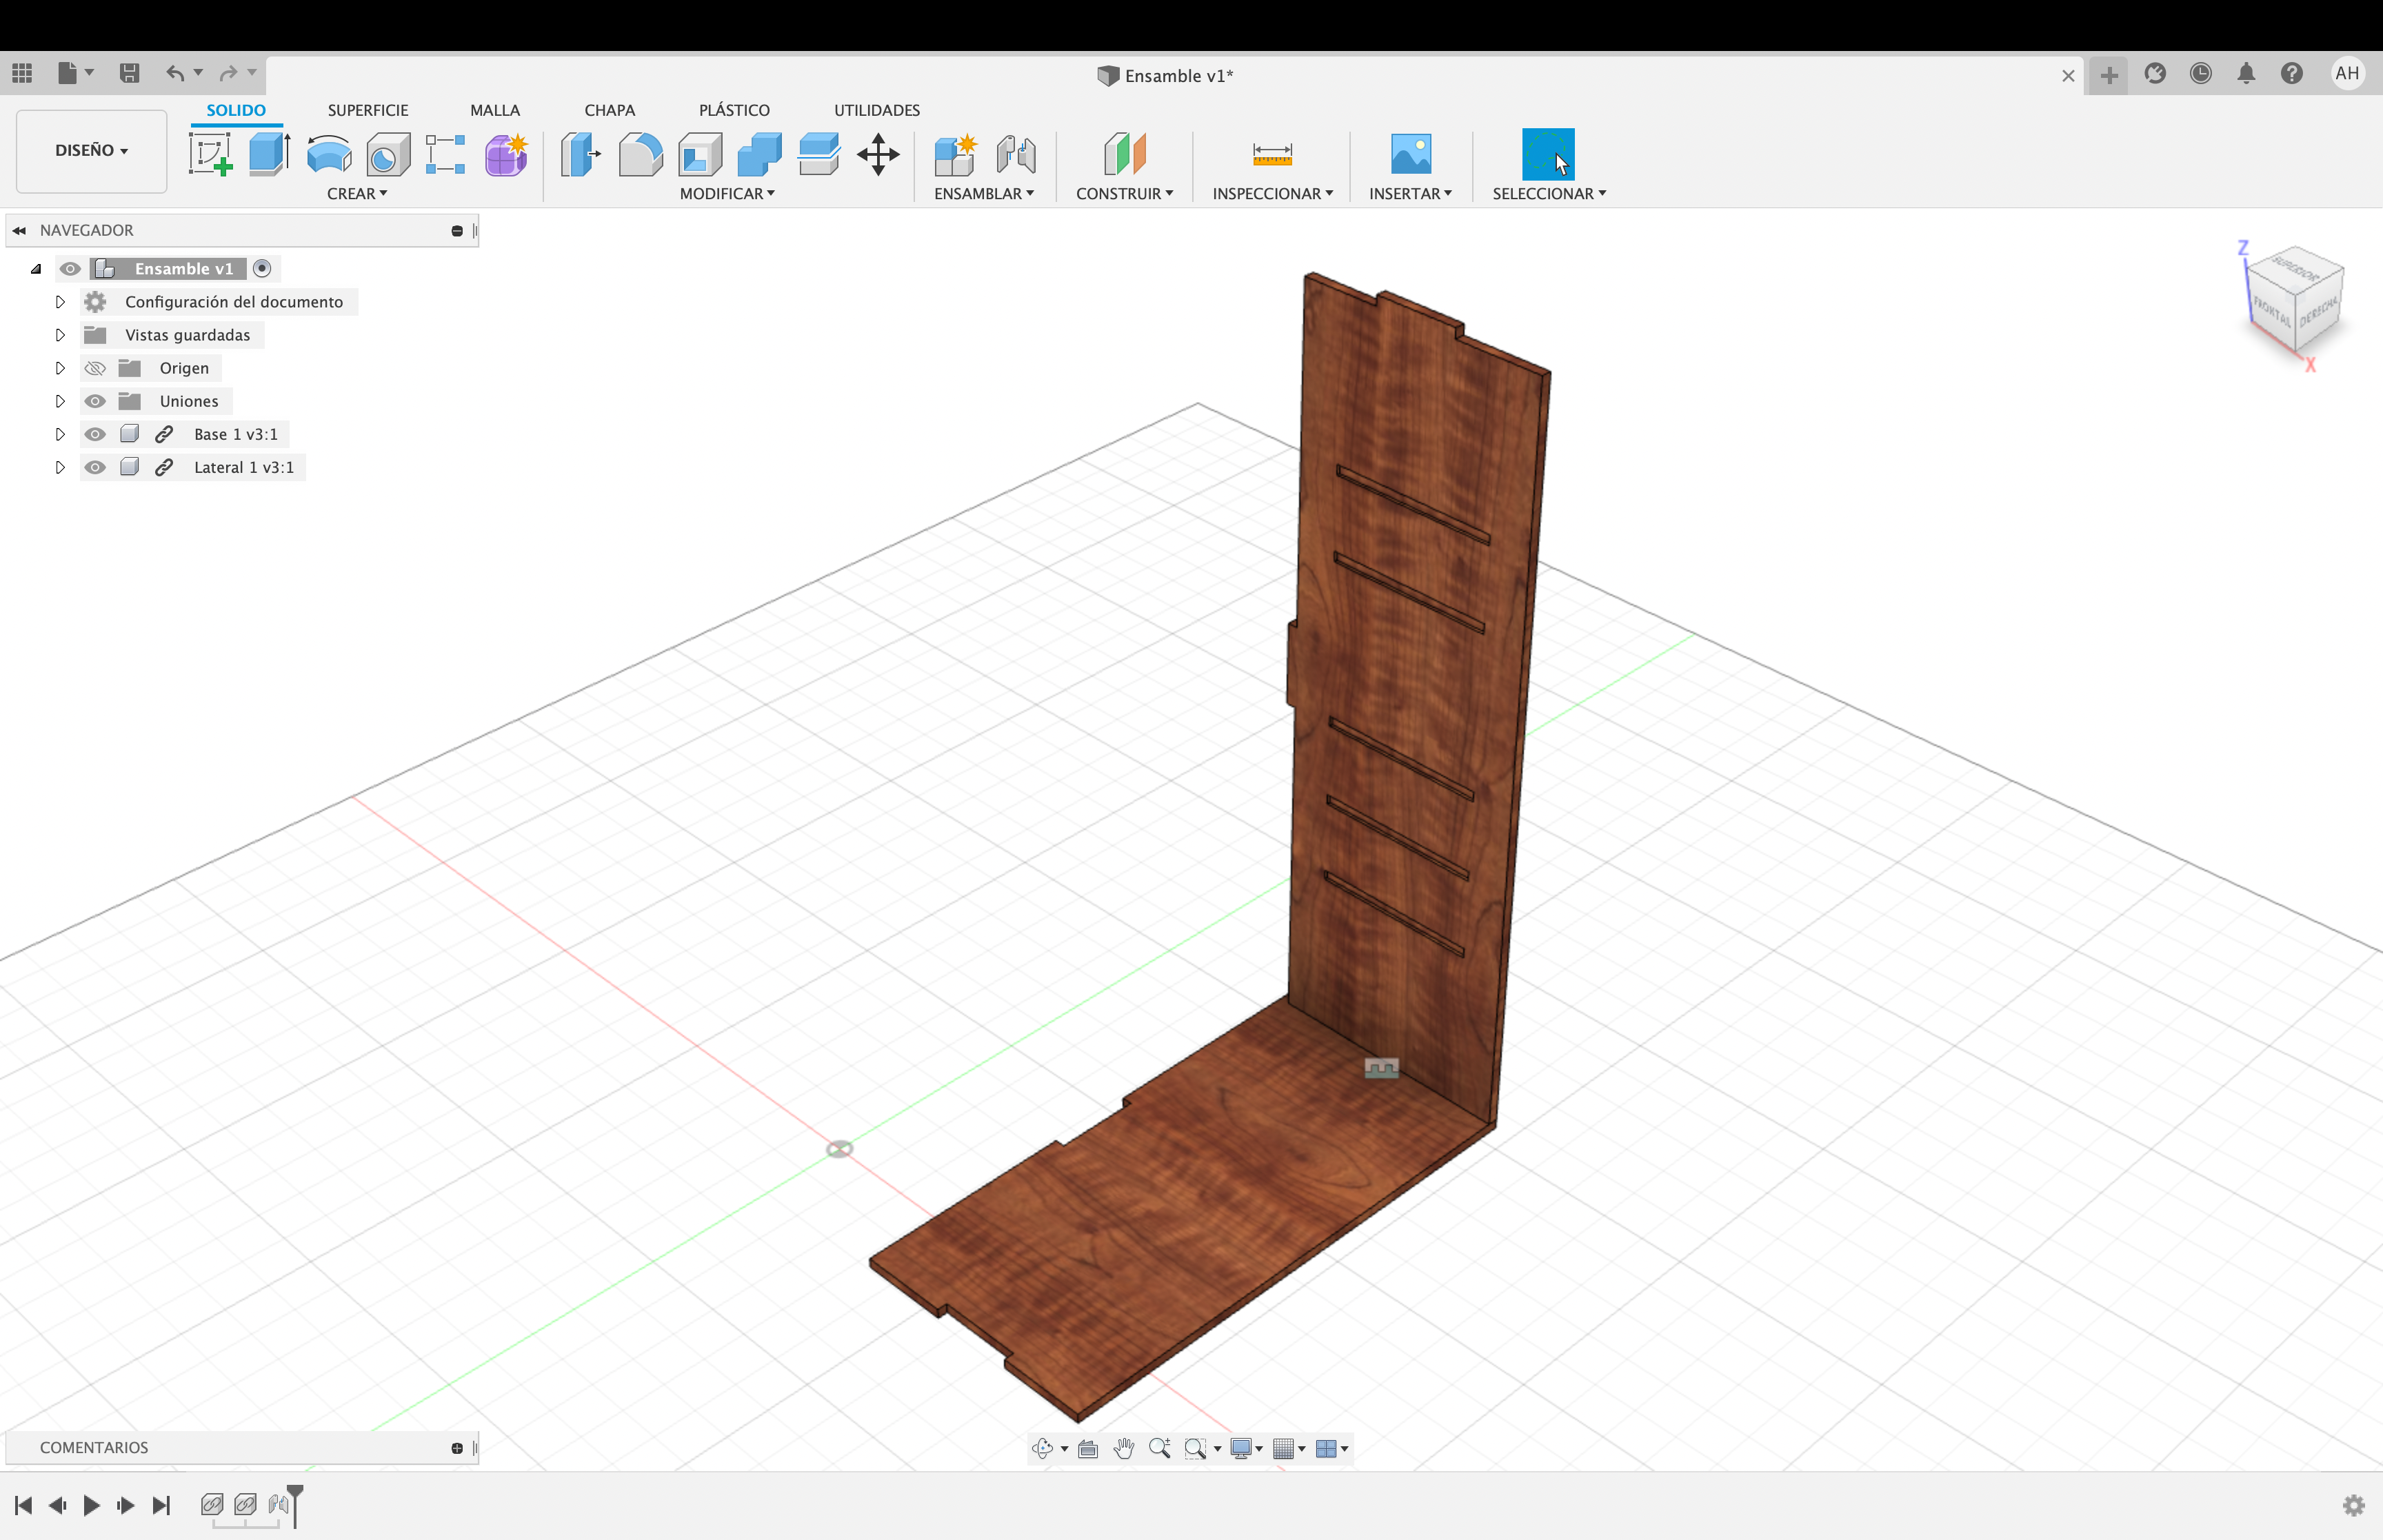
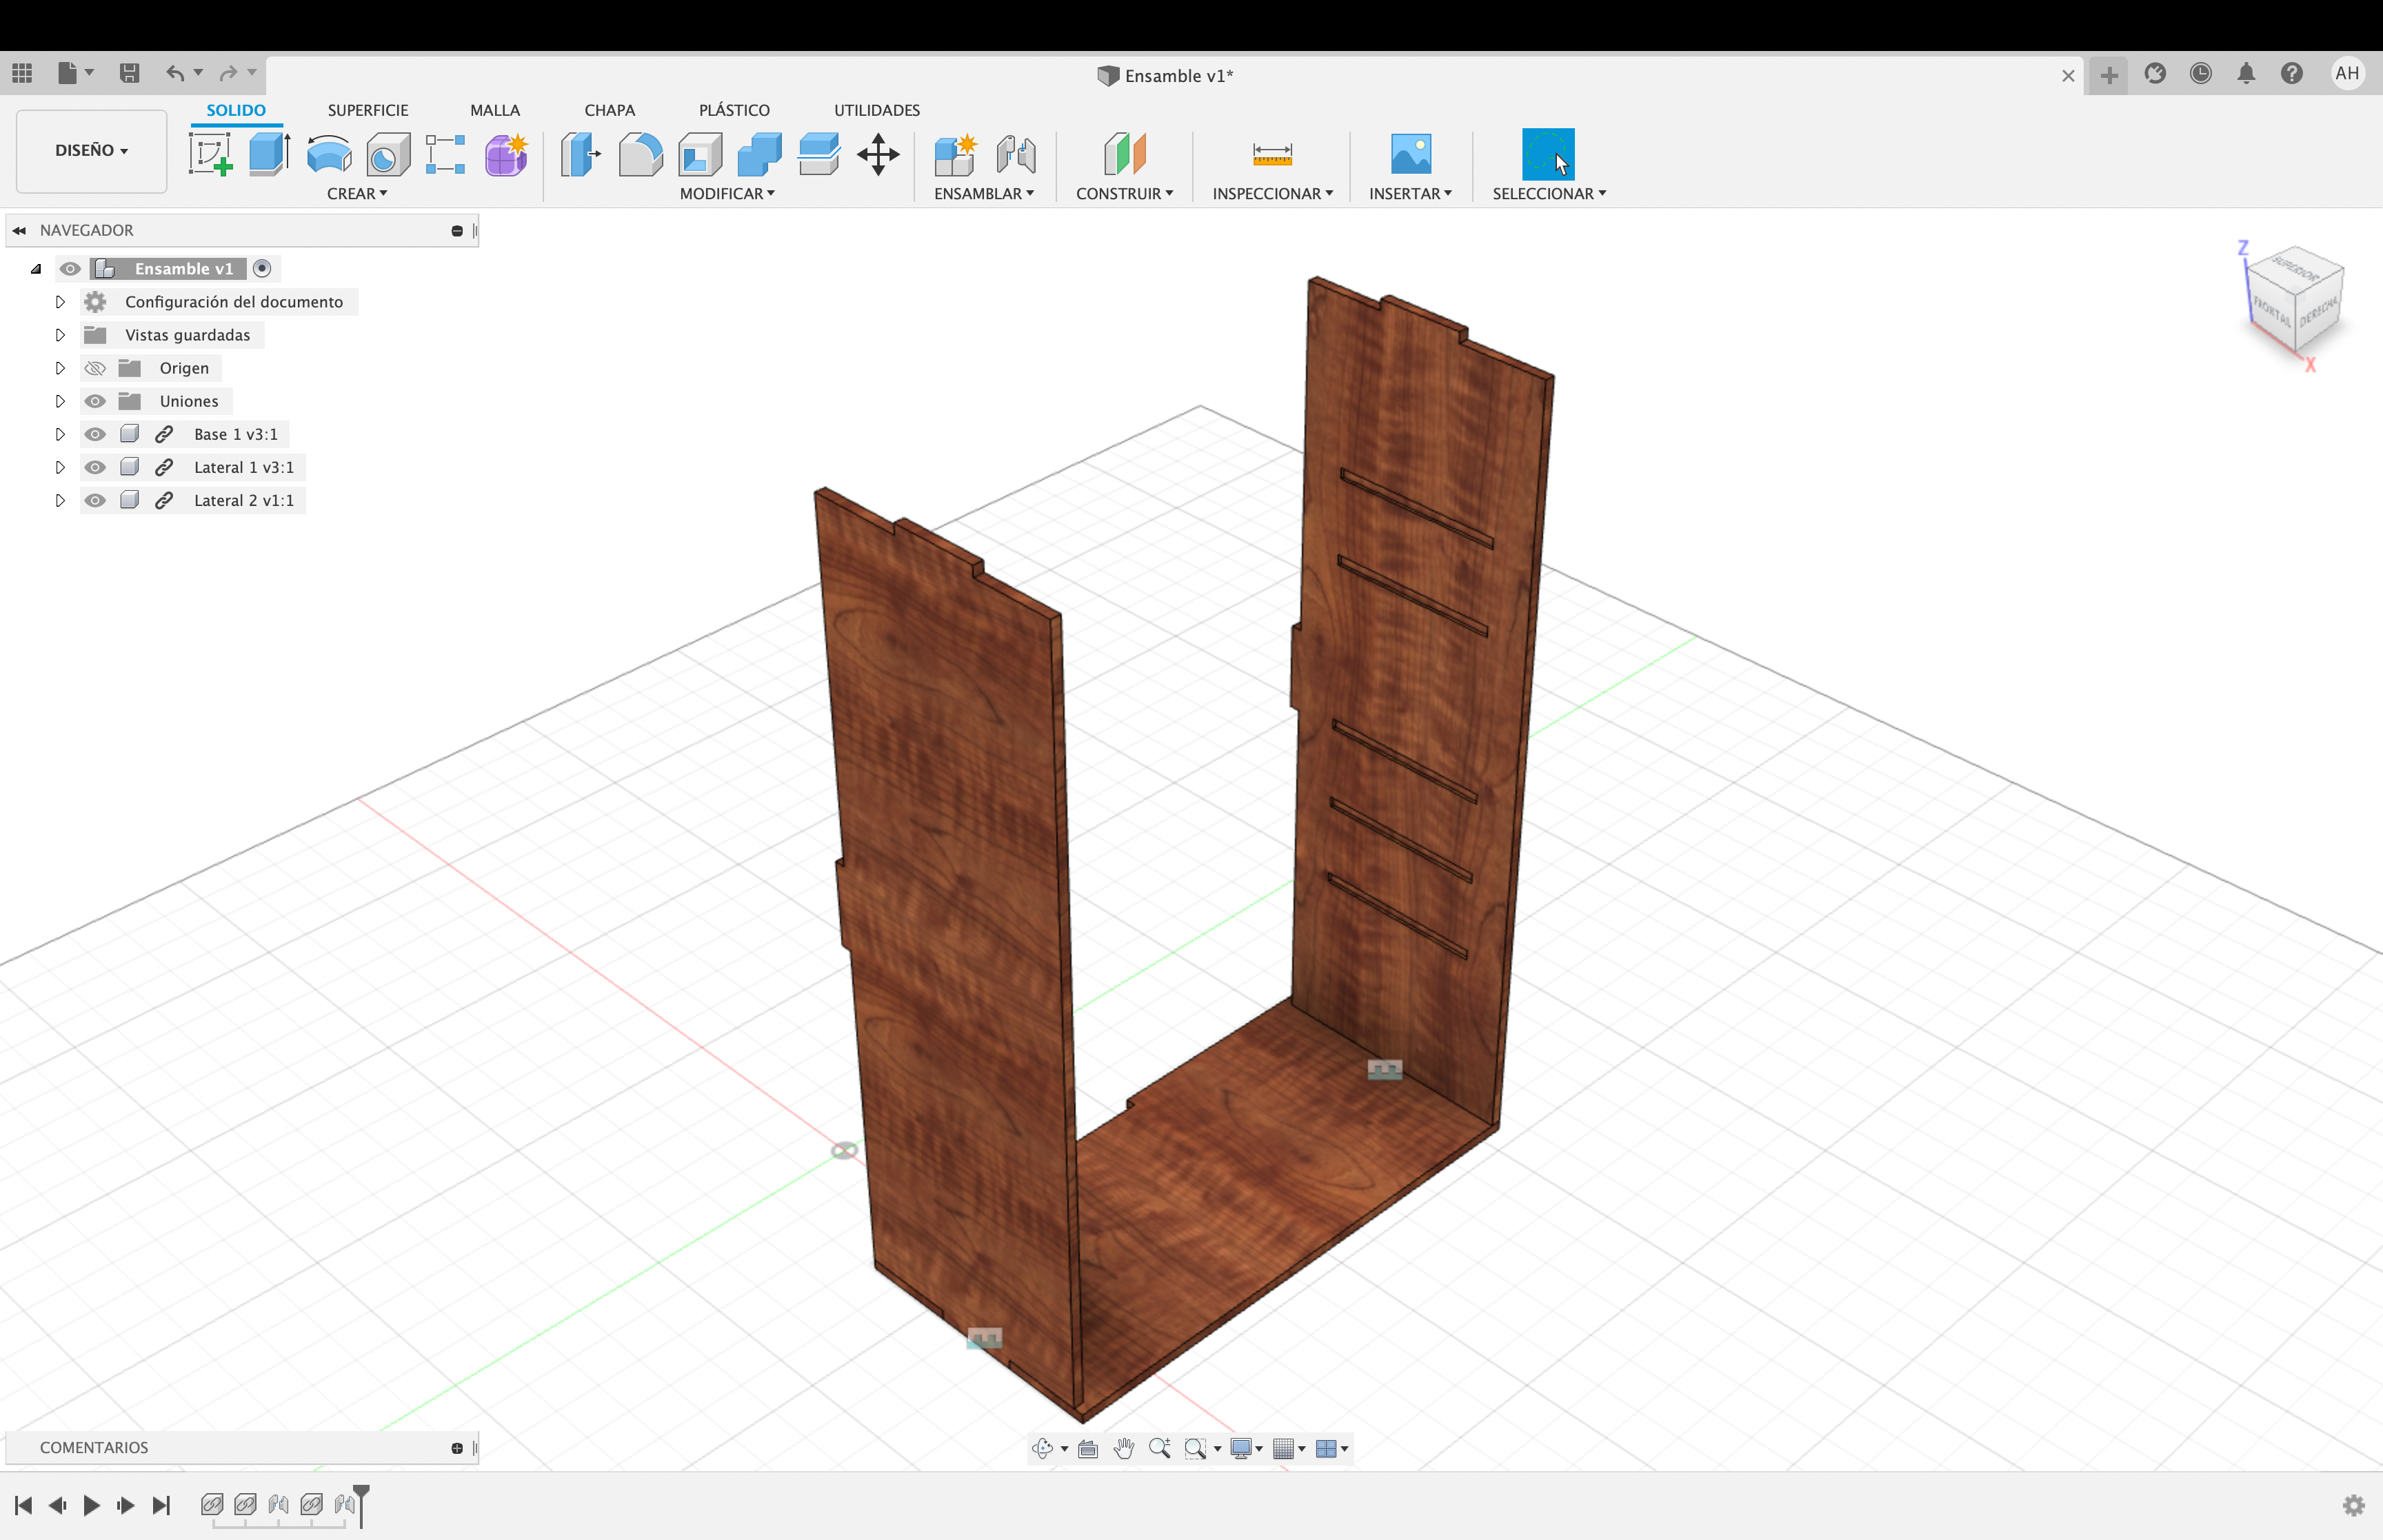
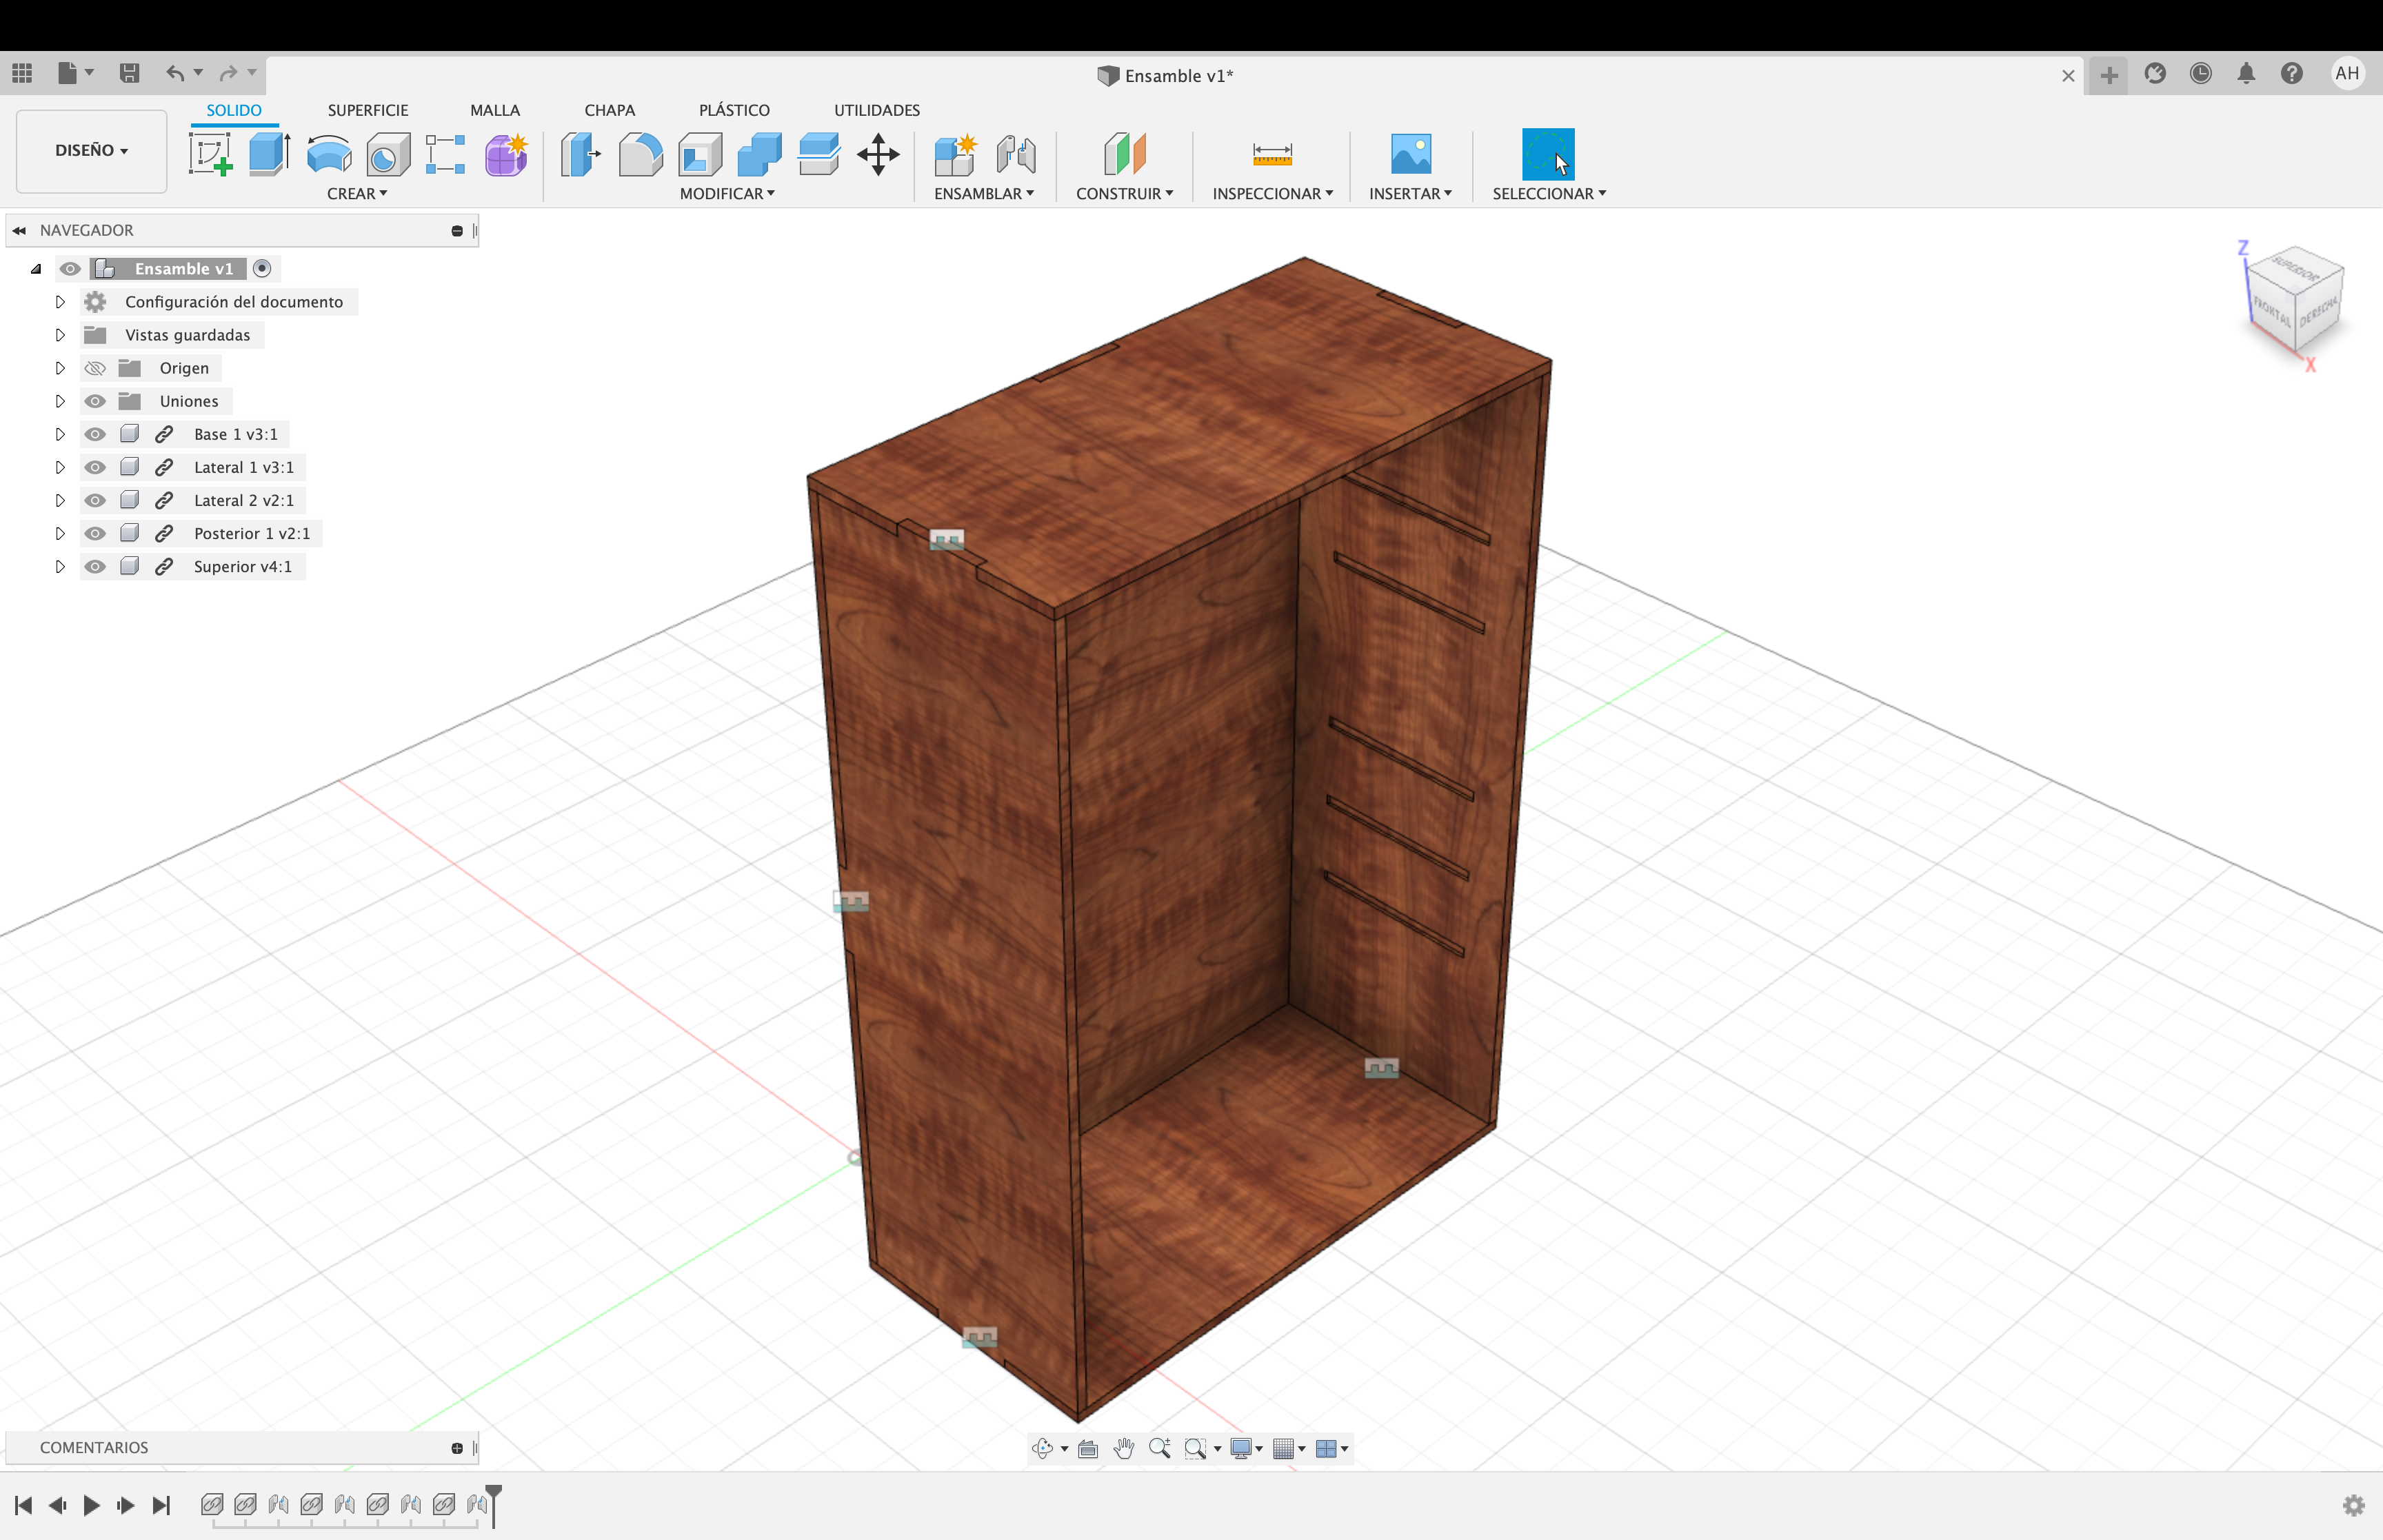
Right Side Assembly
 09.42.21.png)
 09.42.49.png)
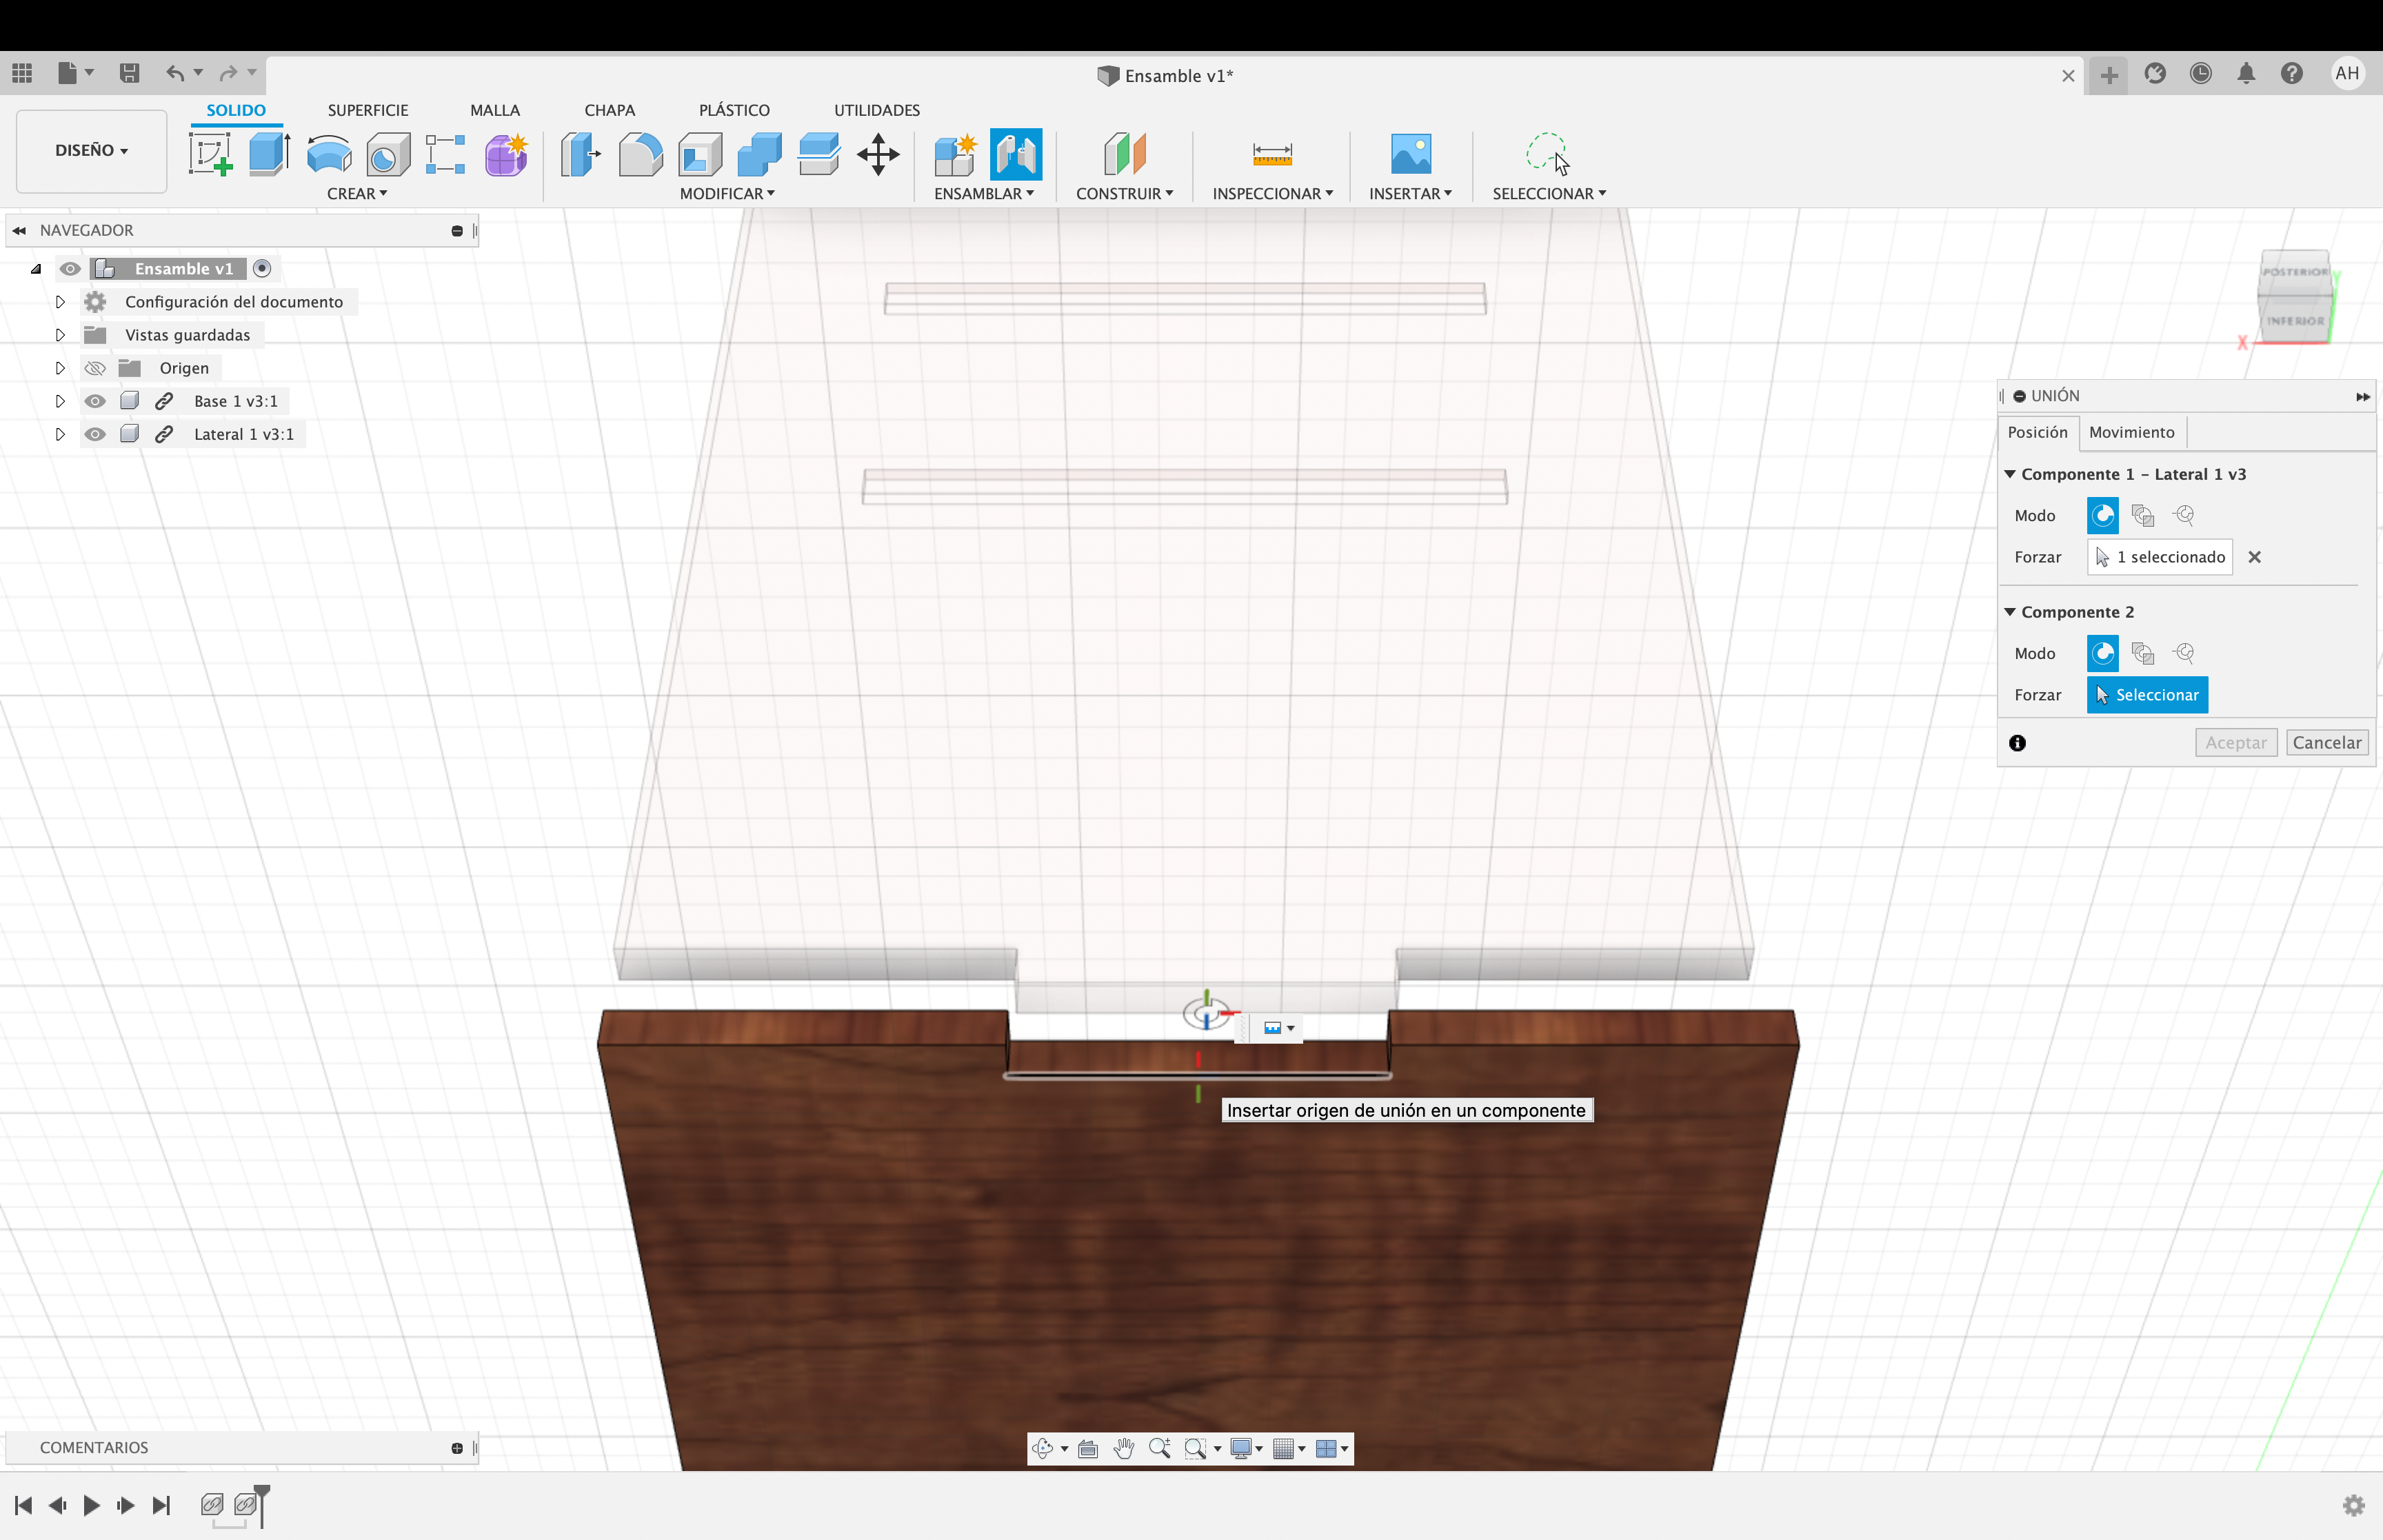
We create another file and save it, in this case we don't need to create a new sketch, we just bring the files we have worked with; we go to the "Base" file and right click on "Insert in current design".
Then we do the same with the file "Right Side" and we position it on the right side of the "Base Side", we approach the intersection and we give the option of "Assemble"; we choose "Union" or we can also press the J button.
In this case we will only work with edges and with the cursor we position ourselves in the centre of the internal edge of the "Right side" and we join it with the centre of the external edge of the "Base". And this is how the assembly will be carried out.
Left Side Assembly
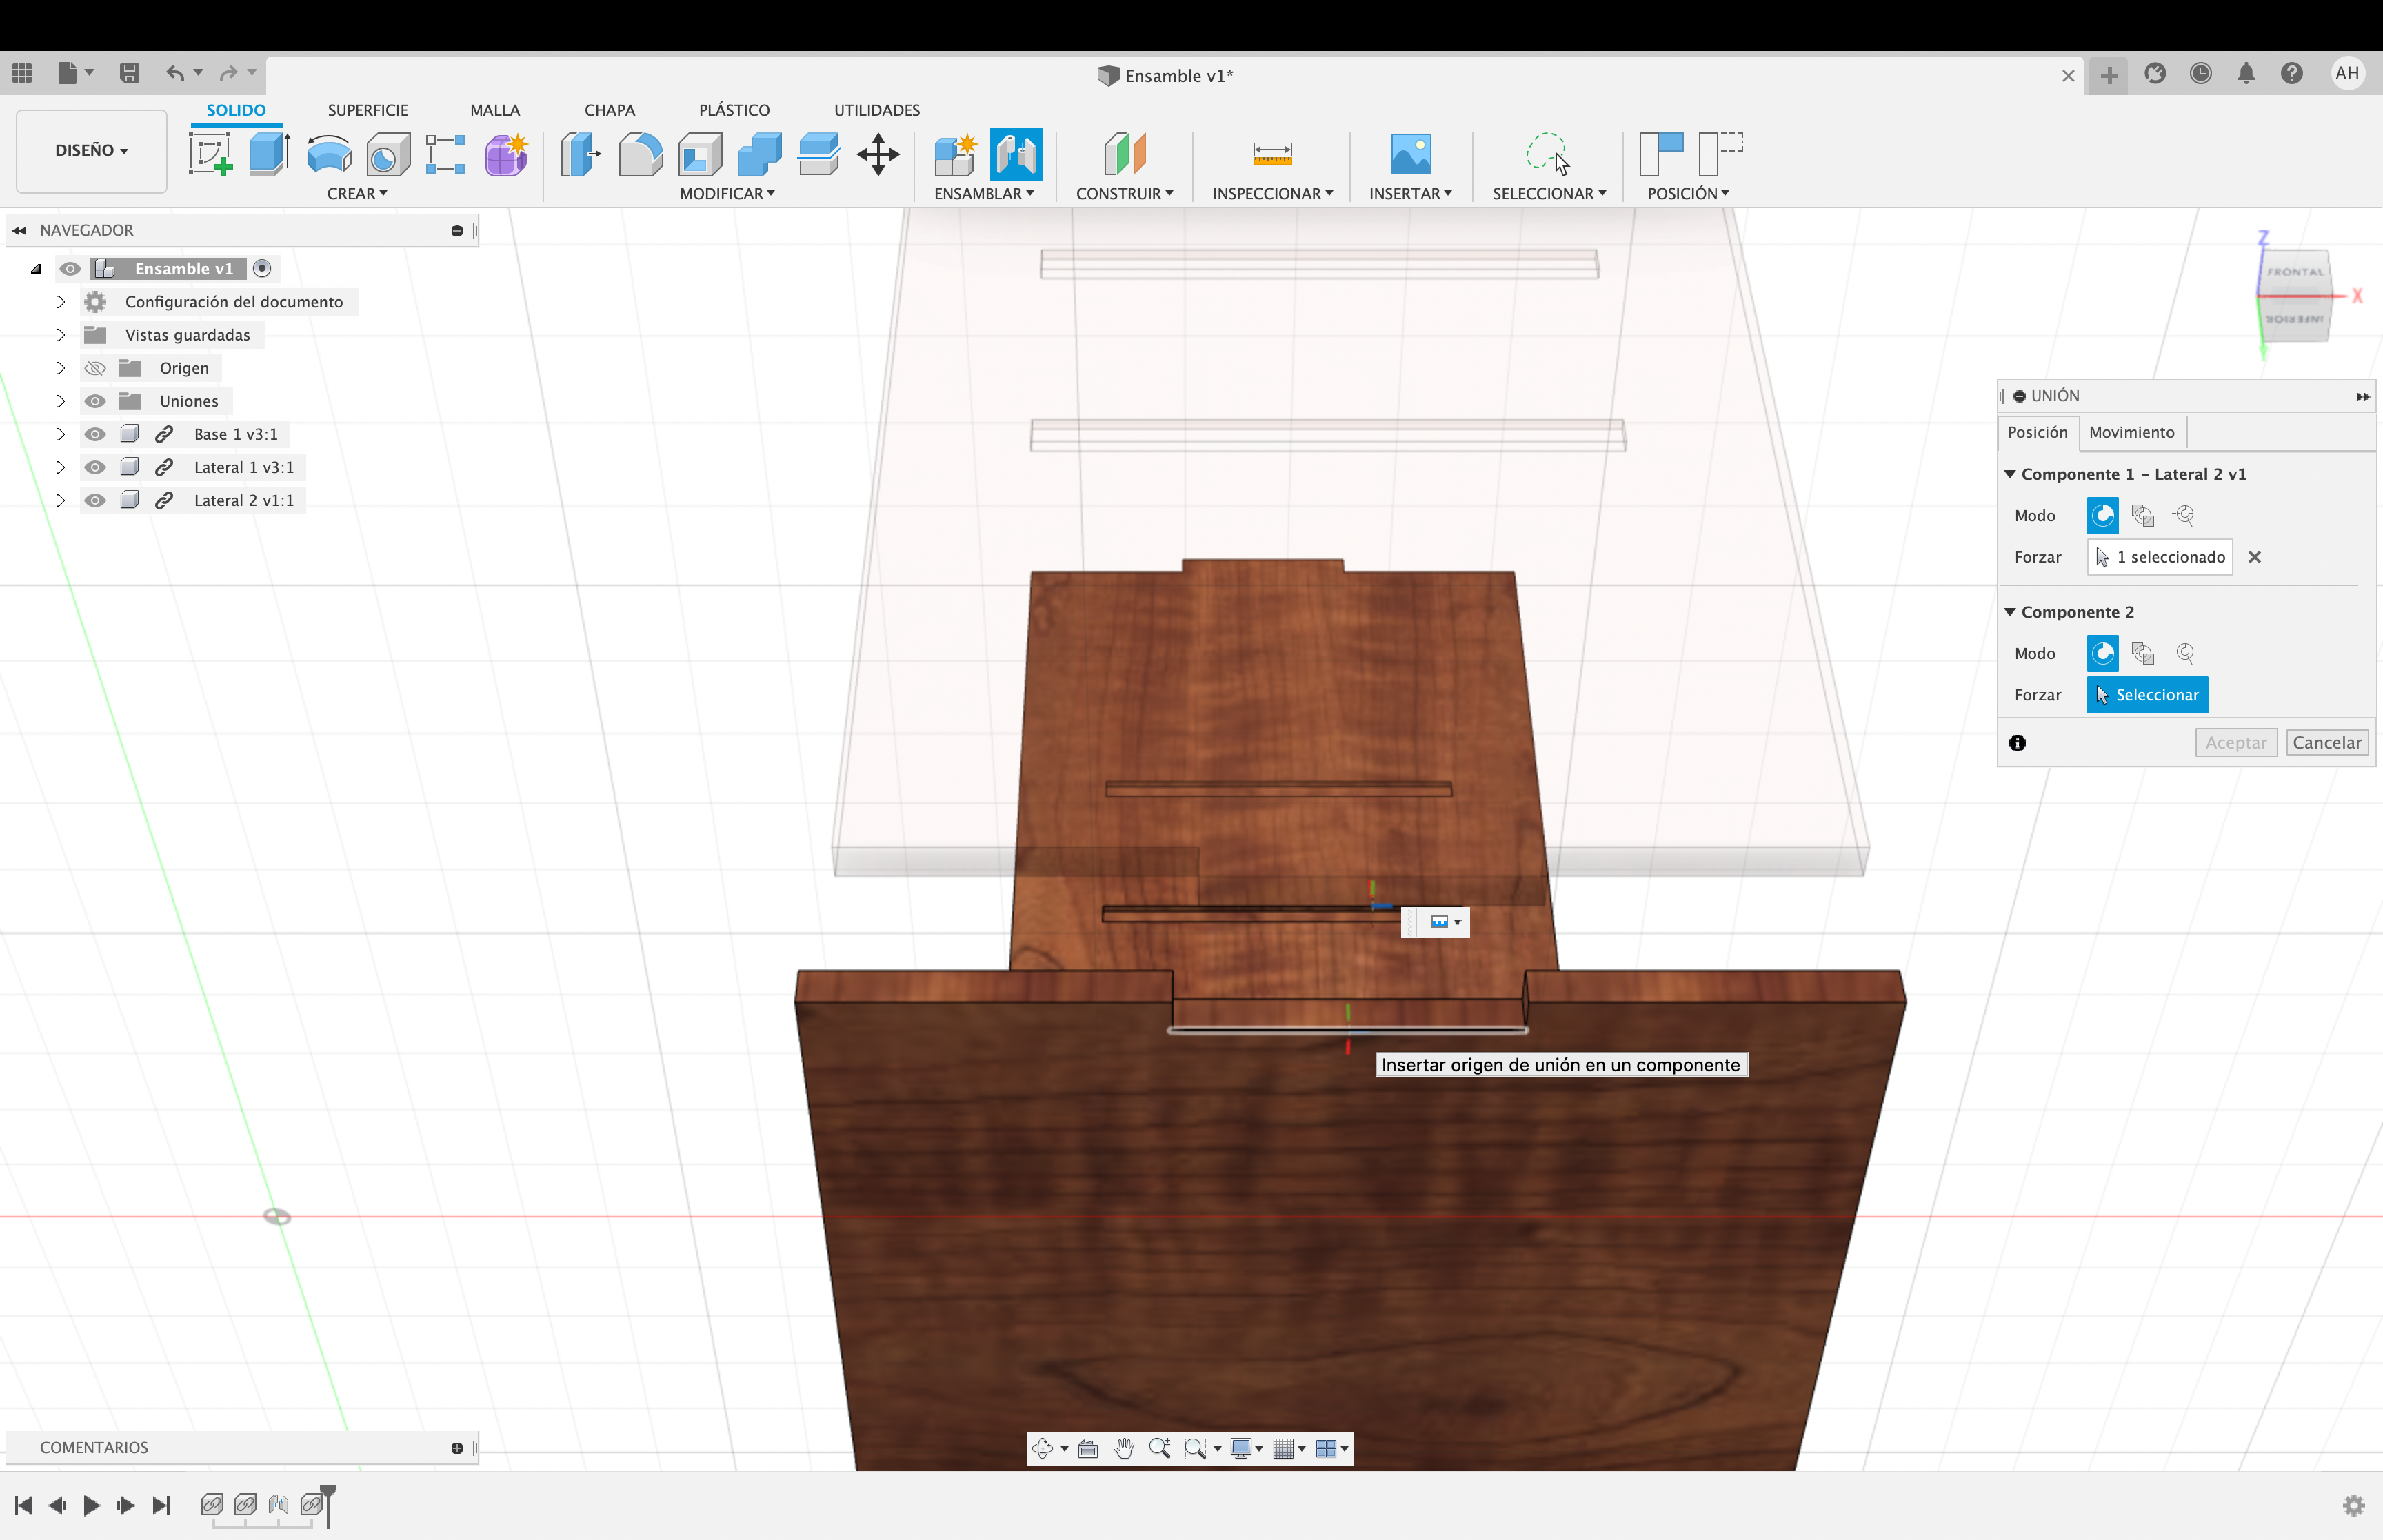 09.43.36.png)
 09.43.42.png)
Insert the "Left Side" and position it this time on the left side of the "Base", approach the intersection and click on the "Assemble" option; choose "Union".
With the cursor we position ourselves in the centre of the internal edge of the "Left Side" and we will join it with the centre of the external edge of the "Base". And this is how the assembly will be carried out.
Back Face Assembly
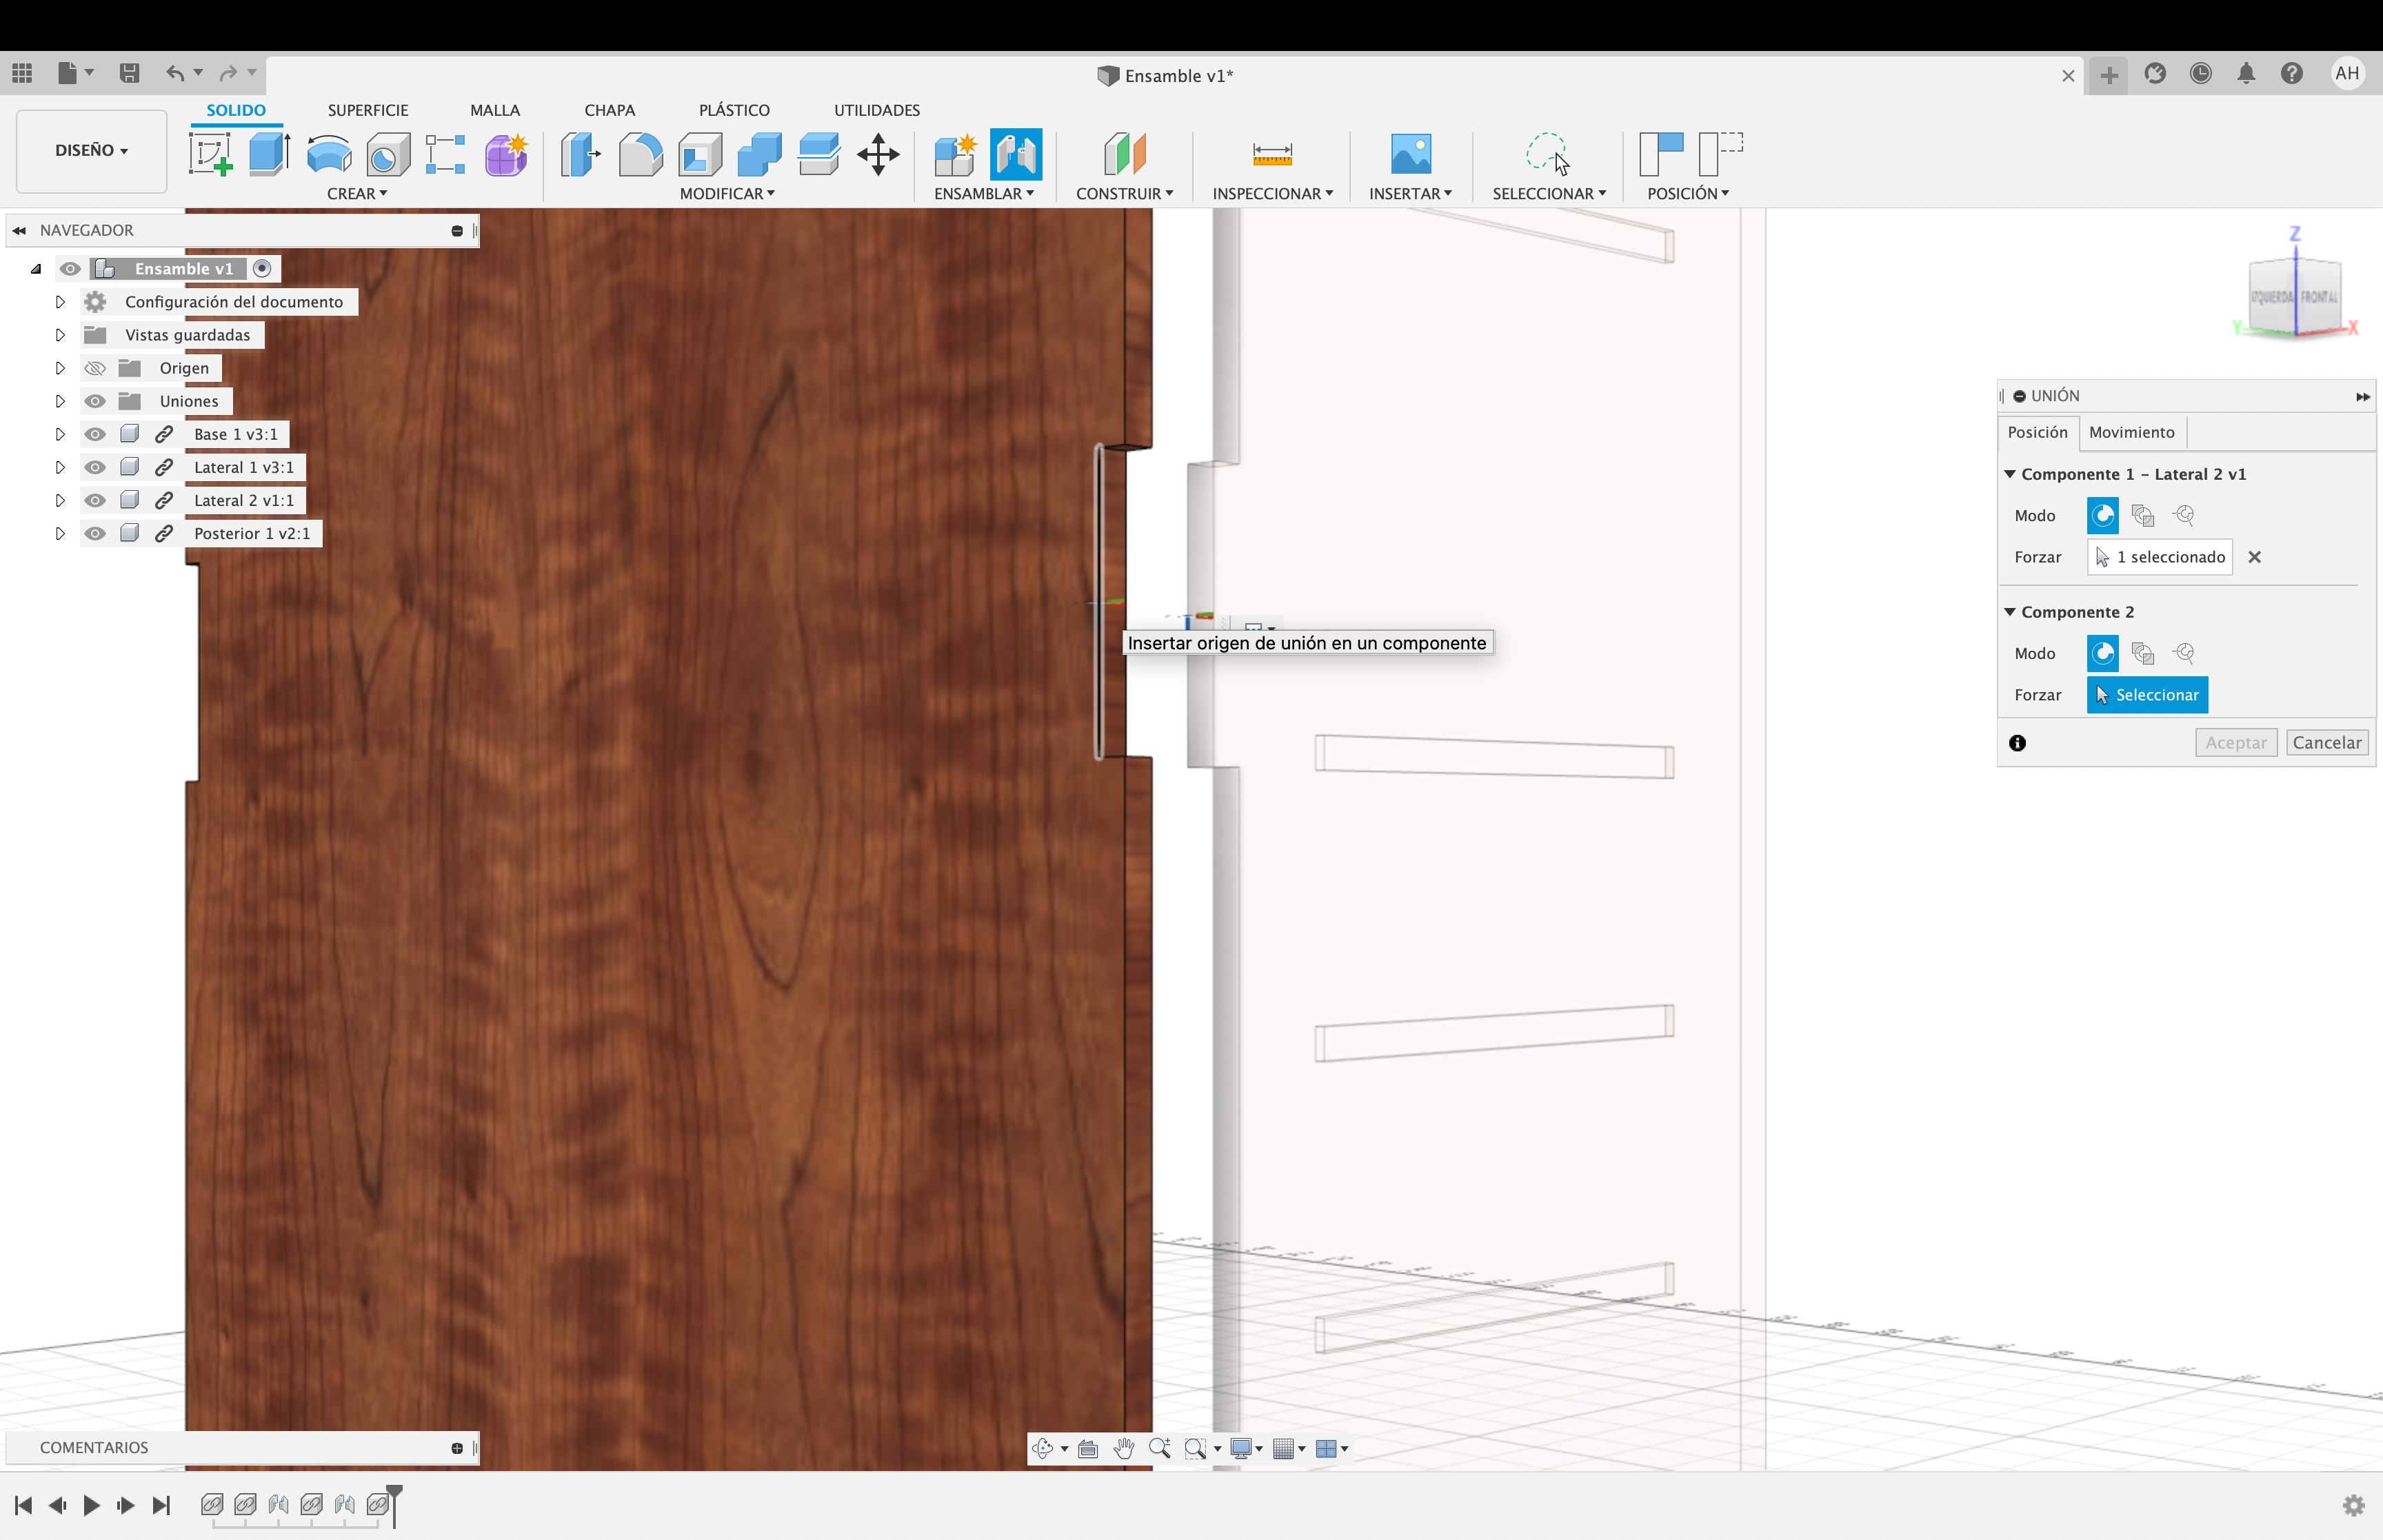 09.44.29.png)
 23.33.36.png)
Insert the "Back" and position it well, approach the intersection and give the option "Assemble"; choose "Union".
With the cursor we position ourselves in the middle of the internal edge of the "Back " and we will join it with the middle of the external edge of the “Right Side". And this is how the assembly will be done.
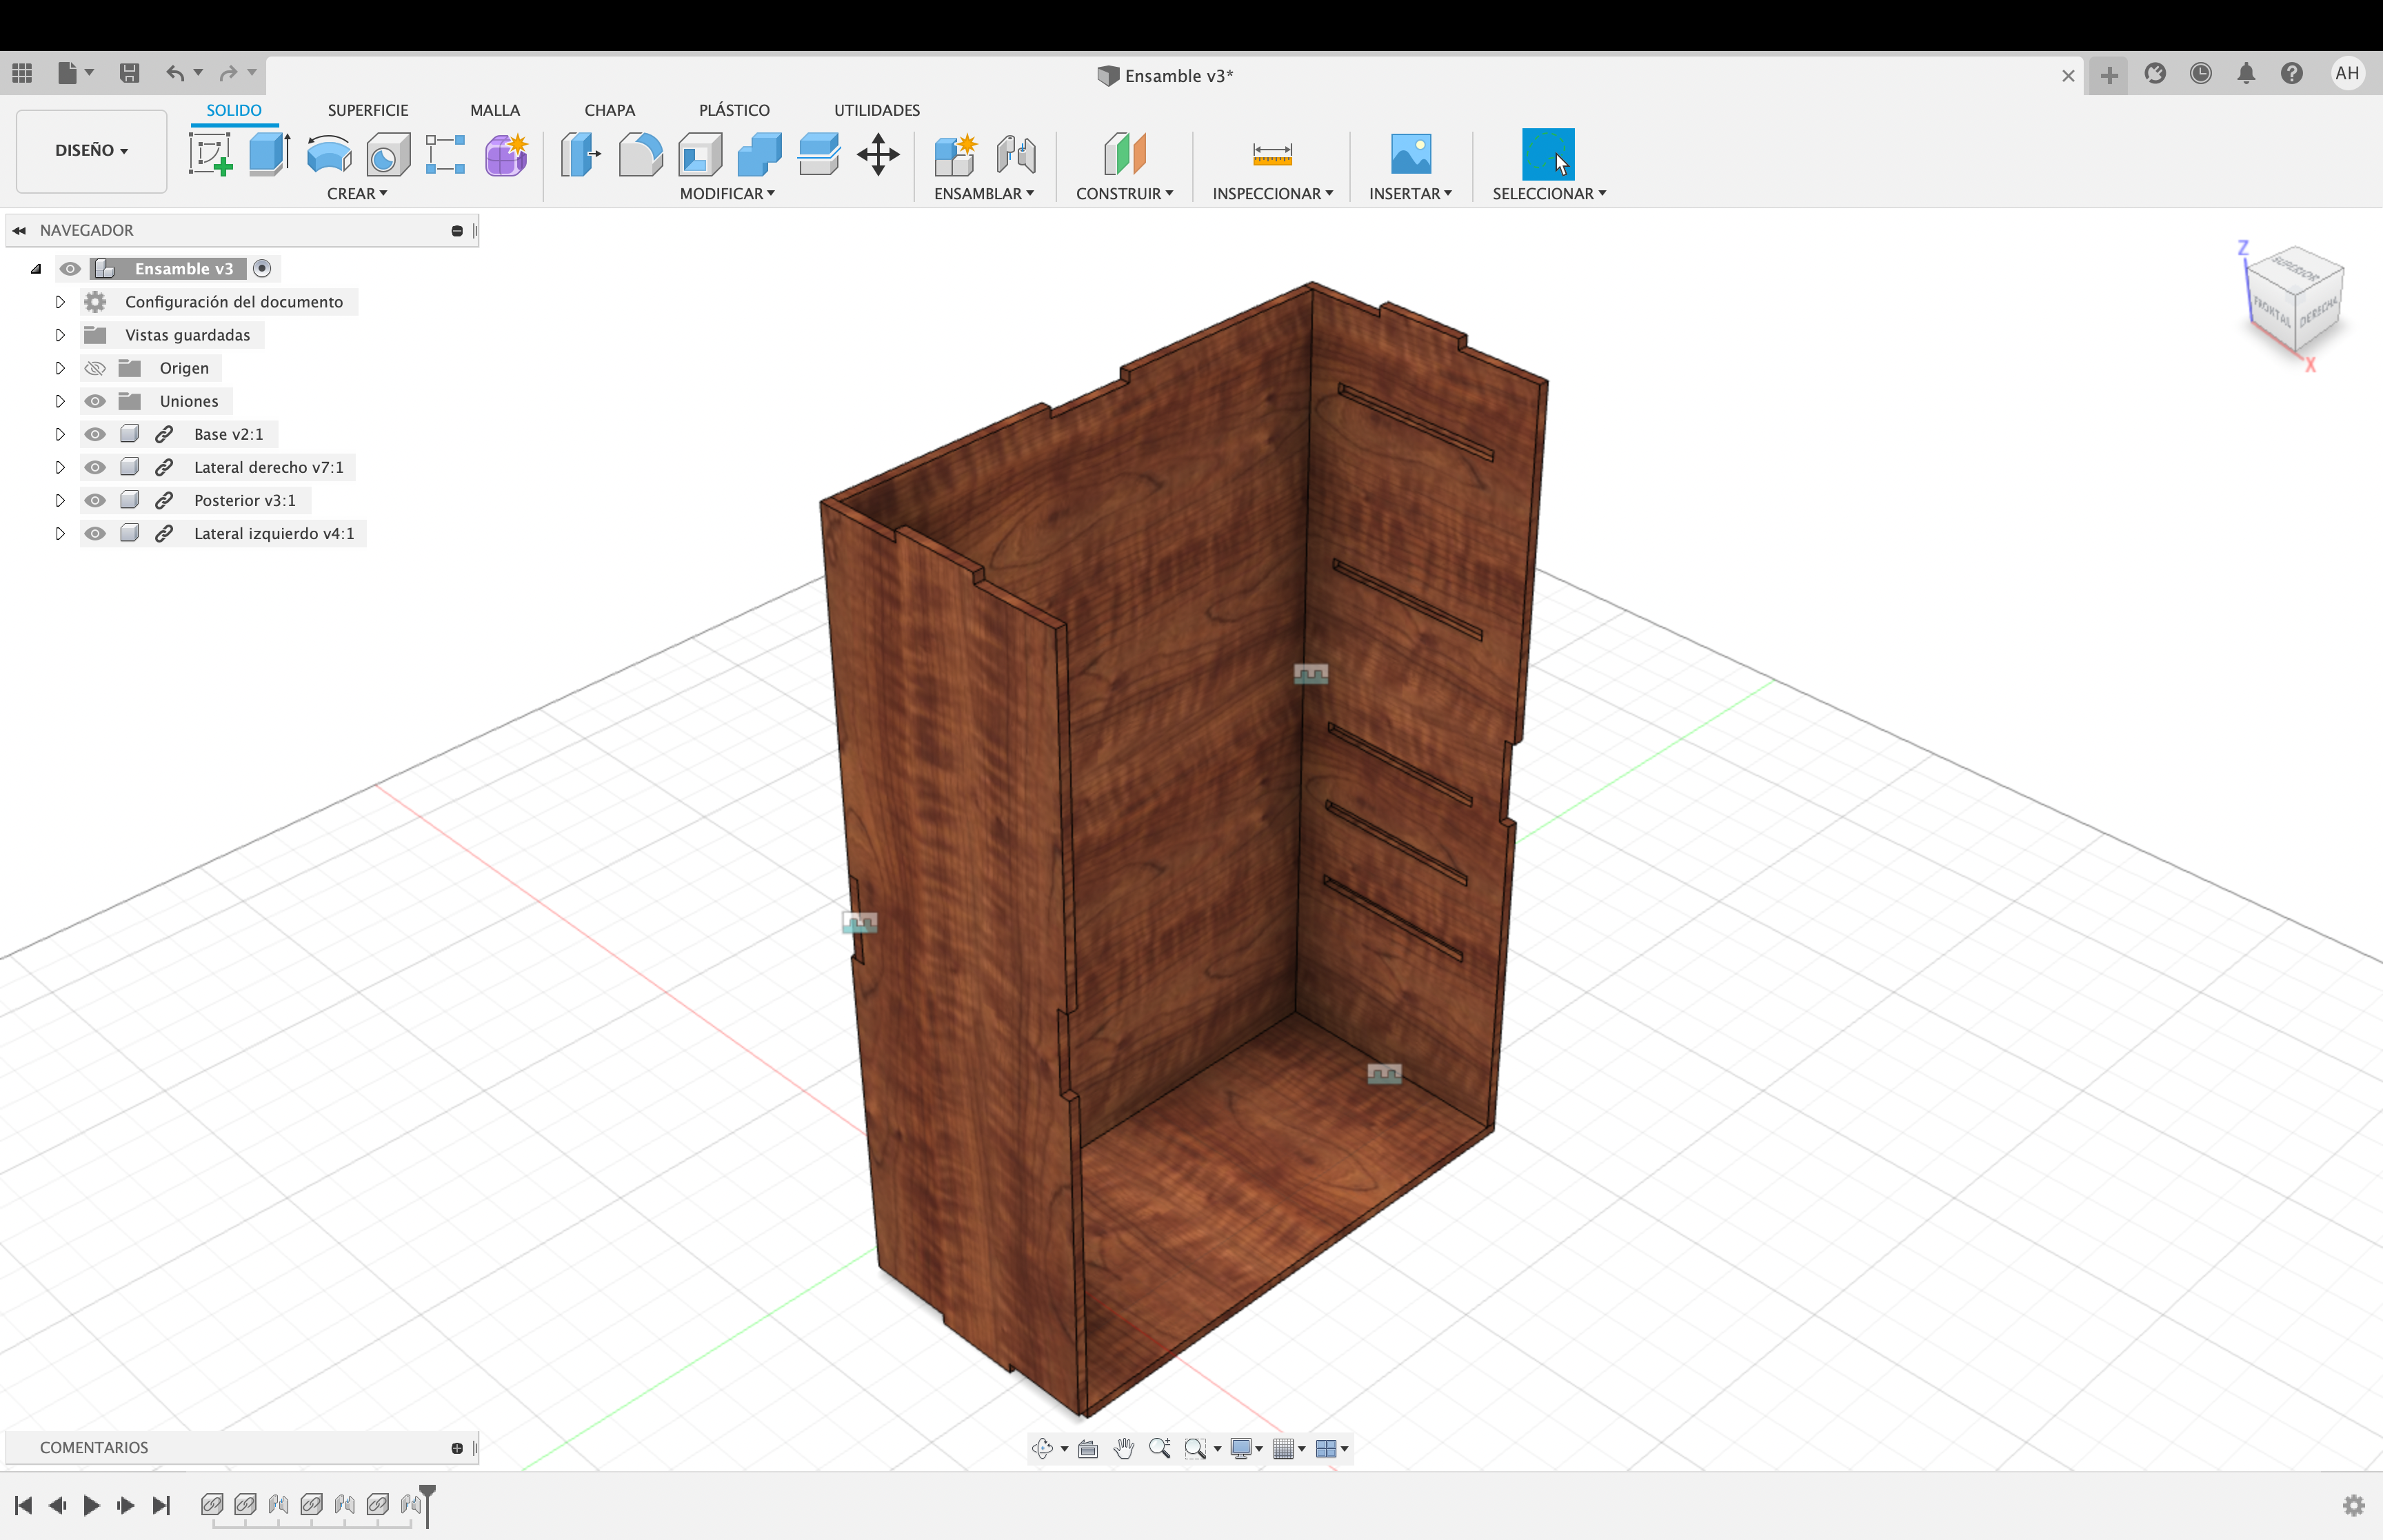
Top Face Assembly
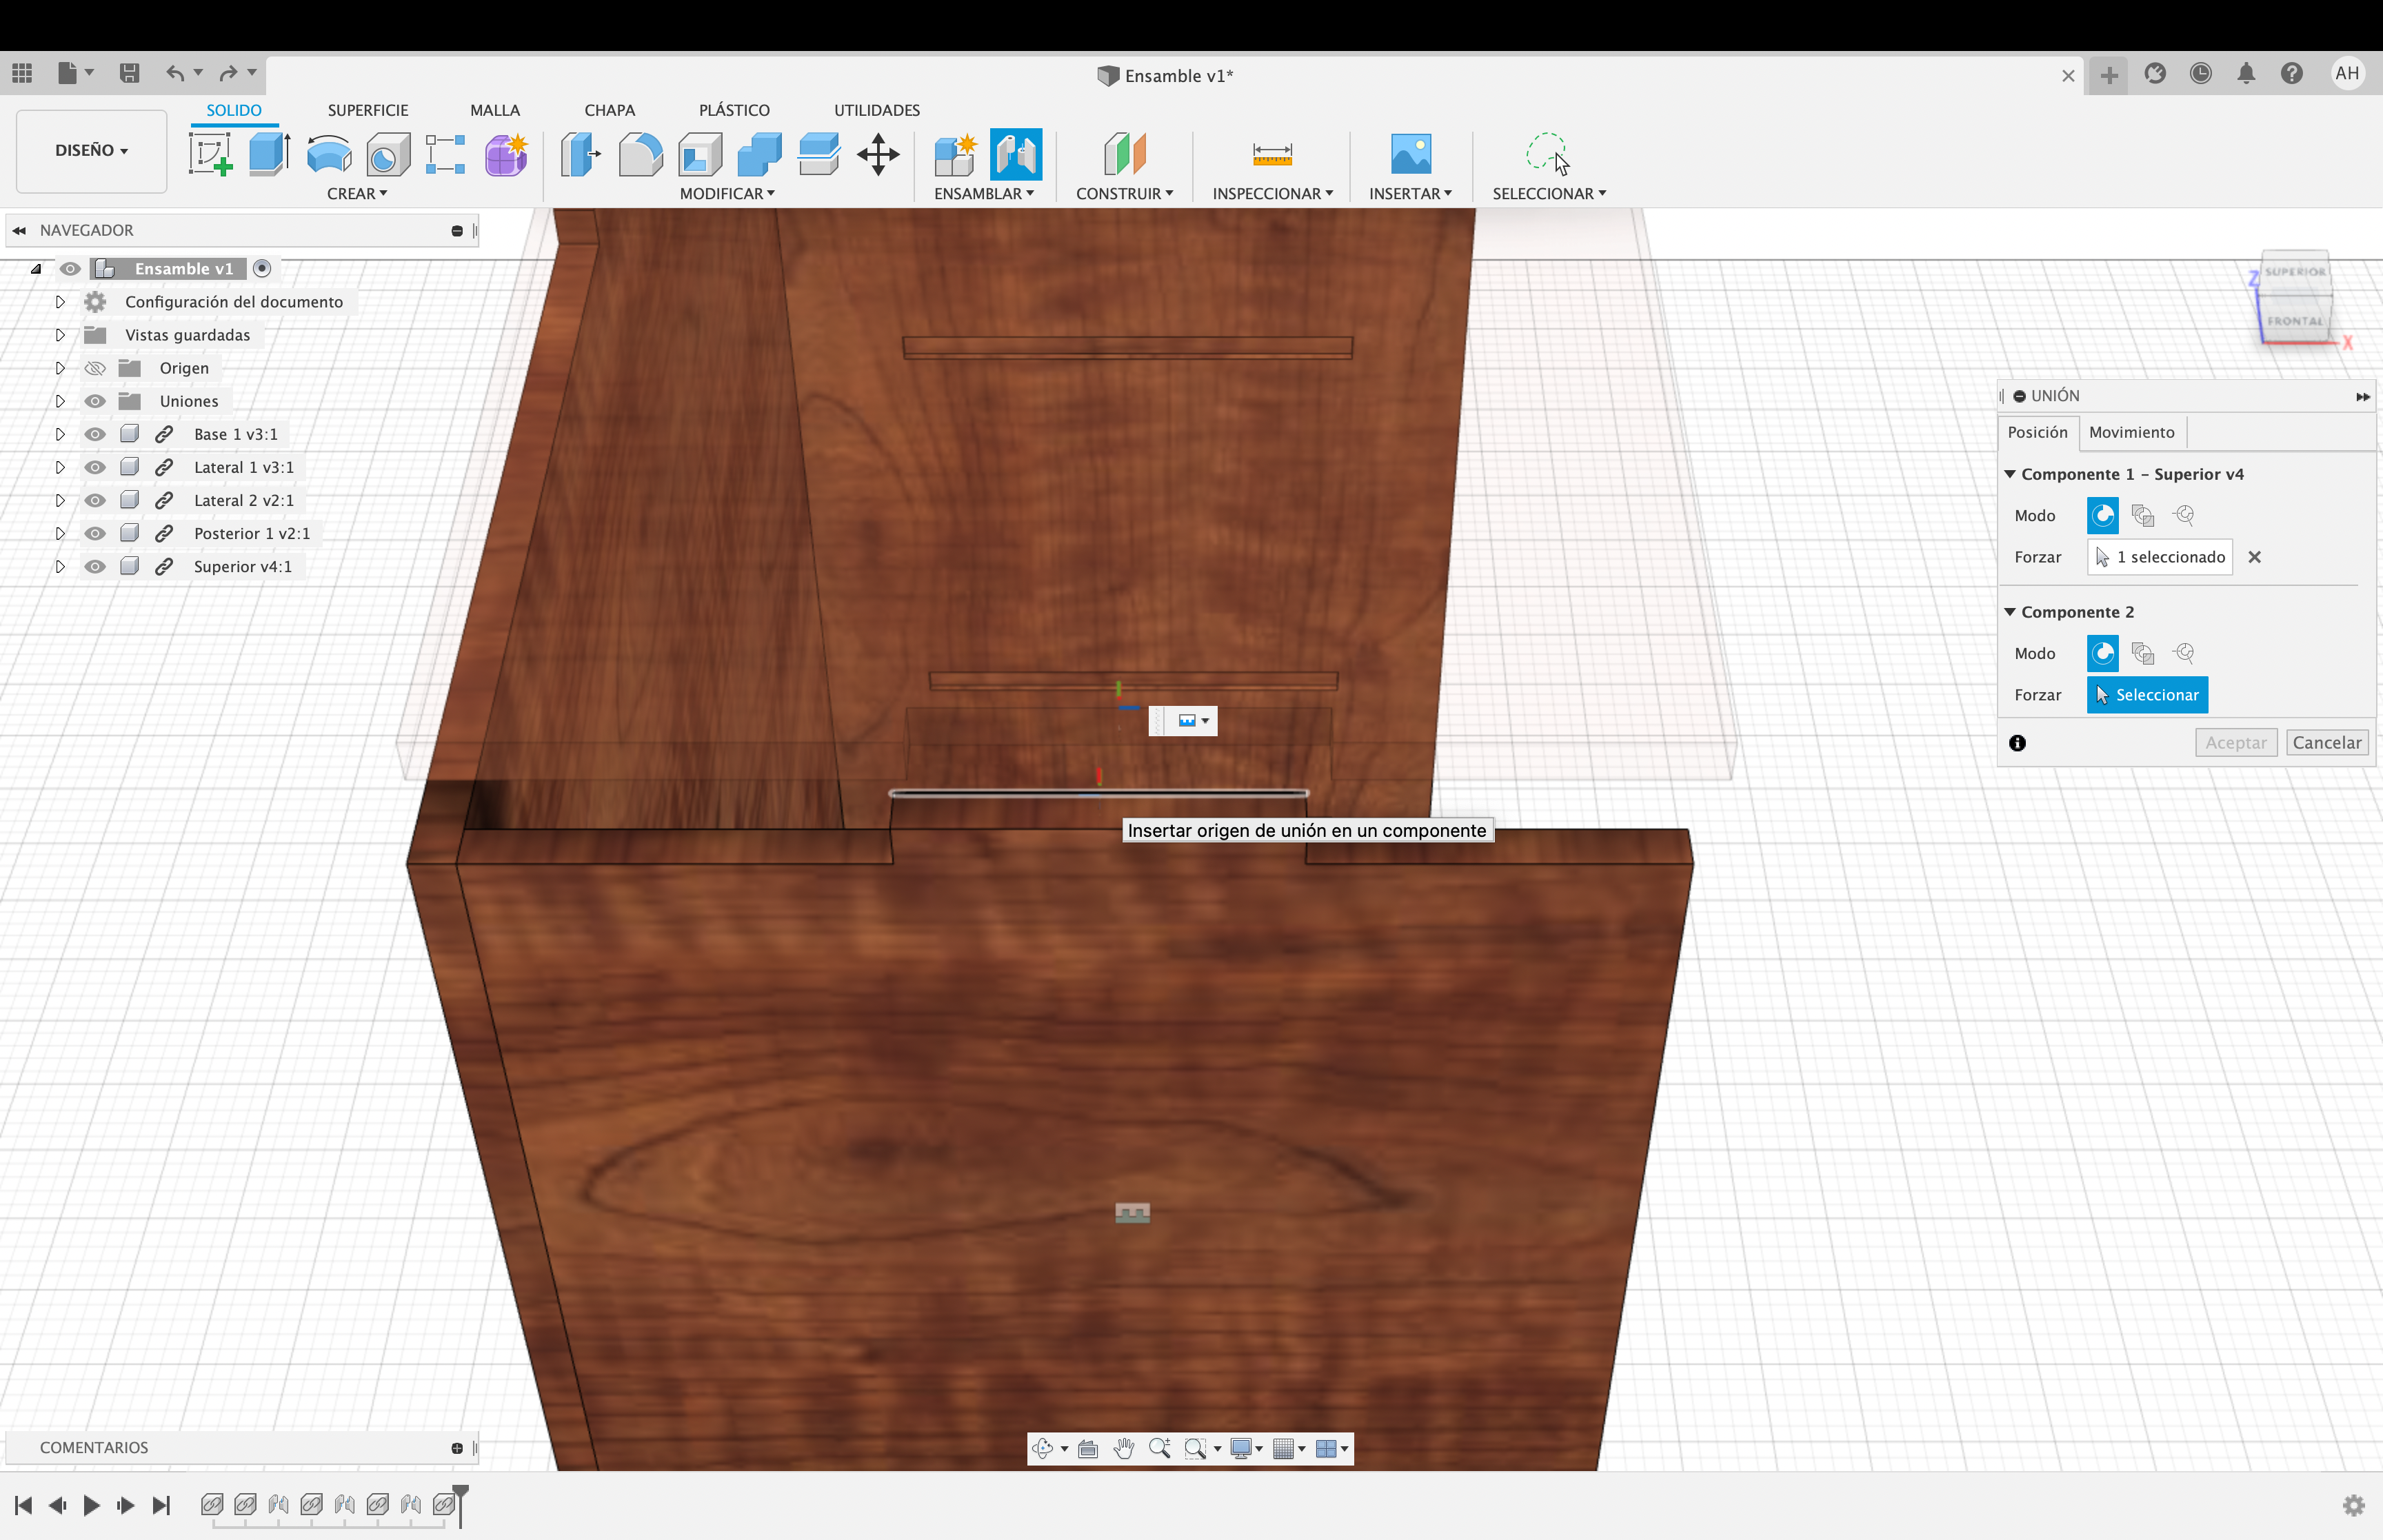 09.59.09.png)
 09.59.17.png)
 09.59.09.png)
Insert the “Top" and position it well, approach the intersection and click on the "Assemble" option; choose "Union".
With the cursor we position ourselves in the middle of the external edge of the “Top" and we will join it with the middle of the internal edge of the “Right Side". And this is how the assembly will be carried out.
Shelf Assembly
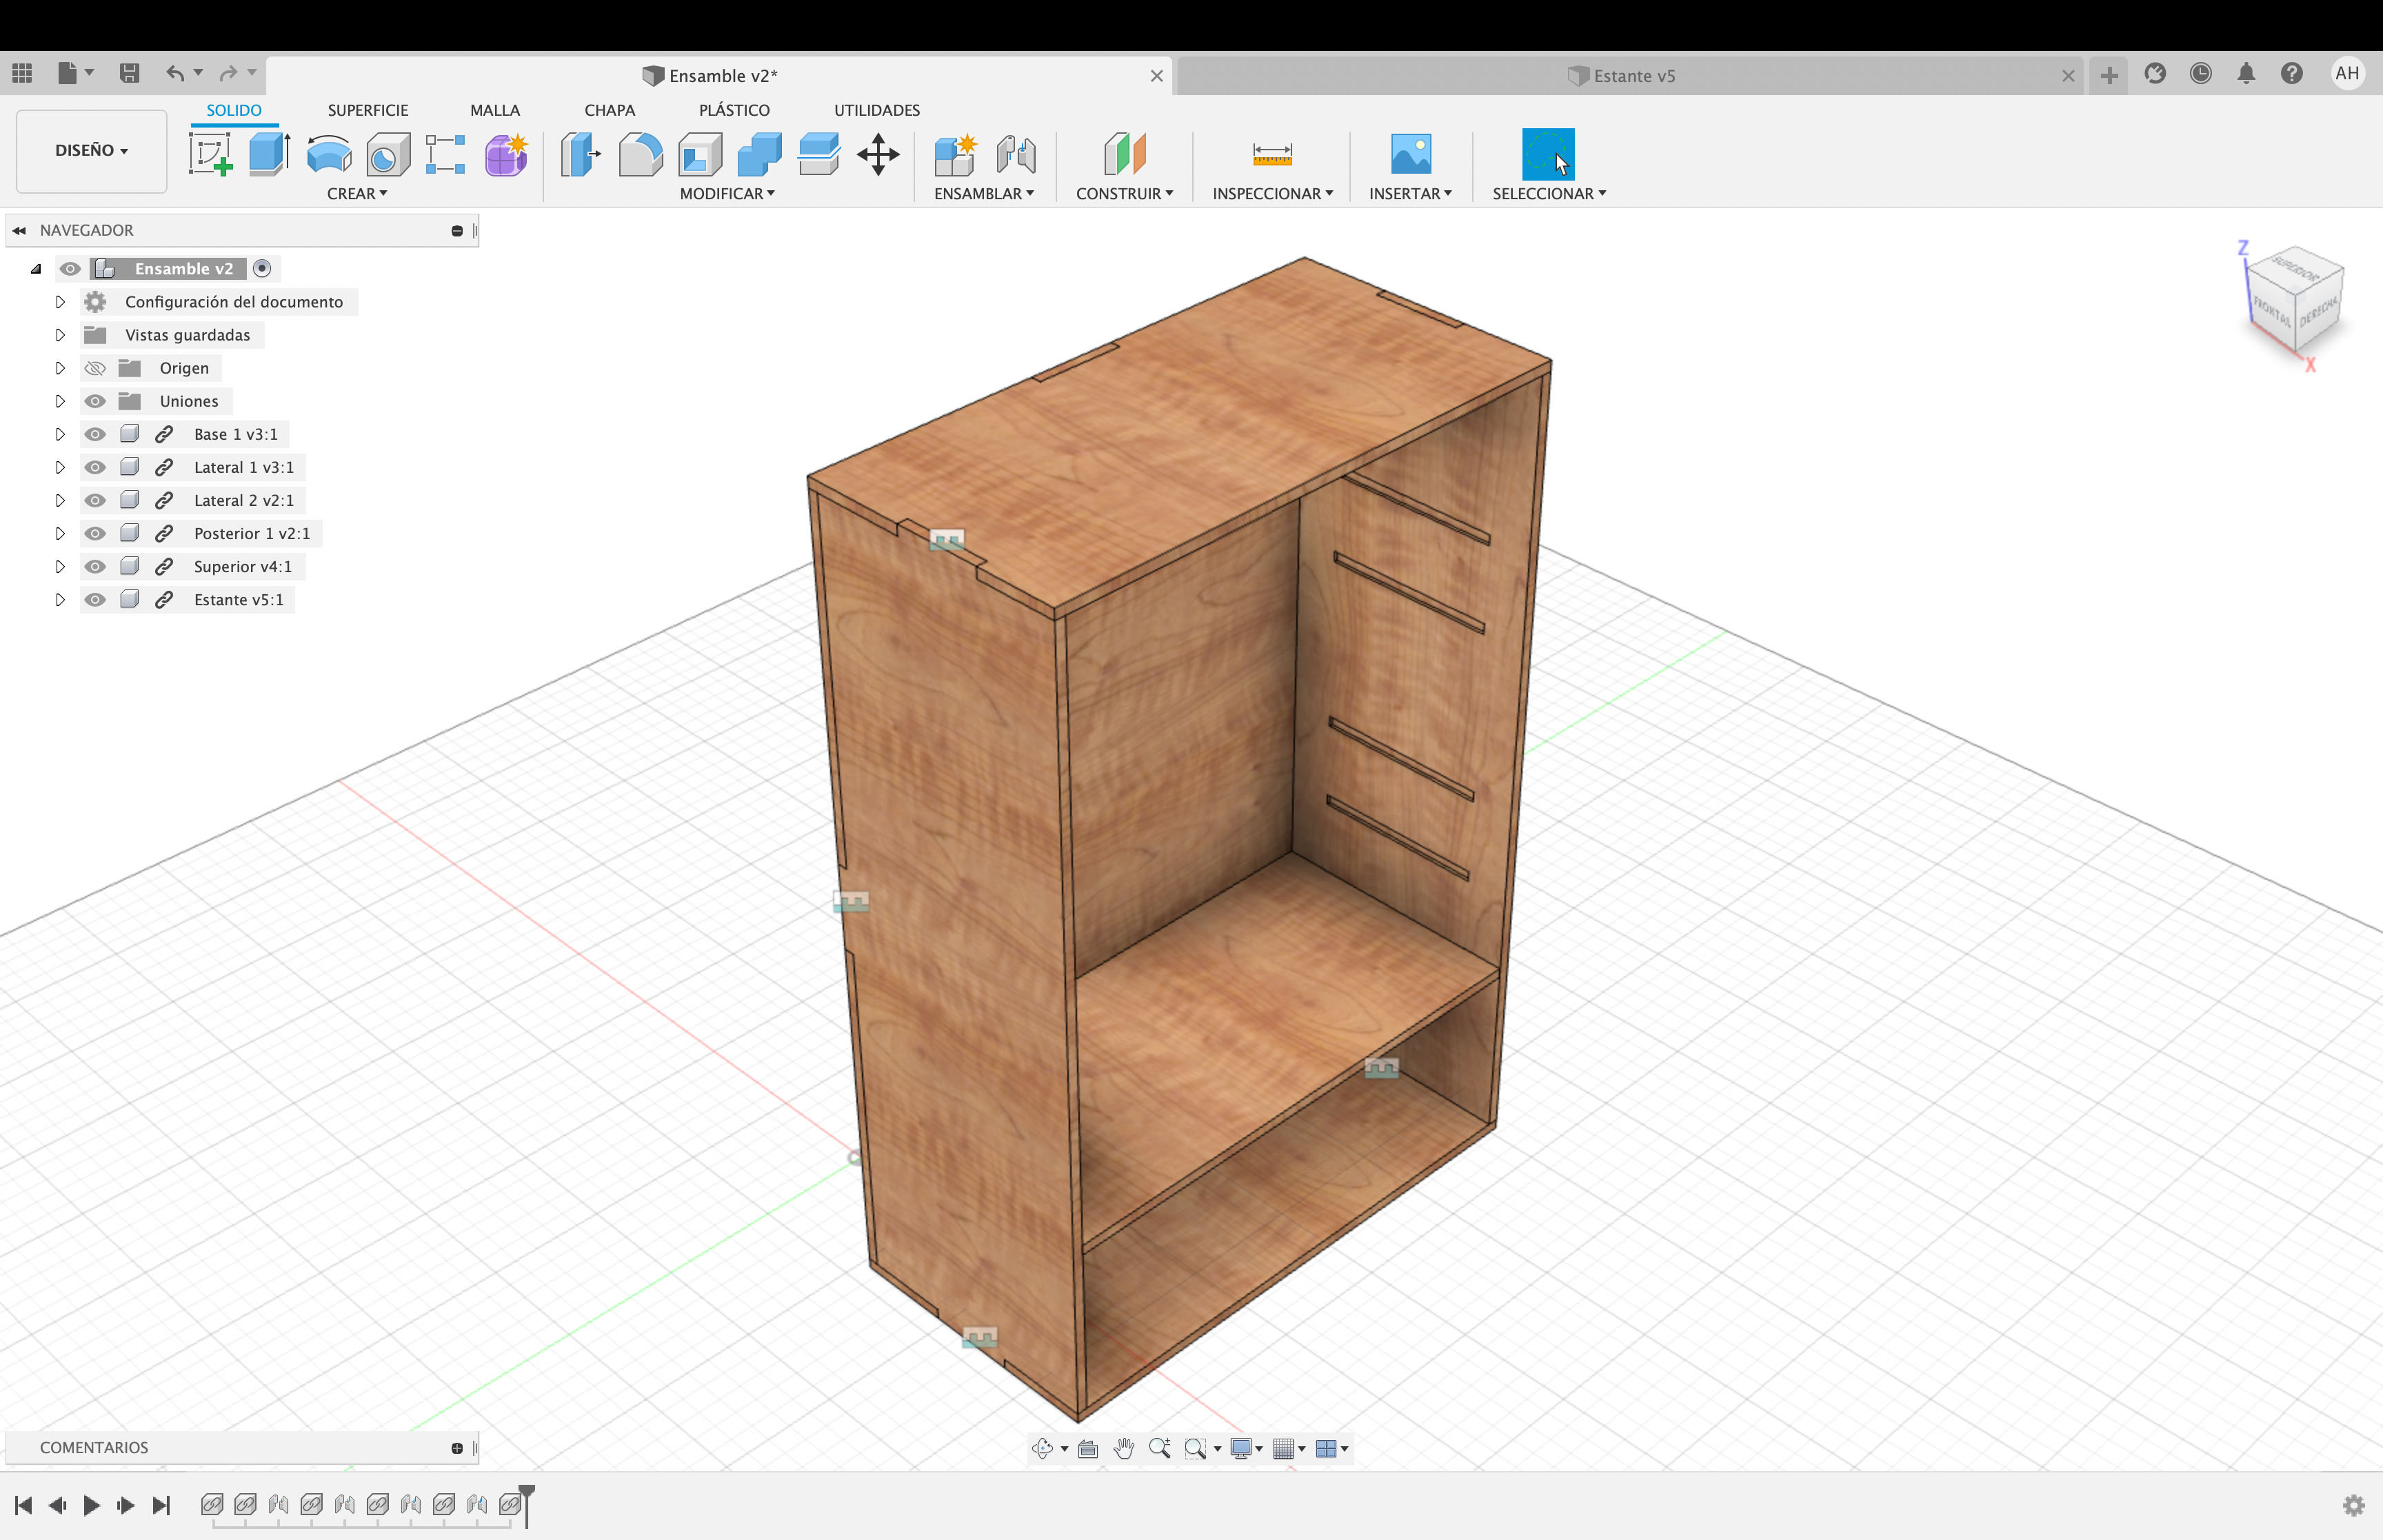 11.22.35.png)
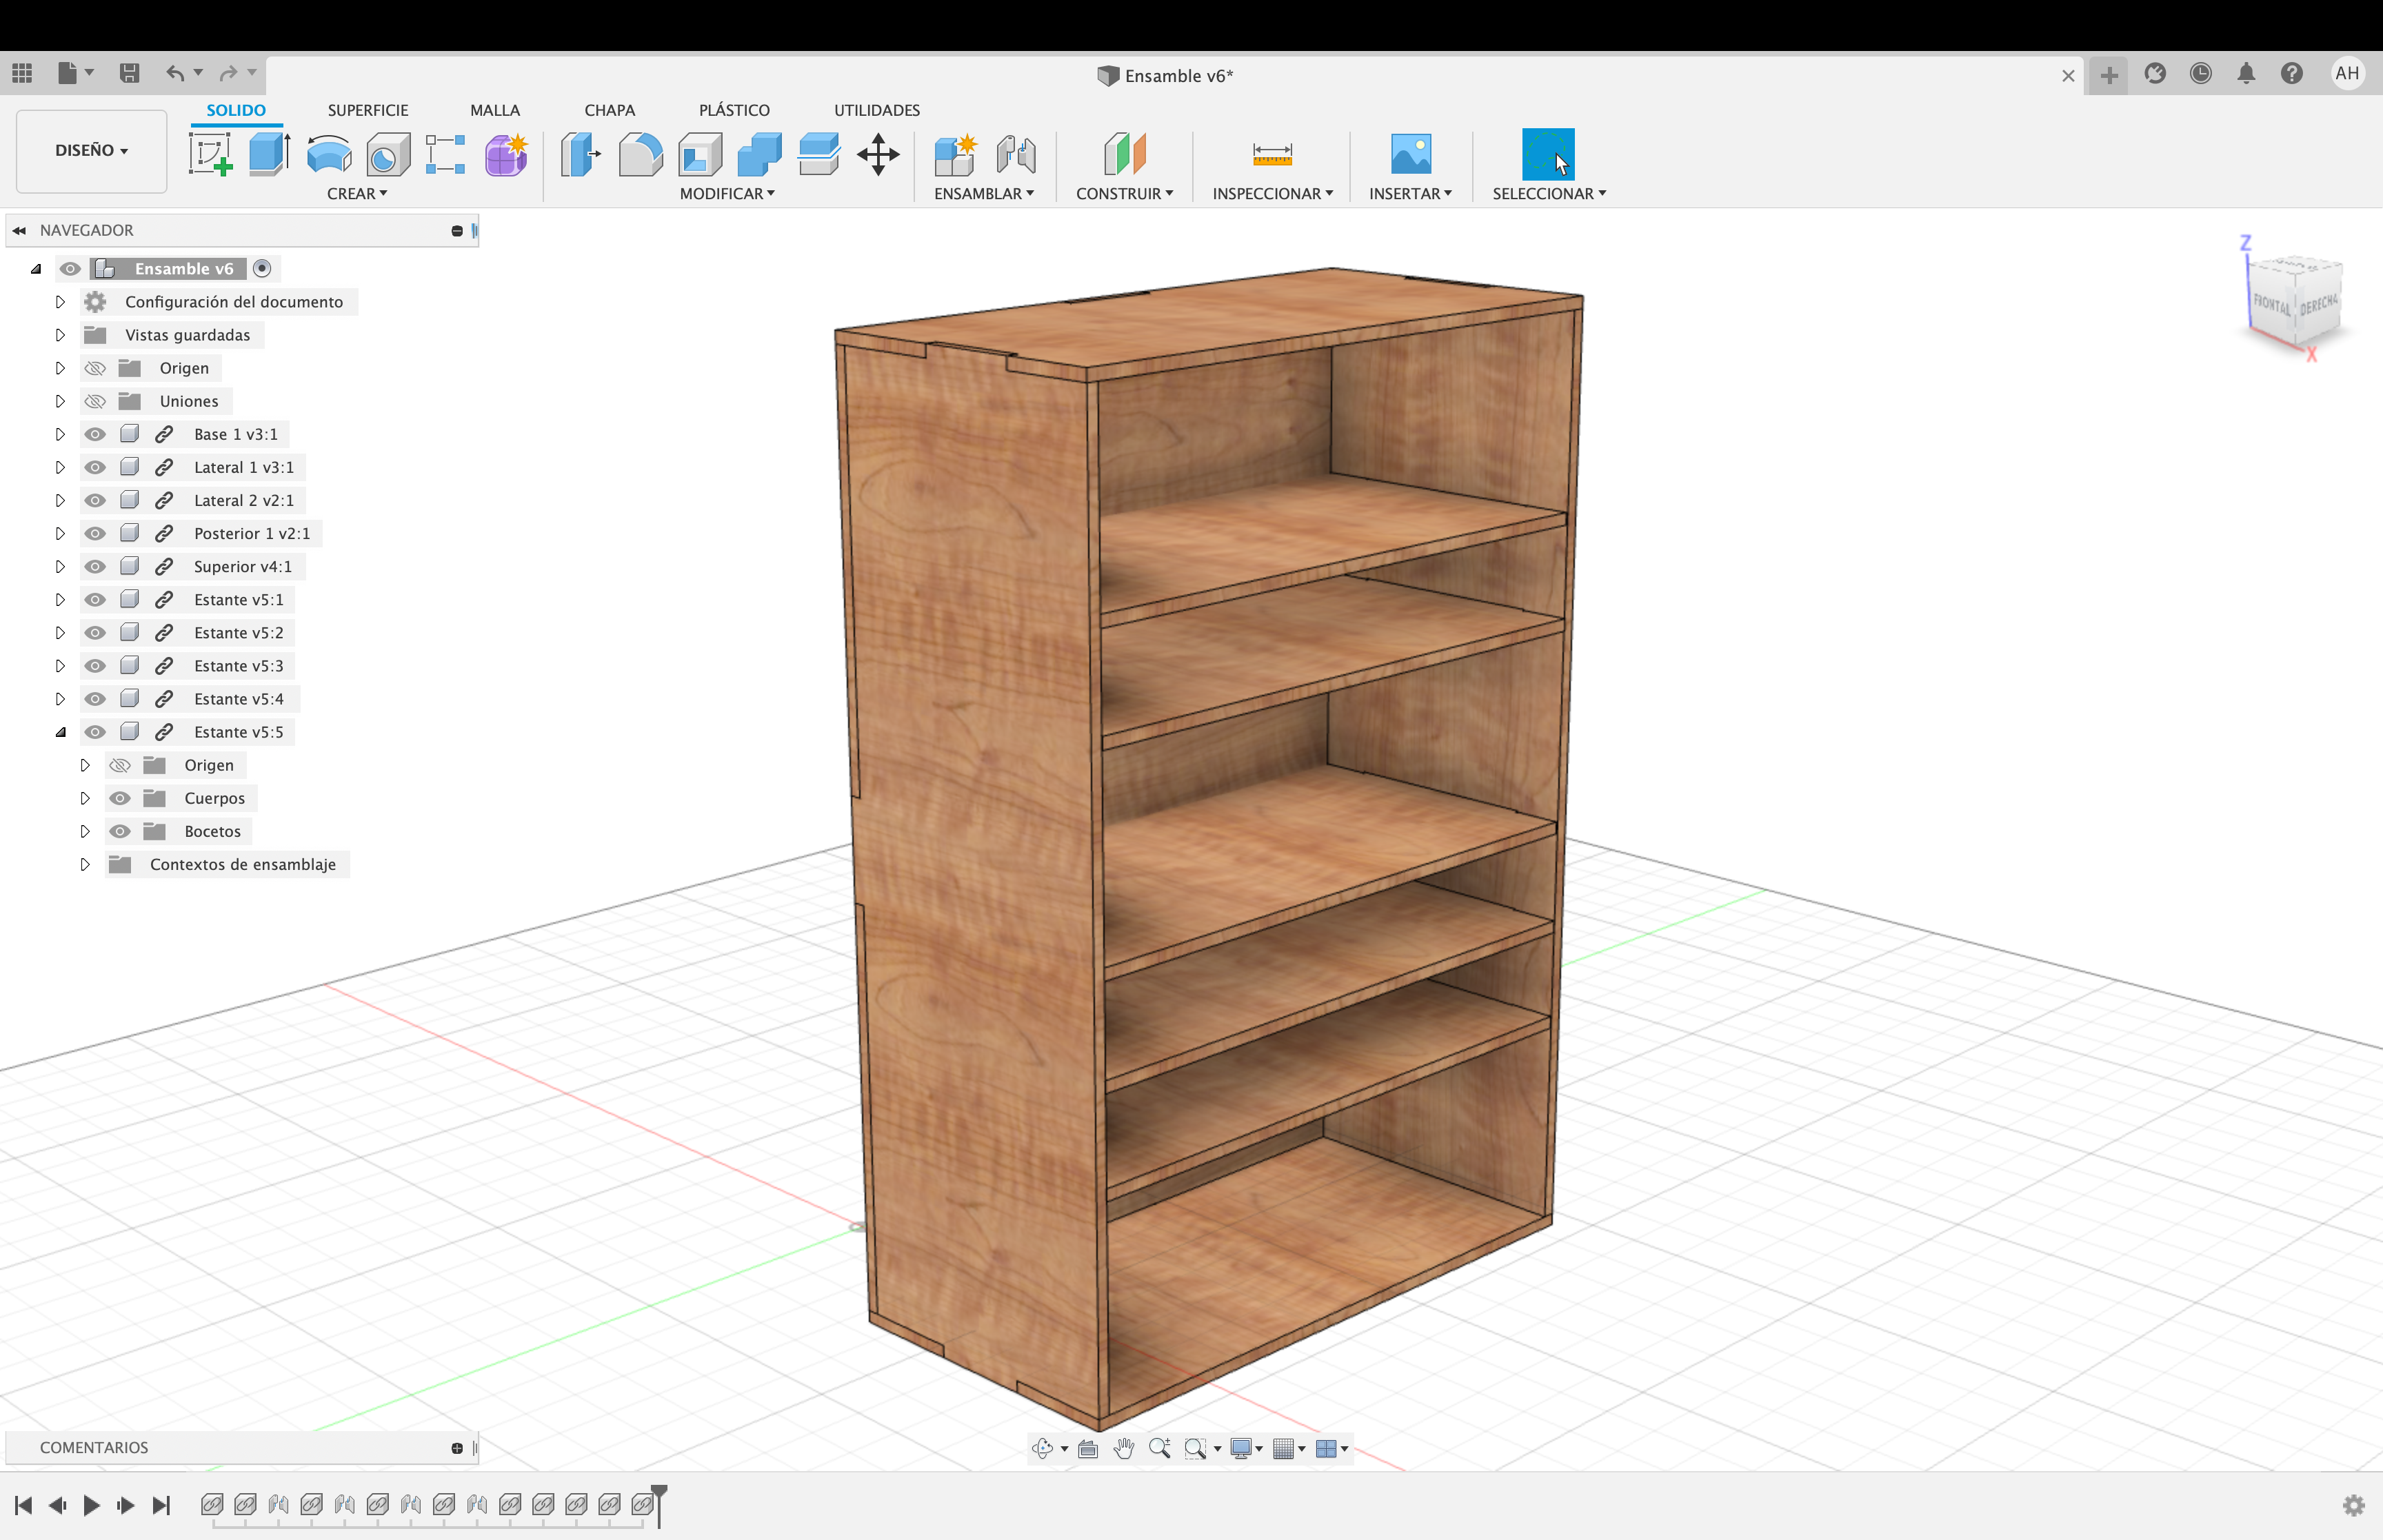 13.01.14.png)
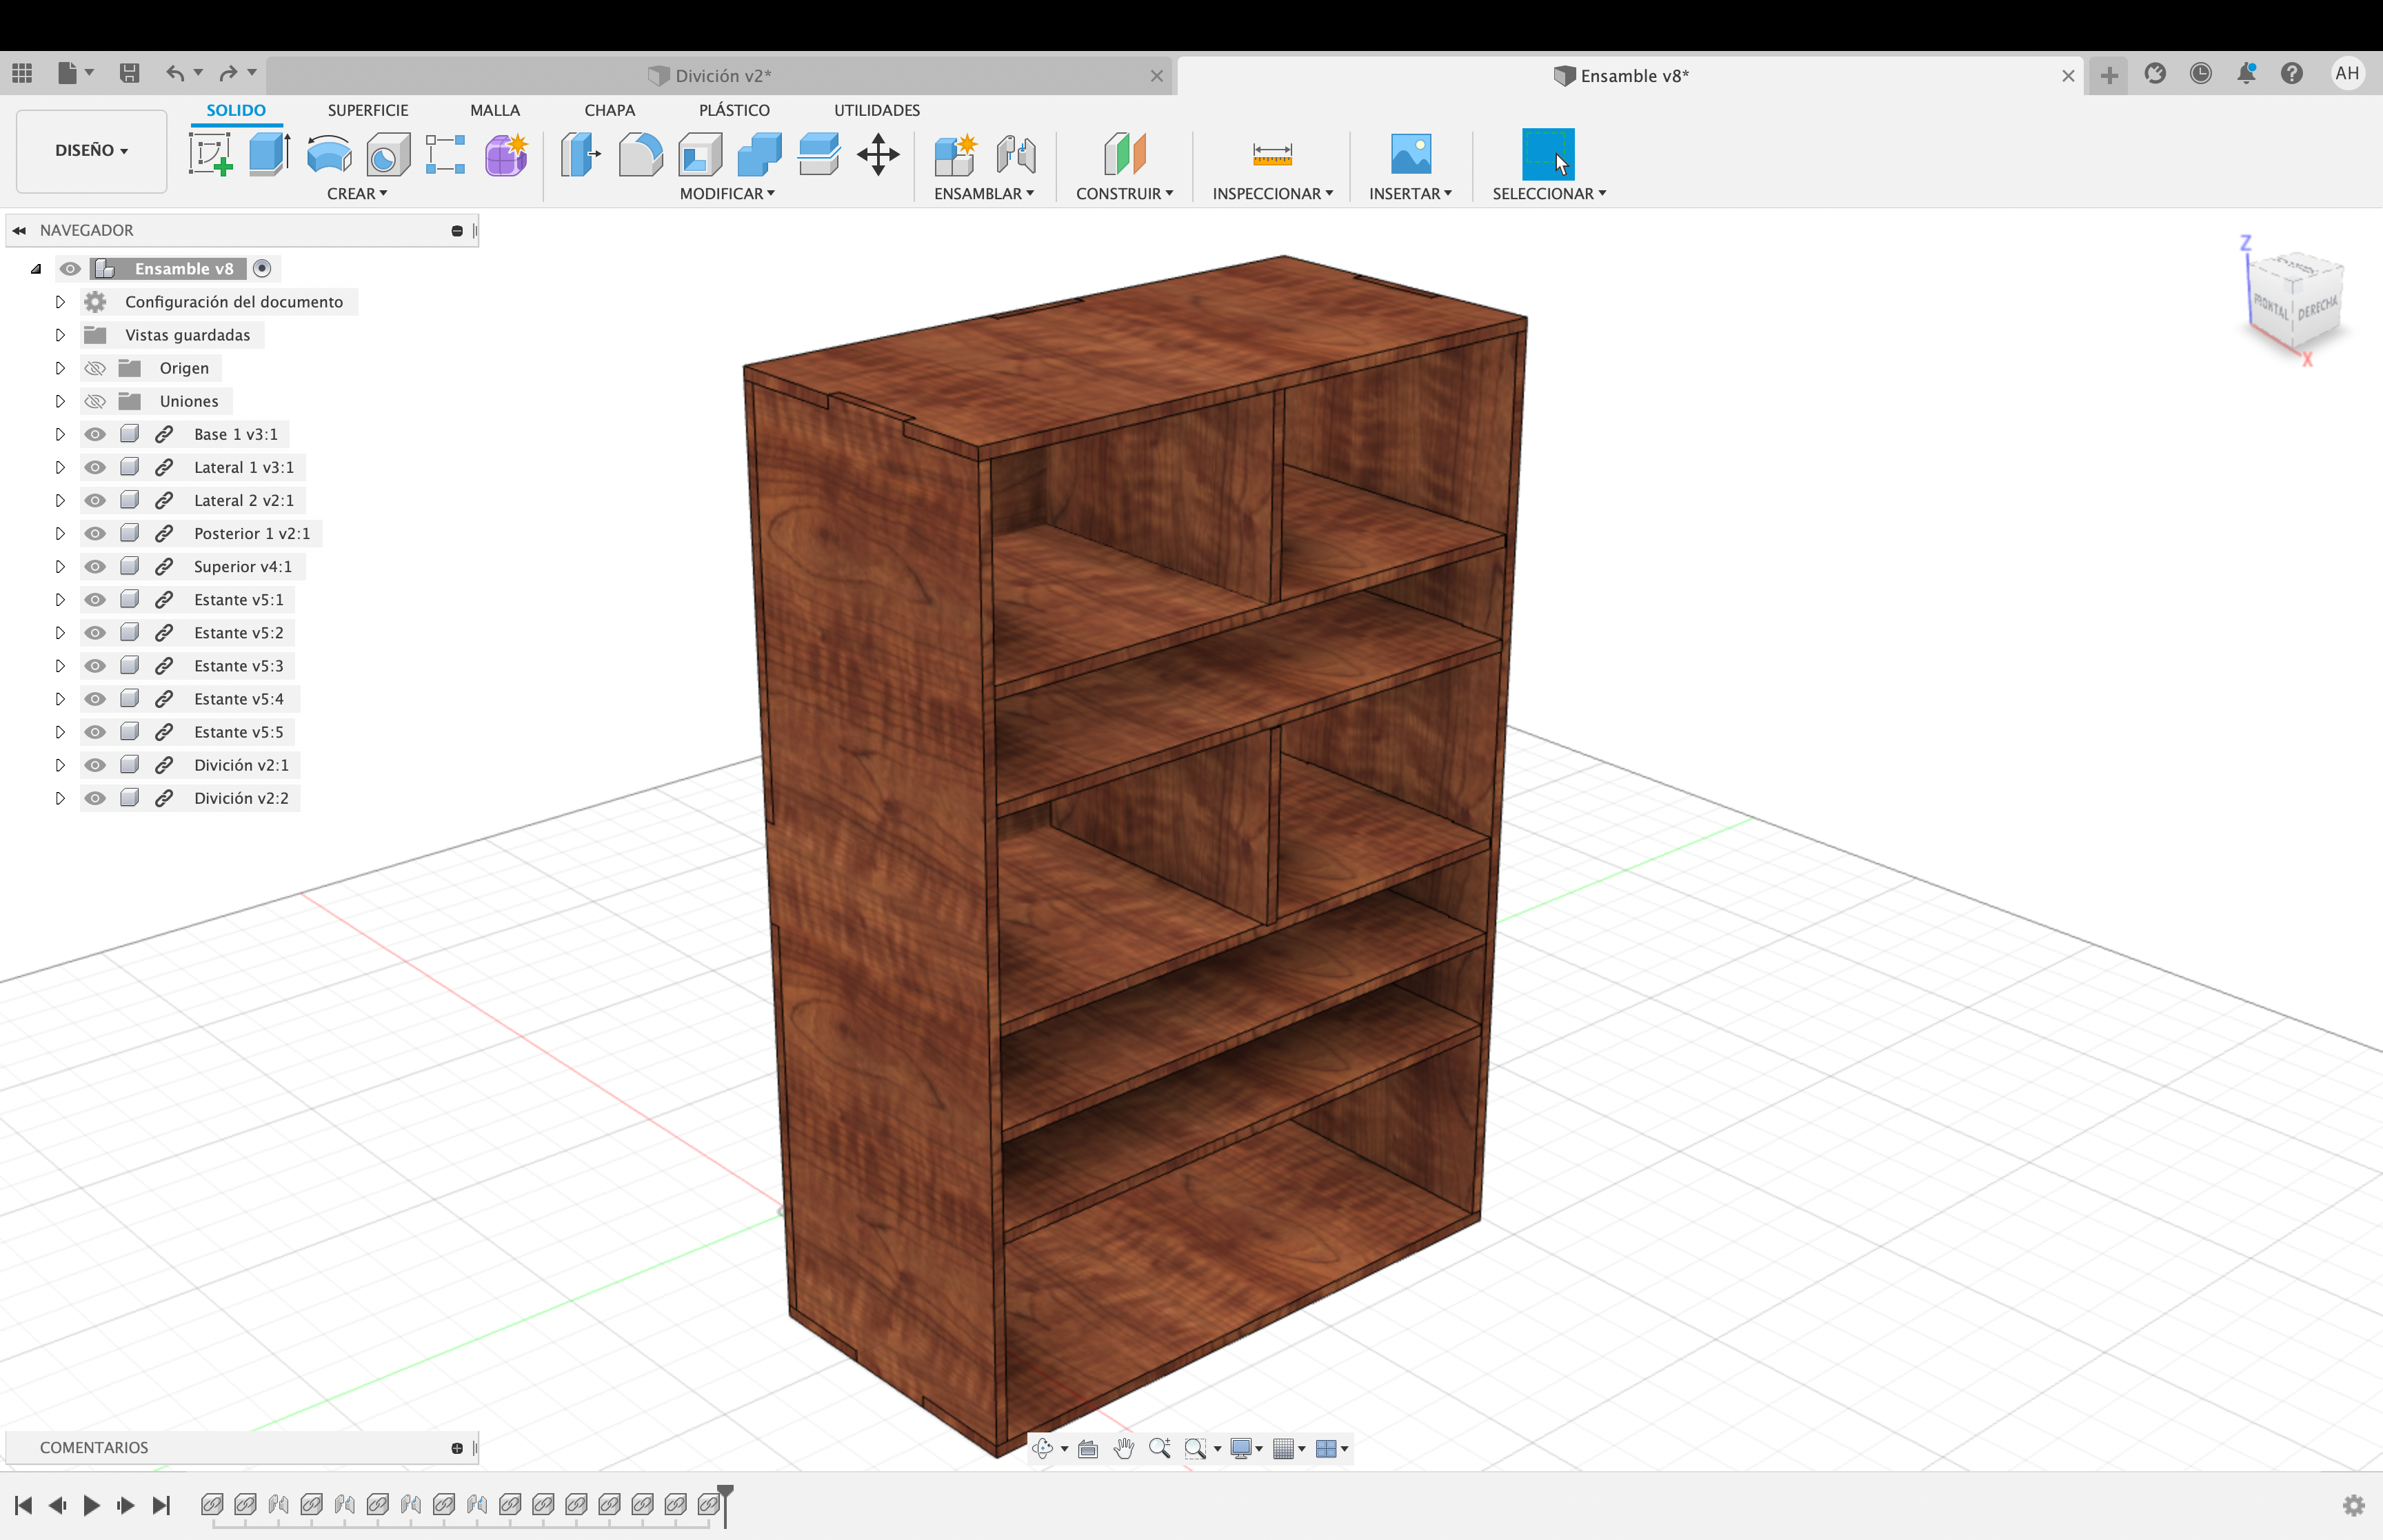
We introduce the "Shelf" and this is the piece that we are not going to assemble, we are just going to position it and make it fit right into the slot. Then we introduce again the "Shelf" to continue positioning them in the slots until you have no more slots left and that's it. That's the end of the "Shelves".
Shelf Division Assembly
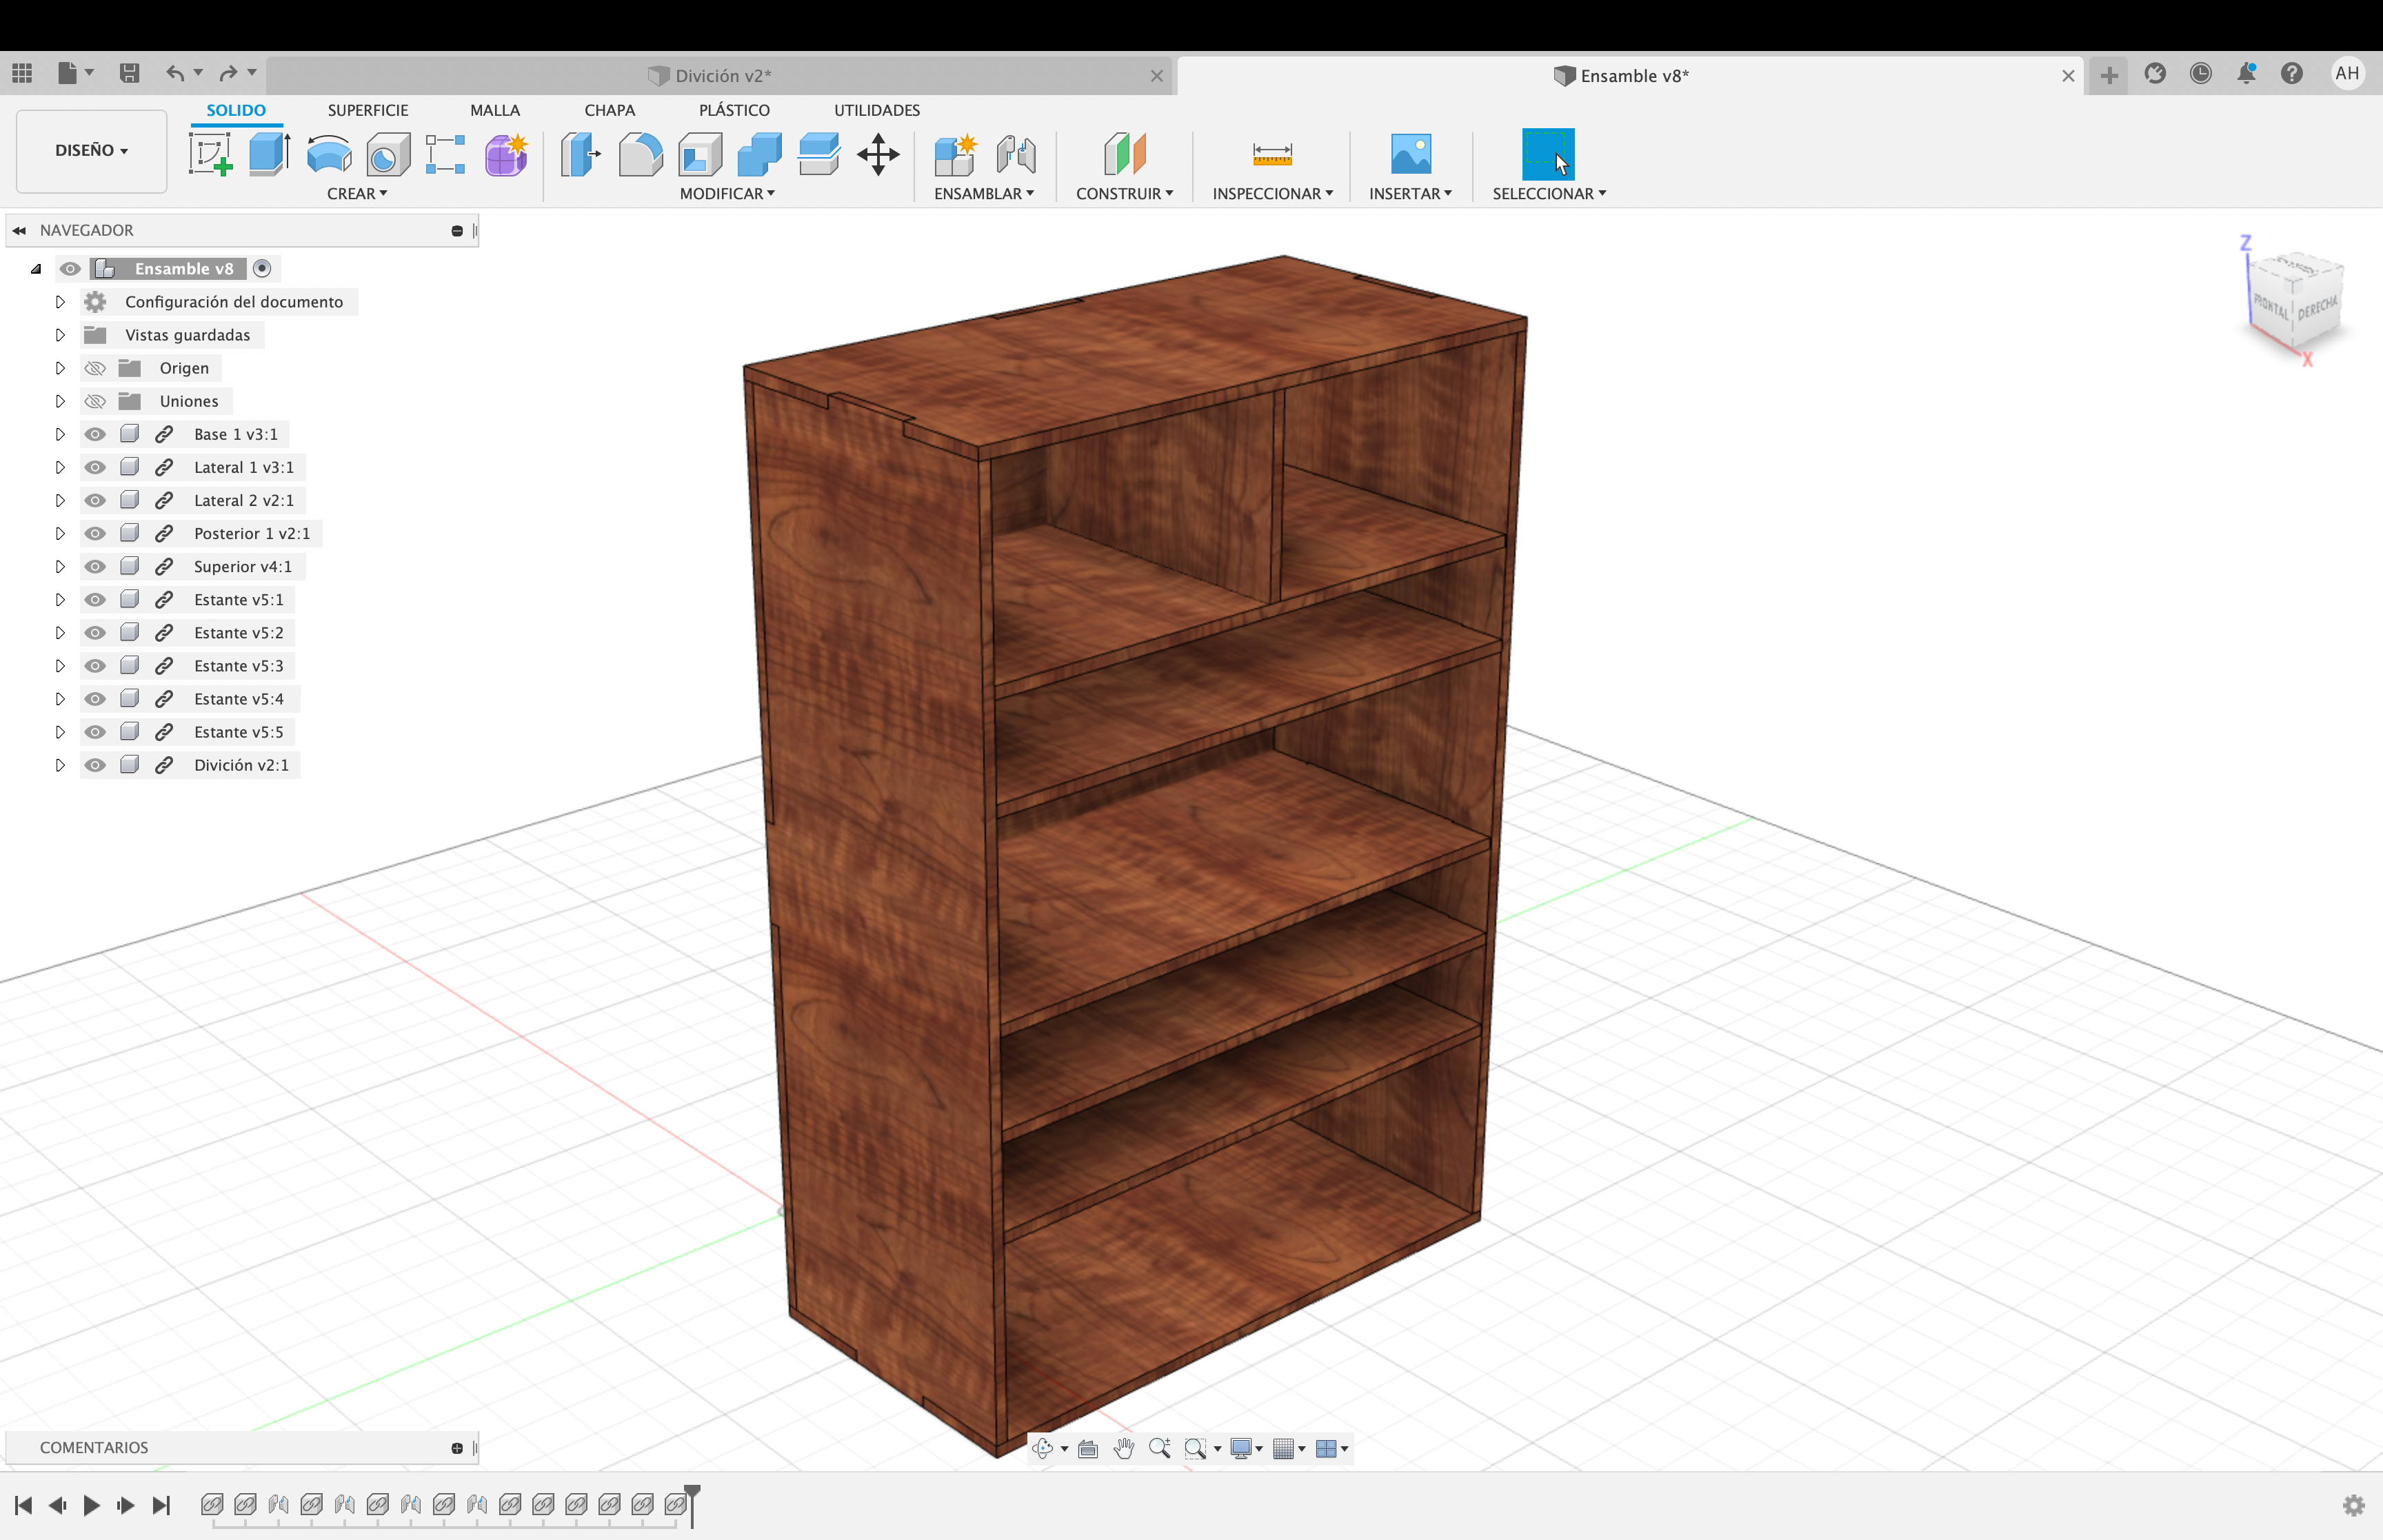 13.32.15.png)

 13.24.13.png)
We introduce the "Shelf division", in this part we are only going to position it in the middle of the first two big shelves and just like the shelves we are only going to position it. Finally, so that the "Joints" are not visible, we deactivate the option "Joints" and that's it, we have finished with our bookcase.
I hope you liked it and that you can make other projects like this one, well, nothing more to say. Thanks