Book Scanner Without a Cardboard Box. Cheapest Possible Book Scanner Design. Easiest Way of Scanning Books.
by NeilTheInventor in Living > Education
302 Views, 2 Favorites, 0 Comments
Book Scanner Without a Cardboard Box. Cheapest Possible Book Scanner Design. Easiest Way of Scanning Books.

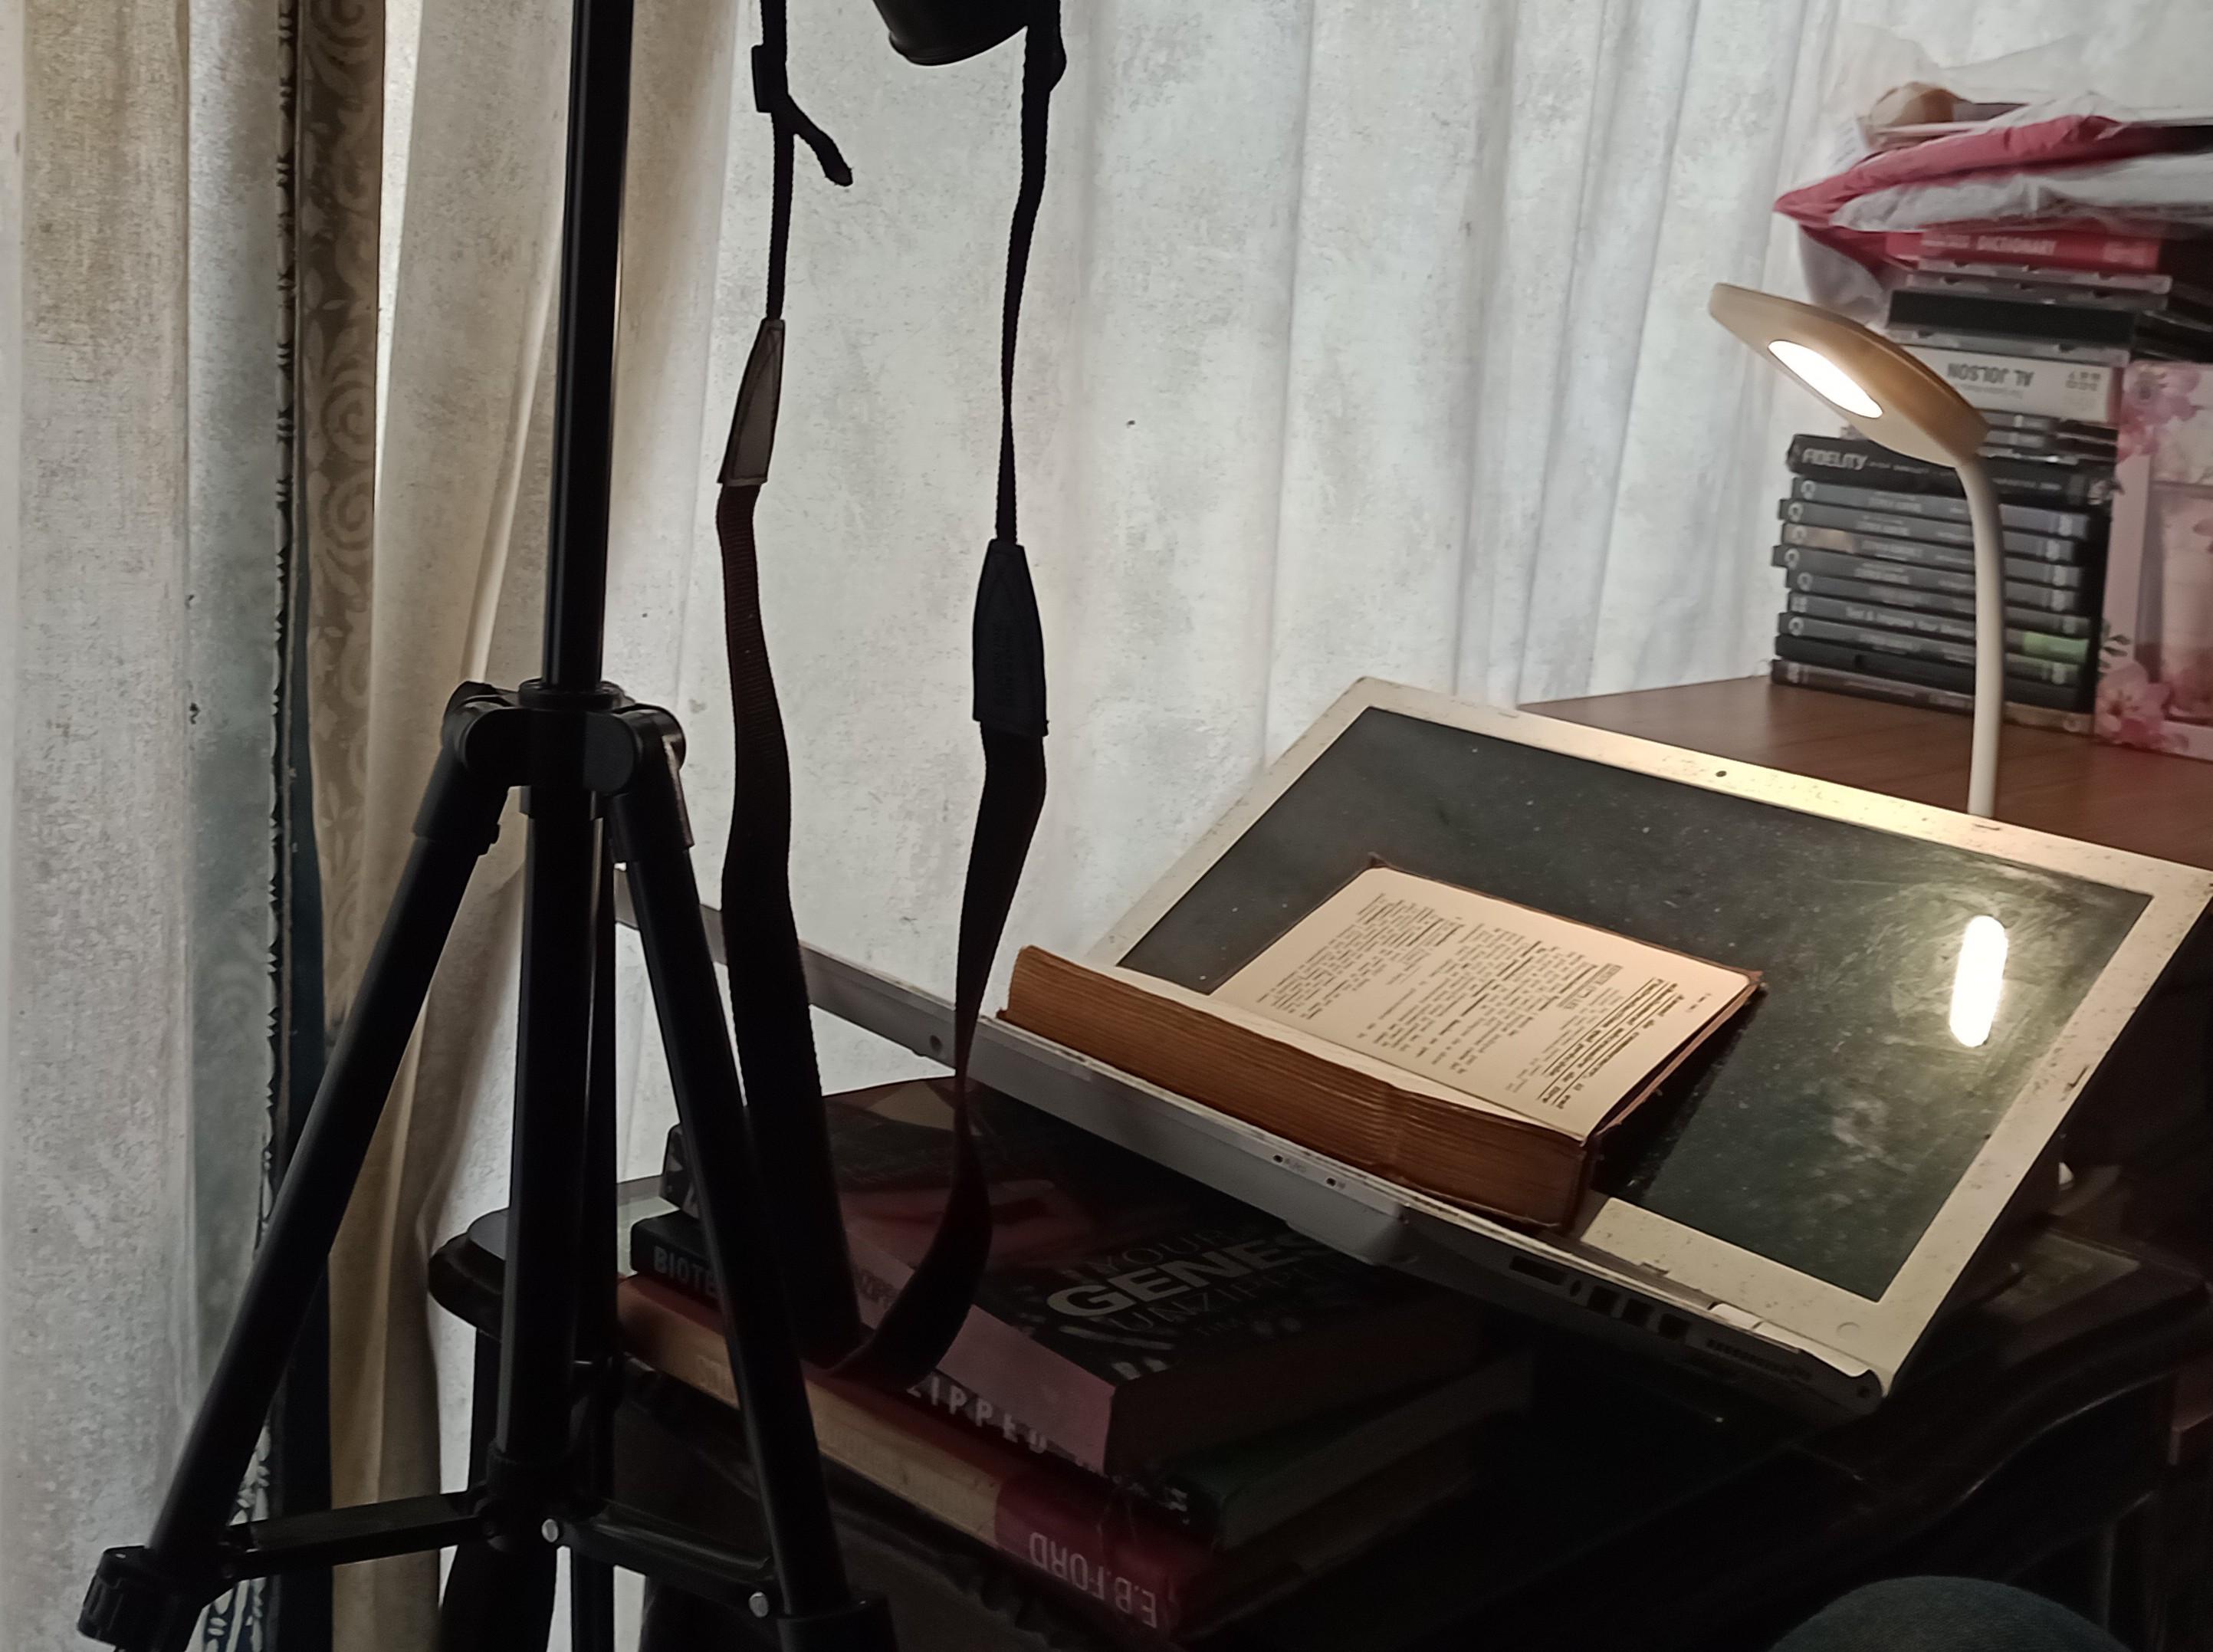
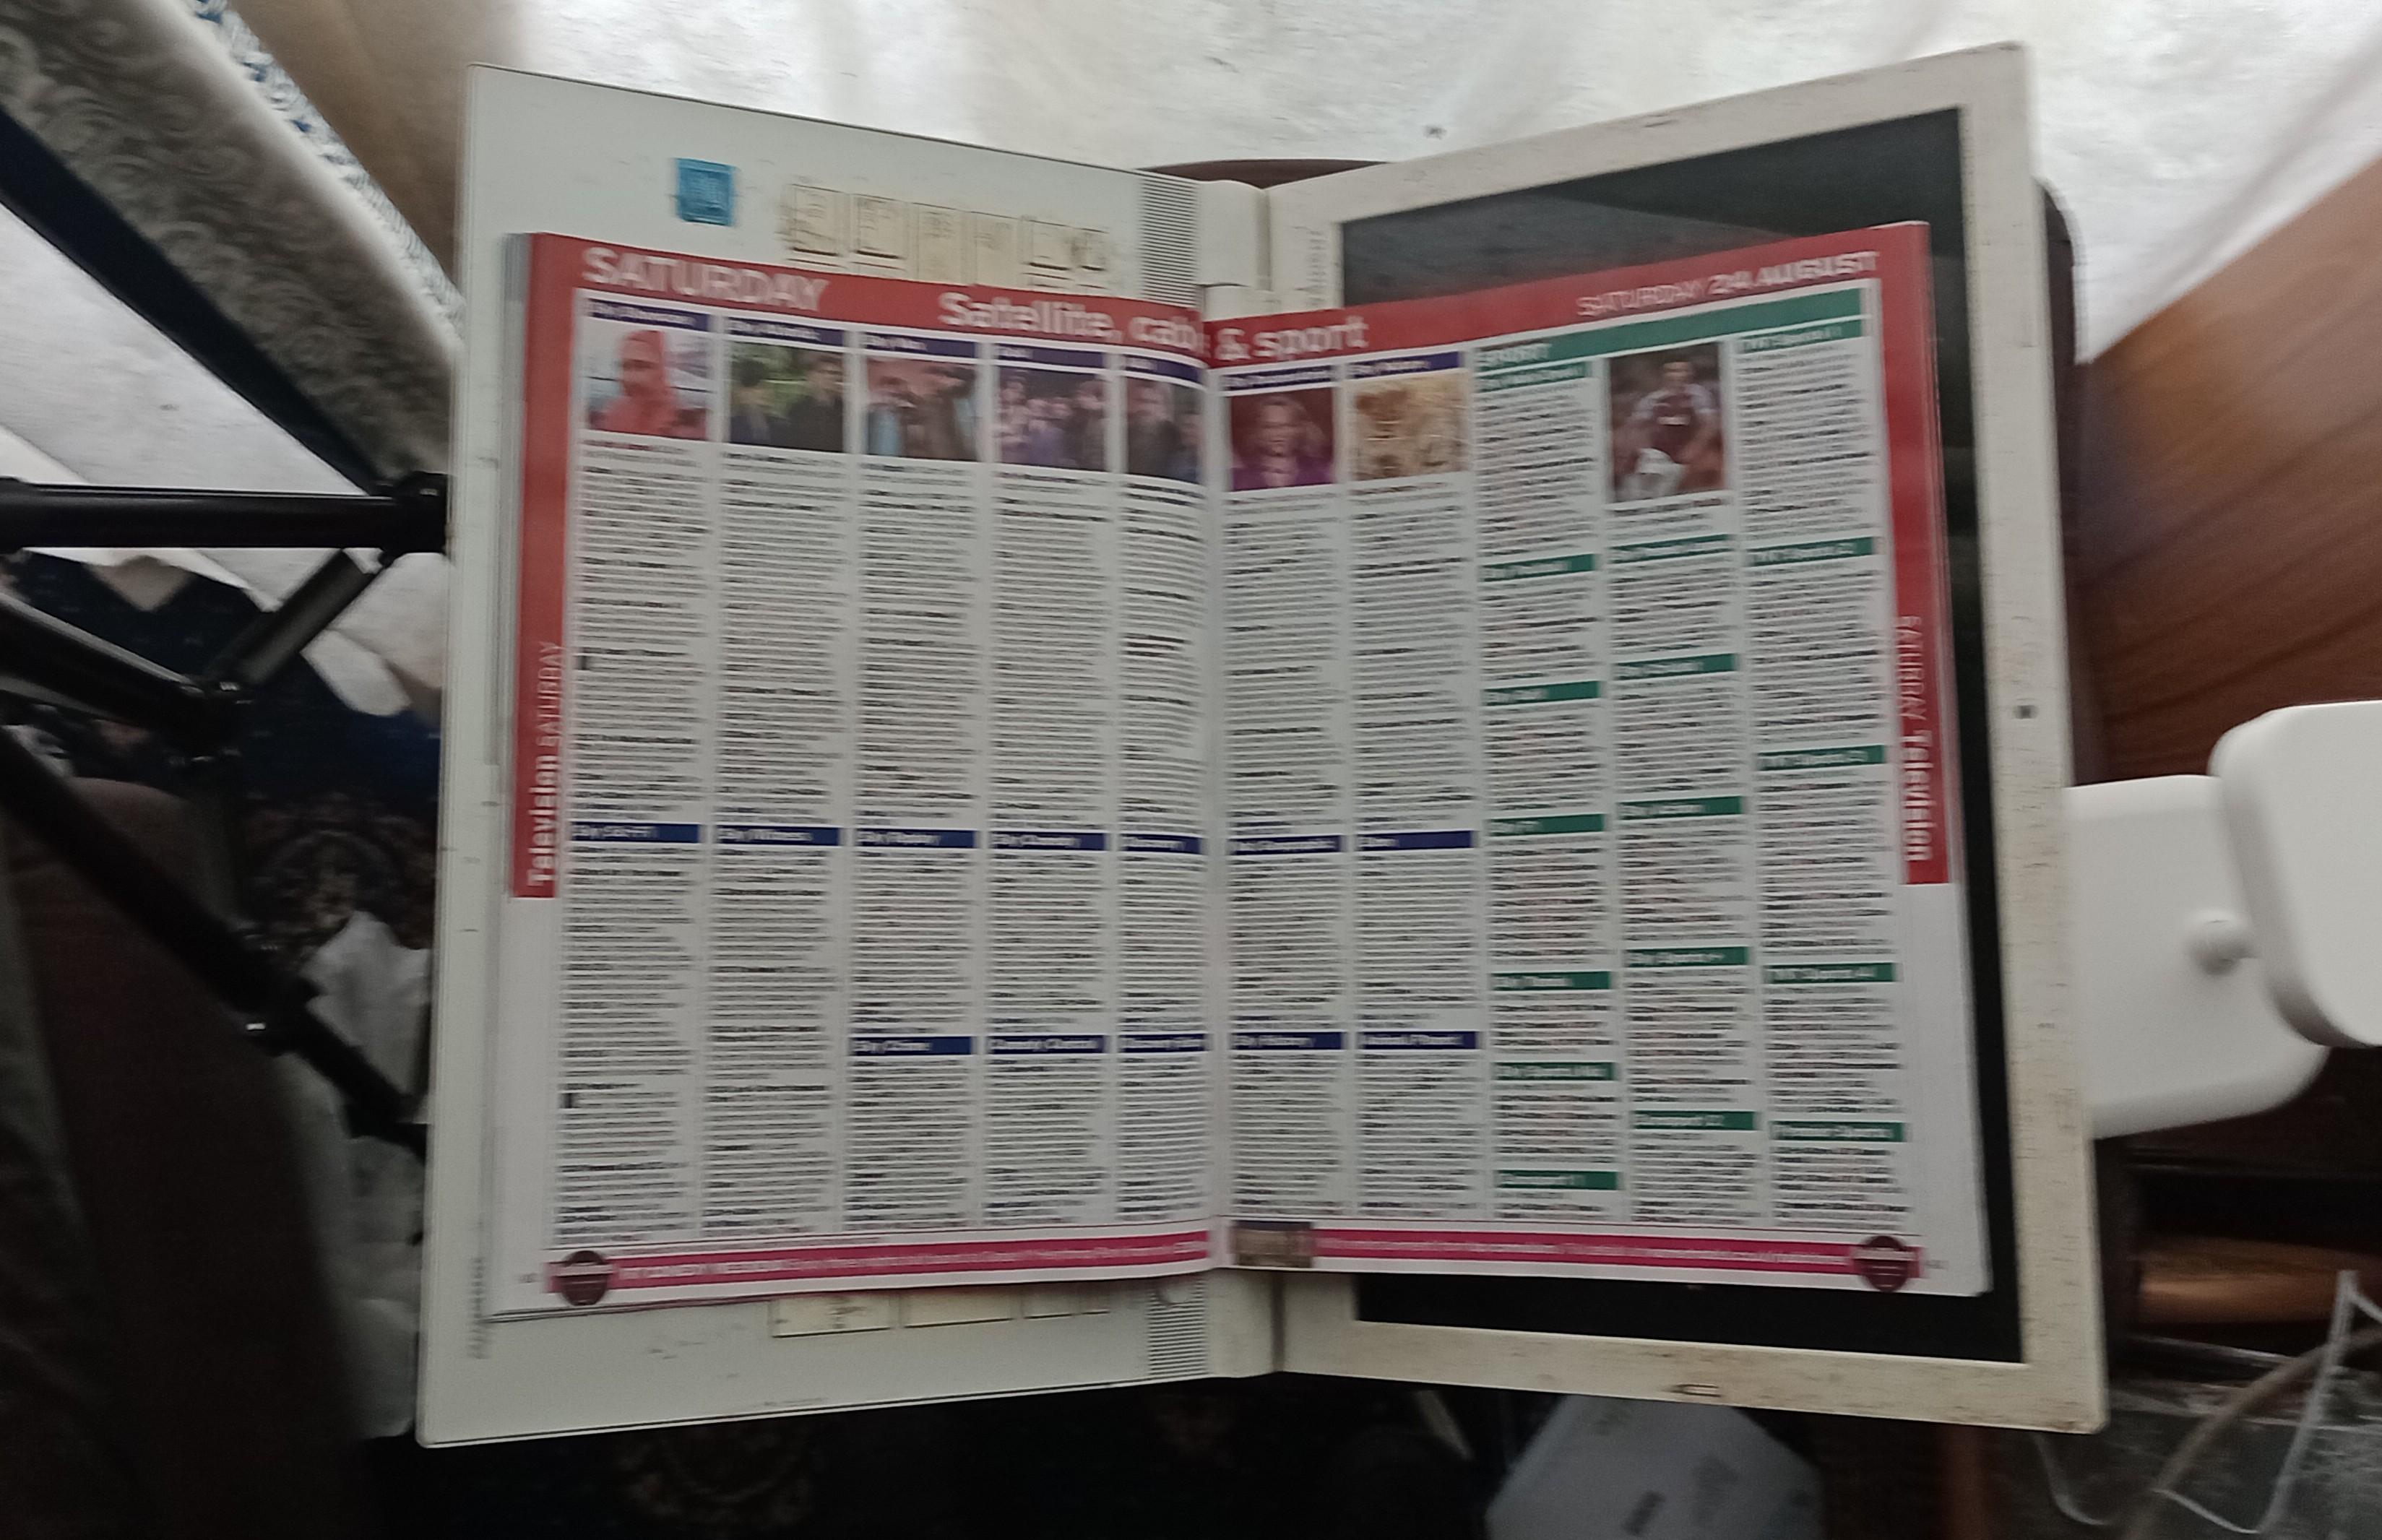
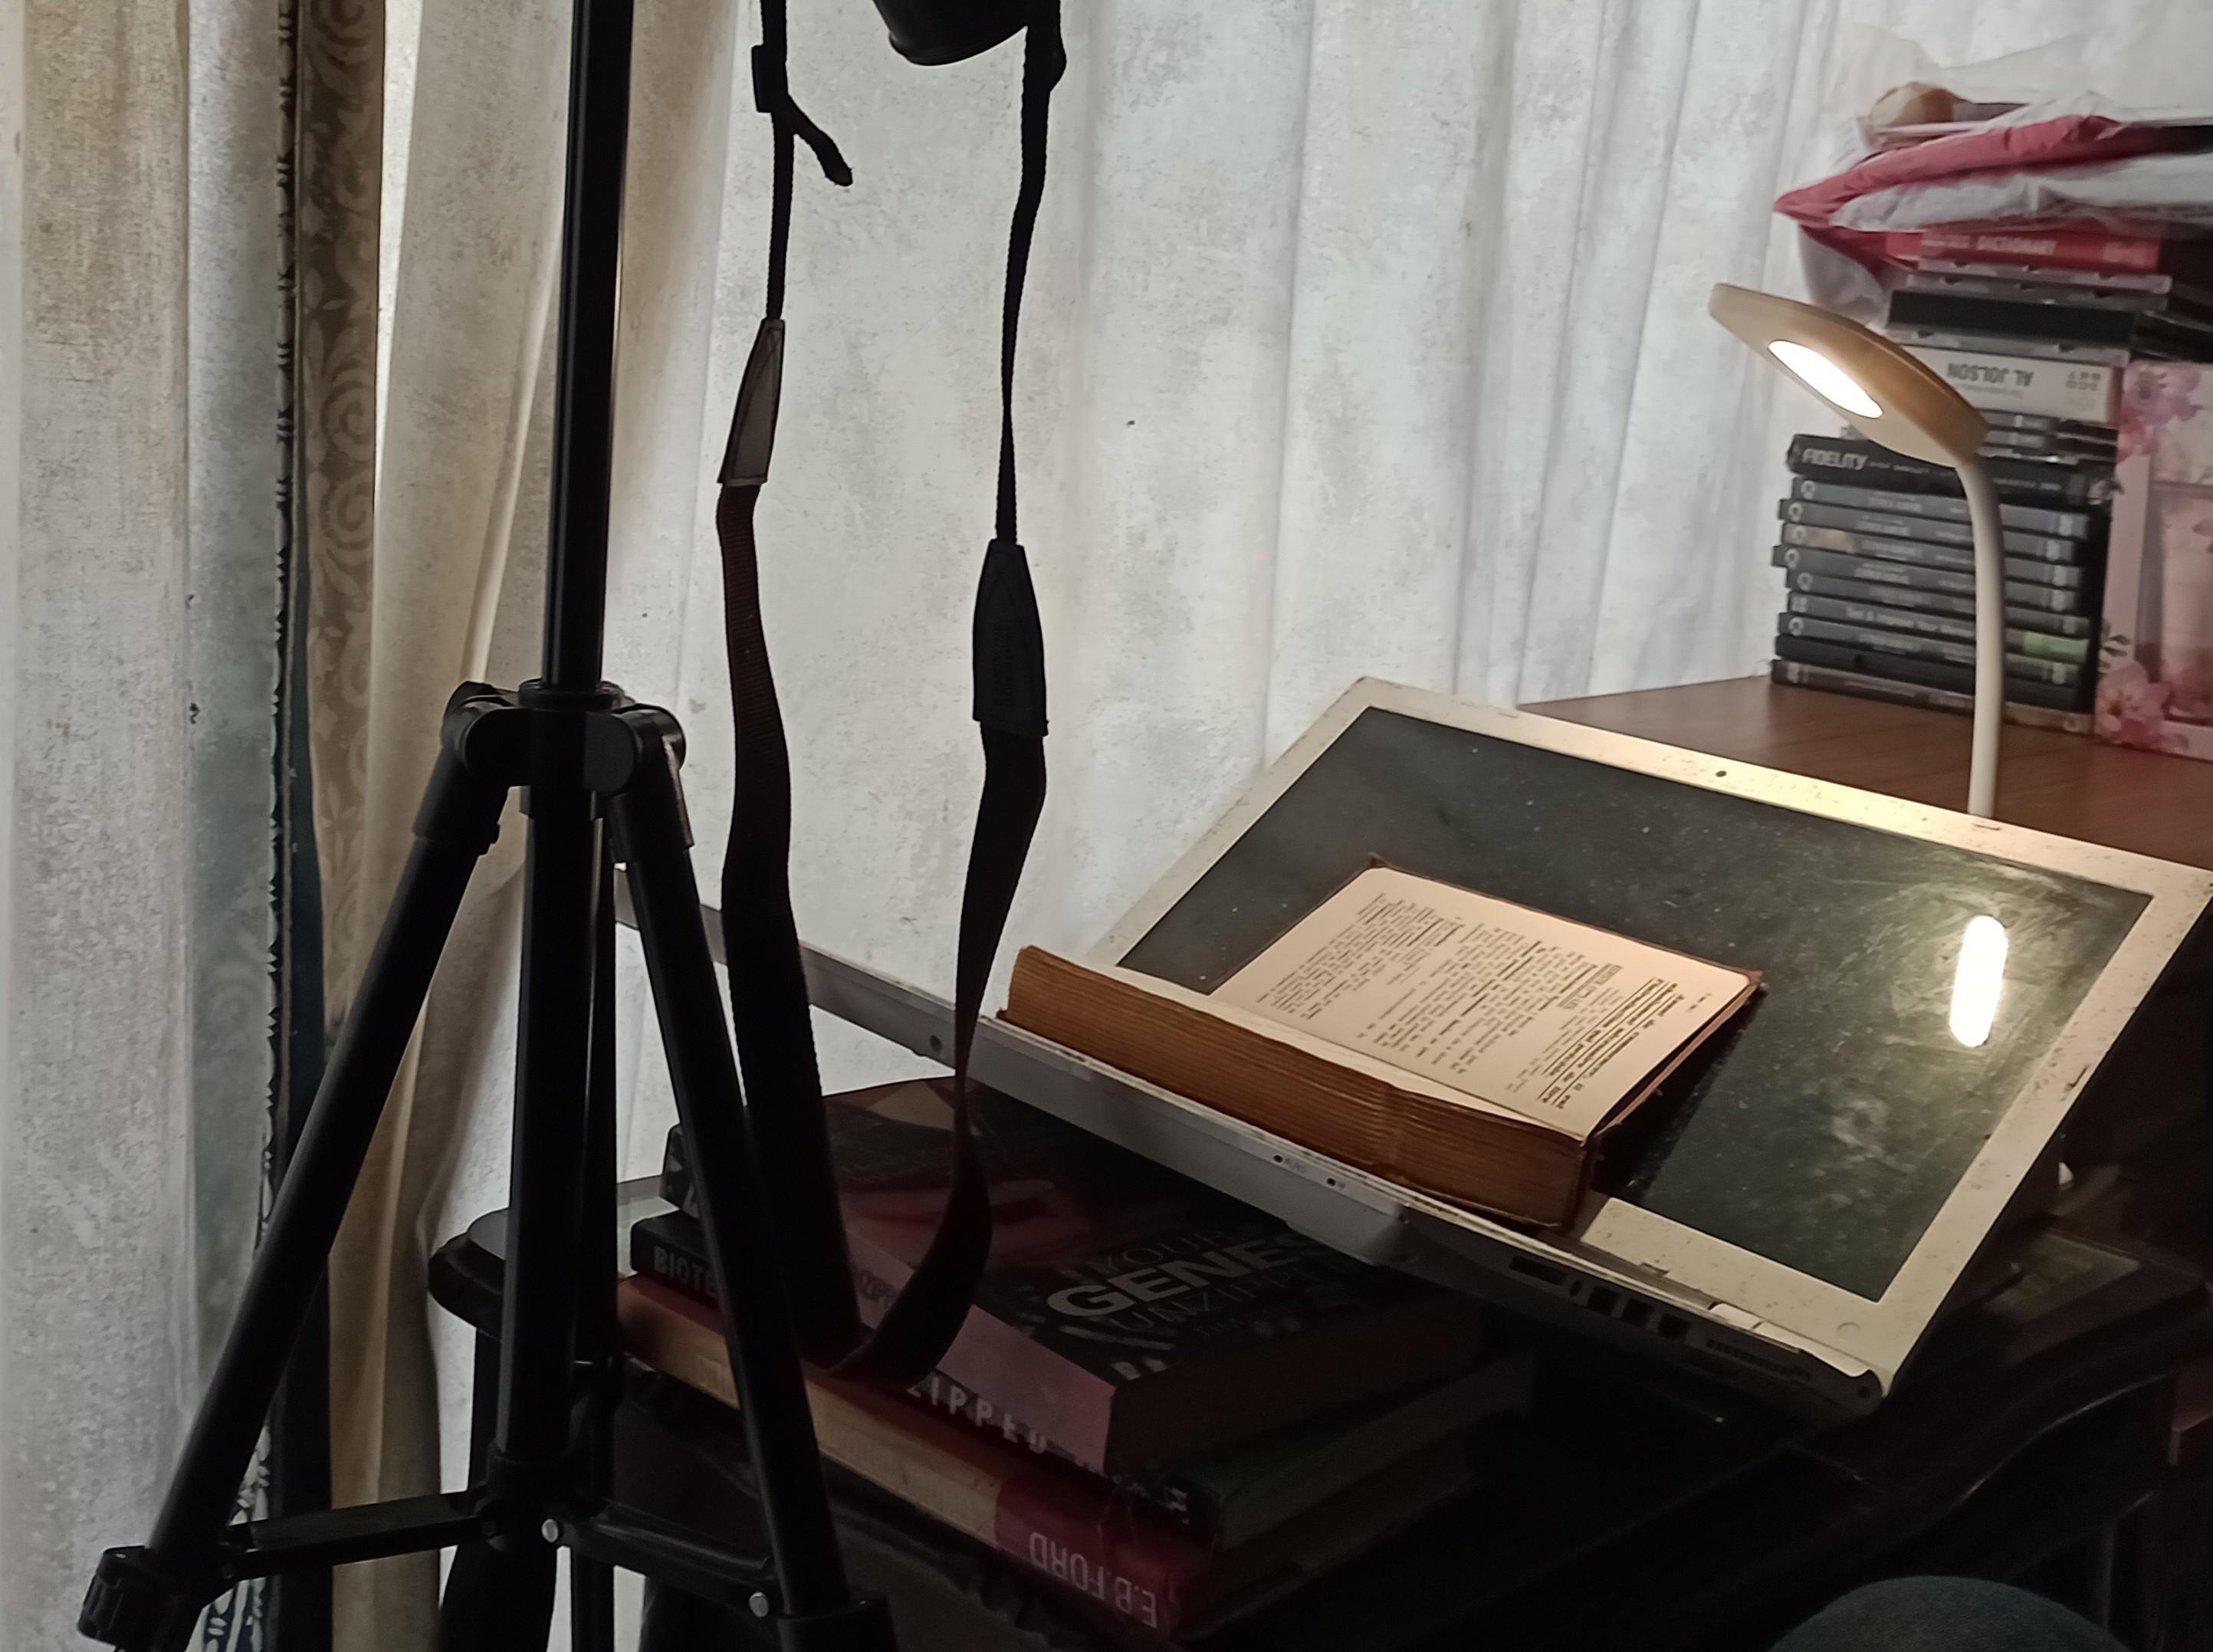
I needed to scan a book. There is a design on here of a simple book scanner using a cardboard box. This version does it without the box! It uses the computer itself as a support for the book. I came up with it because I didn't have a box to hand and I looked around the room for a possible v shaped object and realised I had one right in front of me.
Supplies

The book to scan, some extra books, a laptop working or not, a digital camera and a desk lamp. Additionally a piece of clear acrylic sheet to press on the book to hold the page flat. This won't always be necessary. Similarly I used a tripod to hold the camera. This is probably needed but you may find a way around needing to use one. I used an old partially working laptop but any laptop will do.
All That Is Needed to Be Done.

The picture shows it all. A laptop is placed open on some other books to act as a v shaped support for the book being scanned. The books just hold it up and bricks could also be used for example. A lamp is used for light and a camera to take the pictures. It is as simple as that
This is some code in Perl that I have used to crop the text out of the photographed pages in preparation for OCR processing. The co-ordinates will need to be changed to fit the book being scanned.
use strict;
use warnings;
use Image::Magick;
# Create a new Image::Magick object
my $image = Image::Magick->new;
# Read the input image
my $input_image ='oldassimilbook/IMG_0754.JPG';
$image->Read($input_image);
# Define the width, height, and the starting coordinates
my $width =2150;
my $height = 6500;
my $x =650; # X-coordinate of the top-left corner
my $y =50; # Y-coordinate of the top-left corner
# Crop the image
$image->Crop(width => $width, height => $height, x => $x, y => $y);
# Optional: Re-set the image page to remove the offset
$image->Set(page => '0x0+0+0');
# Write the cropped image to a new file
my $output_image = 'cropped_image.jpg';
$image->Write($output_image);
print "Cropped image saved as $output_image\n";