Book Holder - the BookShelf


The BookShelf - About
The BookShelf was designed to
leave people’s hands free when
they are reading any sized book,
allowing them to multi-task.
This model has 1 moving part,
which is a small tab, rotatable
to be able to fit any book.
I used Joint to make it move.
How it works
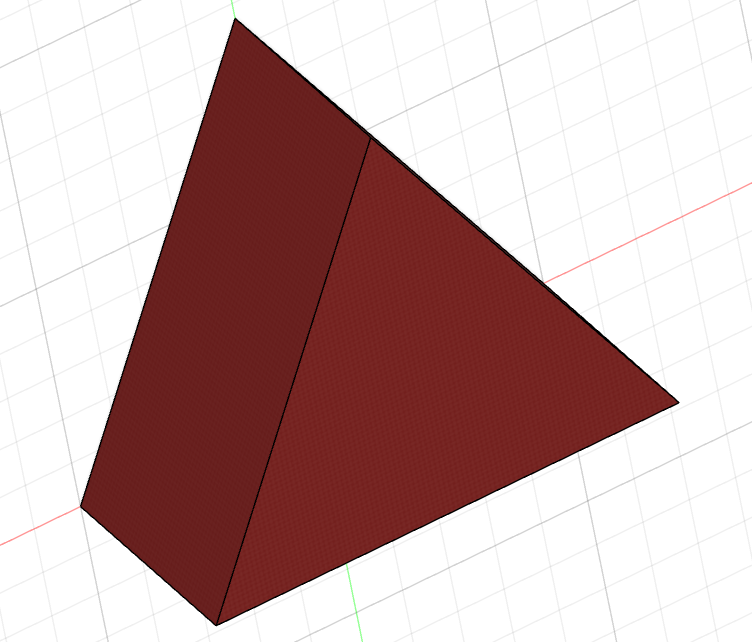
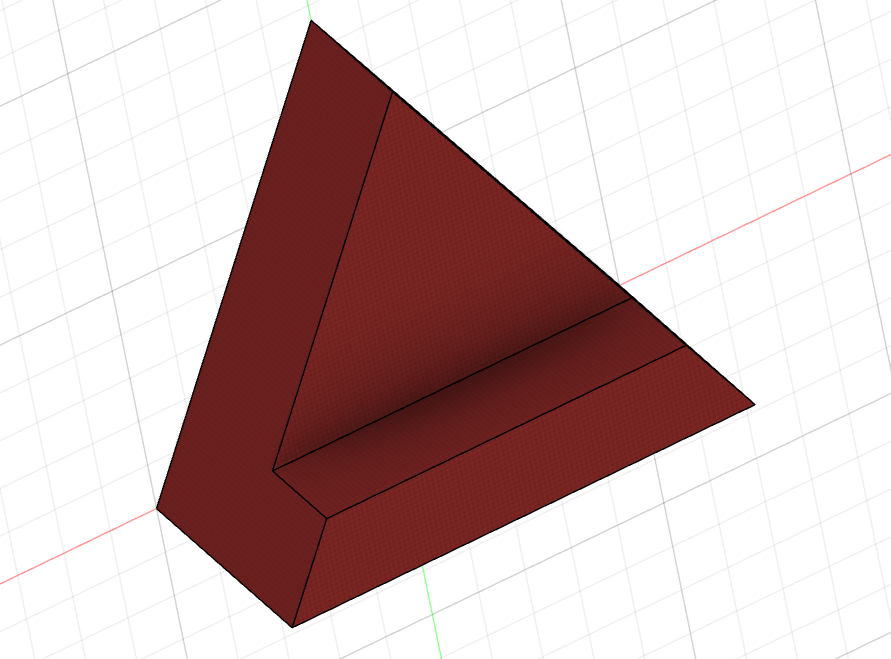
The BookShelf is a triangle with a lip,
where the book rests. A flap rotates
to be able to fit any size book. I used
2 Joints for this - One to connect the
flap to the rod, and another to connect
the flap and rod to the opening in the bottom.
Technical Drawing:

Supplies
Computer, Mouse, Fusion 360 Software
Creating the Main Body
The first thing to do is to make your triangle with your preferred units, and extrude it to the size you want. This is done by clicking the Create Sketch button in the top right corner, right next to Design.
Next, create another sketch, and make a line about ⅓ of the way up your triangle. Extrude negatively to form a lip:
This next bit is easy. Simply create a sketch, and draw a rectangle at the far side of your triangle, extruding upwards:
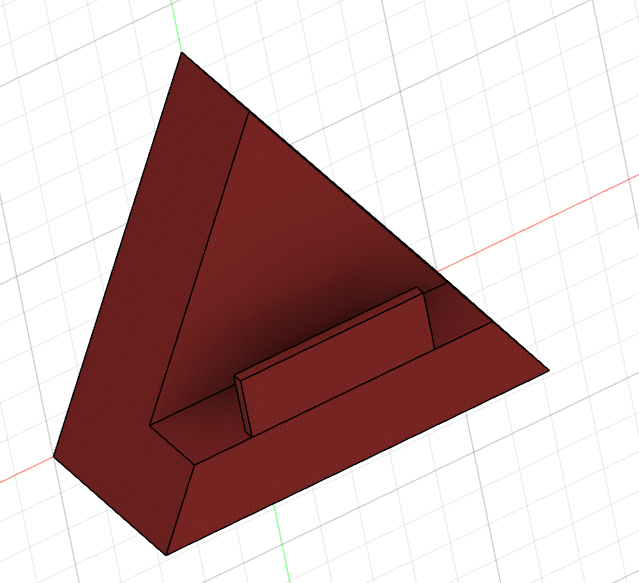
This is your tab, which will be able to move to hold in place different sized books.
Great! Let’s move on to the next step, where we’ll create the rod, and the beginnings of the joint.
Creating the Rod
Now, create another sketch, which will draw a circle through the tab. We’ll be putting a rod through this soon, so make sure it’s big enough.
Amazing!
Before we create the rod, let’s make a space for the tab to sit in (with the rod). Create a sketch, and extrude a rectangle downwards to create a hole. Do the same on the other side.
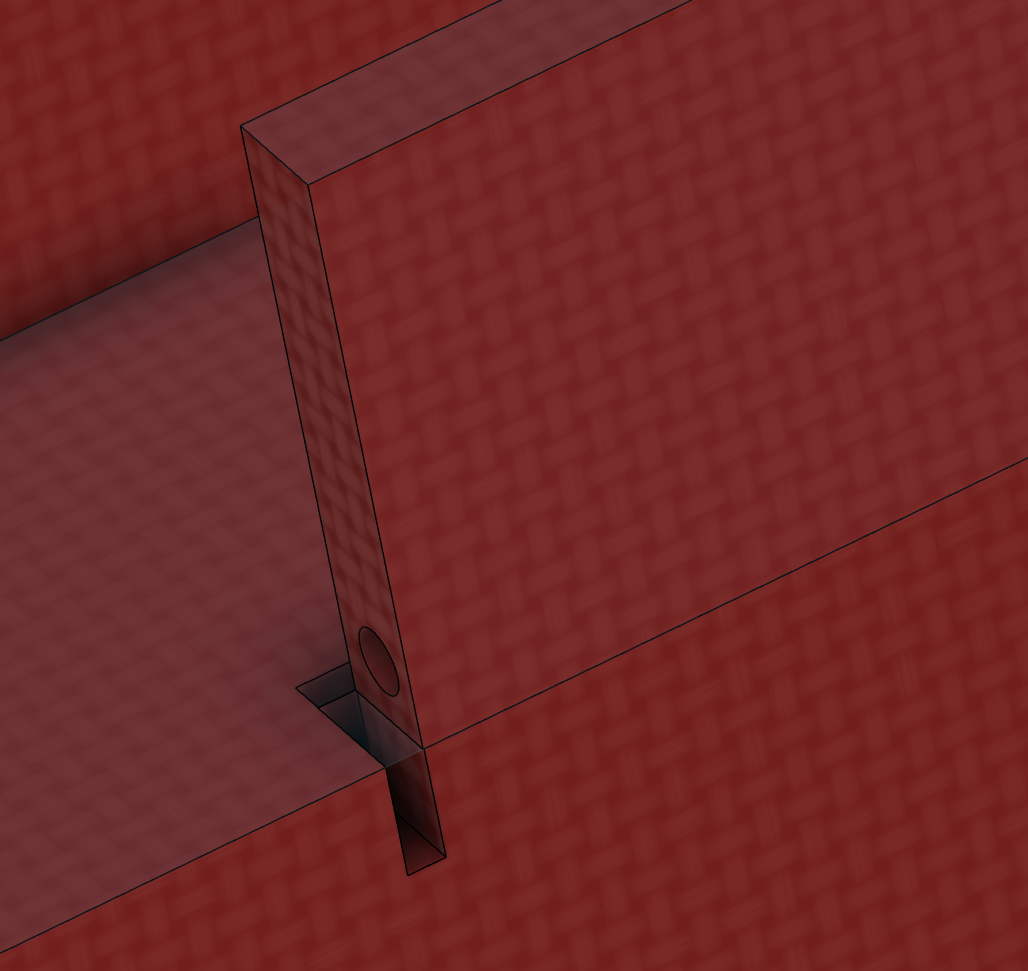
Next, create another sketch, and cut away the part directly underneath the tab:
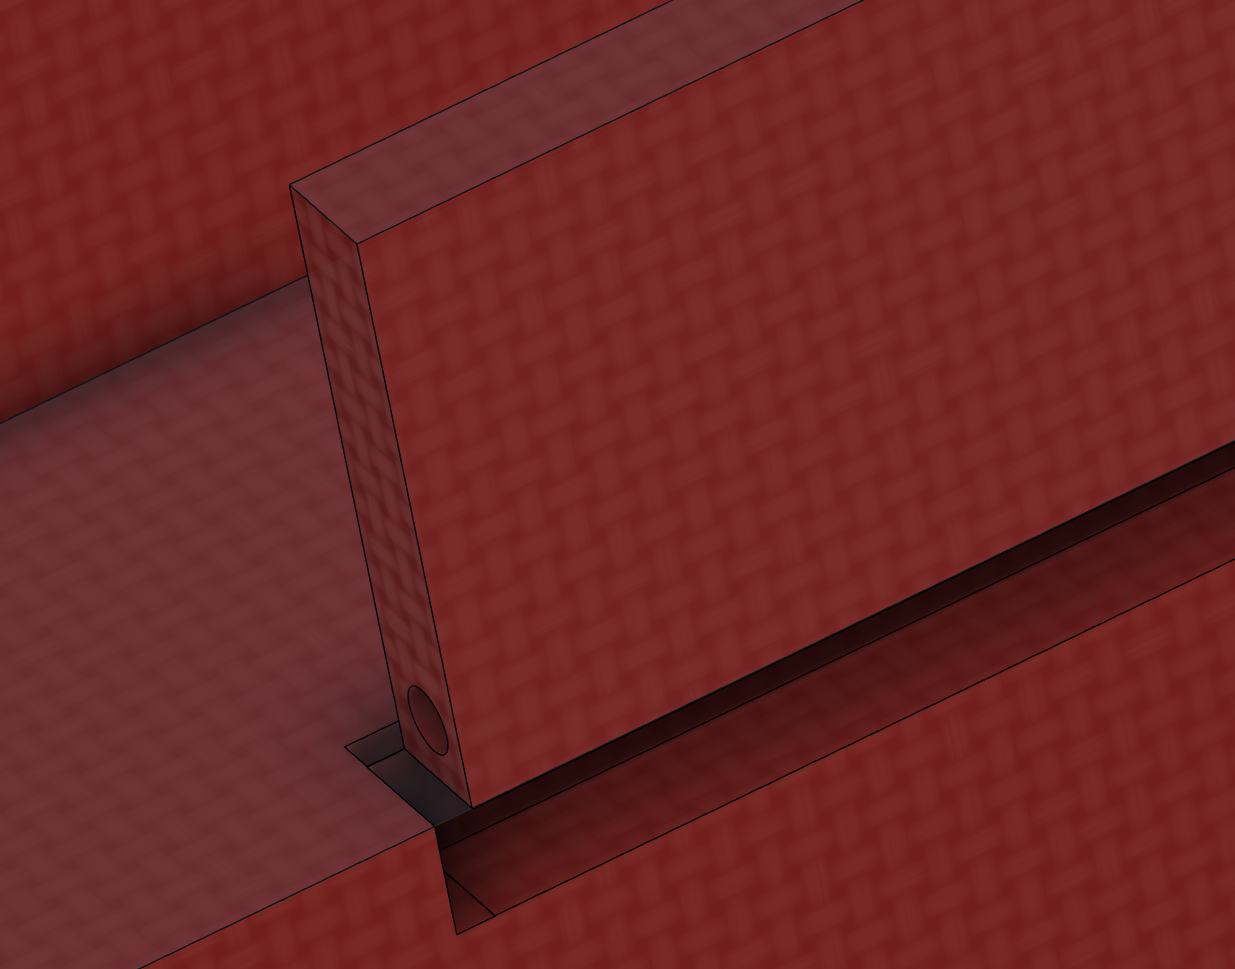
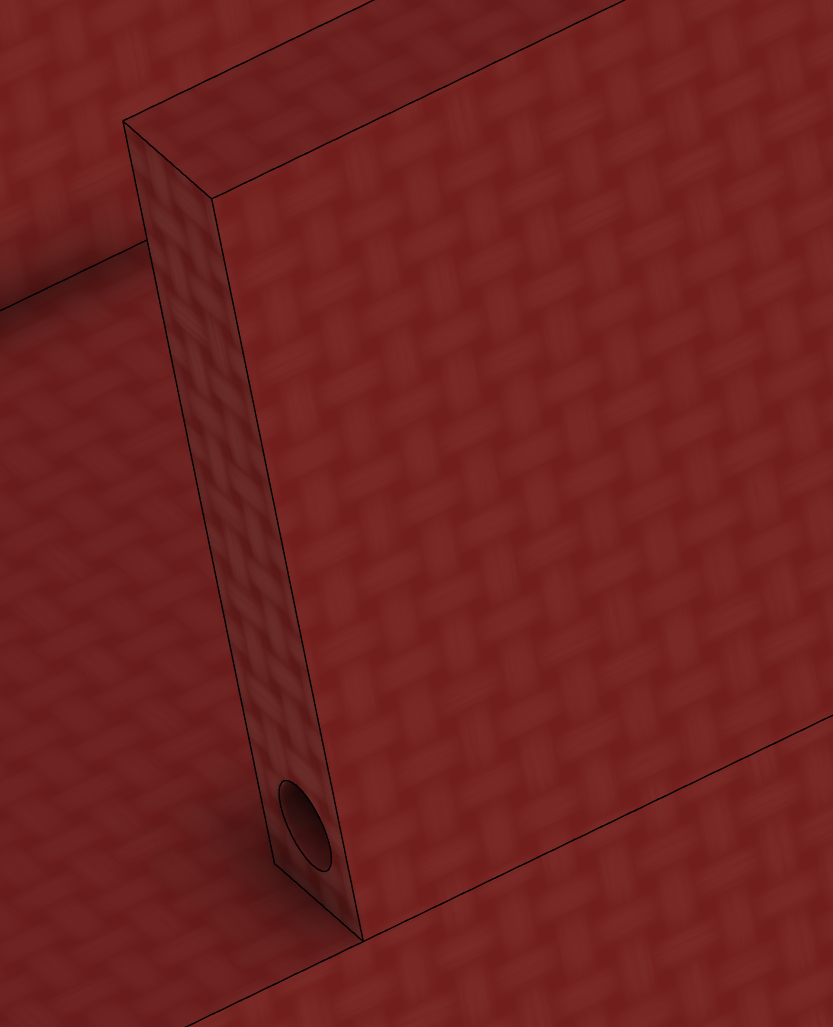
Now, create a rod that runs directly through the hole we just made. The amount of the rod that will poke out of the lip should be equal to the diameter of the previous circle (hole).
While your at it, create a small indentation in the part underneath the tab:
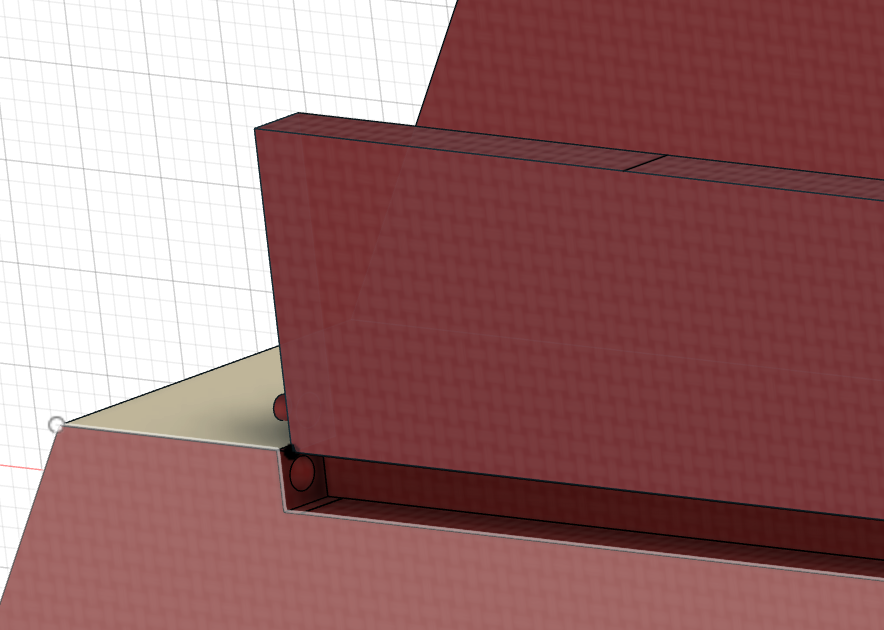
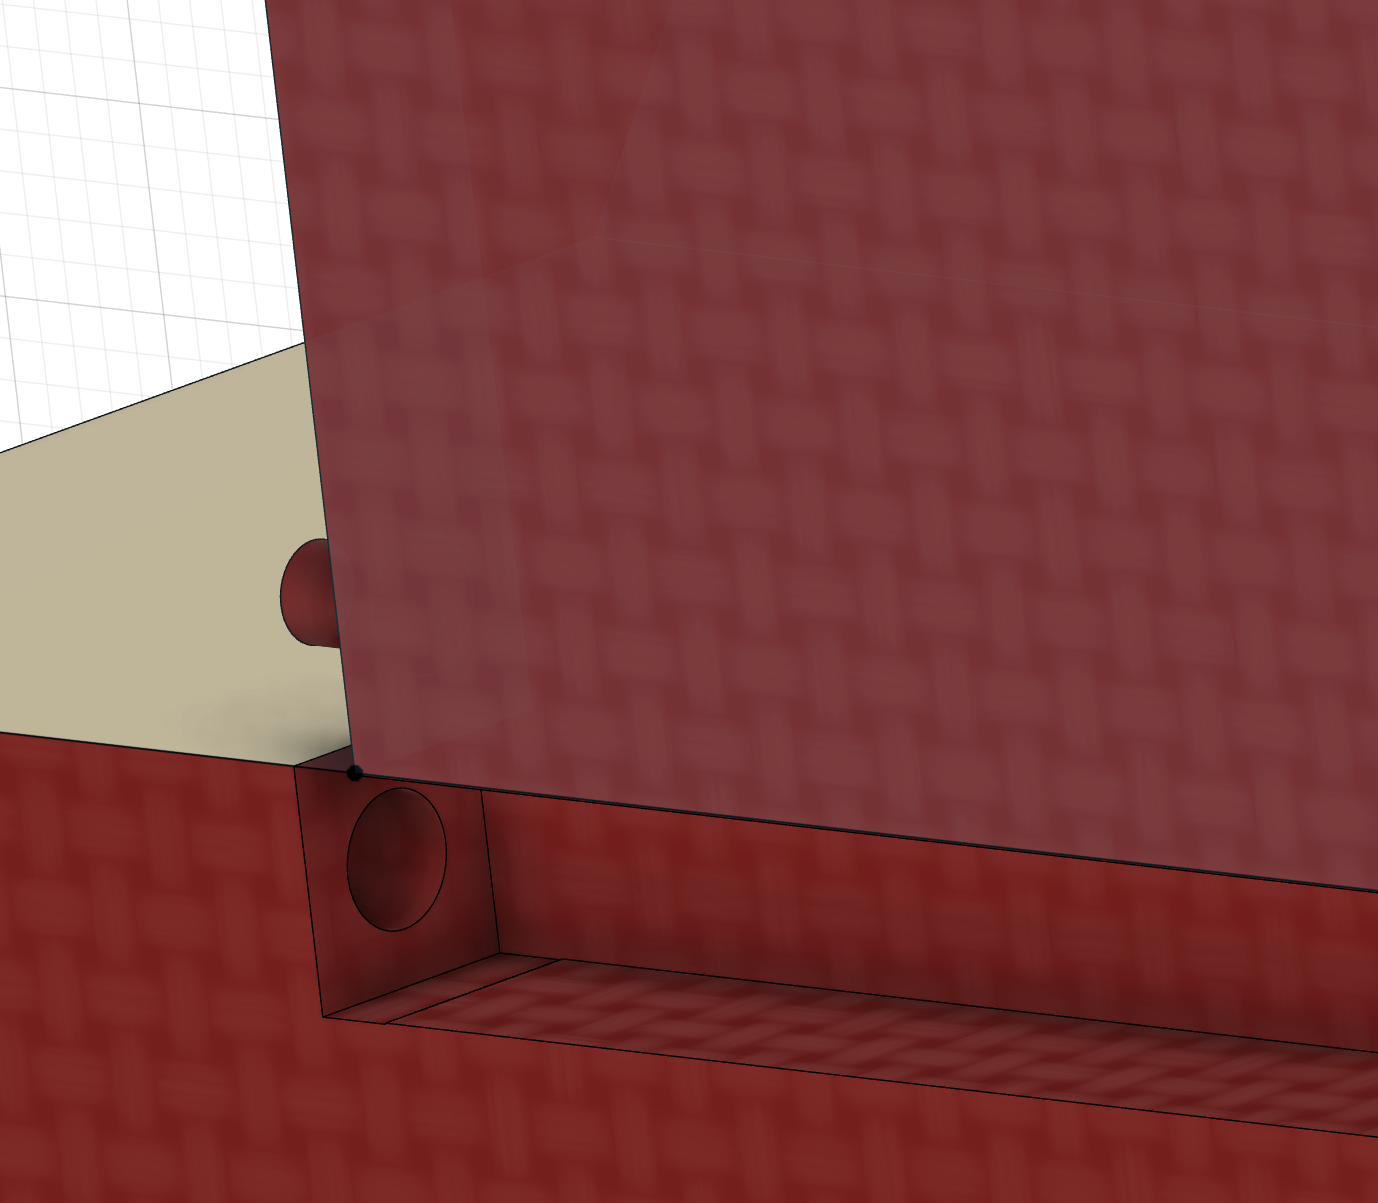
Joints
I’ve highlighted the lip in yellow for help in distinguishing later on.
Using a Rigid Joint, connect the rod and the lip. Use another rigid joint to move the rod and lip Down into the hollowed out area.
Finally, create a Revolute Joint on the lip, and set it to 90 degrees of movement.
Congratulations! You’ve successfully finished The BookShelf. To test out your movement, right click on the upside-down flag, and choose Animate Joint Relationships

Your lip will begin to move. Press Esc to stop the simulation.