Bonsai Planter
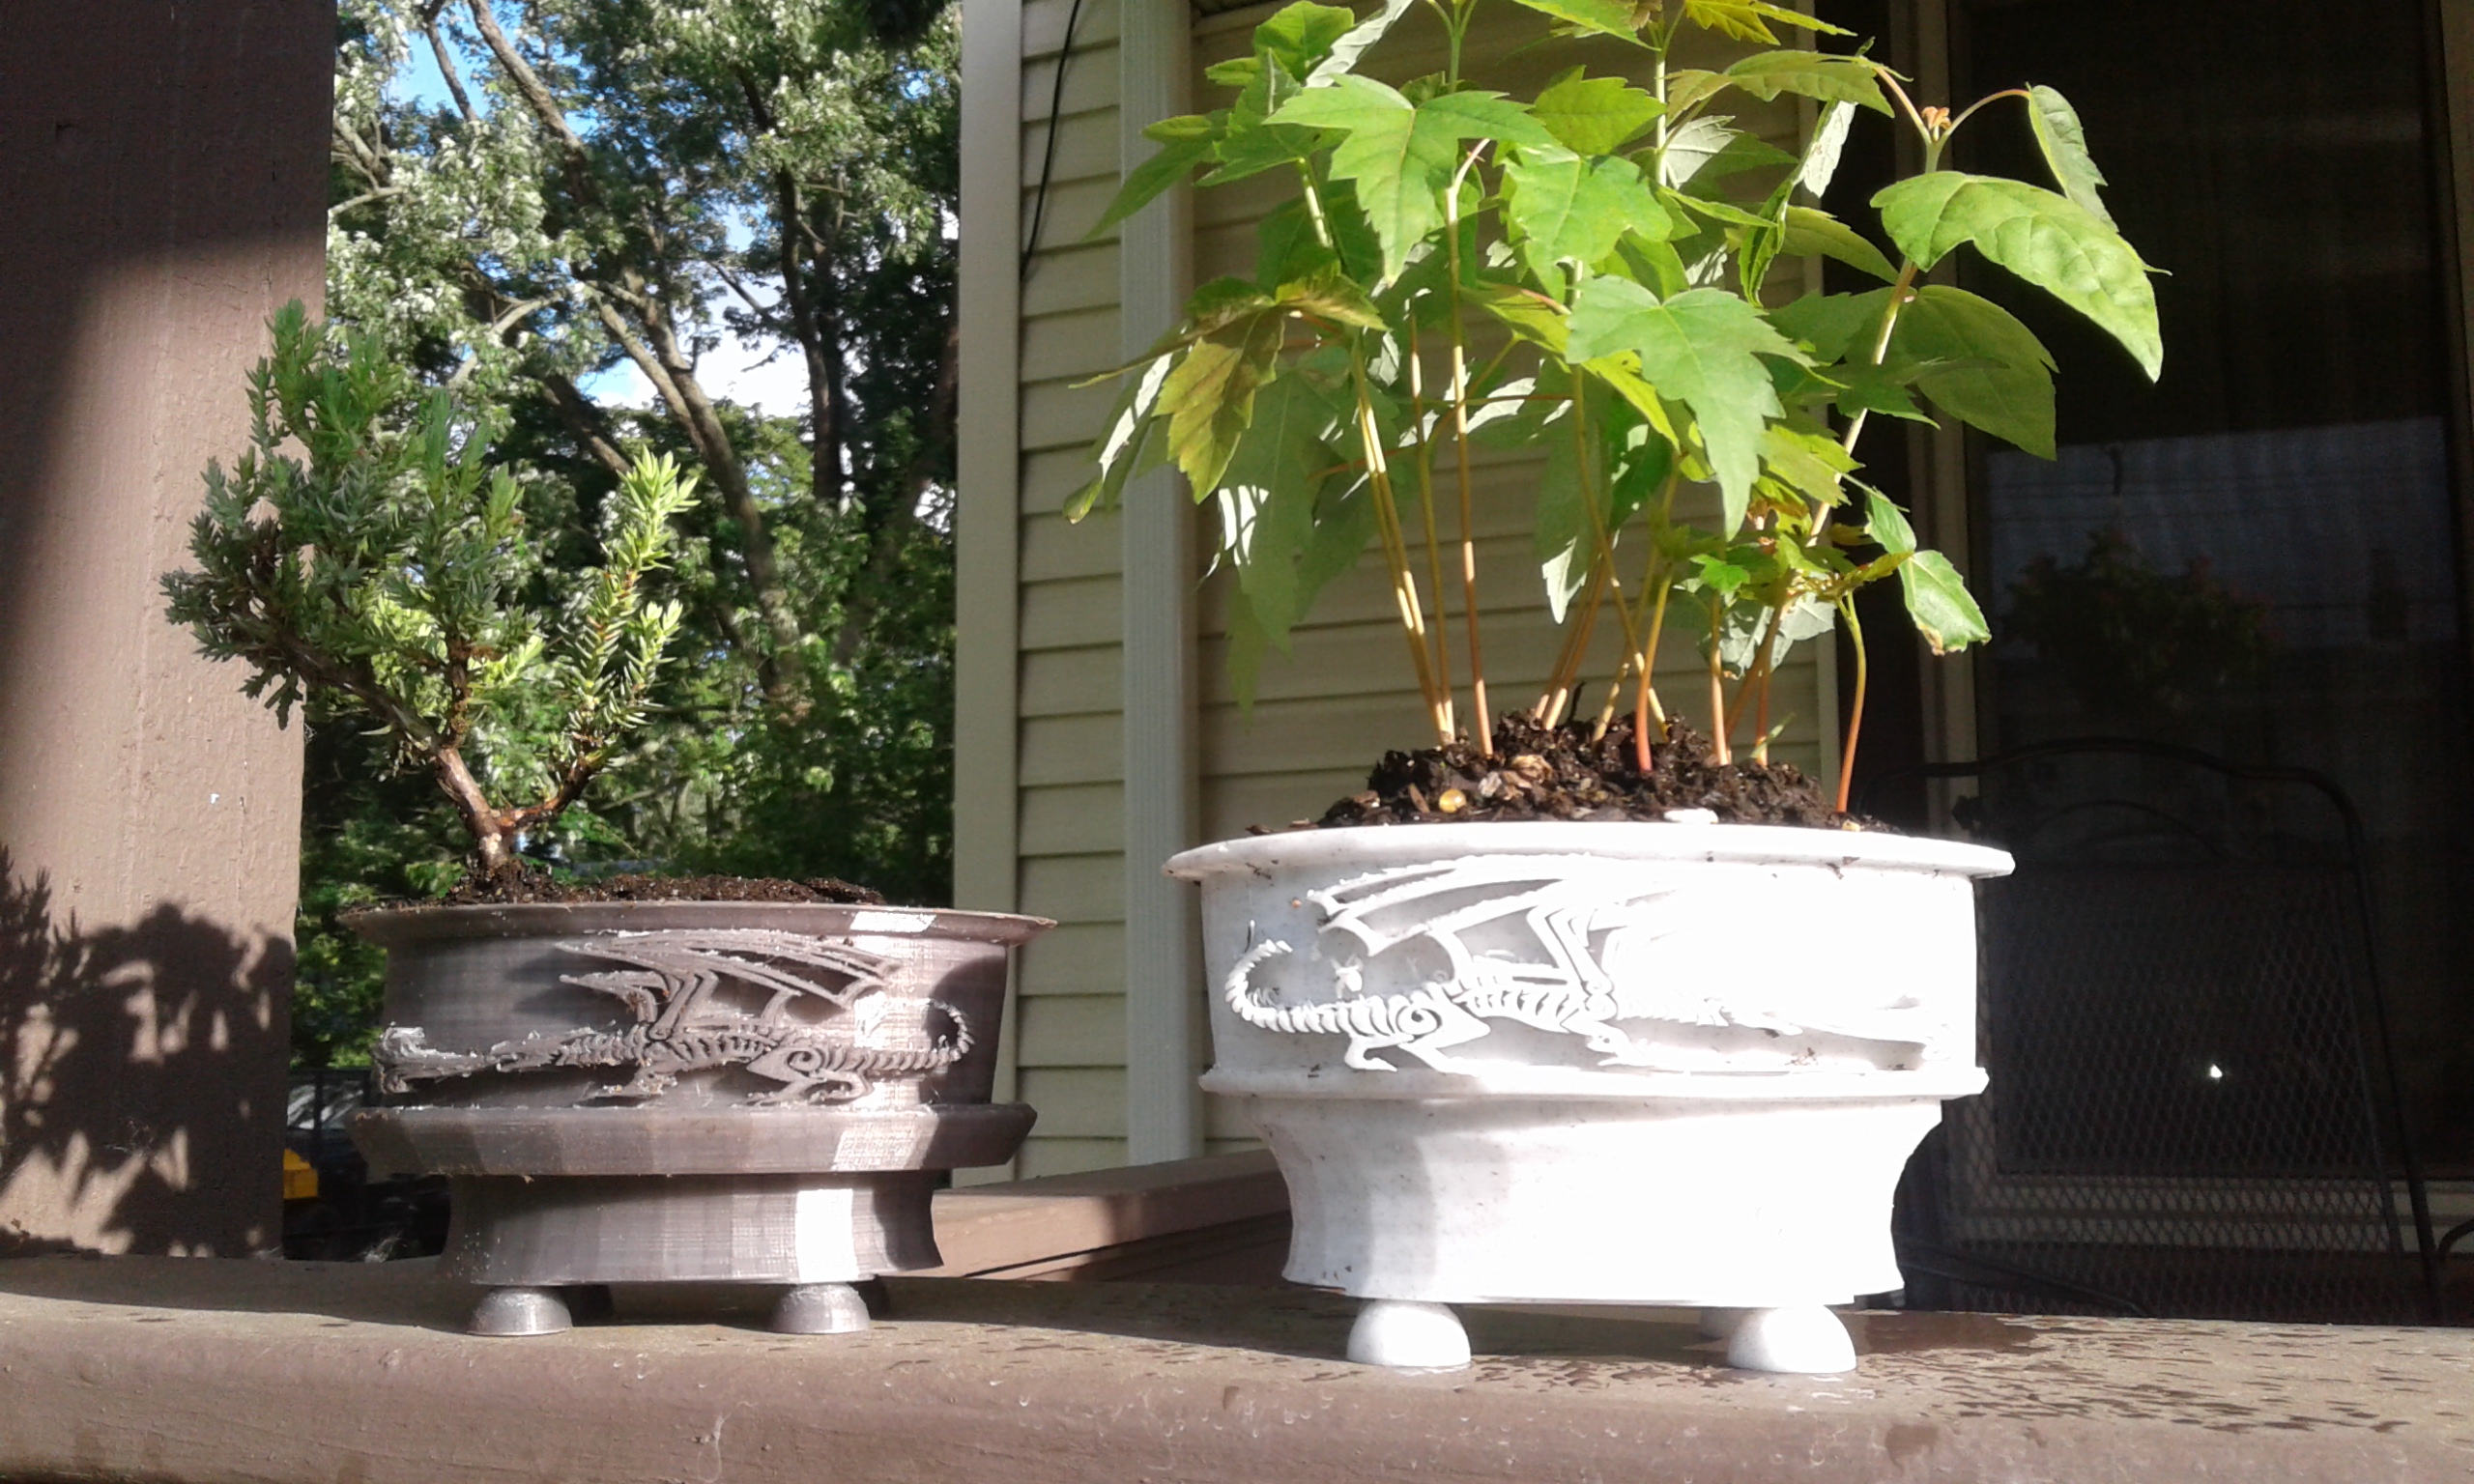
So my goal of this instructable is not to walk you through and show you how to make what I made, The purpose is to show you how simple it is to make something in tinkercad with nothing more than simple shapes. However, I figured that the best way to do that was to show you what I did step by step. If you would like to make what I made please just download the file here all finished and ready to print. If you do decide to make your own thing inspired by my instructable, I would love to see it in the comments for this instructable. I would like to start by telling you I am no pro in 3d printing or 3d design. My computer is very outdated and does not always work well with other 3d design but it works well with tinkercad
The only thing you need to design something is a computer with internet and a free tinkercad membership.
Things you will need to make this are some filament, access to a 3d printer and some tools to pick off all the supports. I like to use needle nose pliers.
Make the Body
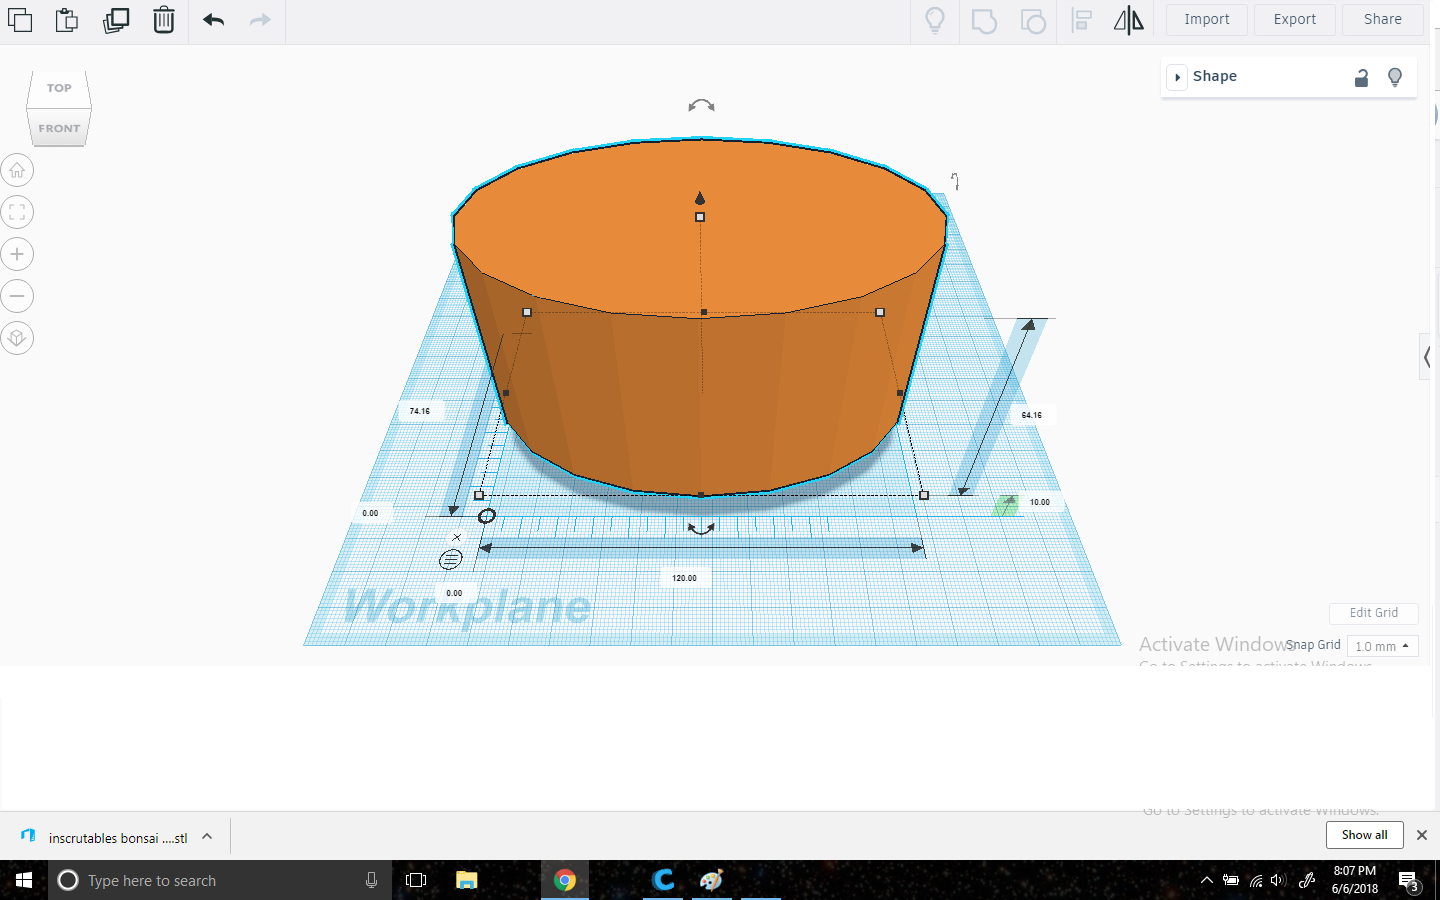
I started with a cylinder that I made 120mm x 74.16mm and 64.16mm tall. Then raised it off the build plate 10mm (image 1-1). I set this and all other shapes to the highest edge count setting to make it as smooth as possible.
Make the Base
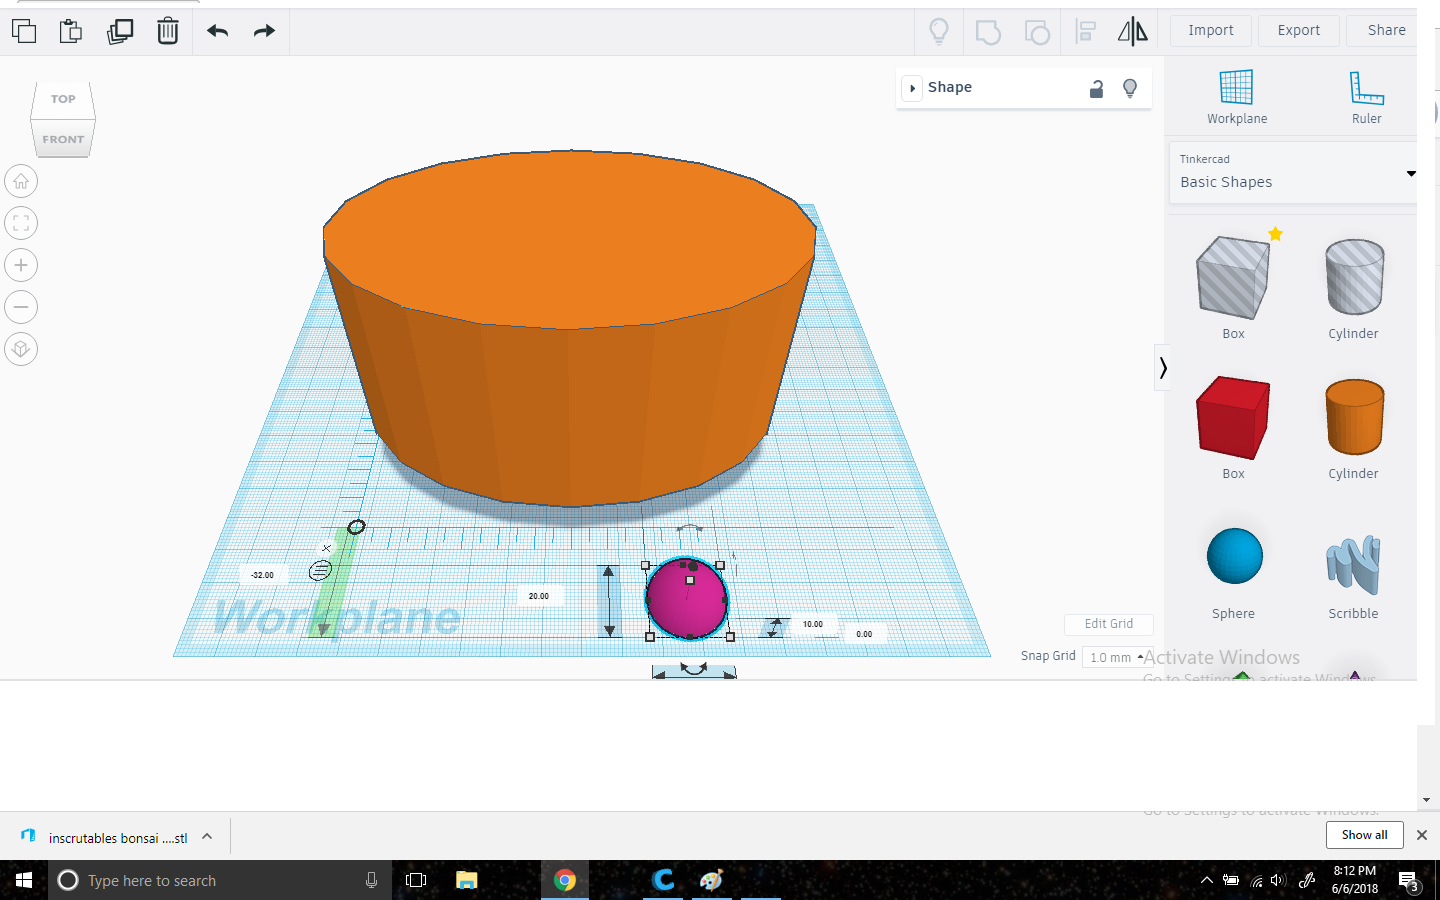
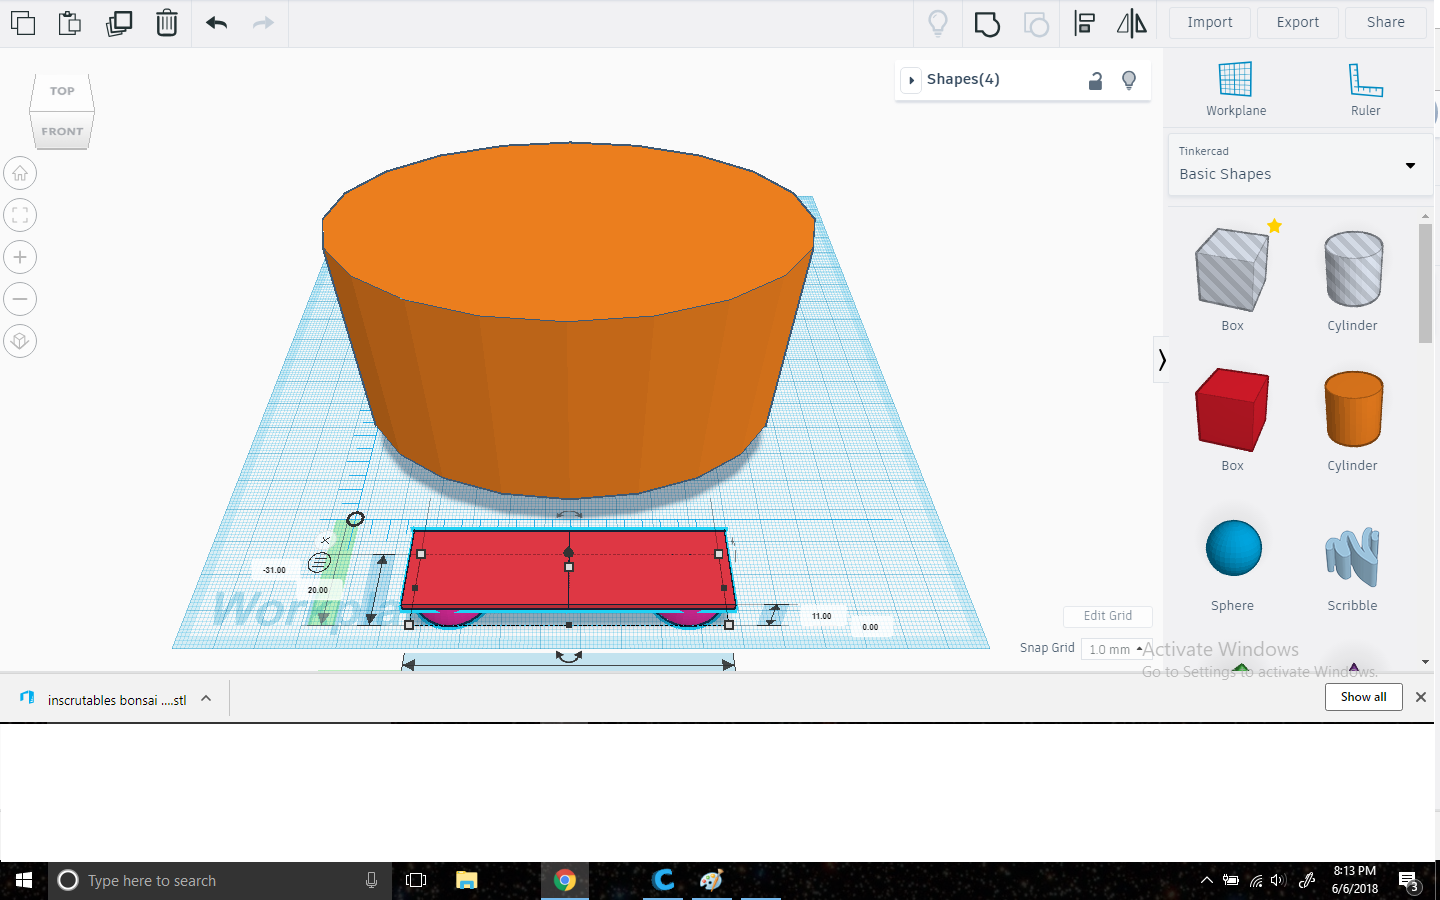
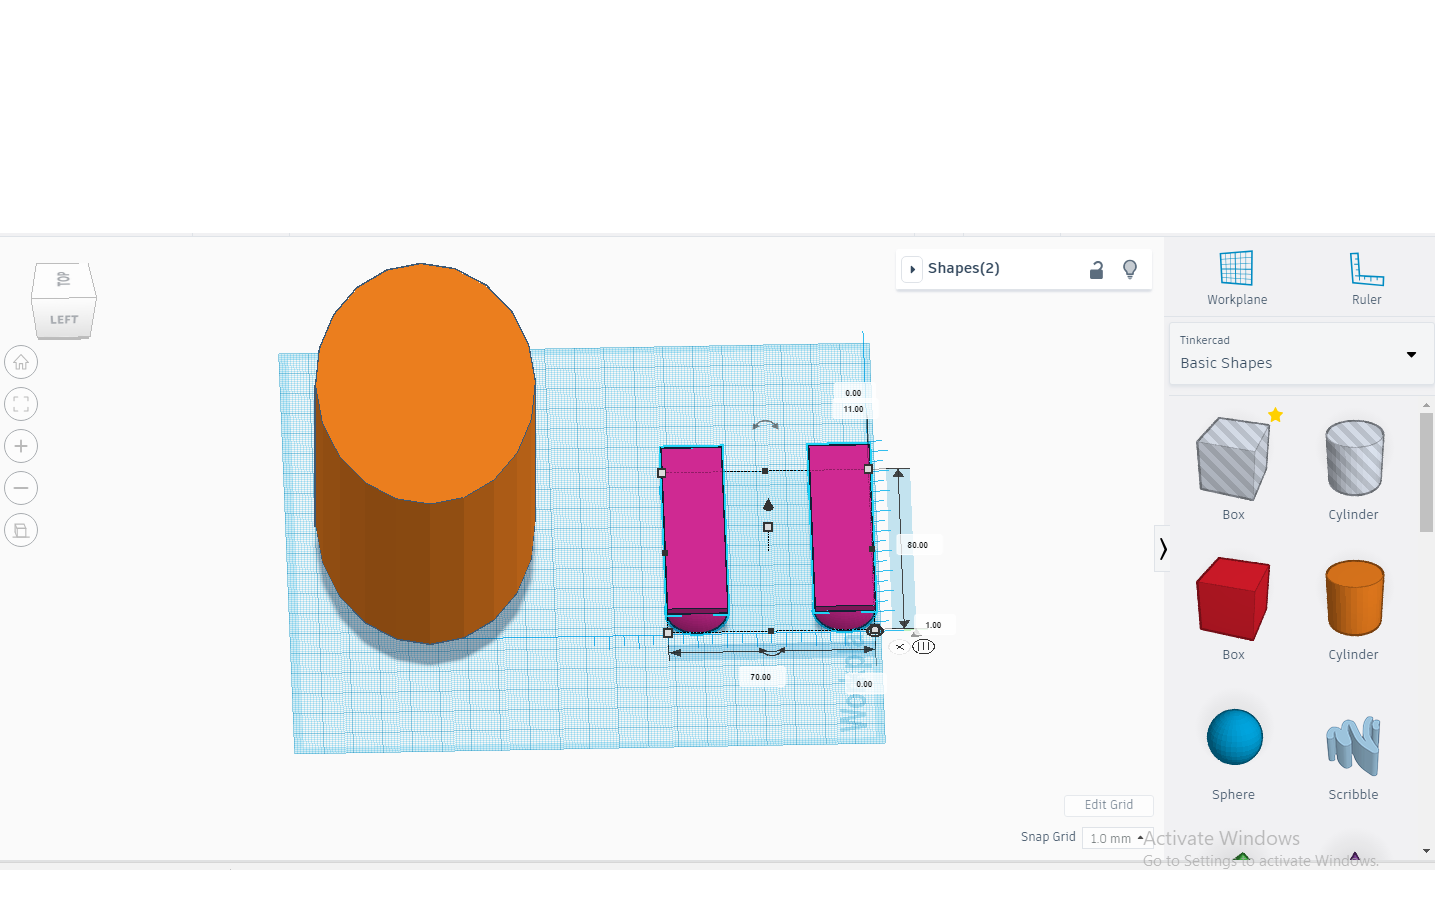
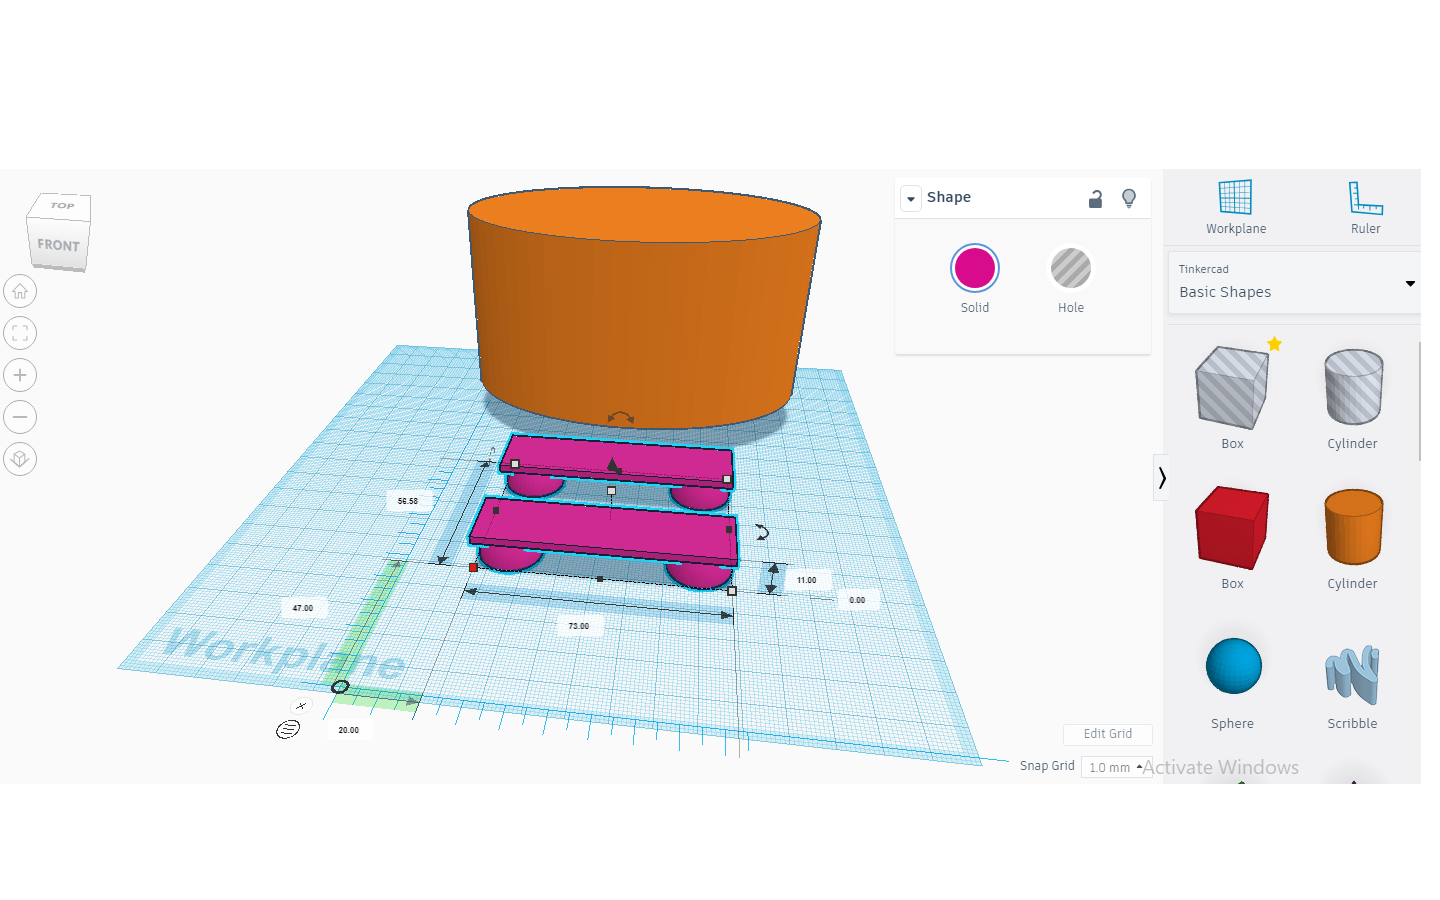
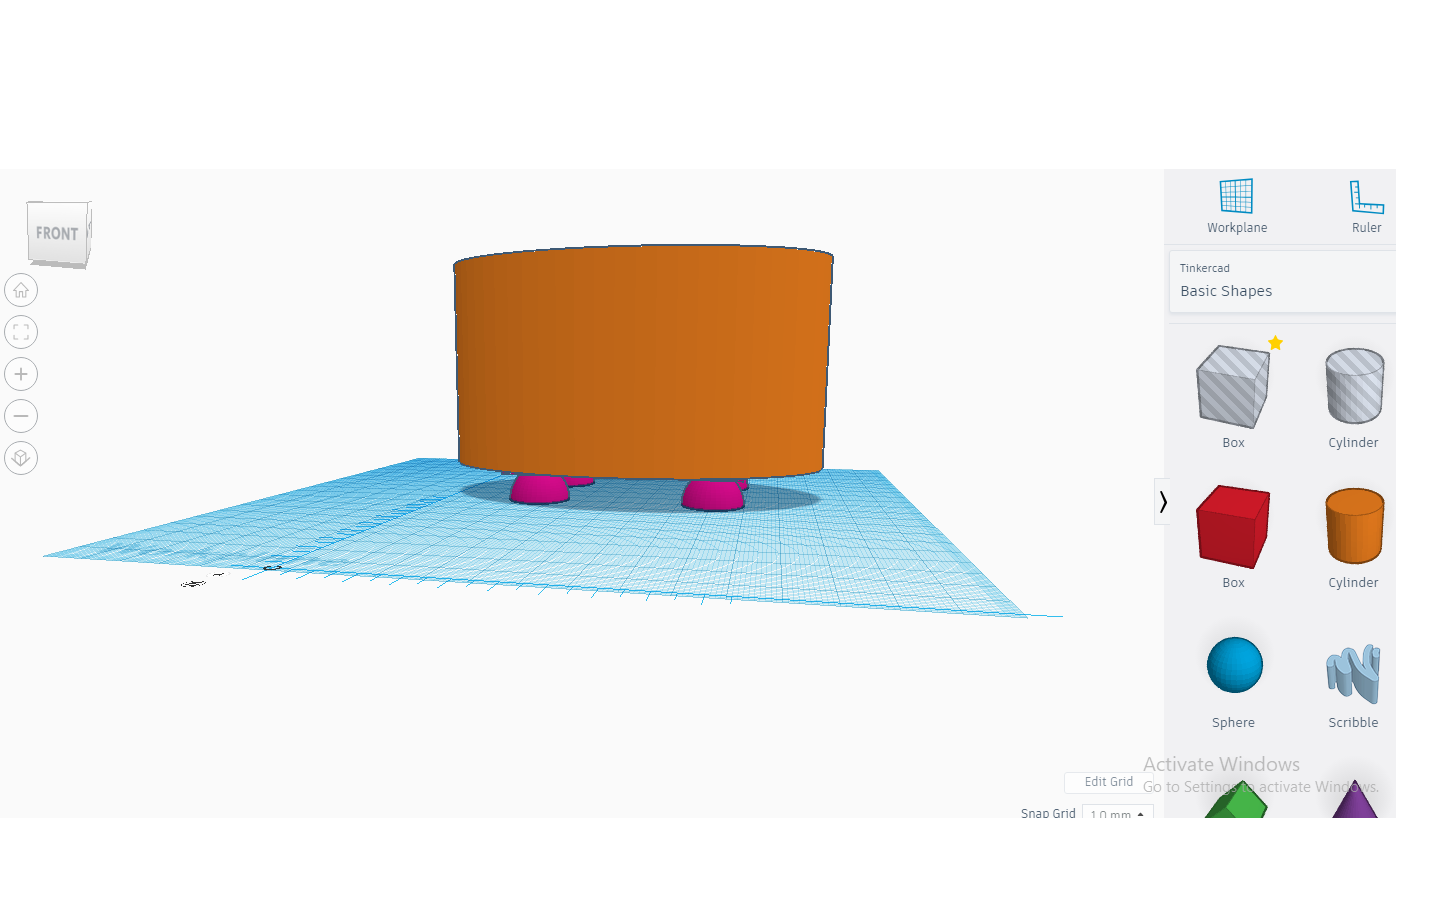
I next moved to the base and started with half a sphere. I made the OD 20mm (image 2-1). Then I made a box 20mm x 36.5mm and 2 mm tall. I then raised it 9mm and aligned it in the center on the far right of the sphere. Then I grouped those two parts into one. Next, I duplicated that part and spun it 180 degrees and butted them up end to end (image 2-2). I then aligned them only so they were in a straight line and the whole part was 73mm long. Then I made those two parts one by grouping them. Next, I duplicated that part and lined them up so the edges are 56.58mm x73mm (image 2-3). Next, I used the align tool to make sure the edges are all lined up. Then I grouped those two parts in place (image 2-4). Next, I aligned the center all the way around by using both center dots in the align tool. Then I simply group the base with the top.
Give the Planter Some Shape
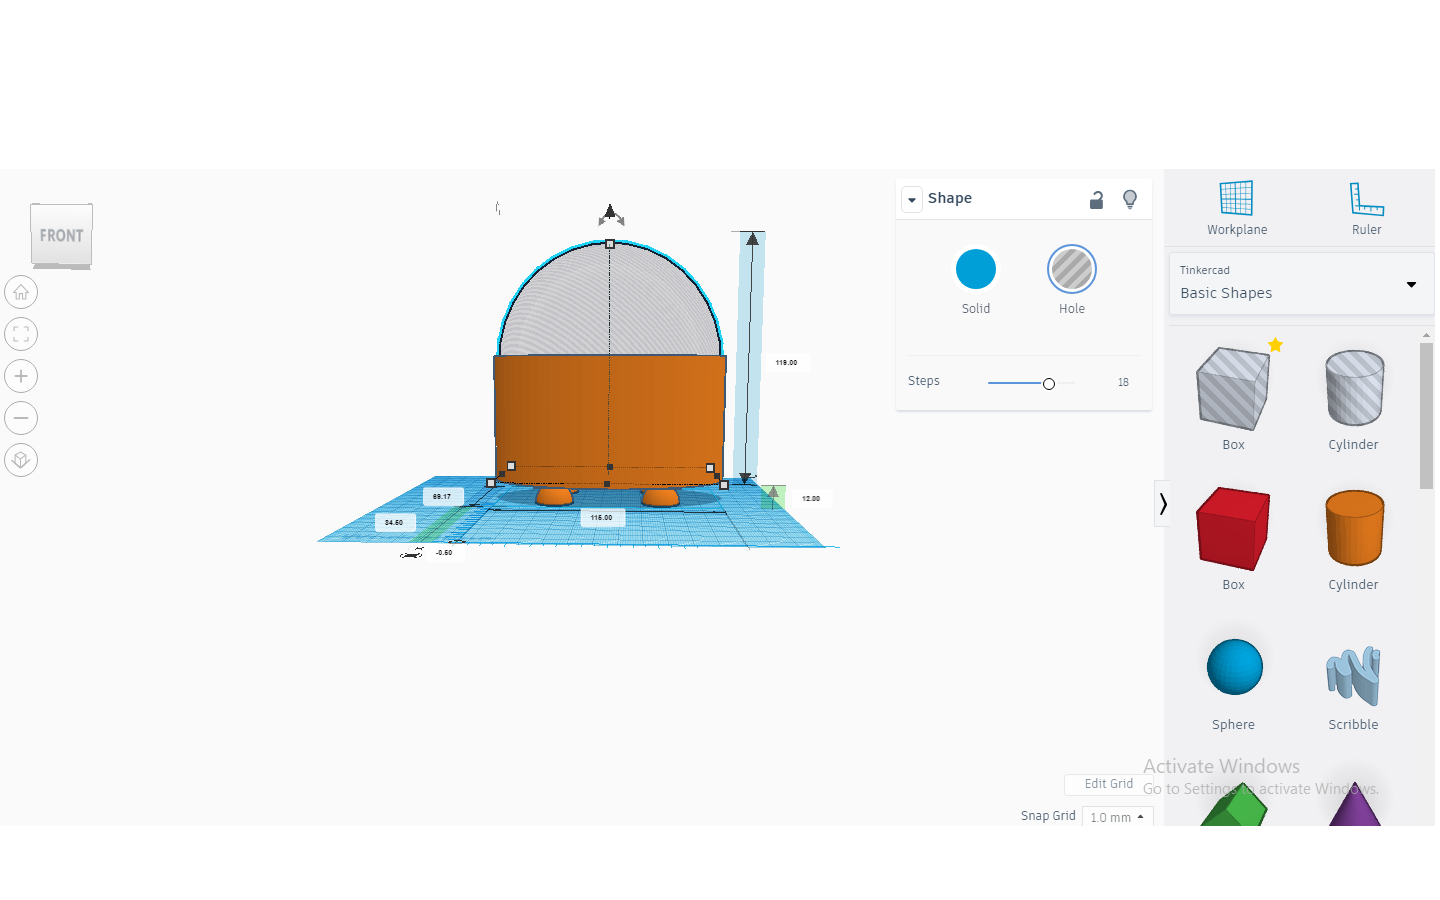
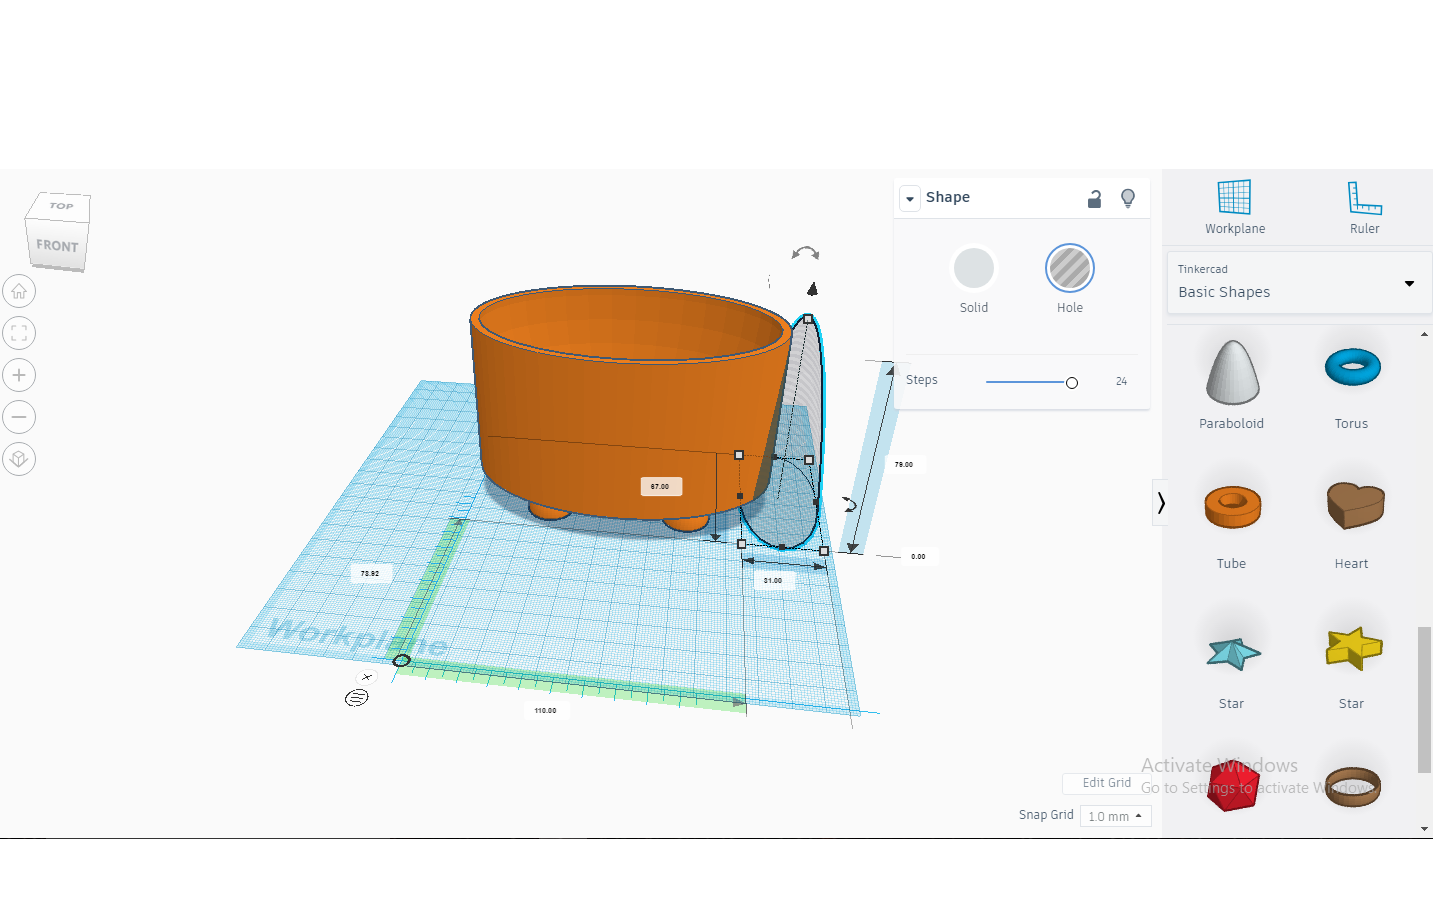
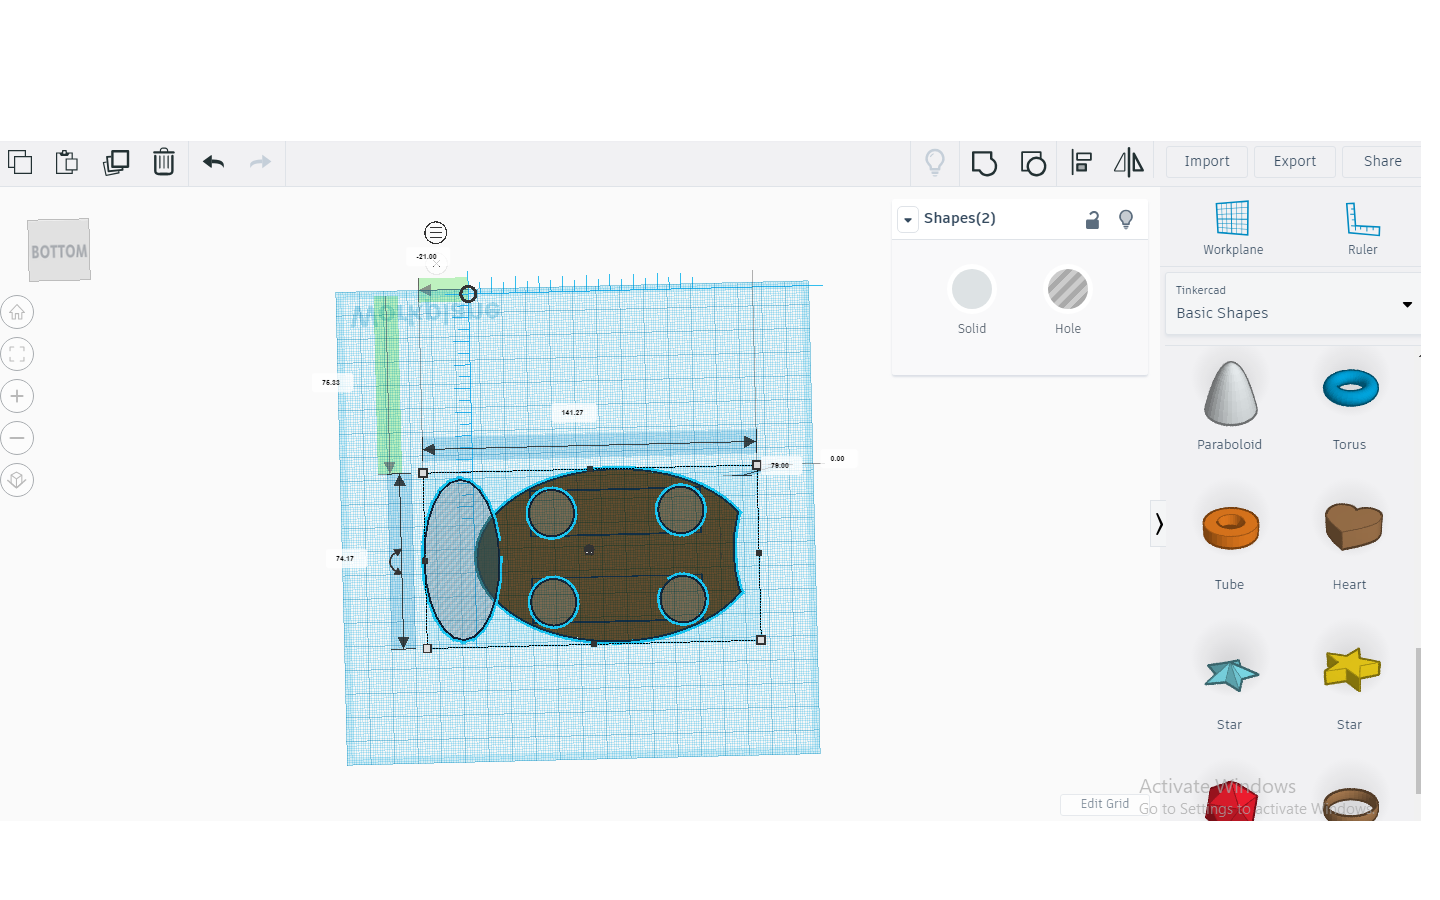
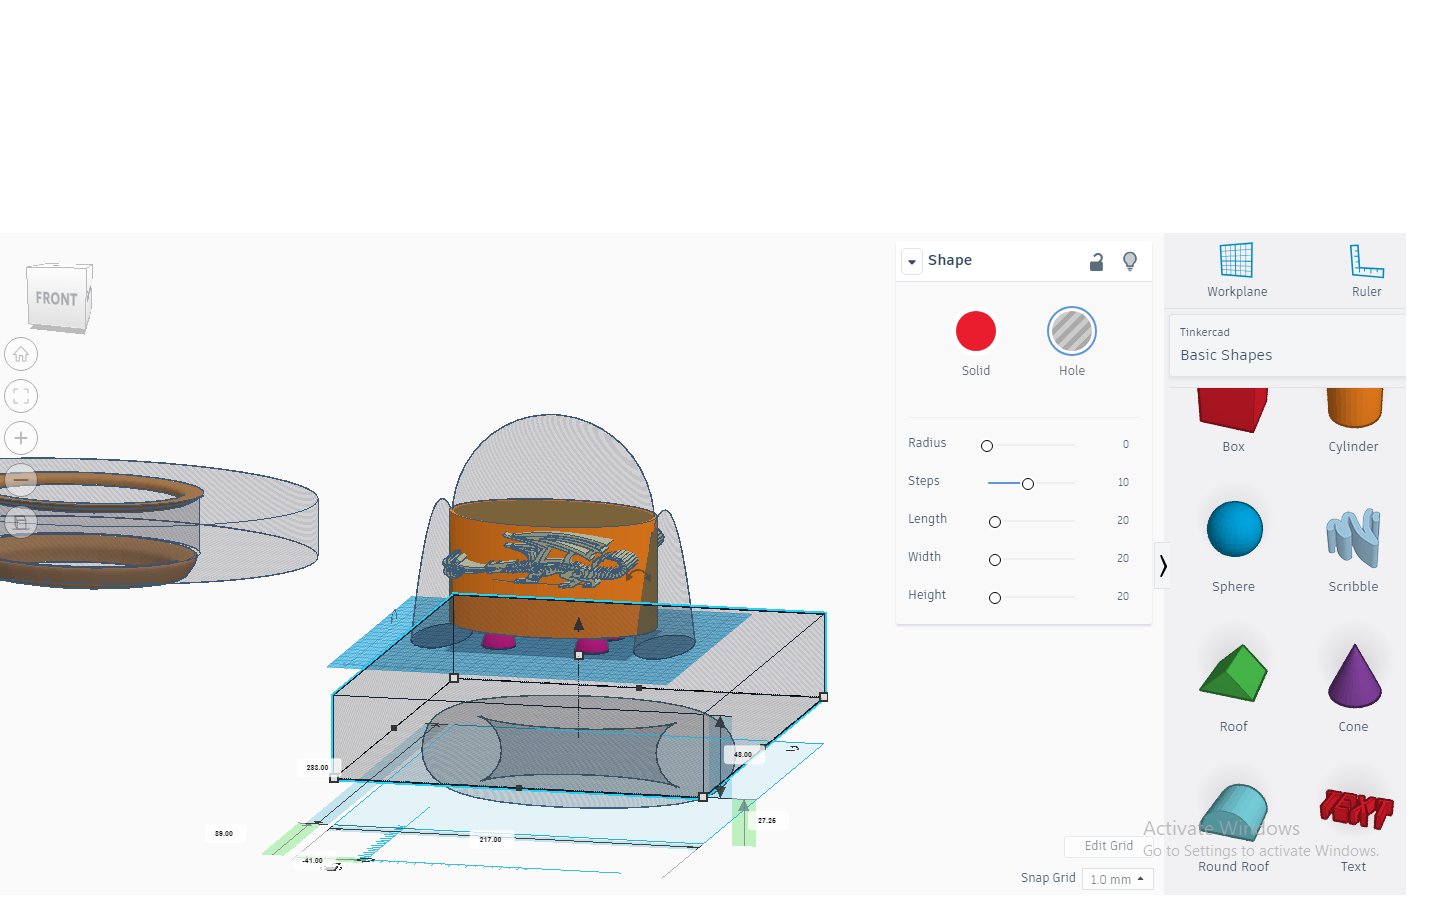
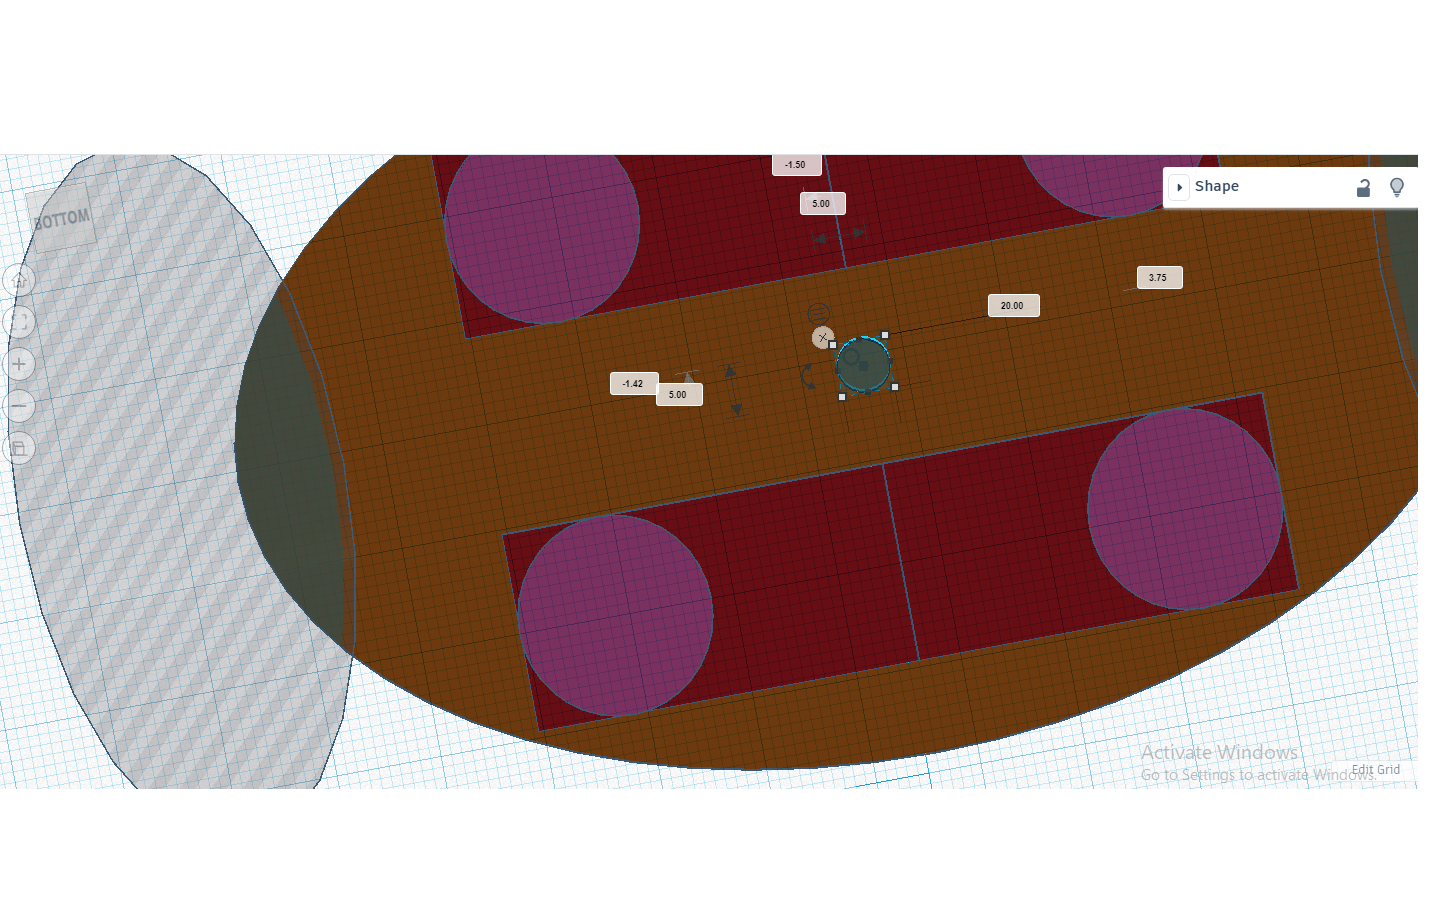
I started by making a sphere. I made it 116mm x 68.17mm and 119mm tall. Then I raised it 12mm above the build plate. Make a copy of this shape and put it off to the side it will be used later. Next, I aligned it with the main body in the center (image 3-1). Next, I made it a whole and grouped the two parts. Then I made a paraboloid 31mm x 67mm and 78mm tall. Then I made that shape a whole and centered it up. Then with the snap grid set to 1 mm I moved the part over to the side as soon as the whole was not visible on the interior of the pot. I moved it two more spots with the arrow keys on the computer (image 3-2). Once I got it to a spot I liked I copied the part and then moved the copy out of the way. Then grouped the one whole part with the body. Next, I did the same thing with the copy on the opposite end of the planter (image 3-3). This step must be done without the rings that are in the next step. If you group the rings on the outside of the whole they will have holes in them. Then I made a torus. I made it 182mm x 120mm and made it 43 mm tall. Then I set it 3.5mm below the build plate and then had to give it a flat top. To do so I made a box 217mm x 288mm and 48mm tall and I raised it 27.26mm above the build plate (image3-4). Then with just the torus and the box highlighted and the box a hole and the torus a solid. Next, I centered it up and grouped it. Next, I made that new shape (flattop torus). I made it a whole and centered it on the planter and grouped it. next, I made a 5mm OD 20mm long cylinder and made it a whole centered it with the align tool and grouped it (image 3-5).
Add Some Rings
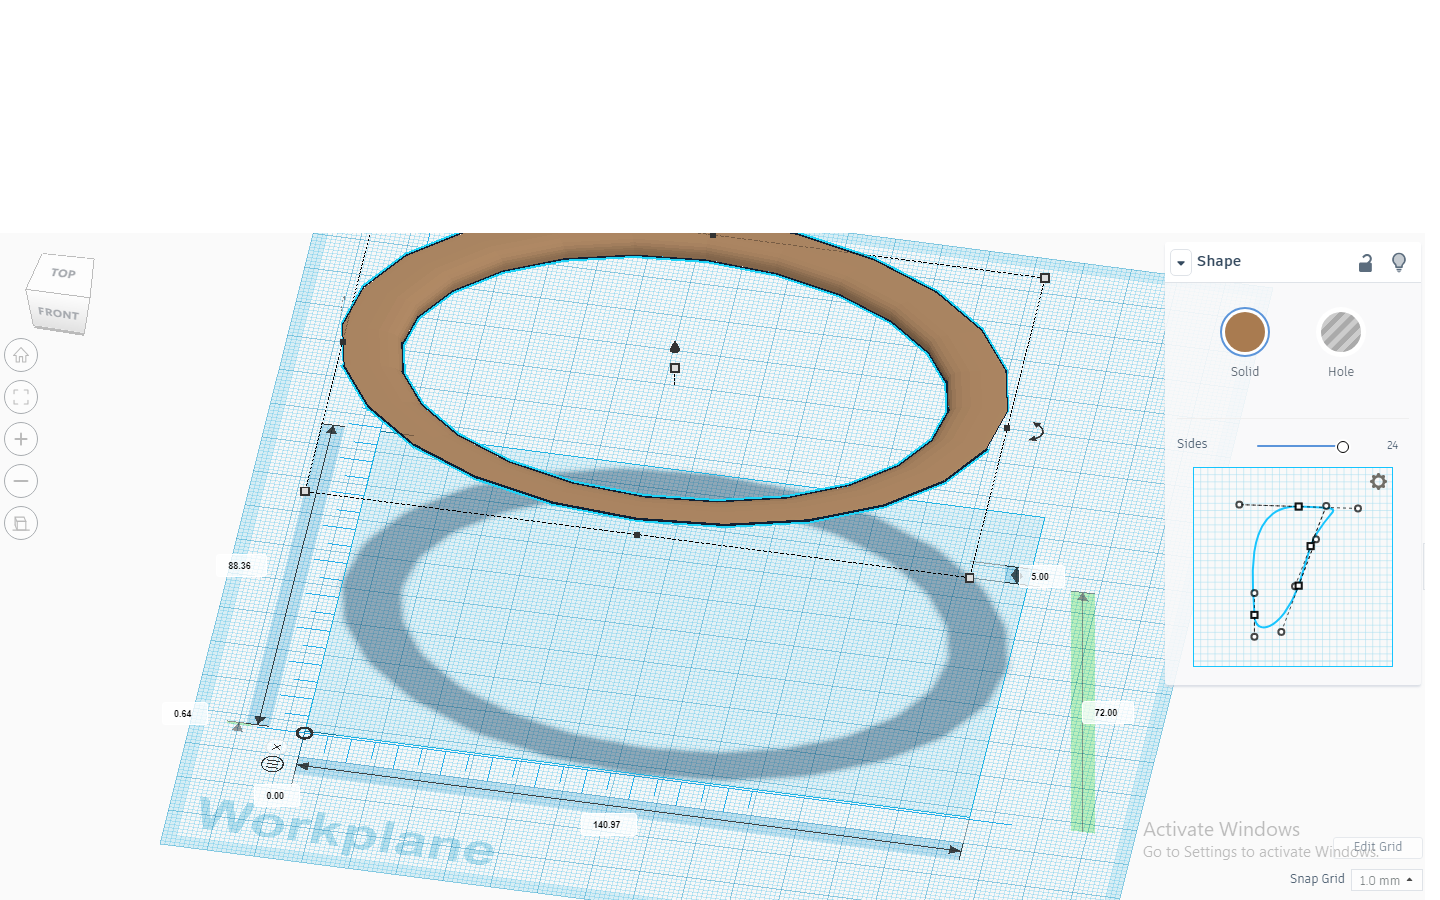
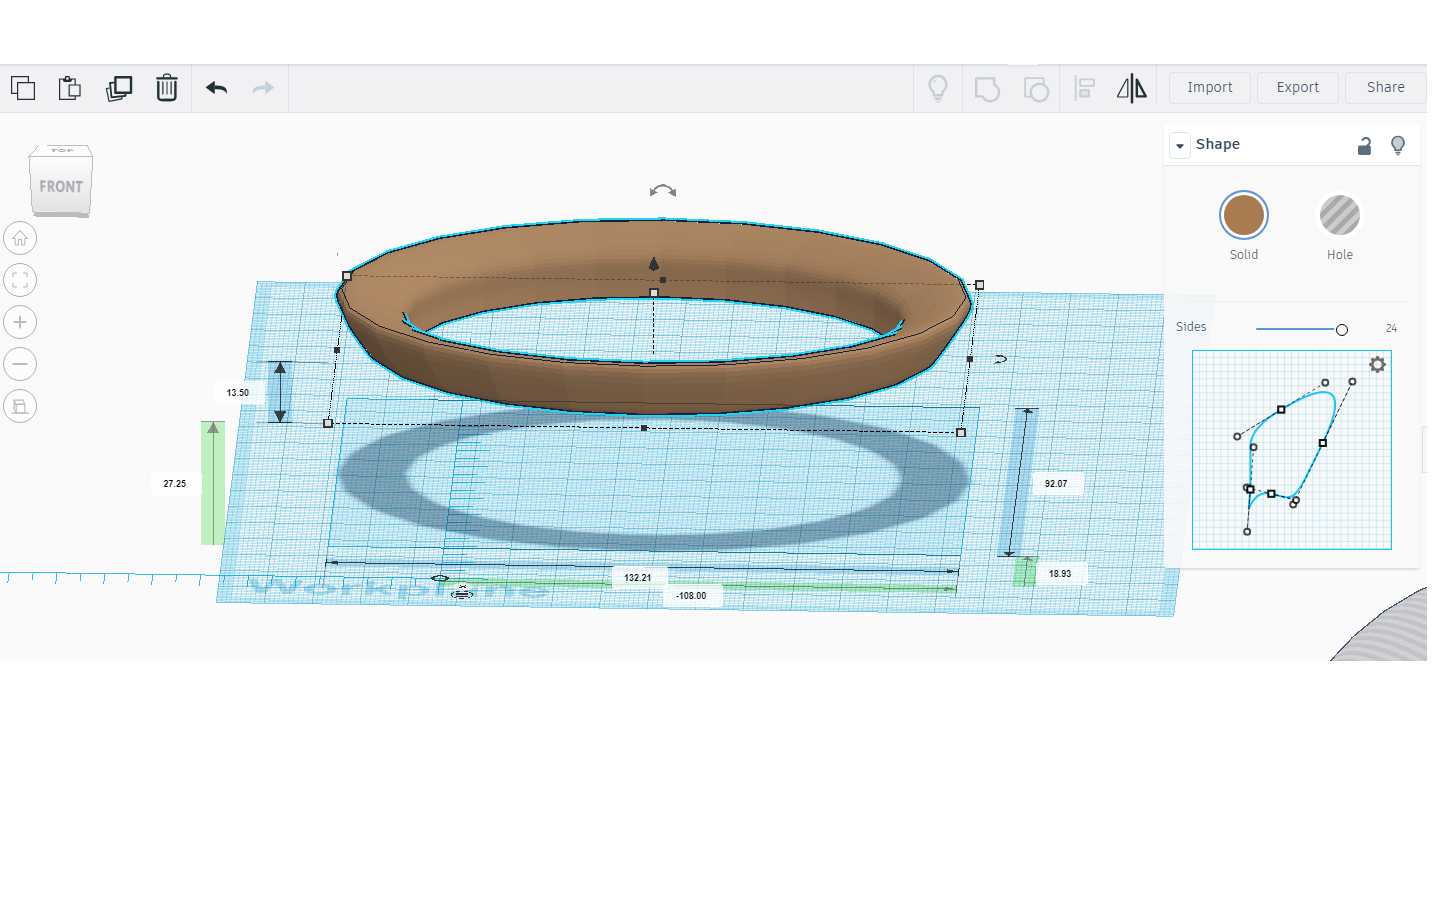
I then made a ring 140.97mm x 88.36mm and 5mm tall and set it 72 mm above the build plate. Then I centered it with the align tool. Next, I played with the shape until I got it how I wanted it. I tried to make it flat with a large surface for adhesion to the 3d printer (image 4-1). Once I liked it I grouped it with the rest of the body. Then I made another ring 132.21mm x 92.07mm and 13.5mm tall. Next, I set it 27mm above the build plate and used the align tool to center it up. Next, I changed the shape until I got it how I wanted it (image 4-2). Then I grouped the two parts together.
Add a Jpeg to the Pot
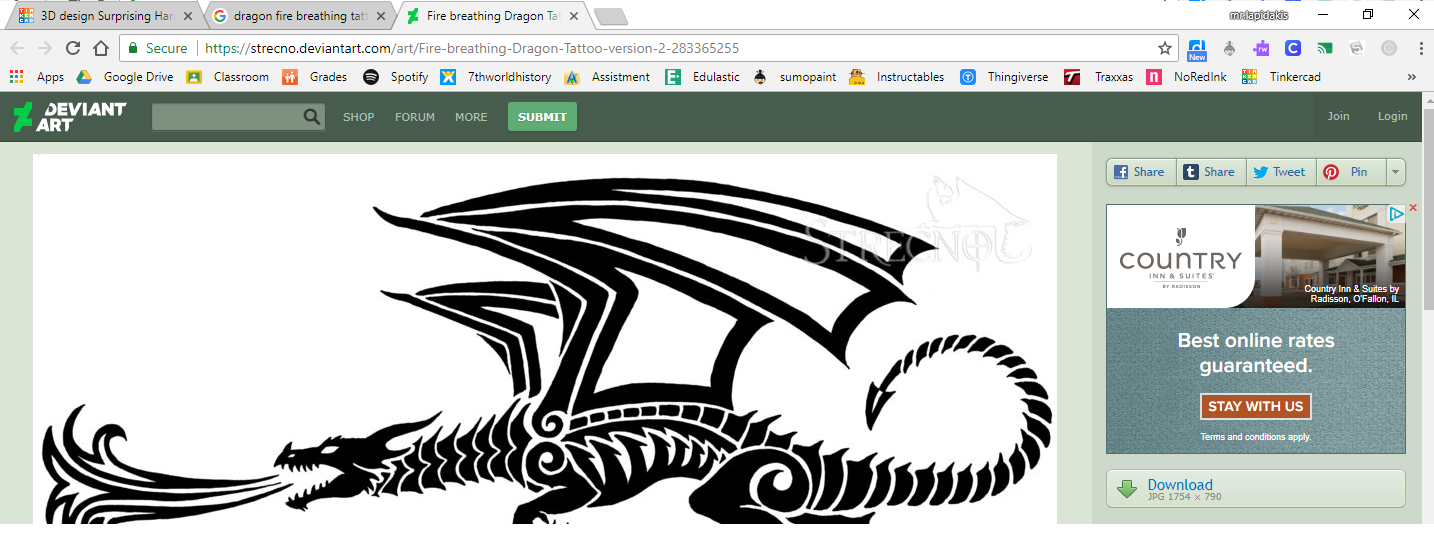
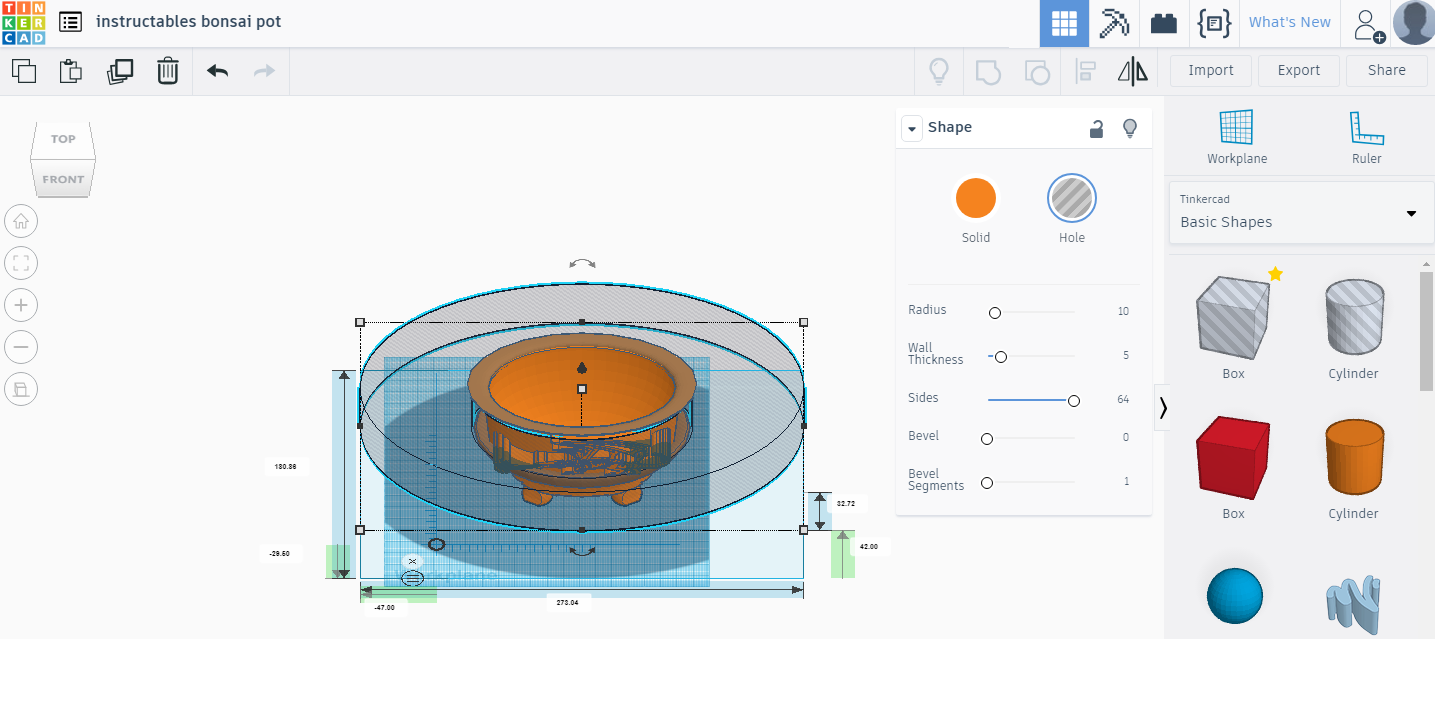
So here I just googled a black and white dragon tattoo design (image 5-1). I found one I liked and downloaded it. Next, I had to convert the jpg to an SVG file. To do so I used this website . It worked very well. Make sure to read what you are clicking on it has a lot of ads. Then I inserted the svg file and had to scale it down to get it to fit. Then I raised it to 41mm above the build plate and had to scale it down more to get it how I wanted it. First I held shift while dragging one of the corner squares to make it scale down and stay all to scale. Next, I still had to make the wings shorter but not scale the whole part, so I drug the top square down got it to the size I wanted. I knew I was gonna shave off the extra so I made it big enough to go all the way through and still have enough left over on the outside to. Then centered it up with the align tool and group the parts together. Now the dragon is on the pot and looking awfully square so it is time to smooth out the edges of the dragon. To do so I made a whole tube 273.04mm x 180.86mm and 32.72mm tall then I raised it off the build plate 41mm. Then centered it up with the align tool and grouped it(image 5-2). I next got the whole sphere that I put off to the side centered it and grouped it to get the inside smooth.
.
Print What You Made
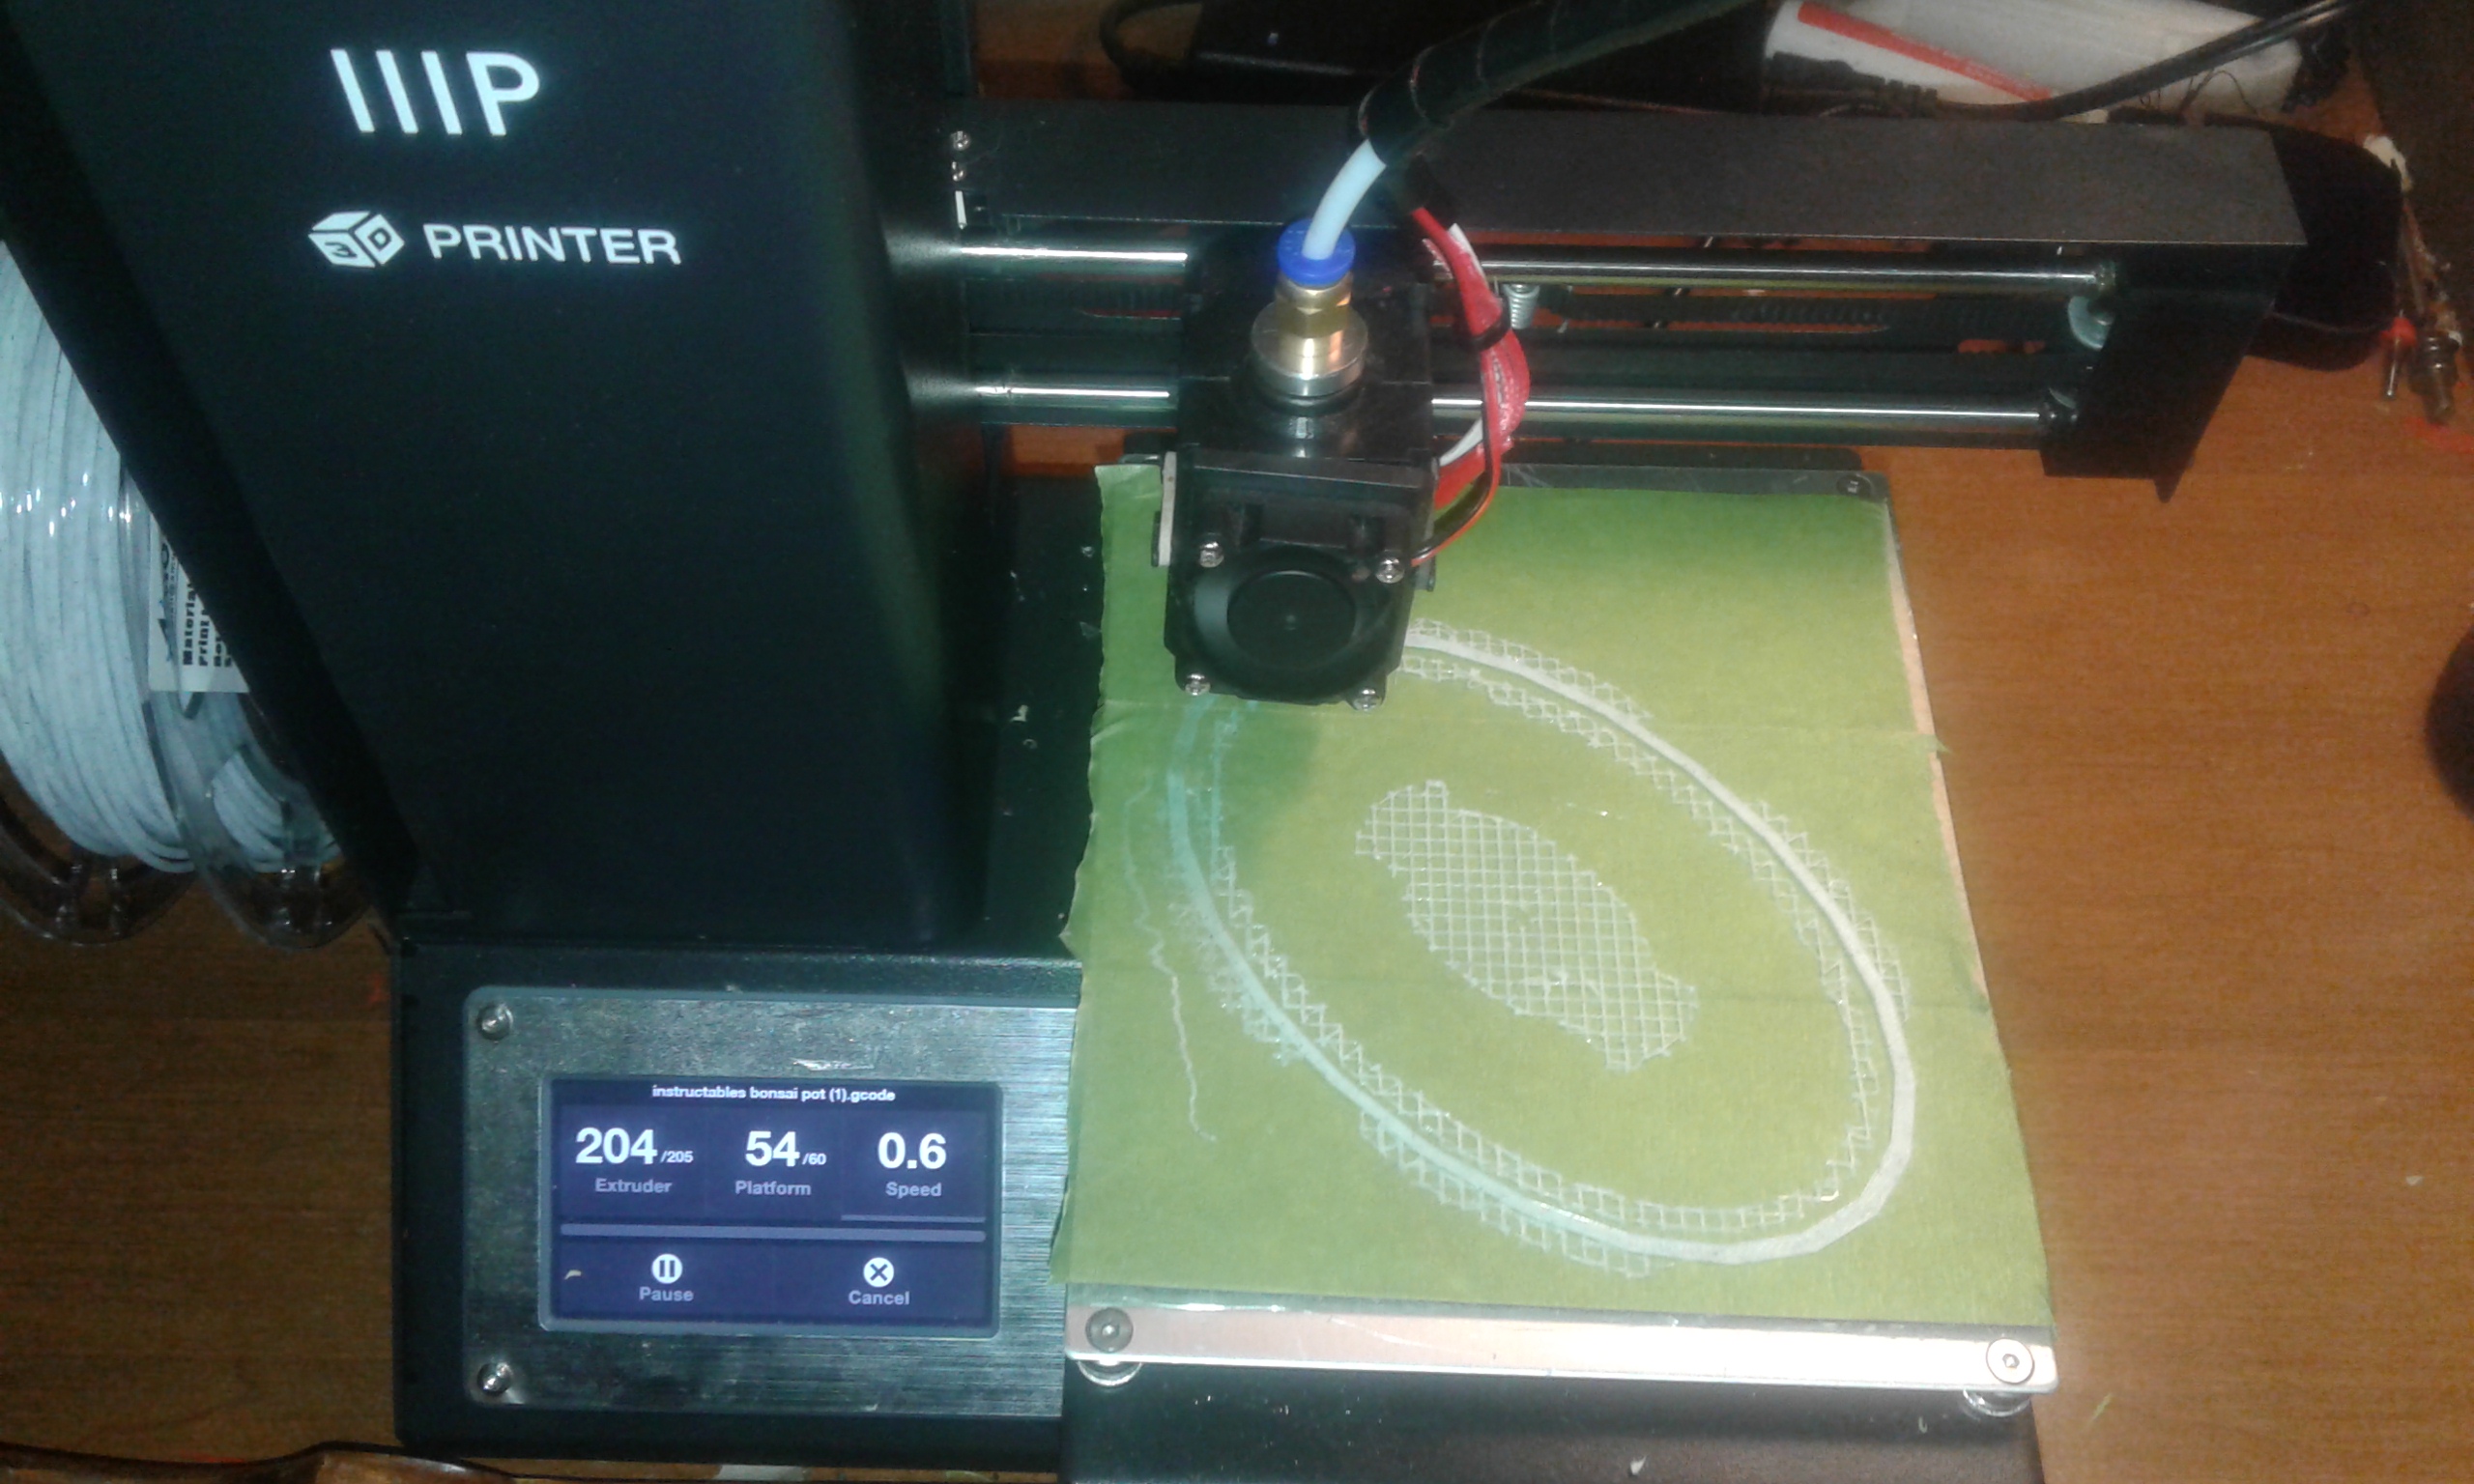
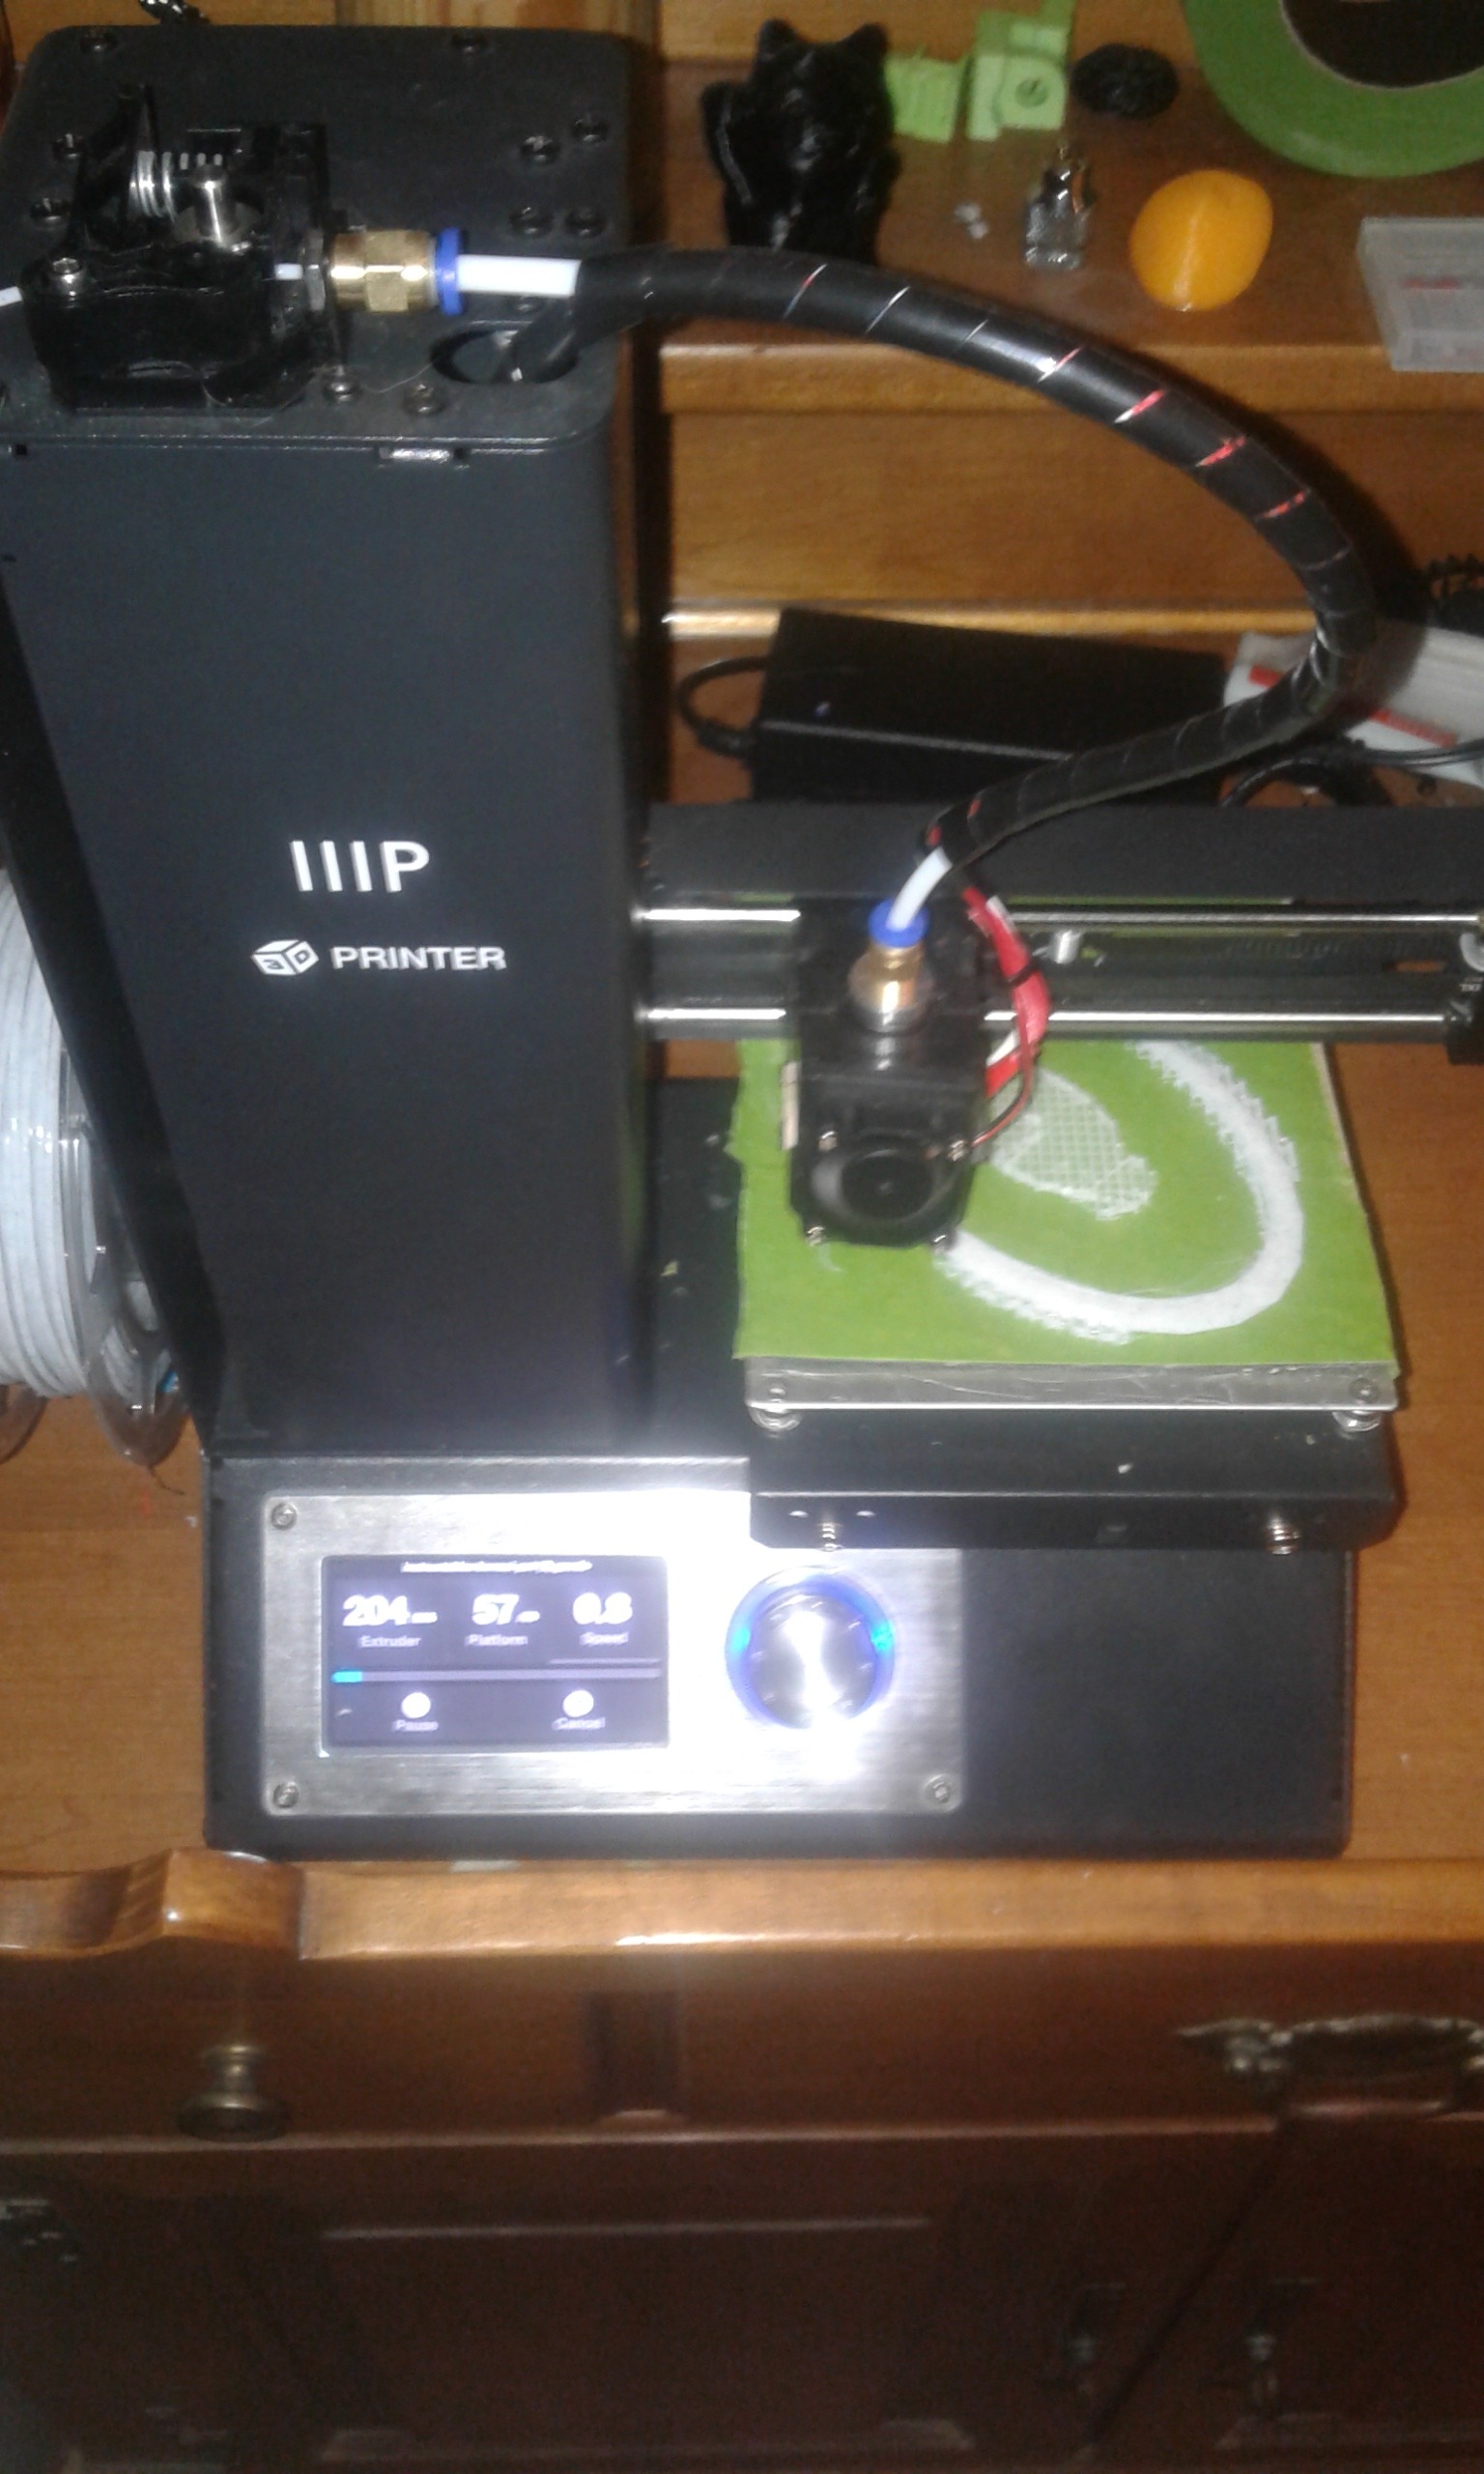
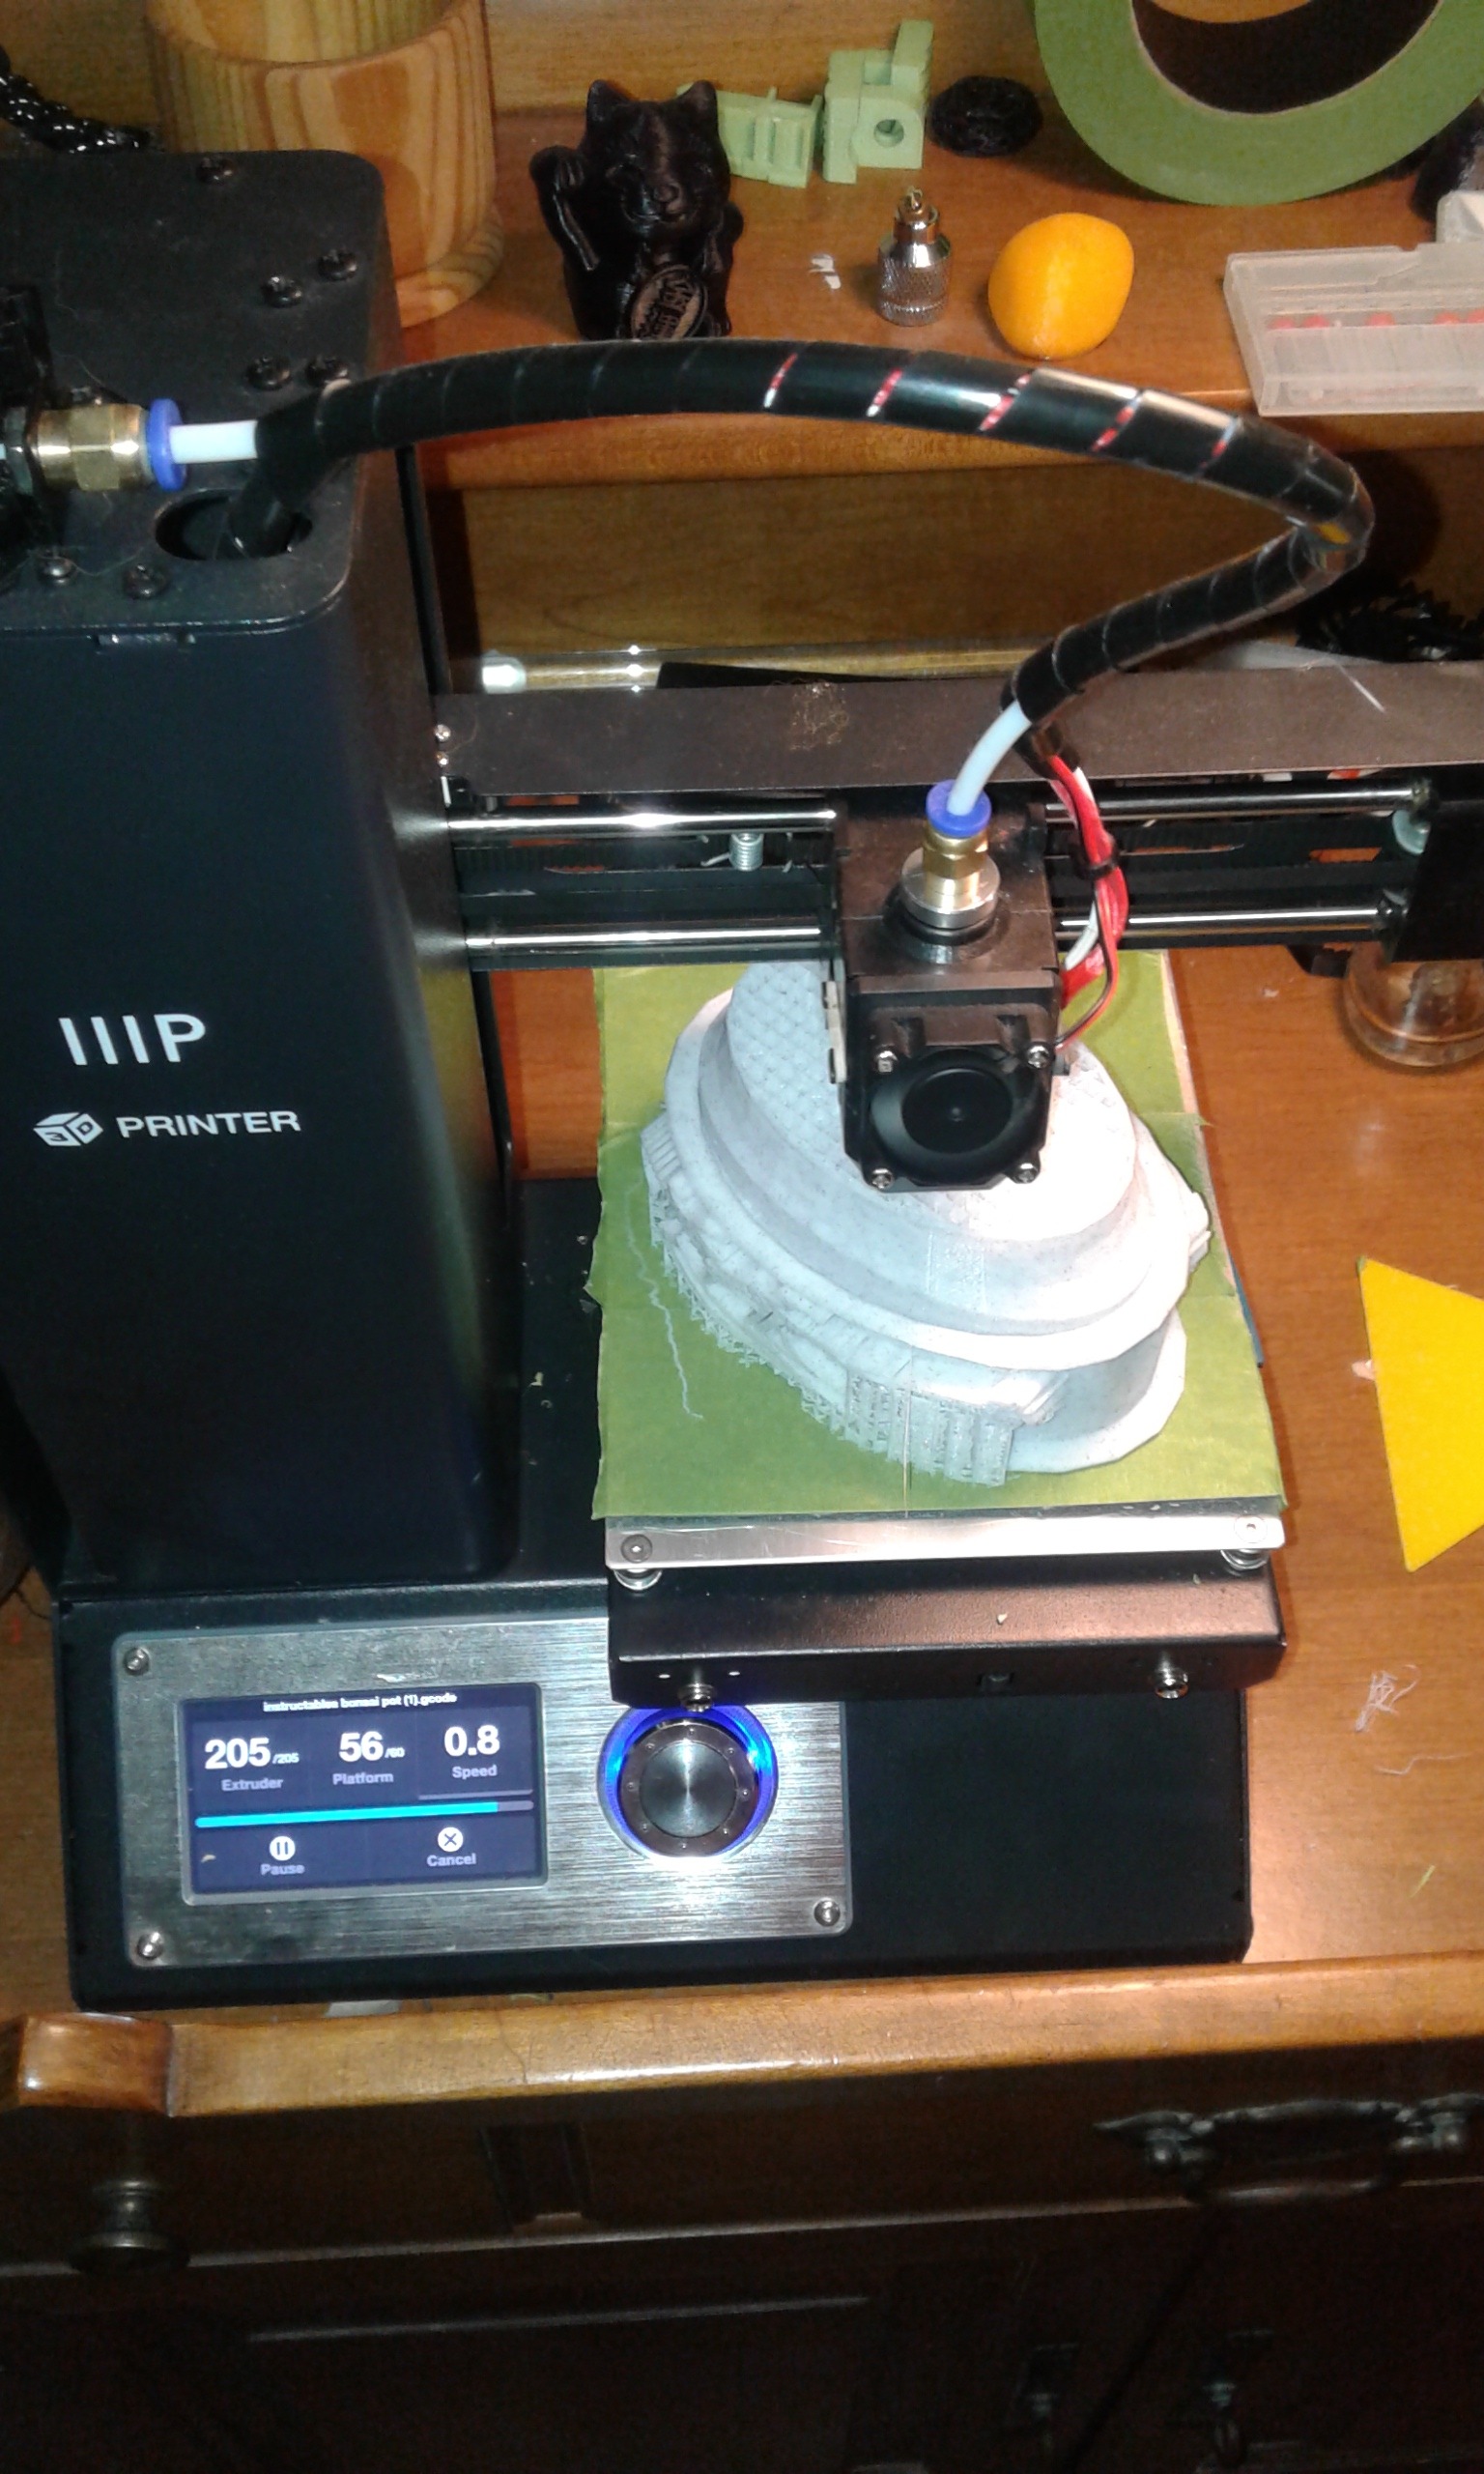
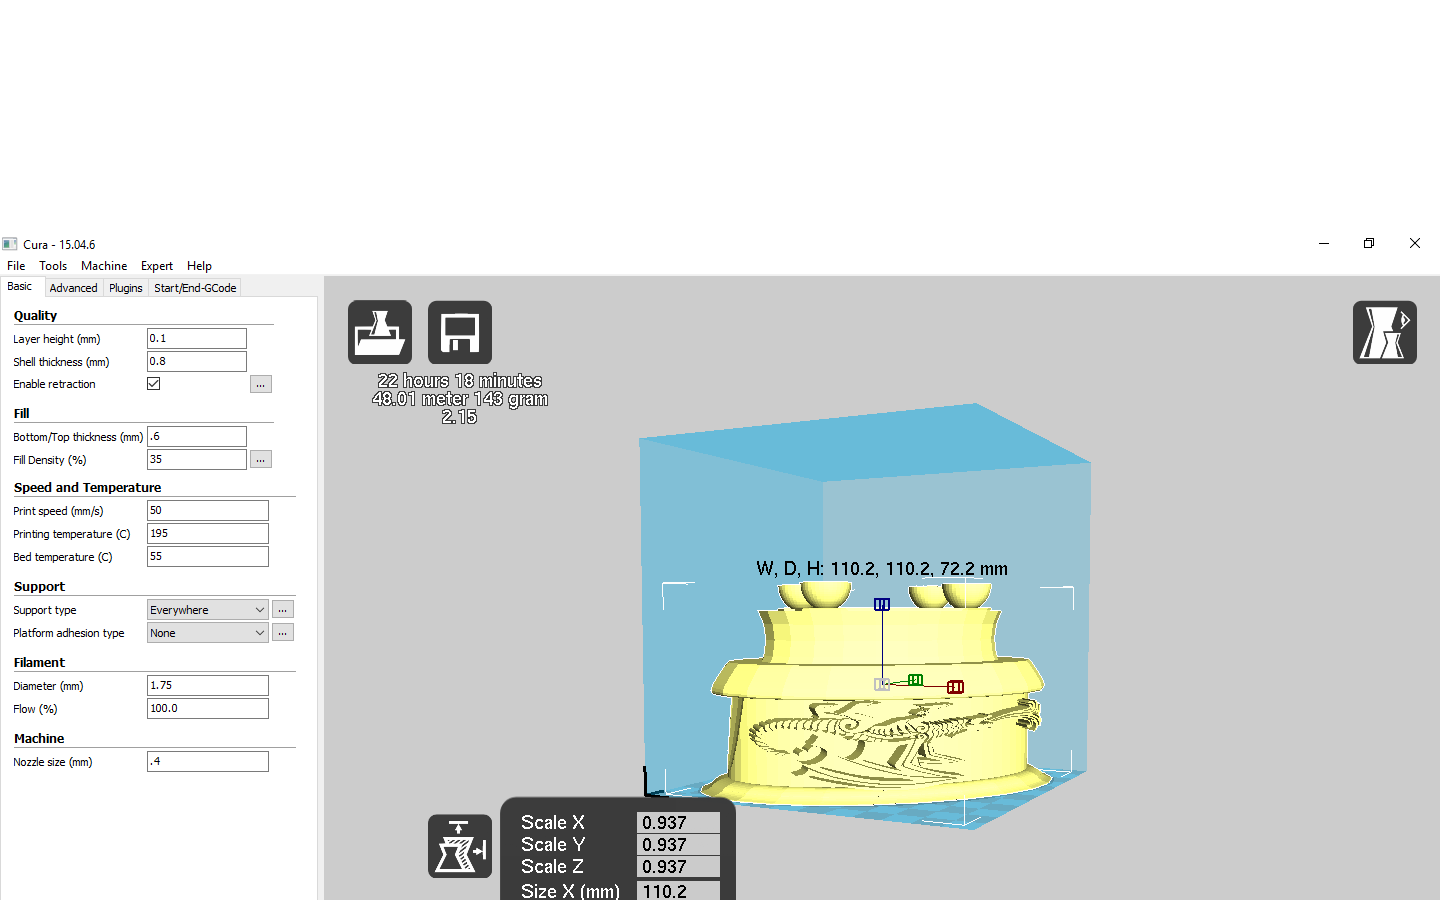
To do this I used my 3d printer I like to put down masking tape on to my build plate. I set the speed down to 60% at first then once I think it is gonna stay down I turned it up to 80%. Here I am printing with a filament that looks like marble. I used Cura as my slicer I had the infill @35%. I printed this planter upside down with supports everywhere.
Planting
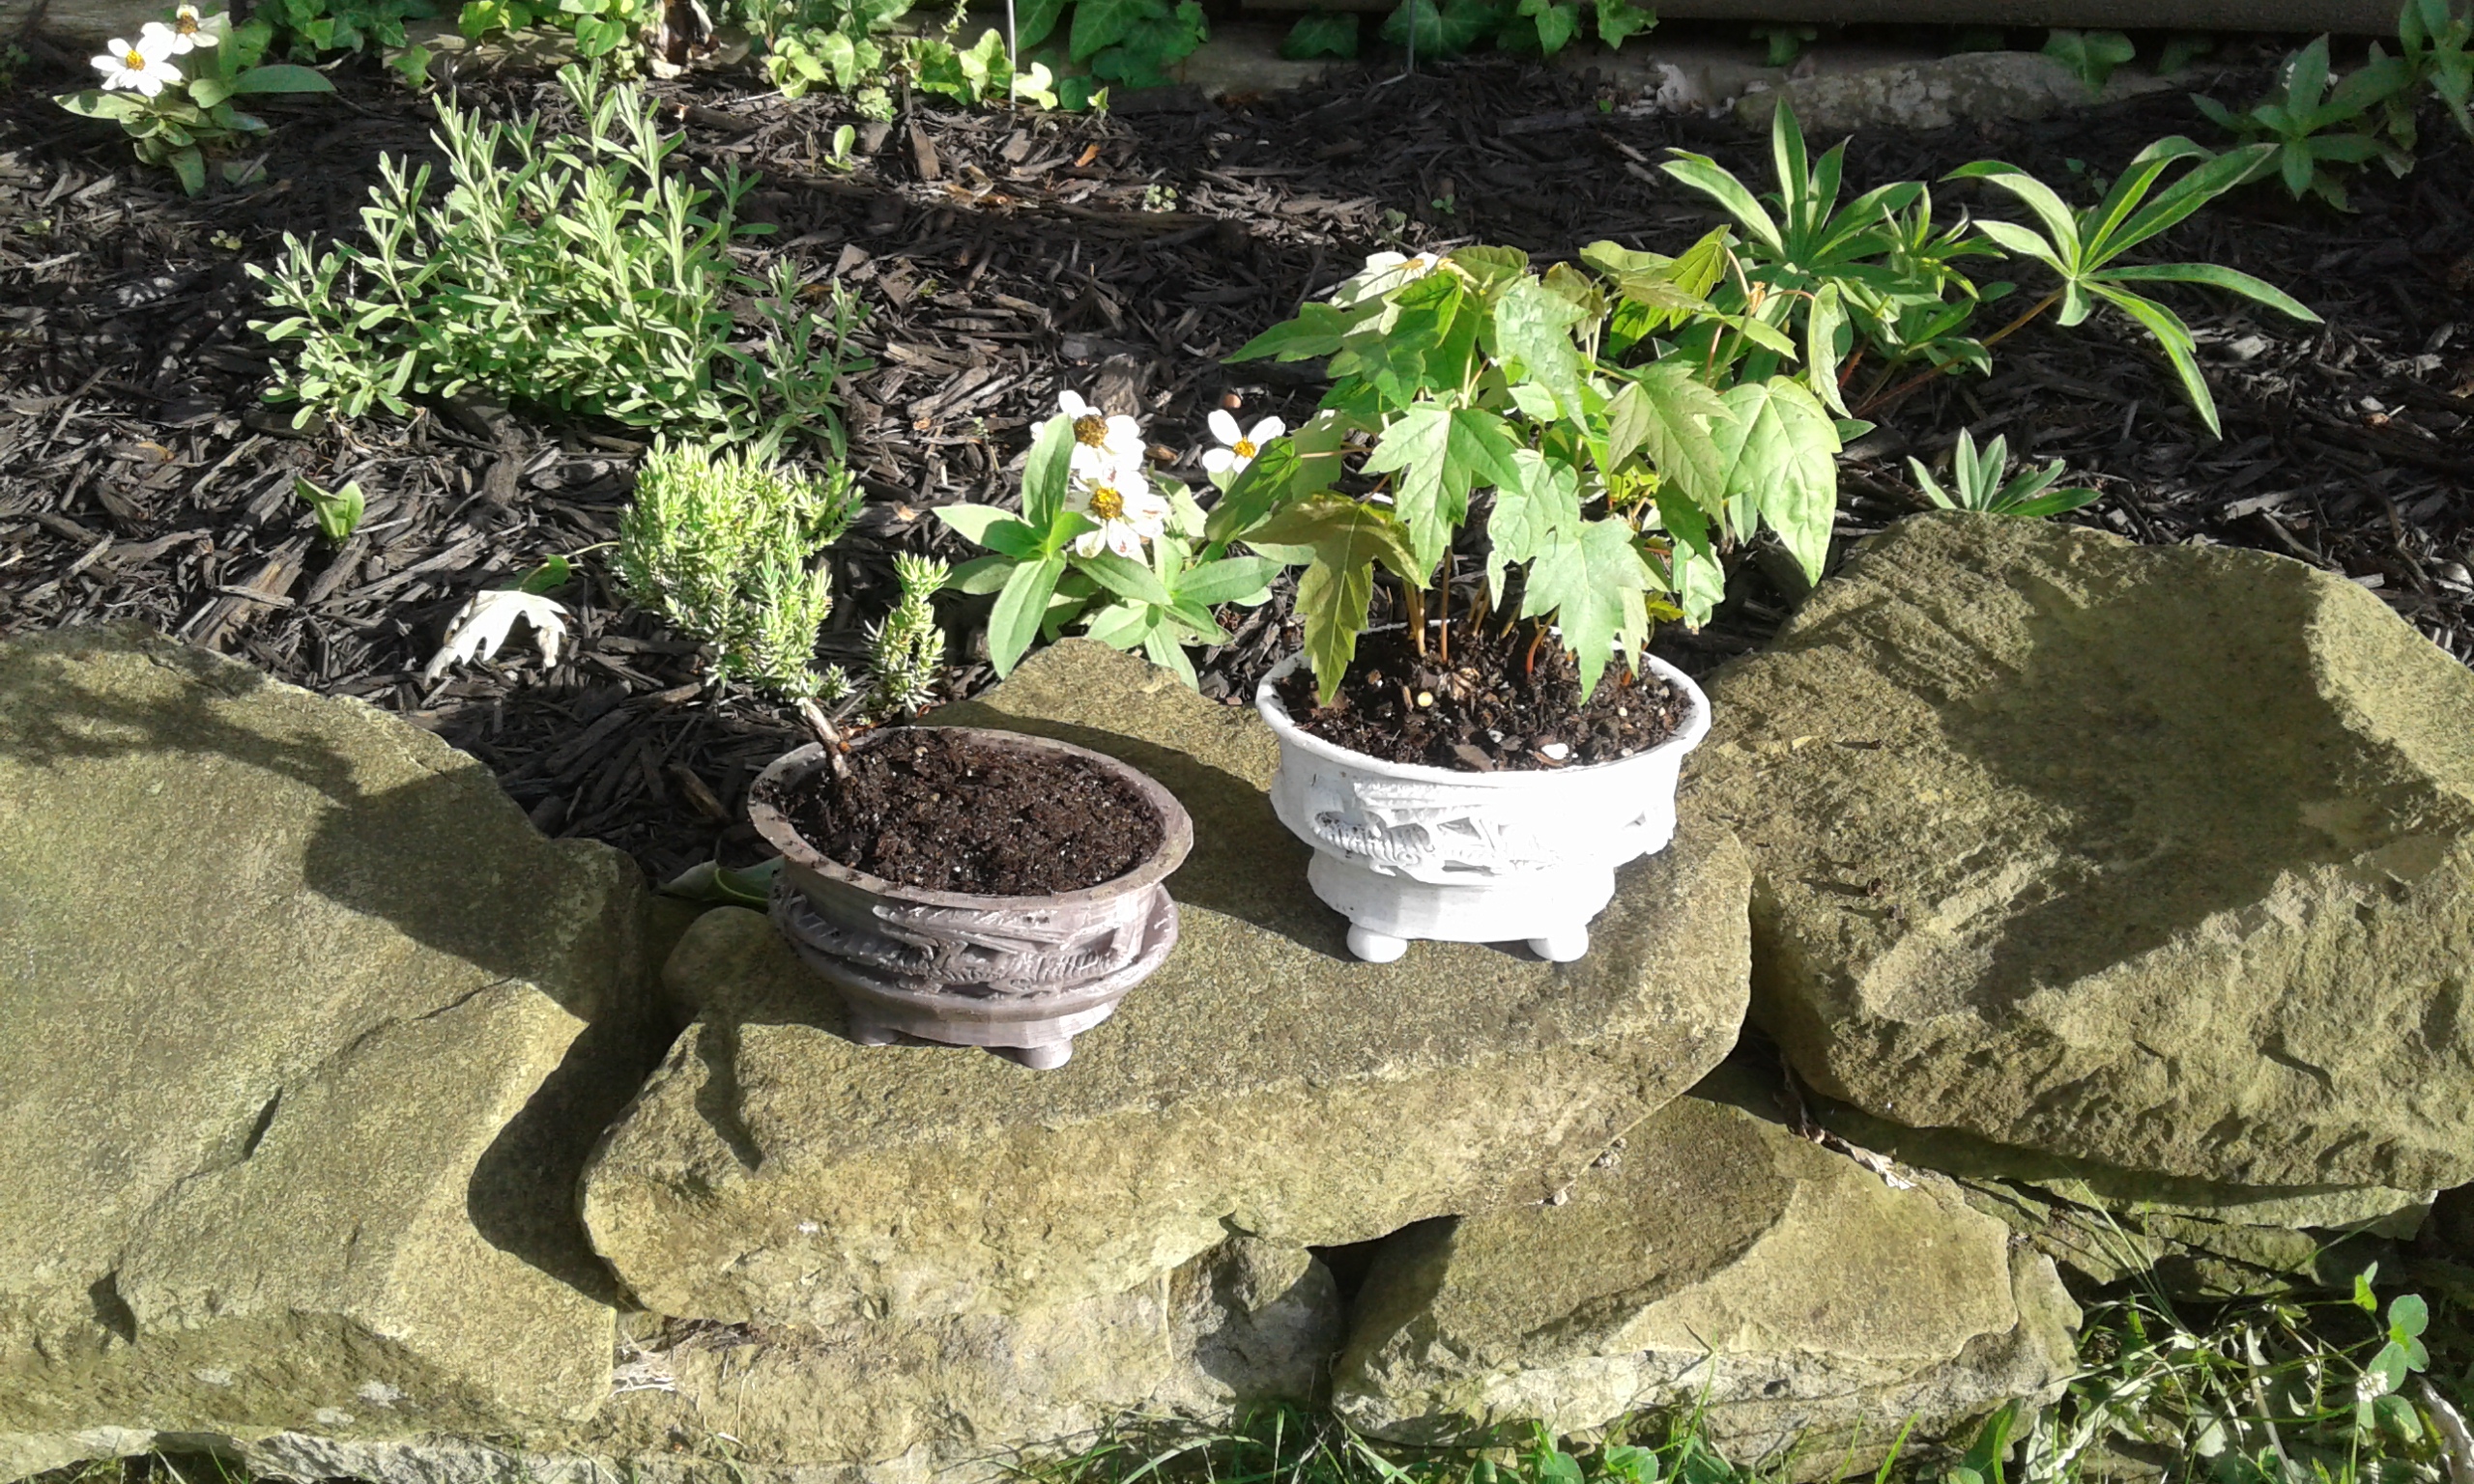
First, you must find a plant or plants to put in your planter I found some maples in my gutters and the juniper is from a nursery. You should look for plants with small characteristics. Next, you need soil that has good drainage. I like soil made for cacti. I have used bonsai soil before and never had much luck with it. Put your plant in the planter how you want it and fill it with soil. I like to use a small dowl to work the soil all the way around the roots. Make sure your plant gets plenty of sun and water and enjoy
In Conclusion
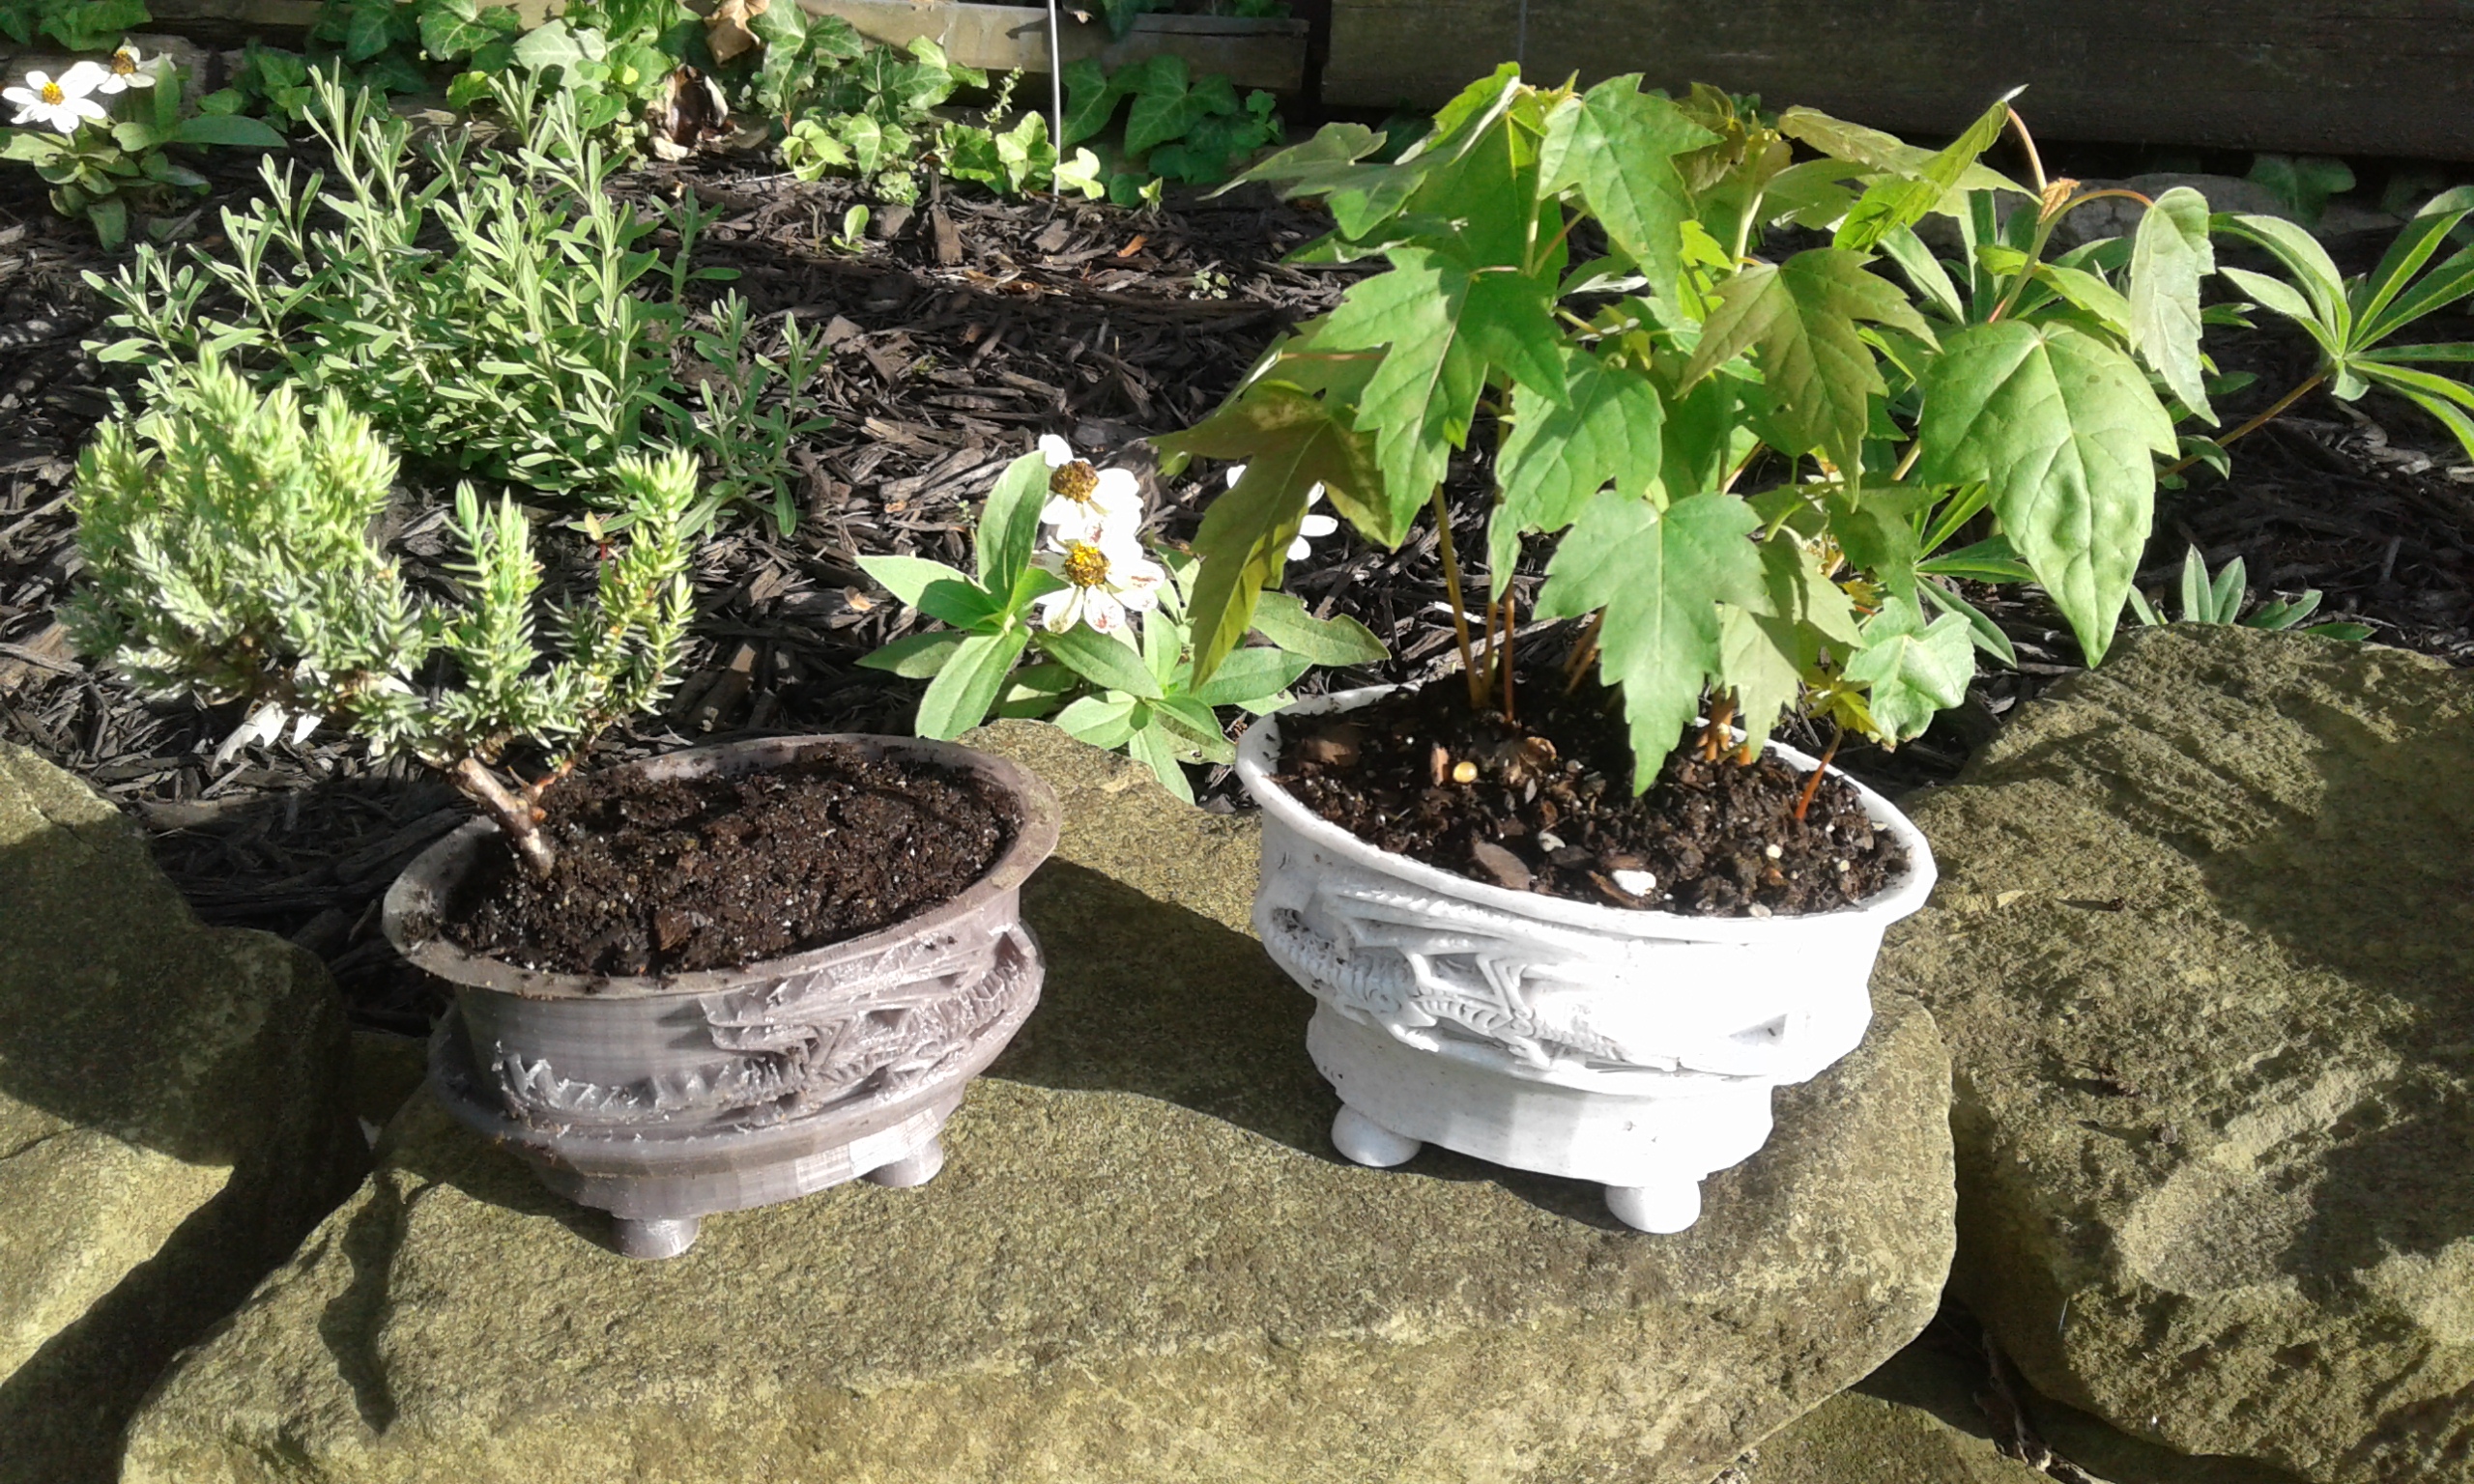
I presented this like I had all the measurements but I did not. I just made what I thought would look good then told you what I came up with. I even went back and fixed some mistakes after the first print but all the measurements I listed where the fixed version. That is what I find so great about 3d printing is you can make a model and if you are unsatisfied change your design and print a new one. The planter made out of the marble looking filament was the mistake but as you can see I am still using it. The darker one is the version available to download on Thingiverse . Thanks for looking!