Board Game Key Piece Made With TinkerCAD
by I-have-an-idea in Workshop > 3D Printing
5545 Views, 25 Favorites, 0 Comments
Board Game Key Piece Made With TinkerCAD
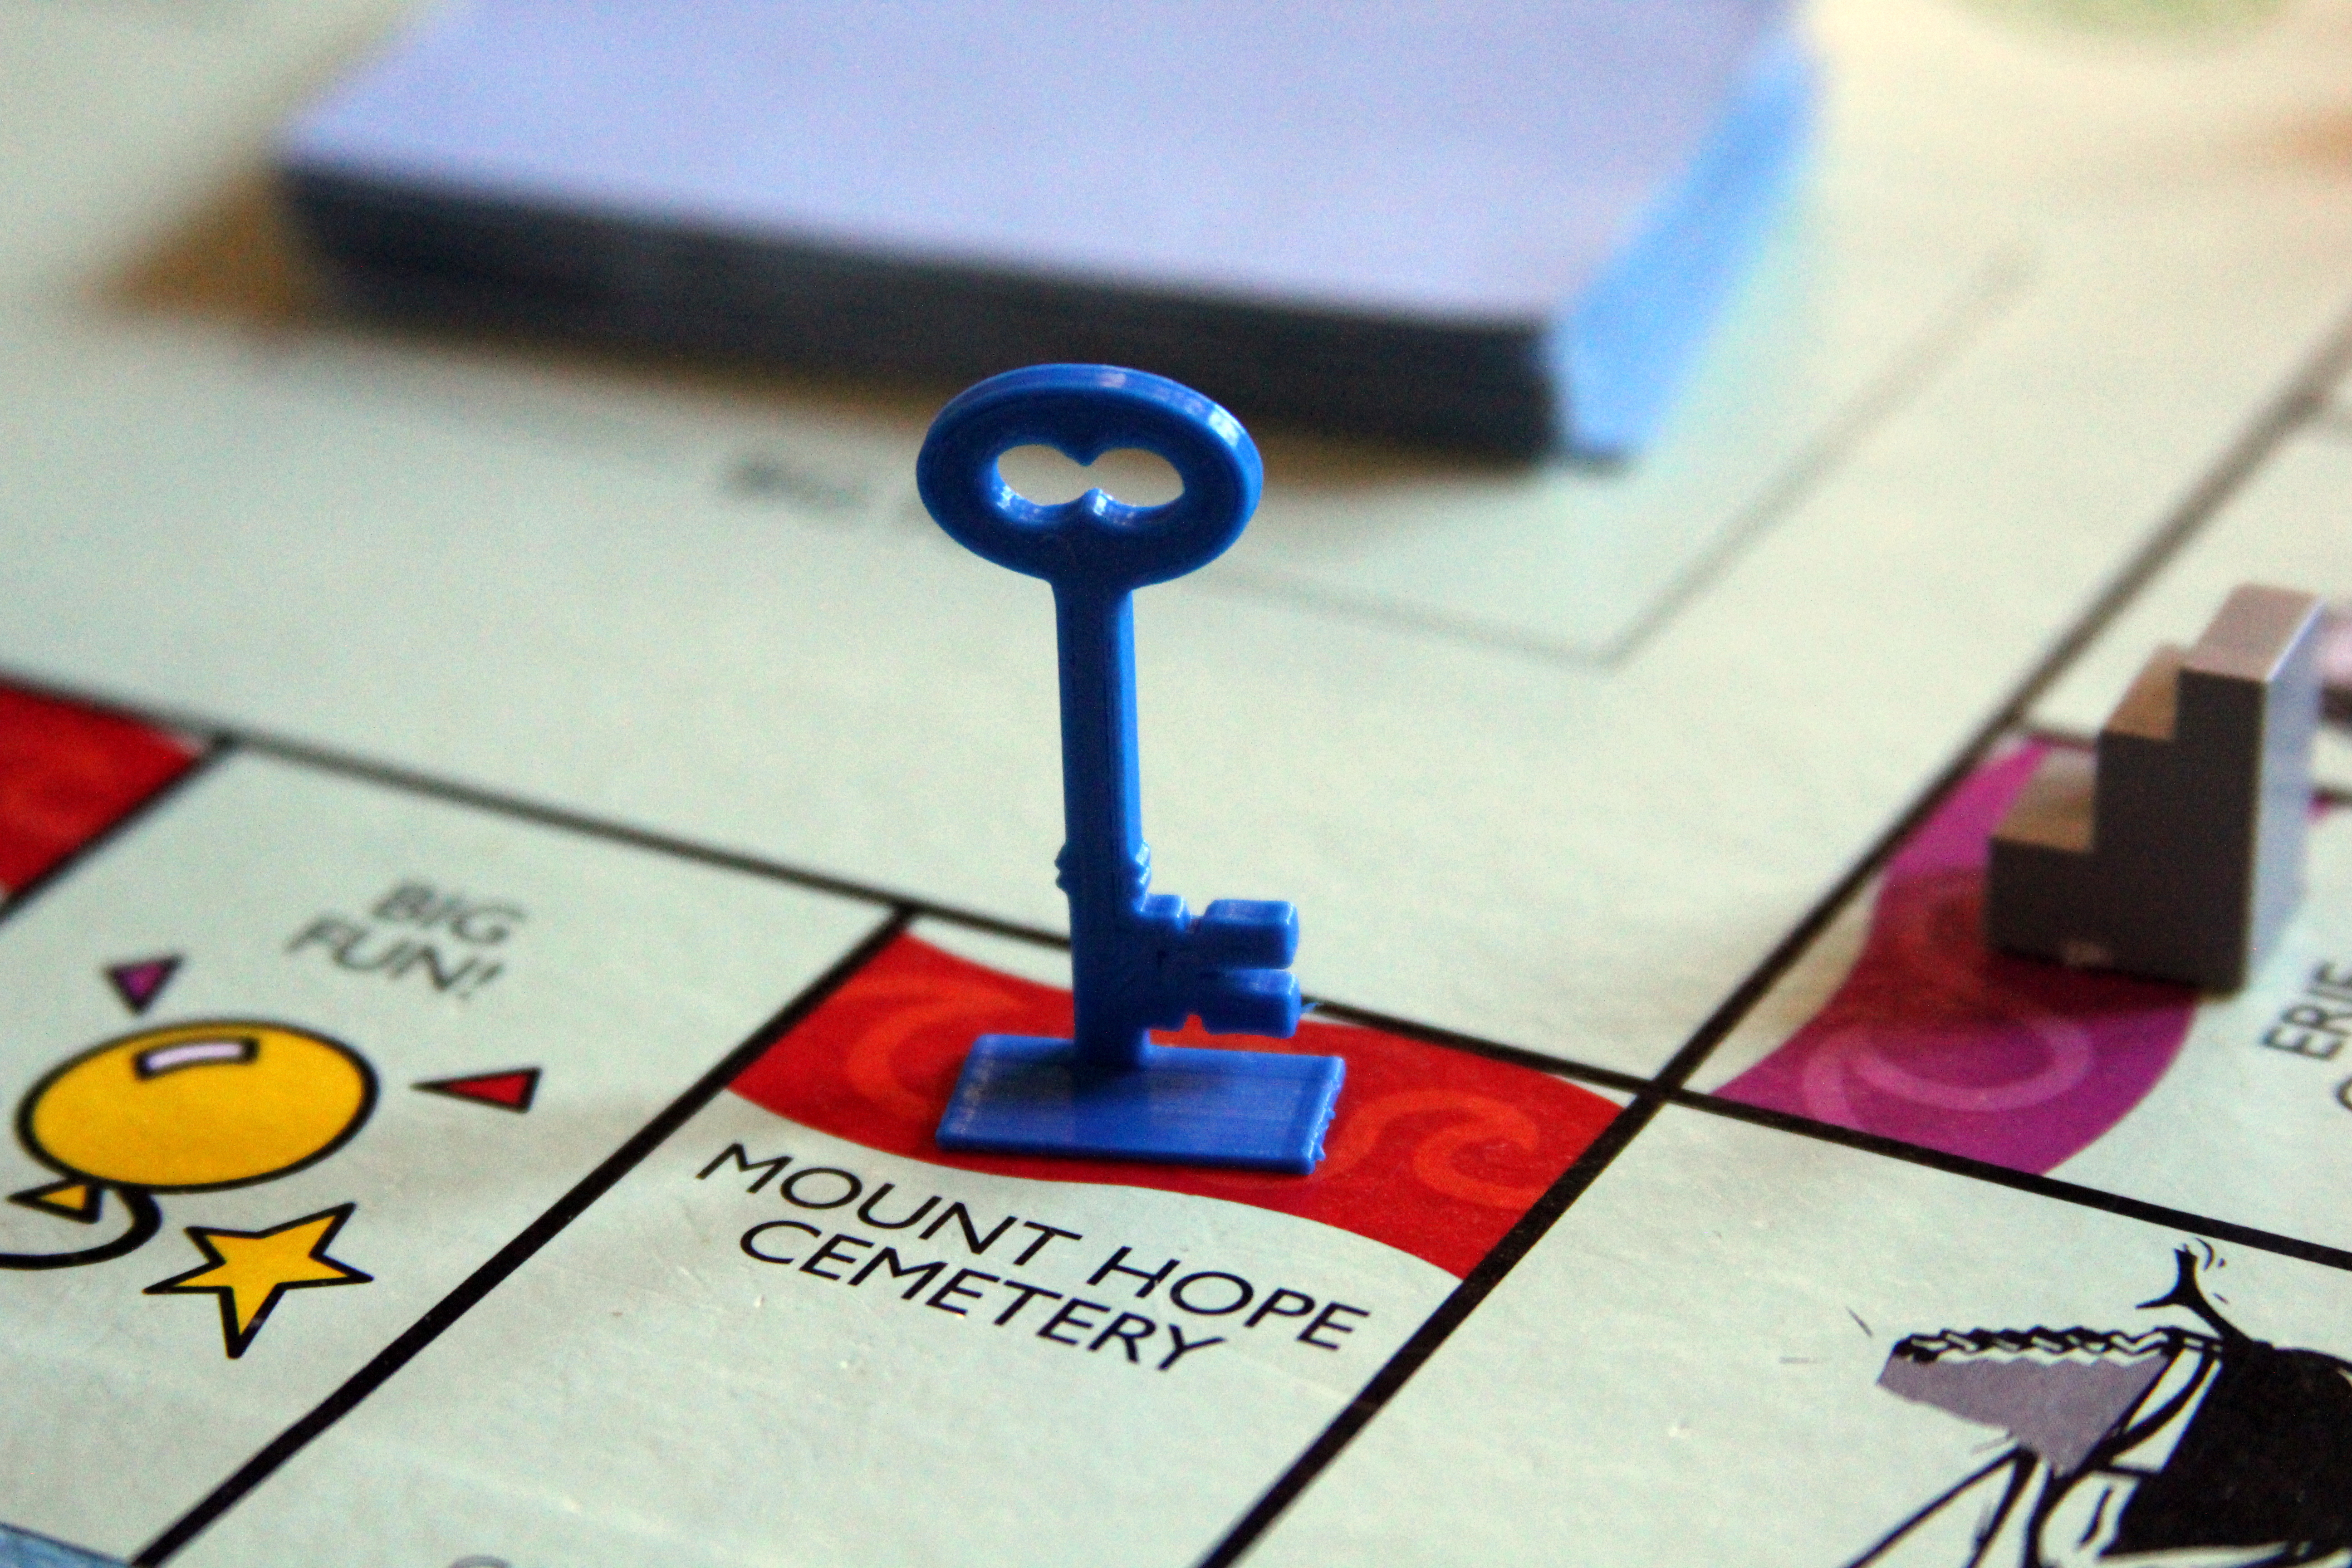
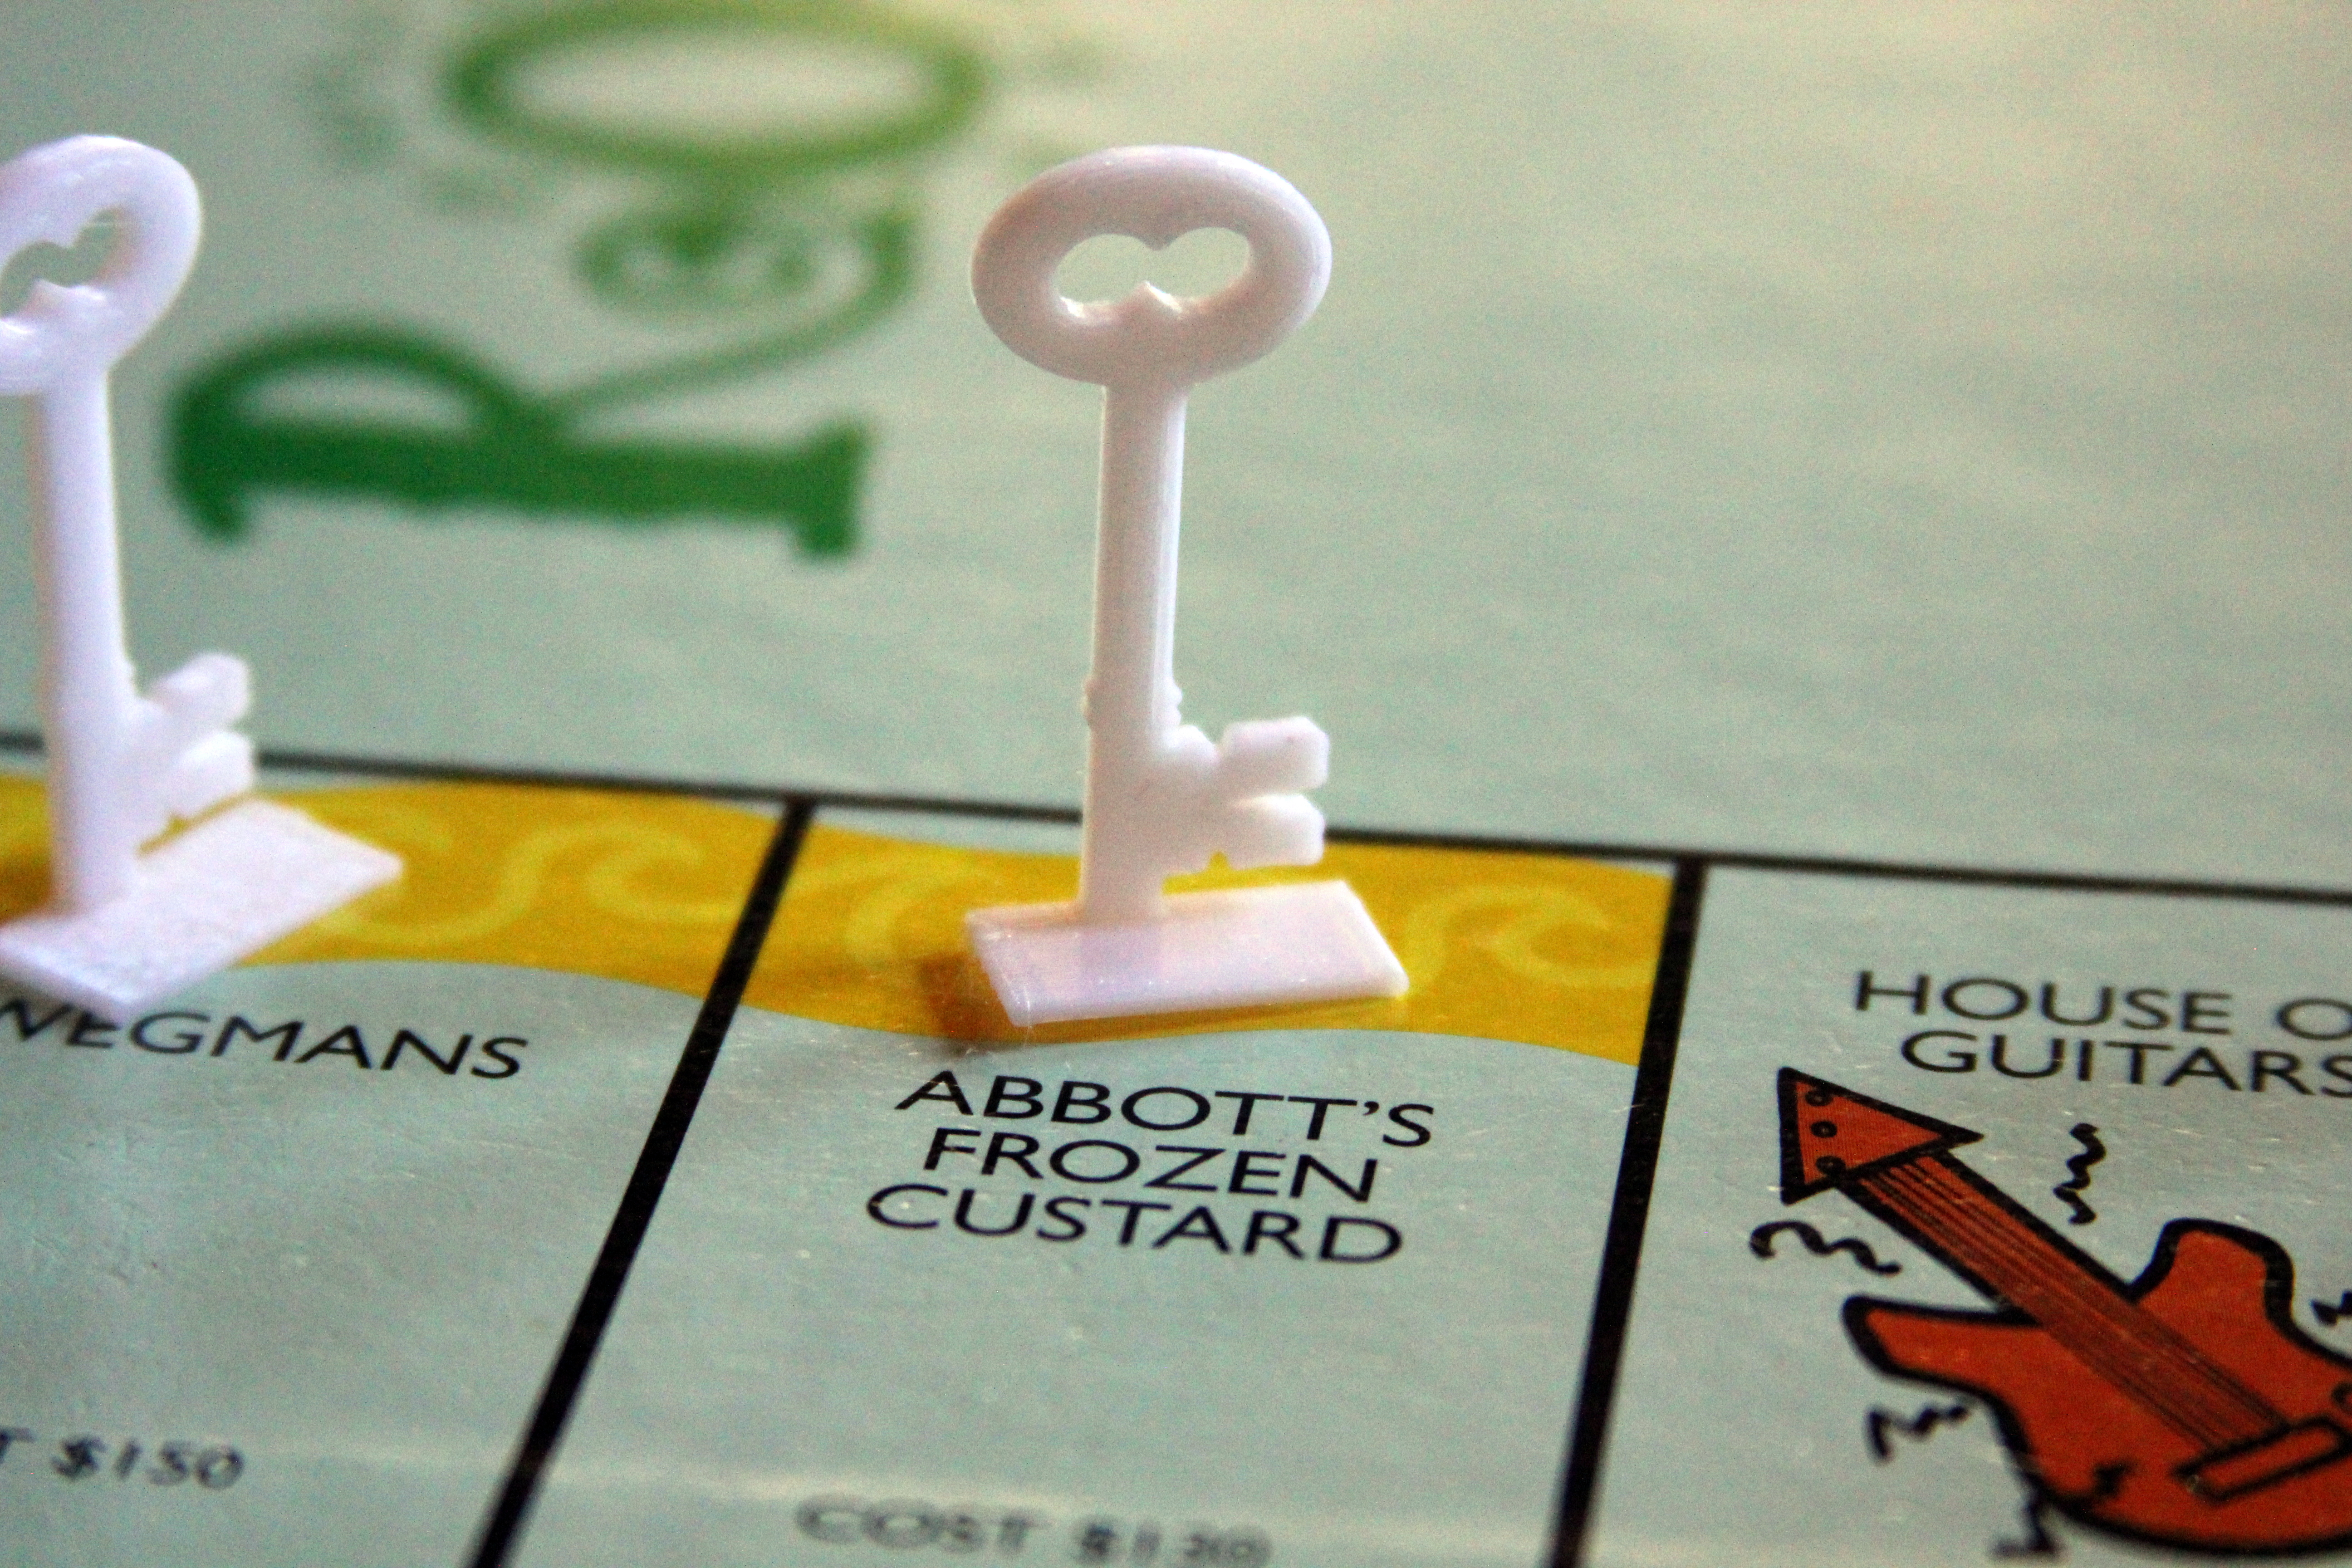
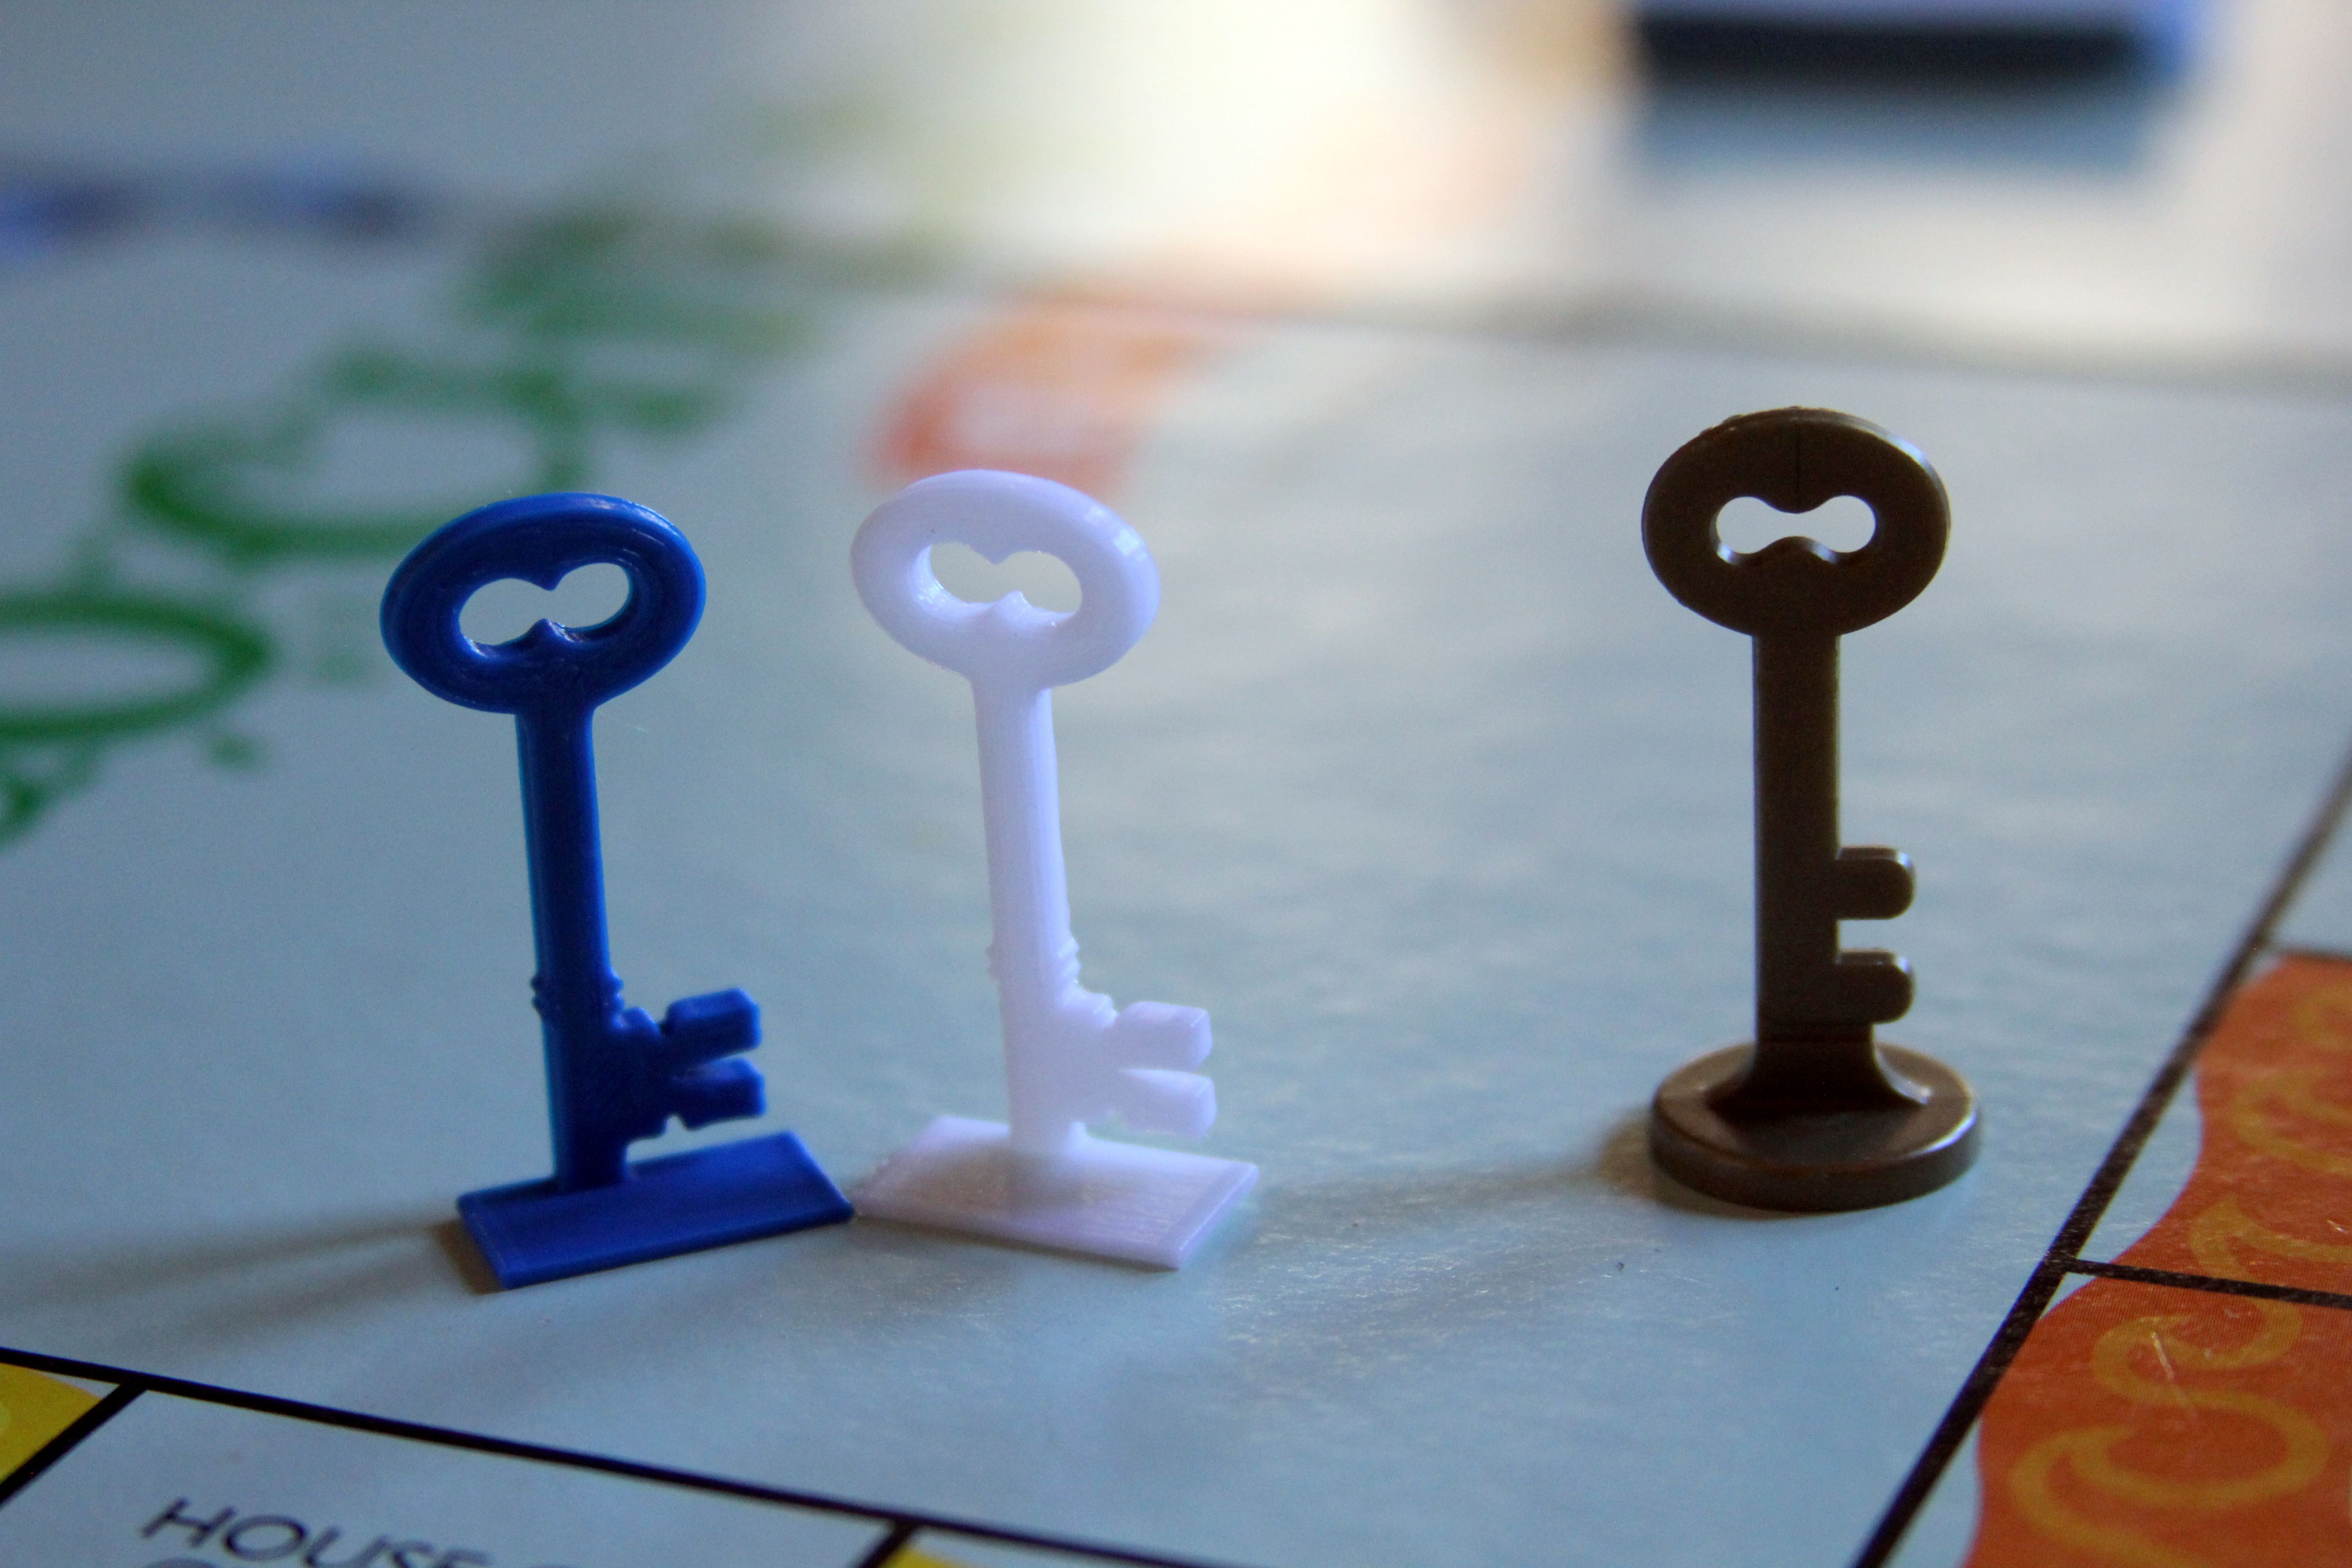
I own a different version of Monopoly where there are "Keys to the City" instead of hotels. After many years of playing, some of these plastic keys have broken, so I decided to print extras. Here are a couple of easy steps showing how you can design your own board game key piece using TinkerCAD.
If you don't want to design your own key, see the end for a file to download.
Get Onto TinkerCAD
Go to TinkerCAD and log on, or create an account if you do not already have one. It's free!
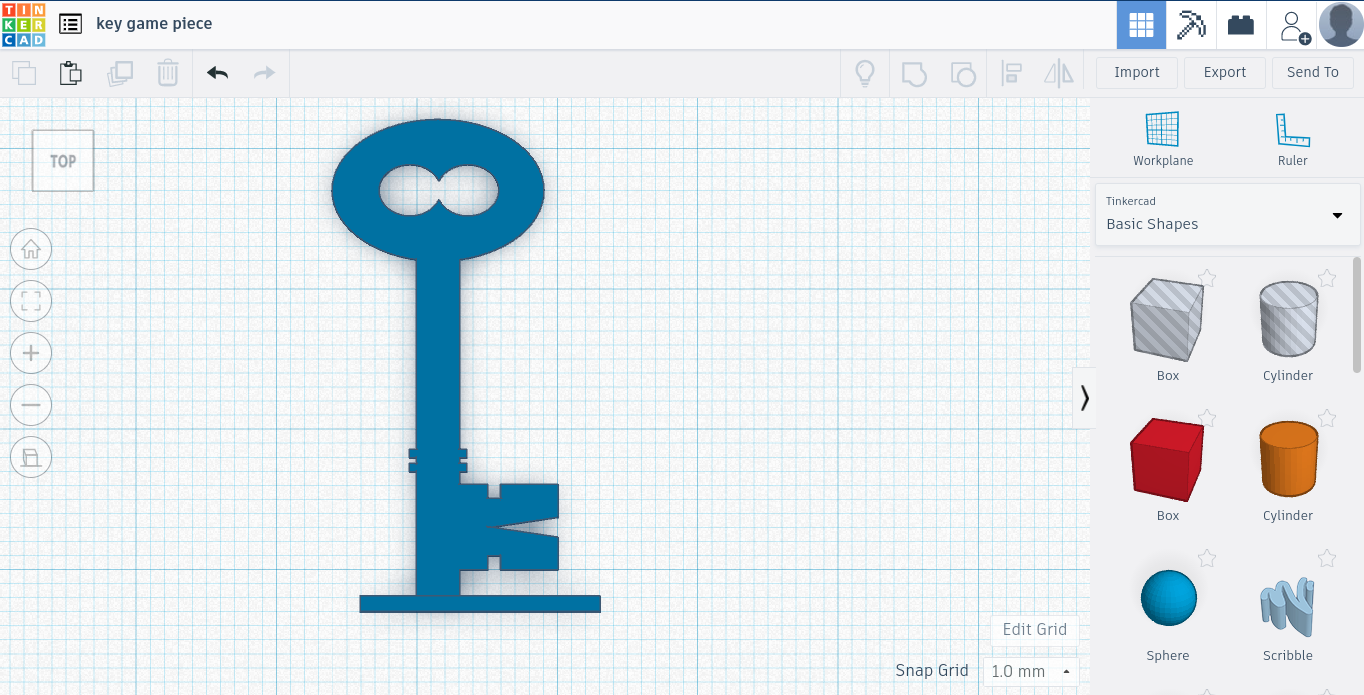
The First Shape
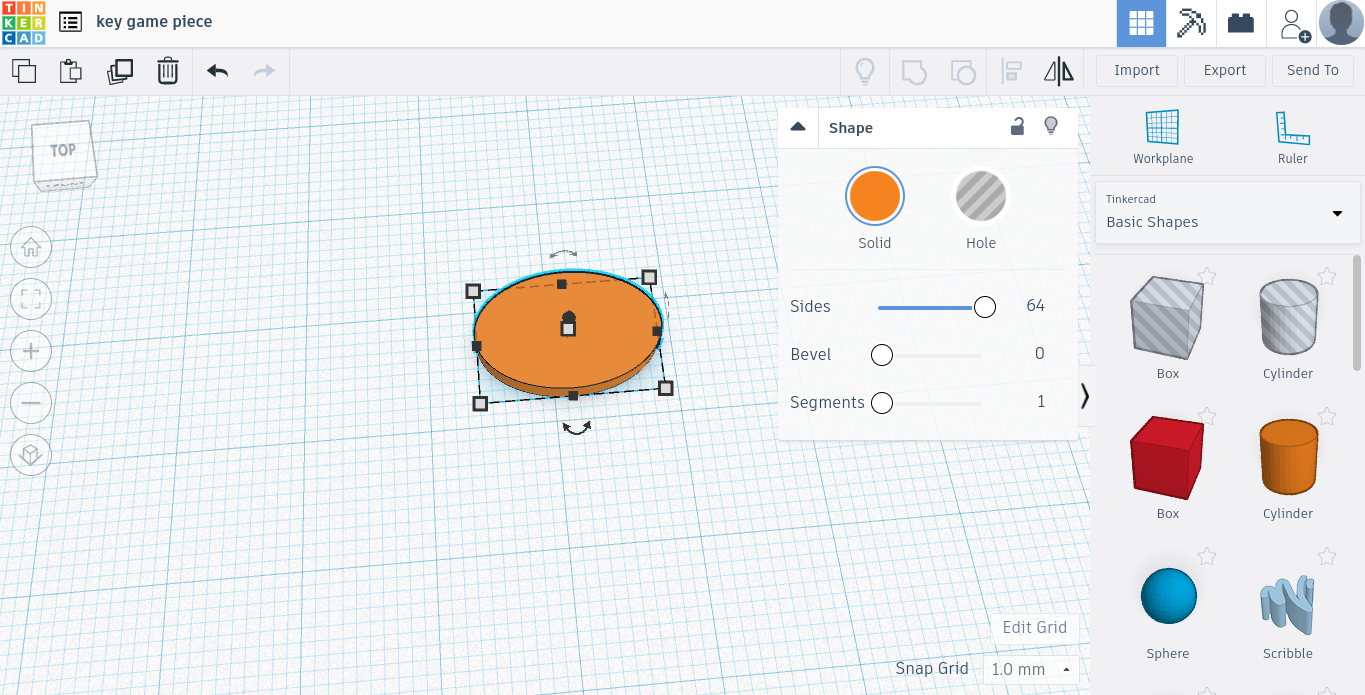
Drag out a cylinder from the shapes menu. Set the number of sides to the maximum, 64, and stretch it out so that it looks like an oval. Choose a height for the oval, and make sure that all of the shapes stay that same height throughout the entire process.
A Few More Shapes
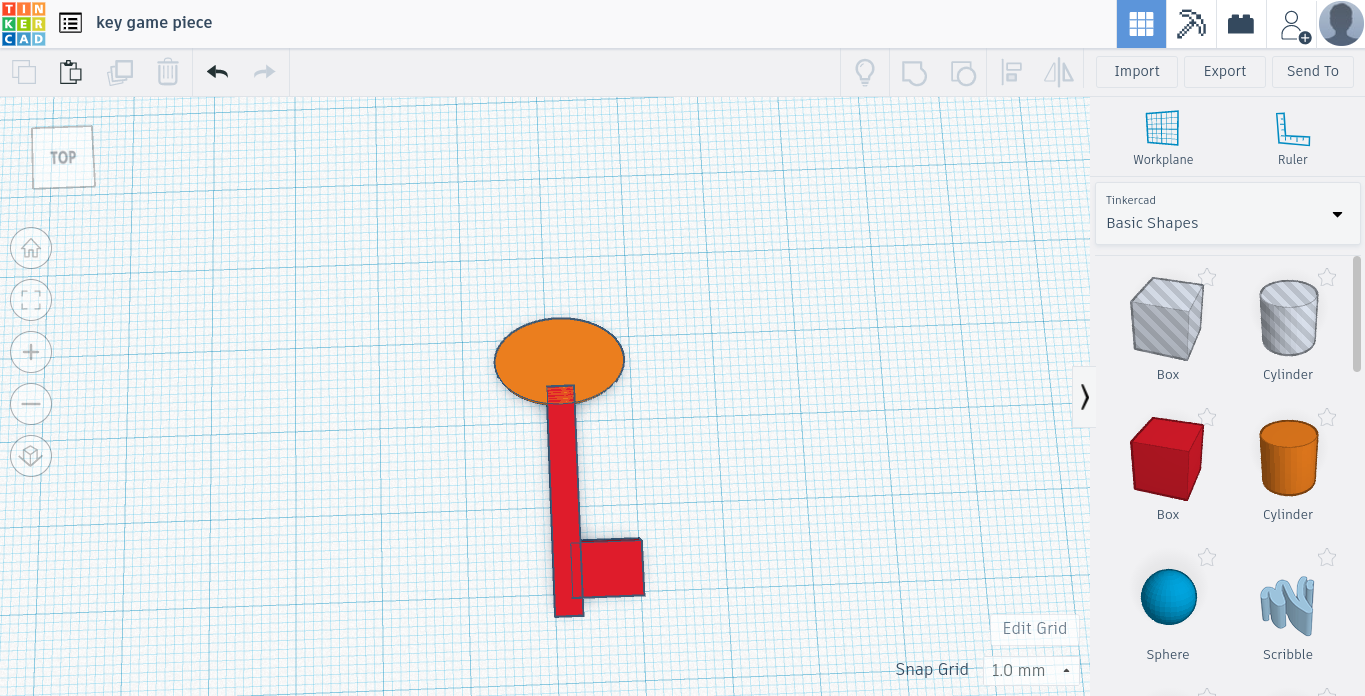
Add 2 squares and stretch them out so that they form the body and the head of the key. Remember to keep all of the shapes the same height.
Add Holes at the Top
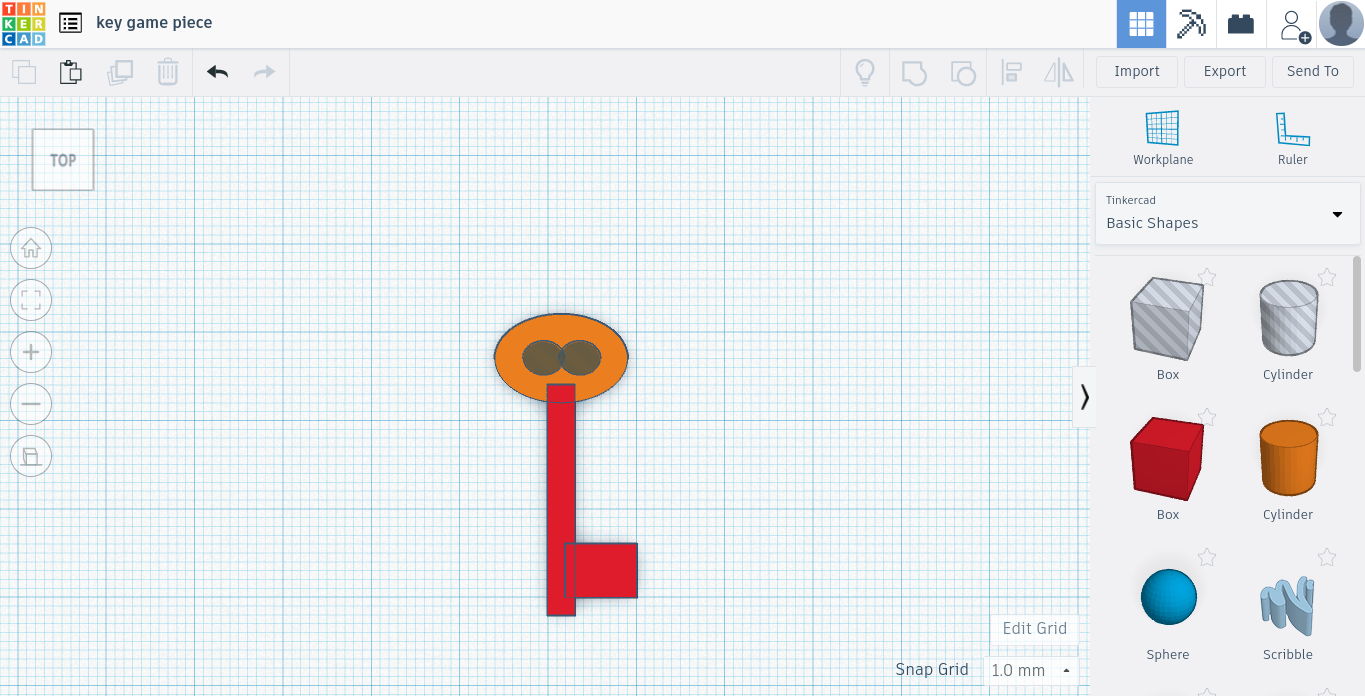

Add two cylinder-shapes holes in the middle of the oval at the top of the key.
Get Together
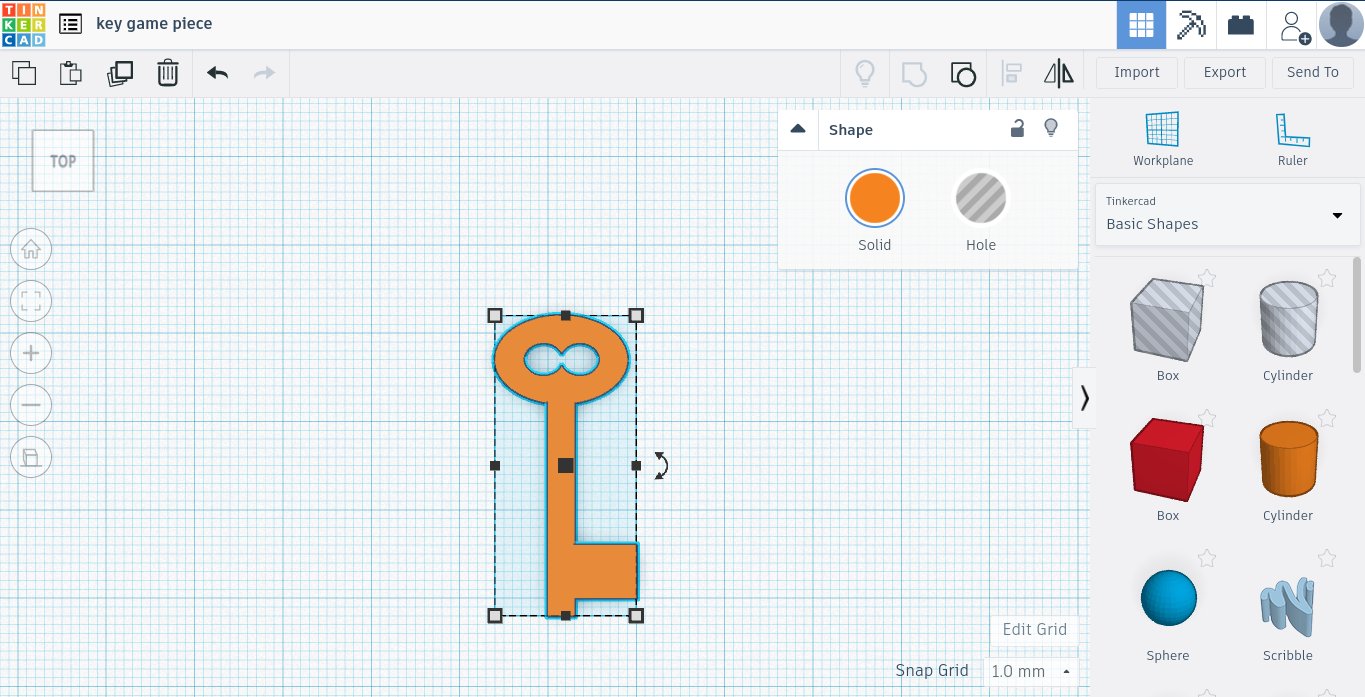
Combine all of the current shapes by selecting all, then hitting the "Group" button.
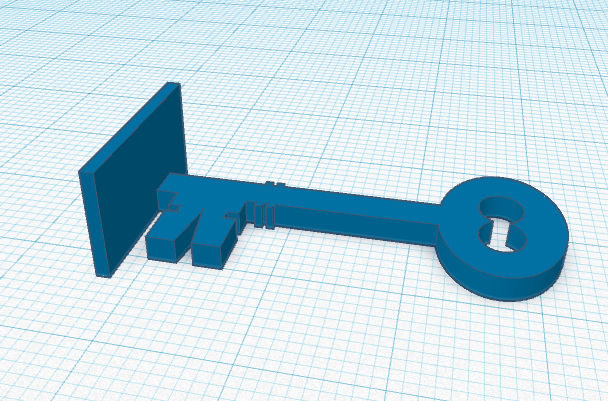
Add Accessories
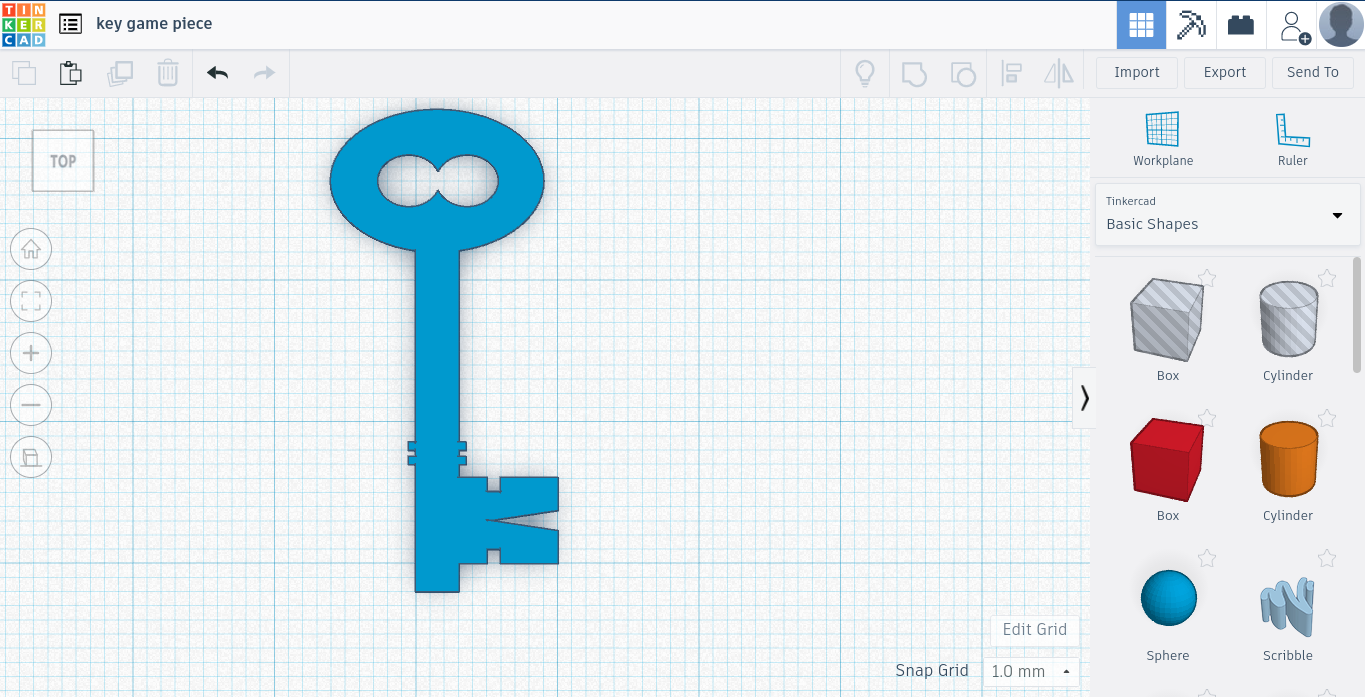
Add extra features to your key, such as cut outs on the head of the key or small ridges on the side, group everything together.
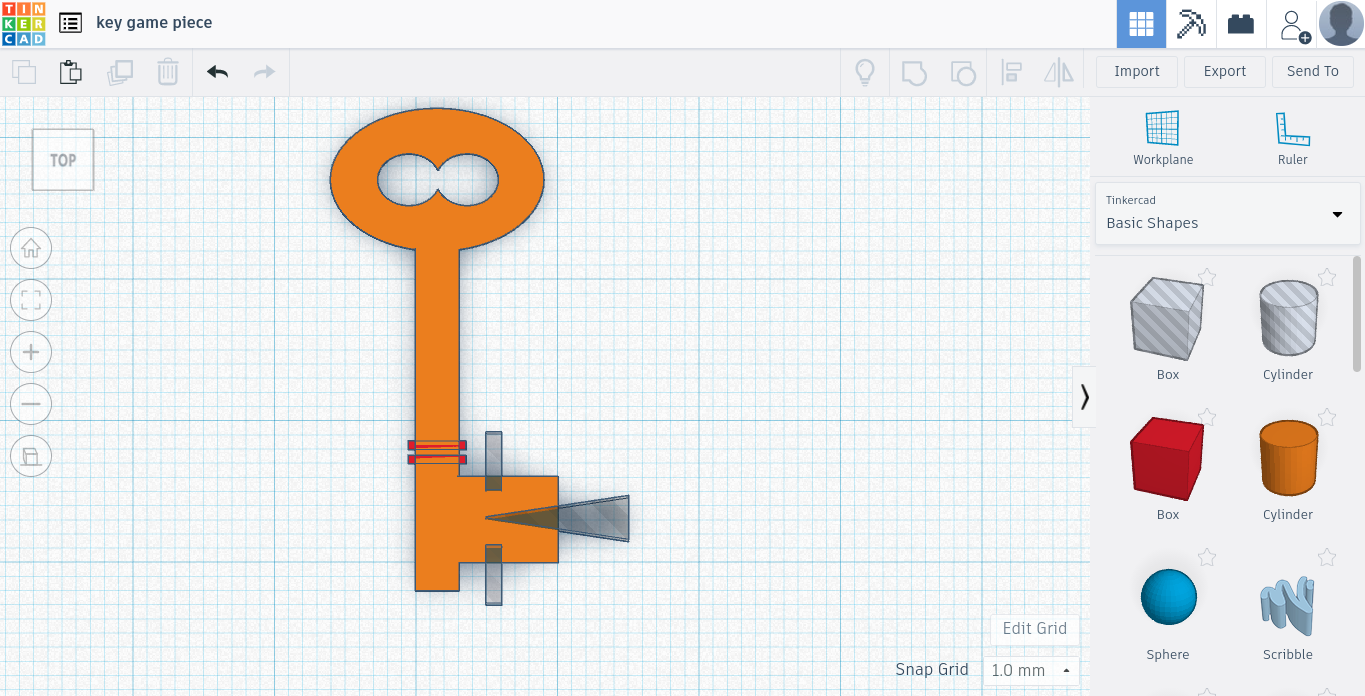
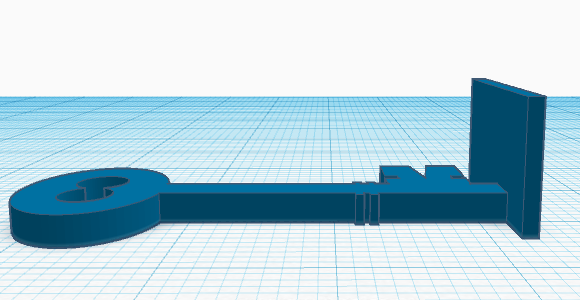
Time to Stand Up!
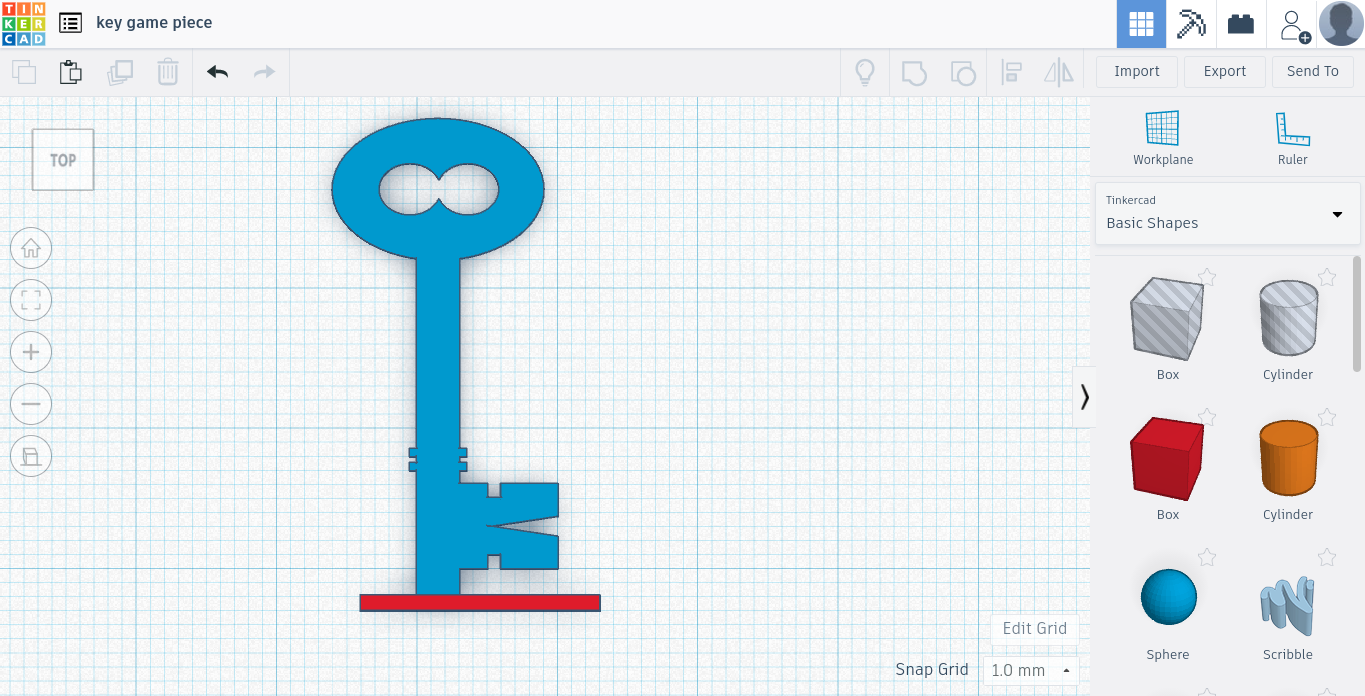
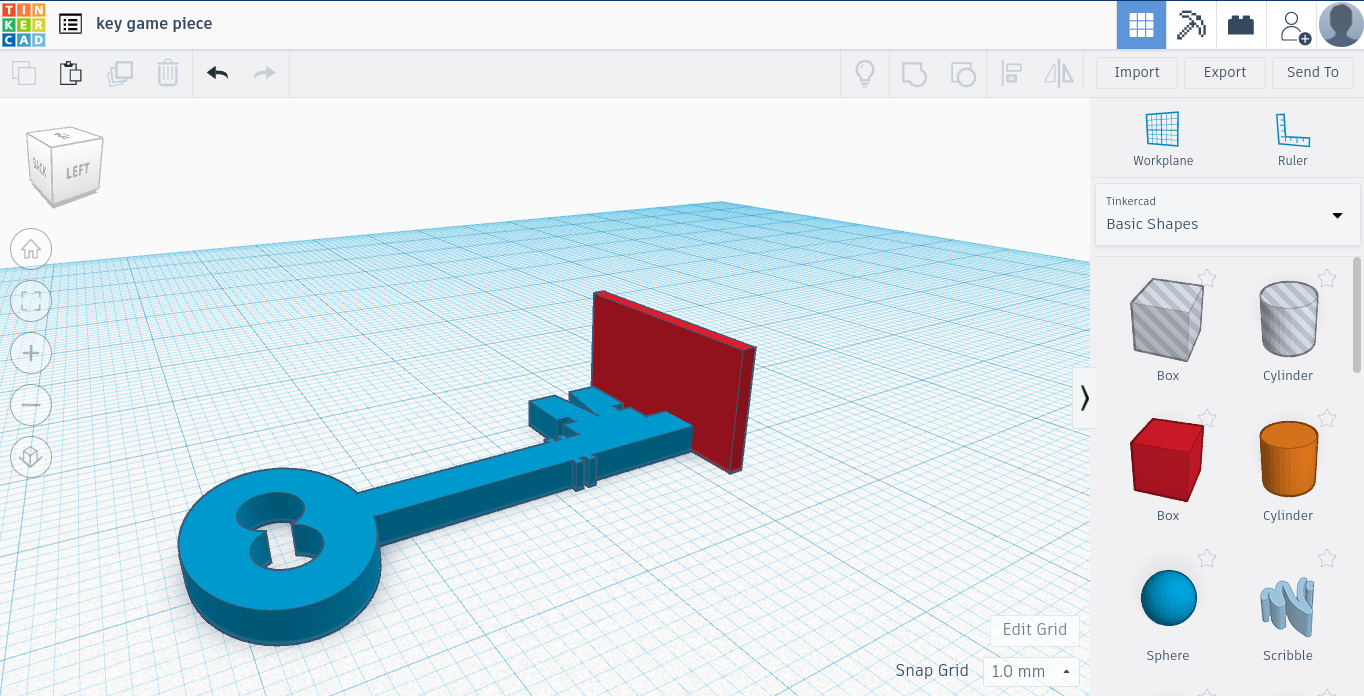

Add a small stand to the bottom and hit the group button again. The stand is the only part of the key that is taller.
Tip: Make sure the stand is large enough to hold the whole key when it is standing up.
Done Designing!
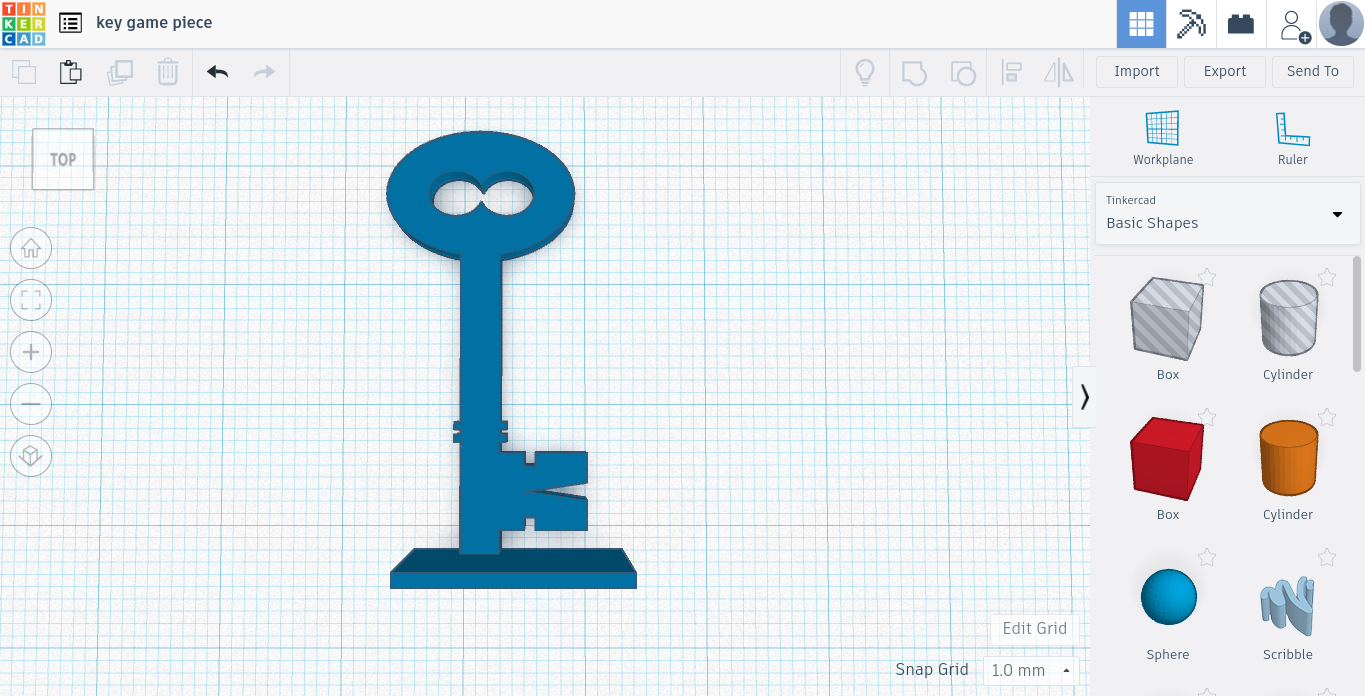

Congratulations on finishing the key design!
Printing Your Key
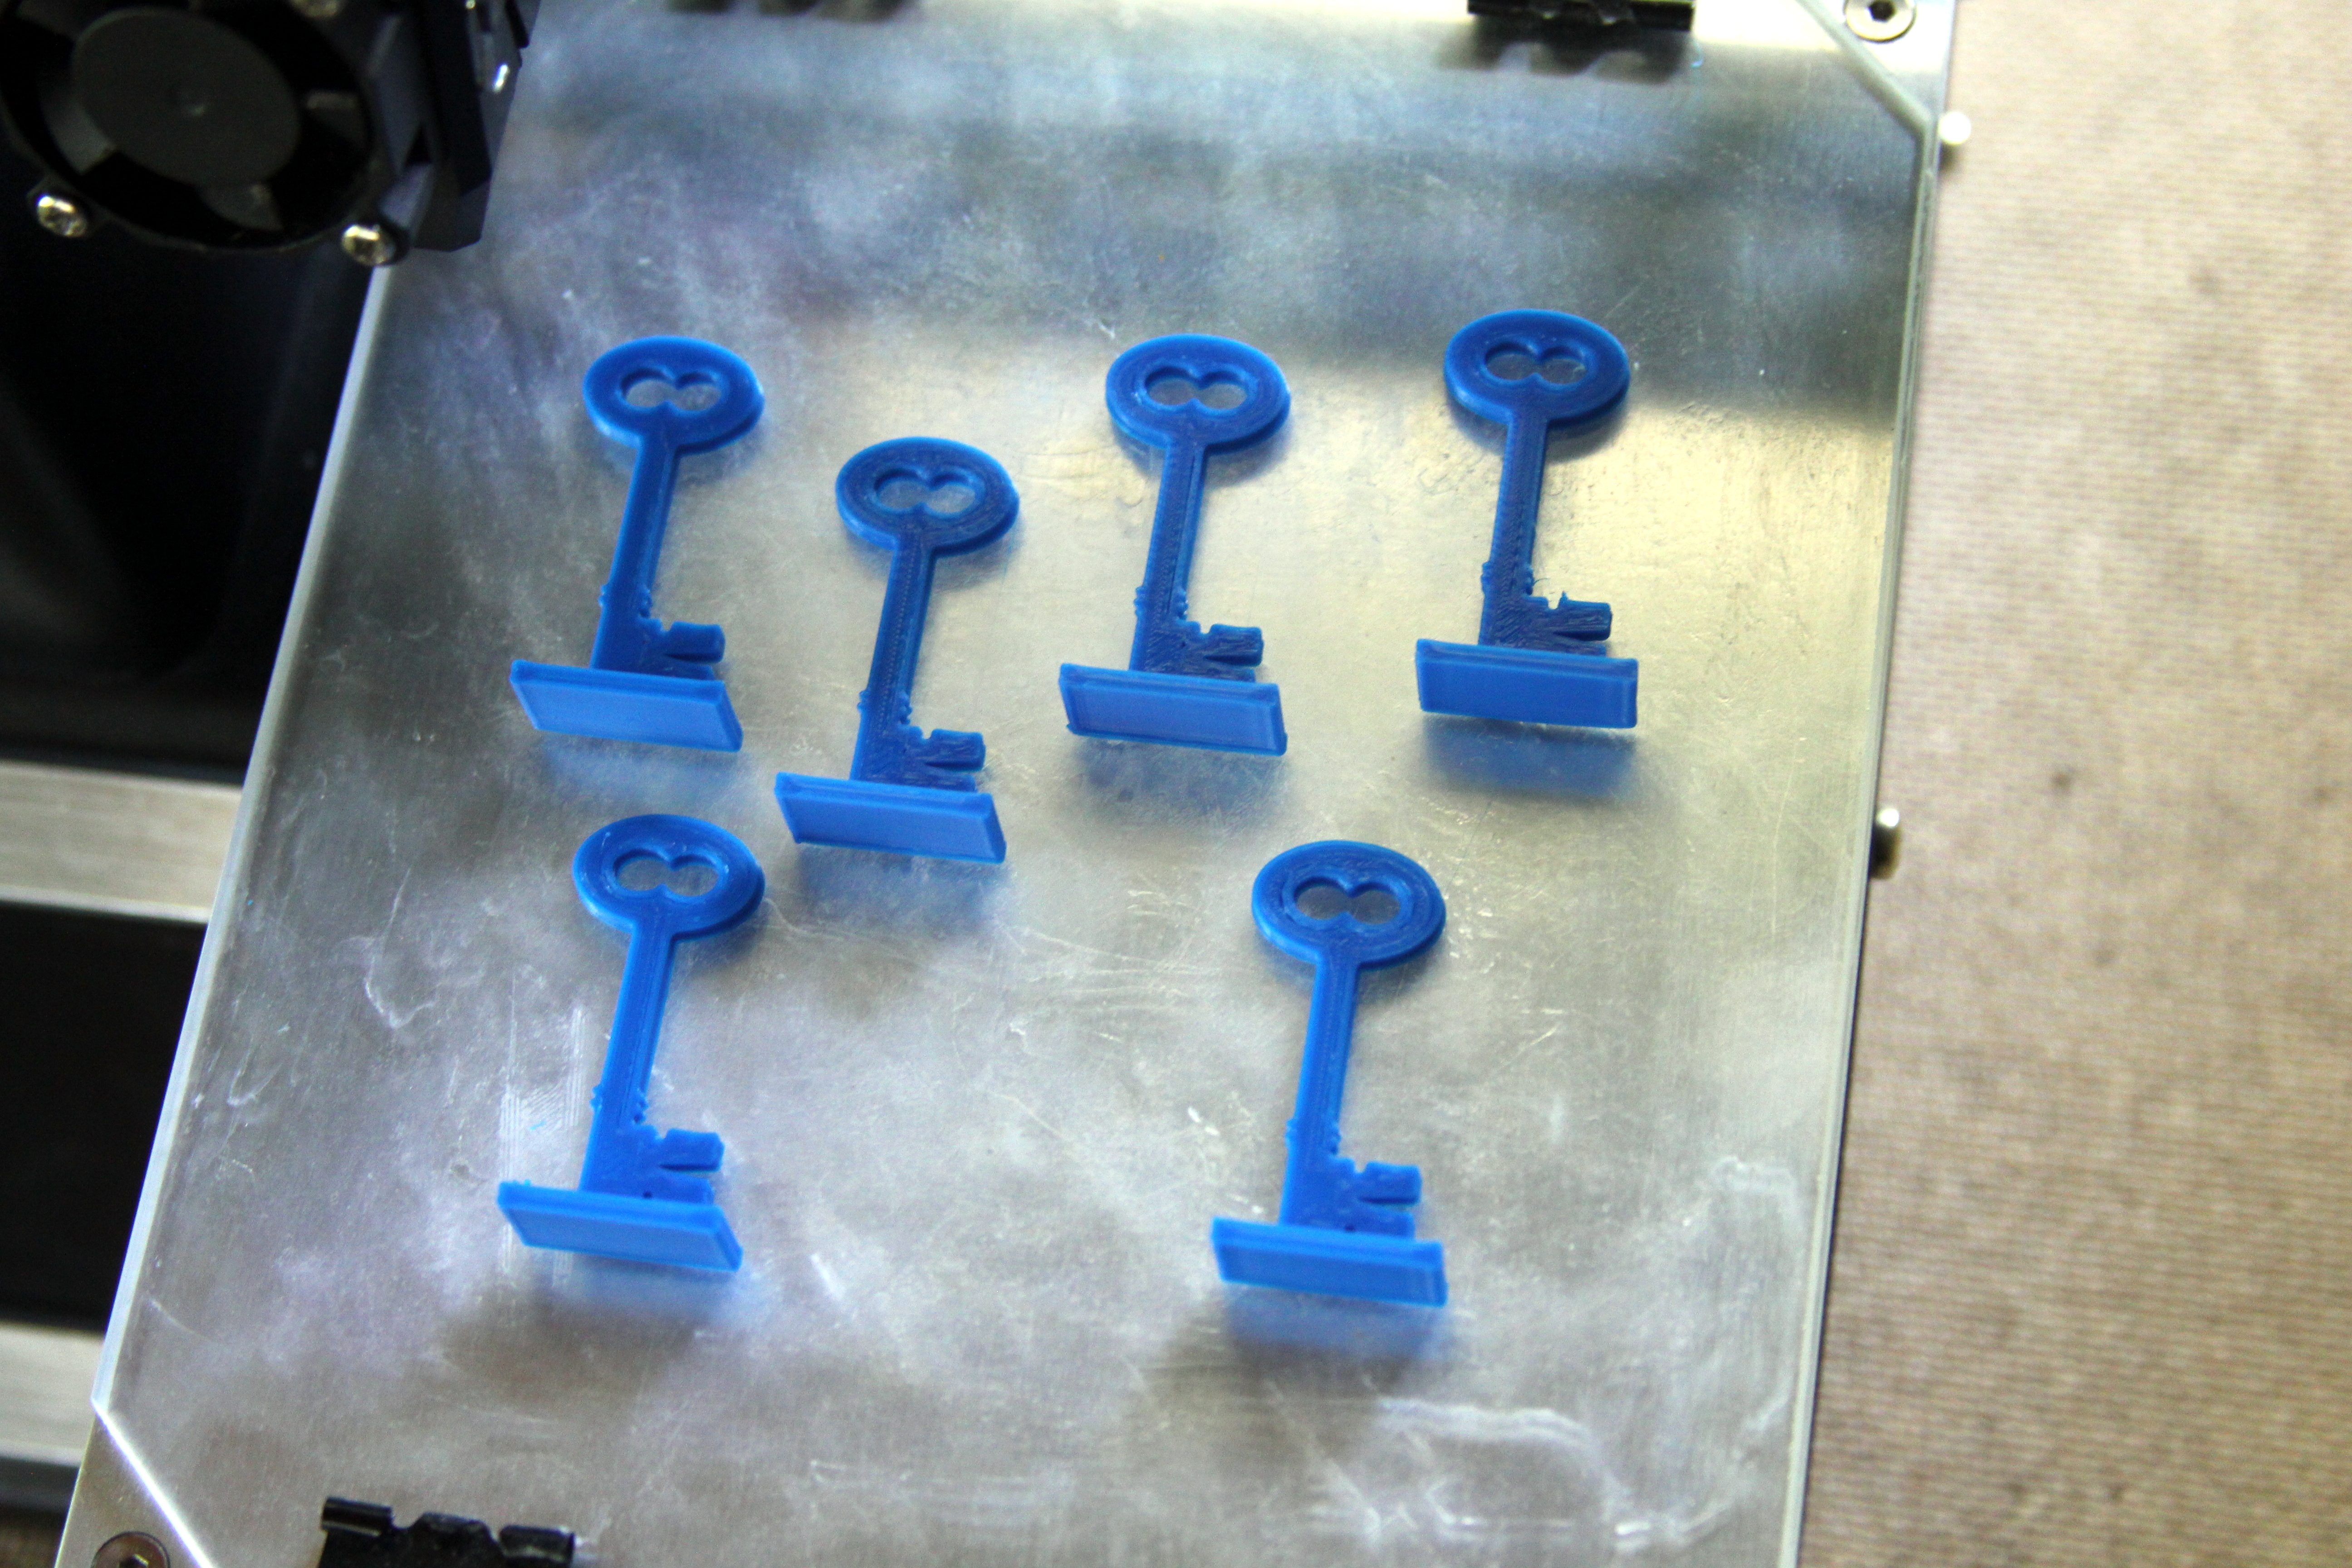
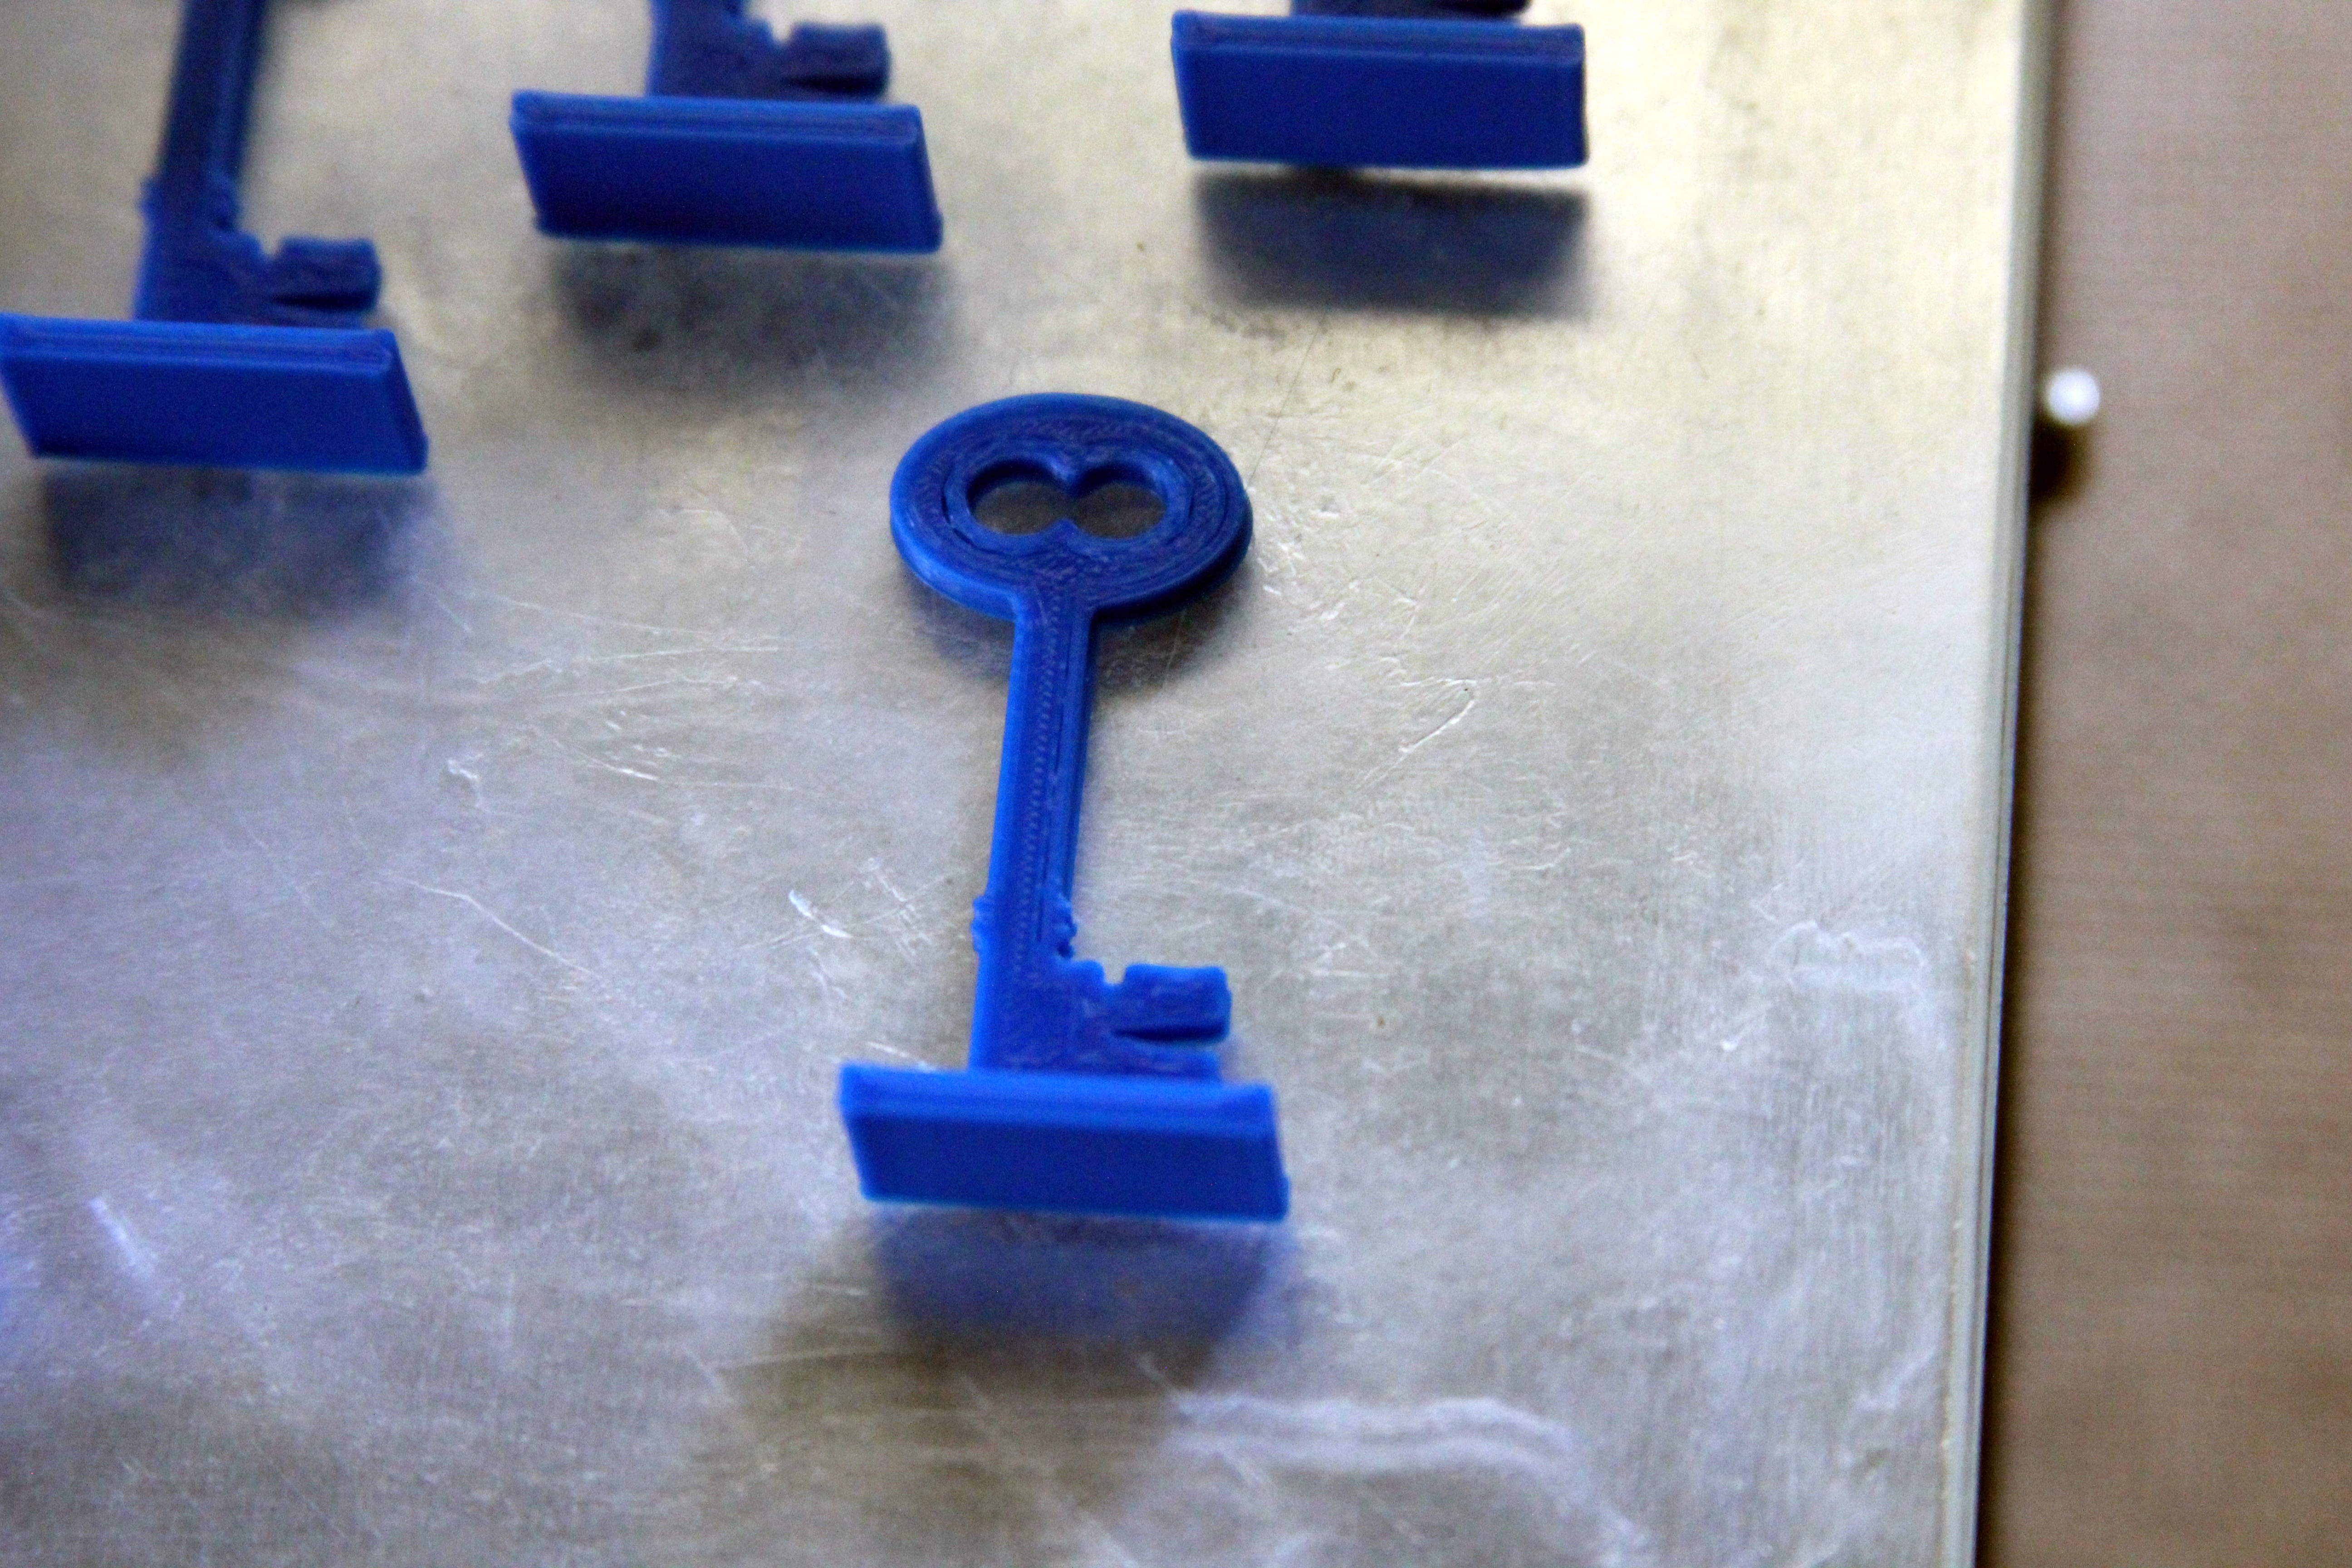
Time to print your key. I would recommend printing the key on its side for best quality.
All Done!
Congratulations!
You have now finished designing your own key piece using TinkerCAD. Make sure to make your design public on TinkerCAD so that others can see it.
If you didn't want to design your own key, download the attached file or check it out on Thingiverse.