Blynk+GSM Sim800+Arduino Uno+DHT11
by RishabhL in Circuits > Arduino
26239 Views, 51 Favorites, 0 Comments
Blynk+GSM Sim800+Arduino Uno+DHT11
 - Copy.JPG)
Temperature monitoring have wide application in daily life. In modern day keeping an eye on temperature of places such as server rooms, hospital rooms, warehouses and green houses can help solve many problems. But with the use of normal temperature sensors, someone needs to go to the place in order to view the temperature. But with the development of GSM network, one can easily connect the sensor with GSM network, so that you don’t need to be present near the sensor in order to view the temperature. You can just pick up your smartphone and open blynk app to see temperature and humidity, app will also notify you by push notification and email when temperature goes above required level .
Required Hardware:
.JPG)


1. Arduino Uno
2. DHT11/DHT22
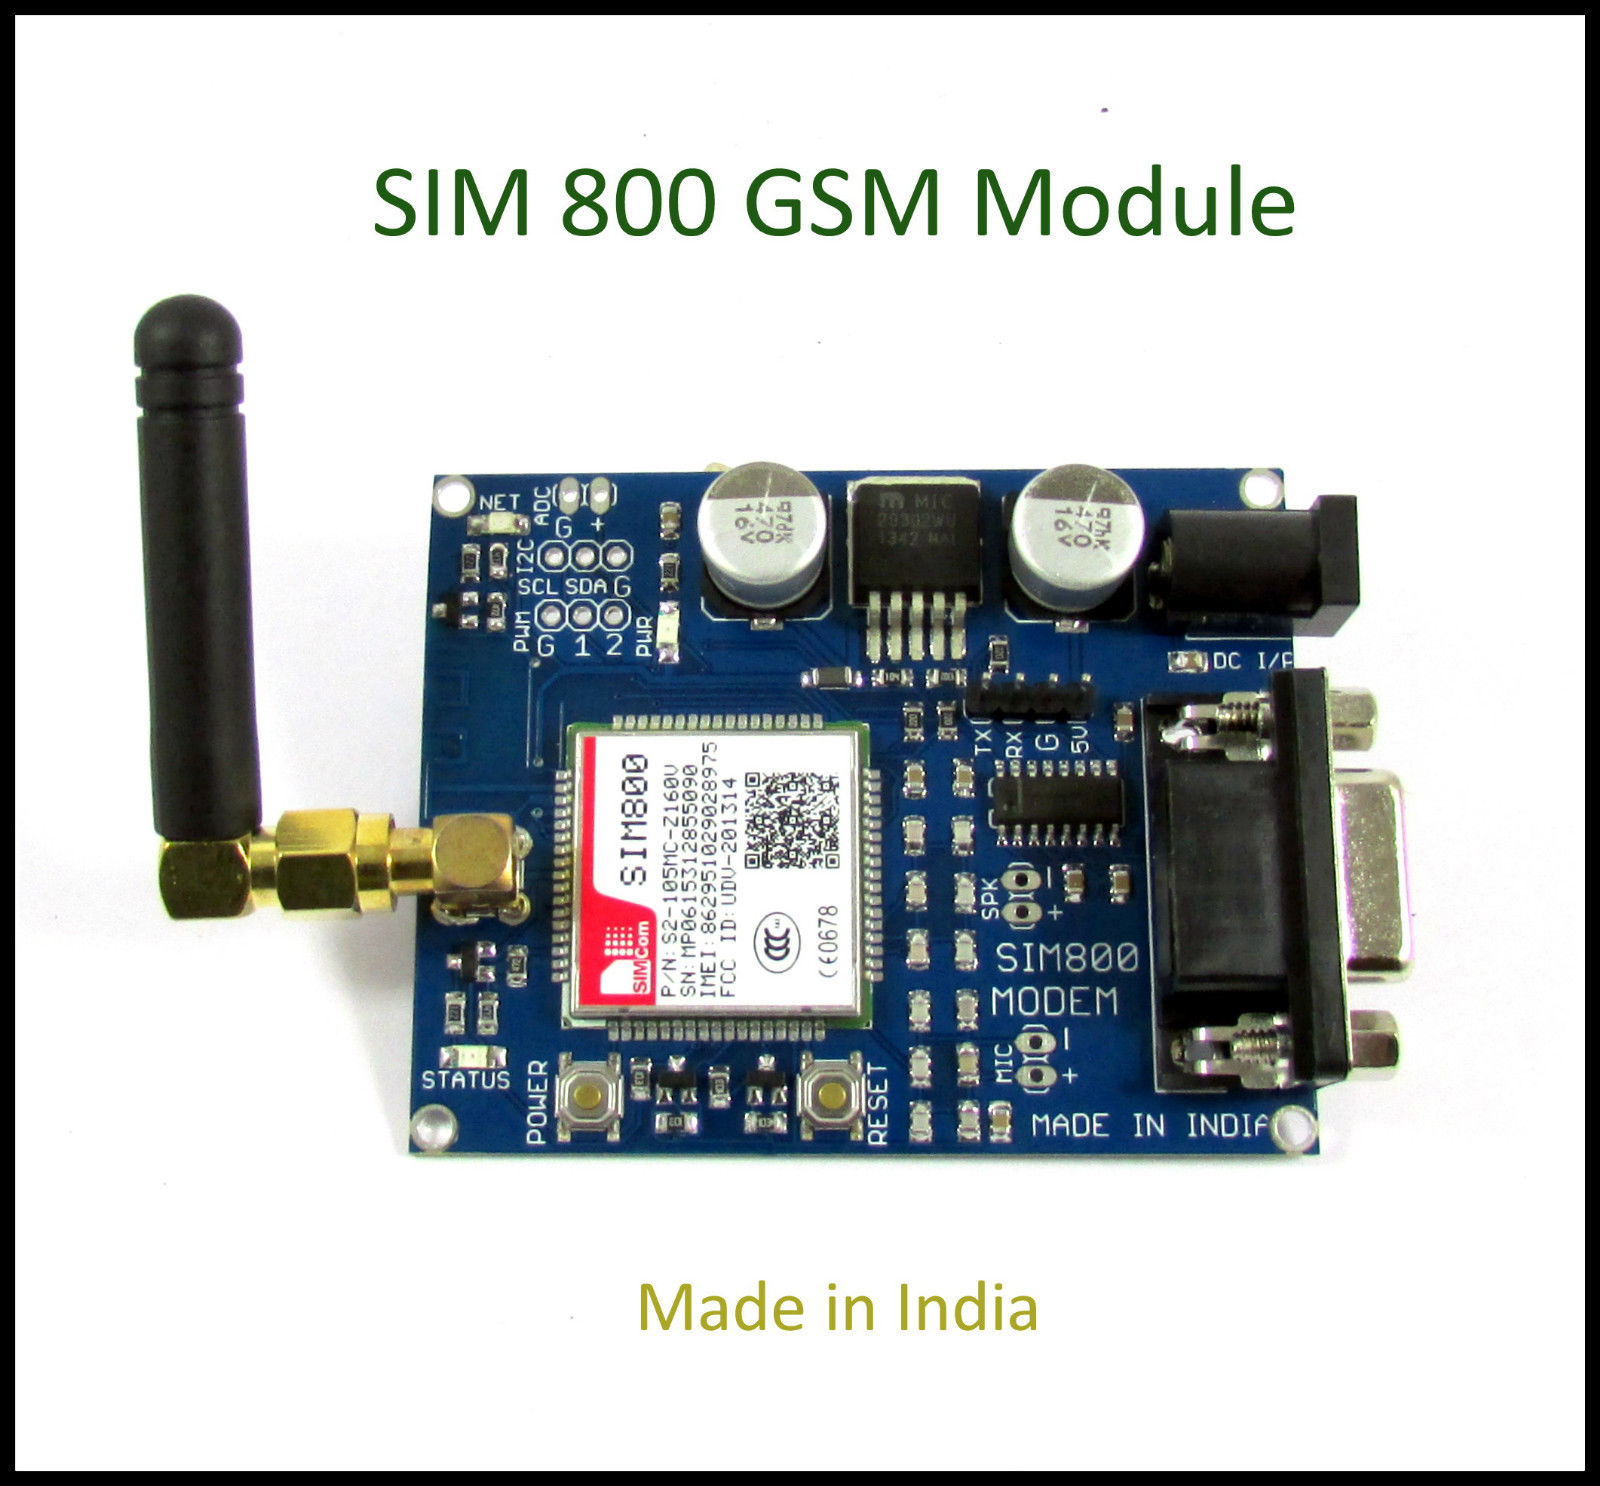
3. GSM SIM800 OR SIM900A
4. Blynk App
5. Jumper Wires
6. Breadboard
Connections:


In arduino Code we are using software serial library in which we defined pin 2 of arduino as Rx and pin 3 of Arduino as Tx.
Connections as following:
pin 2 rx => tx of gsm
pin 3 tx => rx of gsm
pin 8 => data pin of DHT11
gnd => pin 4 of DHT11
gnd => gnd pin of gsm
5v => pin 1 of DHT11
12v power supply => gsm
Setting Up Blynk App:


Download Blynk App from Play Store link below
https://play.google.com/store/apps/details?id=cc.b...
Steps:
Open the App
New Project > Give a name to Project > Choose Device Arduino Uno > Connection Type GSM > Create
Auth Token was sent to your email id registered
> Press OK
>Click on + sign > Add Gauge x2, History Graph, Notification, Email
> Click on Gauge 1st Give name Temperature INPUT as Virtual V1, range 0 to 100
> Click on Gauge 2nd give name Humidity INPUT as Virtual v2, range 0 to 100.
> Click on History graph in 1st column give name Temperature Input as virtual v1, 2nd column give name as humidity input as virtual v2.
>Install email & Notification
Uploading Sketch:
Add DHT11 library to your arduino IDE, link below
https://github.com/adafruit/DHT-sensor-library
To add this library download zip file > open arduino ide > goto sketch > include library > add zip file
Add Blynk Library in attachment.
Extract BlynkH.zip
Copy contents of library to library folder of ARDUINO IDE & tools to tools folder.
Upload the code in attachment , do not forget to paste token from your email and APN of your service provider.
It Works!!


Now project is completed.
Note that gsm modem will go in sleep for some time after sending values to save power, it will automaticall awake and again send values.
Thanks for viewing my Instructables...
Hope you like it...