Blur Wallpaper
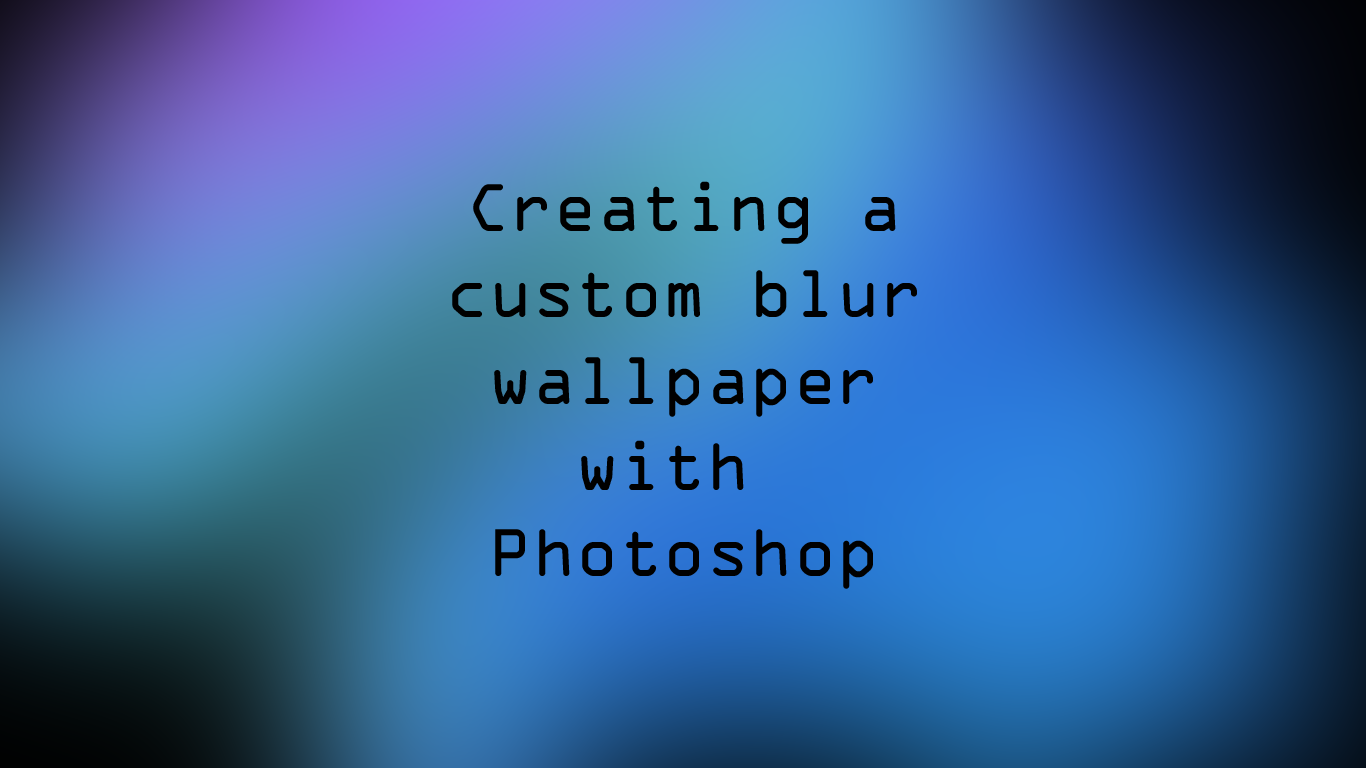
In this Instructable I will be showing you how to easily make a custom abstract blur wallpaper using Photoshop Elements. I am using Photoshop Elements 12, but I imagine you could use a different version without too much difficulty. I'm going to go through this in extreme detail so that even someone with no knowledge of Photoshop can do it.
Creating a New File
.png)
.png)
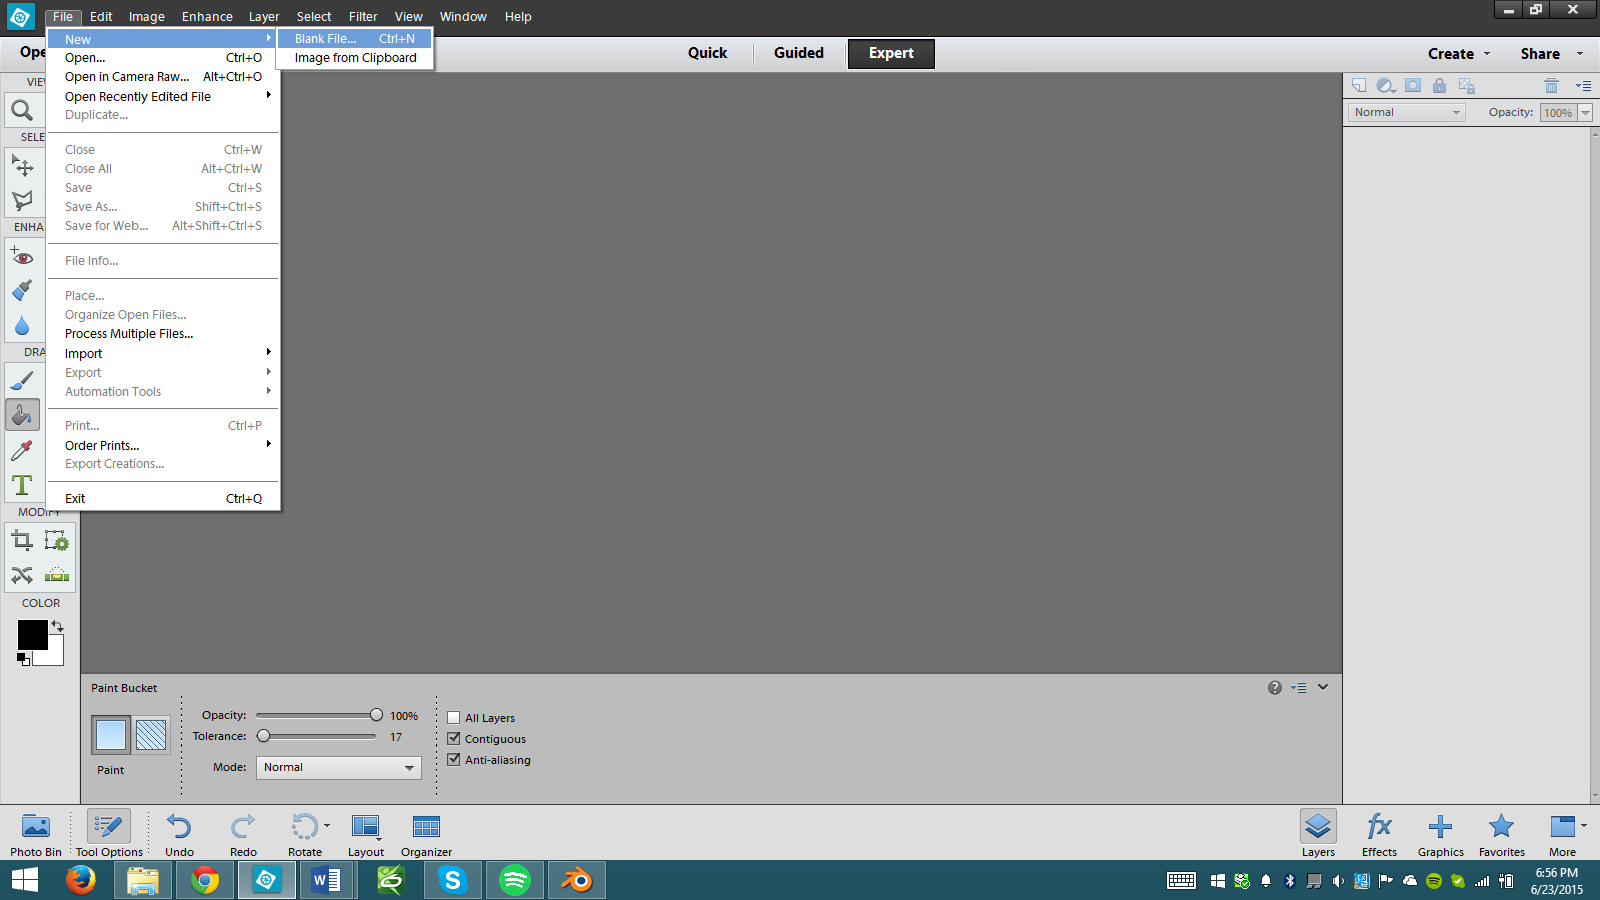
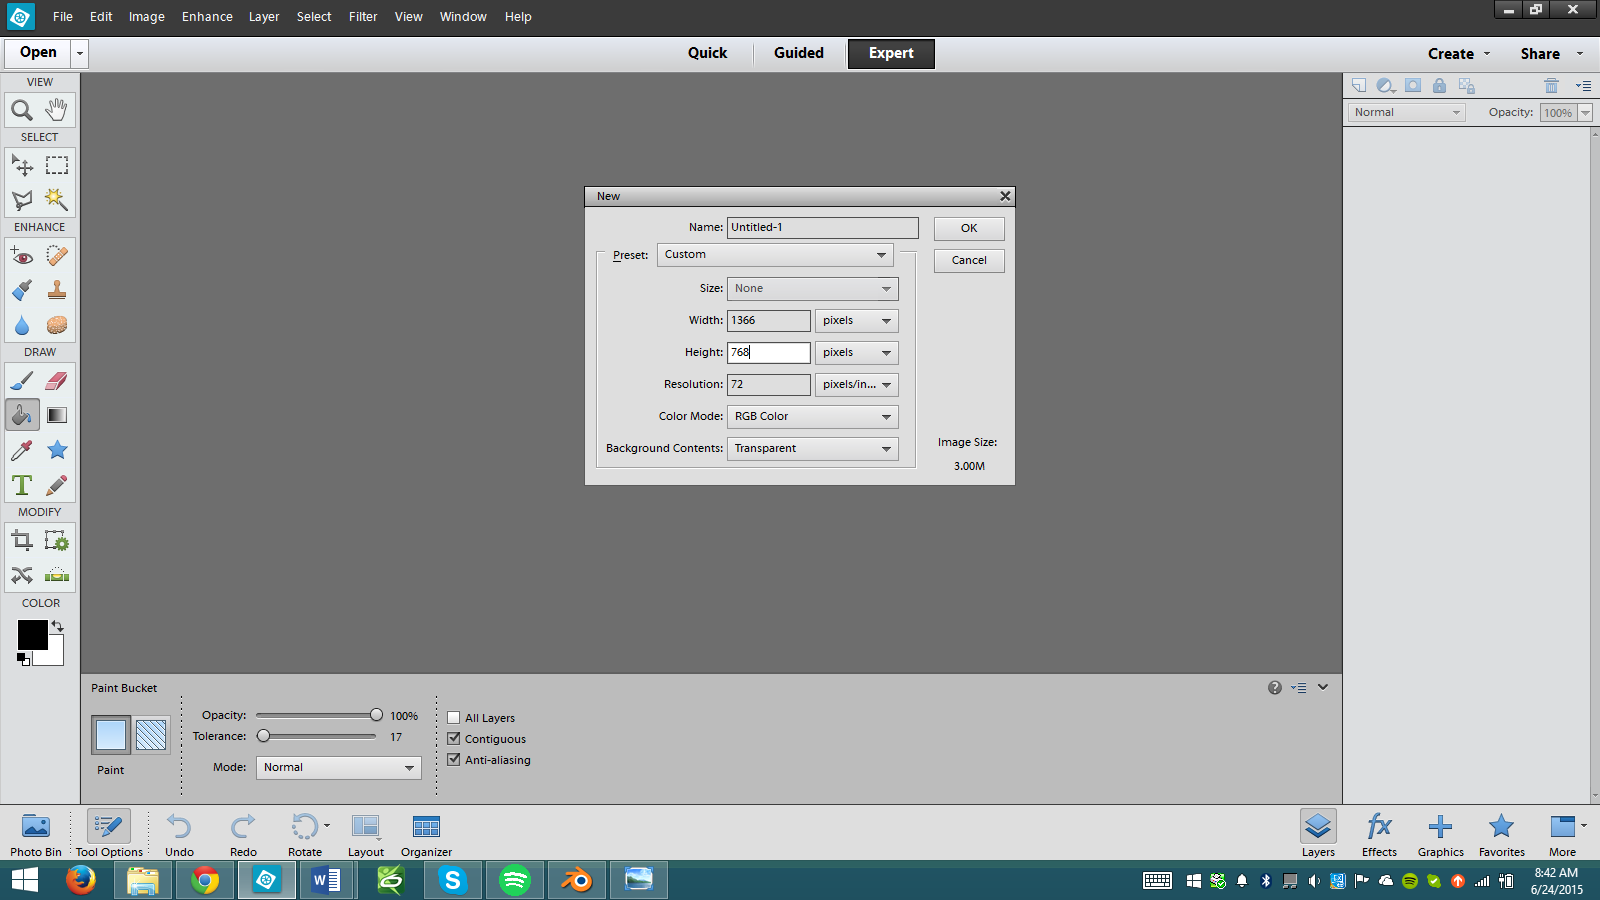
Start by clicking file, new, blank file. It should give you a window like the one above. I made the width 1366 and the height 768, since that's my screen resolution. You can use your screen resolution if you know it, or if you don't, then 1366x768 will work just fine.
Creating a Gradient
.png)
.png)
.png)
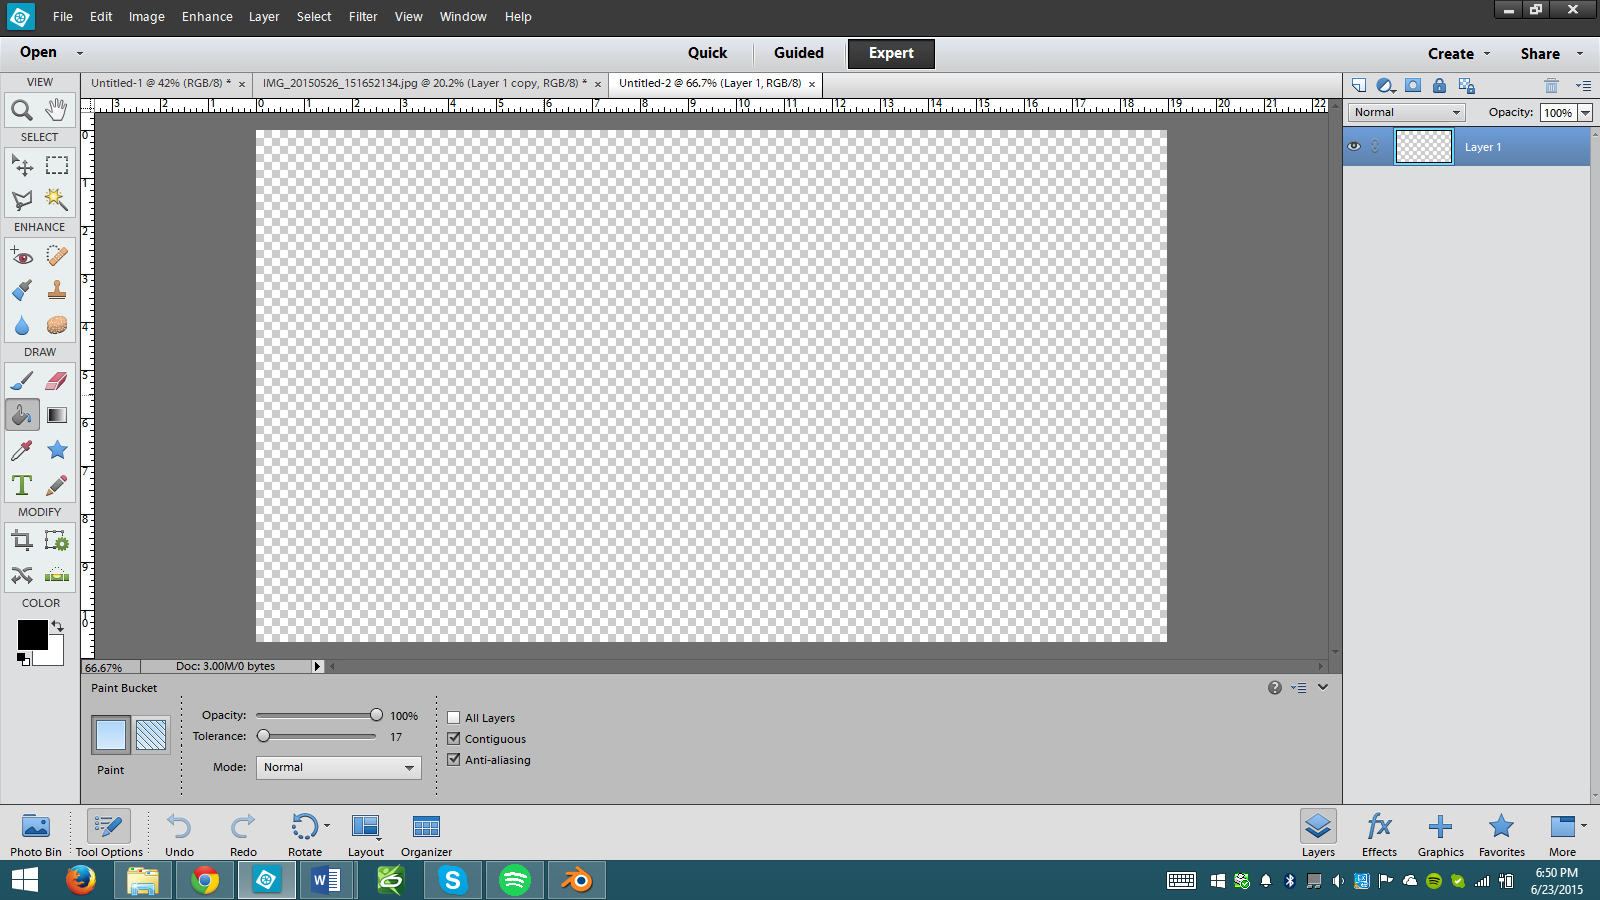
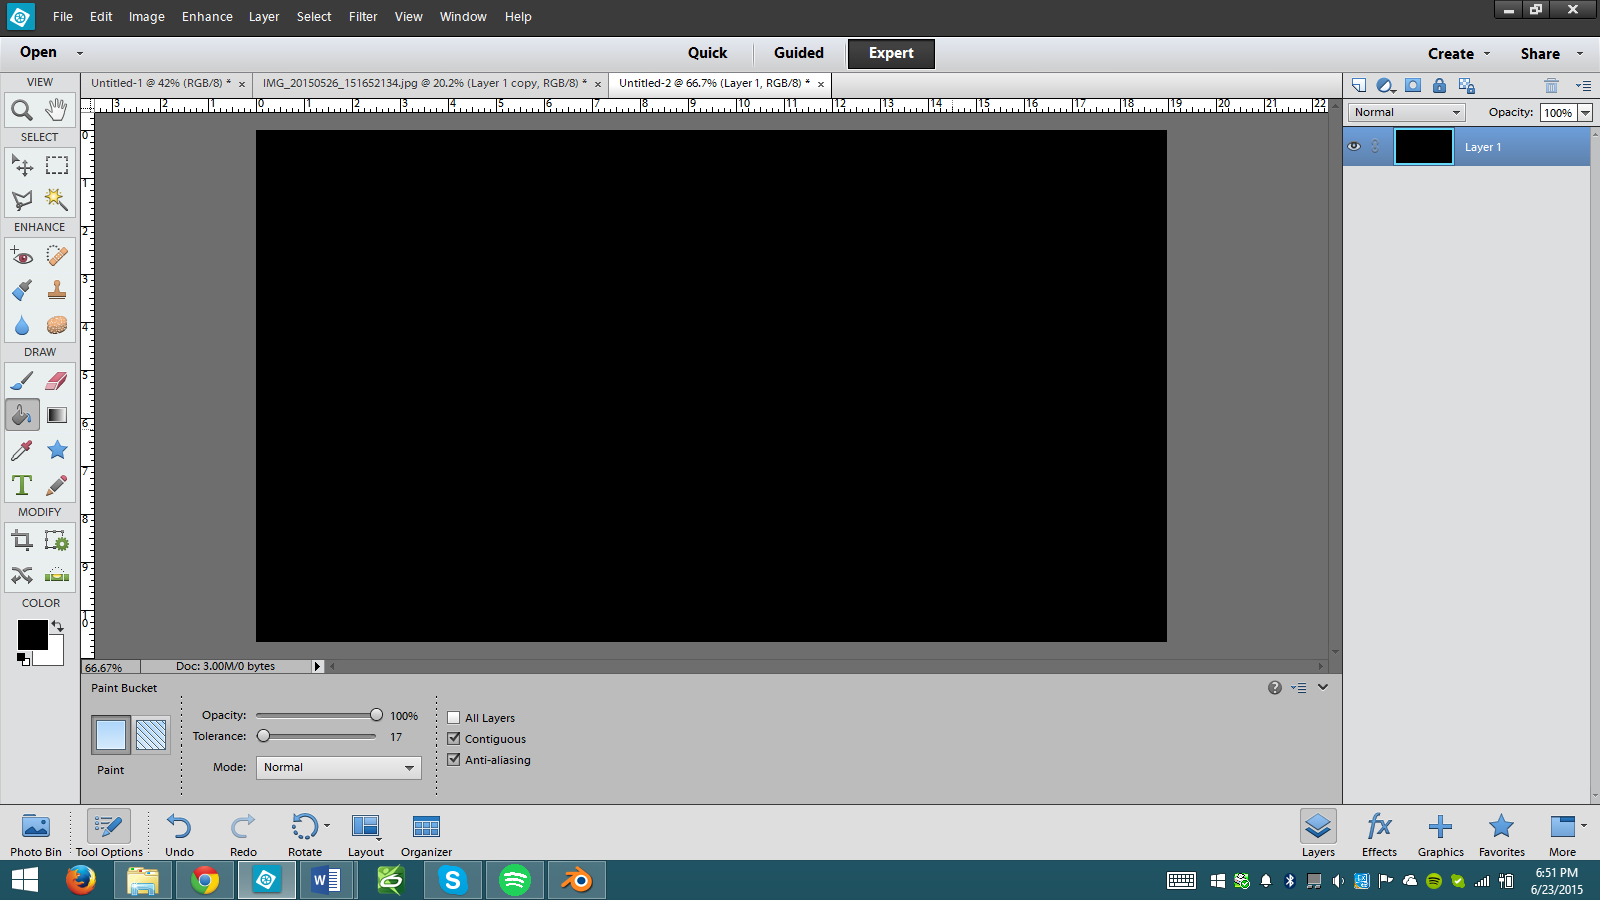
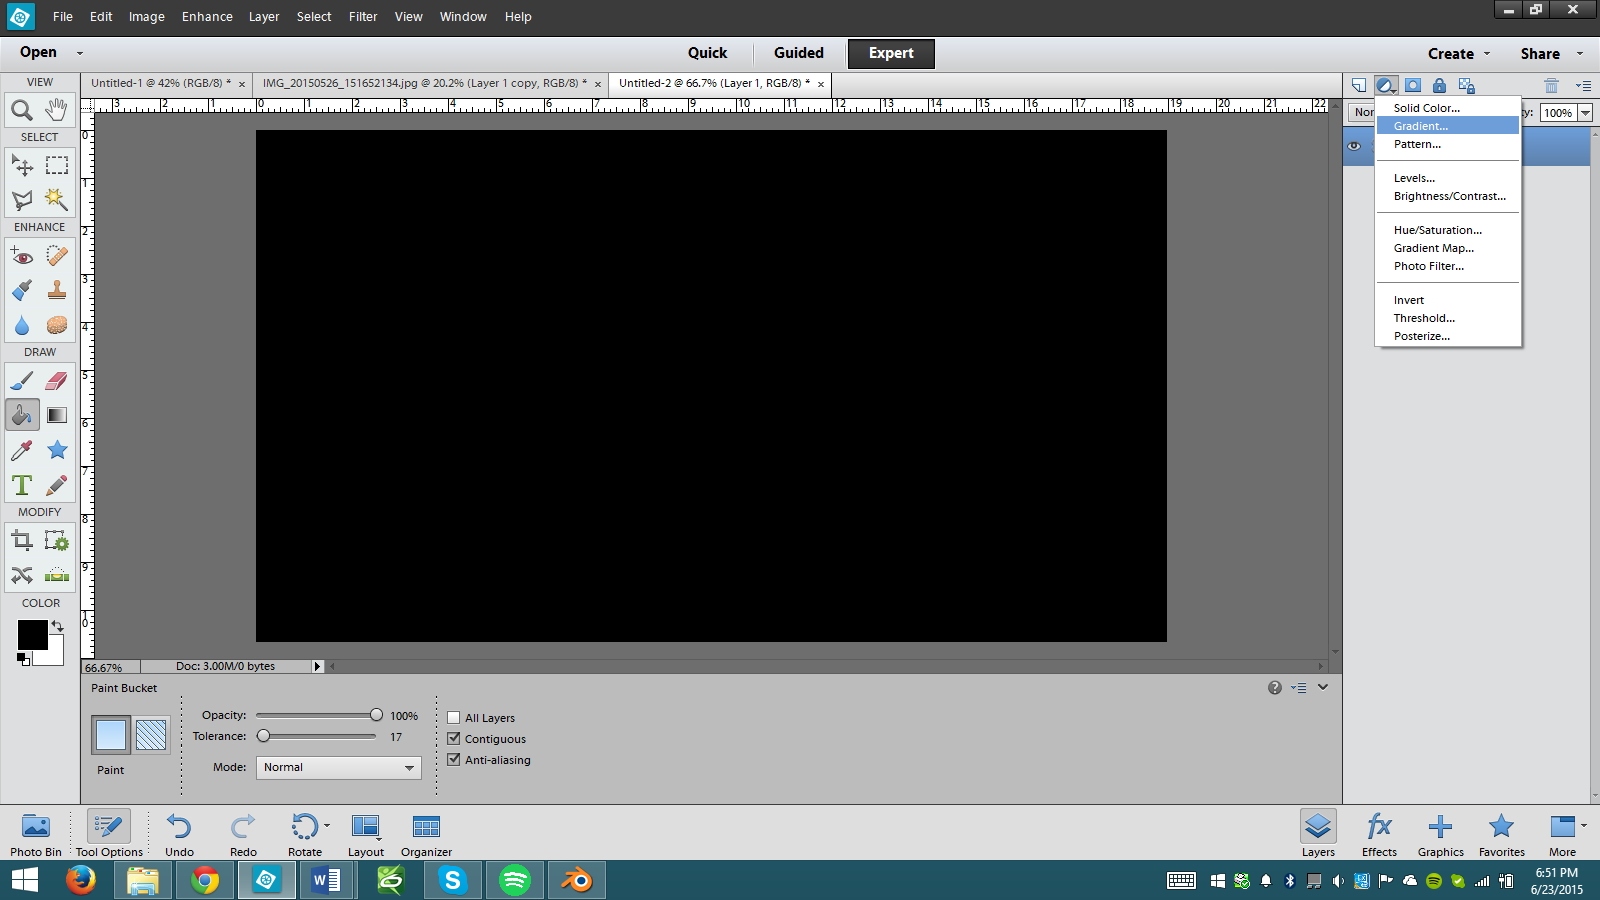
You should be given either a white or a transparent background. Use the fill tool to turn it black. By default the color of your fill will be black. Next you will need to create a gradient. This can be done by clicking on the half blue and half white circle above the layers in the layer panel. If you don't see the layer panel, you can show it by hitting f11, or by clicking window, layers.
Gradient (ctd.)
.png)
.png)
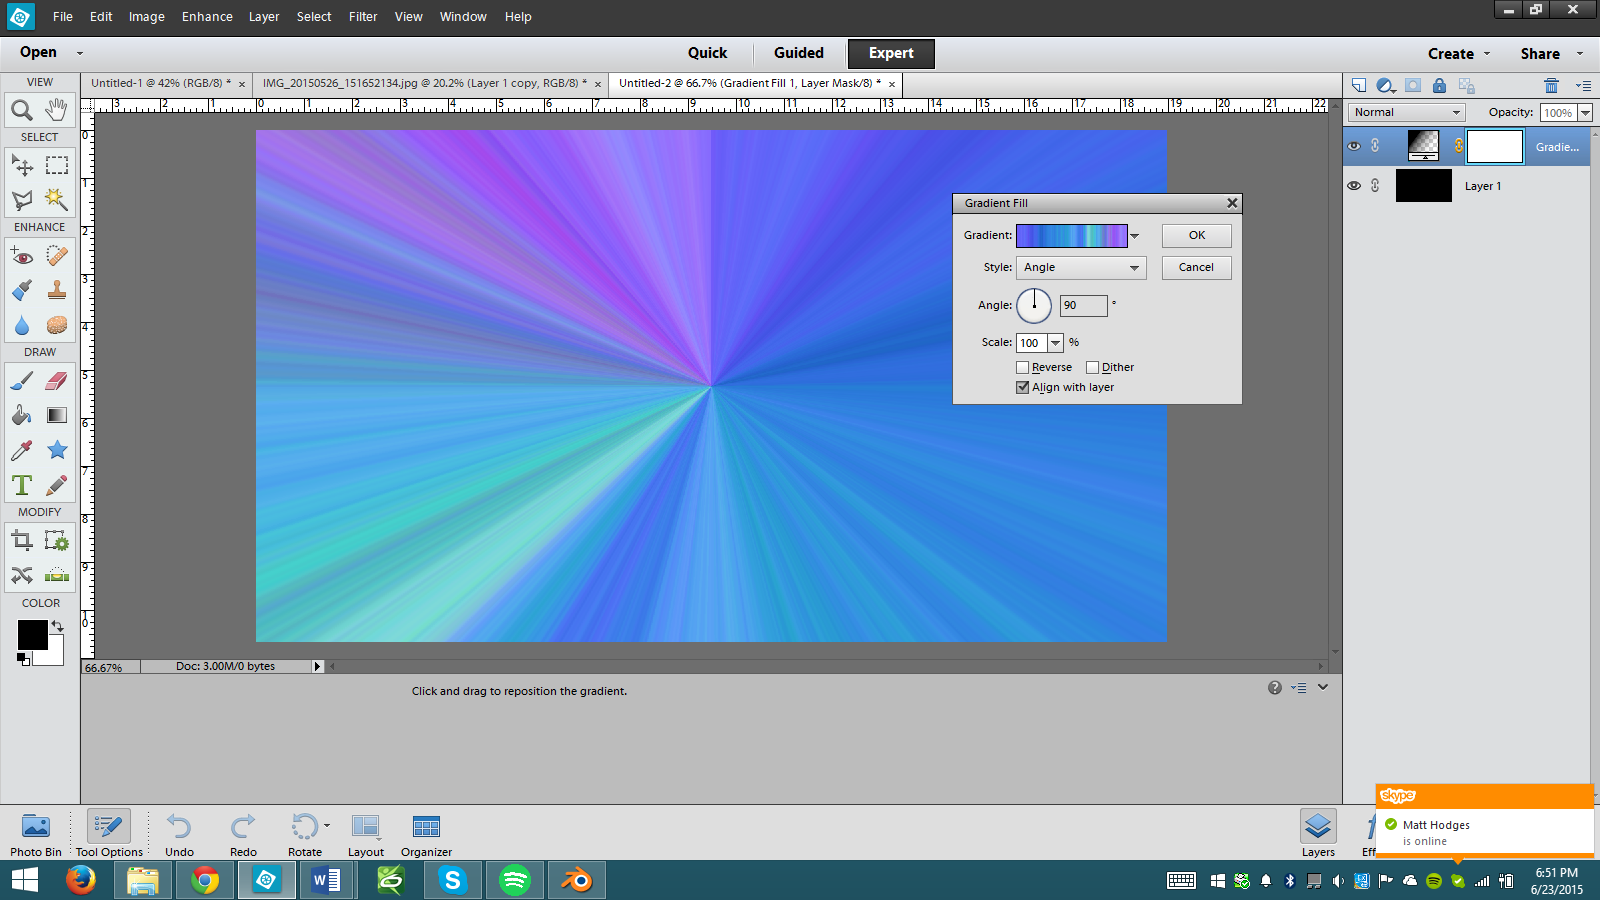
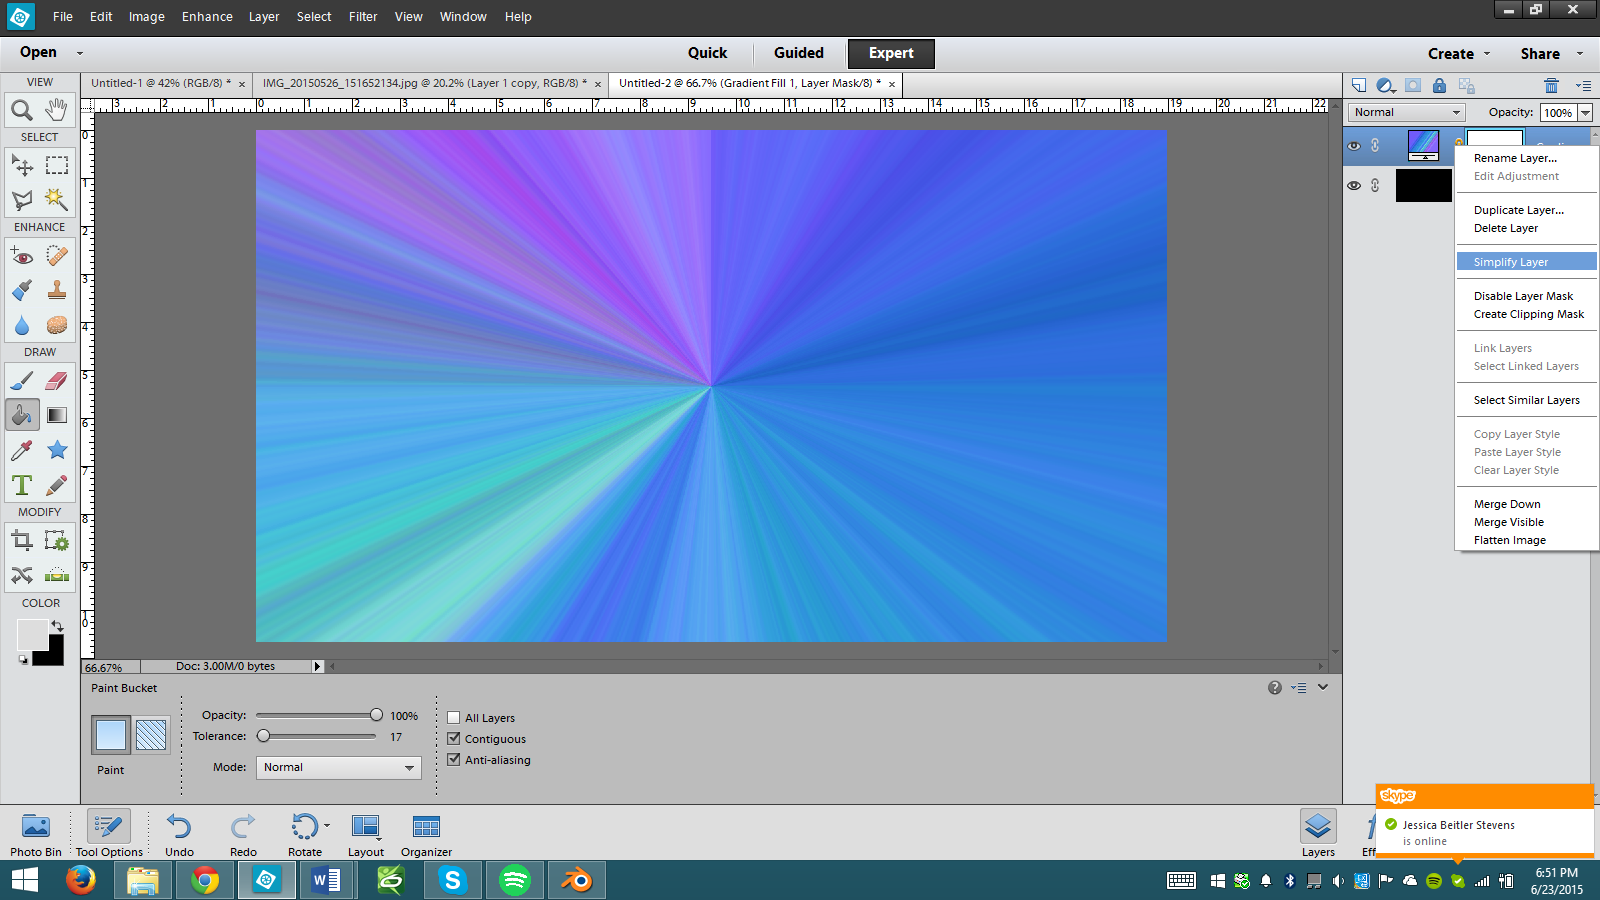
You should get a window like the one in the first picture above. You can make any kind of gradient you like. You can change the type of gradient by clicking the drop-down arrow near the top of the 'gradient fill' window. I chose an angle noise gradient. After you have made the gradient you will need to right click on it in the layer menu, then click 'simplify layer.' This makes it so that we are able to modify the layer.
Liqufy
.png)
.png)
.png)
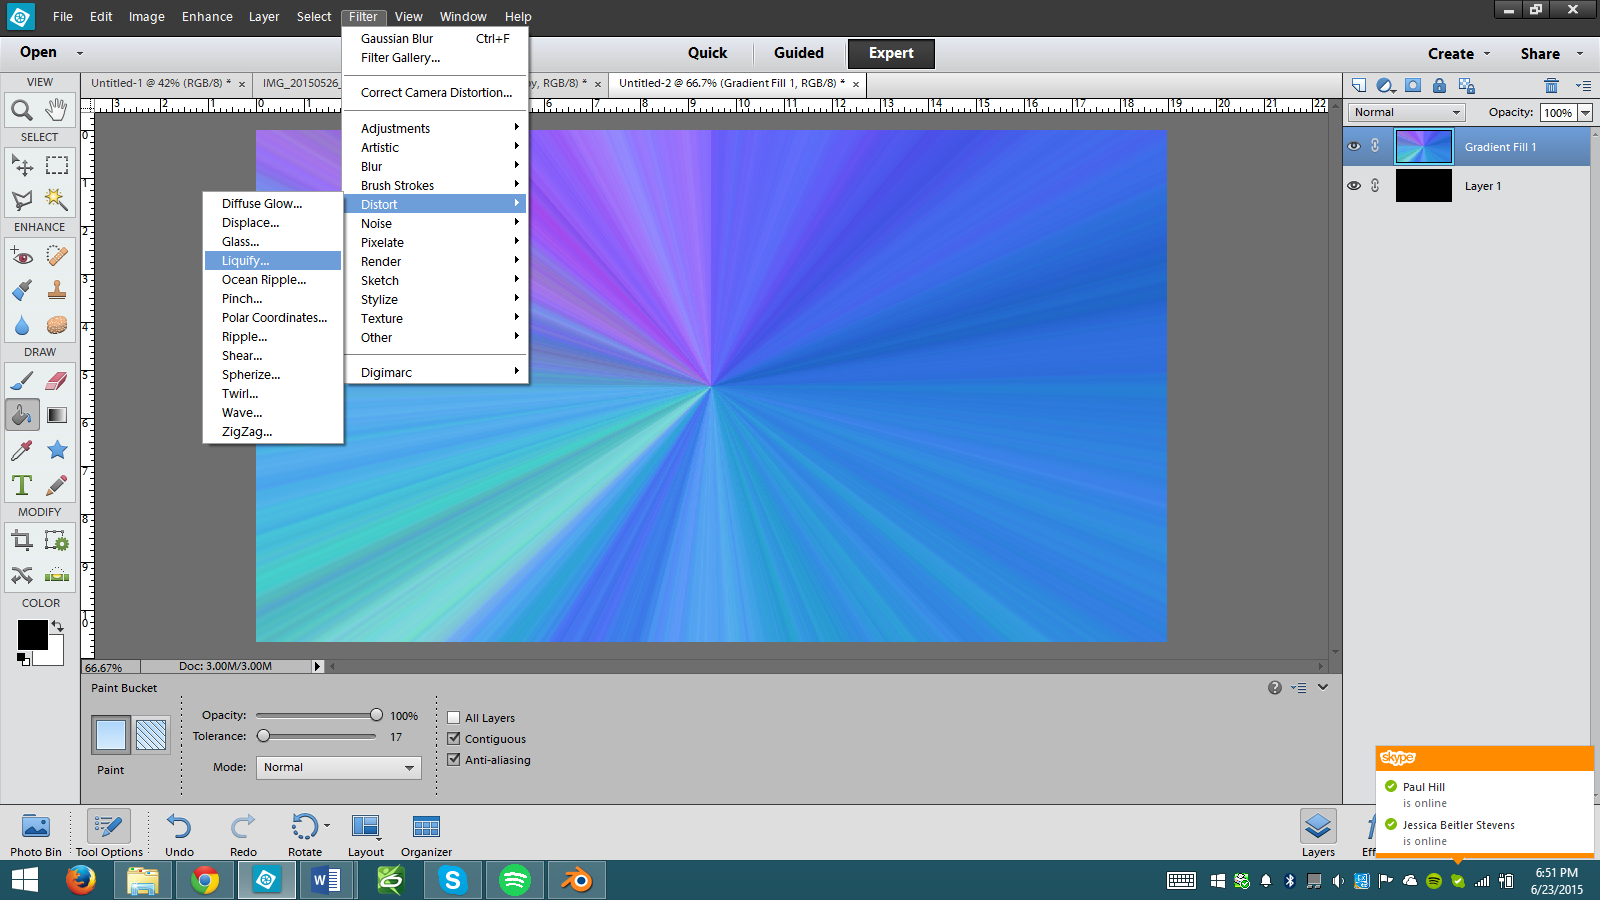
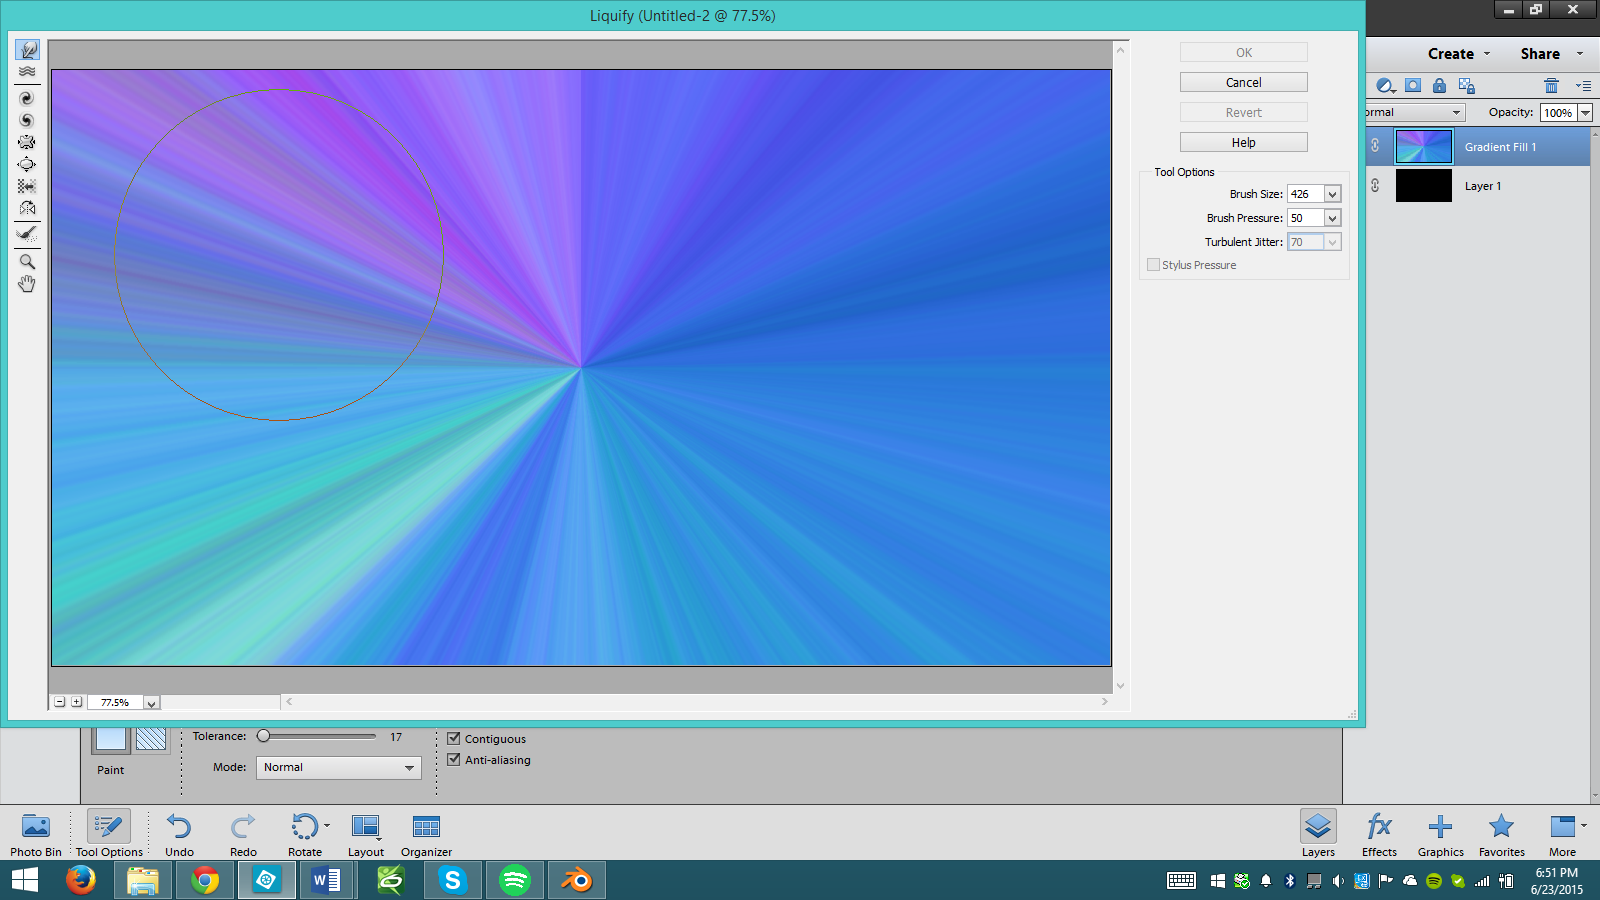
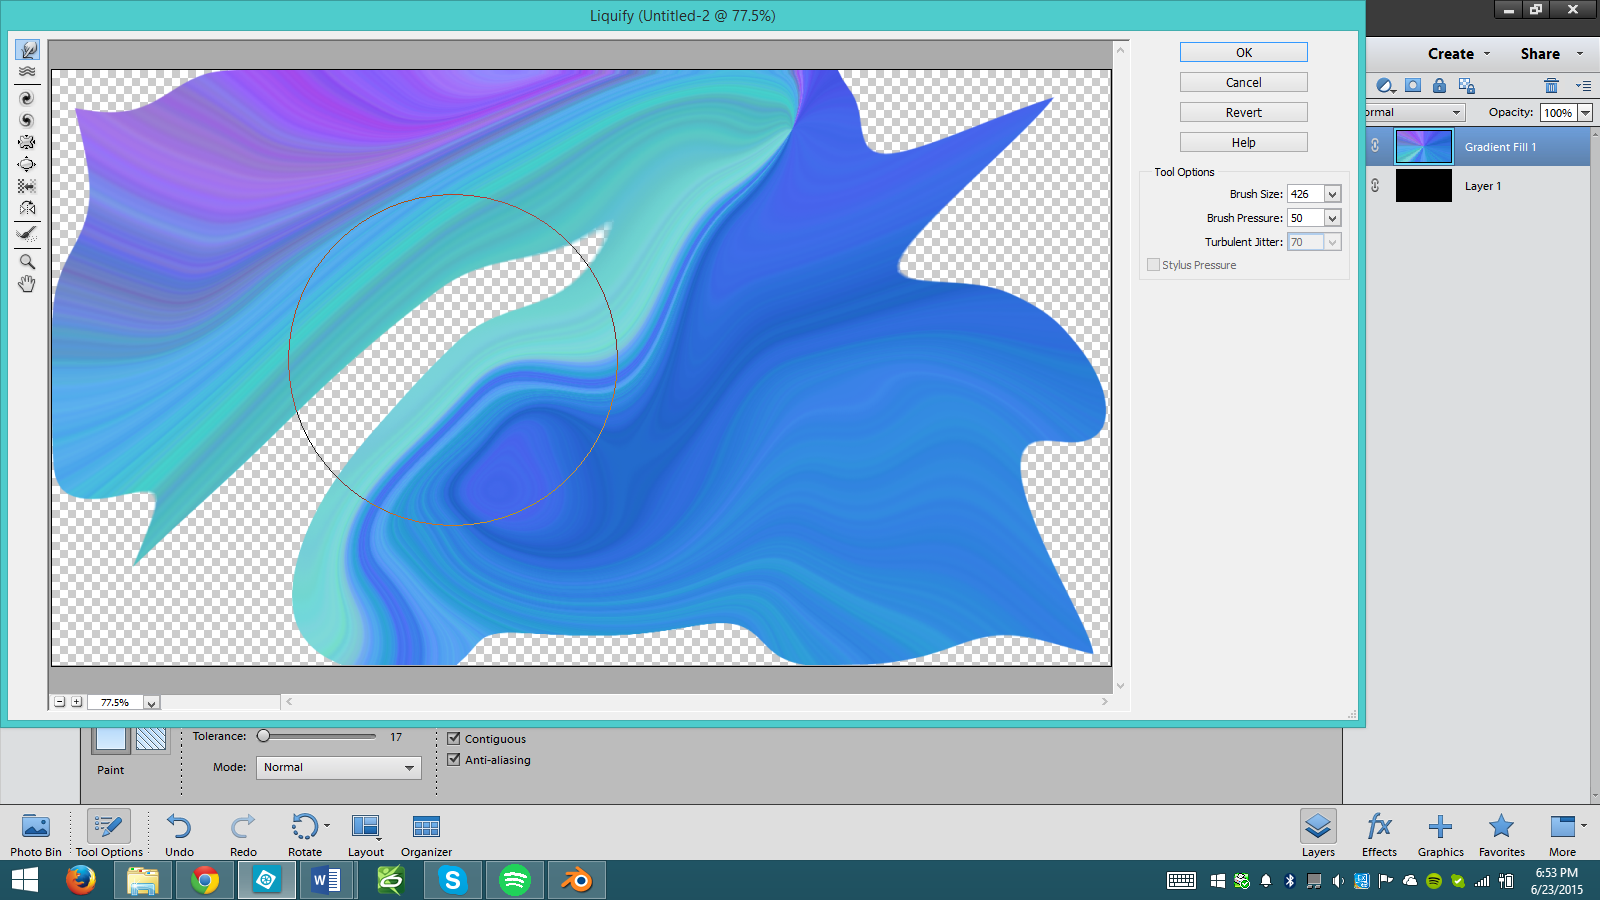
This is the fun part. Click filter, distort, liquify. You can pretty much do anything with this. I've found that a larger brush works better, but you can use whatever you like. You don't have to make it as distorted as I did, that's just an example of what you could do. Once you're finished, click OK. It's normal for it to take a long time to return the liquify result.
Blurring
.png)
.png)
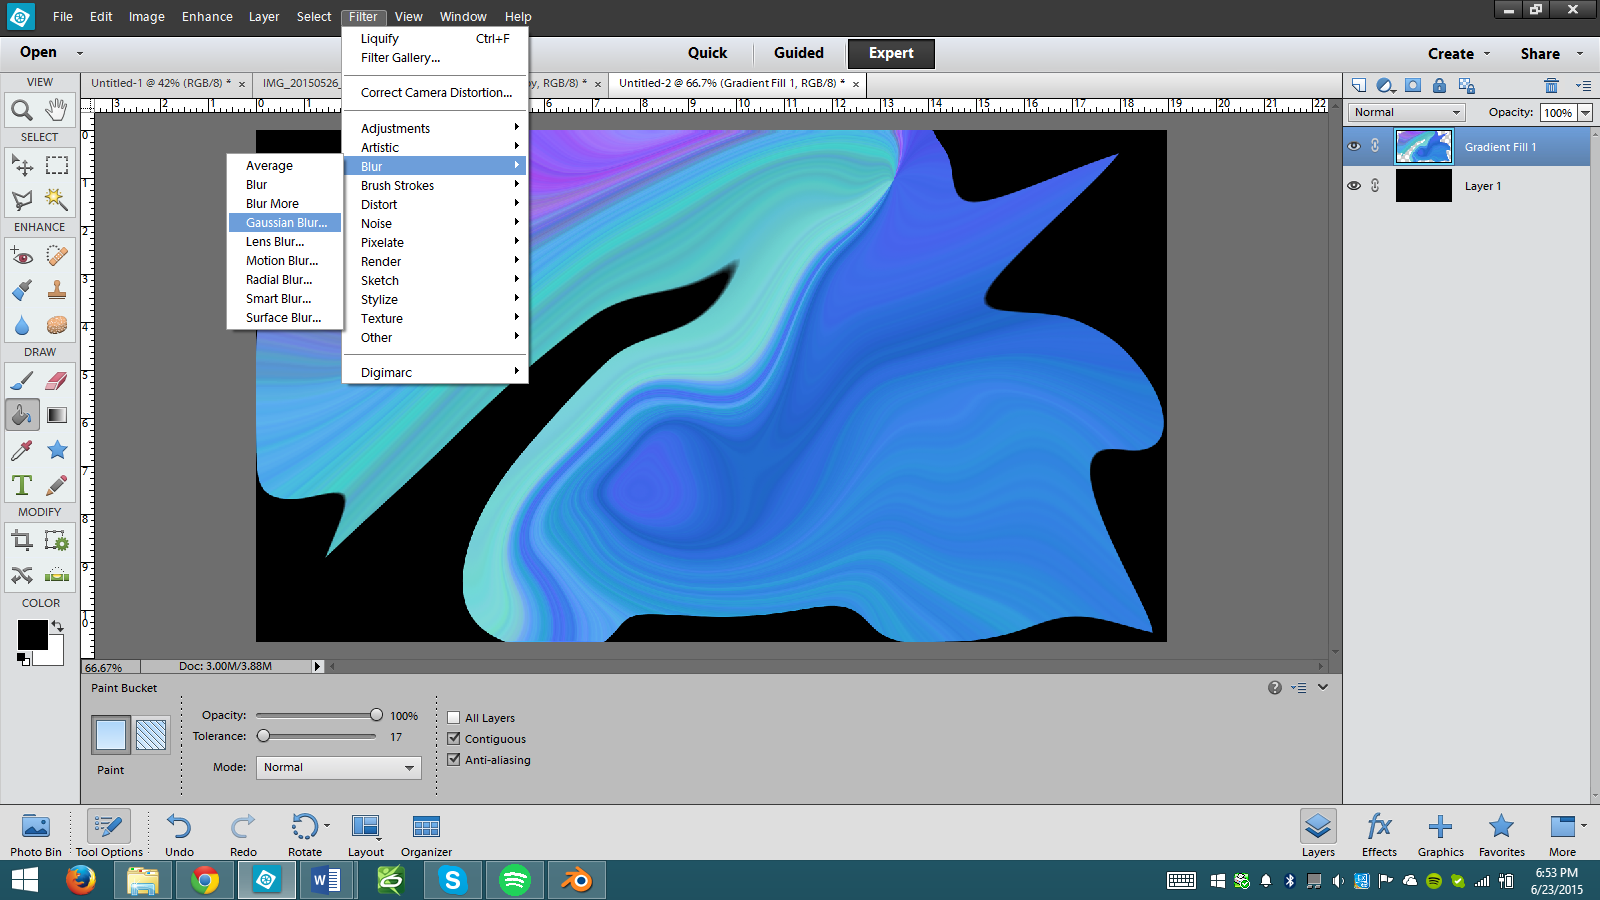
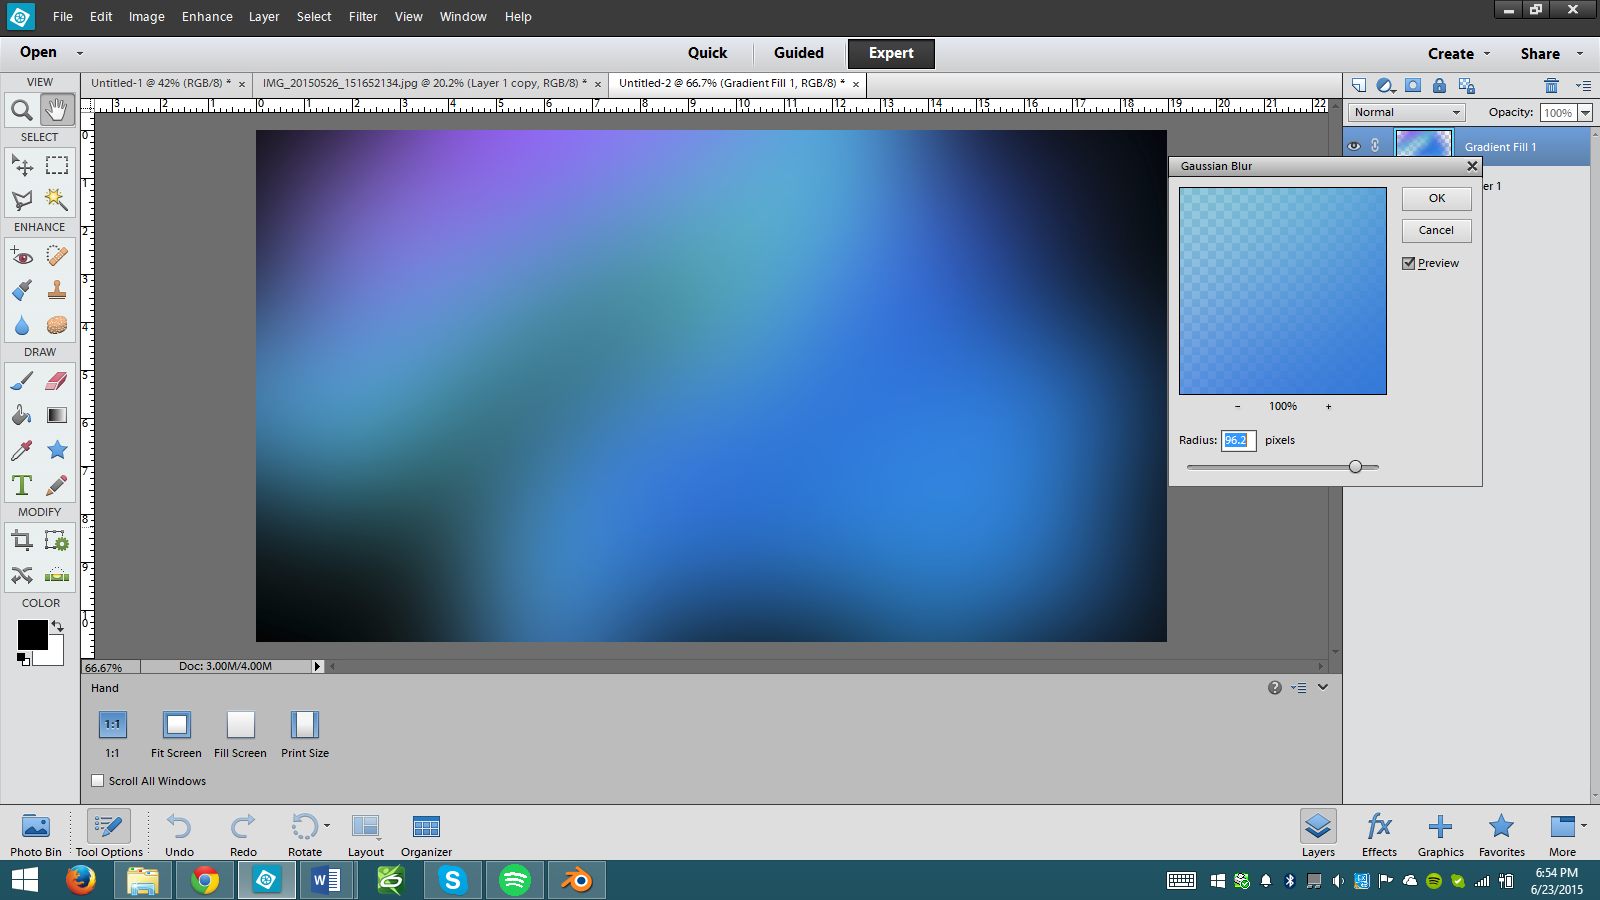
Here is where we make it a blur wallpaper. Click filter, blur, Gaussian blur. Change the blur slider so that it appears how you want it. Generally the more you liquified it, the more you want to blur it.
Saving
.png)
.png)
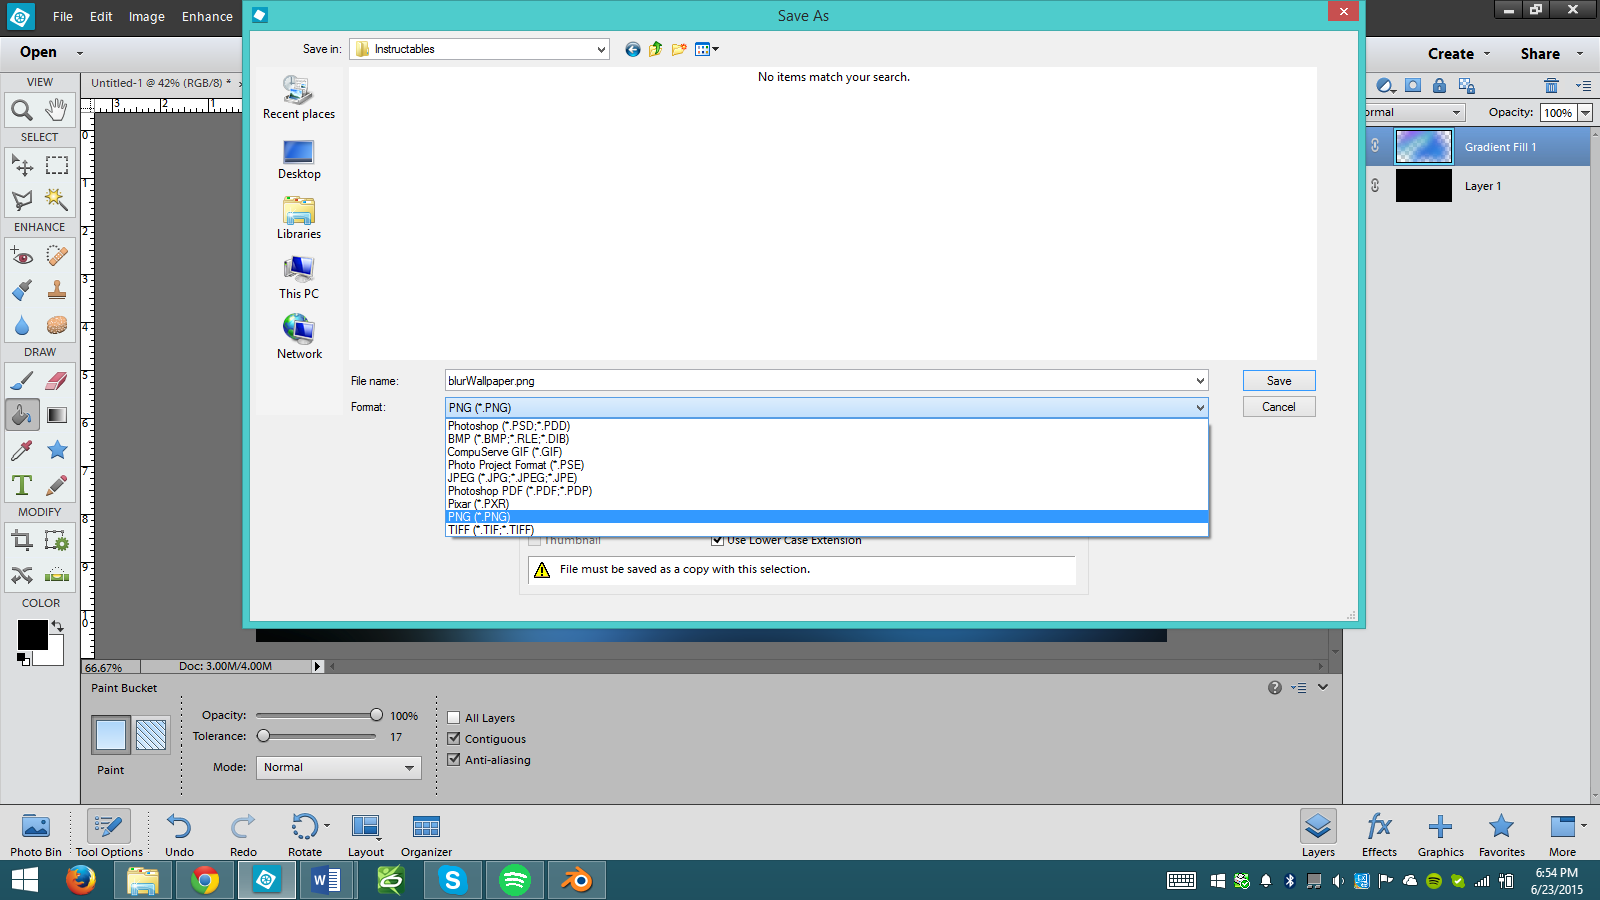
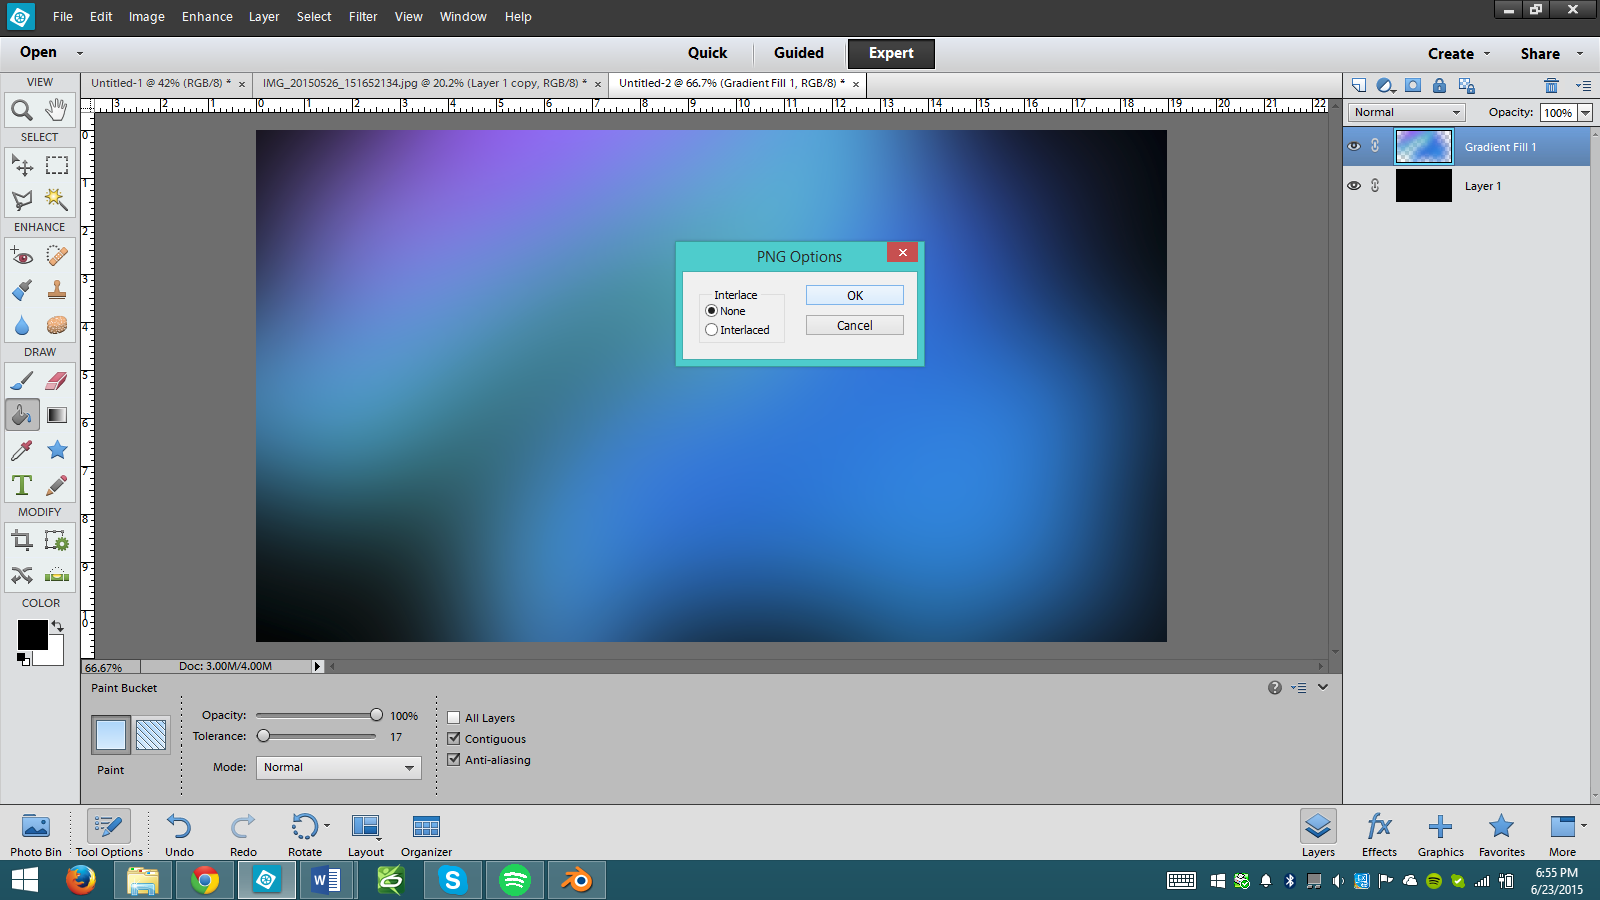
Click file, save as. Choose where you would like to put the finished product. I always save as PNG, since it's a lossless format, which means that it comes out looking as good as possible. If you would like you can save as a JPG, and your resolution will be lower, but it will take up less space. After clicking save, if you are saving as PNG, it will ask if you want it interlaced. Keep none selected and click OK.
You're Done!
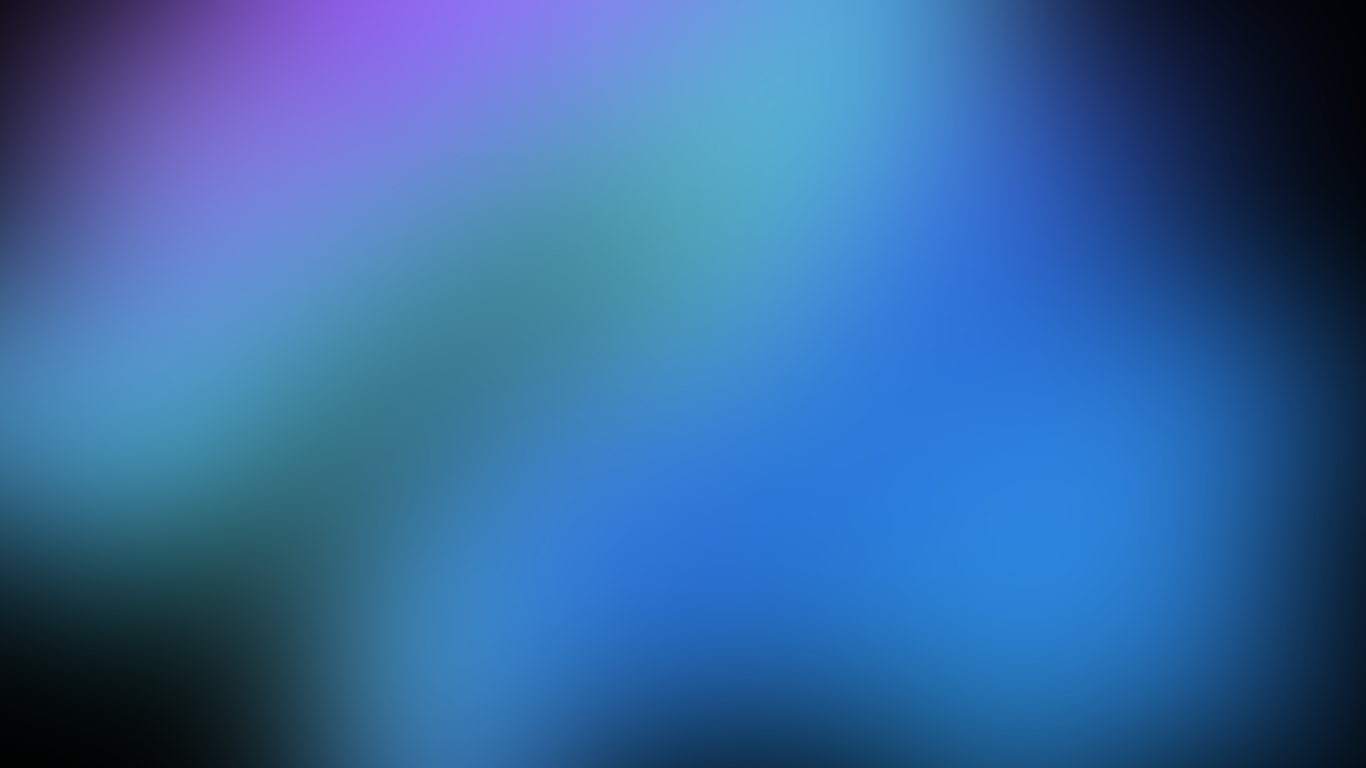
You're finished! Now you can go locate the location you saved it to, then right click on the image and click 'set as desktop background.' Vote for this Instuctable for the graphic design contest if you like it!