Multi-Color Glue Stick Table Lamp
by SRQ Robotics in Living > Decorating
2500 Views, 32 Favorites, 0 Comments
Multi-Color Glue Stick Table Lamp
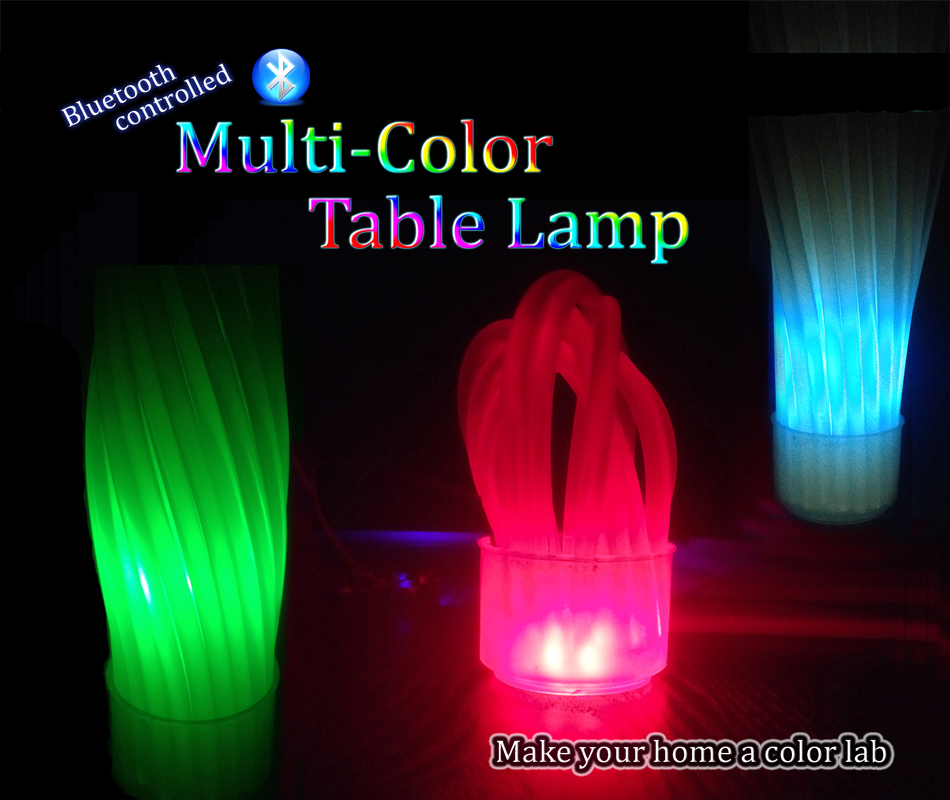
The colors of your home are a direct reflection of your personality and it affects your mood. A good color combination can improve our mentality and relax our mind. Further we can use colors for enhance the feelings of various moments.
- Light Blue color - calm.
- Red - romance.
Sometimes, according to personal tastes we change our room colors. Usually girls love pink and boys love blue. Hence, making things according to any theme color is time consuming. If there is an item which can change colors with a single touch, wouldn't it be much easier for us?
With this Instructable I will direct you to make your own table lamp which can change it's color via your smart phone. You can mix 100+ colors from the mobile app and make your life much easier and colorful.
Things You Need
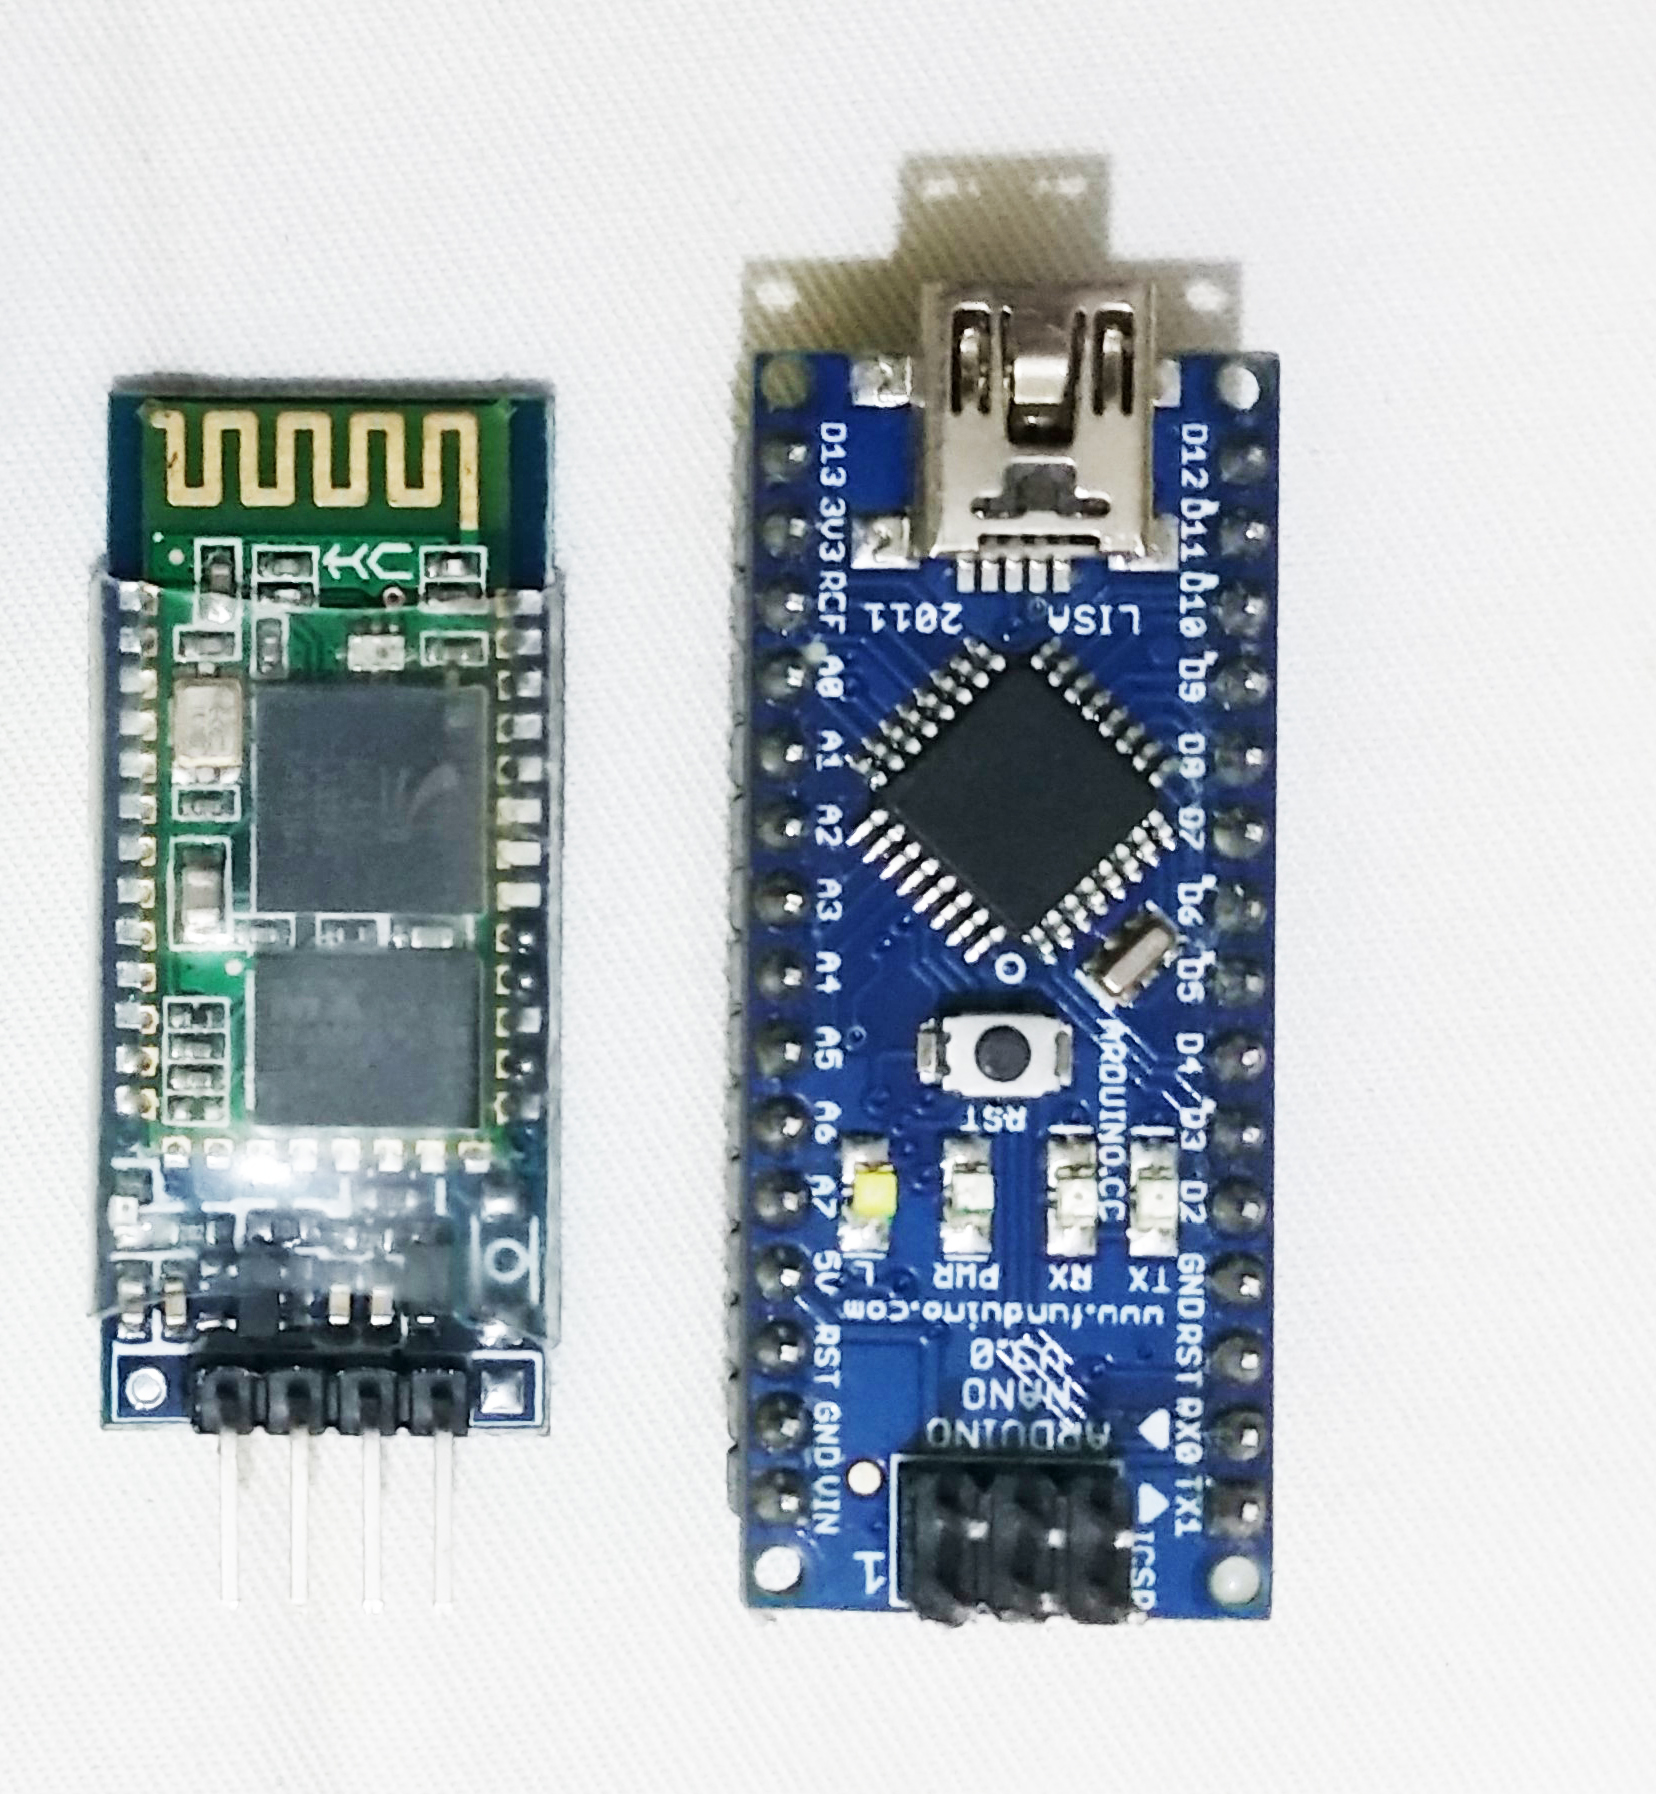
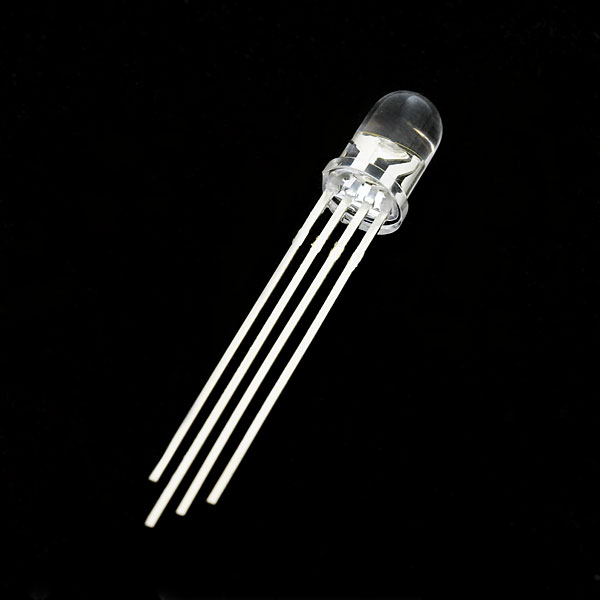
Collect following items.
- Arduino nano board
- 3 X 220 Ohms resistors
- RGB LED
- HC-06 Bluetooth module
- A plastic cup
I strongly recommend you to use arduino nano or pro-mini boards due to the small size. Larger size boards will waste the space and ruin the beauty of your table lamp.
Now let's get started.
Making the Circuit
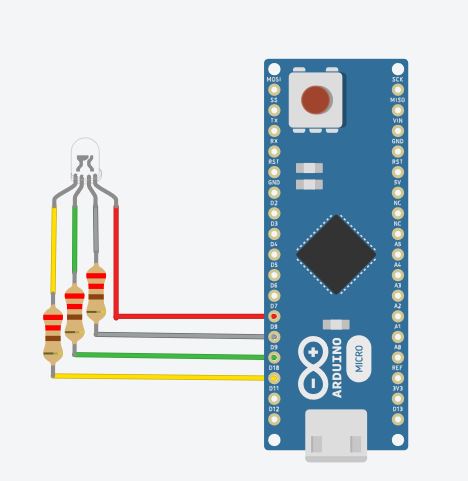
Follow these steps to connect the components together.
- Connect the positive pin of the LED to D8 pin of arduino board.
- Connect red, green, blue pins of the LED respectively to D9,D10,D11 pins through 220 Ohm resistors.
- Connect the Bluetooth module's Vcc and Gnd pins to 5v and Gnd. Then connect it's Tx and Rx pins to Rx and Tx pins of the arduino board.
Follow the above diagram. You have to make the circuit as small as possible. Here I have used a small vero board as showed in the image. My advise is to go through the all steps and perform a bench test before soldering.
Working With the App
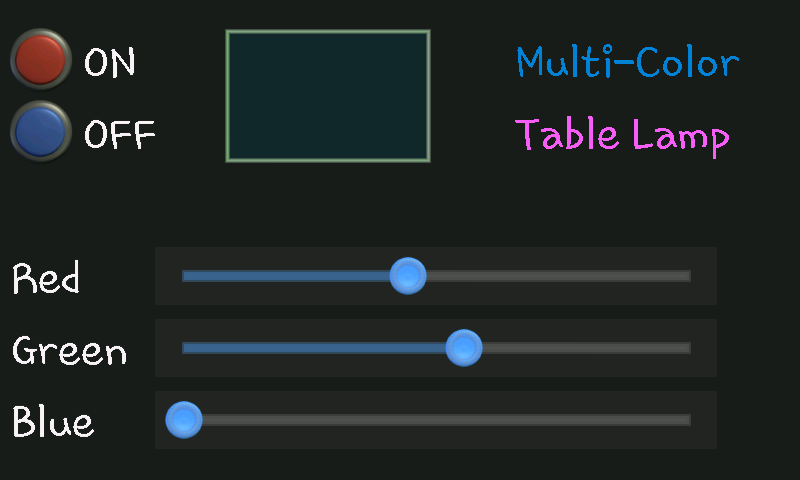
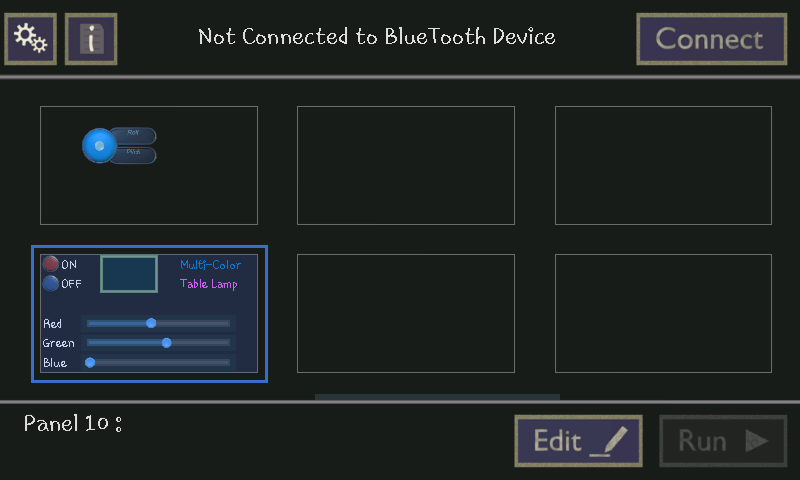
After making the circuit, upload the arduino code (Lamp.ino) I have attached here.
Install "Bluetooth Electronics" app to your smart phone.
After installing the app you can find a folder called "keuwlsoft" in your phone memory. Download and move "Table_lamp.kwl" file to that folder.
Open the app and press the Edit button. You can find an option called "Import/Export" from the right side panel. Import the recently added Table_lamp file.
You cannot run this interface until you connect the app with a Bluetooth device.
Bench Test
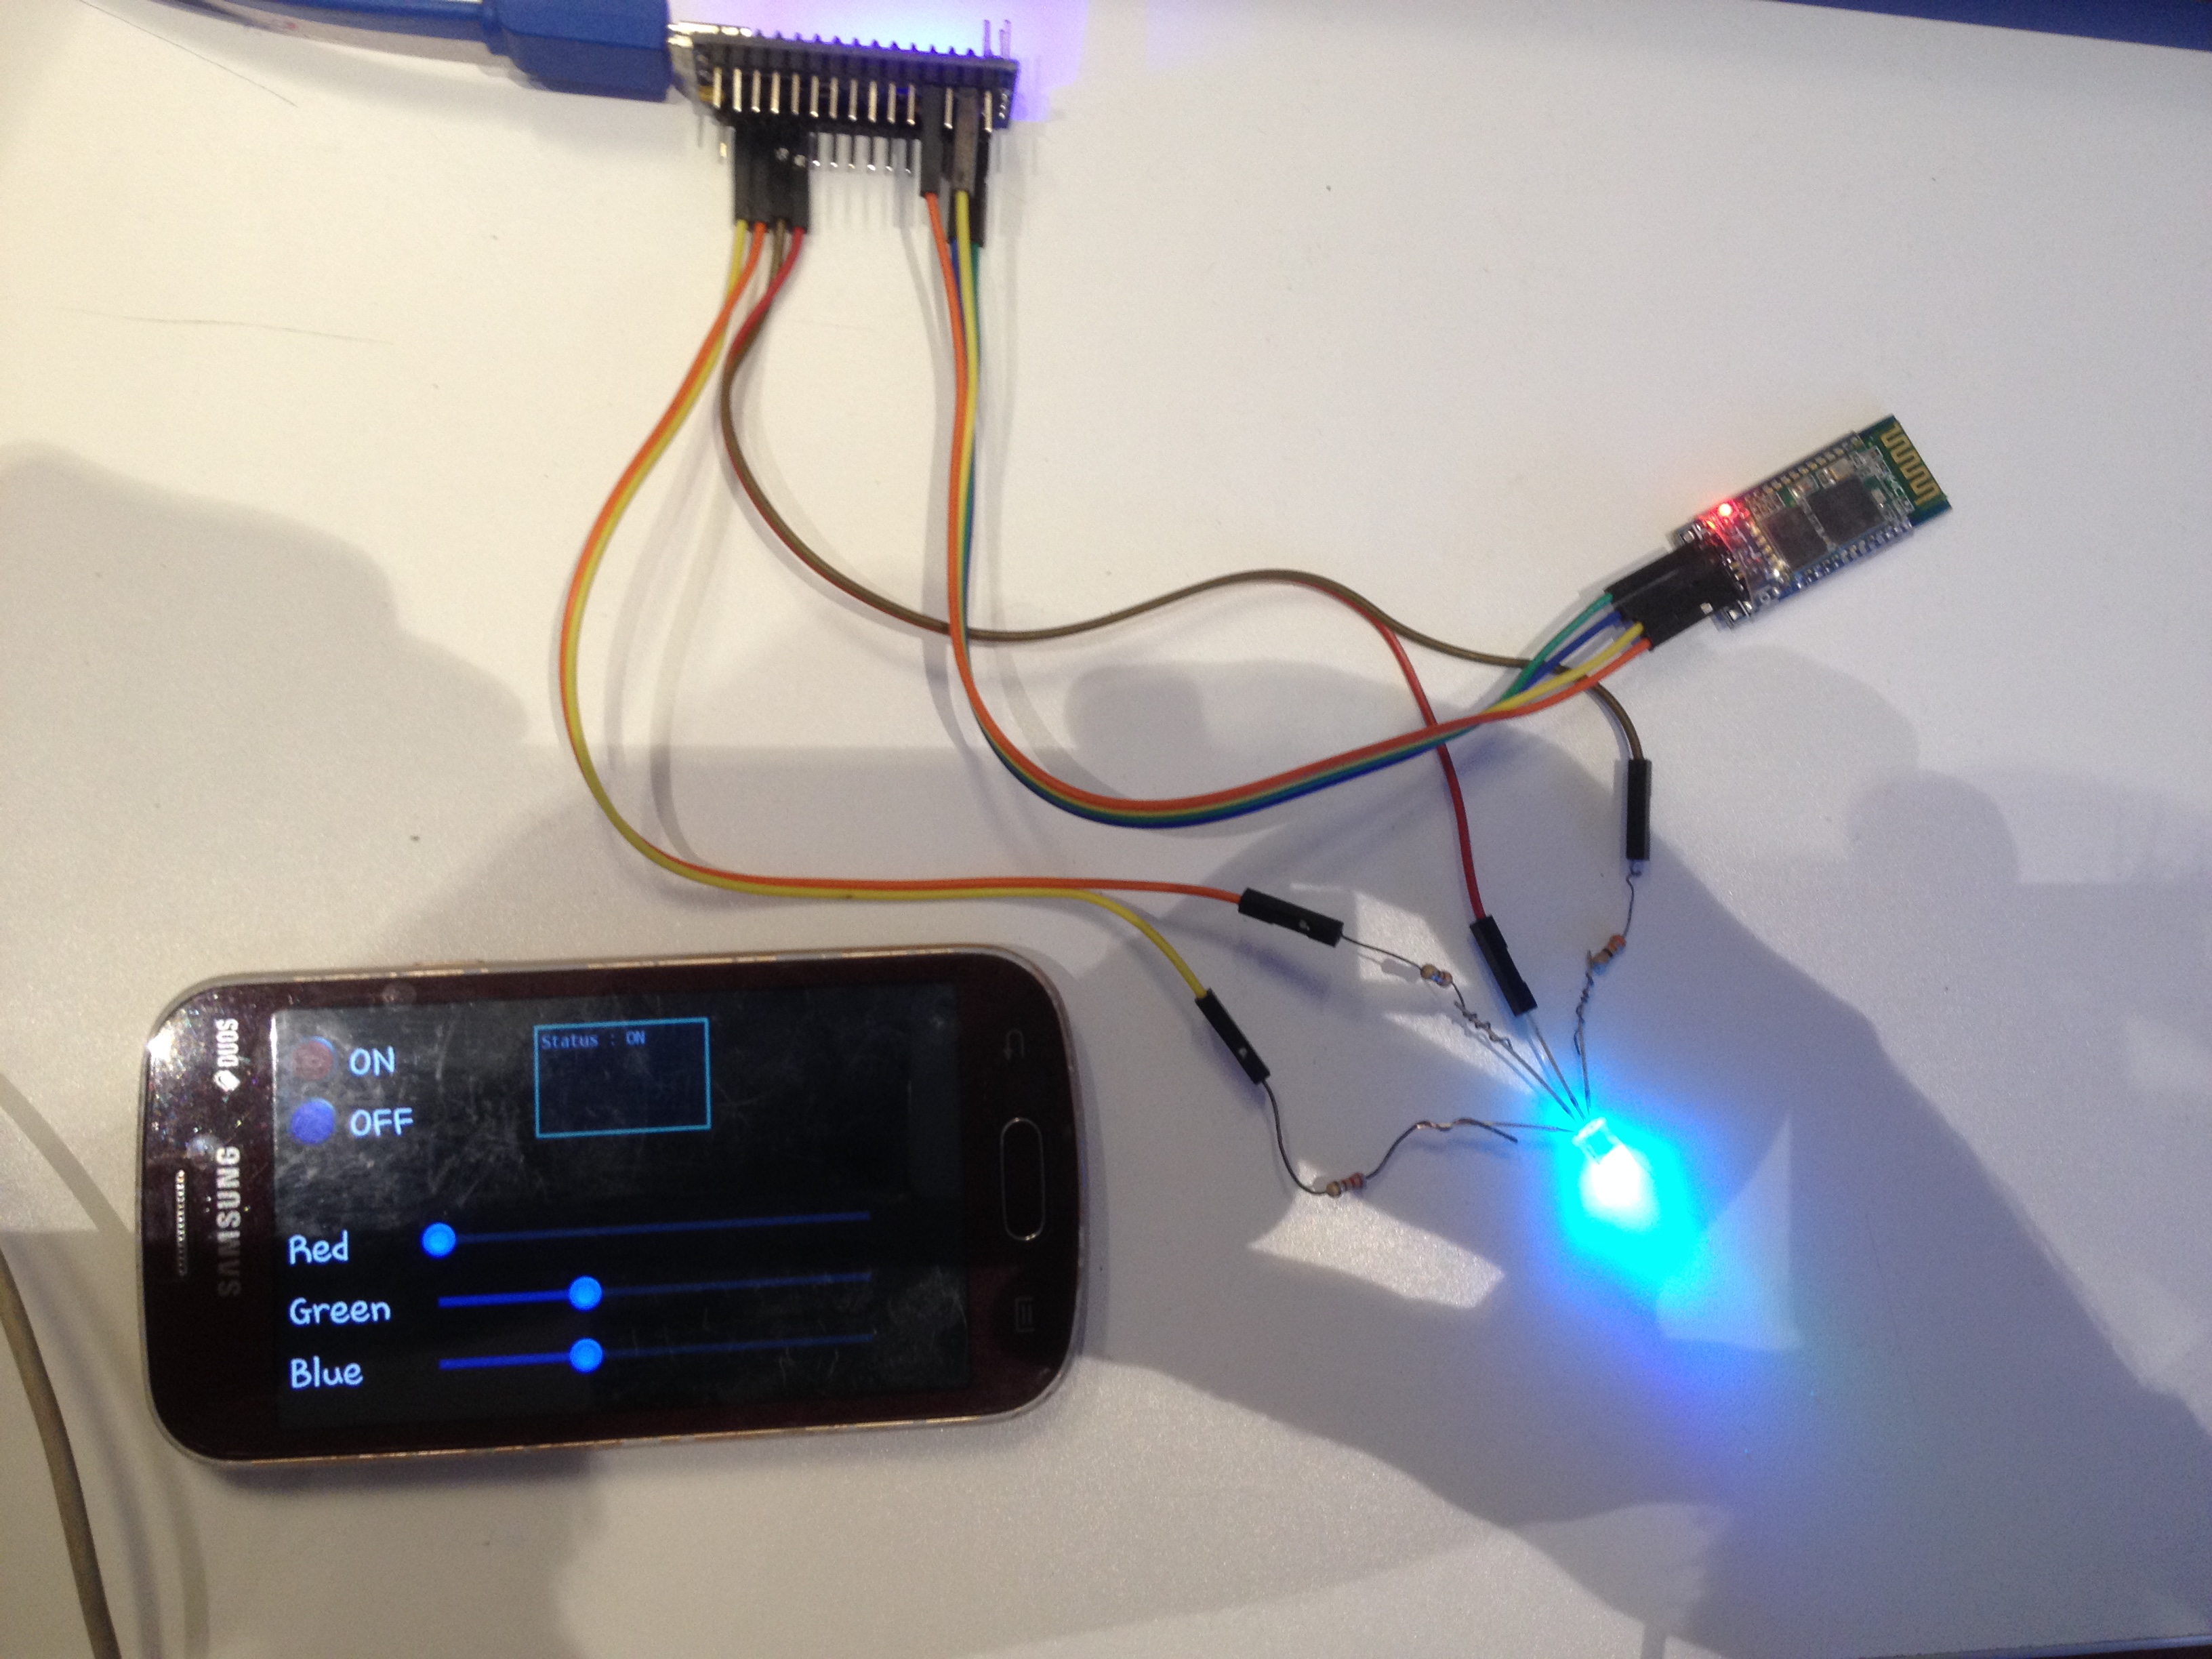
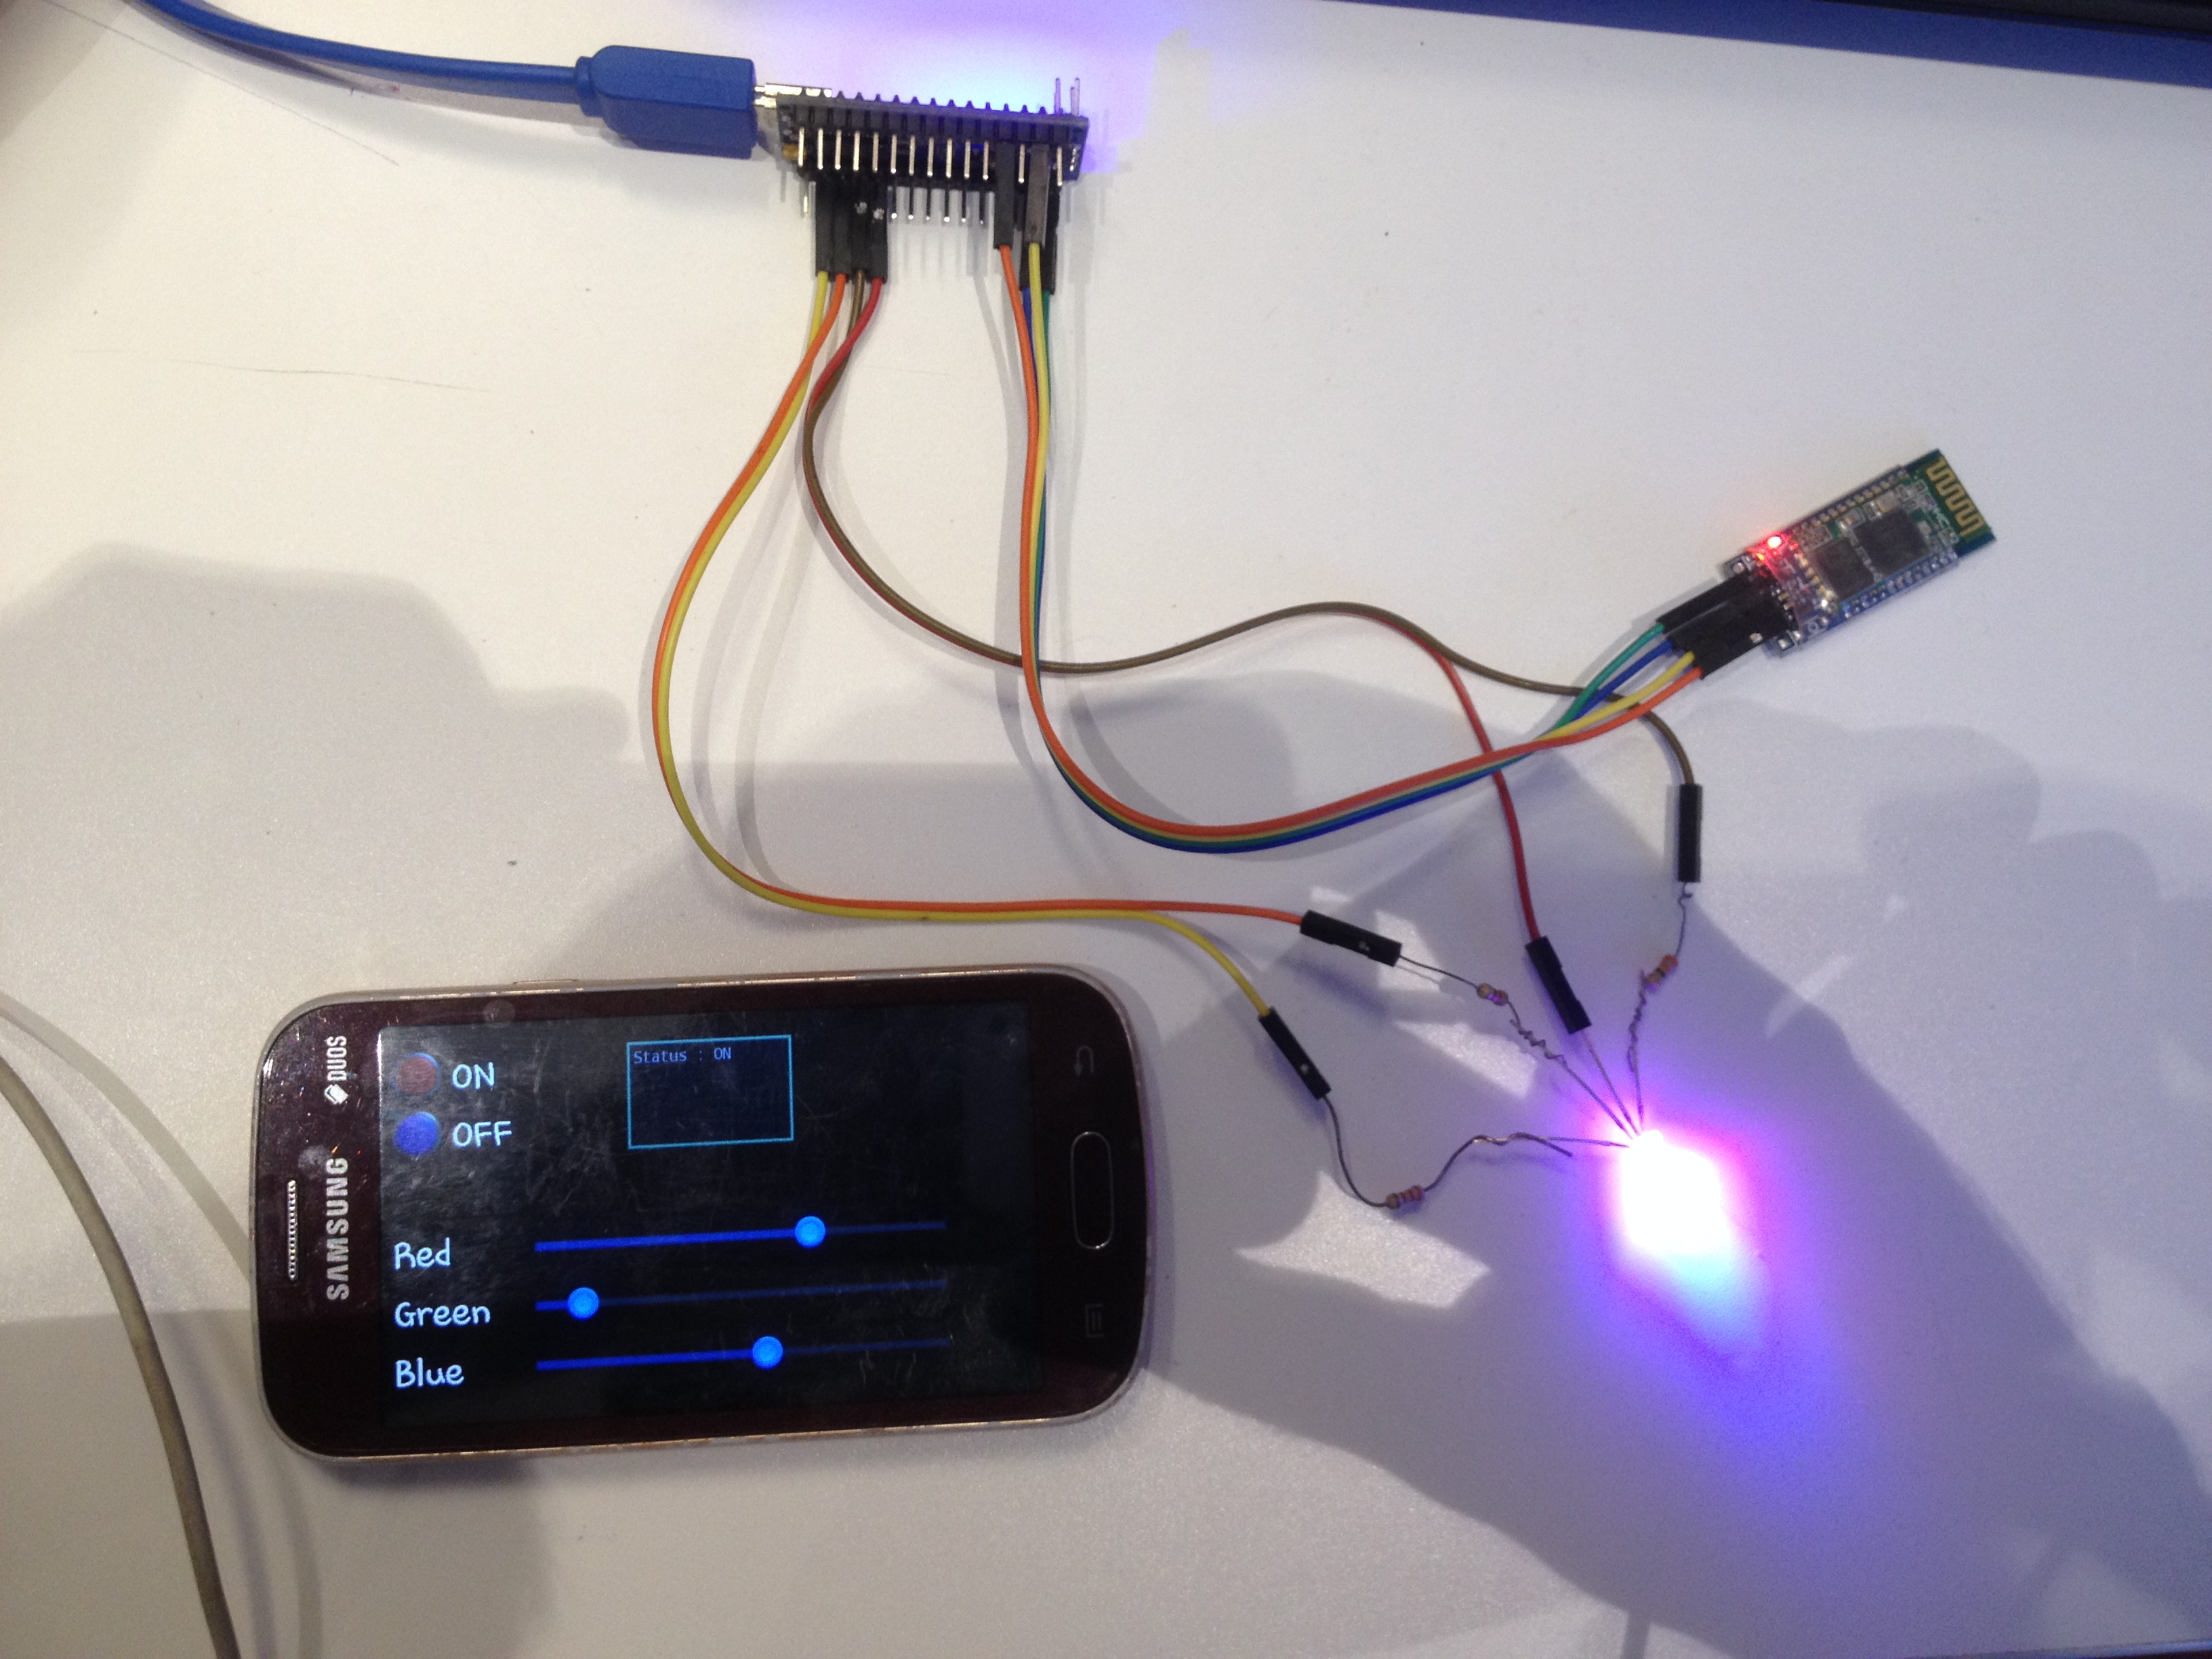
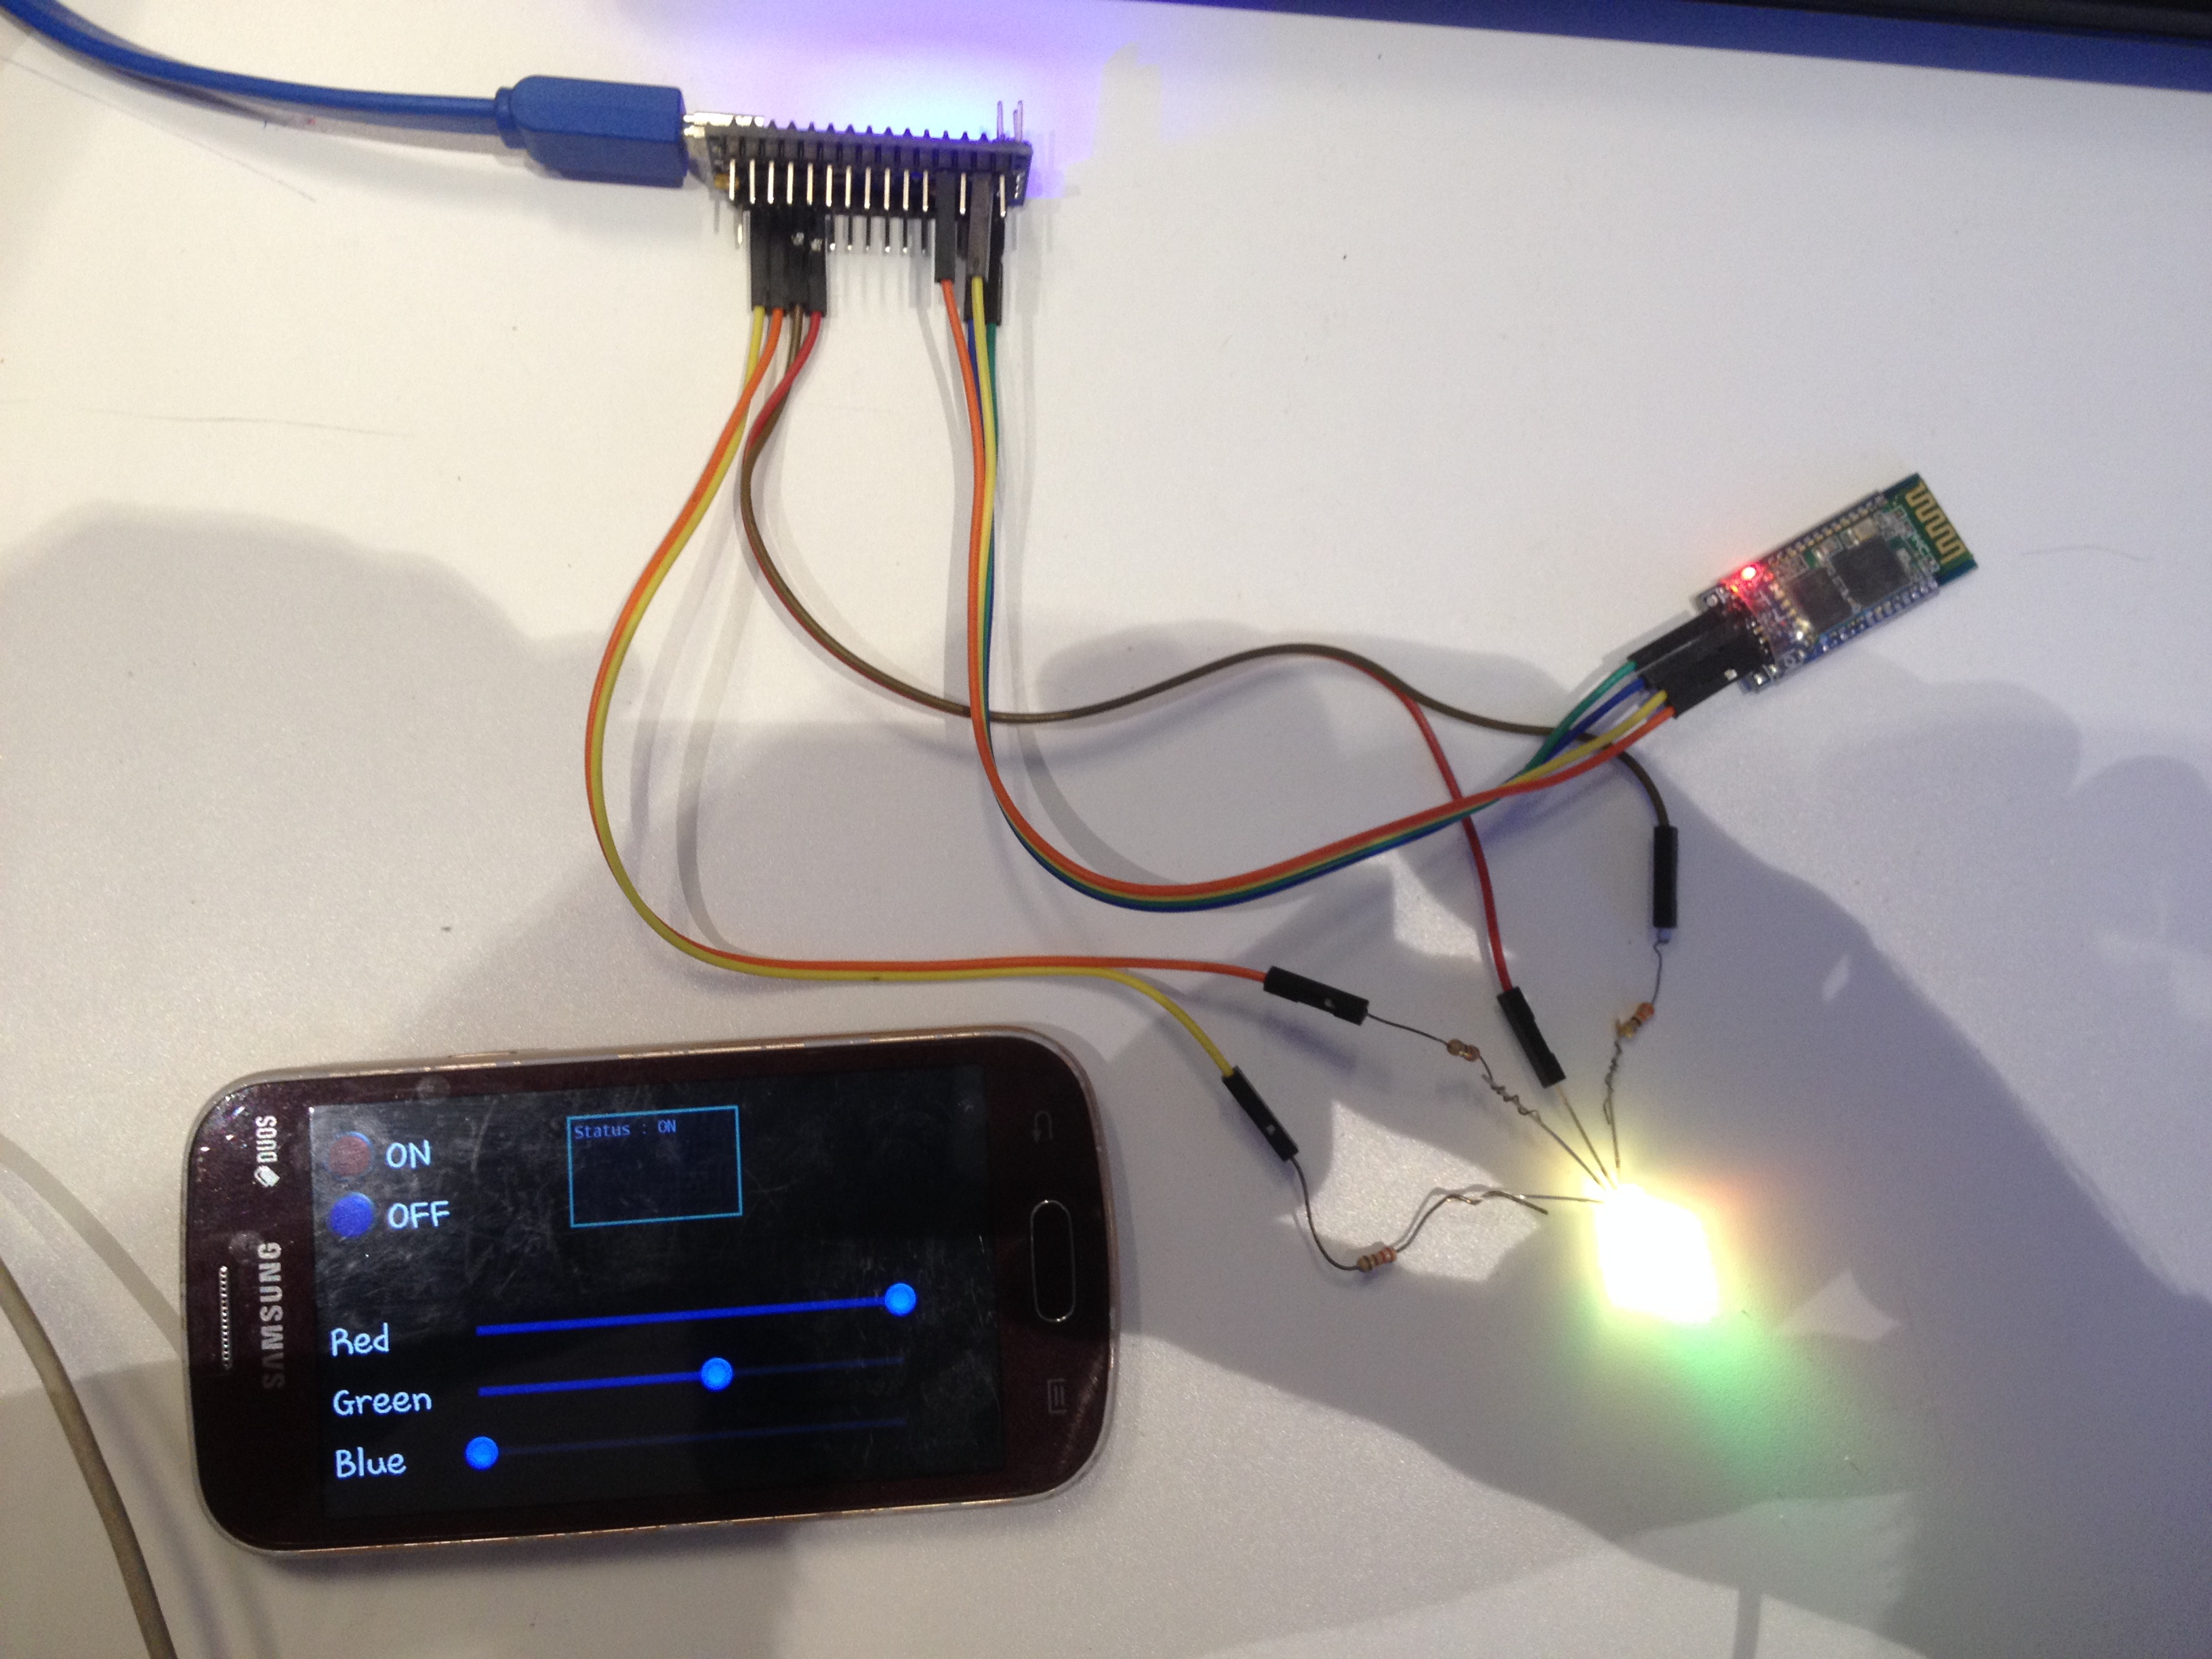
After powering up the circuit, turn on the Bluetooth and connect to the HC06.
Then you can run the RGB controlling interface.
ON and OFF buttons have usual meanings and from 3 sliders you can change the color intensities and make different colors.
Making the Vass
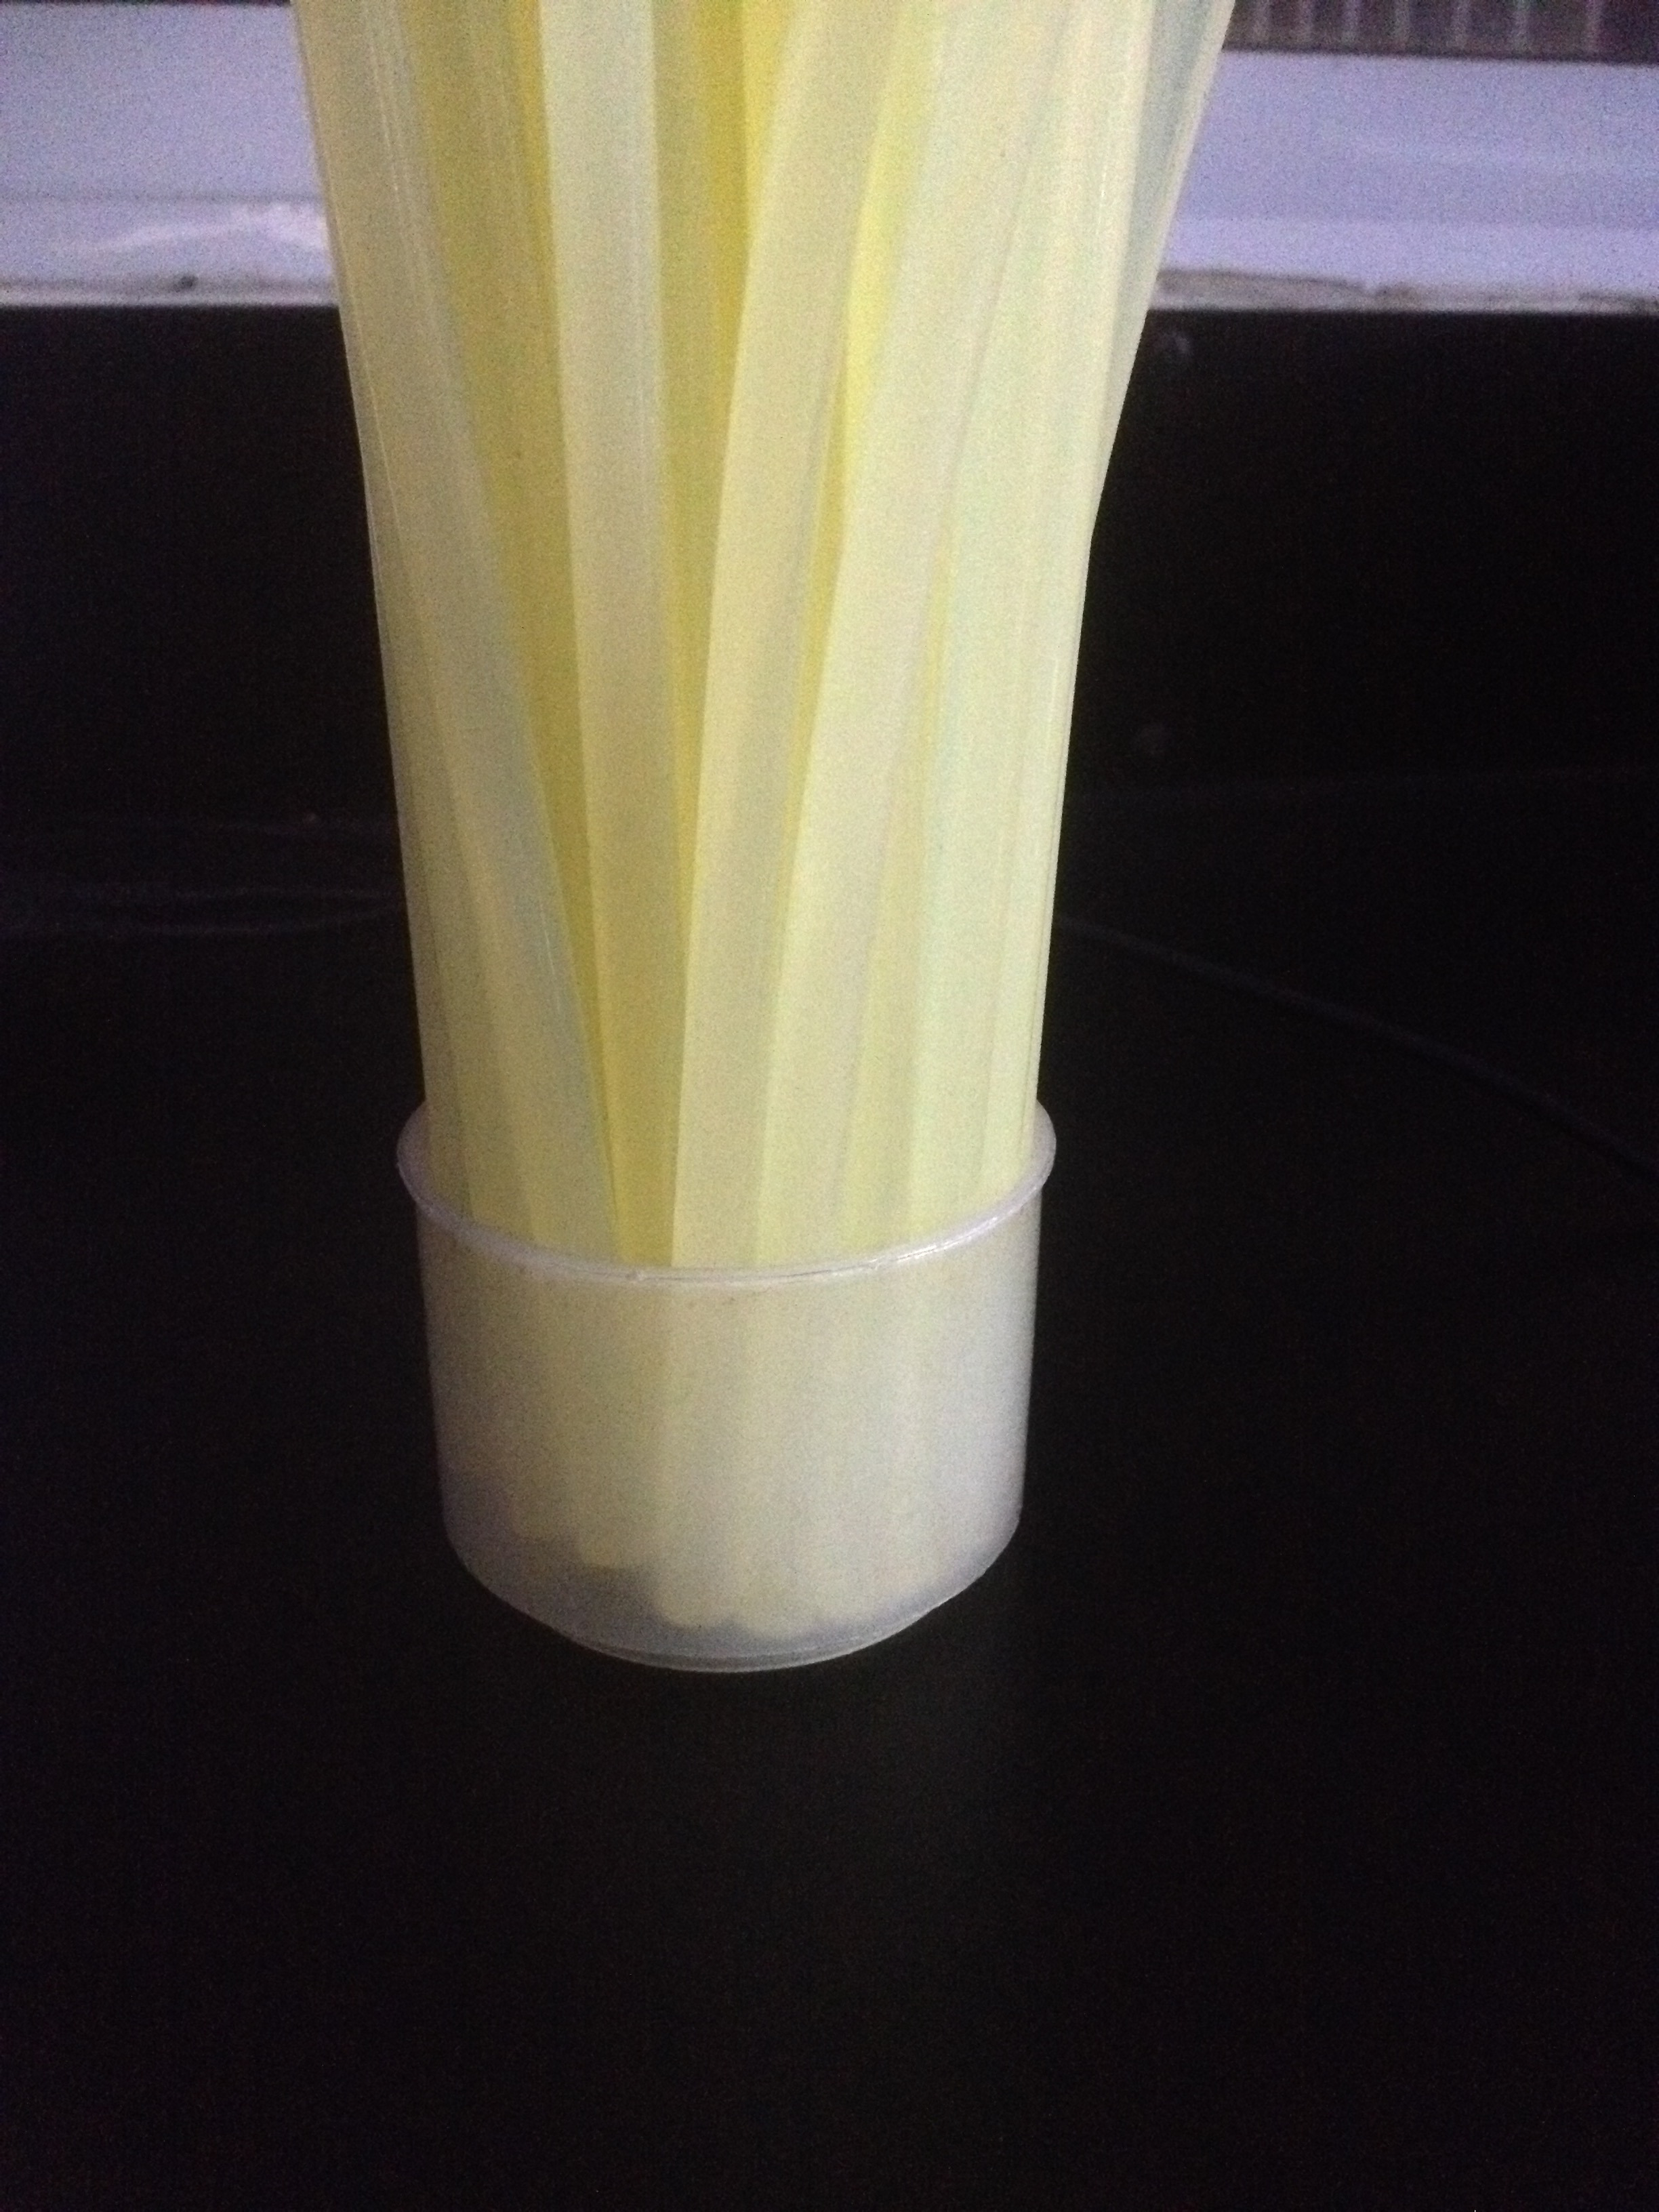
Take the plastic cup and place the circuit board inside the cup.
Now we have to put flowers or any other things suitable for a vase. But here I have used hot glue sticks because they behave as fiber optics.
But you can try any other materials like flowers, glass stripes etc. Do not stick to one design. Try different patterns as your desire.
Testing
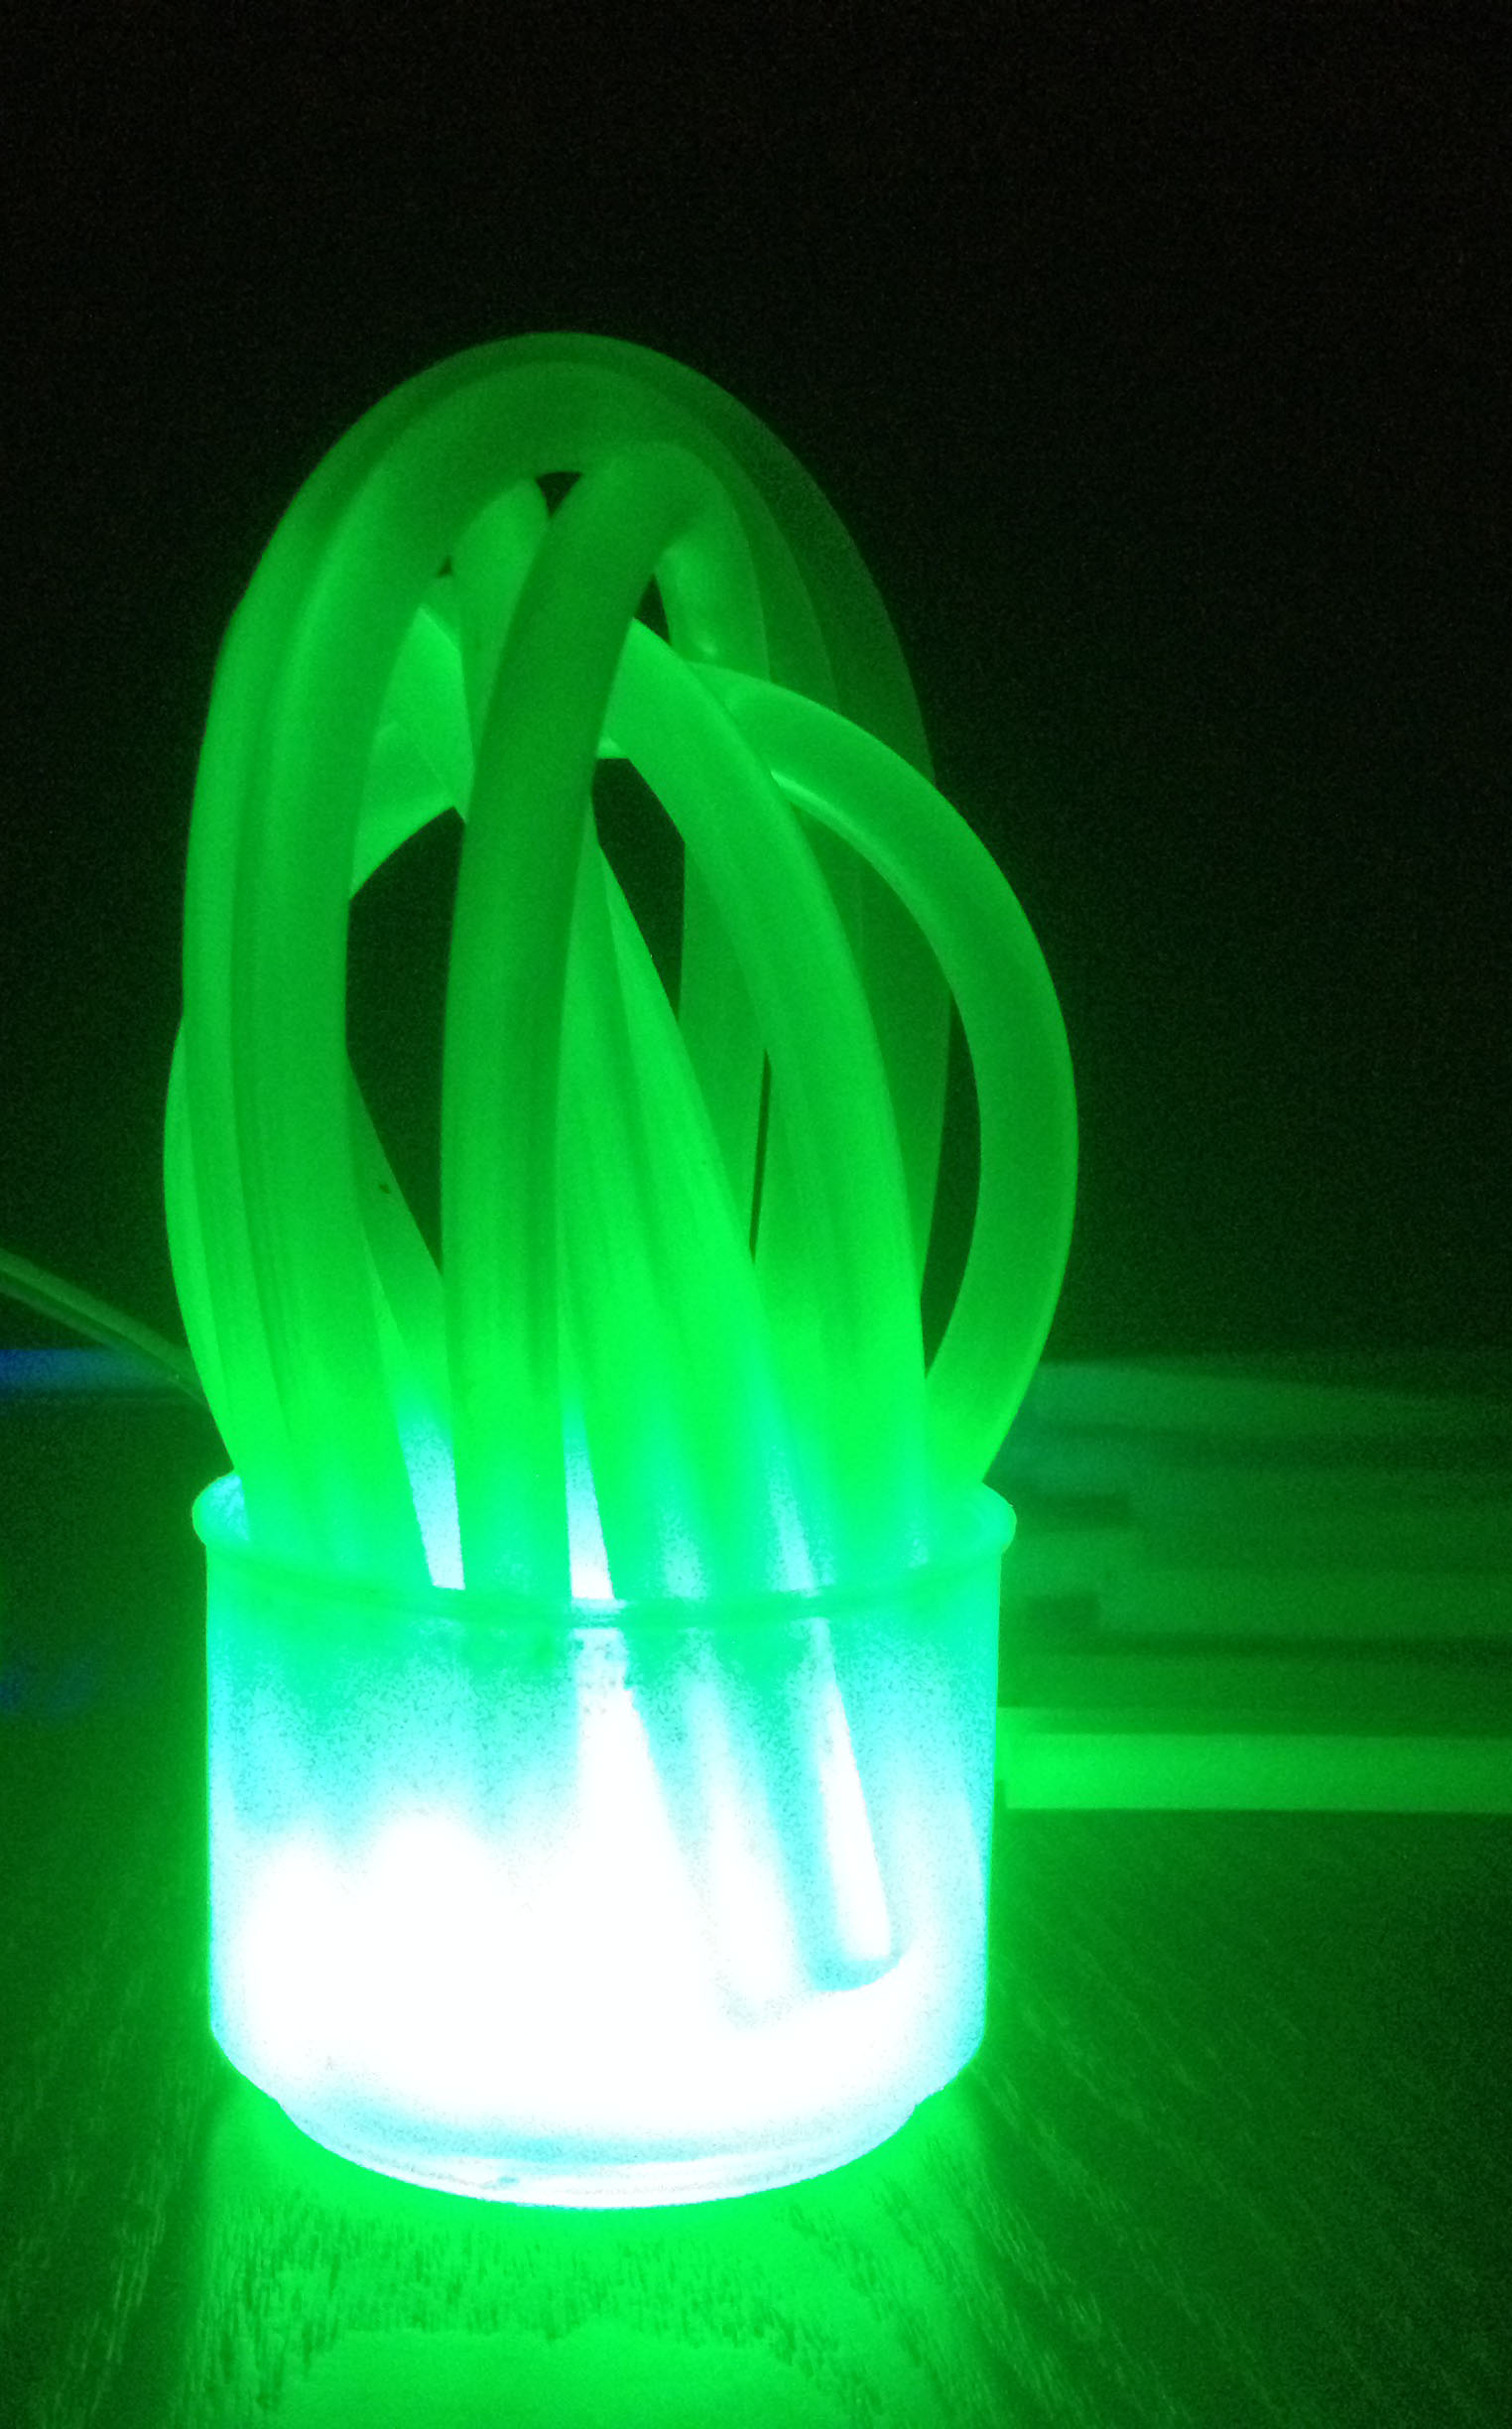
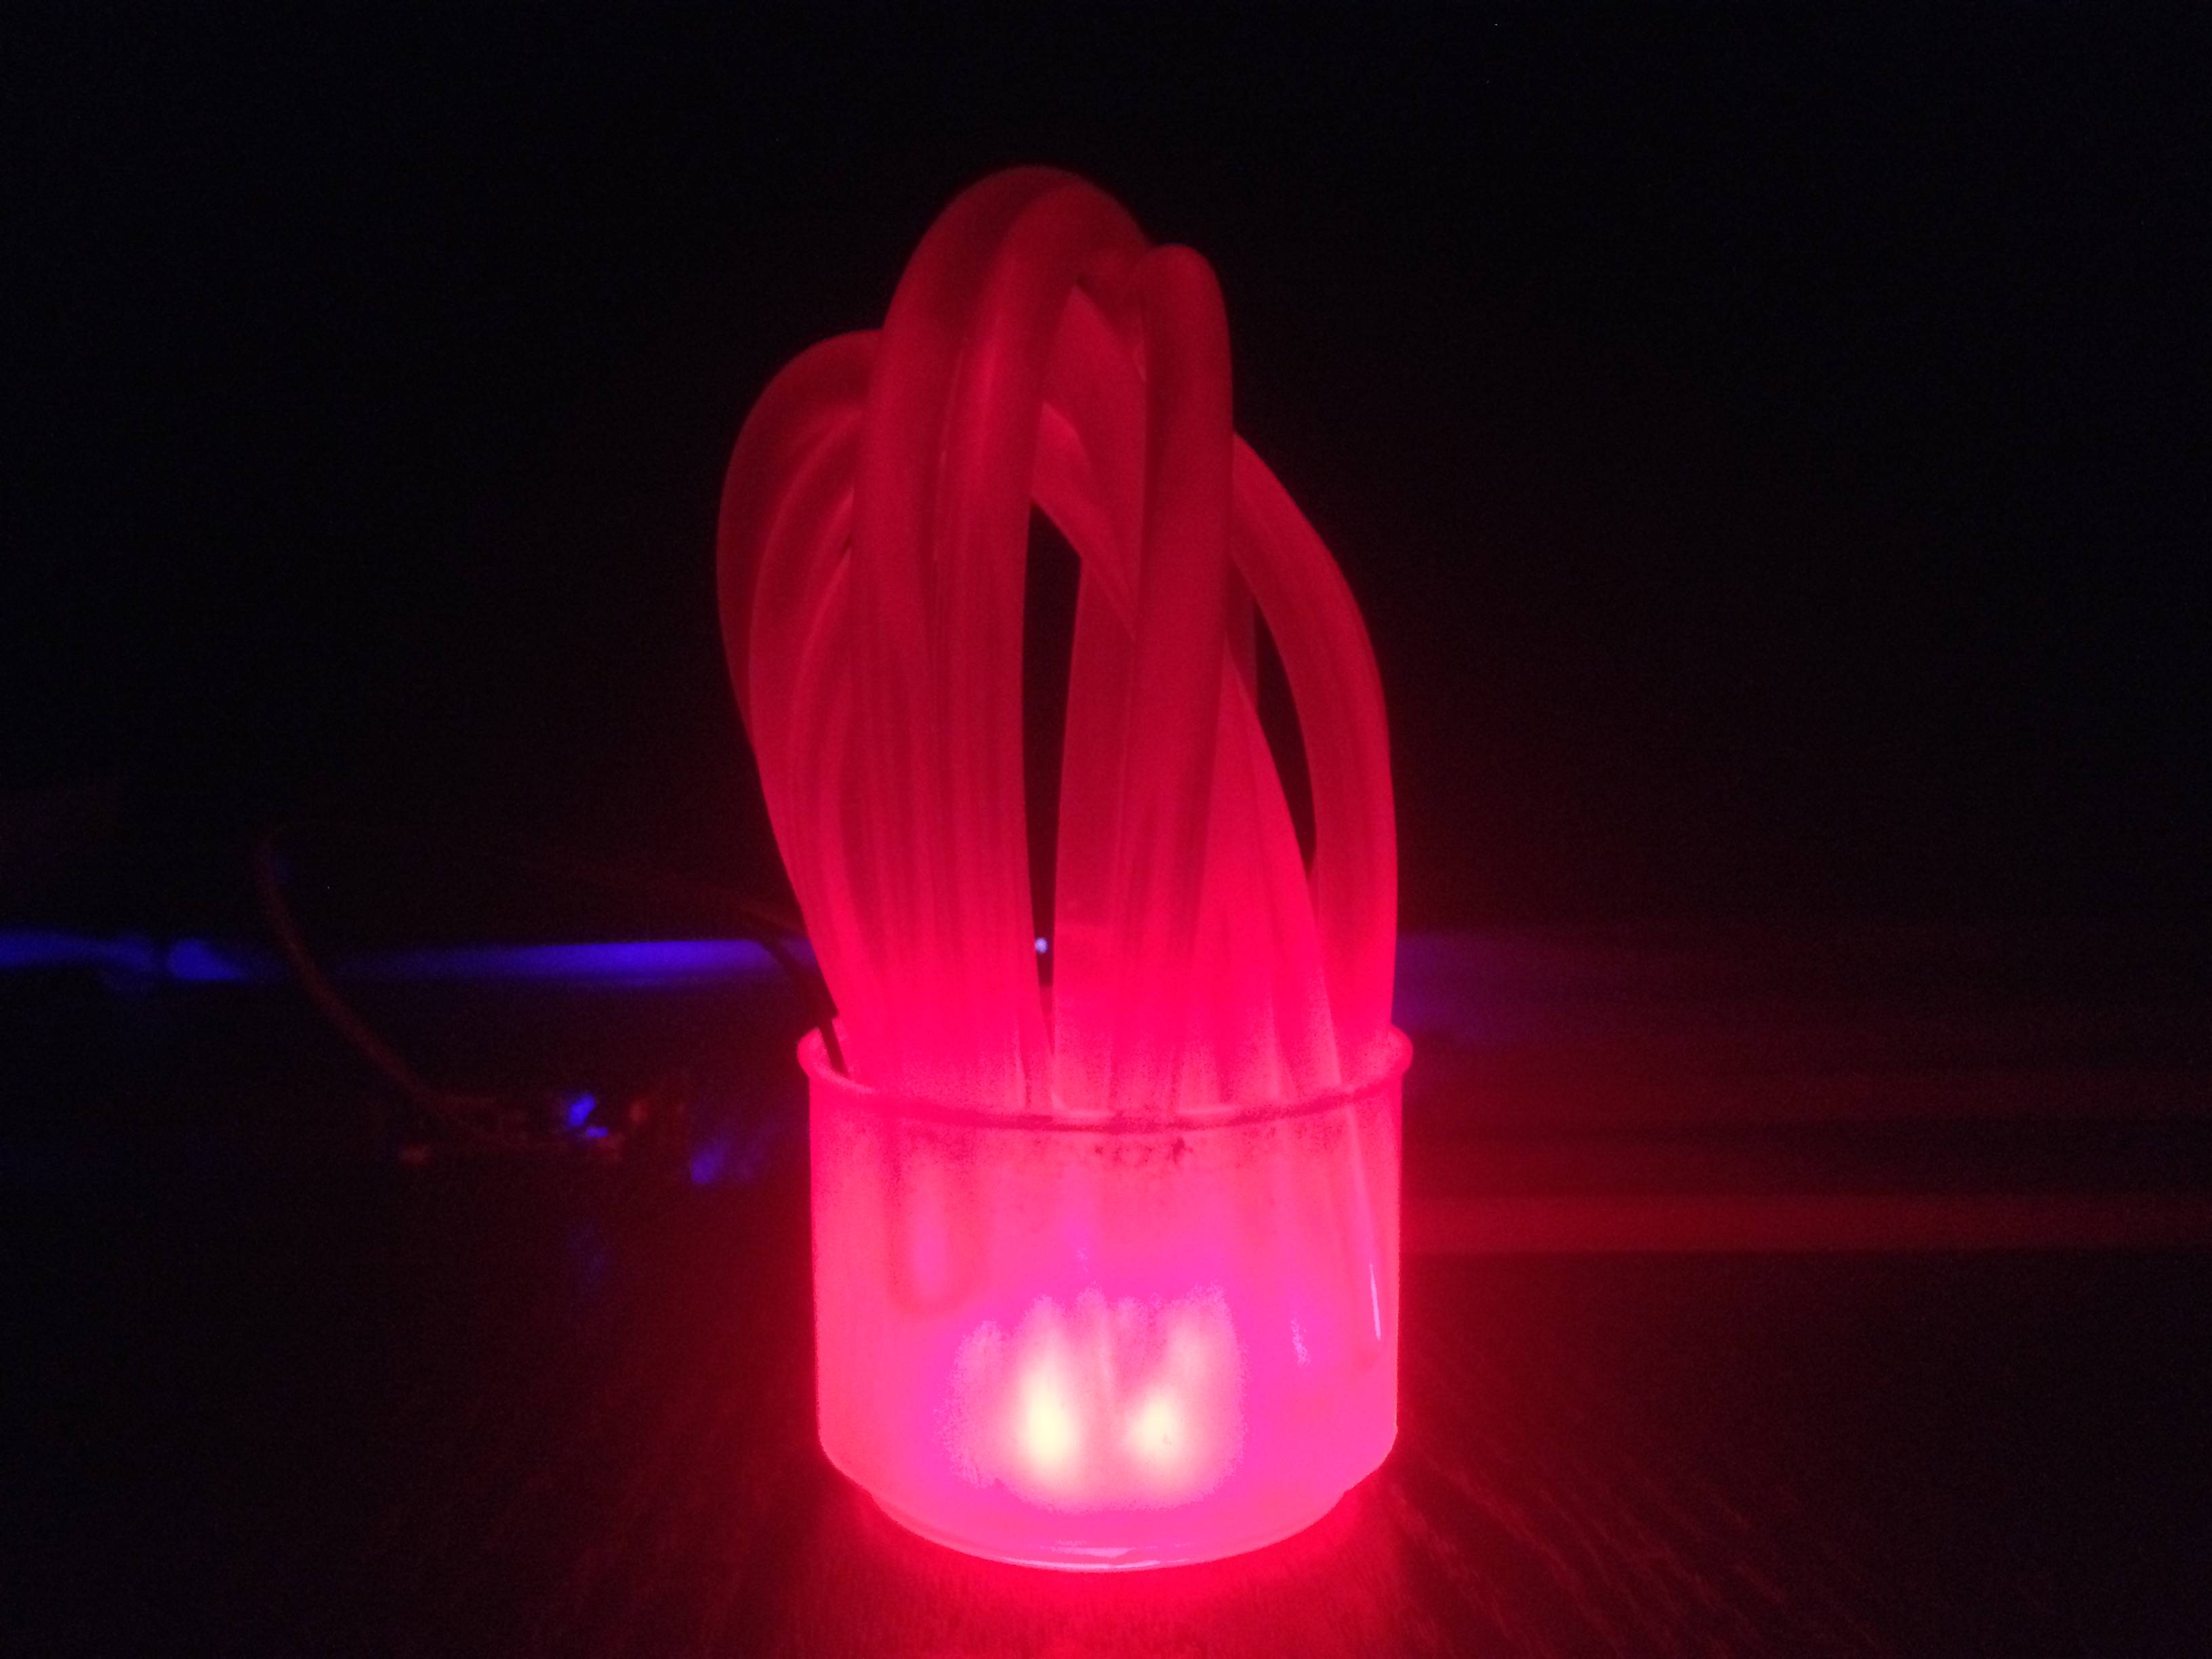
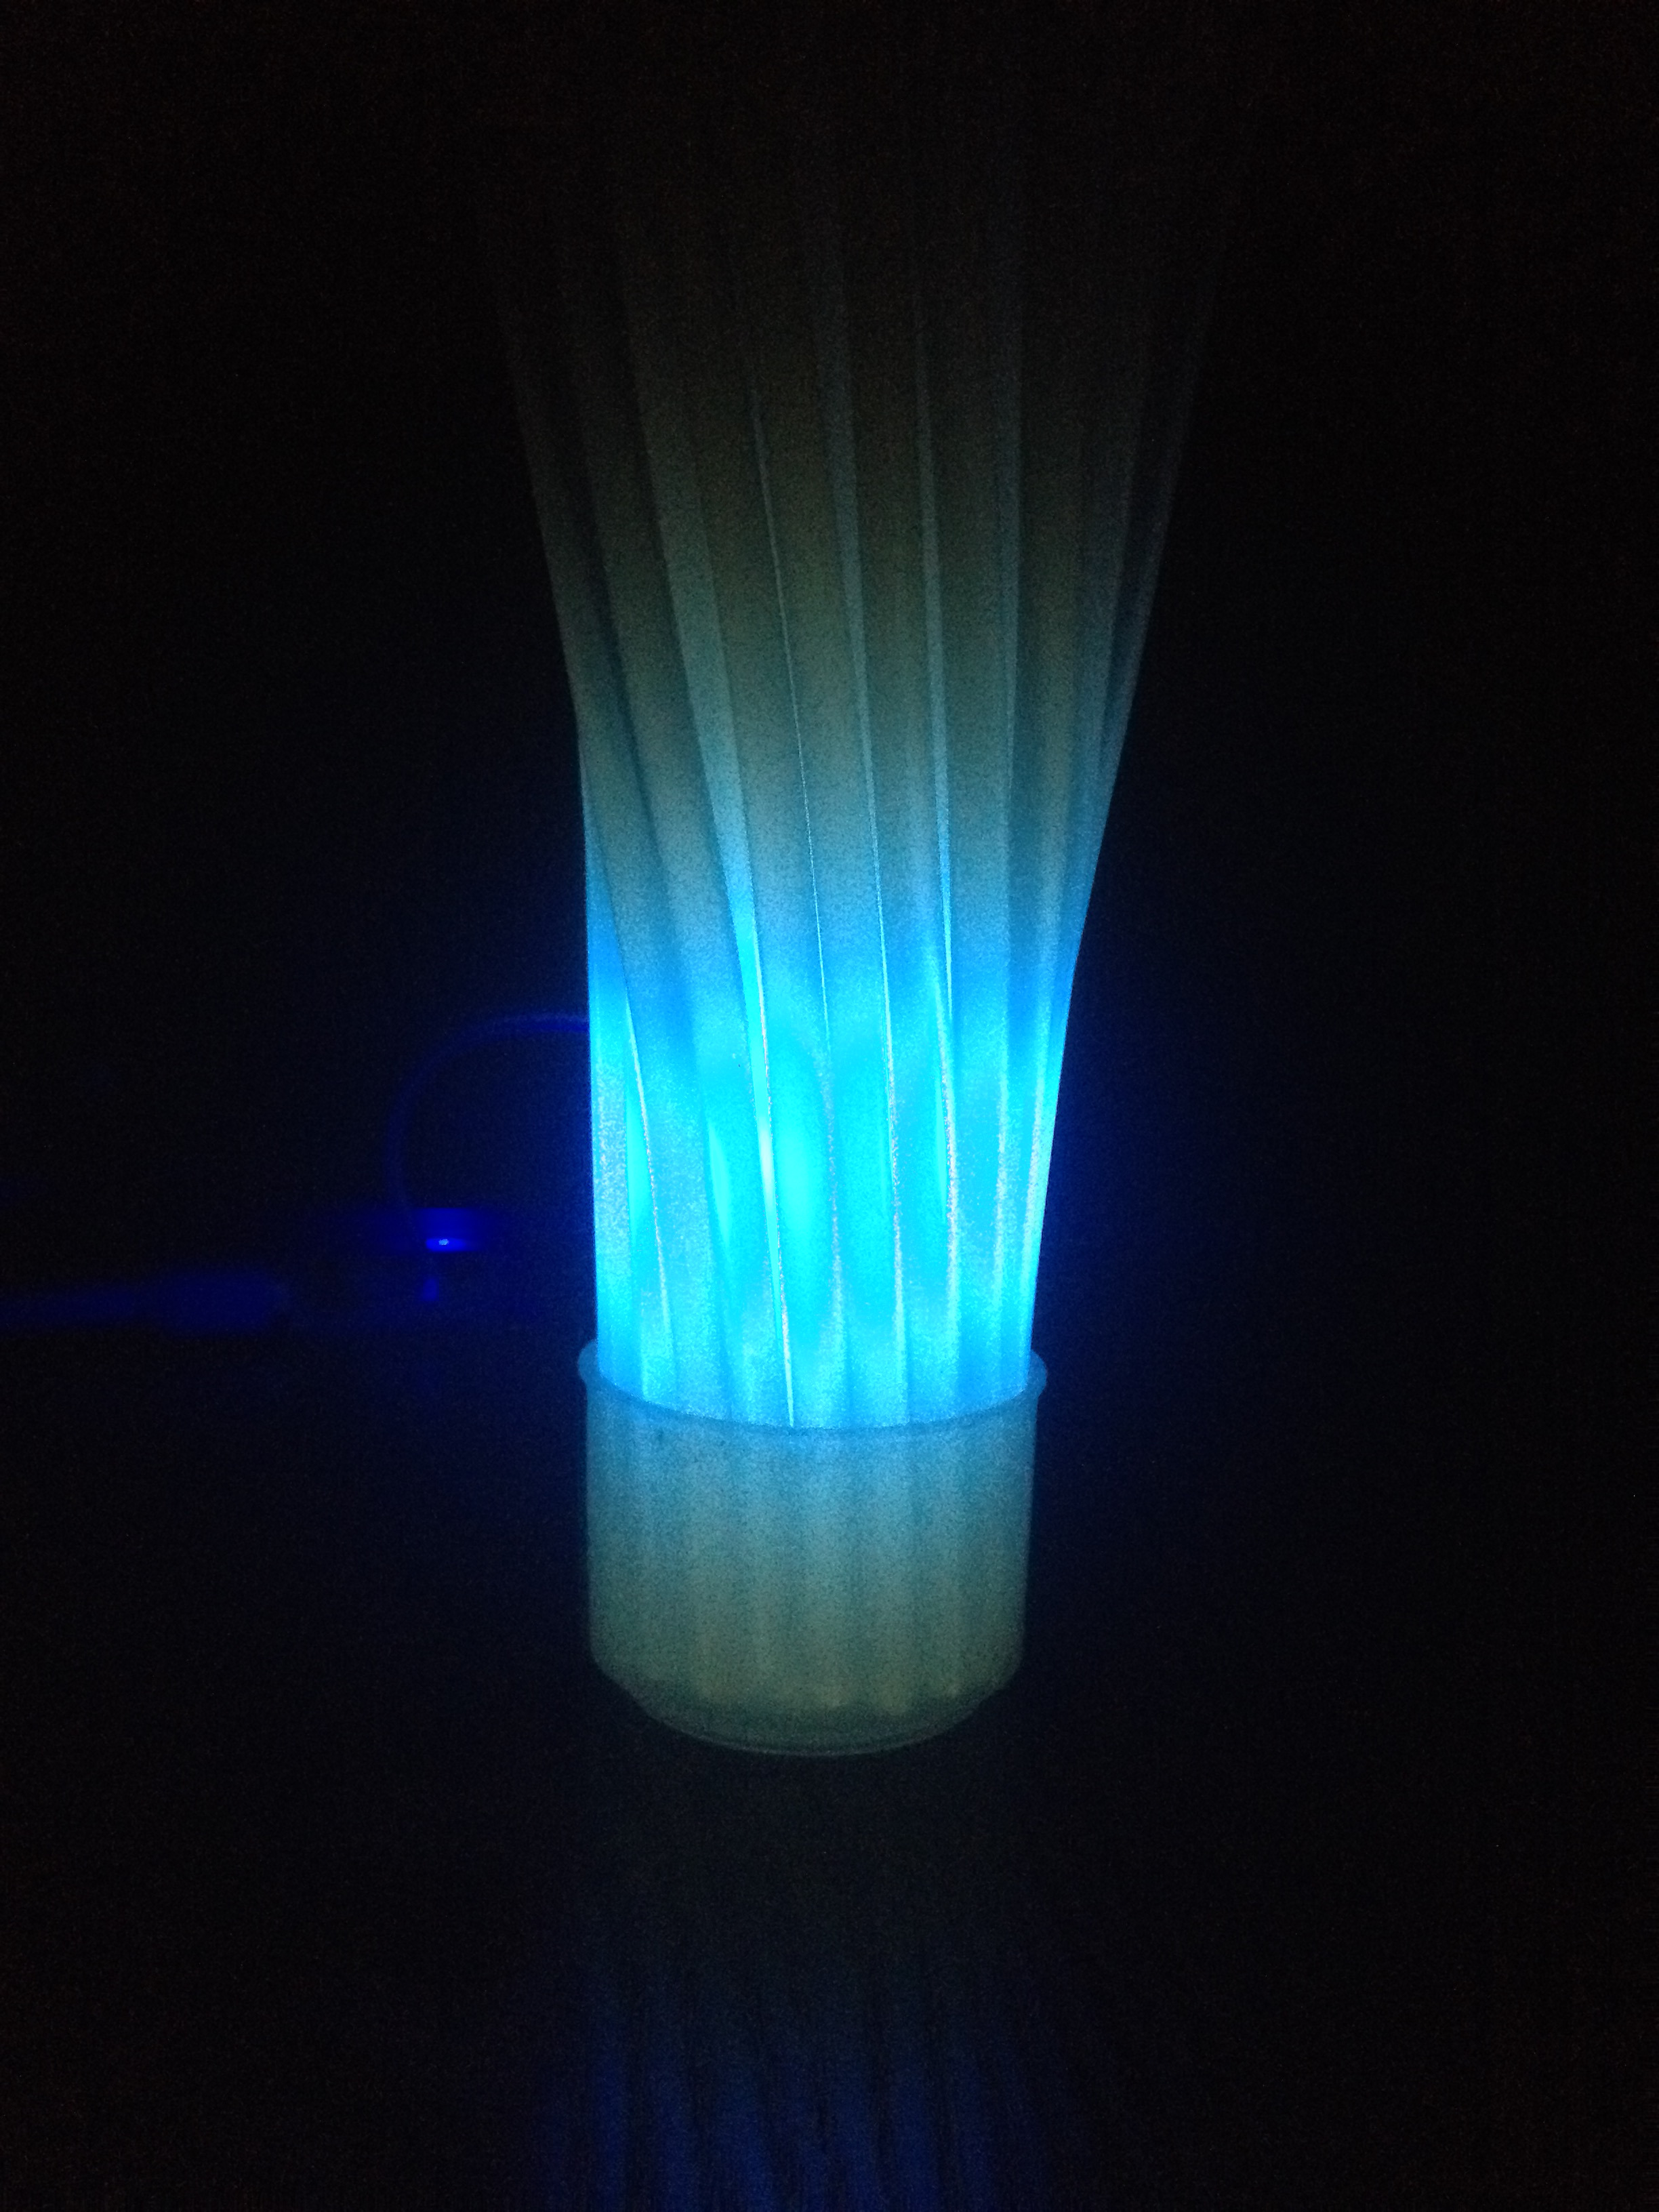
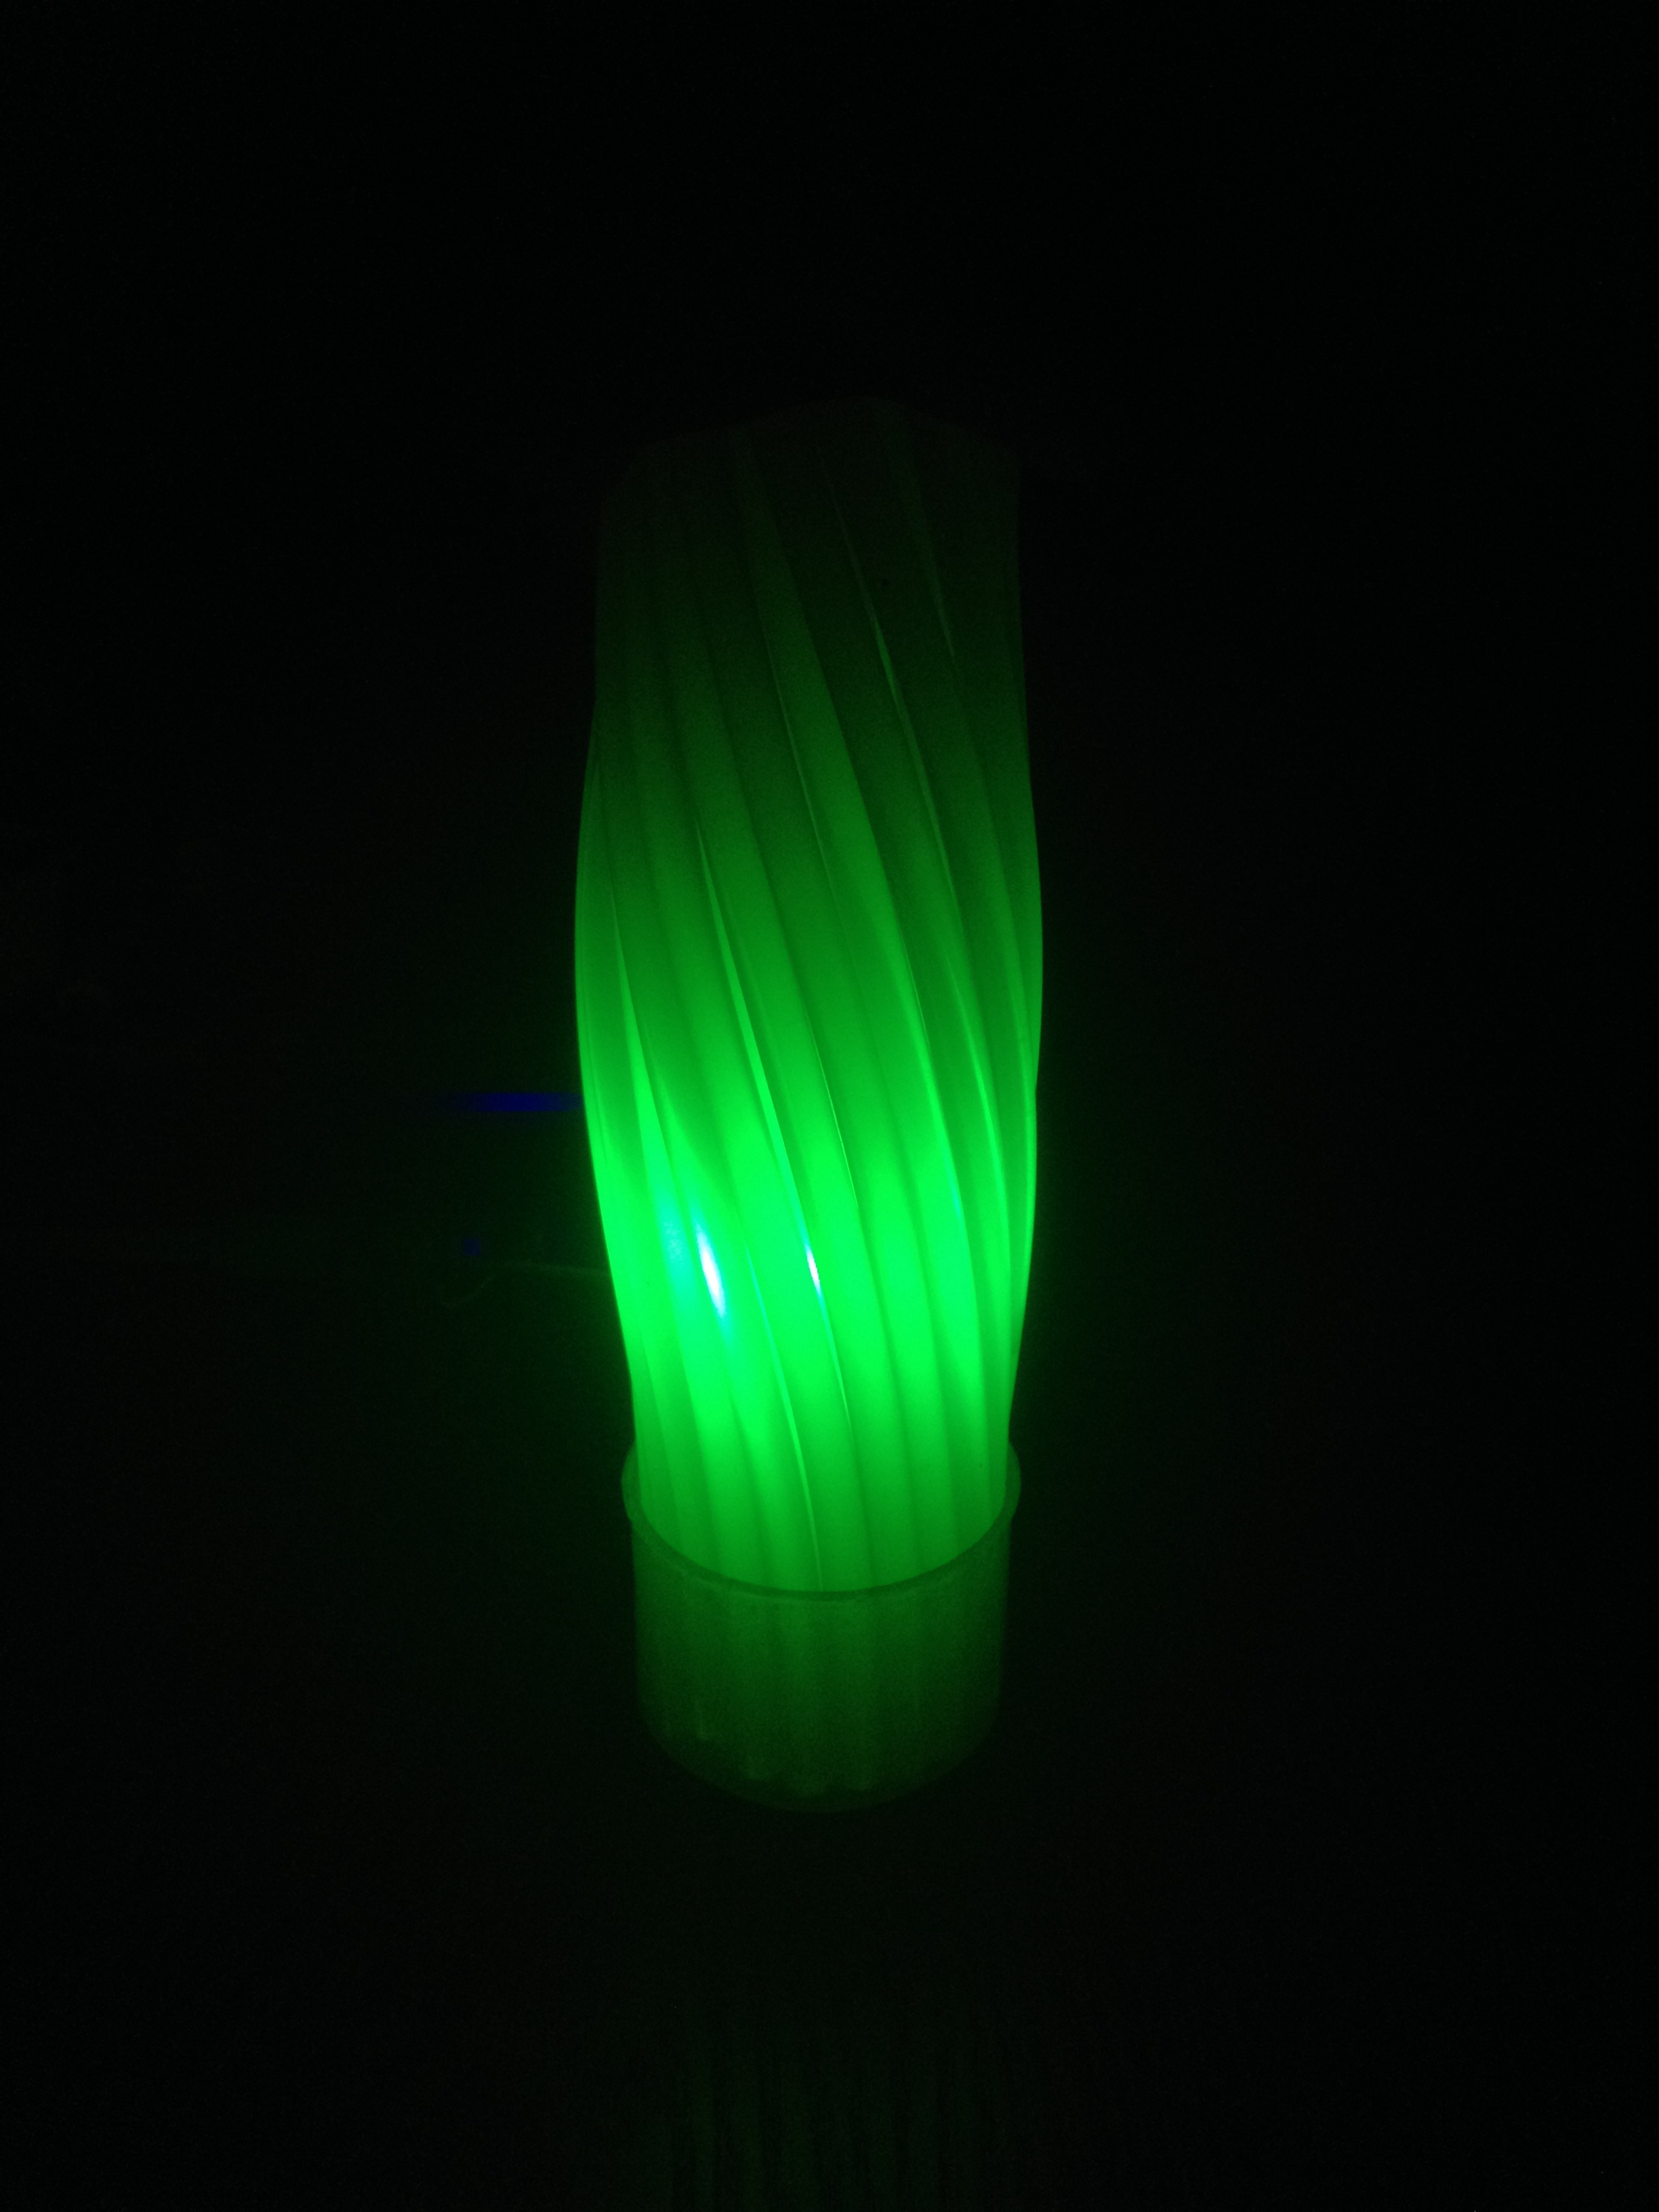
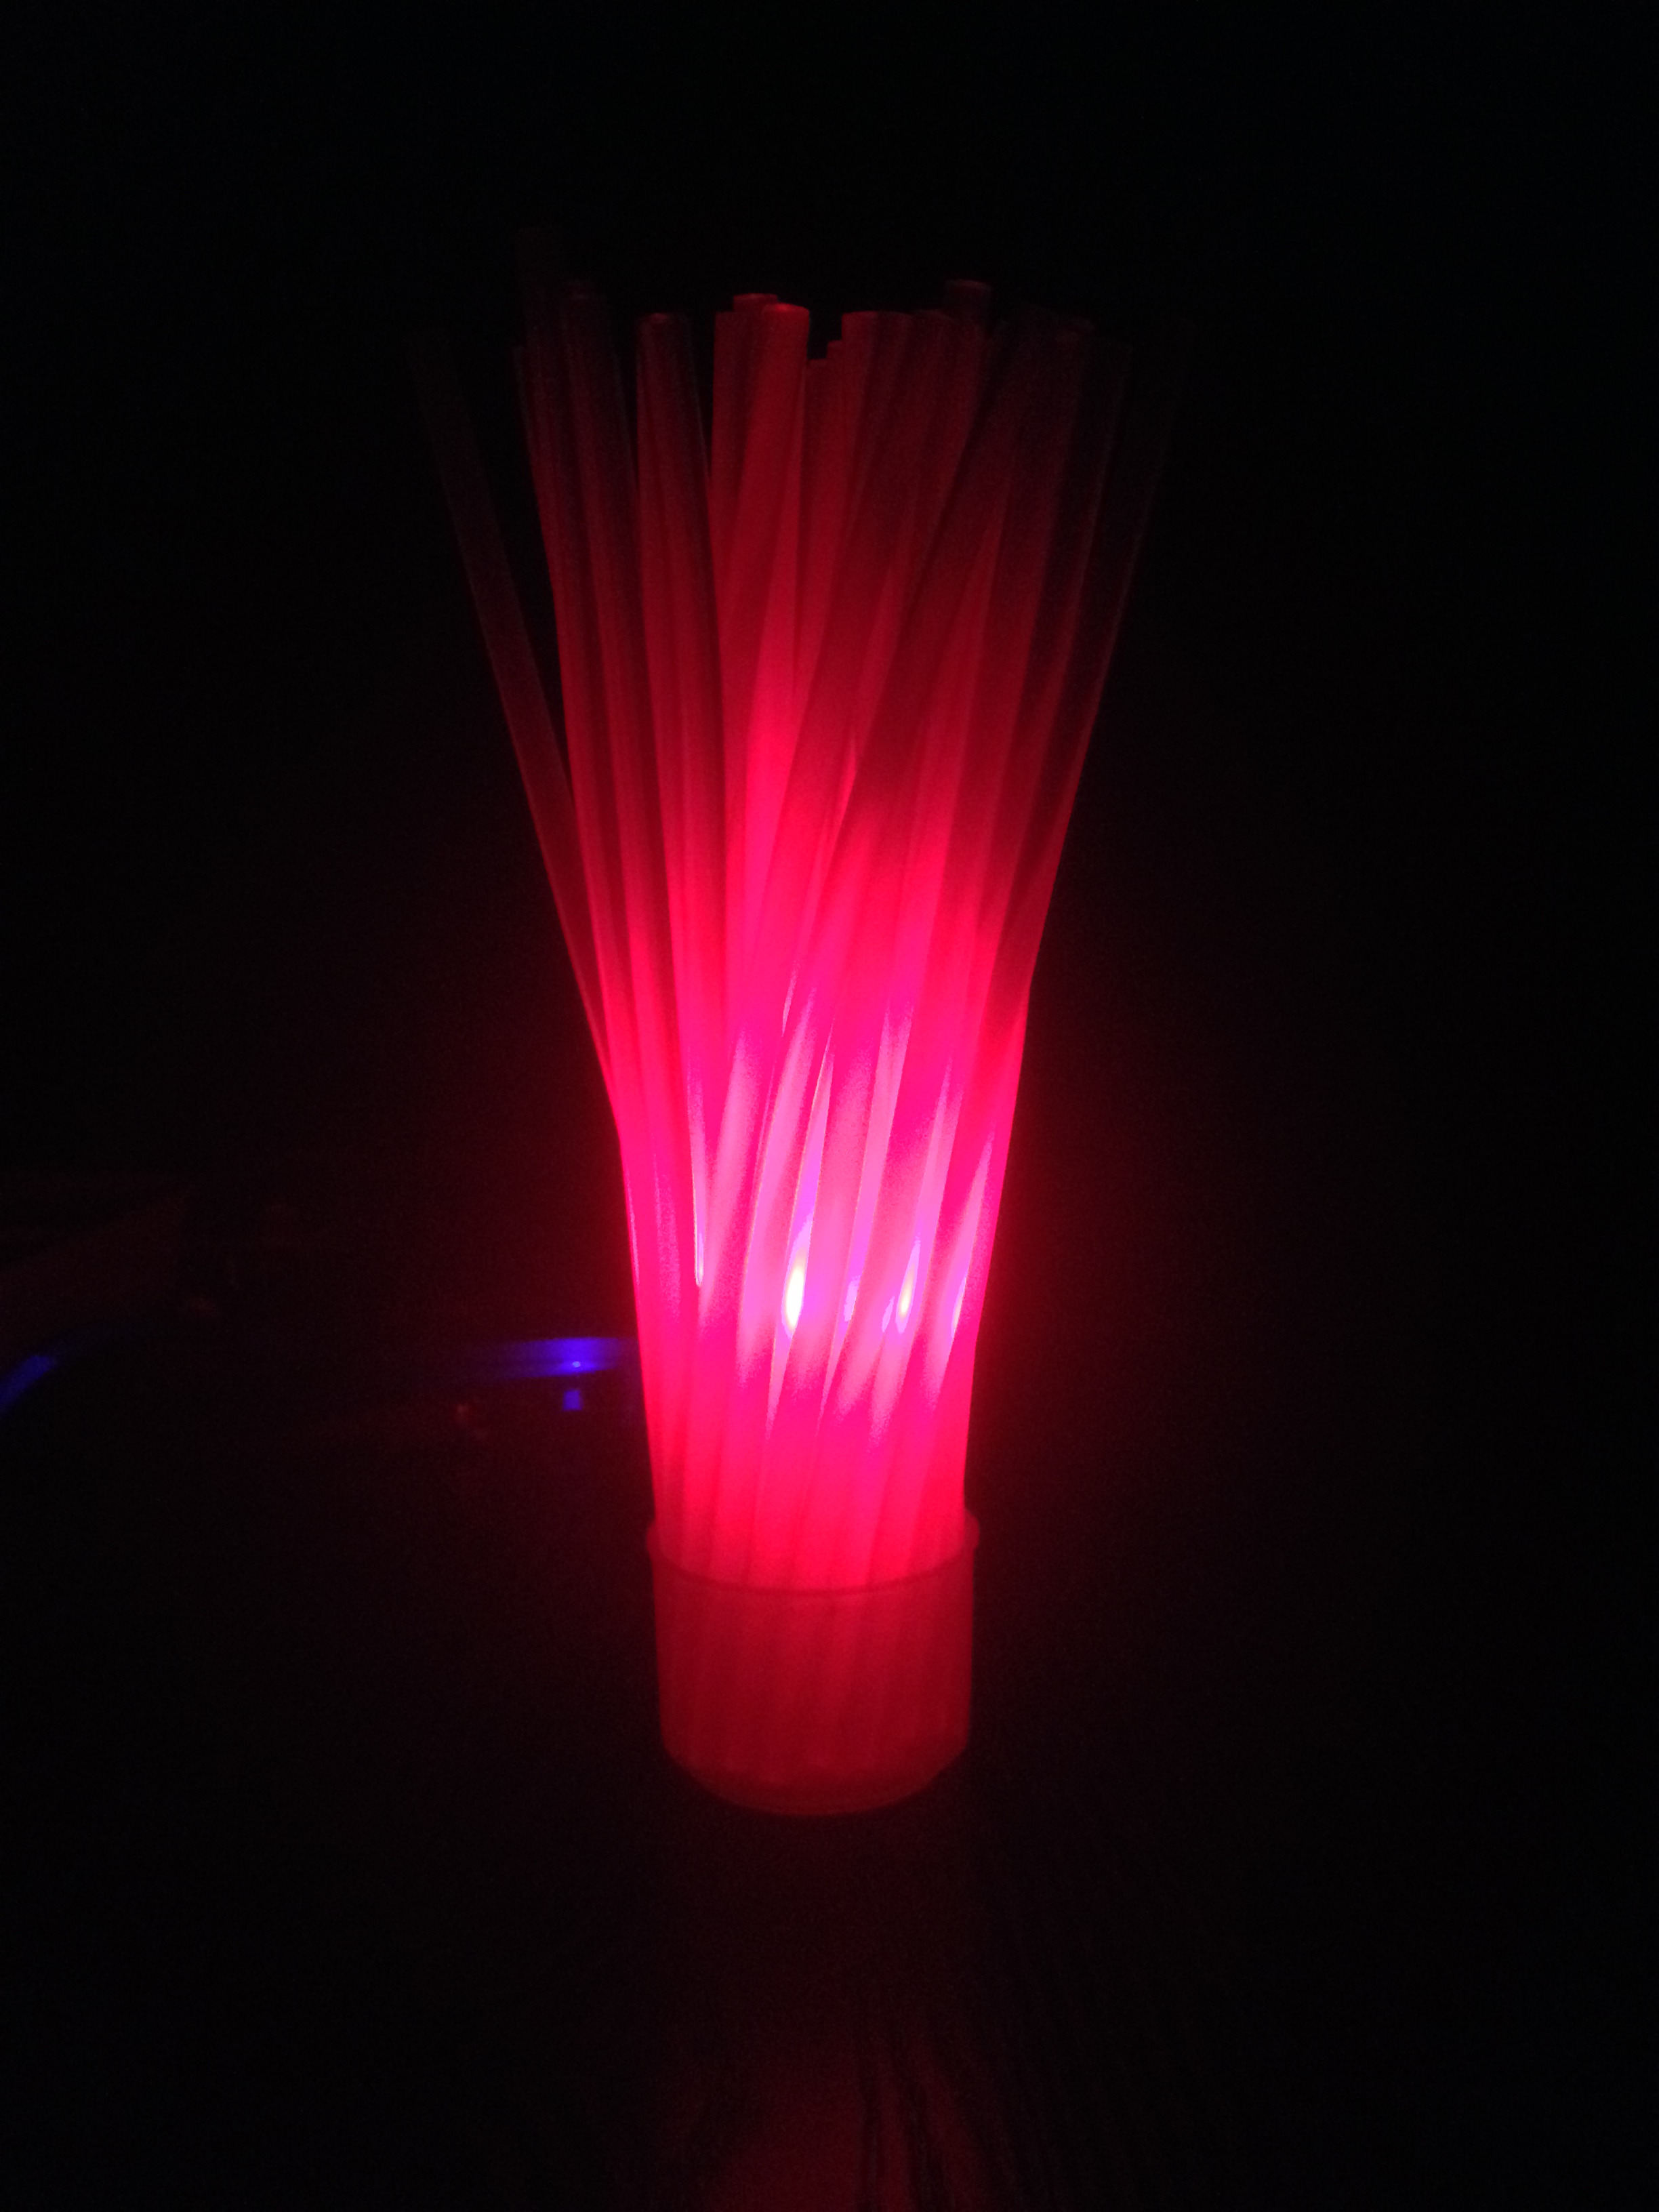
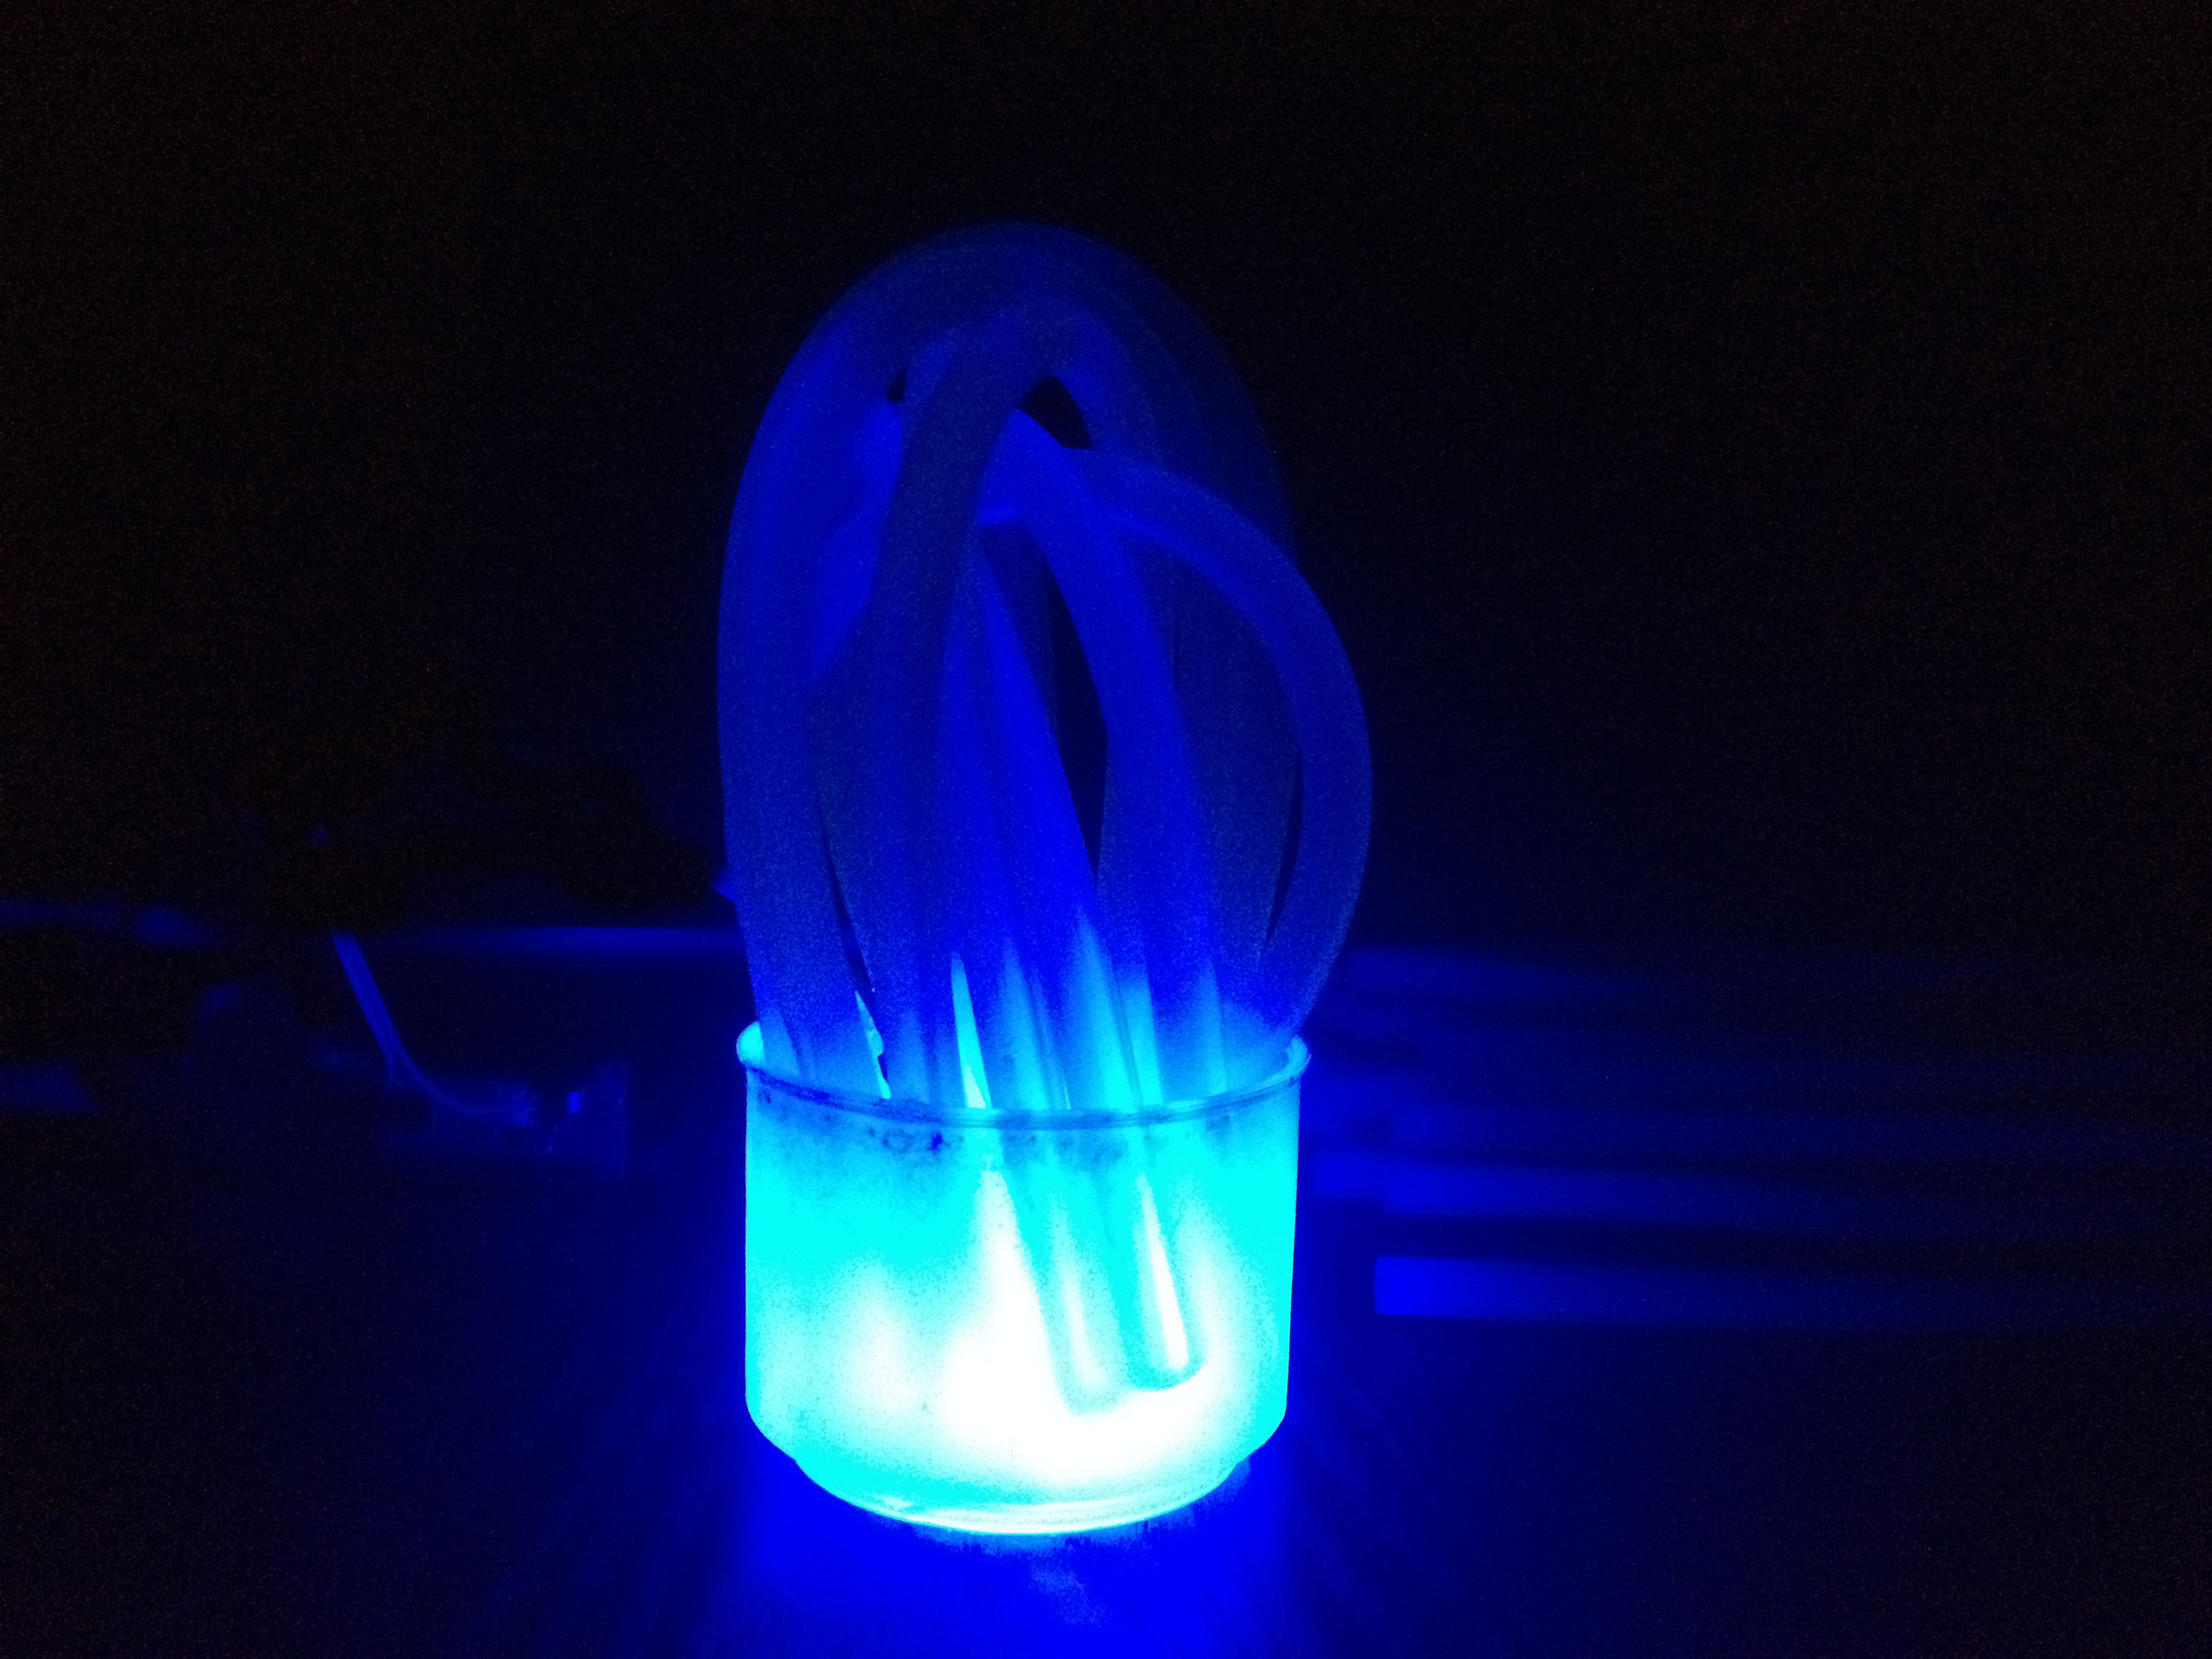
I have tested this in a dark background to enhance the color visibility. If you want to make this a portable vase use 2 CMOS batteries to power up the circuit and place it inside the cup. Or else use your phone charger and the cable to power up the board via USB port in arduino.
I bet you would love this design. Hope you enjoyed this. Thanks.
Please vote for the contests if you like this instructable.