Bluetooth Home Automation Via Android
by Tanishq Jaiswal in Circuits > Arduino
306 Views, 2 Favorites, 0 Comments
Bluetooth Home Automation Via Android
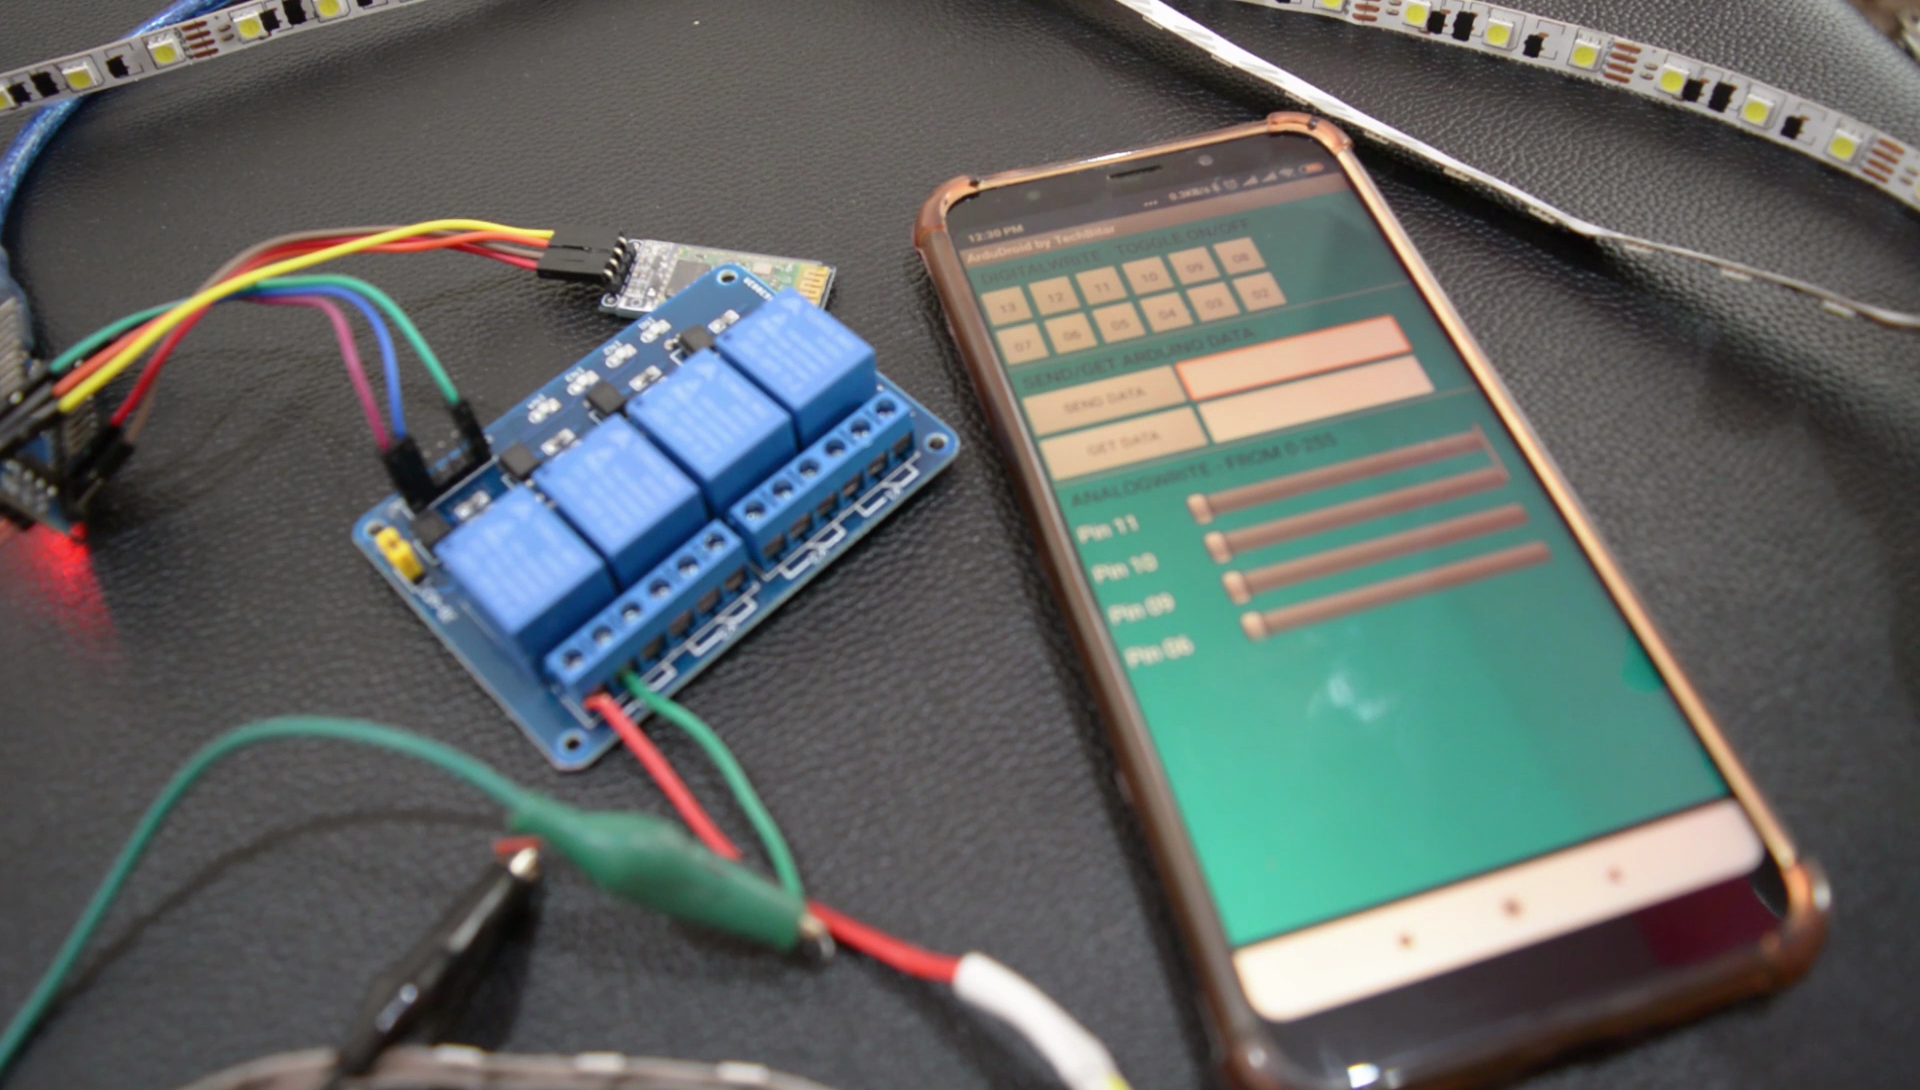
Living in the 21st century is living in a century of automation however, not everyone has this luxury, do not worry! This instructable will tell you exactly how to automate your appliances so that you could turn them on or off just by tapping buttons on your smartphones. If you want to see the working of the project of the video tutorial of the project, I recommend you to watch the video tutorial above.
Let's get started!
Materials Required
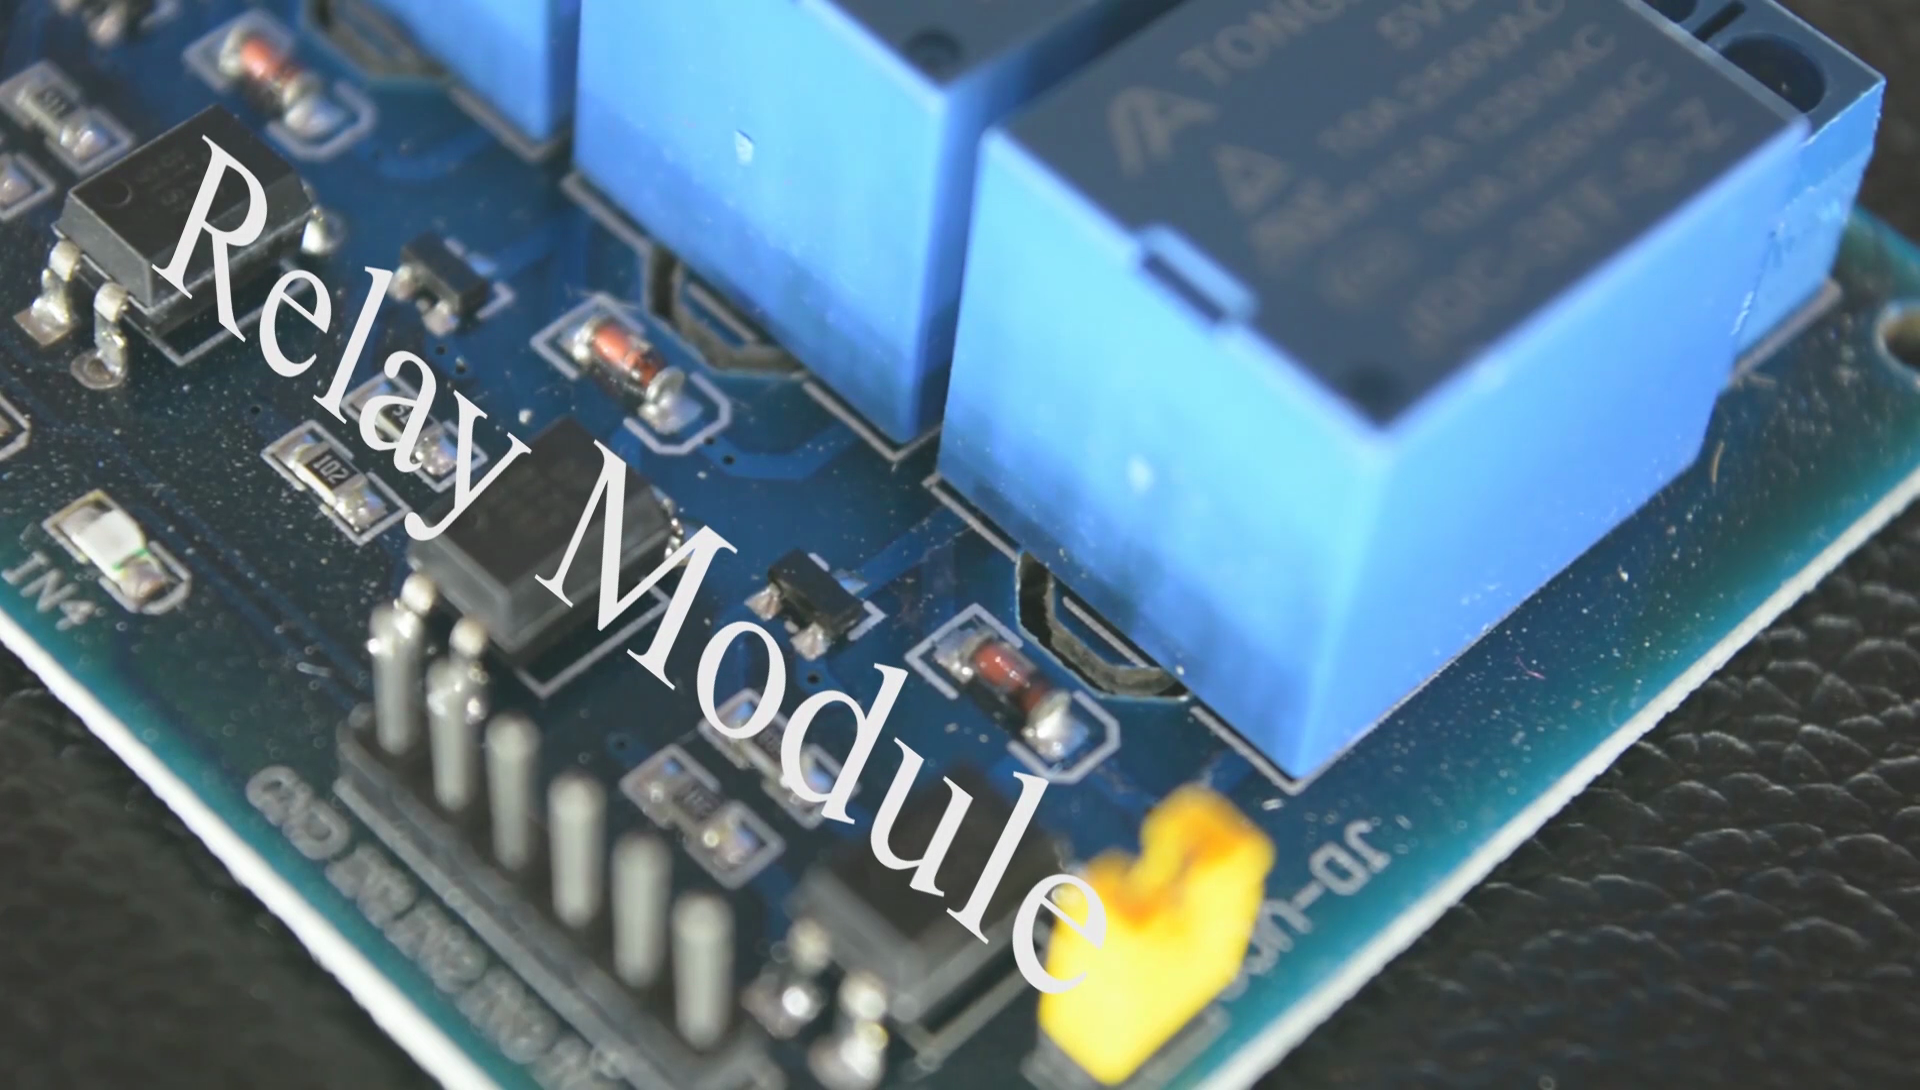
1.) Relay Module
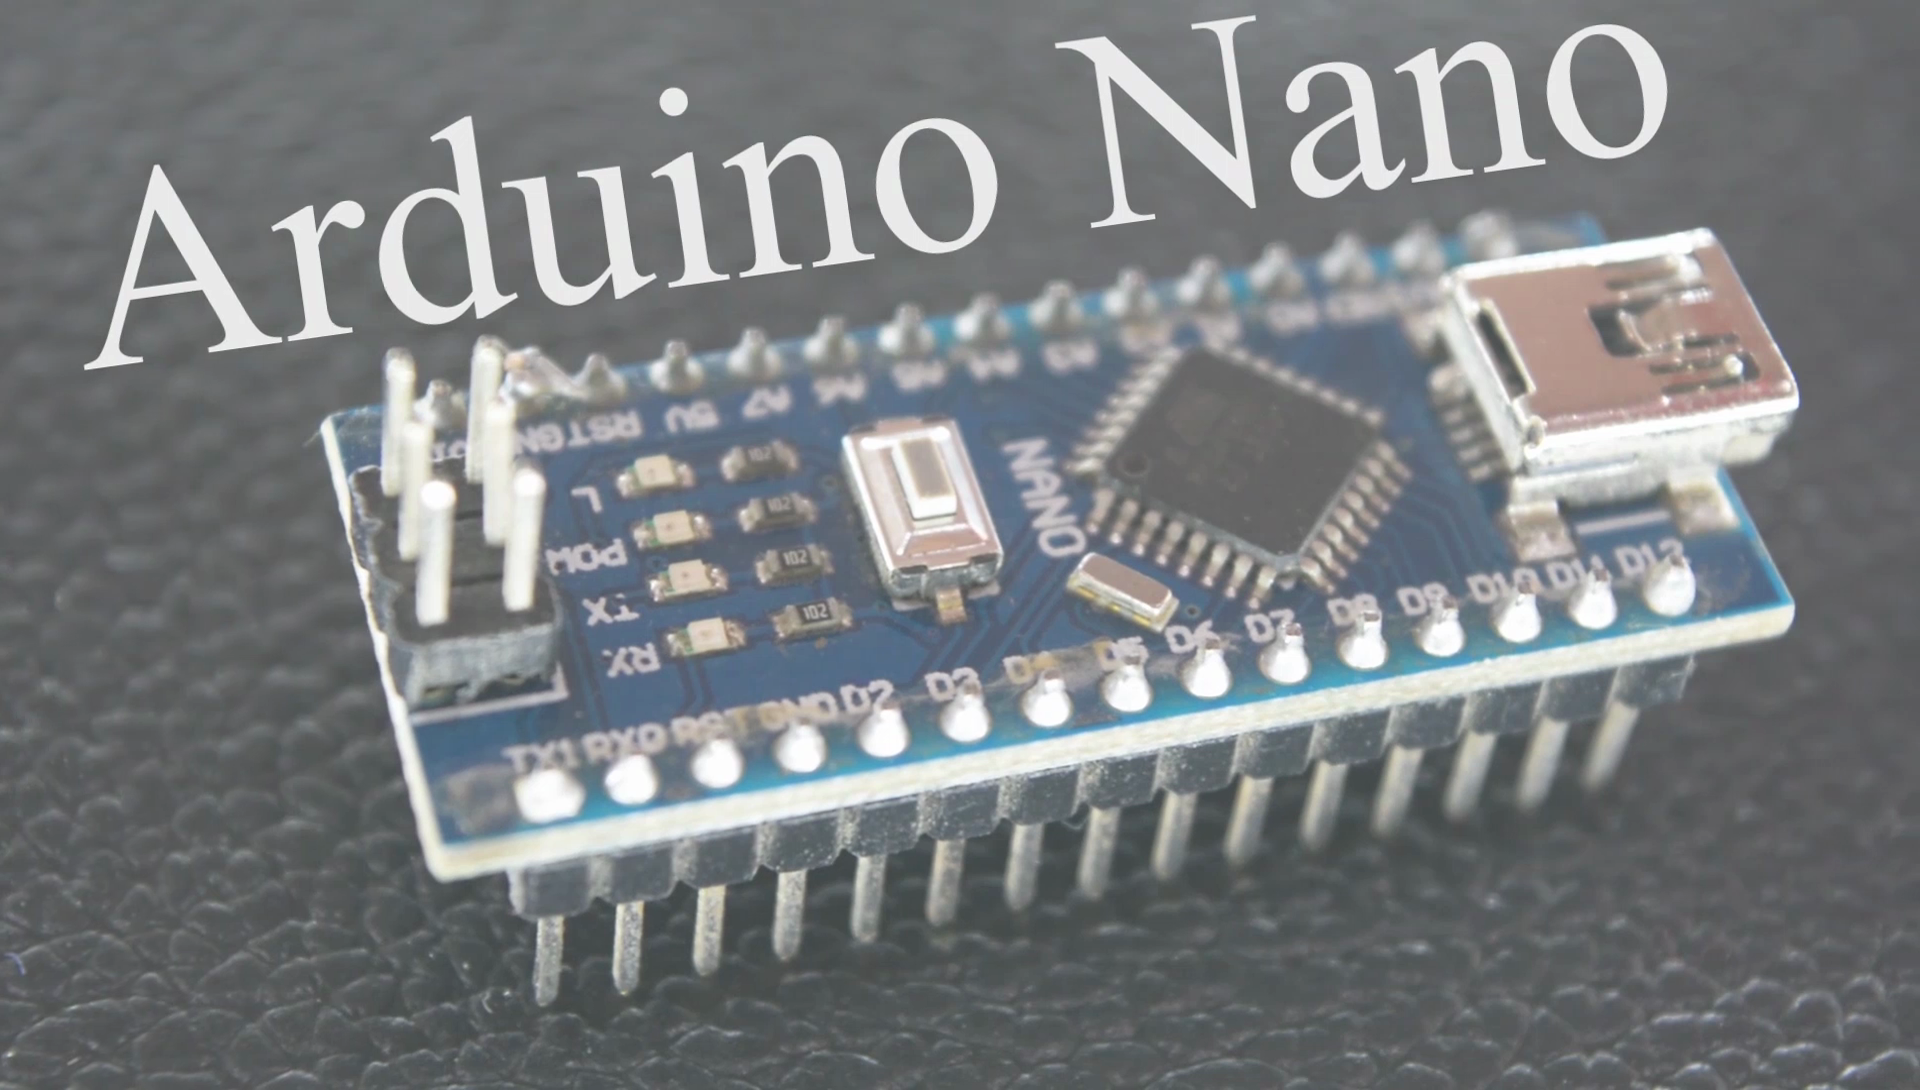
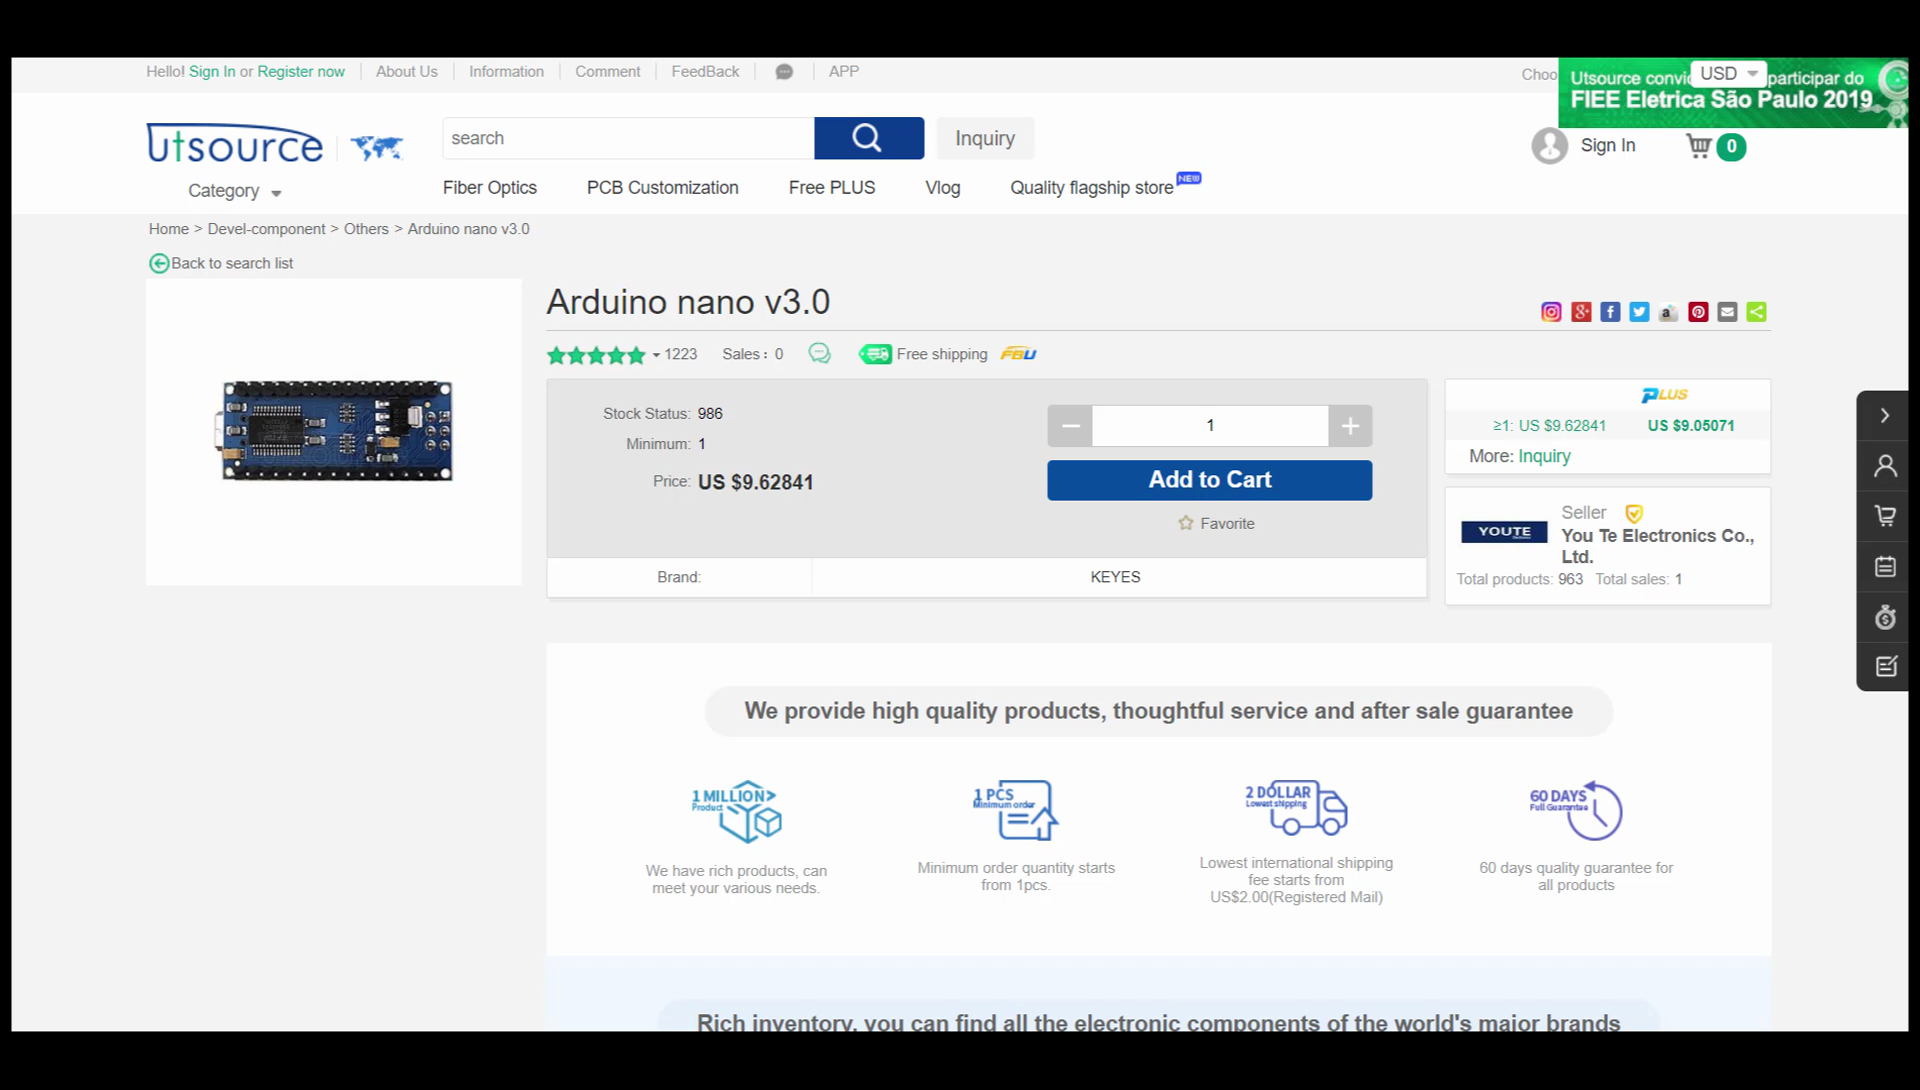
2.) Arduino Nano
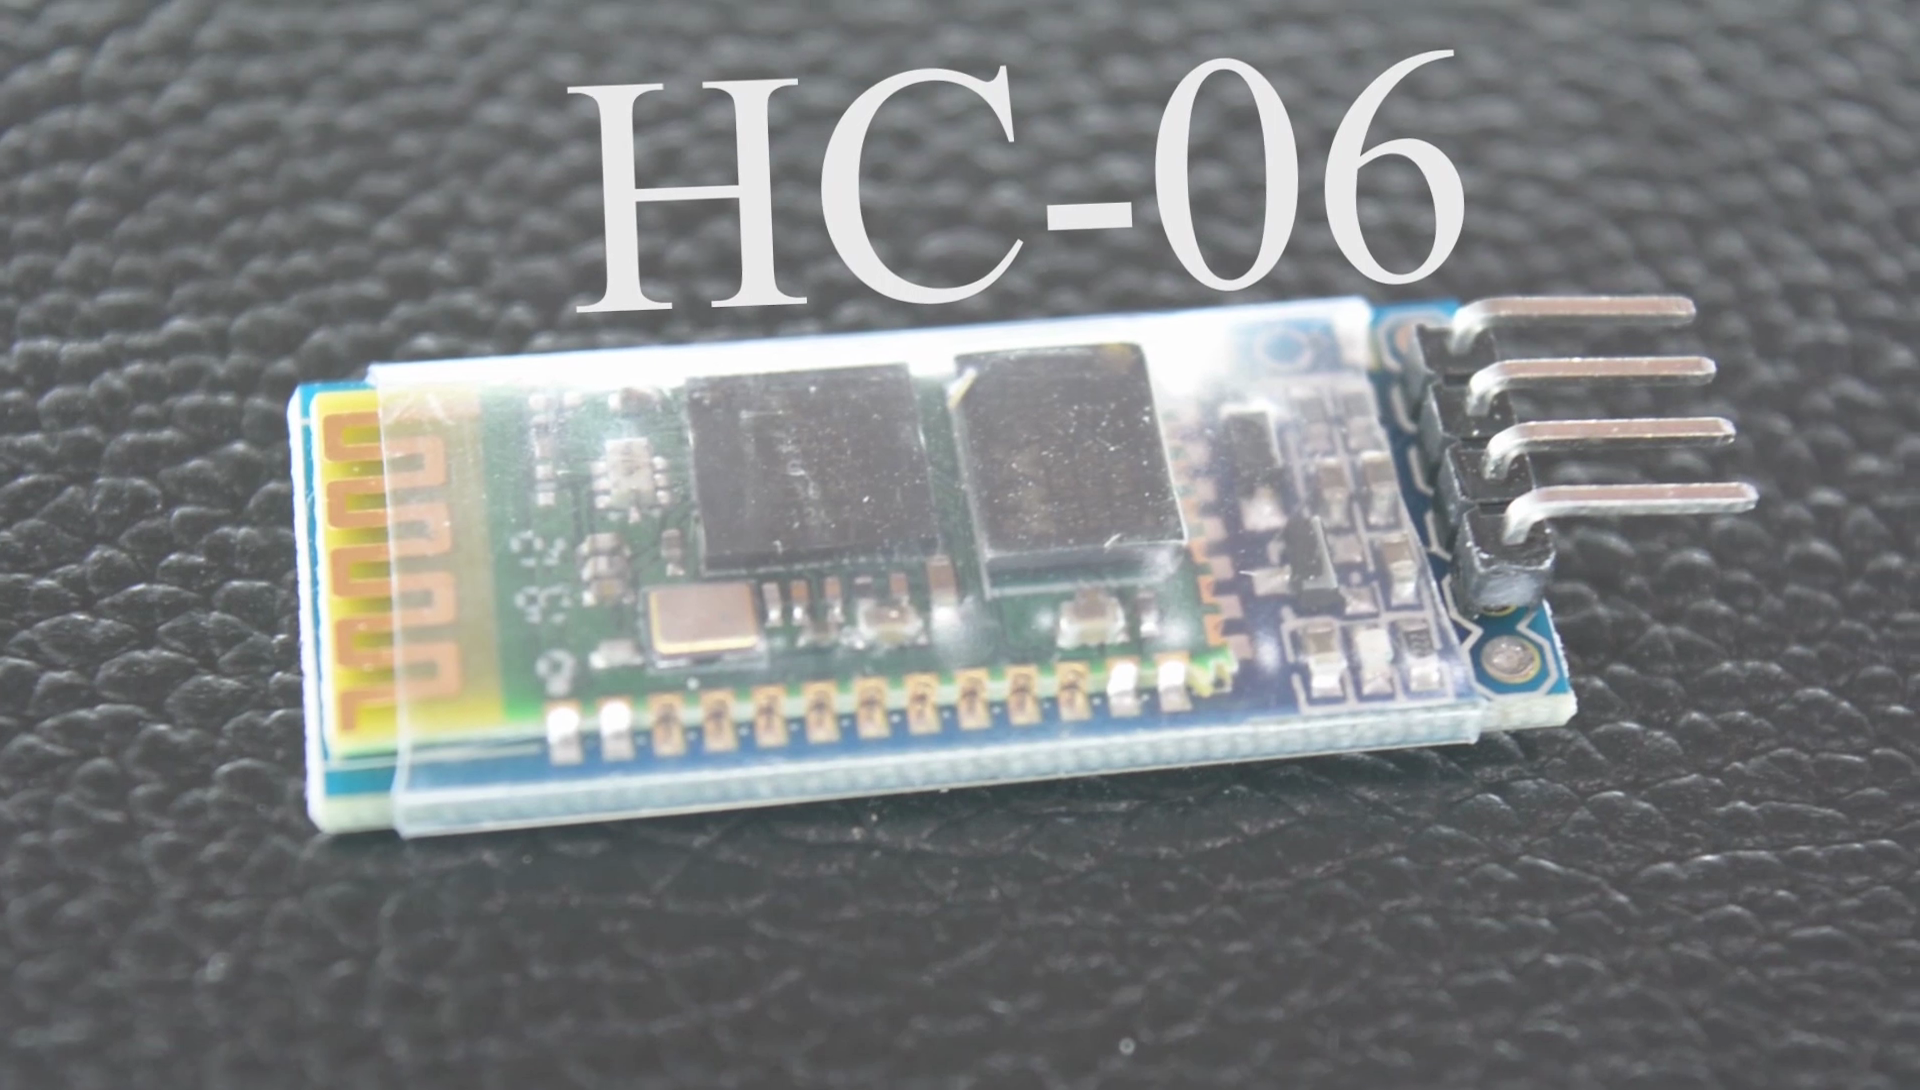
4.) Bluetooth Module HC-06
5.) Jumper Wires
Build
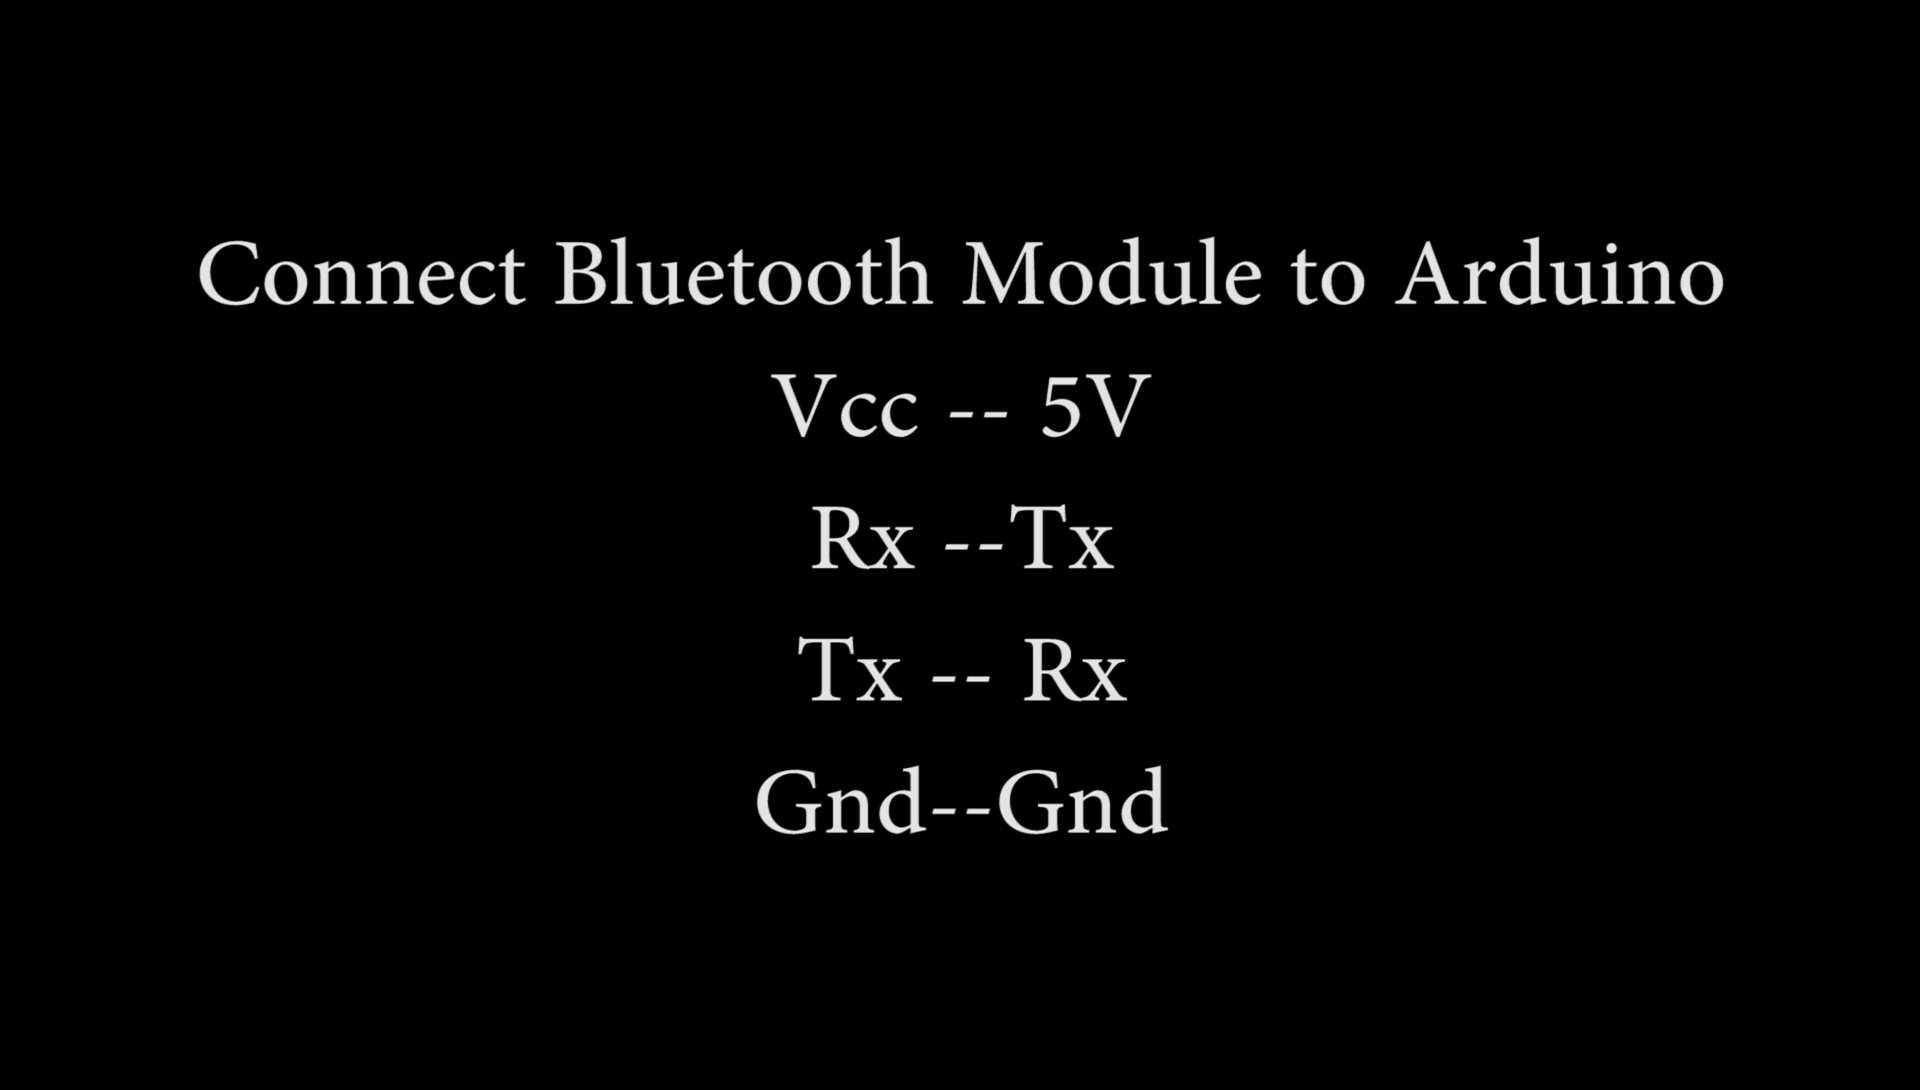
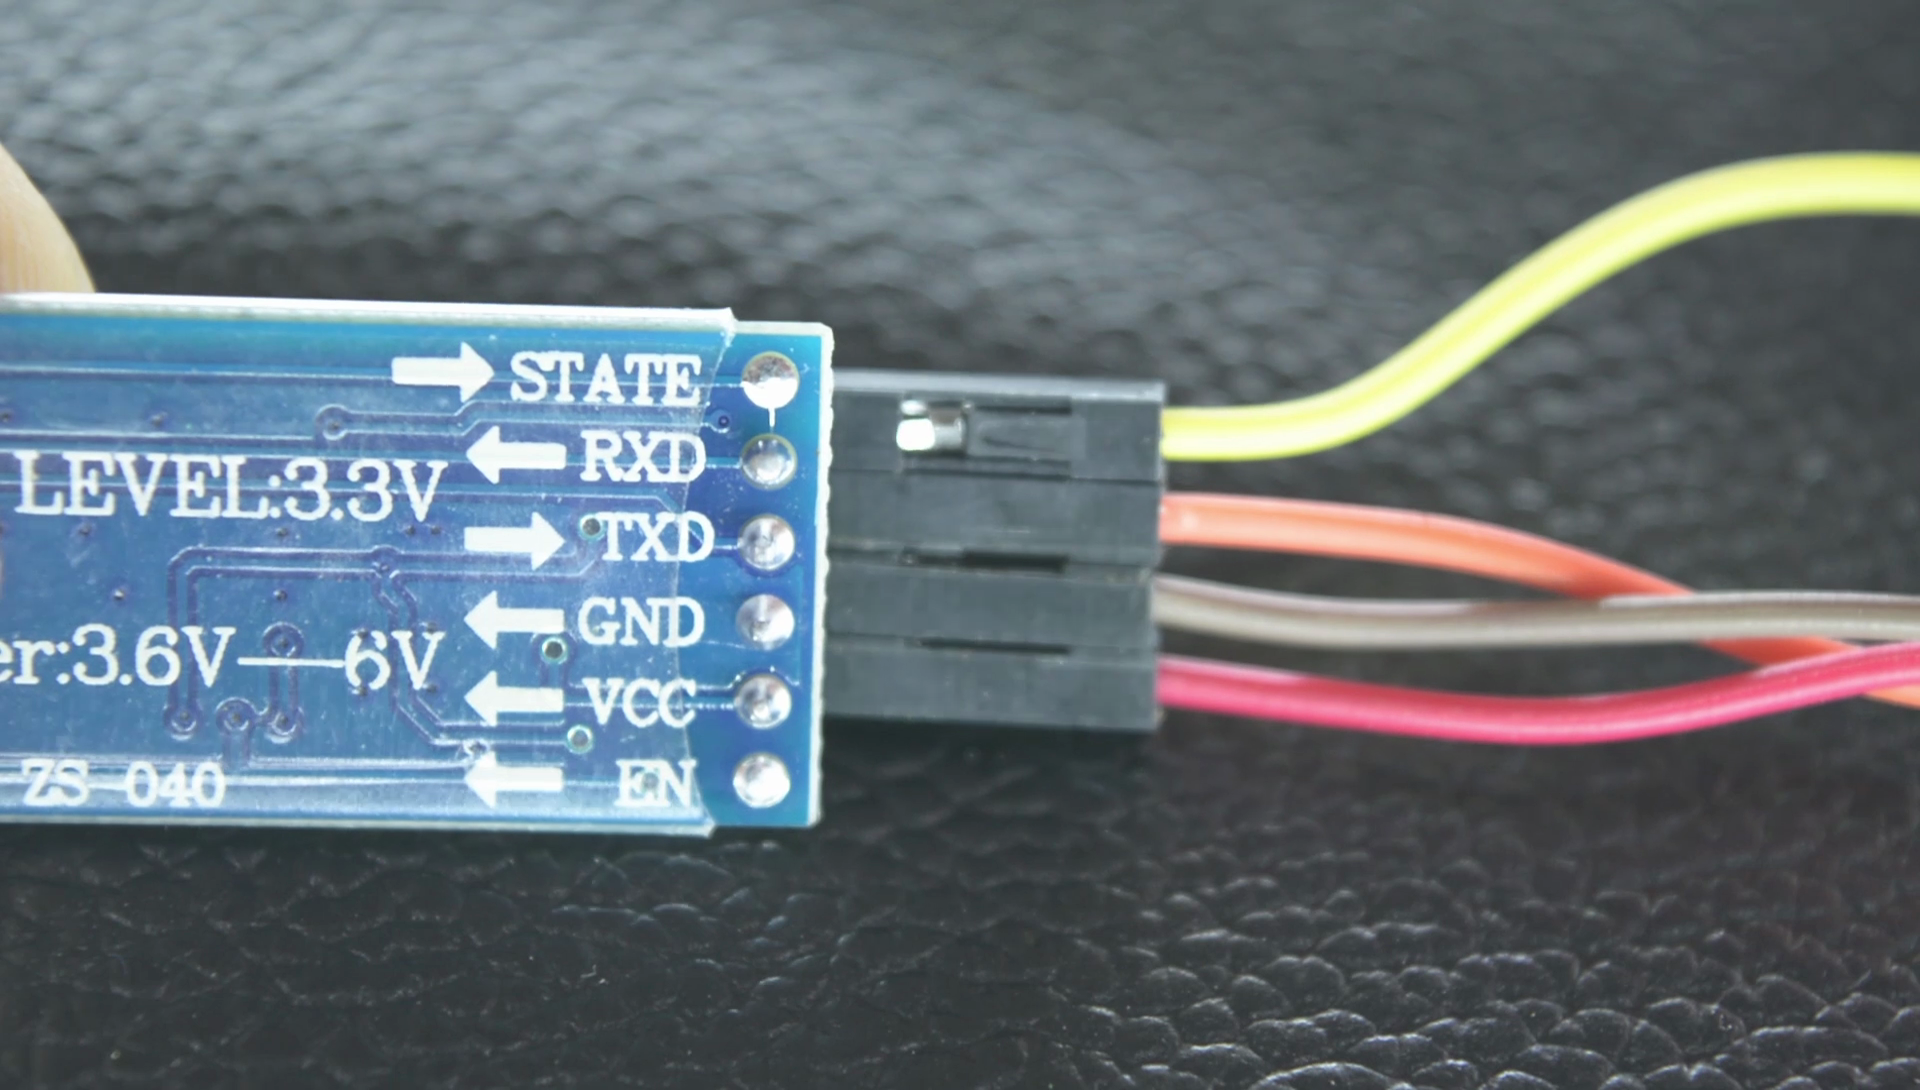

Connect the Bluetooth module to Arduino in following way --
Vcc -- 5V
Gnd -- Gnd
Tx -- Rx
Rx -- Tx
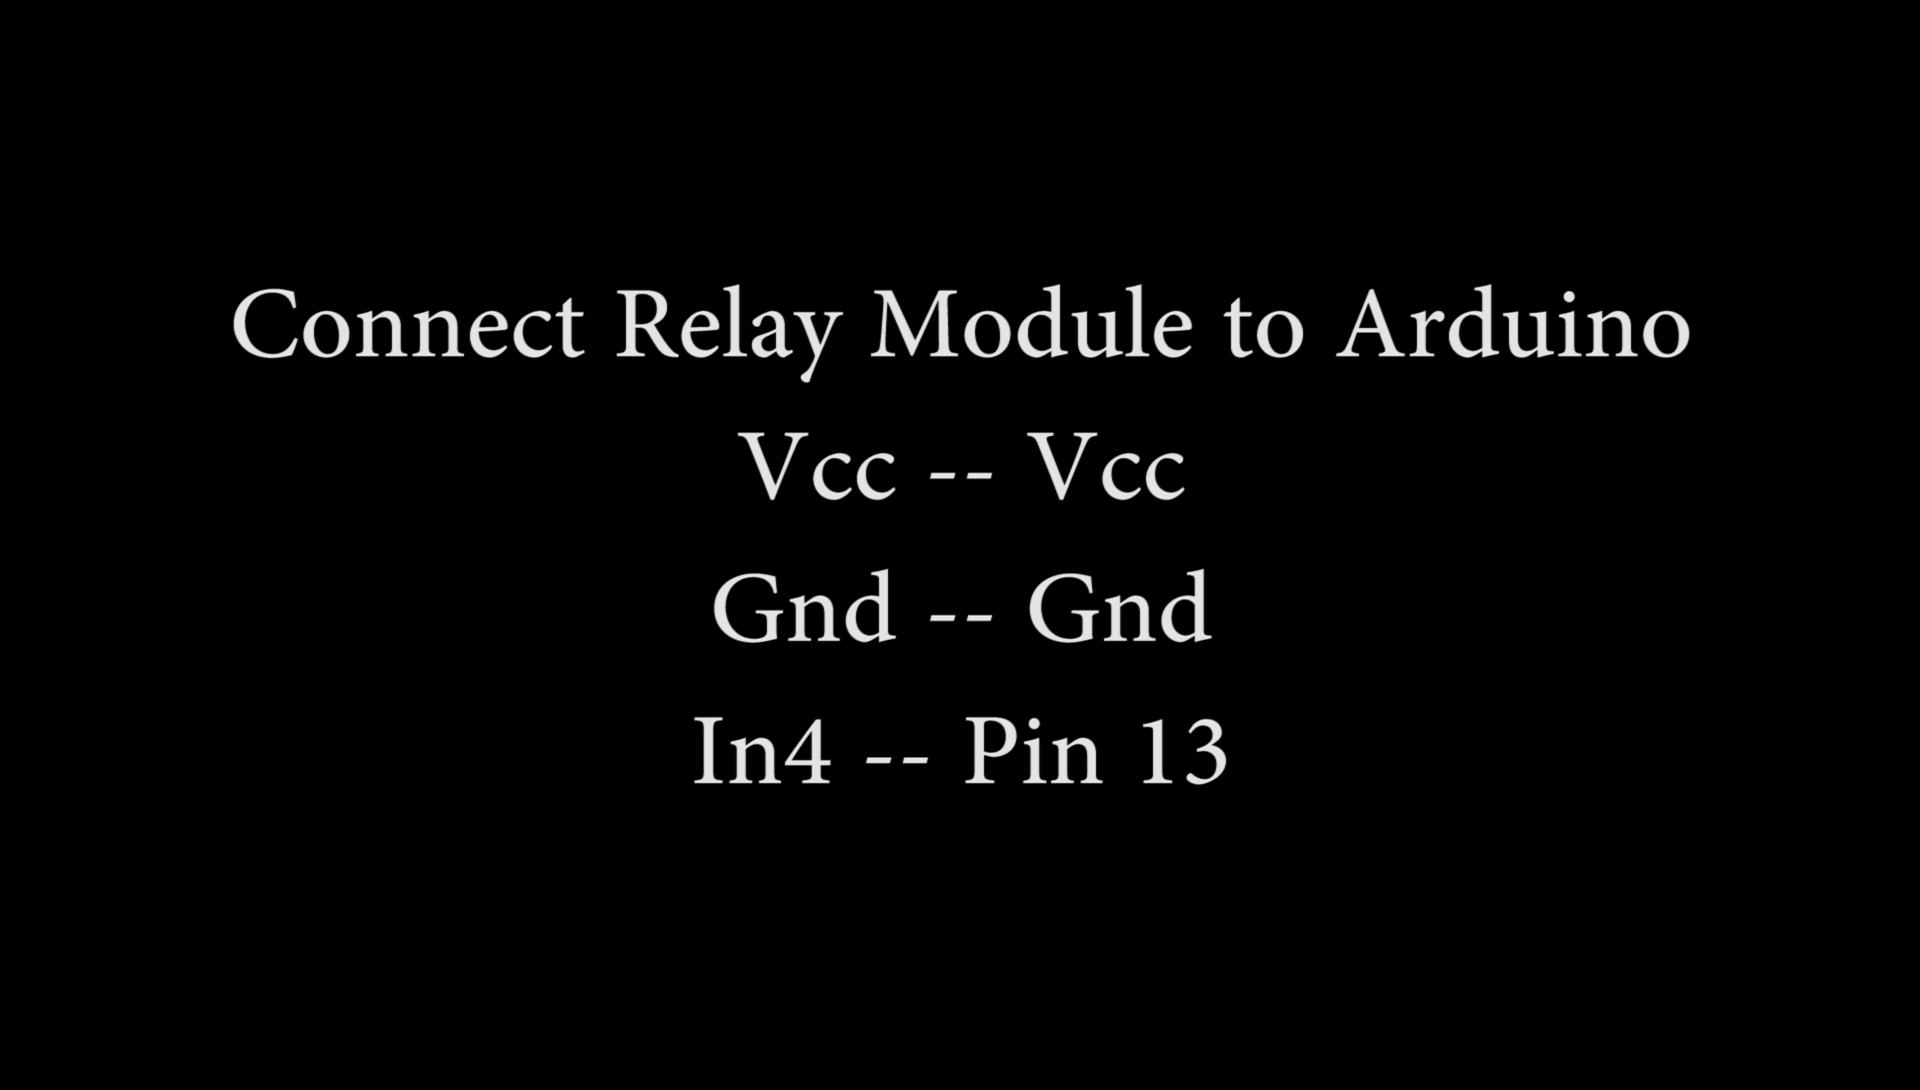
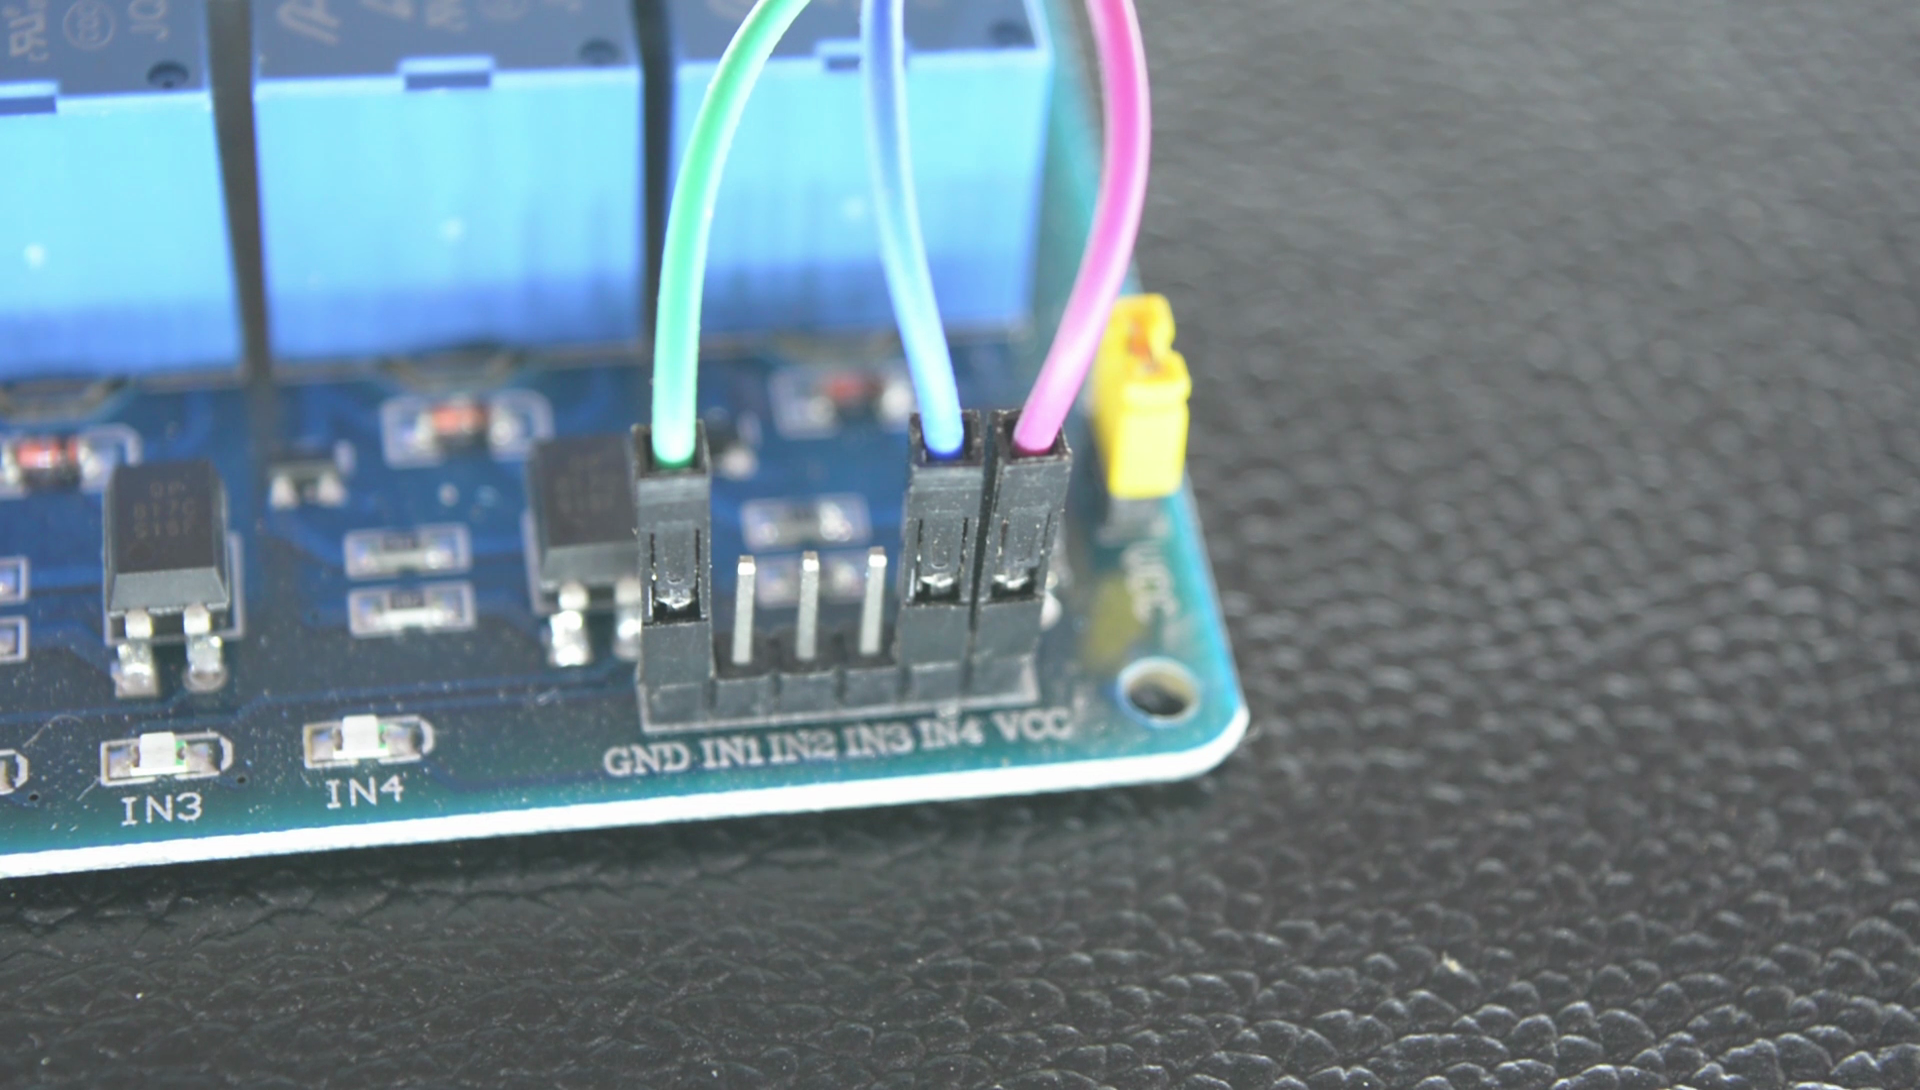
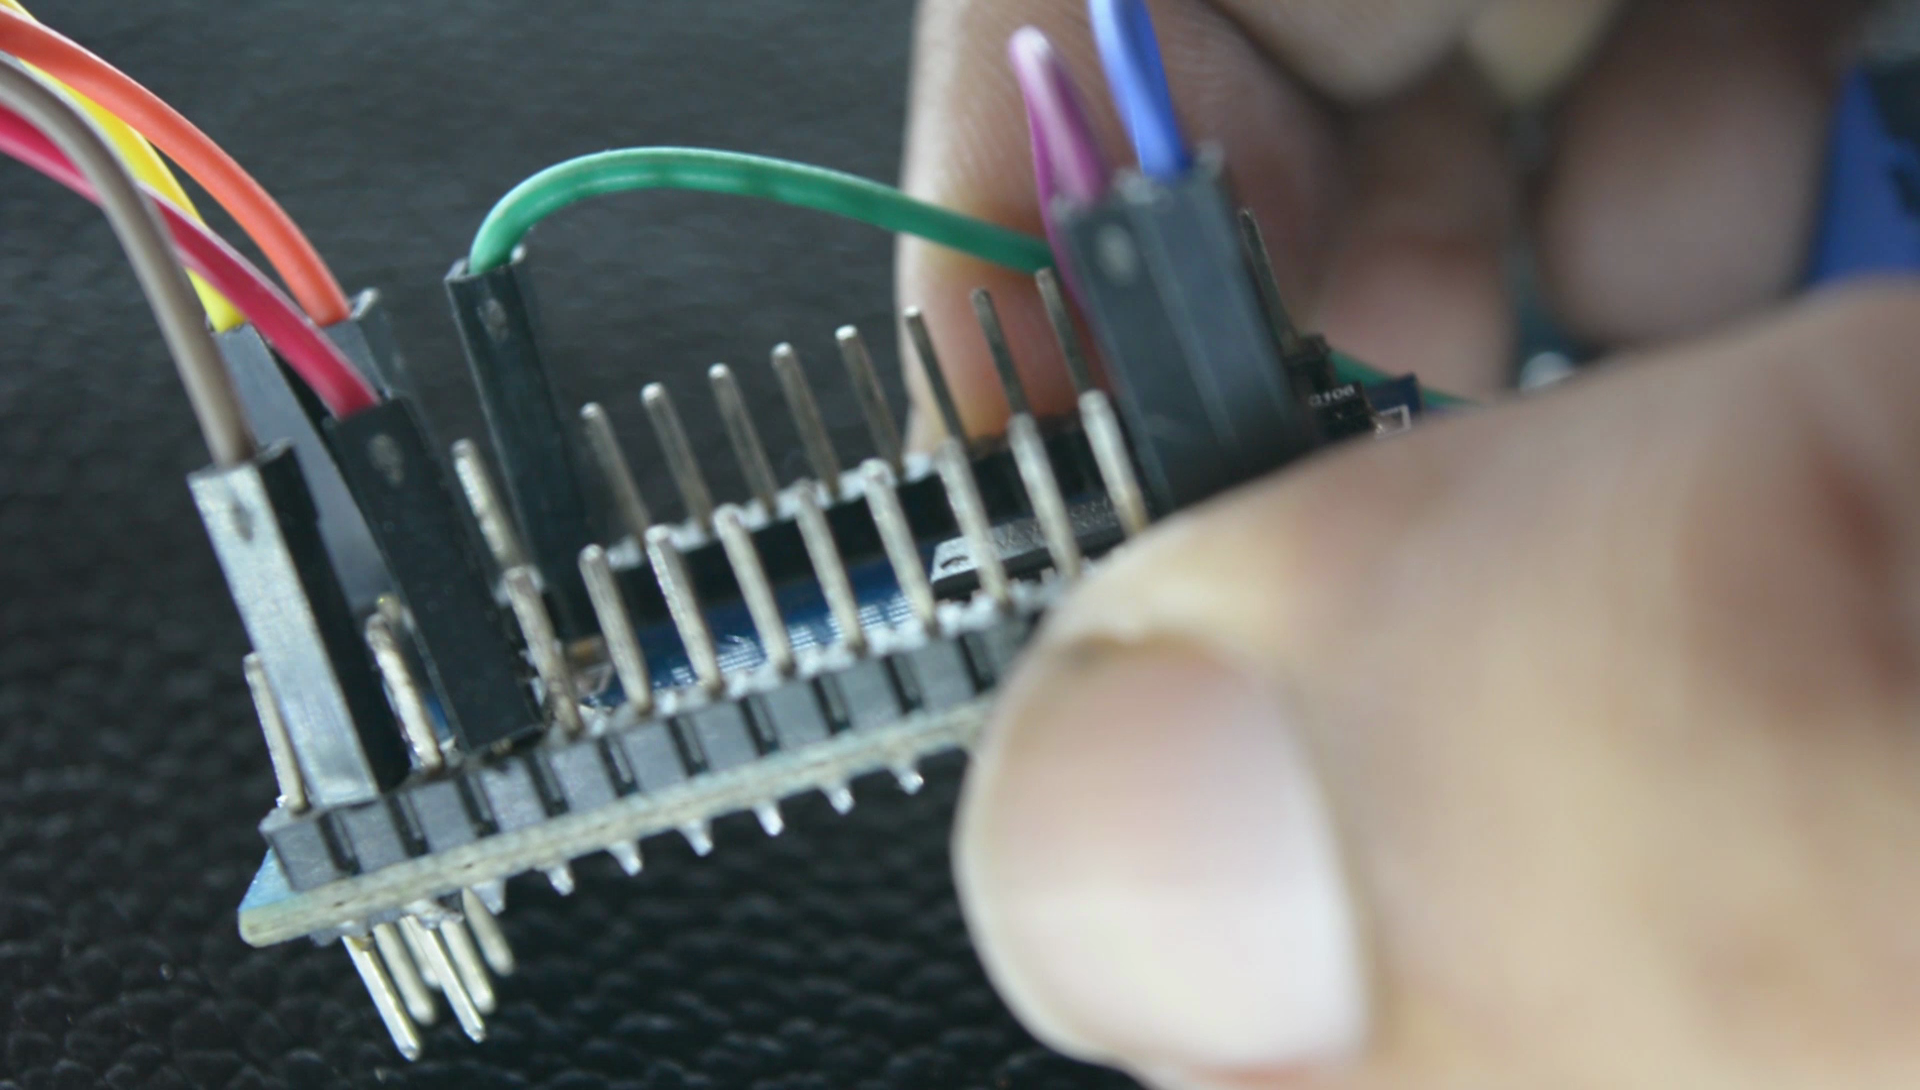
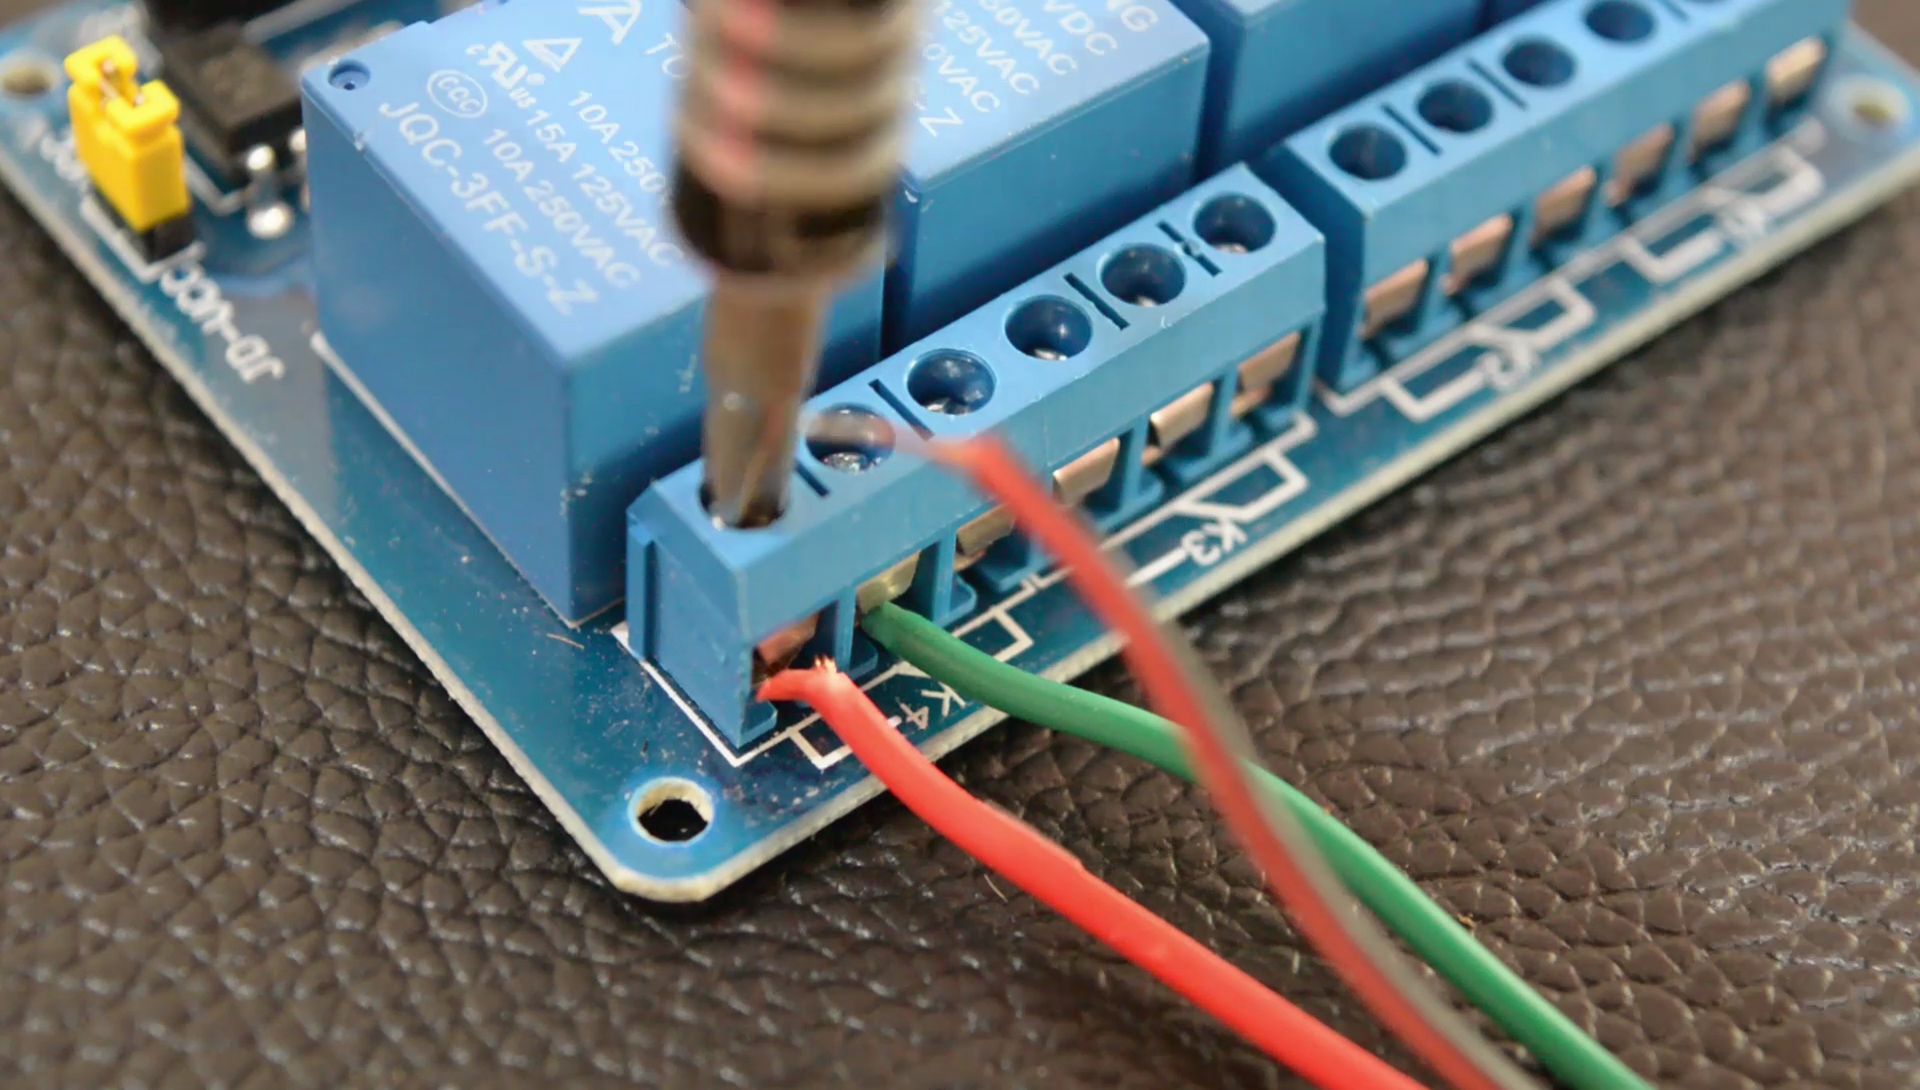
Afterwards, connect the relay module to Arduino in the following way --
Vcc -- Vcc
Gnd --Gnd
In4 -- Pin13
Now connect the relay's output to the load, one wire of the two will go through the relay and one will directly go to the load/appliance.
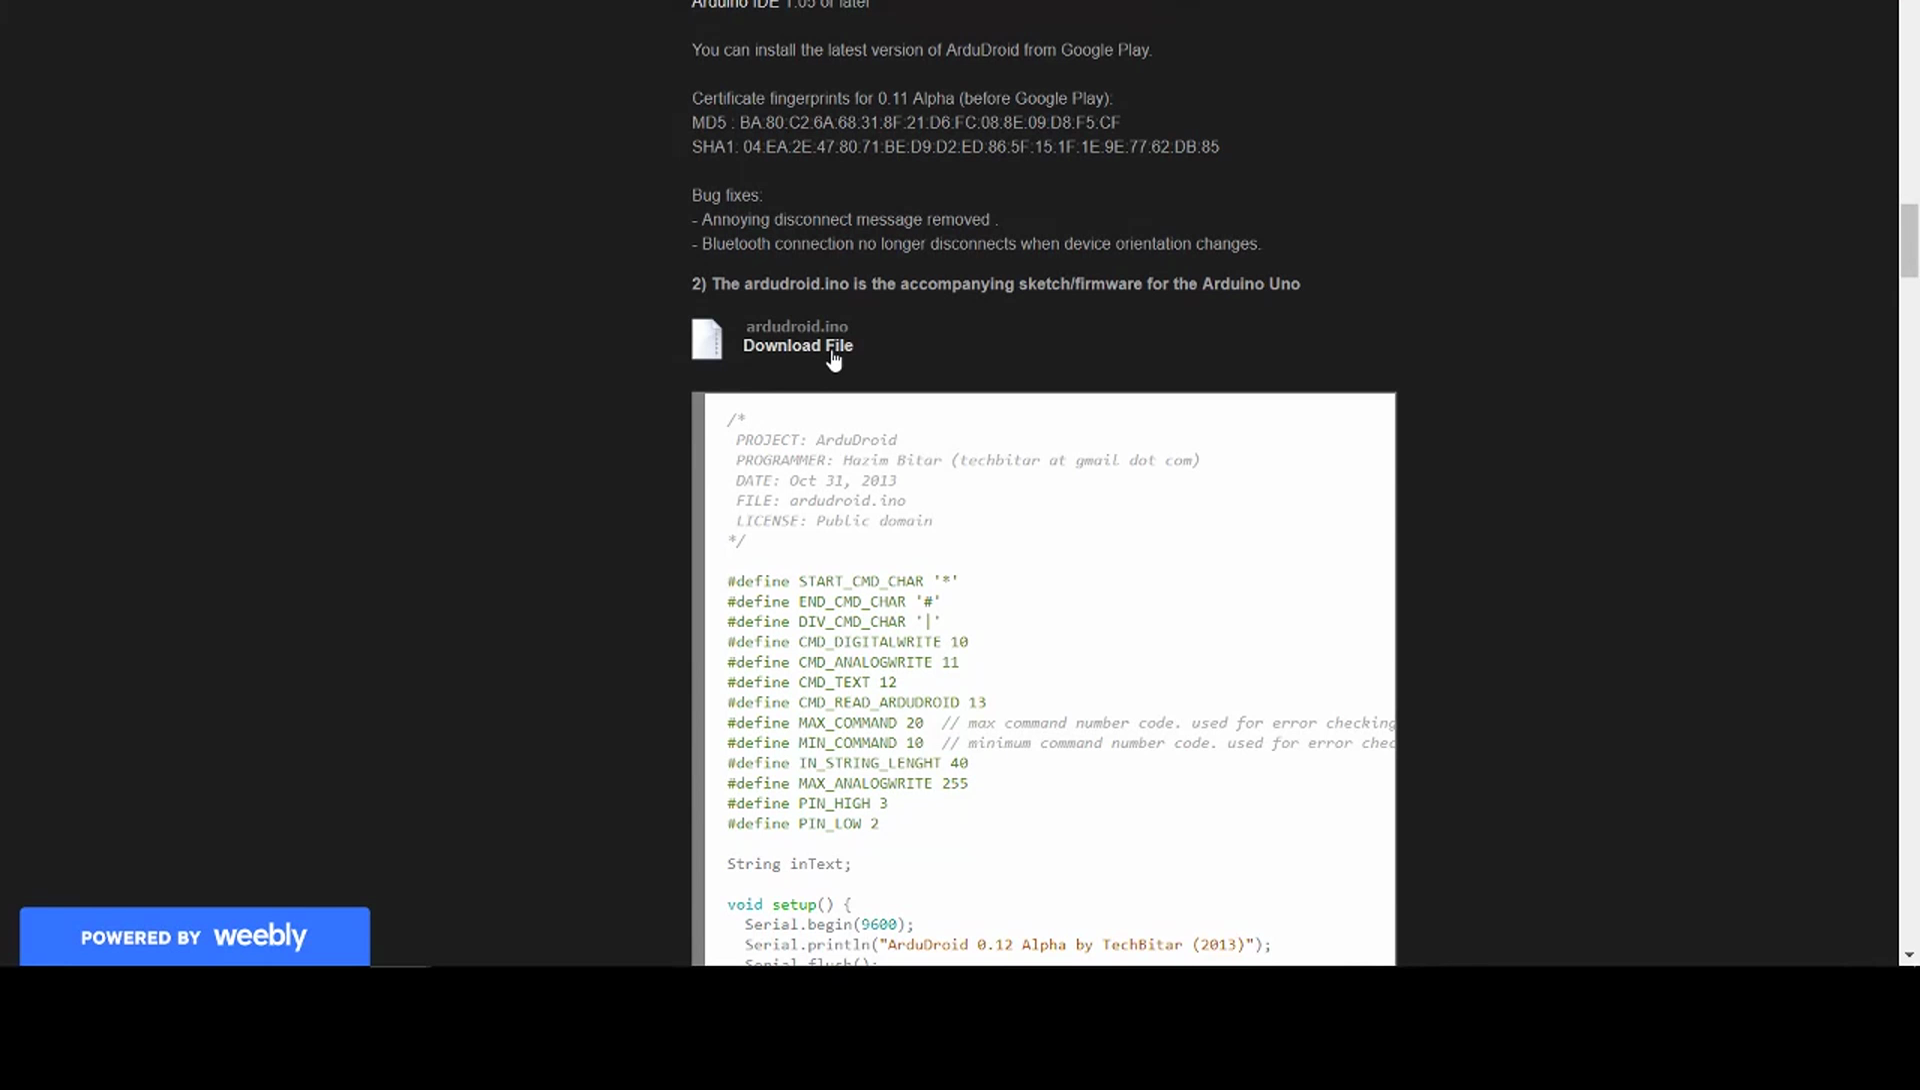
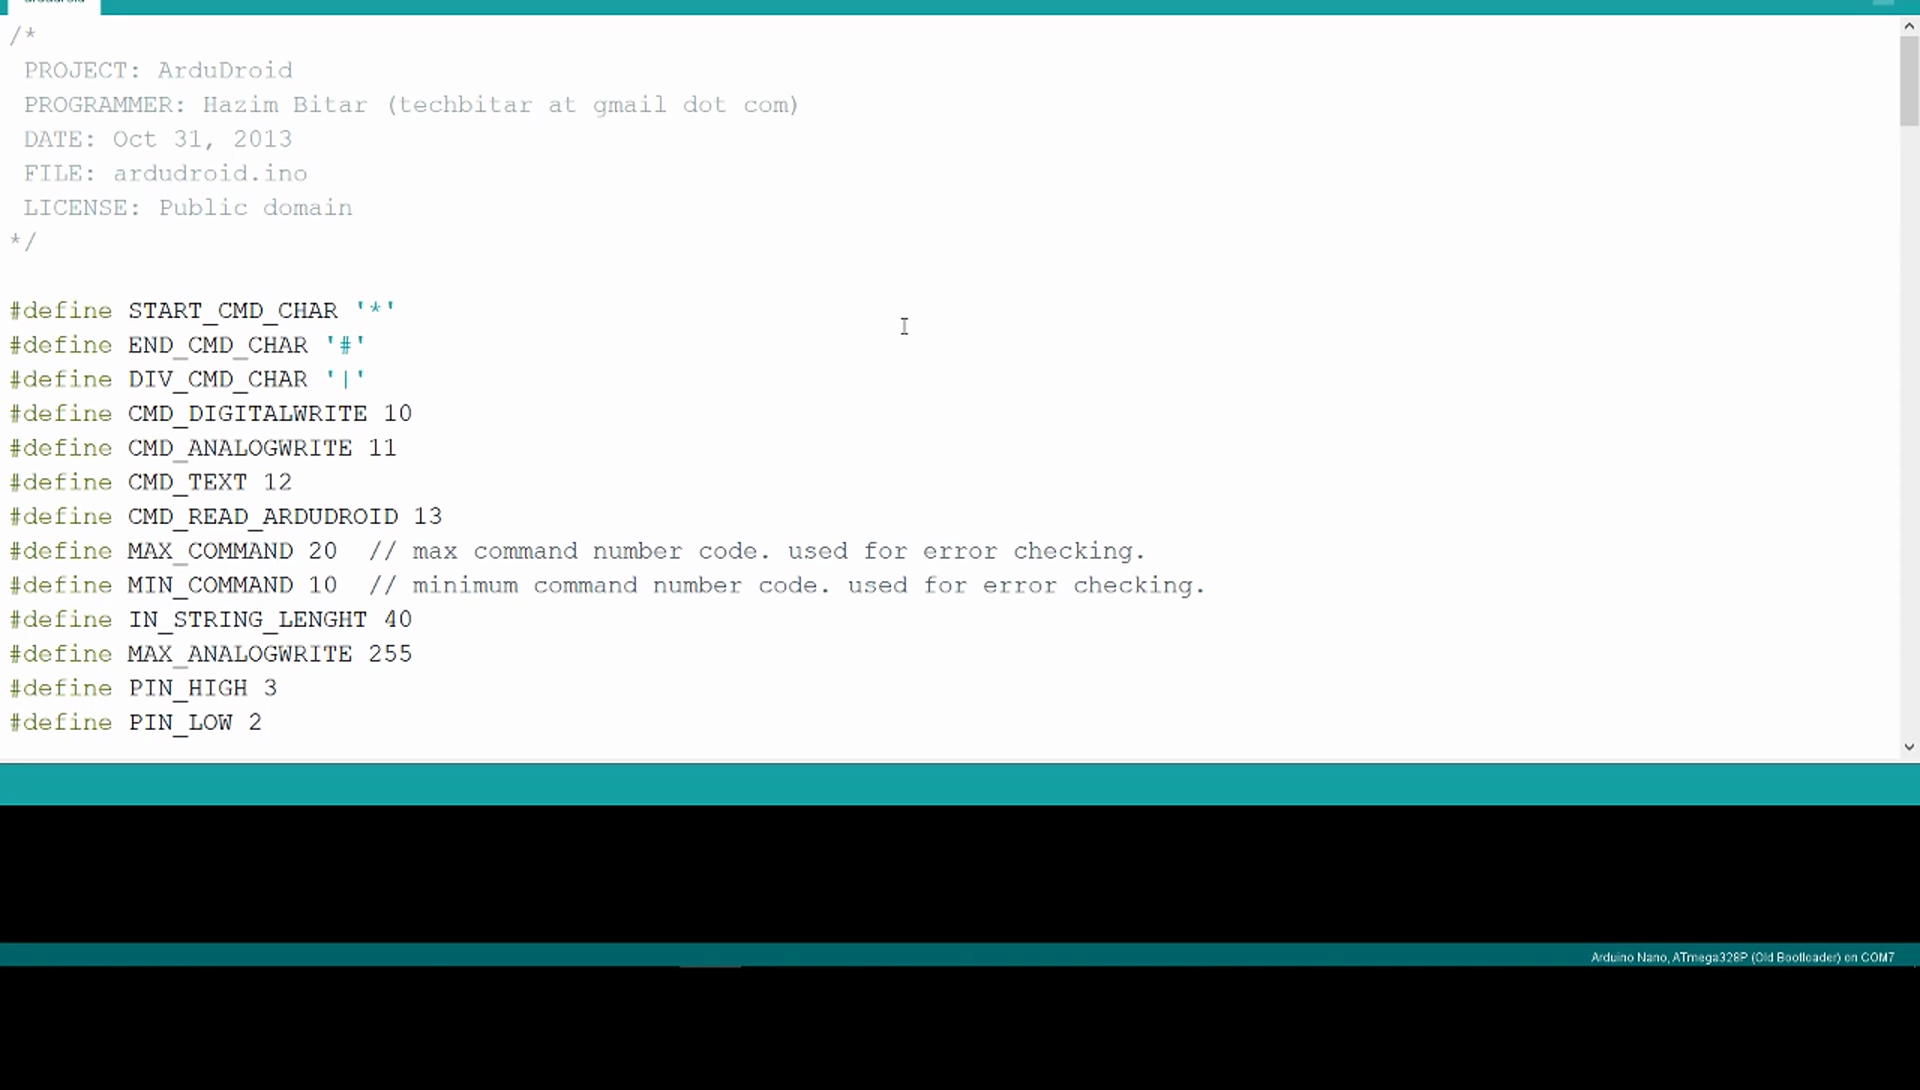
After you're done with the above, download the Ardudroid code for the Arduino and Upload it.
Test
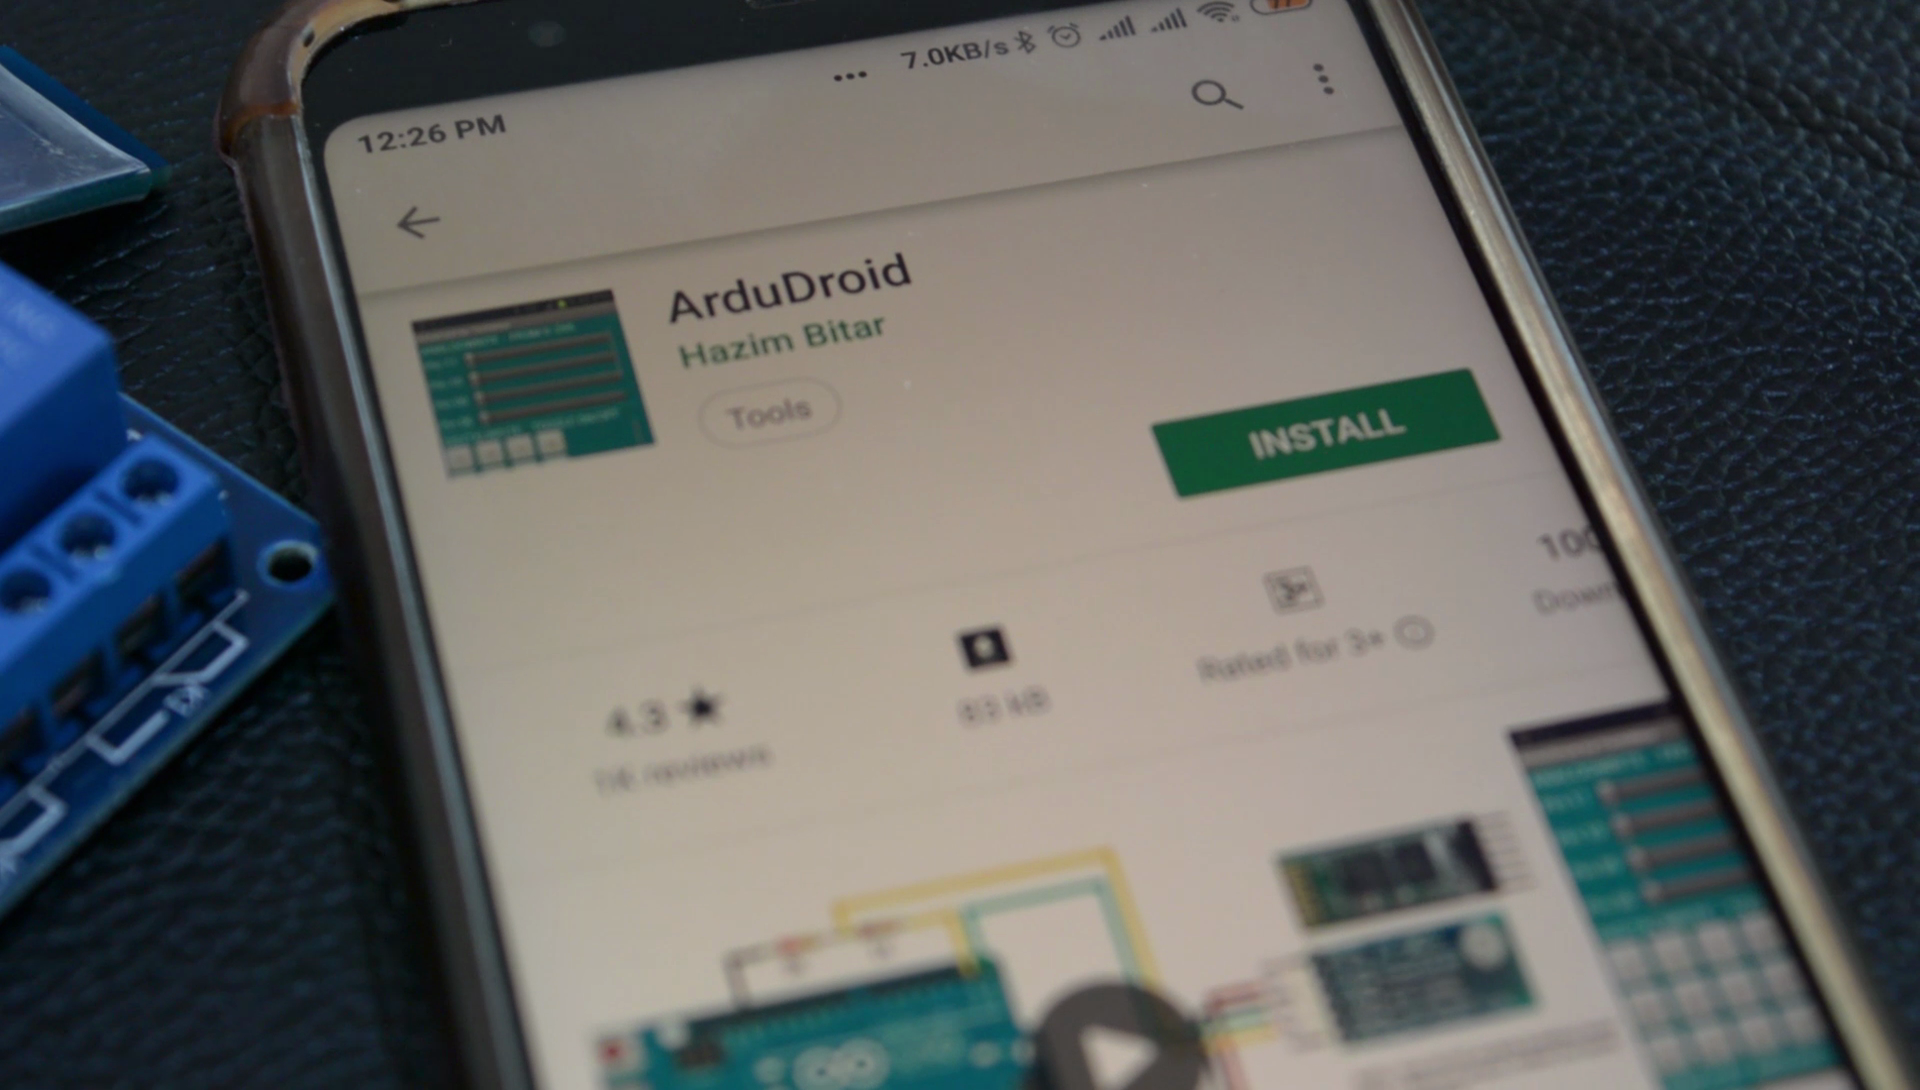
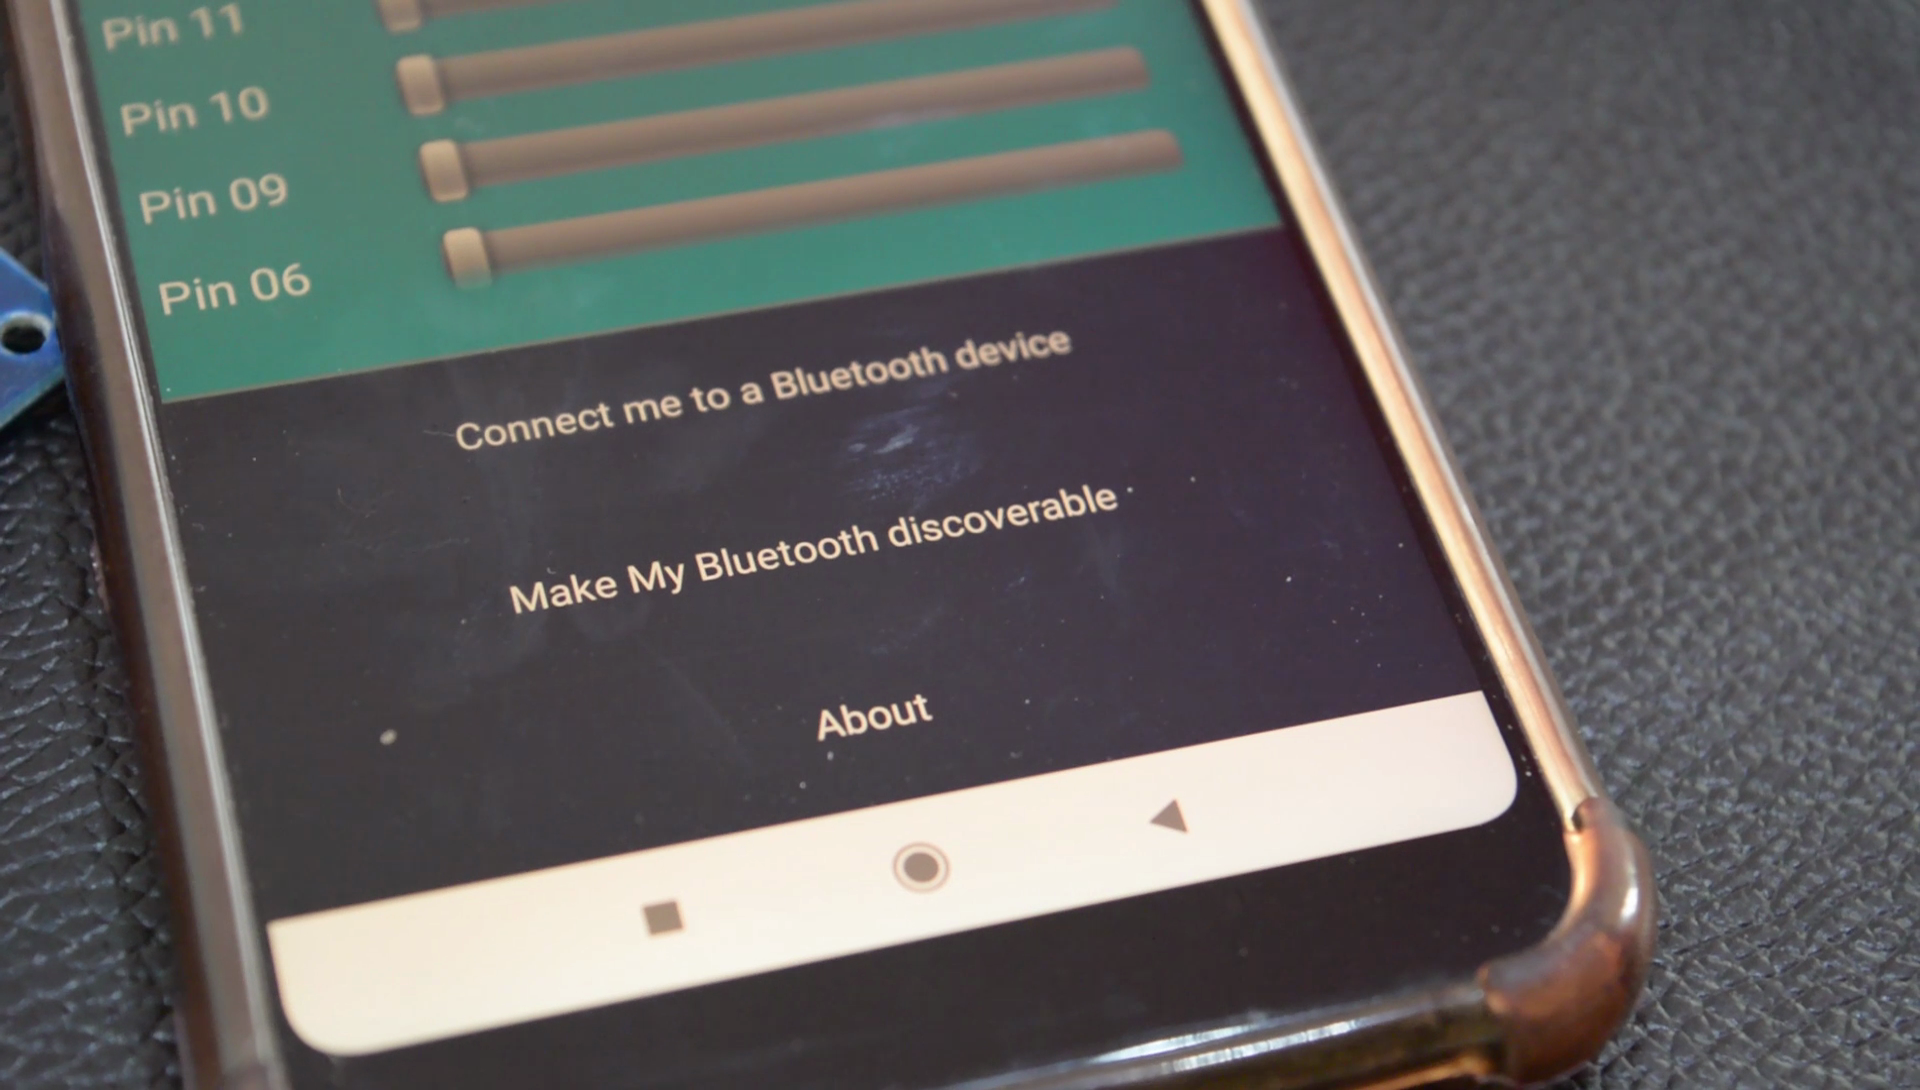
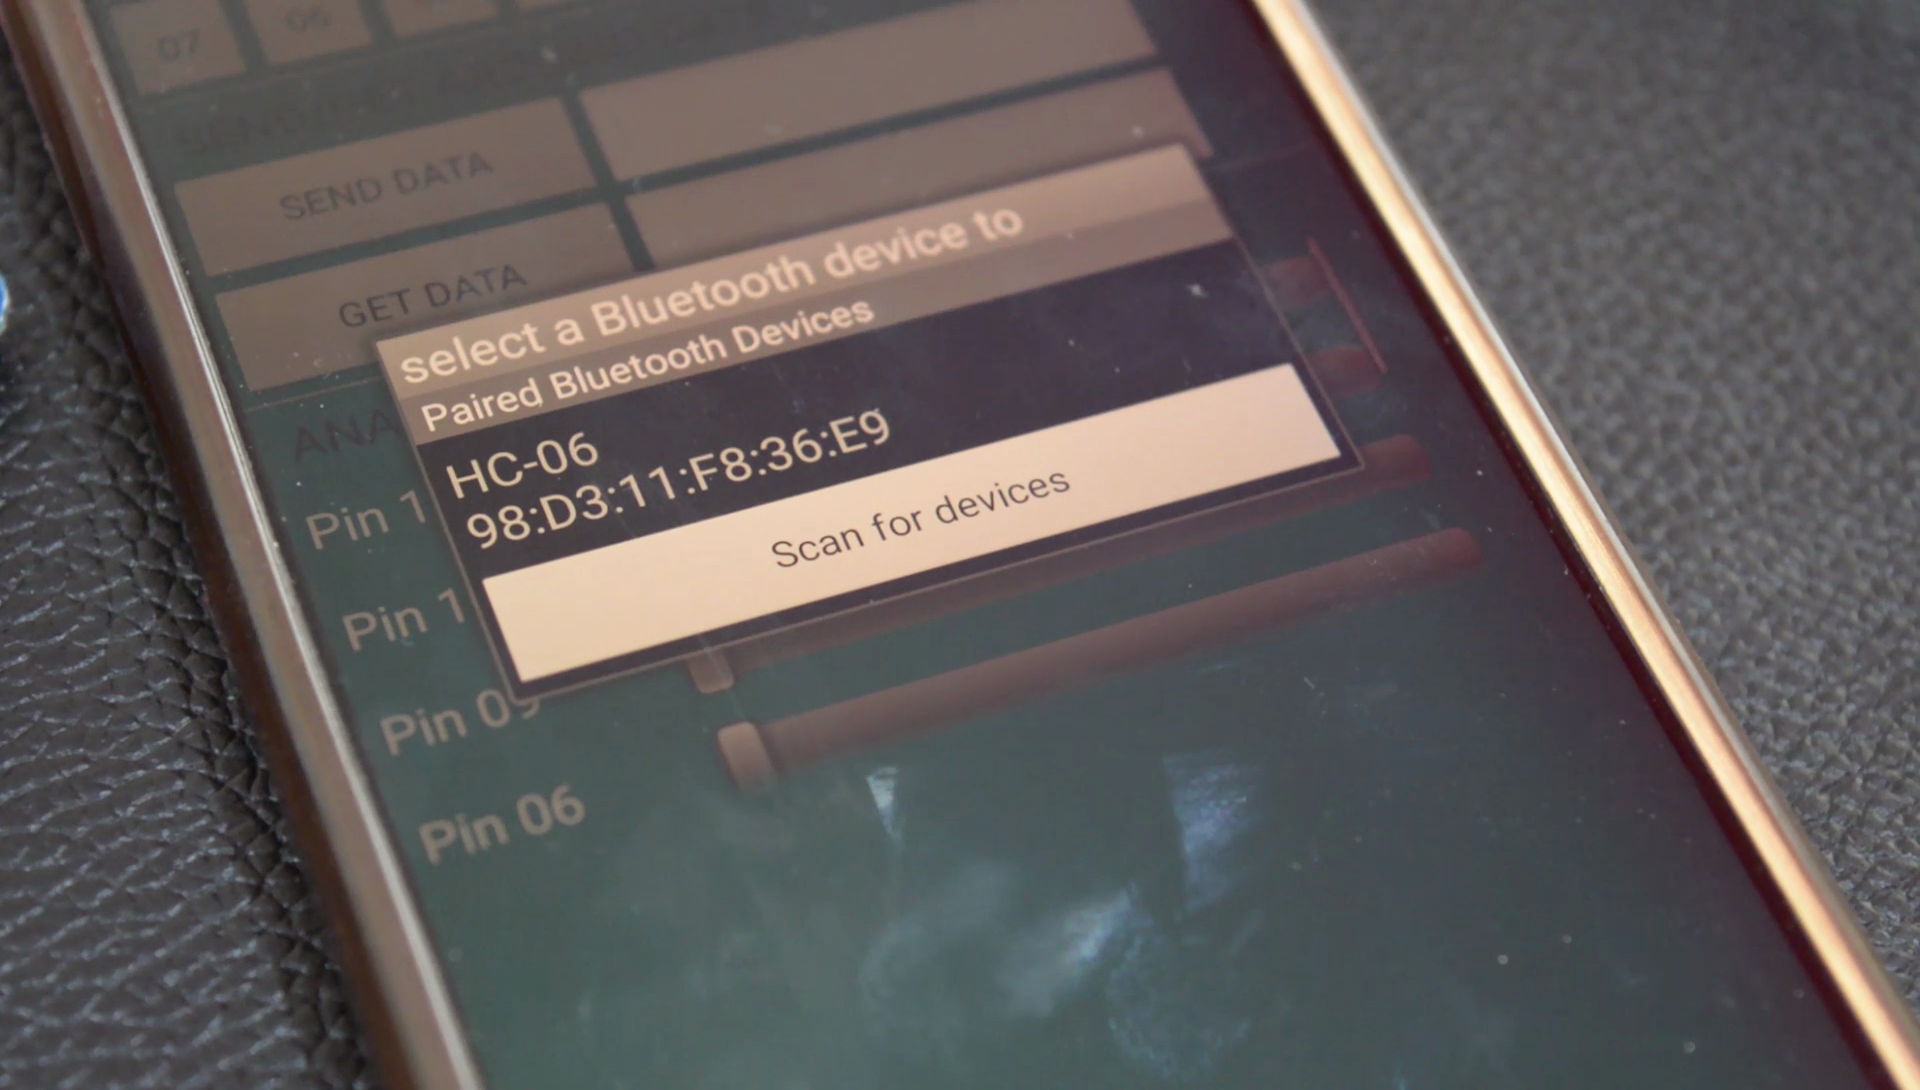
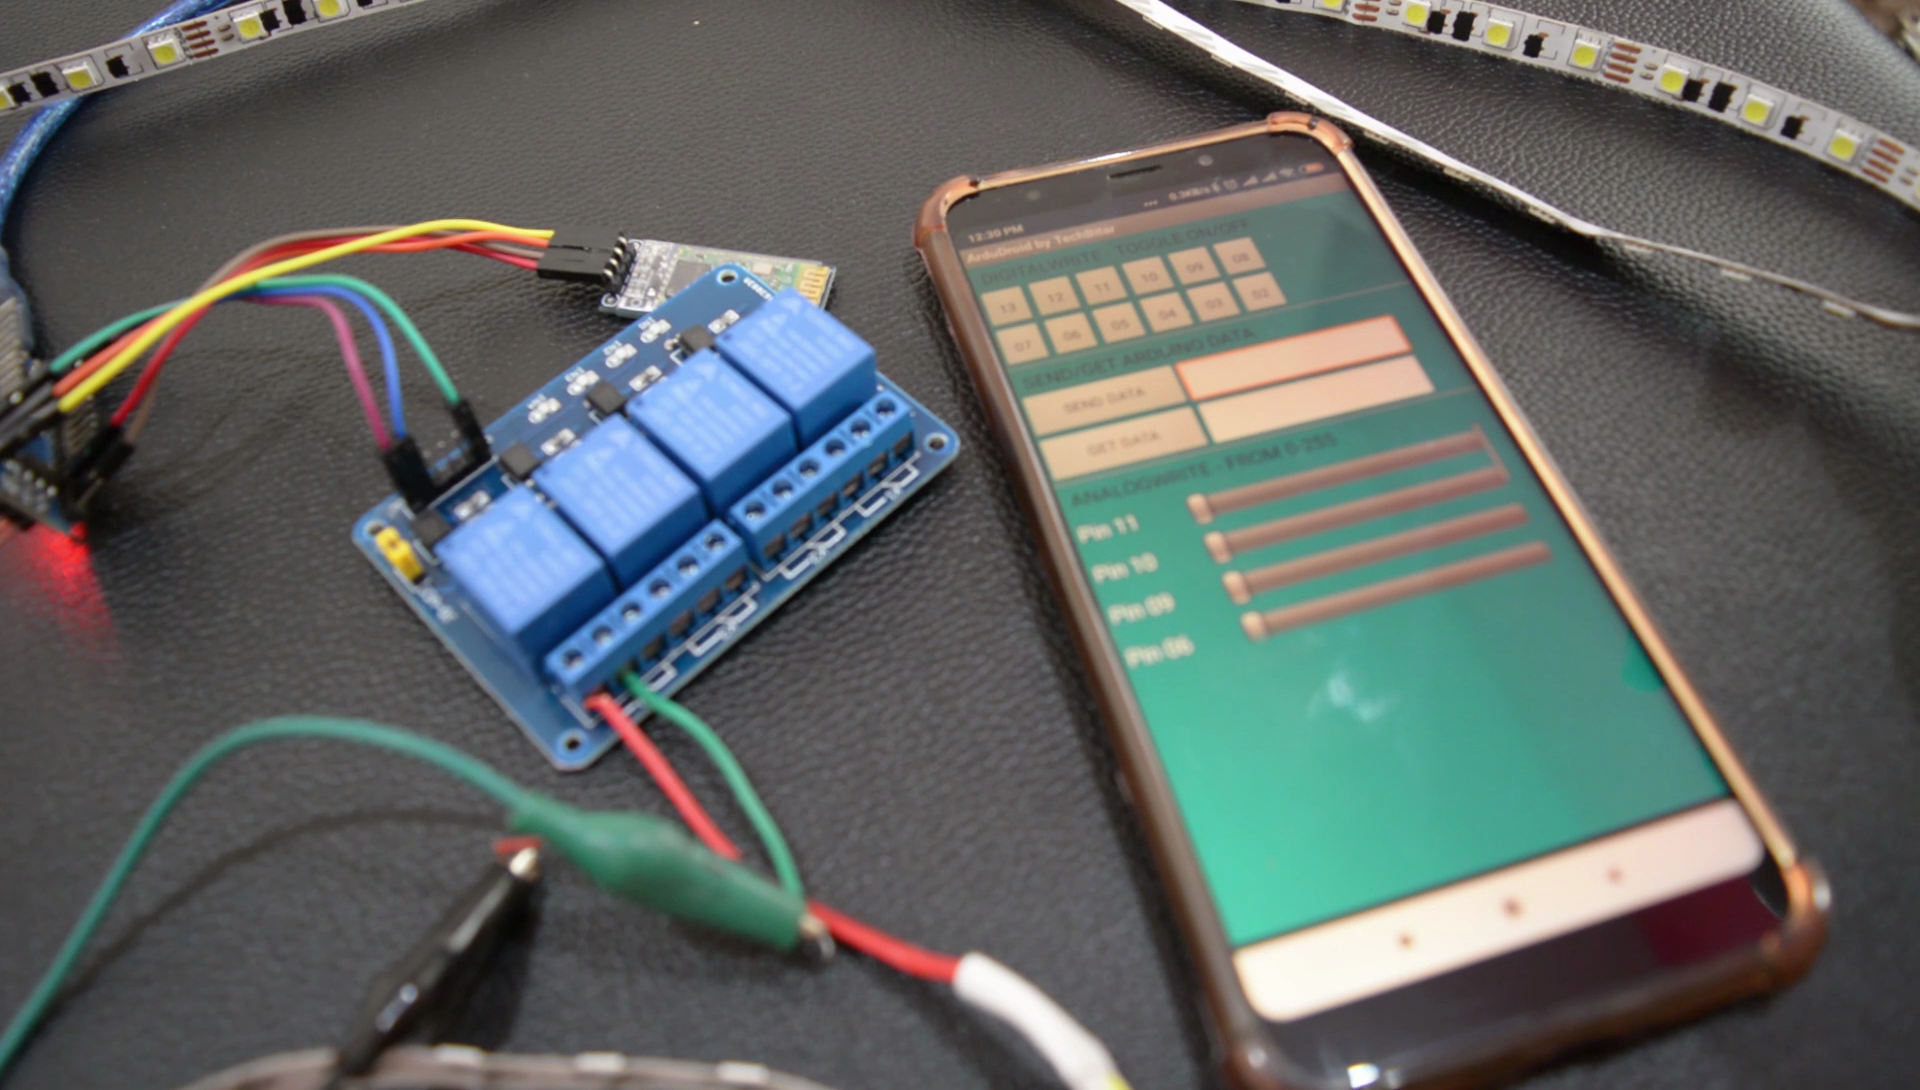
Now time for the test, download and install the Ardudroid app from the Google Playstore, open it, turn on your phone's Bluetooth and go to options where you will see the HC-06, connect to it and you are ready to go.
When you press the buttons labeled such as 13,12 and 11. Pressing these buttons will toggle the subsequent Arduino pins High and Low.
If you want to see the real-time working of the project I'd suggest you watch the video of the project attached in the intro