Bluetooth Controlled LED
by callmeappytechie in Circuits > Arduino
3839 Views, 36 Favorites, 0 Comments
Bluetooth Controlled LED

Hi, I'm Sridhar Janardhan back with another tutorial today I am going to teach you wireless electronics.To be precised I am going to show how to control a led using HC-05 Bluetooth module.Bluetooth module is a wireless technique used to send data from receiver to transmitter wirelessly.So let's get started by building the Circuit before that let's collect the required components.
Note: If you have missed my previous Ibles please click here
Collecting Components:


The components are:
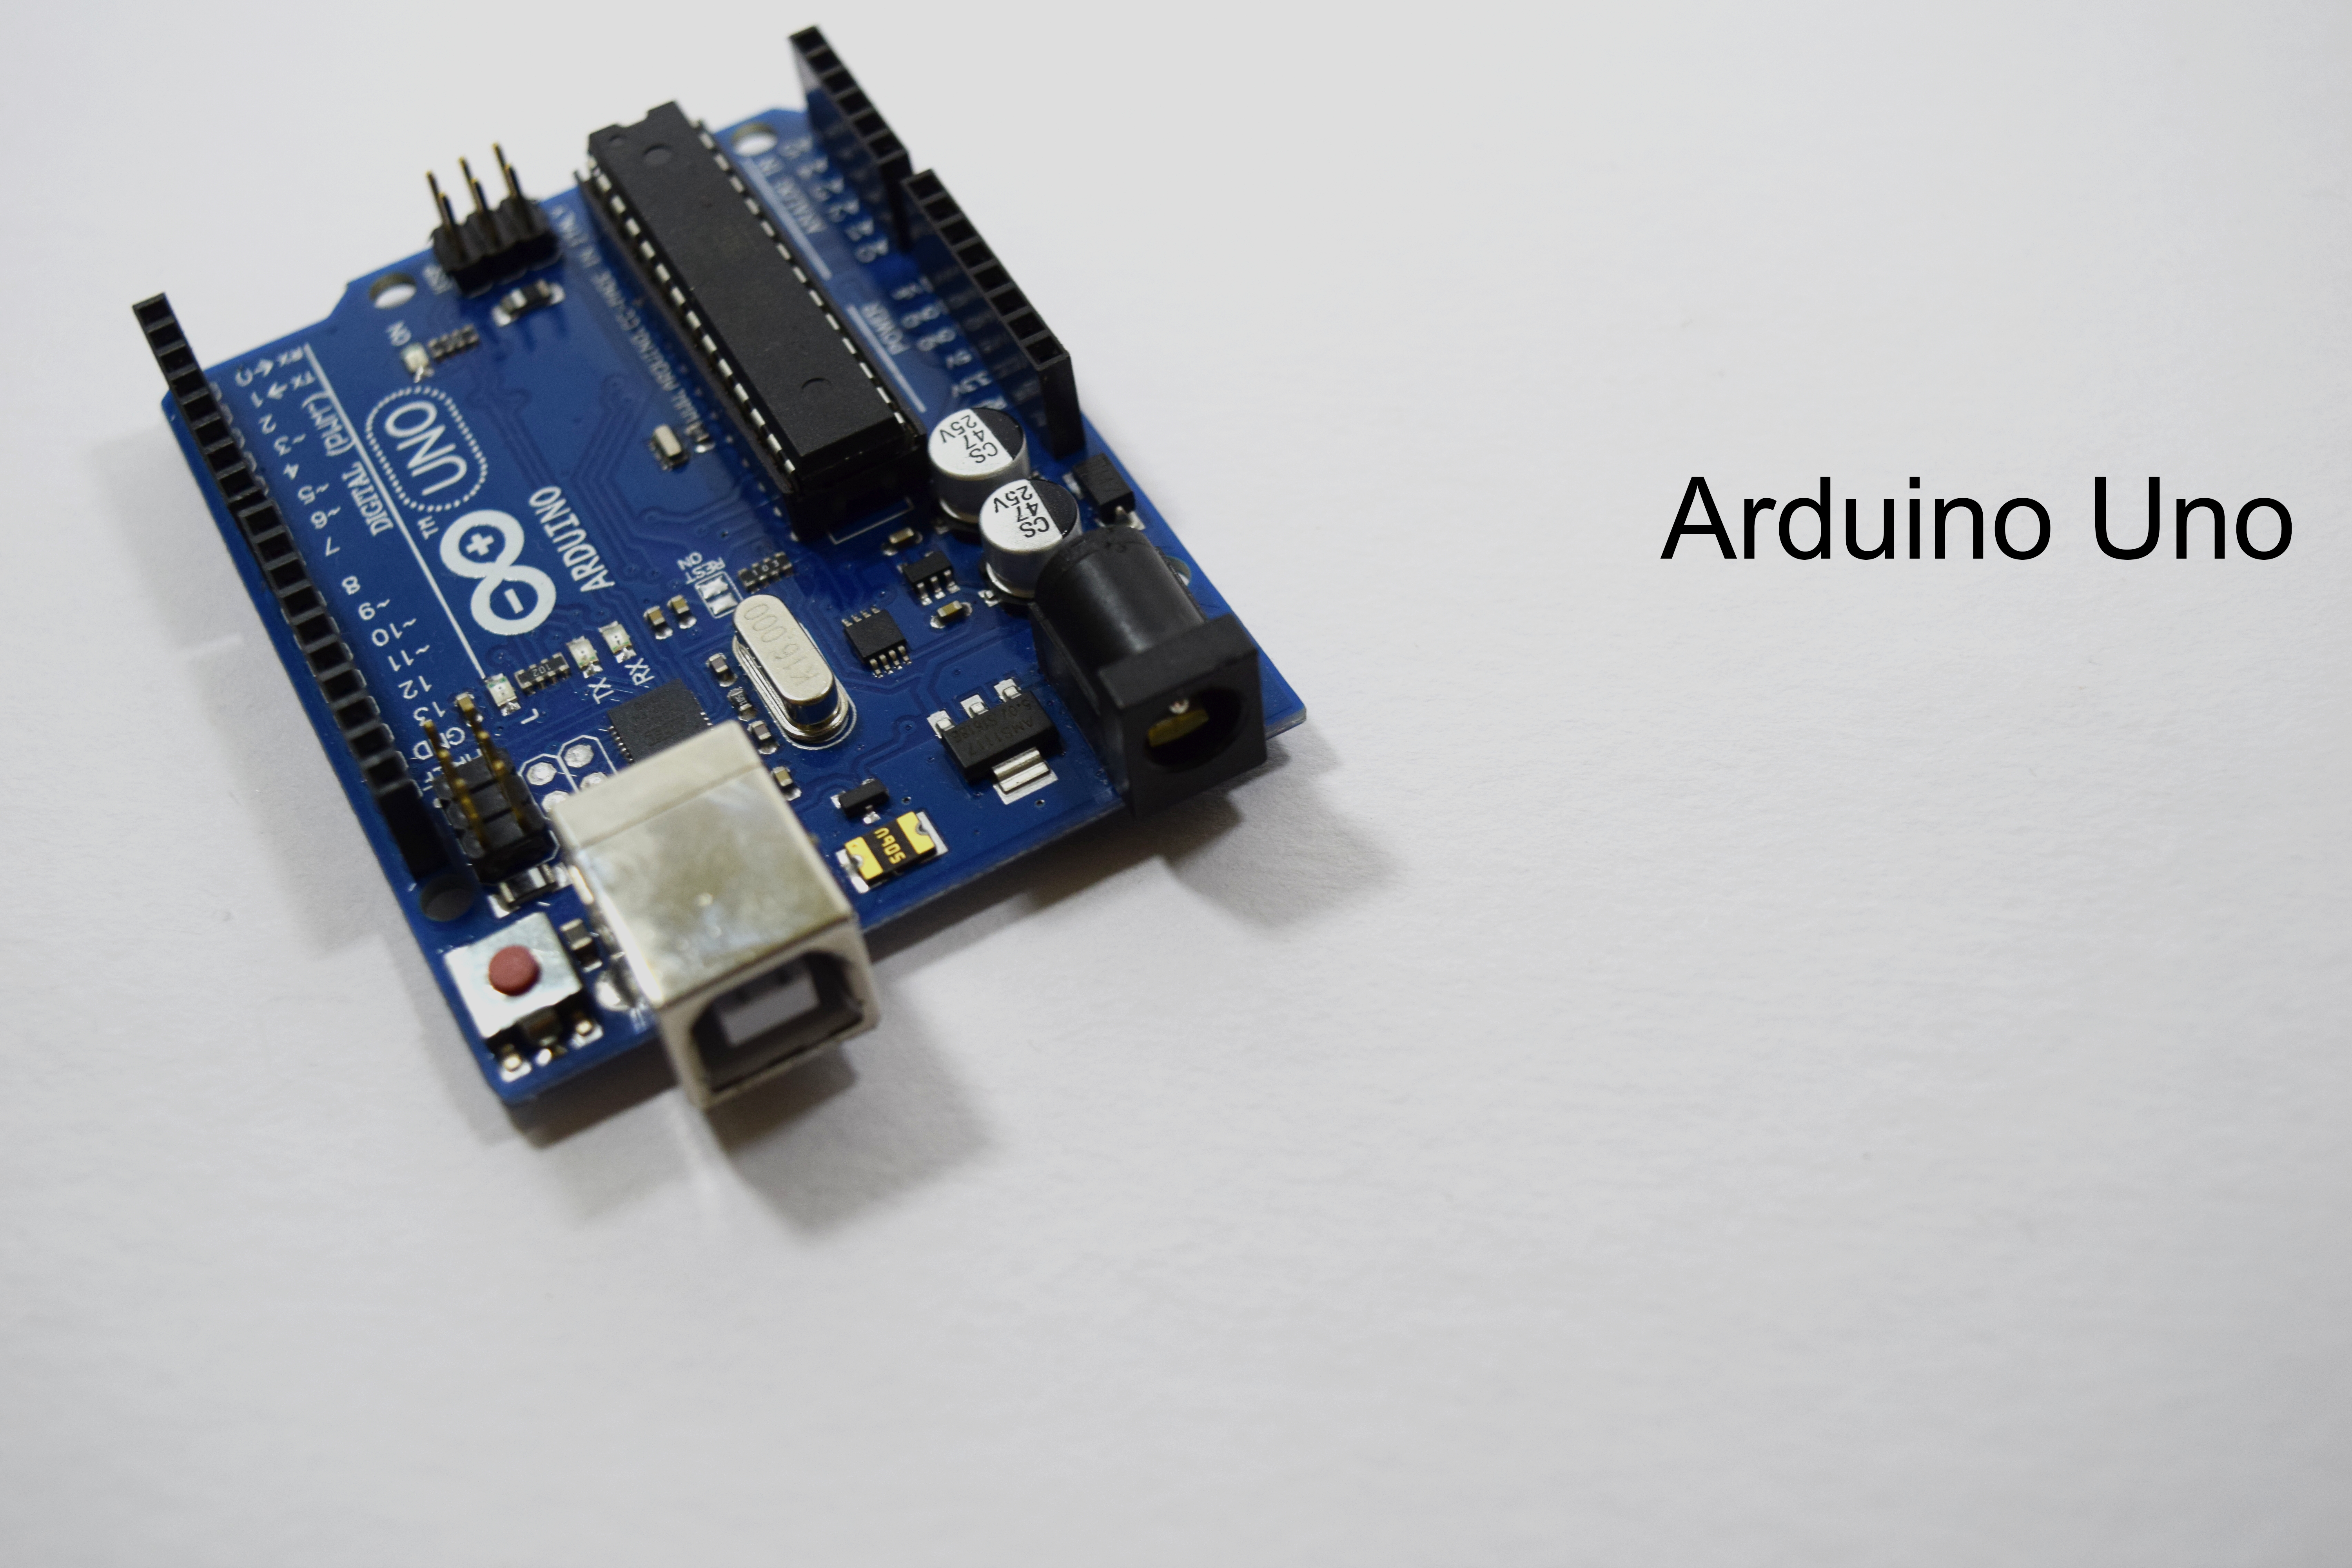
- Arduino Uno
- HC_05 Bluetooth module
- LED of different color
- Jumper wire
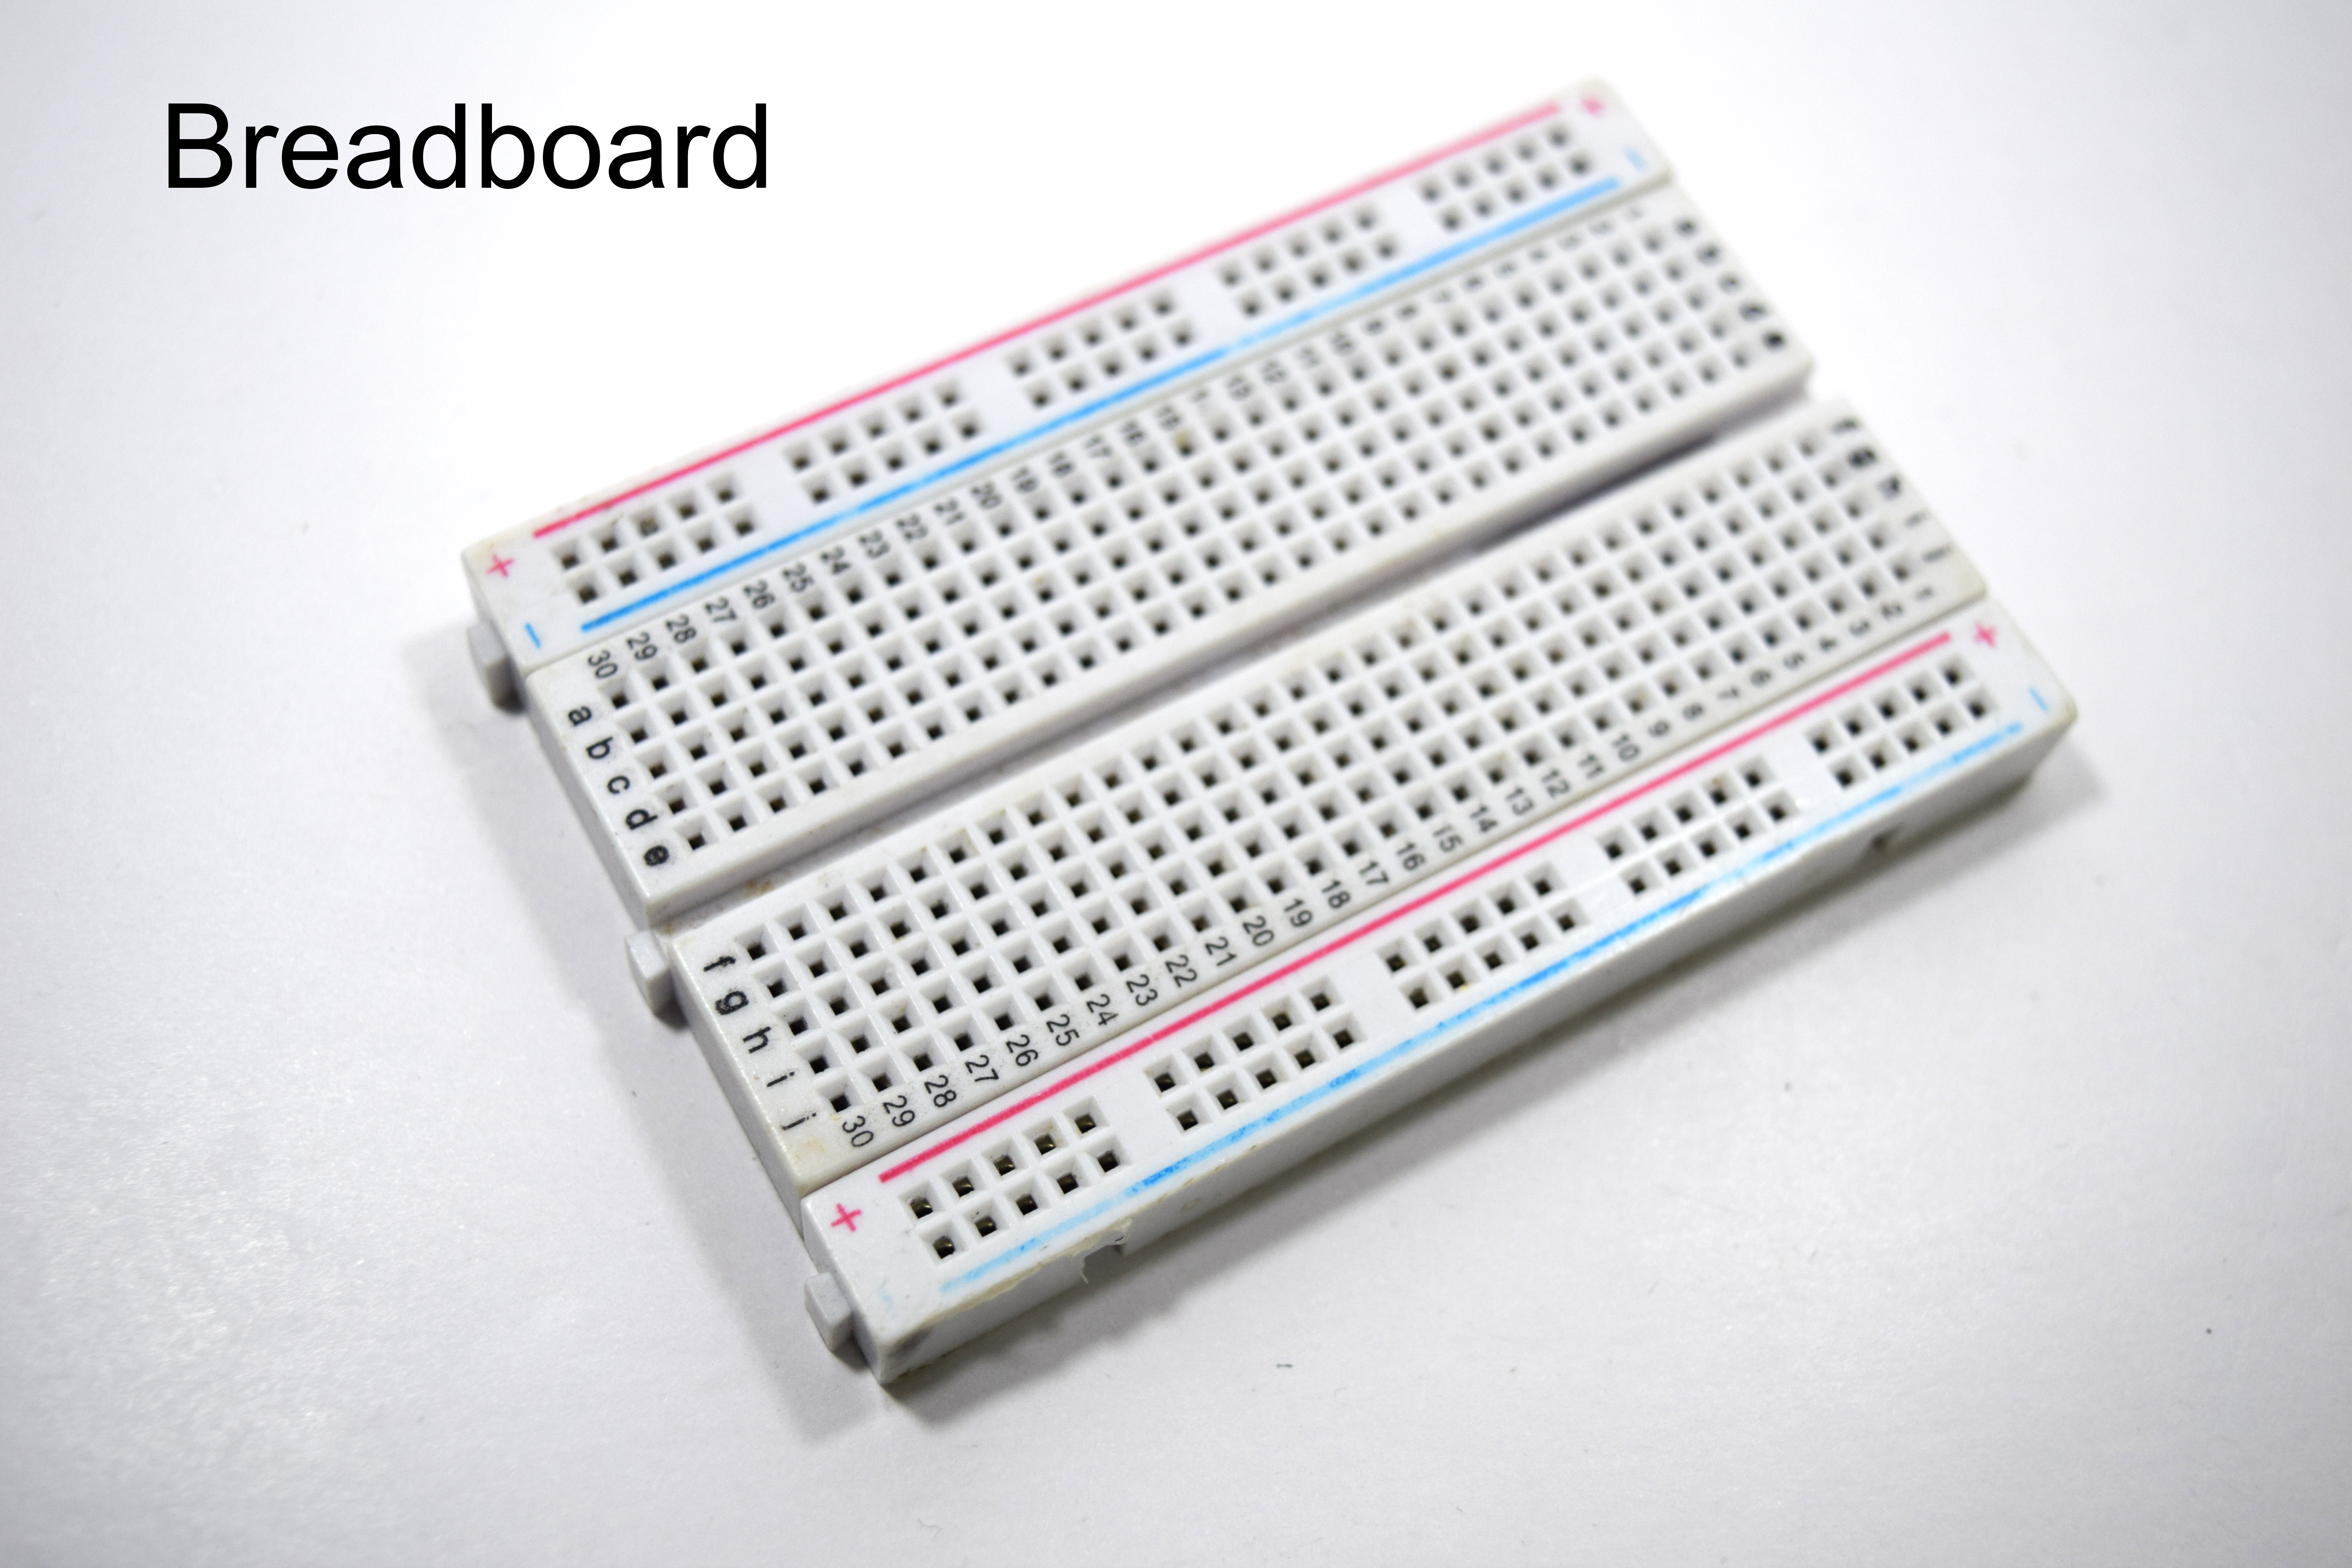
- Breadboard
Now, After collecting the electronics let's start implementing it.
Interfacing HC-05 Bluetooth Module:


The HC-05 Bluetooth module has generally four pins:
- TX pin - Transmitting pin which is used to transmit the data to the reciever
- RX pin - the pin that recieves data from reciever.
- VCC pin - the power supply pin
- GND pin - The power supply pin
The connection or interfacing of the module is as follows:
- TX pin to the digital pin 0 (RX pin of arduino)
- RX pin to the digital pin 1 (TX pin of arduino)
- VCC pin to the Positive railings of the breadboard
- GND pin to the negative railings of the breadboard
Now let's get into the final Interfacing of LED
LED Interfacing:


The LED usually have two terminal varying in their size:
- The longer leg which is called as positive or Anode
- The shorter leg which is called as negative or cathode
Interfacing LED1:
- The shorter leg to the negative railings of the breadboard.
- The longer leg to the Digital pin 10.
Interfacing LED2:
- The shorter leg to the negative railings of the breadboard.
- The longer leg to the Digital pin 11.
Interfacing LED3:
- The shorter leg to the negative railings of the breadboard .
- The longer leg to the Digital pin 12.
Now let's get into coding.
Coding:

int ledB = 13;
int ledG = 12;
int ledR = 11; int state;
void setup() {
pinMode(ledG, OUTPUT);
pinMode(ledB, OUTPUT);
pinMode(ledR, OUTPUT);
Serial.begin(9600);
}
void loop() {
if(Serial.available() > 0){
state = Serial.read();
}
if (state == '1') {
digitalWrite(ledG, HIGH);}
else if (state == '2') {
digitalWrite(ledG, LOW);}
else if (state == '3') {
digitalWrite(ledB, HIGH);}
else if (state == '4') {
digitalWrite(ledB, LOW);}
else if (state == '5') {
digitalWrite(ledR, HIGH);}
else if (state == '6') {
digitalWrite(ledR, LOW);}
delay(100);
Serial.println(state);
}
Bluetooth Application :-
The app is made of using MIT app inventor that represents three bulbs indicating three LEDs.So the bulbs are toggle behavior and press them to turn them on and again press for turning it off.The apk for the app is attached in the document below.
If any peeps find difficulty in following the please leave a comment below, I can improve my future ibles.
Thank You.