Blue Wavy Water Droplet Ornament
by 3DPrintBunny in Workshop > 3D Printing
2393 Views, 28 Favorites, 0 Comments
Blue Wavy Water Droplet Ornament
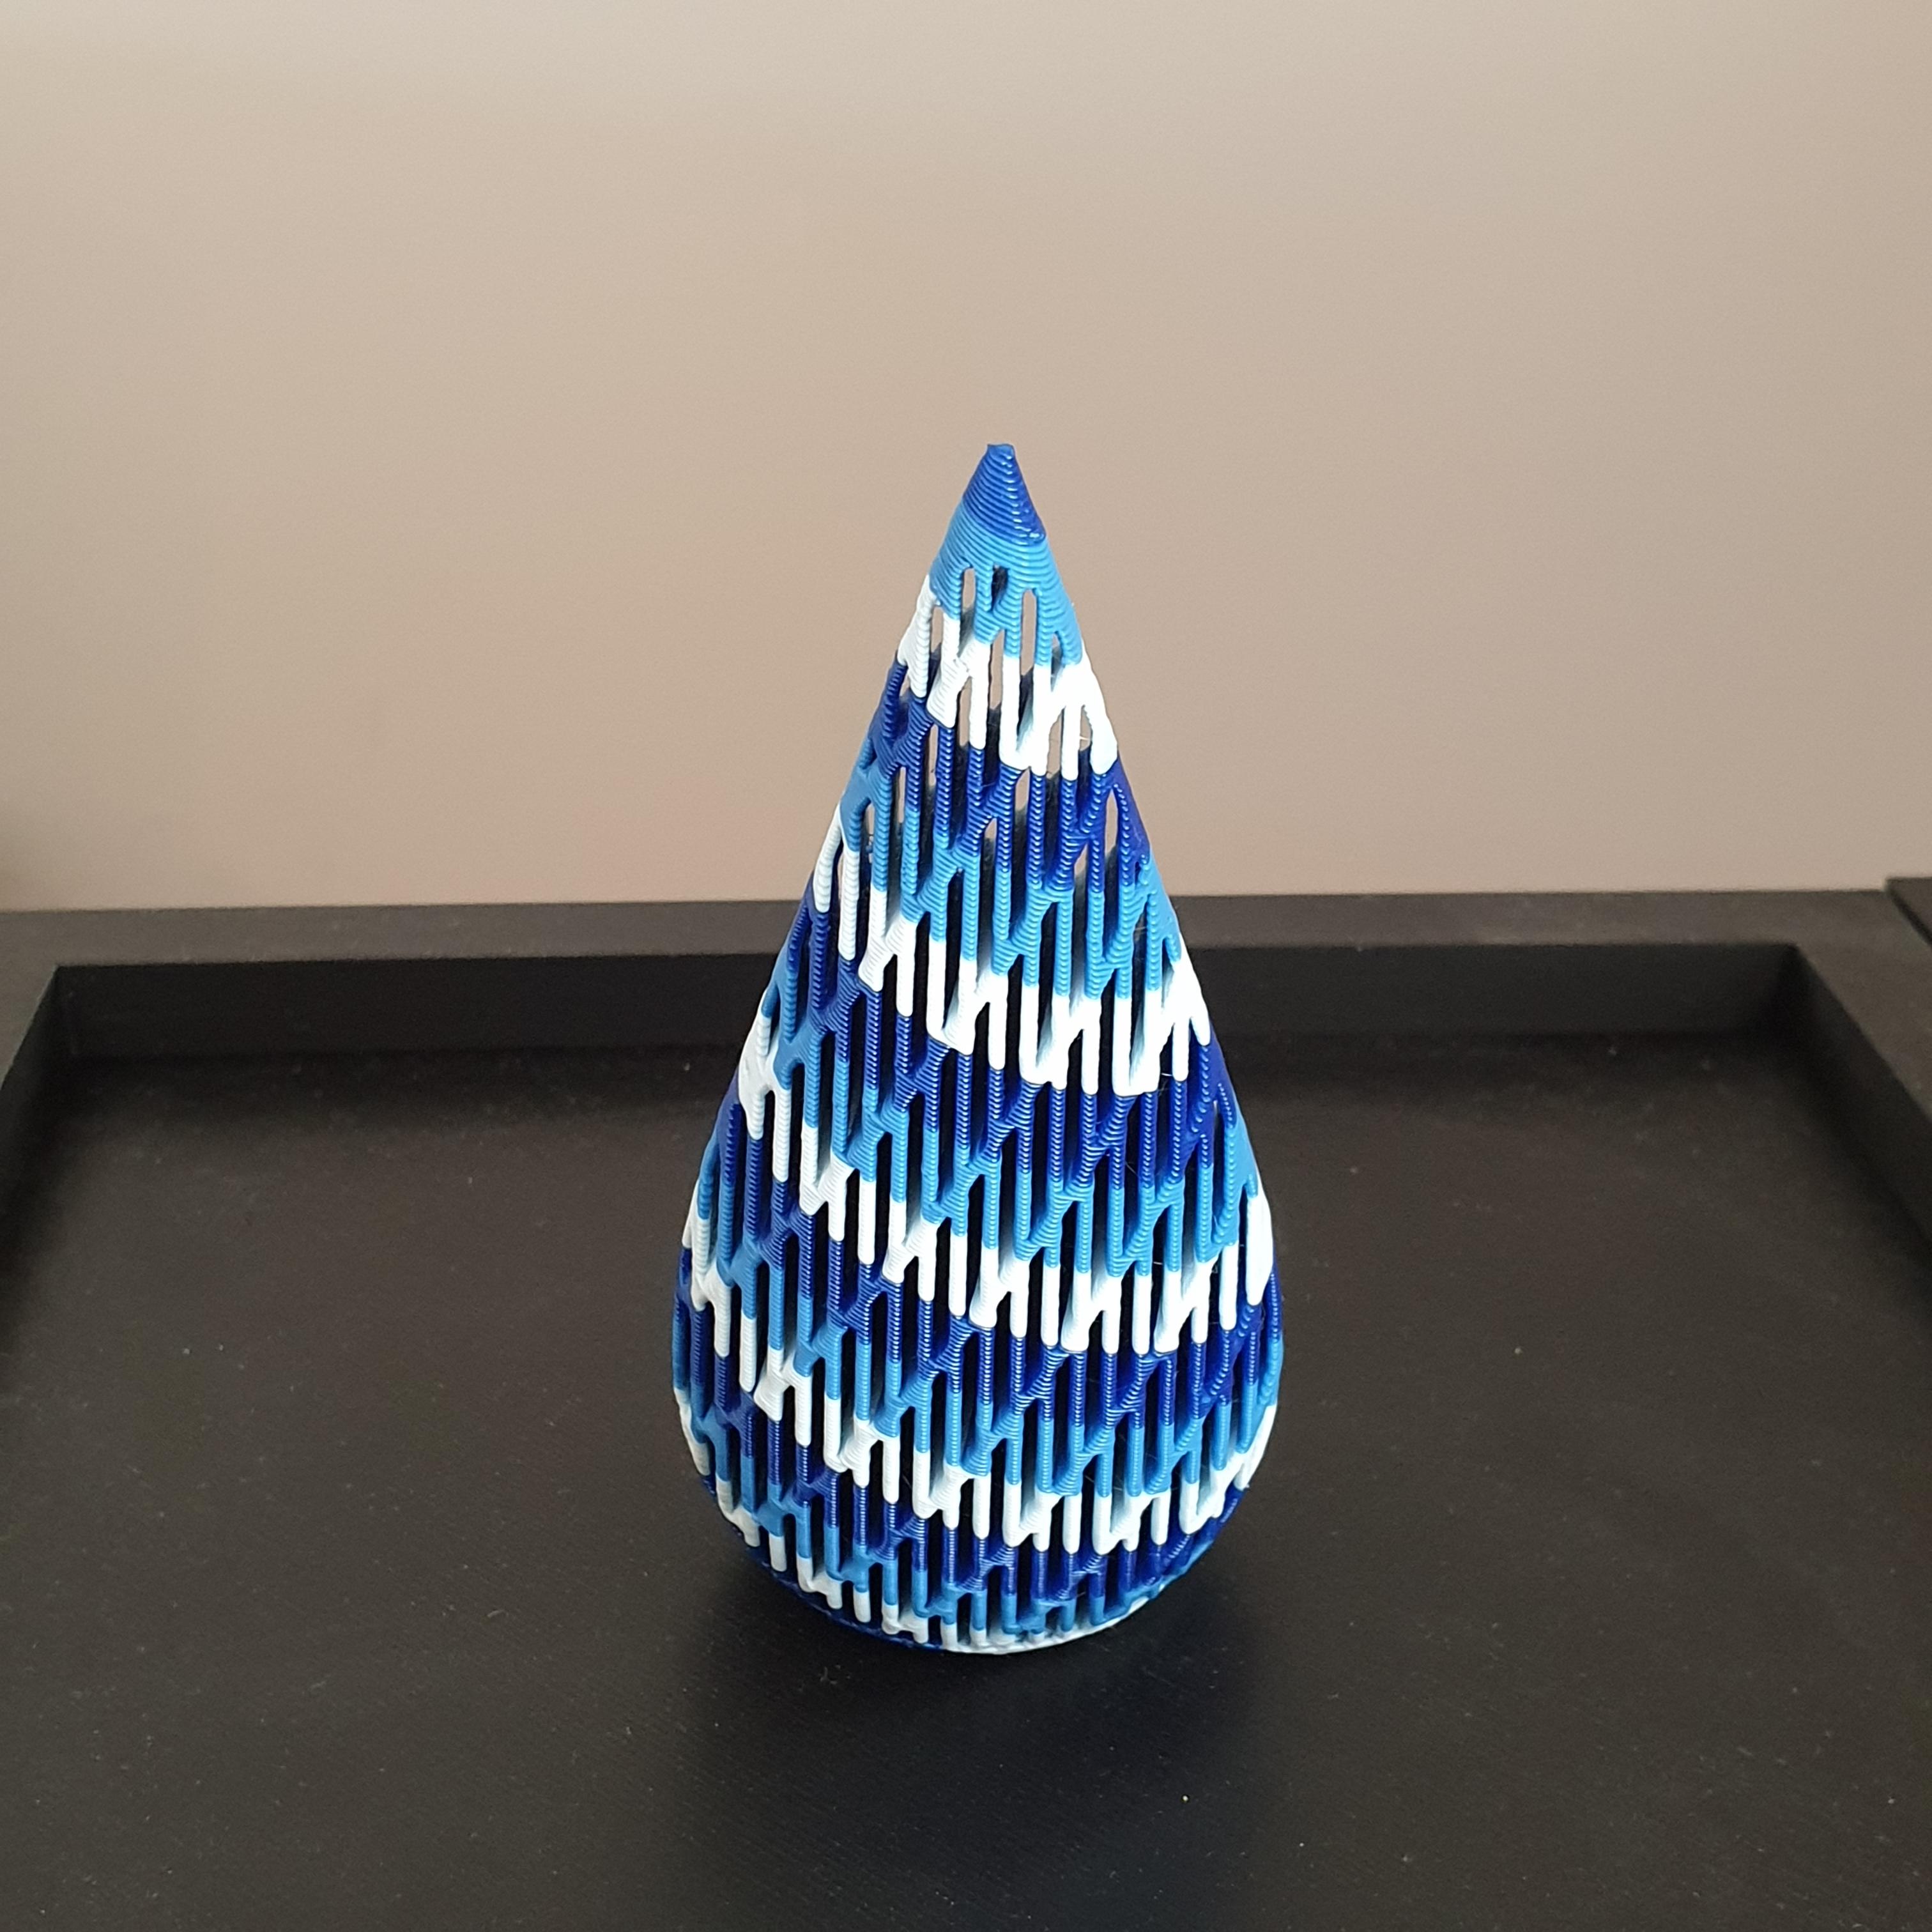
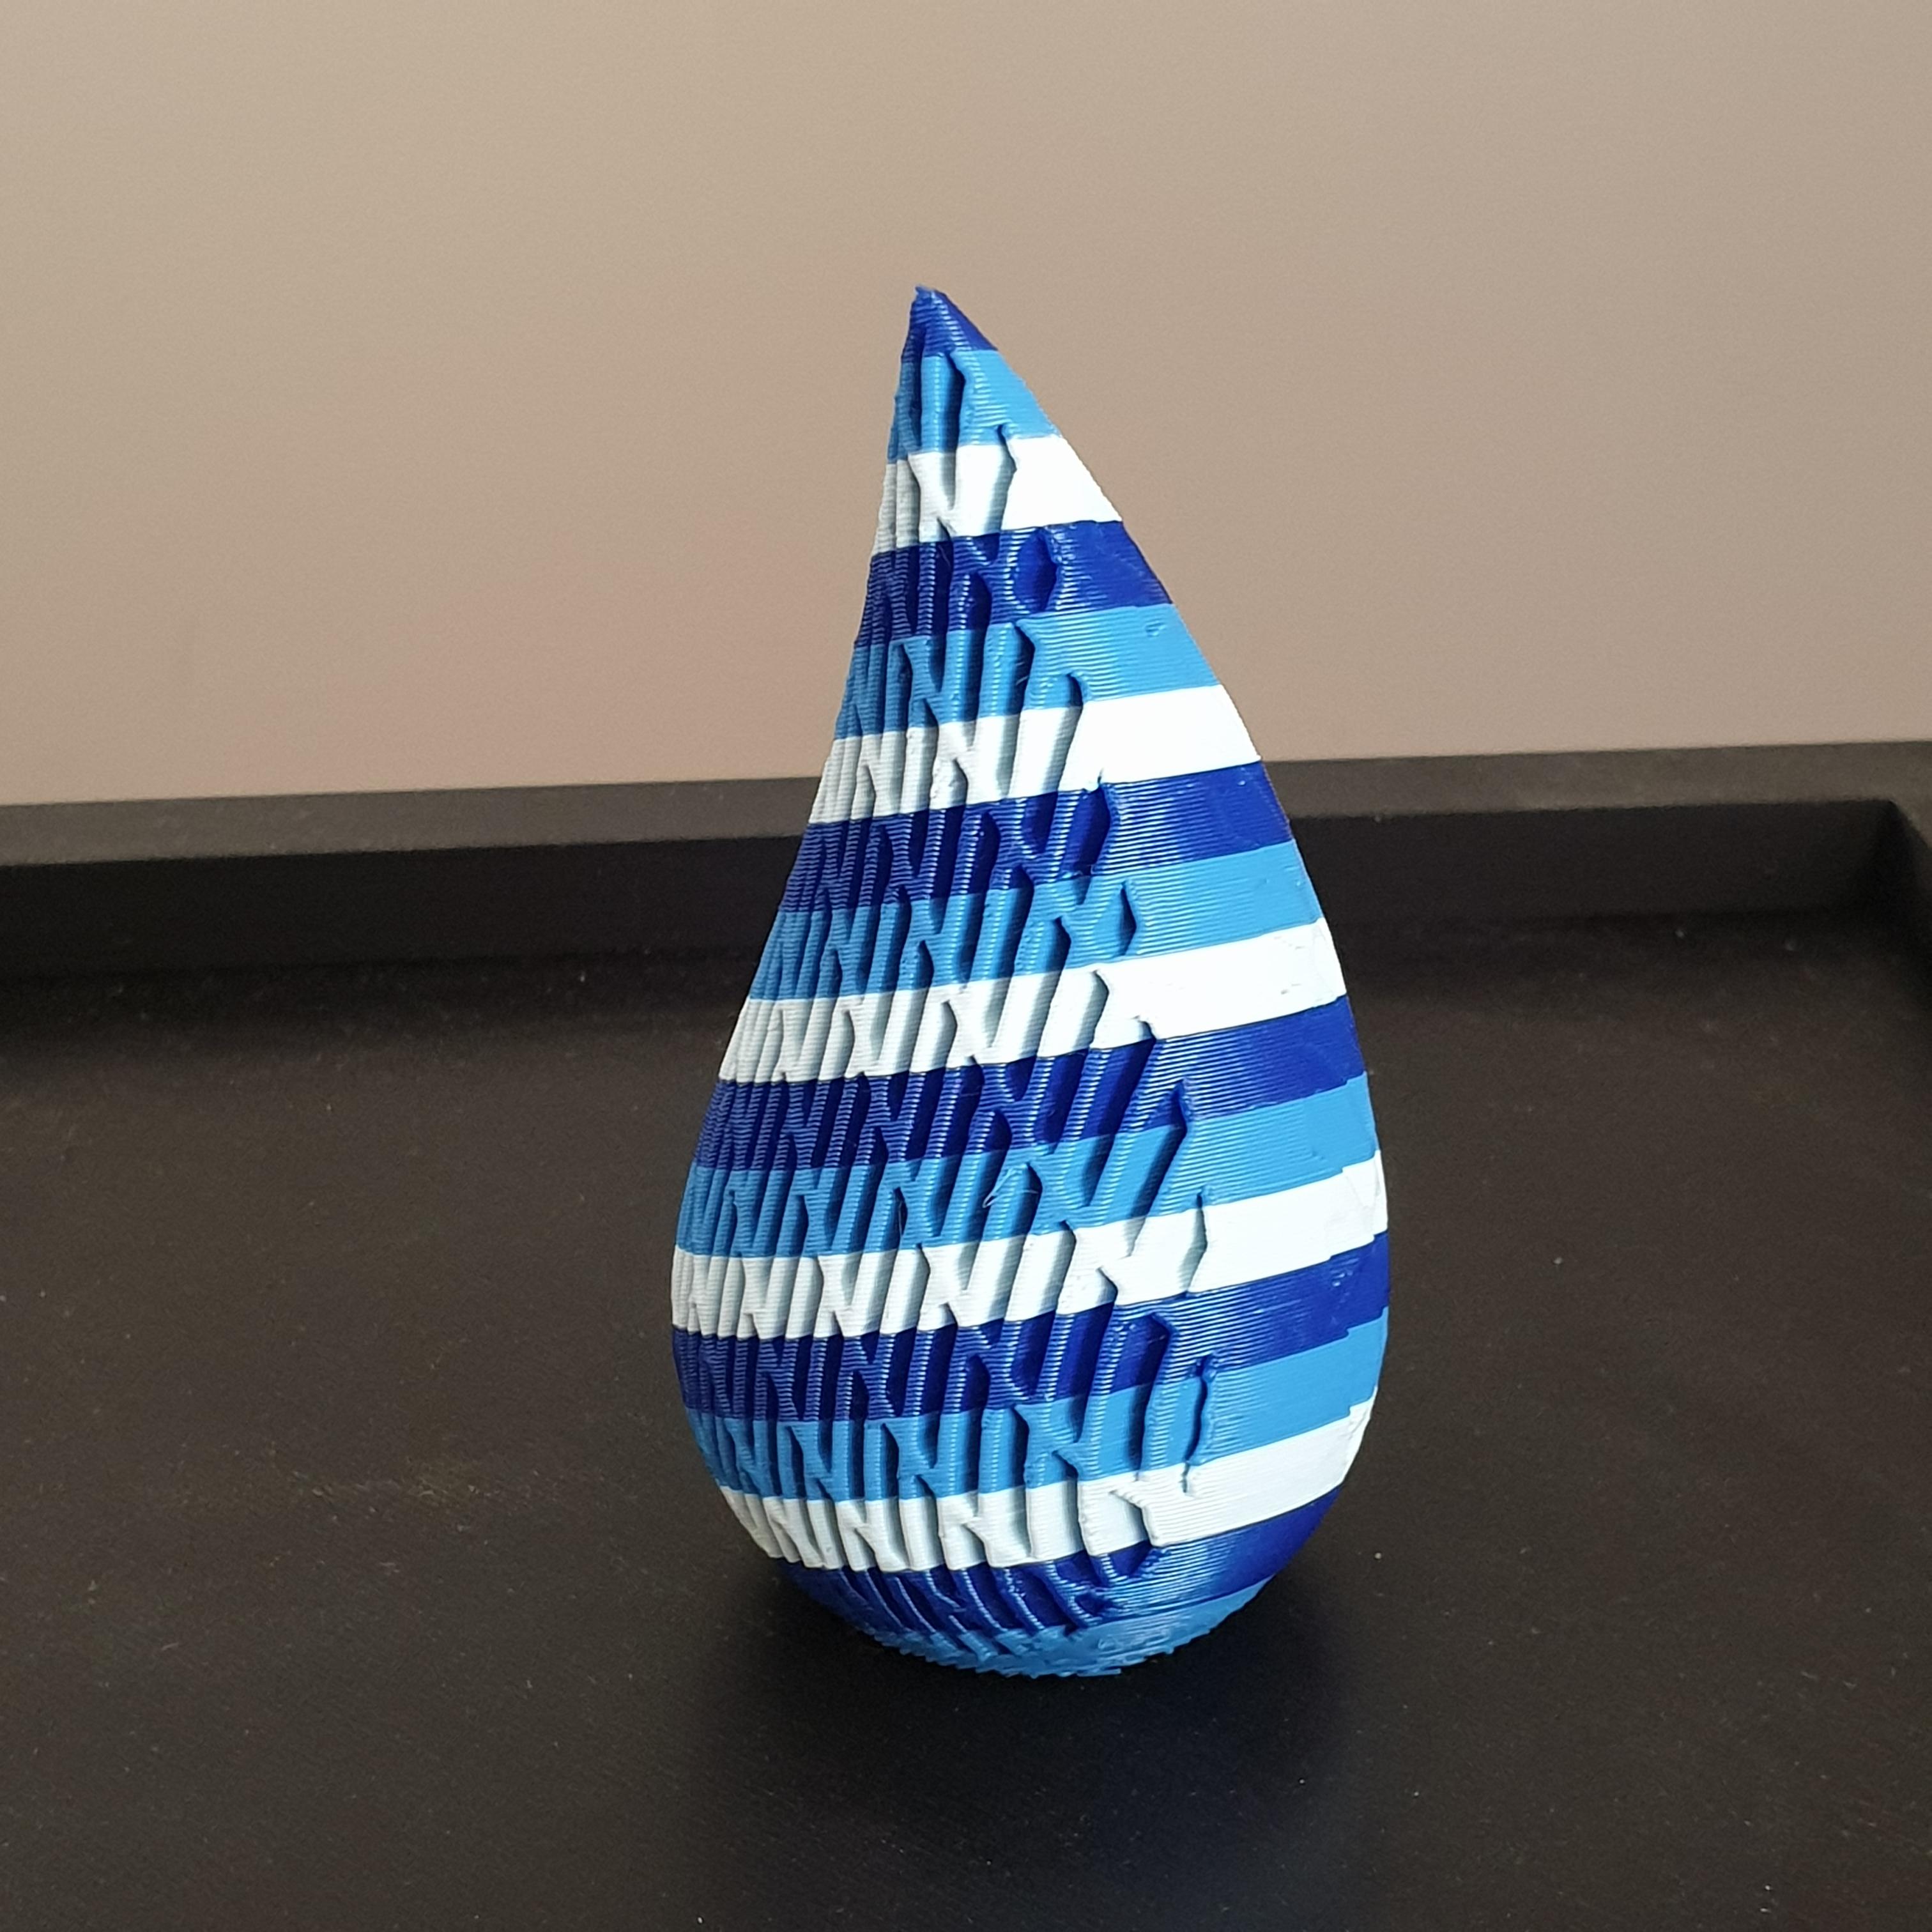
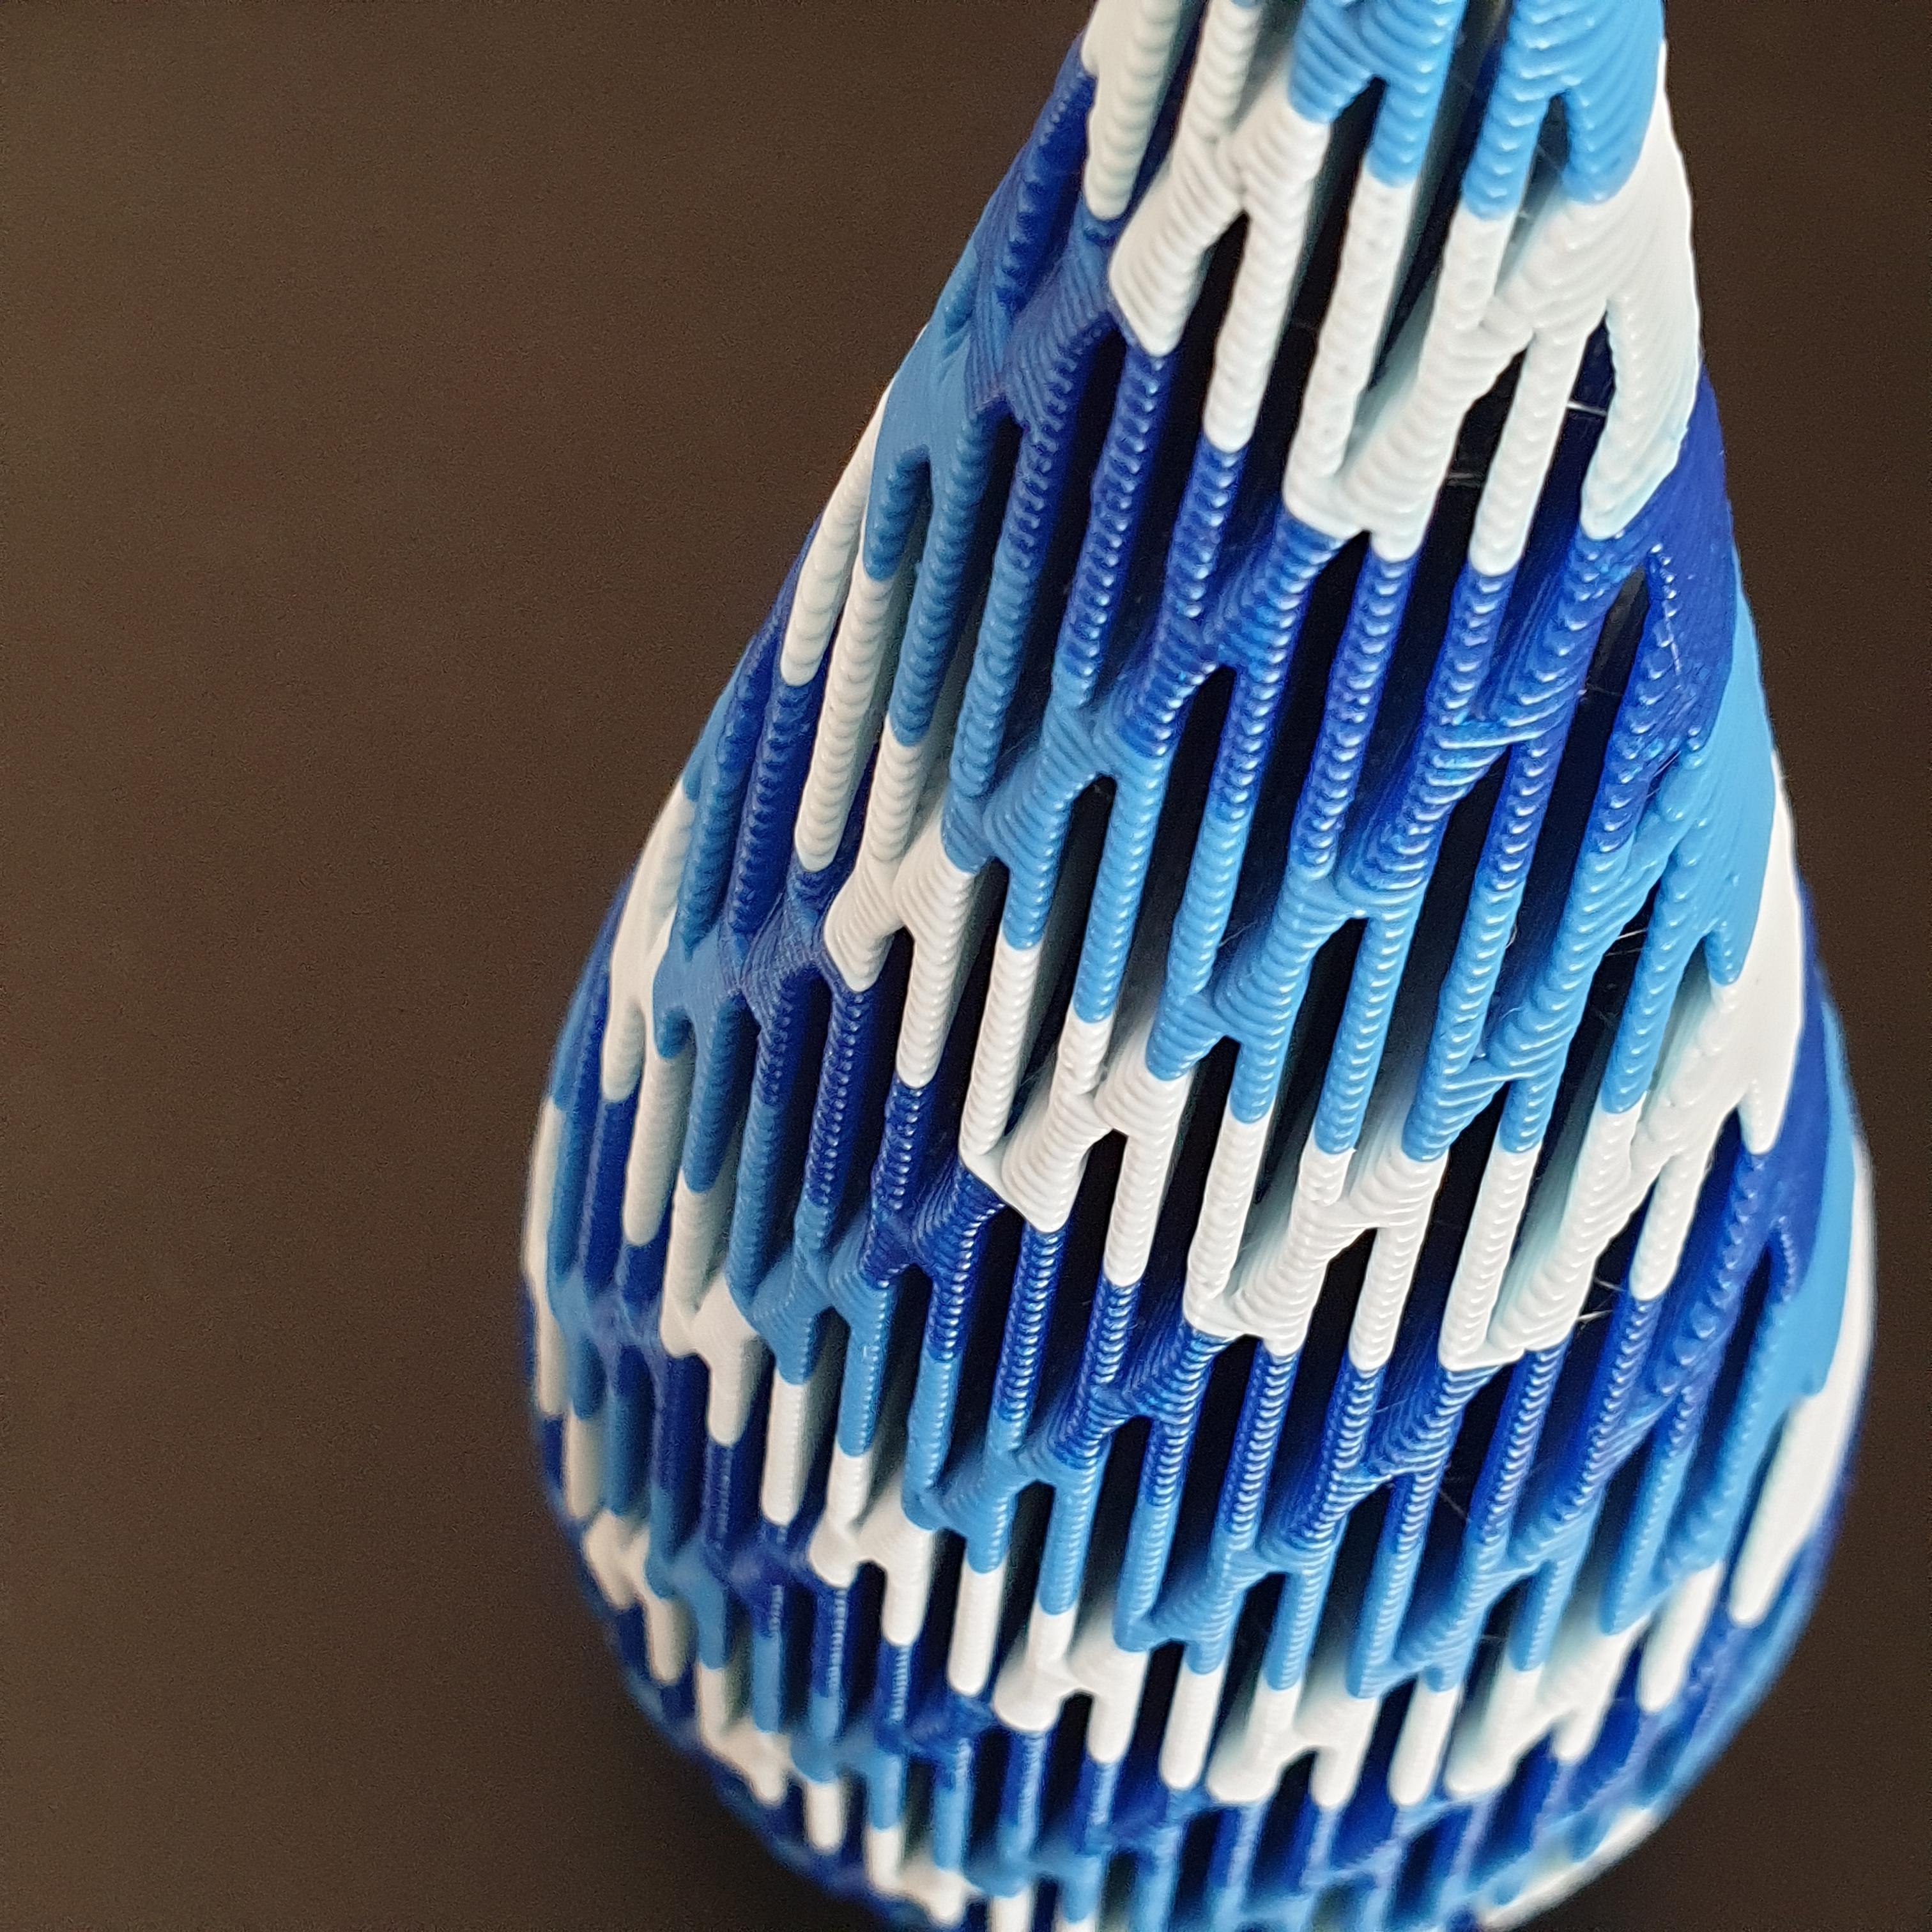
In this instructable I am going to show you how to use Prusaslicer to create waves and patterns on any of your 3d models. In my example I am making a beautiful blue wavy water droplet ornament. The worked example is for a Prusa i3 MK3S printer.
I designed the model in Blender and Tinkercad and I have attached the stl if you would like to print this, you can also use the techniques on many other downloadable models or create your own design.
The instructable will teach you how to:
Add colour changes to your print
Use model orientation to add patterns and waves
Add supports and rafts to your model
Make changes to your slicer settings to help you produce a successful print
So lets get started 😊
Downloads
Supplies
3D Printer (Prusa i3 MK3S)
Filament
PC with Prusaslicer installed
Creating the Colour Changes
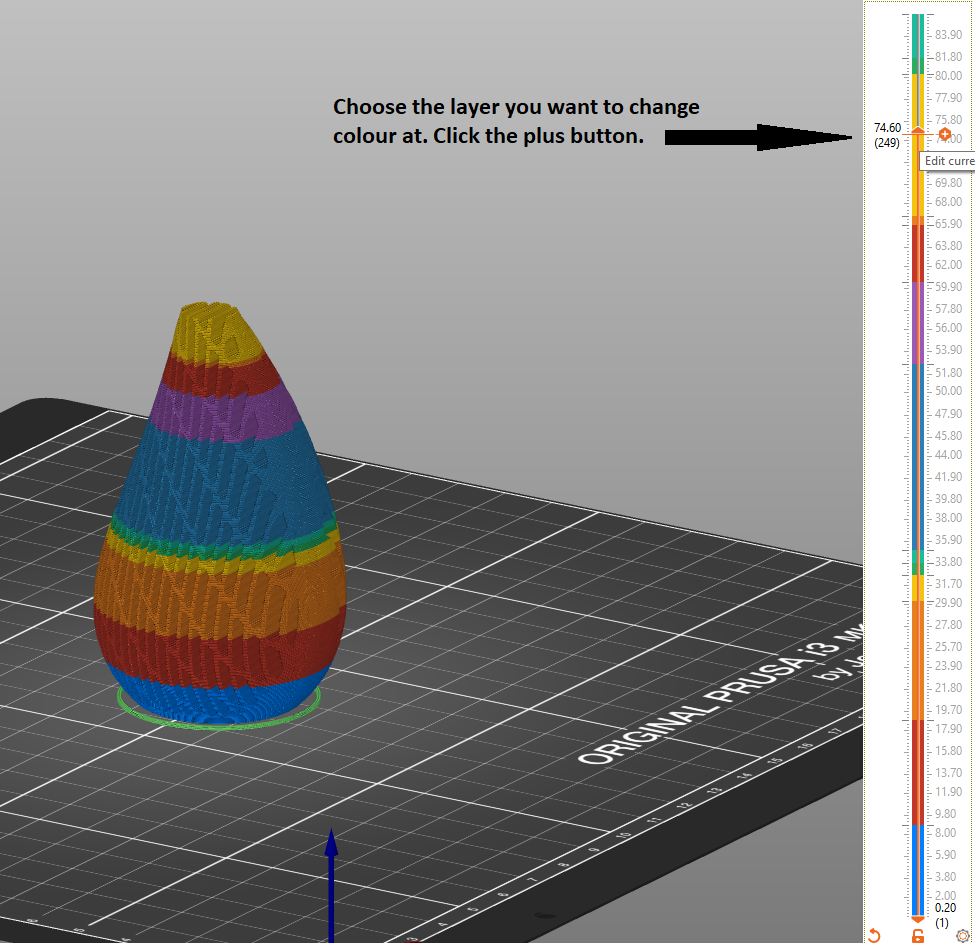
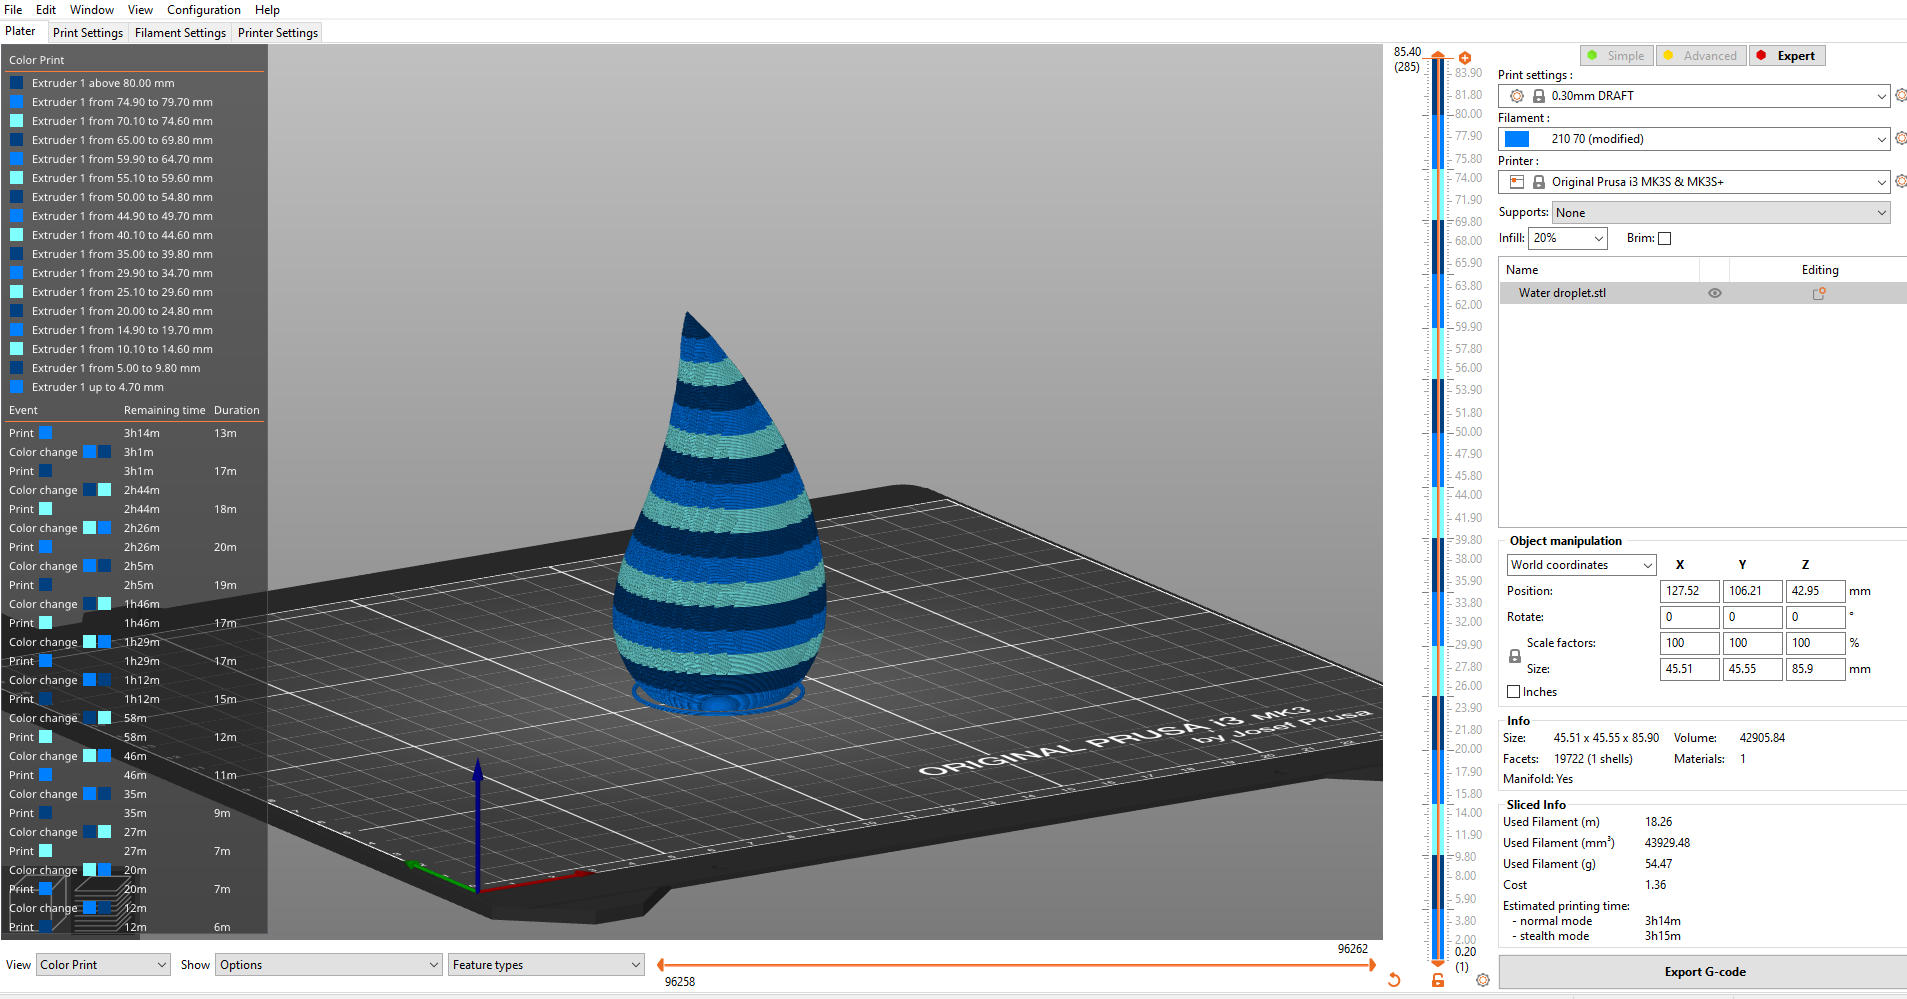
The first thing we are going to do is add some horizontal stripes to your model
Load your model into Prusaslicer and slice it using your default settings, I am using the default 0.3mm draft setting and printing in PLA
Now click on the drop down menu in the left corner called ‘view’ and click ‘colour print’.
To the right of the model you will see a slider, click and hold the arrow at the top and slide it up and down. You will see the model appear and disappear and you move through the layers.
Choose where you would like a colour change and click the plus button next to your position on the slider – you have added a filament change (see pic 1)
Add all the changes you want for your model and slice it again – you will now see all the times for the colour changes come up on the left hand side
We now have a model with horizontal stripes but we might like to make them diagonal or wavy – lets have a look at how we can do this.
Using Model Orientation to Create Wave Patterns
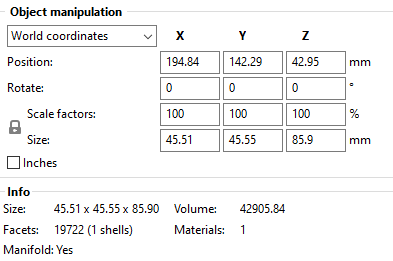
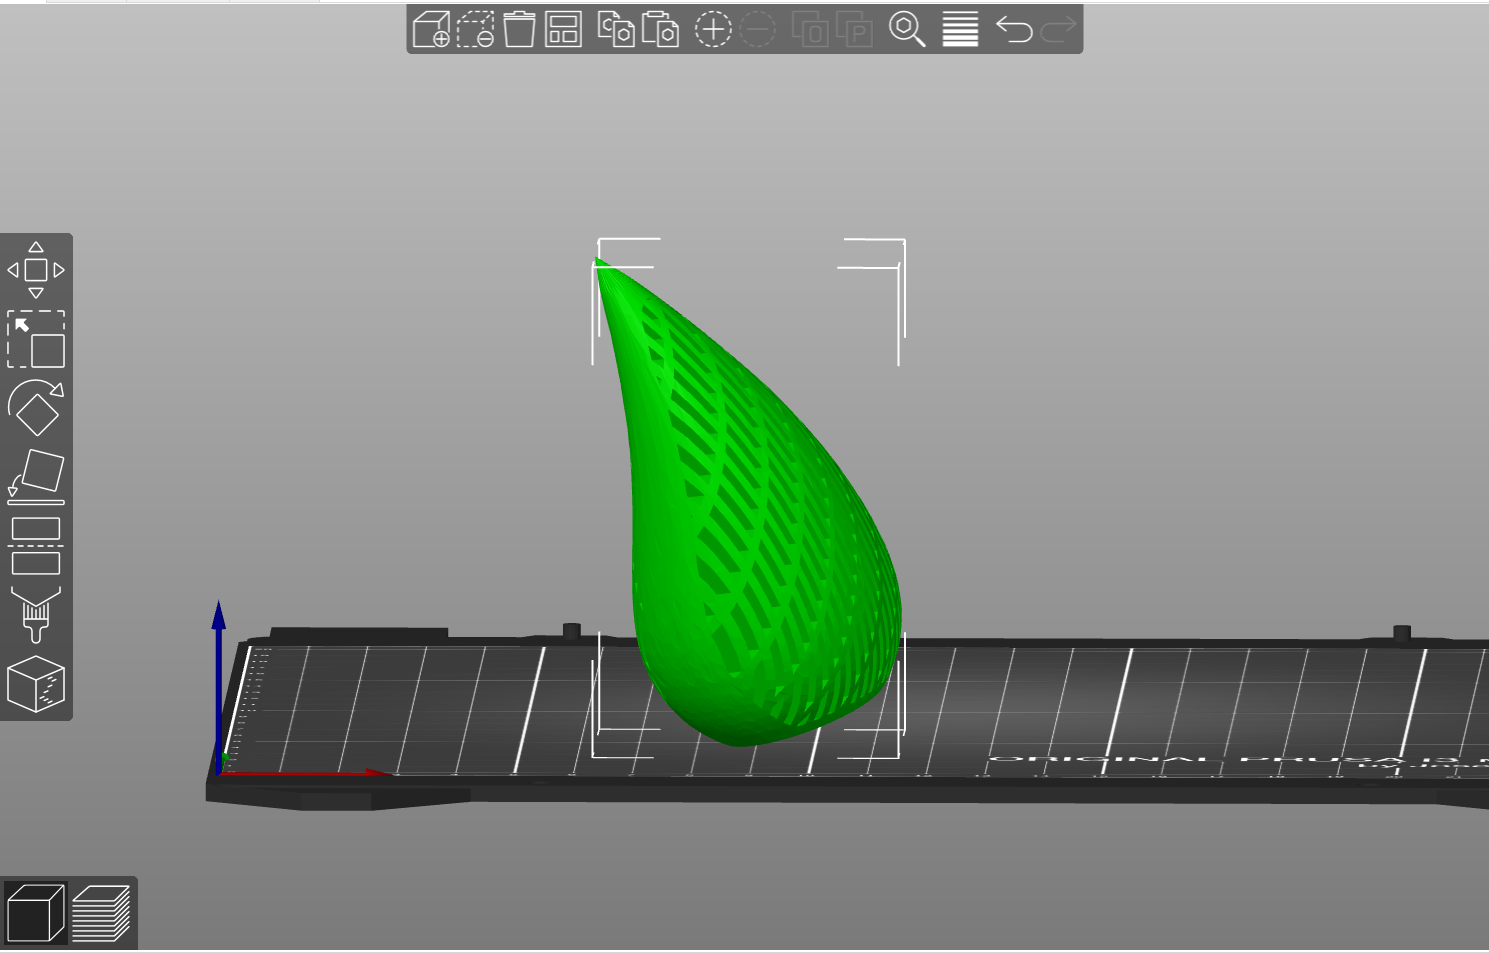
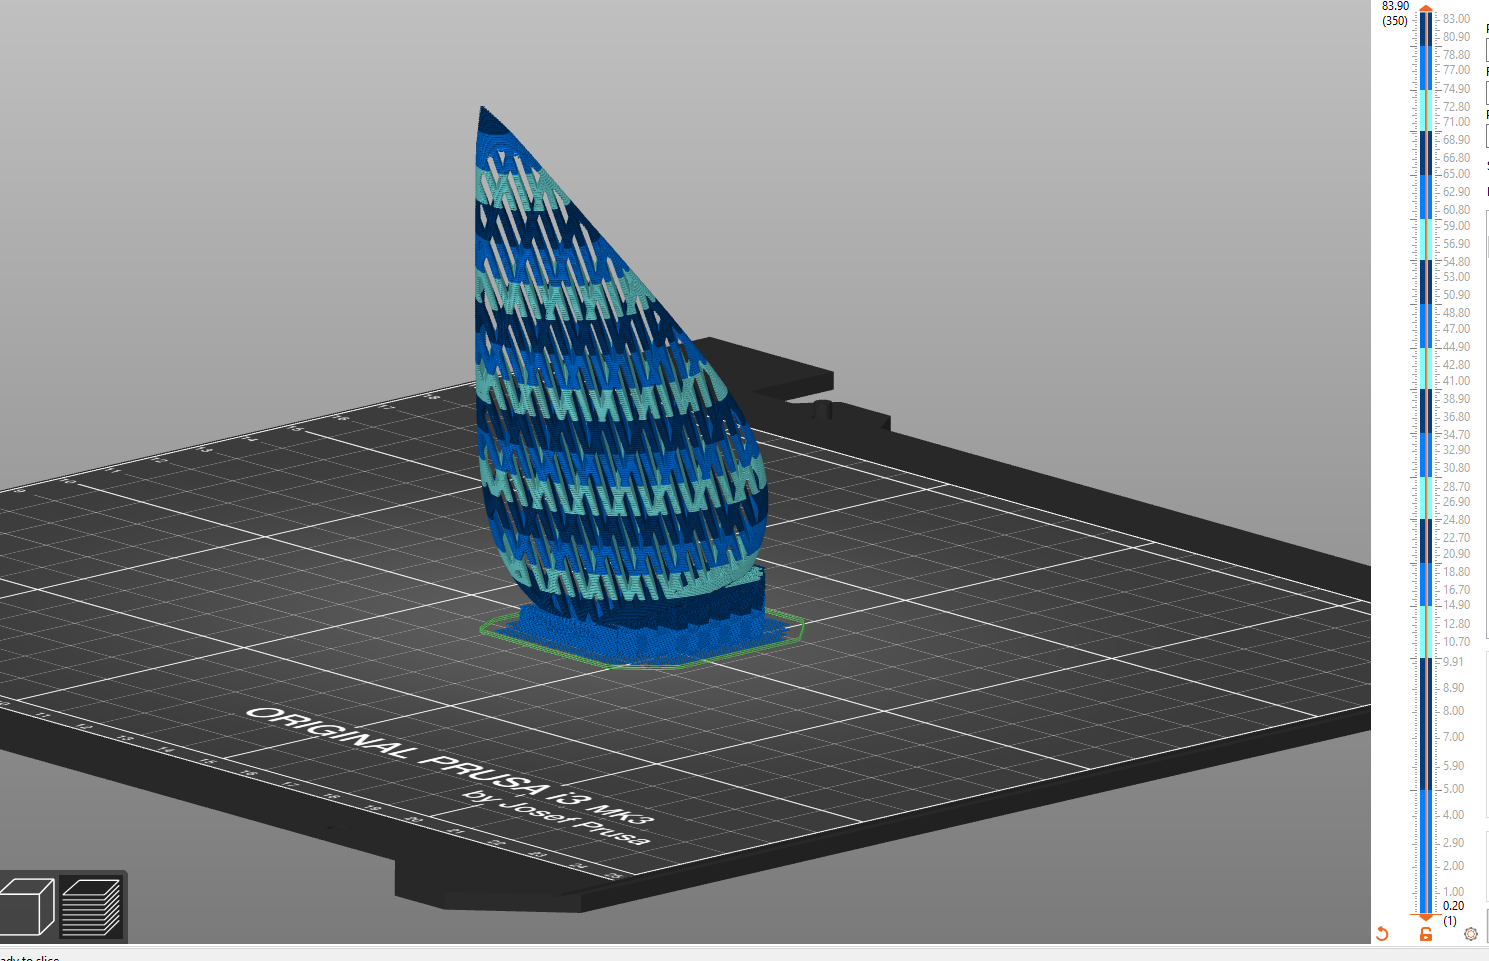
We are going to change the orientation of the model in the X and Y axis. This means the model is no longer parallel to the print-bed and the stripes will become diagonal and a bit wavy.
*There are some limitation with this, after re-orienting the model we will need to check whether we have created overhangs or areas that need supports – we will go through this in a later step.
In the bottom right corner of the screen you will see the object manipulation box. We are going to use the rotation boxes.
Click in the Rotate X box and type 10 – you will see the model move a little, now type 20 in the Rotate Y box, the model will move again. Have a play with the rotations, click slice after each change to see what the rotation does to the model look.
*Once you are happy review your model to make sure it still looks printable – if you use very large rotations it is likely to become difficult to print.
Because we have changed the orientation of the model the base does not sit flat on the bed so now we need to add some supports.
Adding Supports
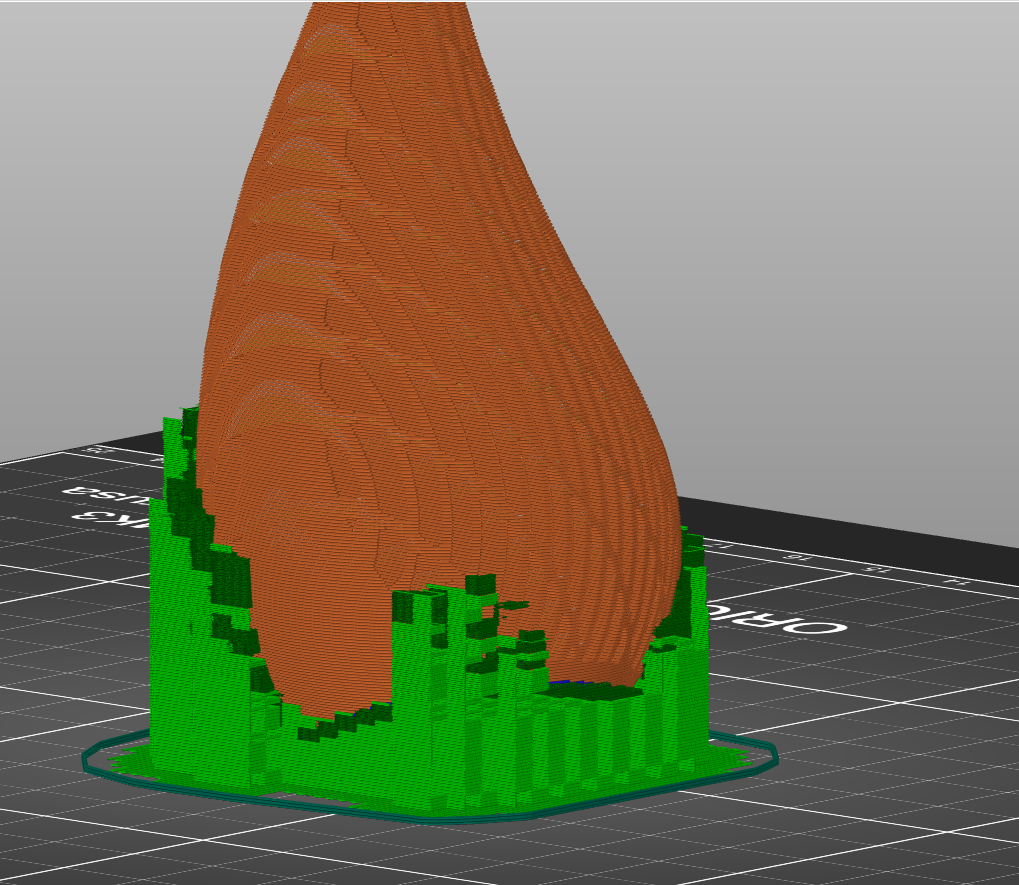
Lets see where Prusaprinter thinks we might need supports
On the right hand side click the drop down box entitled ‘supports’. Select ‘supports on buildplate’, (it will ask about bridging – select yes) and slice your model.
Does your model look printable? If not you may need to change your rotation or look into using paint on supports. Prusa has a tutorial here: https://help.prusa3d.com/en/article/paint-on-supports_168584/
Ready to print – hold on! There are just a couple more things we can do to make your print more stable and less likely to fail.
Stabilising Your Print
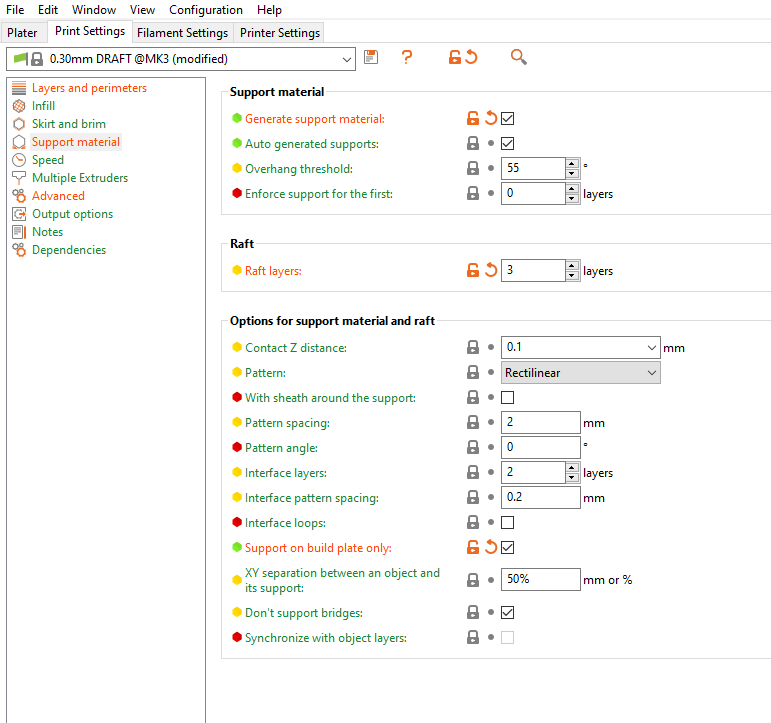
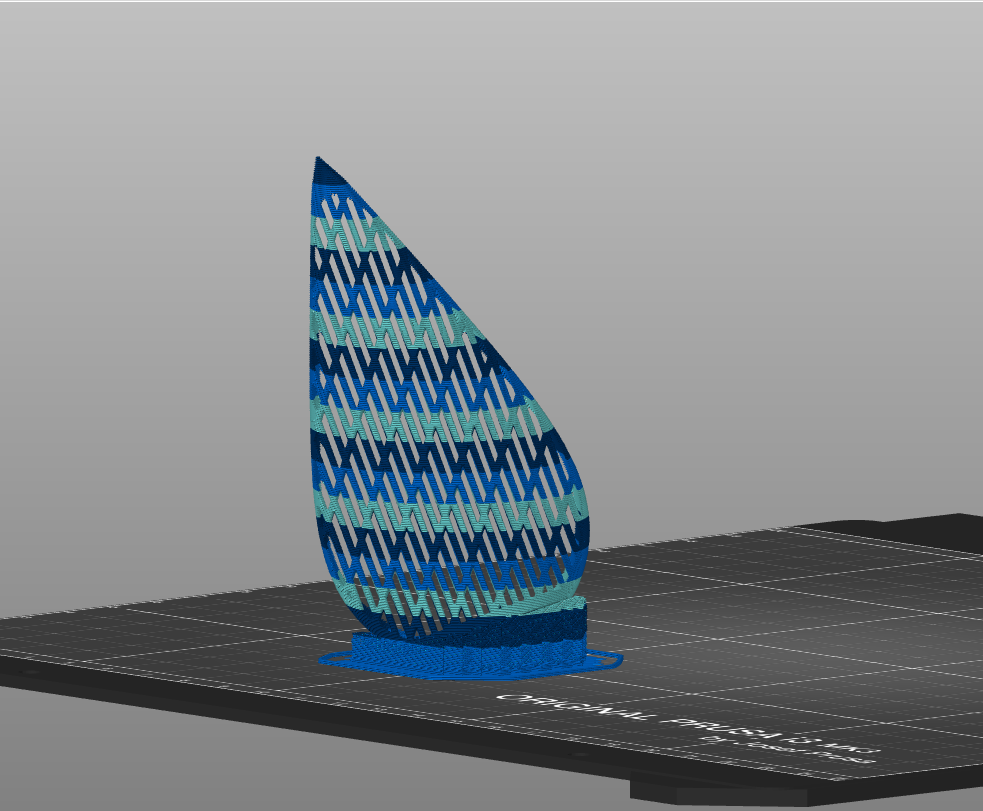
With prints that do not have a solid base it is often worthwhile adding a raft and I decided to do this for my water droplet.
In the top left corner of the screen click ‘printer settings’ and choose ‘support material’.
Under the heading ‘Raft’ change the layers number to 3, this will give us a 3 layer raft under our model.
Click on ‘plater’ and slice your model, you will see your raft at the bottom.
OPTIONAL
There is one final thing that you can do to help the first layer stick – it is optional and I would advise trying the sliced print as it is first and only doing this if you are having problems.
We are going to make out first layer wider (not higher).
In the top left corner of the screen click ‘printer settings’ and choose ‘advanced’.
In the ‘first layer box’ increase the number by approximately 30% and re-slice, I have changed mine from 0.42 to 0.6.
Printing and Finishing
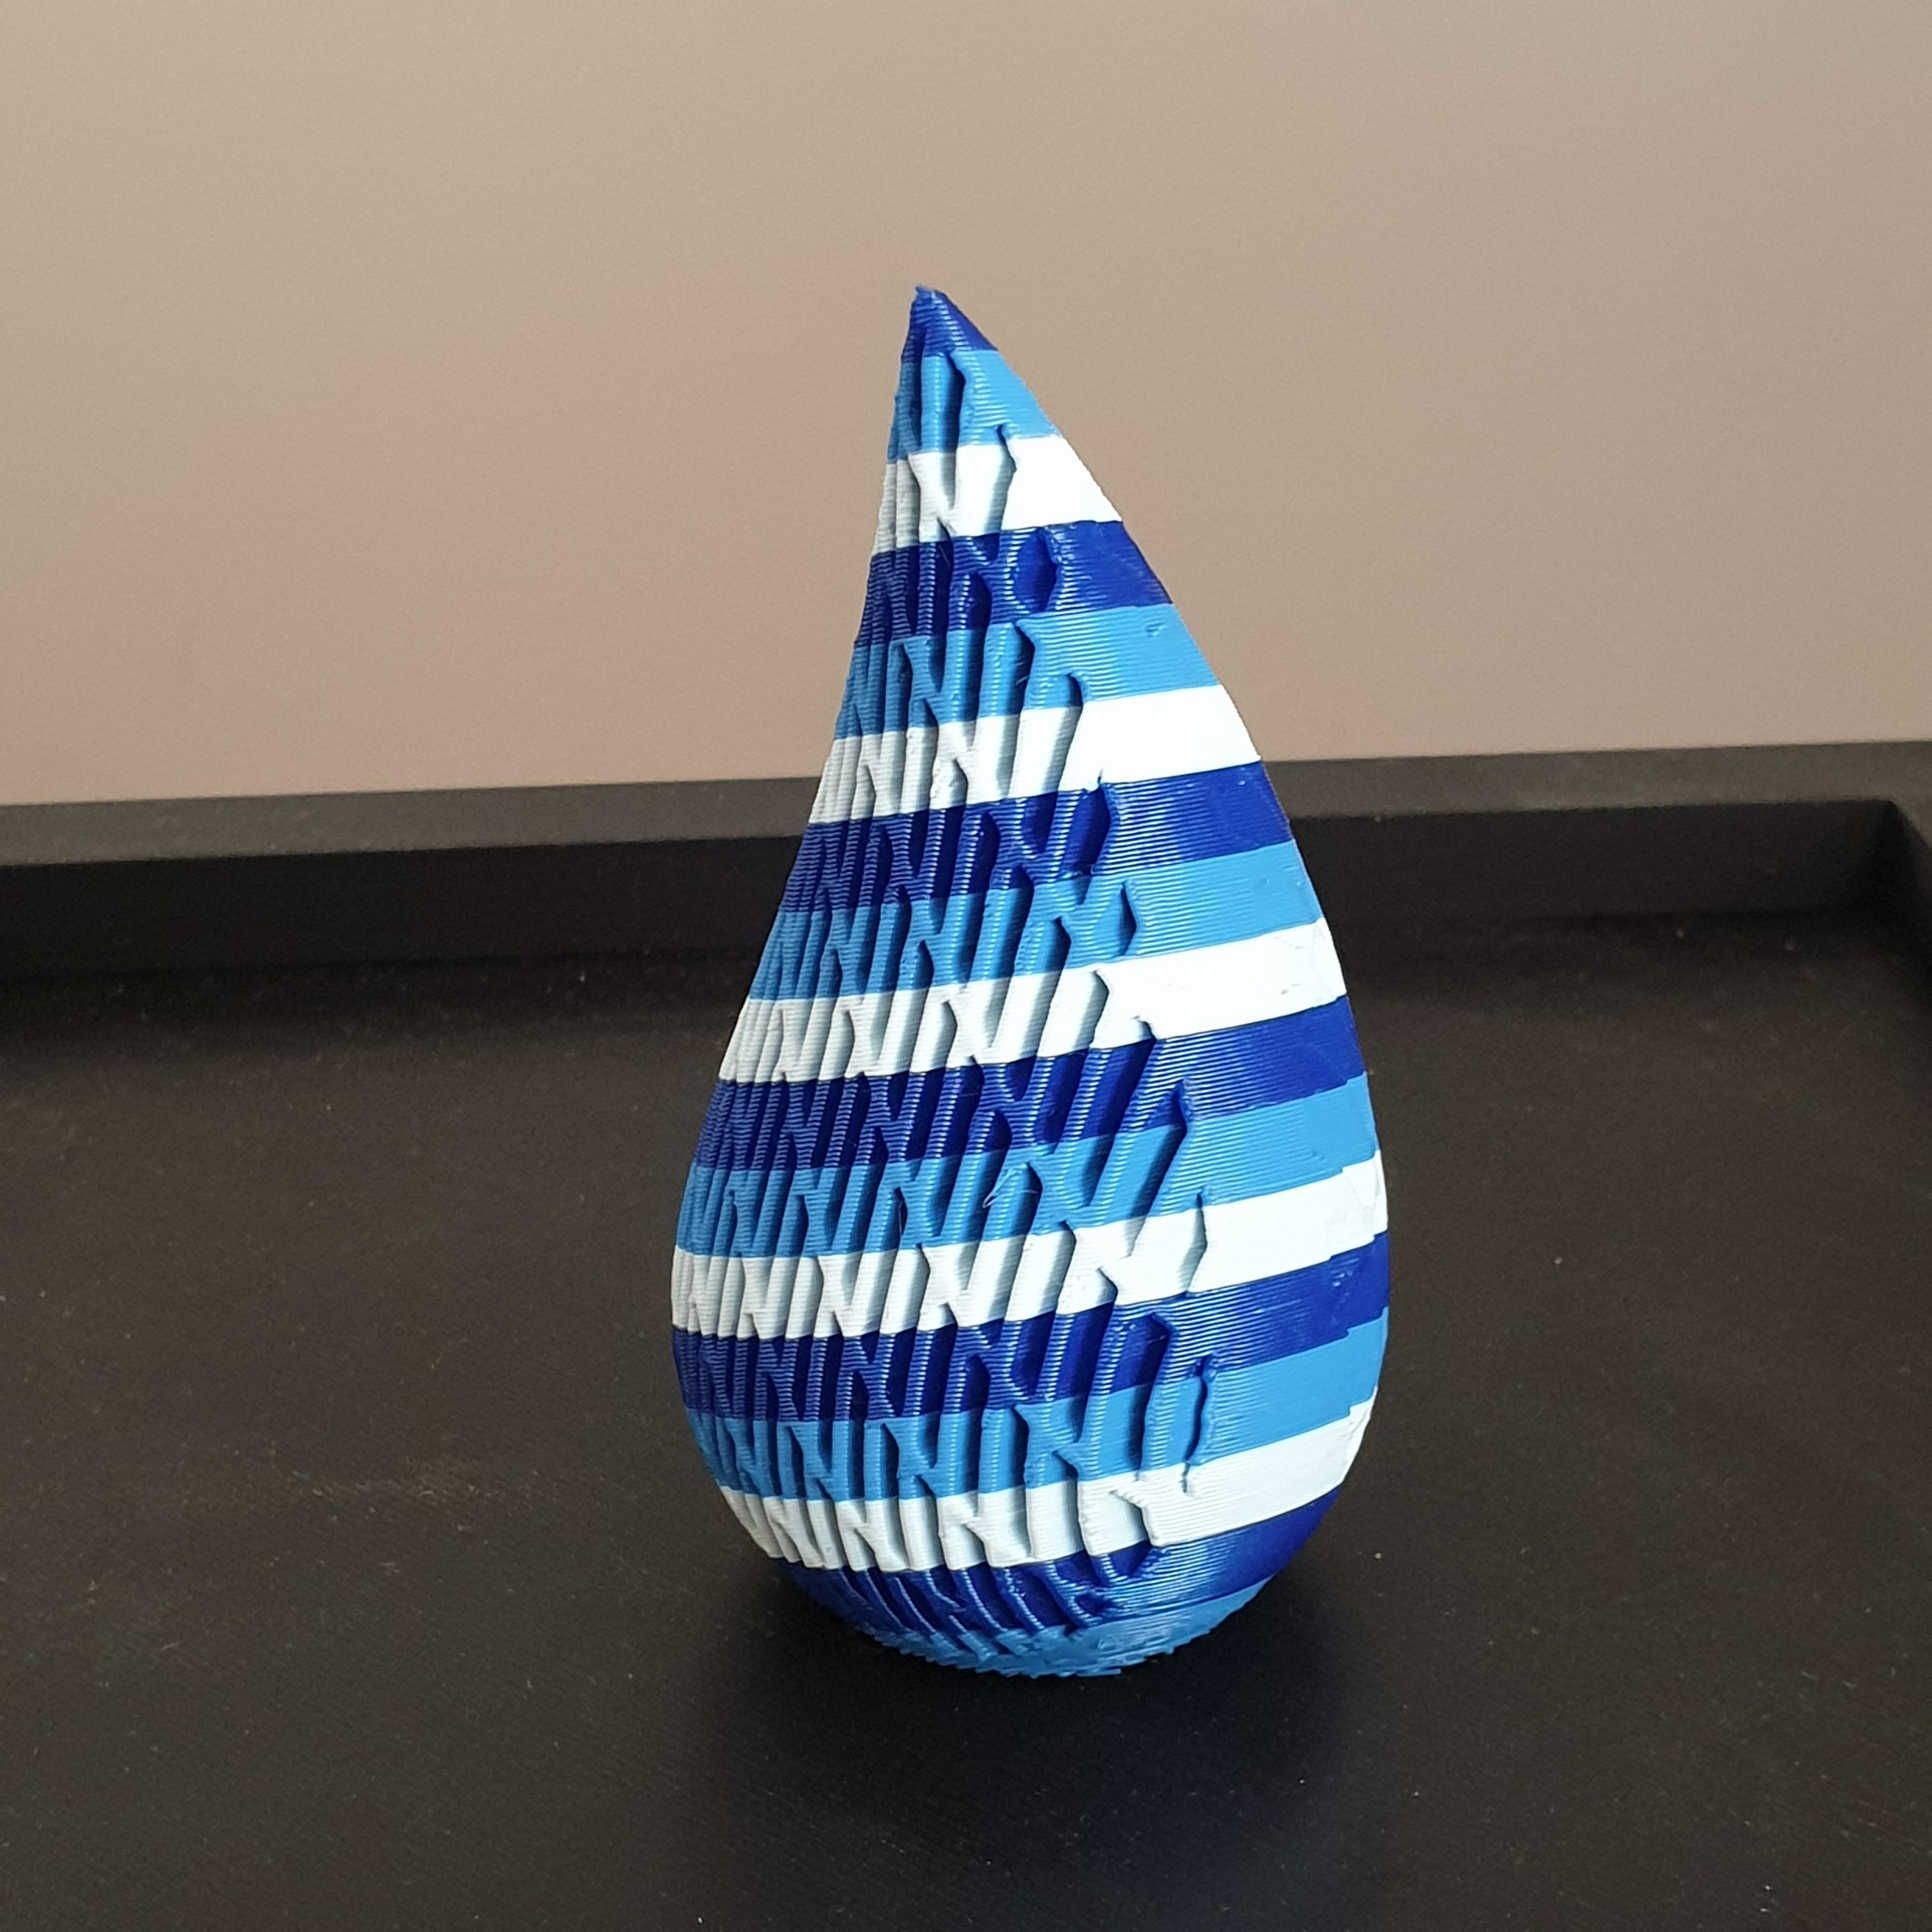
Download the gcode and print your model
The printer will pause at each colour change you have added and you will have the opportunity to change your filament.
I used 3 shades of blue.
Once complete, gently remove the raft and supports and stand your ornament upright
A wavy all blue water droplet ornament
Any questions – I’m always happy to help 😊
Support me on Patreon: https://www.patreon.com/3dprintbunny