Blue Raccoon Crossing: a Fusion 360 Bridge Using Generative Design
by ap_rpm in Workshop > 3D Printing
230 Views, 0 Favorites, 0 Comments
Blue Raccoon Crossing: a Fusion 360 Bridge Using Generative Design
My name is Ayan Patel and I am a 14 year old 9th grader at Valley Southwoods Freshman High School in West Des Moines Iowa. Blue Raccoon Crossing is a bridge I designed. Everything aside from the trees was designed in Fusion 360. The structure of the bridge was made using the Generative Design feature in Fusion 360.
Supplies

All you need for this project is Fusion 360 and a computer capable of adequately running it. (Access to a high-end graphics card may be required for rendering and generative design)
Optionally you may need access to tinker-cad for making an tree model as well as access to a browser in case you want to import vector files for the bridge.
Finding a Location

Even if you aren't going to build the bridge in real life, an area to put your bridge is still very beneficial for tailoring it to a community and adding more realism to your design. For my design I chose to make it over Raccoon River. I believe making a pedestrian bridge here would be very beneficial to the community as the Blue Heron Lake area is already an important meeting spot for many different types of events and celebrations, from birthday parties to bike races. Connecting it to the Walnut Woods State Park would add a whole other area to this meeting spot that is not easily accessible to pedestrians. I used the google maps measure feature and it said the river was about 280 feet long, so that is what I based my design on.
Getting Inspiration
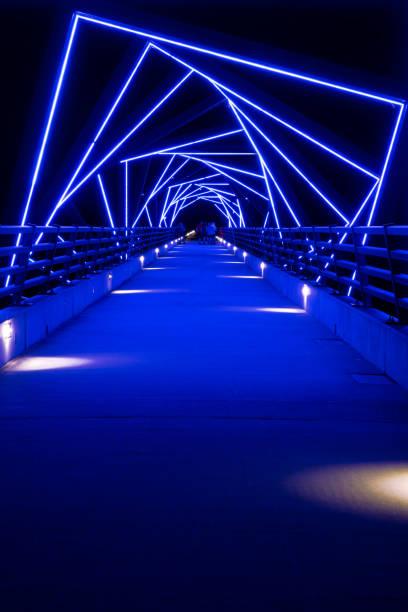
When I was thinking about other pedestrian bridges, The first one the came to mind was the High Trussel Trail in Iowa. As you can see, I made my design similar to it, but changed many things about it.
Creating the 1st Base of the Bridge
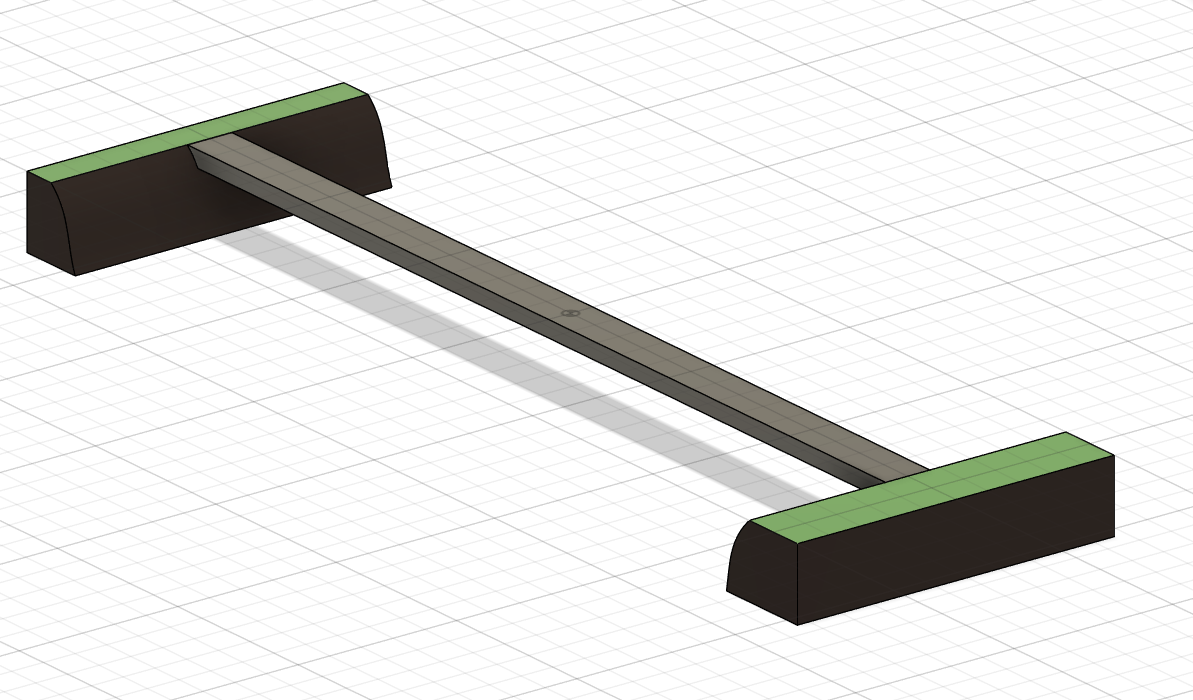
I started out by simply extruding and cutting a rectangle to be area will people will walk. When creating this keep in mind to have enough space for handrails, special bike areas, and other things you might need. If you want you can also design the surrounding area. When doing this make sure the distance is the same as the width of the river.
Creating the Aesthetic Aspect
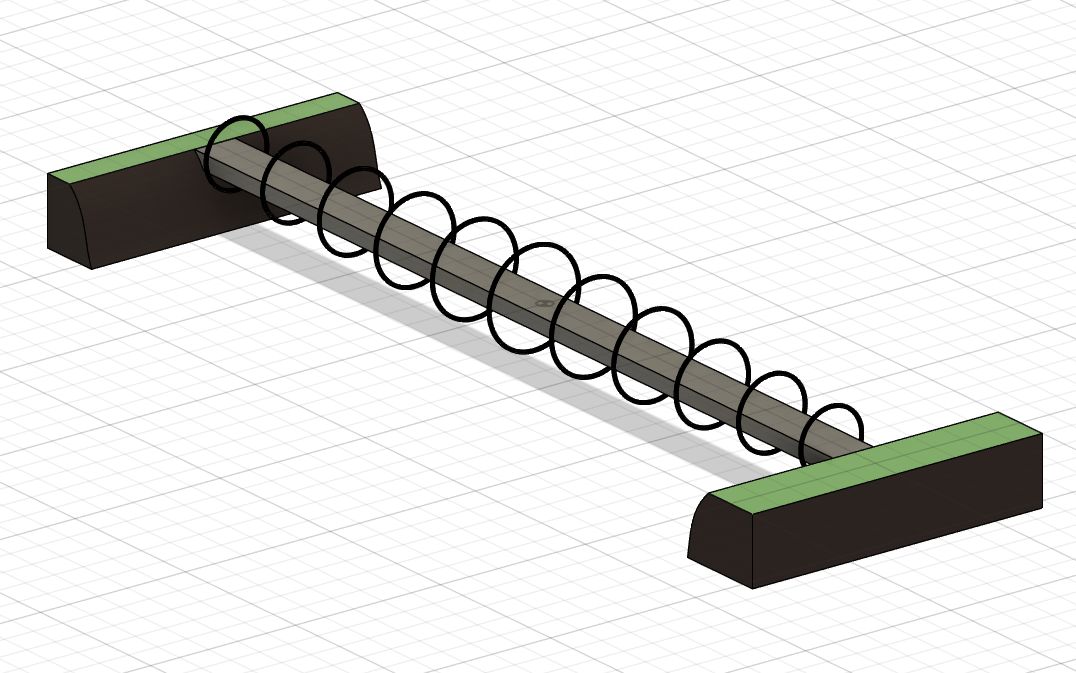
Though having aesthetics is not needed, adding them makes your bridge stand out a lot more and gives a sense of uniqueness to the bridge. As mentioned in Step 2 mine was inspired by the High Trussel Trail.
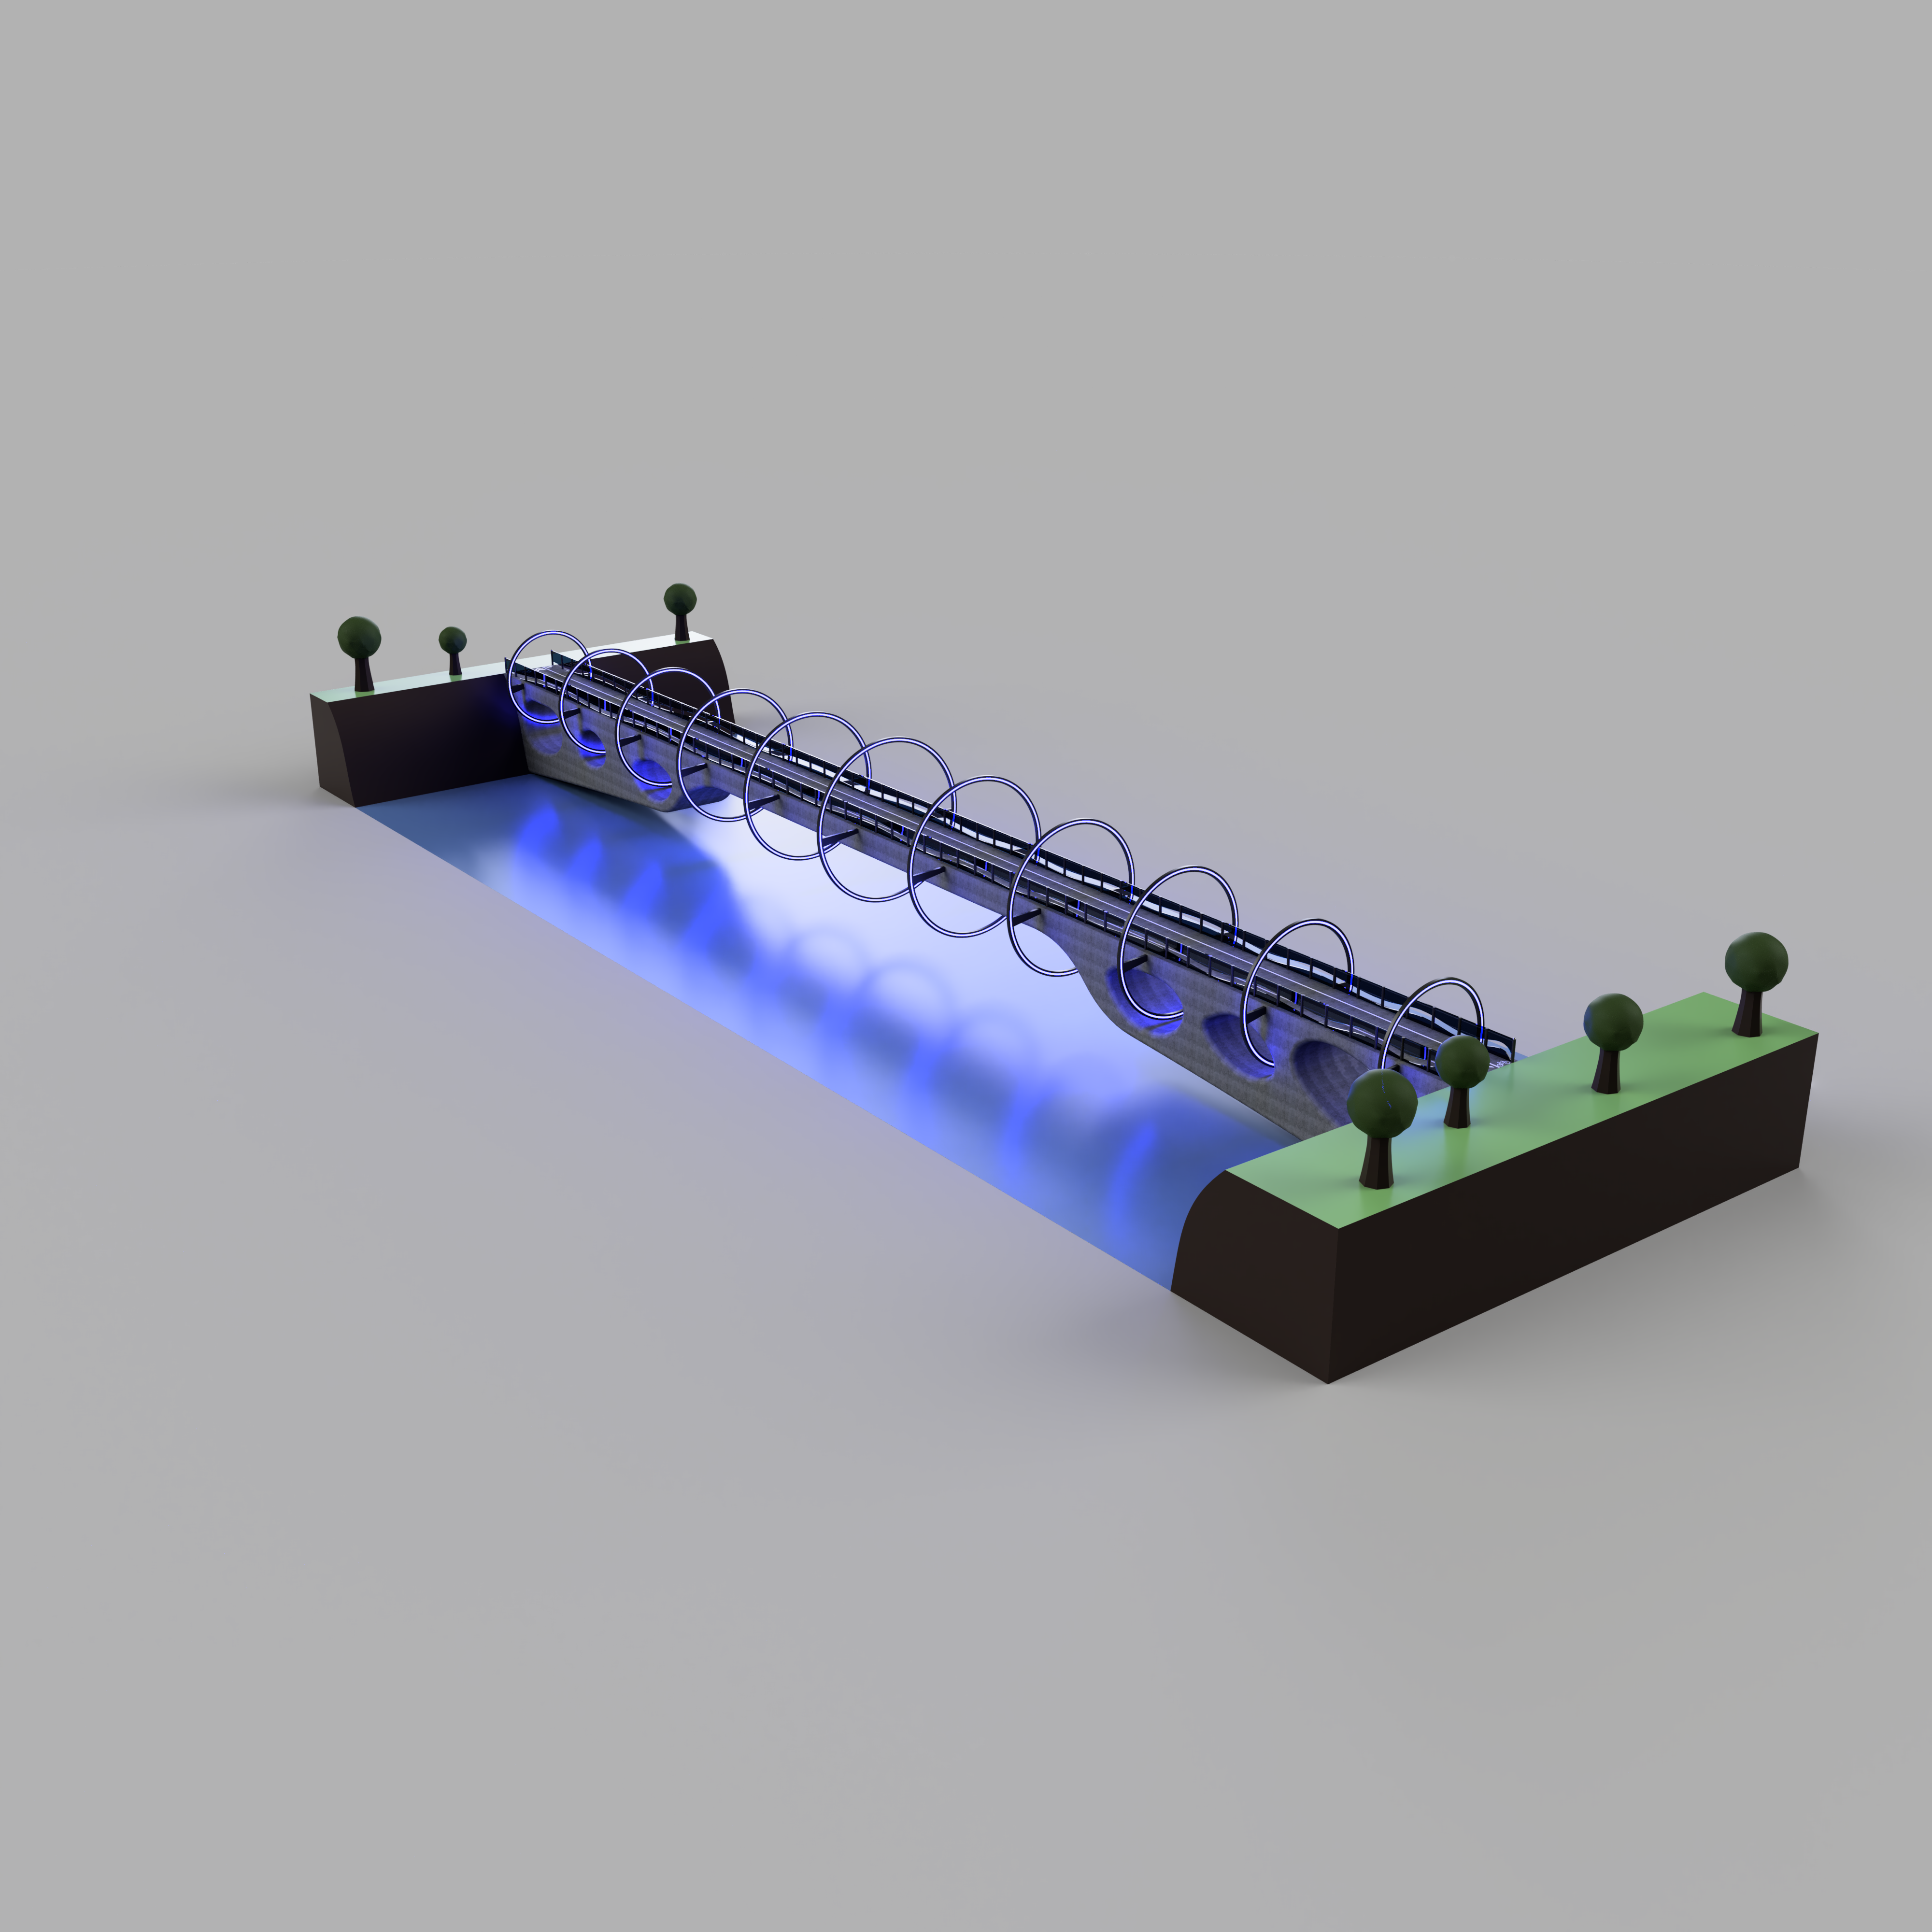
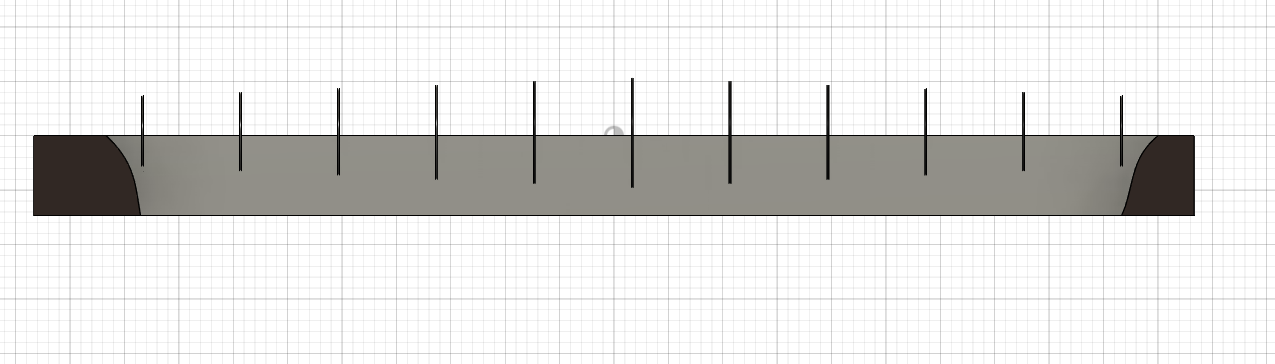
I made a 11 black rings with a small blue led within them. As they get to the middle they get bigger. To them I simply sketched out the rings, extruded them, and colored them. I would recommend waiting before connecting them to the base, if they are not already connected.
Using Generative Design to Create the Final Base of the Bridge
I started out by extruding the base made before until it reached the bottom like shown above. Generative design is a difficult feature to learn so I would recommend really taking your time with this part and making as many iterations as possible. Since I am using an education license I am able to run as many studies as I need. But if you are using are using a hobbyist license many tokens may end up being used. I will not be going super in depth for the generative design process as it takes a whole separate tutorial, and tons of experimenting to work as desired. I put the force on the bridge as 100 pounds per square foot. Attached is my generative design mesh file.
I chose to use this specific generative design mesh because it does not interfere with the flow of water and does not obstruct nature.
You may also run a stress simulation study as I did to test the effectivity of the bridge.
Simplifying the Mesh Base

This step is very simple as all you are doing is tracing the mesh using spline curves to make it more realistic for manufacturing.This is optional but for my design I believe it was best.
Creating the Hand Rails

For my handrails I chose to make them transparent and I cut a spline curve through it for aesthetics. To connect it to the bridge I created a bunch of poles using the pattern feature.
Defining Aspects That Can't Be Designed
This is an important step even if your design will never be made. Defining certain features can show what makes your bridge special and how it can help people in ways existing bridges can't. Even though these features themselves can't be easily designed, some aspects can be represented in your design.
A big part of what I chose to design related to accessibility for those with disability's.
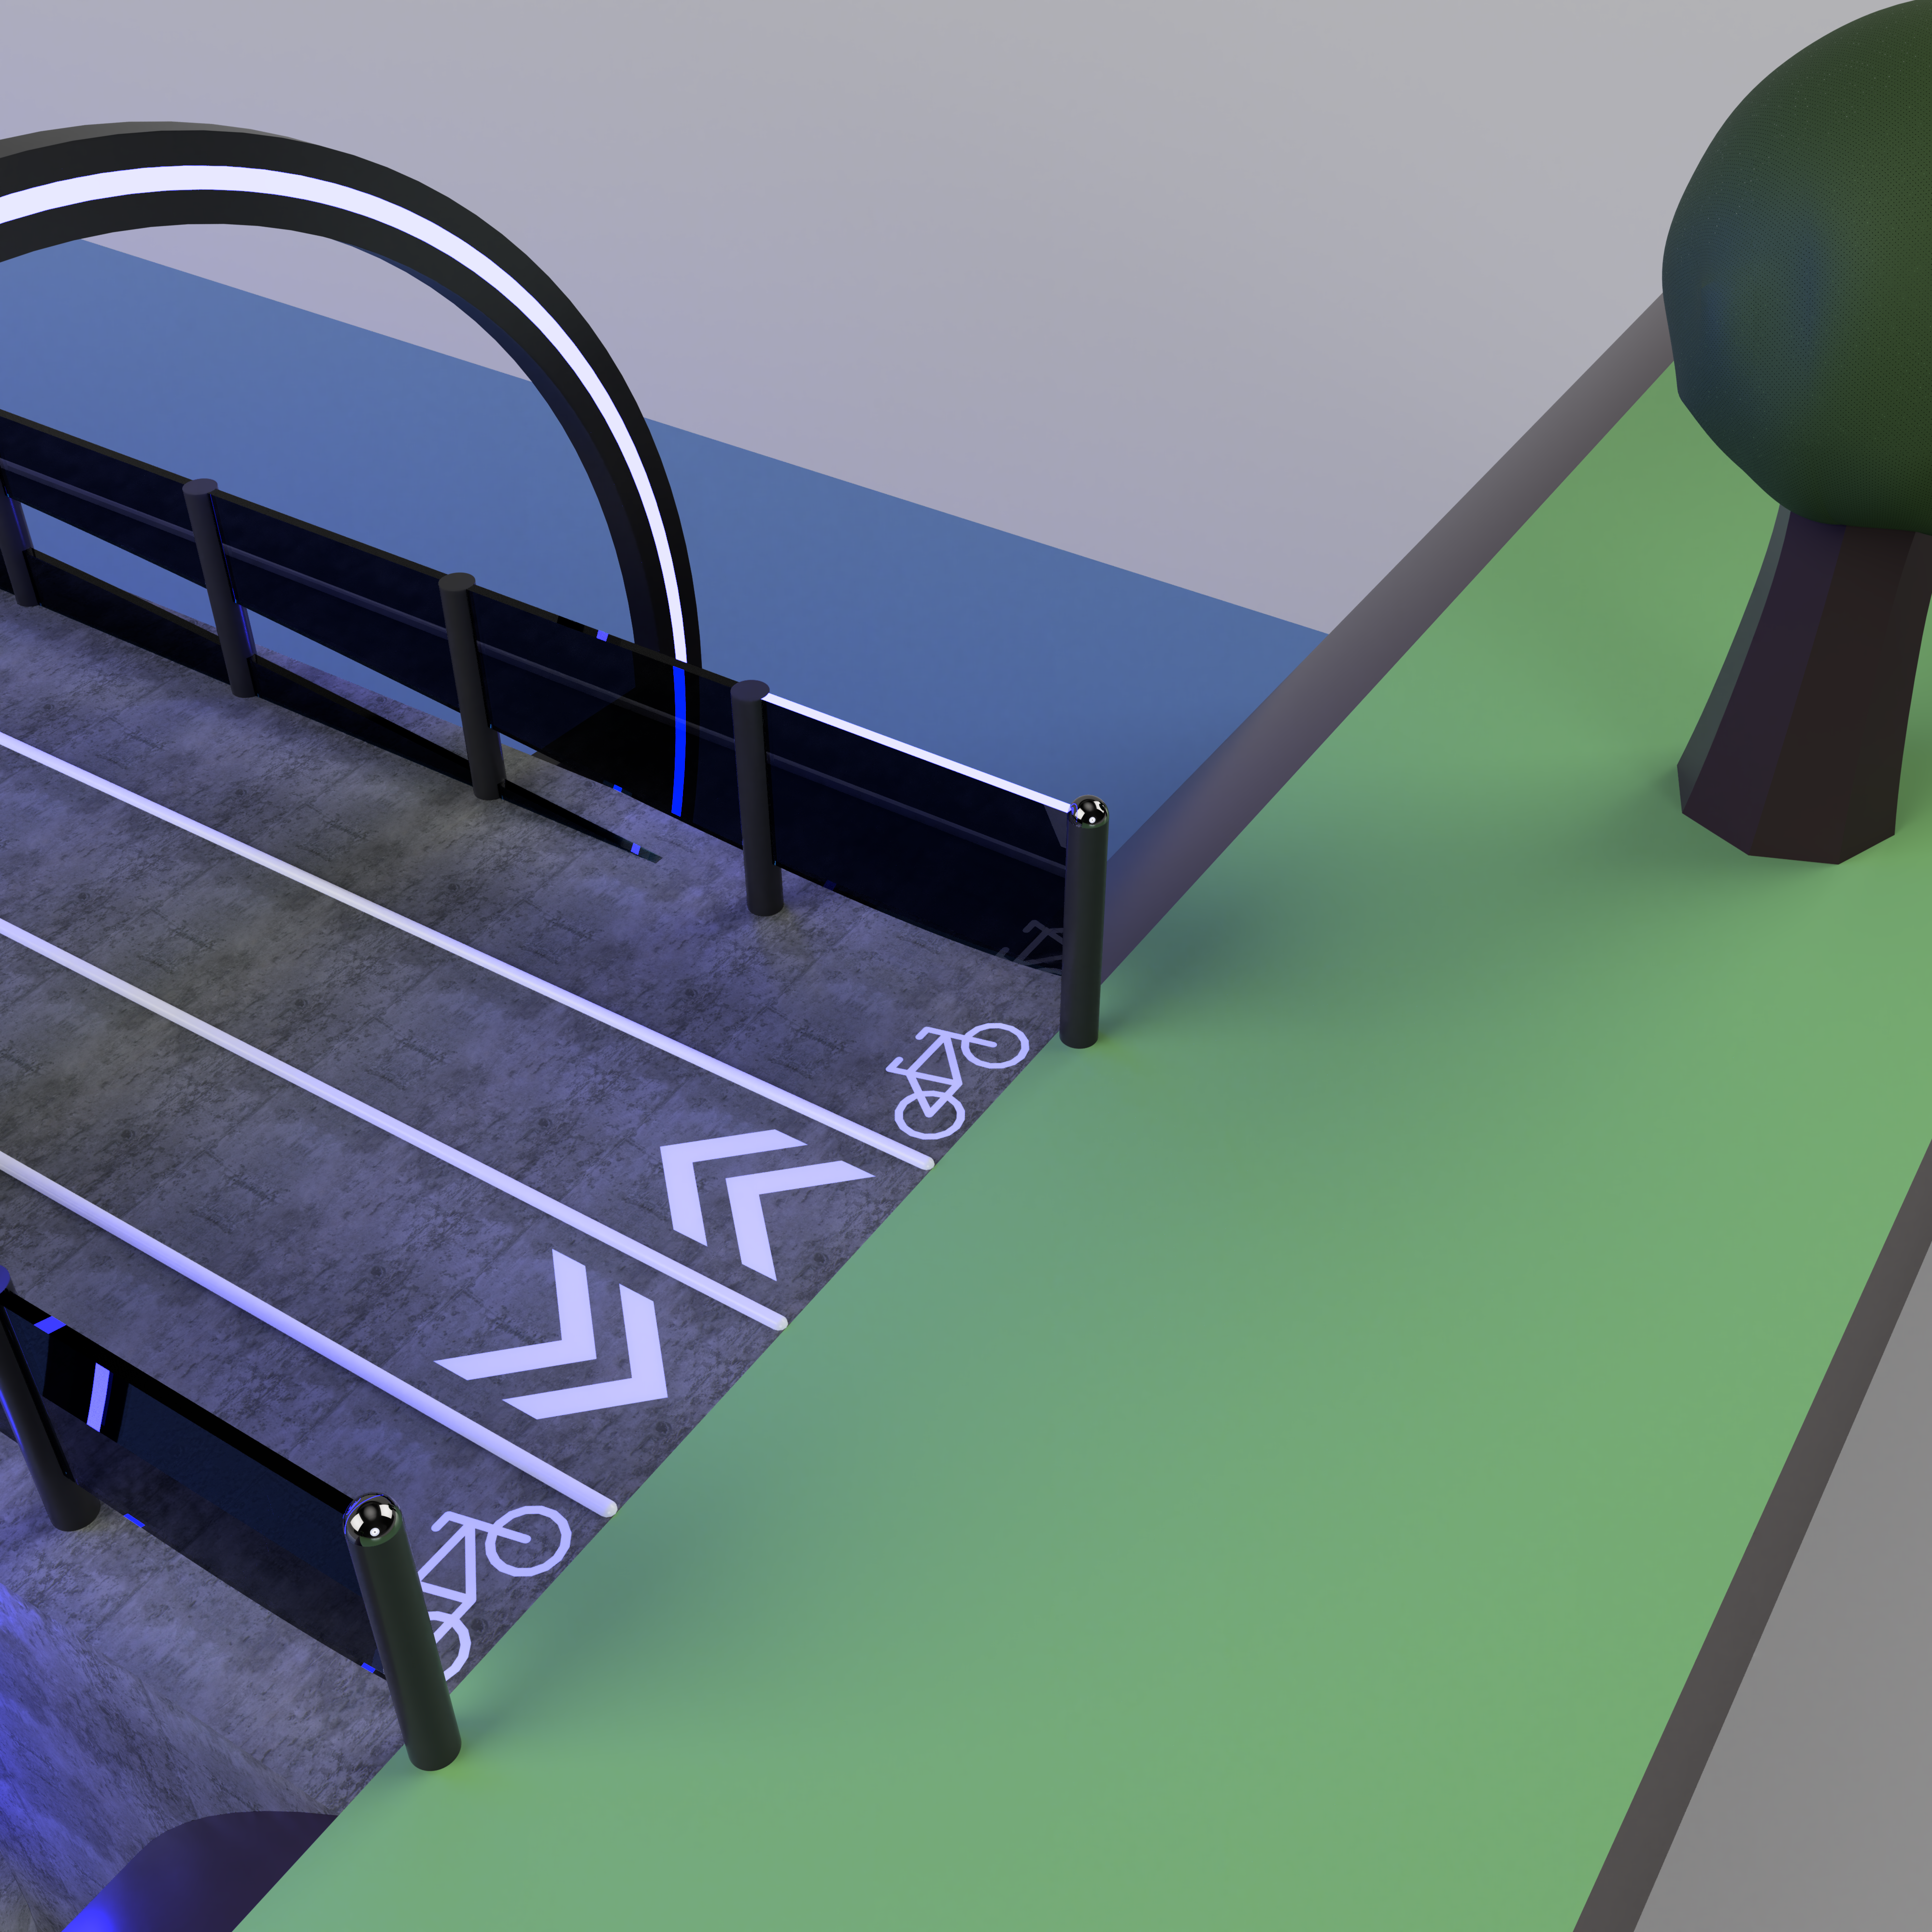
For example in my design you can see how I have designated bike lanes and lanes for going both directions. Sighted people would be able to see these glyphs, so I extruded lines across the bridge so those who need a probing cane to sense there surroundings would be able to stay in the designated lanes when a bike passes by. I also made a small reflective surface on the ends of the bridge to signify sensors. When the sensors are activated by a bike, the handrail would illuminated as shown above, as well as speakers telling people to move to the left walking lane.
Assigning Materials and Rendering
Click "a" to open the appearance menu and assign materials to different objects. These can be assigned to serve an aesthetic purpose, or to signify a real material that would be used during manufacturing. Remember to add special effects to certain objects like lights.
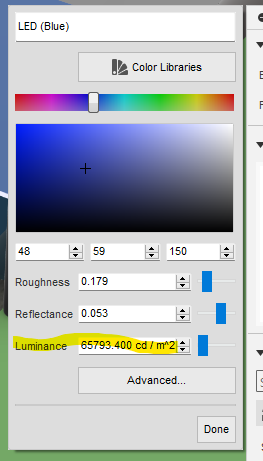
For my lights I used LED material and turned up the emissivity or luminance.
I also added trees and a blue plane under the bridge to signify water.
To render simply move the camera to where desired and click the render or "teapot" button. After this you will have to select settings and this process may utilize cloud credits.
What I Learned (And Hopefully You Did Too)
When initially designing this I was unsure what to do with a lot of the Fusion 360 design features and how to present the ideas I had in mind. Along the journey of making this I explored many of the different design features and tried to make my bridge look as good as possible. At the beginning of this project I had no idea where to start with generative design, but with practice and experimenting I learned so much. Because of what I did in this project I am sure that my next design will continue to help me on my journey of mastering Fusion 360.