Blocky Planters
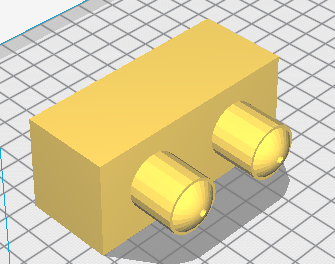
LEGO has so many uses, and the best part is that you can use LEGO to build anything. What if you could use giant LEGO-esque blocks as planters? That got me thinking if it is possible!
Using Tinkercad, I'll show you how to build a block used for a planter. If you have a friend with a 3D printer, you can print them out and stack them how ever you please.
Starting on Tinkercad
Sign up on Tinkercad (it's free) and follow the tutorials. The tutorials are useful for showing you the basics. Make sure that the grid is set up for mm.
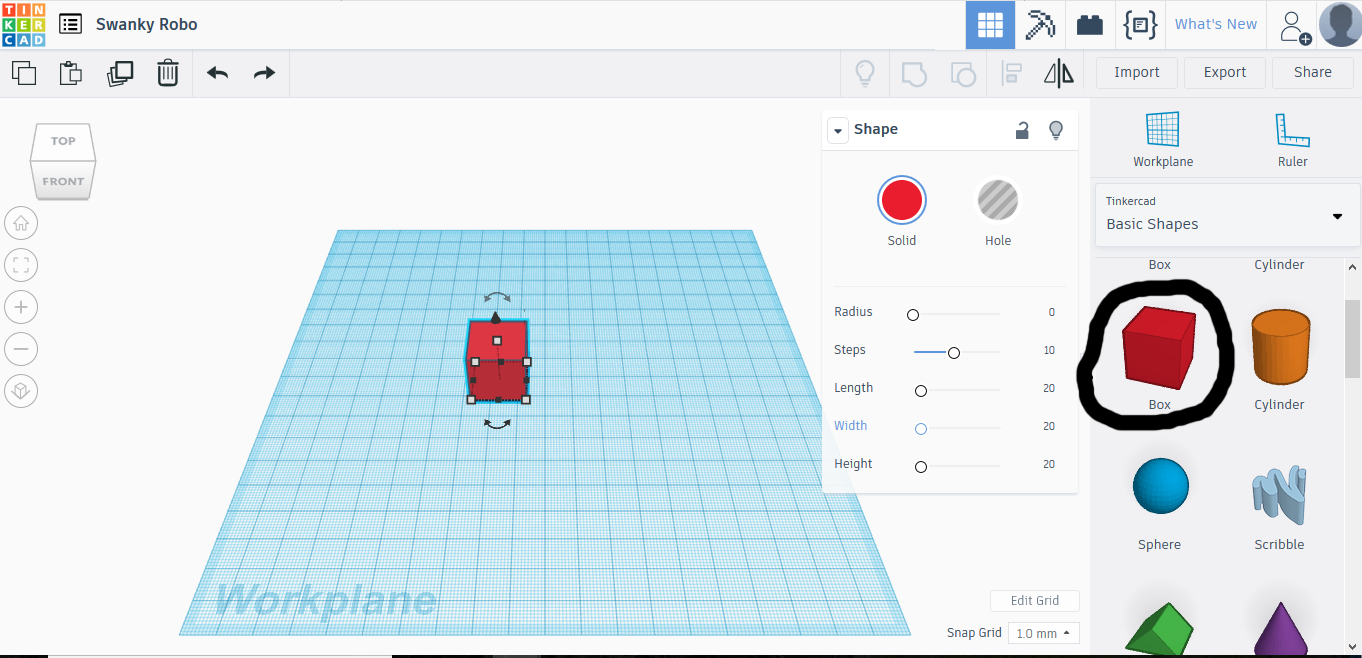
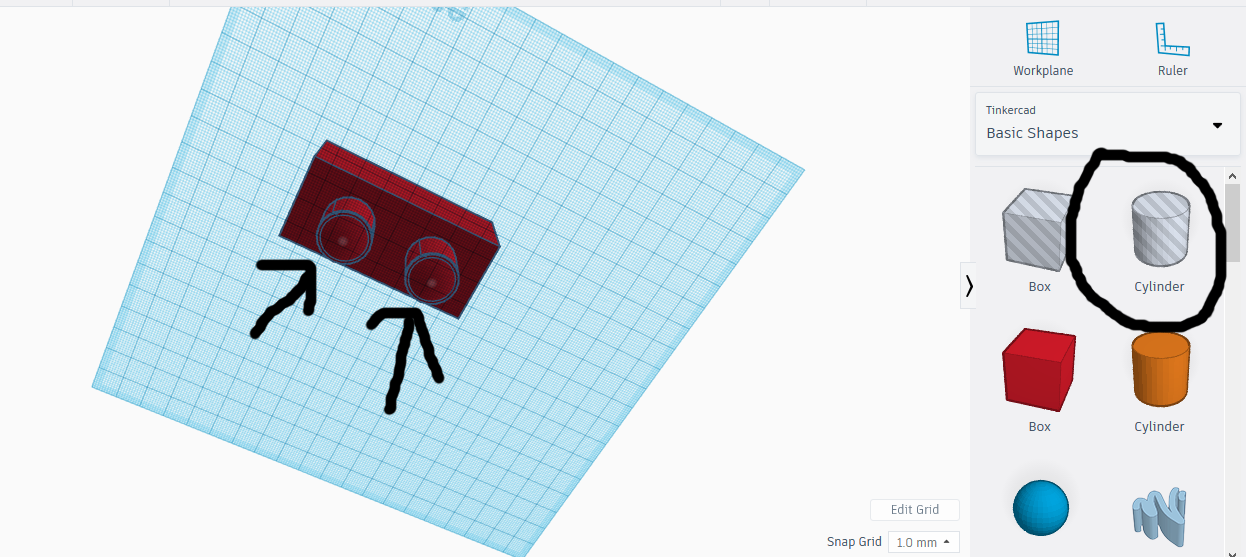
On the right hand side of your screen you will see the shapes column. From there select a cube.
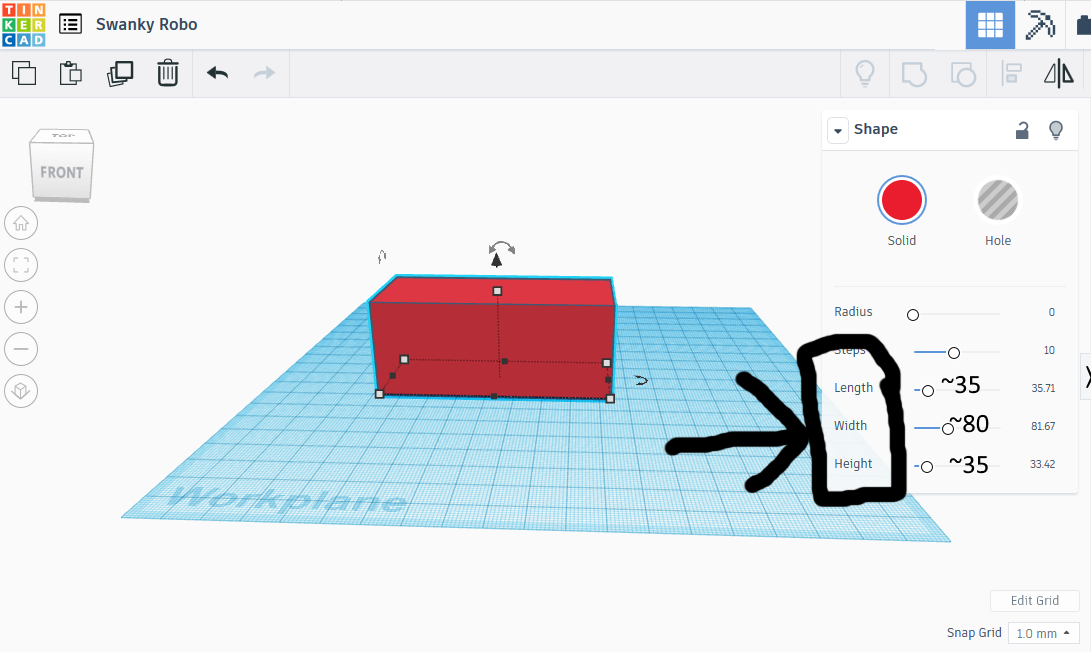
Resize the cube to roughly 35 length, 80 width, and 35 height.
Raise the Box

Raise the box up by clicking and dragging the top black arrow when you select the shape. Raise up to 25 for now.
Drag in More Shapes
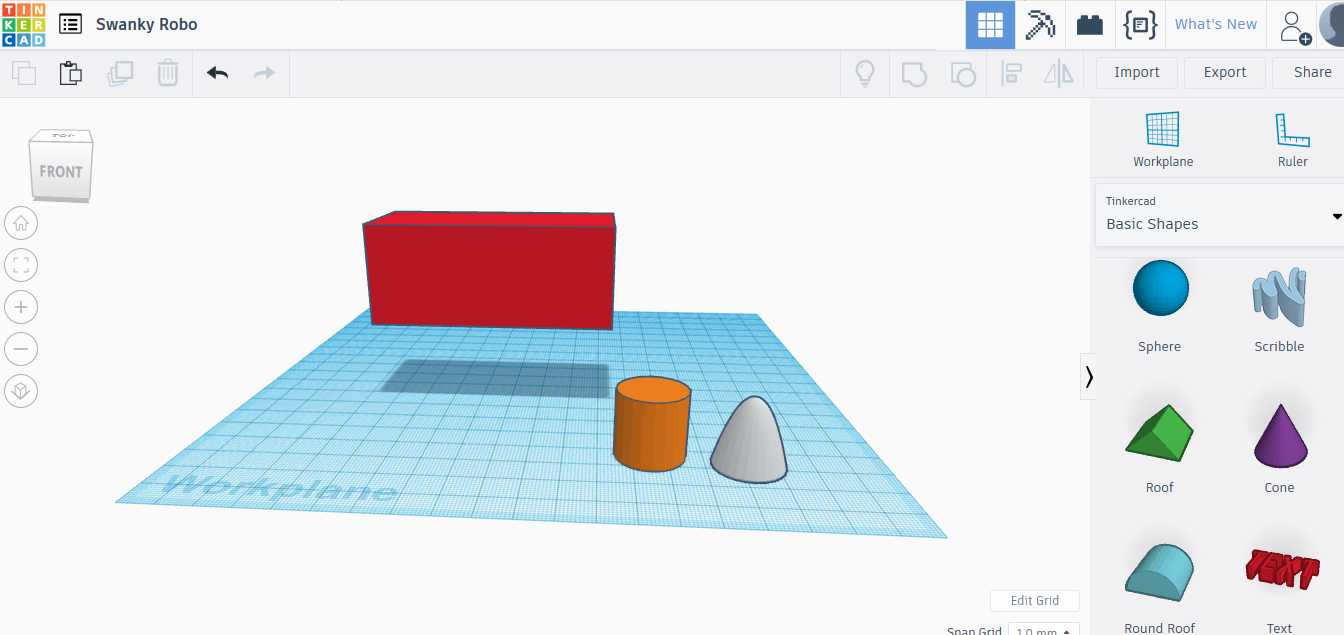
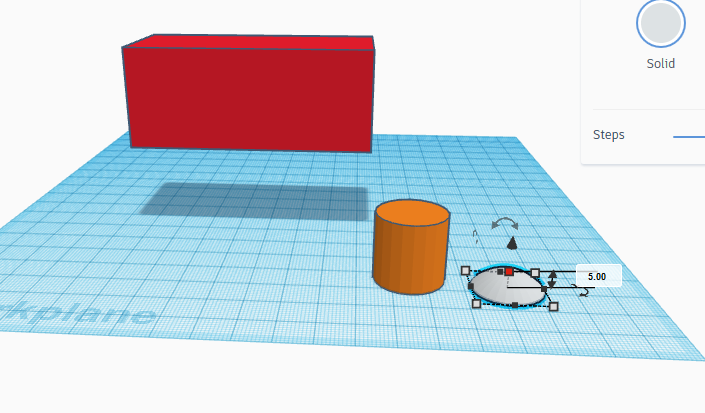
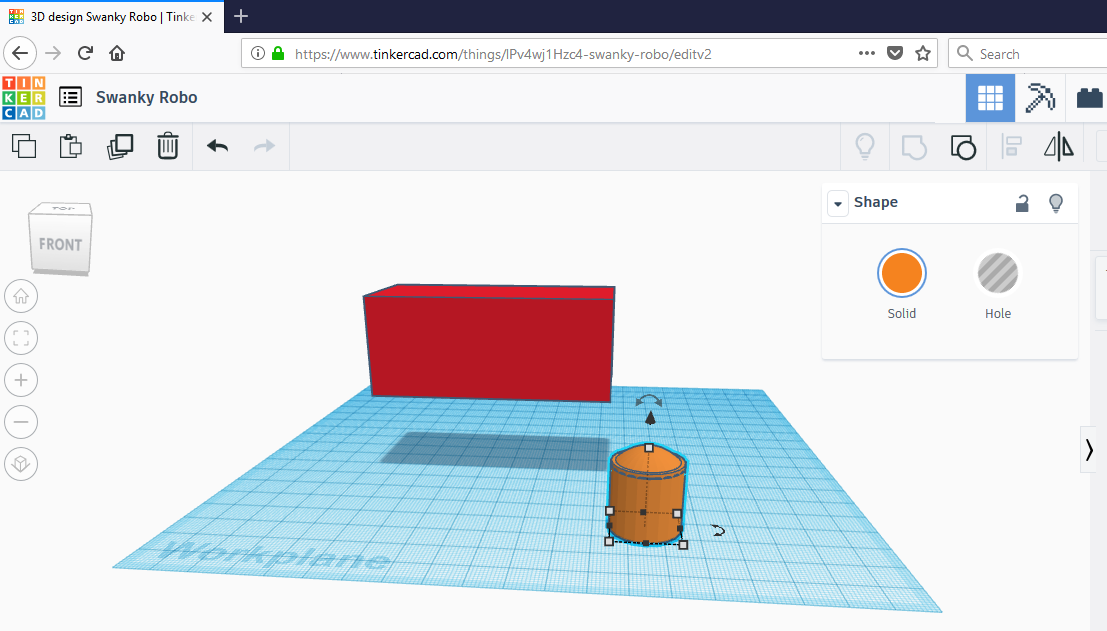
Drag in a cylinder and a paraboloid. Shrink down the top of the paraboloid to 5.
Make the Plugs
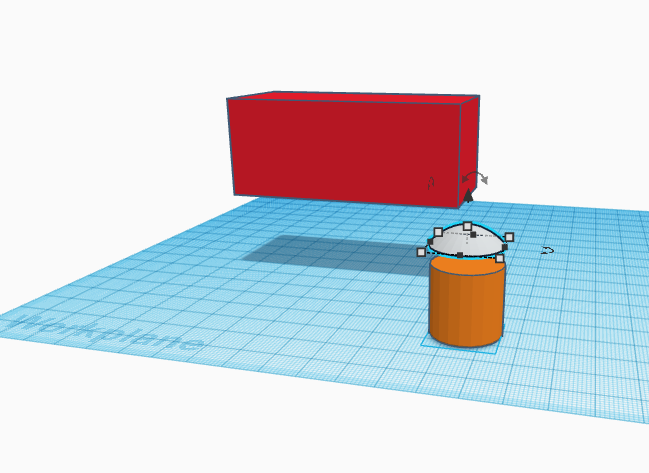
Position the paraboloid over top the cylinder. If you right click you can change your field of view. Looking from the top down, it's easier to position the two shapes together.
Group Plug
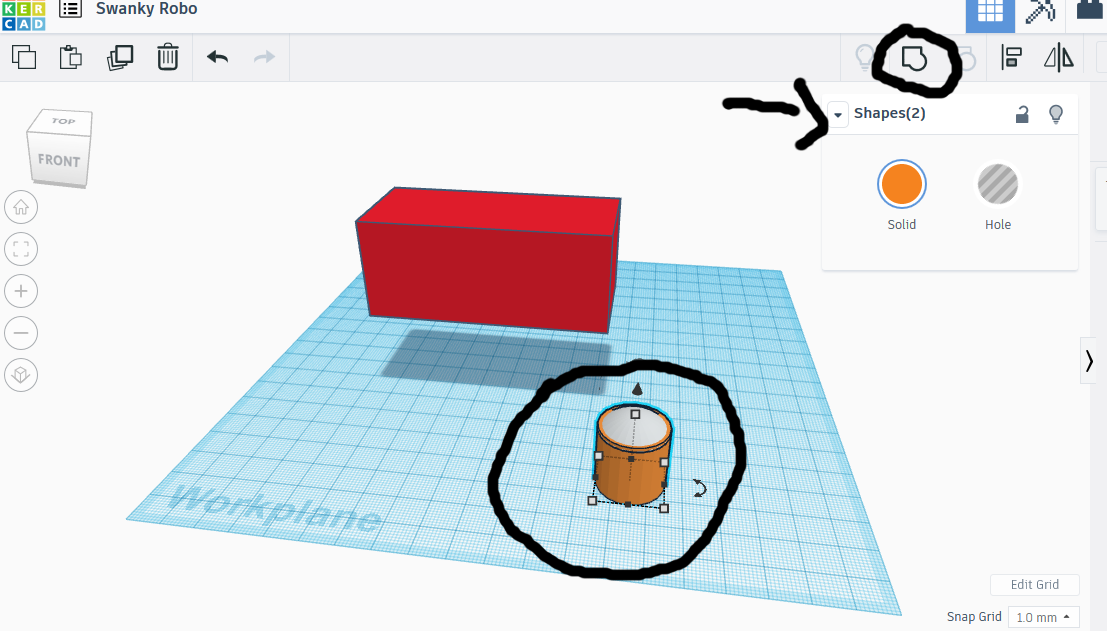
Select both shapes (by either left click and drag a box around, or click each shape while holding shift). At the top left you will select "group". If you did that correctly both shapes will be the same colour.
Rotate Plug
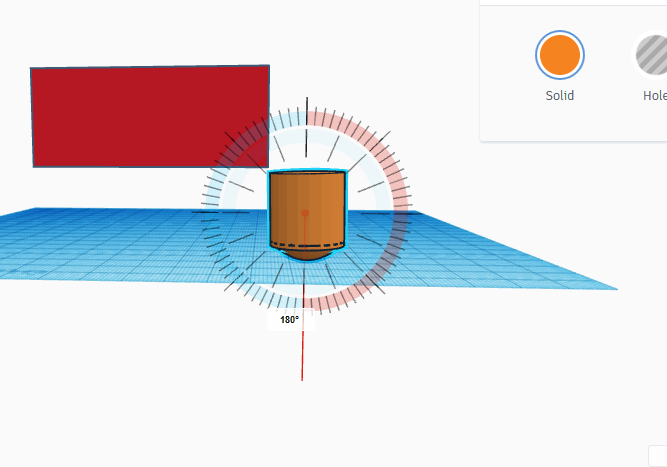
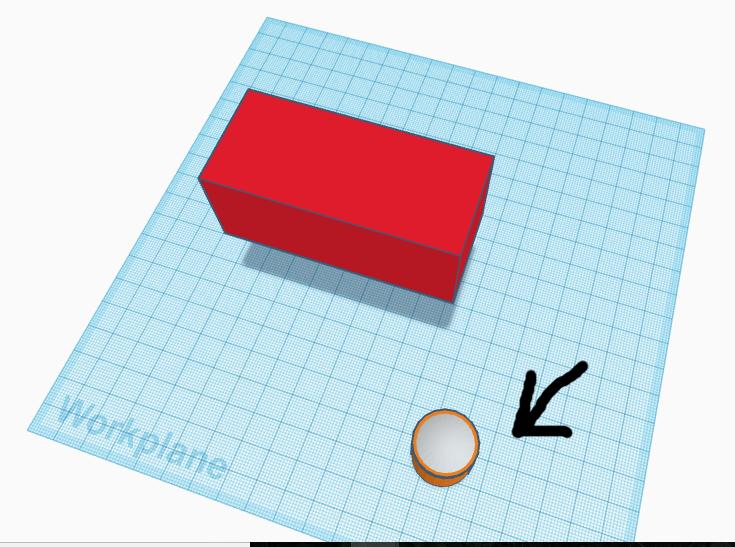
Rotate the plug 180 degrees.
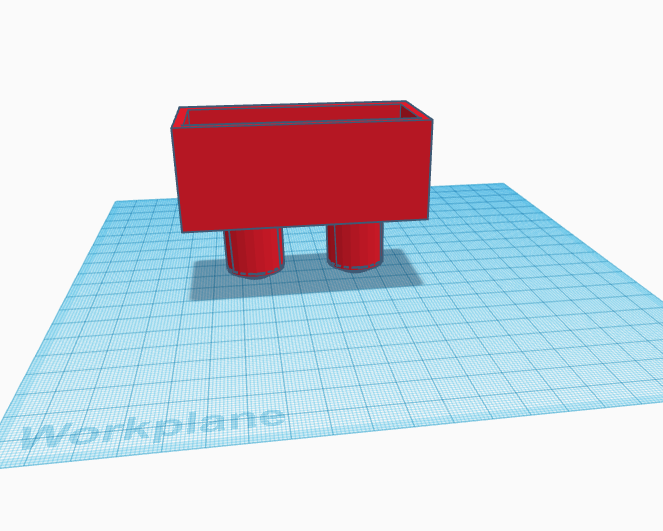
Position Plugs
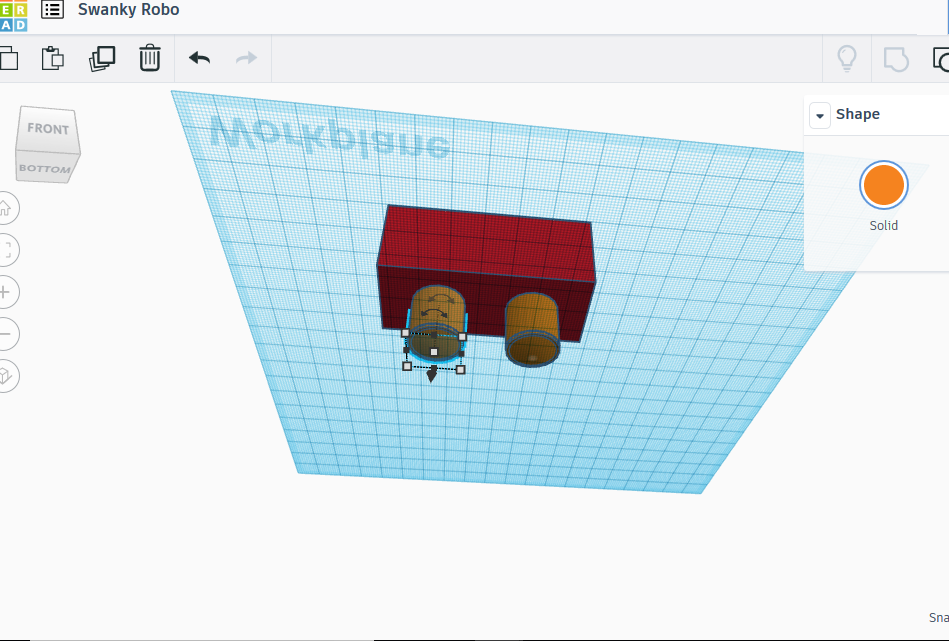
You may need to change your view for this. Copy and plug shape so you will have two. Position them on the bottom side at an equal distance. Make sure that the bottom of the box touches the top of the plugs. You may need to bring down the box by drawing the top black arrow.
Hollow Out
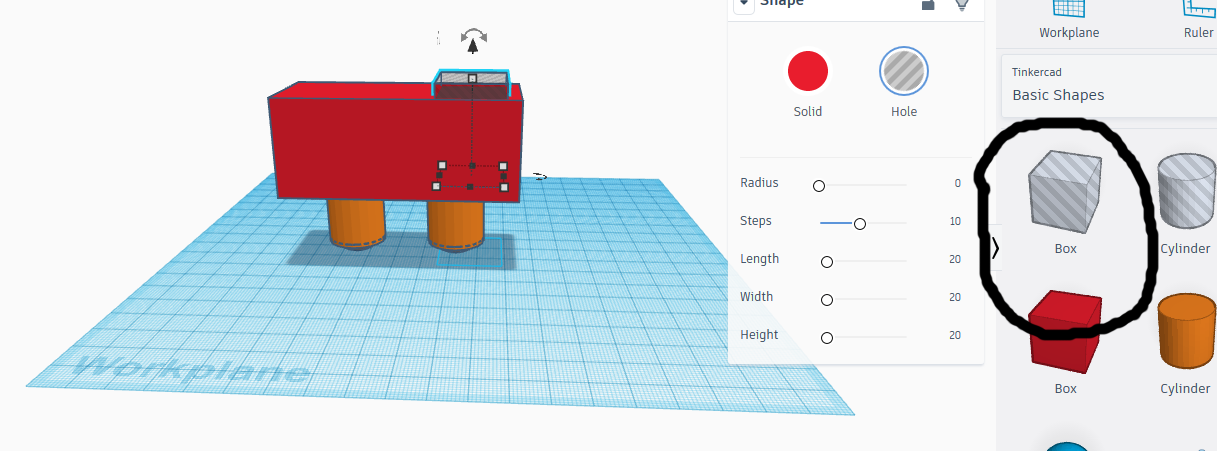
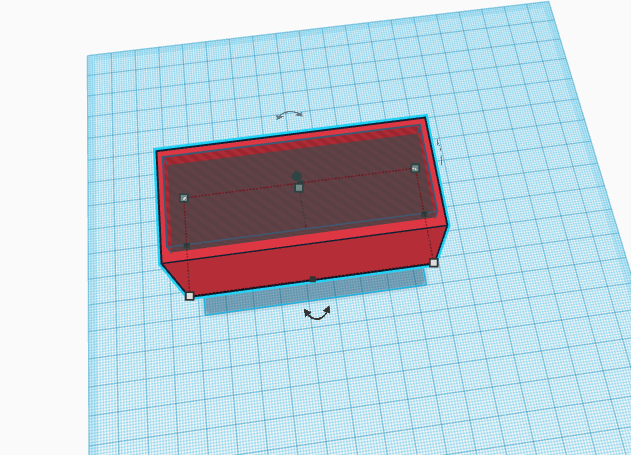
Drag in a "hole" cube and position it inside the box. You should be able to tell where it is by noticing the guide lines. Change your view to top down and make the box bigger. When you are happy with it, select everything and group them together.
Inner Holes
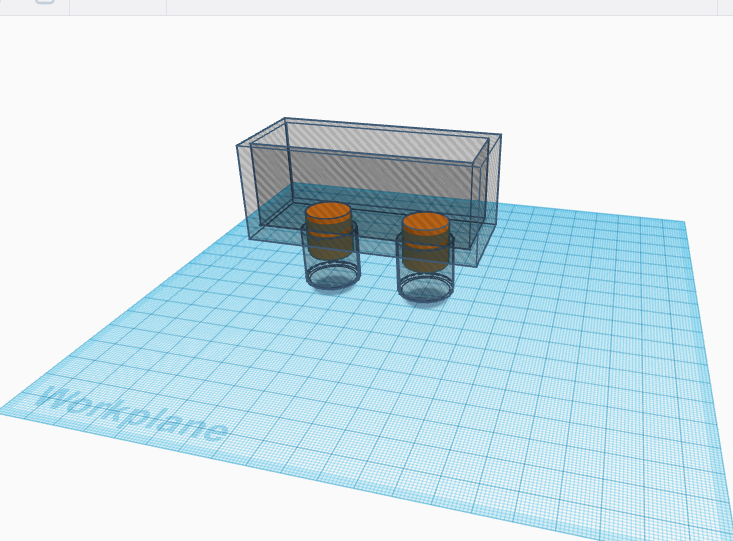
Turn the shape into a "hole" just so you can see what is going on. Bring in a solid cylinder and shrink it until it is slightly smaller that the plugs. Position them to hollow them out. When you are happy with the position, change the shape back to solid and the cylinders to hole. Group everything together.
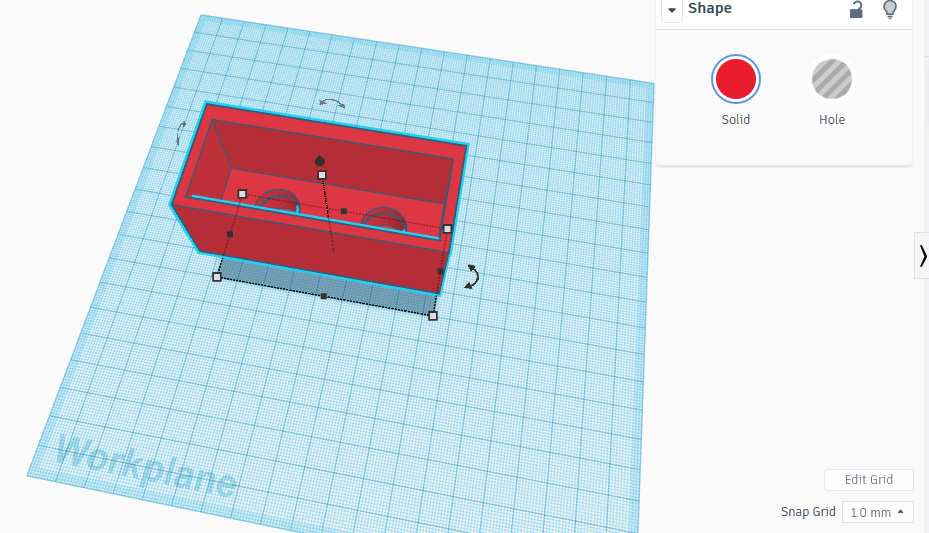
Drainage
Add a cylinder and make it tall and skinny. Position it to the center of each plug. Make the cylinders "holes". Group everything together.
Get Ready to Print
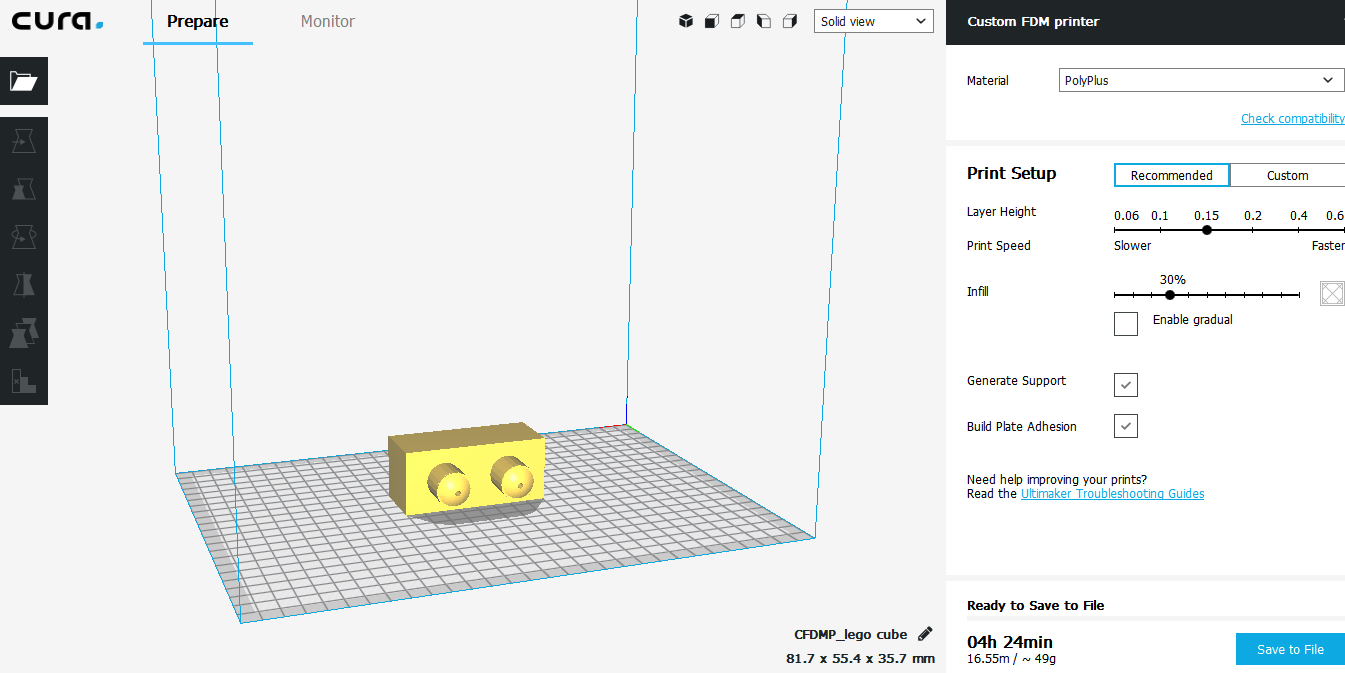
In theory, you'll need more than one so you can link them together. One will have a hard time standing on its own.
I'll post some pictures once I get a few printed. Happy building.