Blinky Pentagon and the Led Photo Frame
by Honghong Lu in Circuits > LEDs
1263 Views, 4 Favorites, 0 Comments
Blinky Pentagon and the Led Photo Frame

)
It is always need soldering job to finish a blinky photo frame. But if you have a neon pixel s shape led strip and a blinkytape controller, you just need 10 minutes to finish your first blinky pentagon artwork and photo frame.


materials
1. S shape sk6812 LED strip/ s shape neon pixel led strip, the one on the photo is 48leds/meter, 2meter one
2. masking tape( optional, since there is also double tape on the strip, can skip it. )
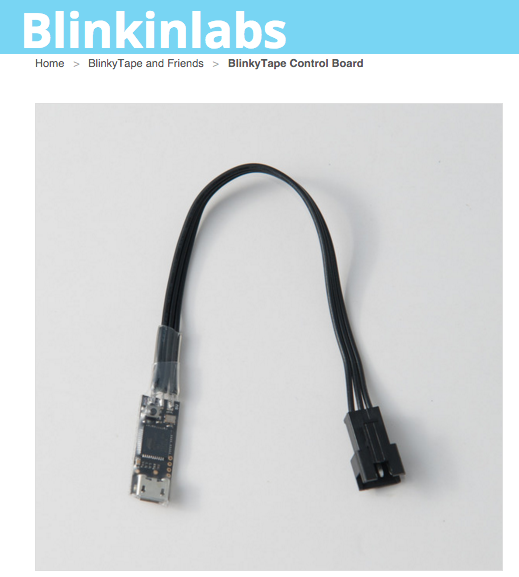
3. Blinkytape controller
4. micro usb cable
5. usb power bank
6. photo frame
7. pencil
8. paper
software
pattern paint
Draw the artwork on the paper, use the making tape to mount the led strip to the paper, or remove the double tape isolator from the strip and mount it on the paper.
Connect the blinkytape controller to the led strip input with the jst 3pin connector.
Download and install the free software pattern paint software from Blinkinlabs website.
Use micro usb connect the blinkytape controller to the pc and draw your own pattern.
Clip "save to blinky " then you can power your led frame with your phone charger. :-D