Blinking of Onboard Led Using STM32-Black Pill
by Prateek Thapar in Circuits > Microcontrollers
268 Views, 1 Favorites, 0 Comments
Blinking of Onboard Led Using STM32-Black Pill

Welcome to our tutorial on using STM32CubeIDE to control the on-board LED of the STM32 Black Pill microcontroller. We'll guide you through setting up the environment, understanding hardware specifics, writing LED control code, and testing/debugging. By the end, you'll confidently manipulate the LED using STM32CubeIDE. Let's get started!
Supplies
STM32-Black Pill, STMCubeIDE.
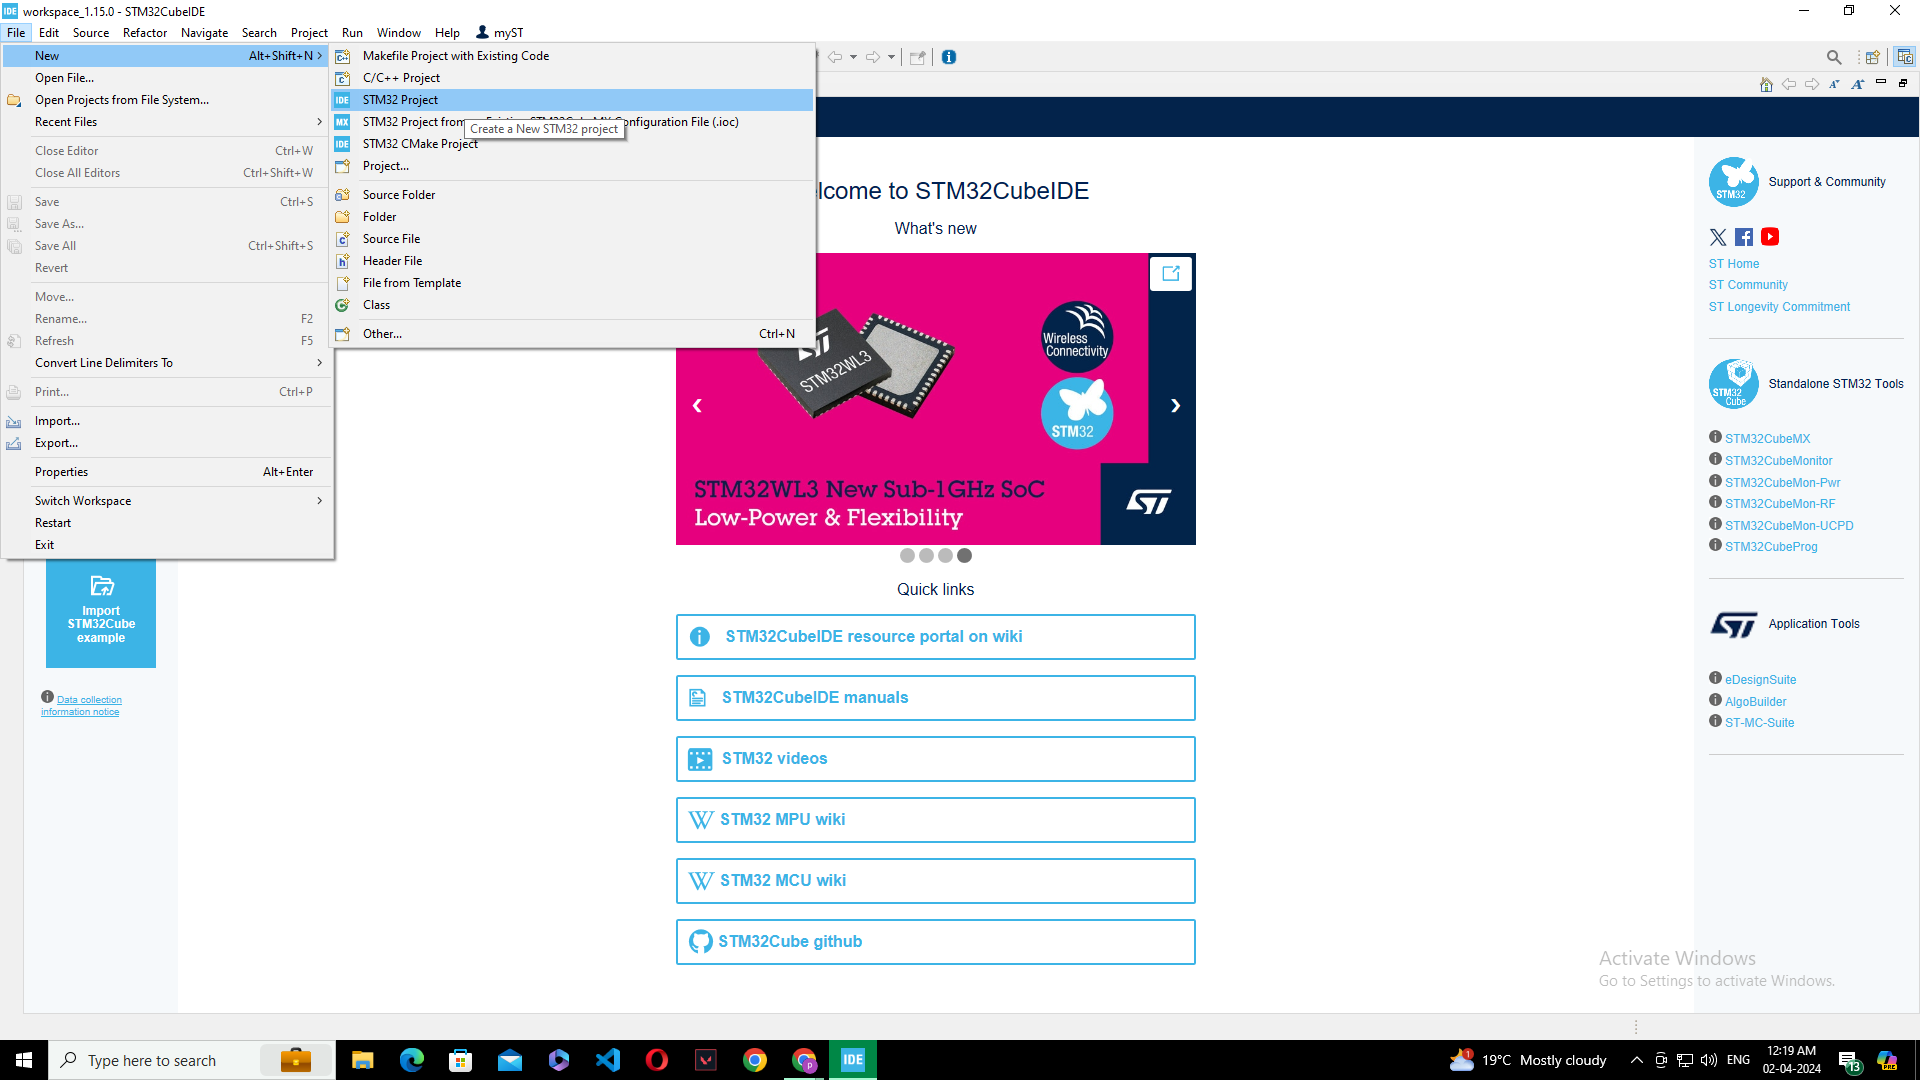
Making a New Project File in STM32CubeIDE
.png)
Open stm IDE>file>new>stm project.
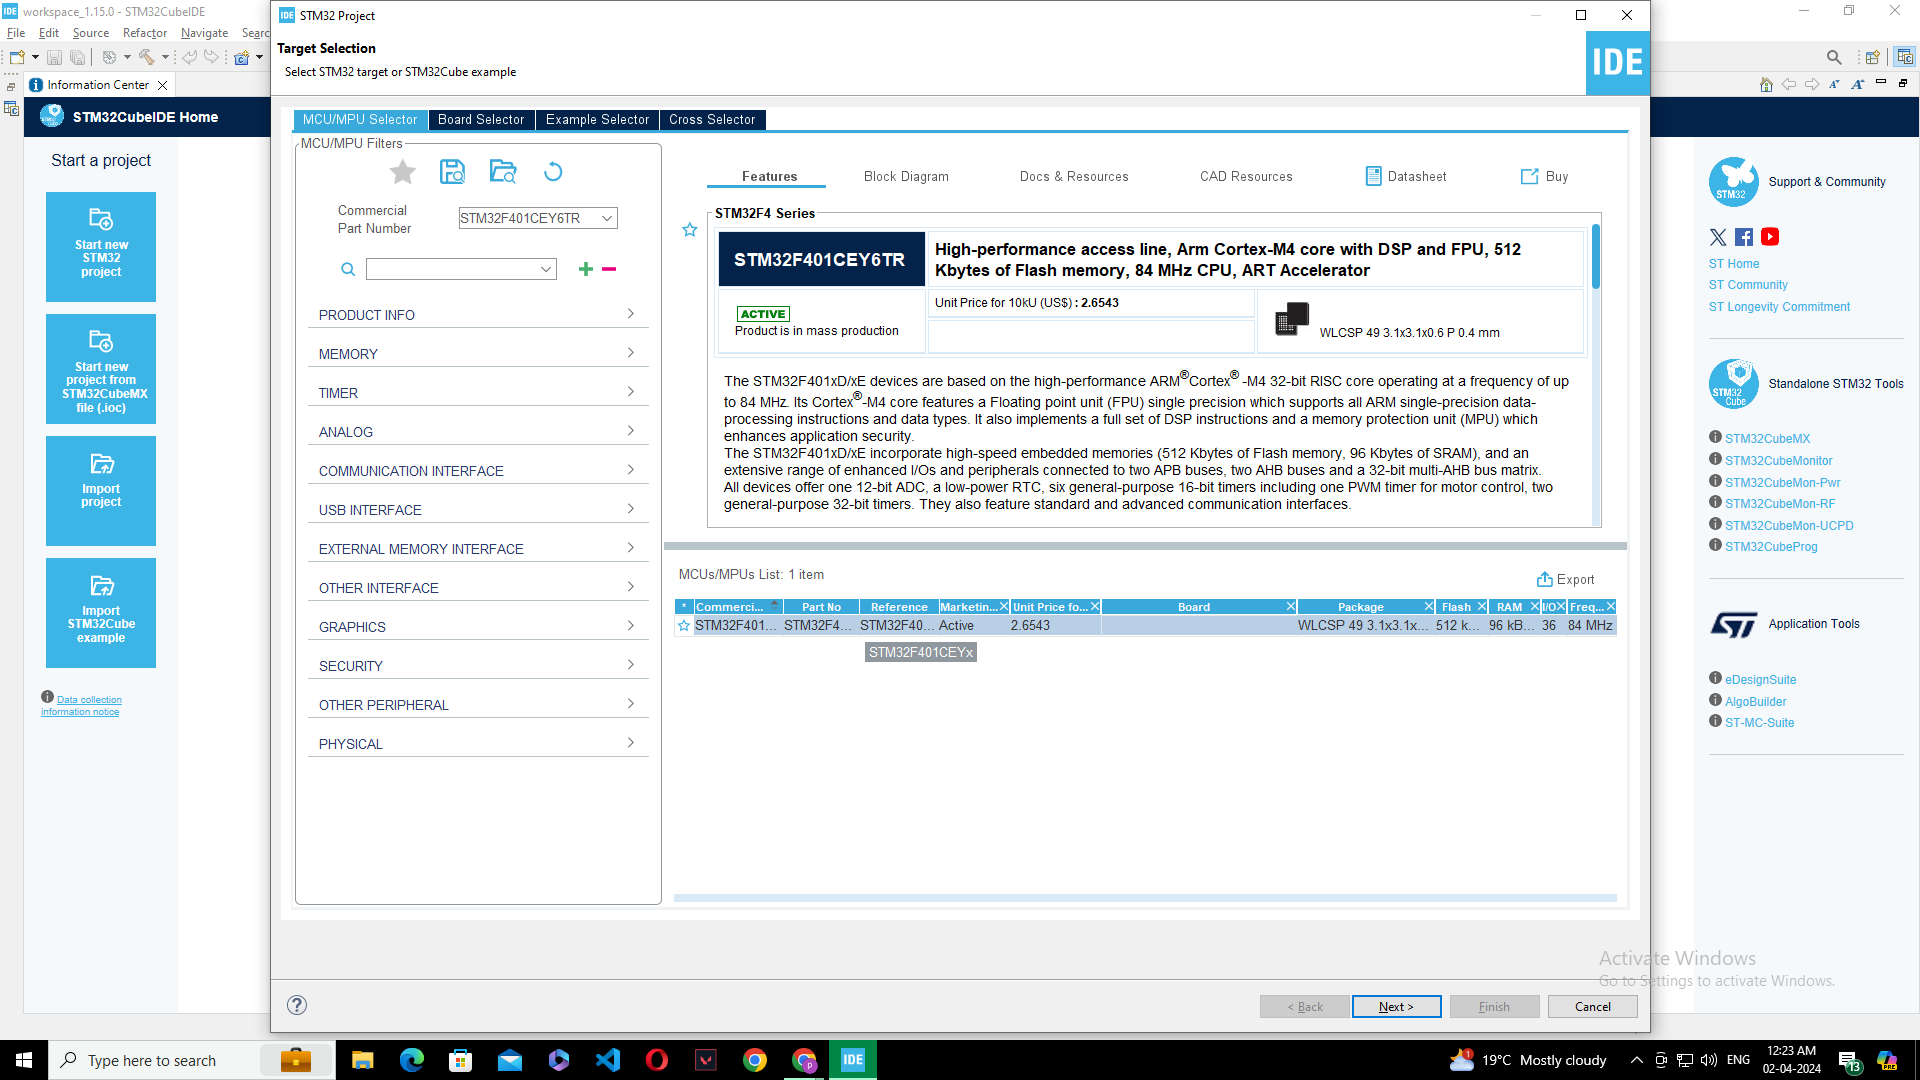
ADD Configurations for Your STM Board
.png)
.png)
Search For Component- STM32F401CEY6TR click on "Next"
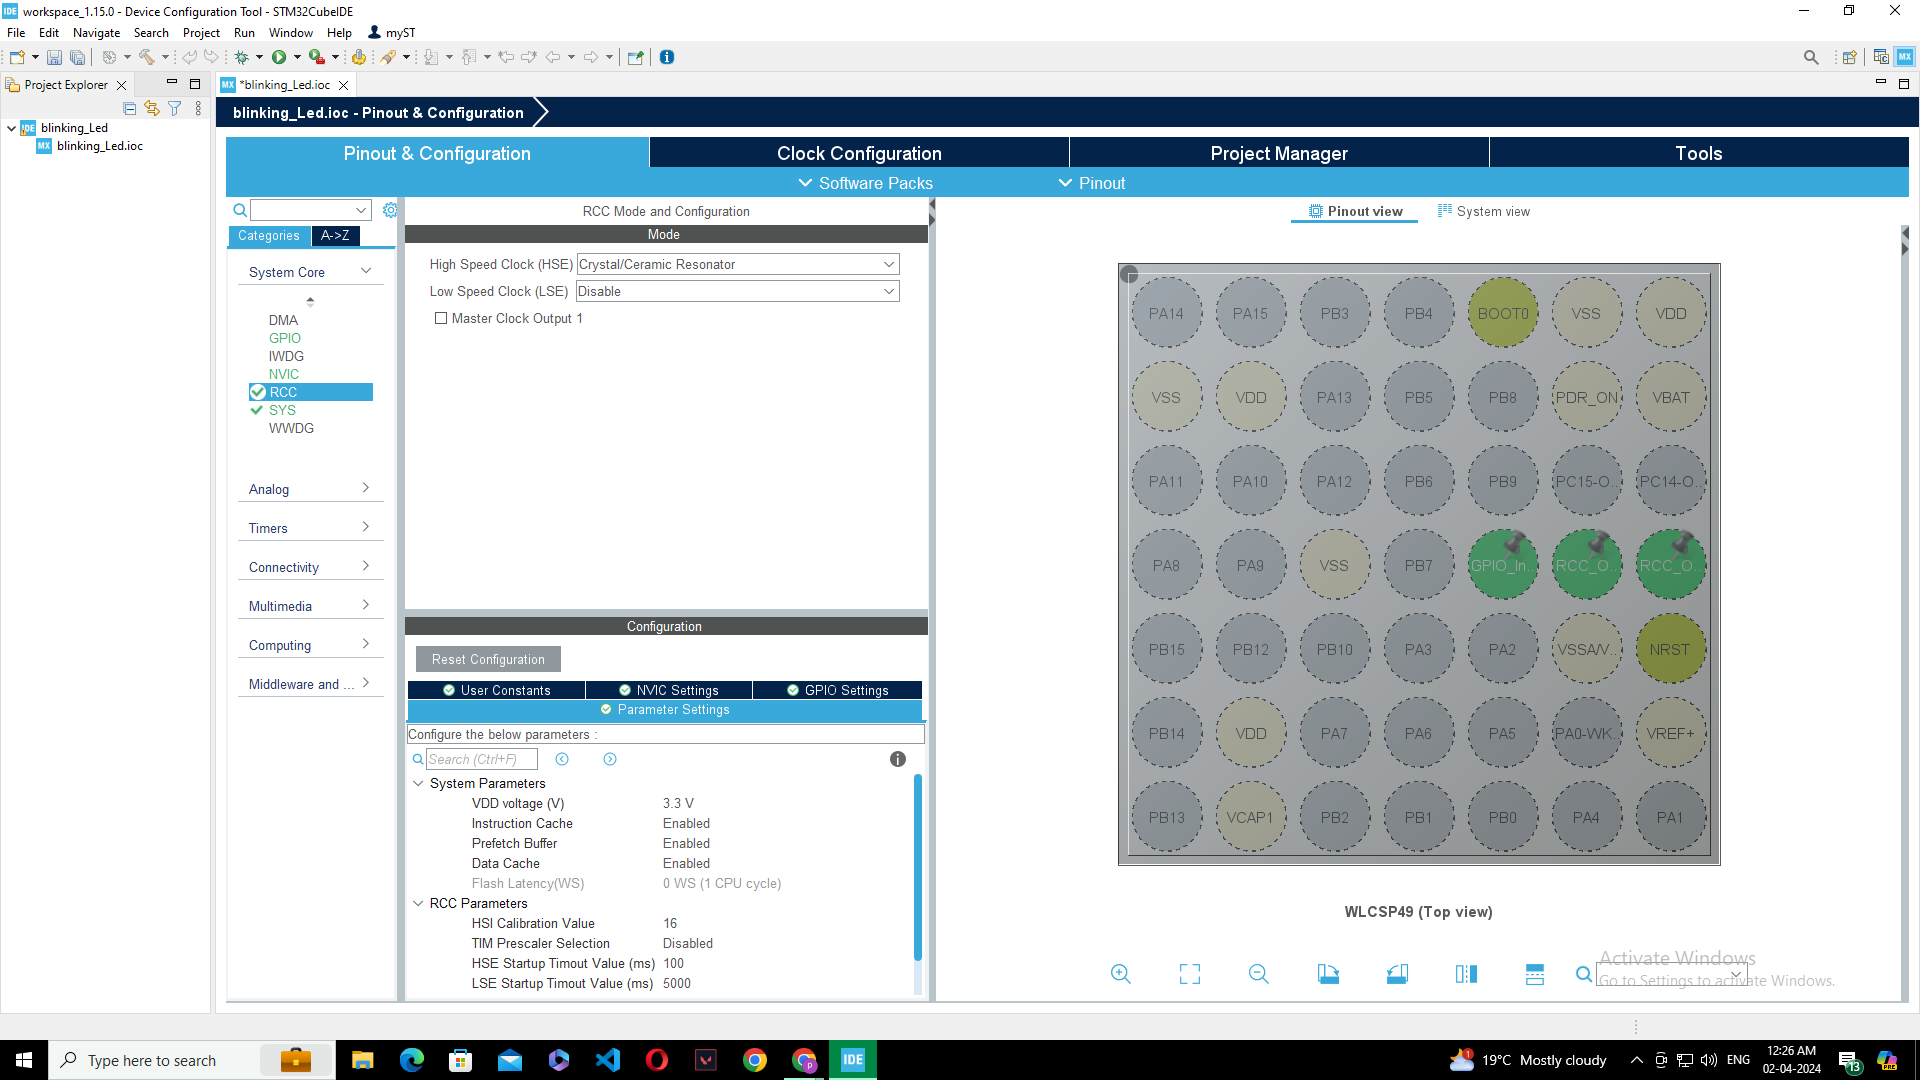
Configuring Your Board
.png)
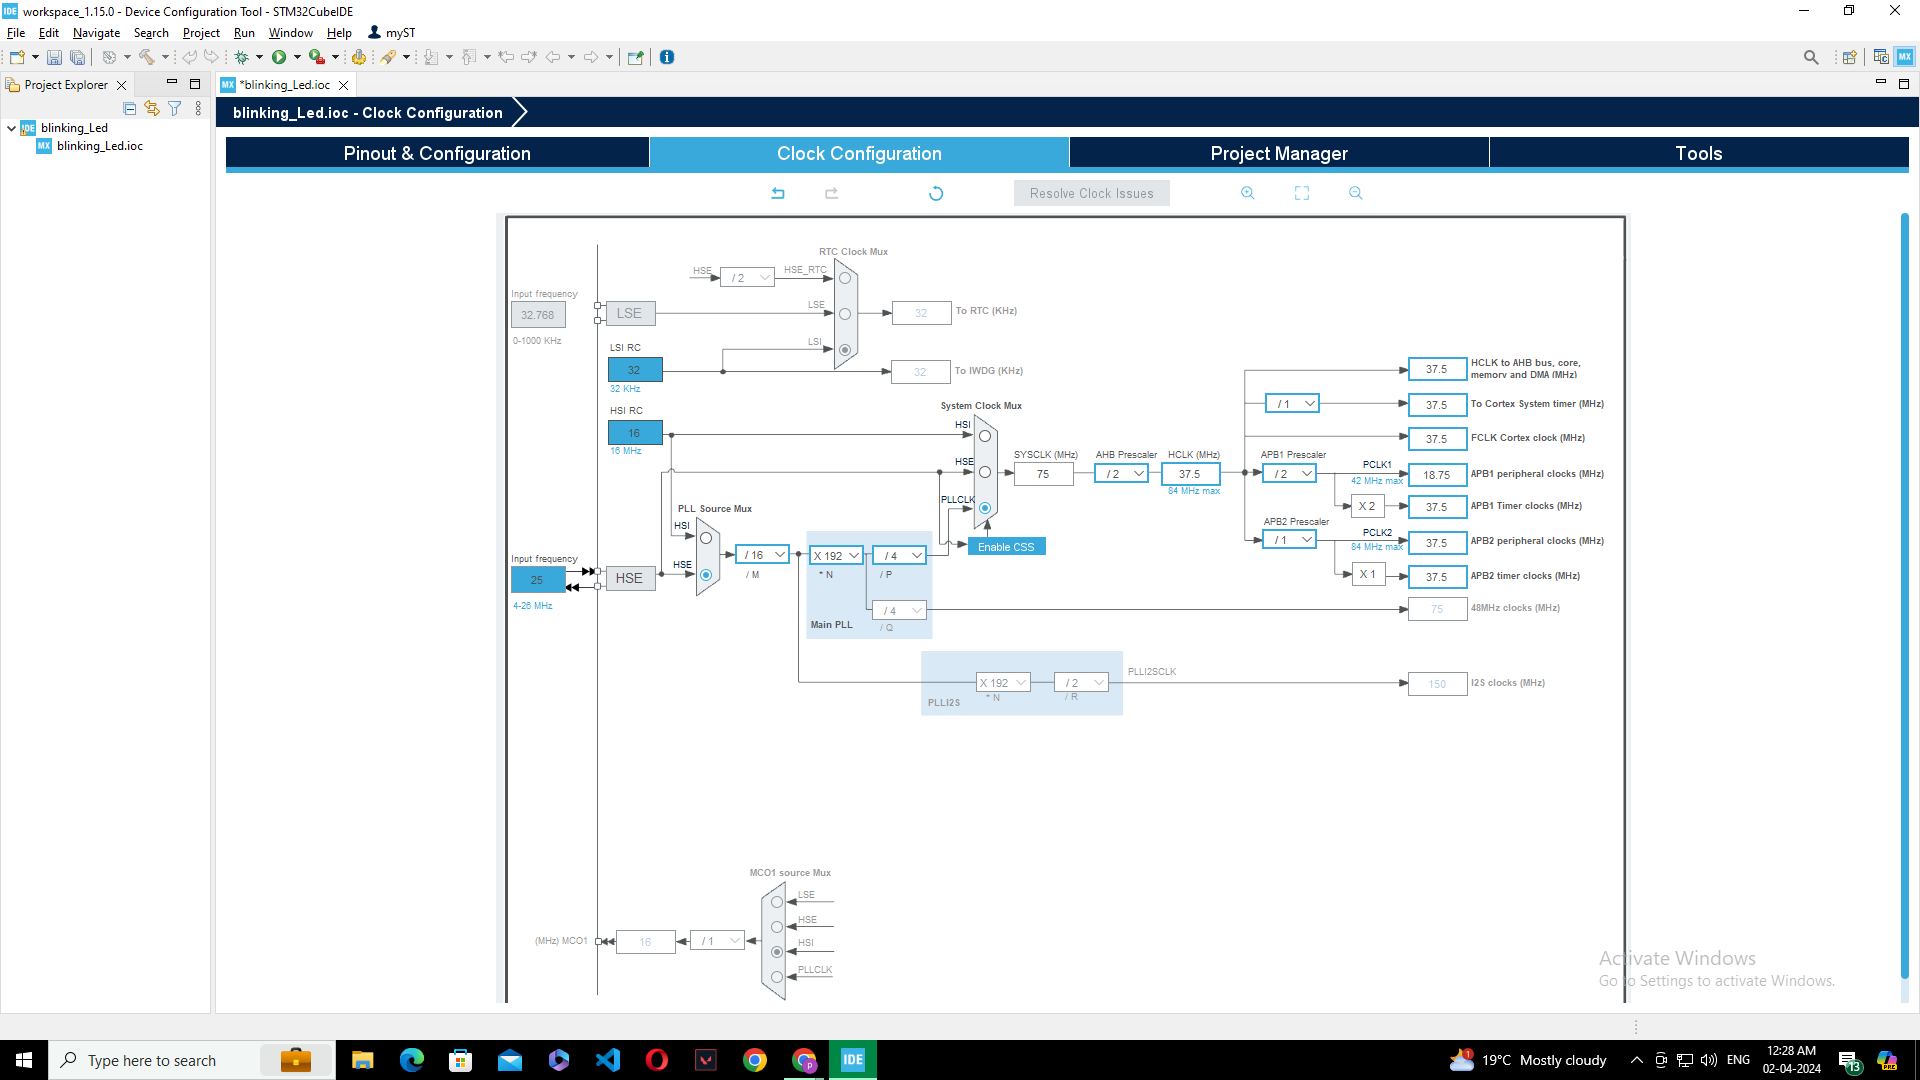
Clock Configuration
.png)
Open Main.c File
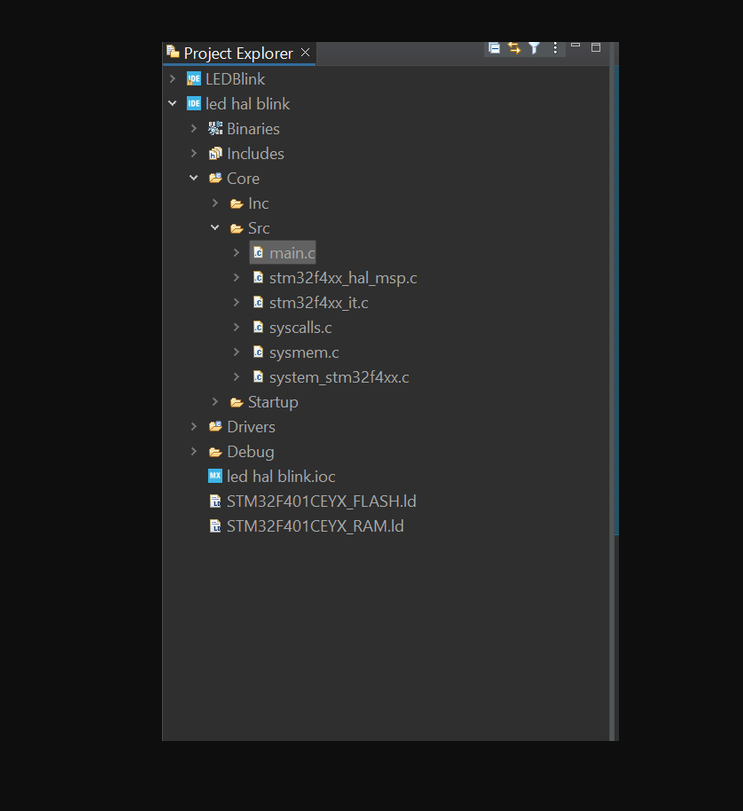.png)
Goto While(1) in Main() and Add Your Code
Write this under the while section:
HAL_GPIO_WritePin(GPIOC, GPIO_PIN_13, 1);
HAL_Delay(500);
HAL_GPIO_WritePin(GPIOC, GPIO_PIN_13, 0);
HAL_Delay(500);
Debug
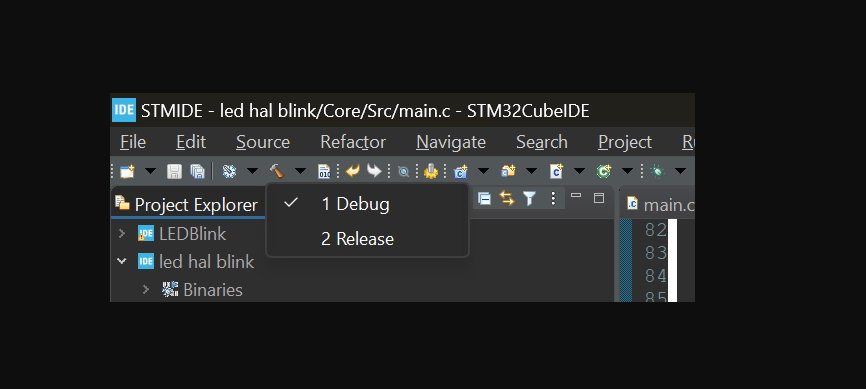.png)
Copy Path of .elf File Generated
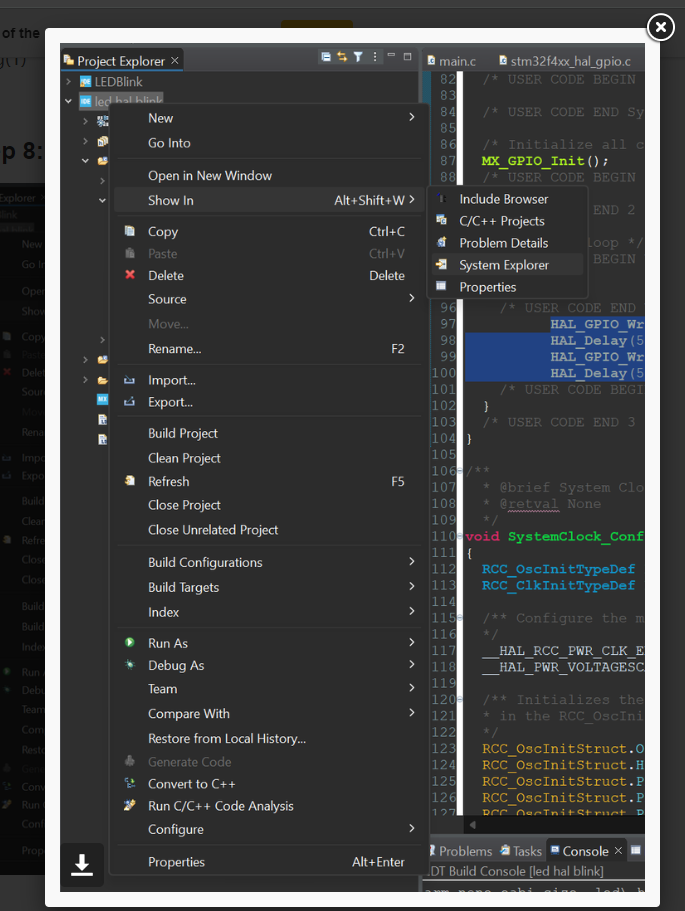.png)
Open STMCubeProgrammer and Connect to STM Board Via USB
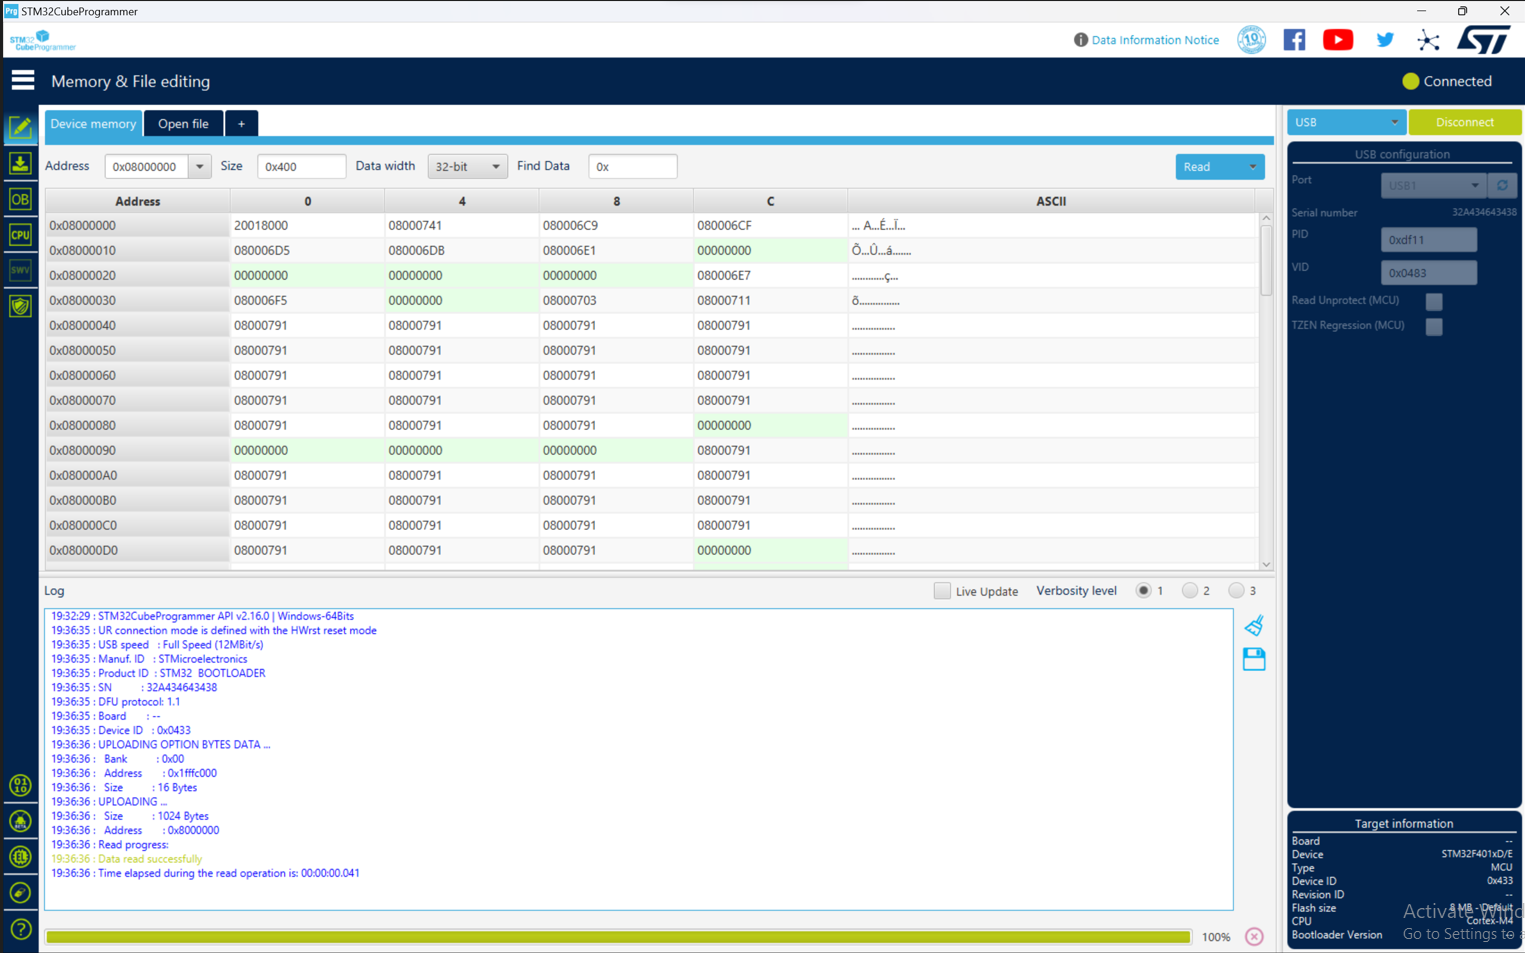.png)
Click on Open File and Paste the Copied Path
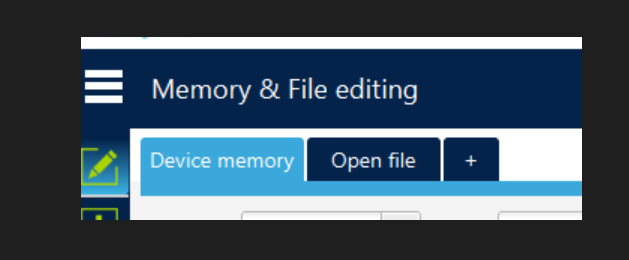.png)
Go to Download Options
.png)
Change Download Options and Click on "Start Automatic Mode"
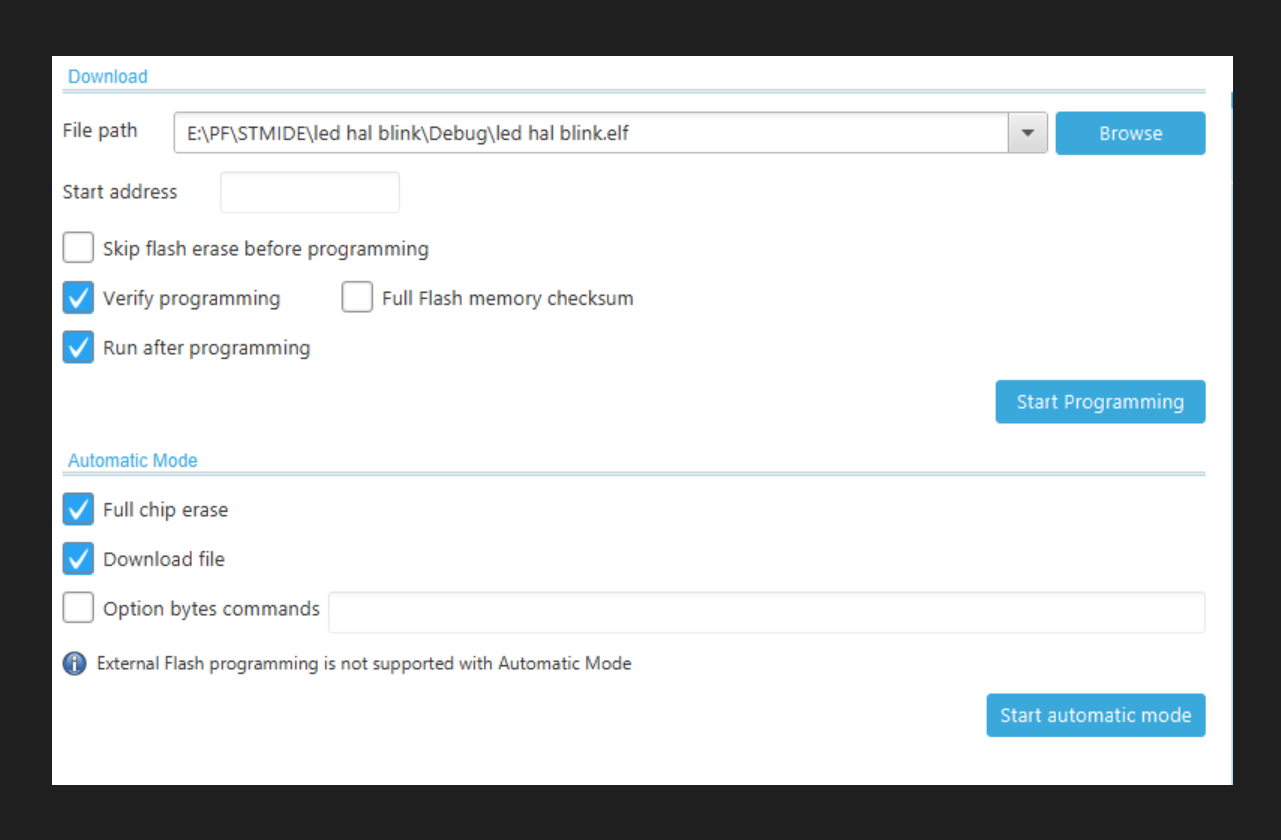.png)