Blinking LED With Arduino Uno.
by SaswatSamal in Circuits > Electronics
809 Views, 1 Favorites, 0 Comments
Blinking LED With Arduino Uno.
.png)
.png)
First off, consider the throwie: a simple, fun circuit that lets you light up the town.
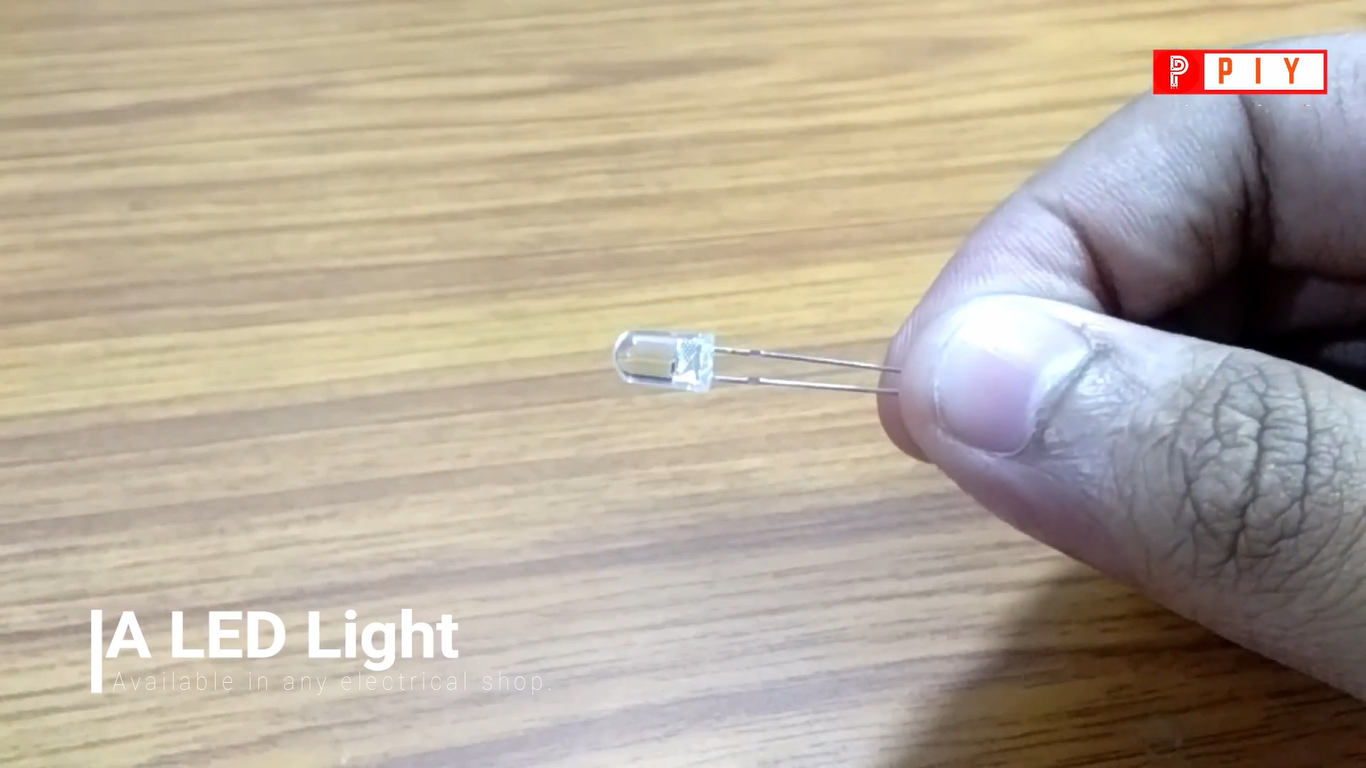
Grab your LED and check it out. One long leg and one short. The long leg is positive. The short leg is negative, and you can remember because that side of the LED is slightly flattened, like a –.
Grab your Arduino, and start making your first basic project of Arduino!
Things Required.
.png)
.png)
.png)
Go to your Electrical Shop and gather the following things:
1. LEDs
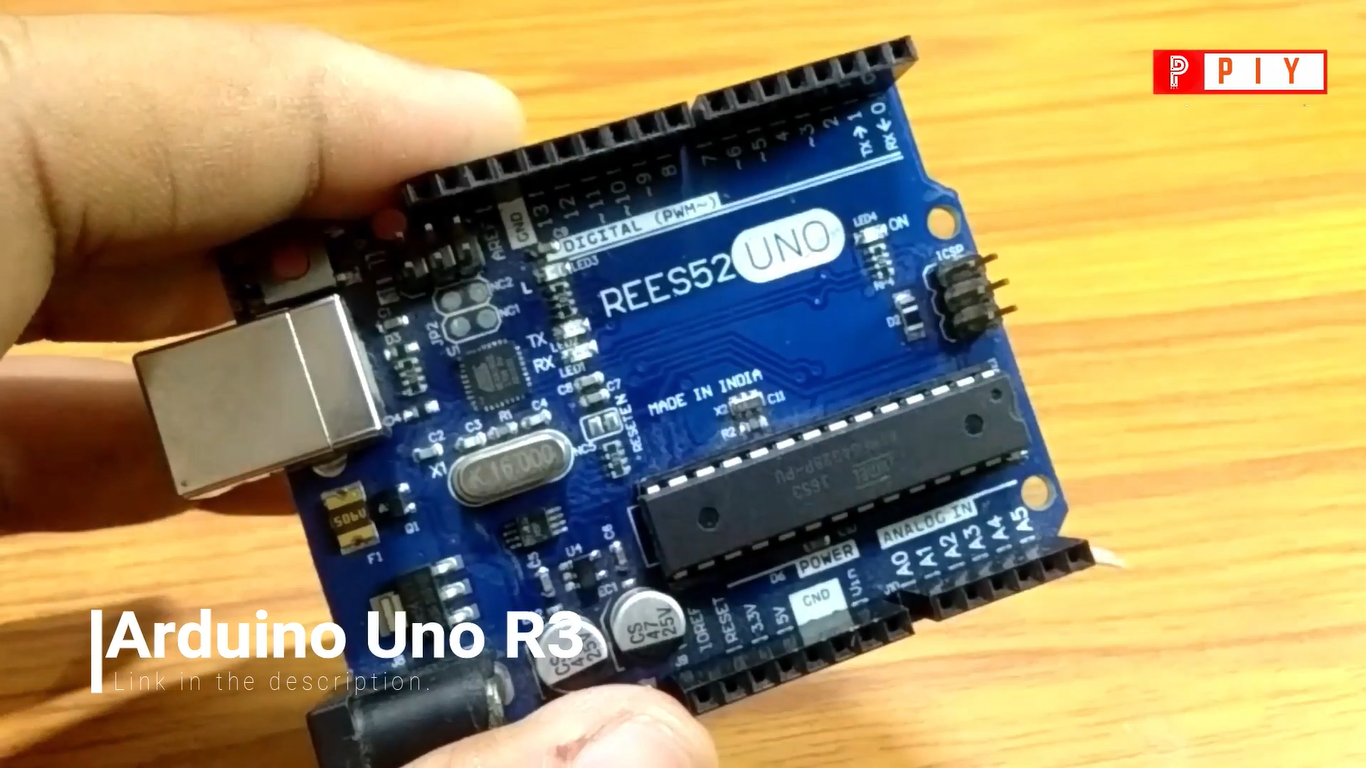
2. Arduino Uno R3
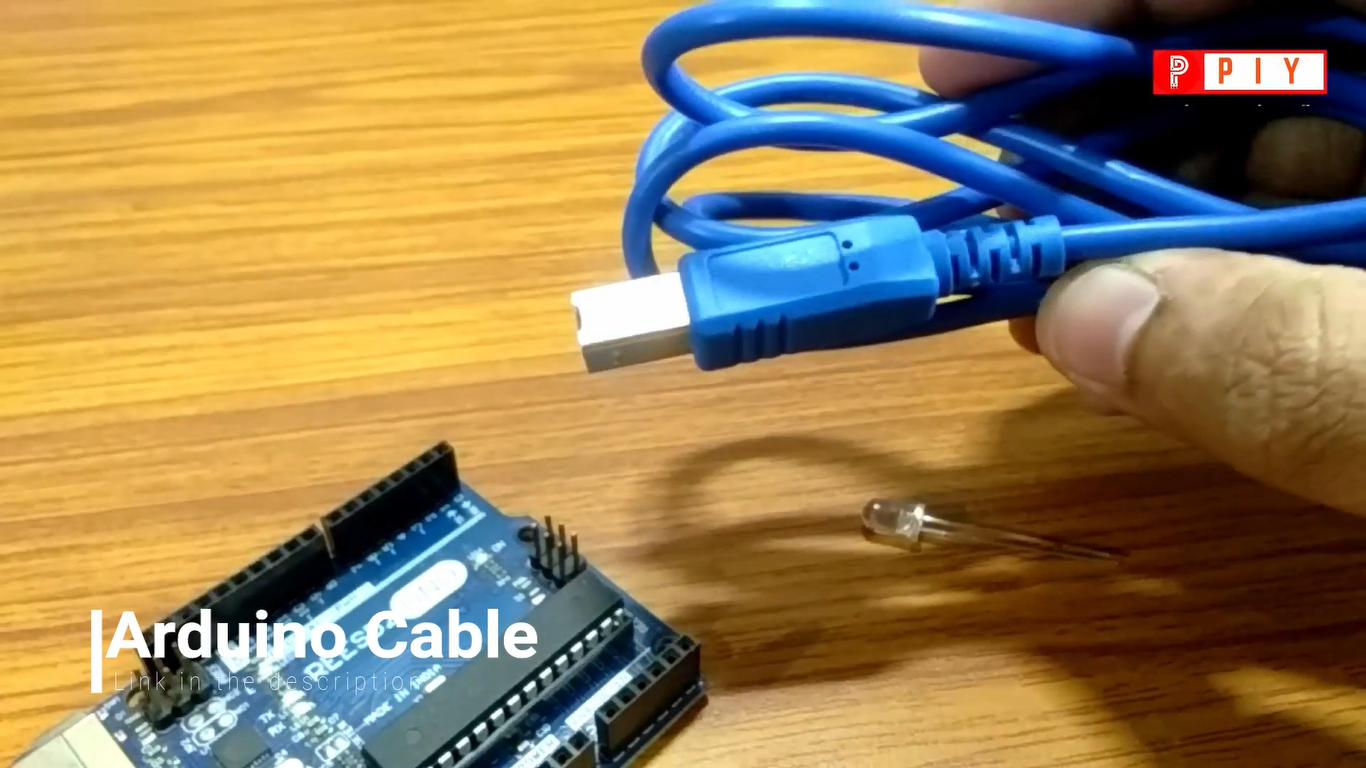
3. Arduino Cable
Bust out your computer and install the latest complete version of the Arduino IDE, from the top of this page: https://www.arduino.cc/en/Main/Software
Plug your Arduino board into a USB port on your computer. Get out your components. All set!
Assembling the Circuit.
.png)
.png)
.png)
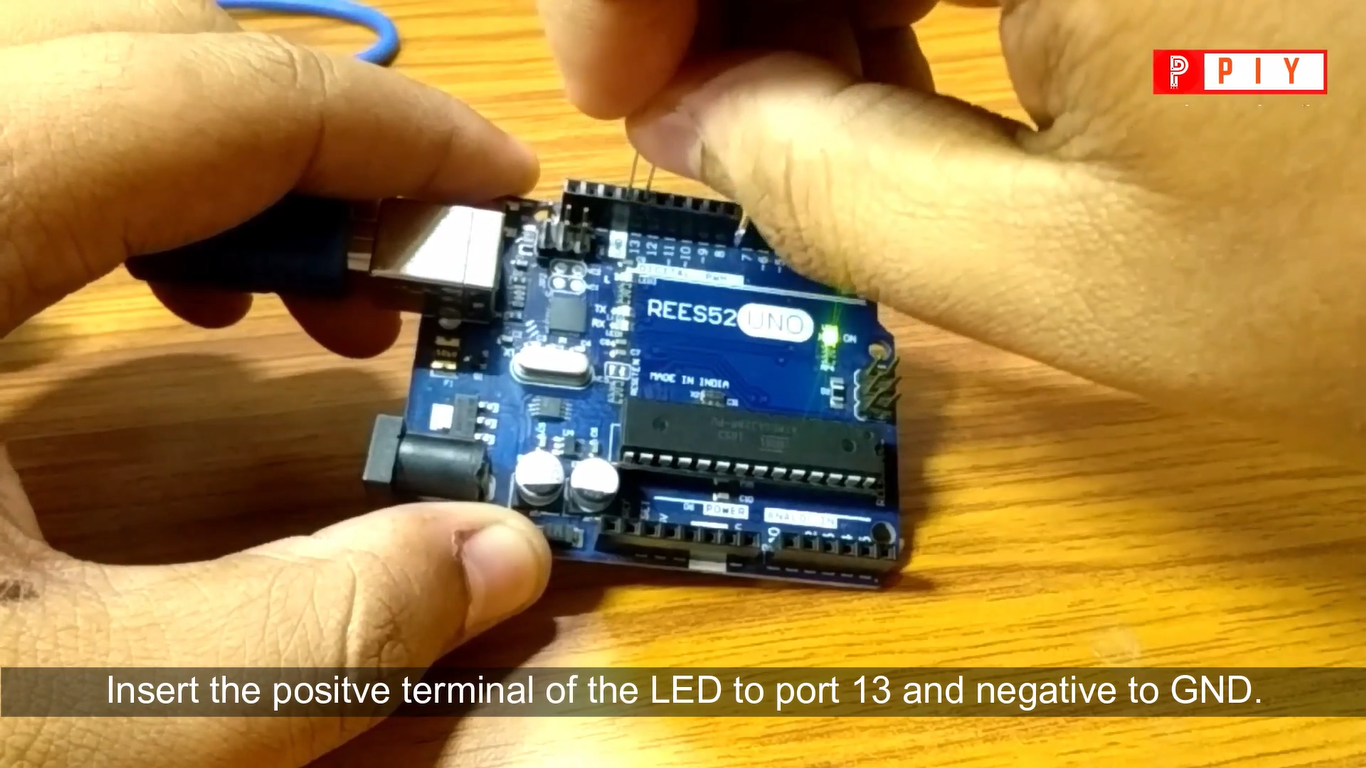
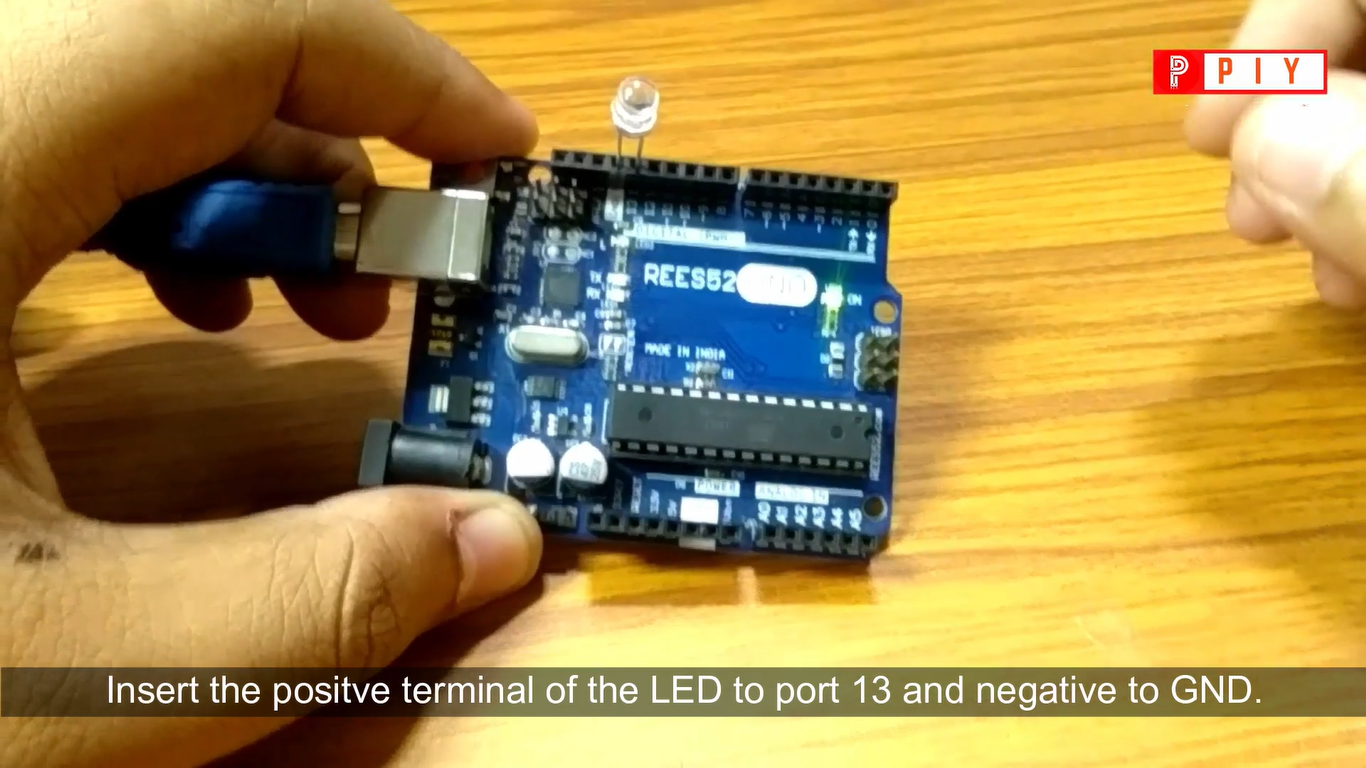
Grab your LED and check it out. One long leg and one short. The long leg is positive. The short leg is negative, and you can remember because that side of the LED is slightly flattened. (shown in the video)
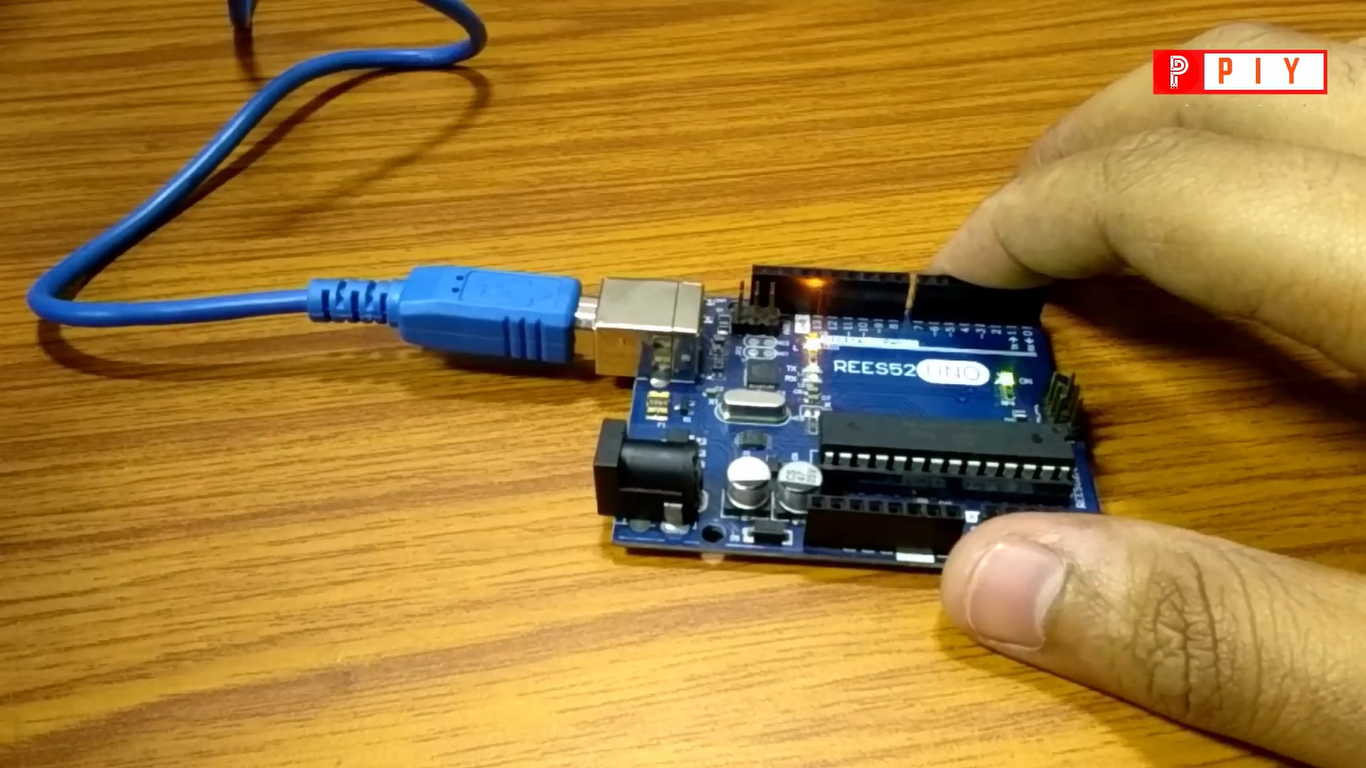
Connect the Arduino with the computer through the Arduino Cable.
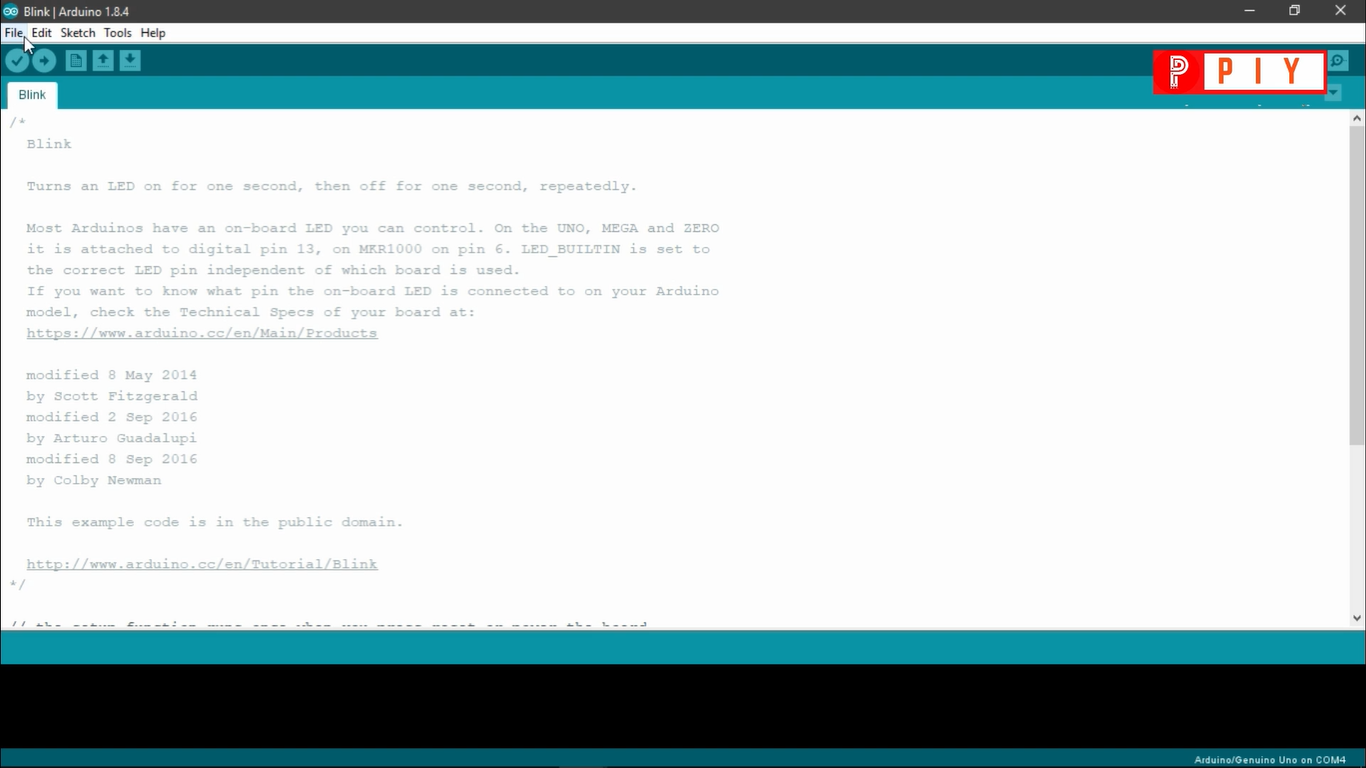
Like most Arduino boards, the Uno comes with a built-in LED that's connected to digital pin 13. Upload the code and watch it flash on and off, changing once per second.
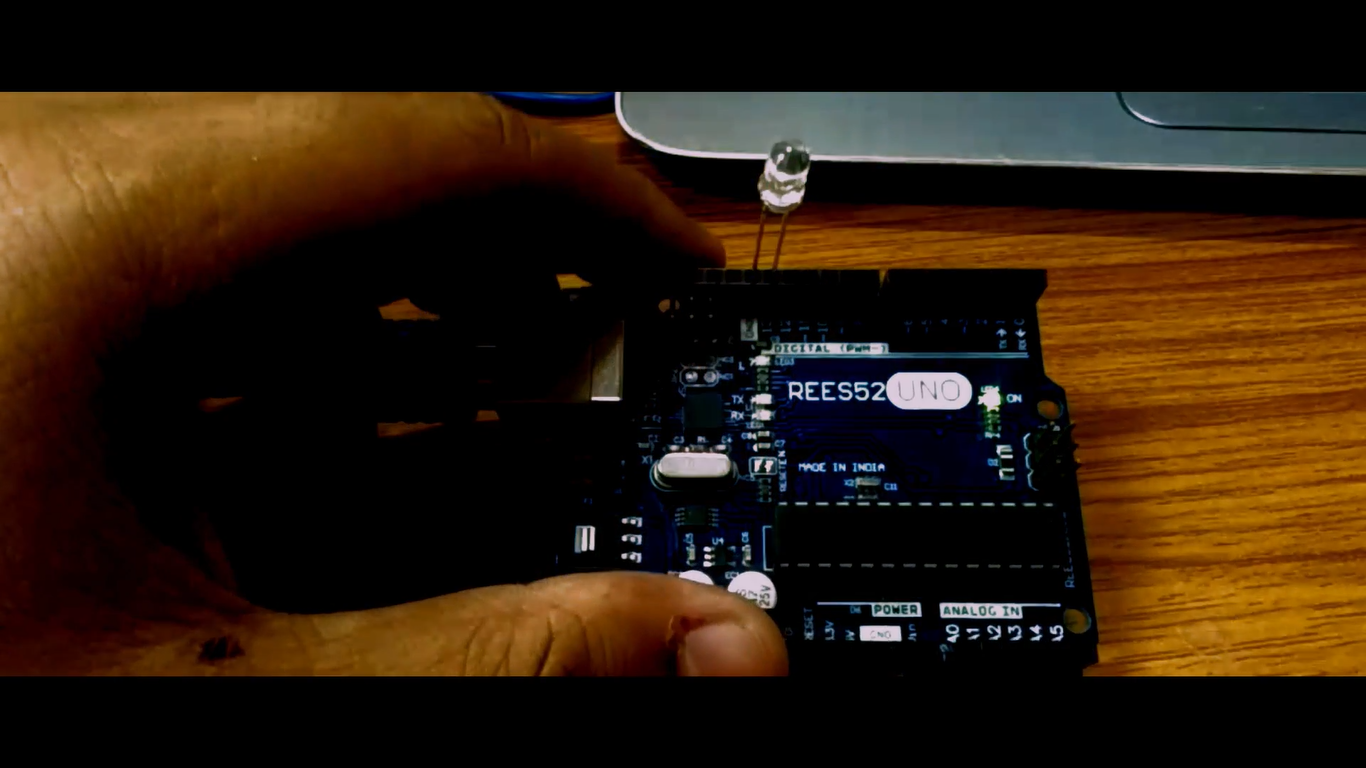
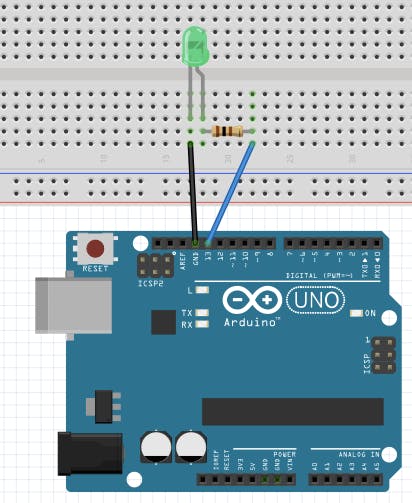
Now, do the same thing with an external LED! Grab yours and plug the long positive leg into the header at digital pin 13. Plug the short leg into the GND (ground) header. You can also move the positive leg to any of the other digital pins, and change the "13" in your code to match. (As shown in the diagram).
The Coding Part.
.png)
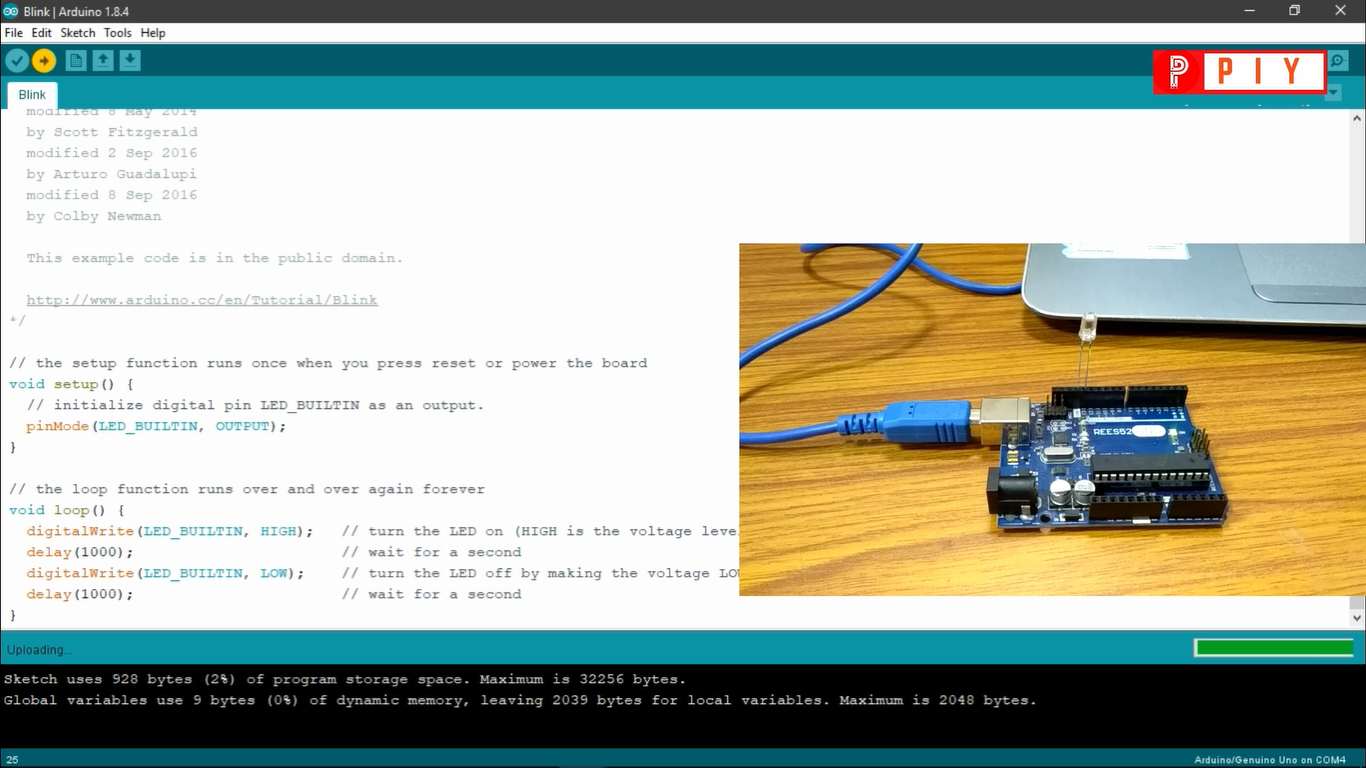
To blink the LED takes only a few lines of code. The first thing we do is define a variable that will hold the number of the pin that the LED is connected to. We don't have to do this (we could just use the pin number throughout the code) but it makes it easier to change to a different pin.
In our setup section, we're telling it that there is a controllable output on digital pin 13.
Once setup is done, the loop section takes over and (as the name implies) runs over and over again until the board is powered off. Our loop turns the LED on (HIGH) or off (LOW) every 1 second (1000 milliseconds).
The Code.
.png)
.png)
.png)
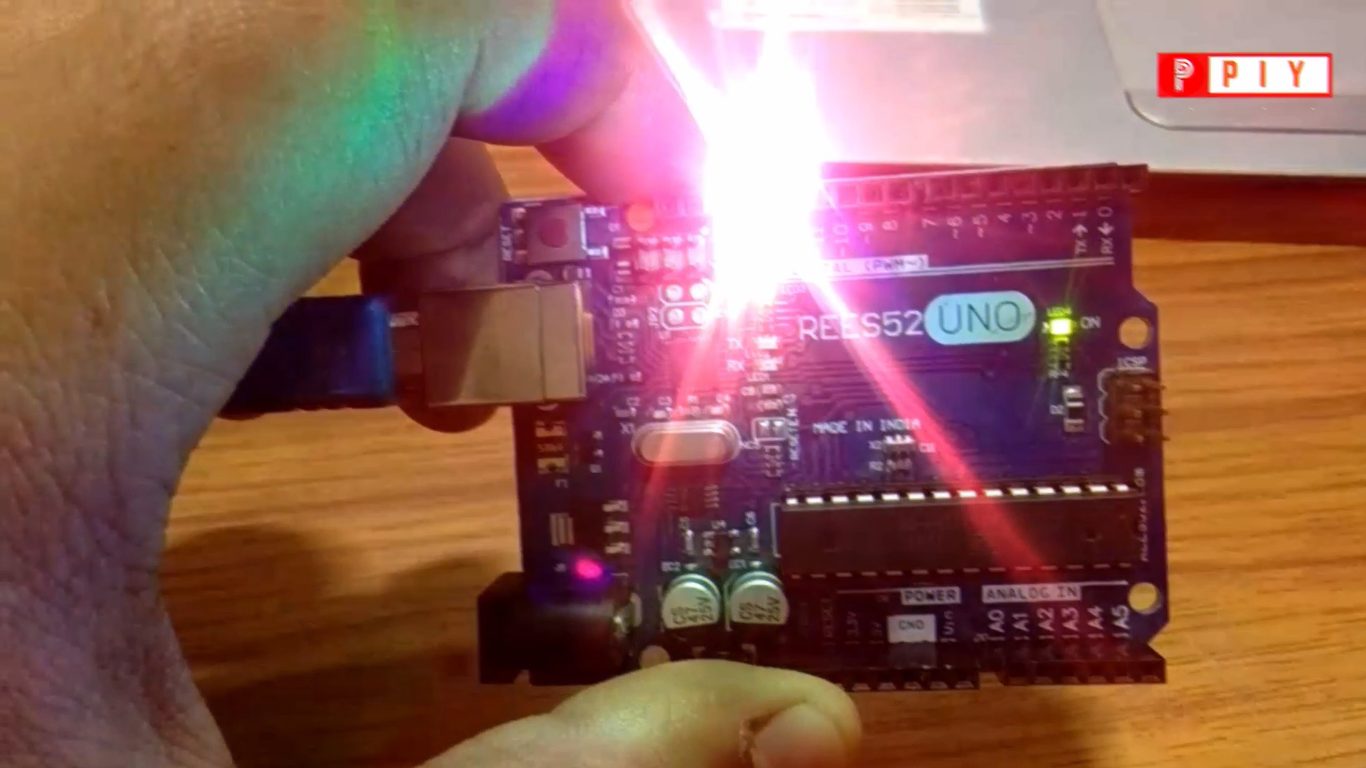
Here We Go, Your LED Starts to BLINK!
.png)
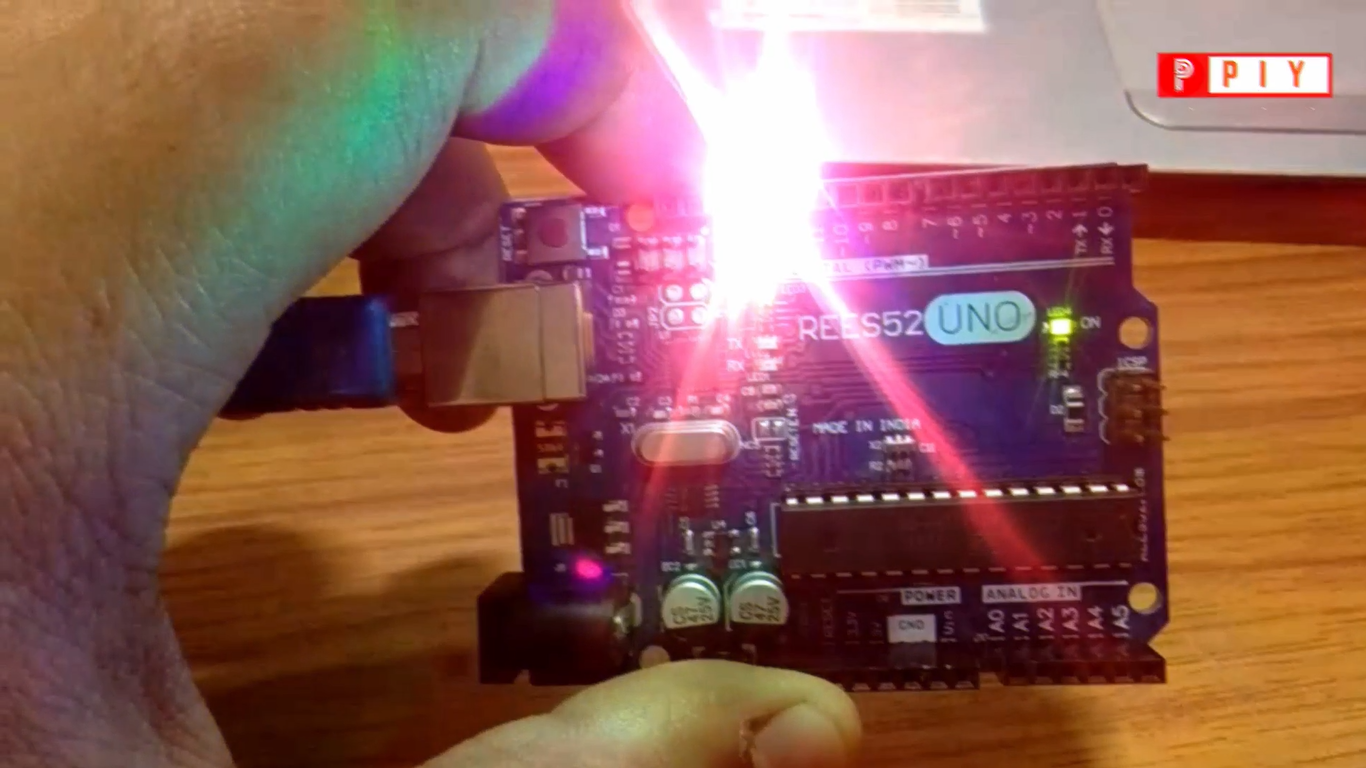
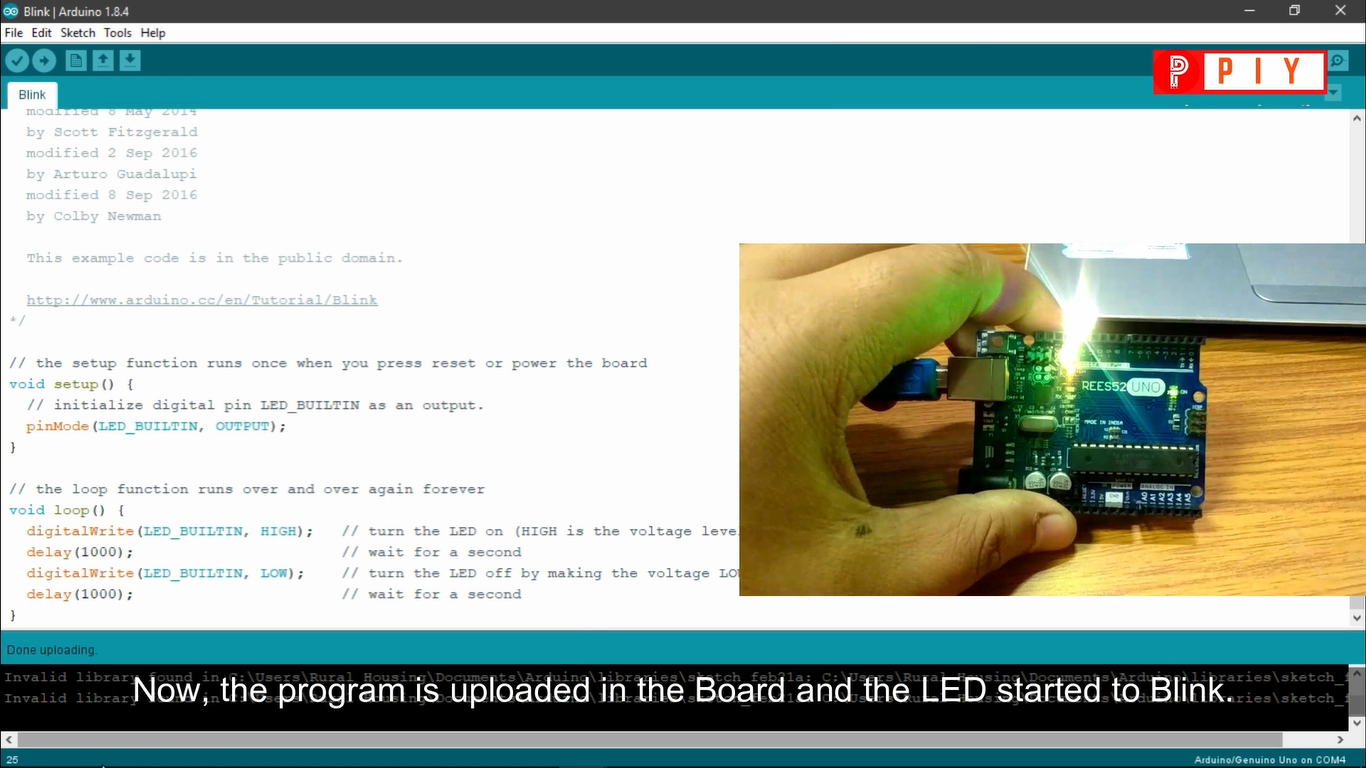
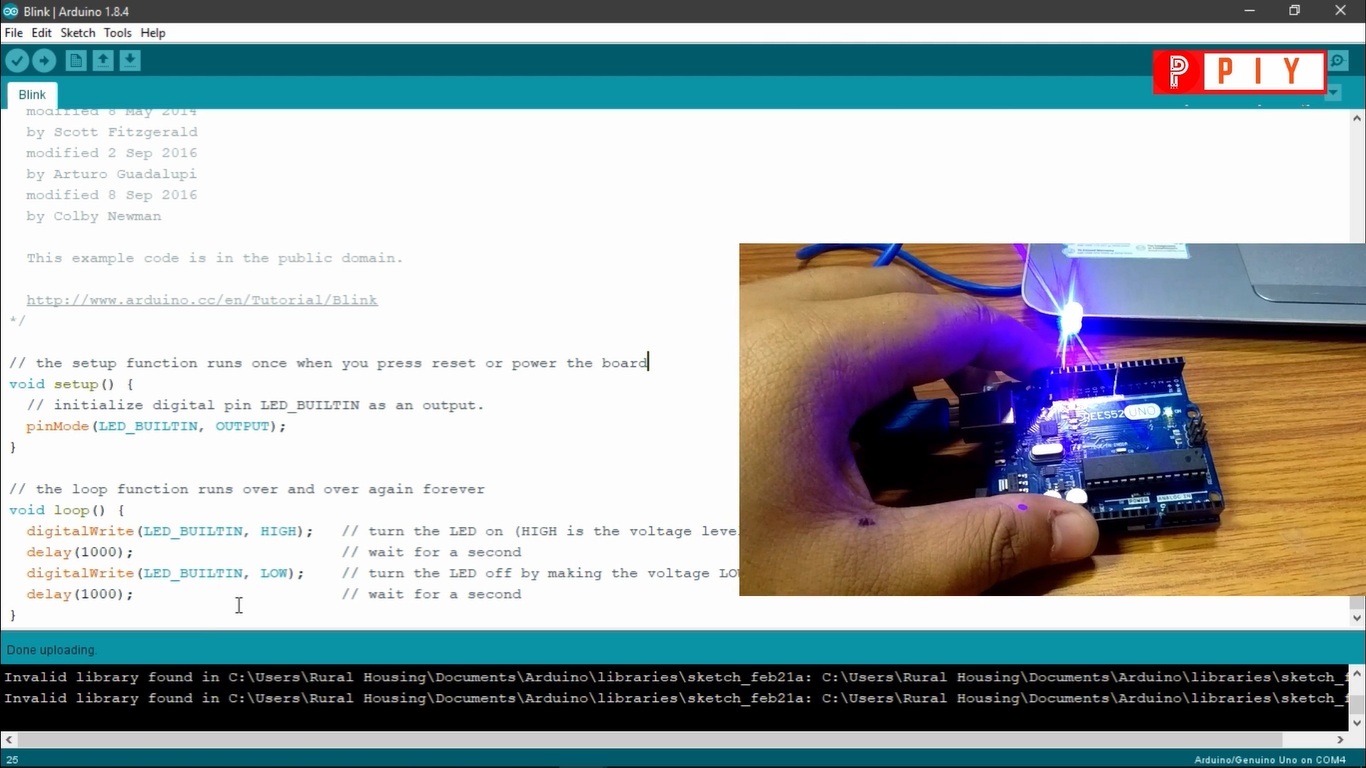
After uploading the code to the board, the LED starts to blink.
The blinking speed can be changed by changing the values of "delay".
Now, here we go, your first ever Arduino Project is ready. Keep experimenting by changing the values and enjoy.