Blender Butterfly Lake
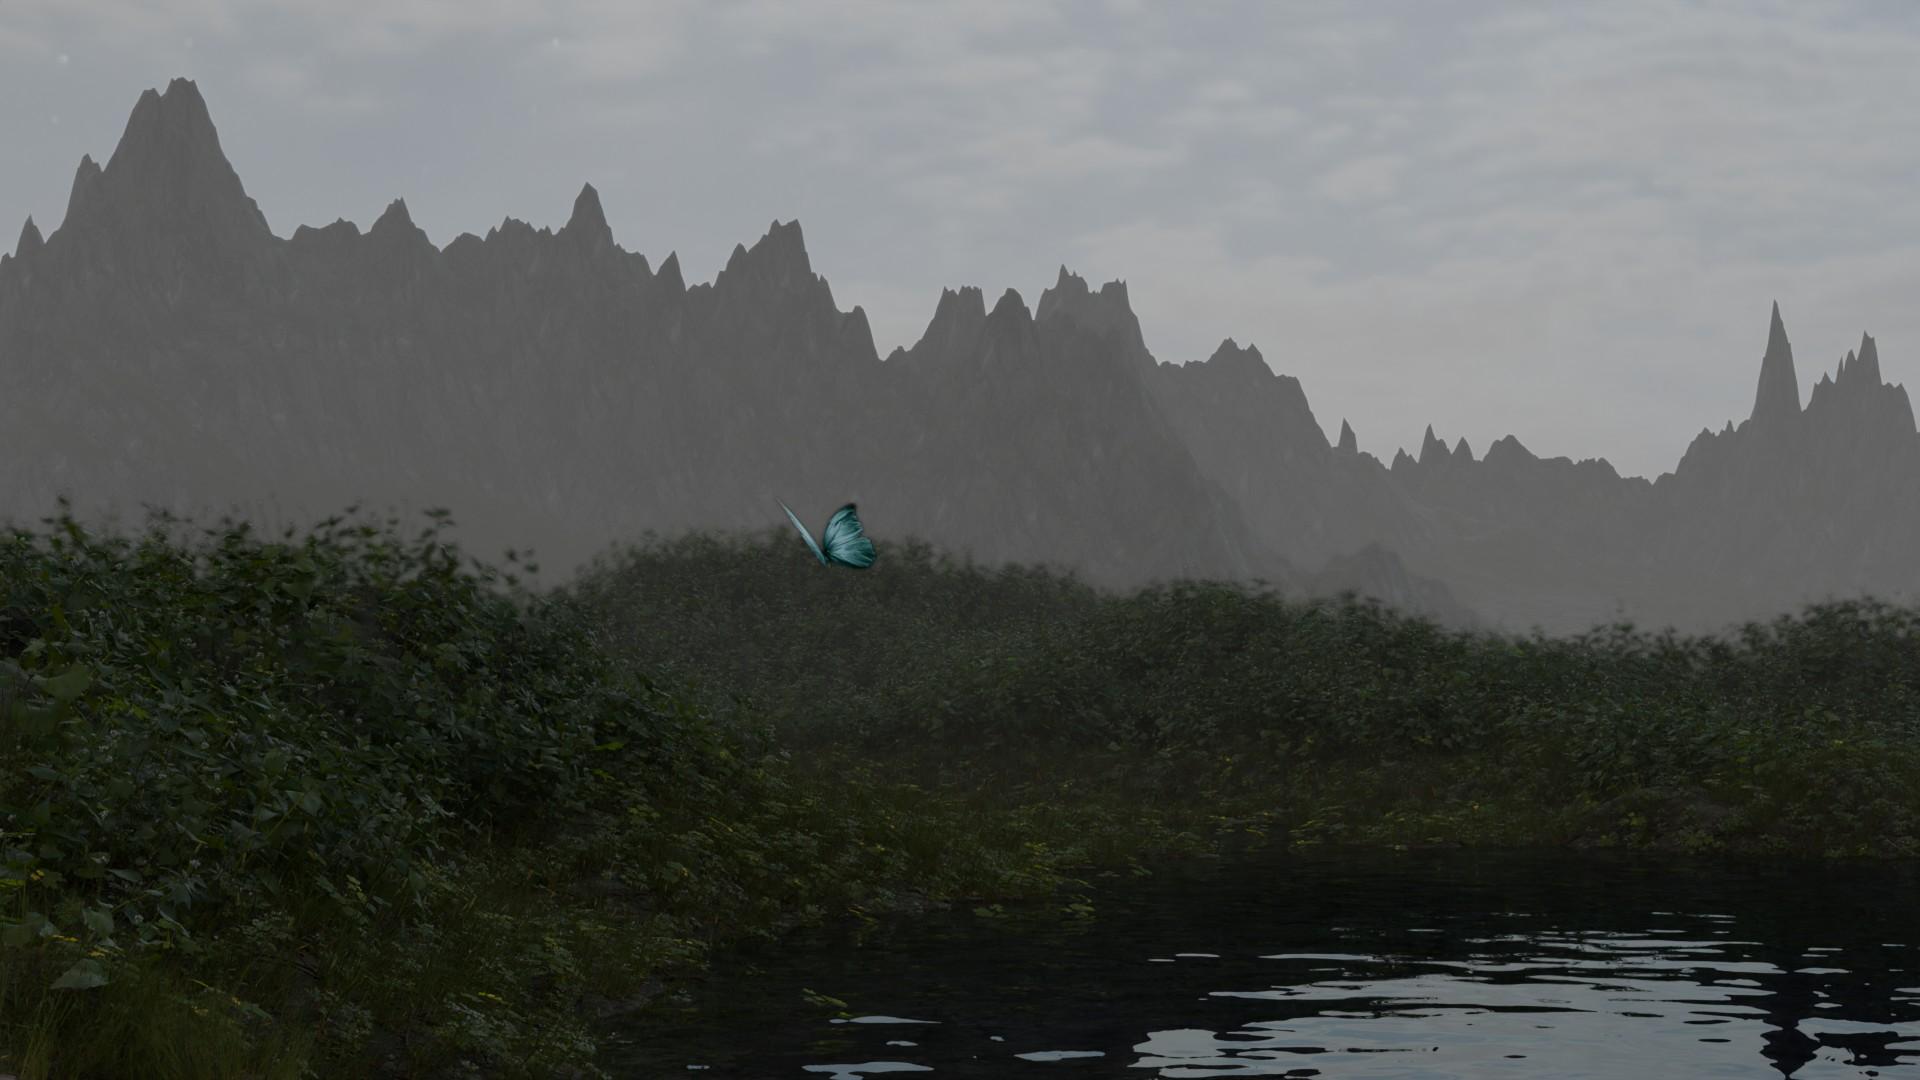
In this tutorial, I'll try to show you how to make this short animation of a butterfly flying above a lake. I know it's a hard tutorial to follow, but if you have some experience in Blender, I bet it'll be pretty easy! If not, don't worry, I linked extra tutorials that will go into more detail, and I hope it goes well for you! If you're just reading through (I love doing that on other peoples' tutorials), welcome! I hope you, reader, learn something new about the really cool, FREE, app that Blender is.
Downloads
Supplies
This animation was made completely in blender, with the help of a few addons that you can find online easily.
If you've never used blender before, you can download it here, and here is a quick overview of Blender's controls. I would recommend trying your hand at this blender guru tutorial, the Ultimate Starter Guide for the program. If you don't want to spend the 4 entire hours on that, that's ok! You can always come back to it if this tutorial is too confusing.
Good luck
References
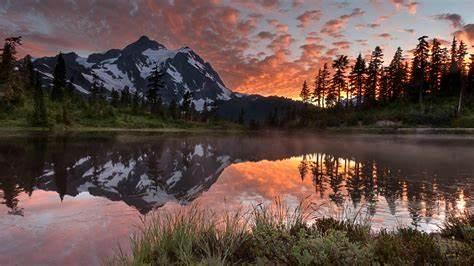
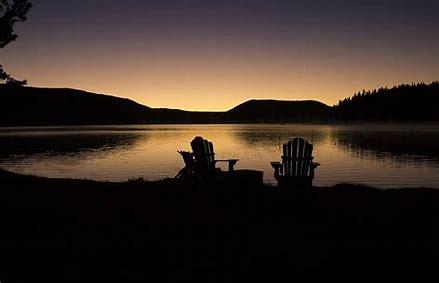
I started this project by getting an idea of what I wanted the end product to look like. You could settle with any variation of meadow, ravine, cliff, or hills - there is no one way to make it look! Which way should the butterfly fly? If you want some direction, gather a few references and get some ideas before starting.
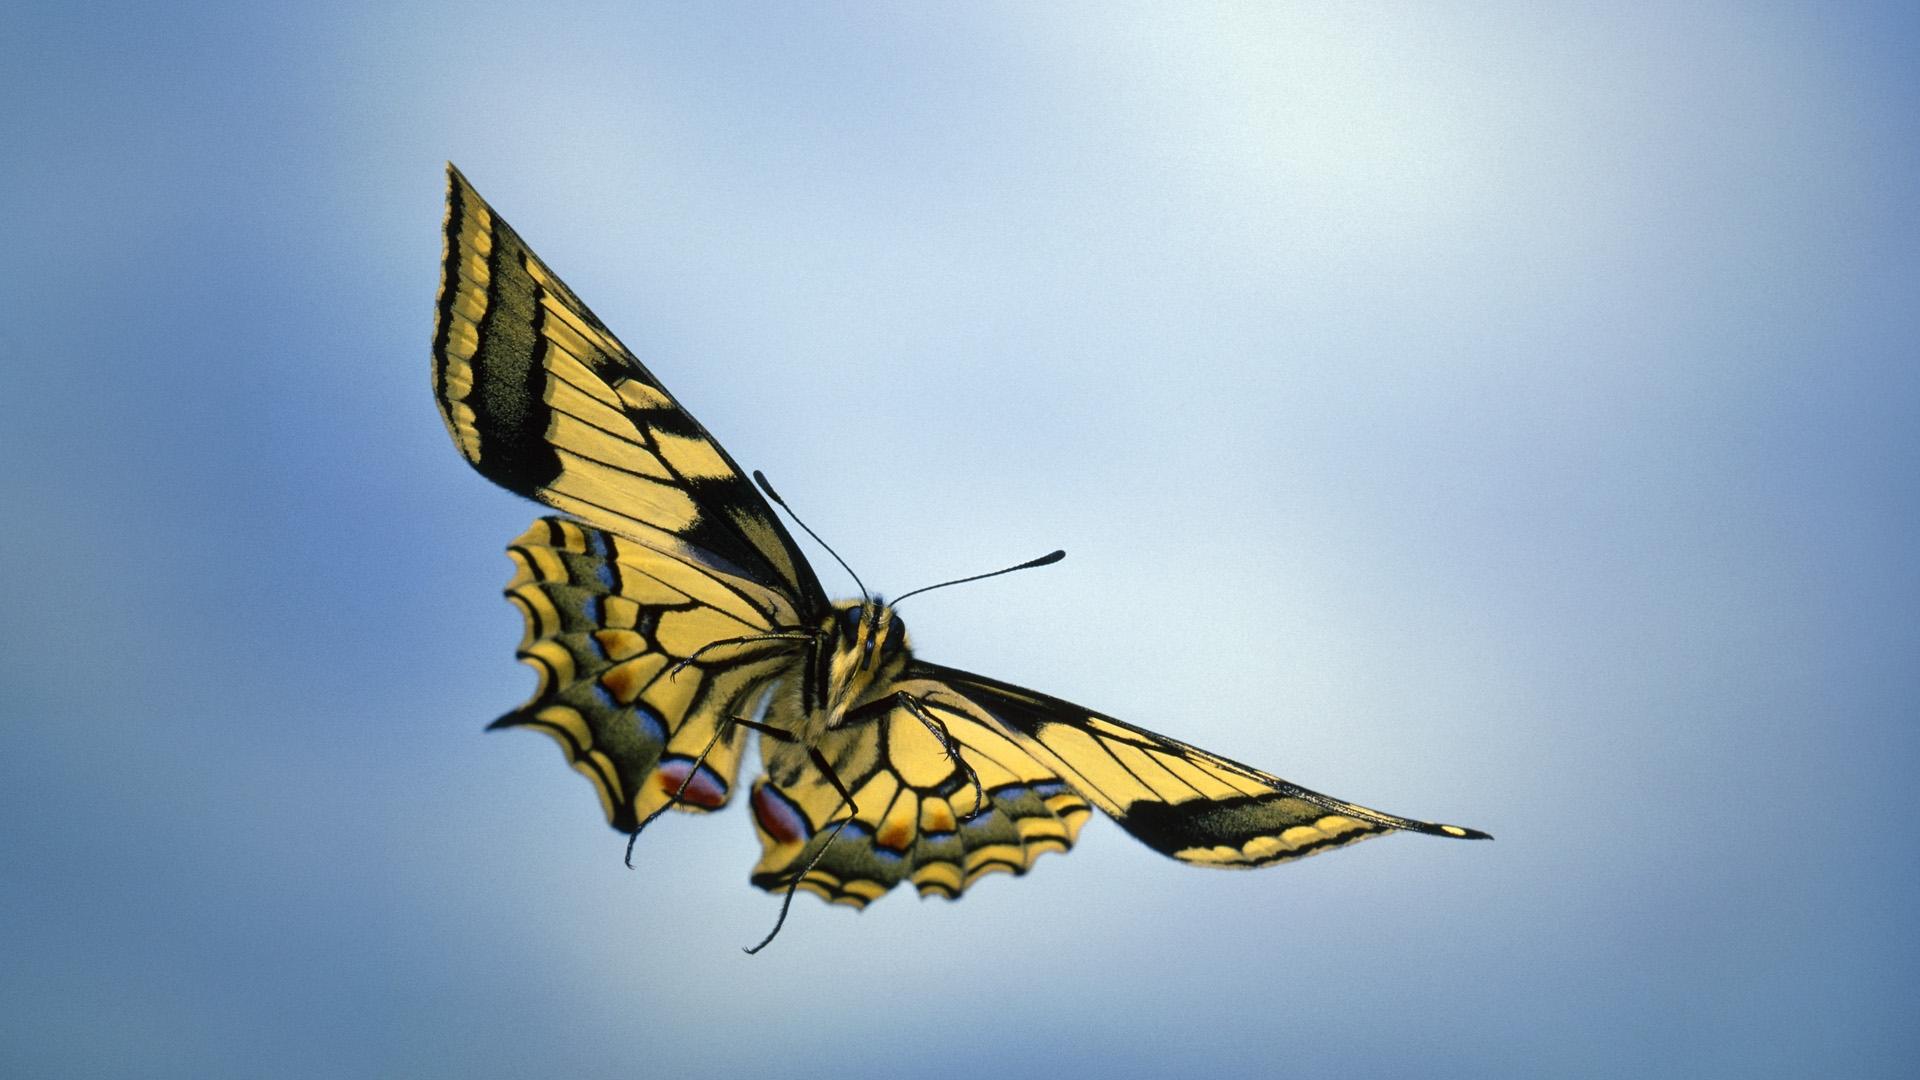
I also looked at some videos of butterflies flying so that I could try and replicate their motion as well as I could.
(Images from wallhere.com and rawpixel.com)
Building Your Mountains
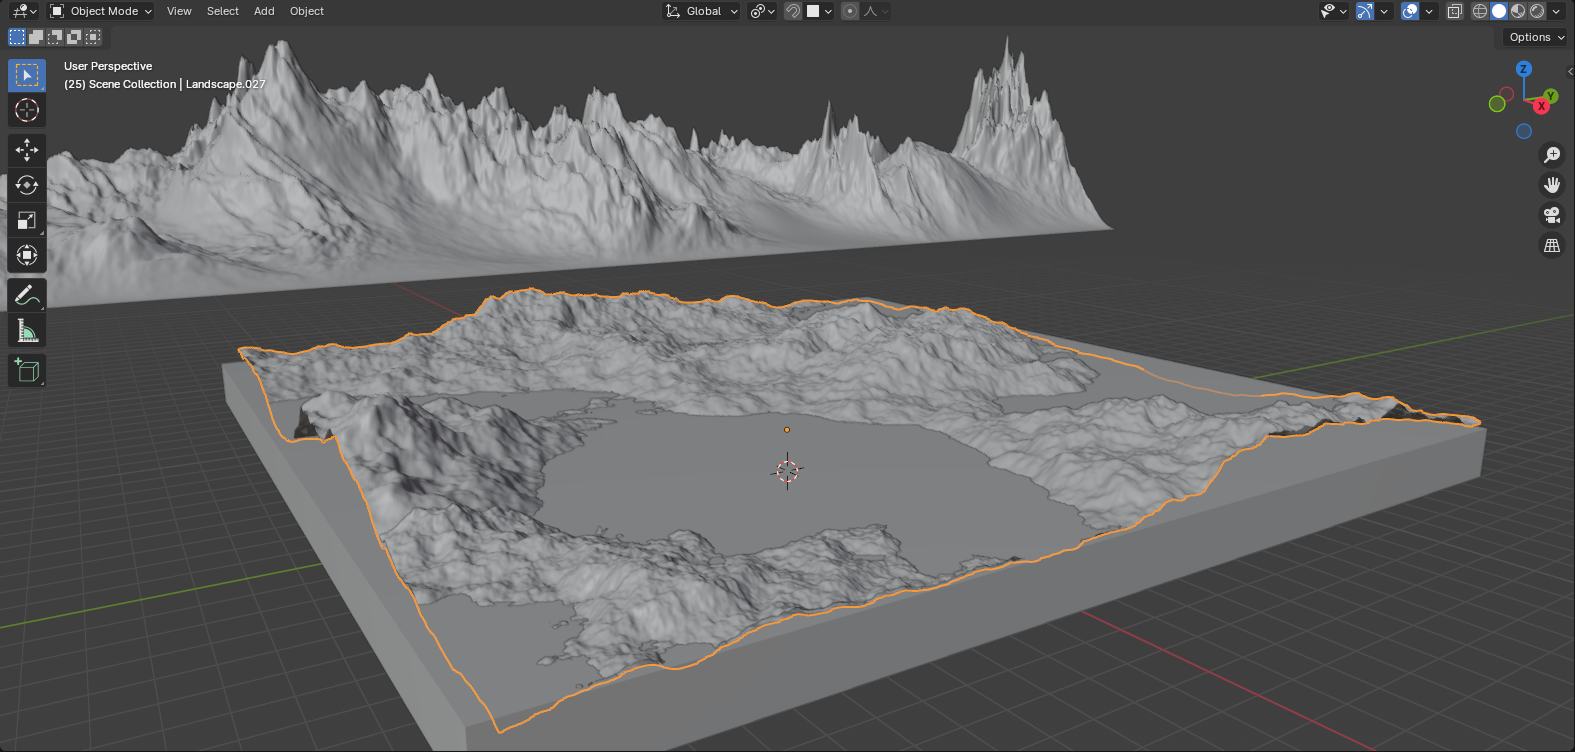
When making this project, I started with the terrain. There's a lot of good blender mountain tutorials out there, and I'm sure they would explain this all better than I will, I really liked this one. If you're feeling adventurous enough to read a bunch, go ahead!
The first thing you need to do in Blender is generate some terrain to start out your scene with. I used the Blender A.N.T. addon to generate my terrain, here is a quick tutorial that goes over adding it to Blender, and the basics of creating a nice landscape. After generating, I tweaked the land quite a bit before I settled on something I liked, so don't worry if it doesn't look great at first. I enjoyed the look of having some hills with a lake behind them, and mountains standing in the back to frame it all.
To get the look that I have in my own render, I scaled up one landscape for the fore- and mid-ground and stretched out another to create a nice mountainy backdrop. If your computer is like mine and starting to slow already, try Not Having As Many Subdivisions. There are settings in the landscape tab that let you change how subdivided your terrain is (towards the top of the landscape settings tab). The landscape might not look as good with fewer polys, but I personally would rather have my sanity than a smooth mountain. Speaking of these settings, mess around with them! Some of them do pretty interesting things, and you can get some really nice effects.
If you want some water in your scene, add a cube that fills the space you wish to be watery, like I did with my lake.
Above you can see a picture of what my scene looked like after all that!
Rocky Mountains, Muddy Hills
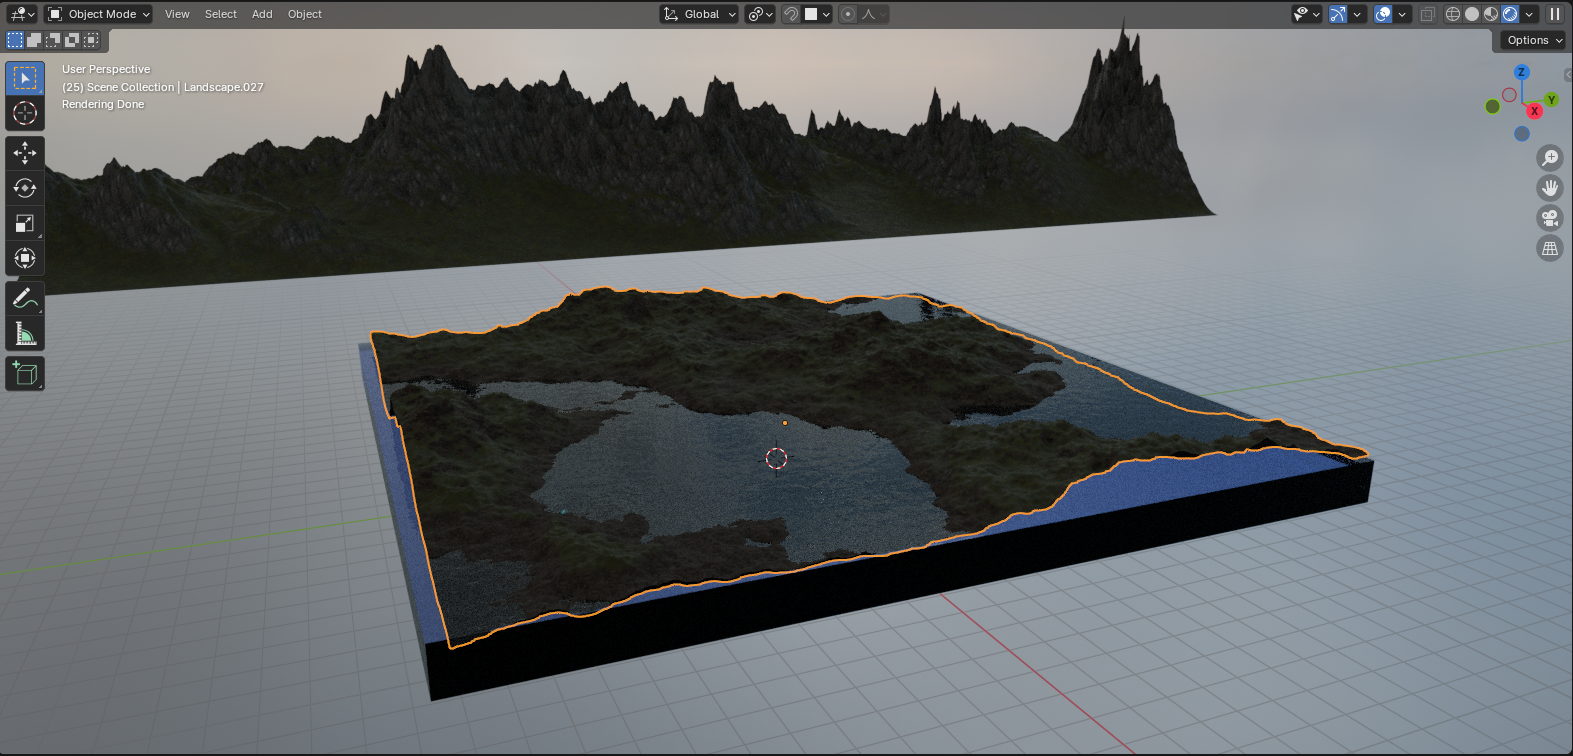
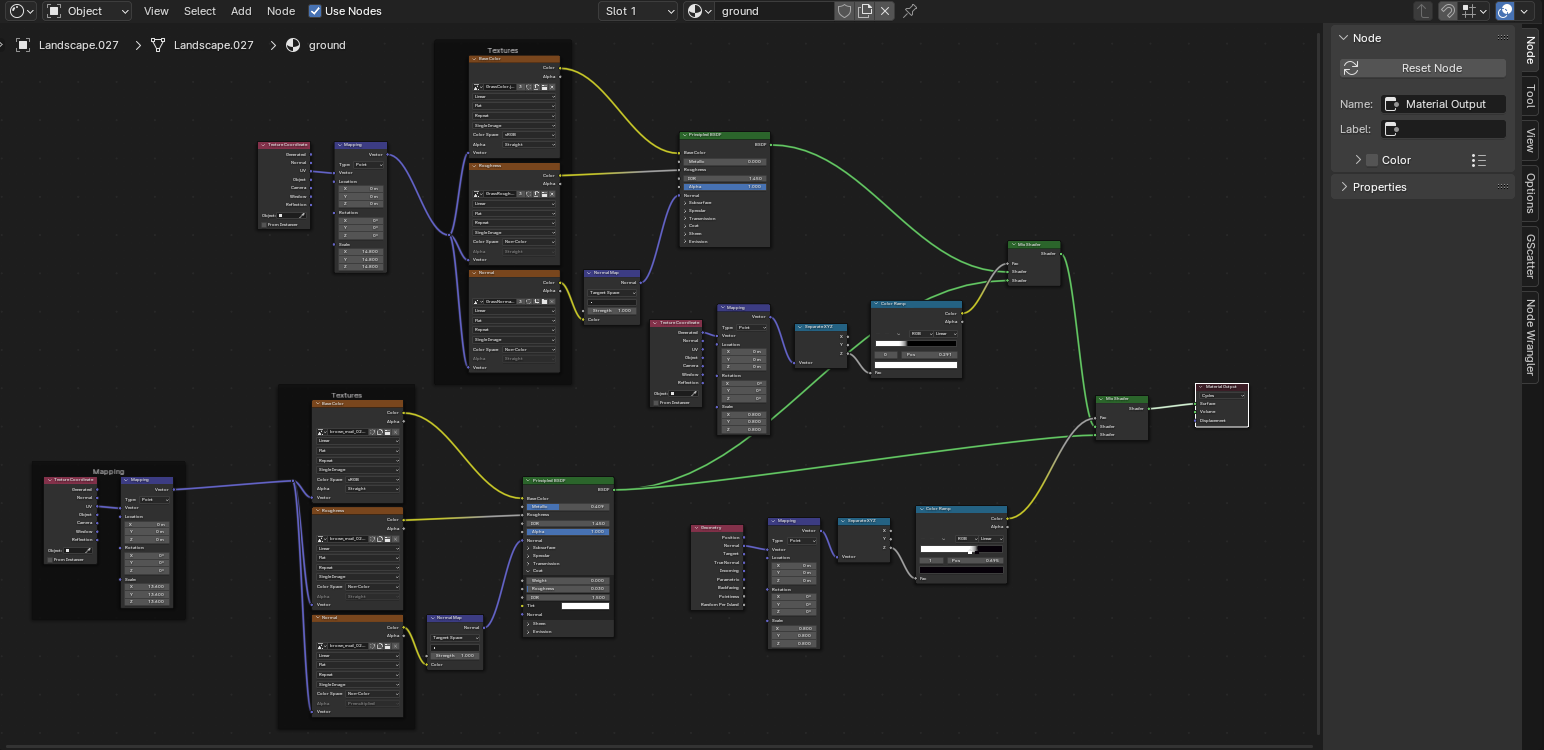
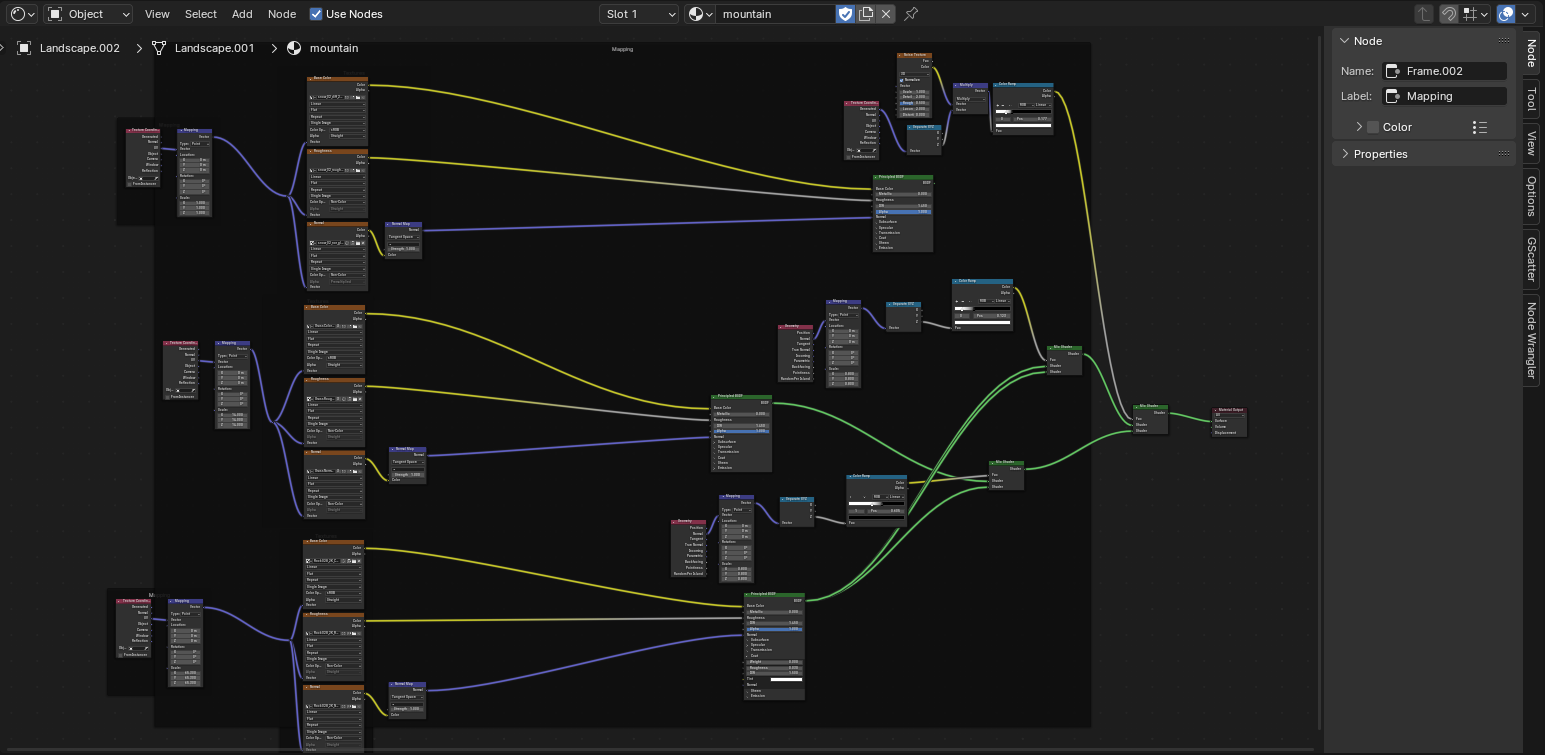
Now that you have your mountains, hills, or ravines, you want to actually make them look all rocky and grassy.
This tutorial basically goes over everything that I did in step two, but it also shows how to make the texture we're going for really well. Of course, I made a lot of changes, so the tutorial won't get you exactly the same mountainy look that I have.
I started by downloading the textures I needed. Make sure you save them to somewhere you can find them easily later (that's pretty important). I used this one and this one on my project. You can also look around on poly haven to find others! There are some pretty cool ones out there.
At the top of your screen, change over to the shading tab, so that you can edit your textures. This video goes over how to use textures in blender if you're lost among the multitude of windows. Above, I attached a picture of the node tree I ended up with for my background mountain and foreground hilly texture. If you're interested in replicating exactly what I made, you can use Shift + A to search and then add each node. (It probably won't take as long as it sounds like it will (actually it might)).
For my texture, I pulled a few rock, grass, and mud textures from poly haven and then used texture nodes to map the rocky texture to the steeper areas, and the grassy texture to the flatter areas. On the foreground area, I used the same layout to mix some muddy ground in so that it looked more natural with the grass instances on top of it.
Water
If you're adding a fancy water feature (lake, ocean, or river), I used this tutorial to make its texture. I then turned down the amount of blueness so that it fit the environment better. So pretty, right?
Texture Fixes
Not looking quite right yet? Make sure to do these things.
First, make sure that you're rendering using cycles. Looking at the tabs on the right, find the "render" tab, and set render engine to Cycles.
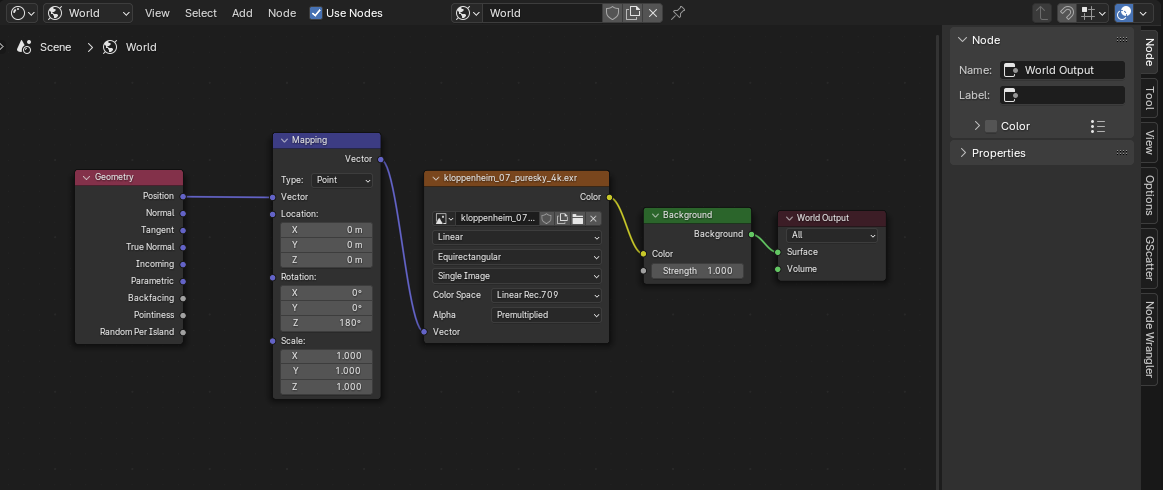
You can also add an hDRI texture to your scene so that it's more evenly lit, like an actual landscape. Look back at the shader editor tab, and there should be a small dropdown where you can switch from object to world. Now you're here, shift + a and add an environment texture. You can pick pick up a good one off of poly haven. If you haven't already, delete the default light source. (That'll probably help with any randomly glowing spots).
The last thing you should do to make sure that all your textures are looking snazzy is check your UVs. If you were watching the tutorial videos, you may have already done this, but if not, then it's really quick! Make sure you're selecting one of your landscape objects and then go over to the UV Editing tab on the top. Press "a" and then "u". Push the little button that says "unwrap". If you navigate back to layout, the textures should be working better! You can adjust their scale in shader editor with the tall purple mapping nodes.
If your computer is chugging or crashing, maybe try finding lower resolution textures. There's a little tab in poly haven that lets you download lower-res versions of their textures. If that doesn't help, try finding a different water texture that does not use volumetric shaders, because volumetrics can sometimes take extra processing power. Hopefully that did something! If not, maybe keep your editor not shaded where you can, so that it's not trying to constantly compute all your beautiful textures.
Vegetation
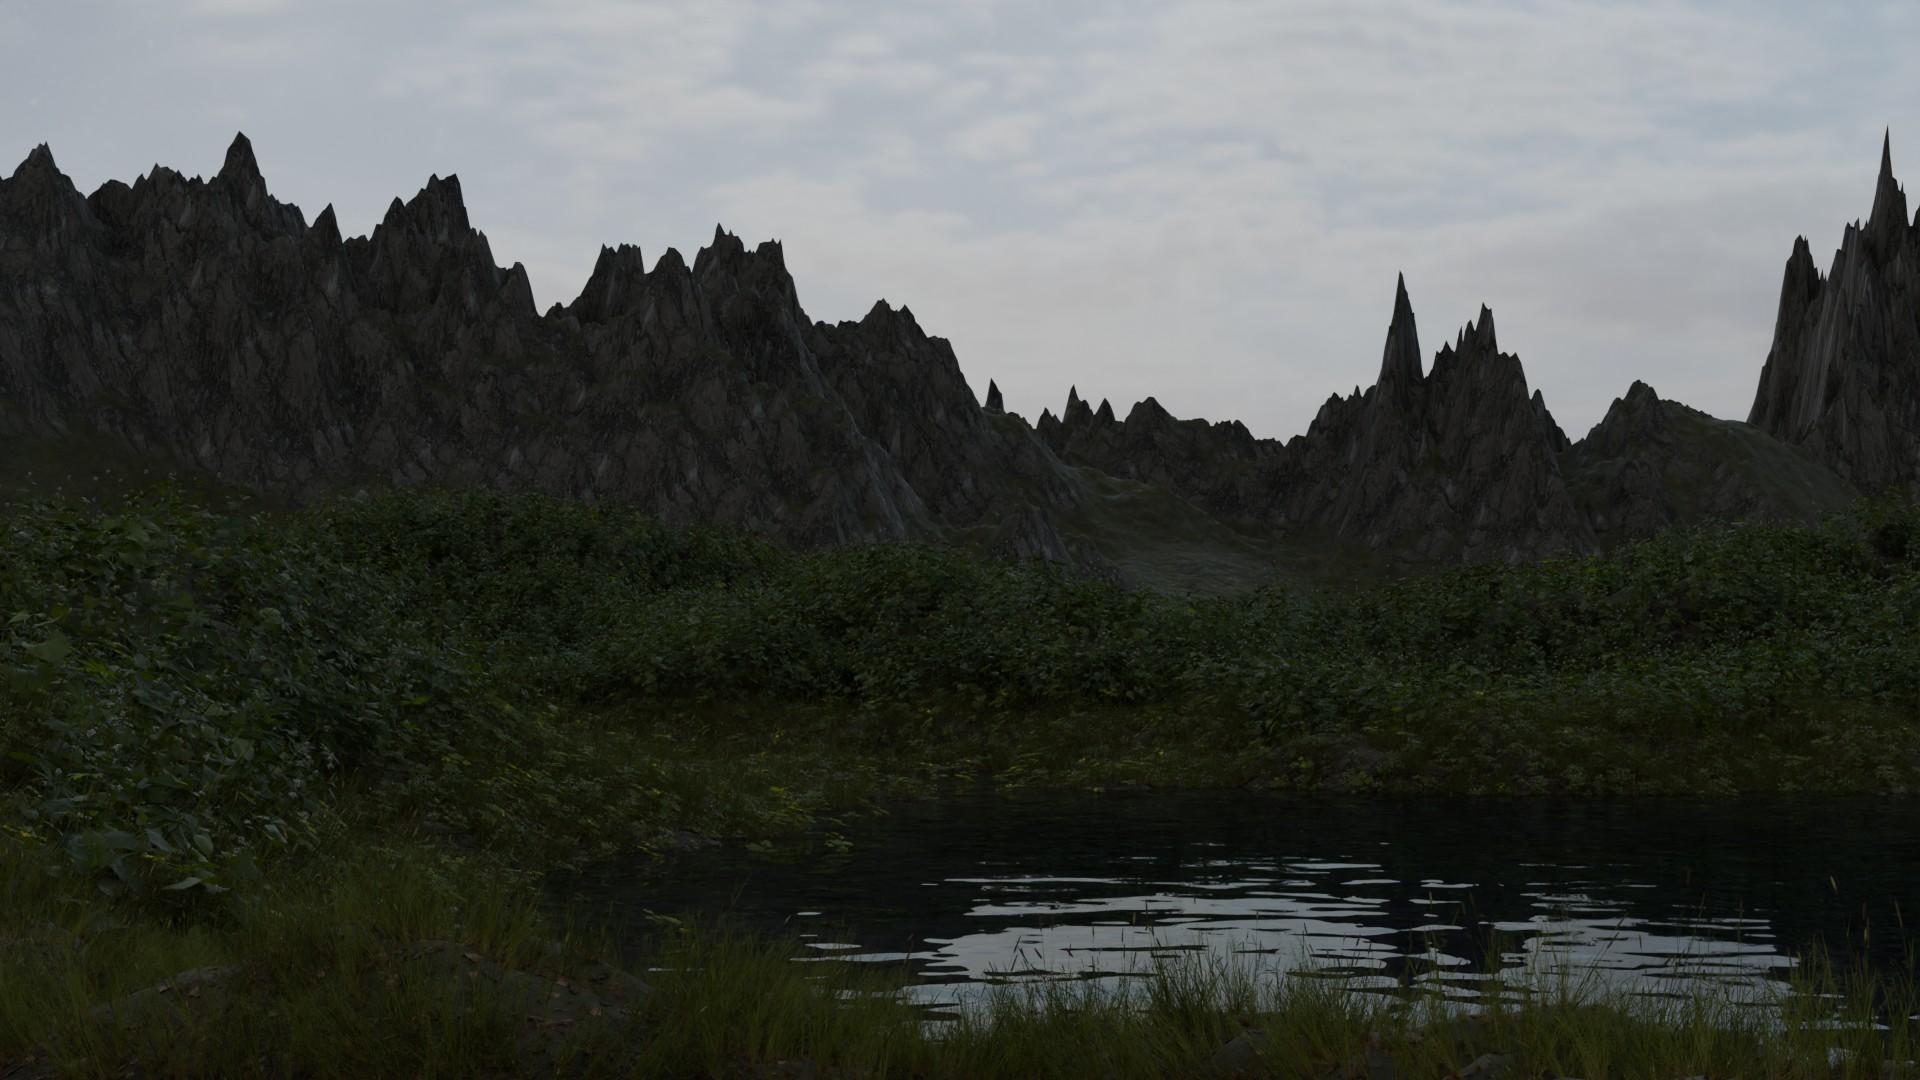
Gscatter!
Gscatter by Graswald is one of my favorite Blender addons I use. It has pretty straightforward controls that are all located in the side tab of Blender. You can download it here, and here is a quick tutorial that'll show you how to use it. I used a lot of grassy plants in the foreground, and some larger plants in the background. When adding in your plants, I'd recommend using a lower level of detail (0 being highest, 2+ being lowest), so that you can render more easily. The difference in detail can be noticeable in a close-up shot, but for something farther away, it shouldn't be terribly obvious. Keep in mind, the more you add, the more your computer will slowww dowwnnn.
I didn't use many trees in this one, but if you want to, I highly recommend this addon. This is my second favorite addon by the way. They're both magical.
Camera Animation
Moving the camera can be pretty annoying, unless you look over to the top of the screen in object mode. Hit view, and then navigation > fly navigation. Now you can move the camera with your mouse and WASD!
To animate the camera, direct your attention to the bottom of the screen. There should (there is by default, unless you changed it) be a timeline. Hitting space plays your (probably currently nonexistent) animation! In order to add keyframes to your animation, look to your properties of your camera, located on the tab on the left. Make sure you're at 0 on the timeline, and then you can right-click on the sliders that show location, then click "insert keyframes". Now, do that for the rotation as well. Now you should be able to play the animation for a bit and add another keyframe. Hopefully, when you play the animation now, the camera should move on its own! You can pick some nice shots of your scene and add keyframes so that the camera moves between them and gives you a nice motion.
This is definitely the easiest way to animate your camera. I did this, because I wanted a relatively random movement, with some back-and-forth and such, but if you have something more cinematic in mind, this video shows some methods that you can use to make those happen.
Also: by default, the animations will last 250 frames. When rendering, each frame will take a few minutes to finish, so I turned mine down to about 100 so that the render did not take half a week. The settings for that are in one of the side panels.
Making Your Butterfly + Animating
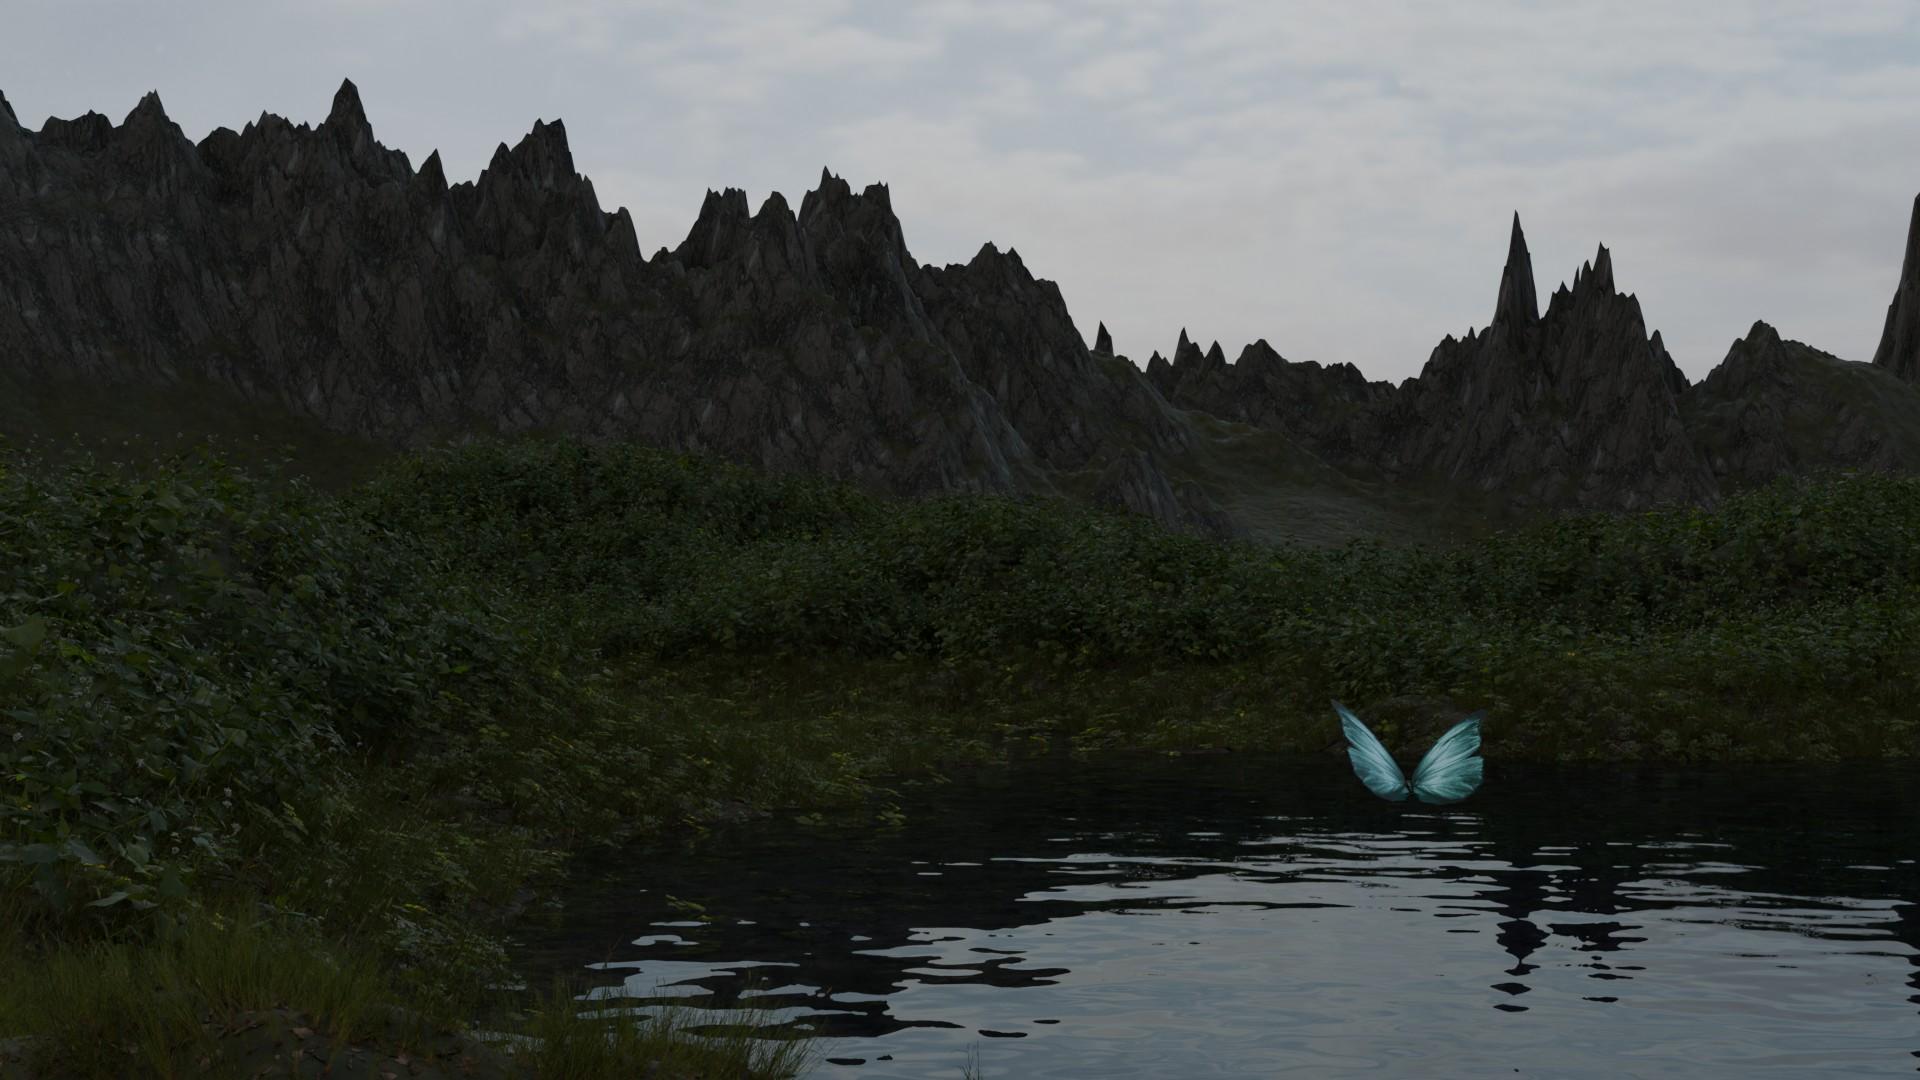
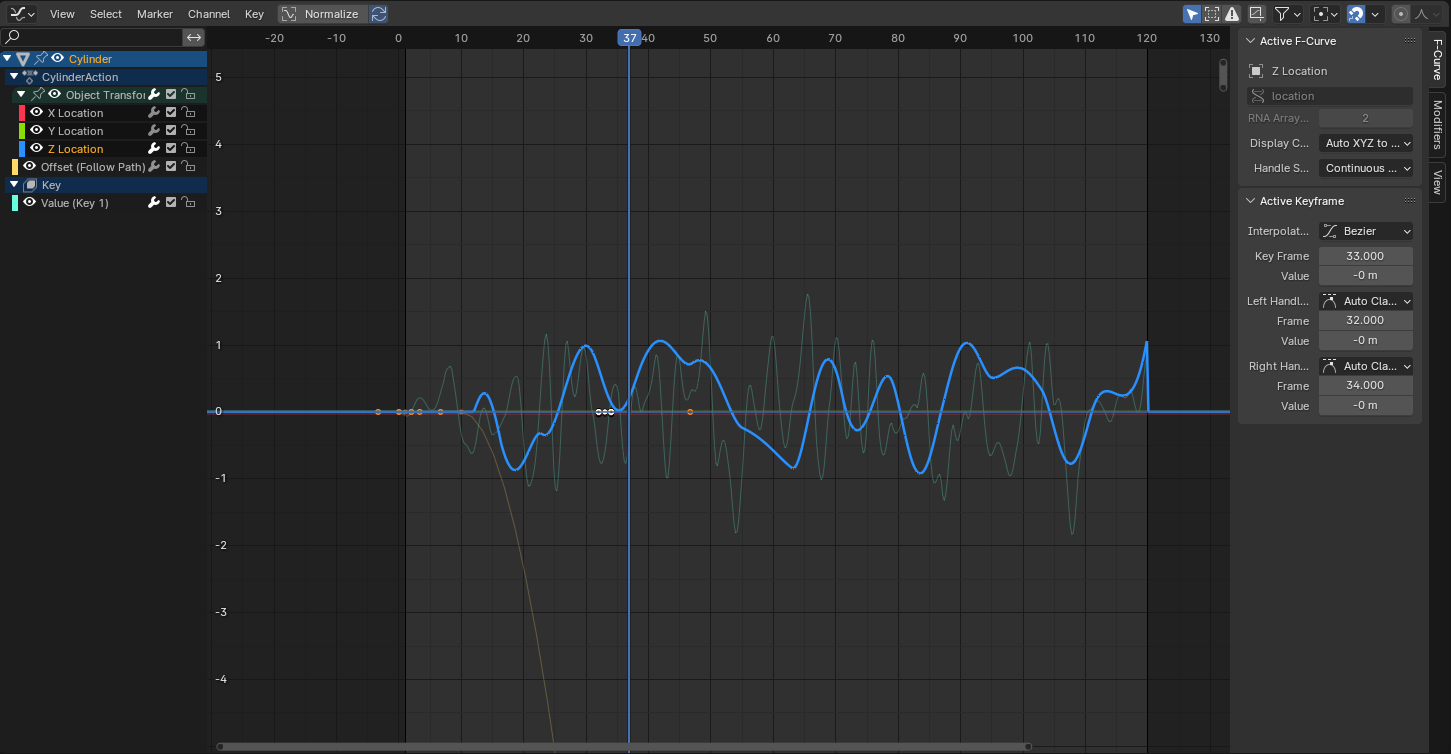
I will admit, I'm not the best animator out there (modeling and texturing are way more interesting). In order to get my little butterfly working, I had to consult the world wide web for a tutorial that could help me. This one here turned out to be just what I was looking for. I did make some adjustments to his butterfly animation though. For instance, it turns out you can set the random noise on the bouncing/flapping animation to start AFTER the very beginning of the video clip by editing the noise modifier, which made our butterfly look more like it's taking off, and less like it's flapping through the ground.
I went back to my slo-mo butterfly video to try and get some more realistic improvements on the butterfly animation. The best thing I came up with was definitely tilting the wings slightly, so they didn't flap directly up and down.
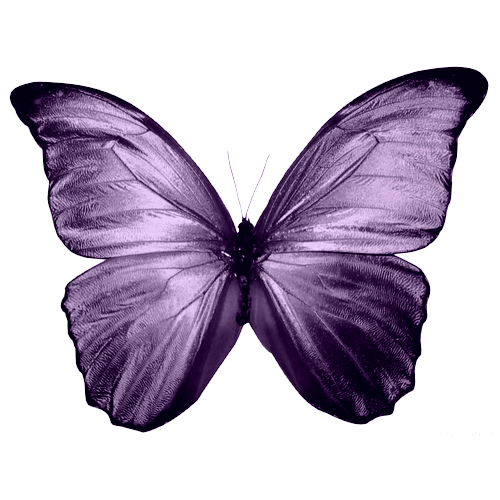
I also found a pretty cool picture of a butterfly (I don't know if it was AI generated, please don't sue me), and I attached it up above in case you were wanting something that's a tiny bit more real-looking than the one in the video. To make it a bit more interesting, I used the shader editor and hooked the image texture up to a mix color node to shift the color and make it look bluer. You could make it red, green, or even rainbow if you want!
Fog and Other Pretty Things
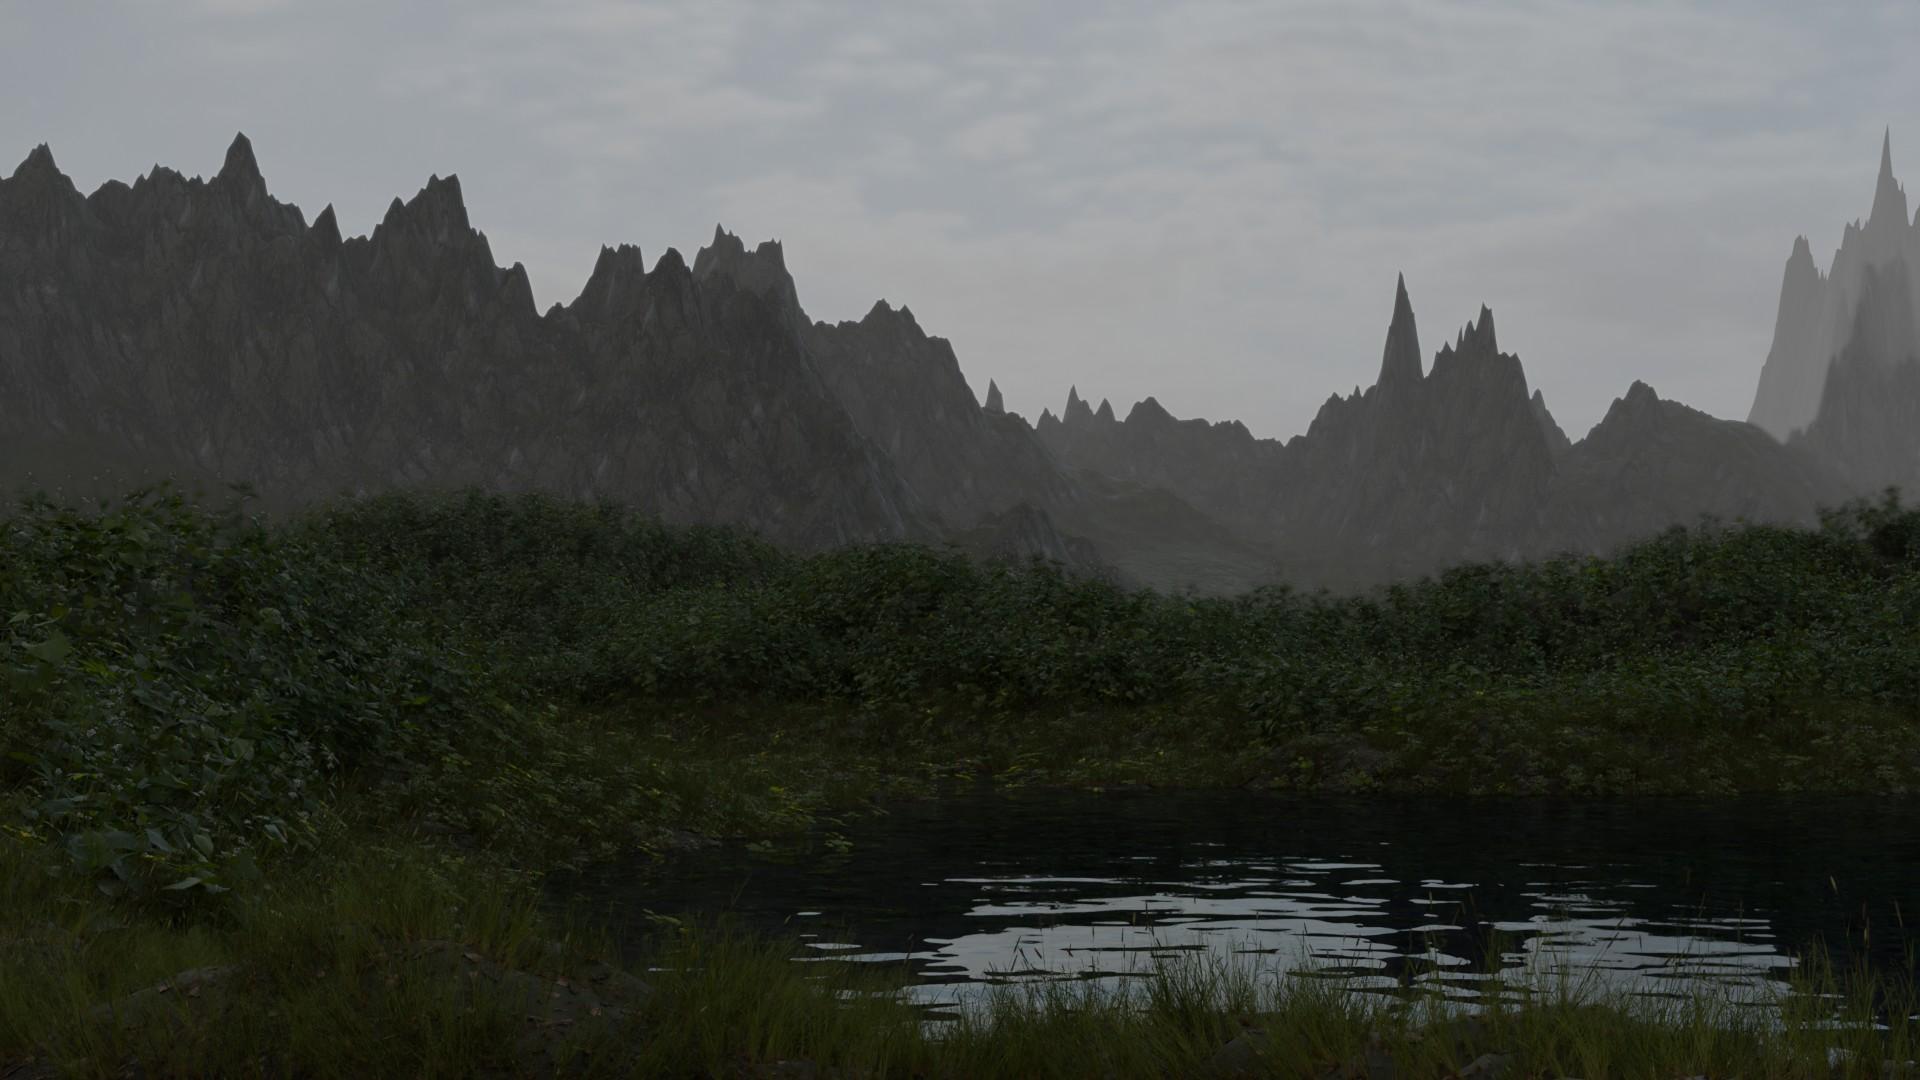
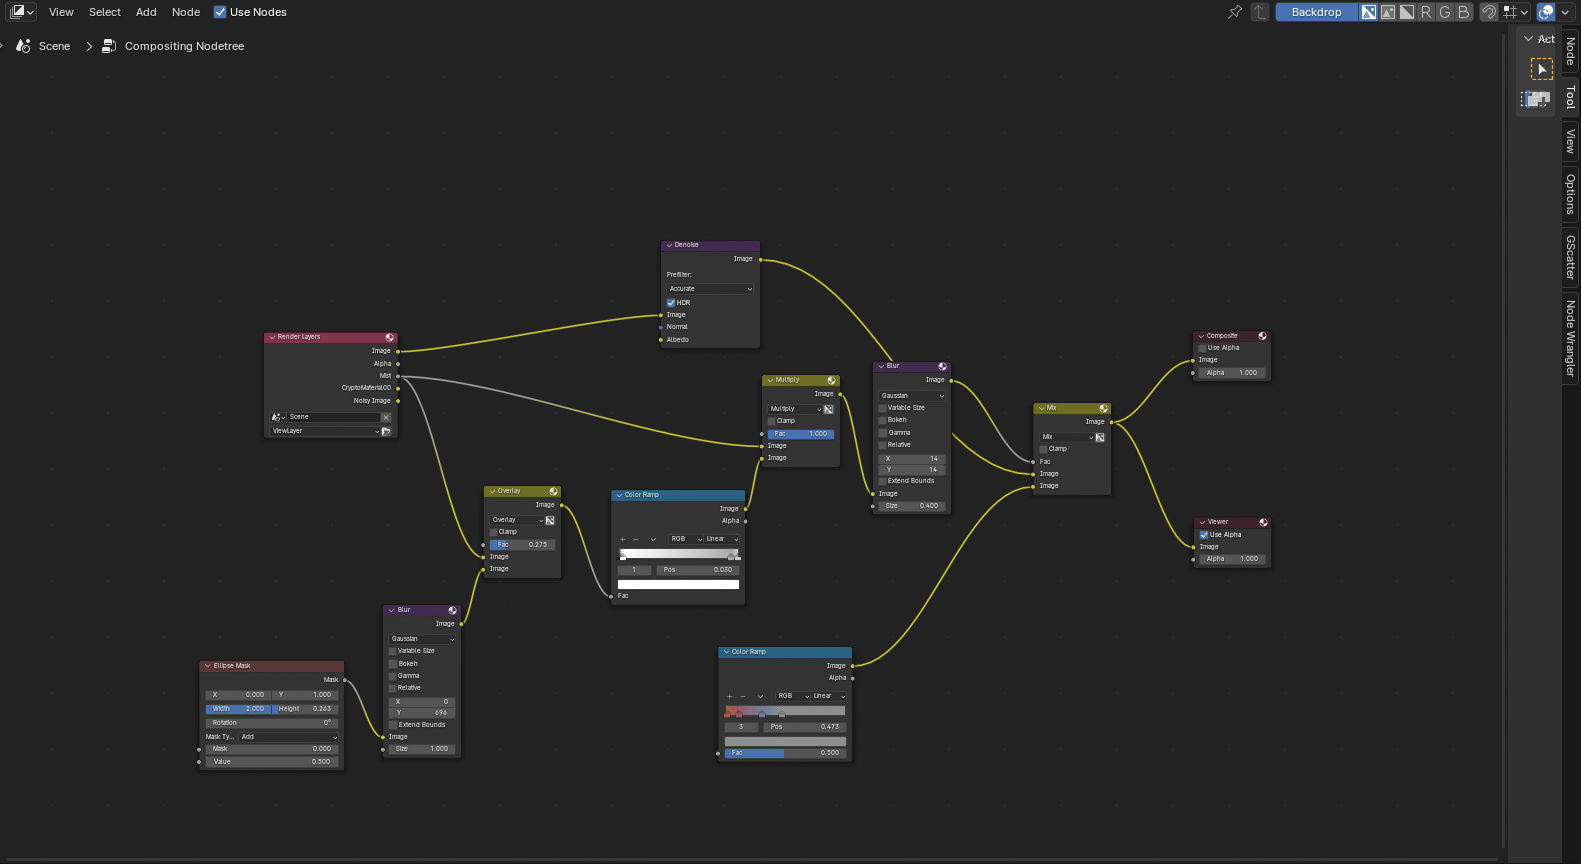
I used a mist pass in compositing to make the scene look more realistic. Here's a tutorial that gives an overview on how it works, and as always, feel free to tweak all the settings! my final product and node trees are above, so you can get an idea of how I set it up if you want.
And We're Done!
I hope that this tutorial was interesting and that you learned something!