Blender Bachelor Bungalow
by Ammo the epic in Craft > Digital Graphics
1162 Views, 12 Favorites, 0 Comments
Blender Bachelor Bungalow
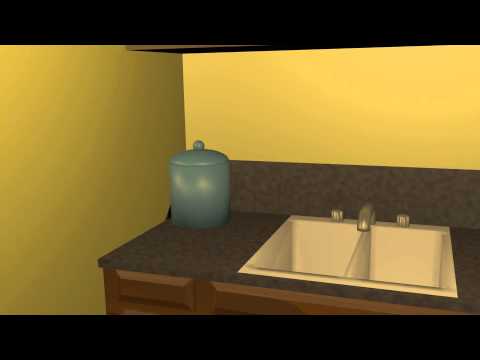
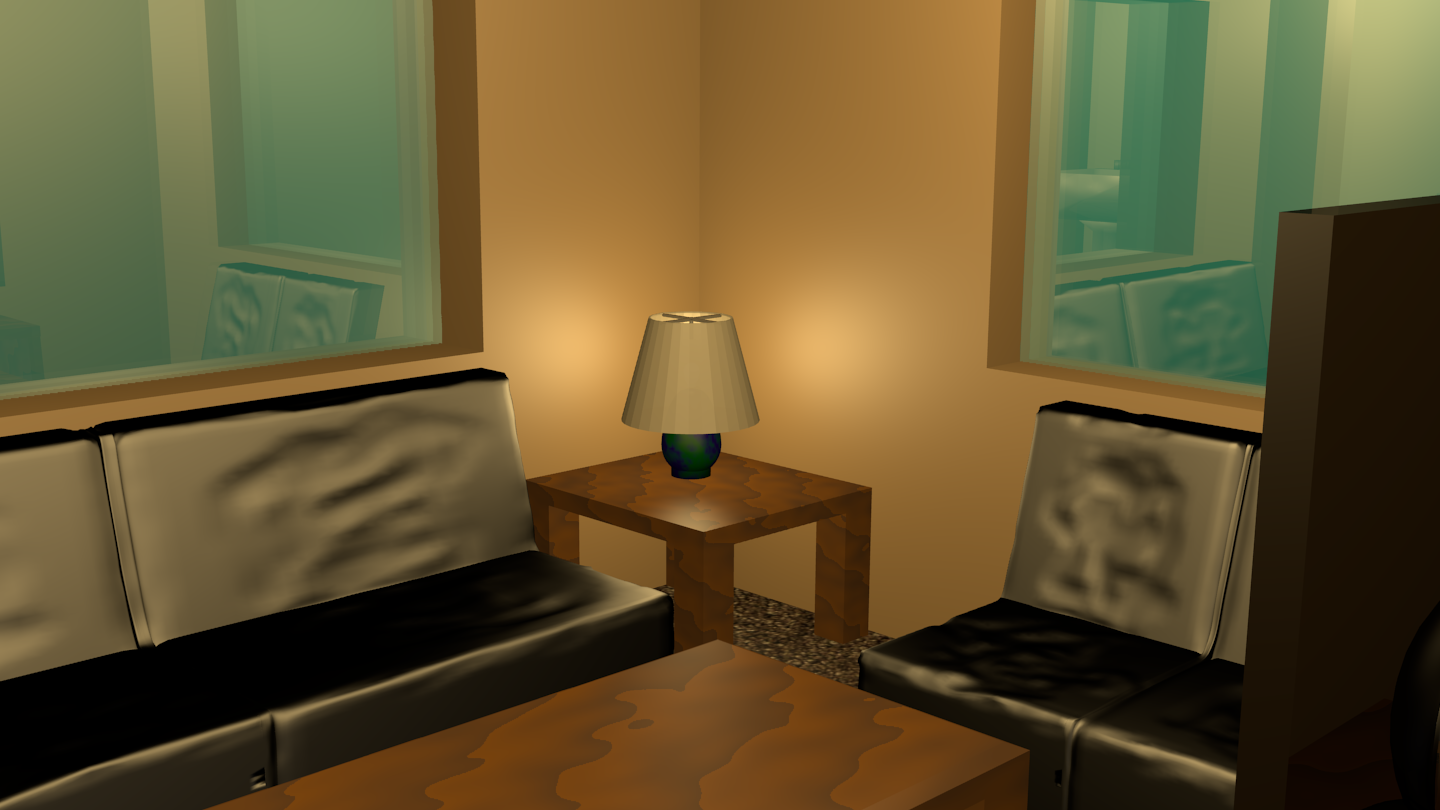
Hello
This is my Blender Bachelor Bungalow. It features an entry, a bathroom, a kitchen, and a bedroom. All the comforts of home.
Feel free to browse around and make yourself at home!
Let me know what you think!
Make a Lay-out
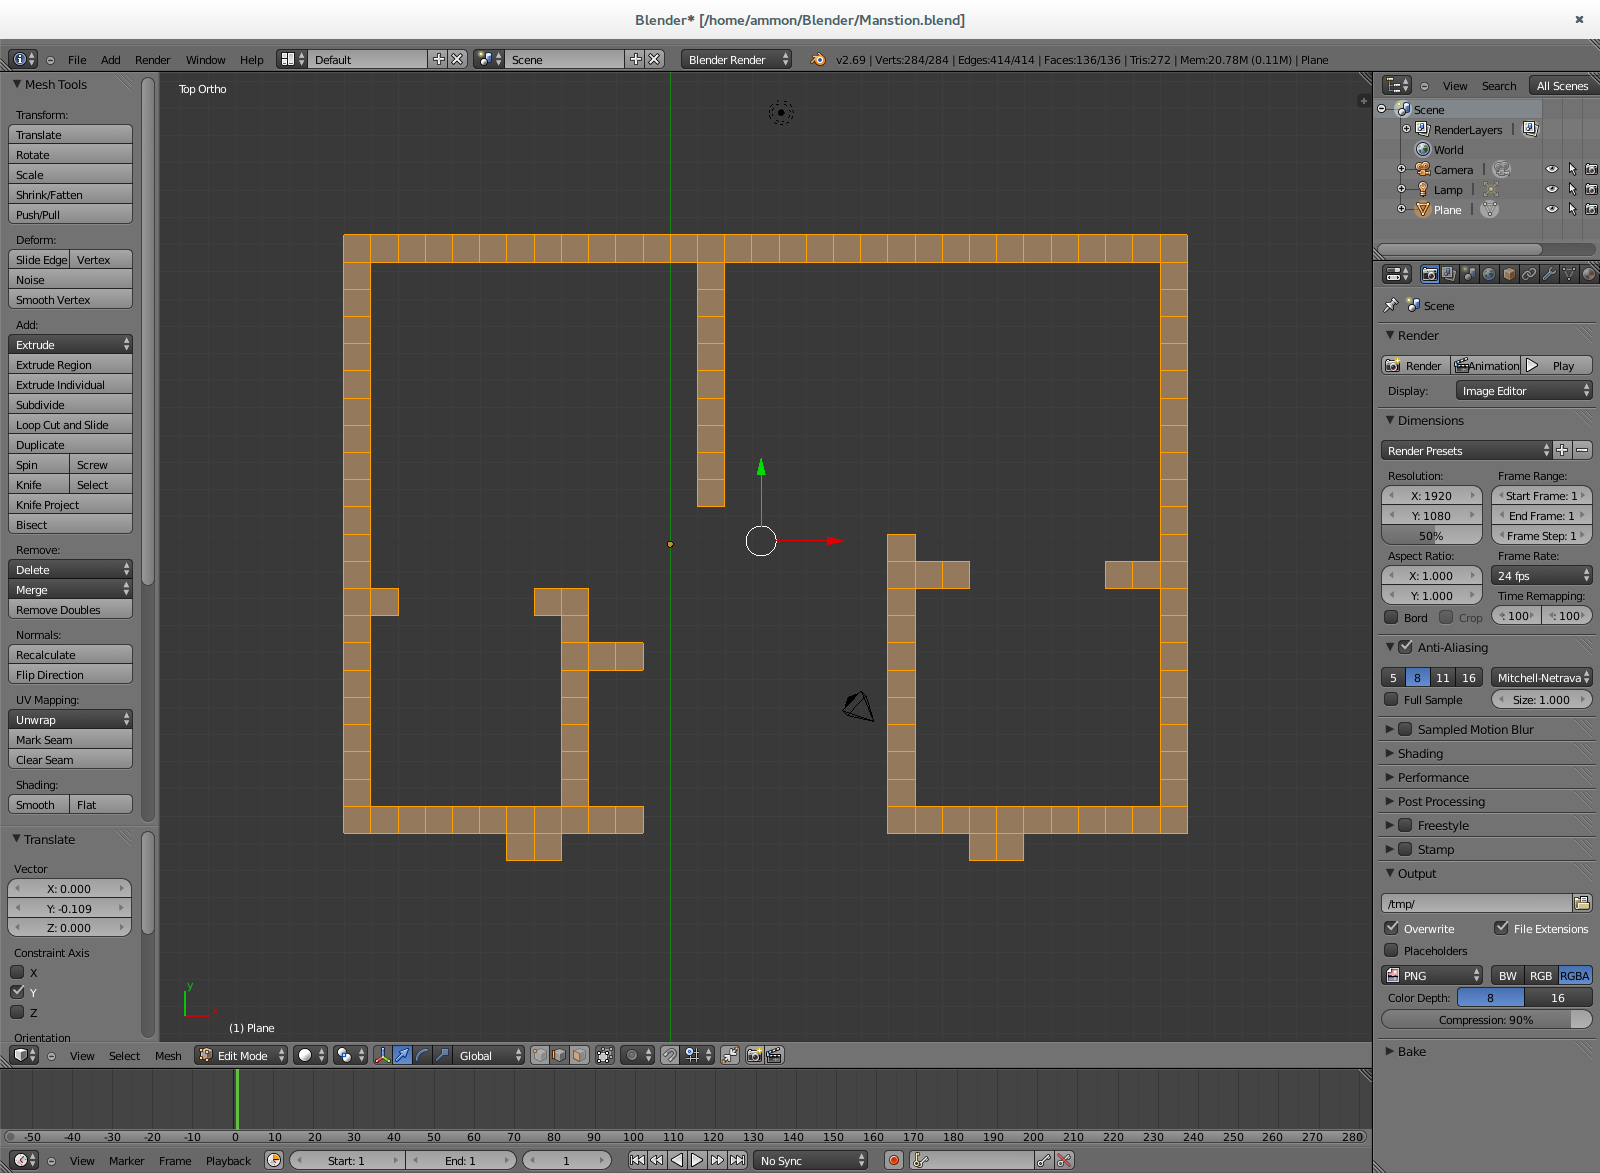
I did this by going to the top view (Numpad 7), setting it to show grid (Numpad 5), locking to grid (Shift Tab or the magnet icon near the bottom of the screen), adding a plane (Shift A), going to edit mode (Tab), and then scaling it down to the side of a grid square. I then selected the edge of that square using edge select mode (The Icon with a cube with an edge selected in the bottom bar), extruded on the axis I wanted (E then X,Y, or Z), and continued to draw like that as if I where designing a house on graph paper.
Extrude the Walls
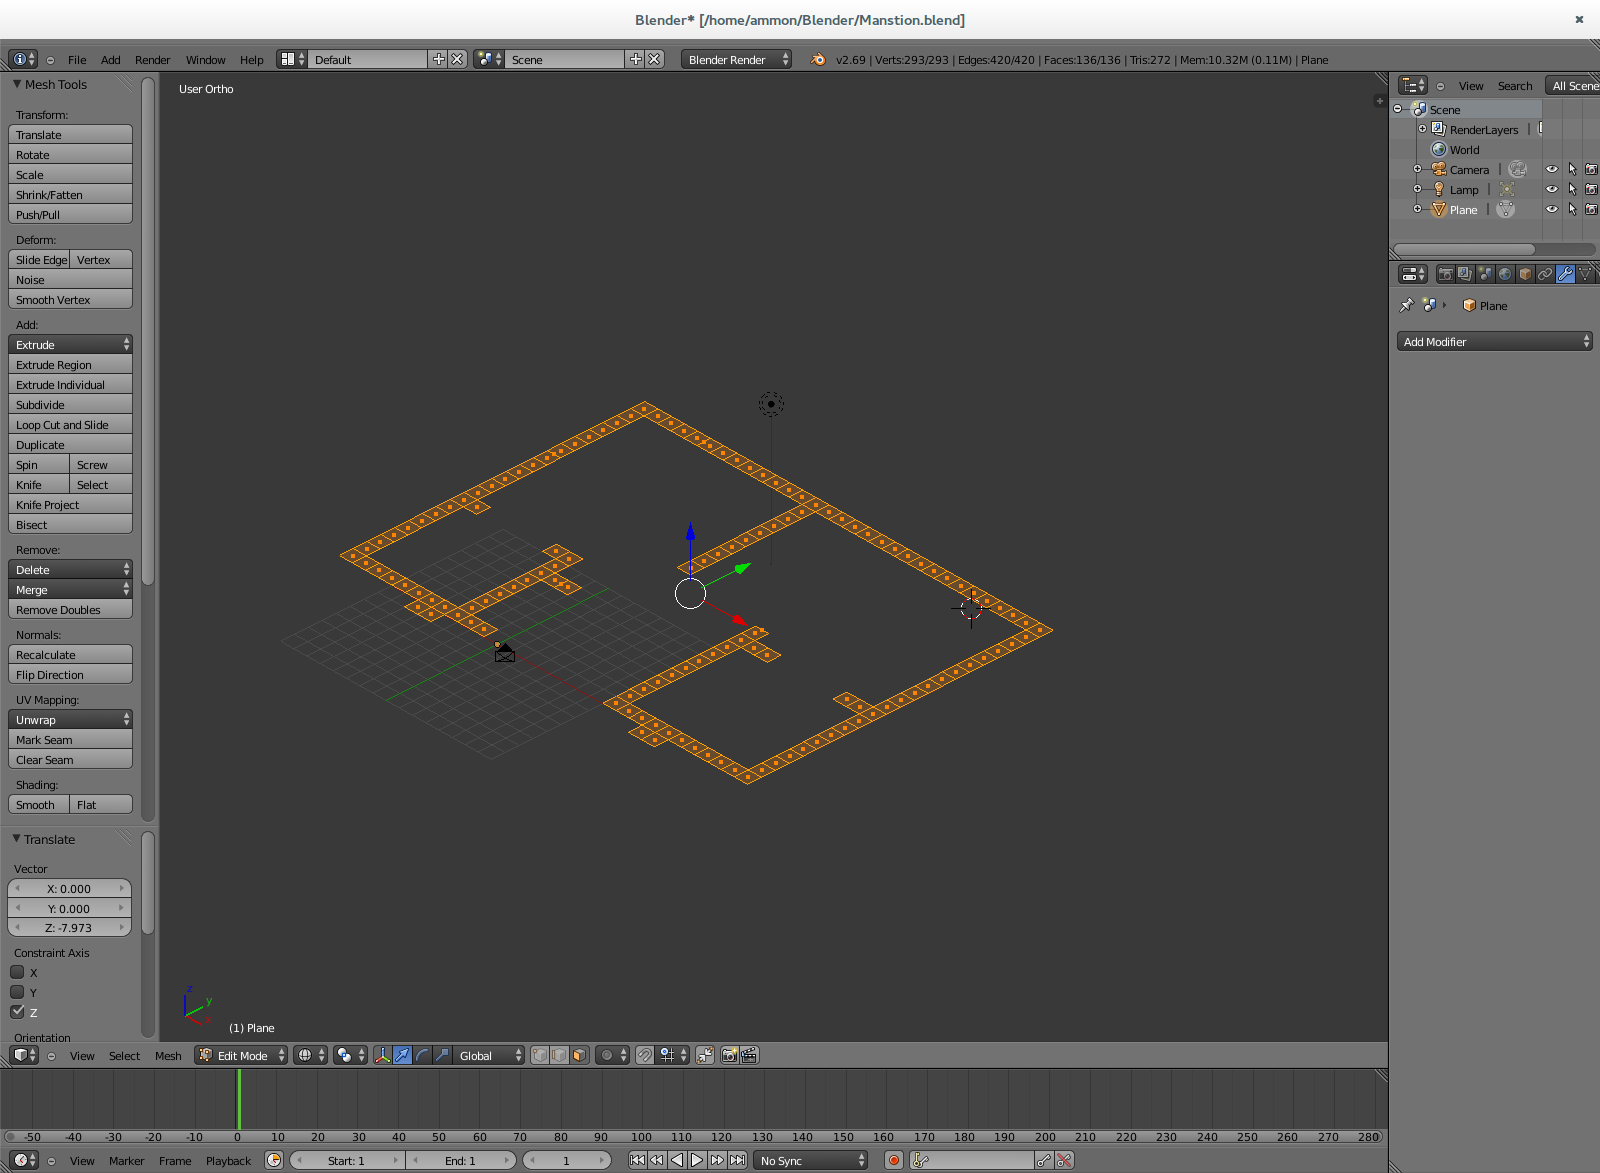
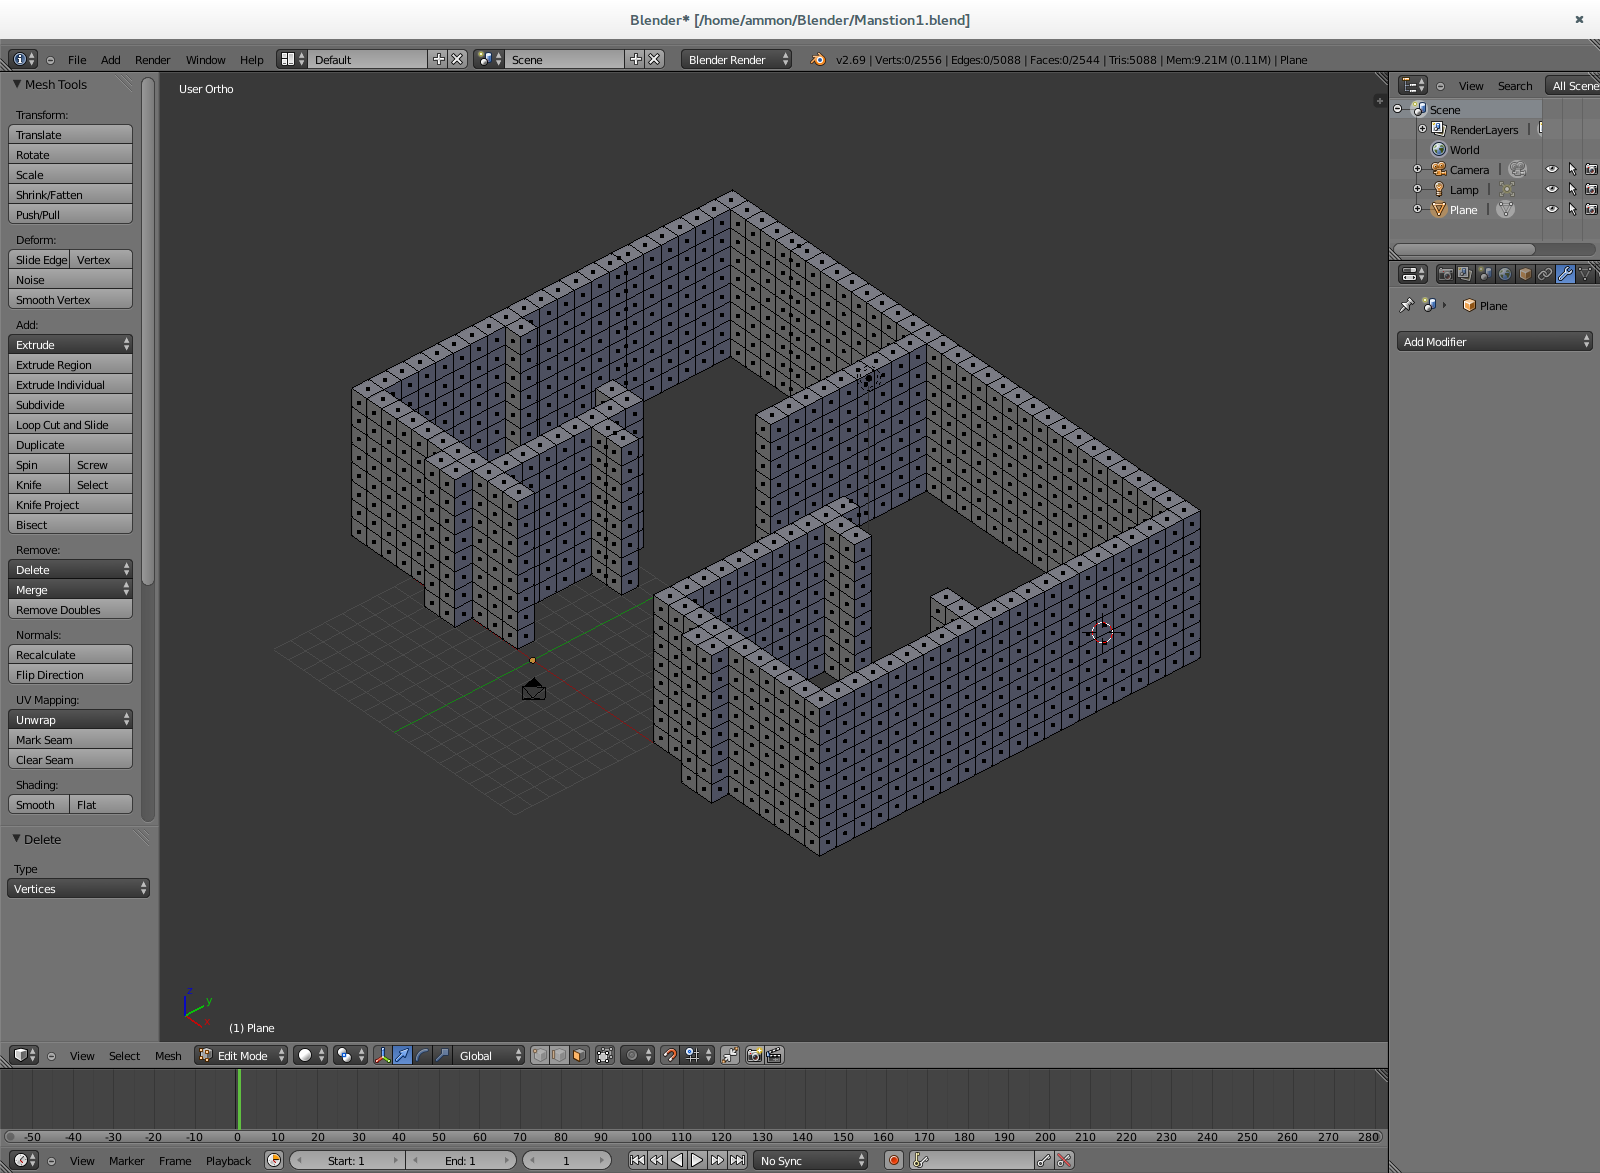
Select all (A), then extrude on the Z axis (E then Z) as tall as you like (mine is nine squares tall)!
Make the Floor
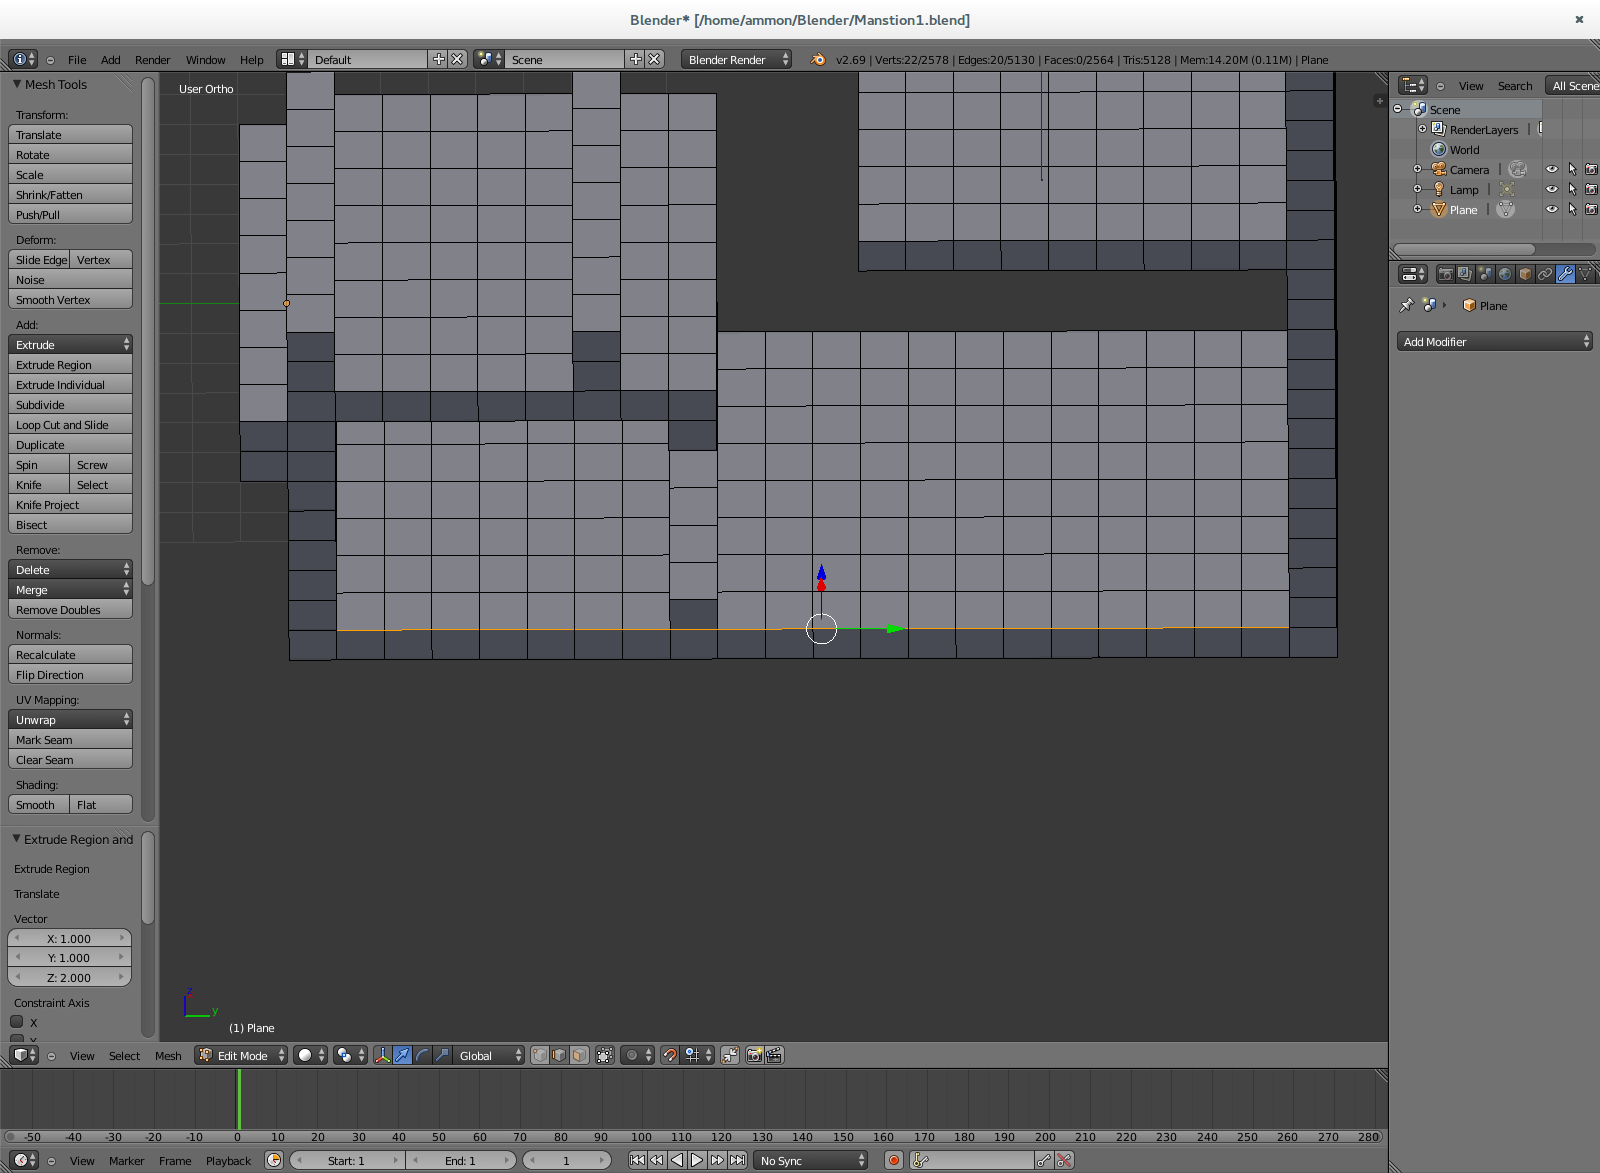
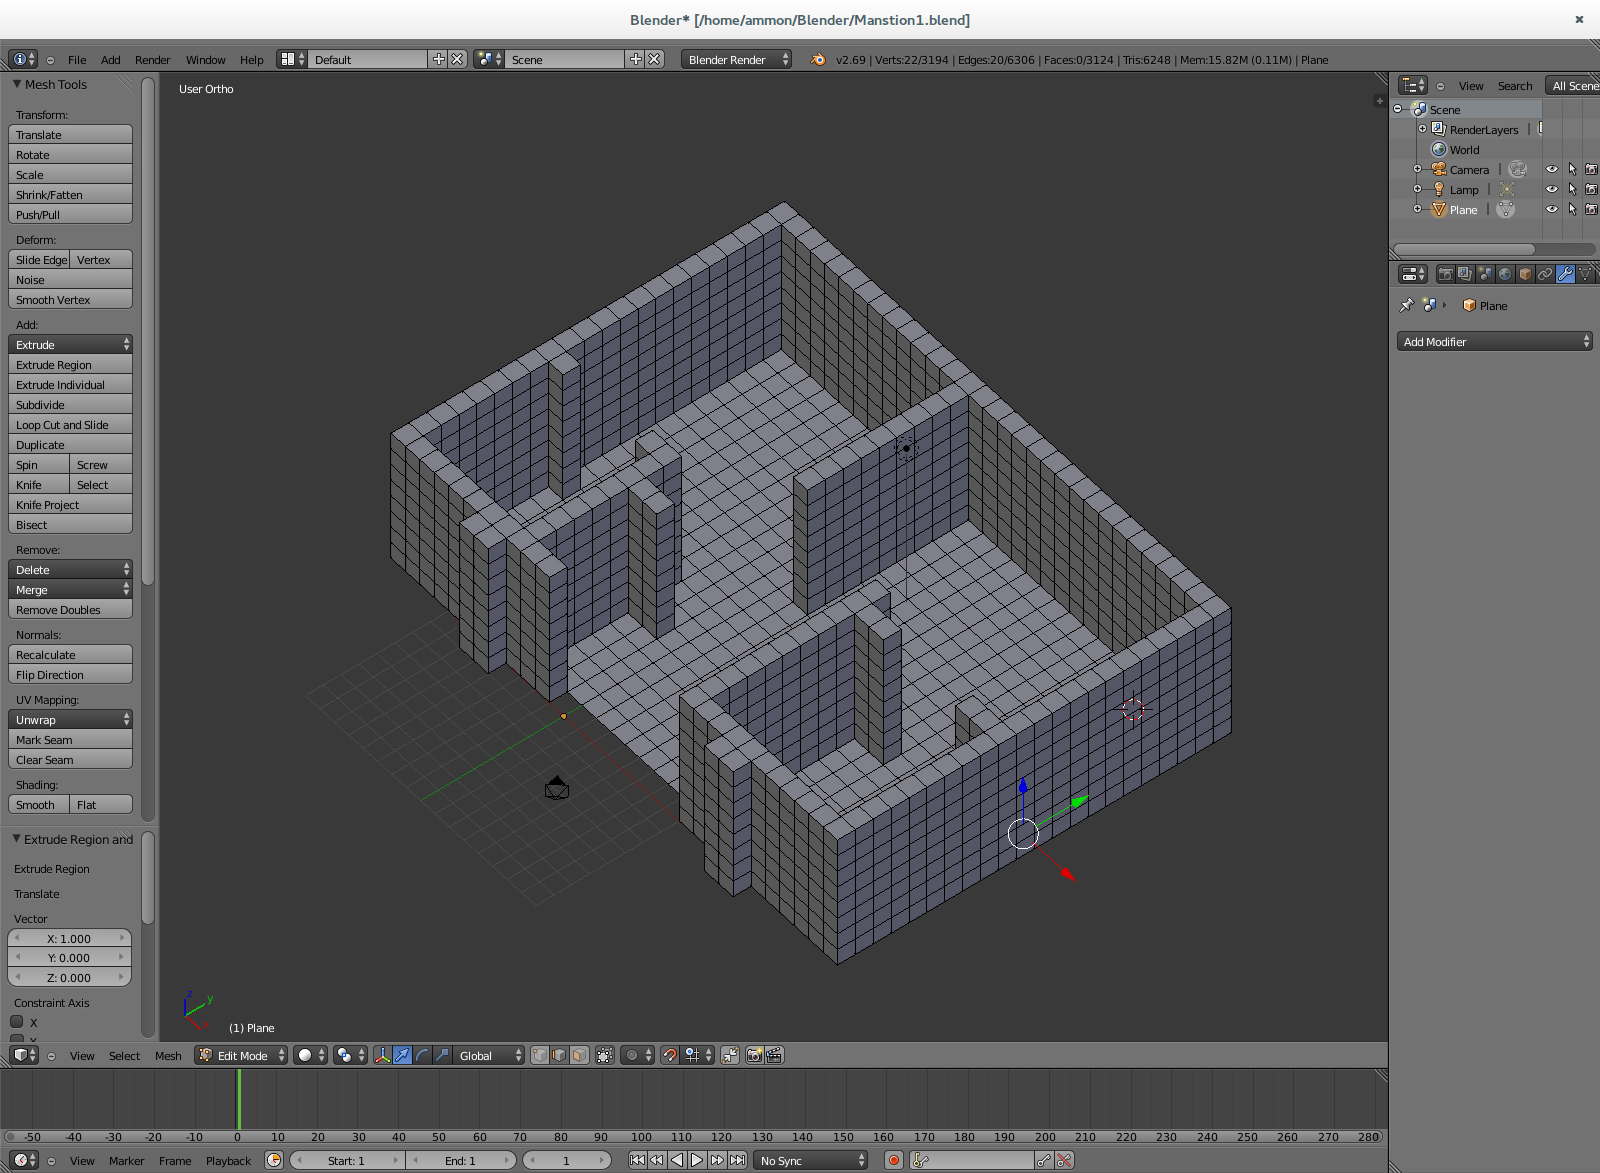
To make the floor just use edge select mode and select a line along the inside edge of your house and then extrude that edge to the opposite side of your house.
Tip: If you want to make it so you have a grid on your floor and walls (which I would suggest) just extrude square by square as you go.
P.S. You can also make a interior roof this way but I suggest you don't put it on till you are ready to render your final movie or picture.
Furnish Your House
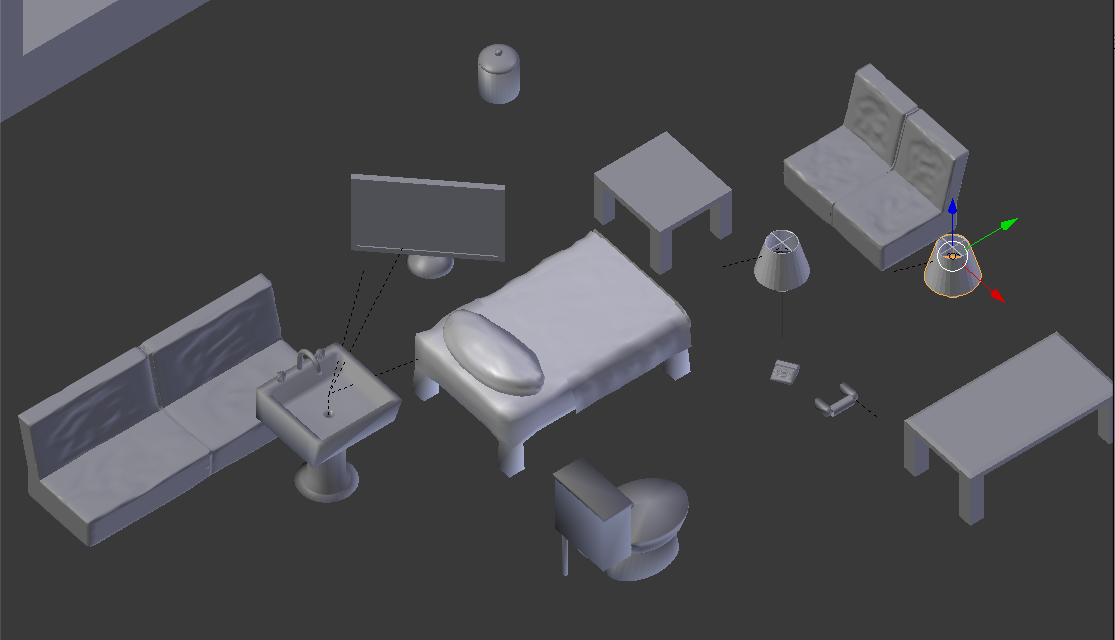
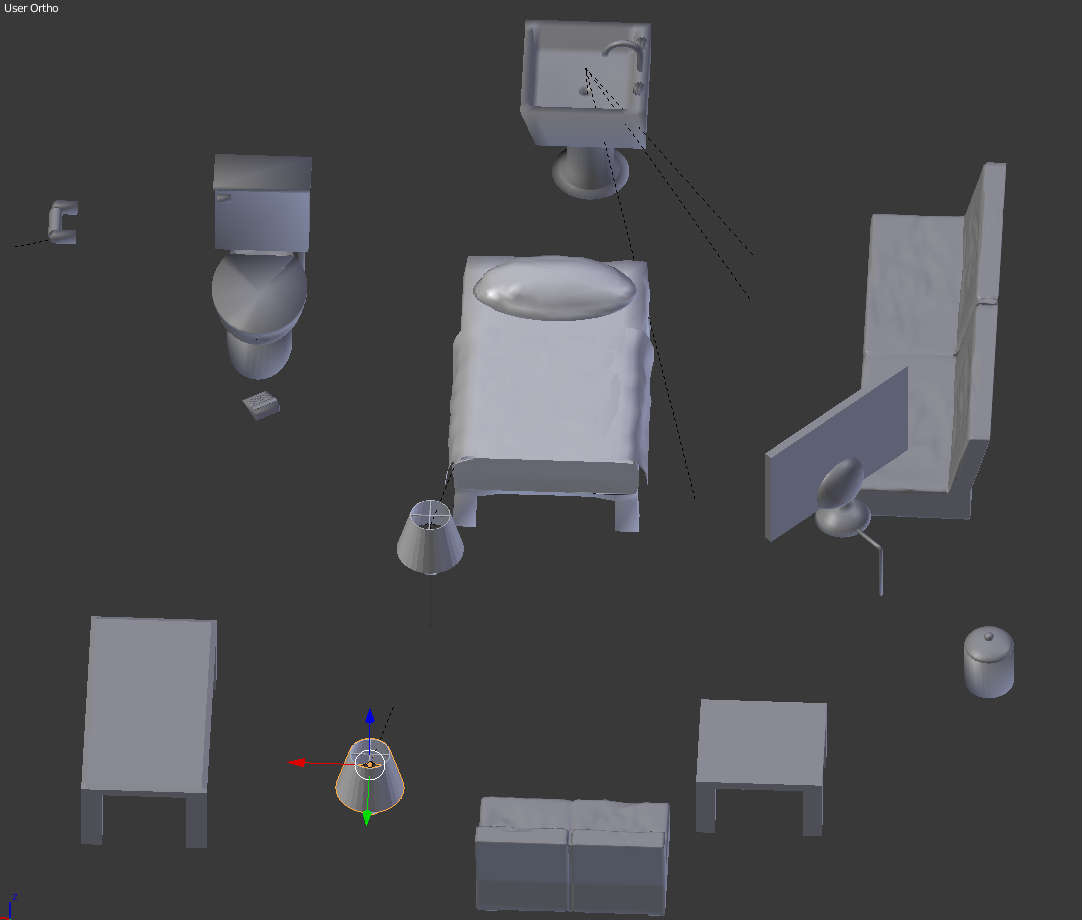
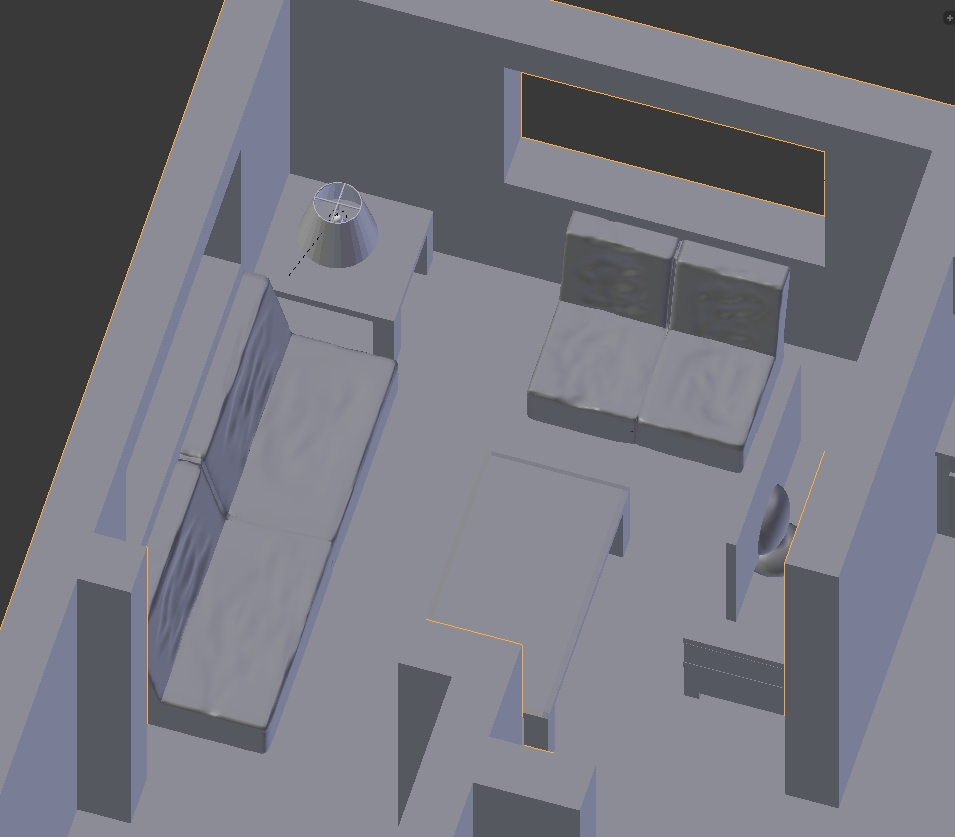
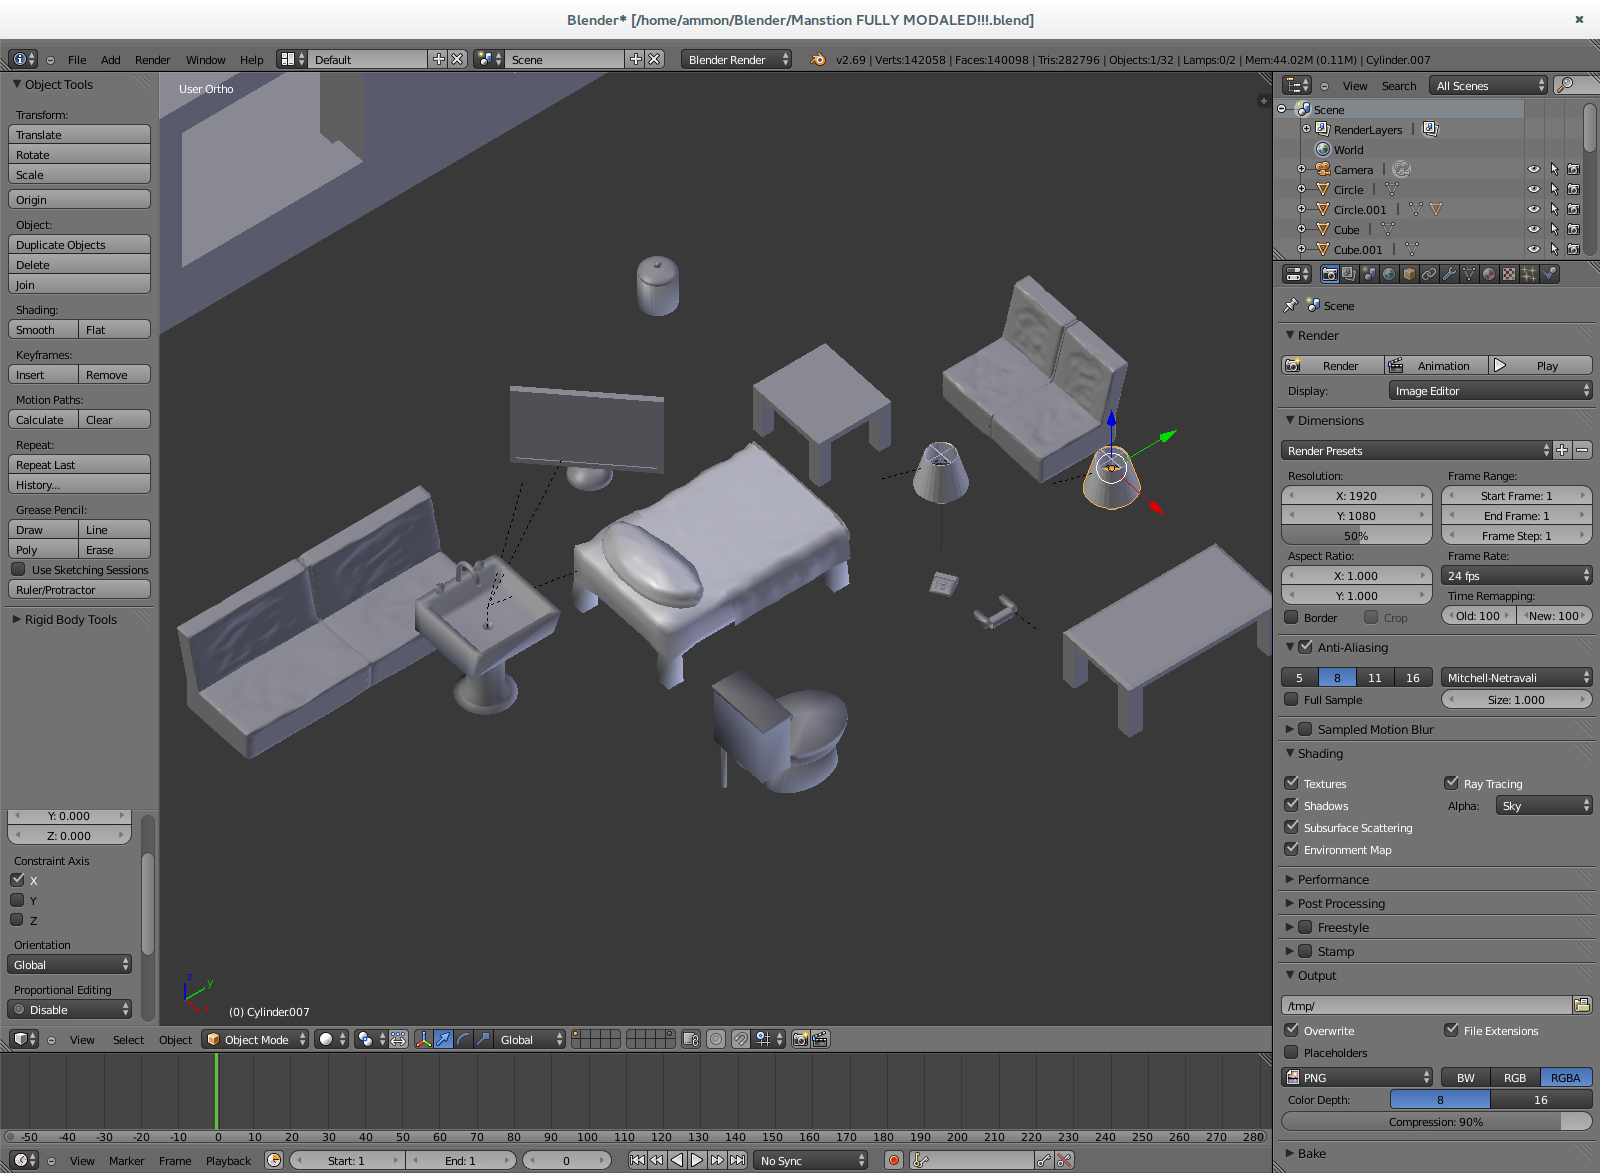
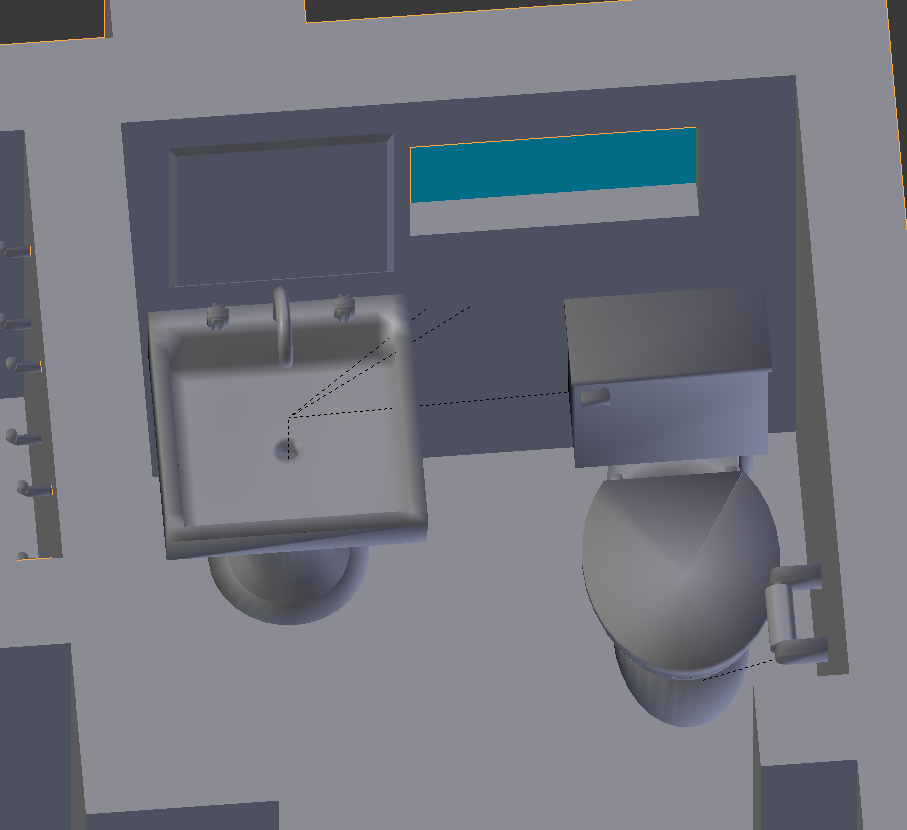
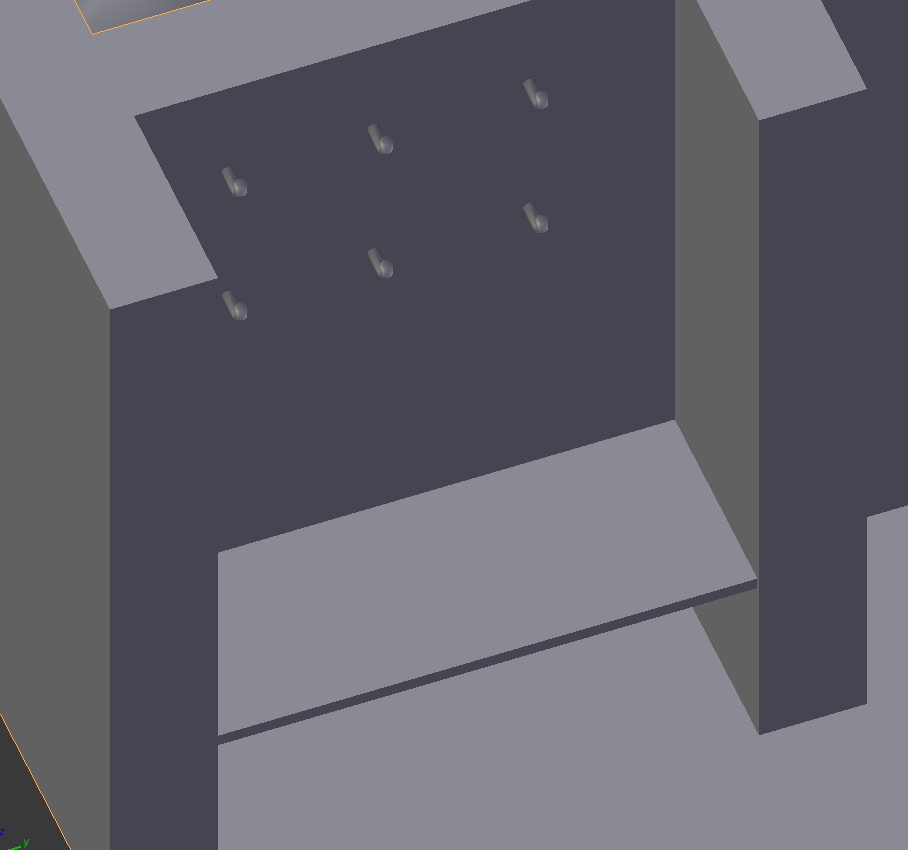
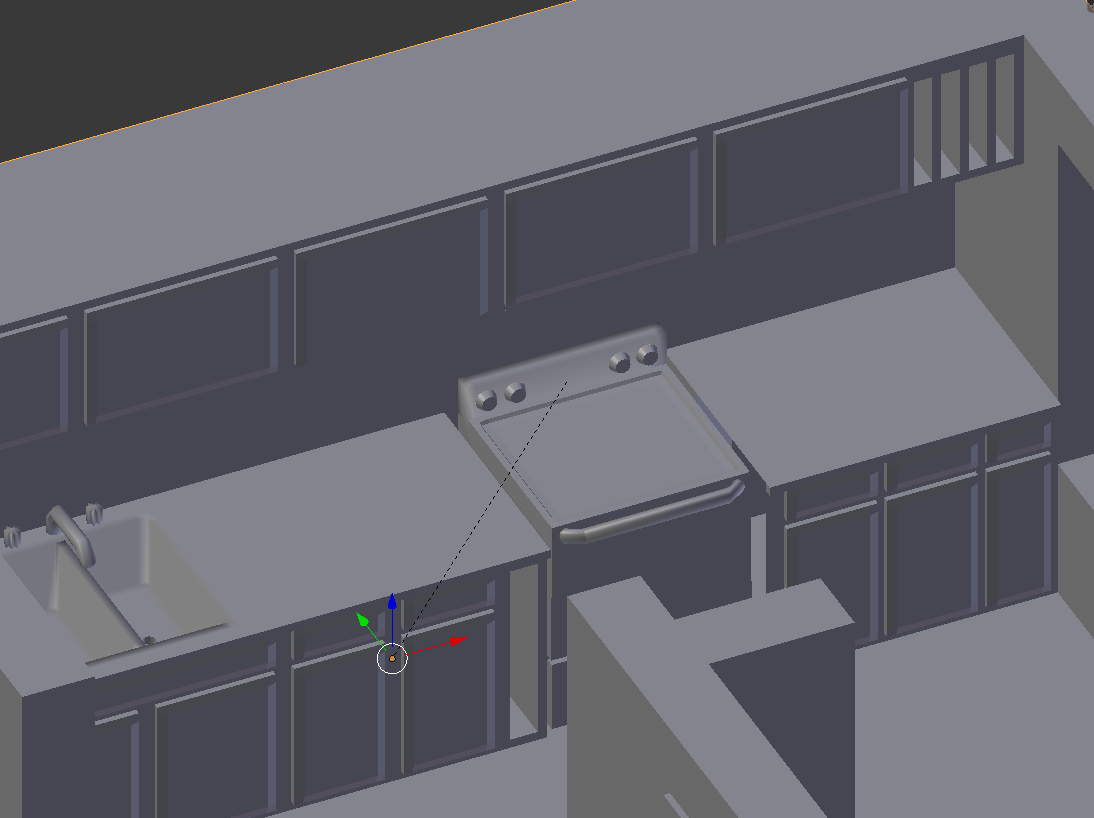
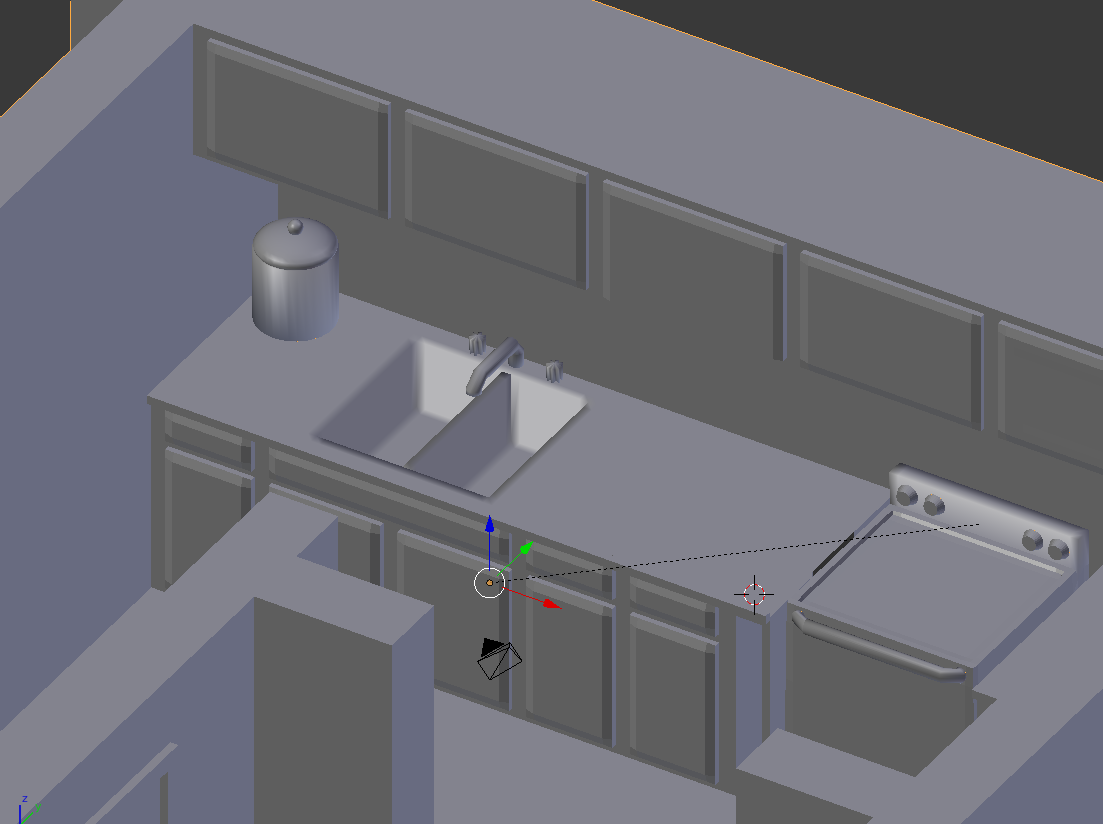
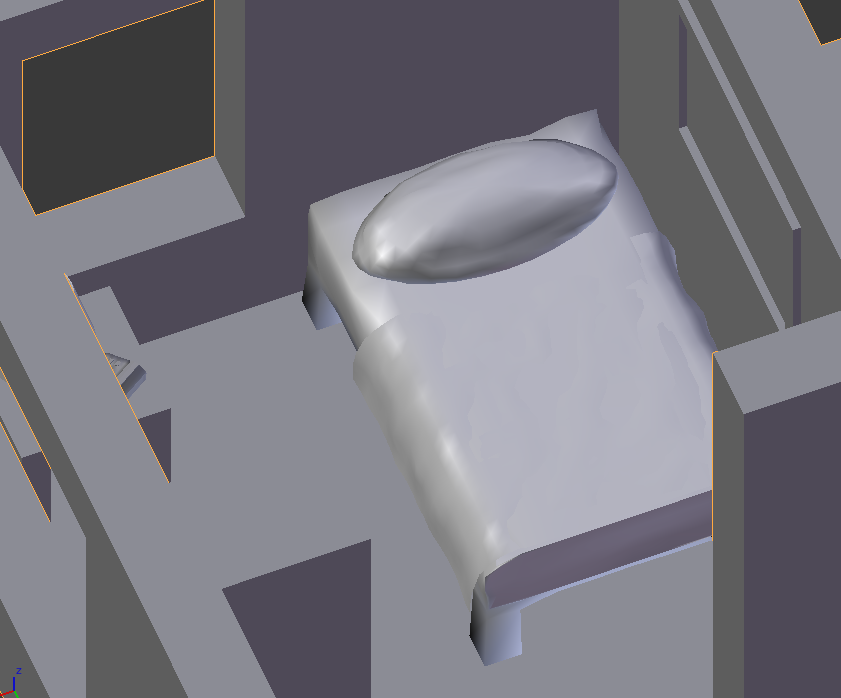
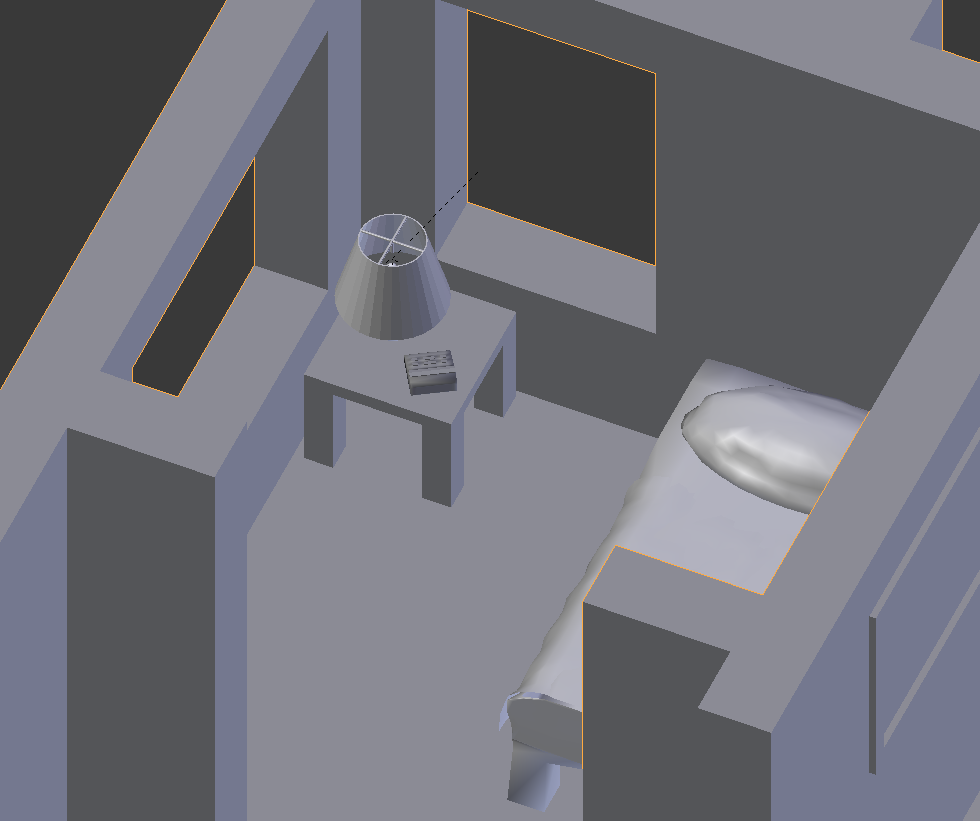
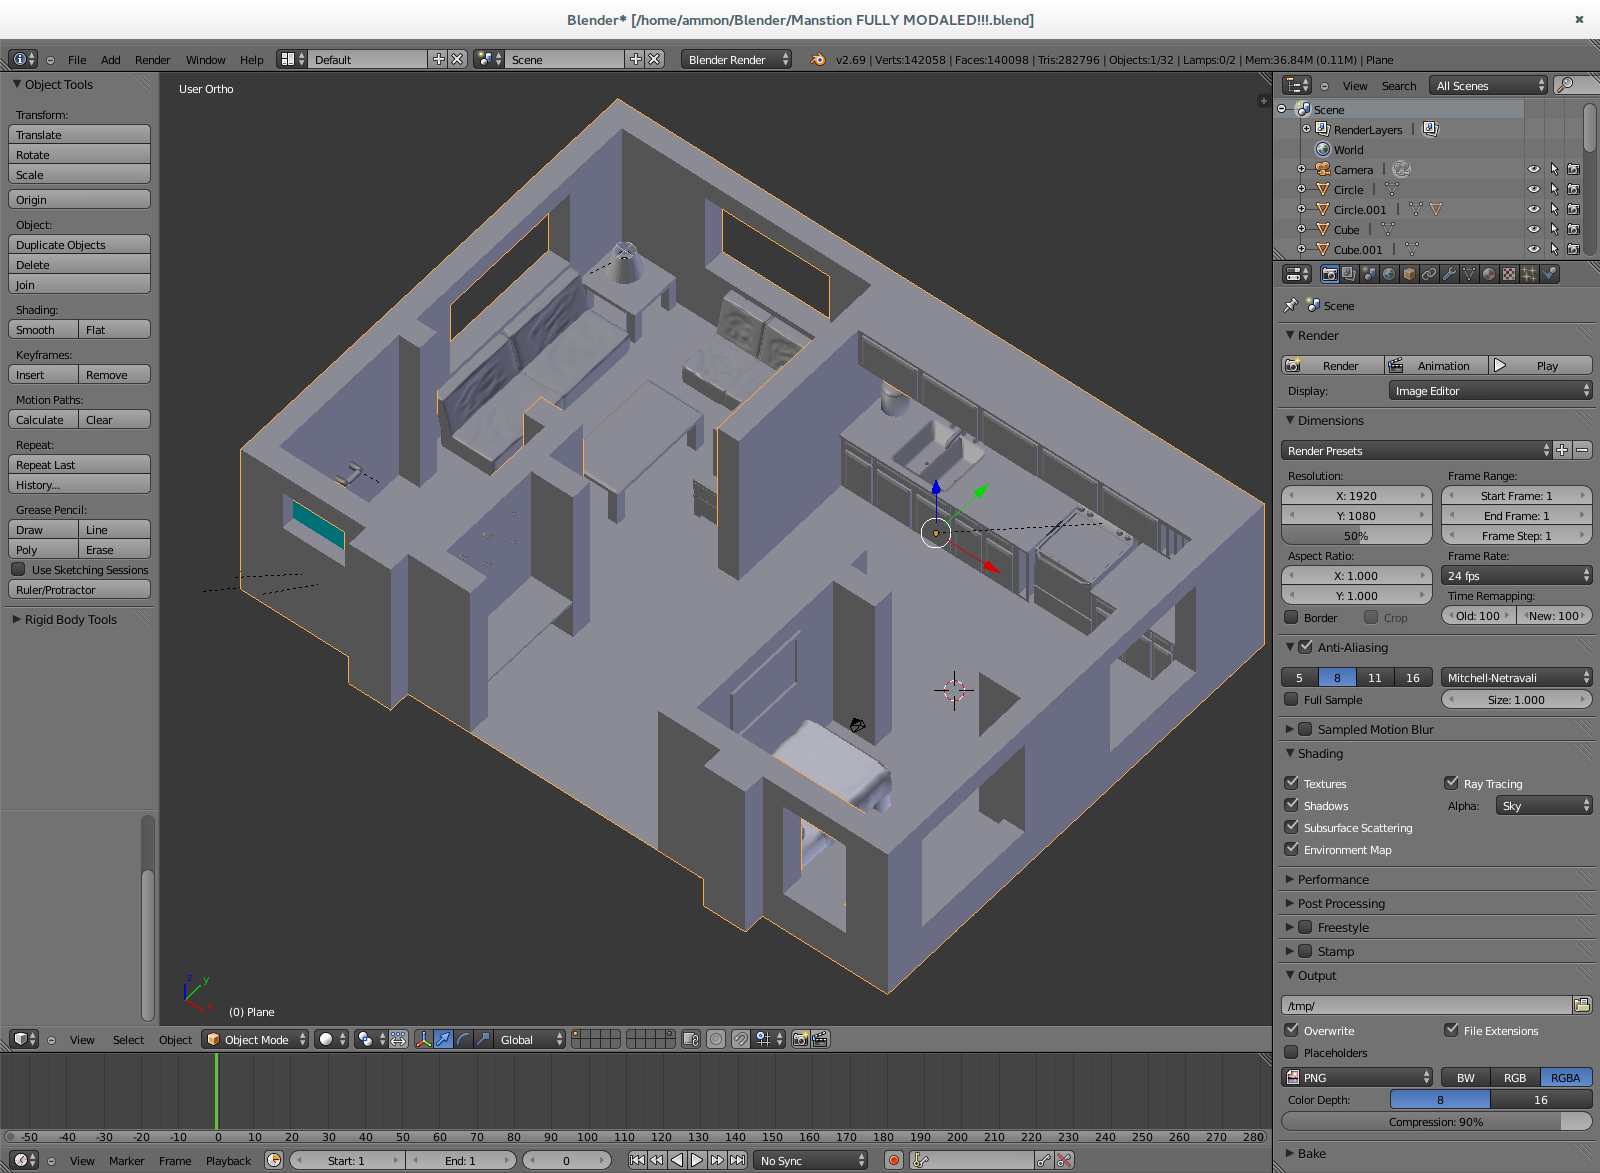
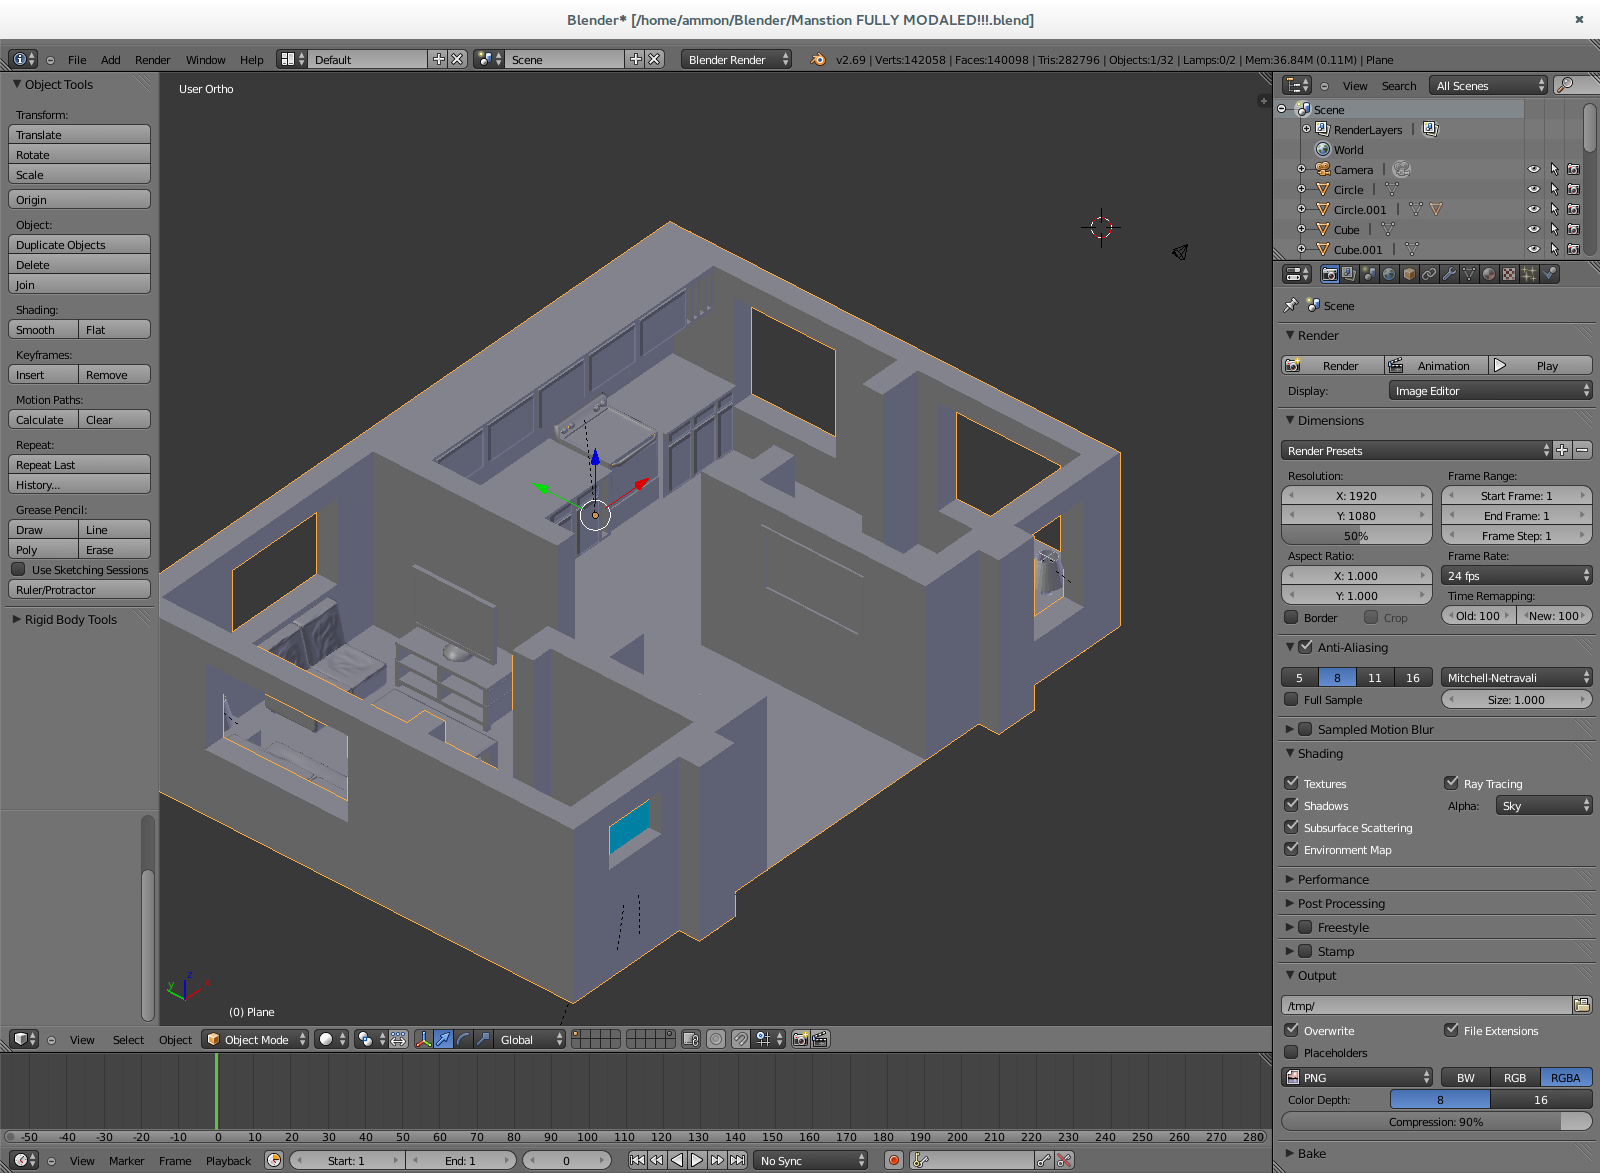
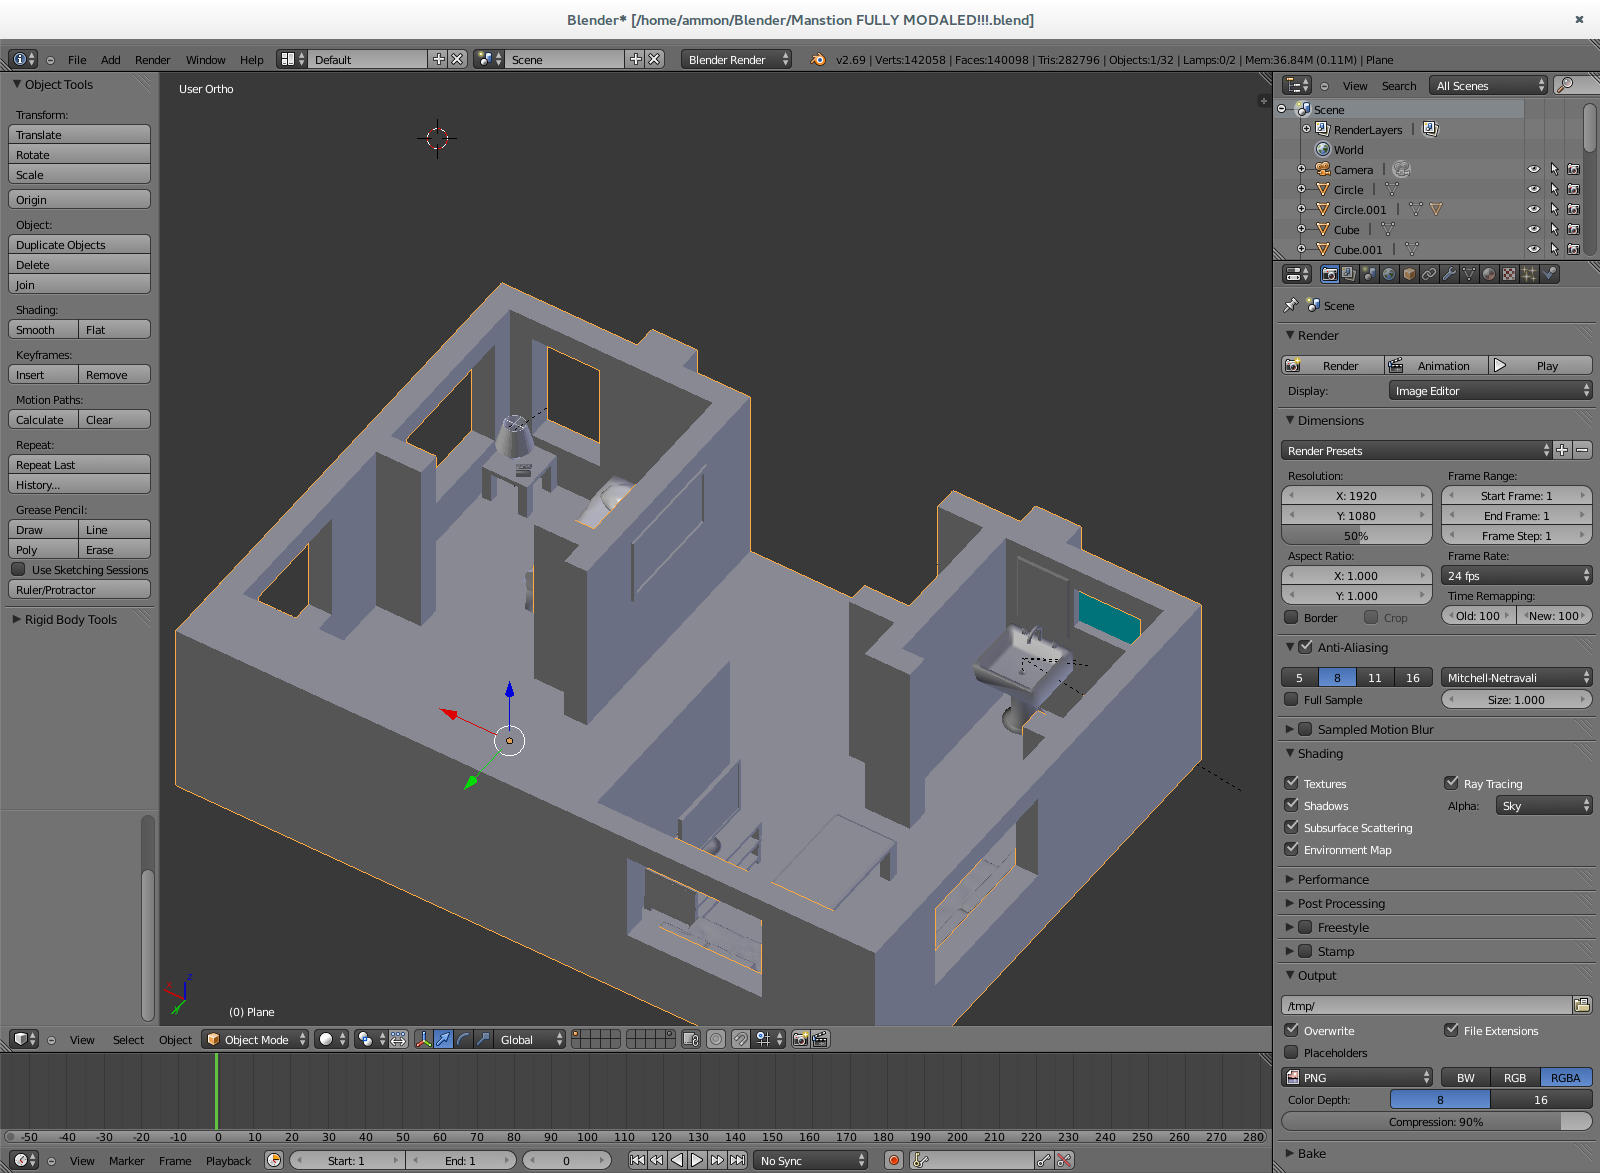
Time to add some of the comforts of home! I don't have time to tell you everything about modelling at this time (I still don't even know that much!), so I would suggest a few resources that helped me learn what I know ;)
- Free Blender Basics ebook By Bas van Dijk I think this is a great book for beginners! It will teach you VERY basic modelling and texturing.
- Youtube If you run into a problem or just want to learn more about something just search it on Youtube and you'll most likely find out what you what to know.
Texture!
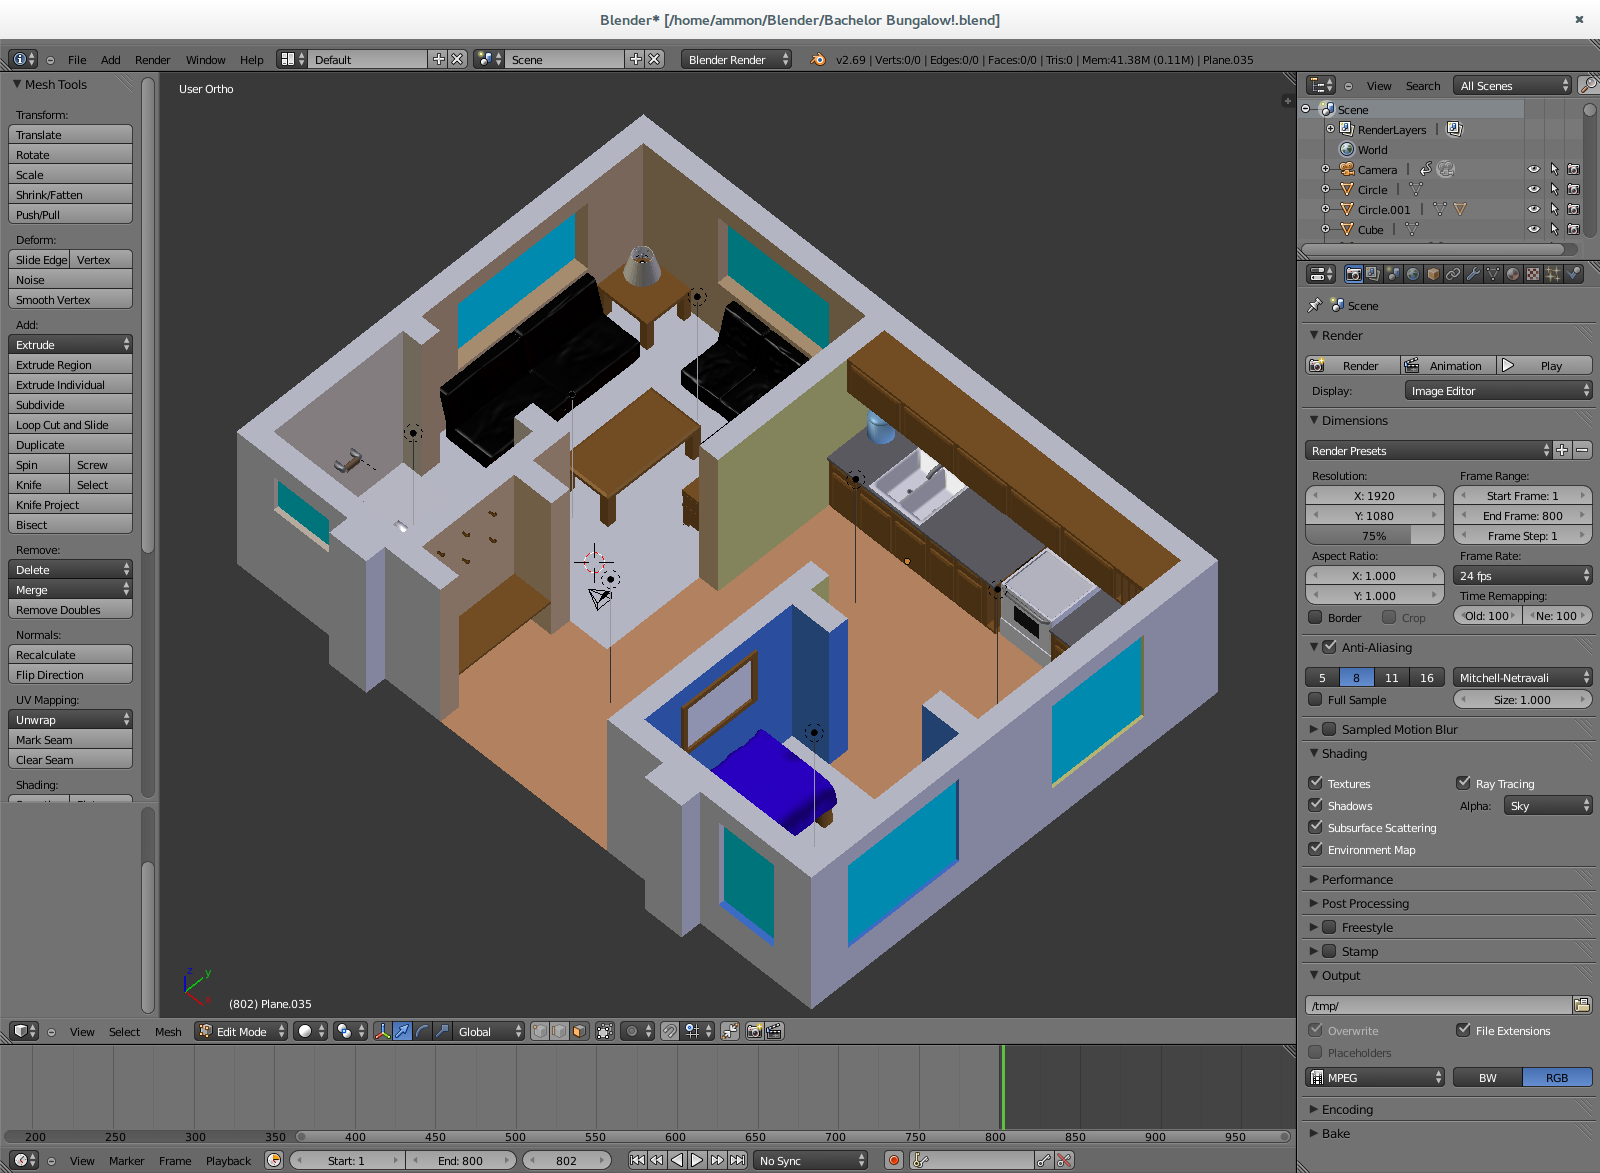
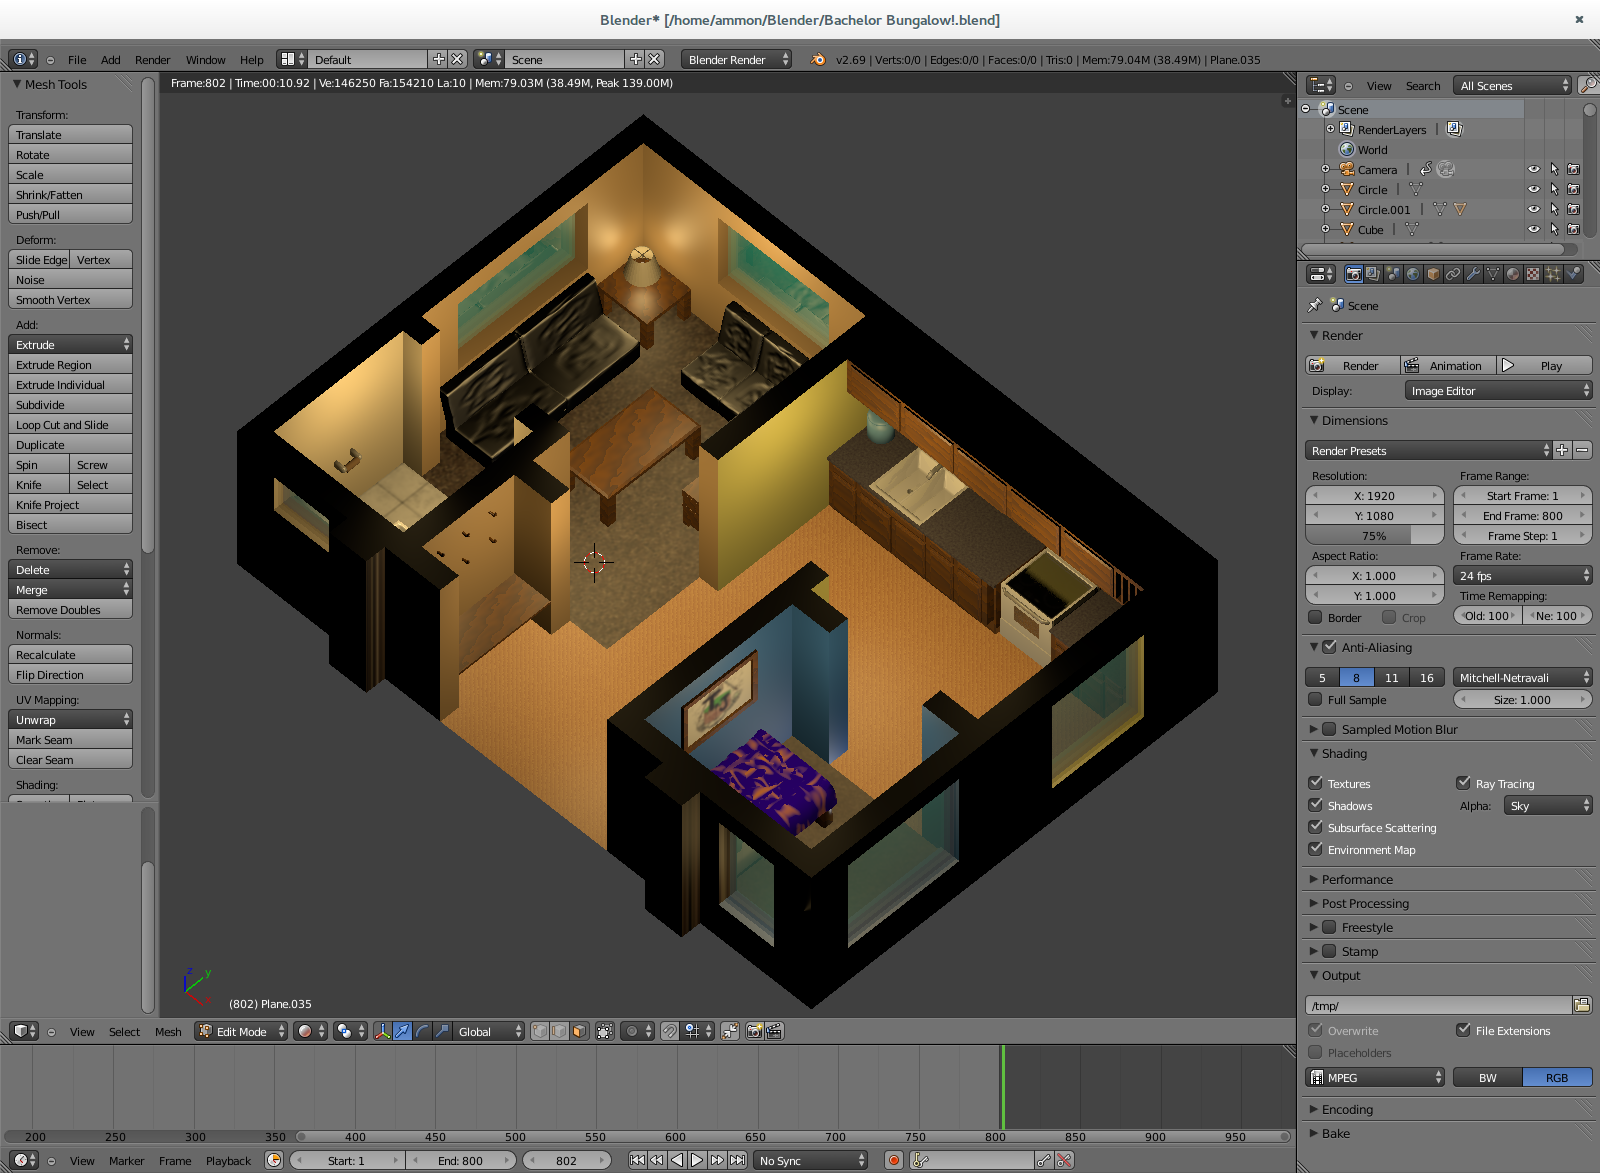
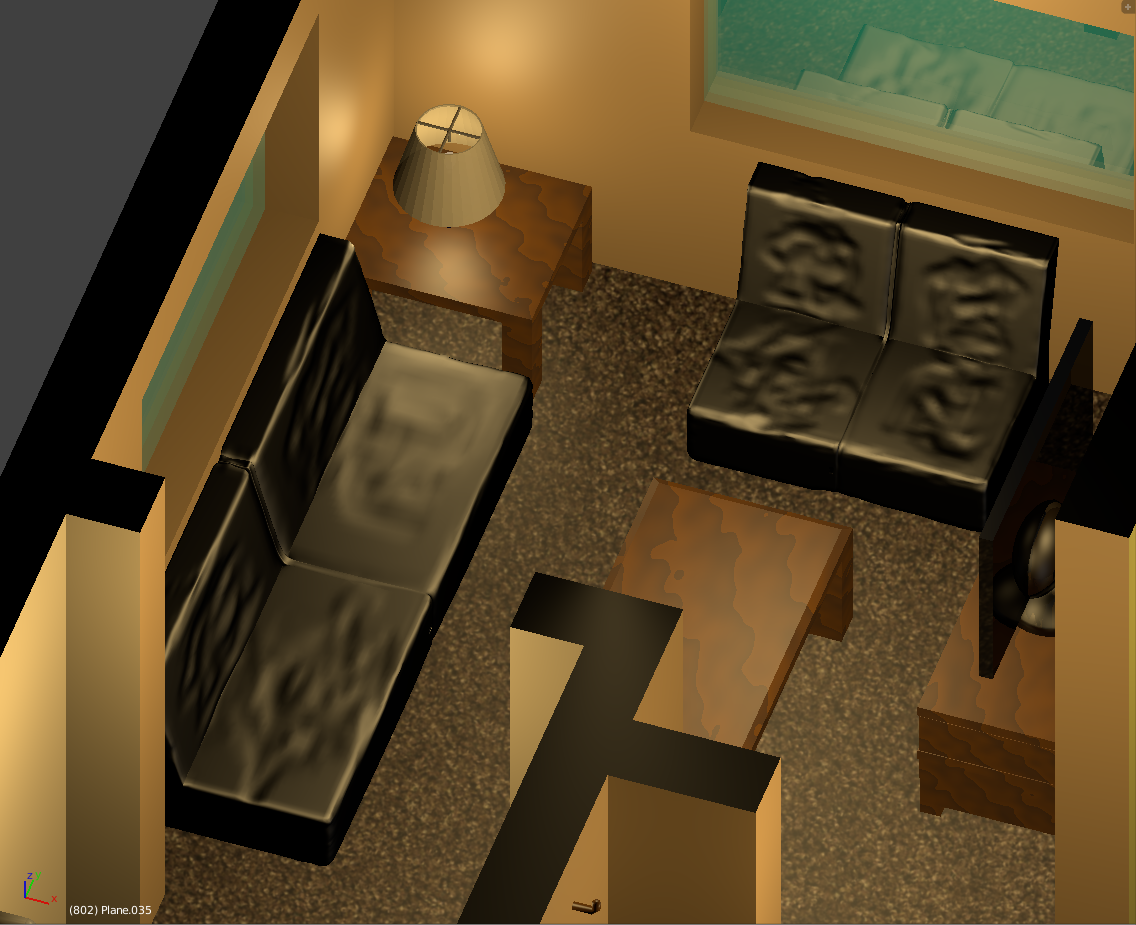
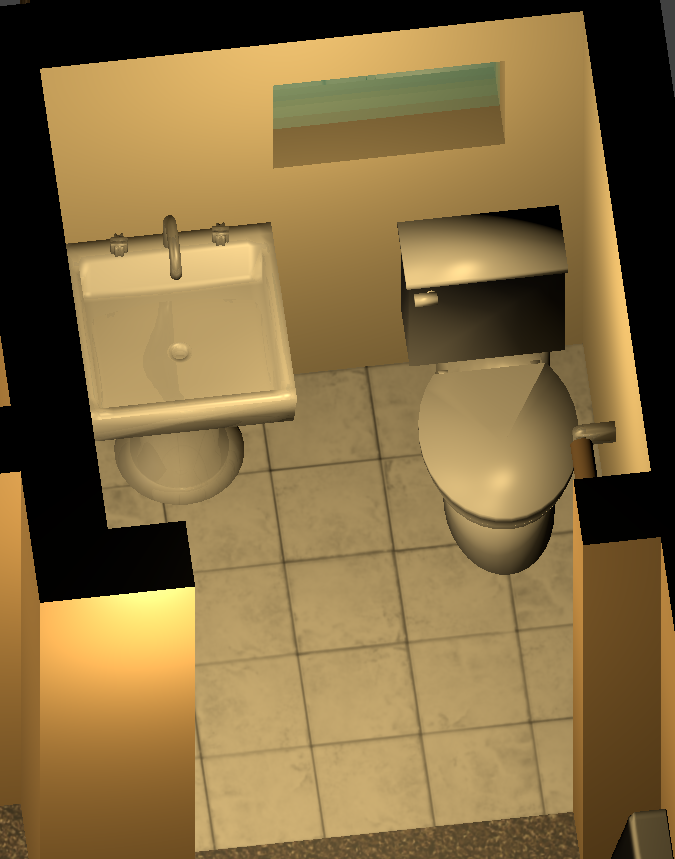
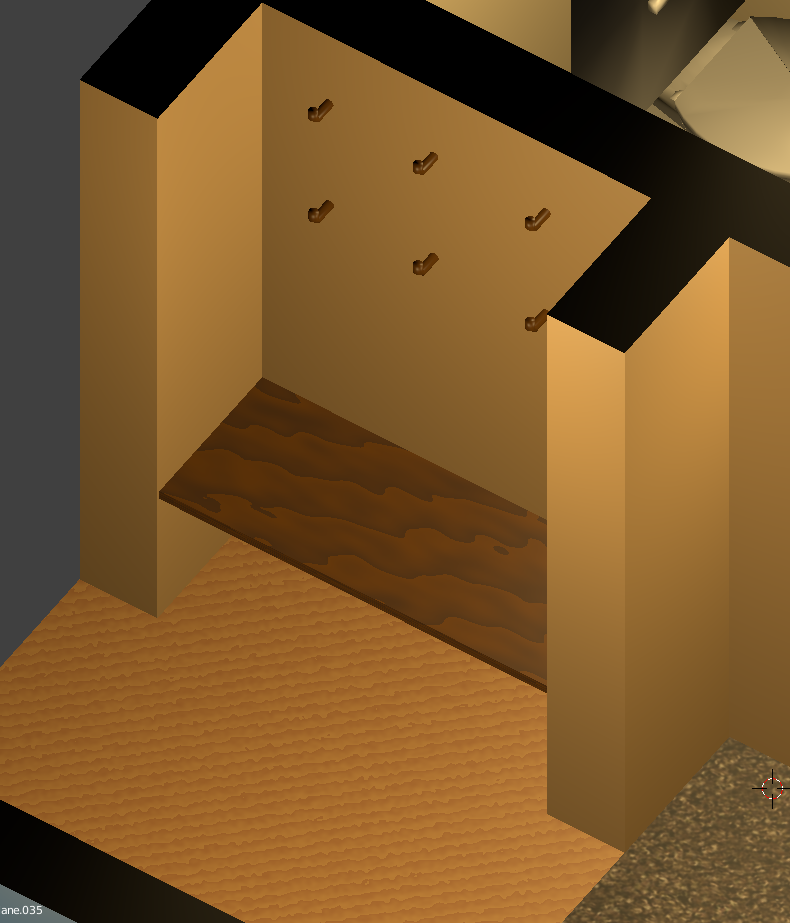
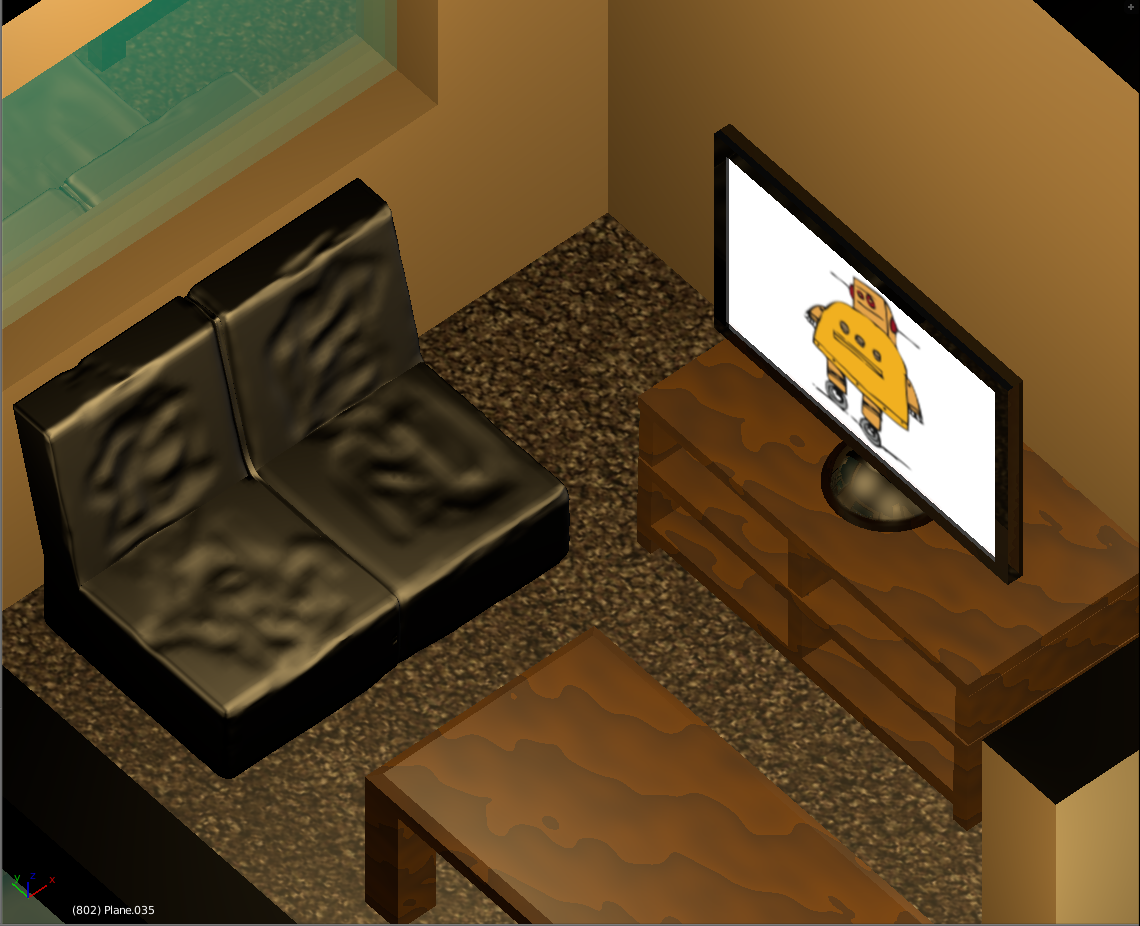
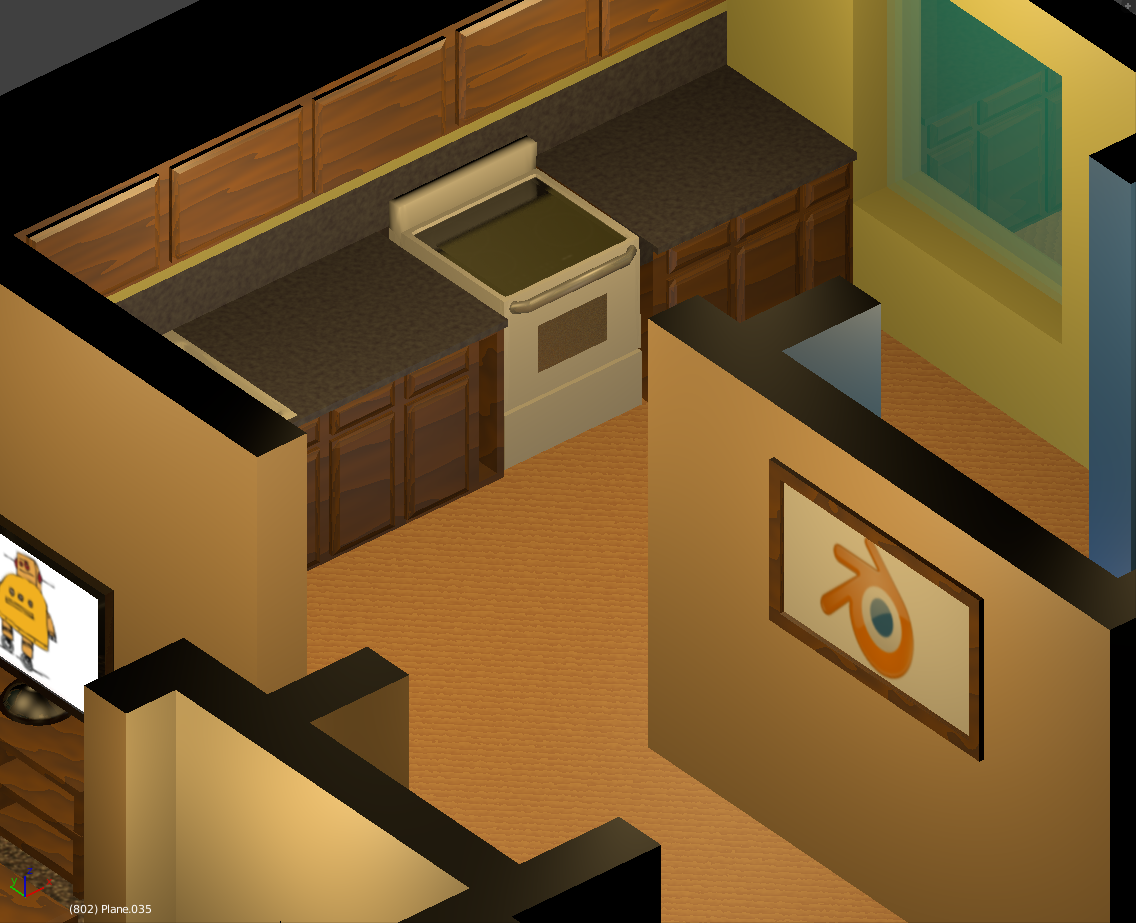
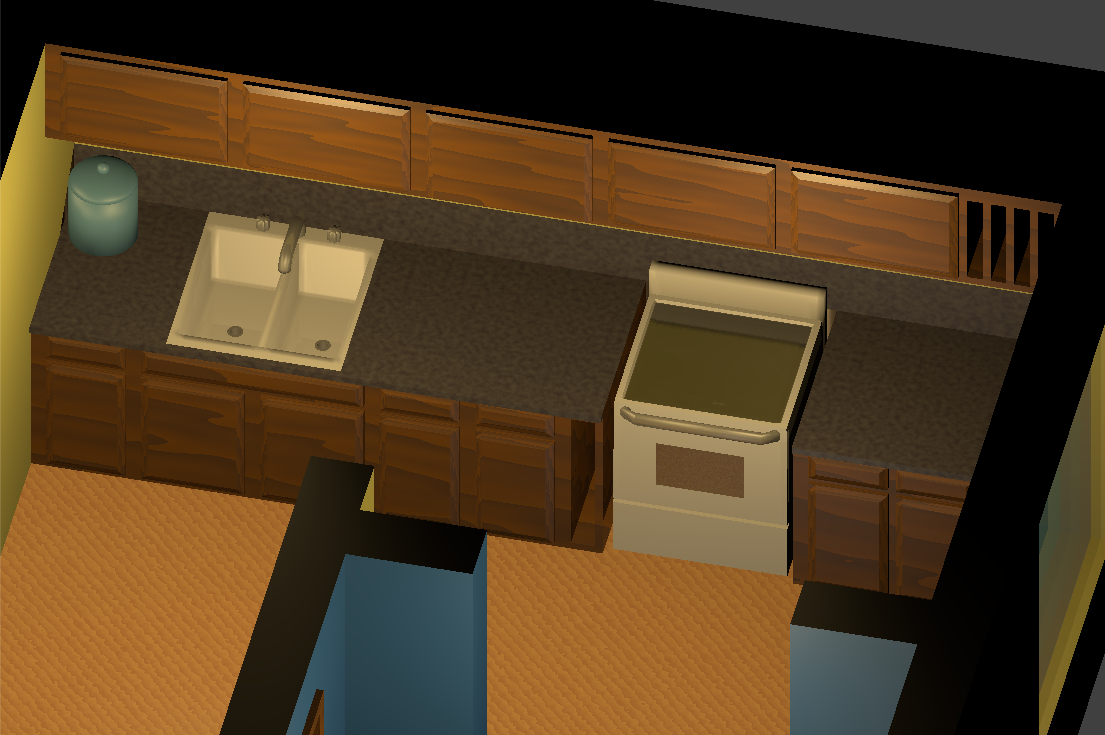
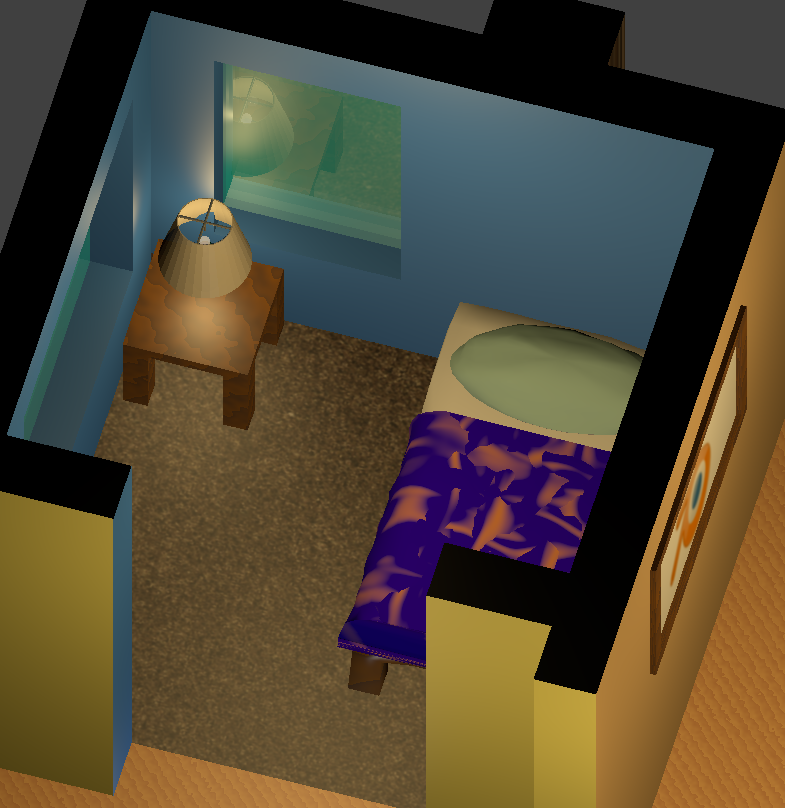
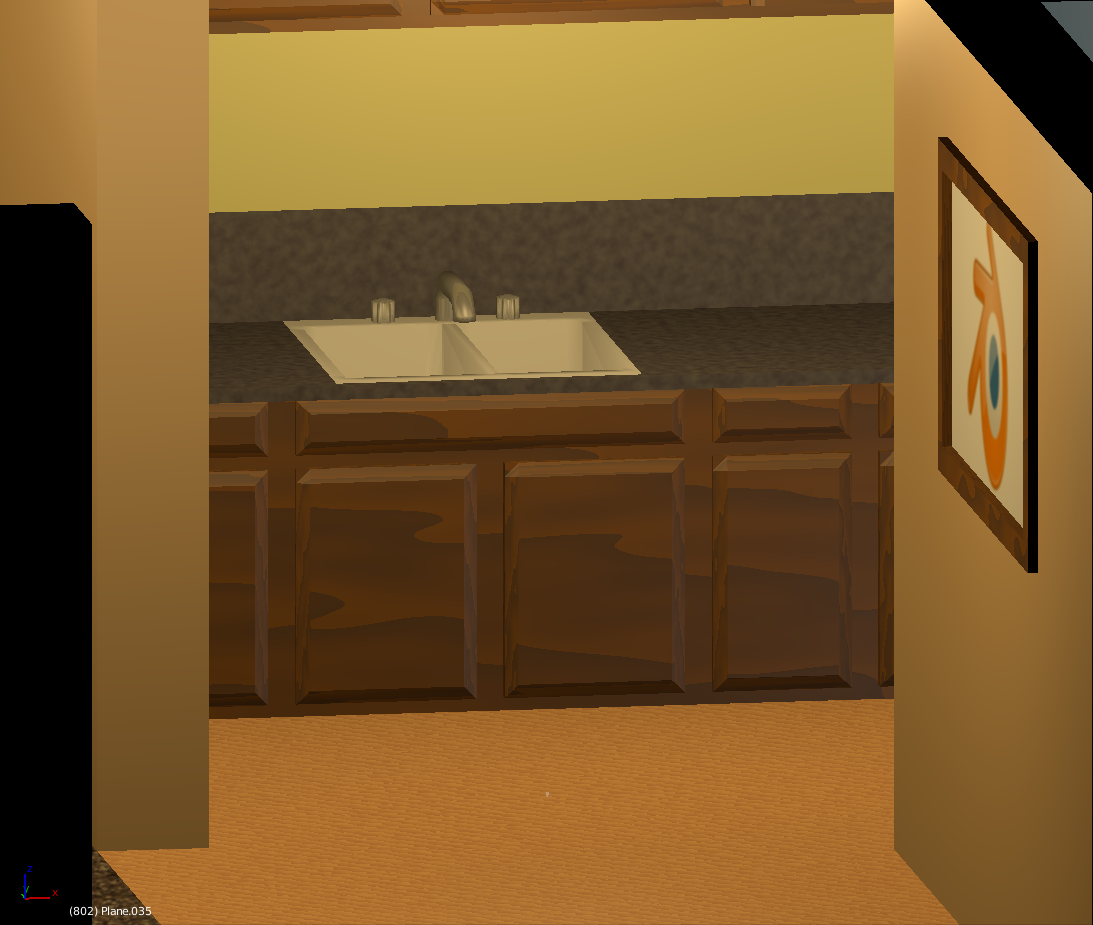
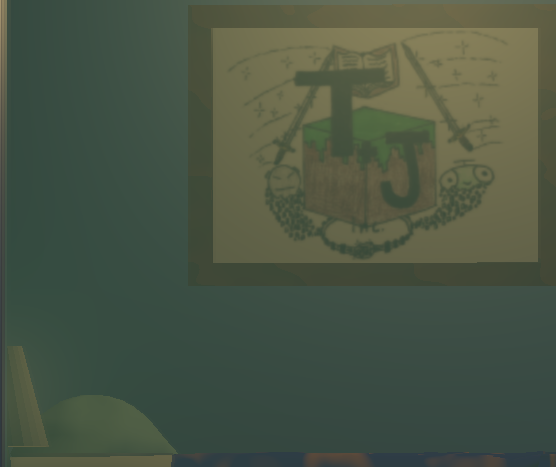

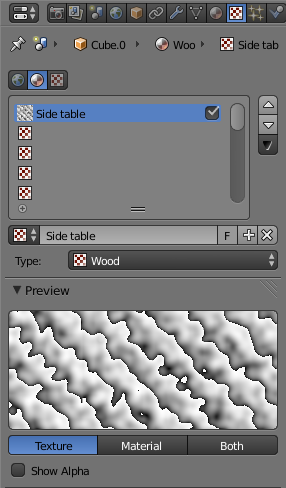
Time to texture your house! I also am not going to tell you much about texturing, mostly because I am just beginning to learn it myself. However, I will share a couple of tips with you.
- Tip #1 Rendered Viewport Shading To use this tool just move your view to where you want the finished texture rendered, click the button shown in 12th picture in this step, and then just wait a second to see what your texture looks like on the real thing.
- Tip #2 Blender Textures If you, say, wanted to put a wood texture on a table (like the one in picture 3 & 6). That texture is build into Blender! First, put on a material and color it brown, then go to the texture screen, make a texture, then using the menu just below the naming bar (as shown it picture 13) select wood. Next scroll down to the bottom of the texturing menu and change the color on the color wheel down there to a lighter brown by clicking on the the button shown in picture 14. Finally render your table and enjoy!
Move Your Camera and Render
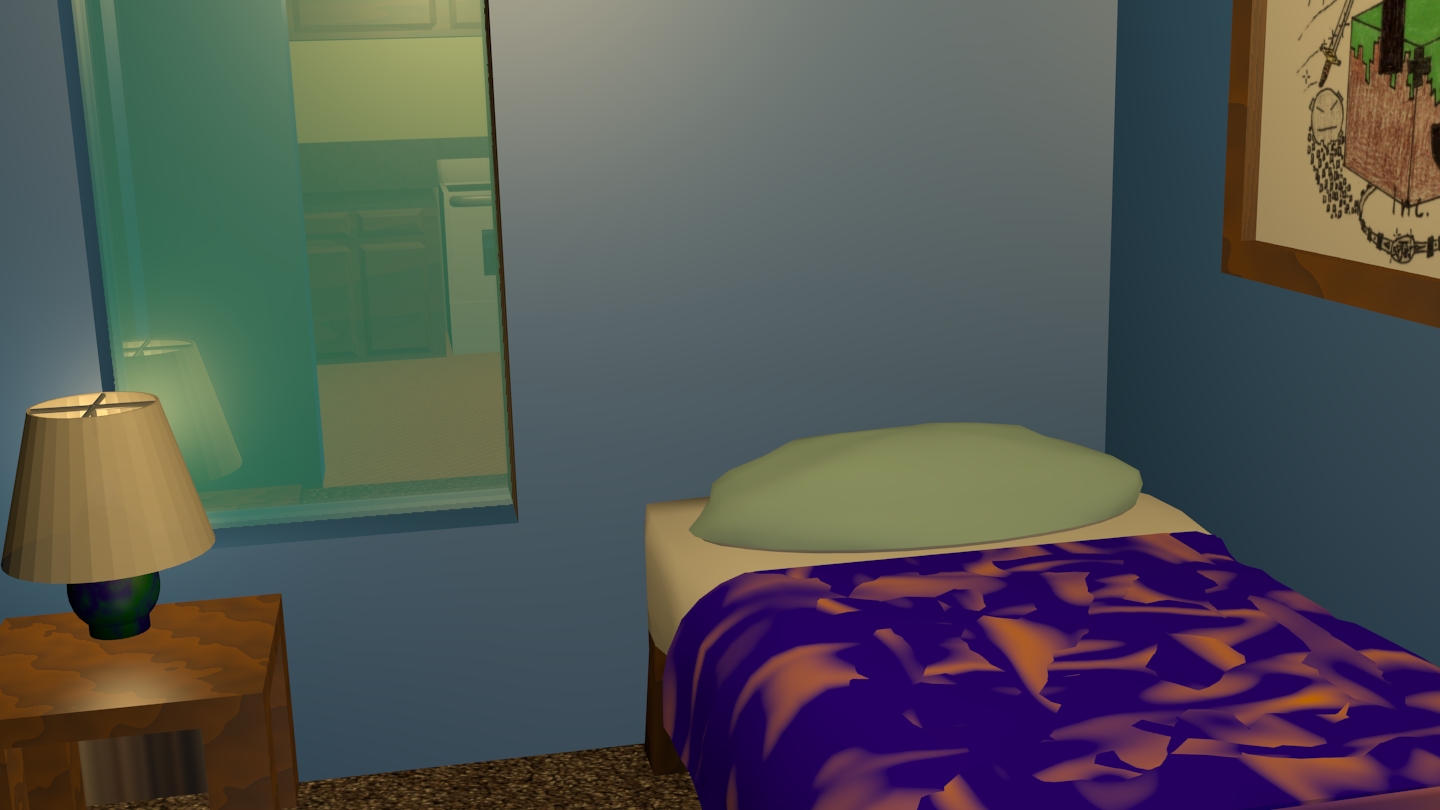
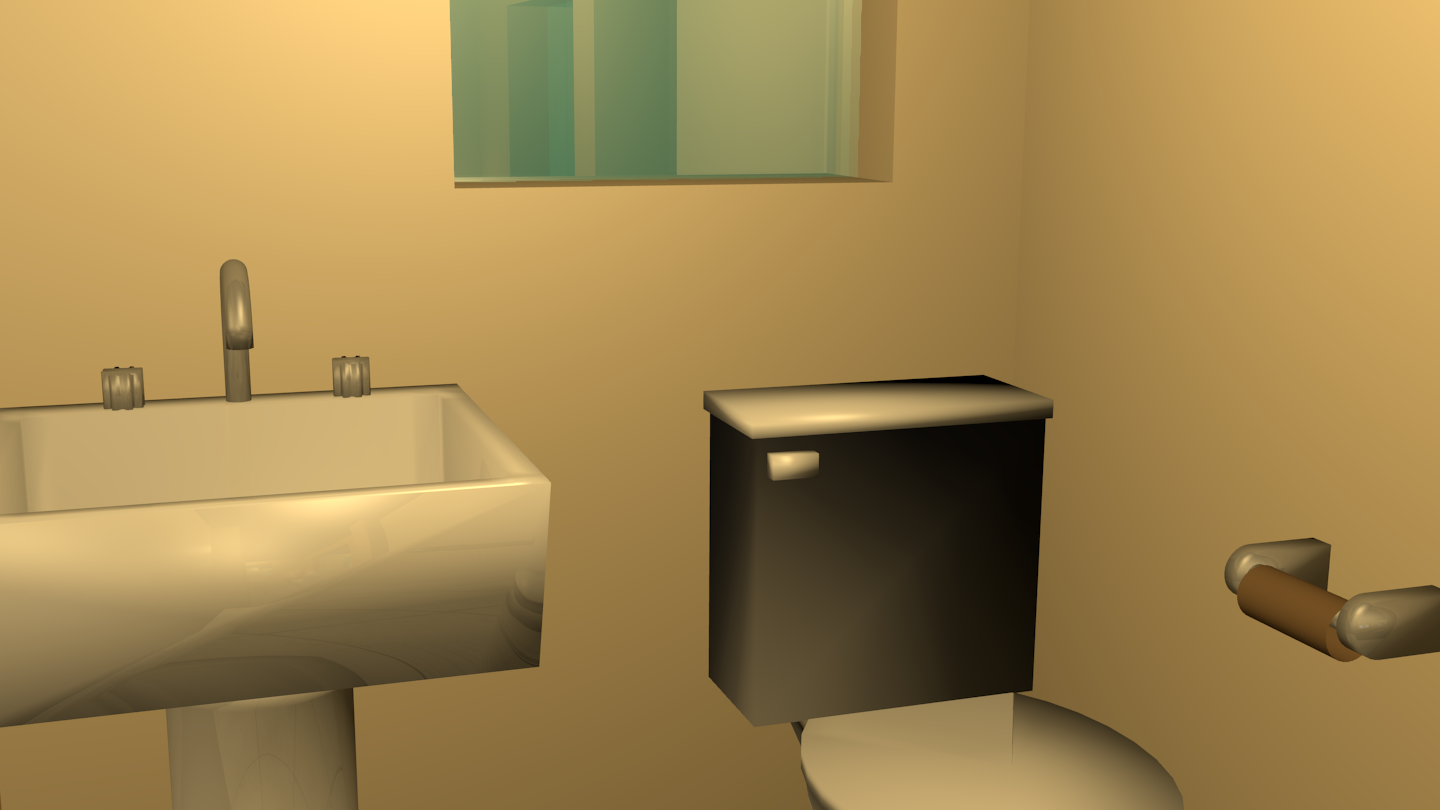
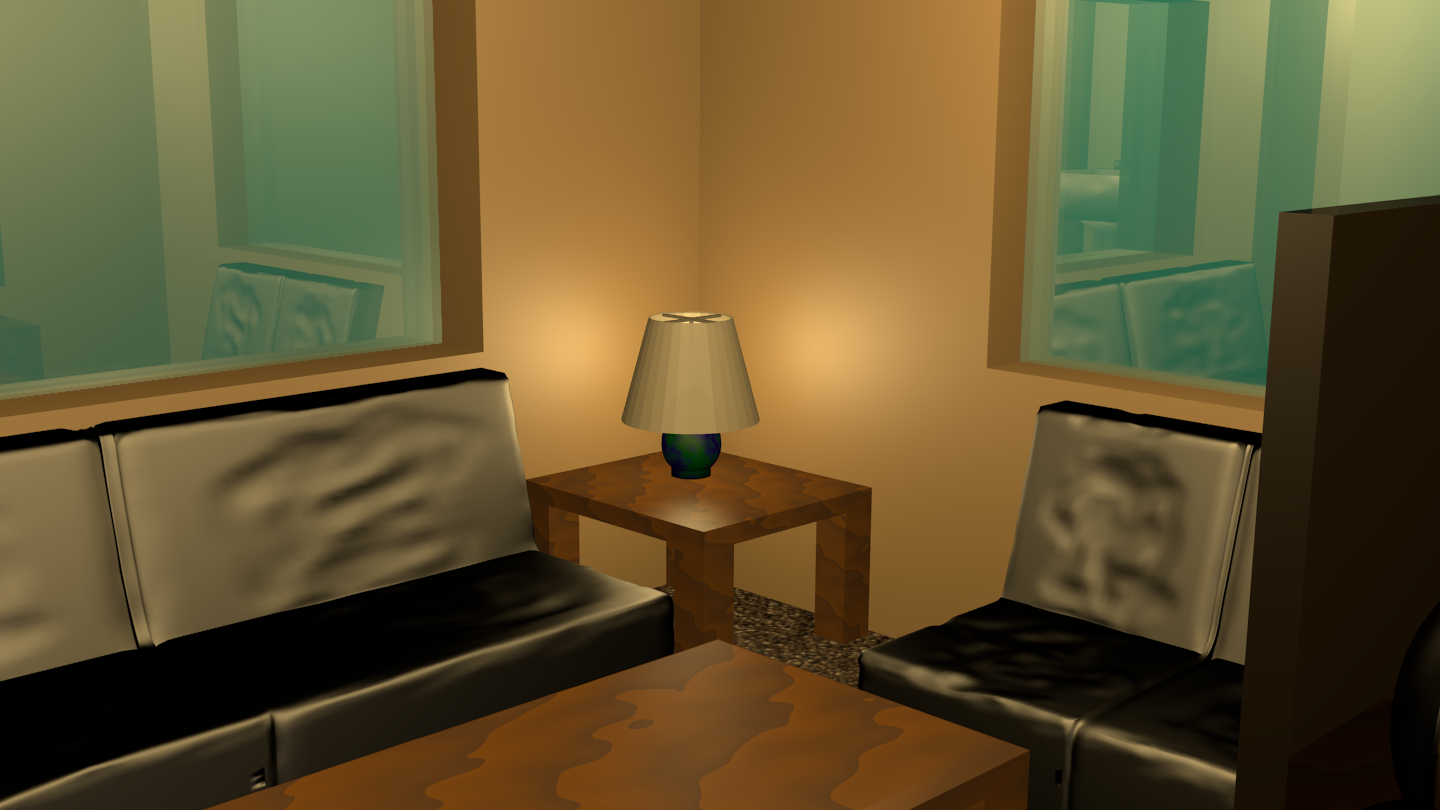
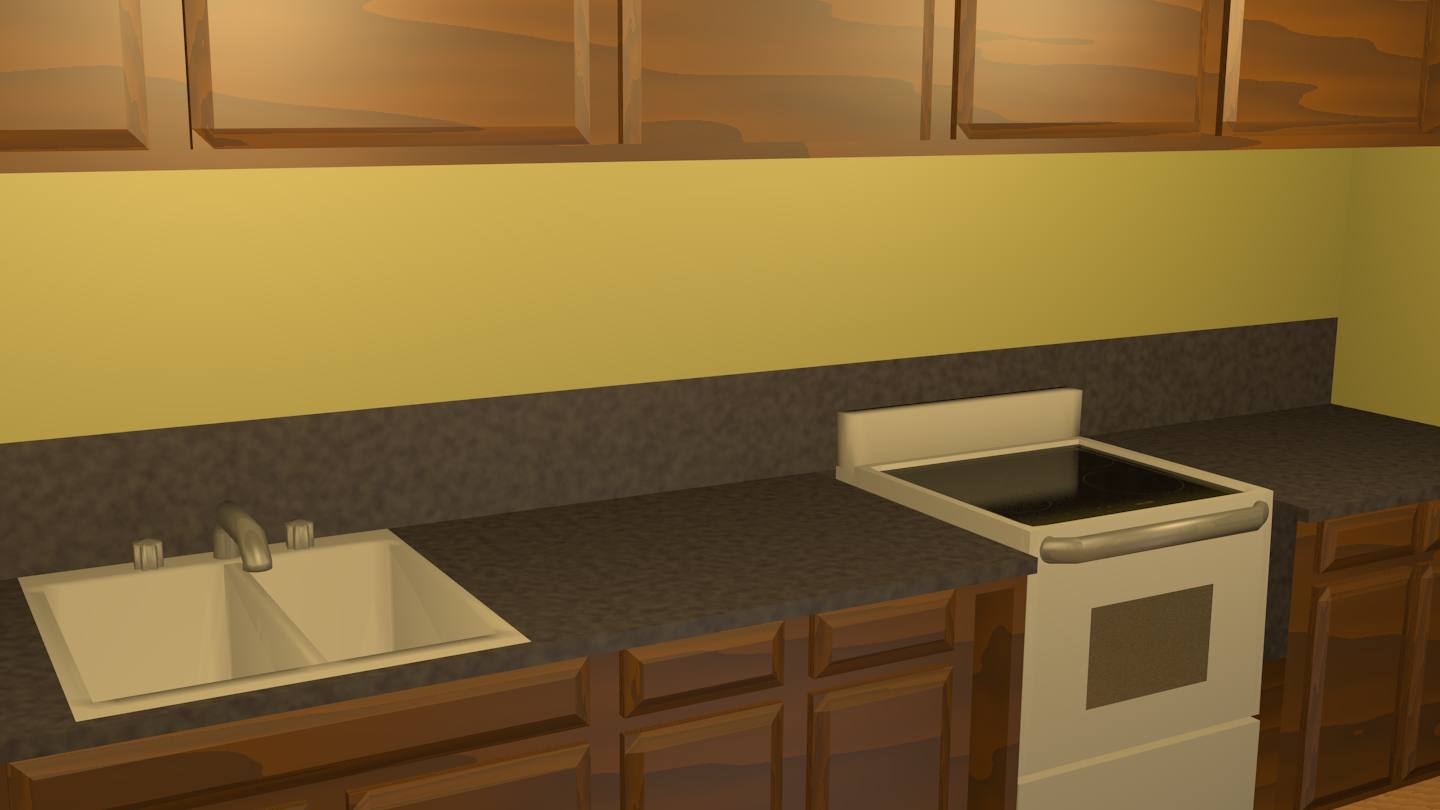
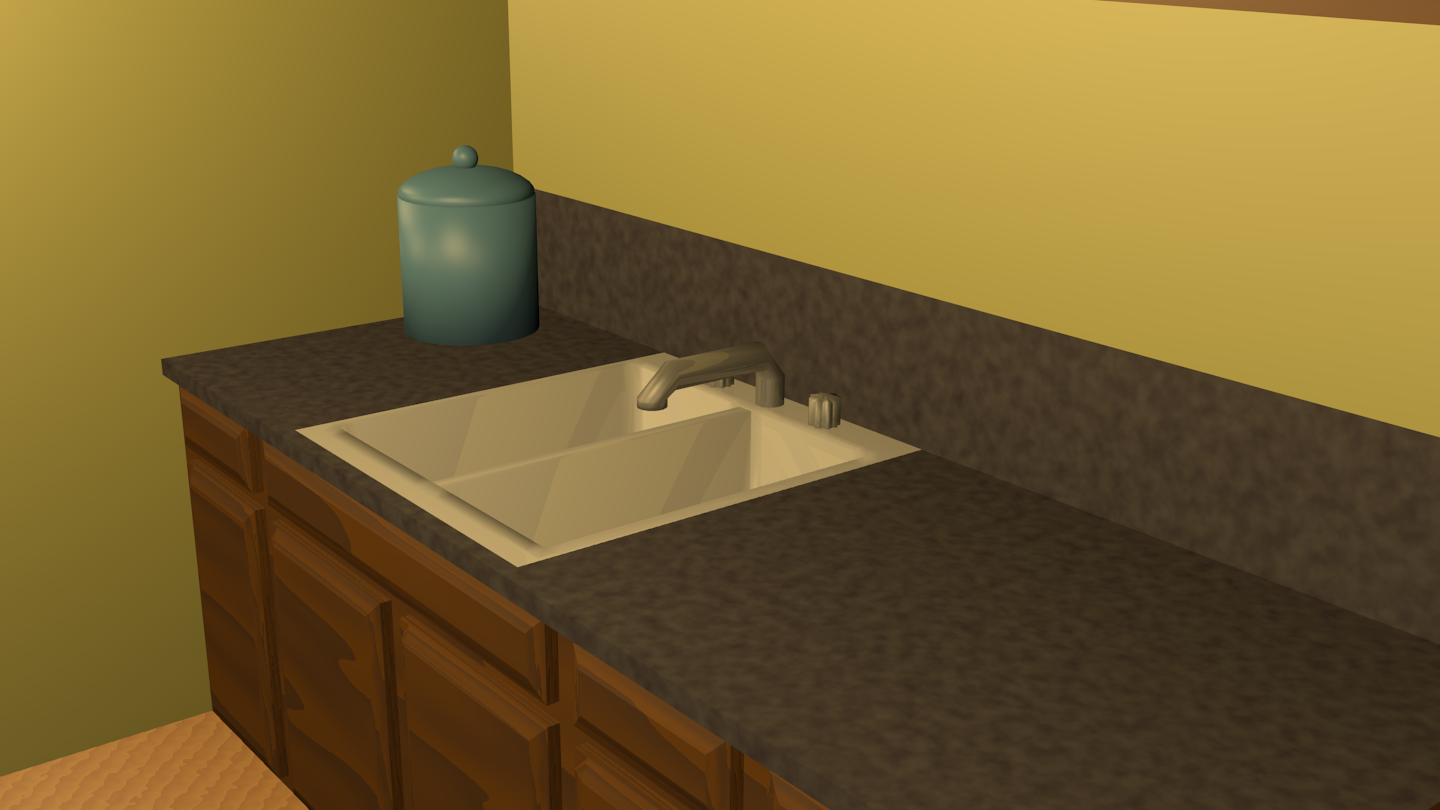
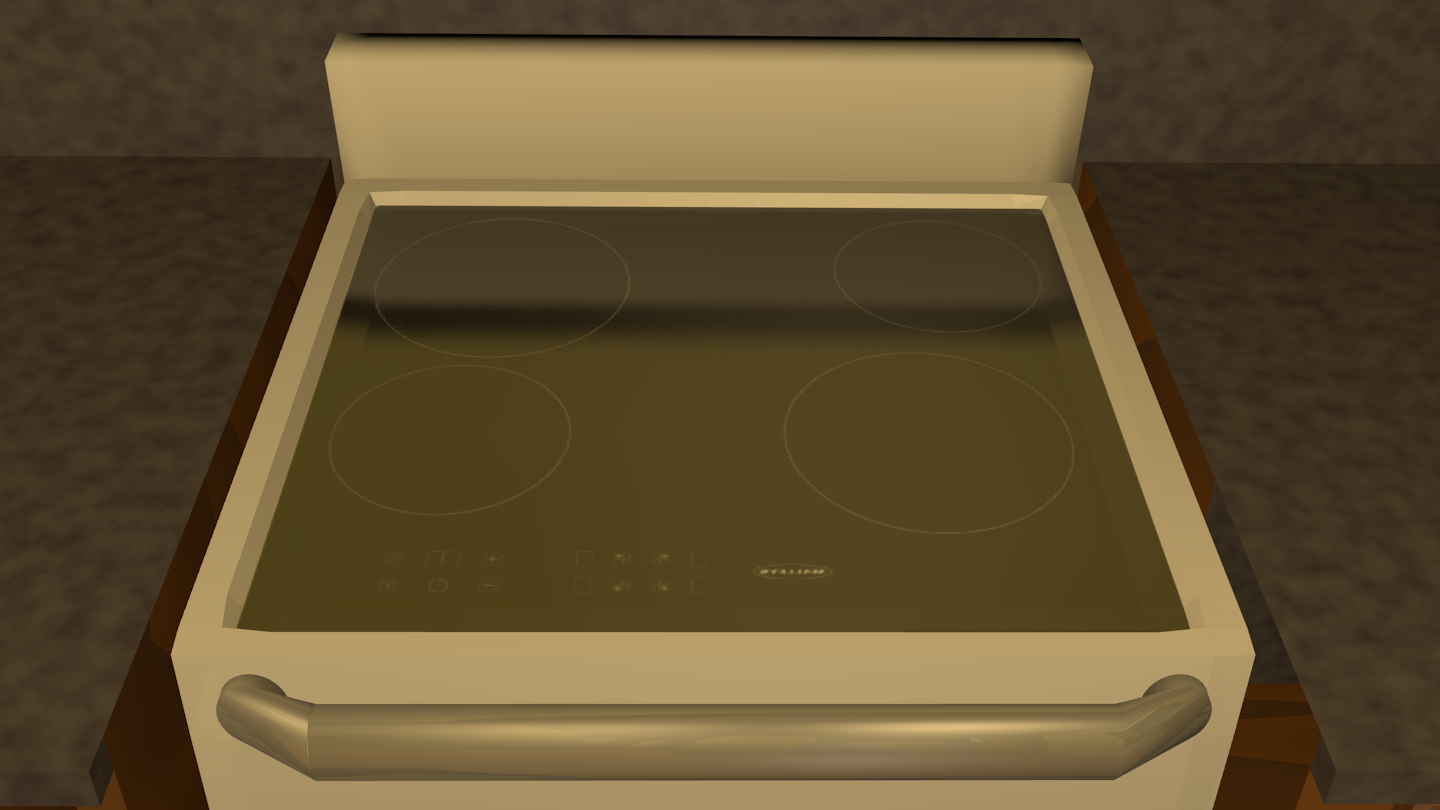
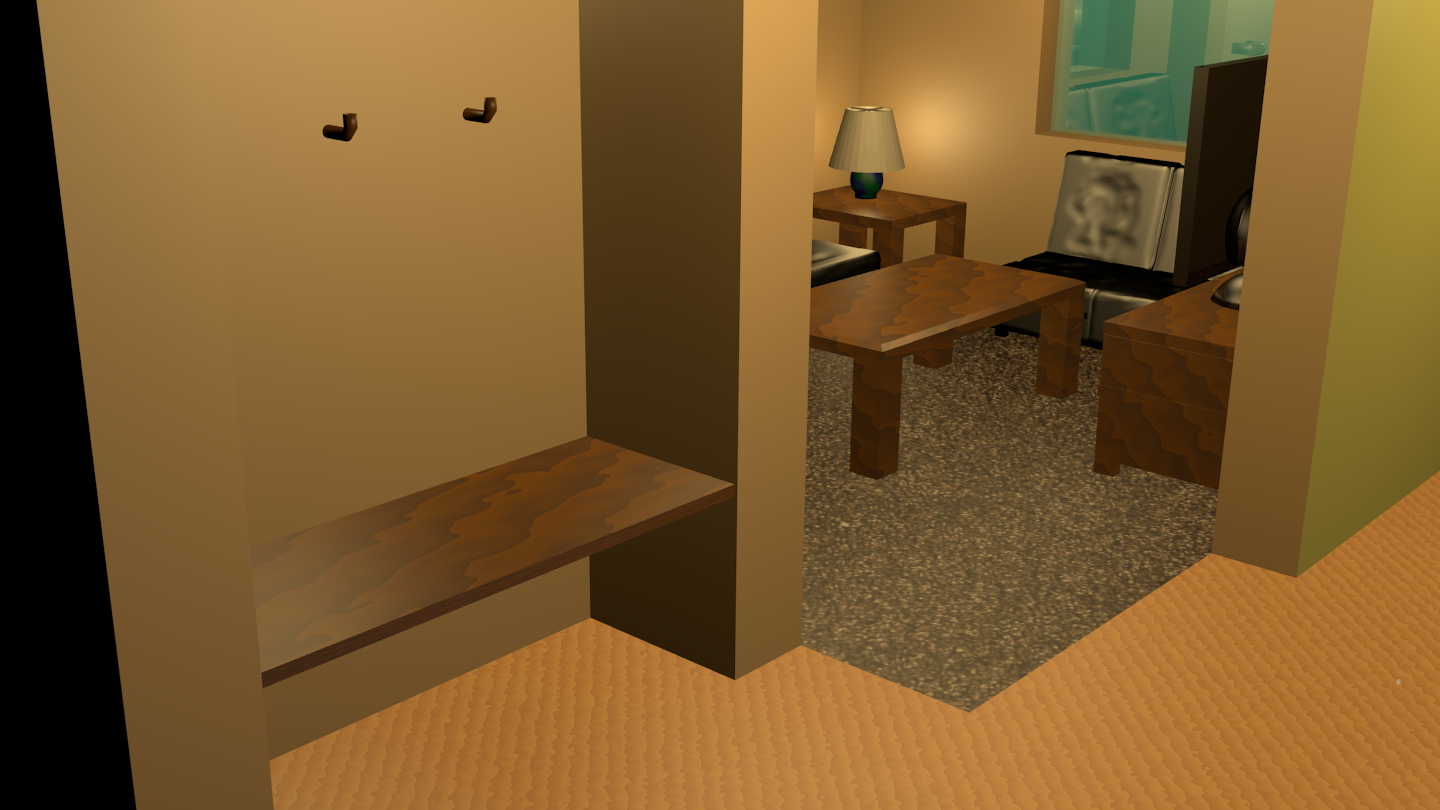
Here are some renders I've made of my Blender Bachelor Bungalow! Hope you like them!
Download My .blend (If You Like!)
Here the .blend file of my Blender Bachelor Bungalow! Please feel free to download it and look around inside!
Thank you, guys!