Bird's Nest Ornament
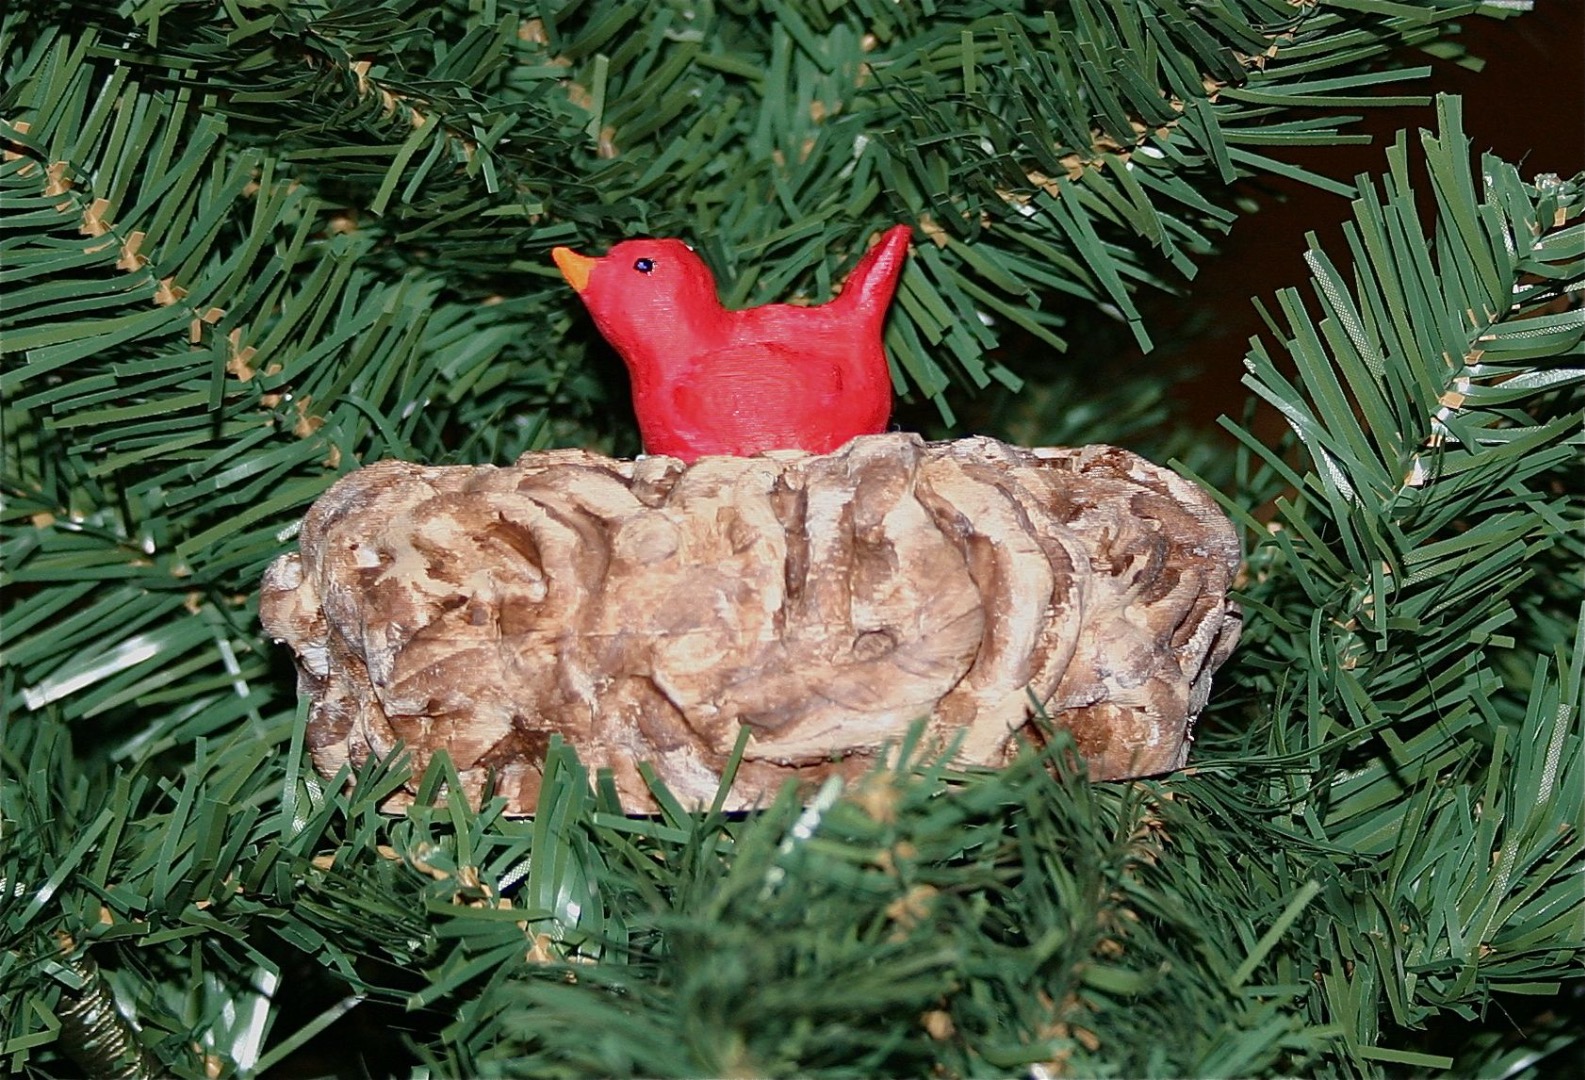
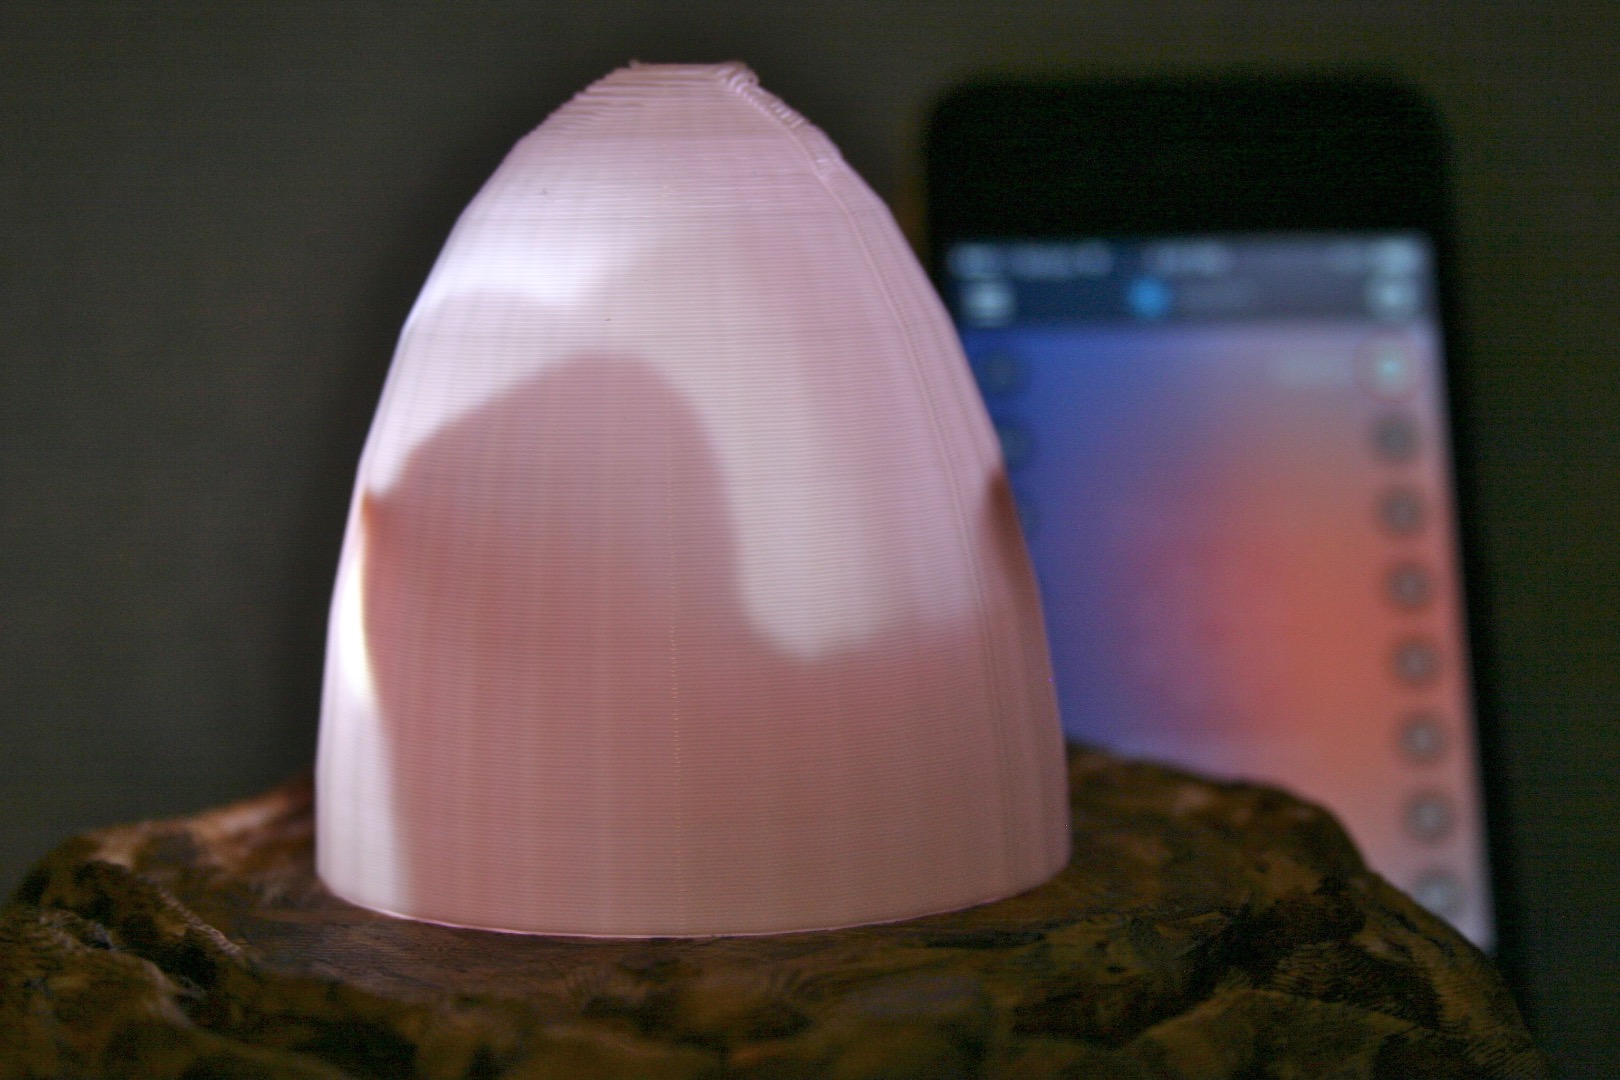
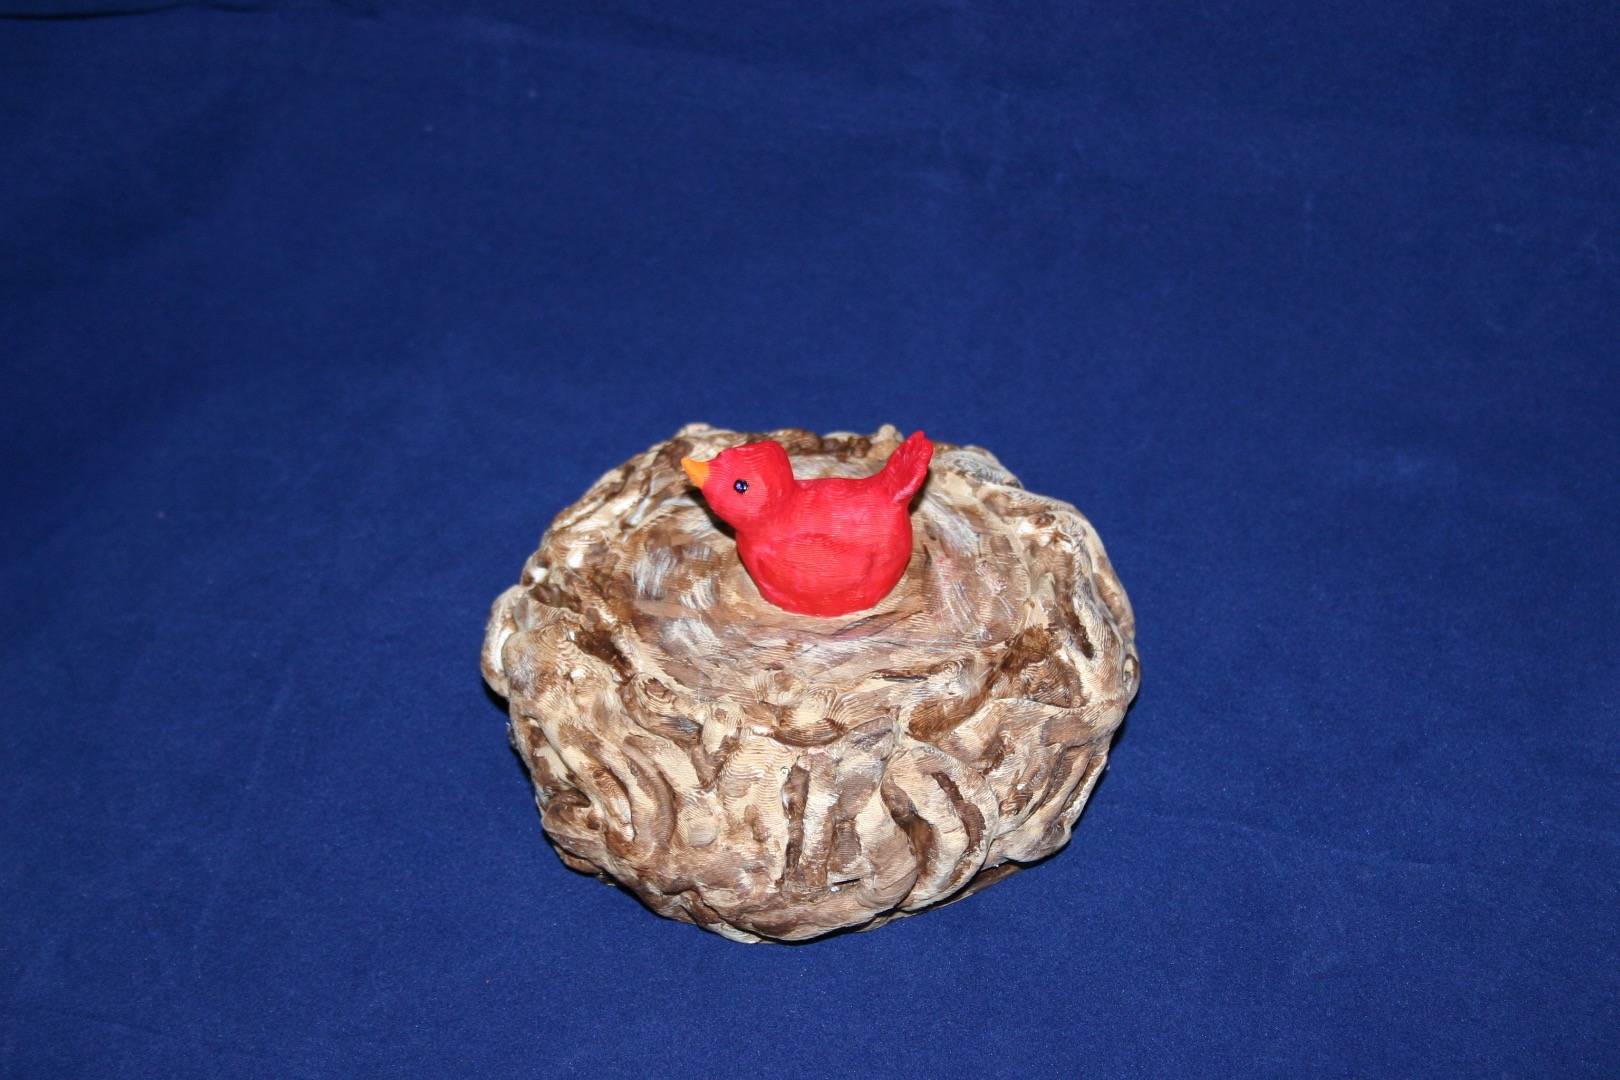
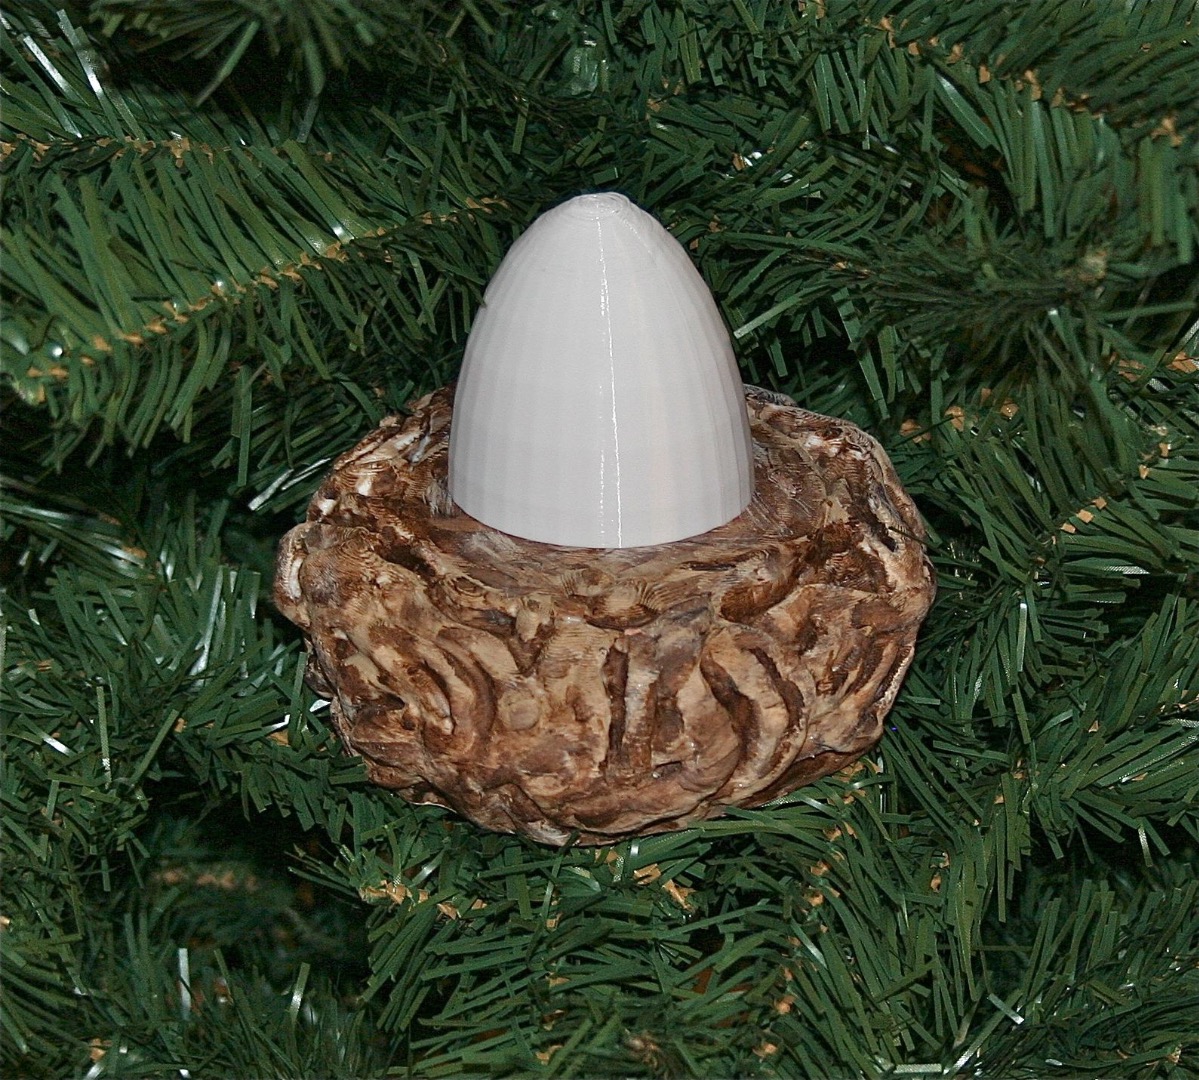
A bird's nest should bring luck and fortune to your holiday tree. With this smart phone controlled ornament, you can "candle" the egg and see the bird inside or you can lift the shell and see the bird.
Bill of materials
3d printed parts
Spark Photon
White LED
(3) NiMh batteries
Paint
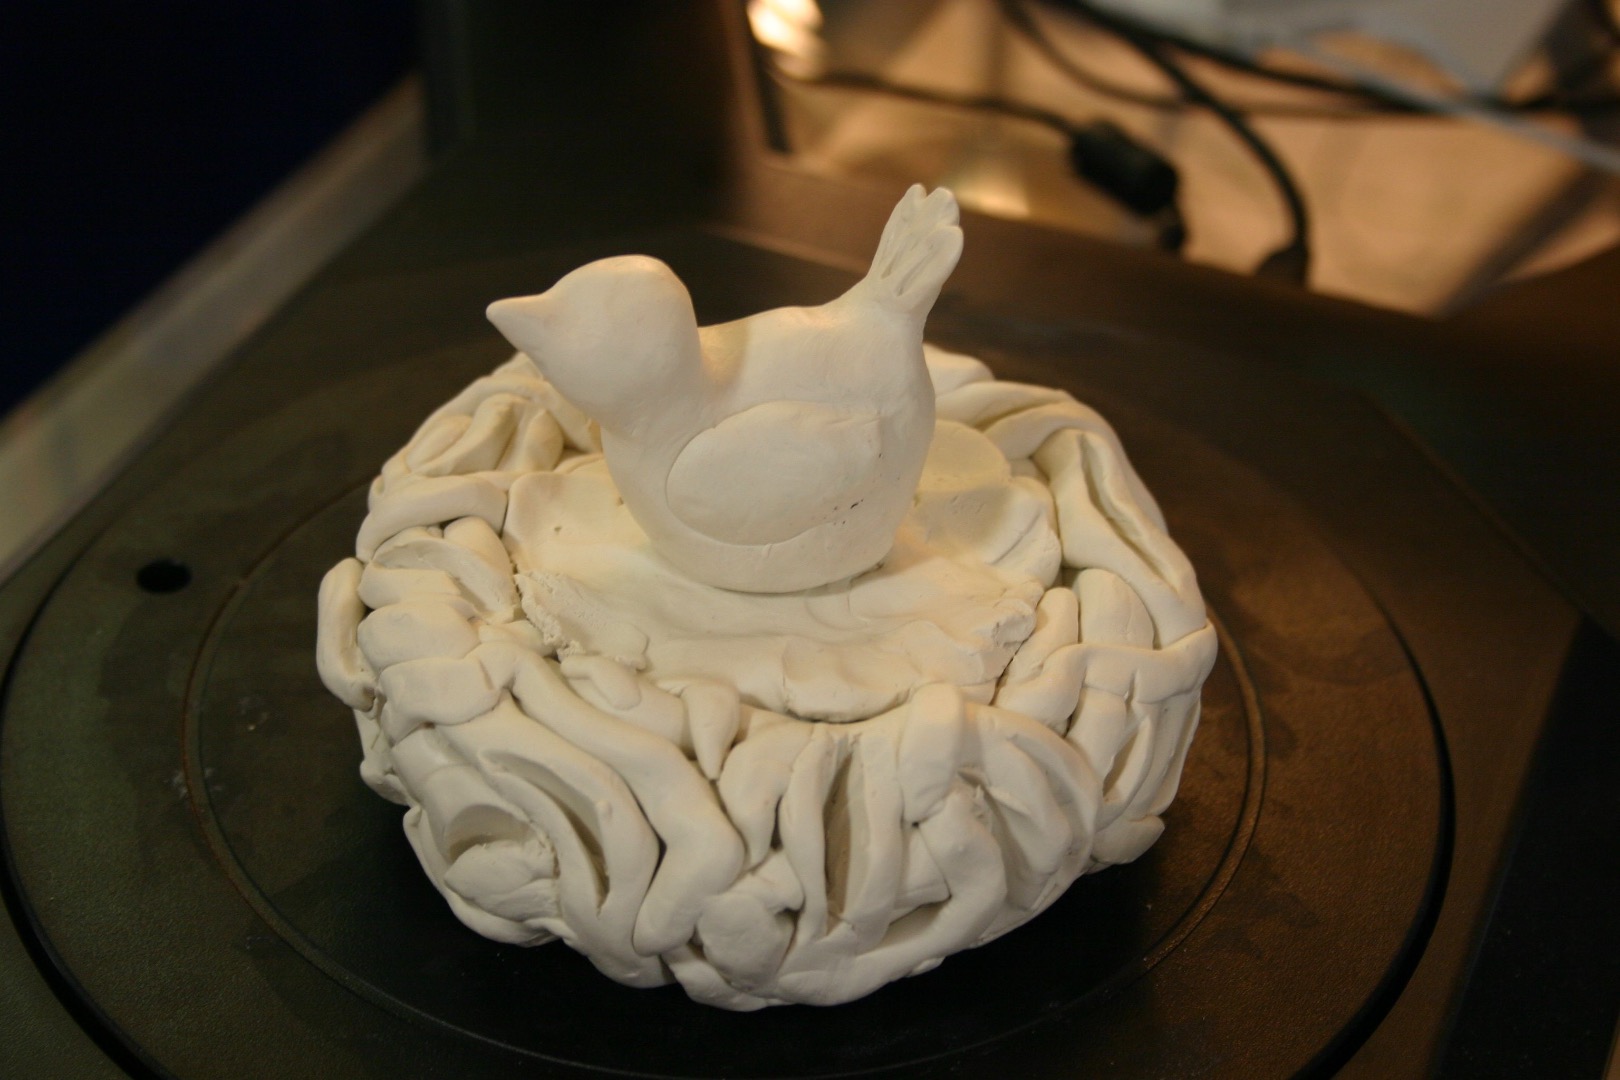
Annelle, my wife, designed the bird and nest using polymer clay. I scanned the clay figure using a MakerBot digitizer.
Print "ornament bird" at 30% fill with supports--this takes over 8 hours.
Print "electronics" with no supports.
Print "led support b" with no supports.
Print "egg top tall" with a raft and 0% fill. When the egg is 80% complete, pause the print and remove the egg (so that the printer will not close the egg).
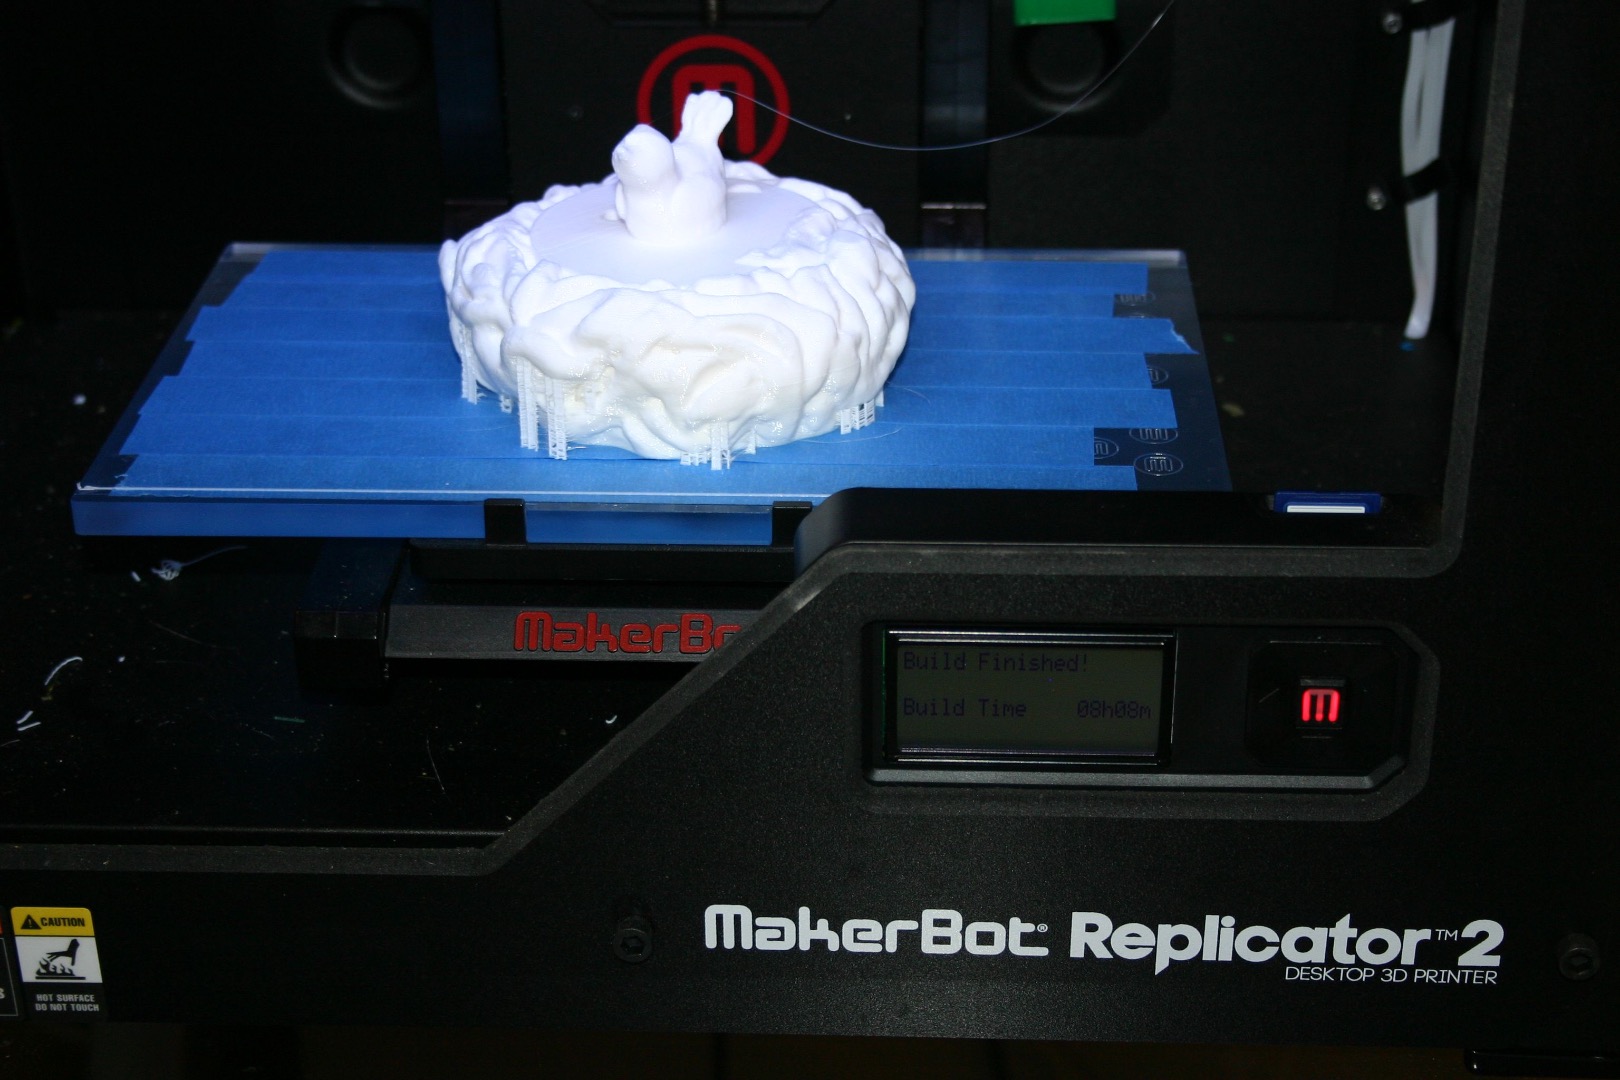
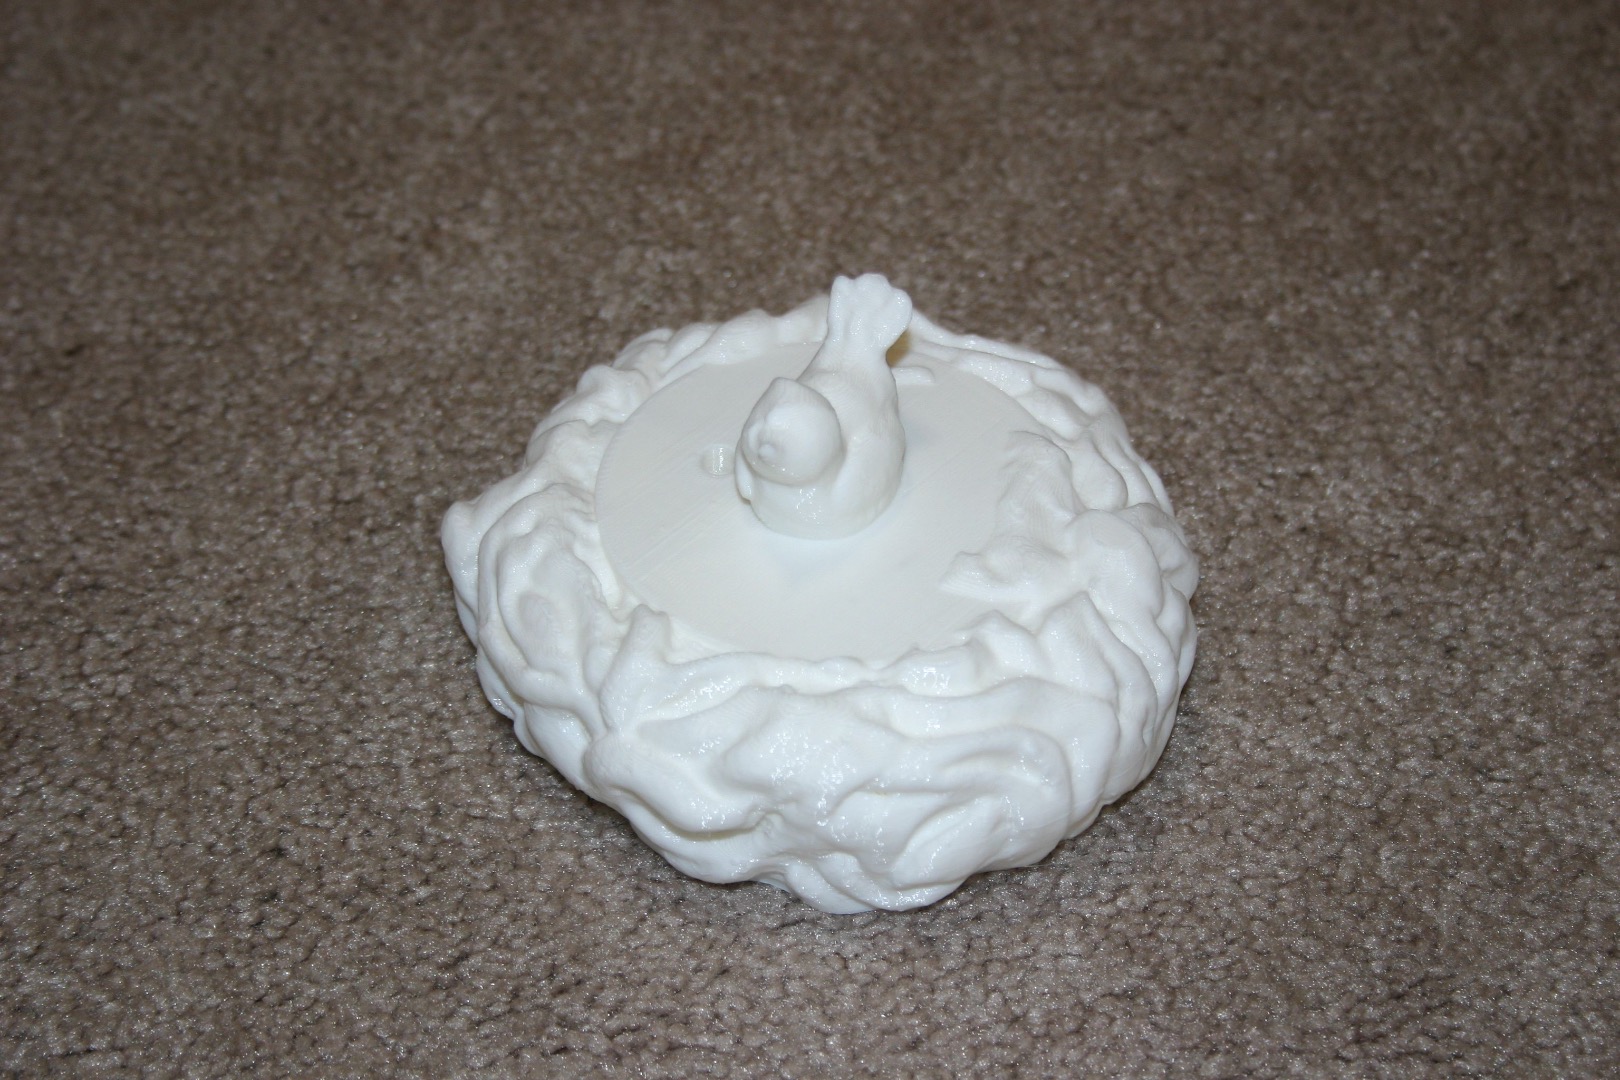
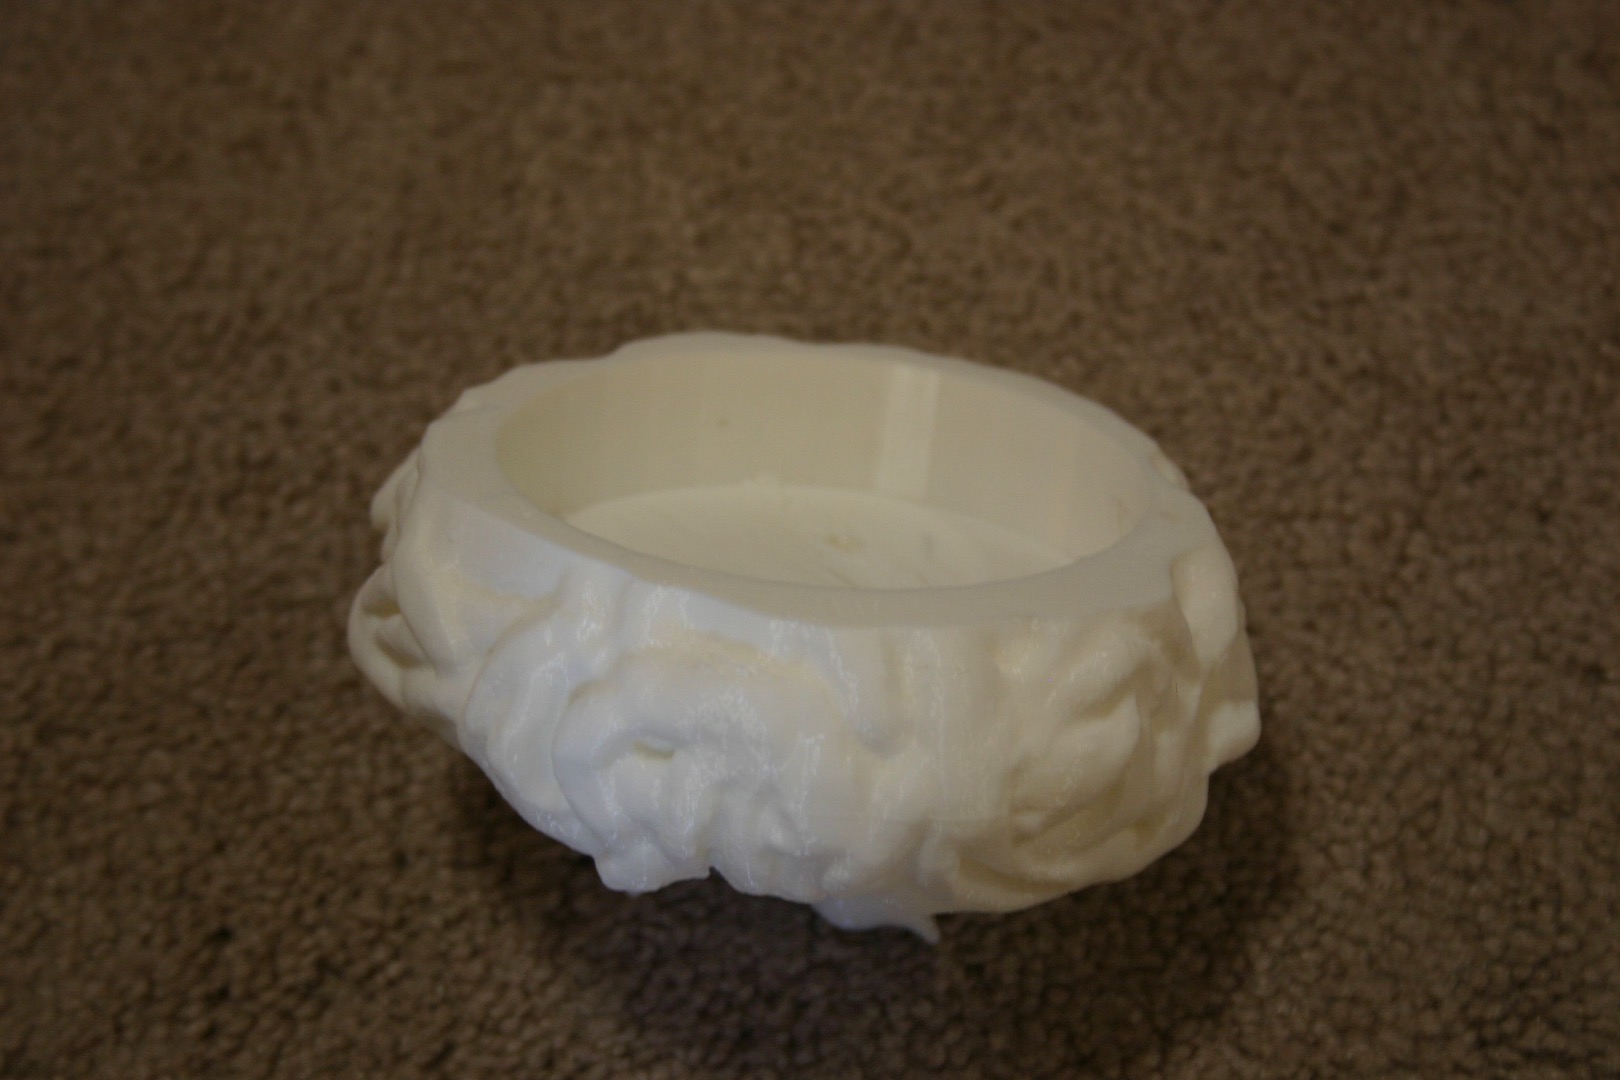
Paint the nest.
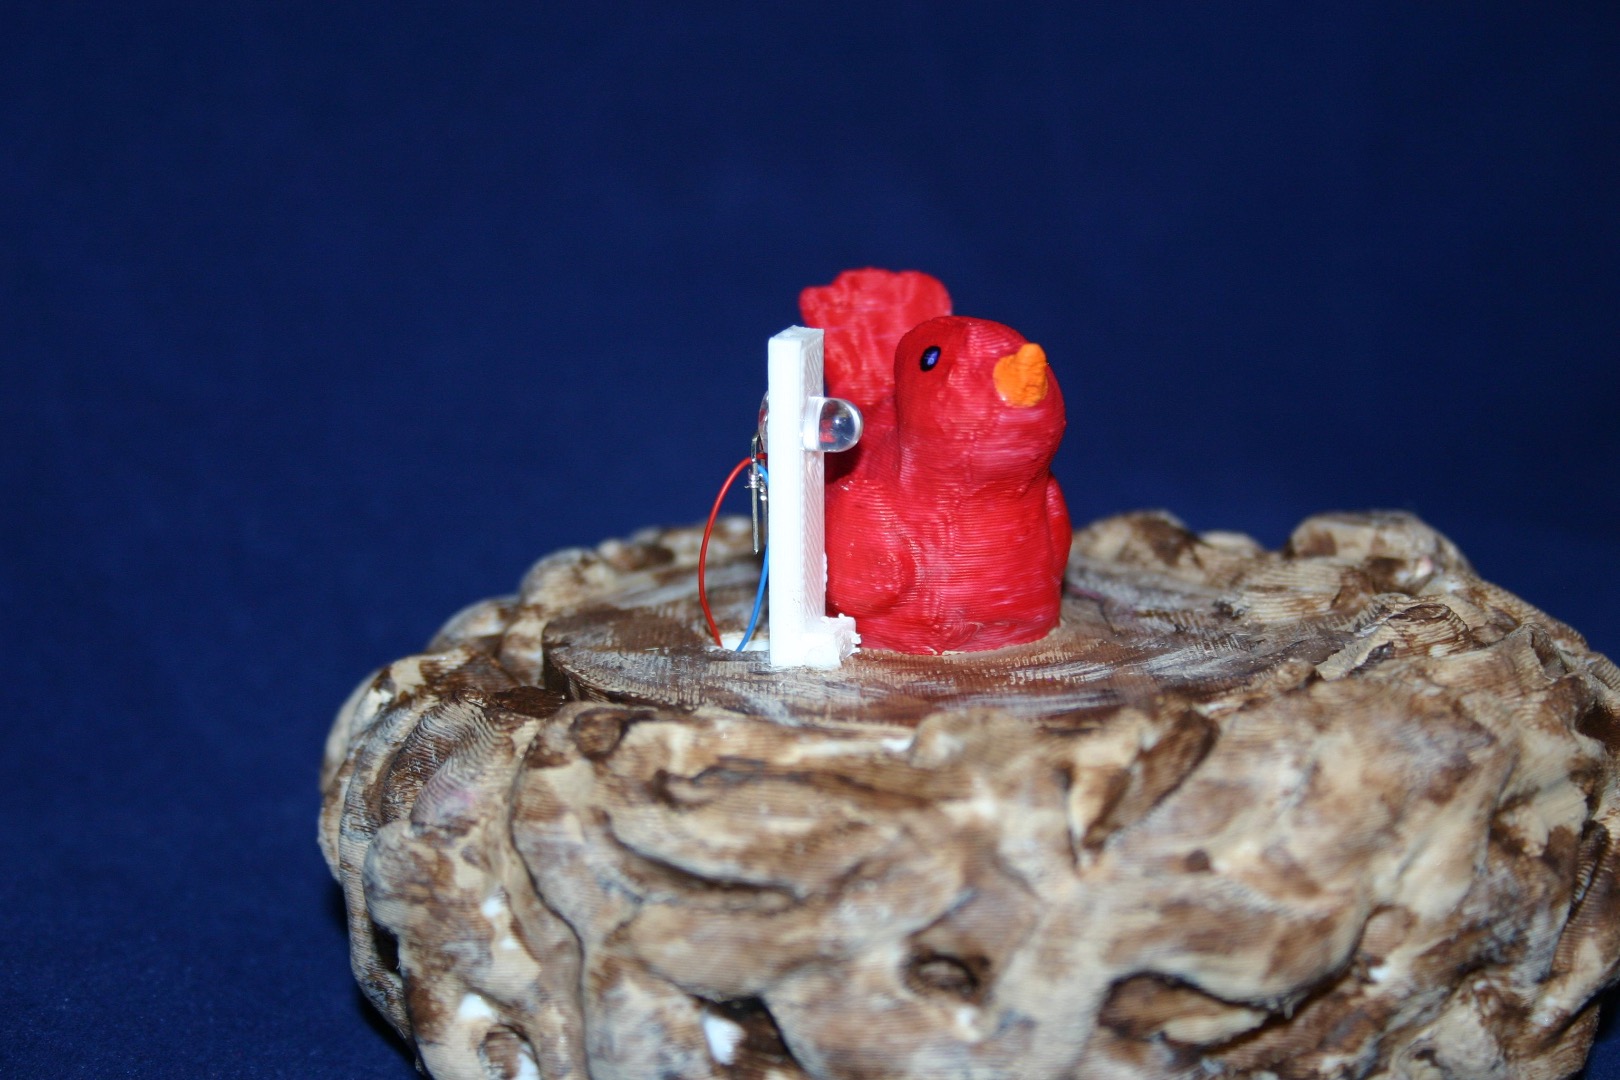
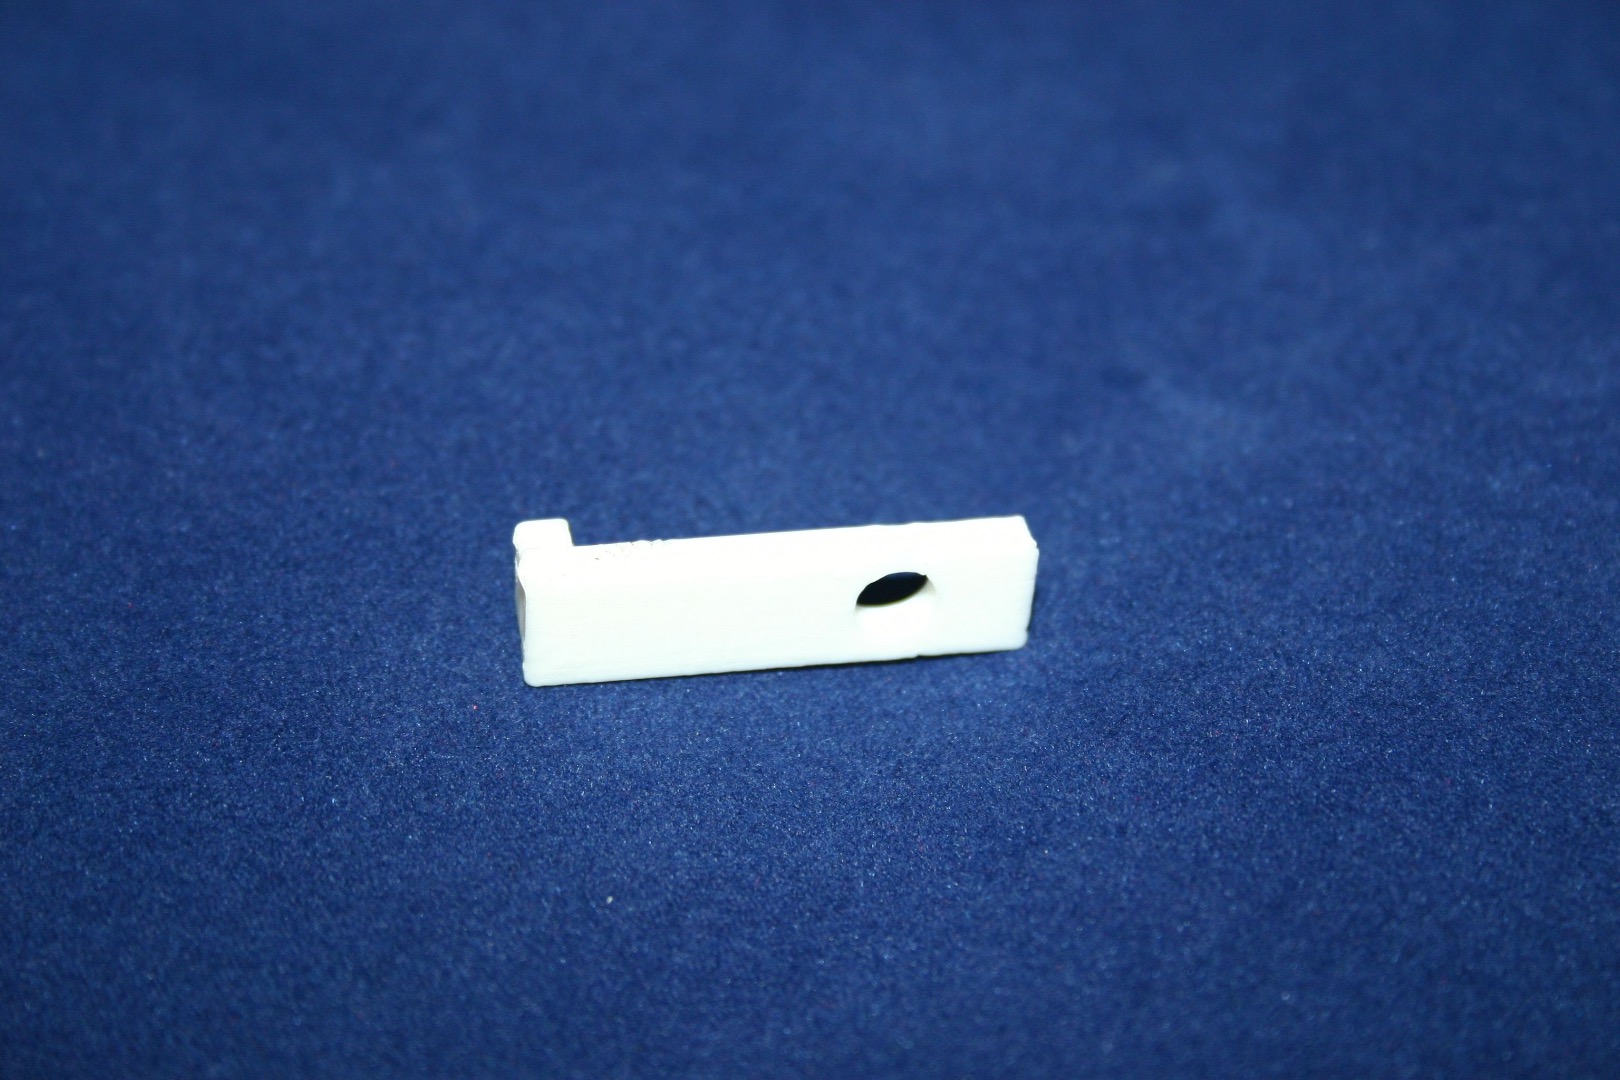
Glue the led holder behind the bird.
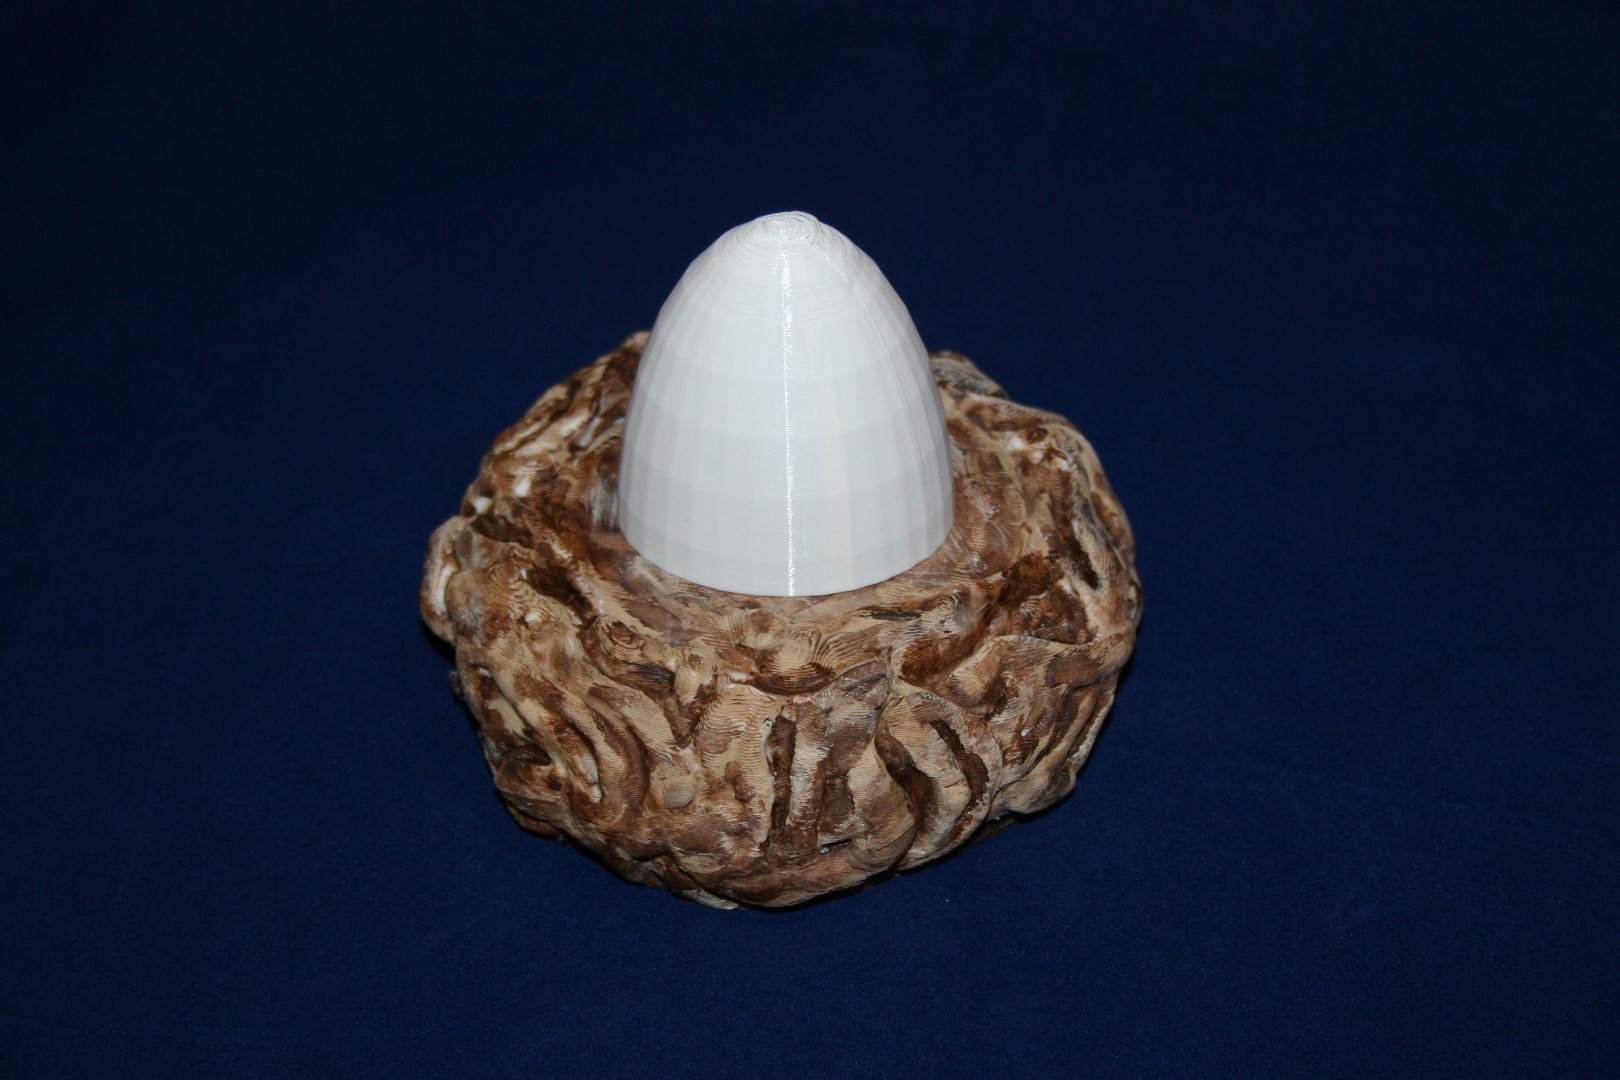
Set the shell over the bird. The shell is removable so that the bird can be revealed.
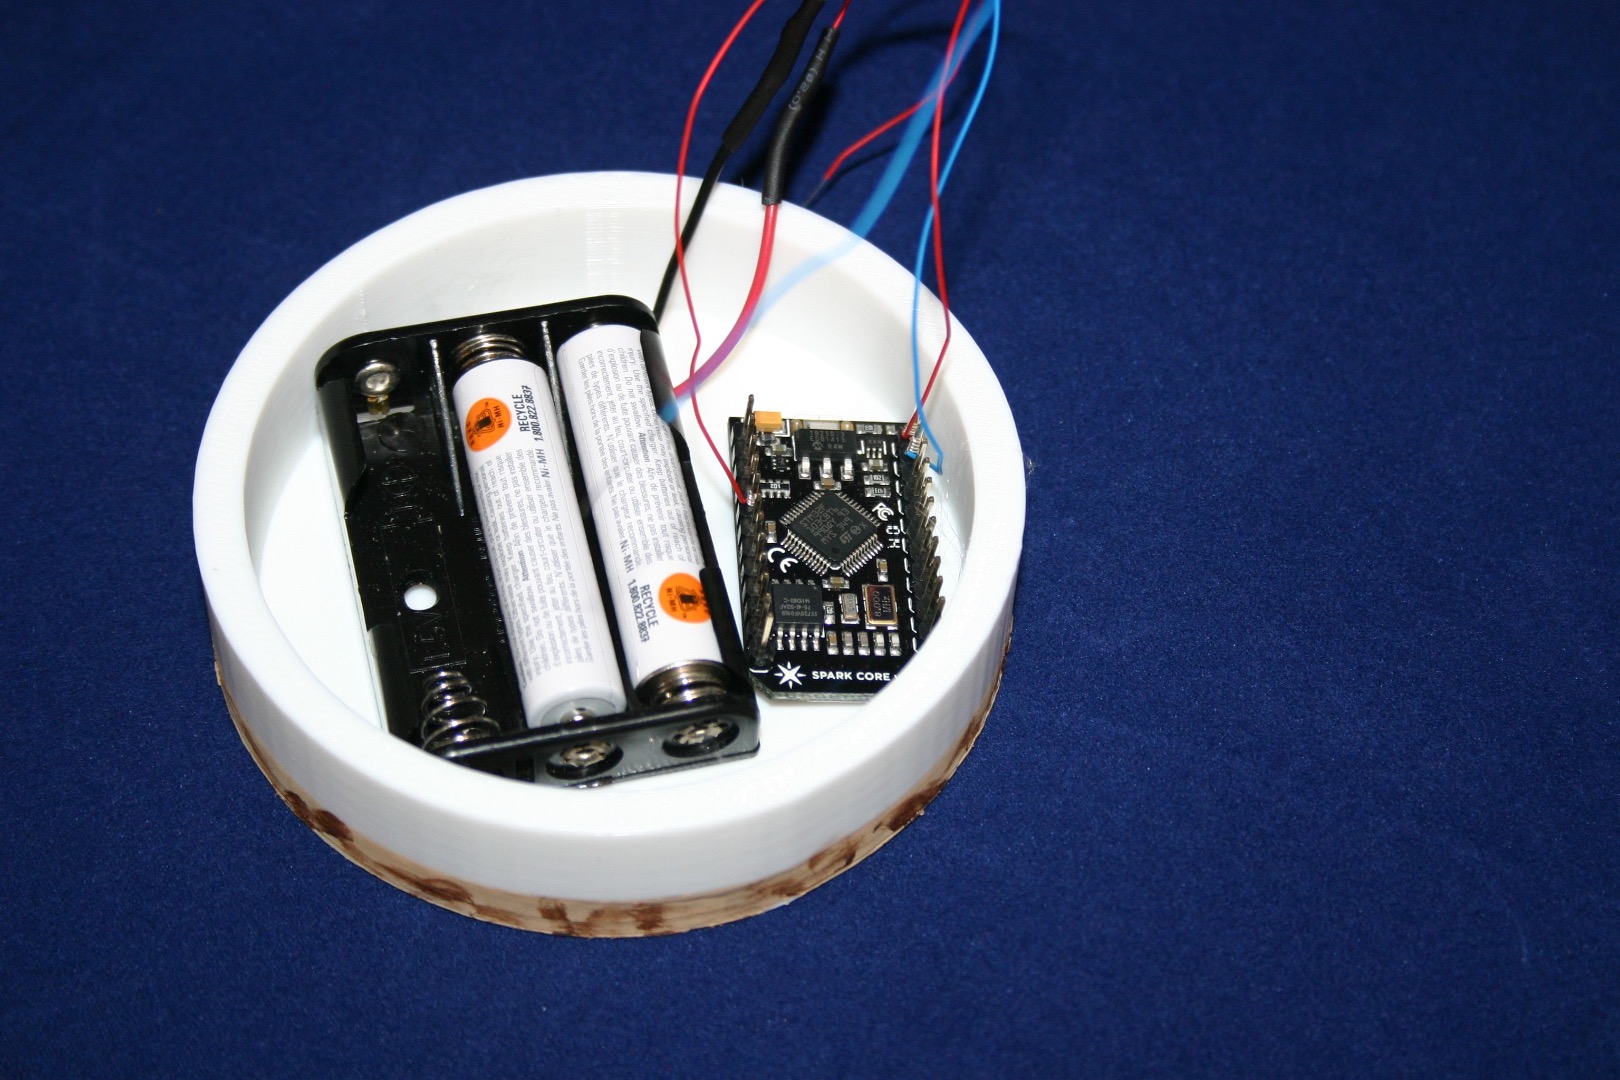
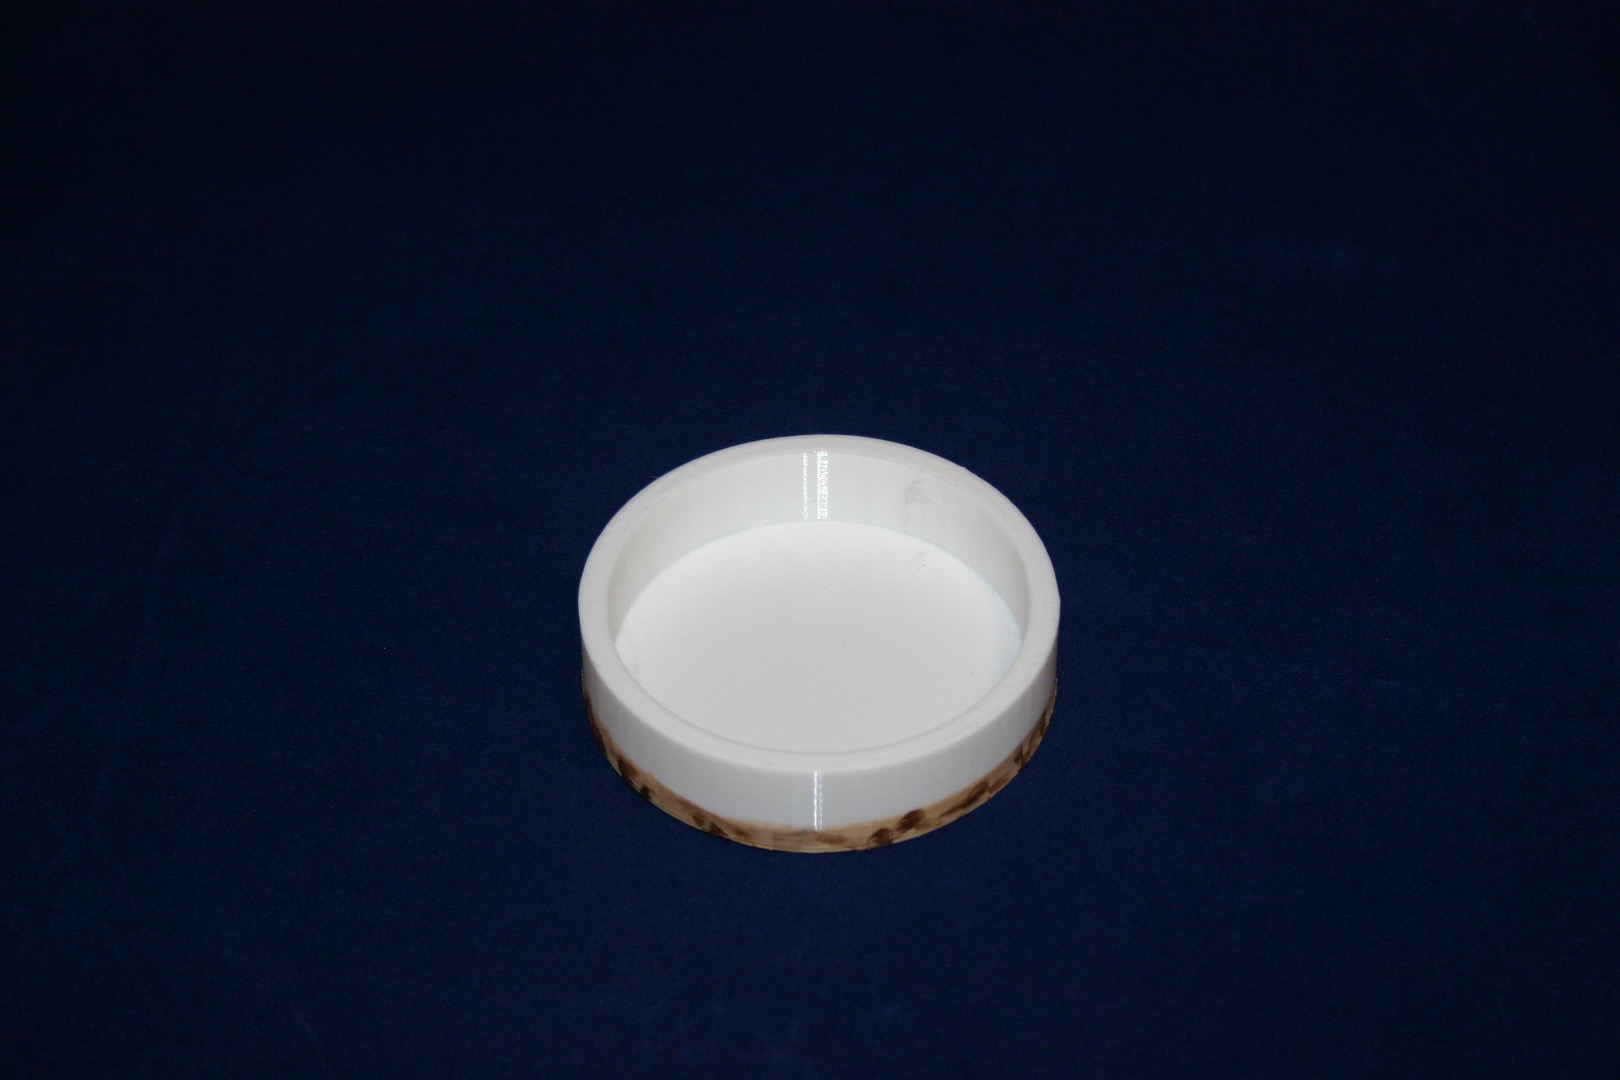
In the electronics container, wire positive from the batteries to Vin on the photon, negative to gnd.
Using wire wrap wire, connect the anode of the LED to D7 on the photon. Connect the LED cathode to gnd.
Install the three batteries and slide the electronics container into the bottom of the nest.
Set up the Spark module--it's really easy.
Load the Spark app on your smartphone.
Power up the Spark module and your phone near your wireless router. Make sure that your phone is operating on wifi.
Open the Spark app. It will ask for the wifi password. The Spark app will find the Spark module (the module will be flashing all kinds of colors to indicate that it is ready).
Name the Spark module whatever you want.
Now, using the Spark Tinker program (default), choose "digital write" for pin D7. When you toggle pin D7 on and off, the light inside the egg will go on and off.