Birdhouse

Hi, we're a group of students from Piedmont Hills High School. Our group consists of three people, Giselle (Sophomore), Nicholas (Senior), and Shruti (Sophomore). For our project we decided to remake a birdhouse.
In the neighborhood we live in, there are lots of bird everywhere, and we love seeing them. We wanted to try to help them out, so we decided to see if we could buy an average birdhouse. However, in our research, we realized that many of the birdhouses on the market are actually bad for the birds. This led to our idea of remaking a birdhouse so that these birds could live with lessened chances of getting eaten by predators than with traditional birdhouses.
Supplies
- Pieces of wood (minimum of 9x9)
- Fusion 360 (to design the pieces)
- Adobe Illustrator (to design the engravings)
- CNC Machine (to cut the parts out)
- Laser Printer (to engrave the designs)
- Wood Glue or Nail Gun (to attach the pieces)
Planning the Design
To design this piece we did a lot of research on what would be the safest way to make a birdhouse. We mainly used these two links, which gave us most of the information on how to make or find the best birdhouse.
https://www.nwf.org/Magazines/National-Wildlife/2010/Best-Bird-Houses
https://nestwatch.org/learn/all-about-birdhouses/dealing-with-predators/
https://portal.ct.gov/deep/wildlife/fact-sheets/eastern-bluebird
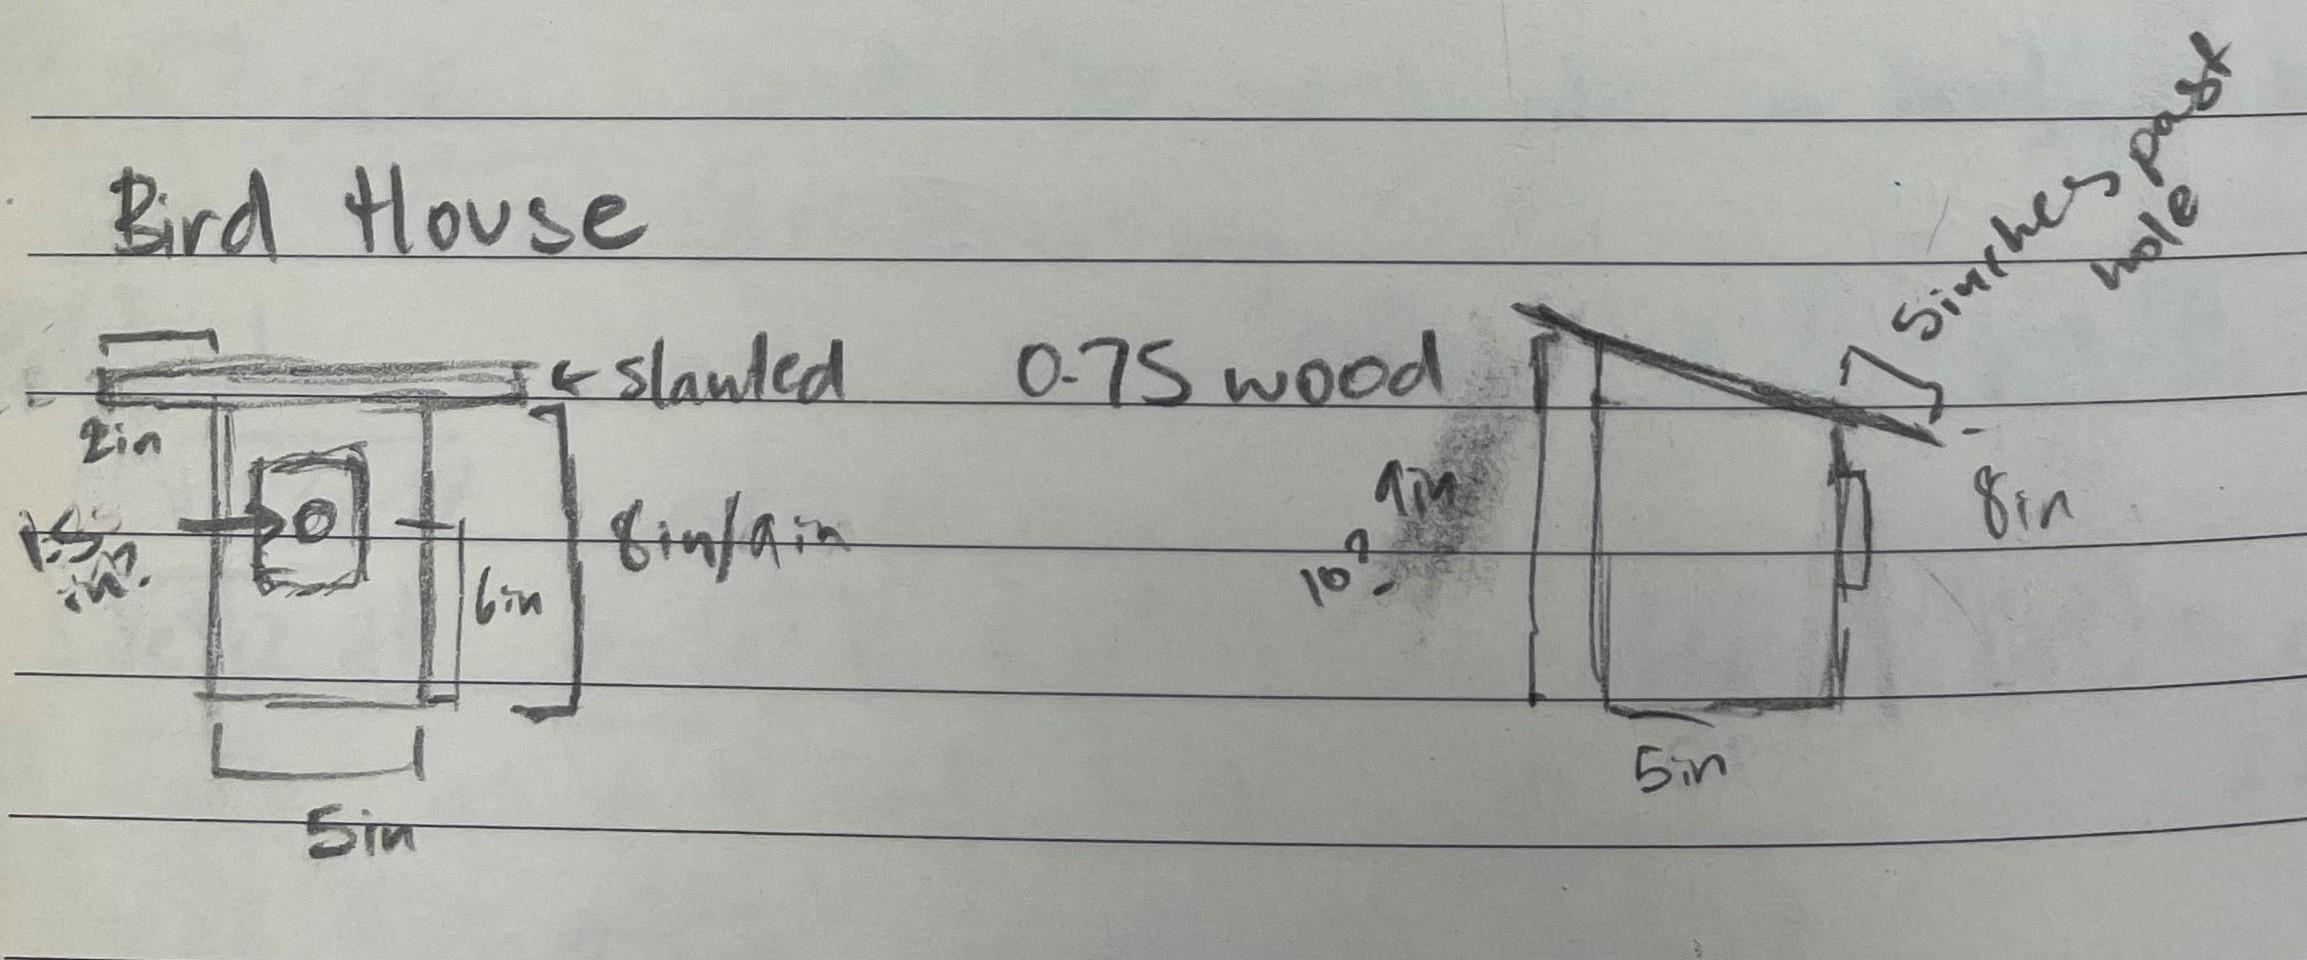
We kept this information in mind when we made the basic sketch for design, which is the photo you see above. We also constantly referenced these links, along with a few others, when making the design in Fusion 360 and cutting the pieces out.
Making the Design
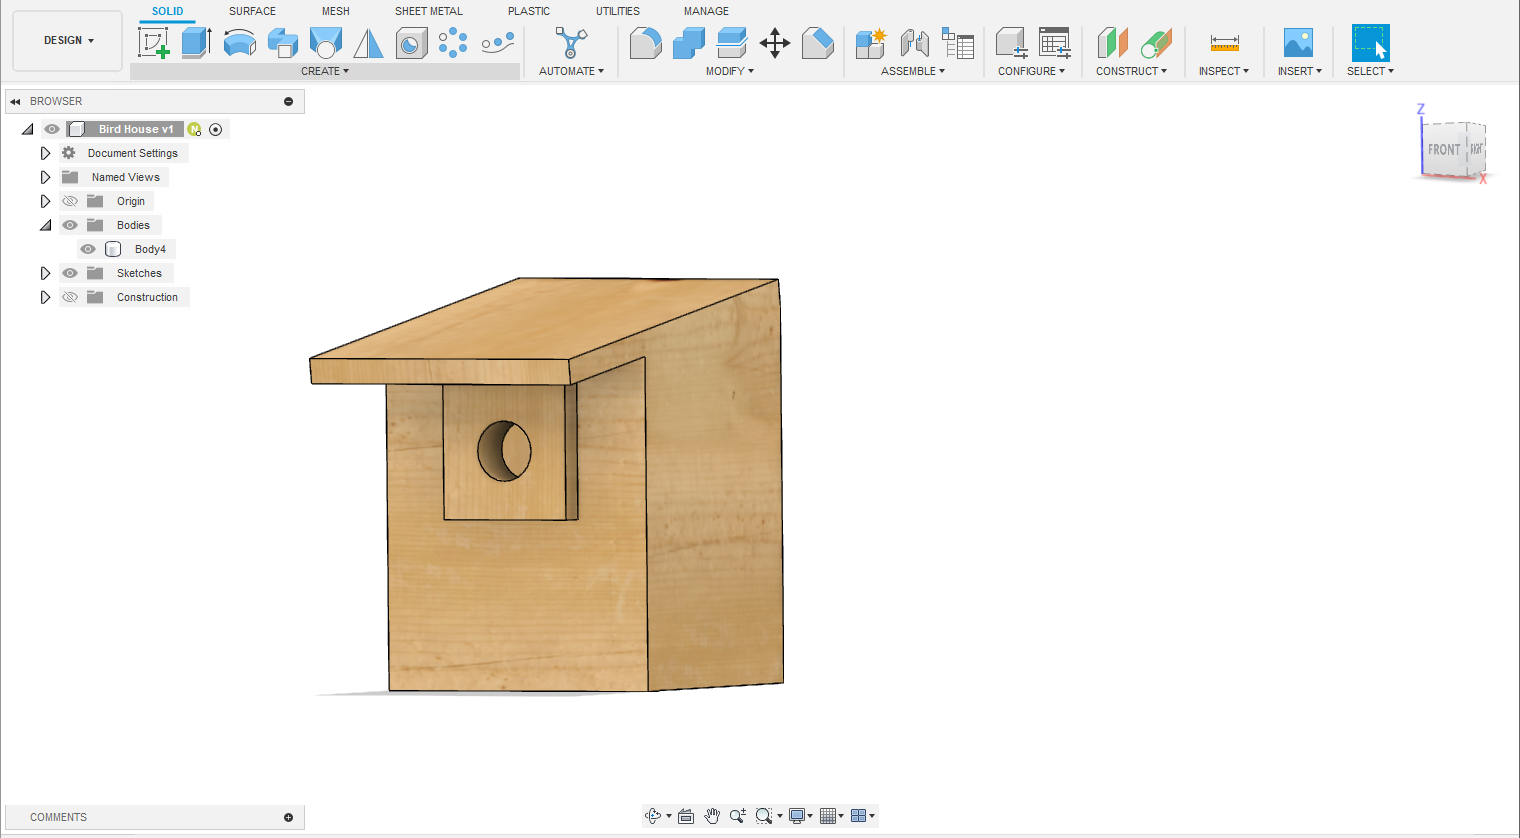
We went onto fusion to create the pieces. While we were making the parts, we changed a few of the dimension to enhance the look and feel of the project. Firstly created a demo of how it should look assembled. We've added a picture above and the attached the .f3d file of the design called "Bird House Demo." We used this demo to get the exact dimension of what size all the pieces need to be.
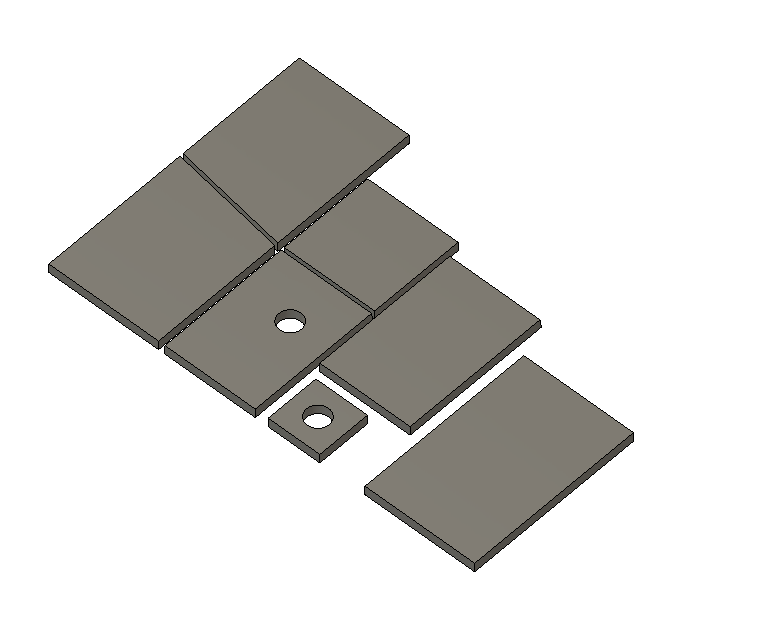
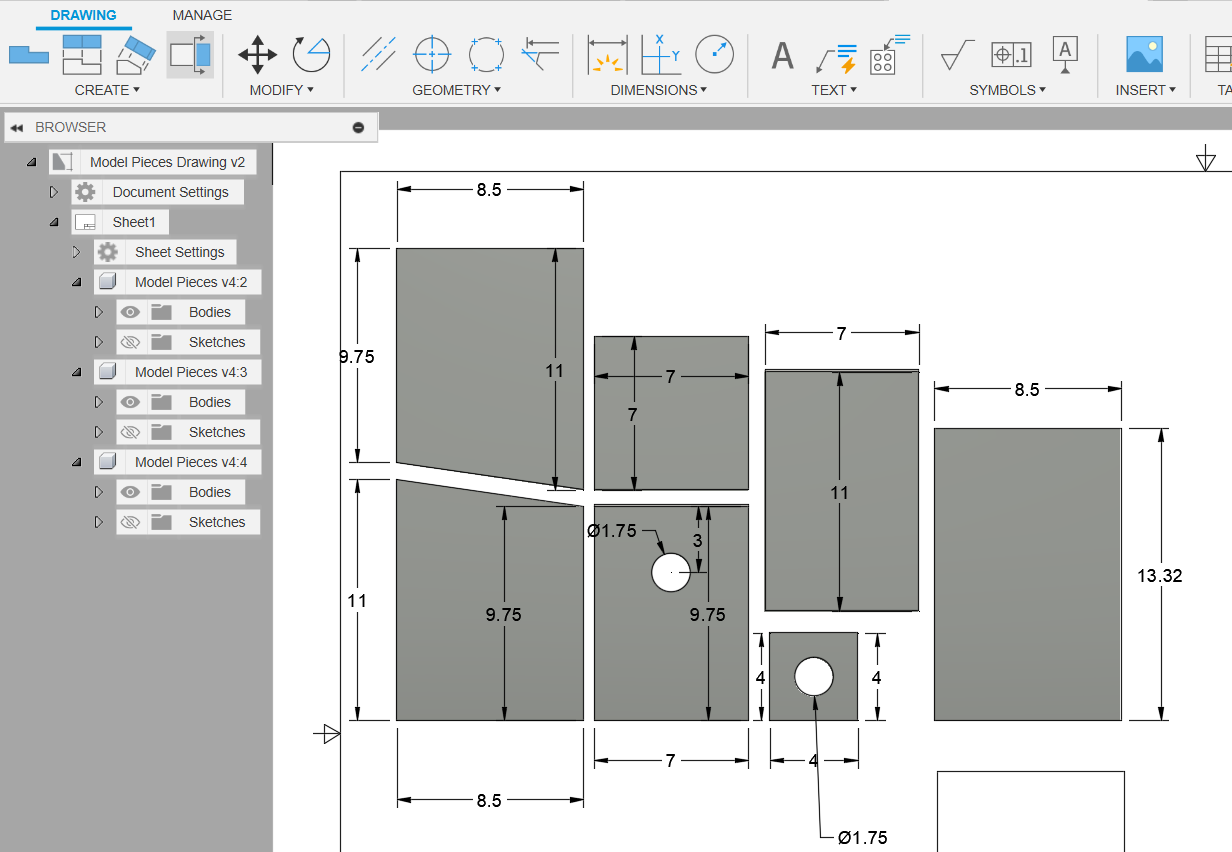
After this, we went onto fusion and created a new sketch where we made each of the pieces that we needed face down so that the CNC machine could cut them. The exact piece dimensions are stated below
- 7x7in
- 11x7in
- 13.315x8.5in
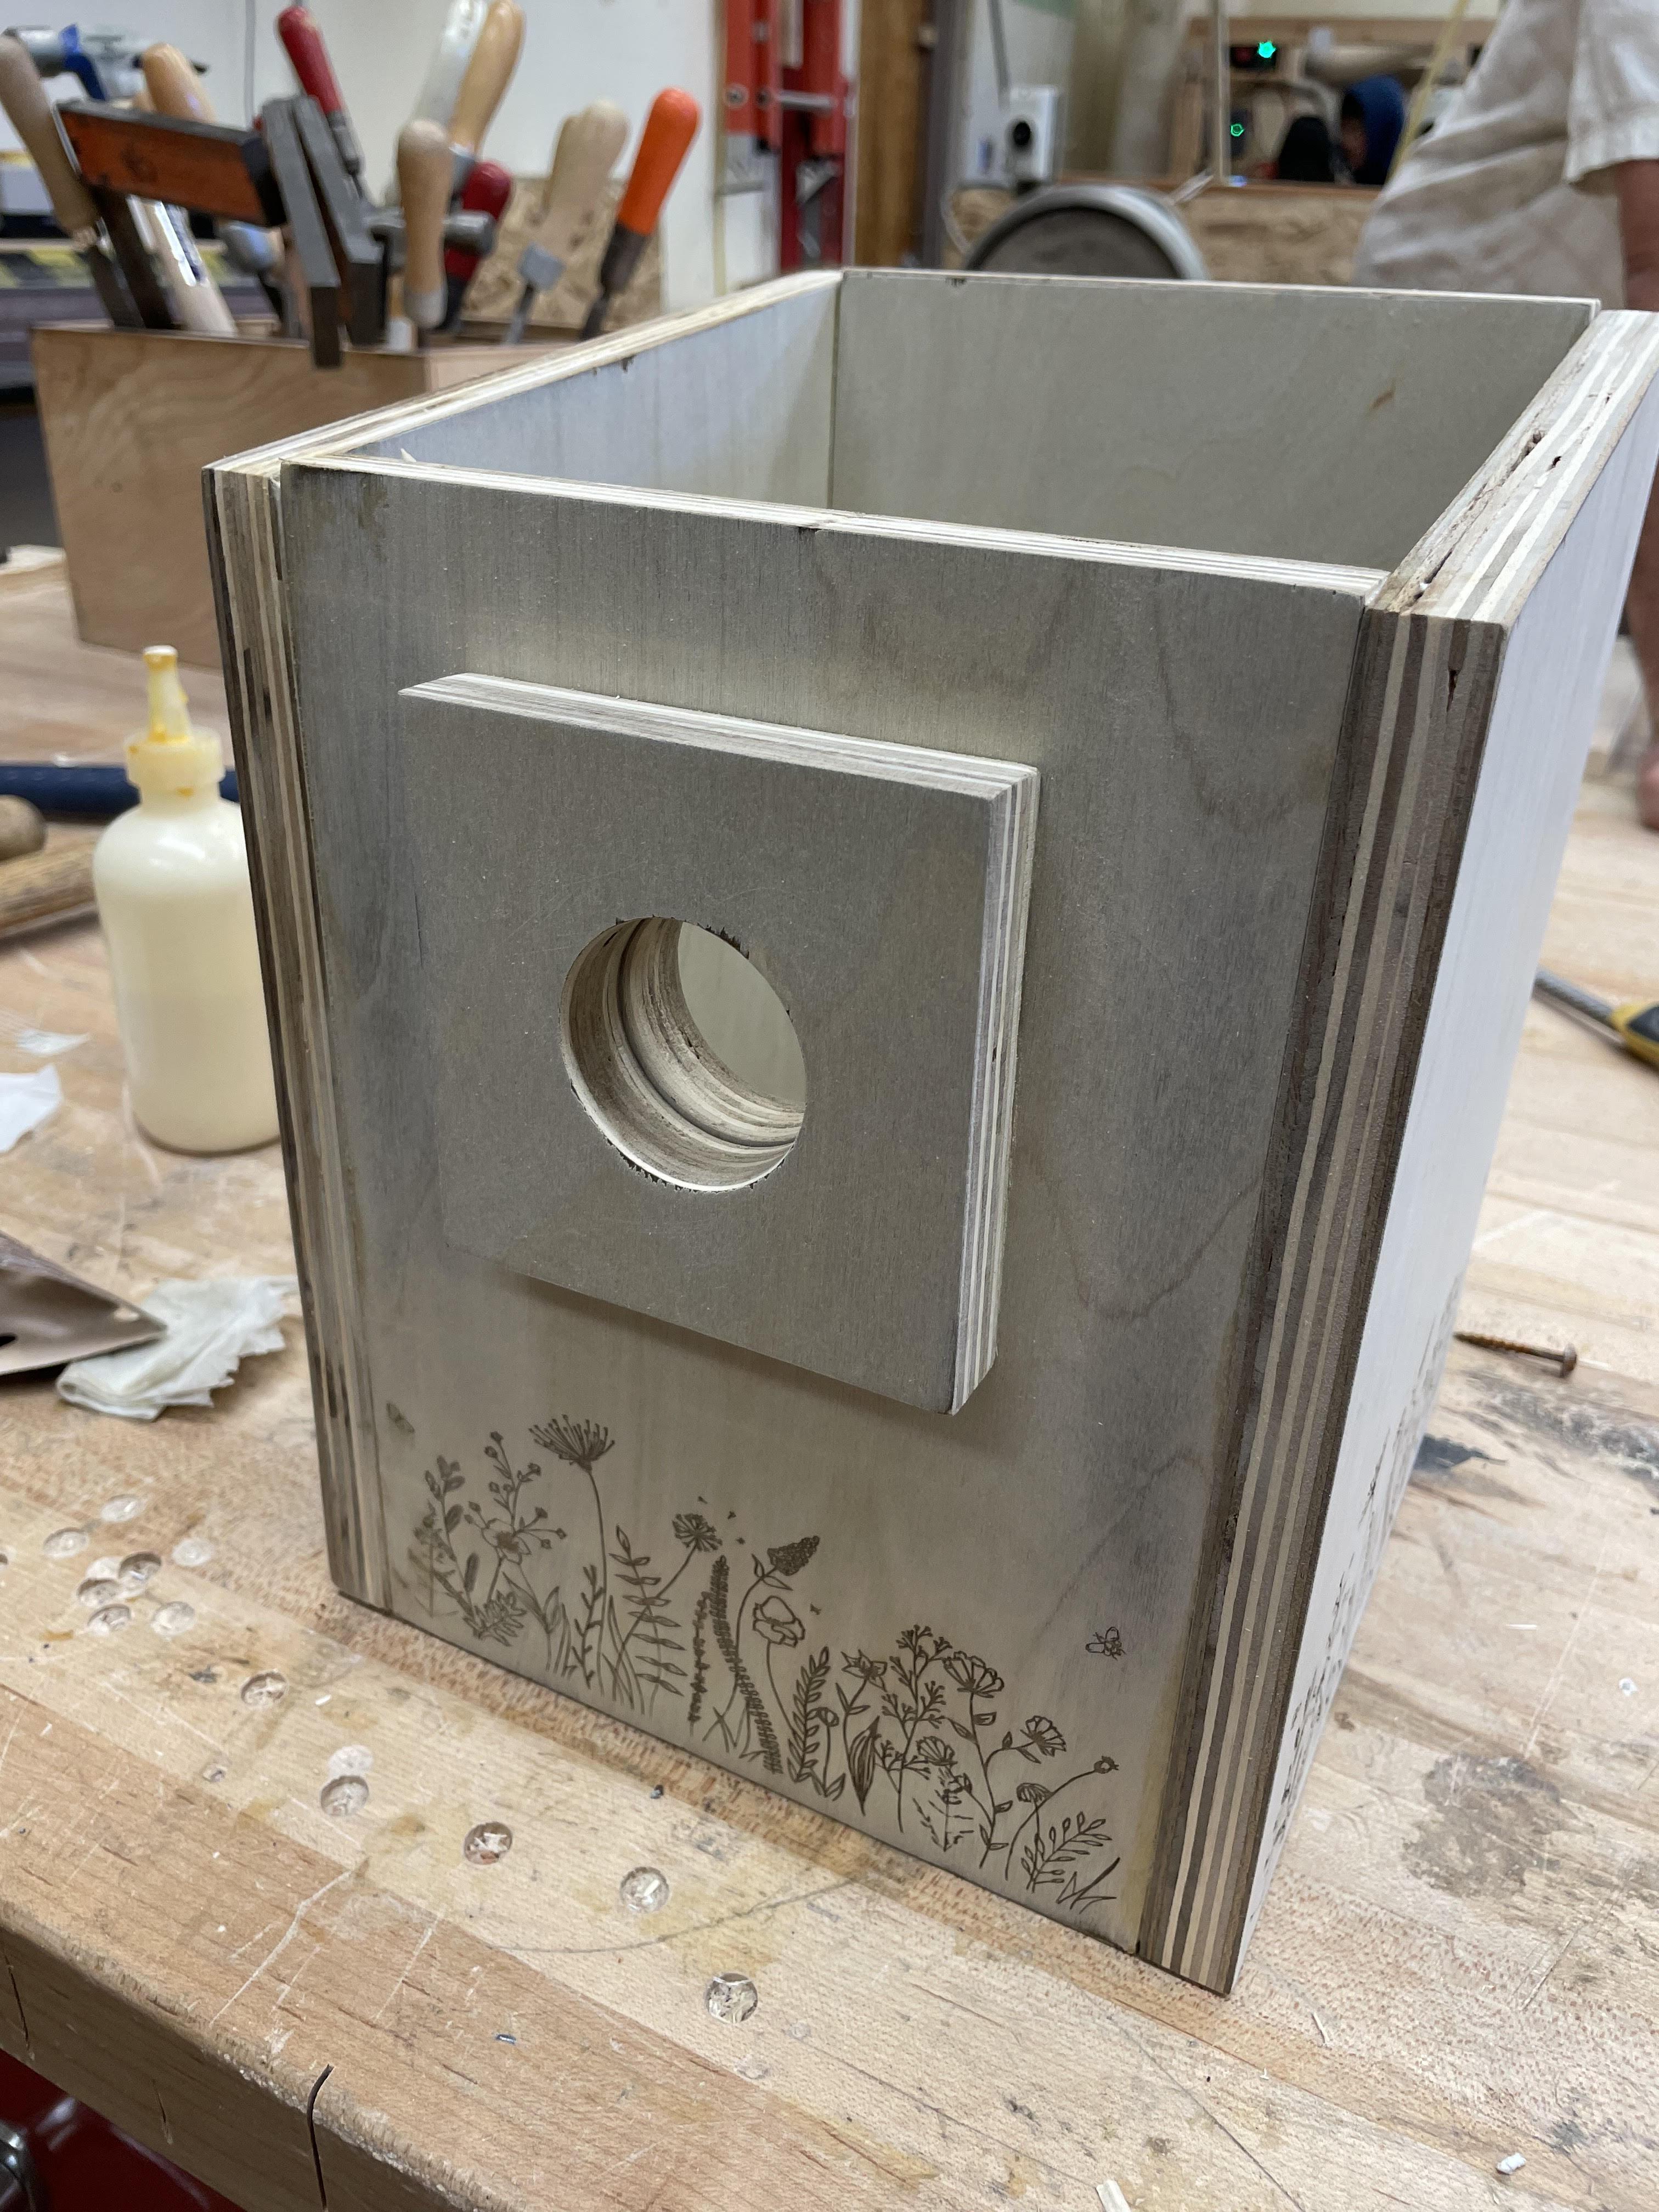
- 9.5x7in with a 1.75in diameter hole 3 inches from the top
- 8.5in base, 11in on one side, 9.75in on one side, line connecting the sides (two of these pieces)
- 4x4in with a 1.75in diameter hole in the middle of the piece
After you make the pieces, extrude all the pieces (except the holes) by how thick your wood is. We used .75in thick wood, so we extruded our pieces by .75in. We've added the .f3d file below labeled "Bird House Pieces." We've also added a photo of the dimensions for the pieces and the link to the full file.
Lastly, we've added the .tap files for the cut out of the pieces. We've made it into two parts for ease of cutting. If you're using the .tap files we've provided, make sure that you get pieces of wood big enough.
Cutting Out the Pieces
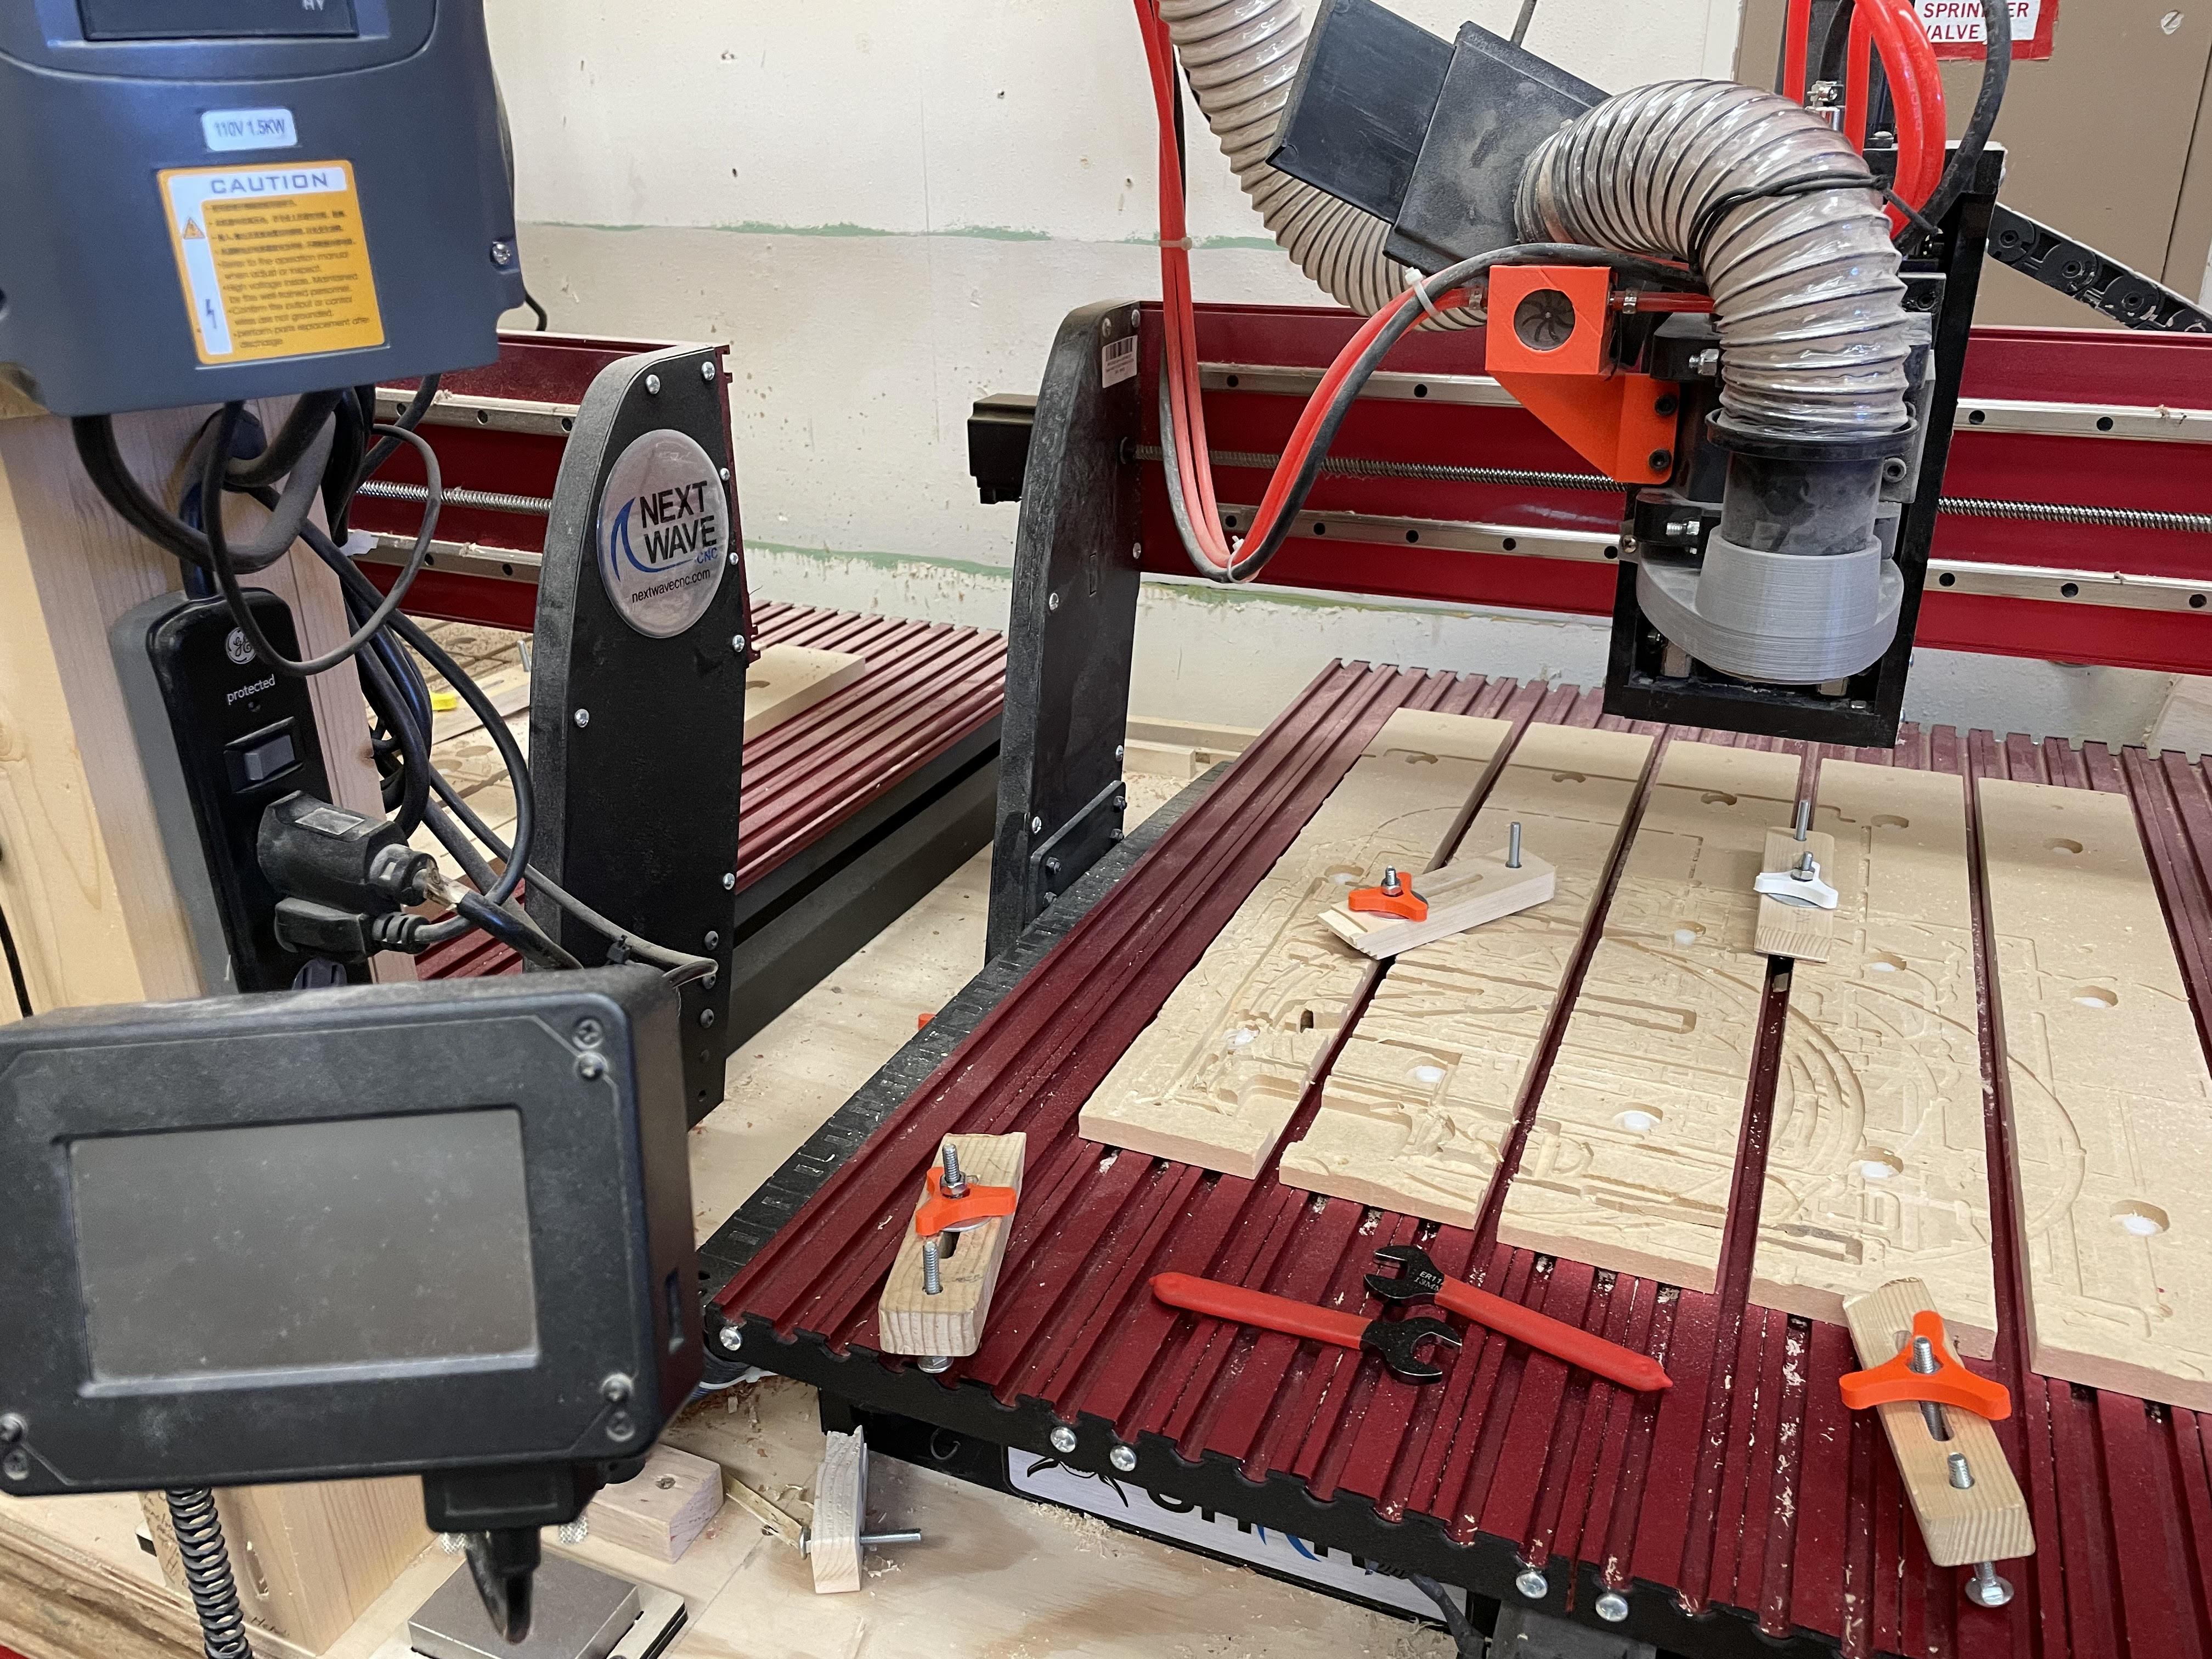
Once you have get your .tap files, get to your CNC machine. Make sure the set up the machine and get a piece of wood big enough for what you're cutting. My group used wood around 23 inches by 20 inches because we split our cutting work in half. Depending on how big your machine or pieces of wood are, this how many cuts you have to do will vary. Once you have your wood locked in place, make sure you make the machine have an appropriate zero for the X and Y axis. Then, before you actually cut, do an air cut to make sure the code is correct, the piece of wood is big enough, and that generally nothing goes wrong. Once the air cut does well, zero the Z axis and get started cutting. Make sure that you don't leave while it cuts in case something goes wrong.
Once you finish cutting the pieces make sure you cut out the tabs that you need to use to make sure that the wood doesn't fly out of place. After that, sand down the sides so they don't give you a splinter when you work with the wood to engrave it.
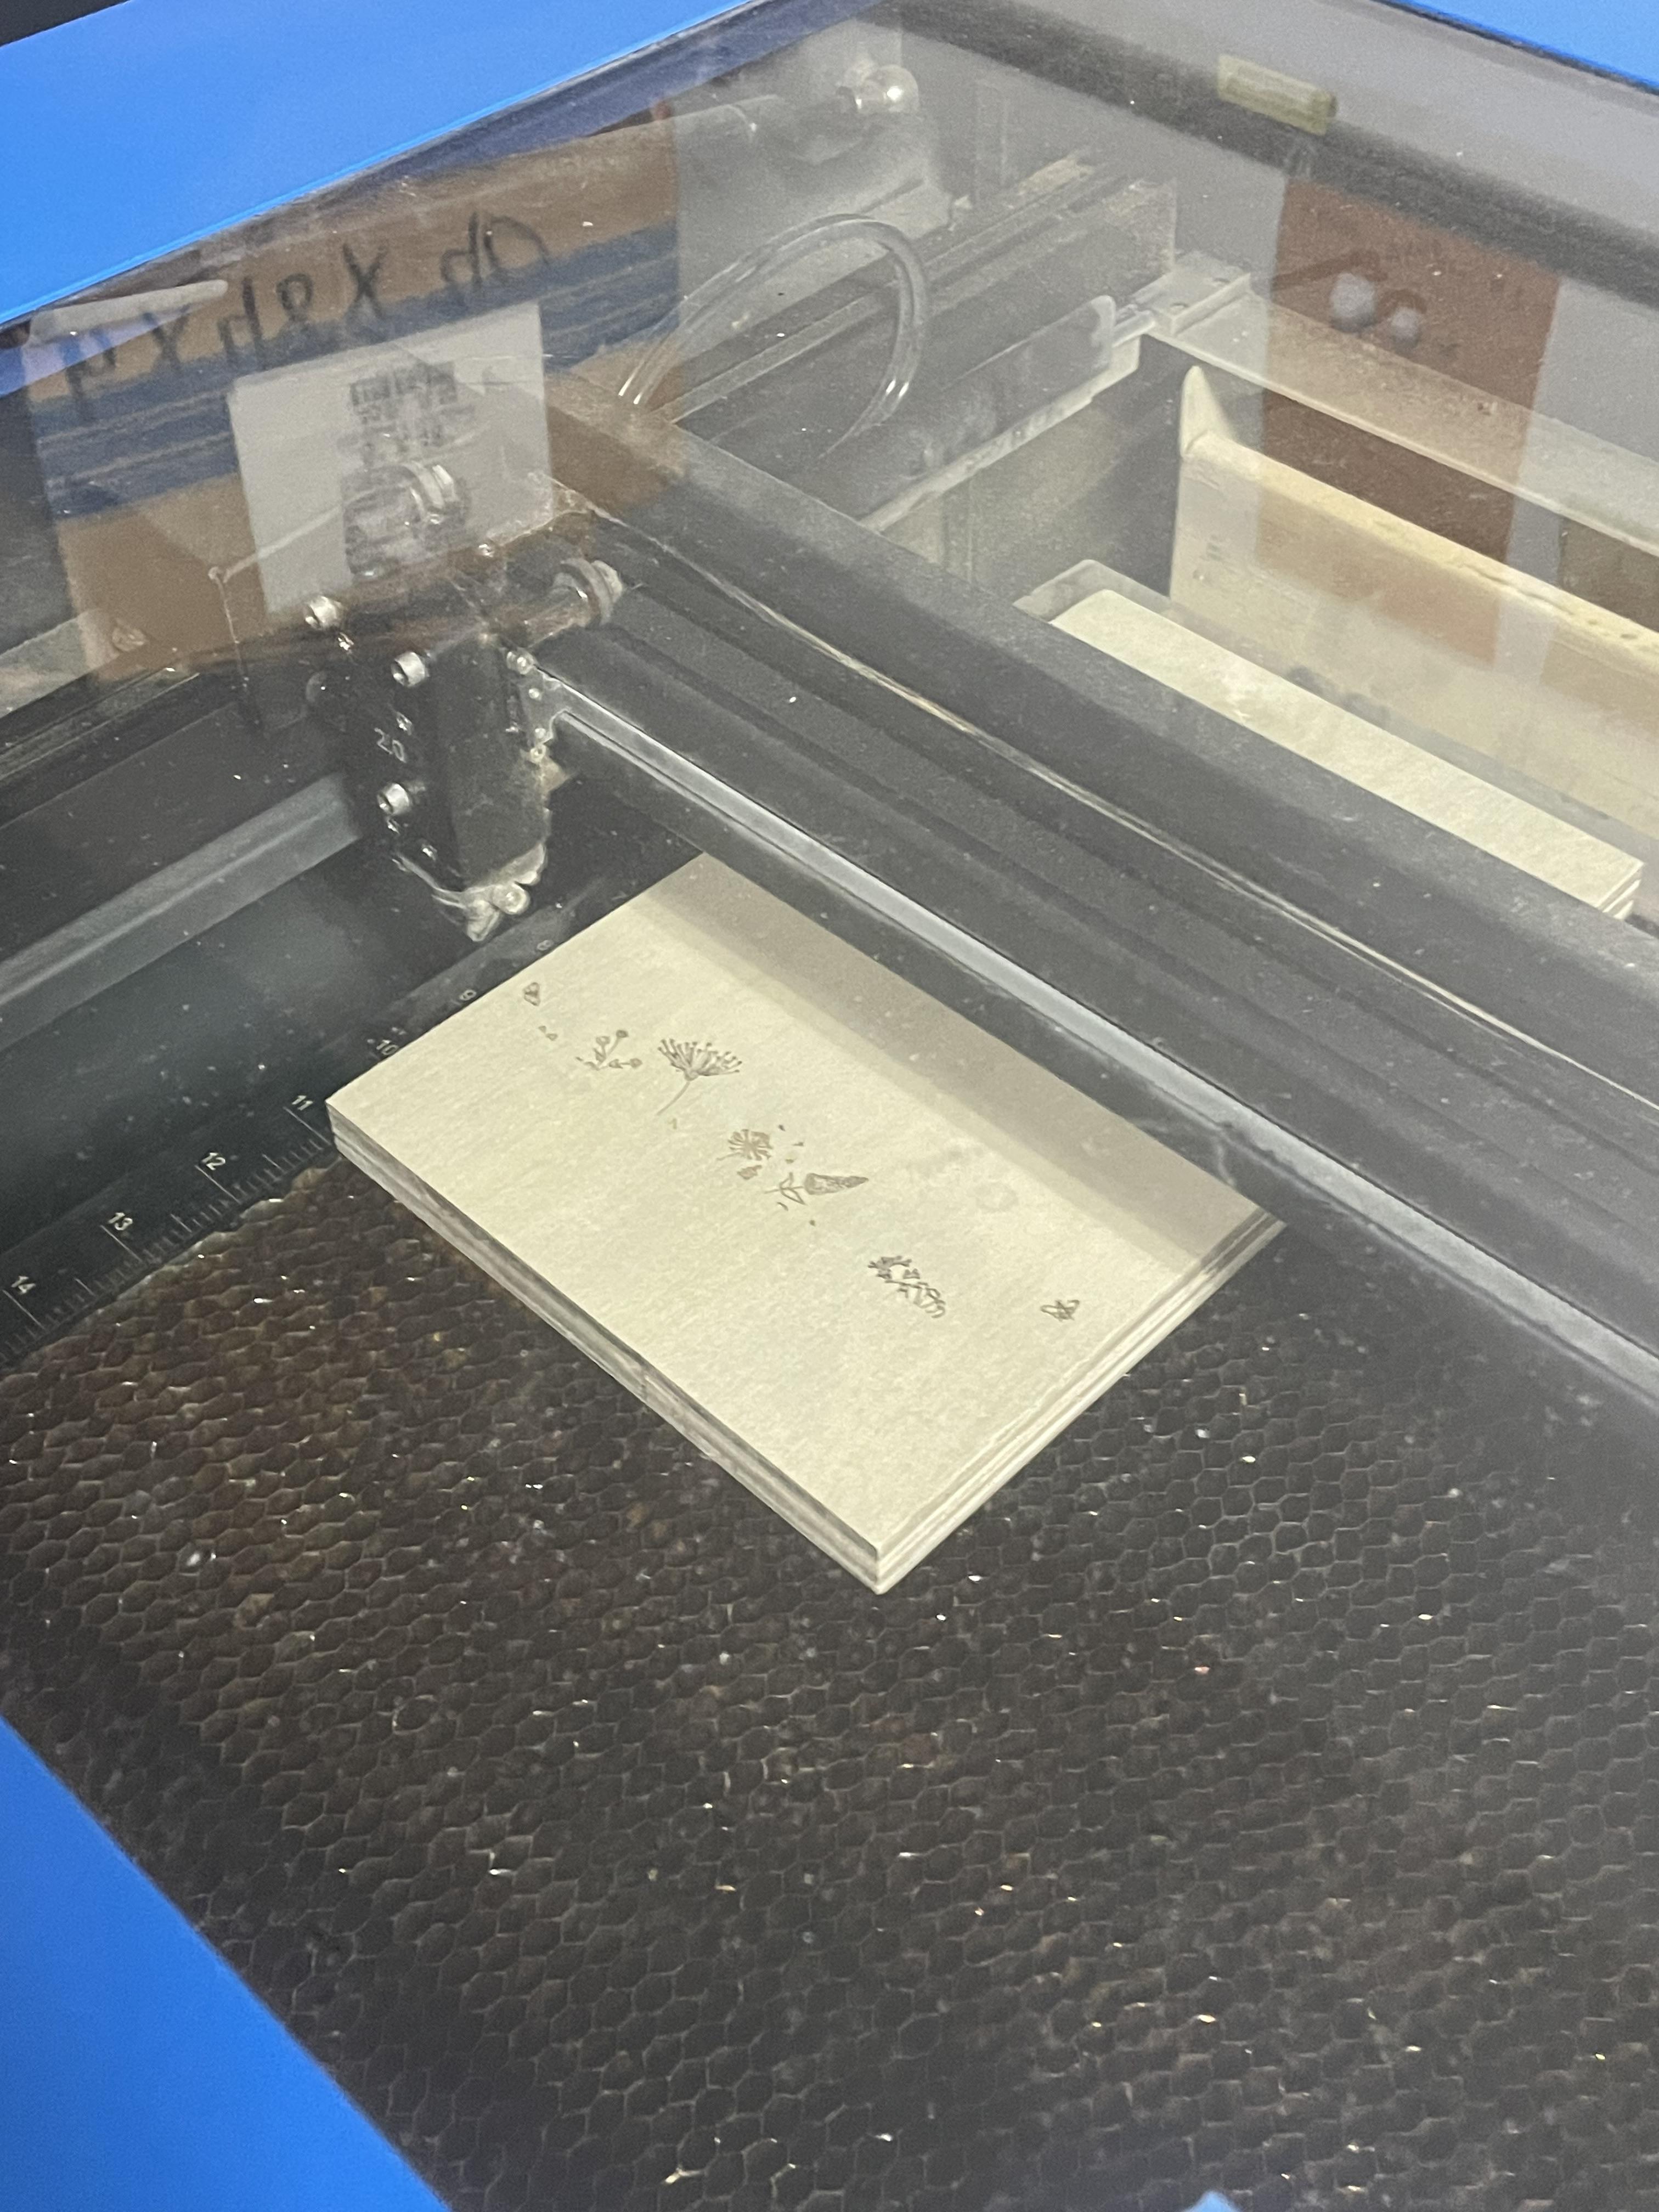
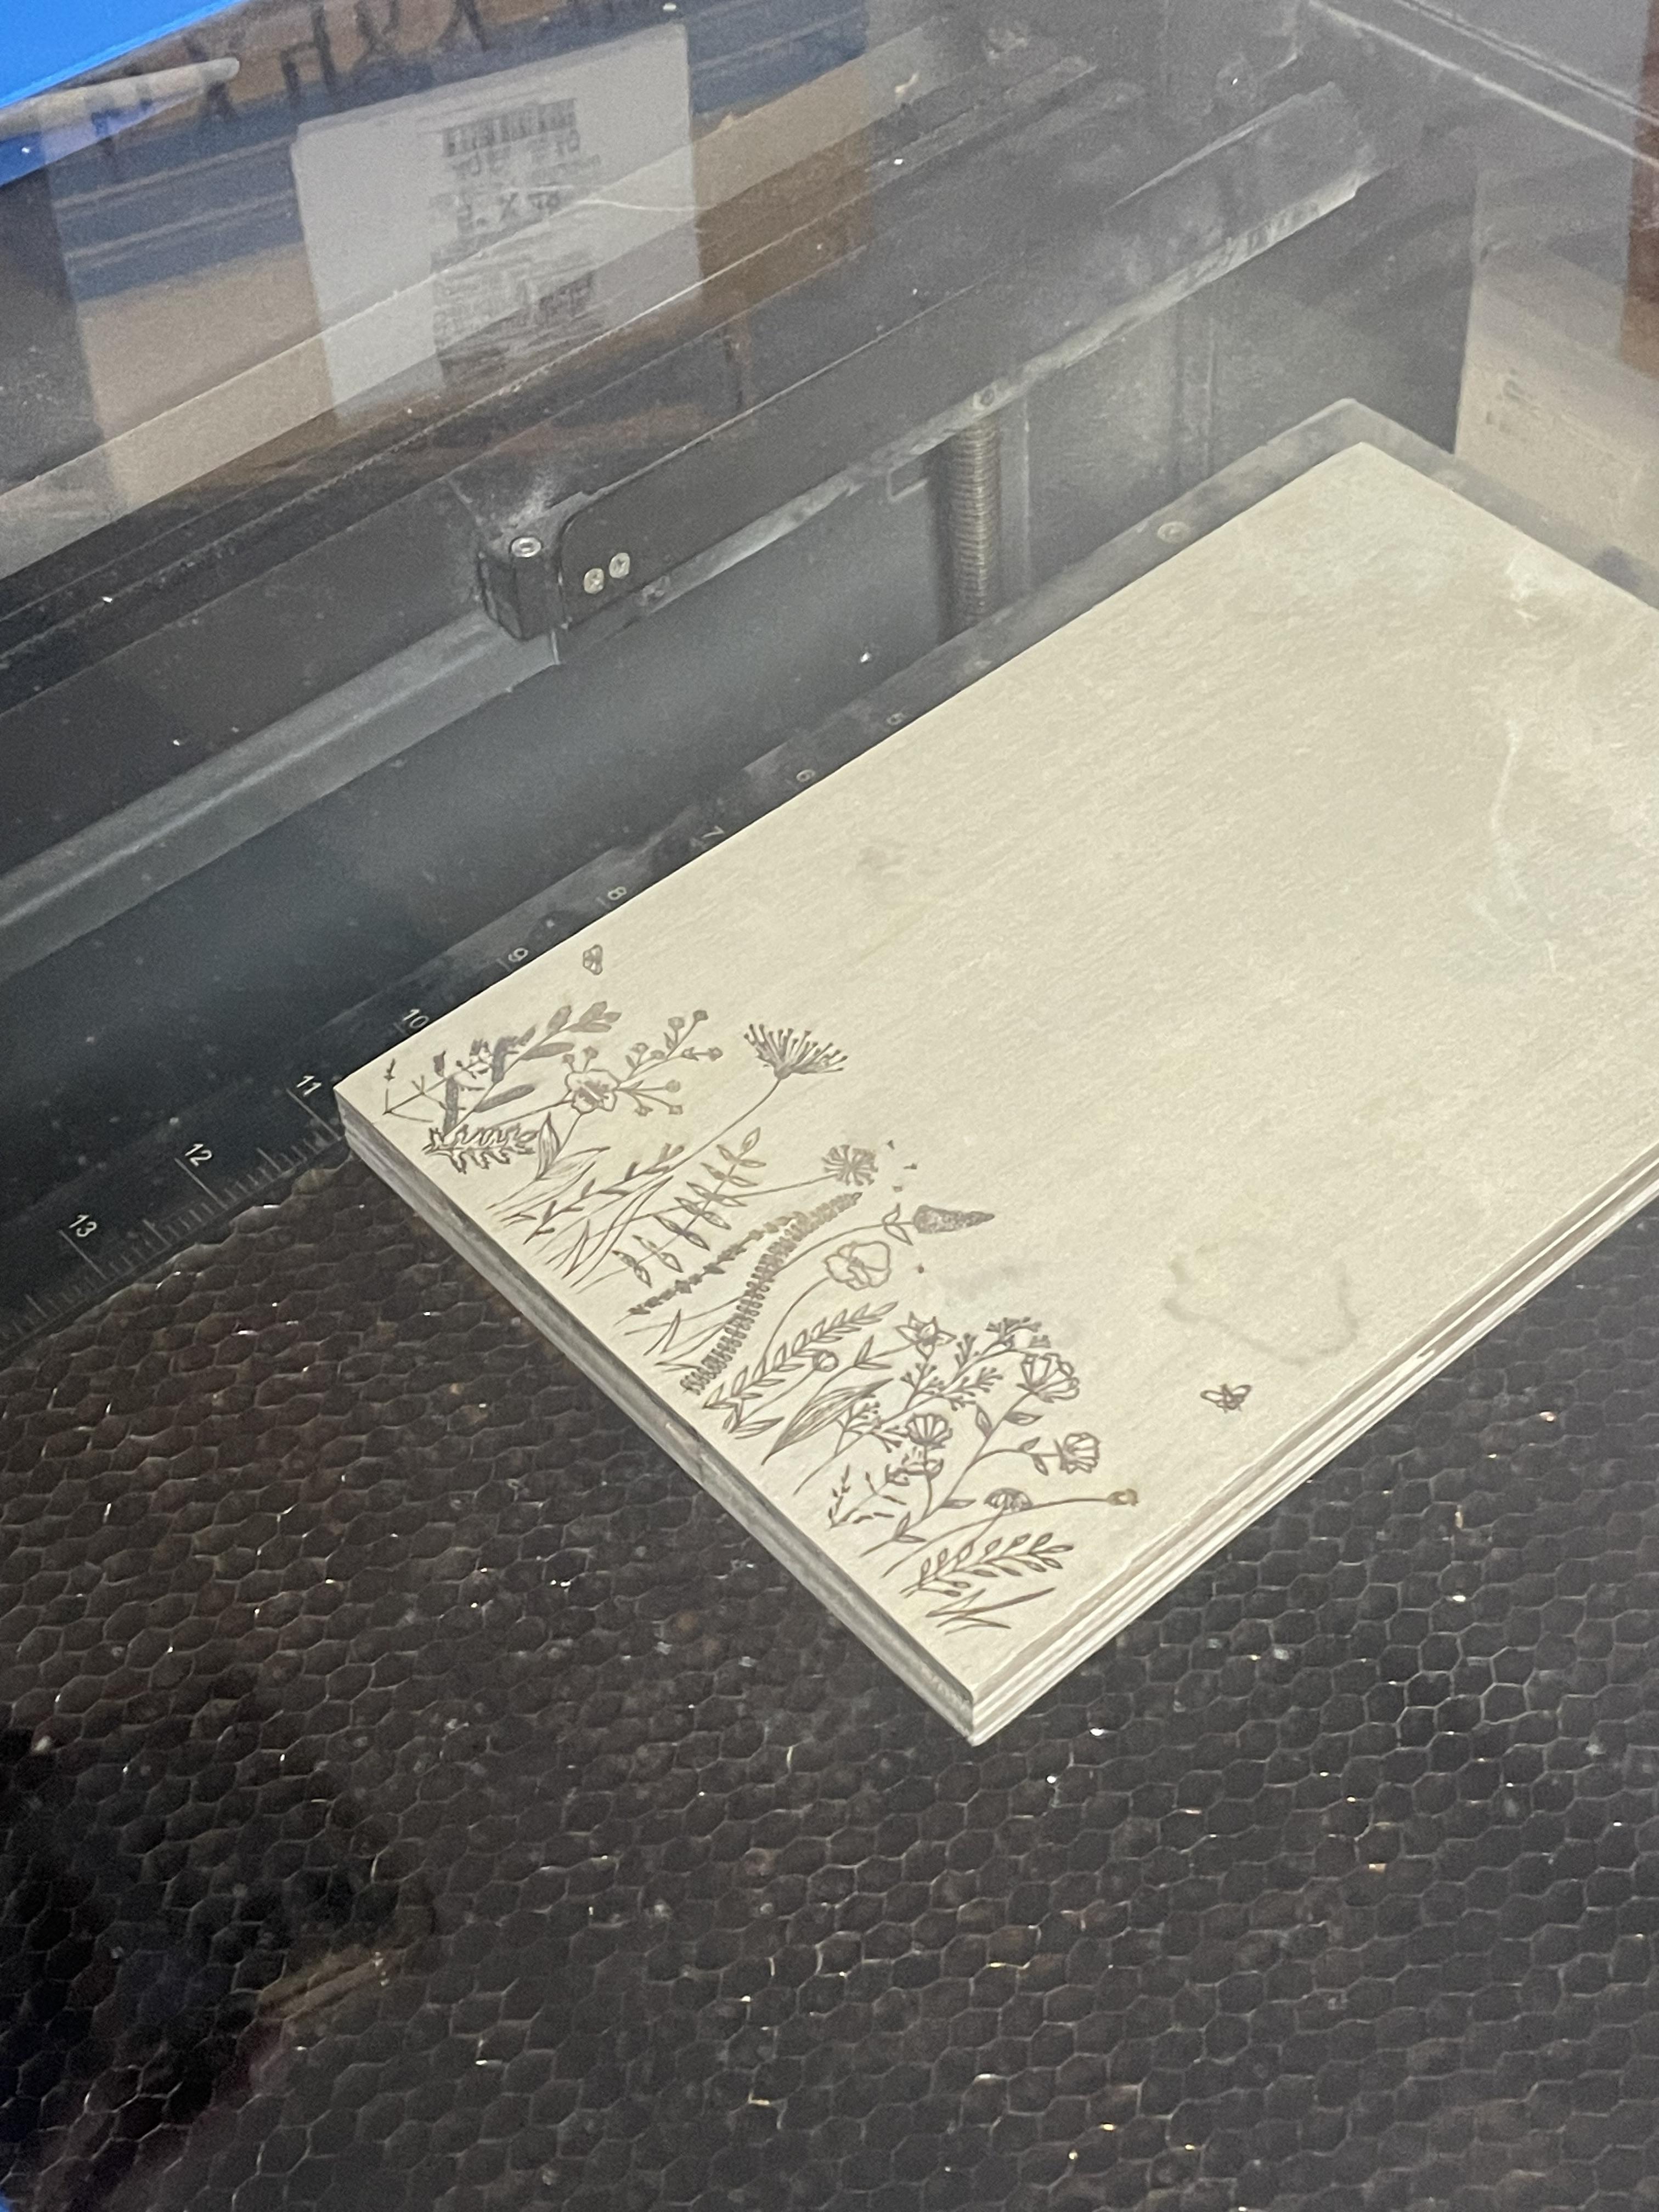
Engraving the Wood
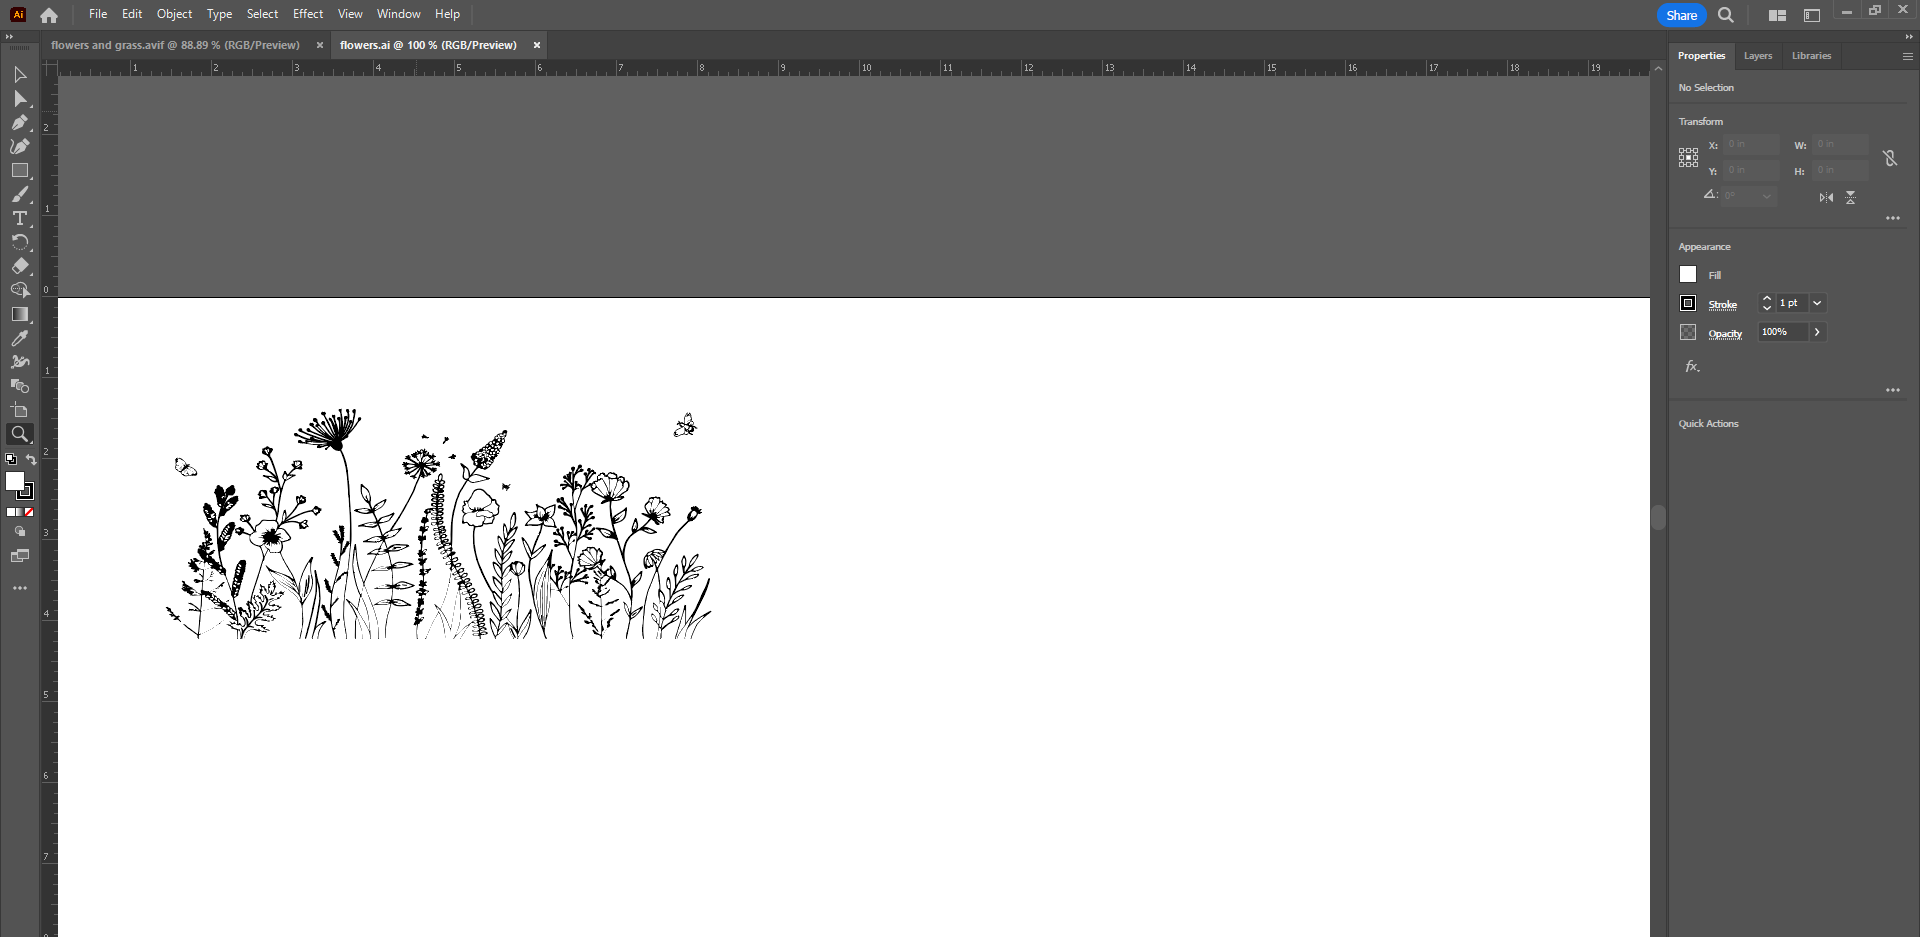
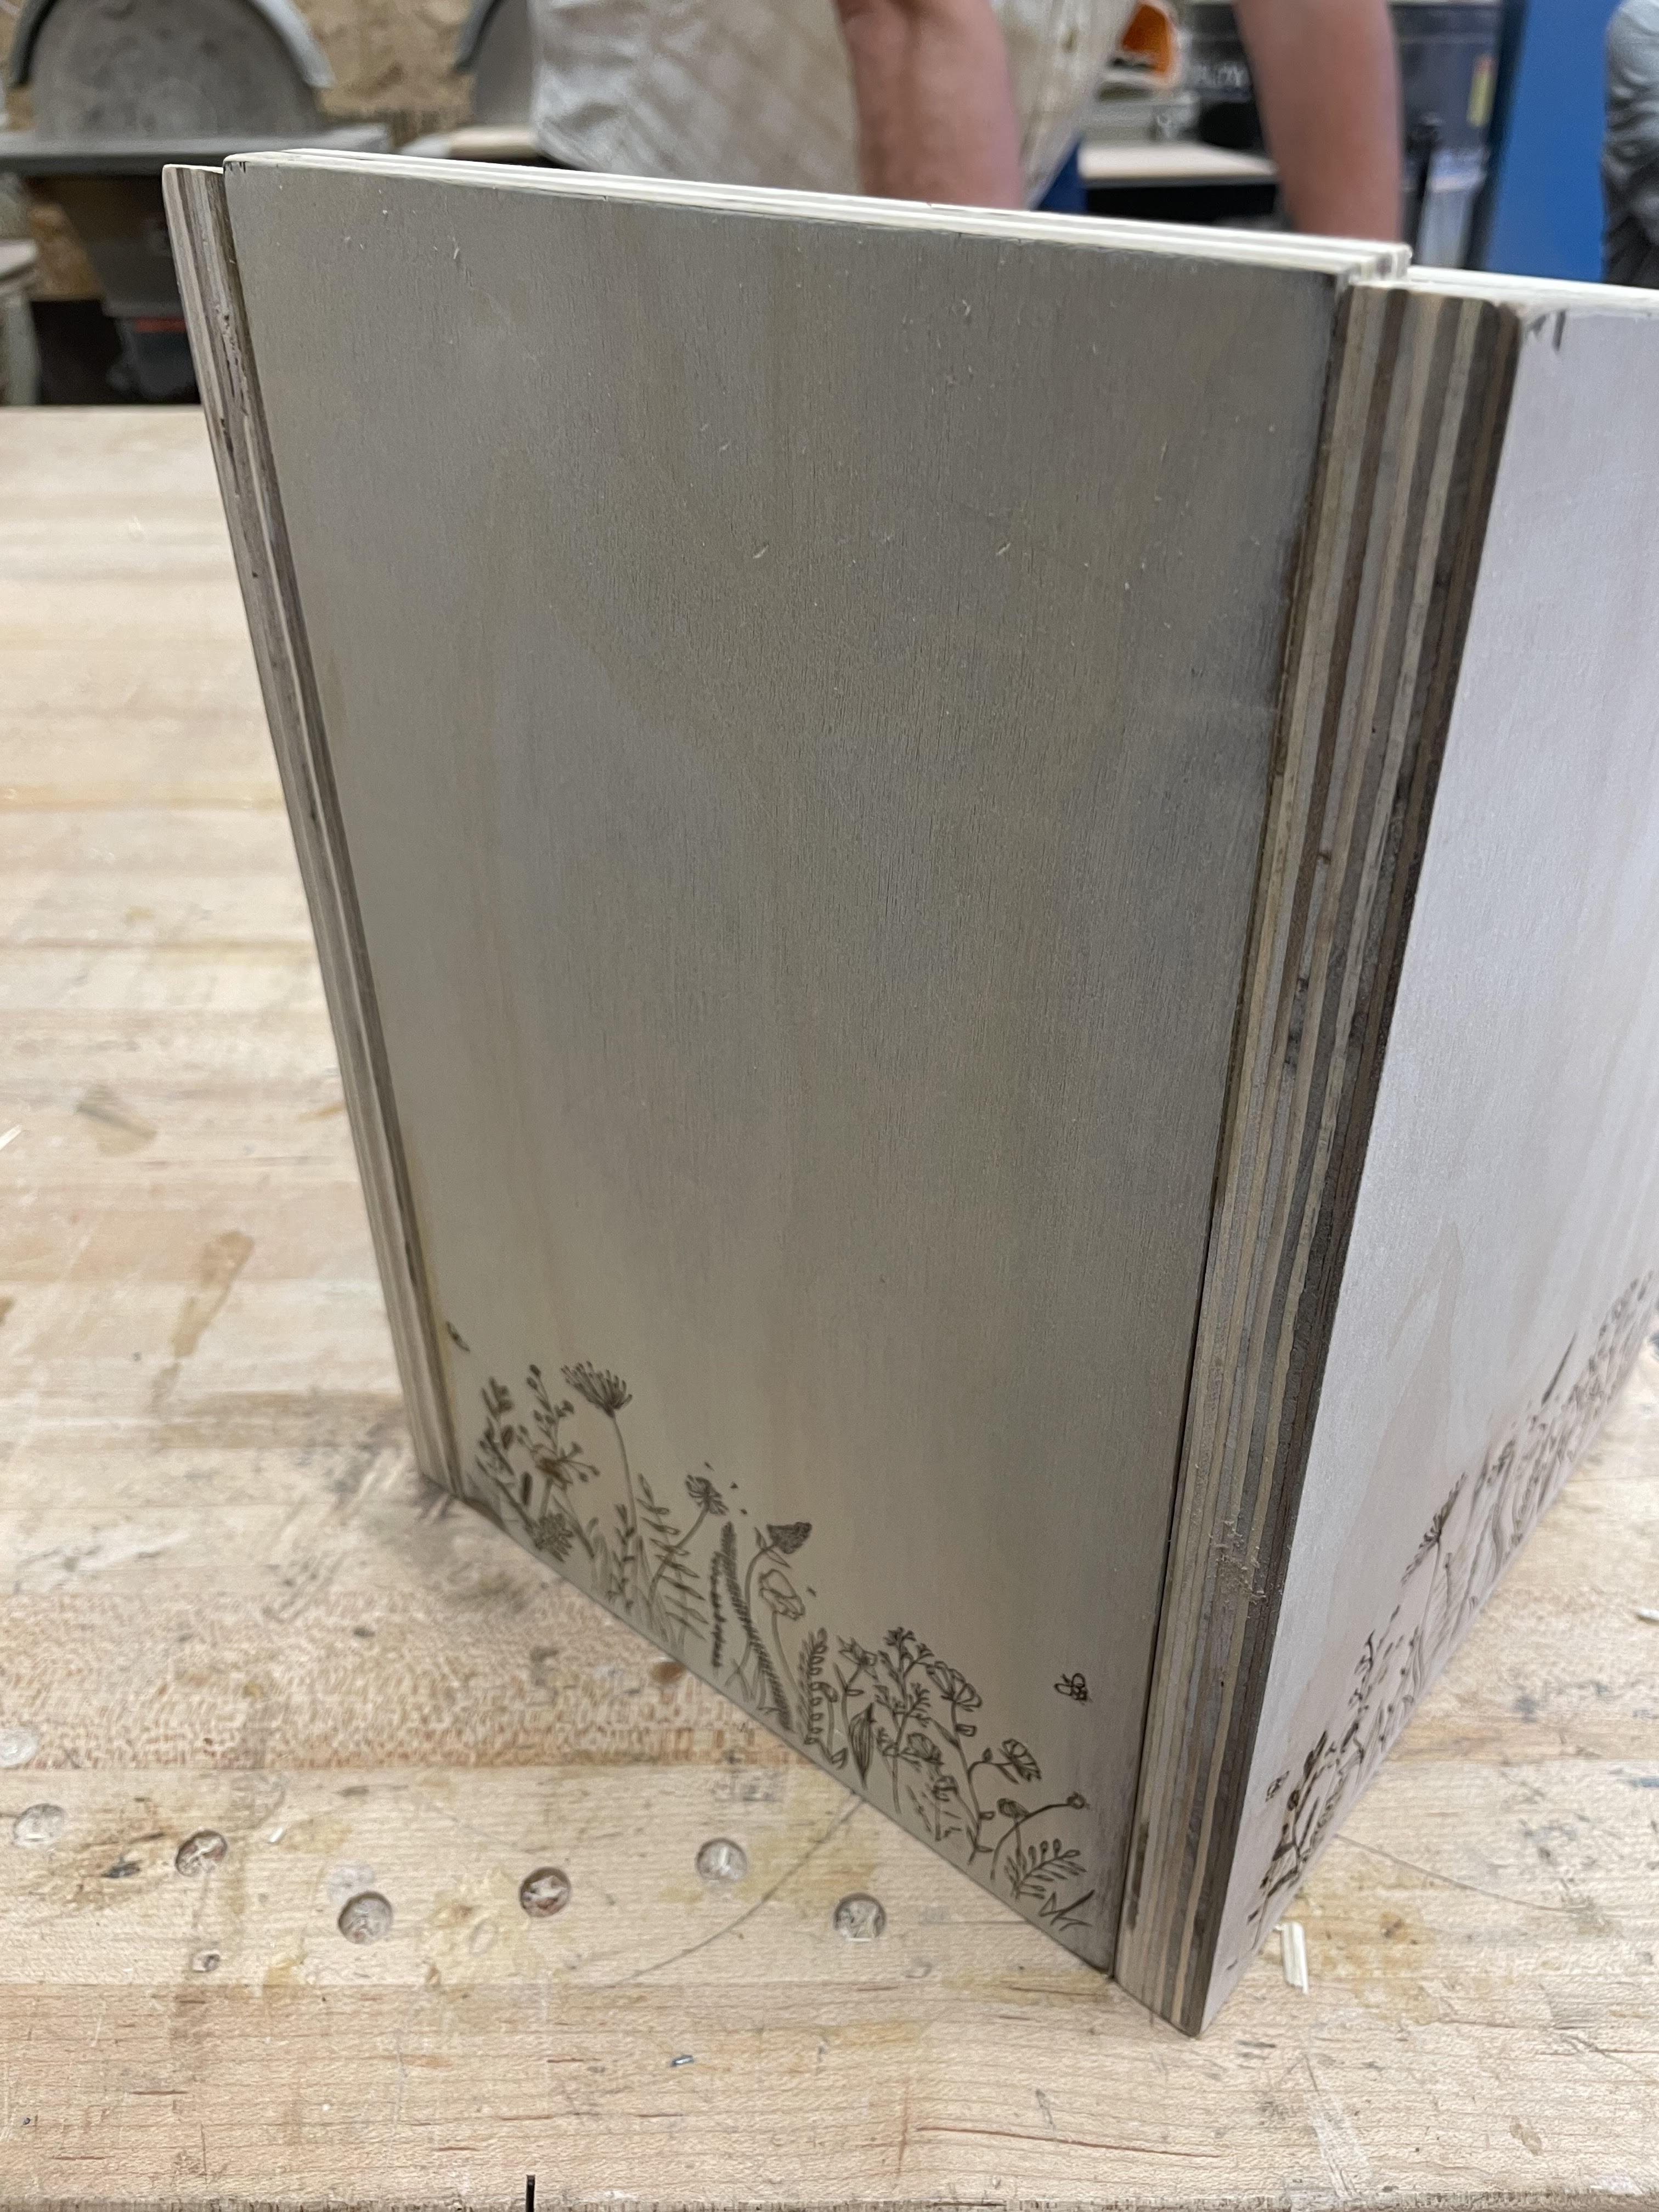
We started off by brainstorming ideas that we could engrave and we ended up choosing flowers. After this we searched online for outlines of flowers which we then picked and saved. After this you open up Adobe illustrator and get the image you picked out. You go to the file and click in place in order to get the image. After this you get the measurements that you want for the image and then click on Image trace. After that you play around with the setting of how thick or thin you want the engraving.
Once you are done with playing with the settings to get what you want you put it on a usb. Make sure the file is a .pdf. Then go to the laser cutter, position your wood and where the laser cutting is going to do the design, then engrave it
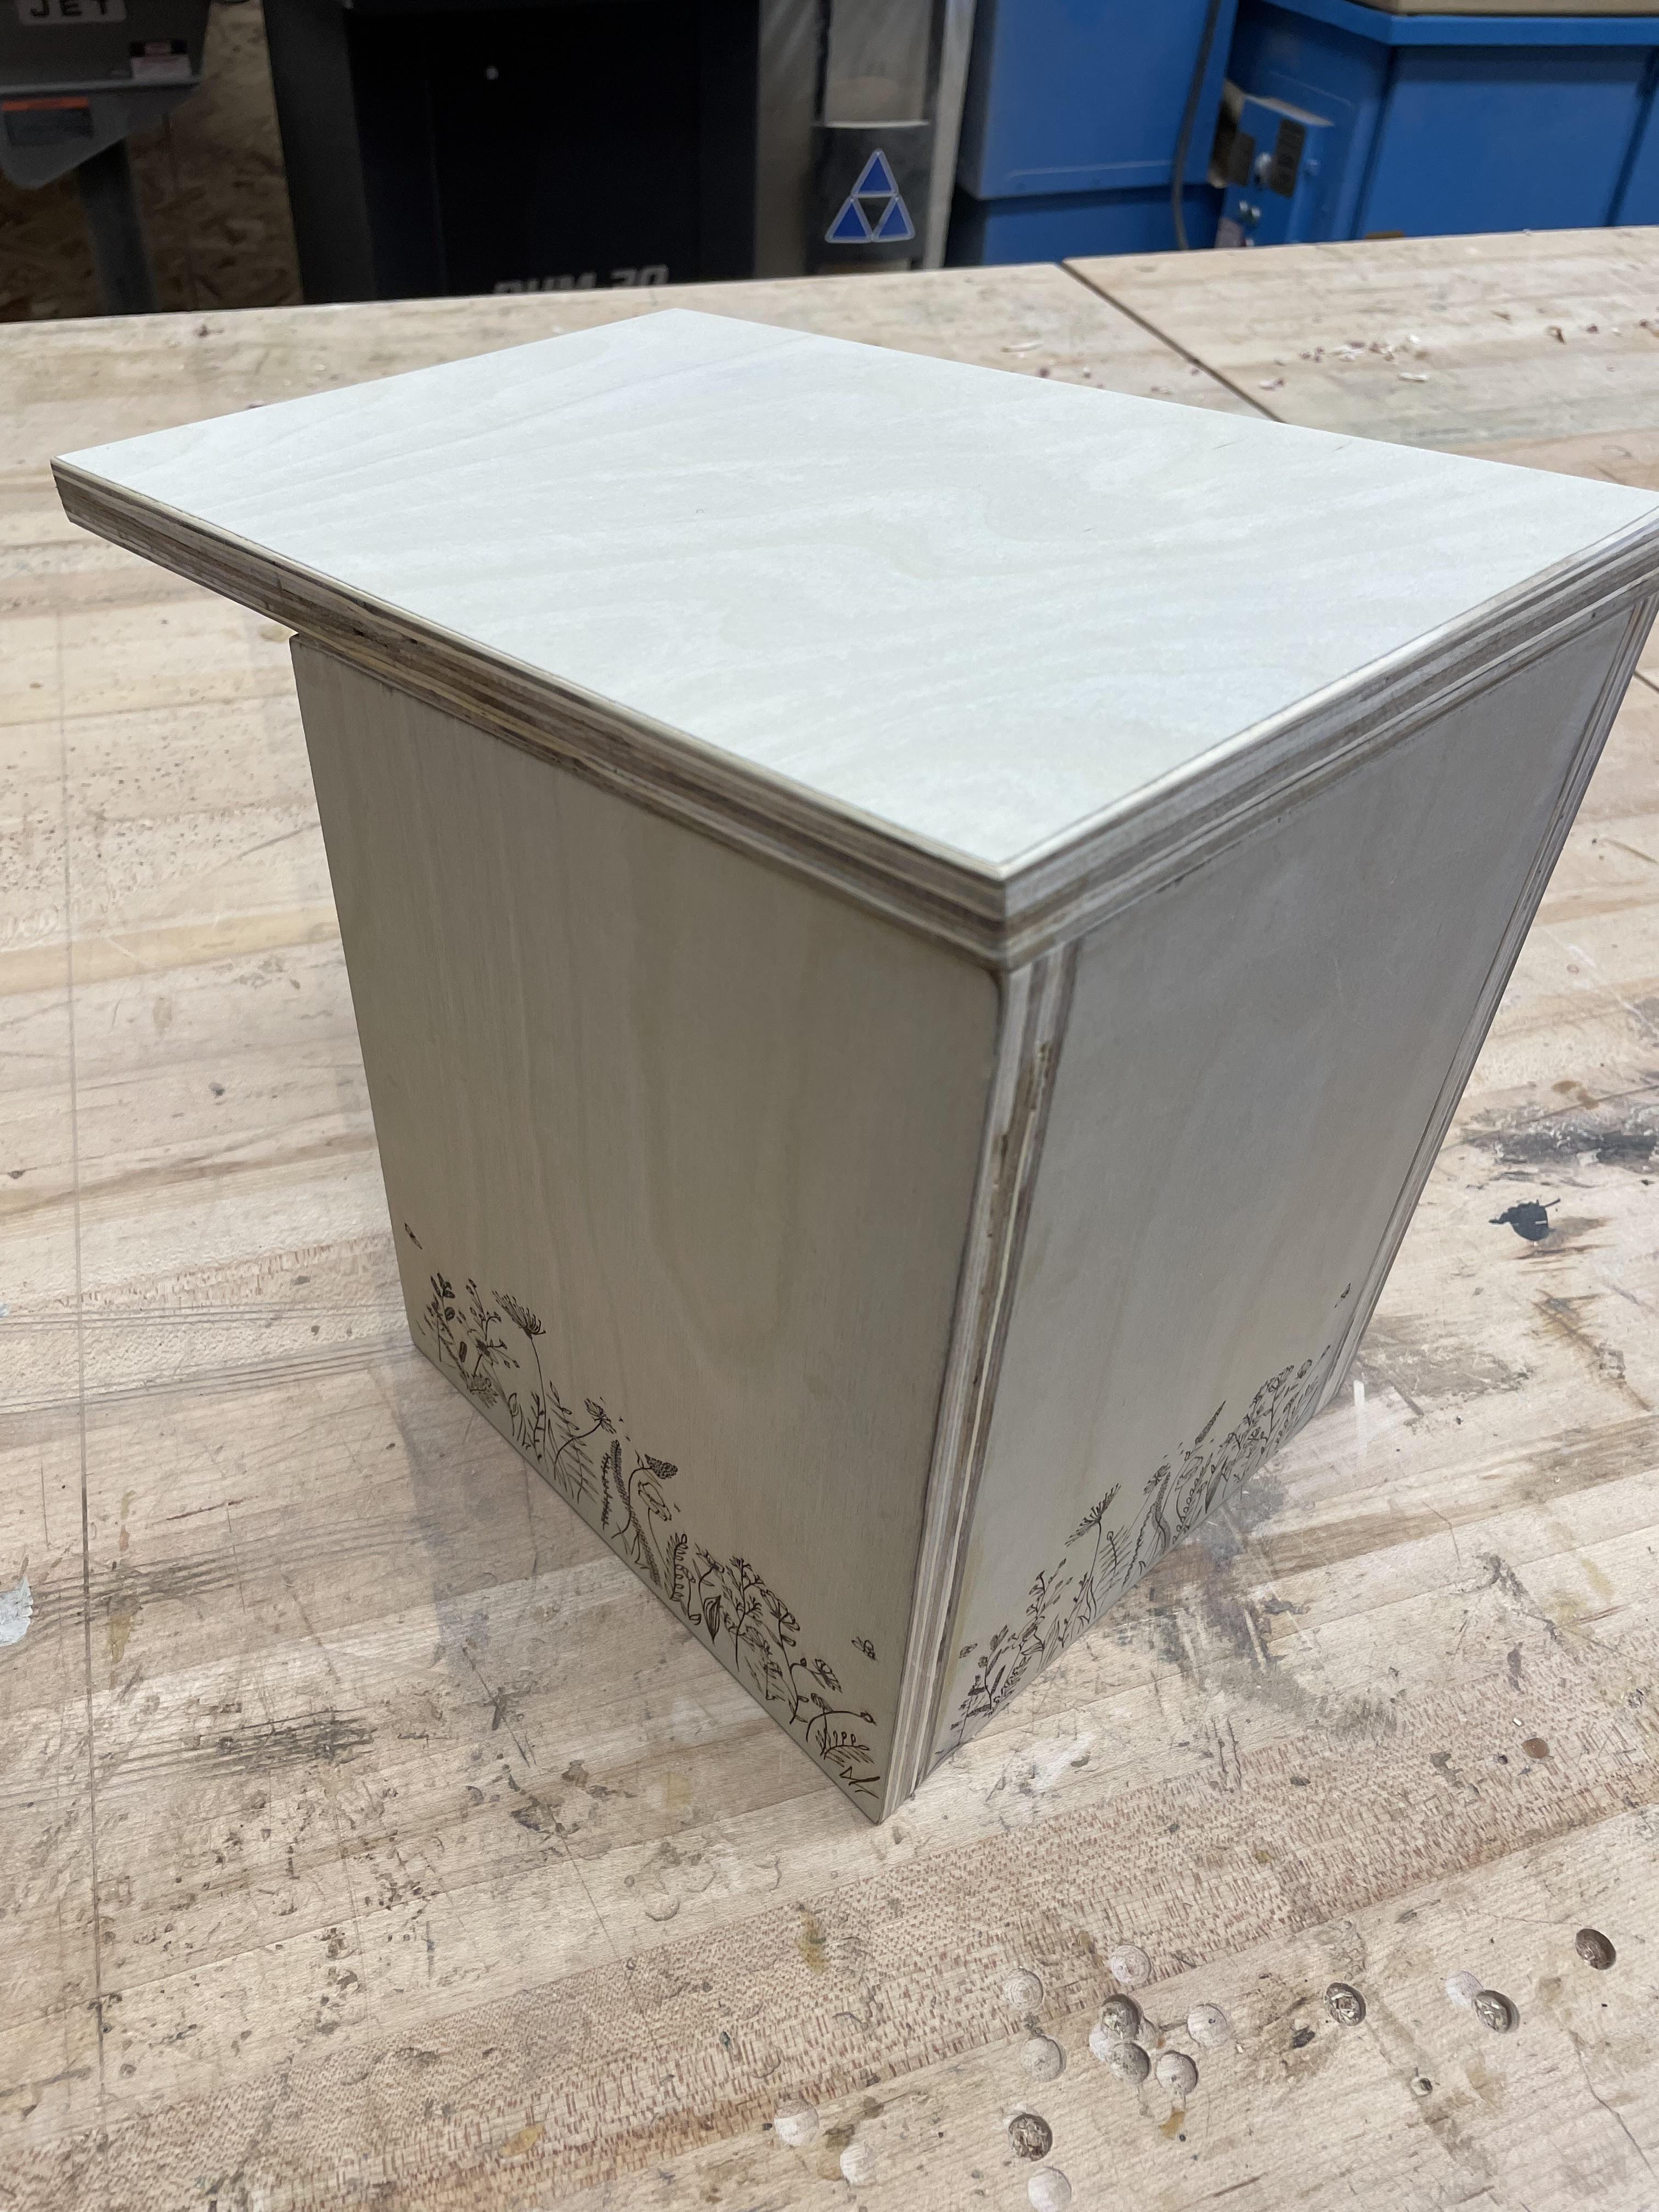
Assembling the Project
.jpg)
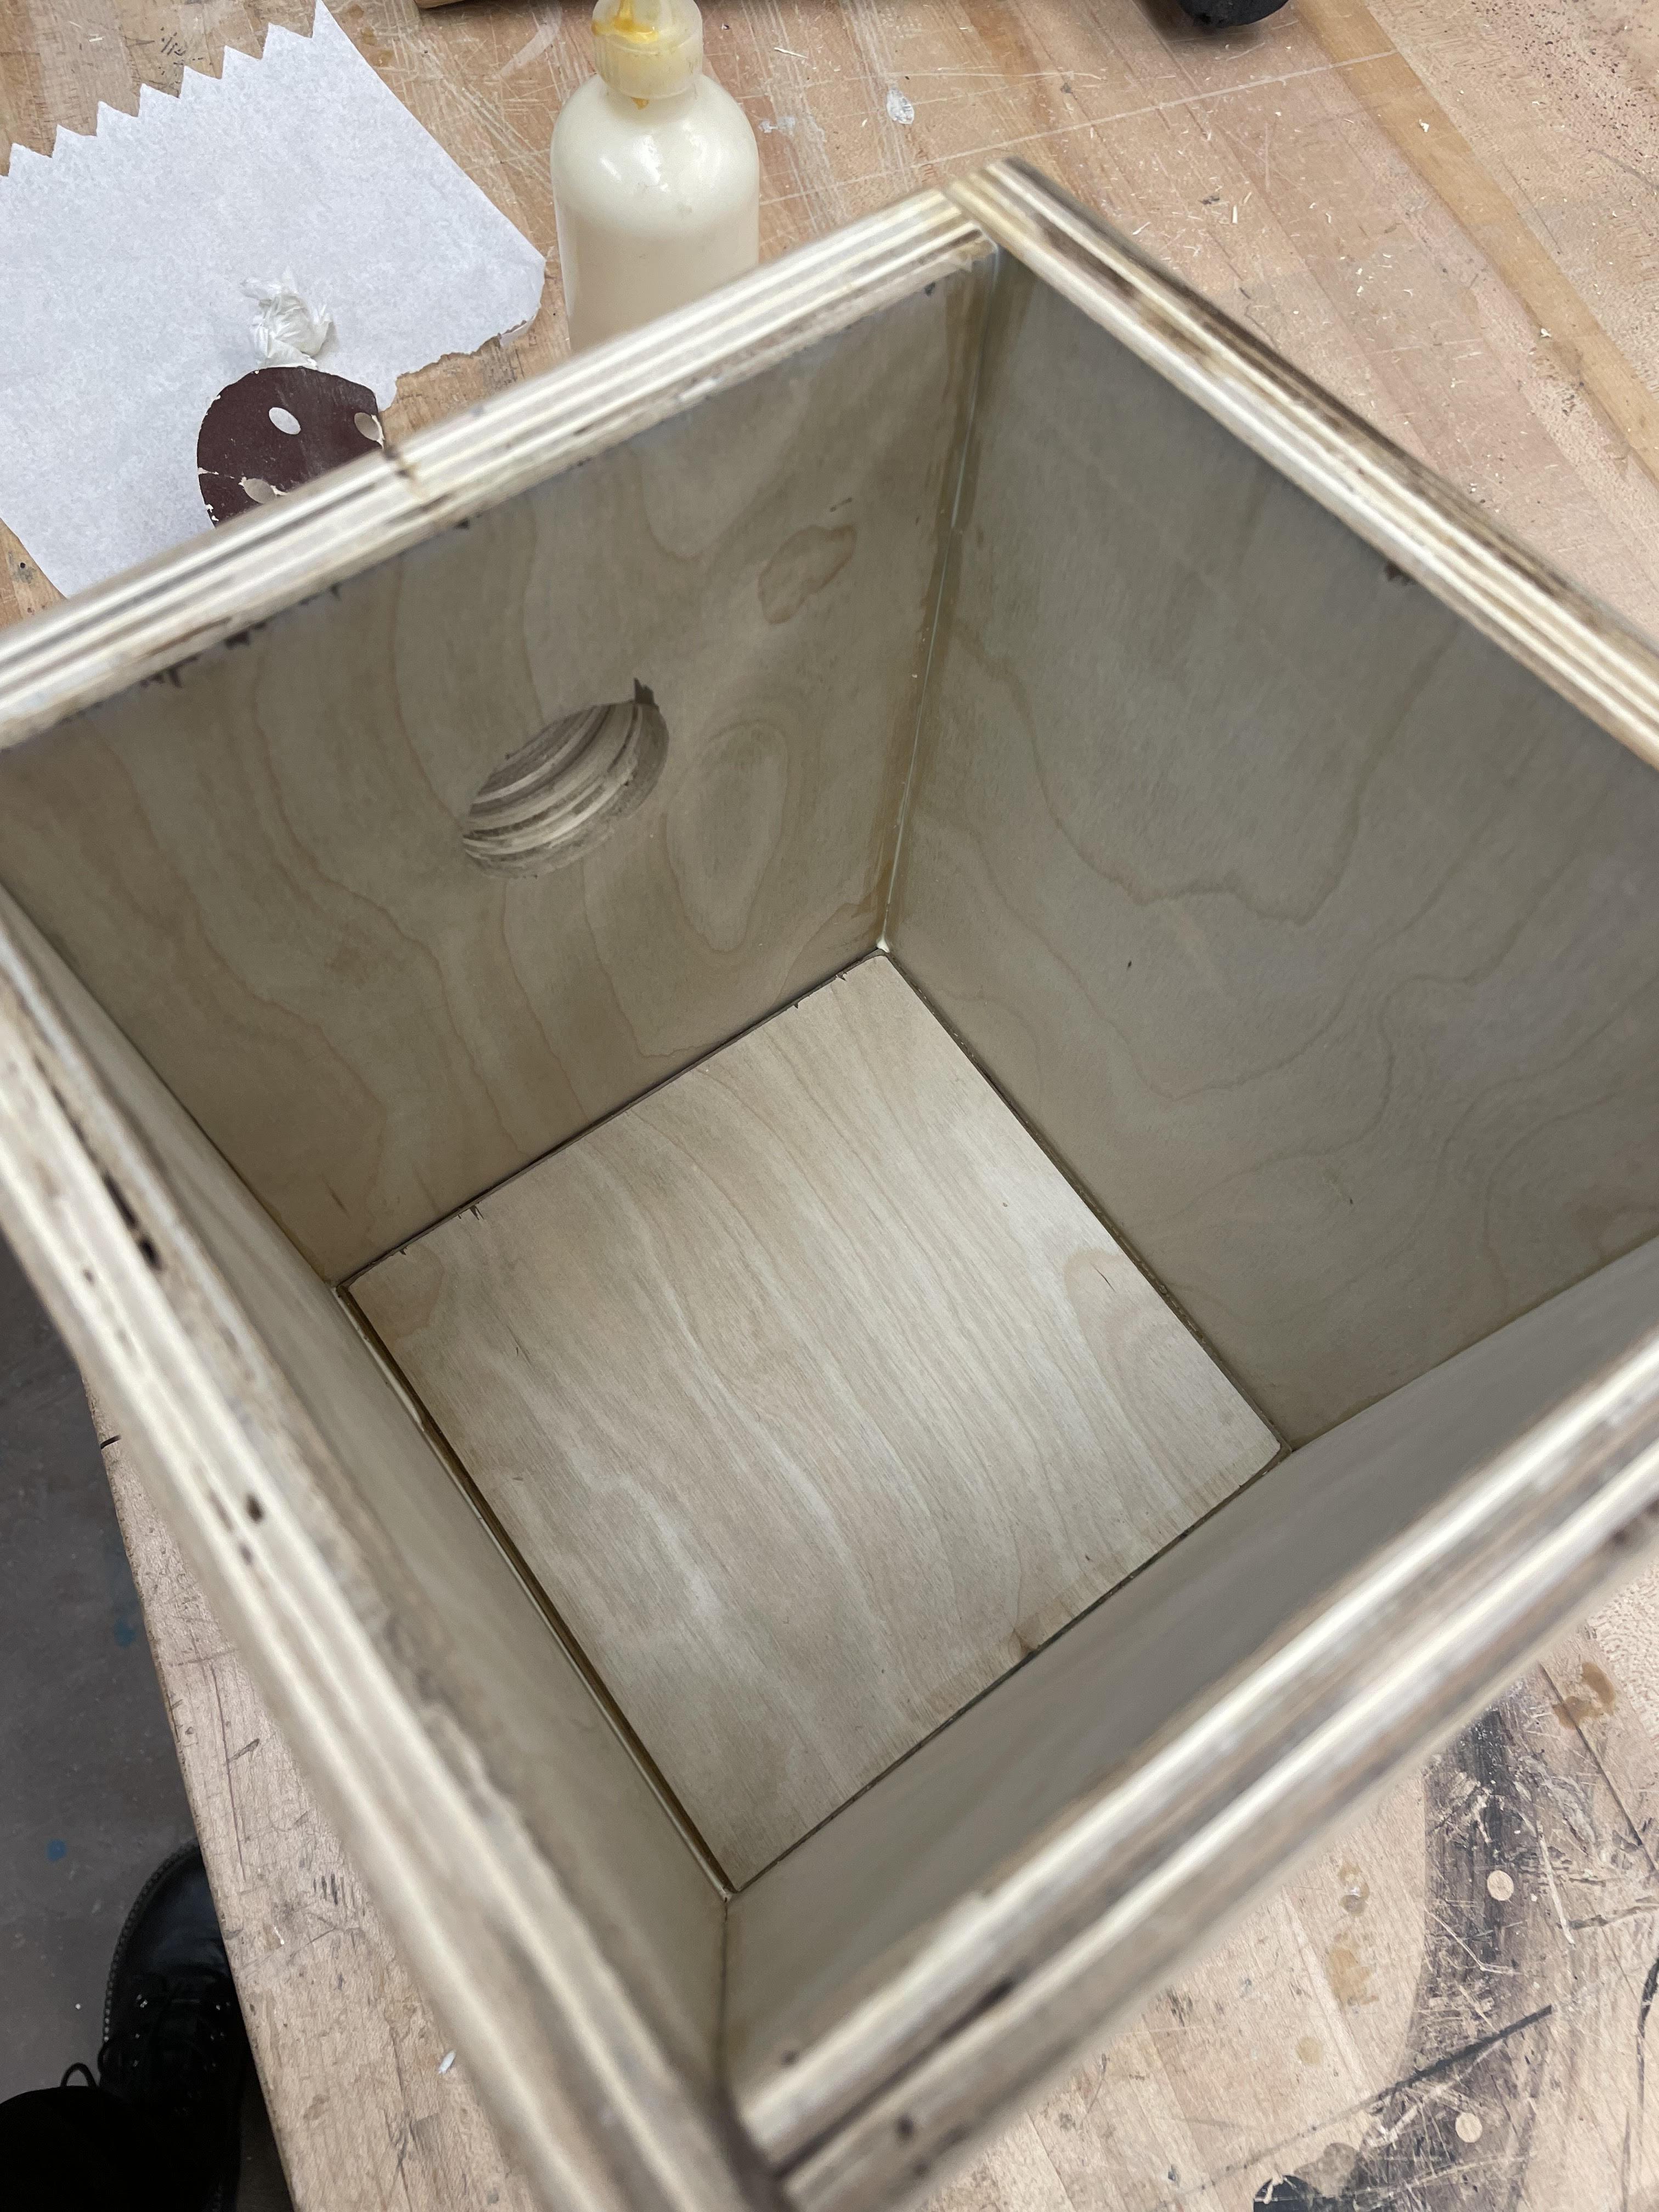
Once you have your piece cut out and the sides engraved, do any final sanding. After you are satisfied, grab your wood glue or nail gun, we used wood glue, and attach all your pieces together. If needed, reference the model sketch to put them together. However, do not yet attach the top piece.
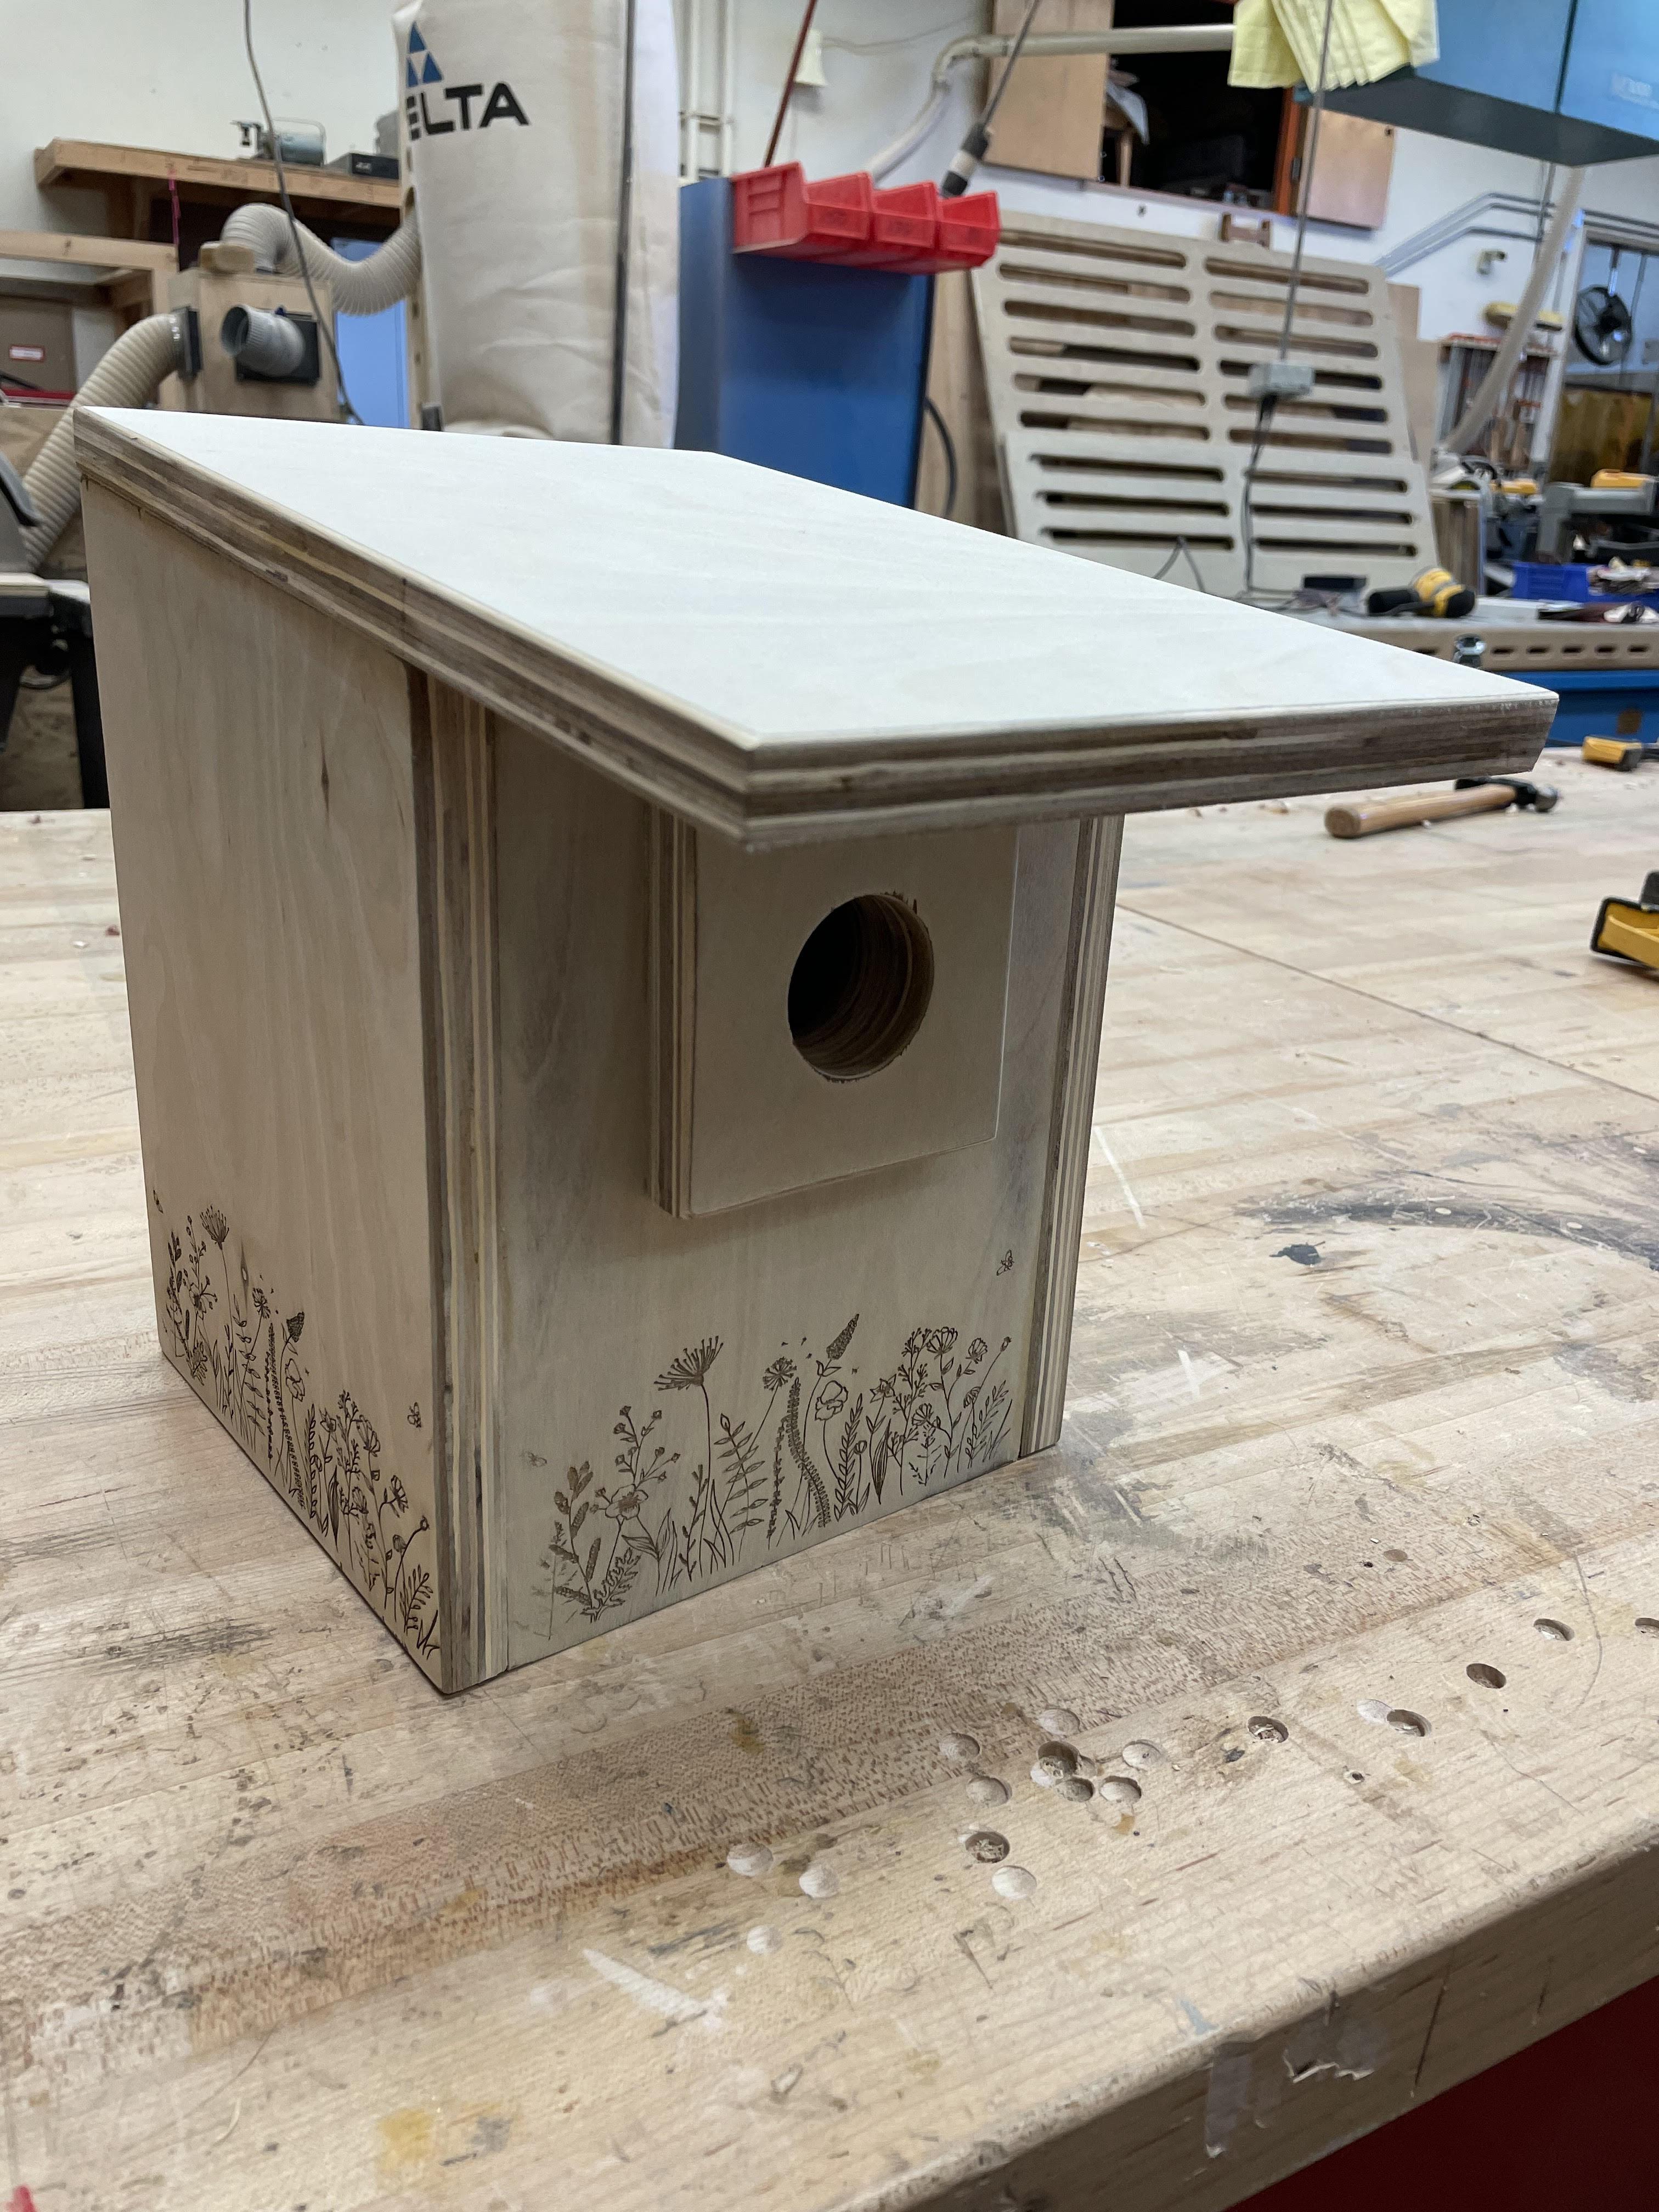
After you attach all the pieces except the top, make sure you sand down the front and back pieces the appropriate angle (use the side pieces as a reference). Once it is sanded down perfectly, glue the top piece down. Make sure that the top piece doesn't have any space between the sides, top and back piece. If it does, that likely means that the top and back sides weren't sanded down correctly.
Once you get everything attached, you've finished your bird house.
Finished
You're Done!! Good Job!!
Now just attach your bird house to the top of a pole (instructions will be found on google) and watch the birds flock in.