Bike Analyzer
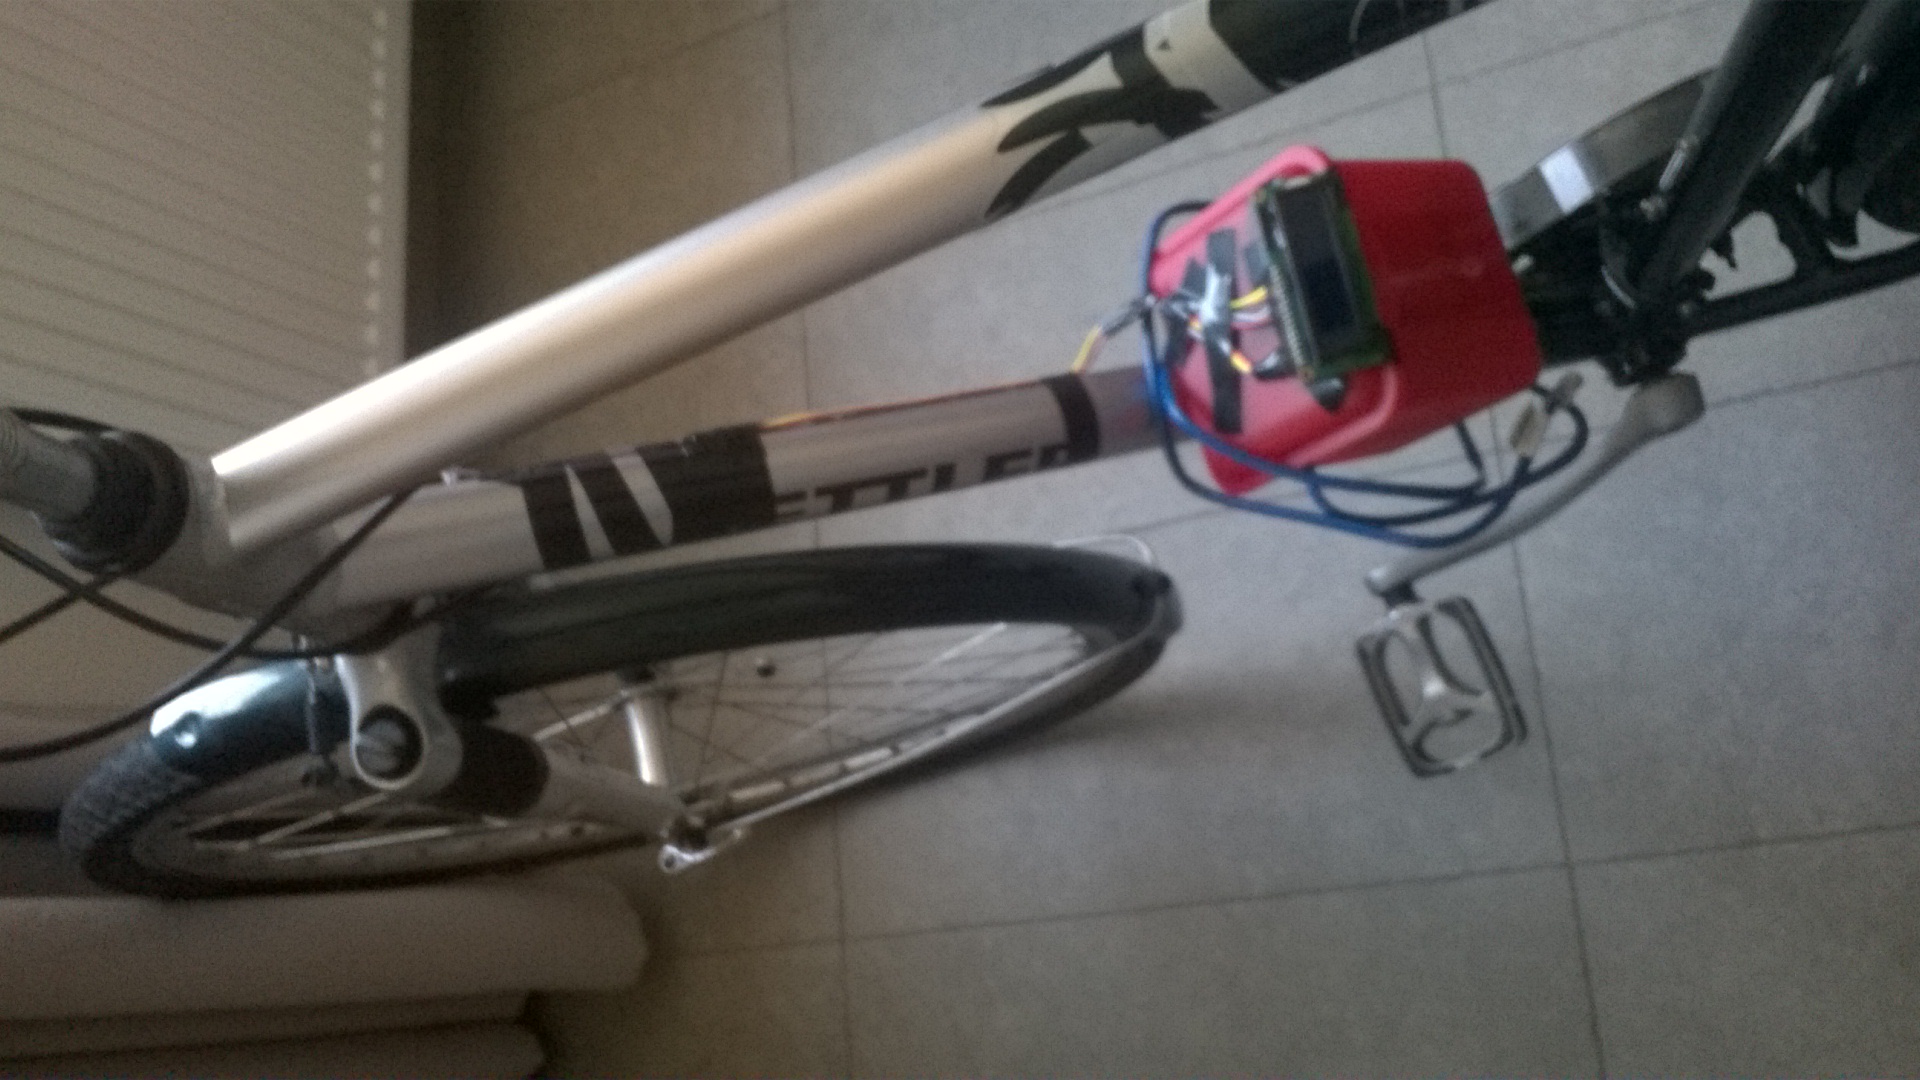
Hello, in this intractable we will make
a bike speed sensor. This will be controlled by a Raspberry Pi.
This speed sensor will detect how fast you go and display this on an LCD, remember how long you biked, how long you paused between biking and how far you have driven with your bike and display this on your website.
Materials and Tools
Materials:
· Raspberry PI 3 x1
· SD card 8GB or higher x1
· Powerbank x1
· Cable usb --> micro usb x1
· Mini breadboard x1
· Cabling amount depends on your bike
· 16x2 LCD x1
· Old plastic box x1
· Bike with removable drink holder x1
· Hall sensor x1
· Ethernet cable x1
· Magnets x2
Tools:
· Drills of different sizes
· Cutter knife
· Tape
· Screwdriver
BOM:
Setup Raspberry Pi (os)
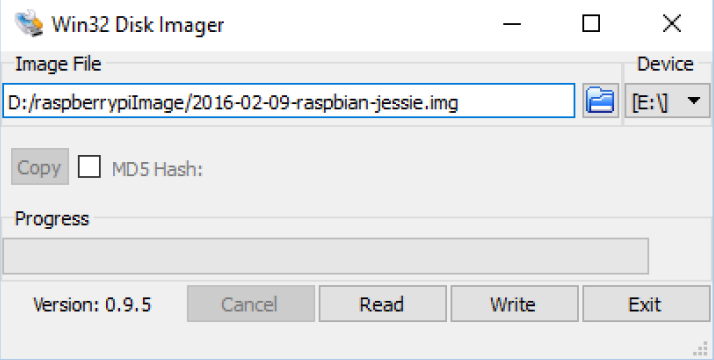
Start with downloading and install the following programs:
- win32 disk imager (to set image on SD card)
- python 3 (so you can exicute python 3 code)
- pycharm (to program the pi)
- putty (to log into the pi)
Also download raspbian lite image ( this is the OS for the pi).
When that is done open win32 disk imager.
Select the raspbian lite image in the image file. then select your device to do this you will have to plug your SD card into your pc then select it. Once you did that press the write button.
After that is done open the SD card on your pc and cmd.txt document and add the code you see here under just before rootwait
ip= 169.254.10.11
once this is done save remove the SD card for your pc and plug it into you pi.
Setup Raspberry Pi Putty
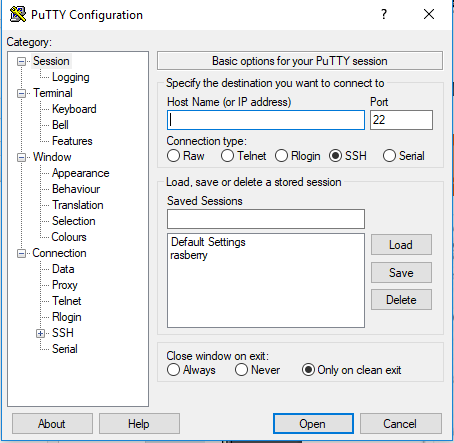
Plug in your raspberry pi into your pc with the ethernet cable and give it power, after that open putty.
Once putty is opened you see the screen above. fill in the host name with 169.254.10.1 and set it on SSH. make sure you are using port 22. Once you have done this click open and then log in
- Username:pi
- Password : raspberry
Configuring the Raspberry
First of all we need to make sure that the pi OS is up to date by using following command:
sudo apt-get update && sudo apt-get upgrade
After this we will install the MySQL database use following commands
sudo apt-get install-server
sudo apt-get install-client
When you do these comands it will ask you for a password just type "password" so it goes with my code
Now we will enter the MySQL and make he user and database with the following code:
mysql -uroot -p
CREATE USER 'finley'@'localhost' INDENTIFIED BY 'some_pass';
GRANT ALL PRIVILEGES ON *.* TO 'finley'@'localhost' WITH GRAND OPTION;
CREATE USER 'finley'@'localhost' INDENTIFIED BY 'some_pass';
GRANT ALL PRIVILEGES ON *.* TO 'finley'@'localhost' WITH GRAND OPTION;
CREATE DATABASE ENMDatabase;
Quit
At last we will install mysql.connector with this code:
sudo apt-get install python3-mysql.connector
Pycharm Conection With Pi
Now that our raspberry pi is setup we can start with pycharm. First we are going to connect pycharm and our pi together. This is done by going to settings in pycharm and then selecting "project interpreter" then click on the gear and chose add remote. You will get a screen where you can give the data needed. For connecting choose SSH and fill in the form and press ok.
We can now install the packages onto the pi. This is done by clicking on the green +. These are the packages you need to install:
- Flask
- jinja2
- RPi.GPIO
- pygal
Look for them and click install. If they are already installed that's fine too.
Create a new project and the location we choose on our pi is home/pi/final
Pycharm Database
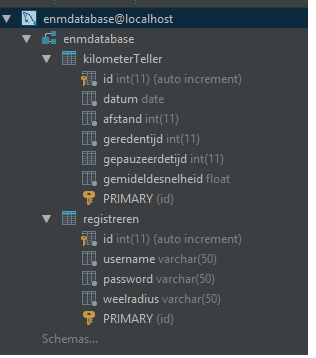
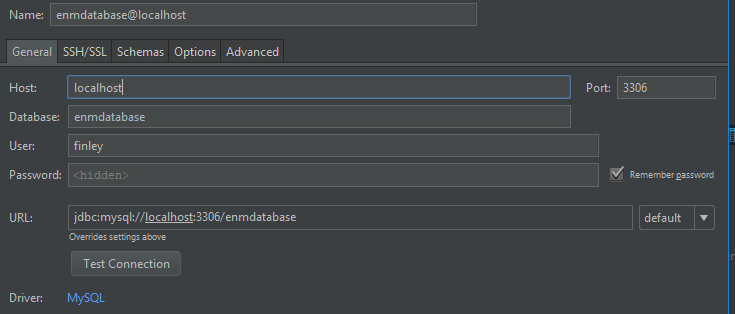

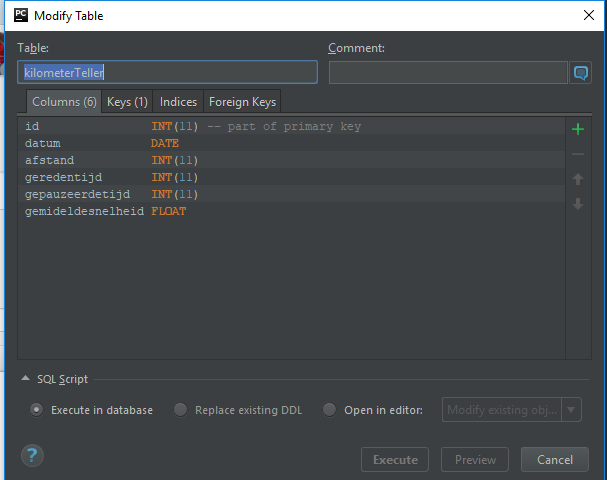
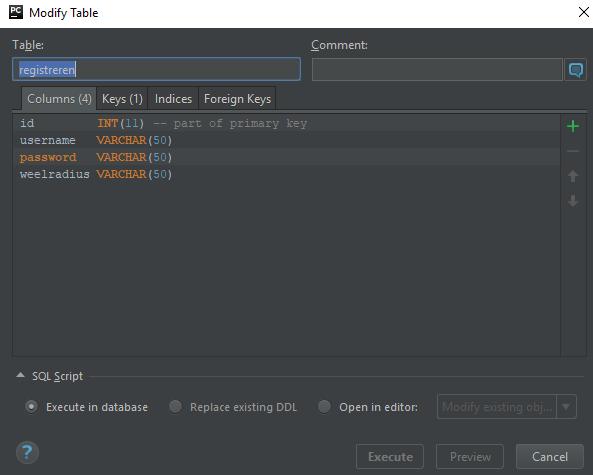
Now we need to connect the database as you can see above in the first photo. First we need to connect with the database, click on the plus and choose MySQL. Now you get a screen where you need to fill in the infoas shown above in the screenshots.
Note: do not forget to fiil in your passwords.
When that is done click ok and connect to the database. Click add database and add the "enmdatabase". Here you want to add 2 tables as you can see in picture above. Do not forget to make the id auto increment.
When you’re with all these steps your pycharm is ready.
Code
Get the code form my github and place it in the project you just made. Make sure you upload it to your pi by right clicking the headfolder and doing upload.
Cabling
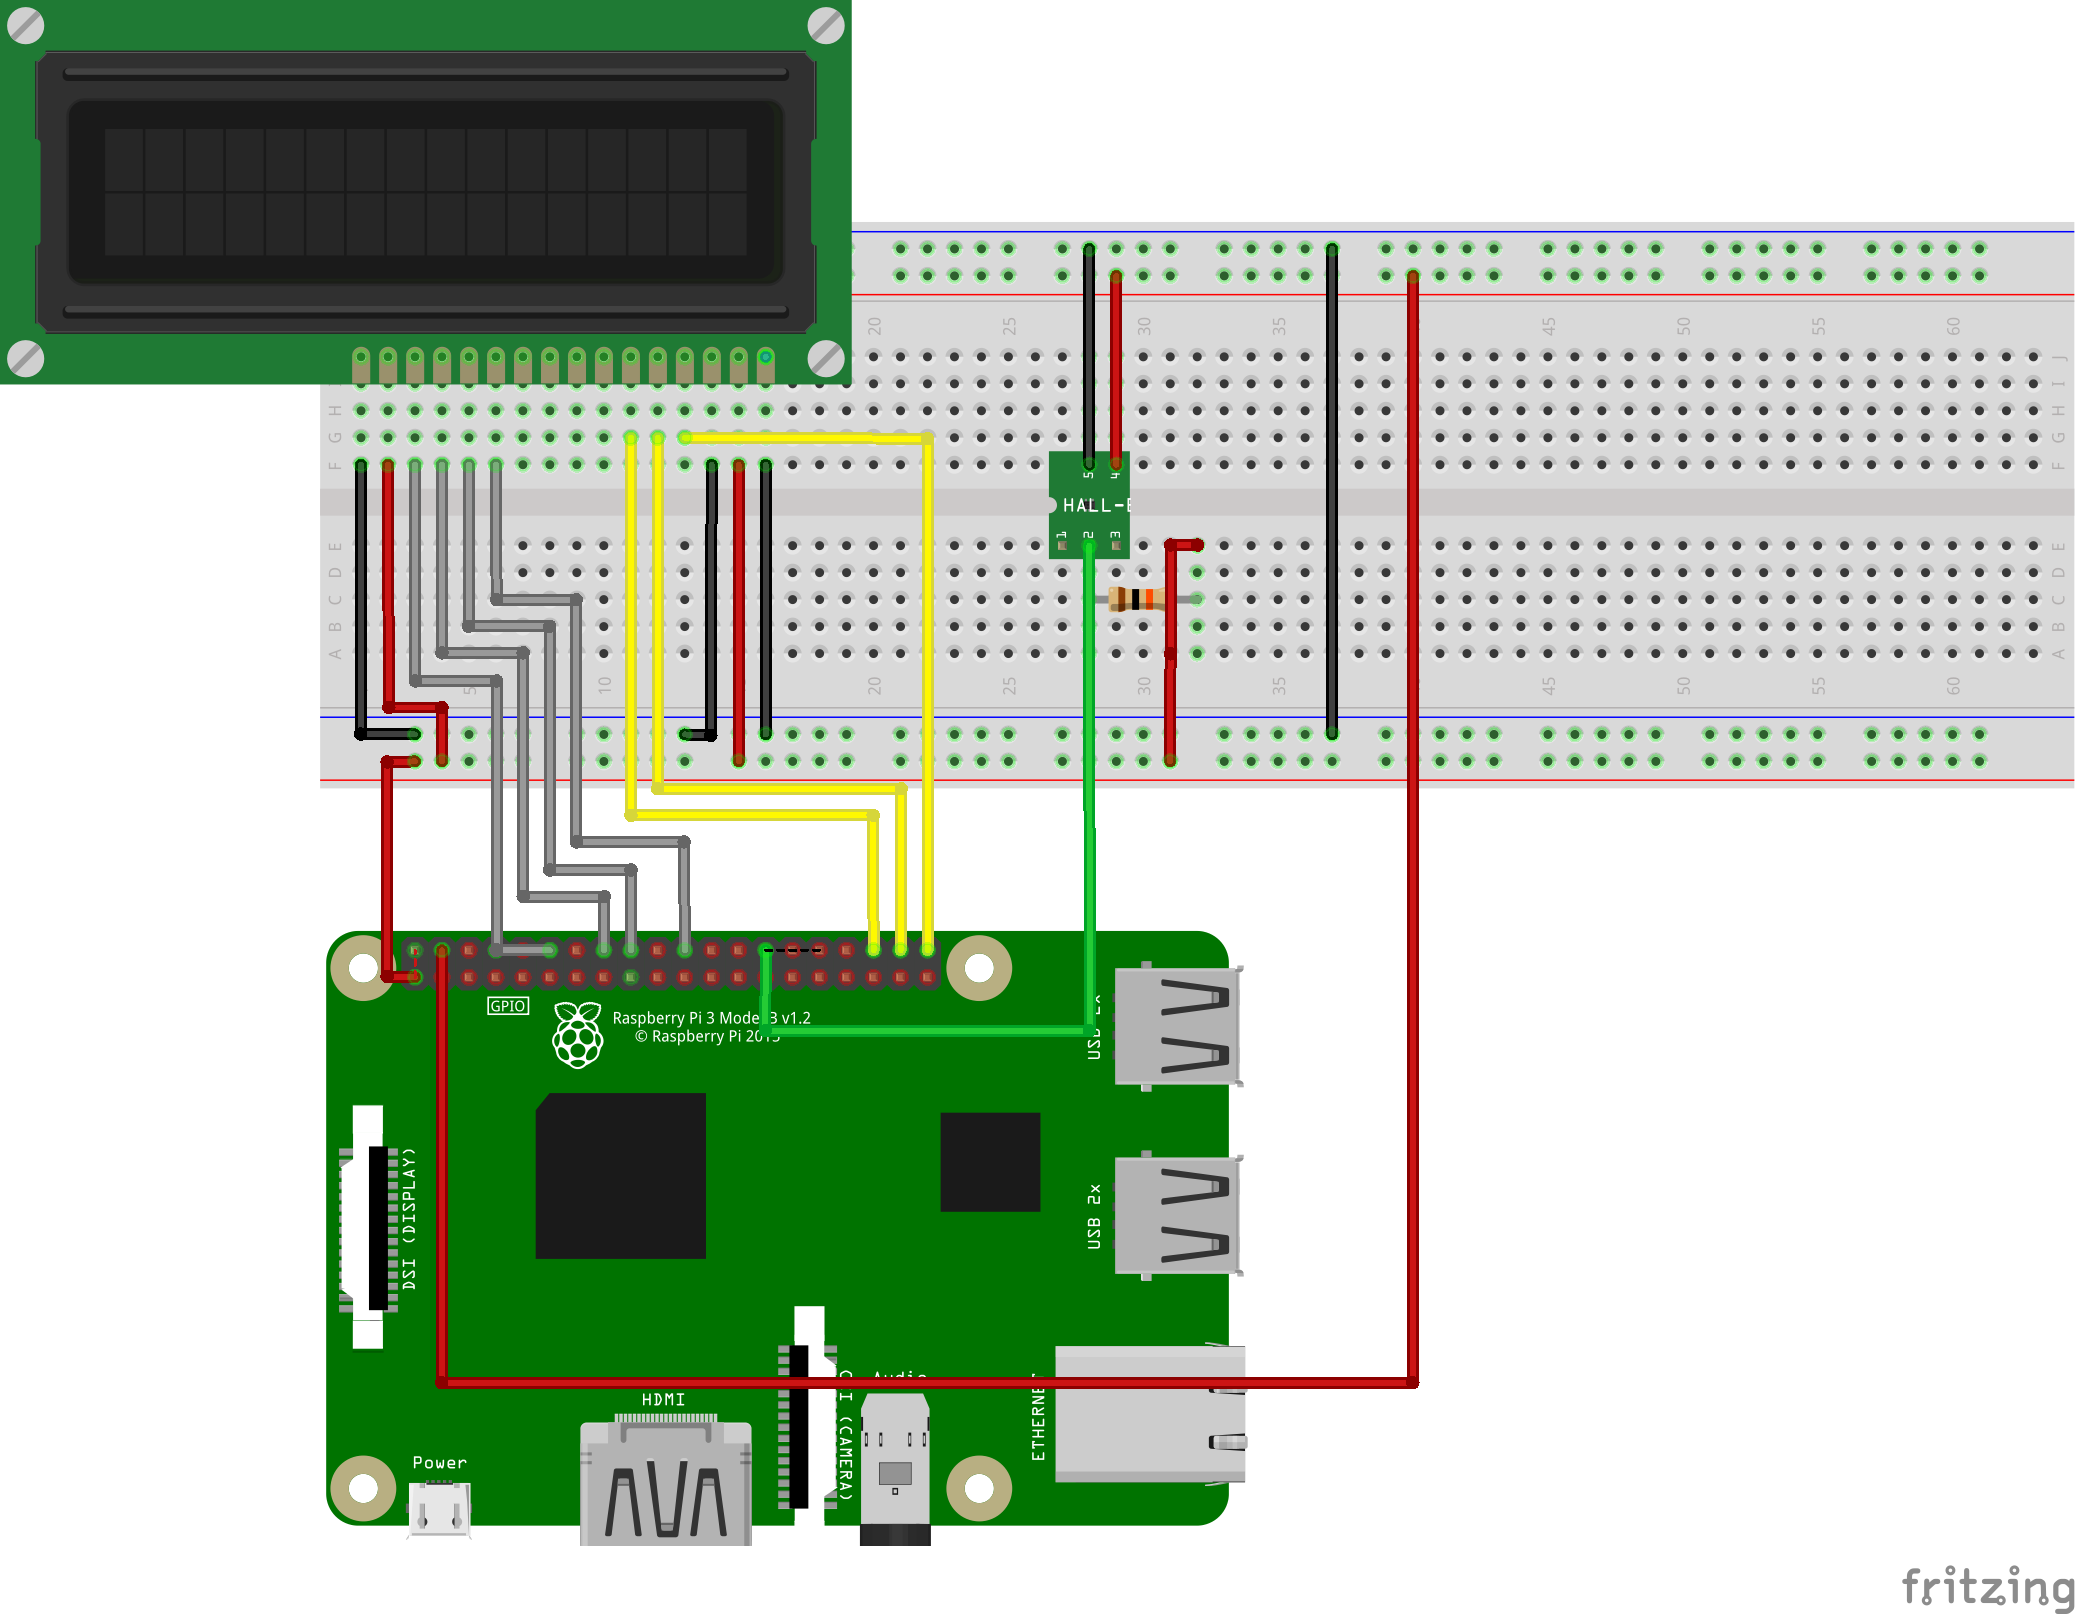
In the picture above you can see how you should wire everything to your pi.
Note: do make sure if you're are going to connect everything that we are going to build a casing in the next step and that you probably have to recable. keep this step in mind and go to the next one
Build
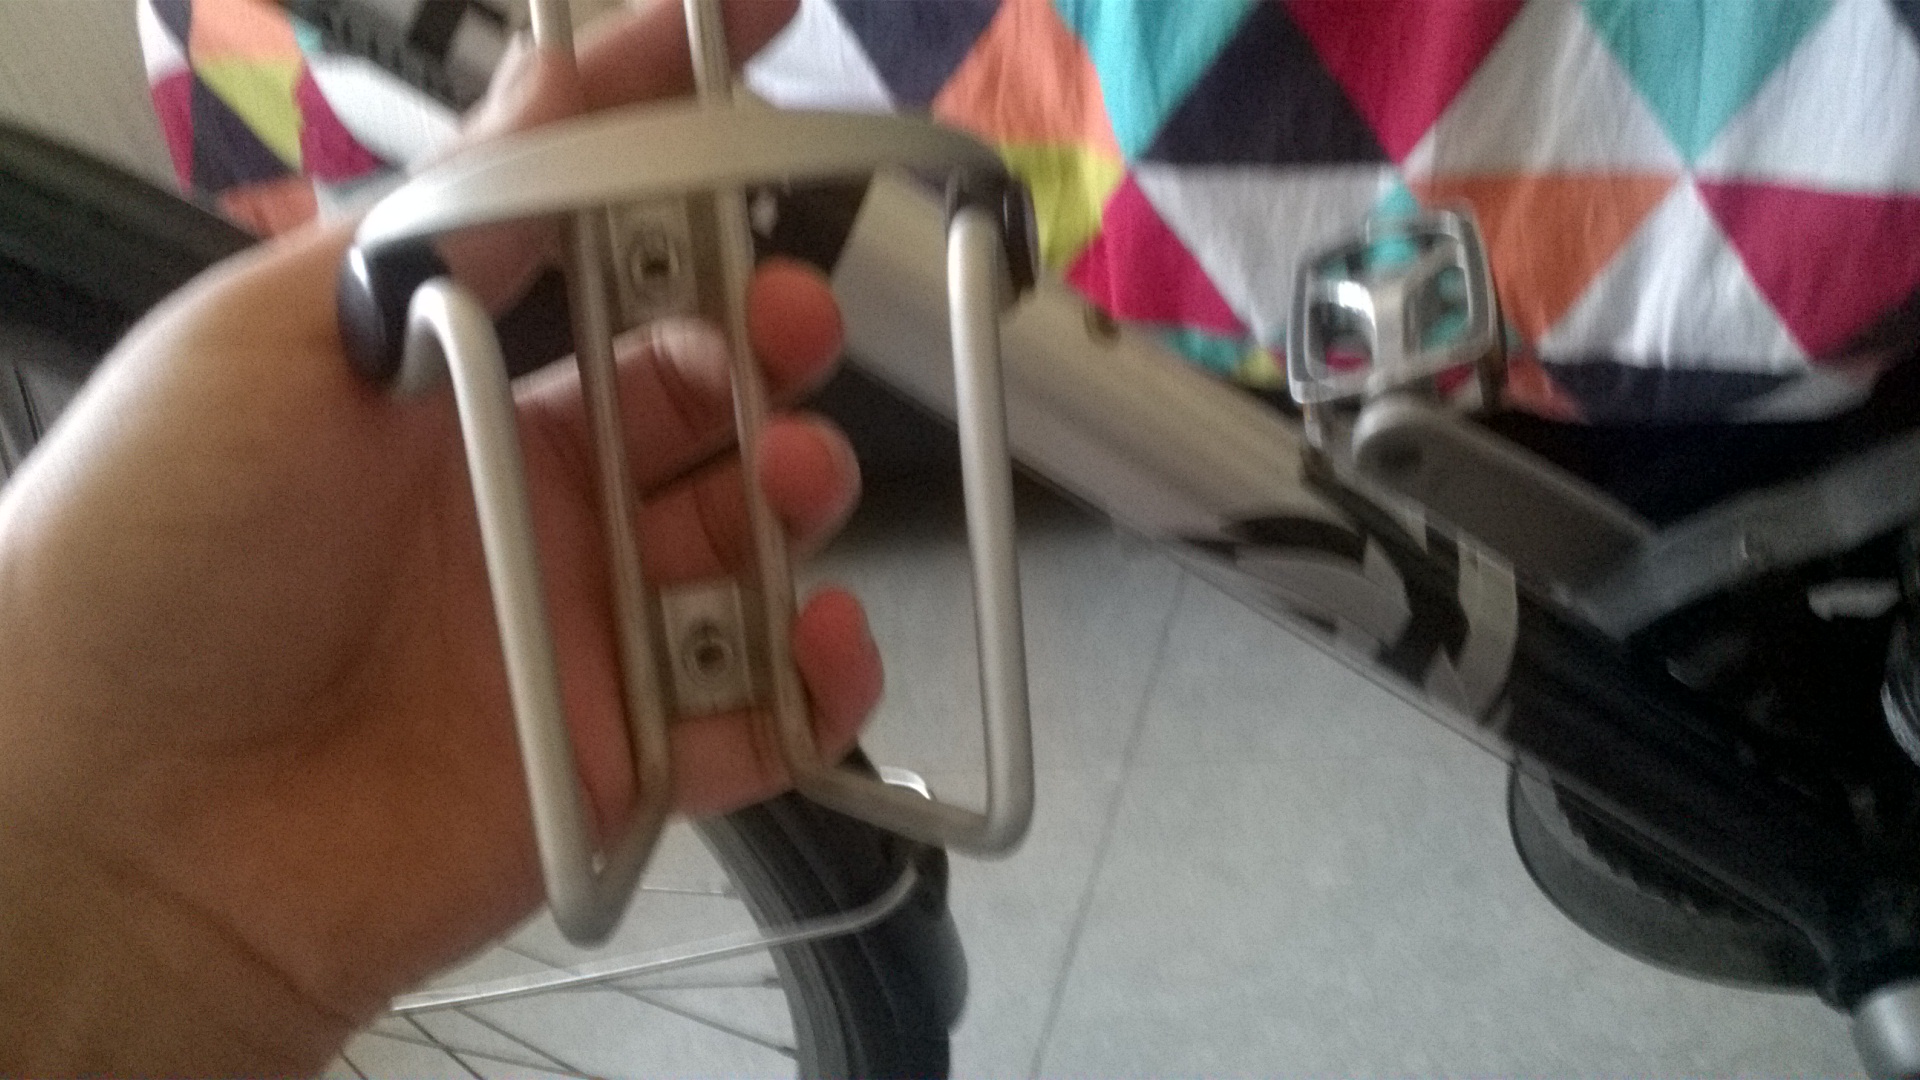
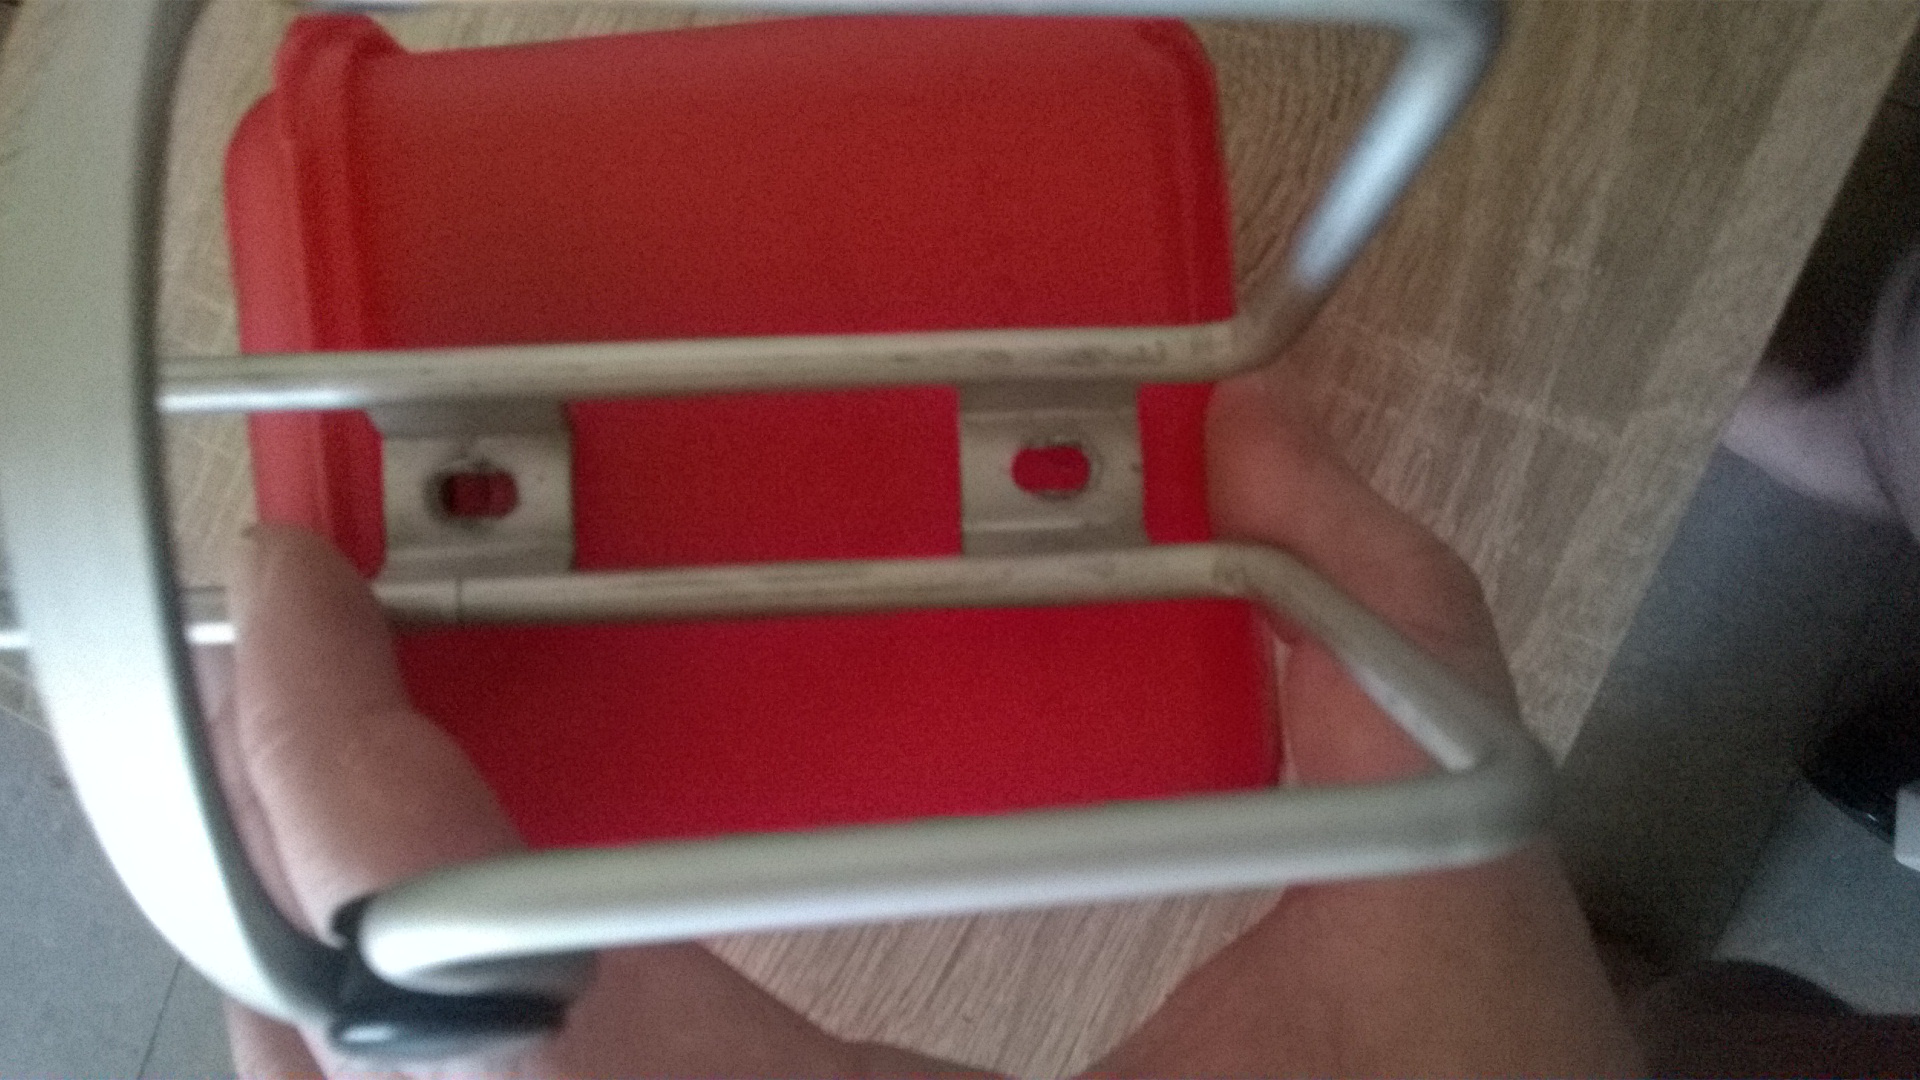
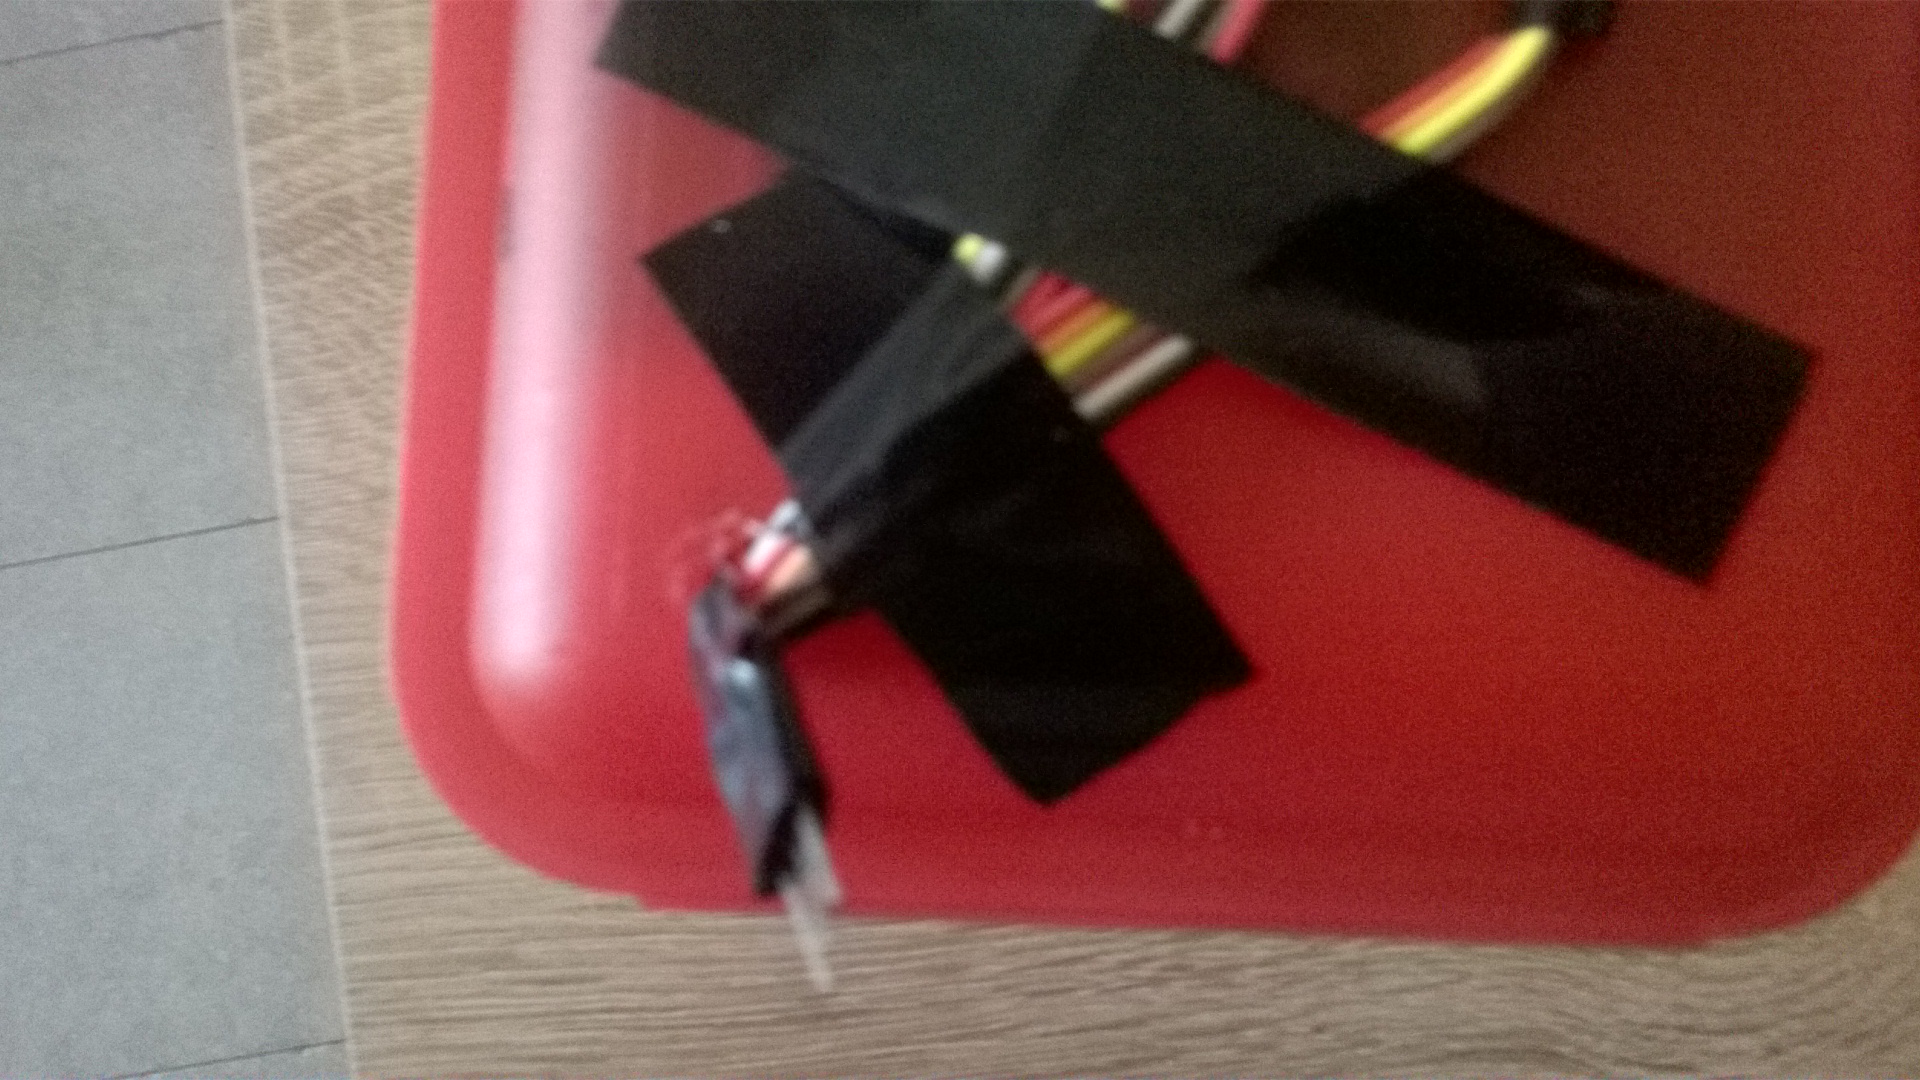
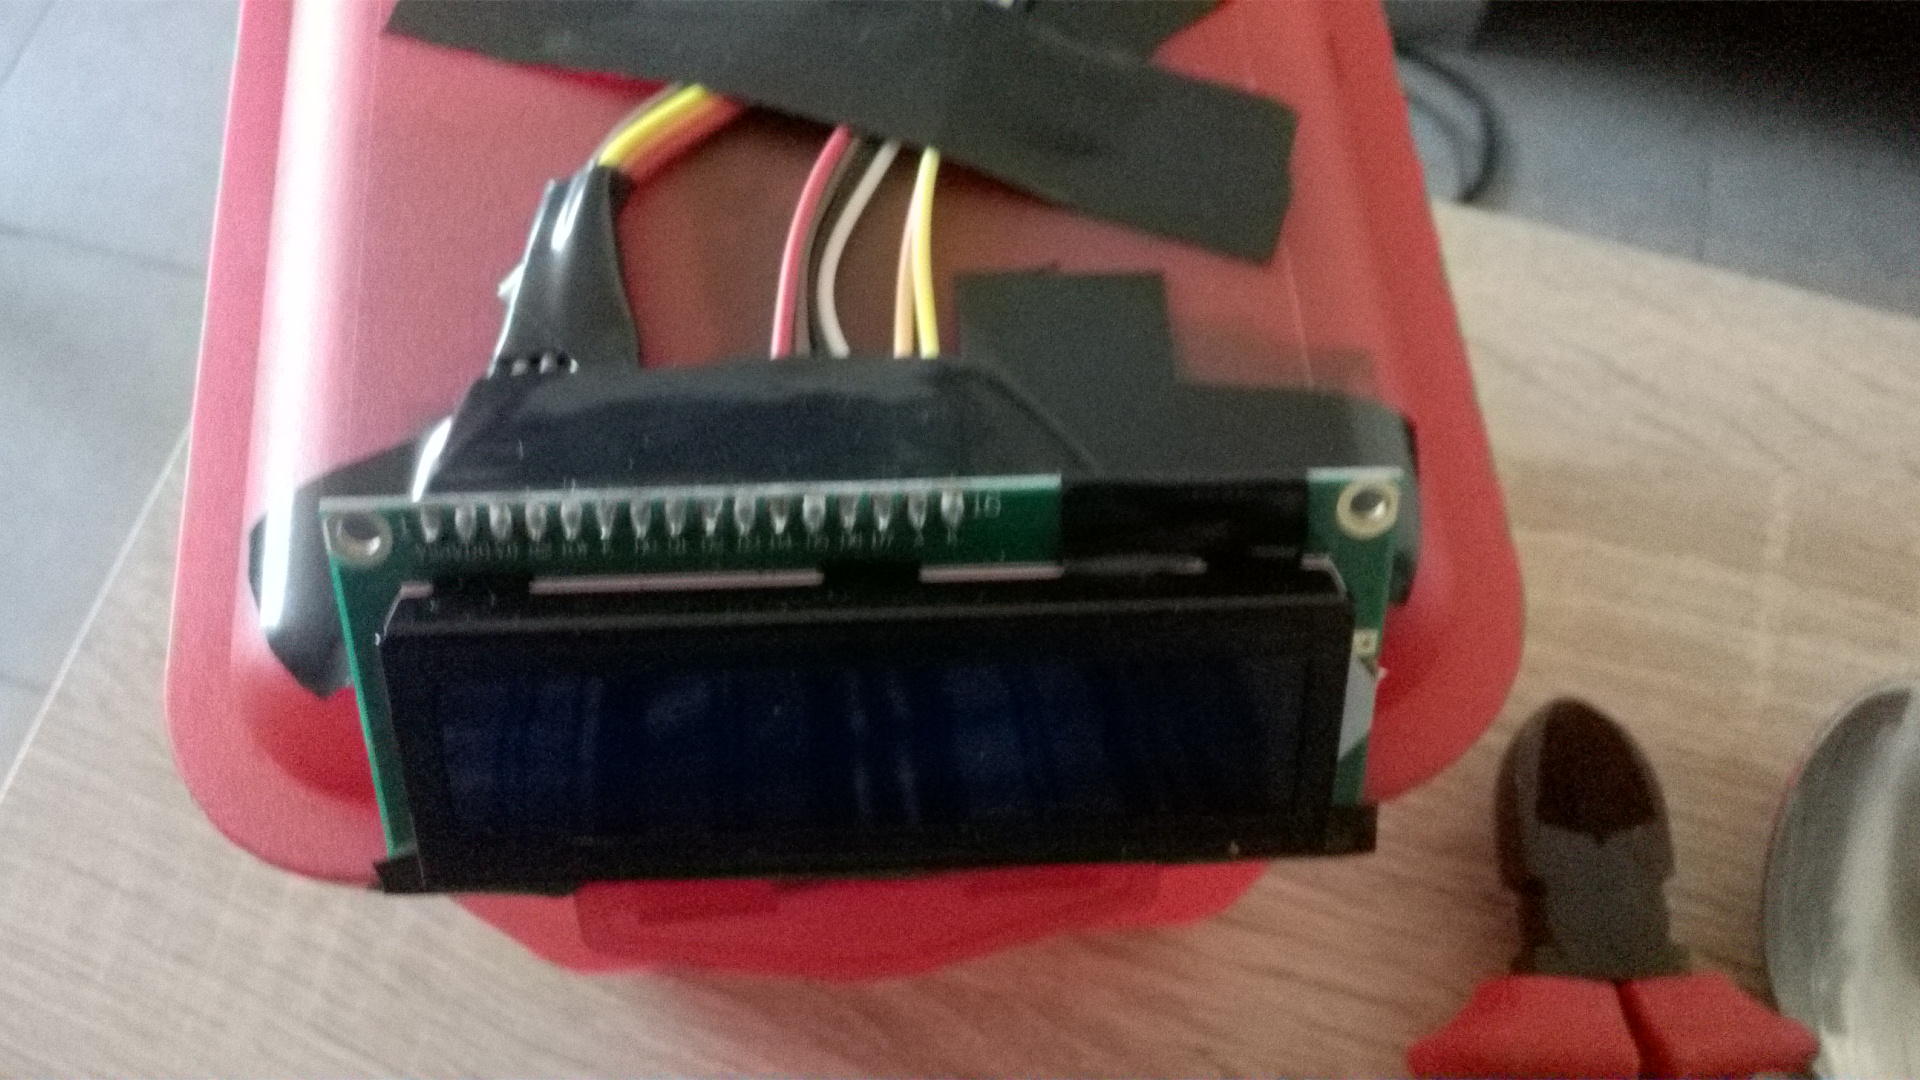
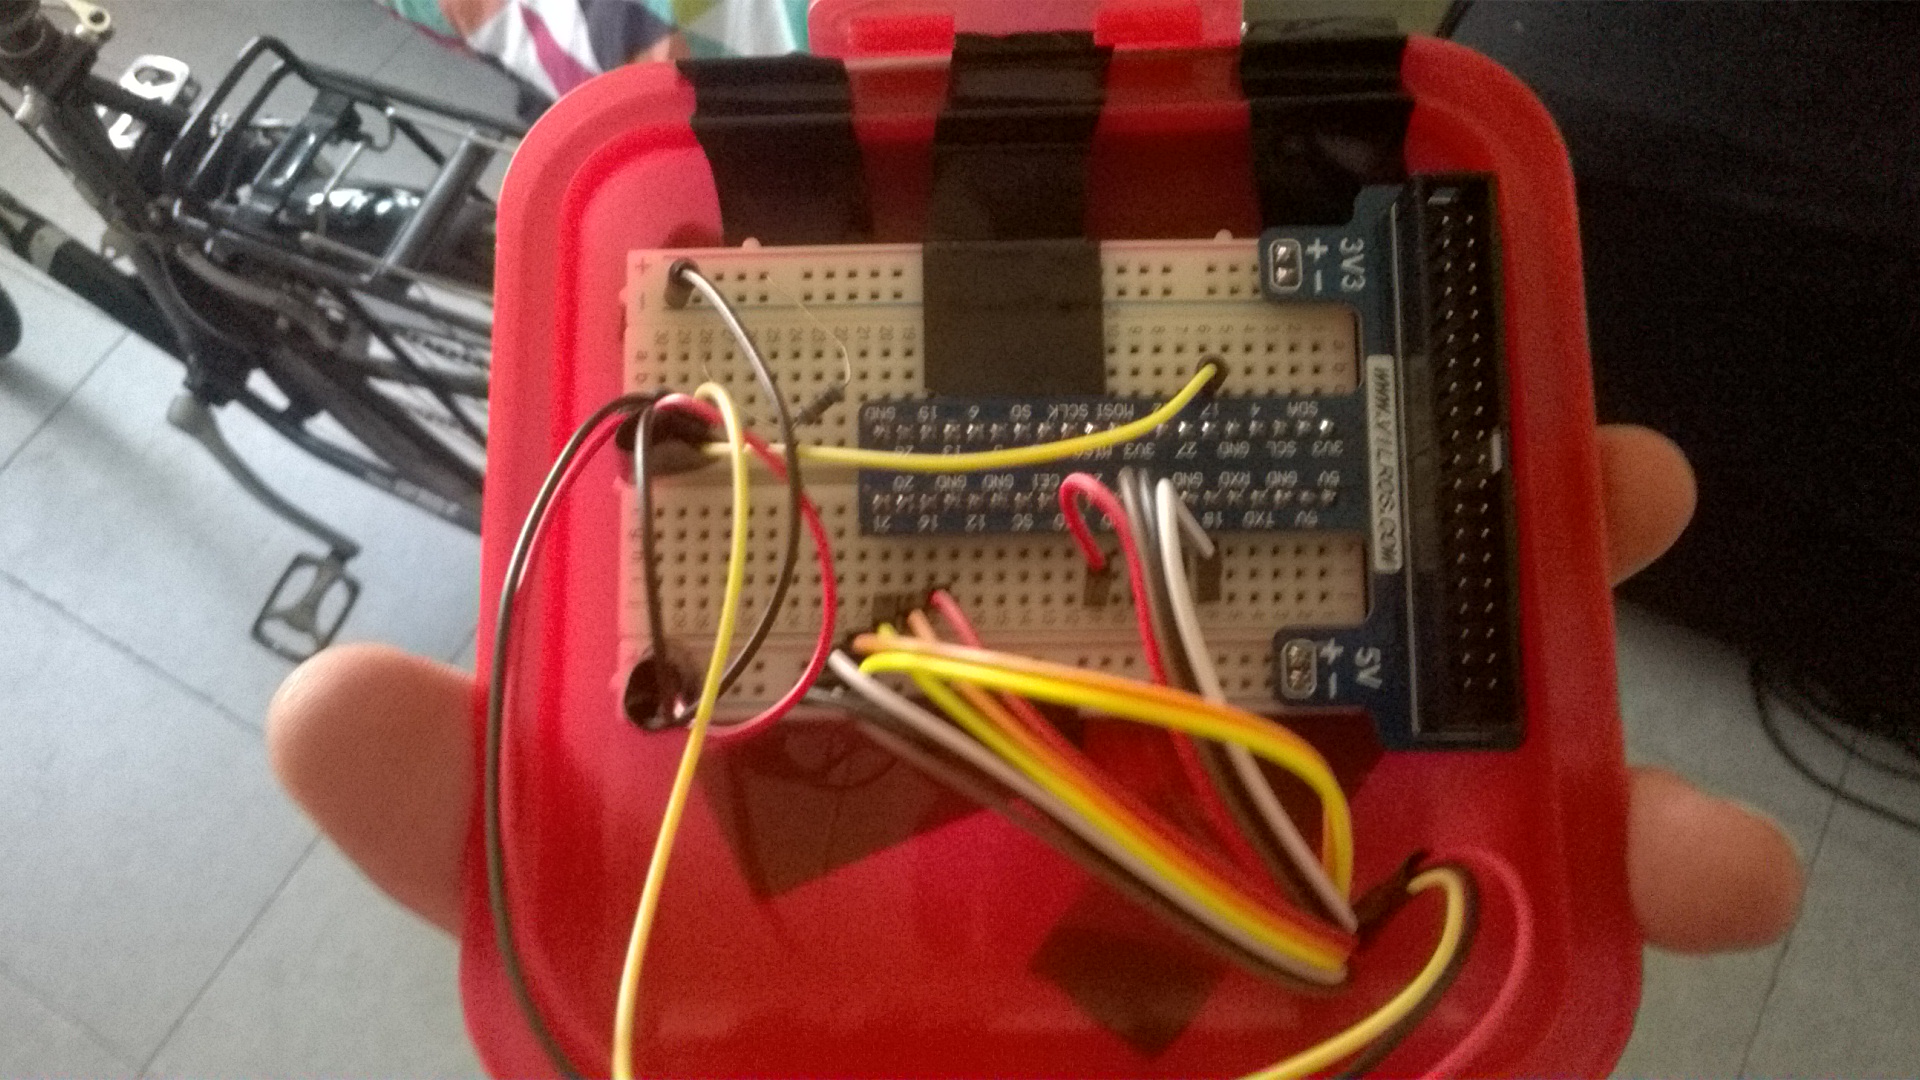
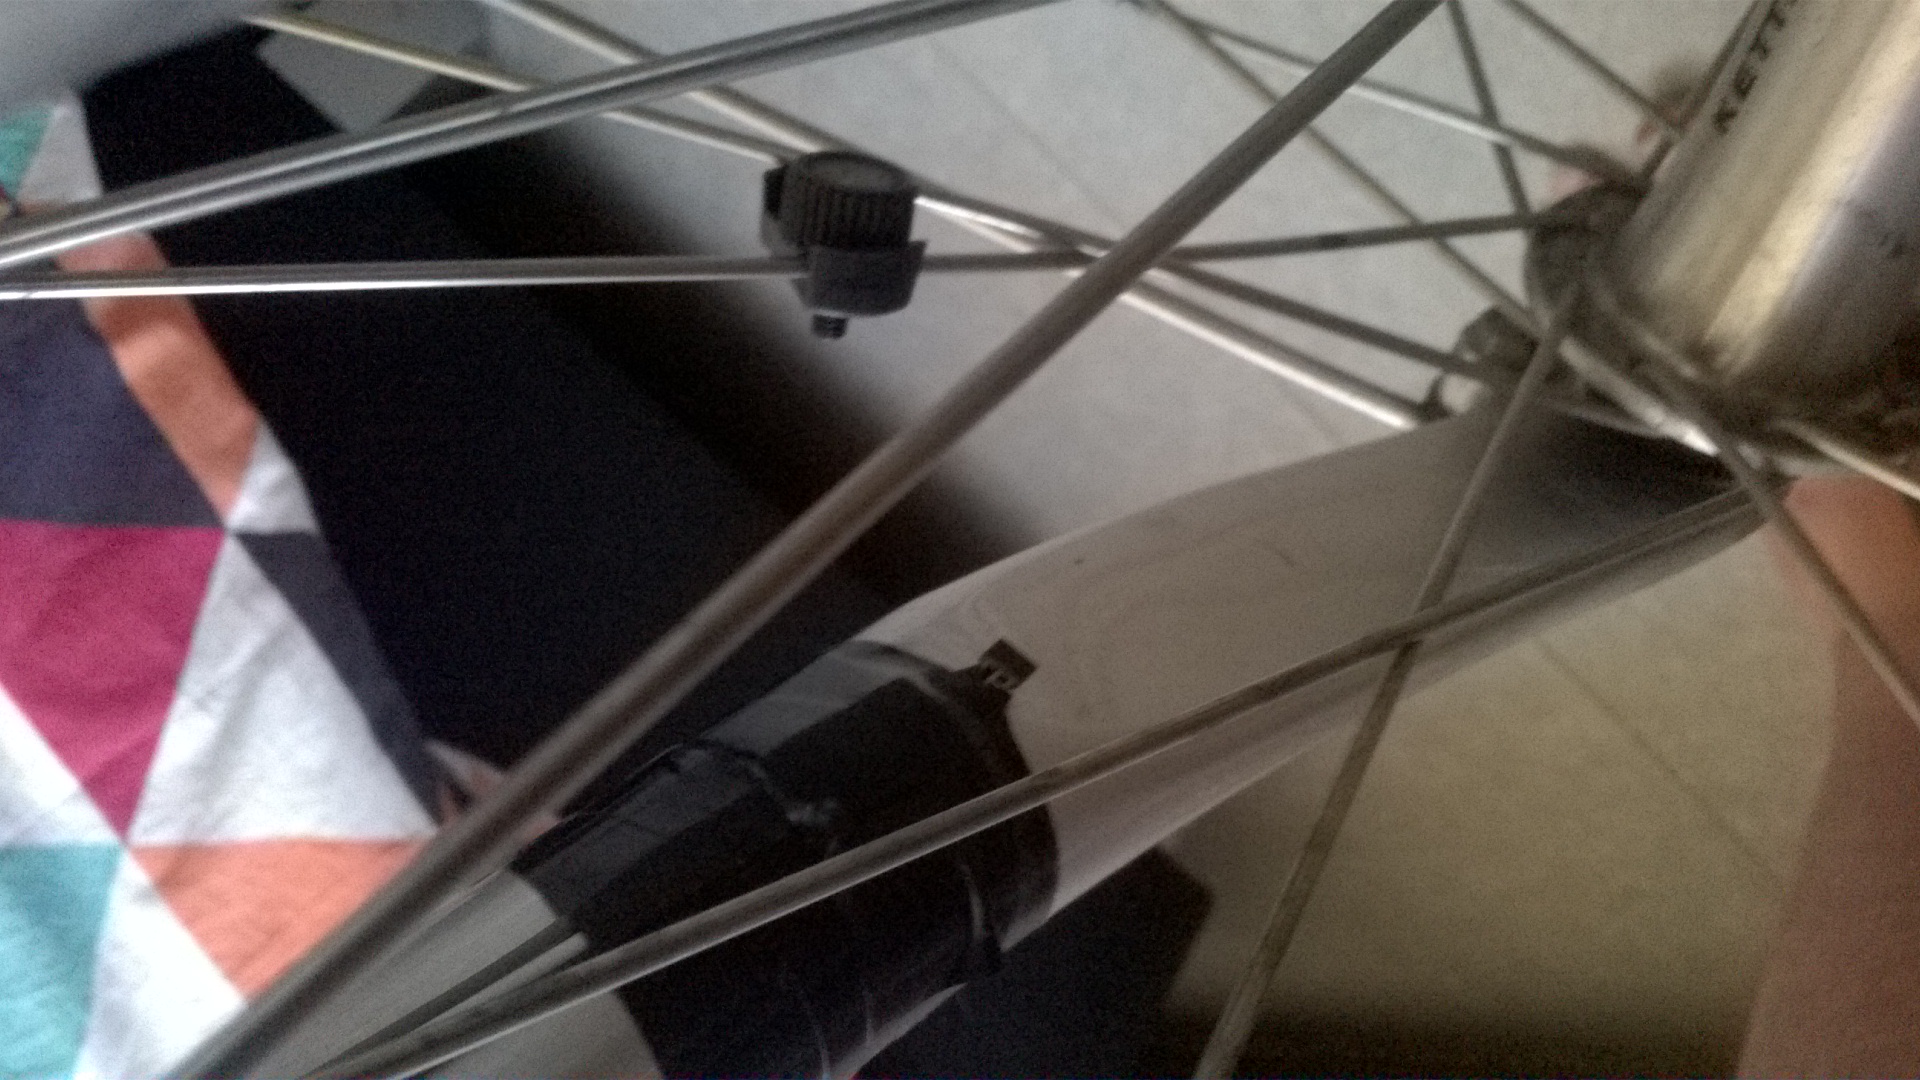
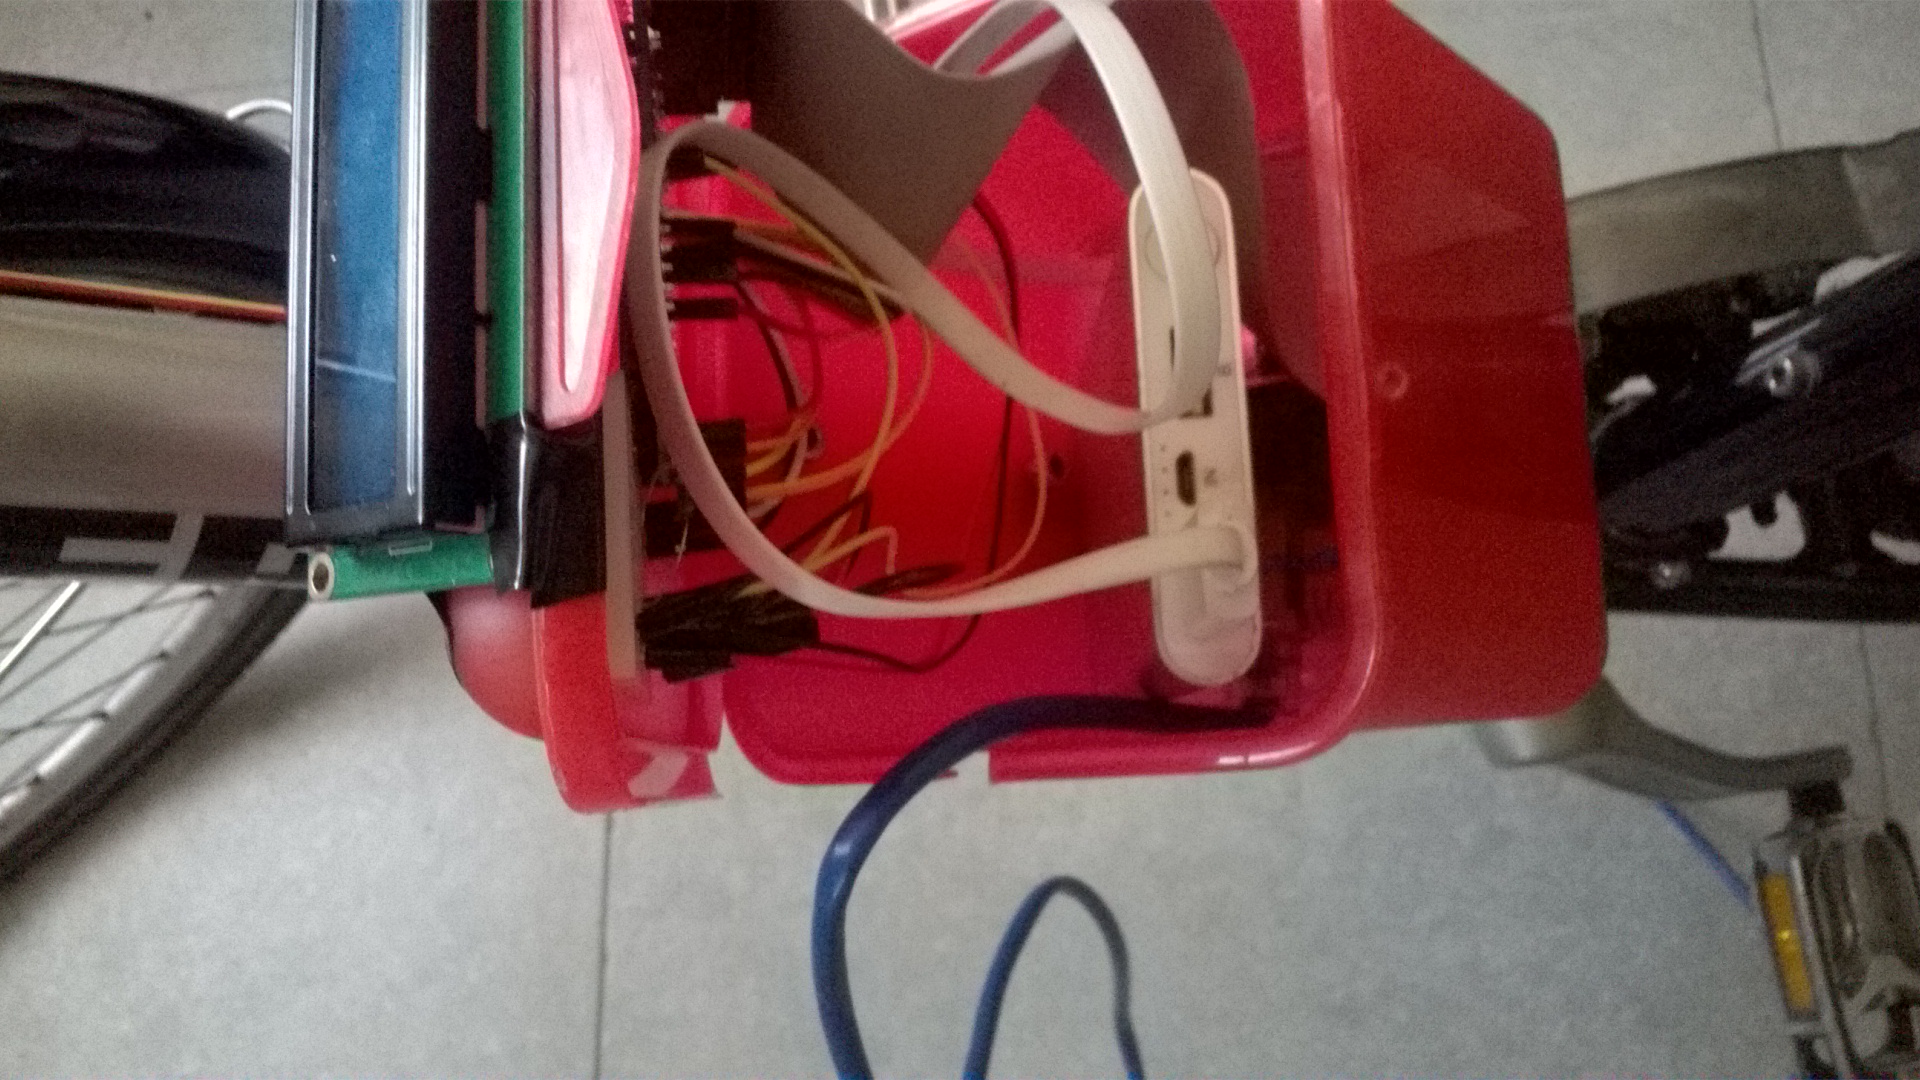
each step has a picture they are in same order
Step 1: Remove your drink holder form the bike
Step 2: Use the drink holder to drill 2 holes in your box
Step 3: Drill a hole on top of the box and thread all cables through
Step 4: Attach the LCD with tap or screws to the top of the box
Step 5: Connect all cables with the pi
Step 6: Hang your magnets and your hall sensor make sure your hall sensor is close to the magnet and put each magnet in half of the weel
Step 7:Put the pi in the casing with the powerbank and make sure the ethernet cable is connected and that the powerbank is connected with your pi
Step8: Put all cables in the box and close it
Starting the Program
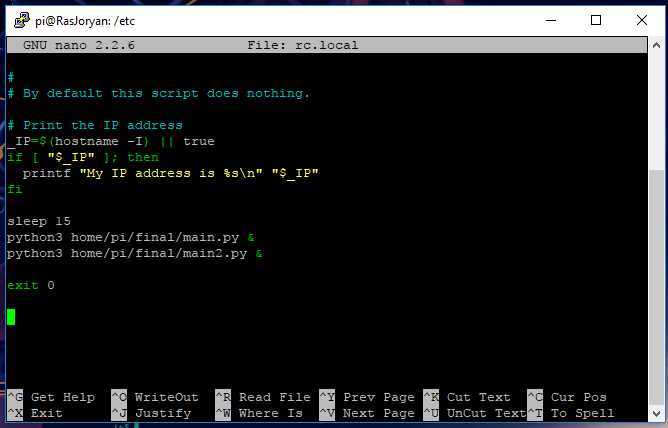
Use putty once again to log into the pi. Copy this code in the terminal:
cd /etc/<br>sudo nano rc.local
Then you will get in a file which we will edit. Scroll all the way down and add:
sleep 15
python3 home/pi/final/main.py &
python3 home/pi/final/main2.py &
Like in the picture above
Do not forget the "&" otherwise only one of them will work and you won't be able to log into your pi anymore.
Database Look
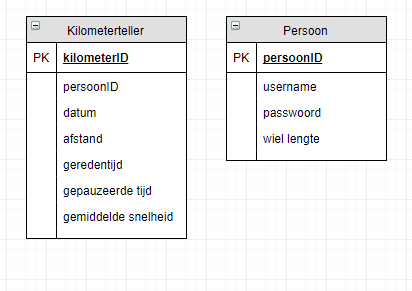
In the picture above you see how the database structure.
How to See the Website
connect the pi with the Ethernet cable to your PC and go to: http://169.254.10.11:5000/
Note: only the weelradius on id.1 will be used in calculations for speed