Big Spooky's Halloween Pencil Cup
by stikbek1 in Craft > Fiber Arts
607 Views, 1 Favorites, 0 Comments
Big Spooky's Halloween Pencil Cup



Hello, and welcome to spooky time! Today I'll teach you how to design a cute and cool Halloween-themed pencil holder. It's fast, easy, and fun!
Step 1: Base Shapes
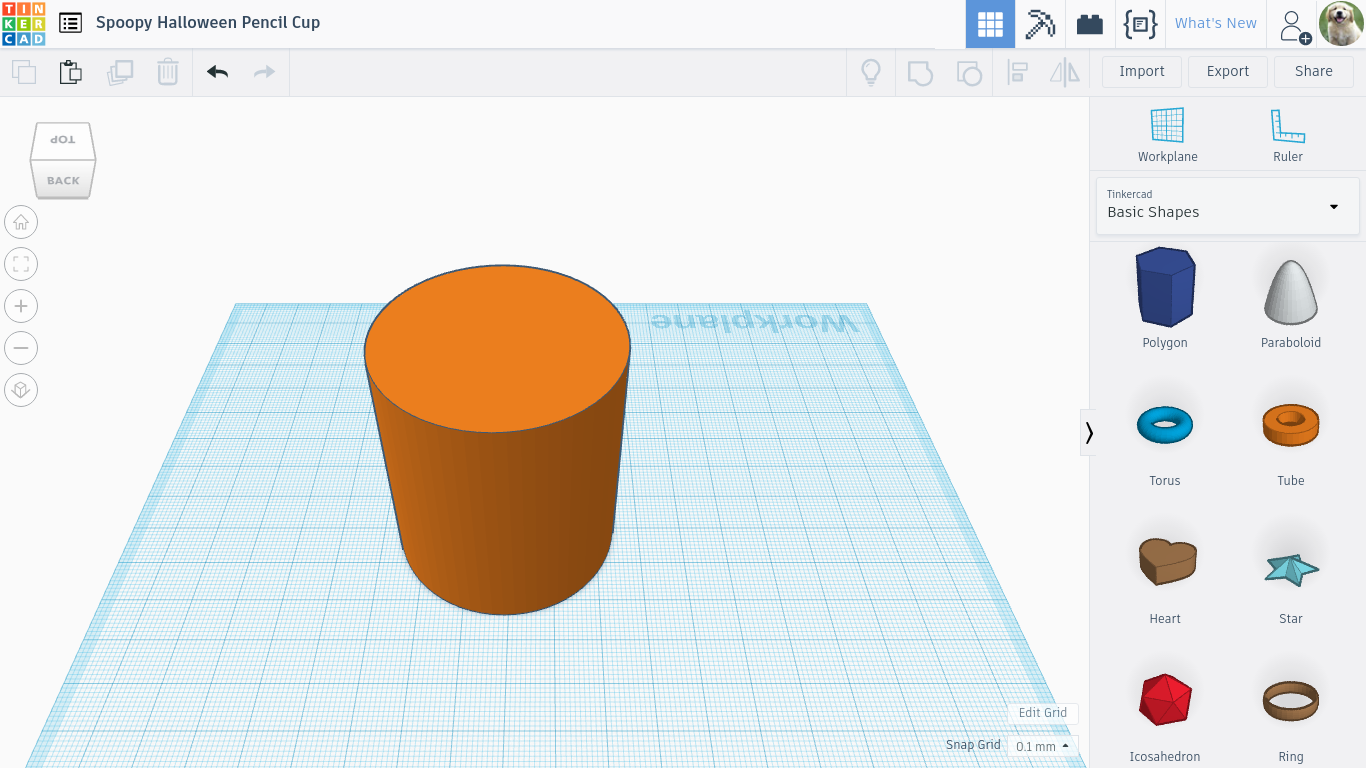
The very first thing you're going to want to do is log on to your 3D modeling program. If you don't have one, I found that TinkerCad works very well for this type of project. Here's a link. https://www.tinkercad.com It does require you to create an account, but it's completely free.
I'll be using TinkerCad for this demonstration.
First thing to do is to create a simple cylinder. Most software has a list of premade shapes you can pop in, so look there first.
Step 2: Double the Fun
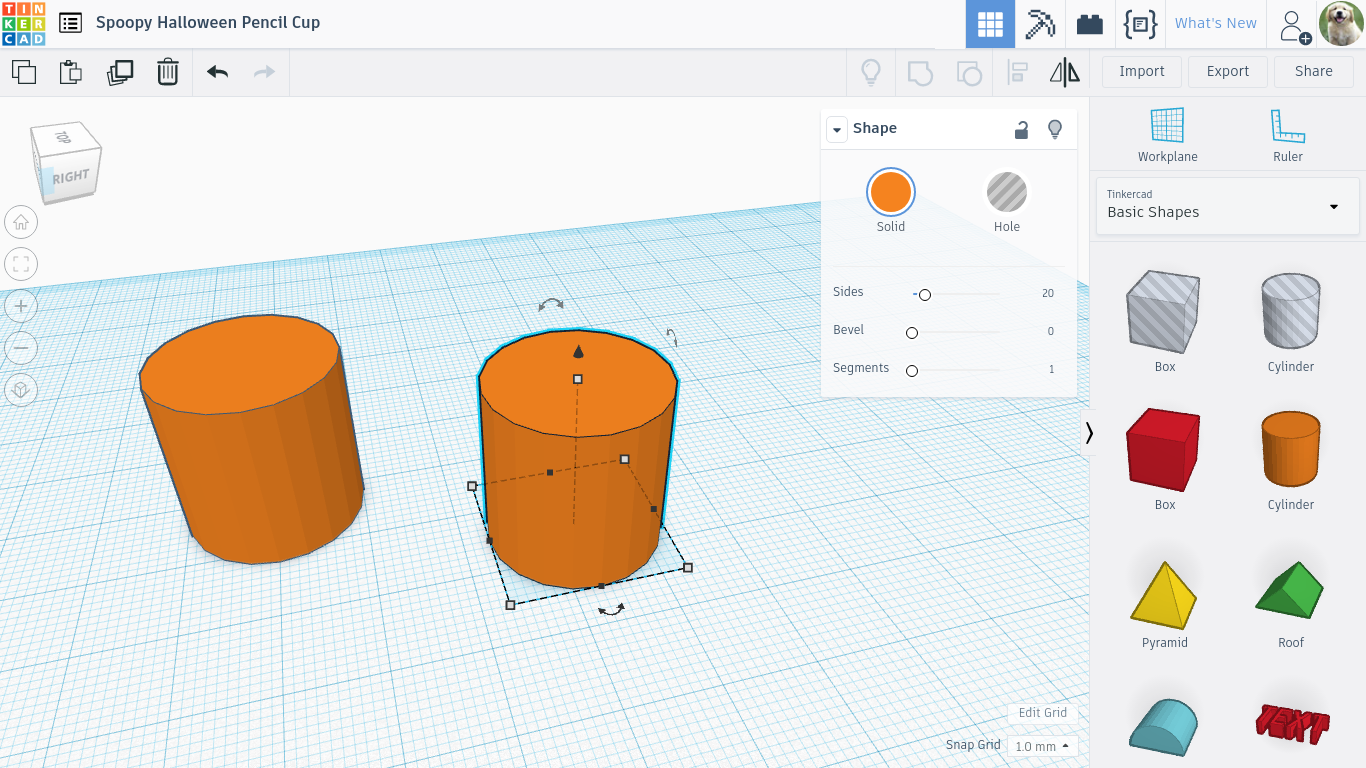
You should now have a cylinder on your screen. The next step is to create an identical cylinder, just like the first one. This can be accomplished quickly using the duplicate tool.
Step 3: Holes (not the Book)
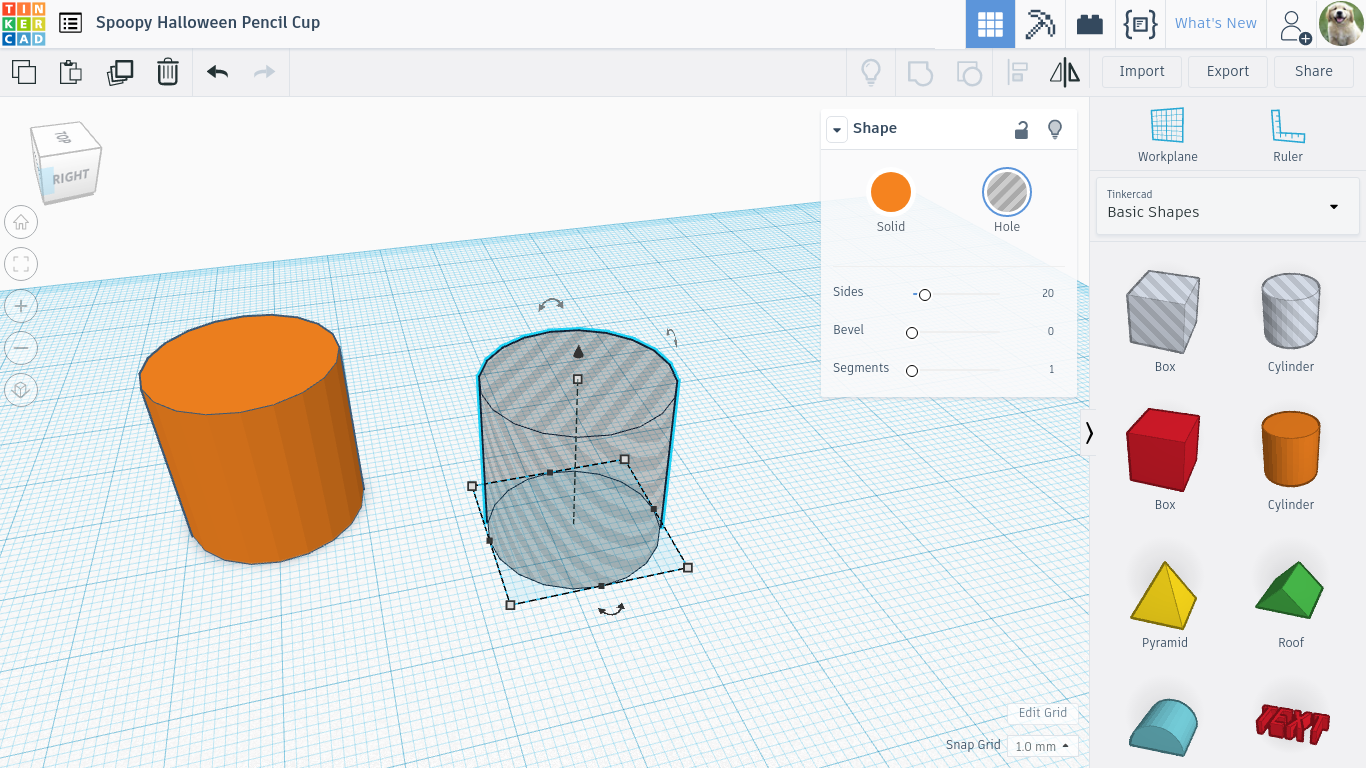
Make sure you have the cylinder you just created selected. Next, click on the "Shape" drop arrow, and click "hole". This should cause the shape to turn transparent, with grey diagonal lines running through it.
Step 4: Line It Up
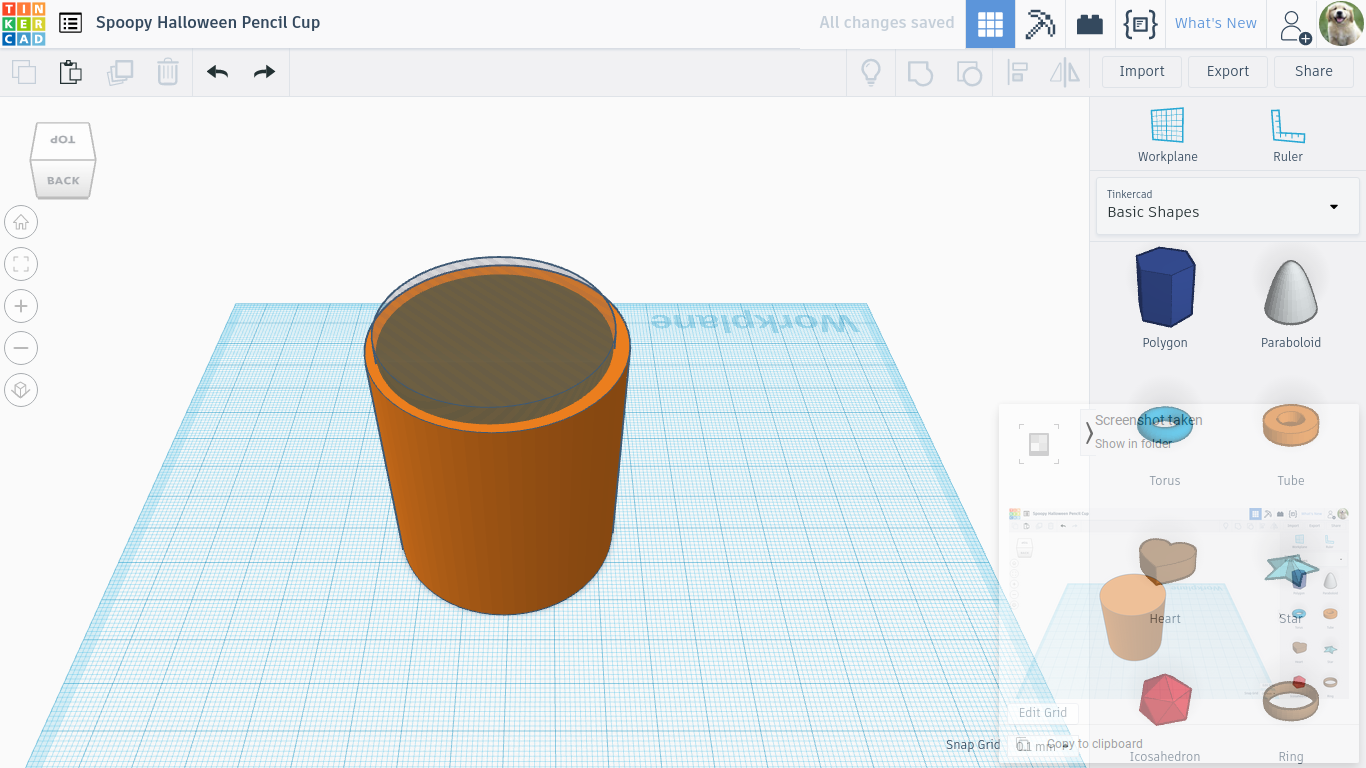
The next thing to do is, with the gray cylinder still selected, click on one of the small gray squares at the corners of the dotted line around the object. Two numbers will appear in small gray boxes. Take note of these numbers, and then click on the same boxes on the other cylinder (the non-transparent one). Next, click on the boxes for the gray one, and then click the small numbers. Change those numbers to three less than the numbers on the other cylinder. Next, click on the little gray square that is above all the other ones, near the small black cone shape. Click on the number that appears, and change it to one larger than the other cylinder. Next, click on the gray cylinder, and drag it into the other, until it is centered inside it. It should look like the picture for this step.
Step 5: One Quick Click
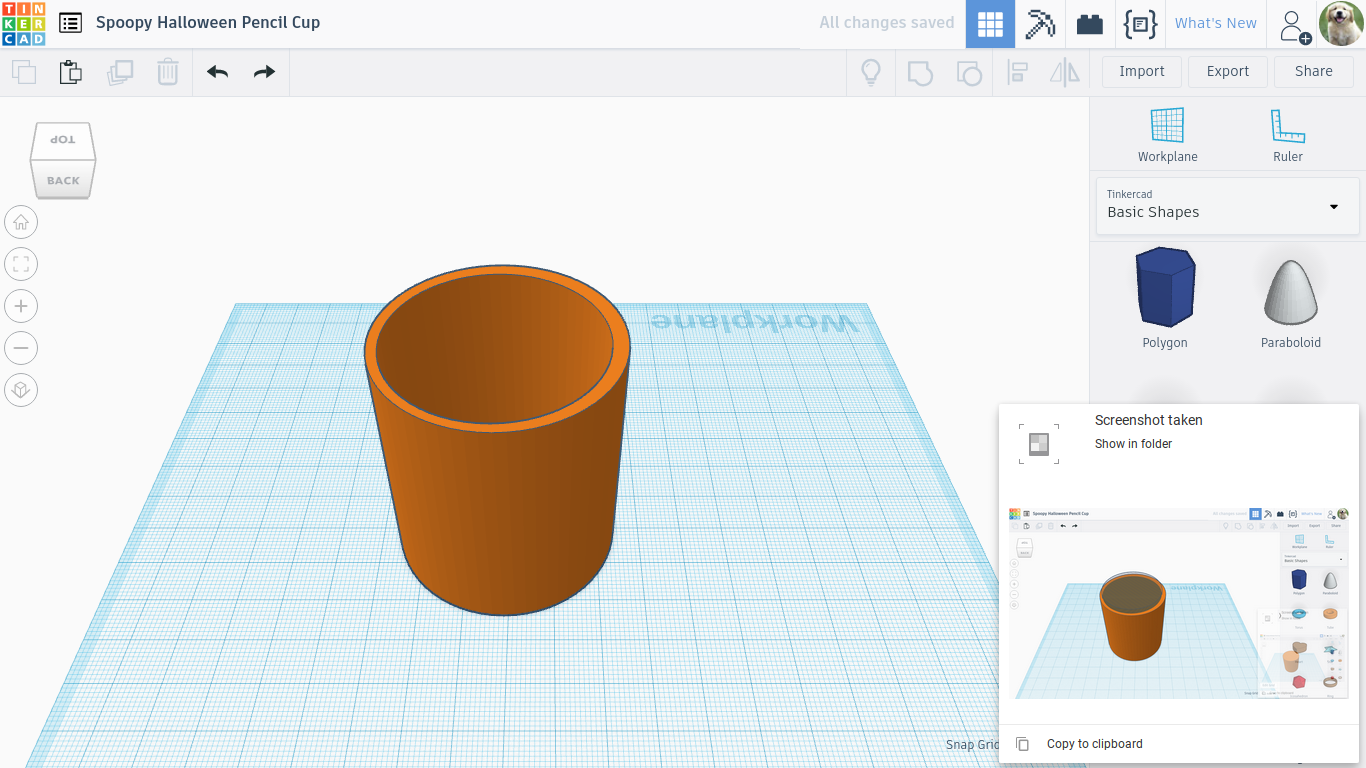
Now that the two cylinders are lined up, click at a point above them and to the left, and then drag diagonally down and to the right until the red dotted box covers both shapes. Release the mouse button, and then look above the "Shape" drop arrow to find an icon that looks like a square joined with a circle. If you can't pick it out, hover over the icons until the identification boxes appear, and repeat until you find the one called "Group" Click it, and the gray cylinder should disappear to be replaced by a hole in the other (orange in my example) cylinder.
Step 6: Lil' Shapes
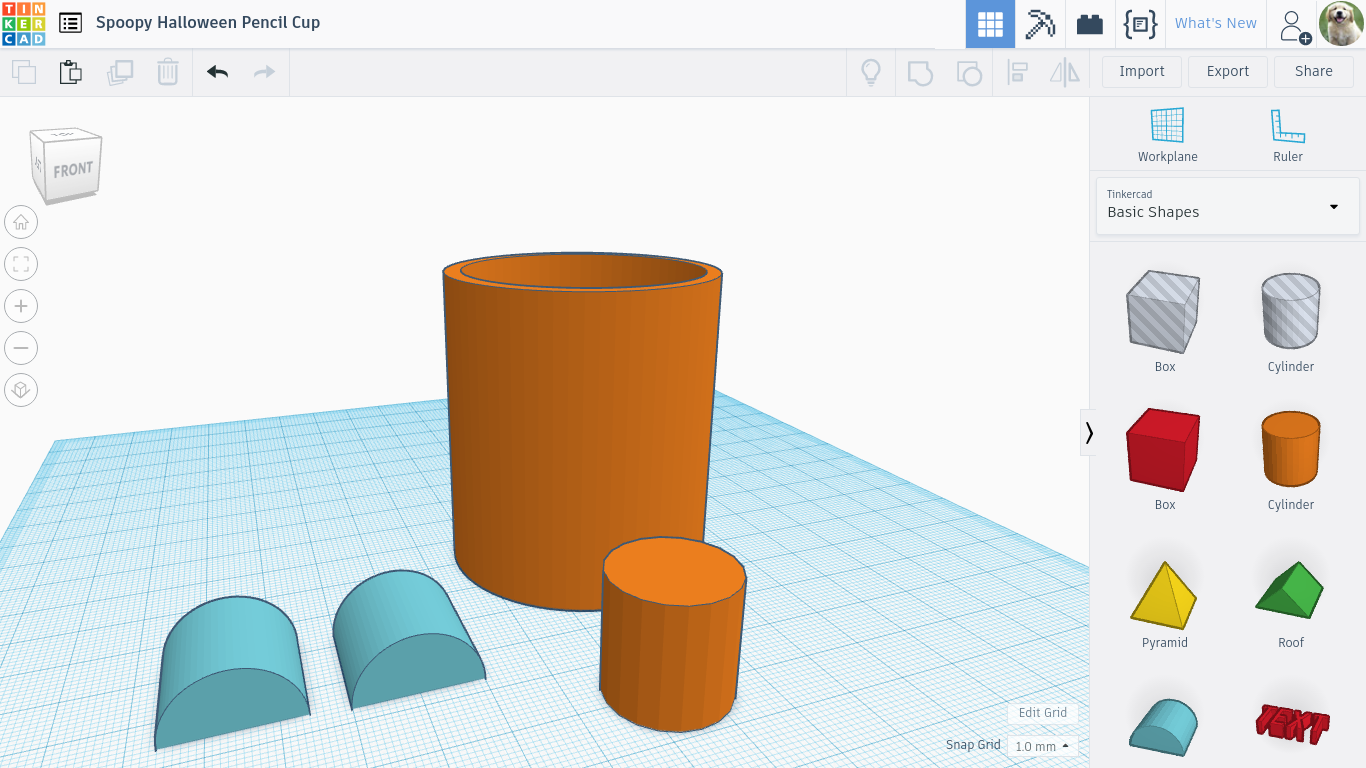
Now, go back to the Basic Shapes list, and create another cylinder and two "rounded roof" pieces. Downsize them until they look like the ones in the picture.
Step 7: FaceTime
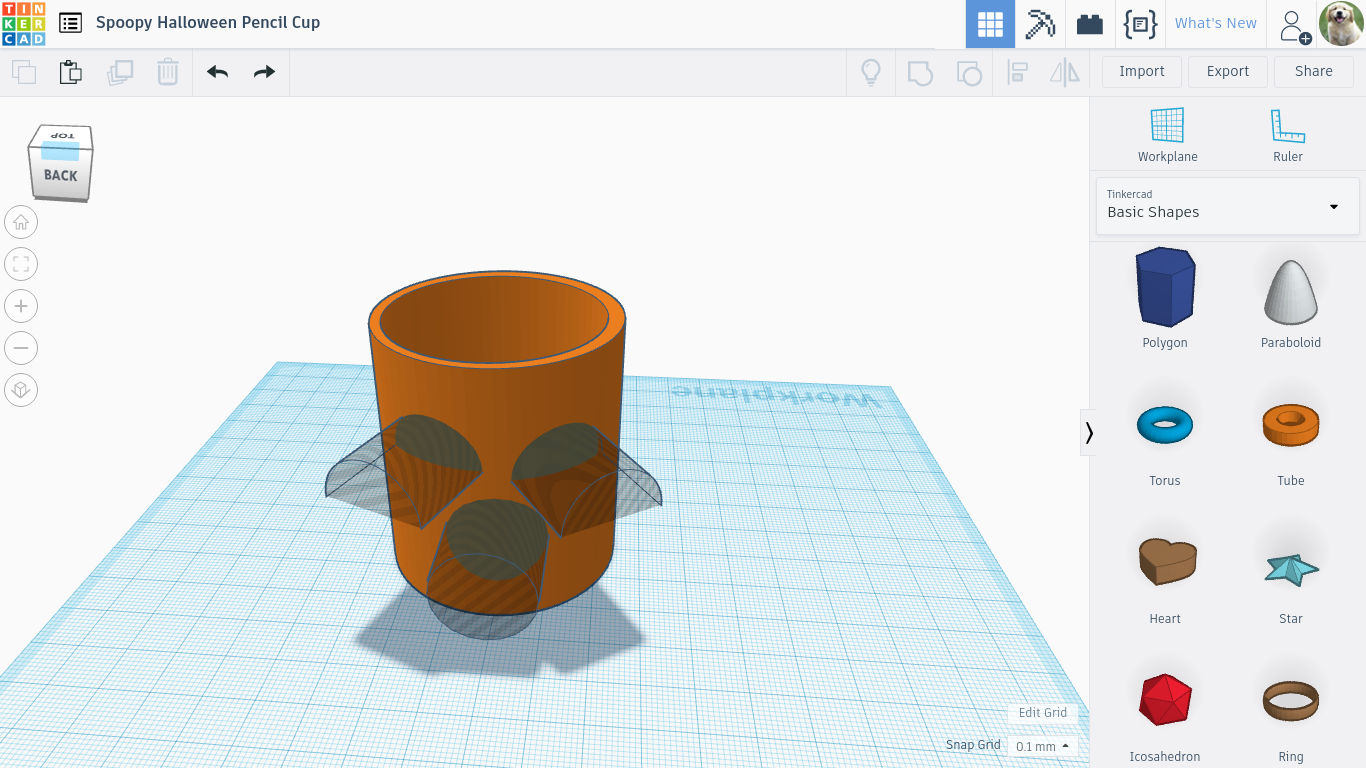
Now, using the small black cone on top of the rounded roof pieces, lift them up to about 1/3 of the way from the top of the cylinder, positioned as in the photo. Next, click on the new cylinder and then click on the hovering curved, double-pointed arrow. Click and drag it the side until the cylinder turns 90 degrees horizontally. Use the cone to lift it and then move it so it is sticking out of the cylinder with the roofs like the picture. Select all three pieces, then make them into "holes". It should now look like the picture.
Step 8: Quick Check
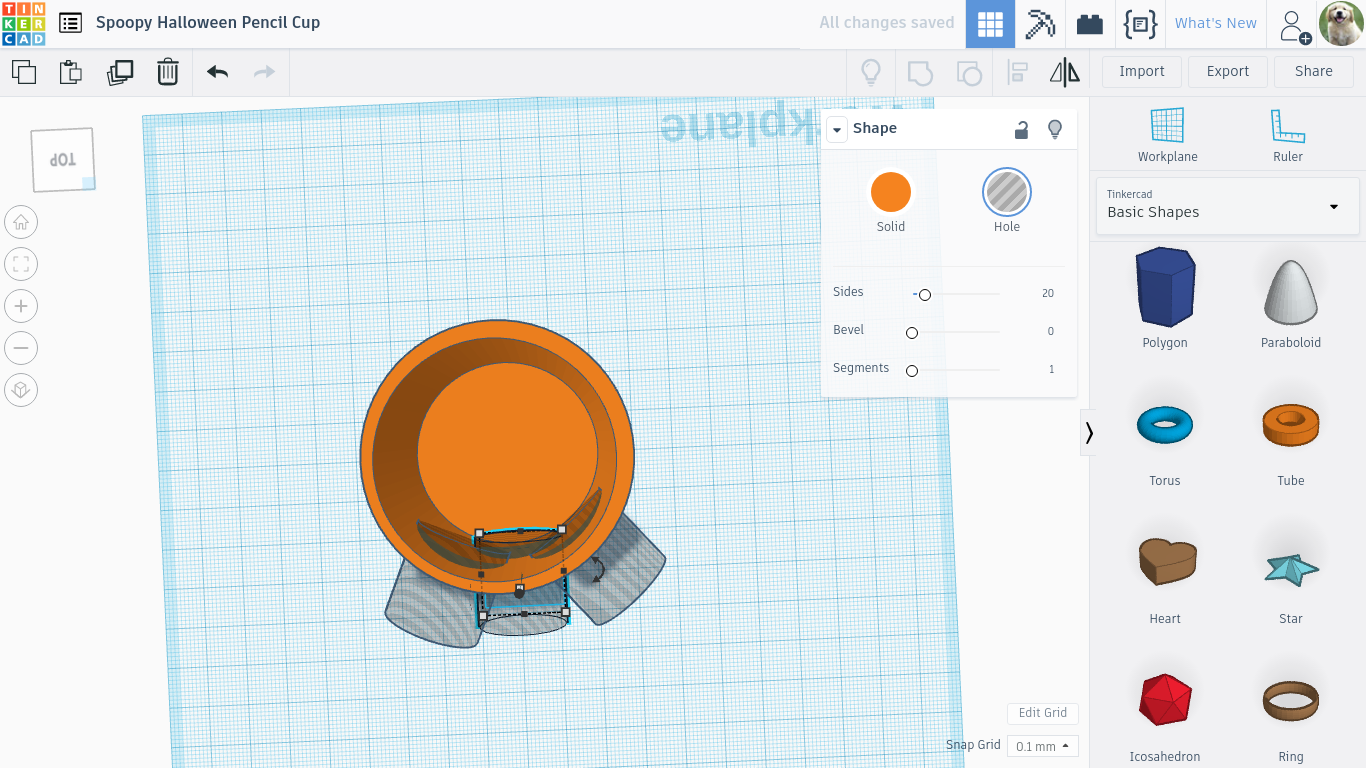
Now, click on the cube in the top left corner labeled "Front", "Left", "Top", "Right", or "Bottom". No matter what face of the cube you click, drag the mouse down. You will notice that this moves your viewpoint upwards related to the cup. You should now be looking down into the cup, and see the ends of the shapes poking into the inside. THIS IS SUPPOSED TO HAPPEN!
Step 9: Finish It Up
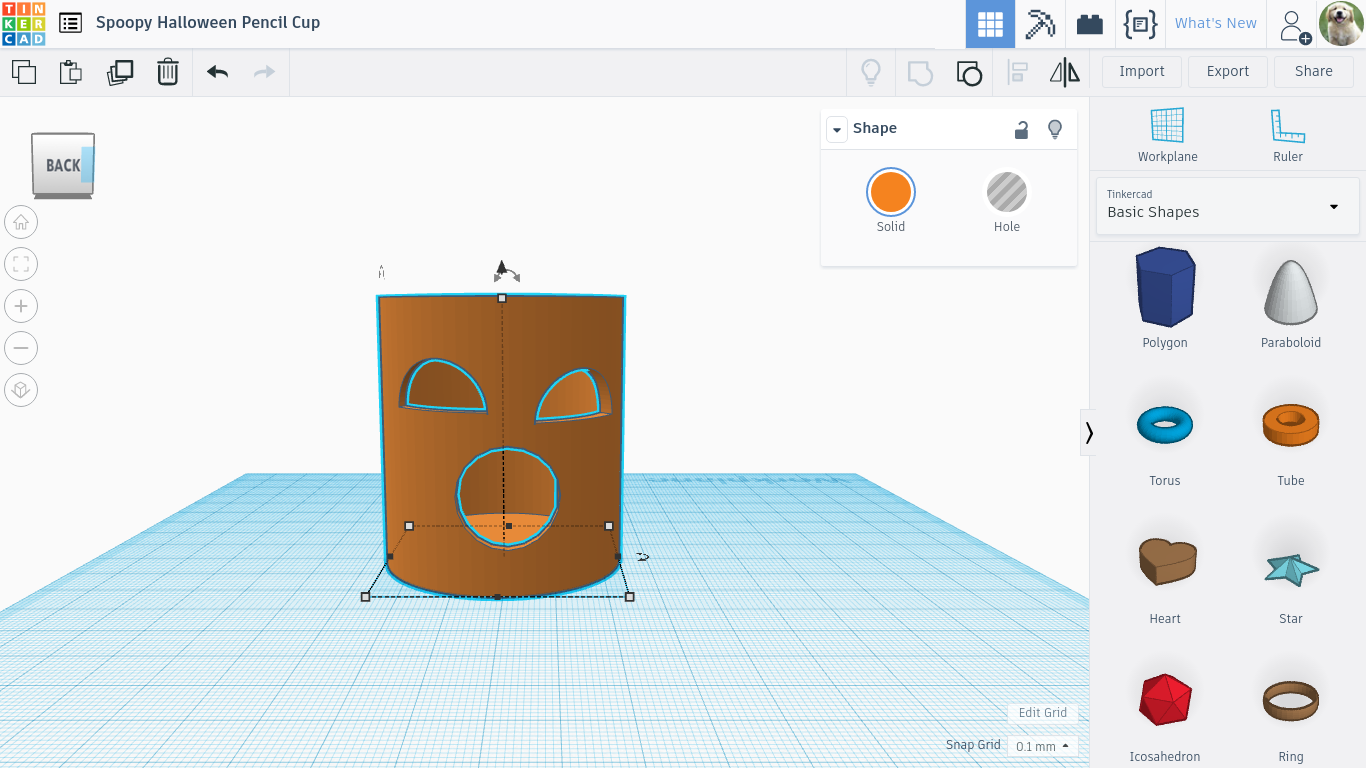
Now, select all shapes, using the same technique you used to select the two cylinders. Click "group" again. The small shapes should disappear in the same fashion as the cylinder from earlier. The holes in the big cylinder should now form a face! That's it, we're all done! You can now put it in Cura or some other slicing software, and then print it.
Thanks for reading!