Beginner Jewelry: Wooden Photo Earrings
by Clayalotte in Craft > Jewelry
2449 Views, 19 Favorites, 0 Comments
Beginner Jewelry: Wooden Photo Earrings
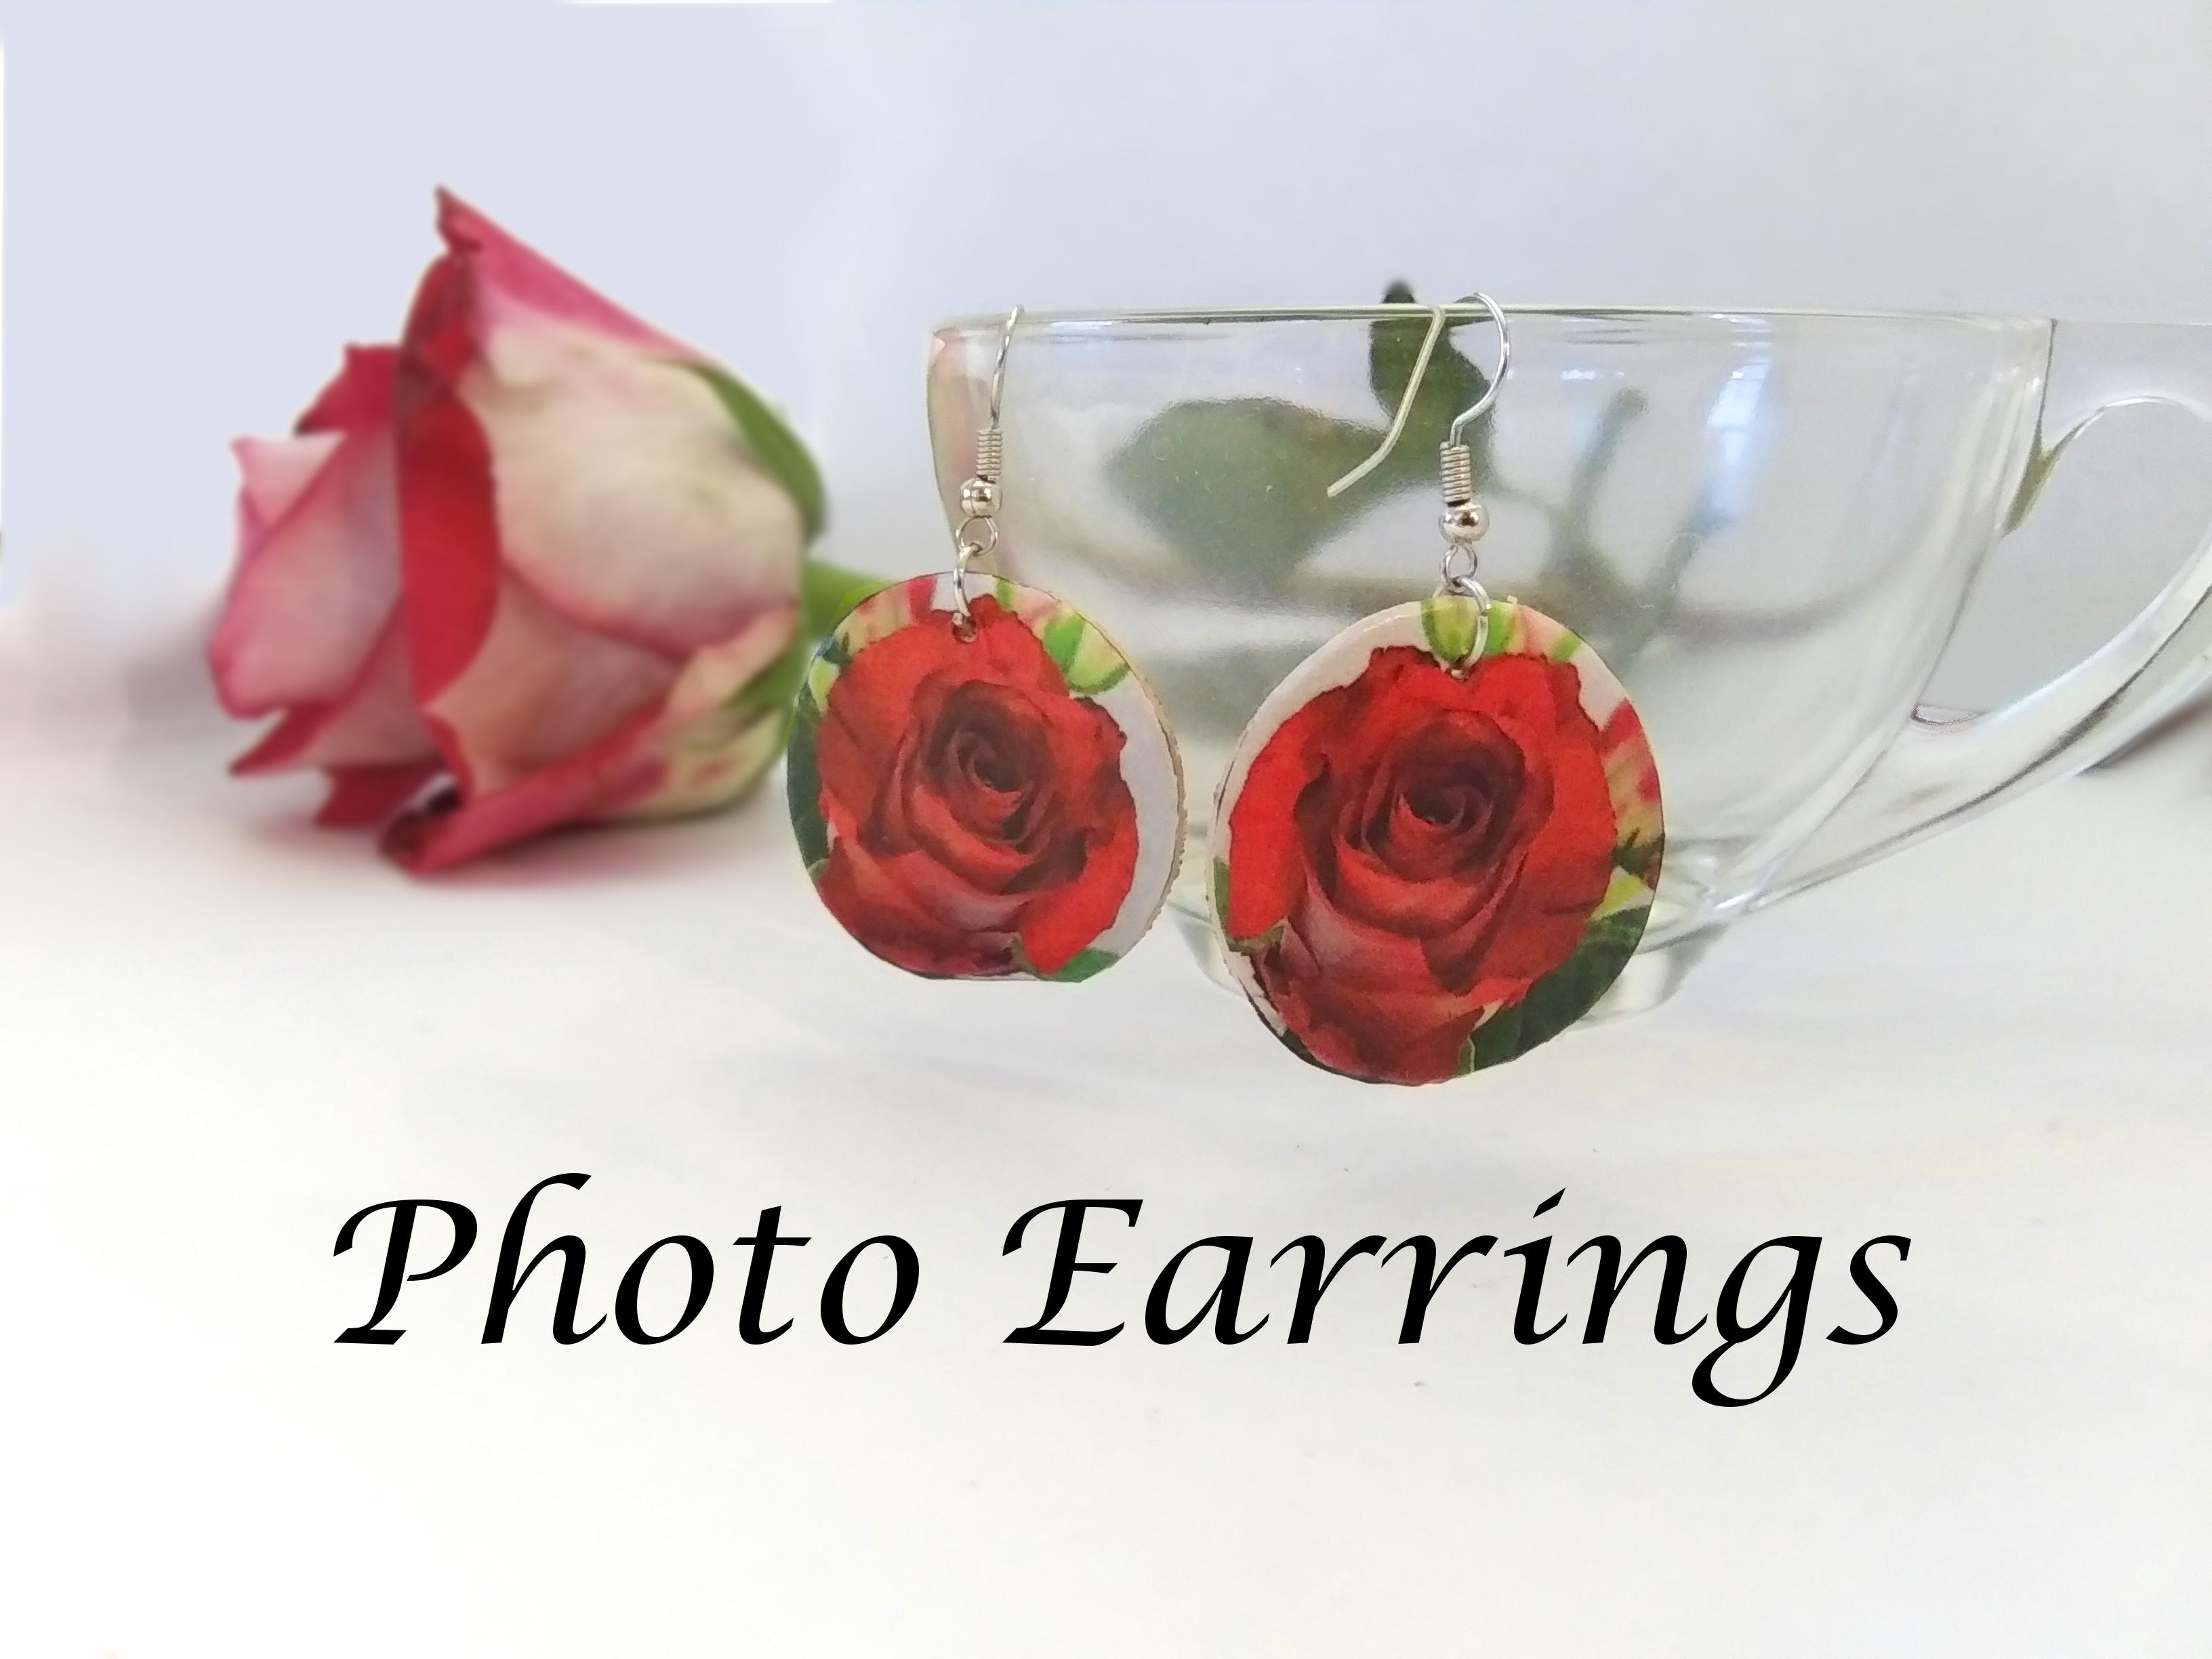
These are actually some of the first pieces I ever made when I started getting interested in making jewelry. I wanted some fan girl jewelry and couldn't afford to just go buy something, so I needed to make it myself. At the time I was in luck because I had a wooden necklace that had broken and was irreparable, but I had kept the wood pieces, and these became my base.
Since I was able to do it as a beginner, I think that these wooden photo earrings are definitely a project that the jewelry artist who is just starting out will benefit from. Even those of us who have been making jewelry for a while could get some joy out of earrings with photos of our choice on them.
I am using my own photos for this Instructable. You can use whatever you like, just please keep in mind that if you sell earrings like this your photos will need to be your own.
Supplies
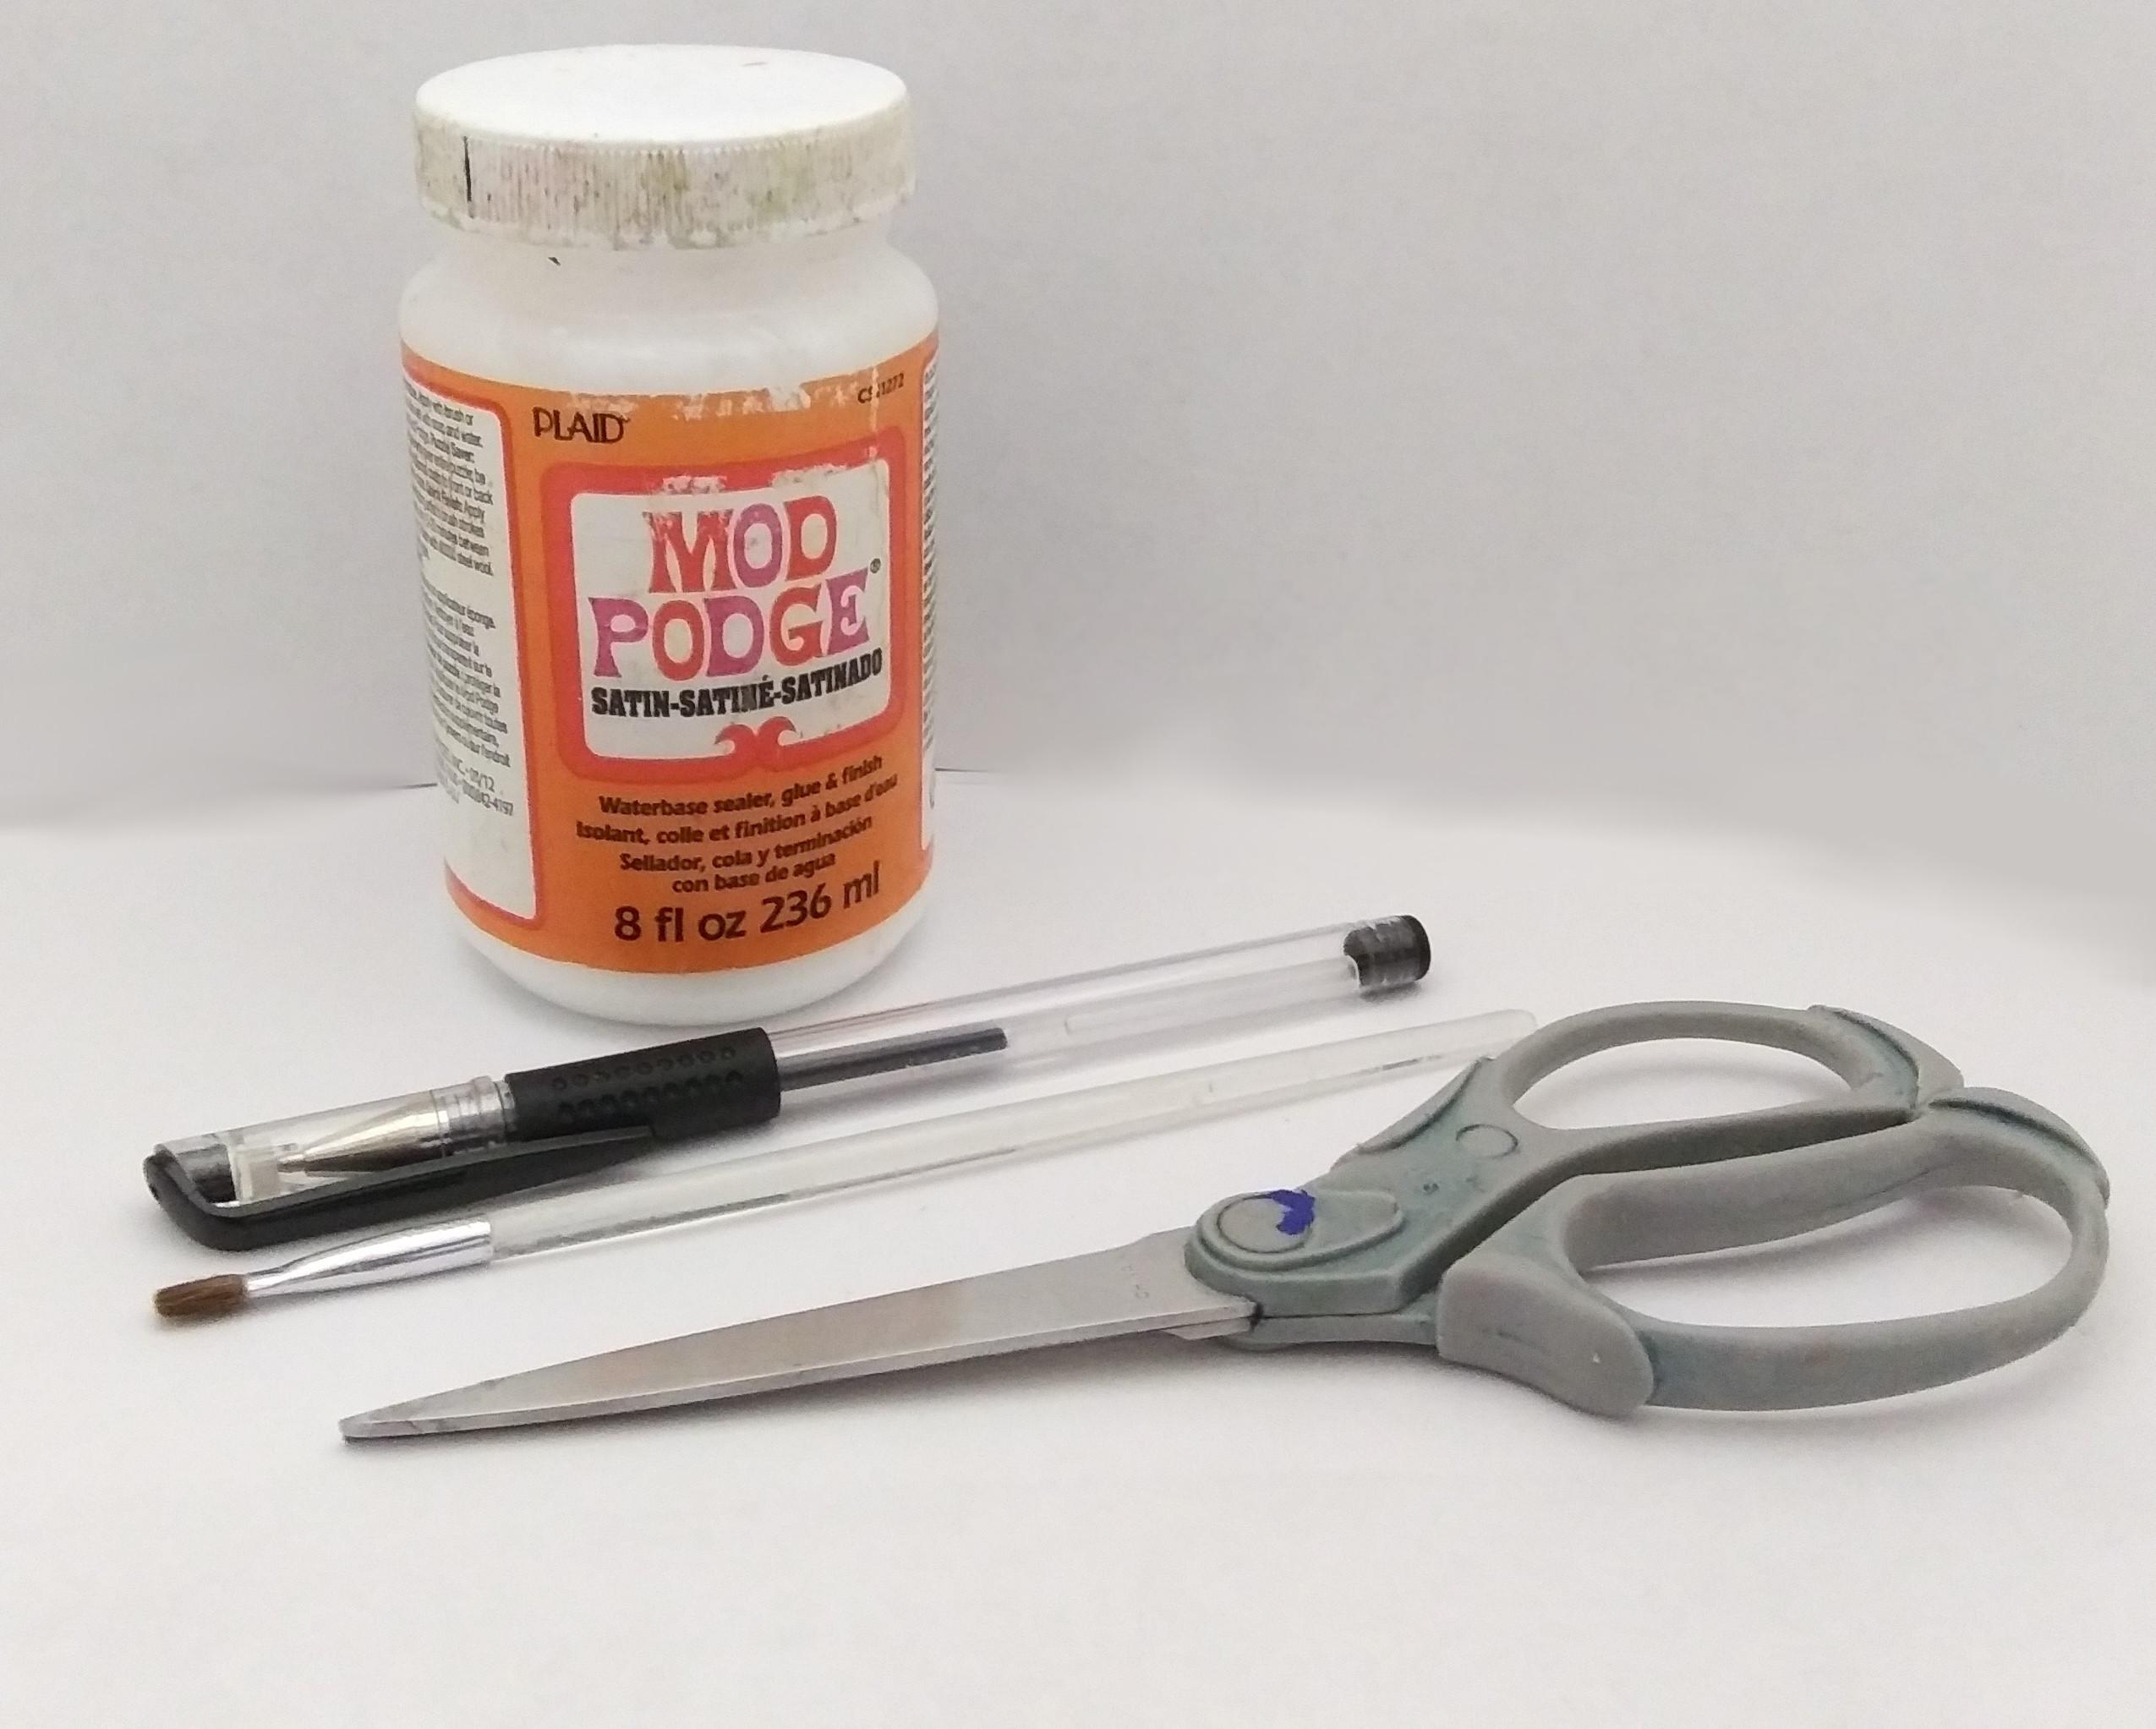
1. Wood pieces: you can use scrap pieces you have or buy some premade. I'll talk more about this is the second step.
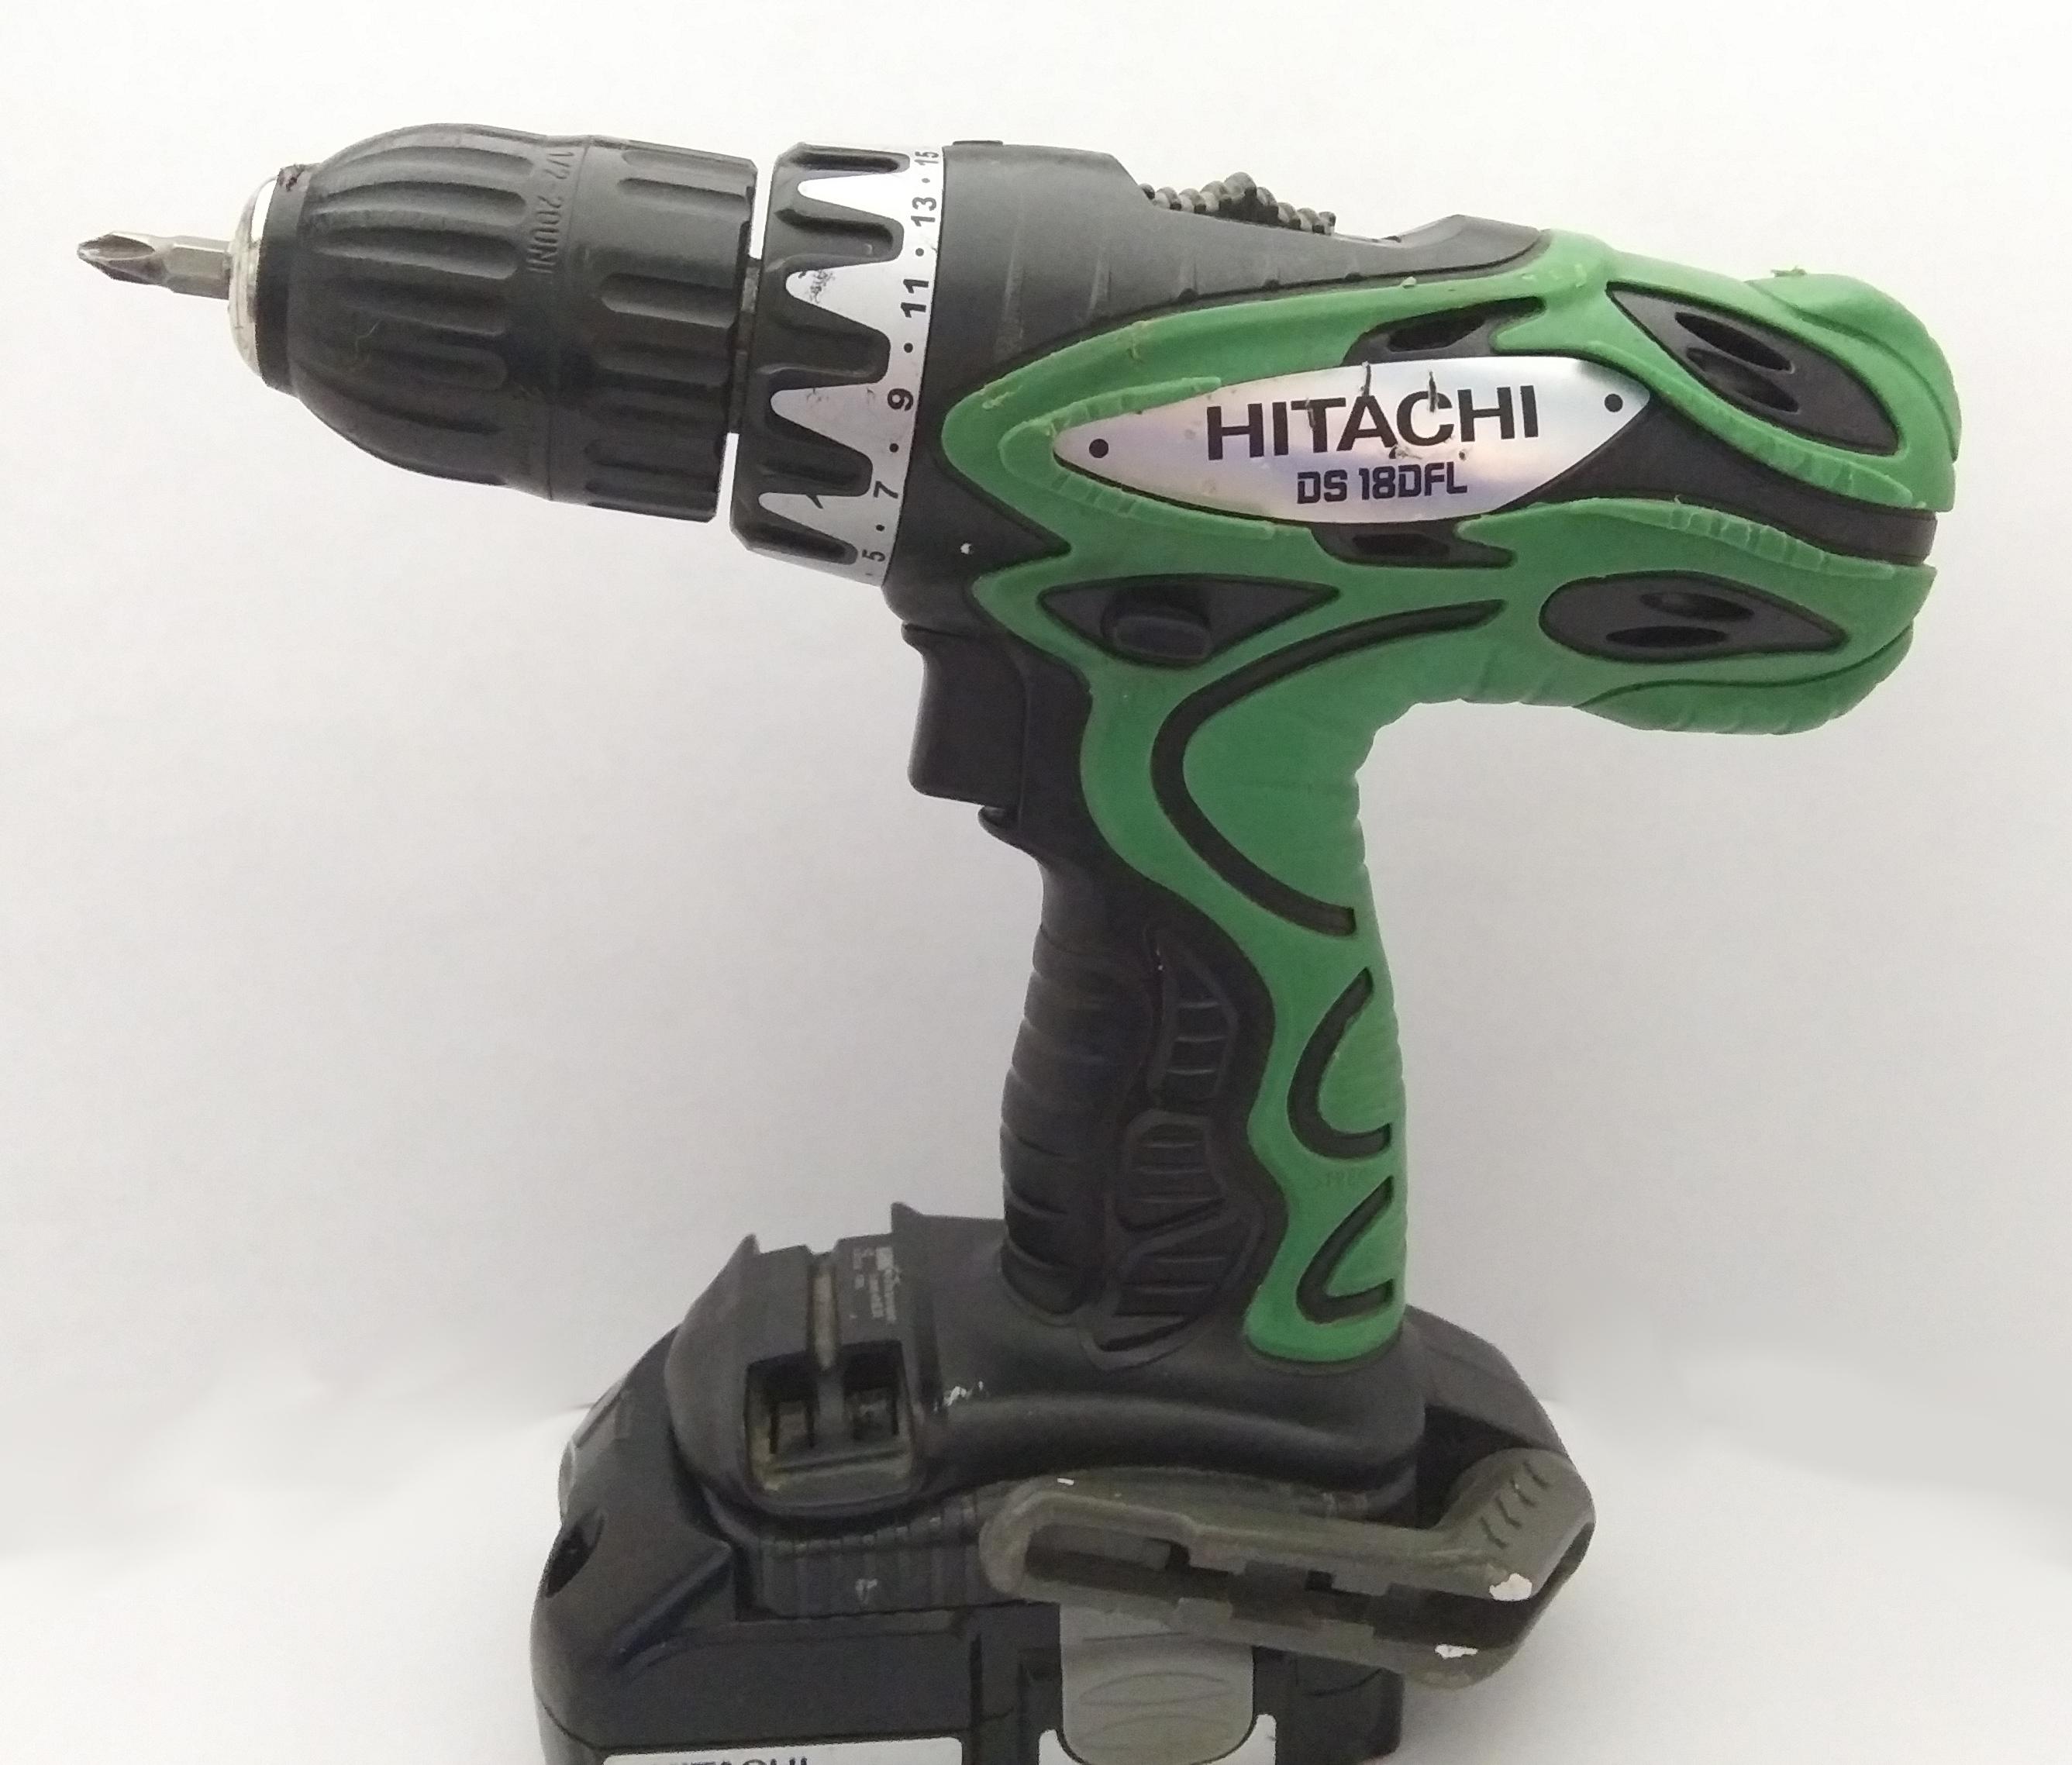
2. Electric drill
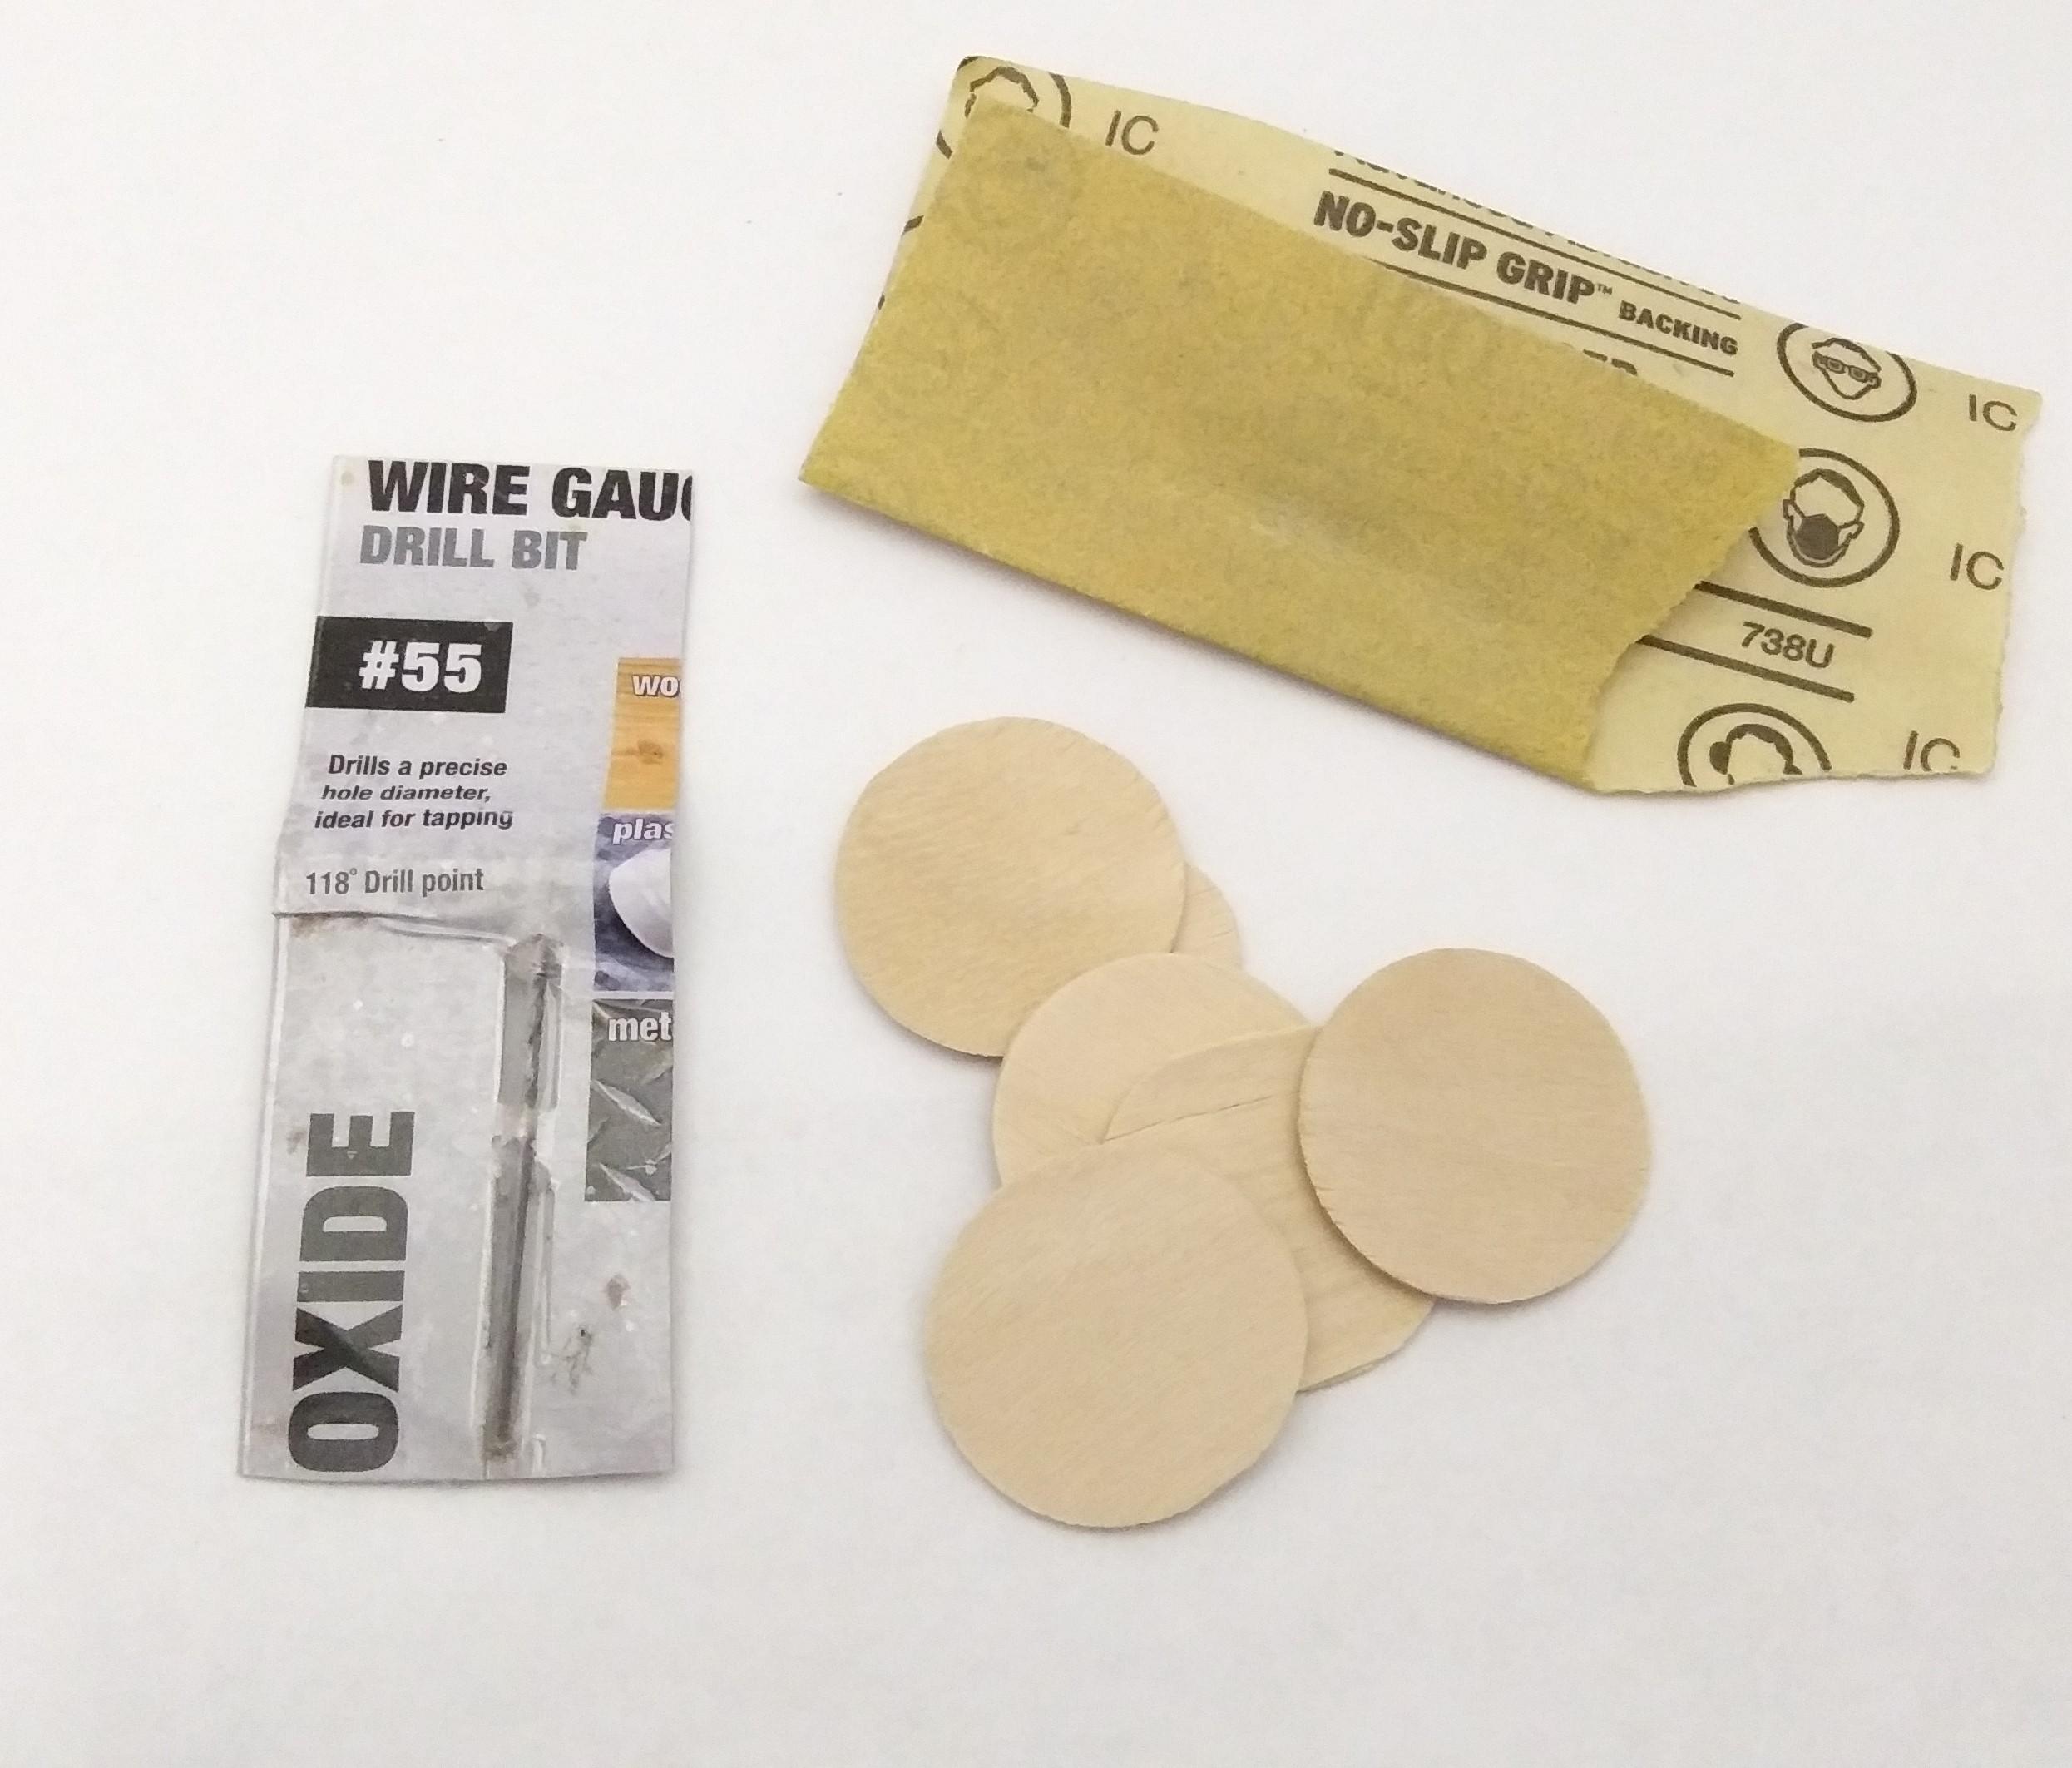
3. Small drill bit: mine is a #55 with a 118 degree point
4. Sandpaper, fine grit (you may decide you don't need this)
5. Photos or drawings (not pictured)
6. A computer or laptop with a word document program (not pictured)
7. A printer with colored ink (if your photo is colored). Mine is an inkjet. (not pictured)
8. Regular white copy paper
9. Scissors
10. Pen or pencil
11. Mod Podge or Polyurethane Varnish or some other sealer
12. Brush
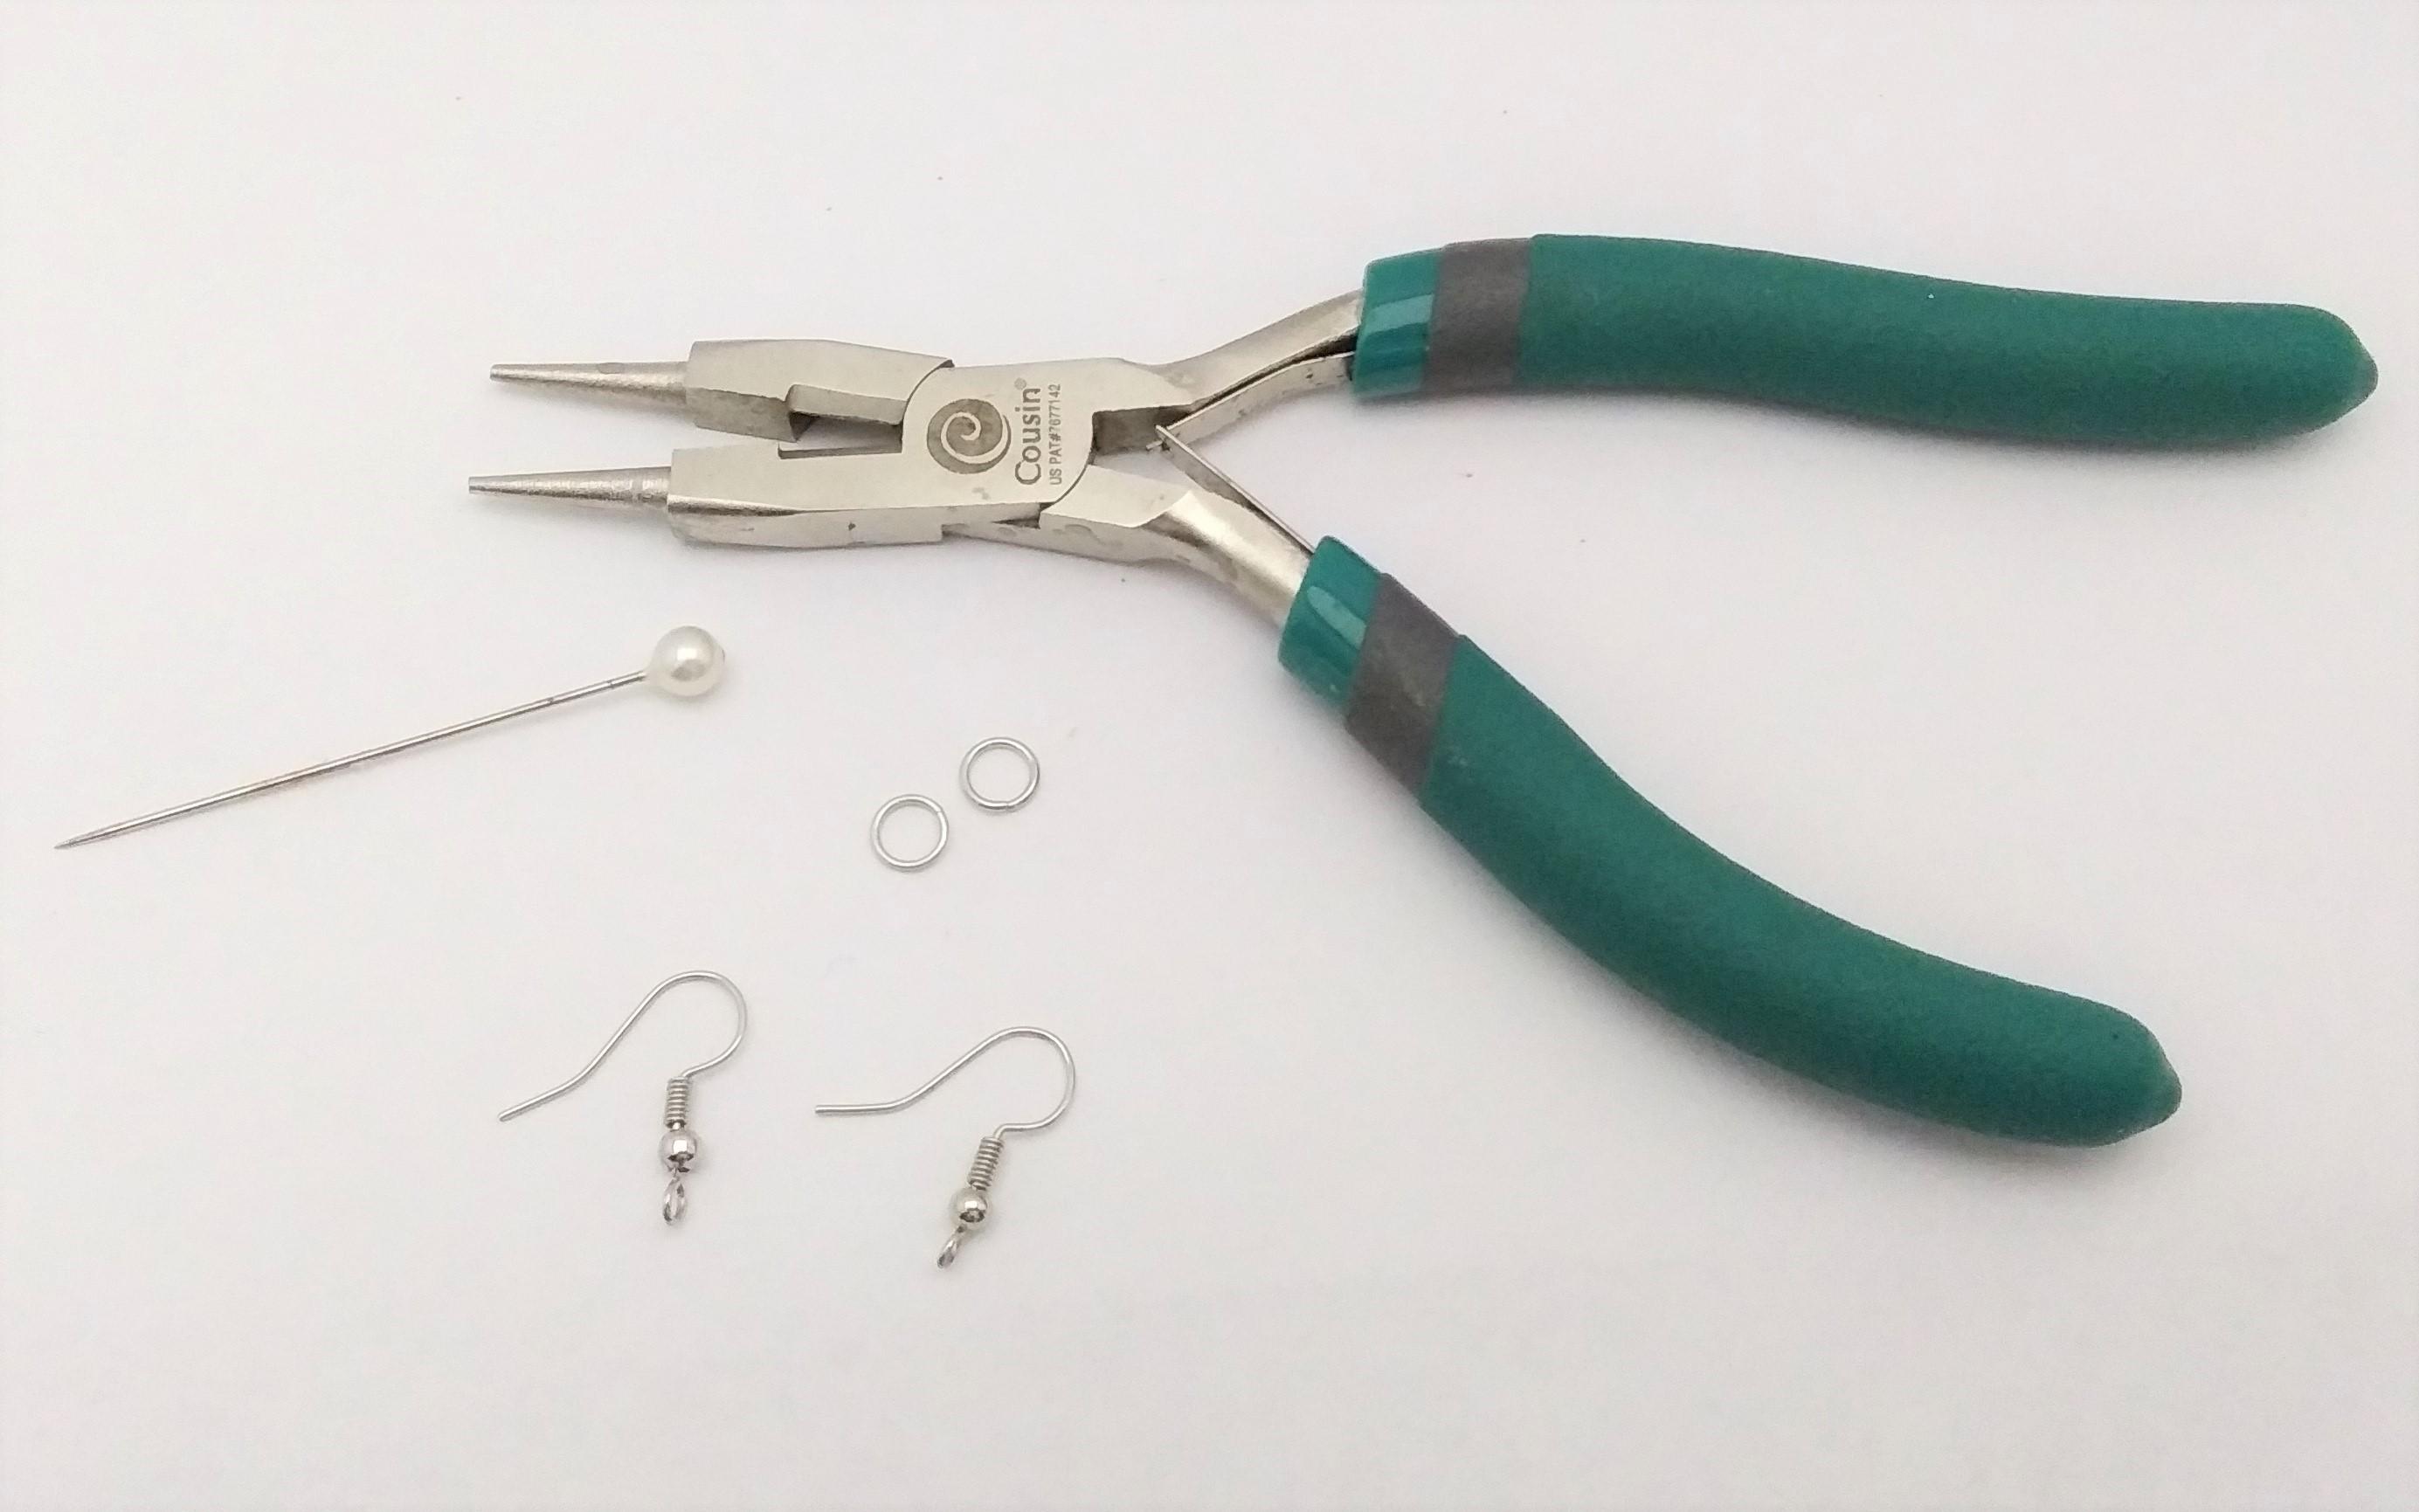
13. A pin (you don't have to have it)
14. Round-nose pliers
15. Jump Rings
16. Earring Hooks
Wooden Pieces
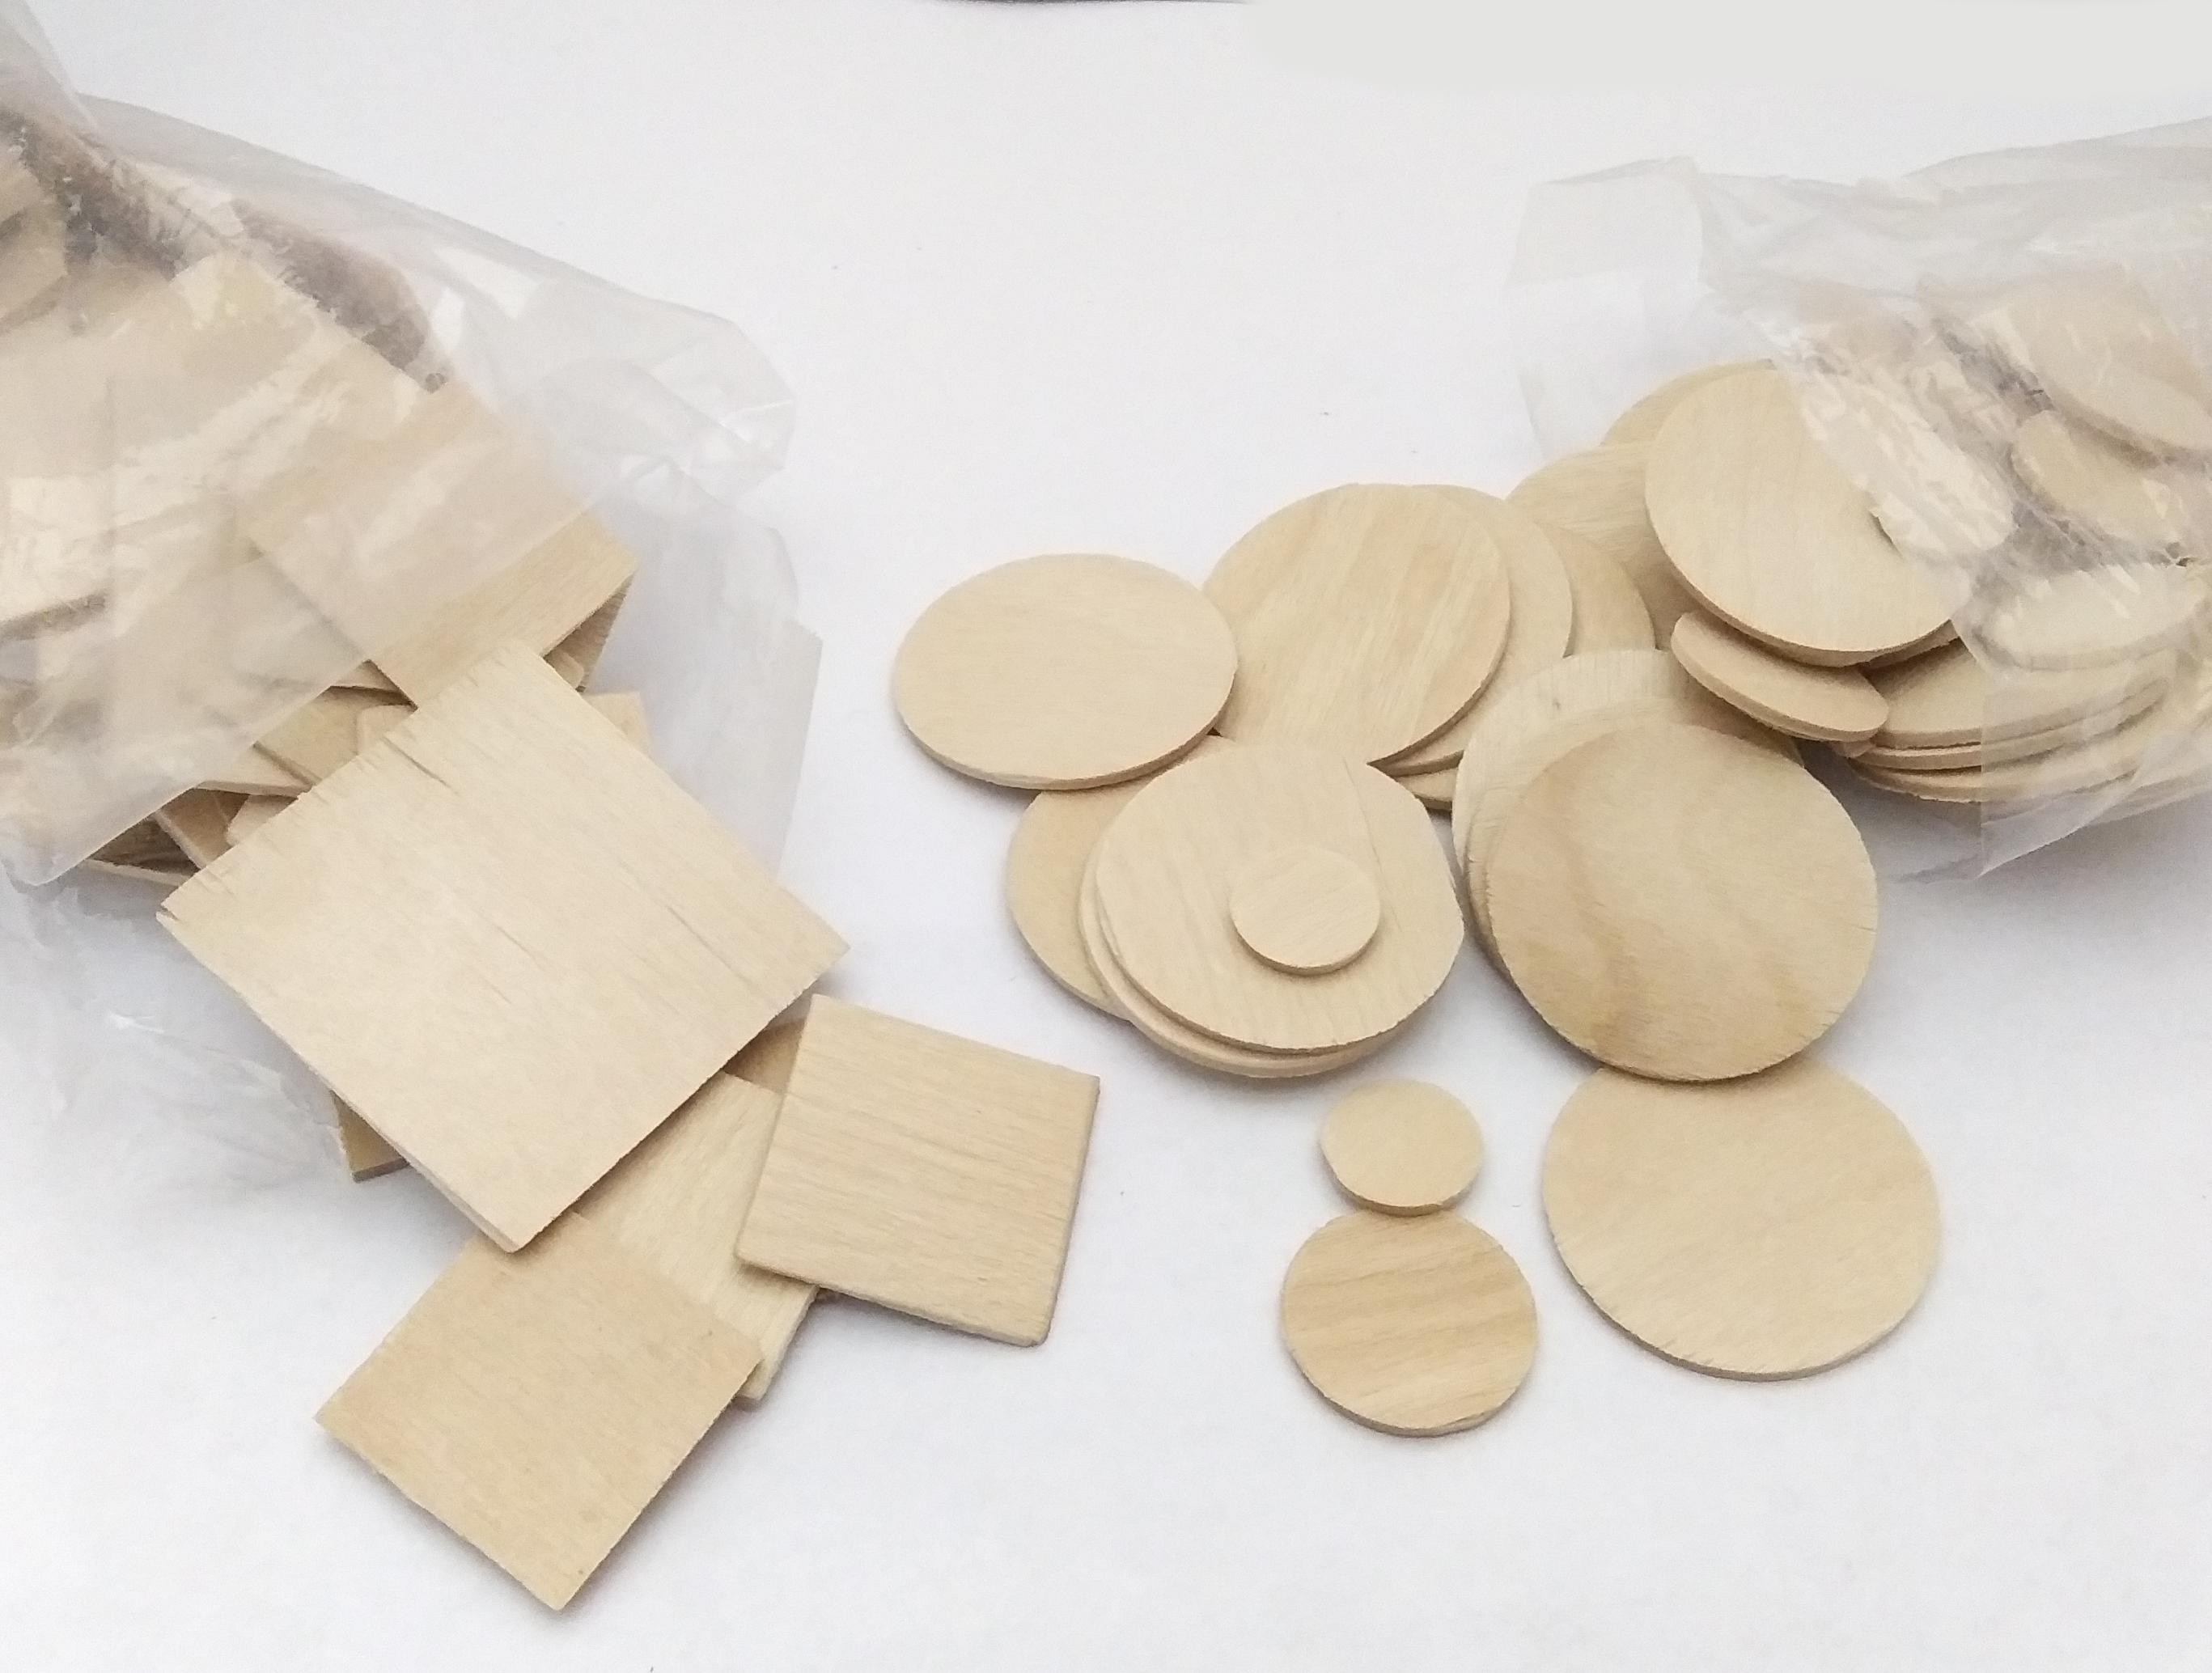
The wooden pieces should have a flat or pretty much flat side to them. They can be whatever size you want, but you want them to be a size that you can wear comfortably.
As I said earlier, you can use scrap pieces of wood if you have any. You will probably have more work because you will need to sand your scrap pieces to make them smooth and to shape them.
If you don't have scrap pieces, or you don't want to mess with that, you can buy premade little wood circles, squares, and other shapes at craft stores. I bought mine at our local chain craft store. You can even find them at Walmart. You just want pieces that are pretty thin and the diameter you want.
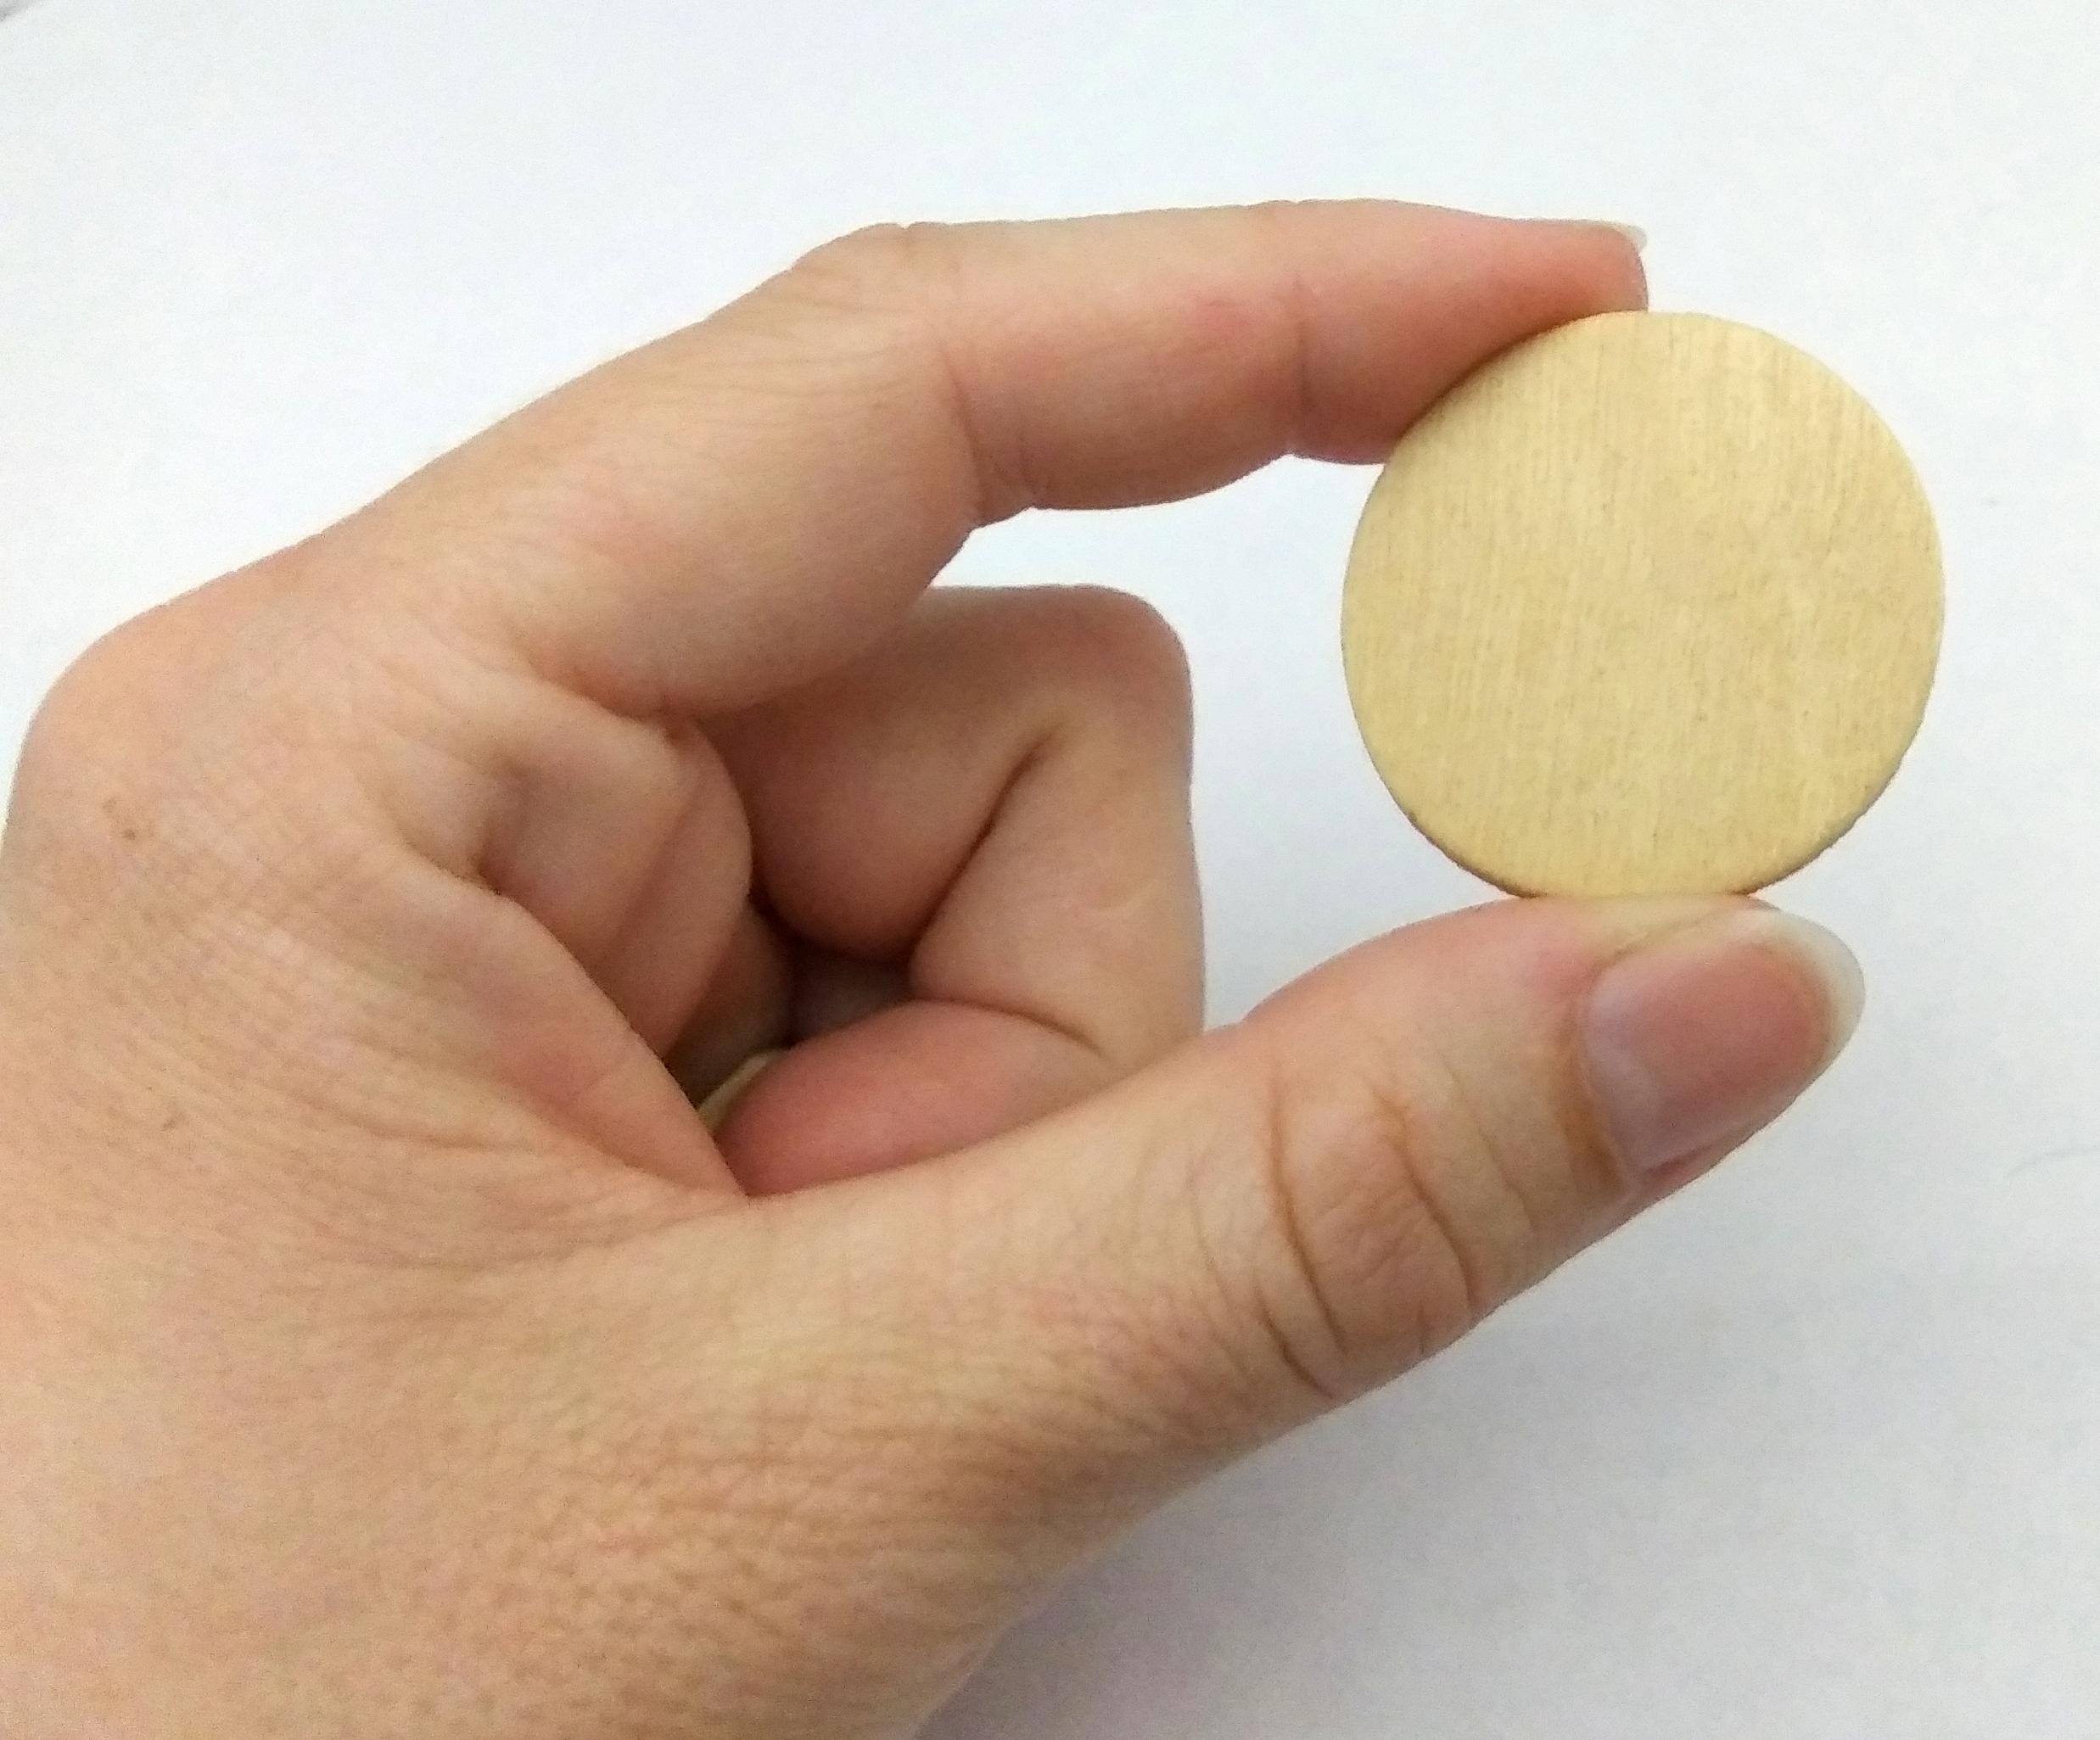
Since I bought a variety pack, I have a couple sizes to pick from. I am going to use the largest circle size I have (you can see in the photo how big it is), but size is up to you.
How to Remove and Add a Drill Bit
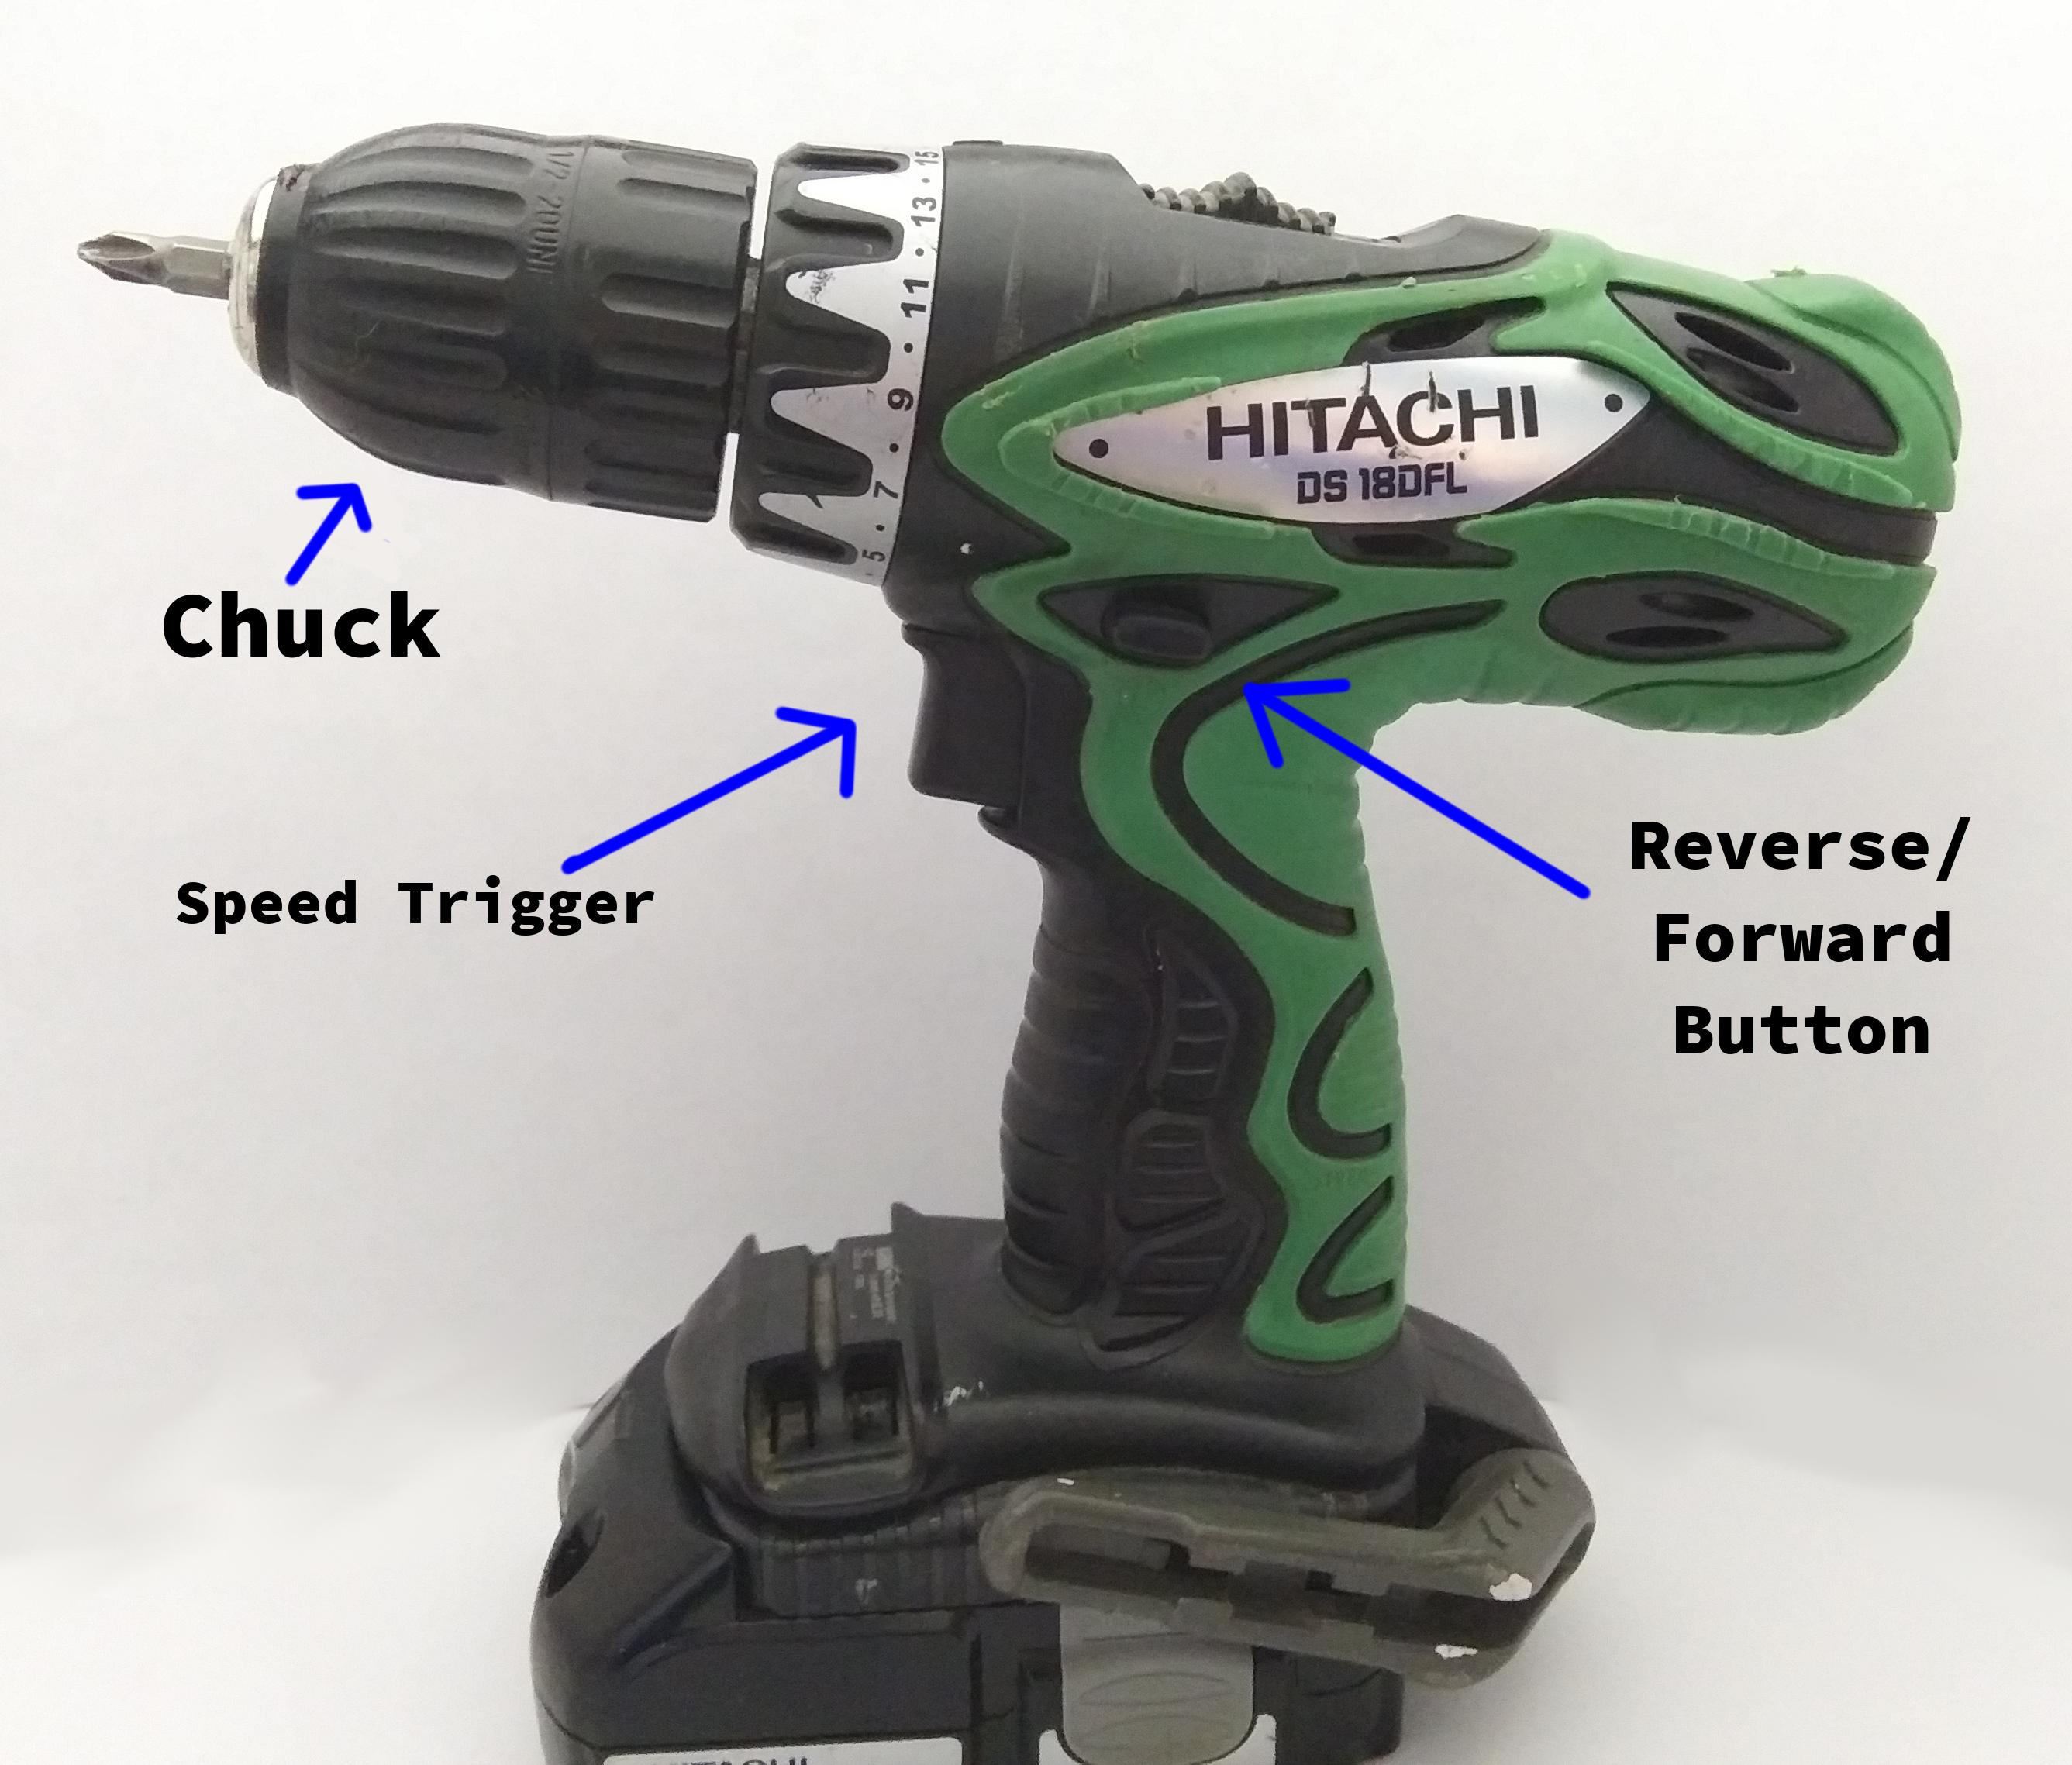
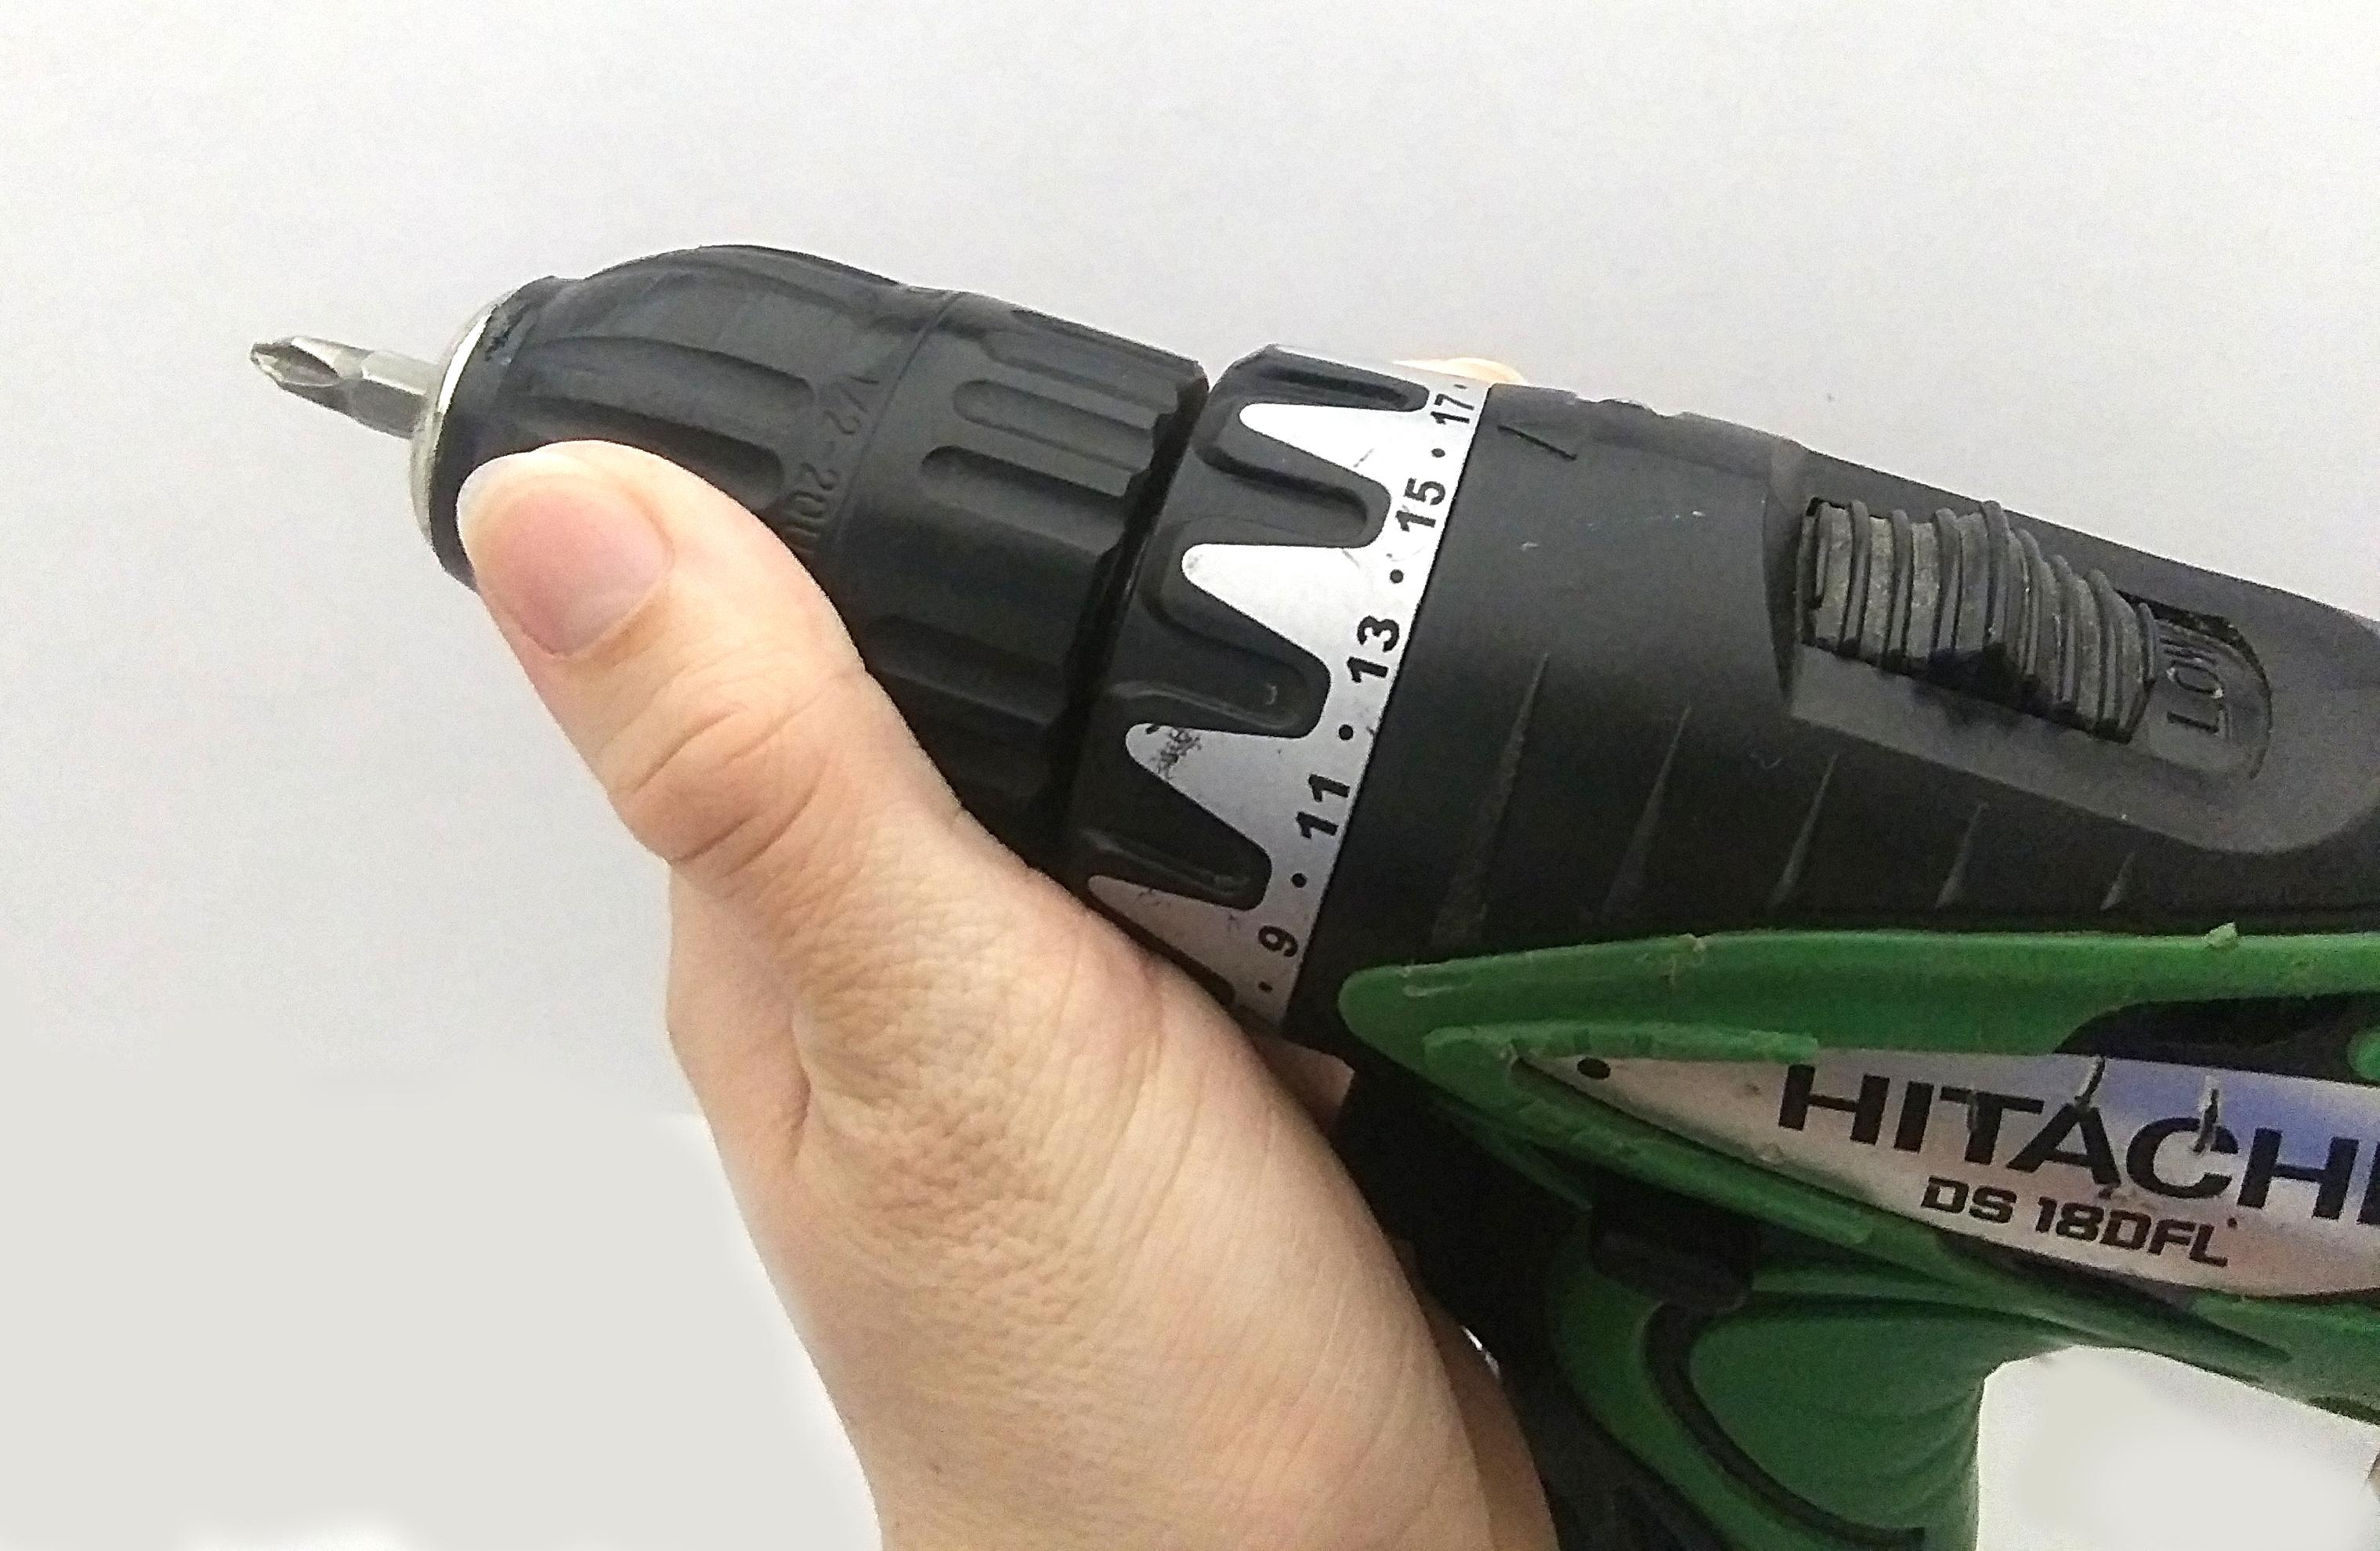
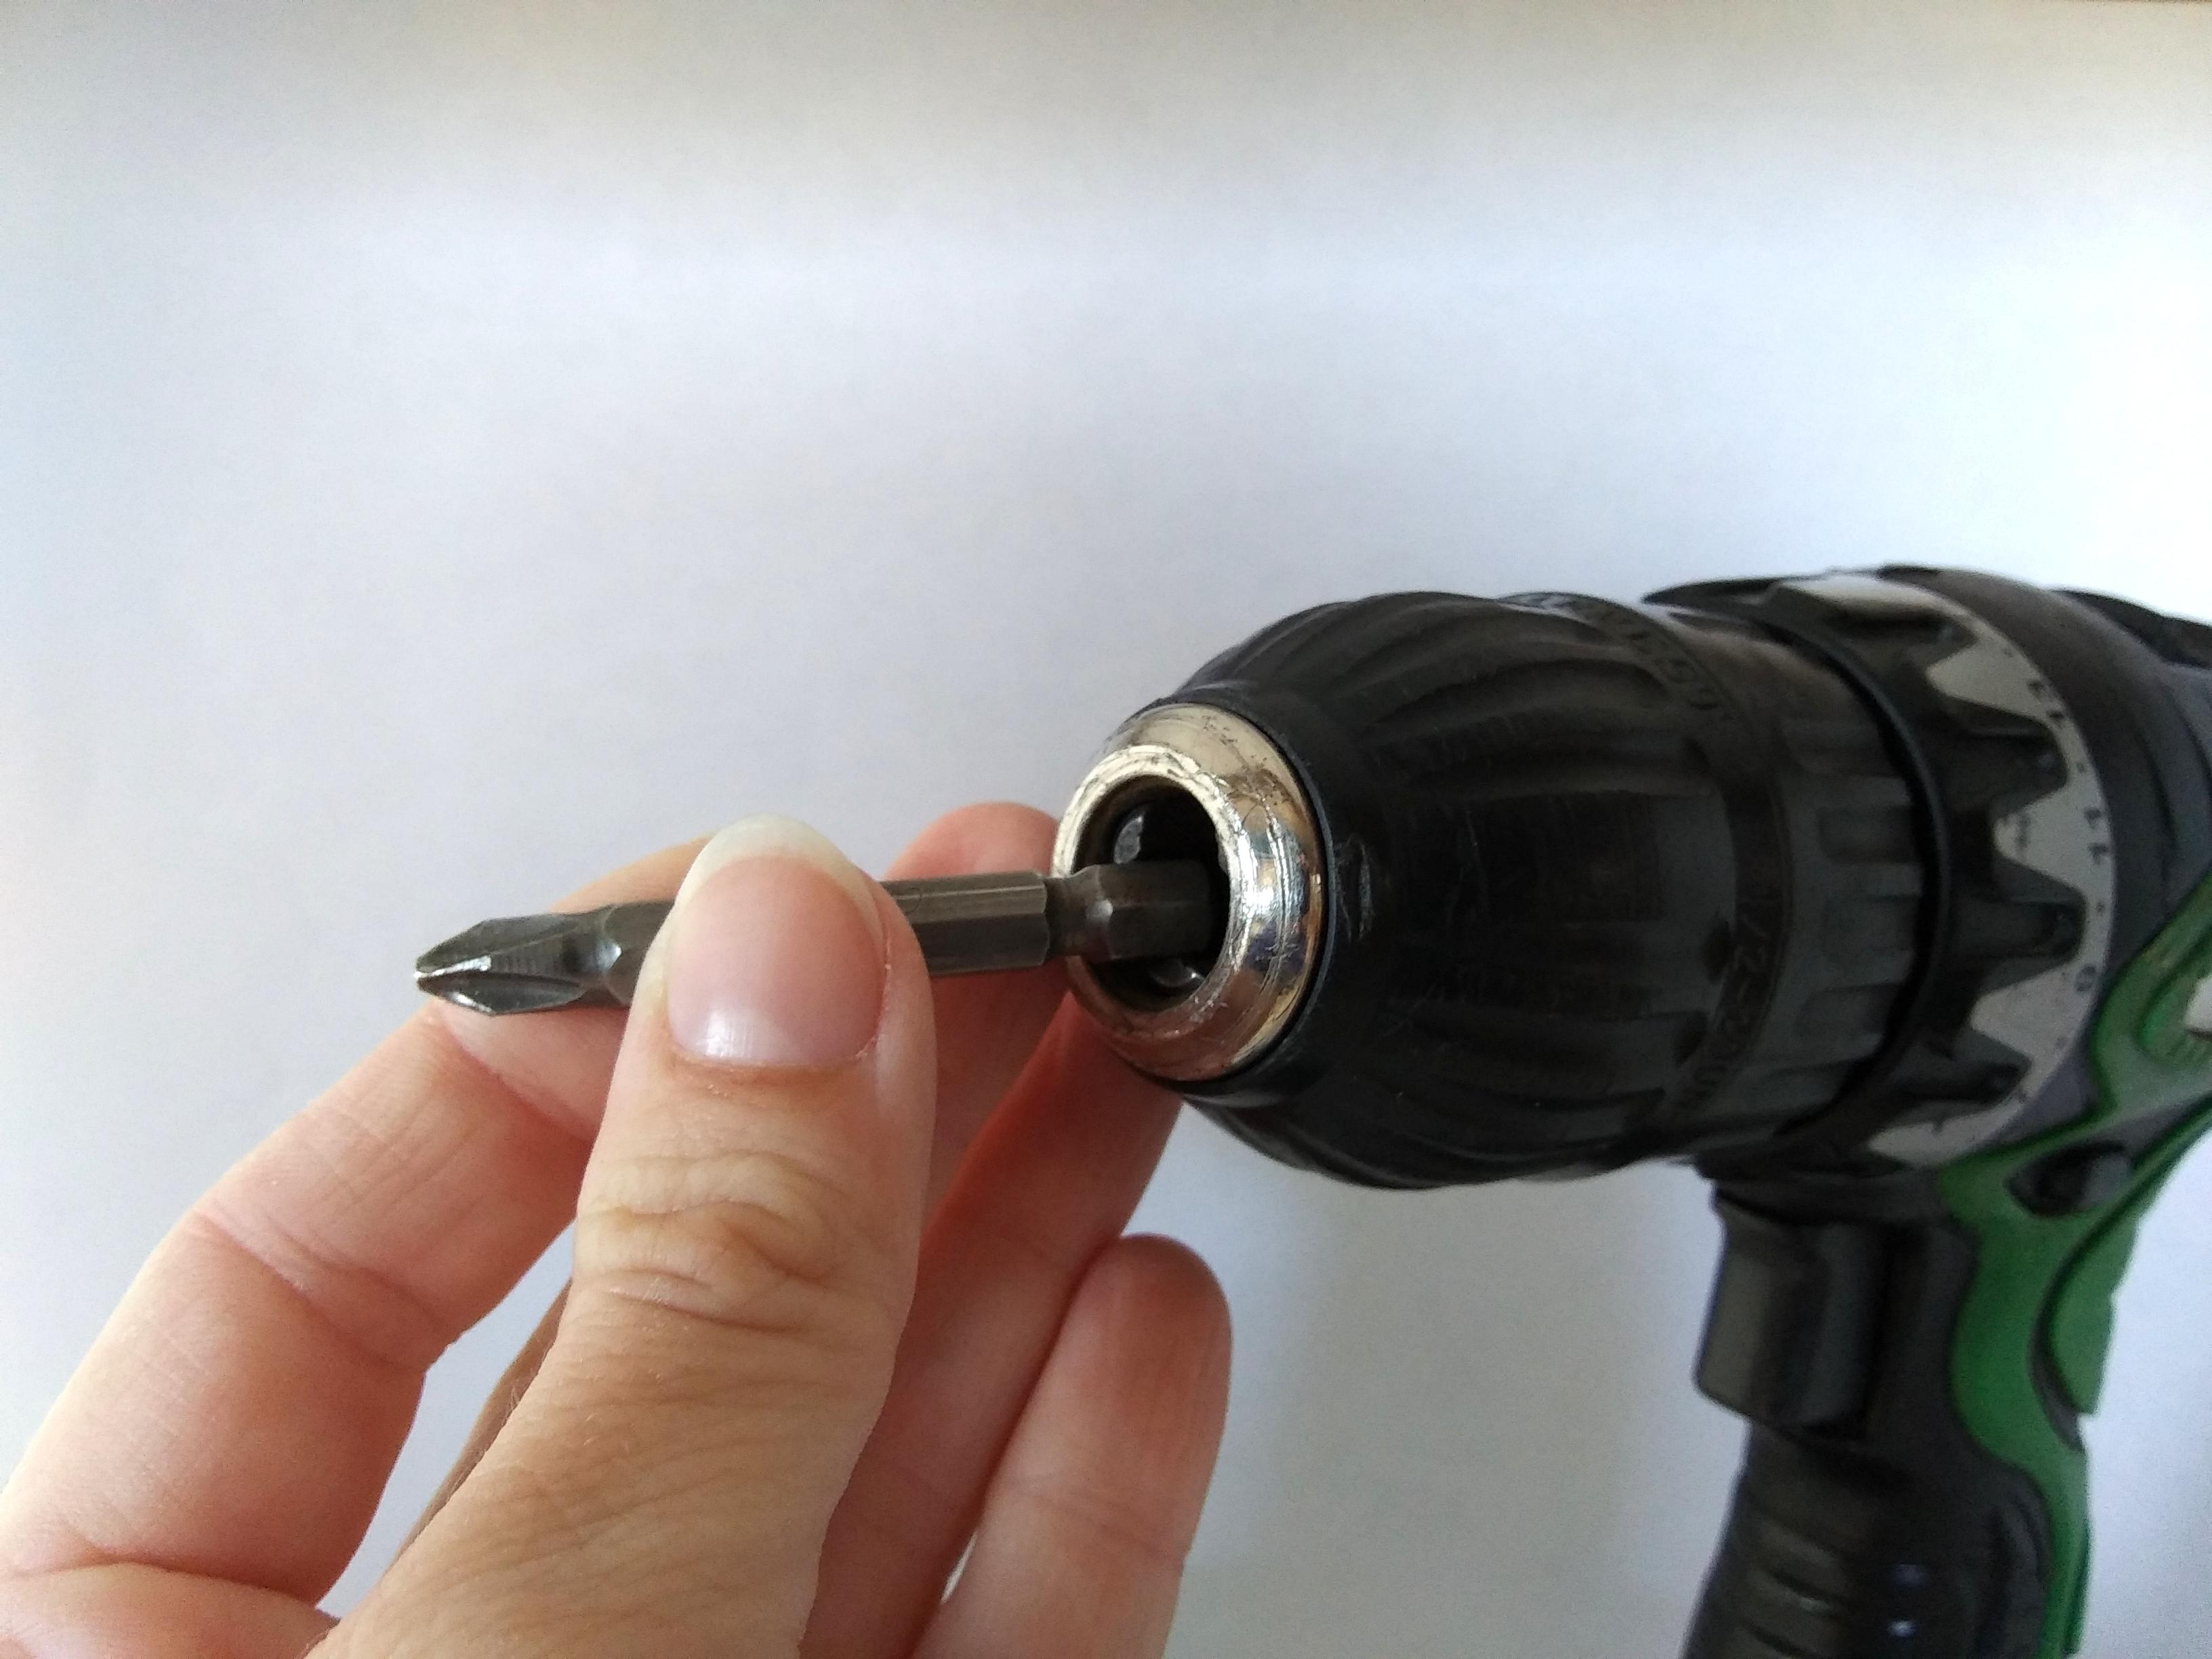
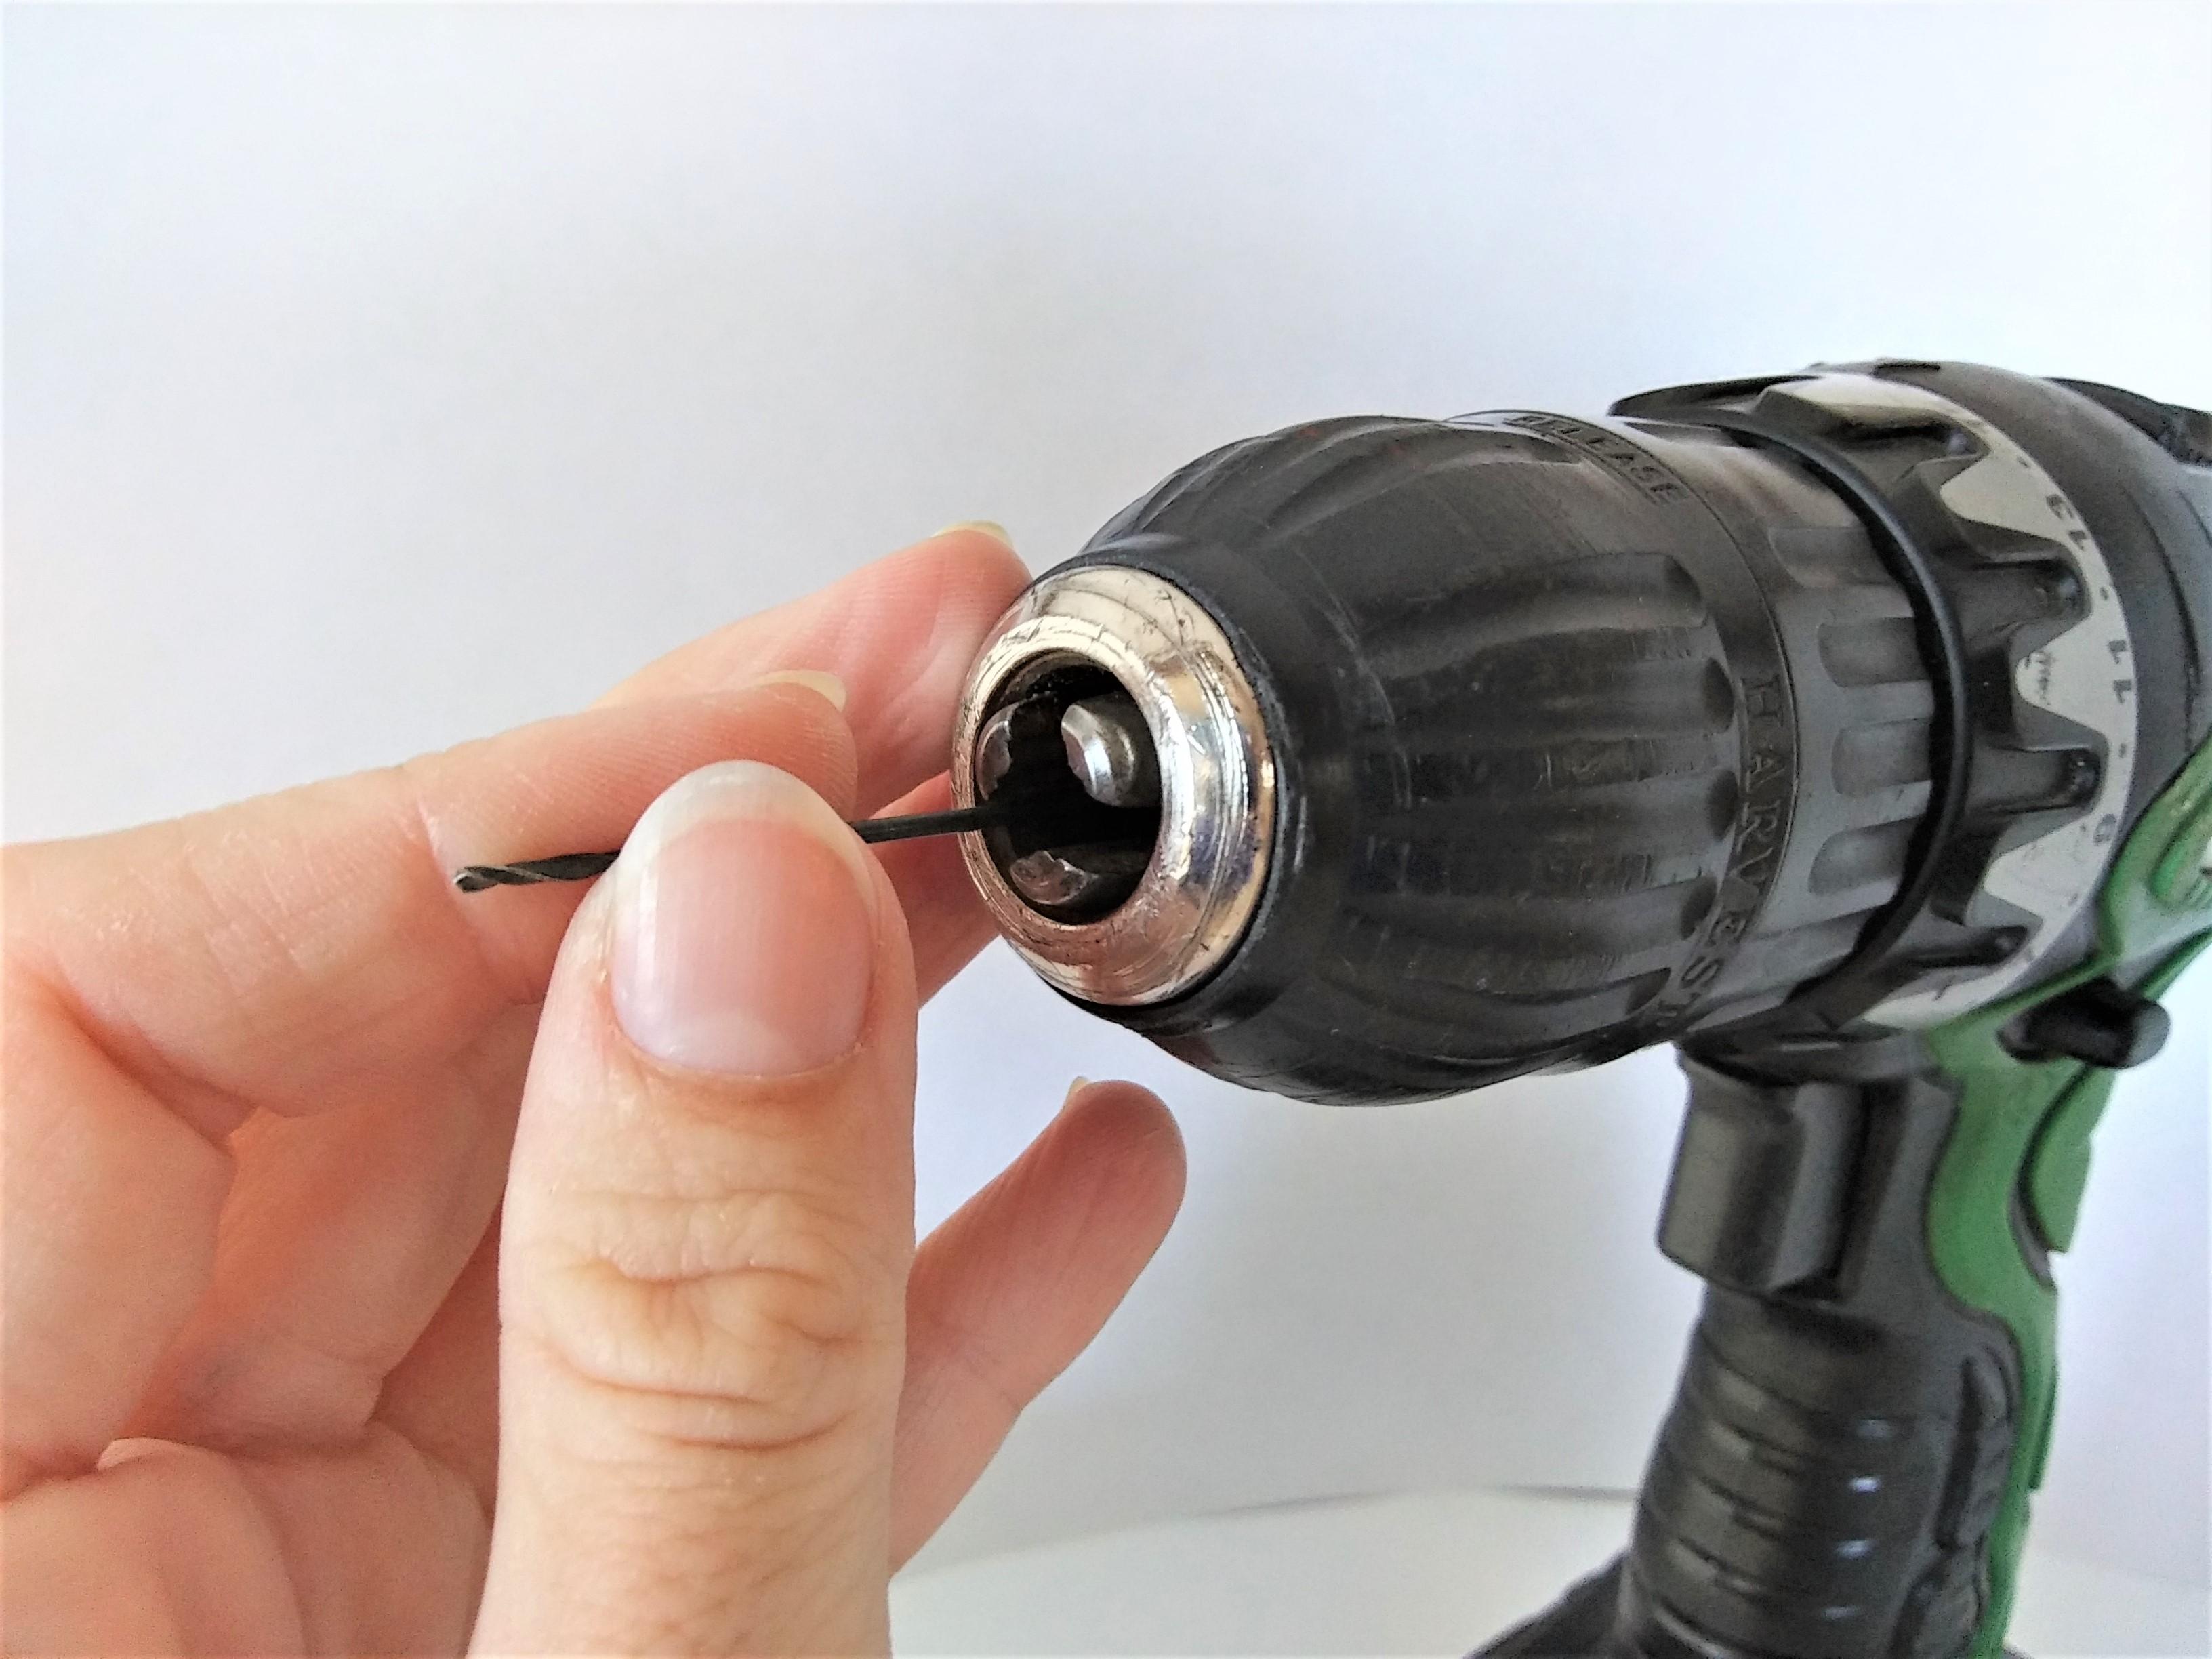
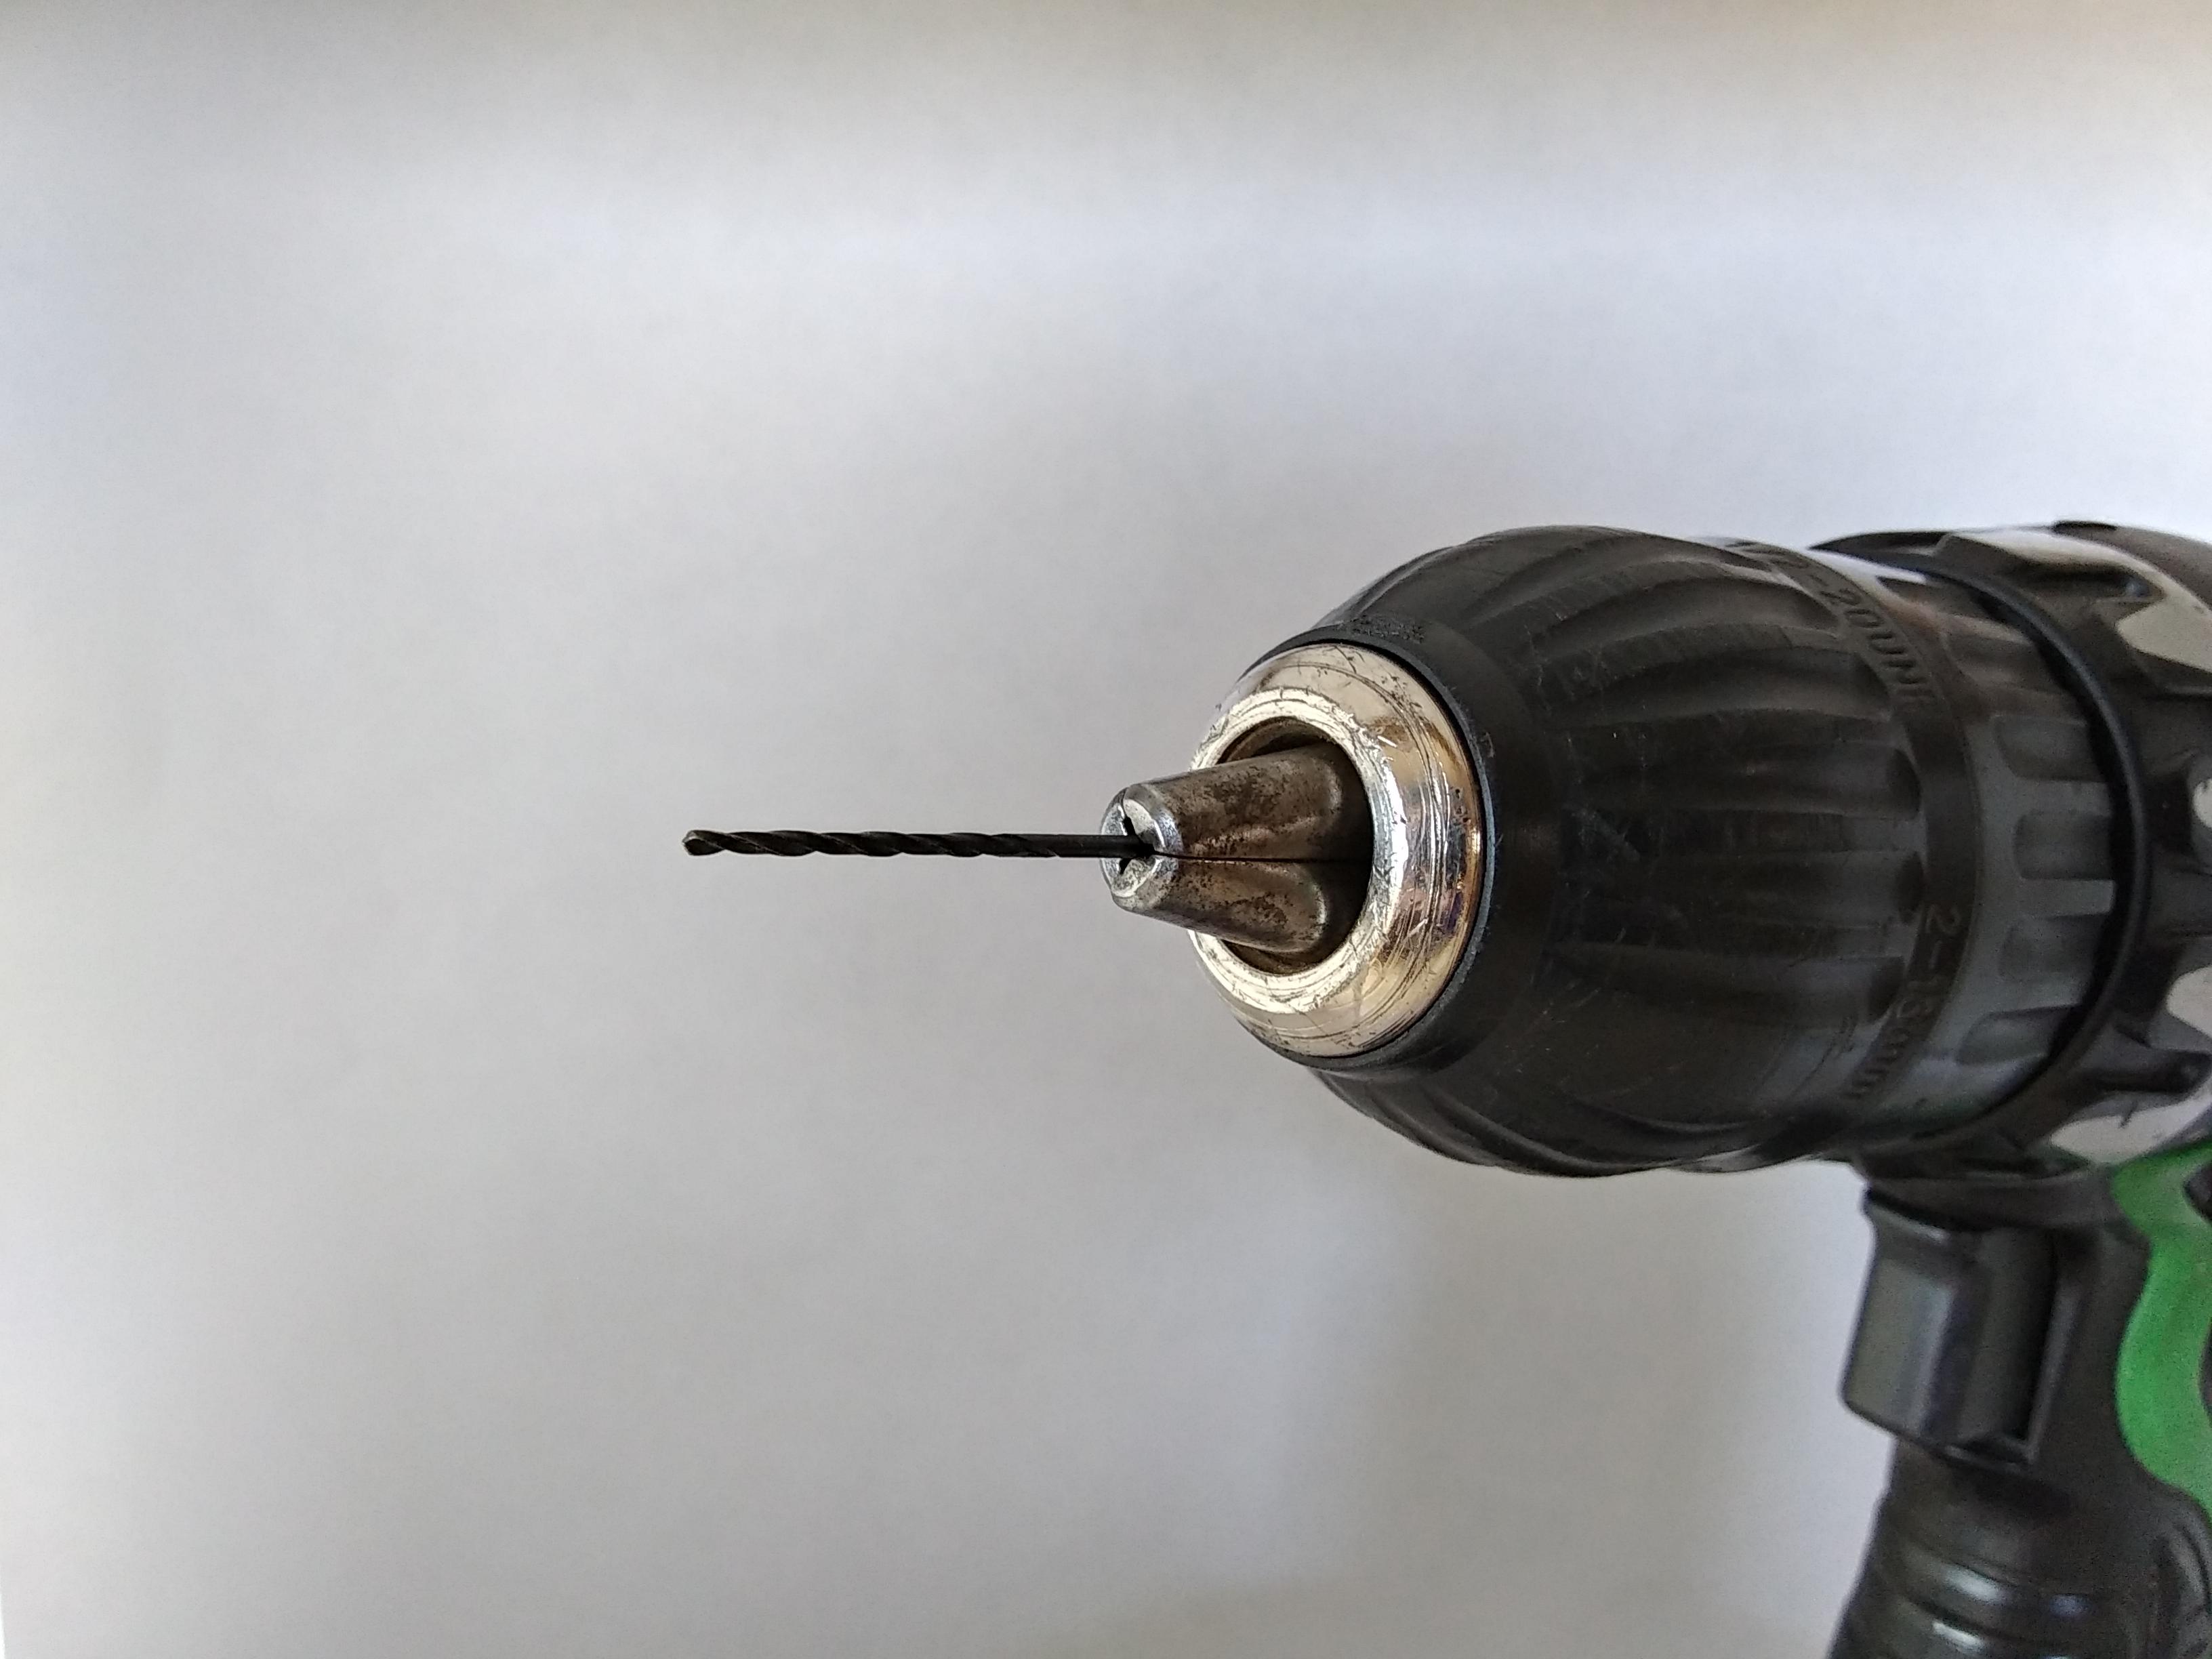
I put my #55 micro drill bit into the drill.
On my drill you hold the chuck (the piece were you put the drill bit) while you run the drill in reverse. This causes the end to open up so you can remove the drill bit that is in the drill.
(The reverse/forward button is a little push in button that you should find somewhere above the speed trigger. You push on it one way and the drill runs in reverse. Push it in the other way and the drill will run forwards.)
Then I place my #55 drill bit in the end and hold onto it with a few of my fingers so I can make sure it is straight. I turn the drill to run forwards. Slowly I run the drill until the end closes around the drill bit.
Now we are ready!
Drill
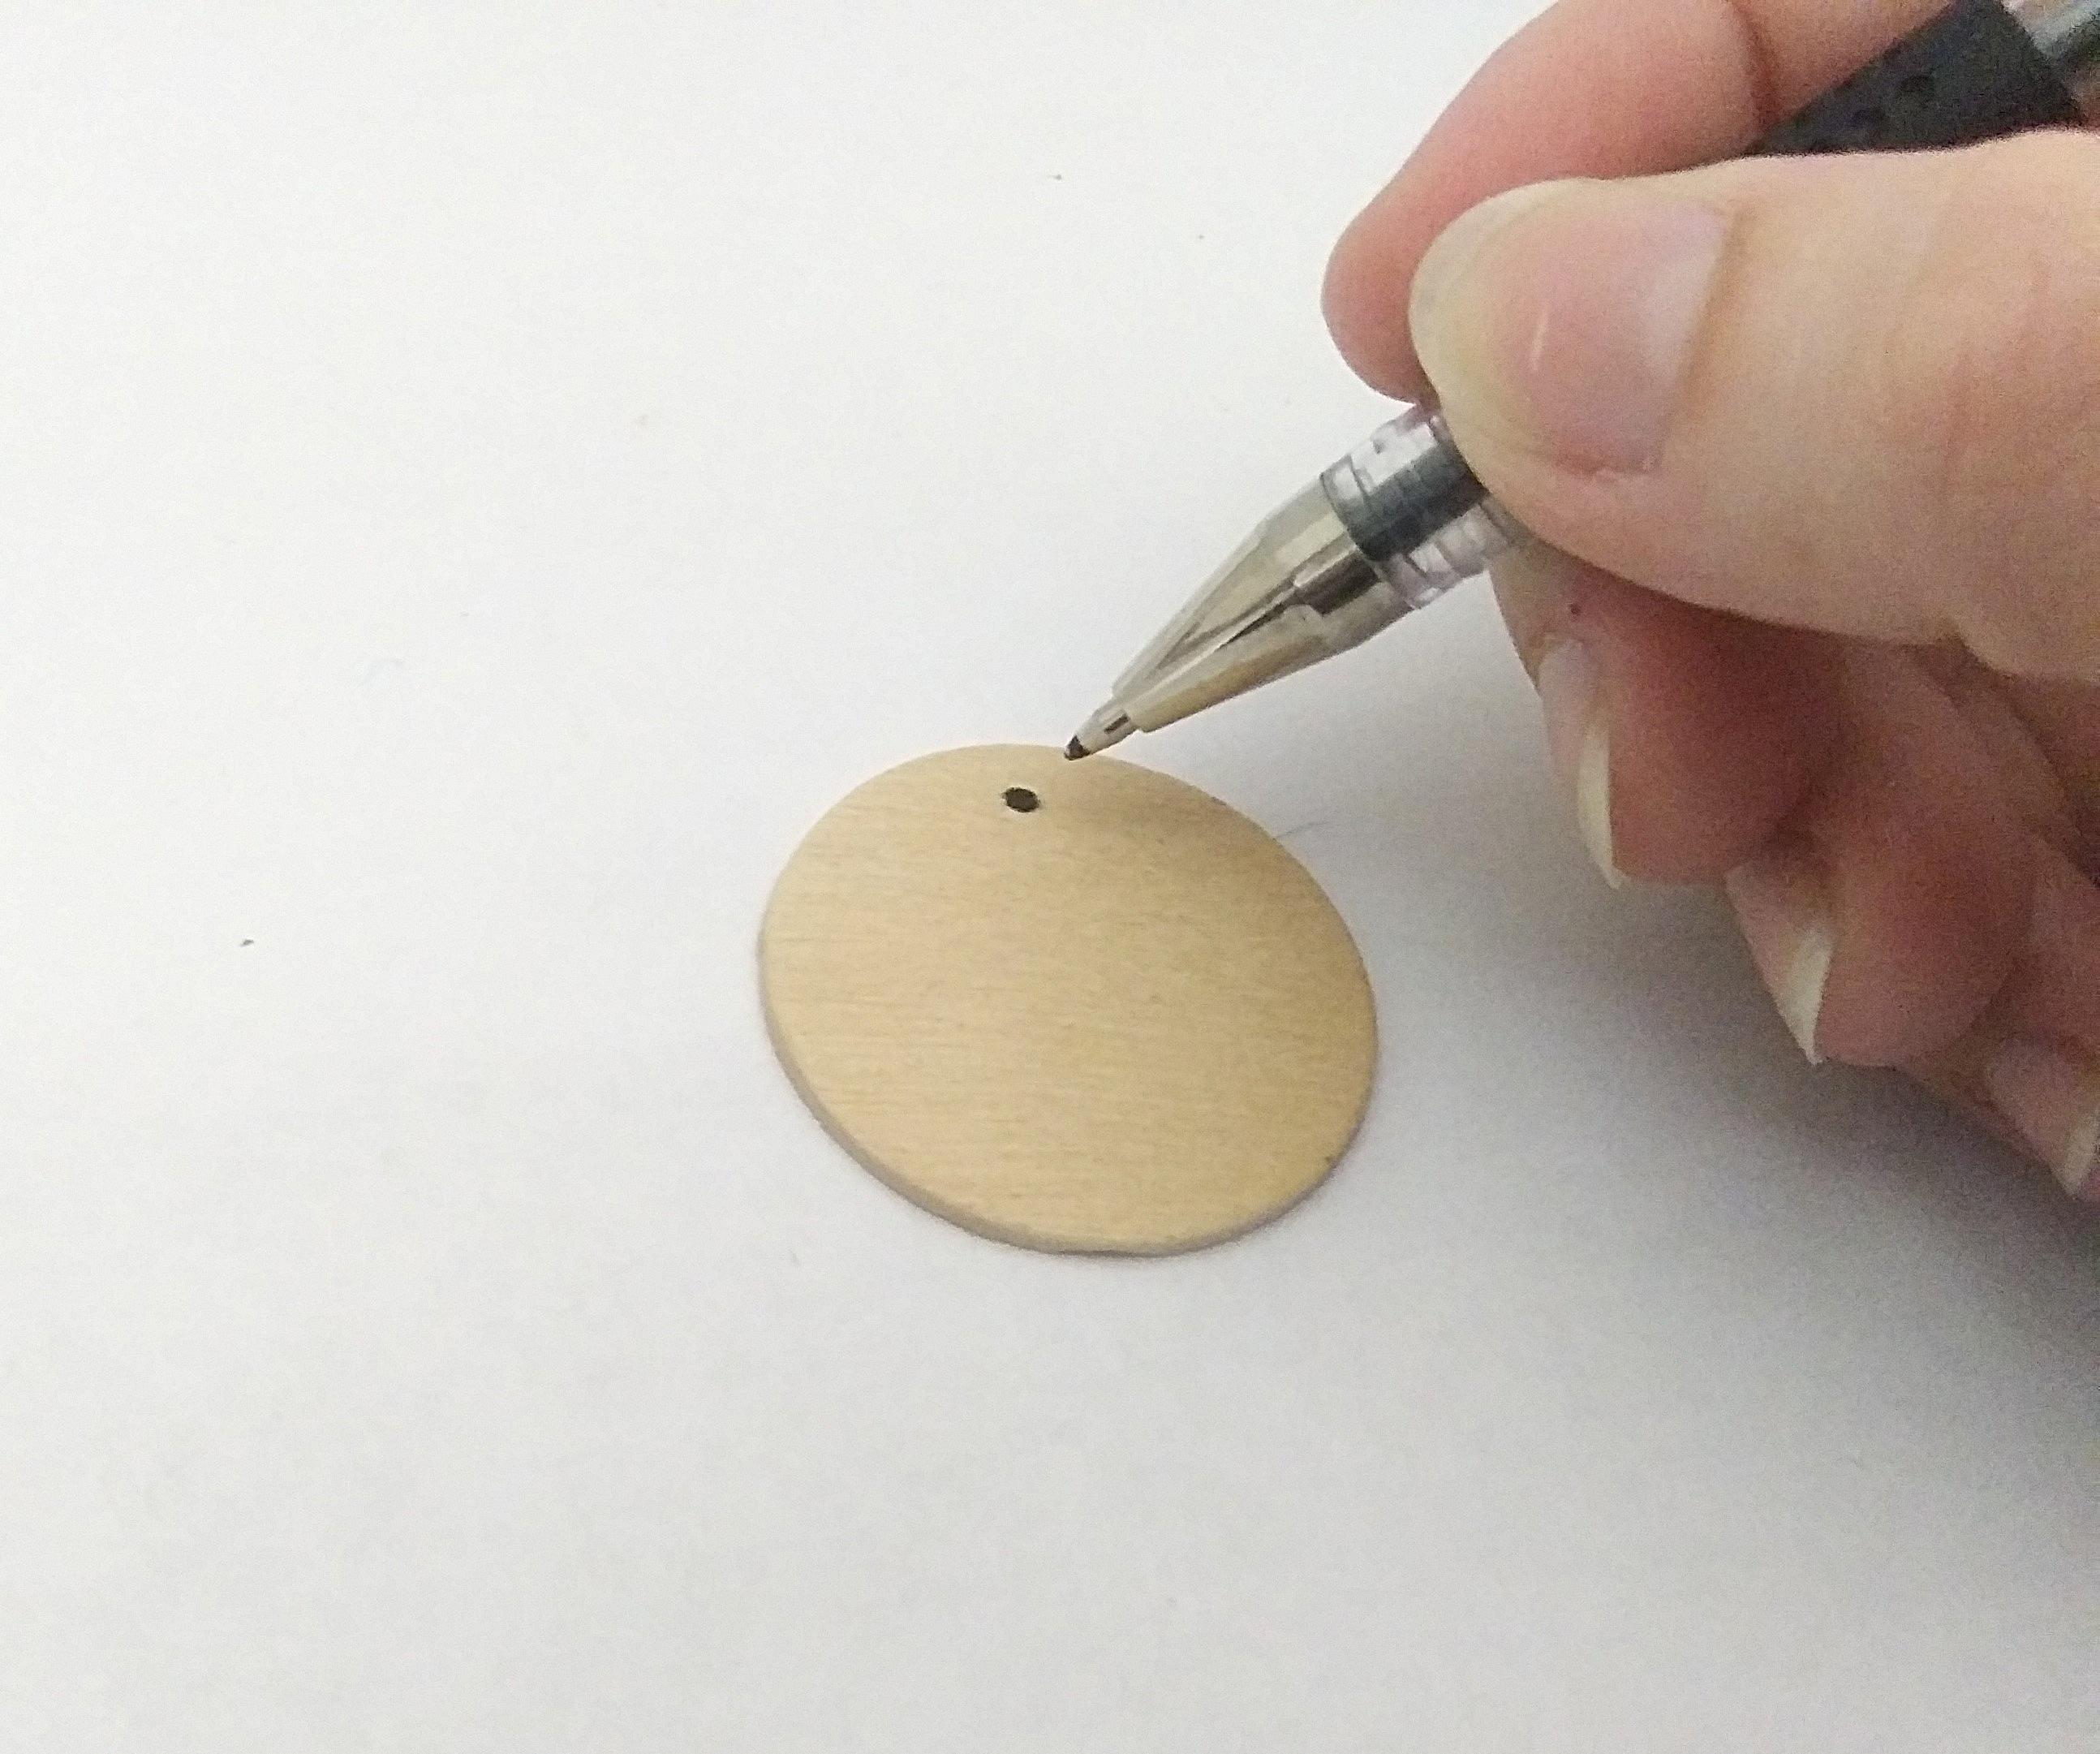
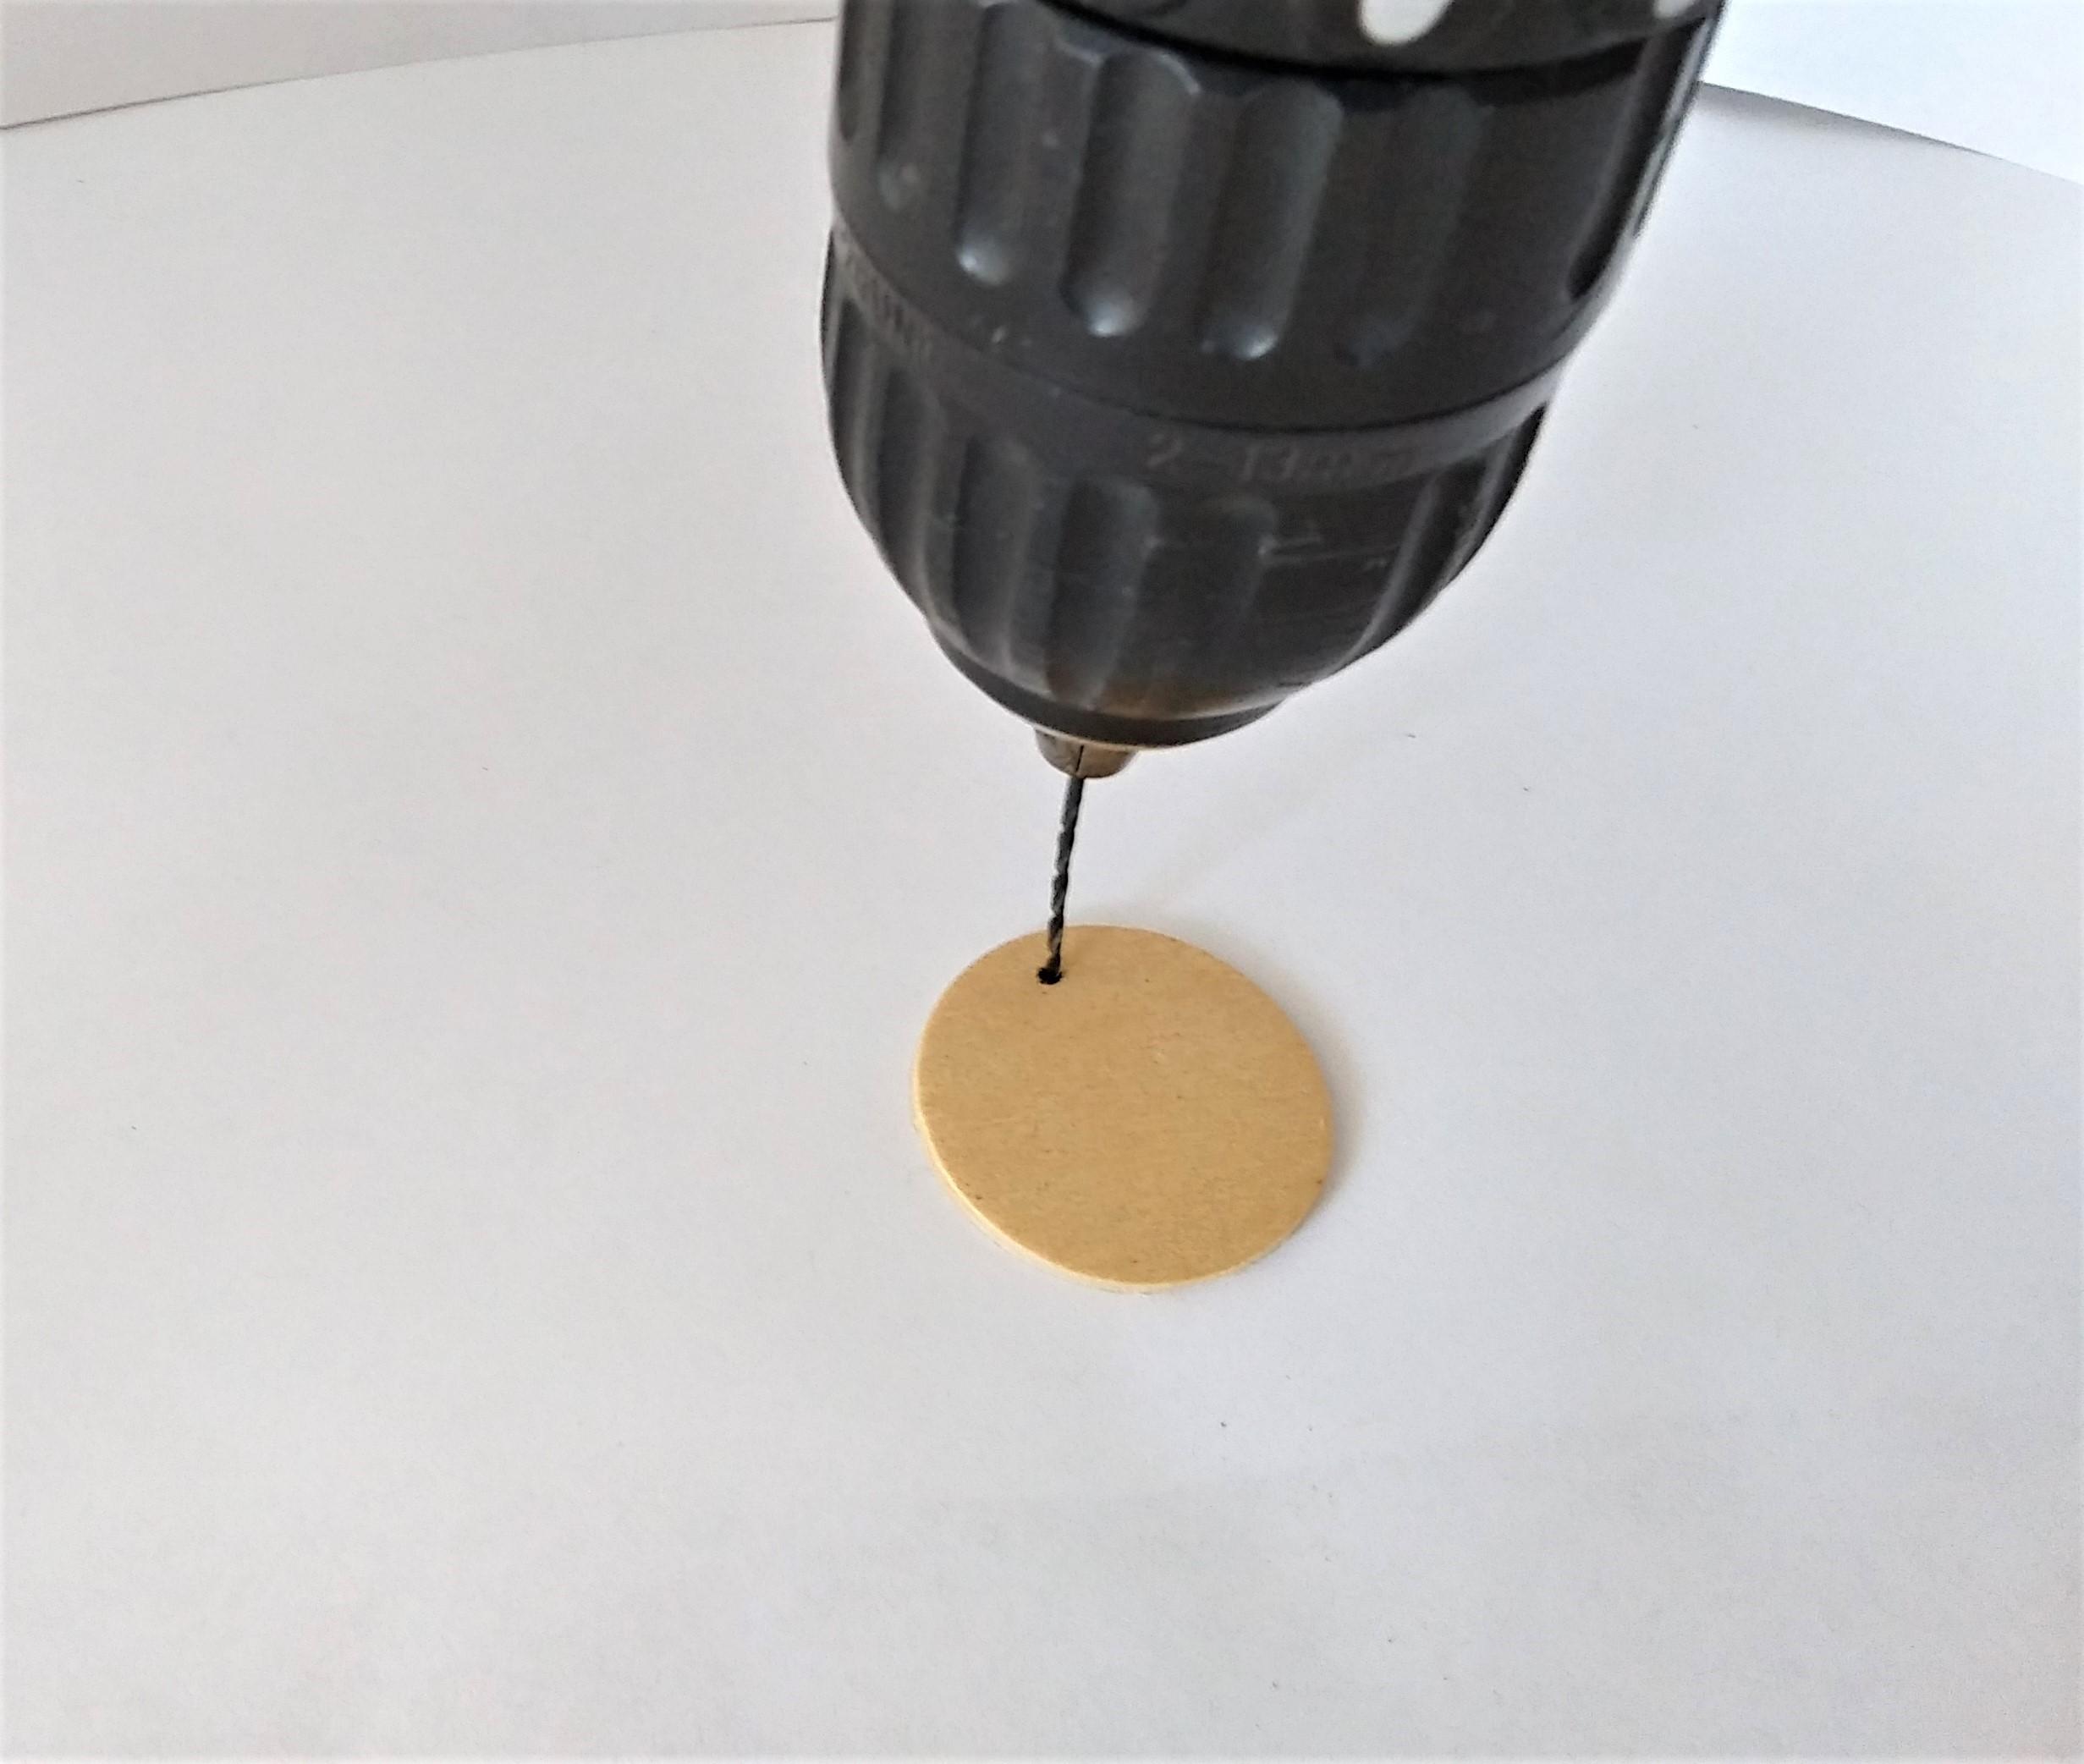
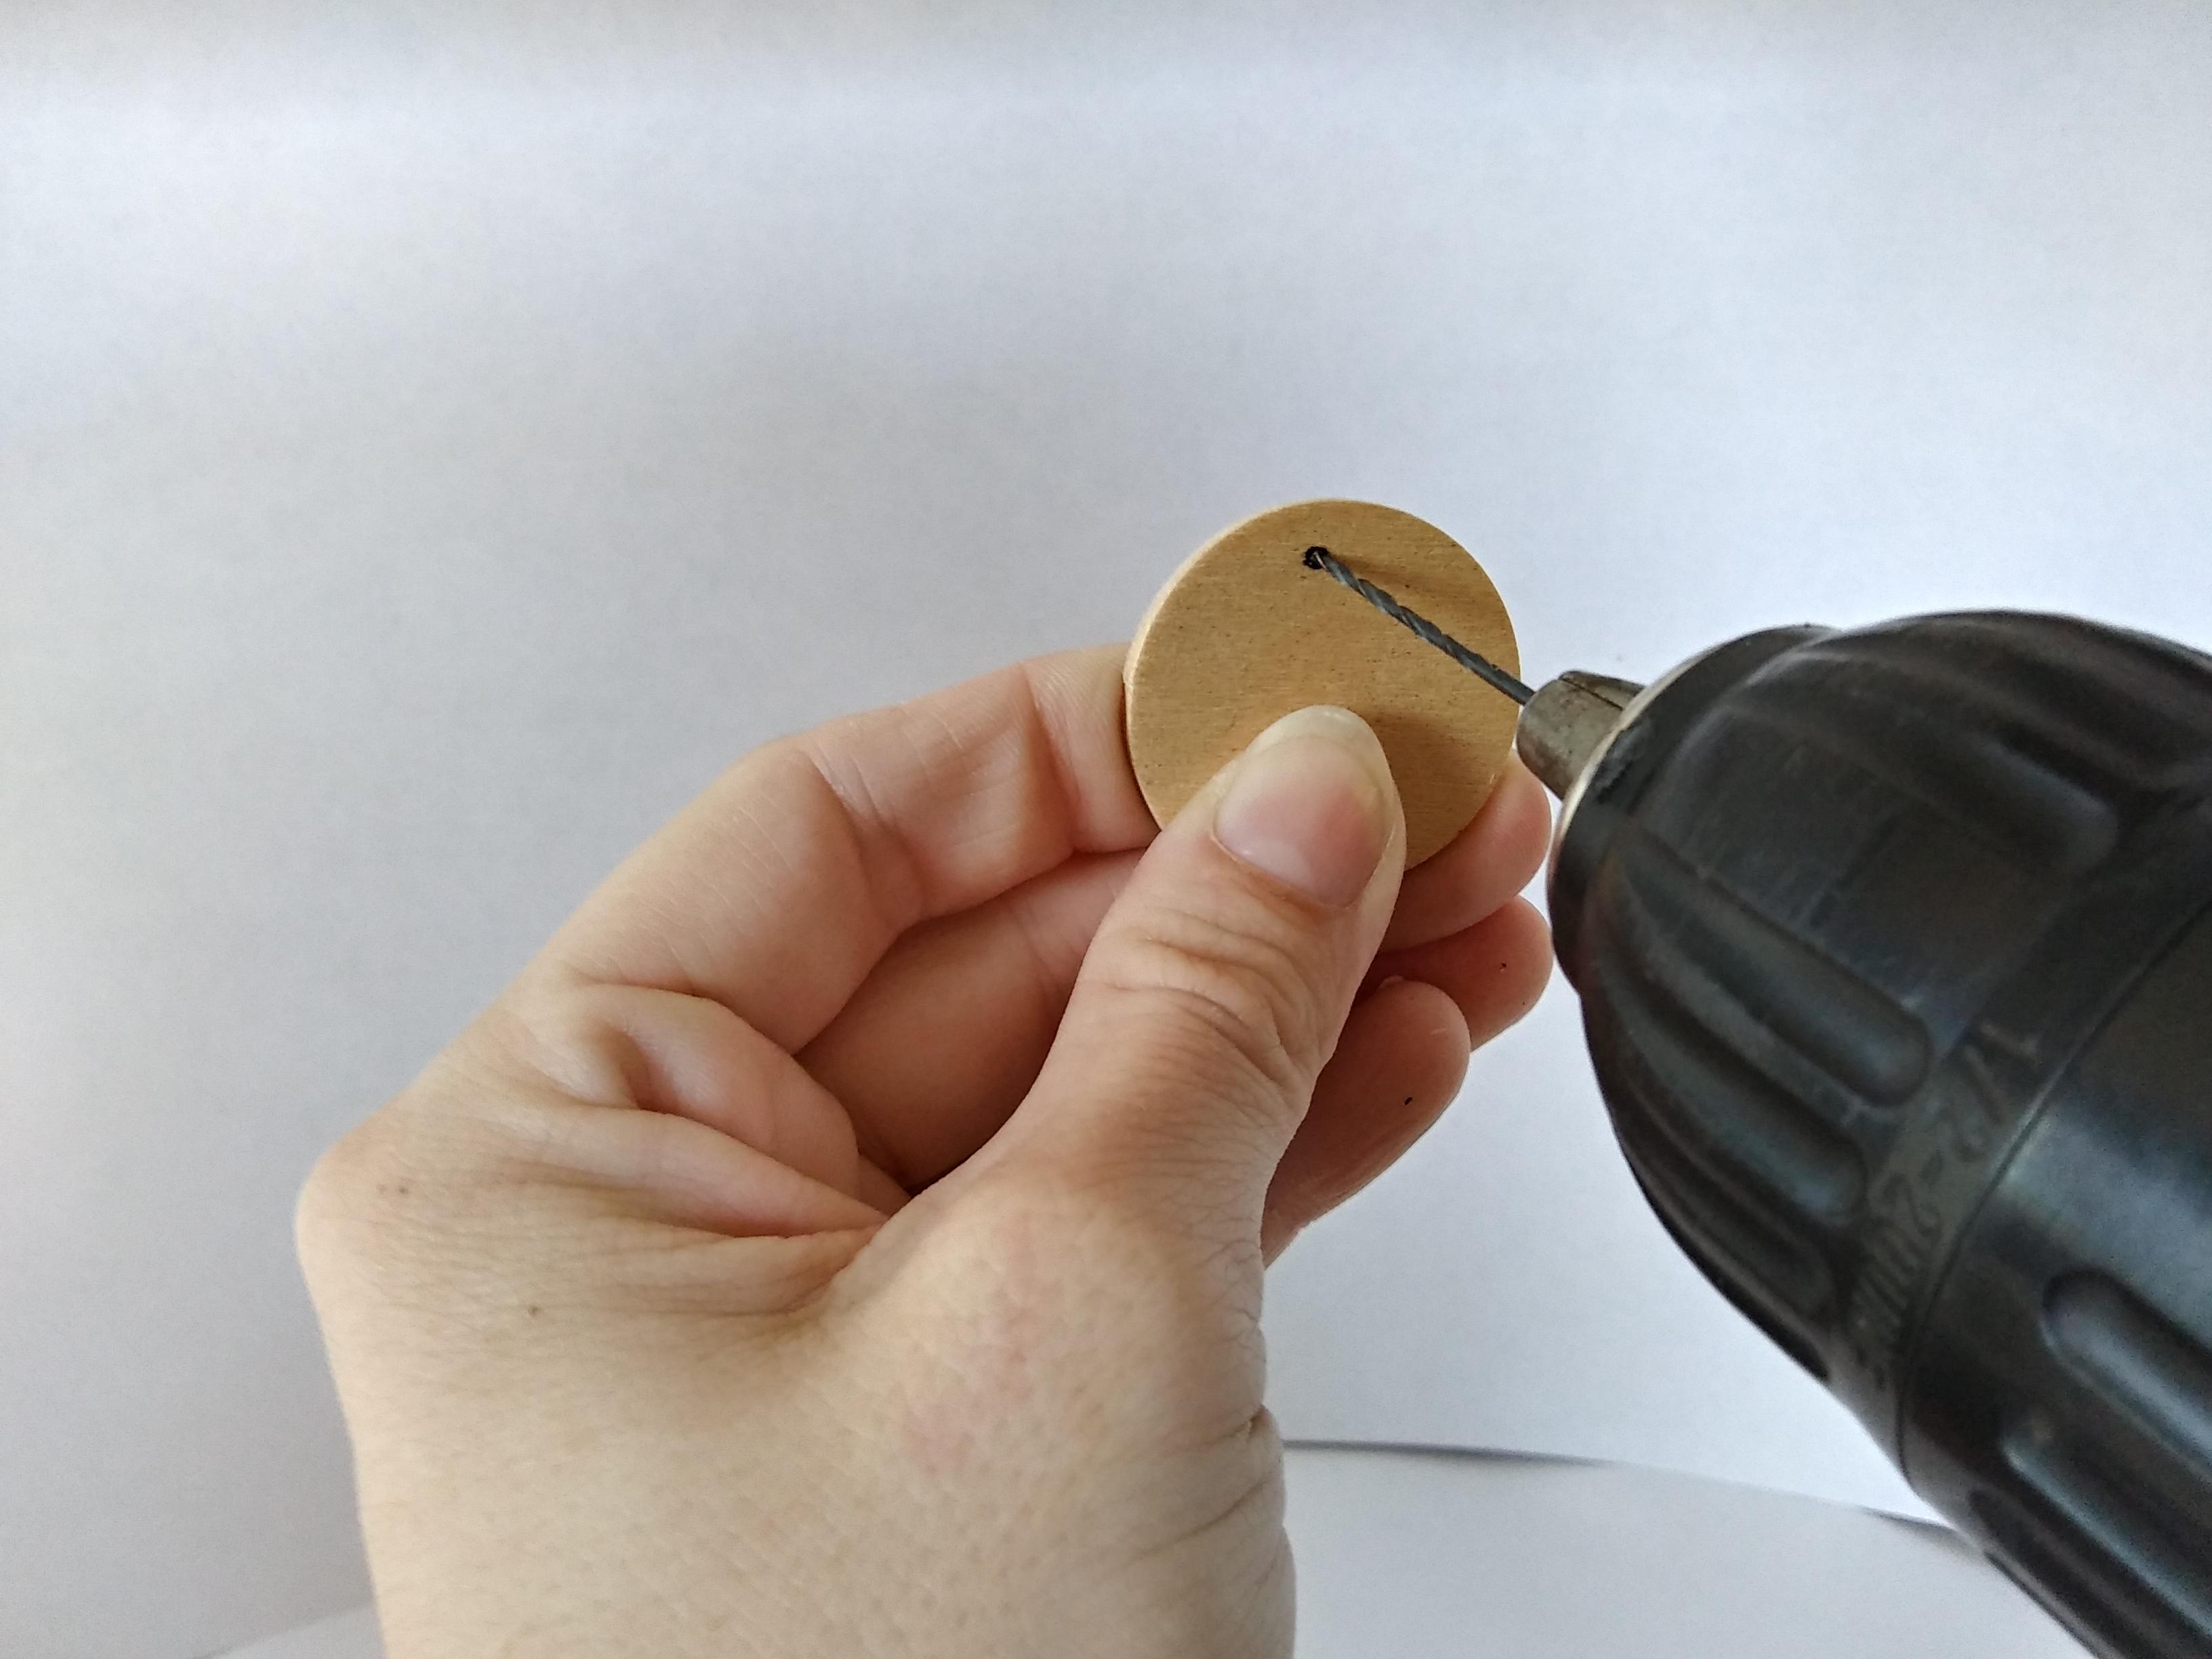
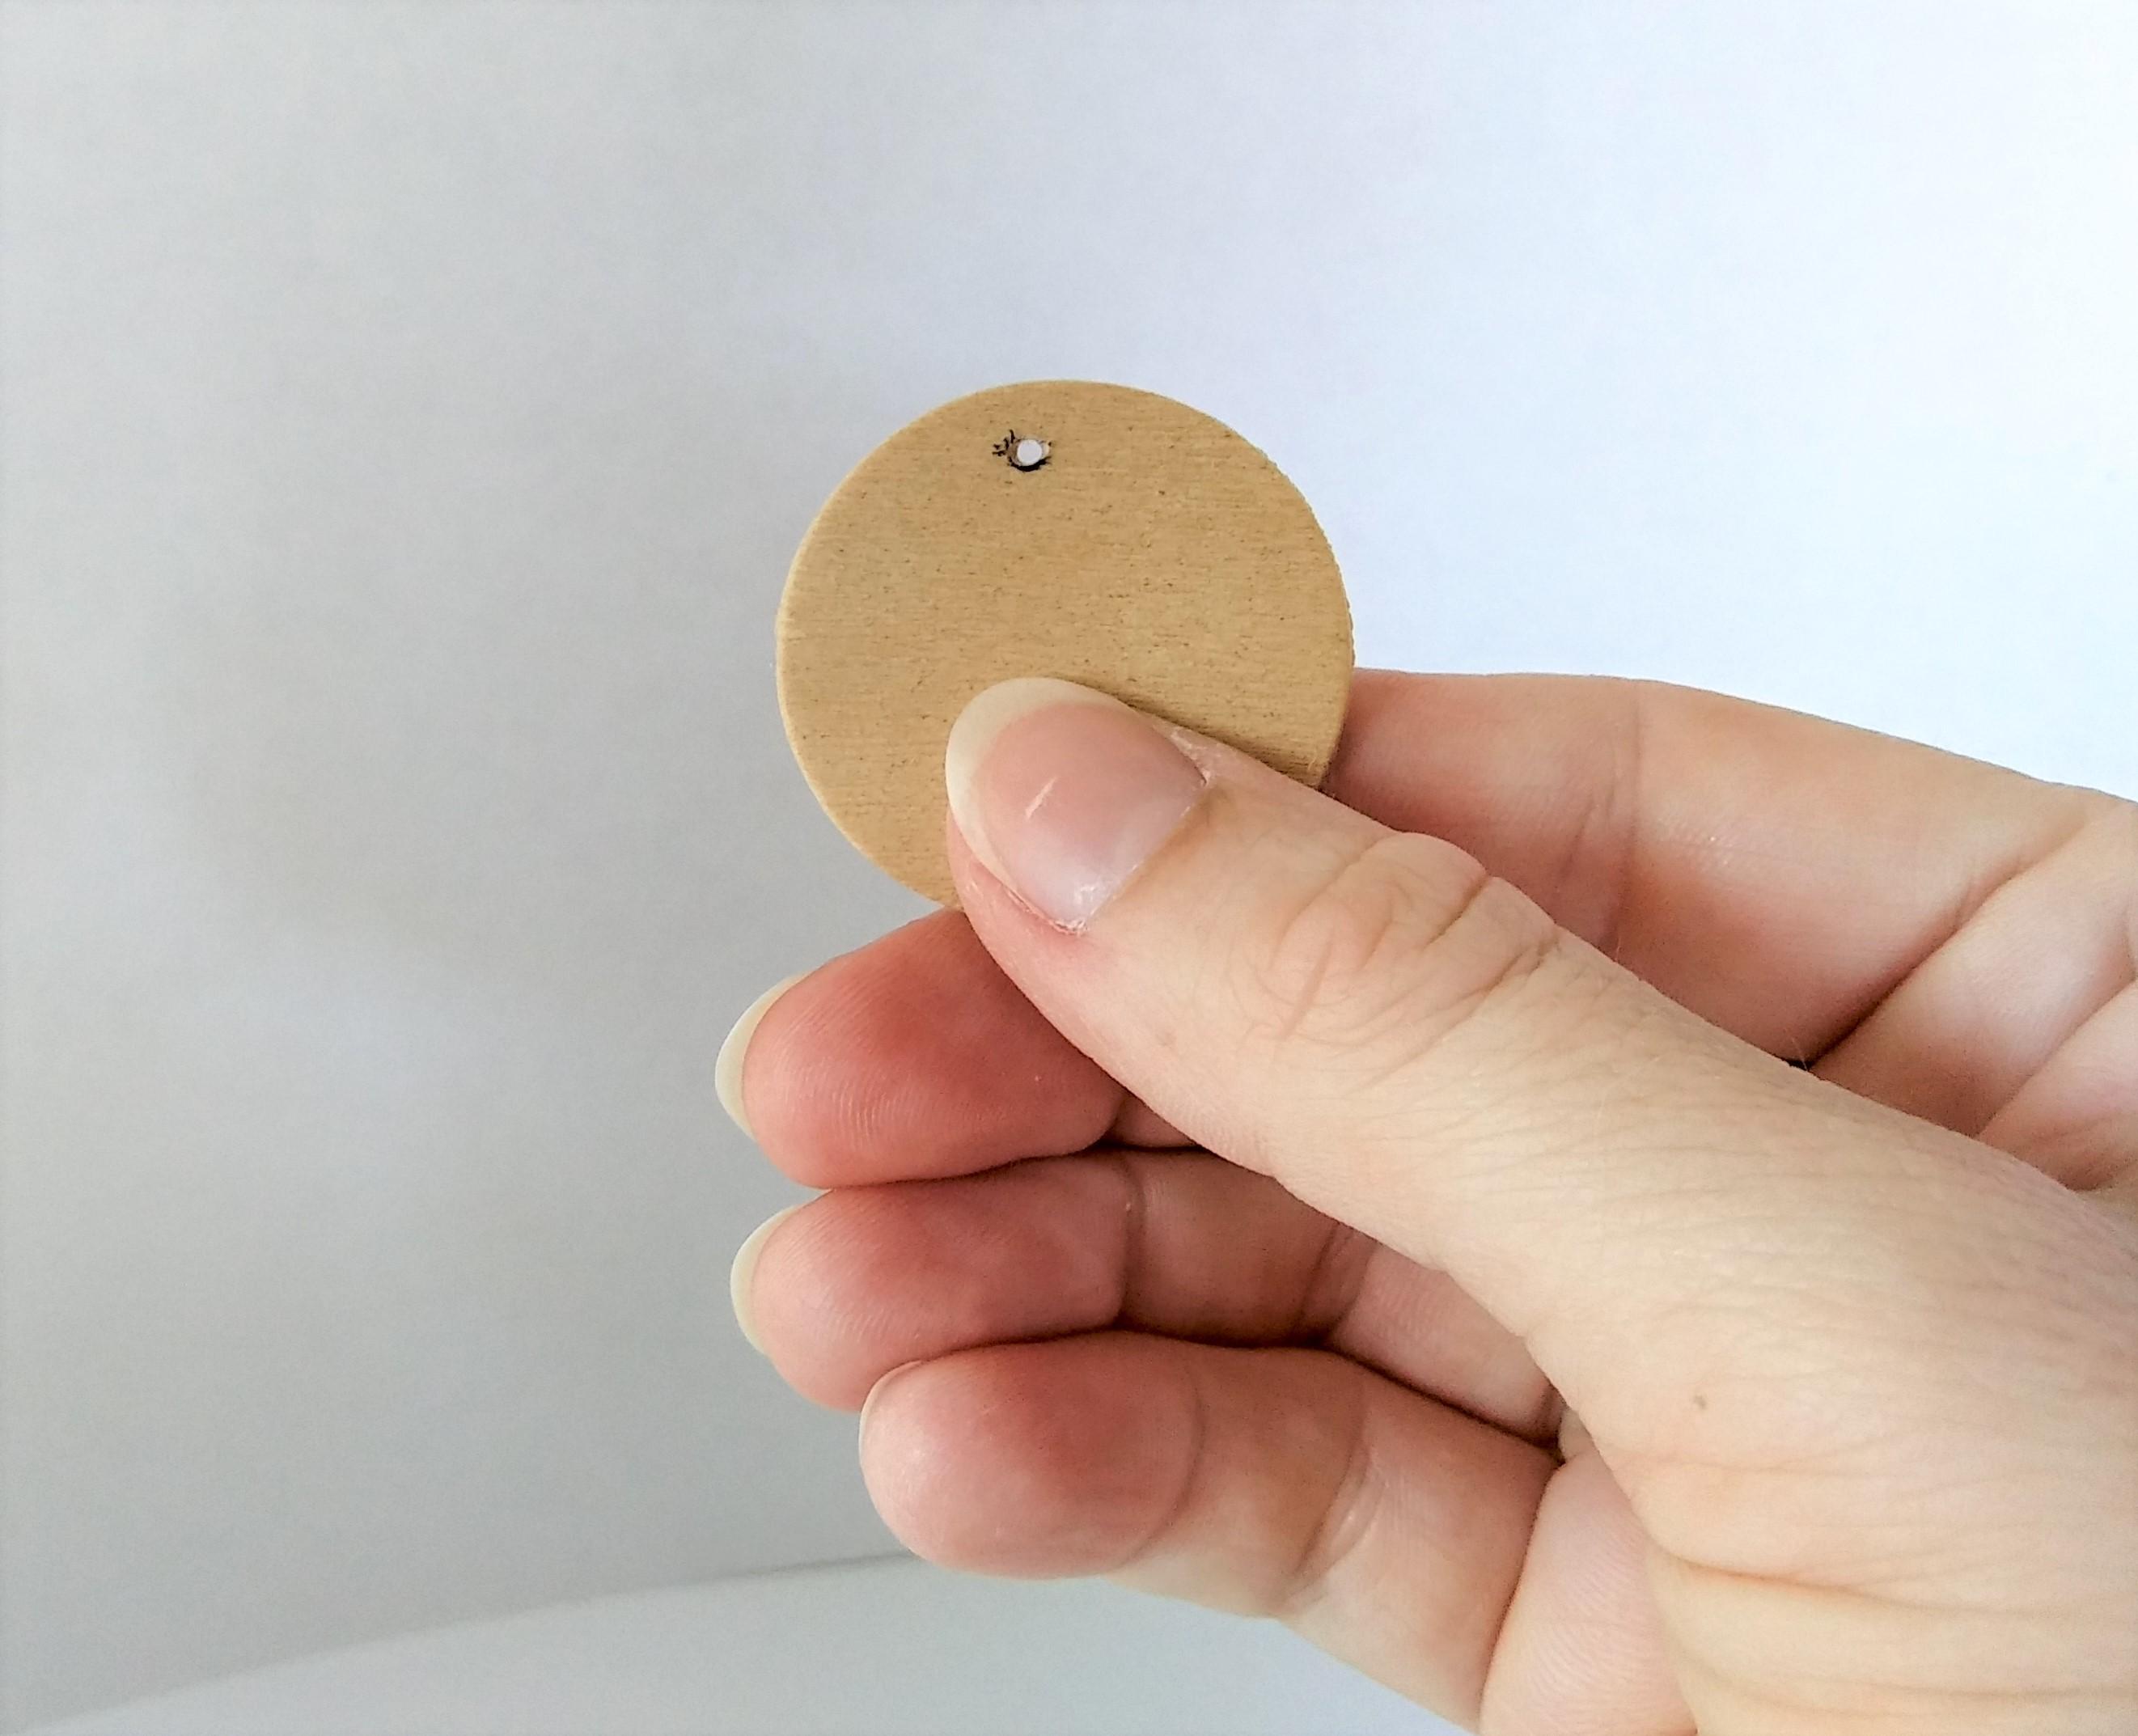
Place your wood piece on a surface that you can safely drill on (not the kitchen table). Remember that your drill bit will be going all the way through the wood.
You may want to mark with a pen or pencil where you want the hole. You can carefully hold onto the wood piece with one hand while running the drill with the other. Just make sure your fingers are no where near the drill bit.
Holding the drill straight up from the wood piece, place the bit where you want the hole. Slowly run the drill forwards until it goes all the way through the wood.
*Alternatively, hold the piece in your fingers while you drill, but this is more dangerous! Be careful!
Turn the drill to reverse, and run the drill as you bring the drill bit out of the hole. This helps make the hole smooth.
Make sure to do this slowly because if you go too fast you may cause your piece to move or you might crack the wood.
Sand (optional)
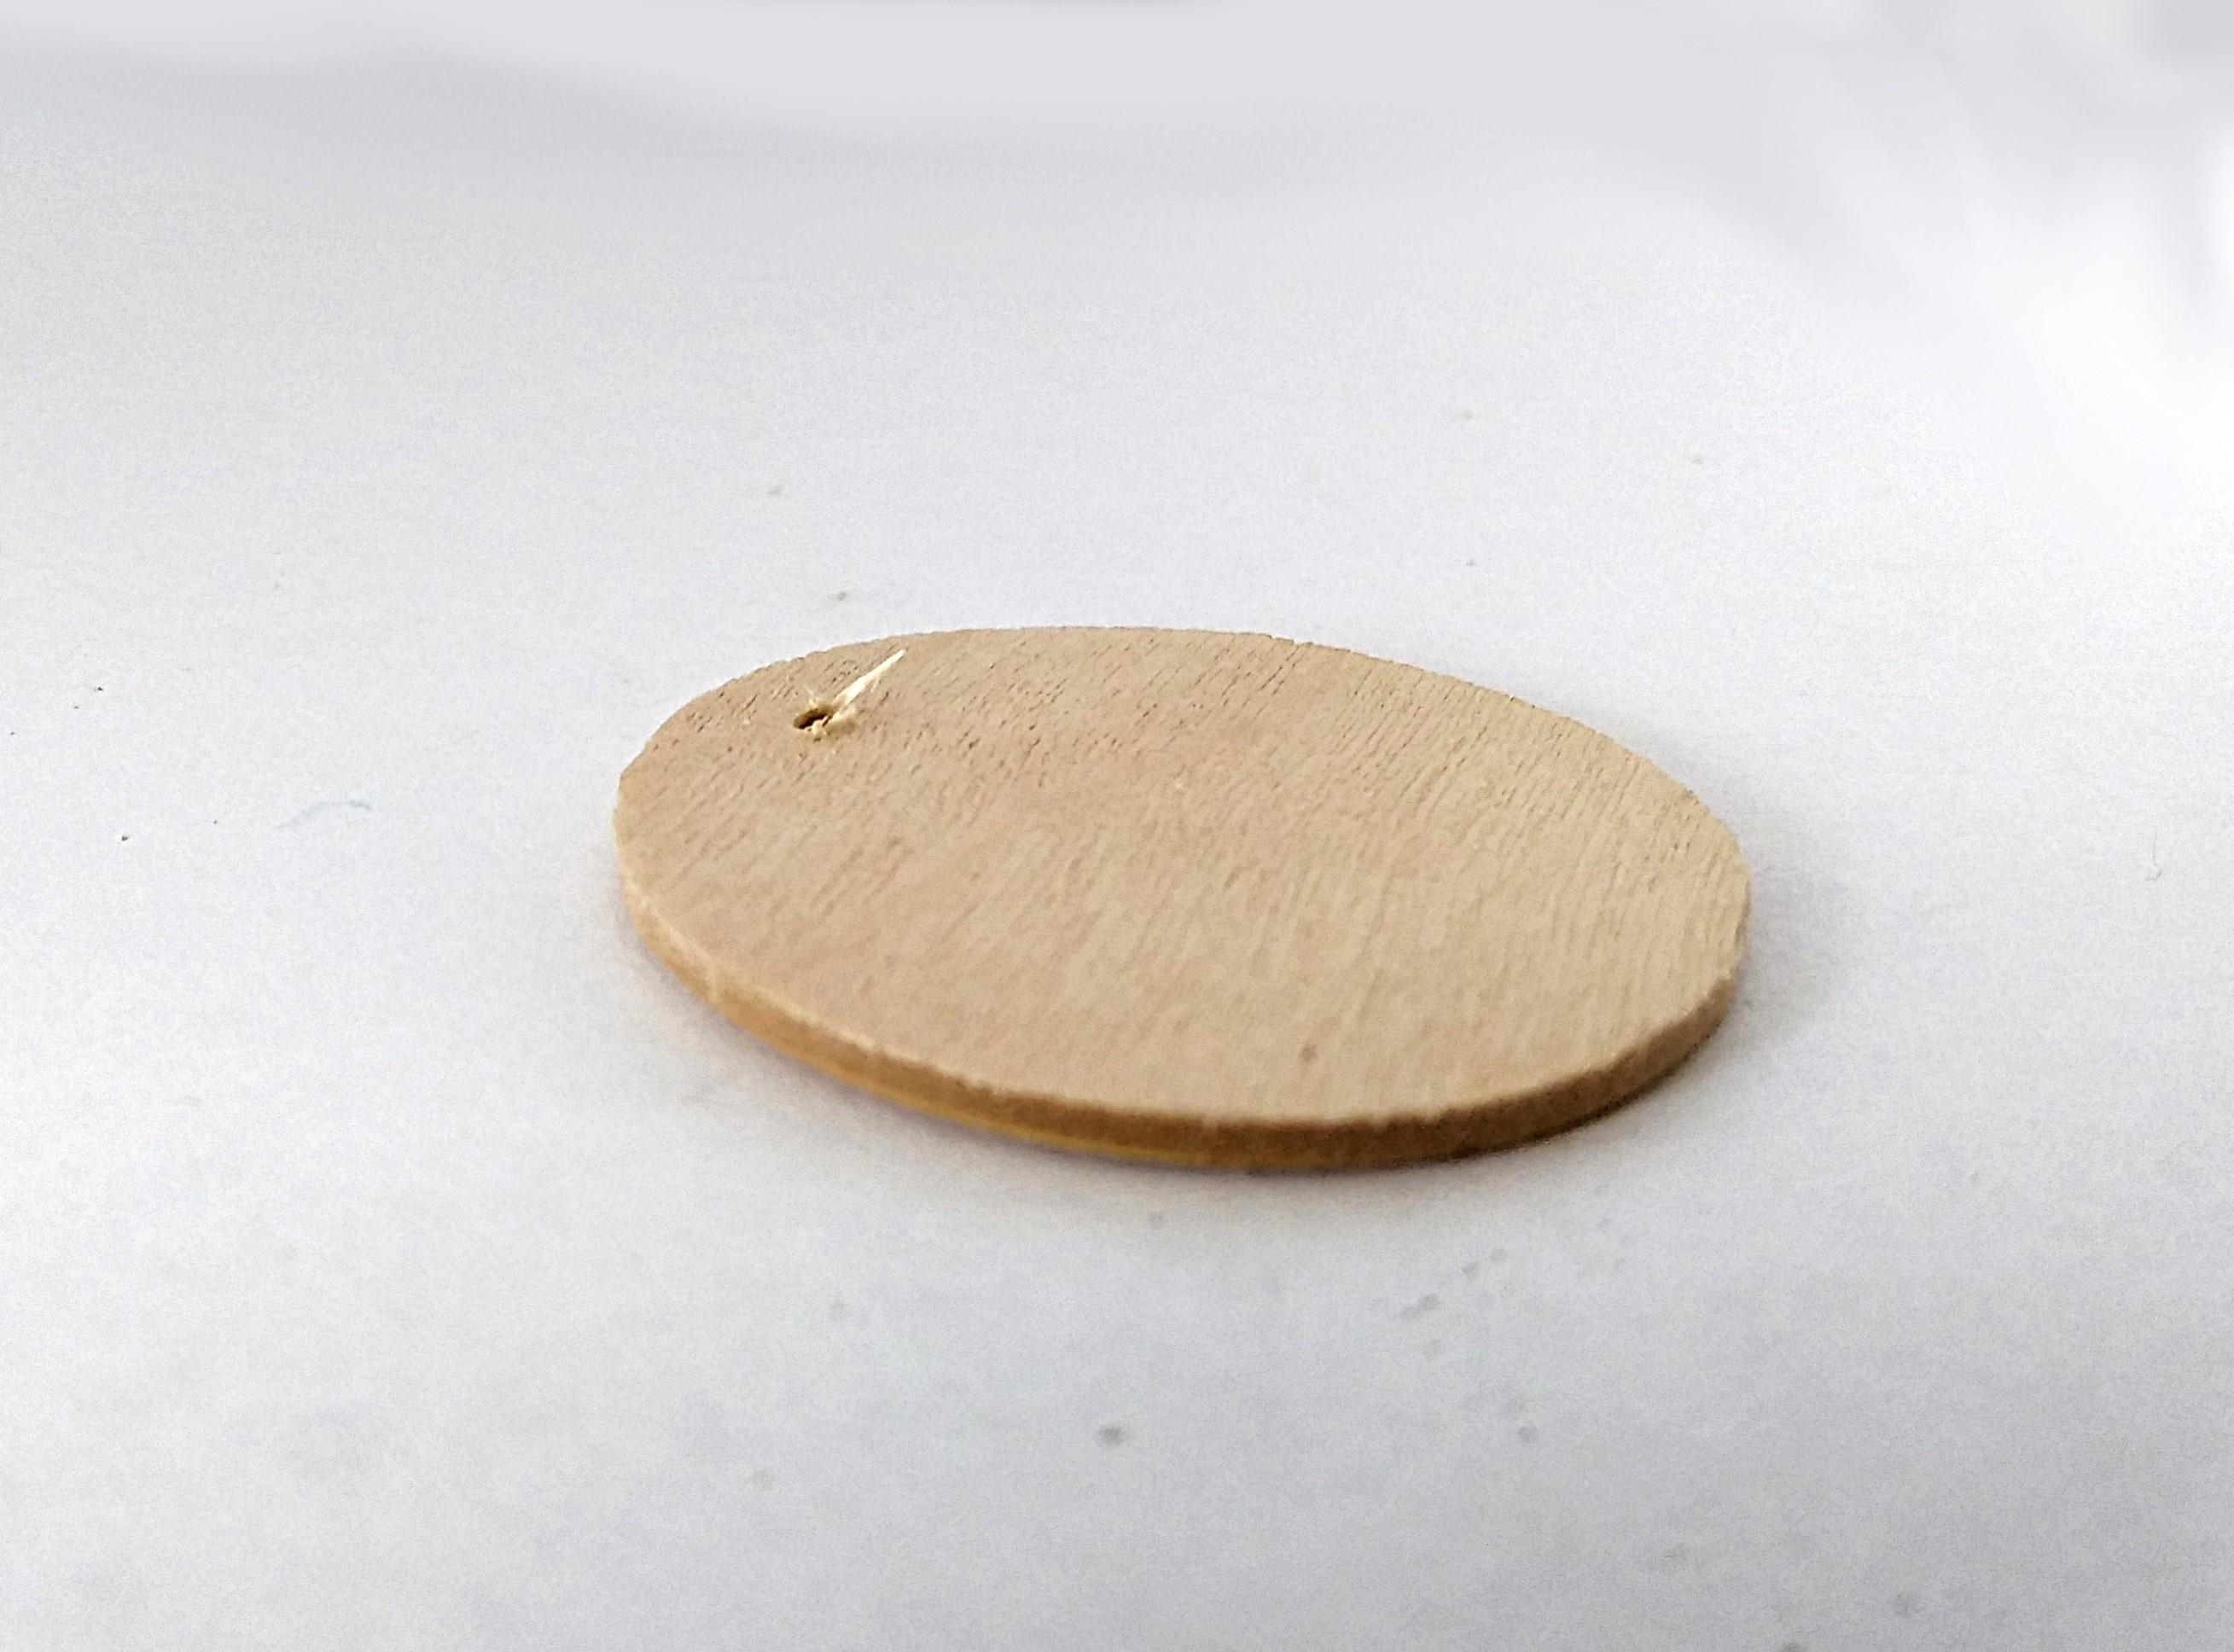
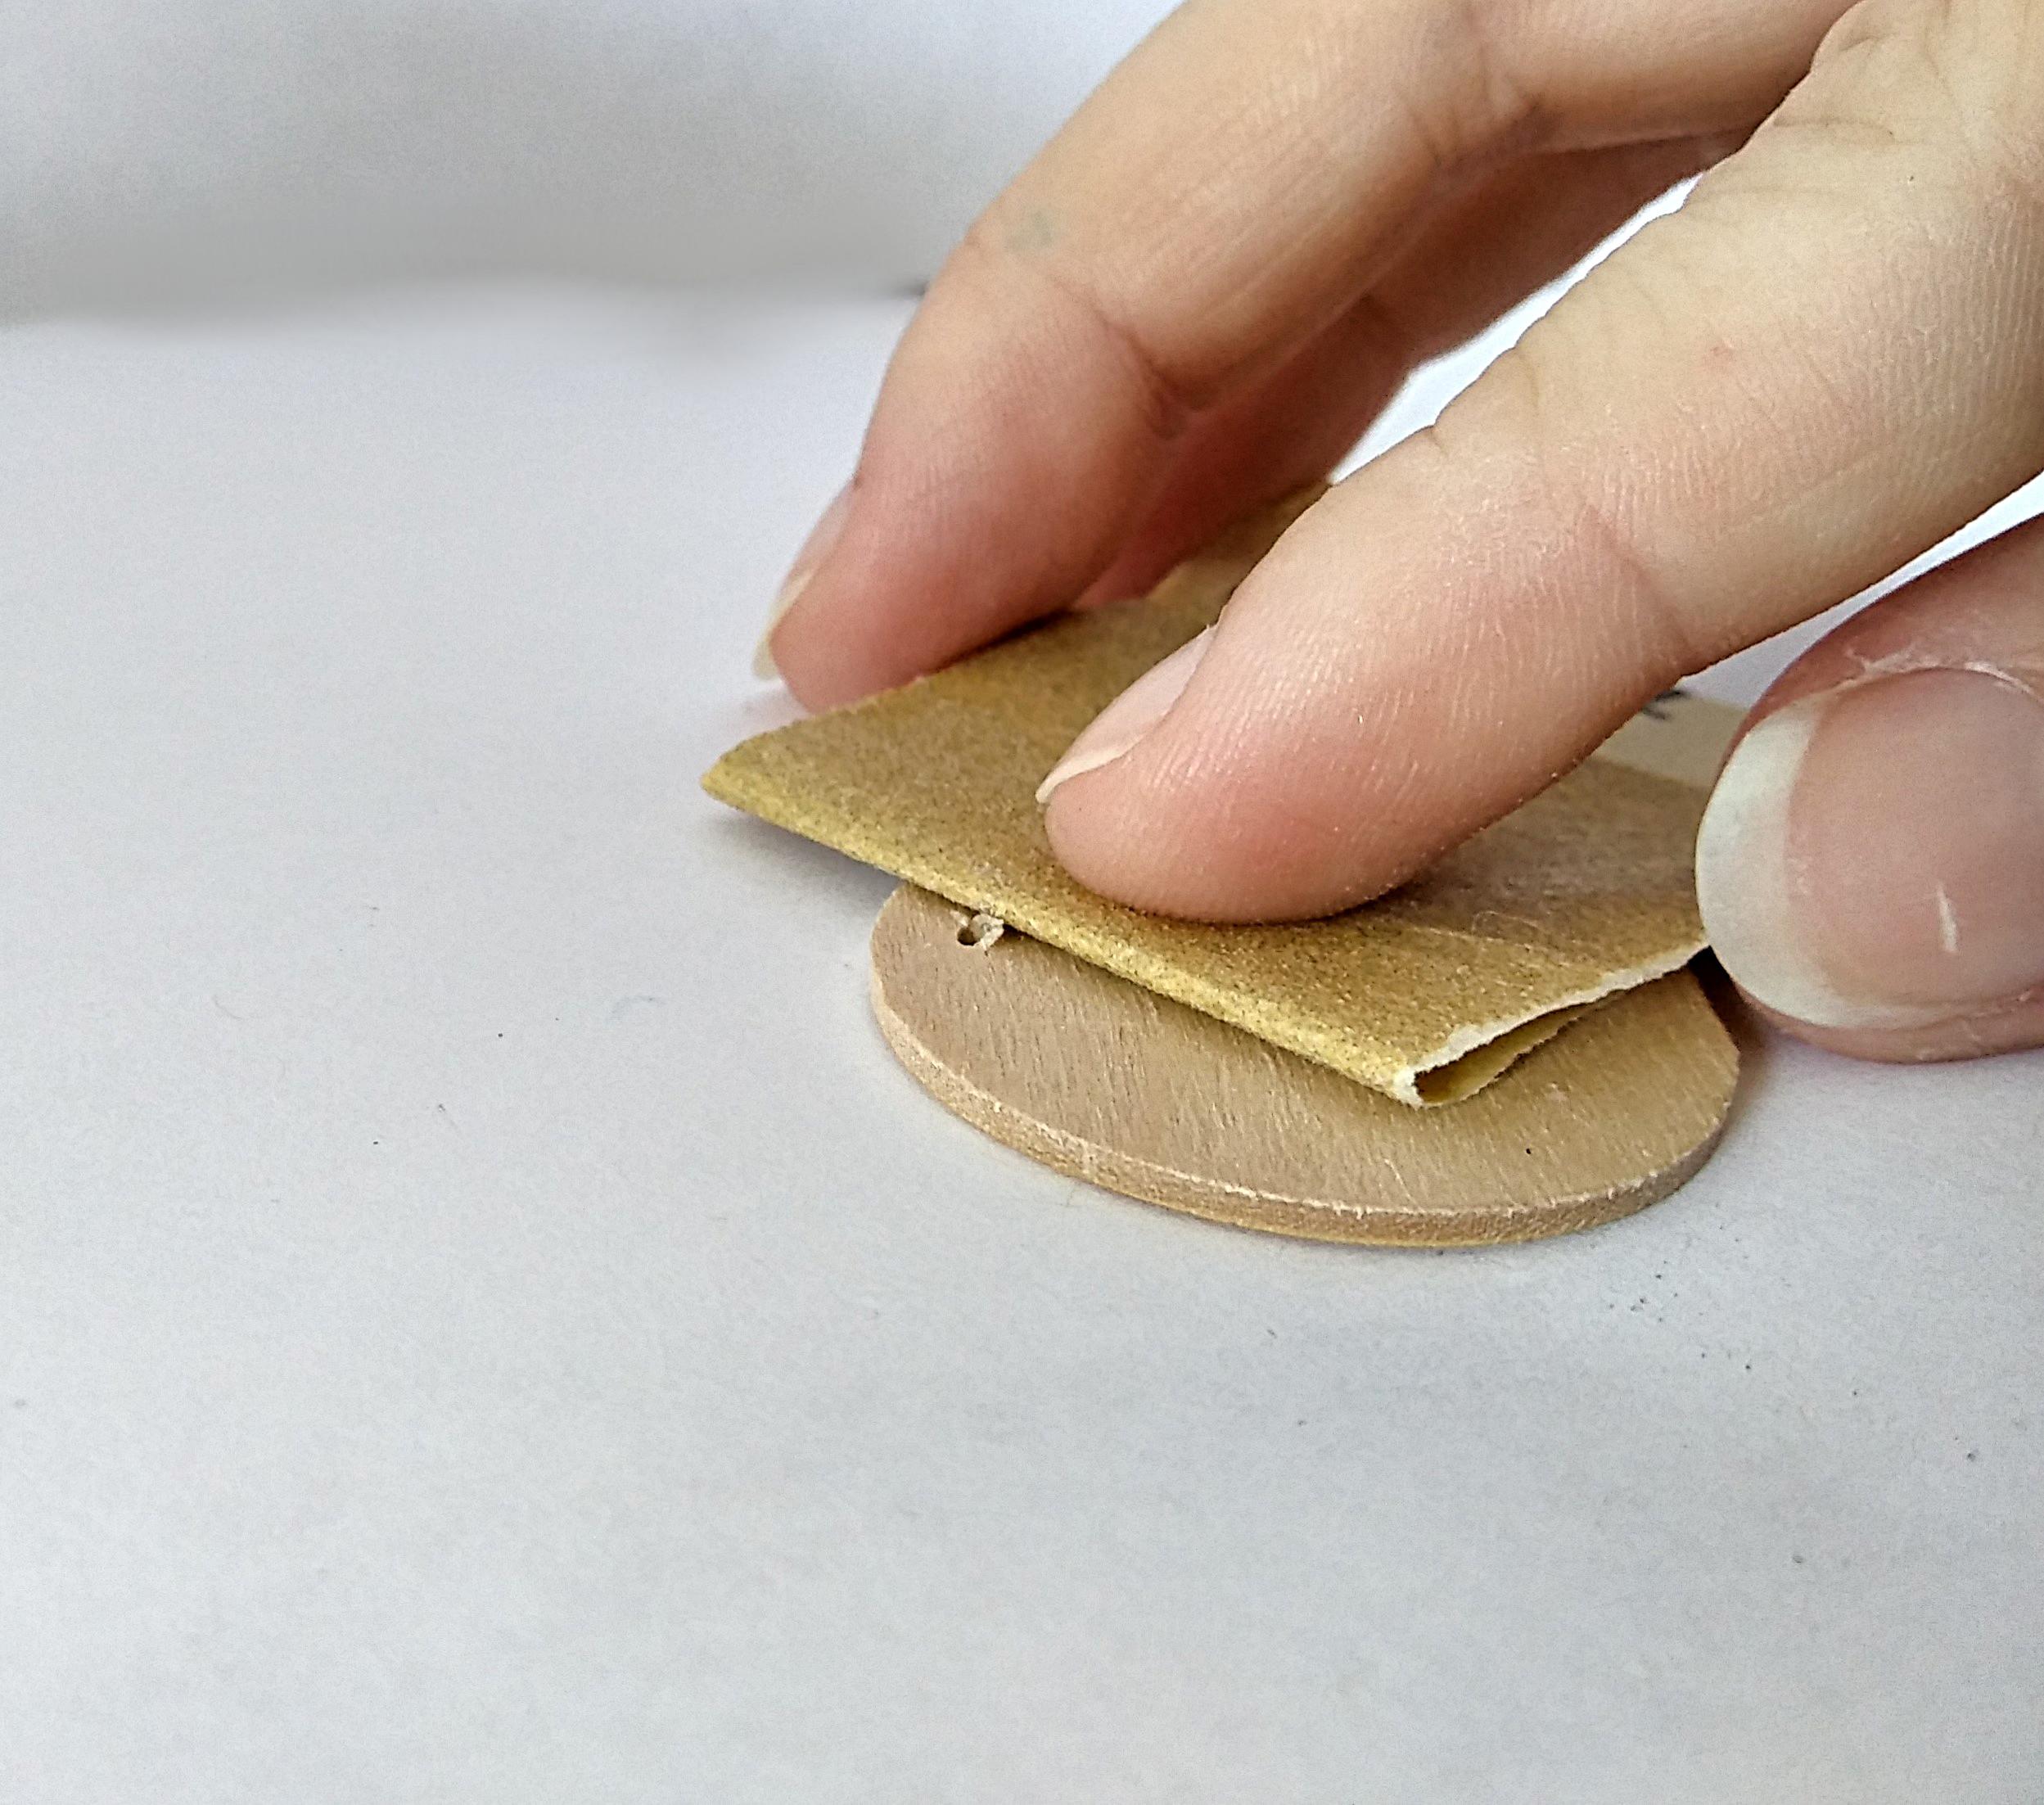
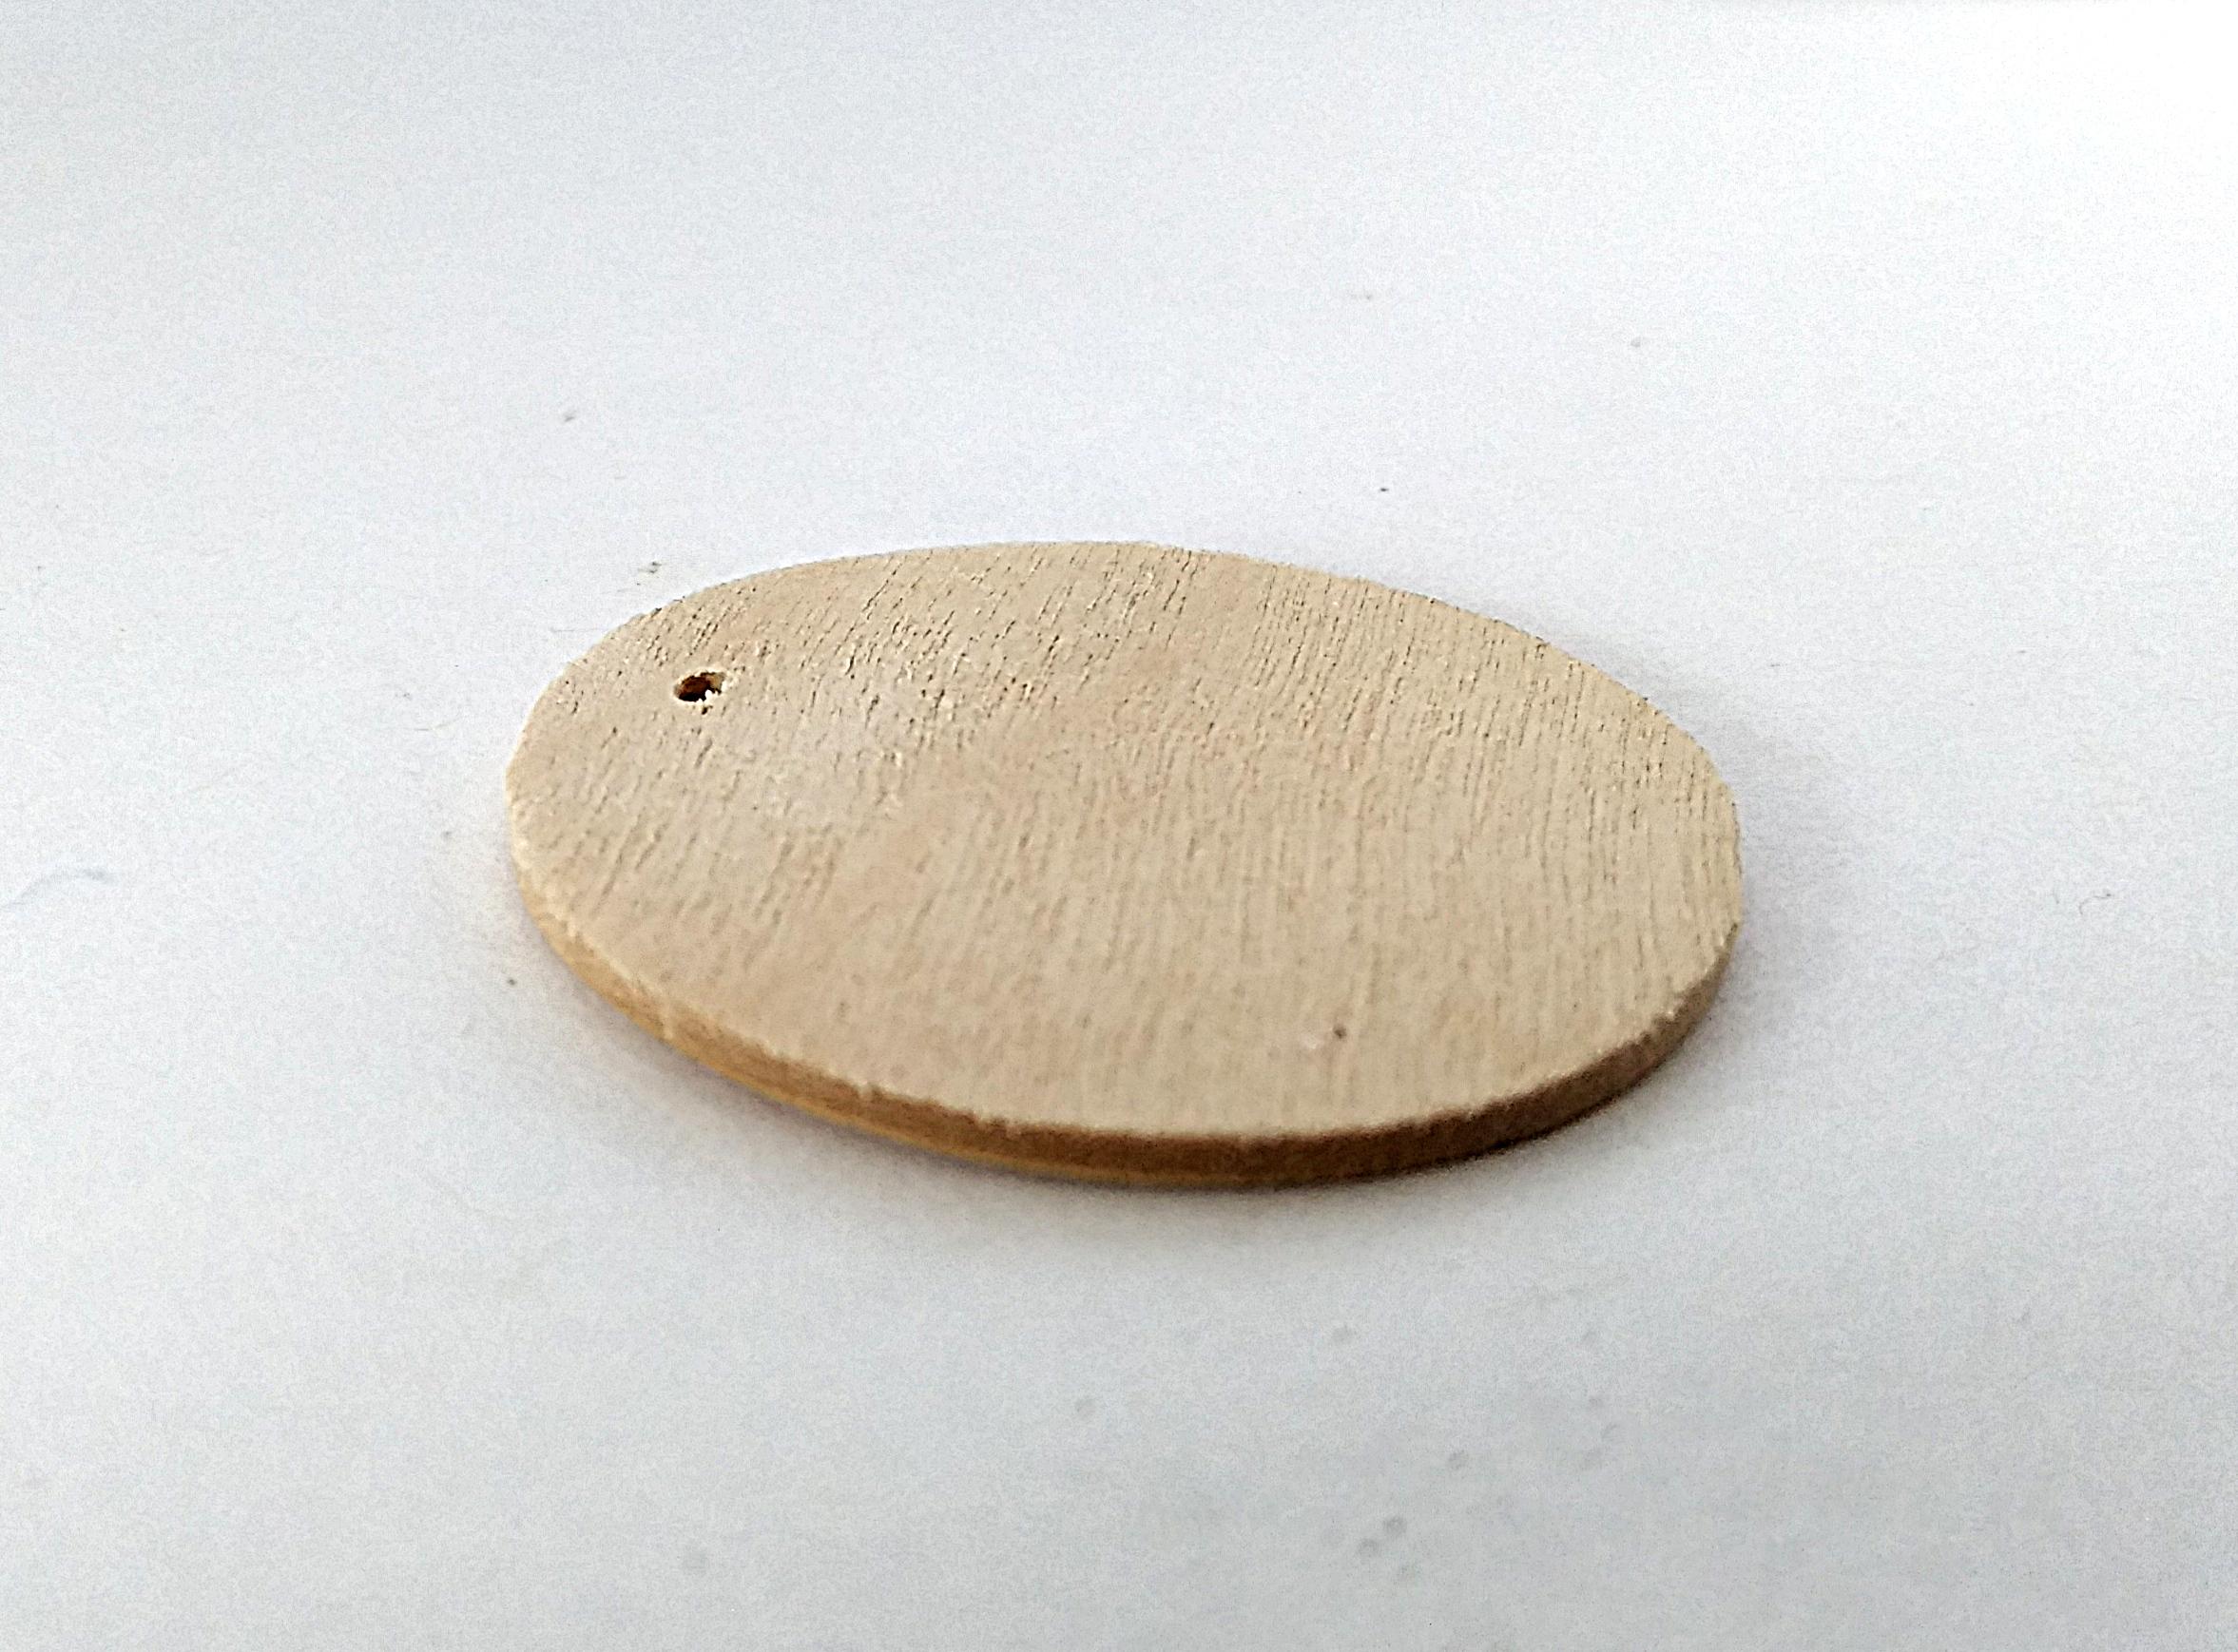
The hole might have little rough edges, so we will sandpaper that. I use a fine grit, 180 to be precise.
Depending on your wood you may need a coarser grit. If you are using craft pieces 180 should be fine.
Photos and Sizing
.png)
.png)
.png)
.png)
_LI.jpg)
_LI.jpg)
.png)
.png)
.png)
.png)
.png)
.png)
.png)
Your photos need to be on a computer or laptop that has a word document program.
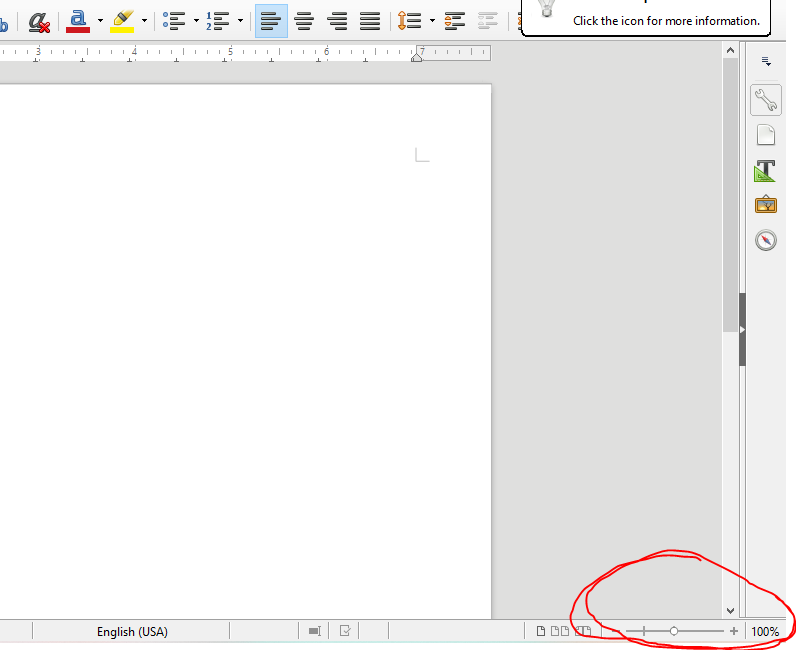
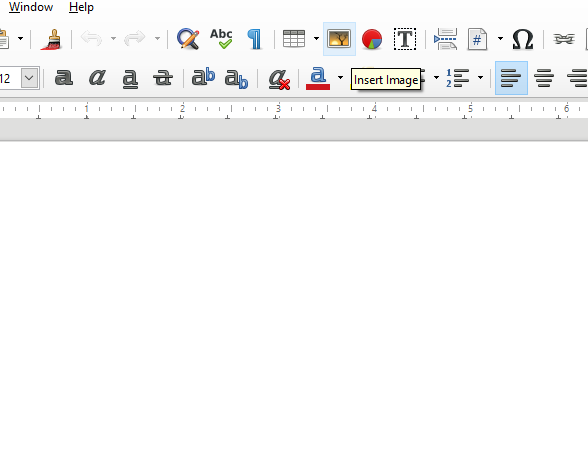
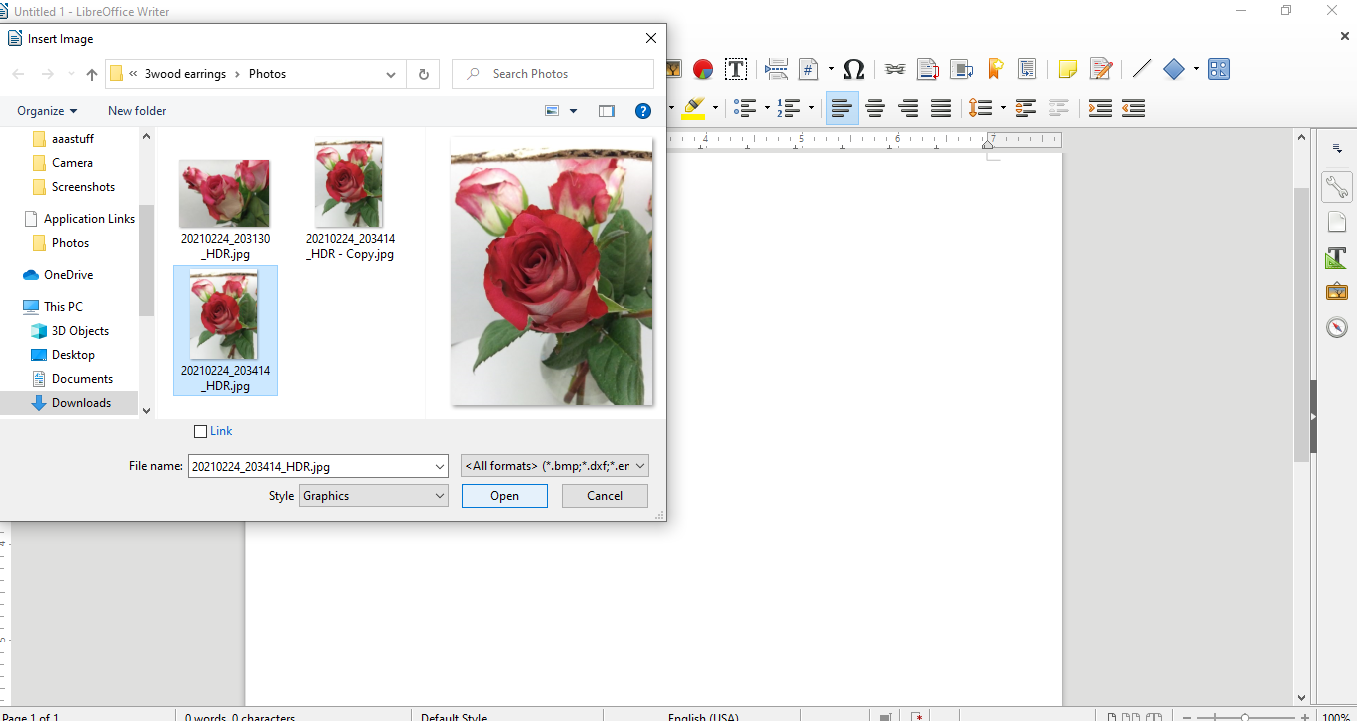
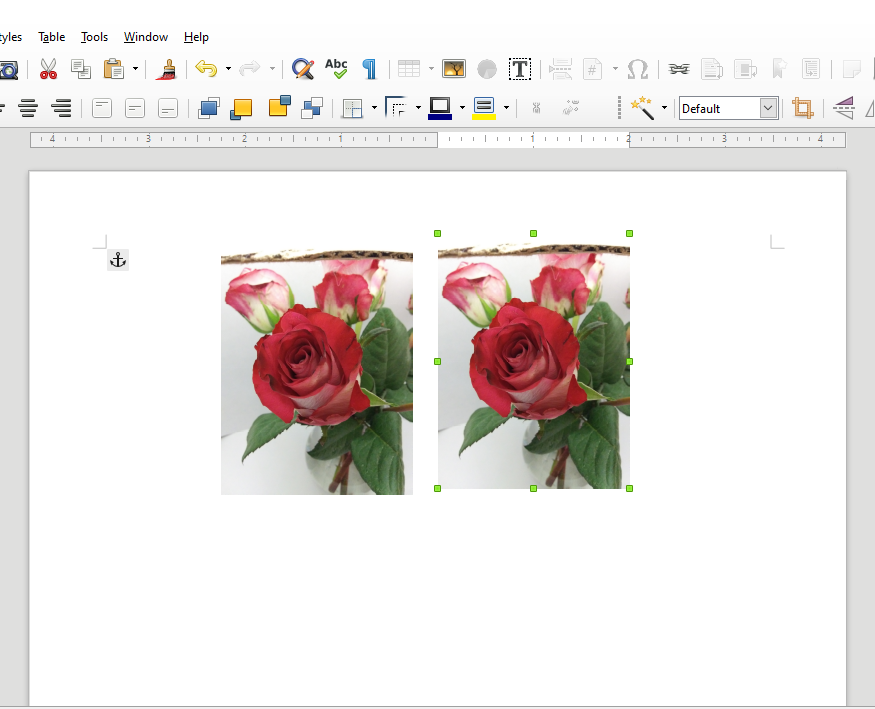
Making sure that the document program's zoom is at 100%, I insert my photos into the document by hitting the "Insert Photo" button and locating my photos on the computer.
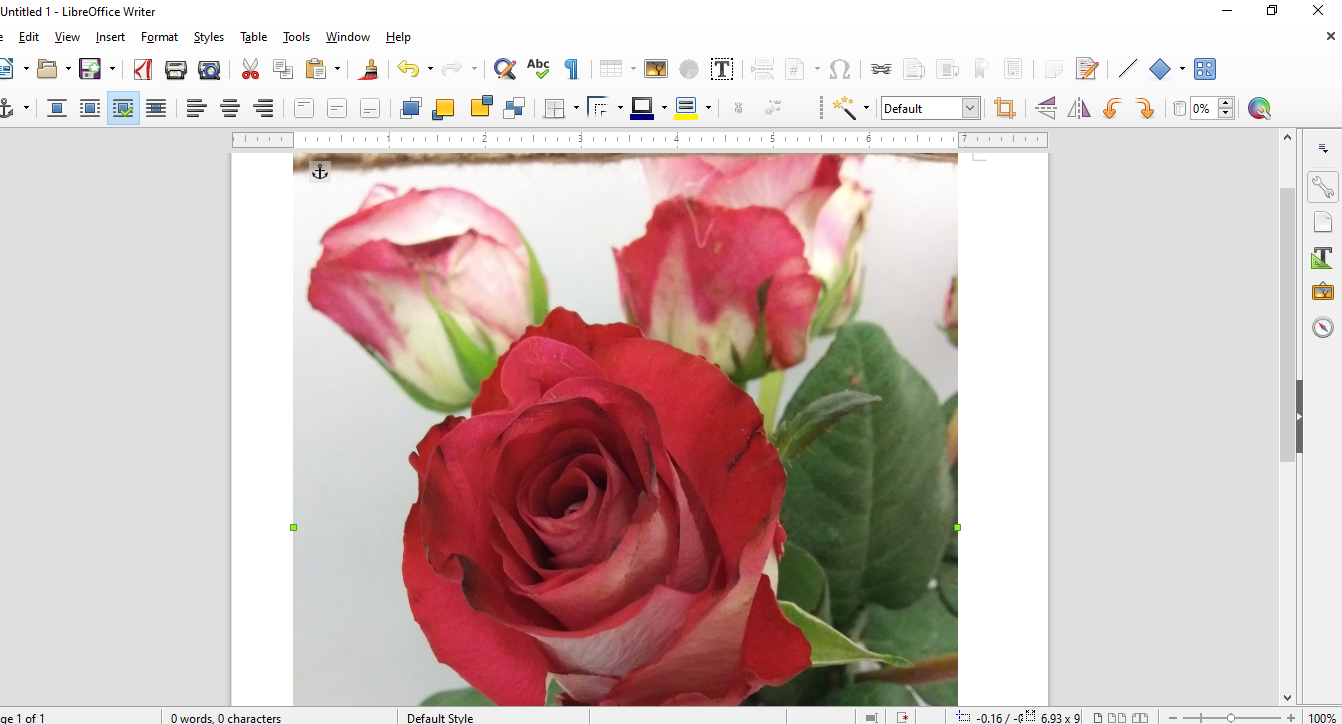
You should have one photo. We will have two later.
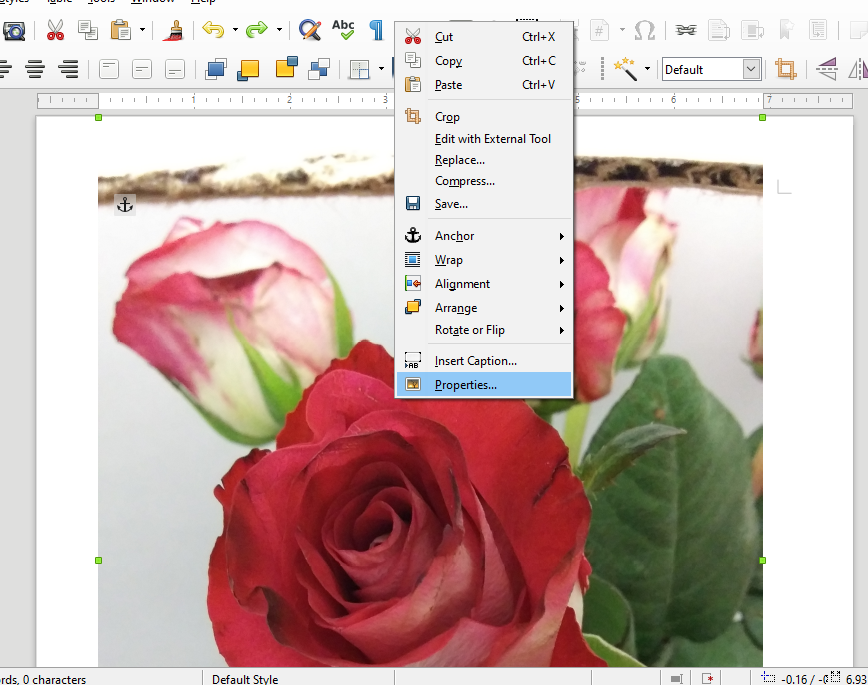
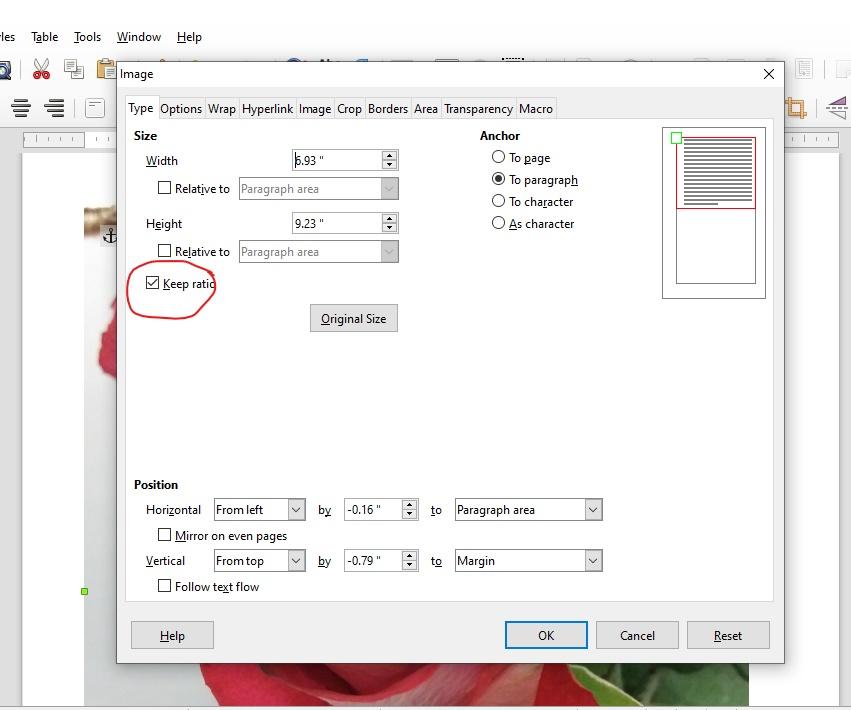
Now we need to resize the image. Right click on the image and hit 'properties'. This brings up a window where we can resize the image. Make sure to click "Keep aspect ratio" or your photo will become distorted.
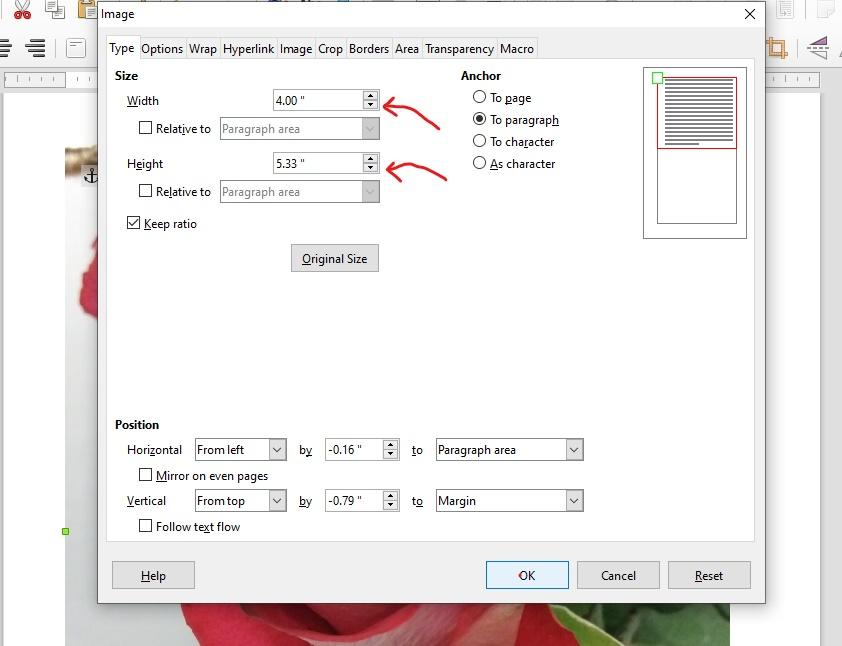
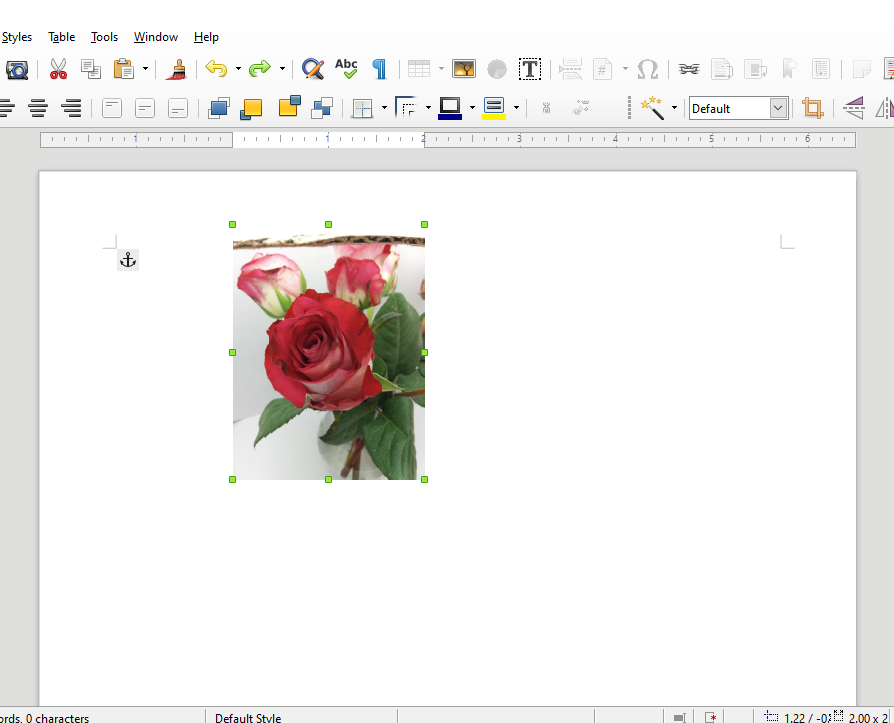
Resize the photo by clicking on the down buttons by width and height. I only do a little bit at a time so I can see how small it made the photo as I go.
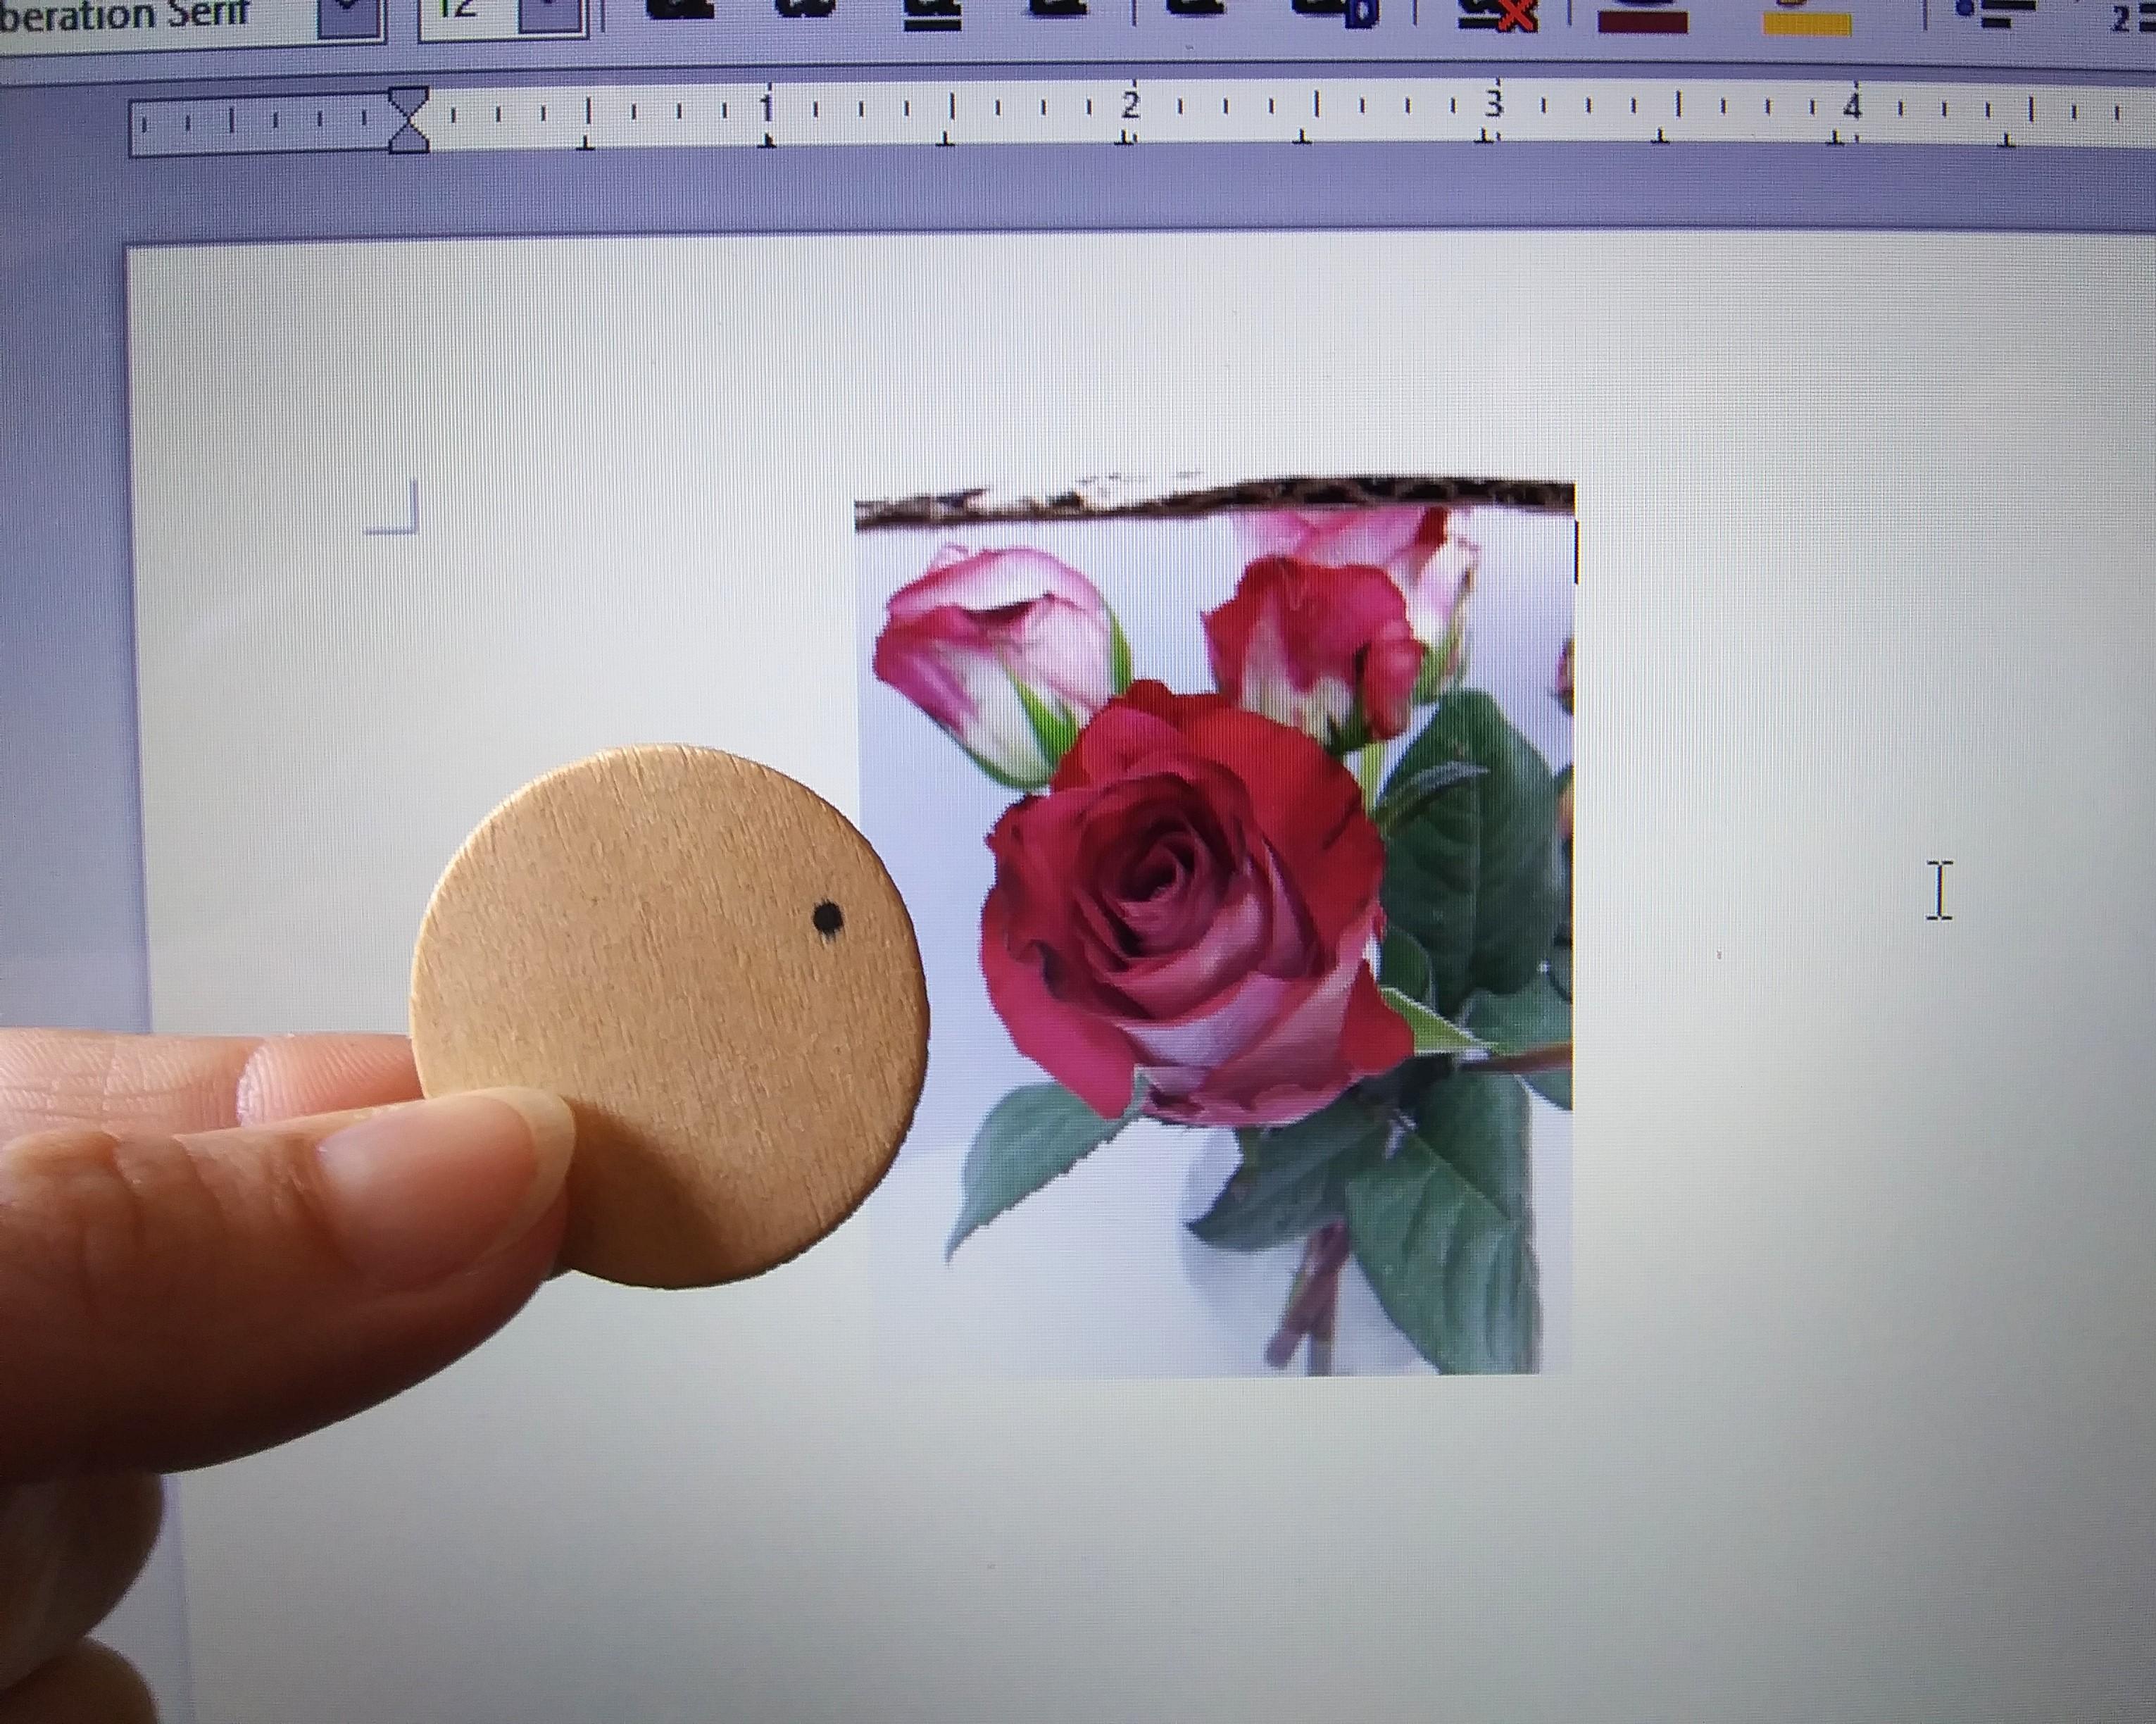
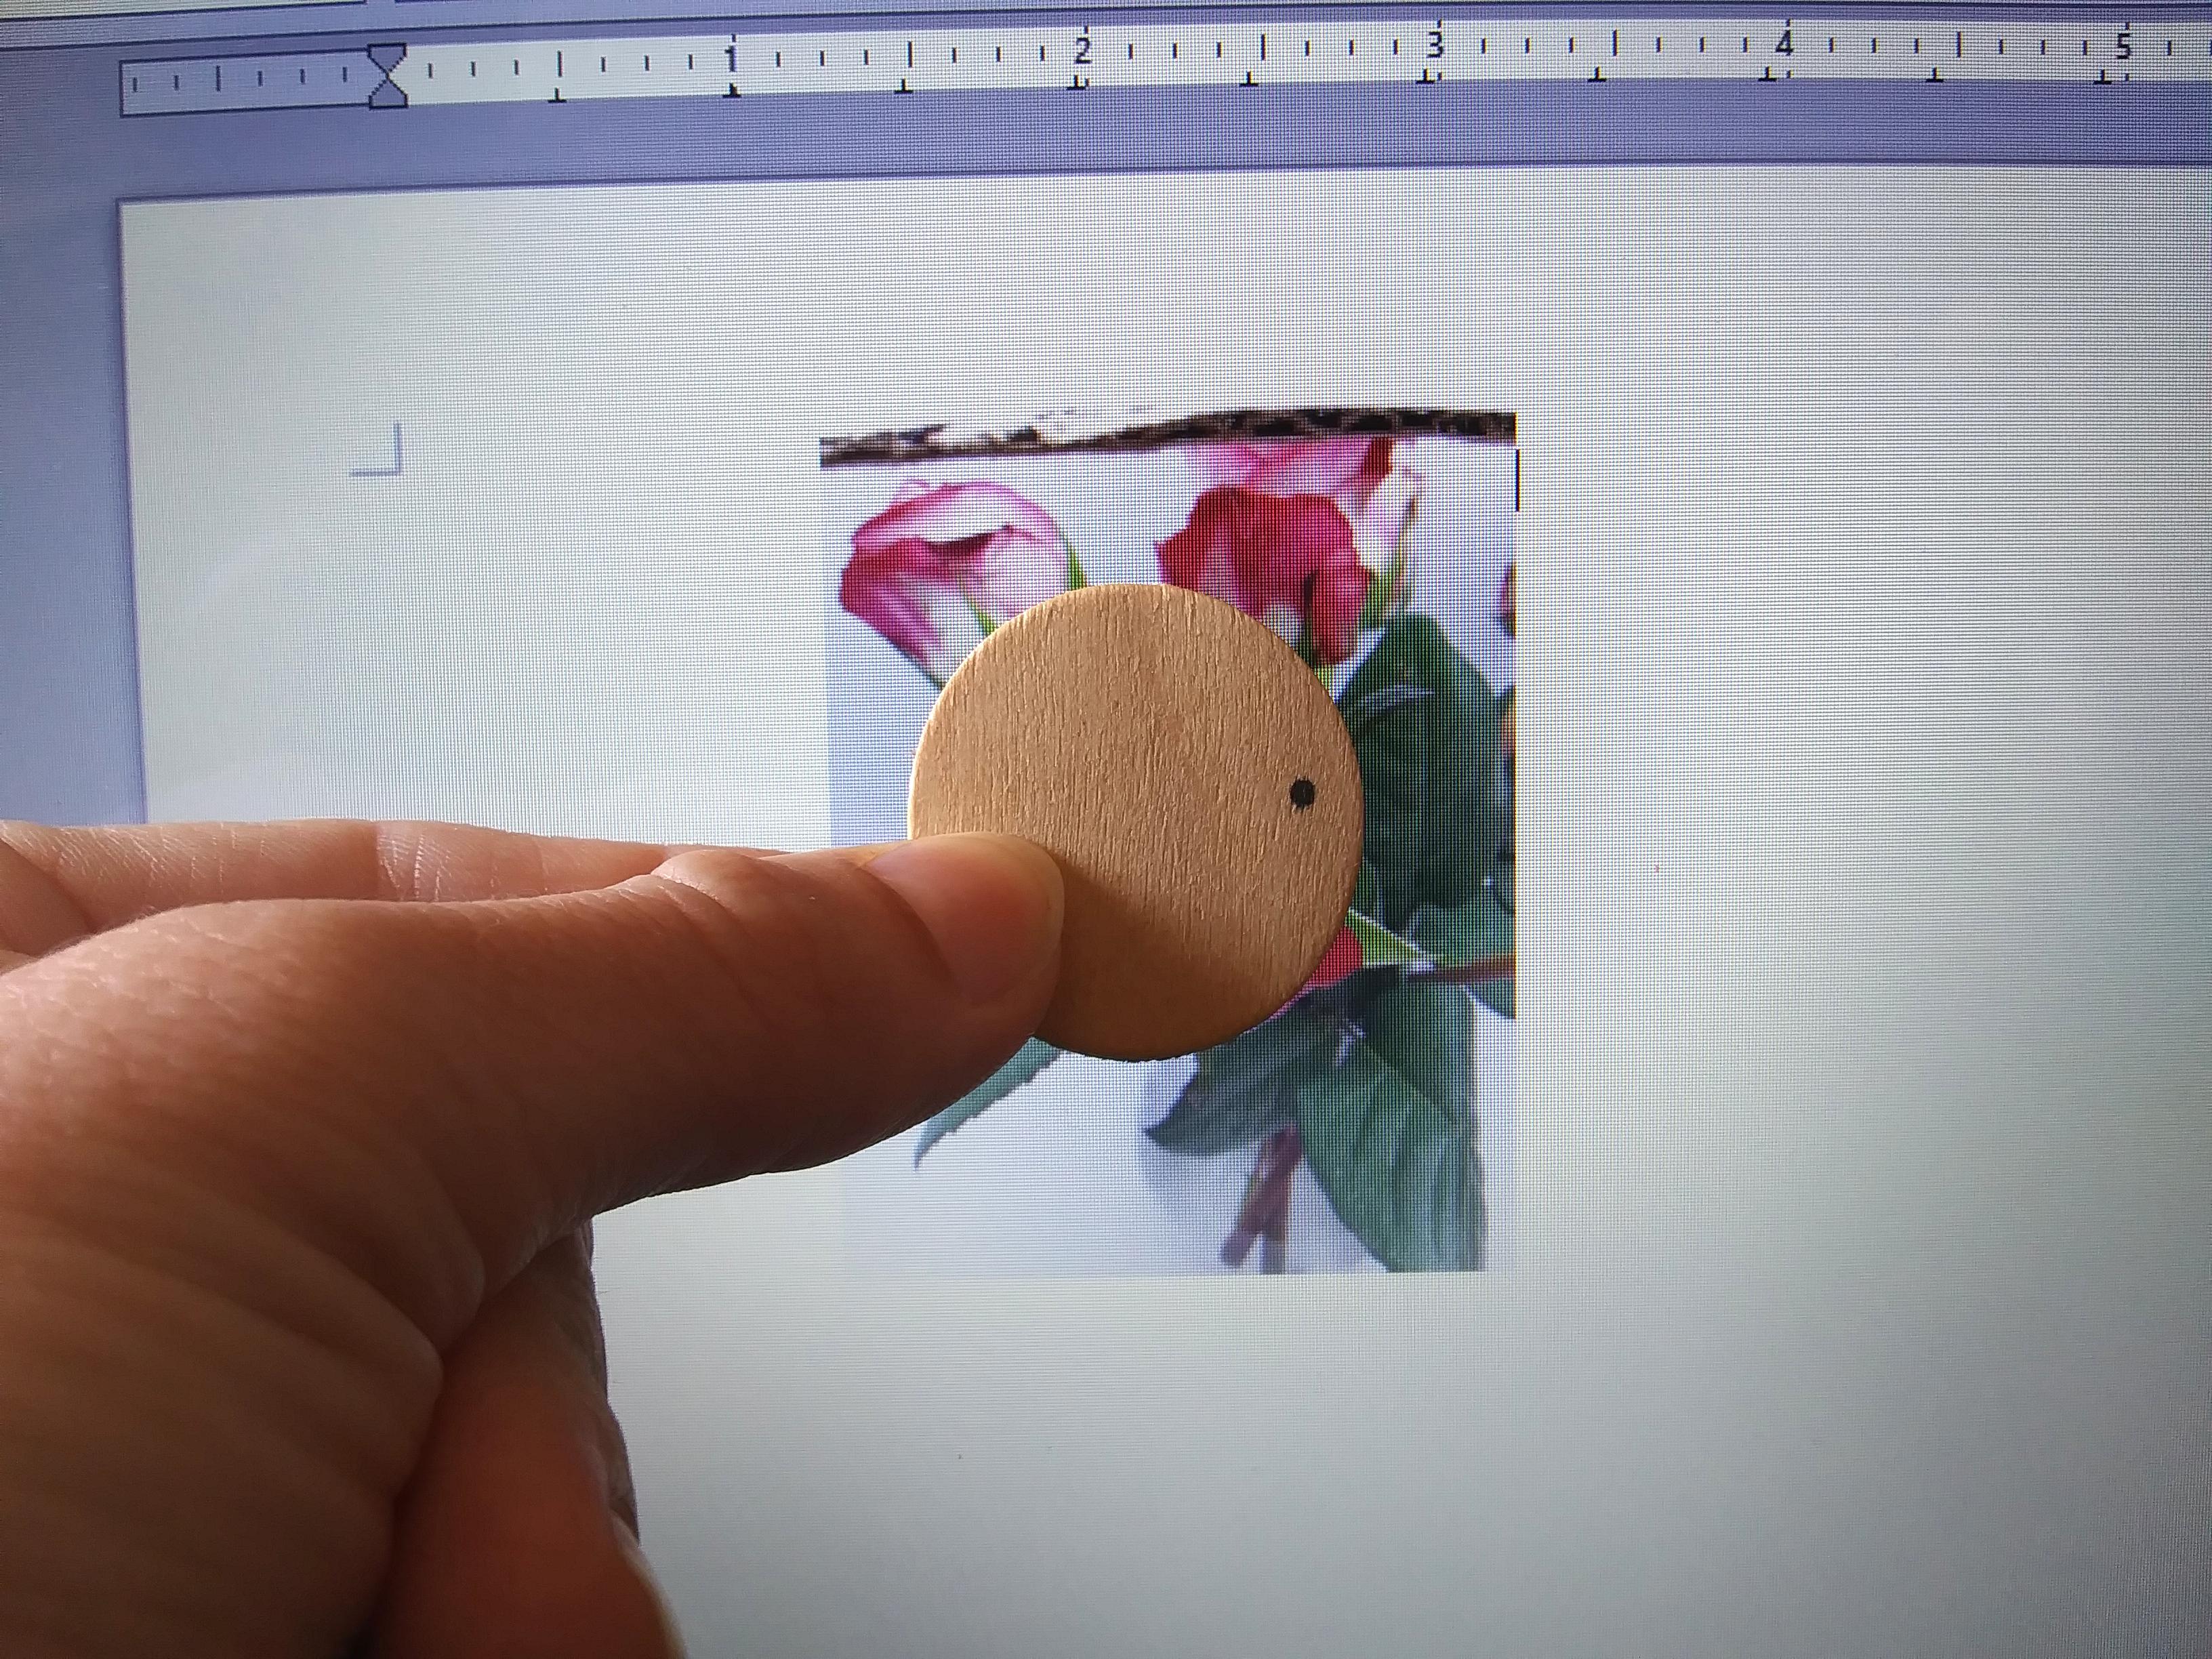
Now here is the funny part. Once my photo starts getting small enough to be near the size of my wooden piece, I hold the wooden piece up to the computer screen to check if it fits. Since the document is at 100% it is pretty close to actual size, so I can make a good guess at how big it needs to be. You will want a little excess just in case, so if your wooden piece covers the photo on the screen and you can still see the edges all around that is good.
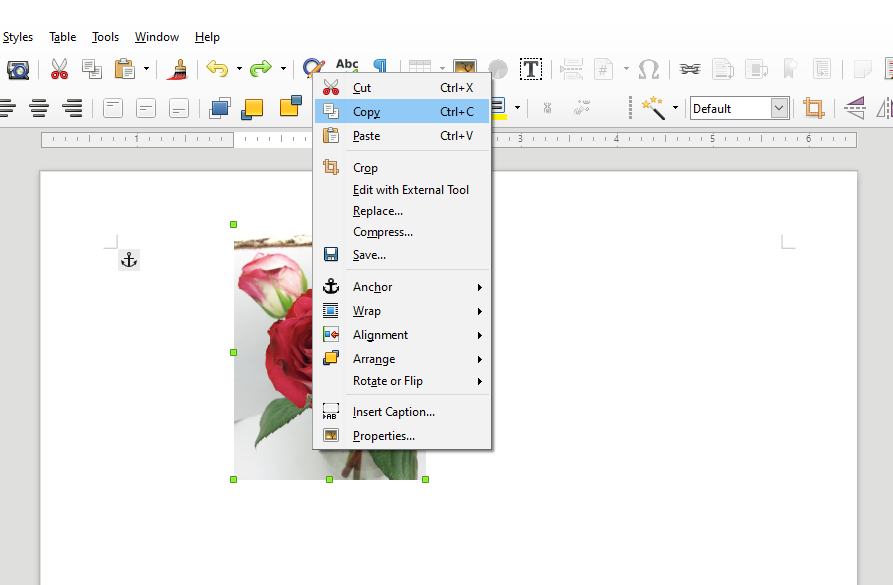
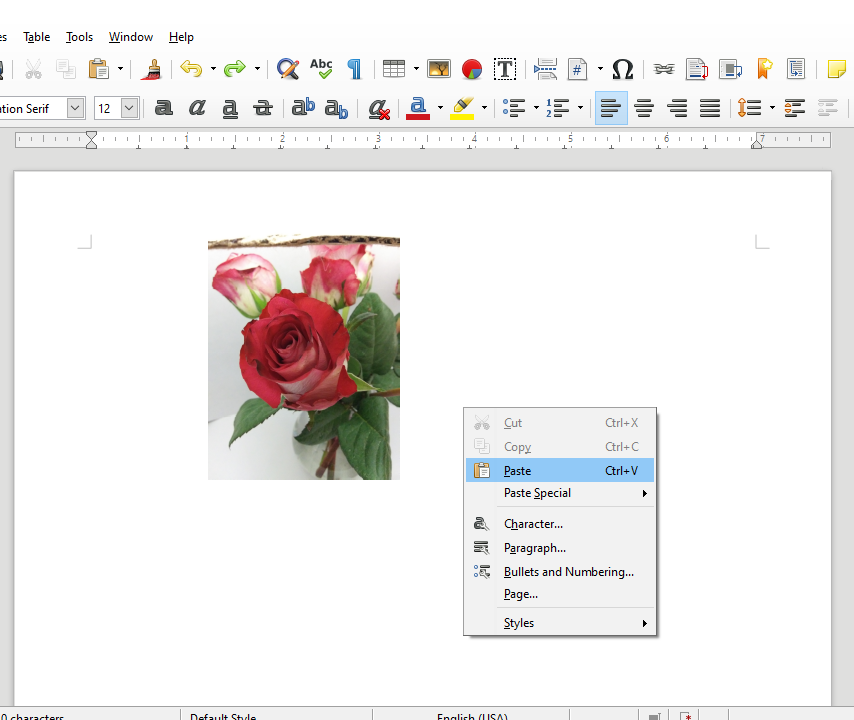
Once my photo is the size I want, I need two of them. I right click on my photo and hit 'copy'. I click off the photo and onto a blank part of the document, right click and hit 'paste'. Now I should have two photos the same size.
*It may layer the copy on top of the other layer. If you hit 'paste' and it looks like nothing happened, move the photo to see if there is two on top of each other.
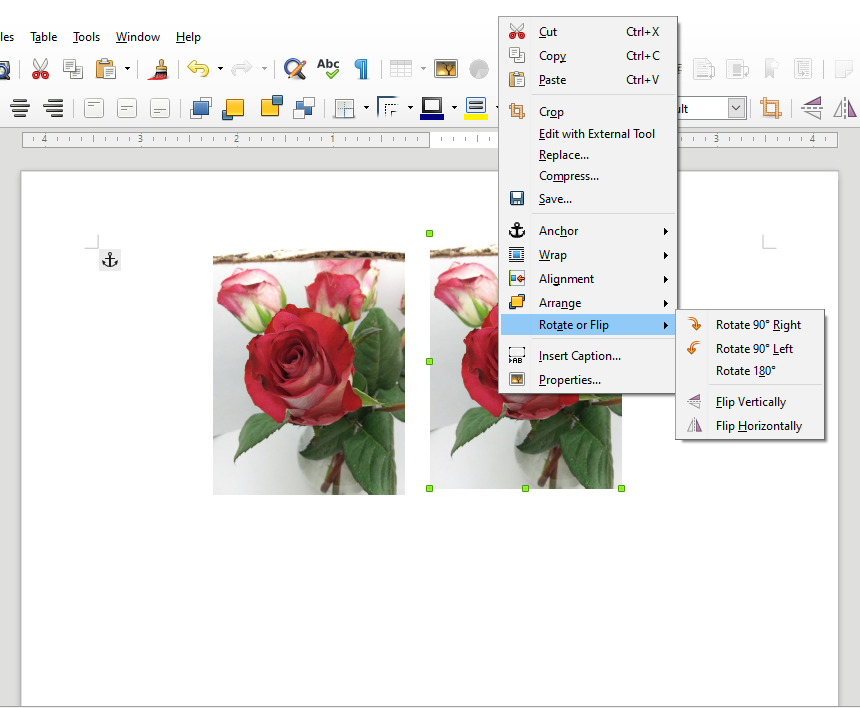
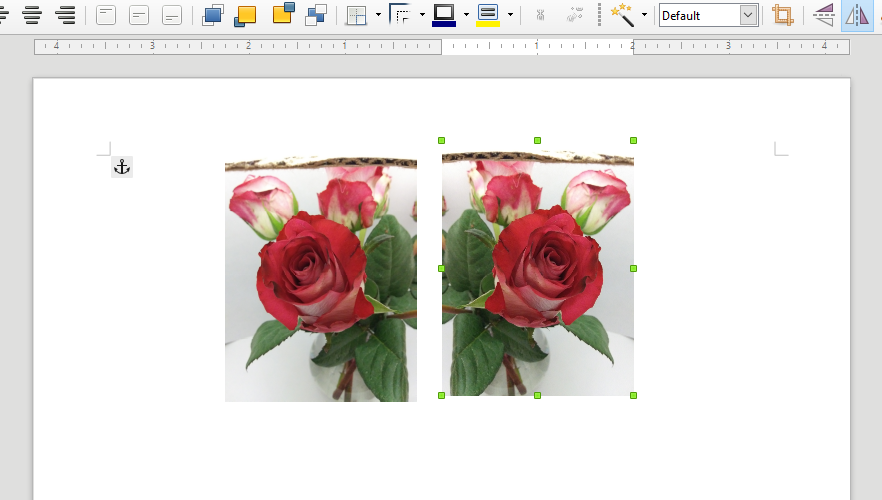
I personally prefer my earrings to be reverses of one another. To do that, we need to flip one of the photos horizontally.
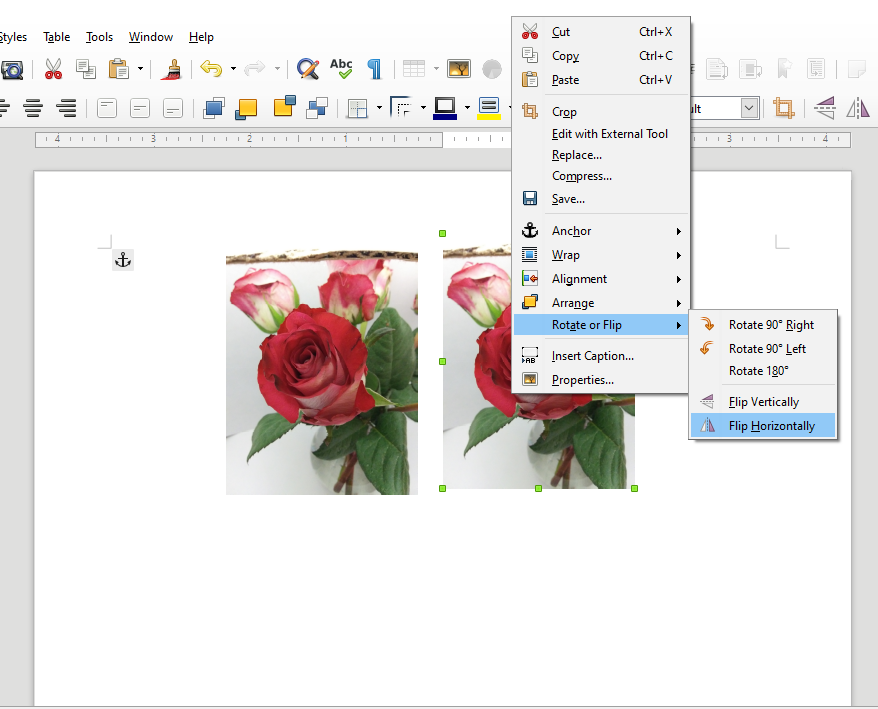
Right click on one of the photos. You should have a button that says "Rotate" (if not, there should be a button near the top of the page that says "Flip Horizontally" or something similar). Click this button. Then click "Flip Horizontally" from the options. The image should flip to be the reverse of what it was.
The hardest part is over!
.png)
_LI.jpg)
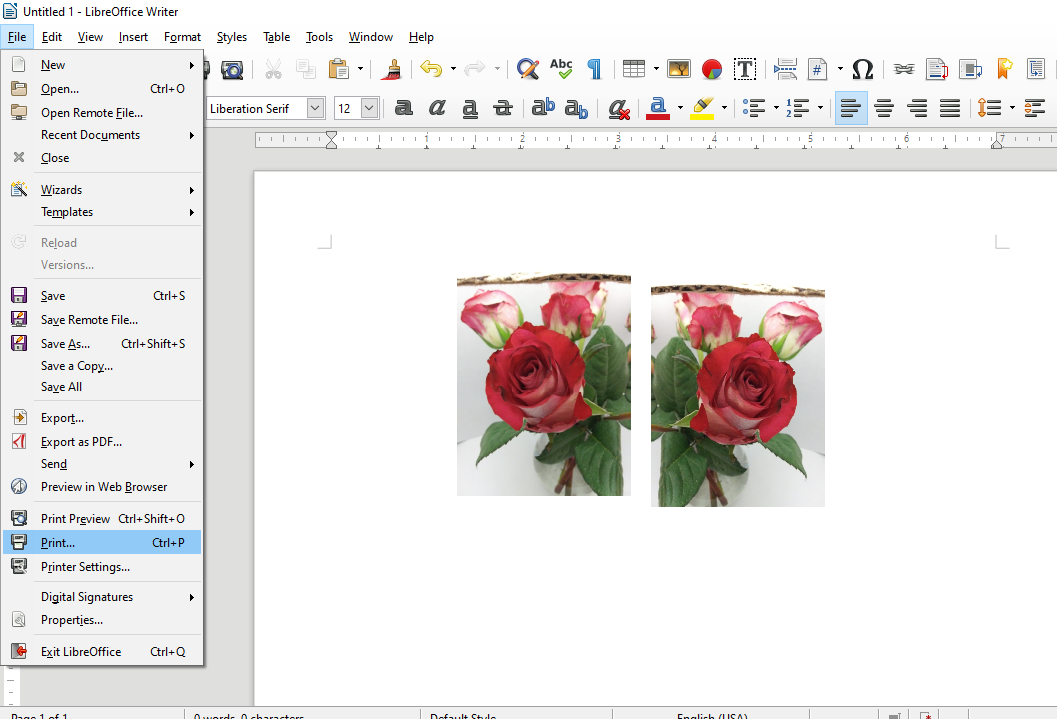
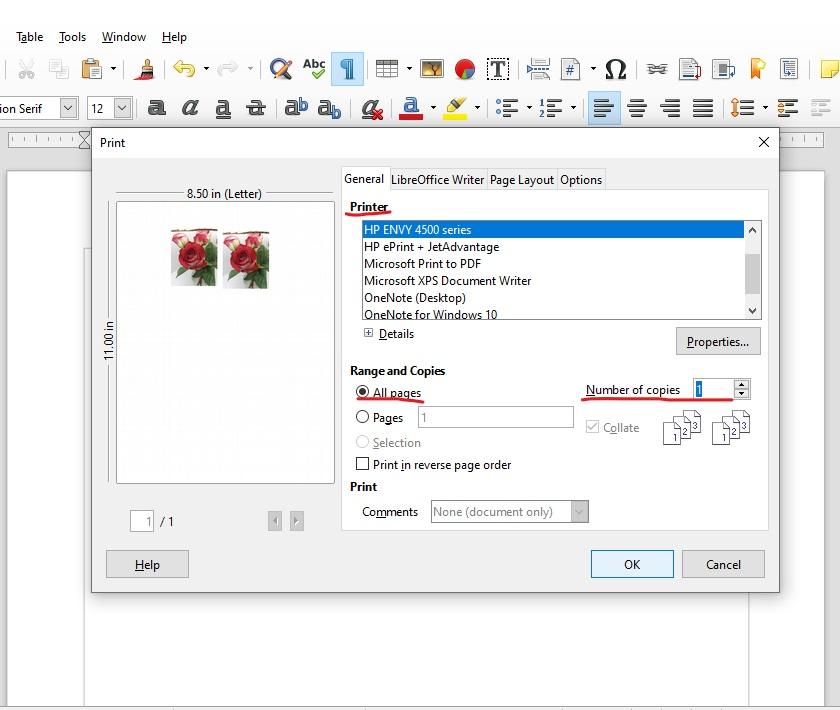
Now we need to print the photos.
If you are going to make multiple earrings, put as many photos as you can on one document. That way you will save paper.
Under "File" there is the 'Print' button. Click on it. It will give us the options for printing. Choose the name of your printer from the list it provides, make sure the number of copies is what you want (probably just one), and make sure it says 'Print All Pages'. Hit print.
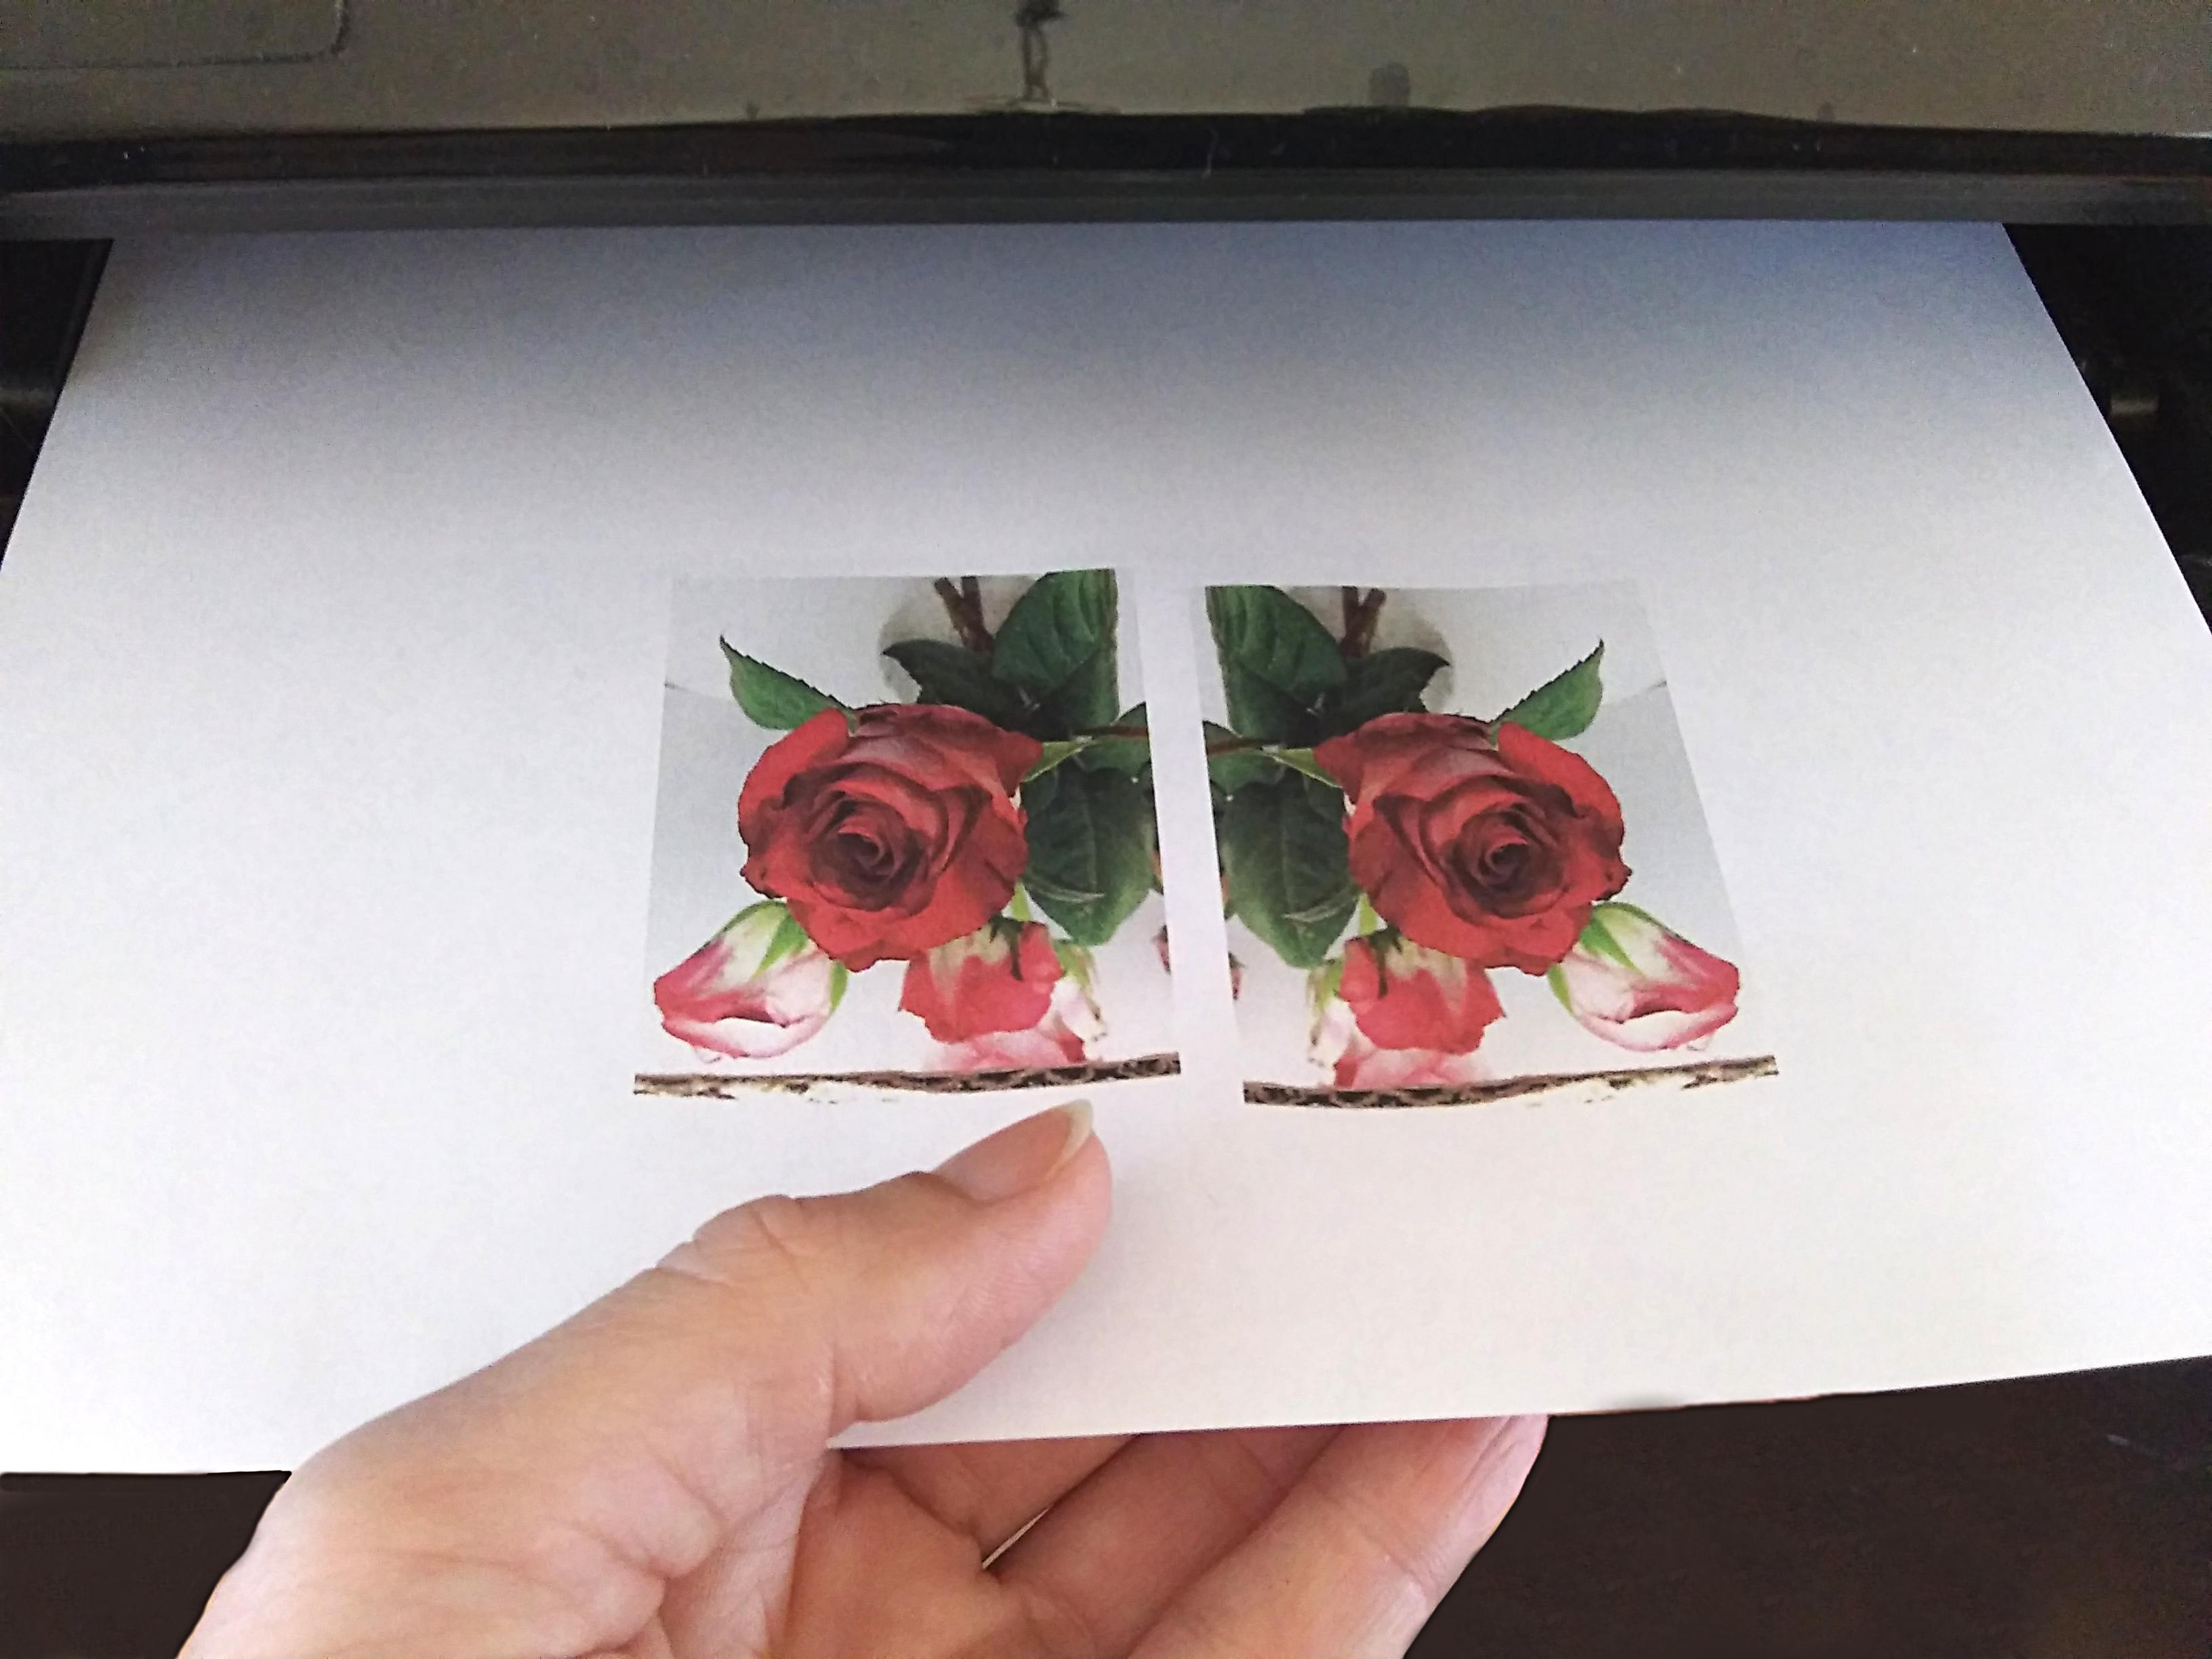
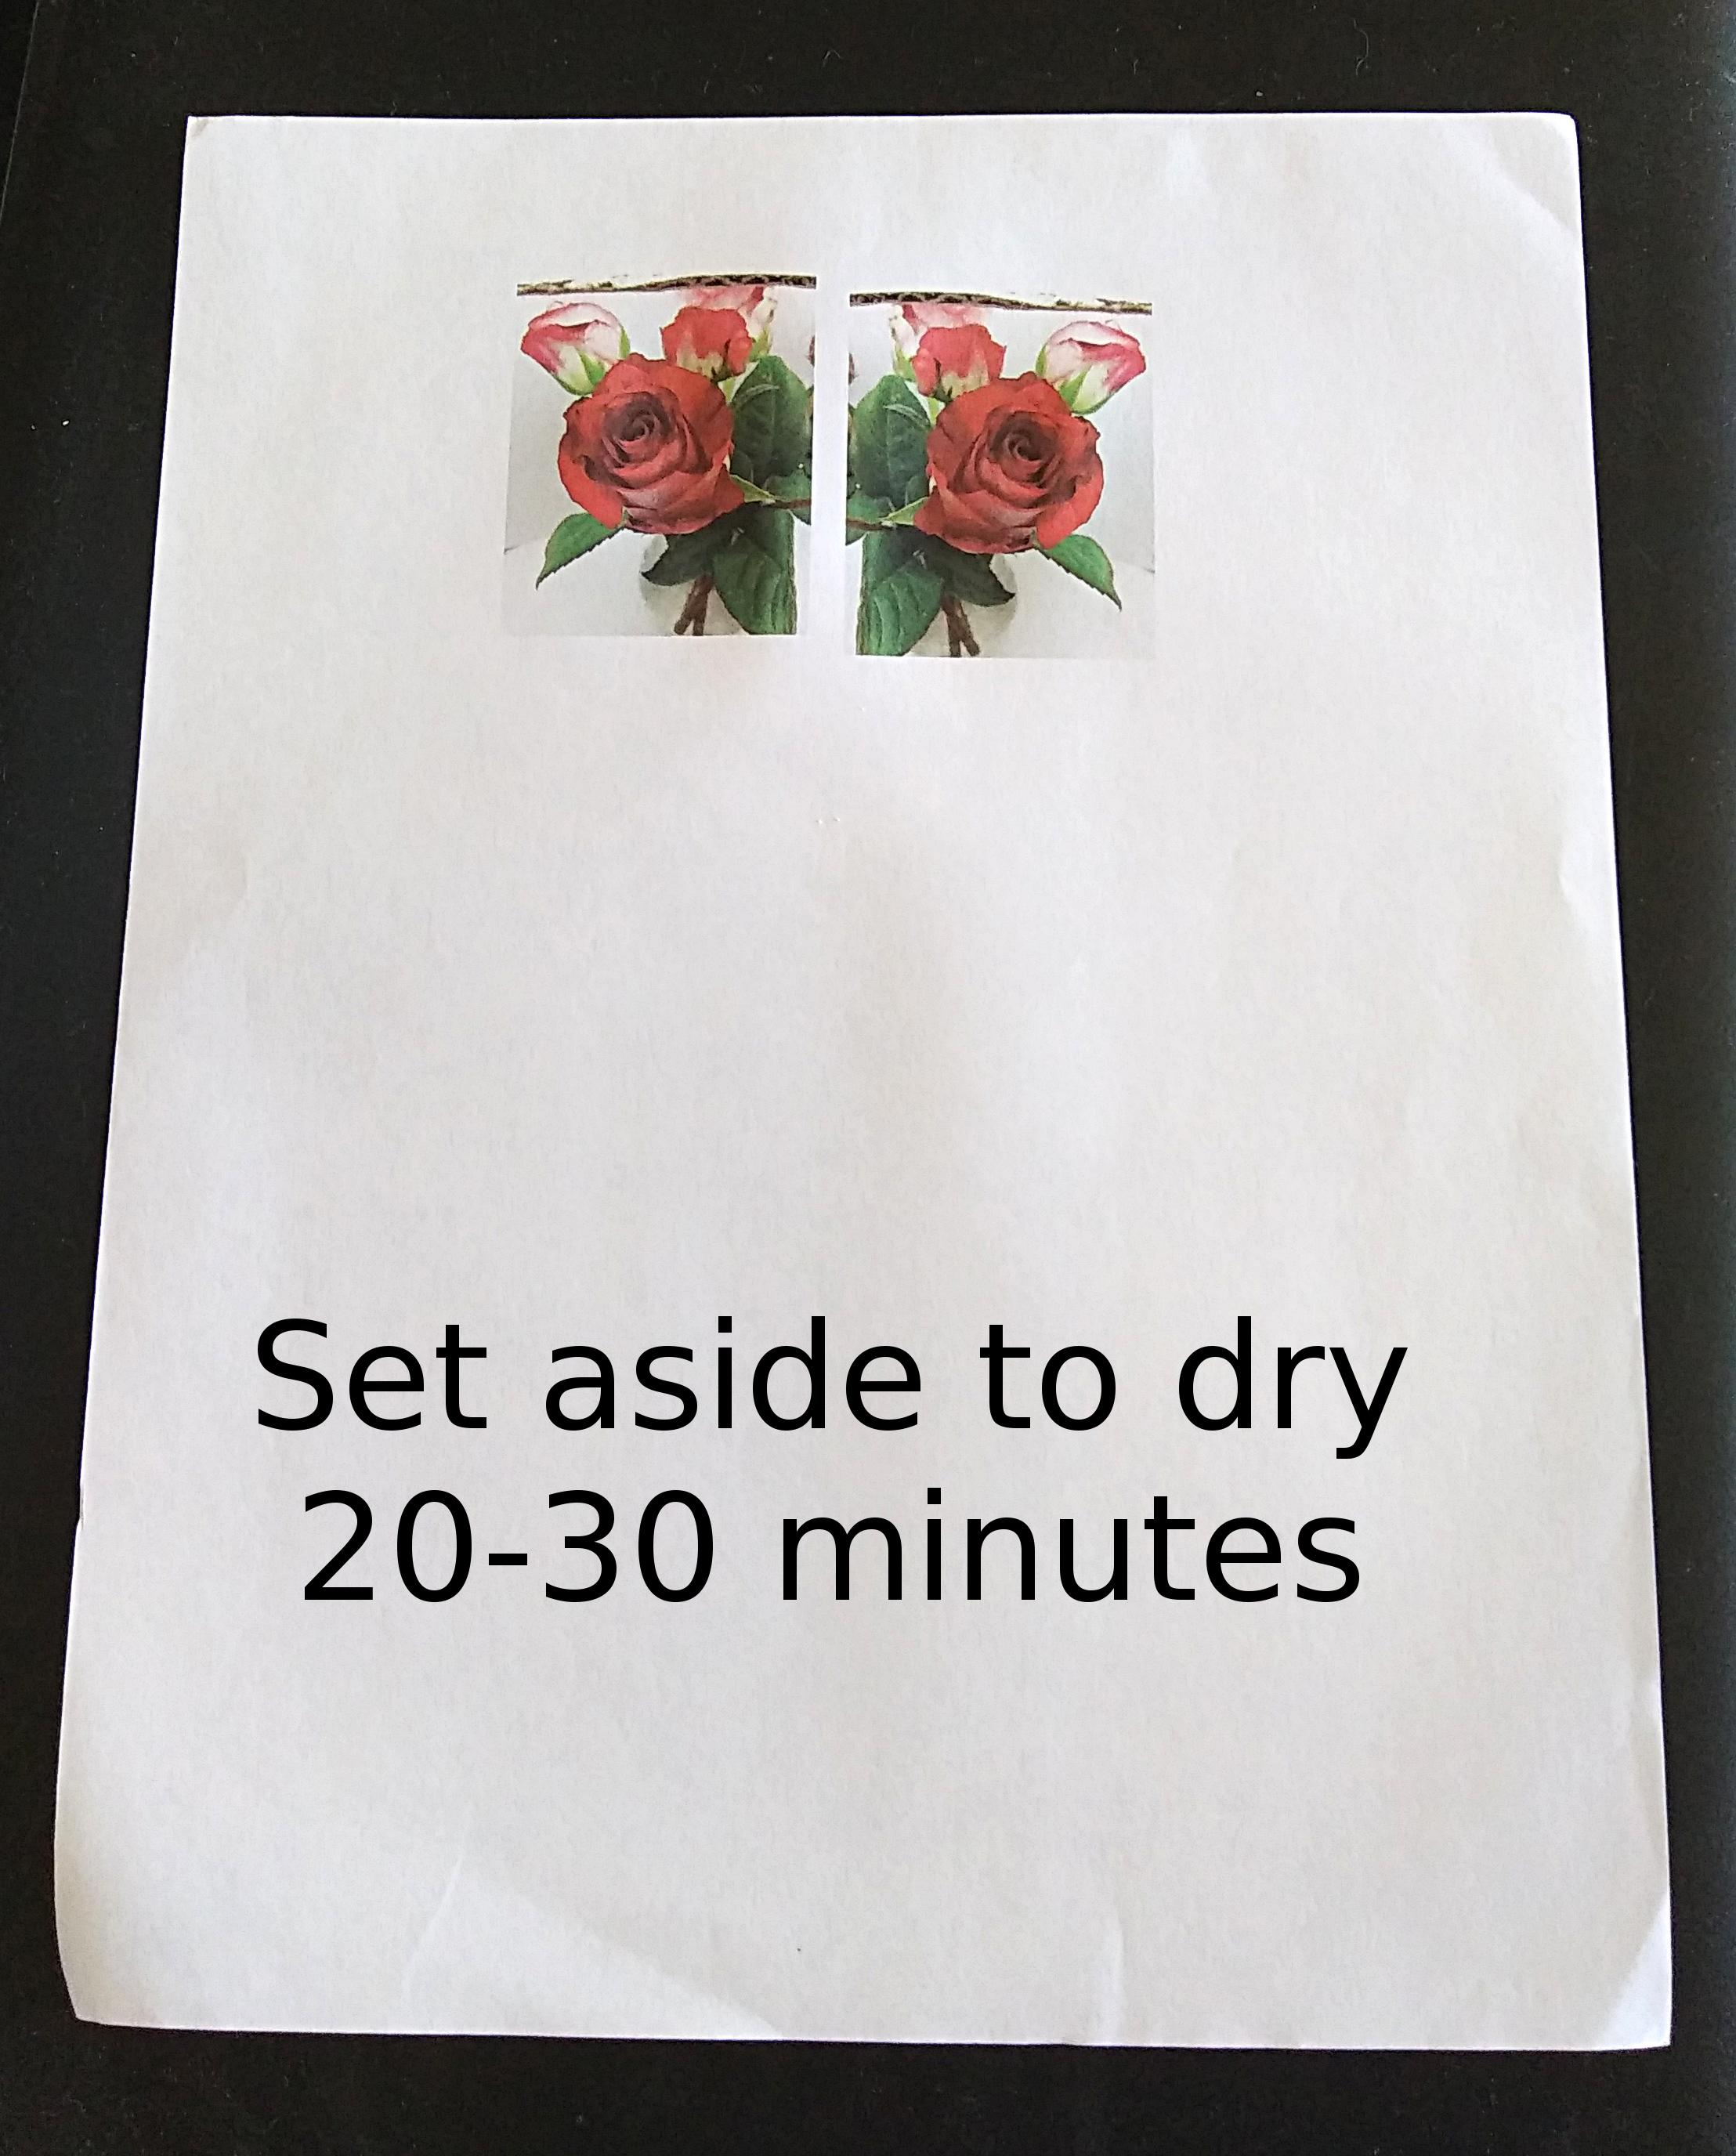
When it prints out, don't touch the photos. You will smear the ink. Set the paper aside for 20-30 minutes so the ink can fully dry.
Trace and Cut
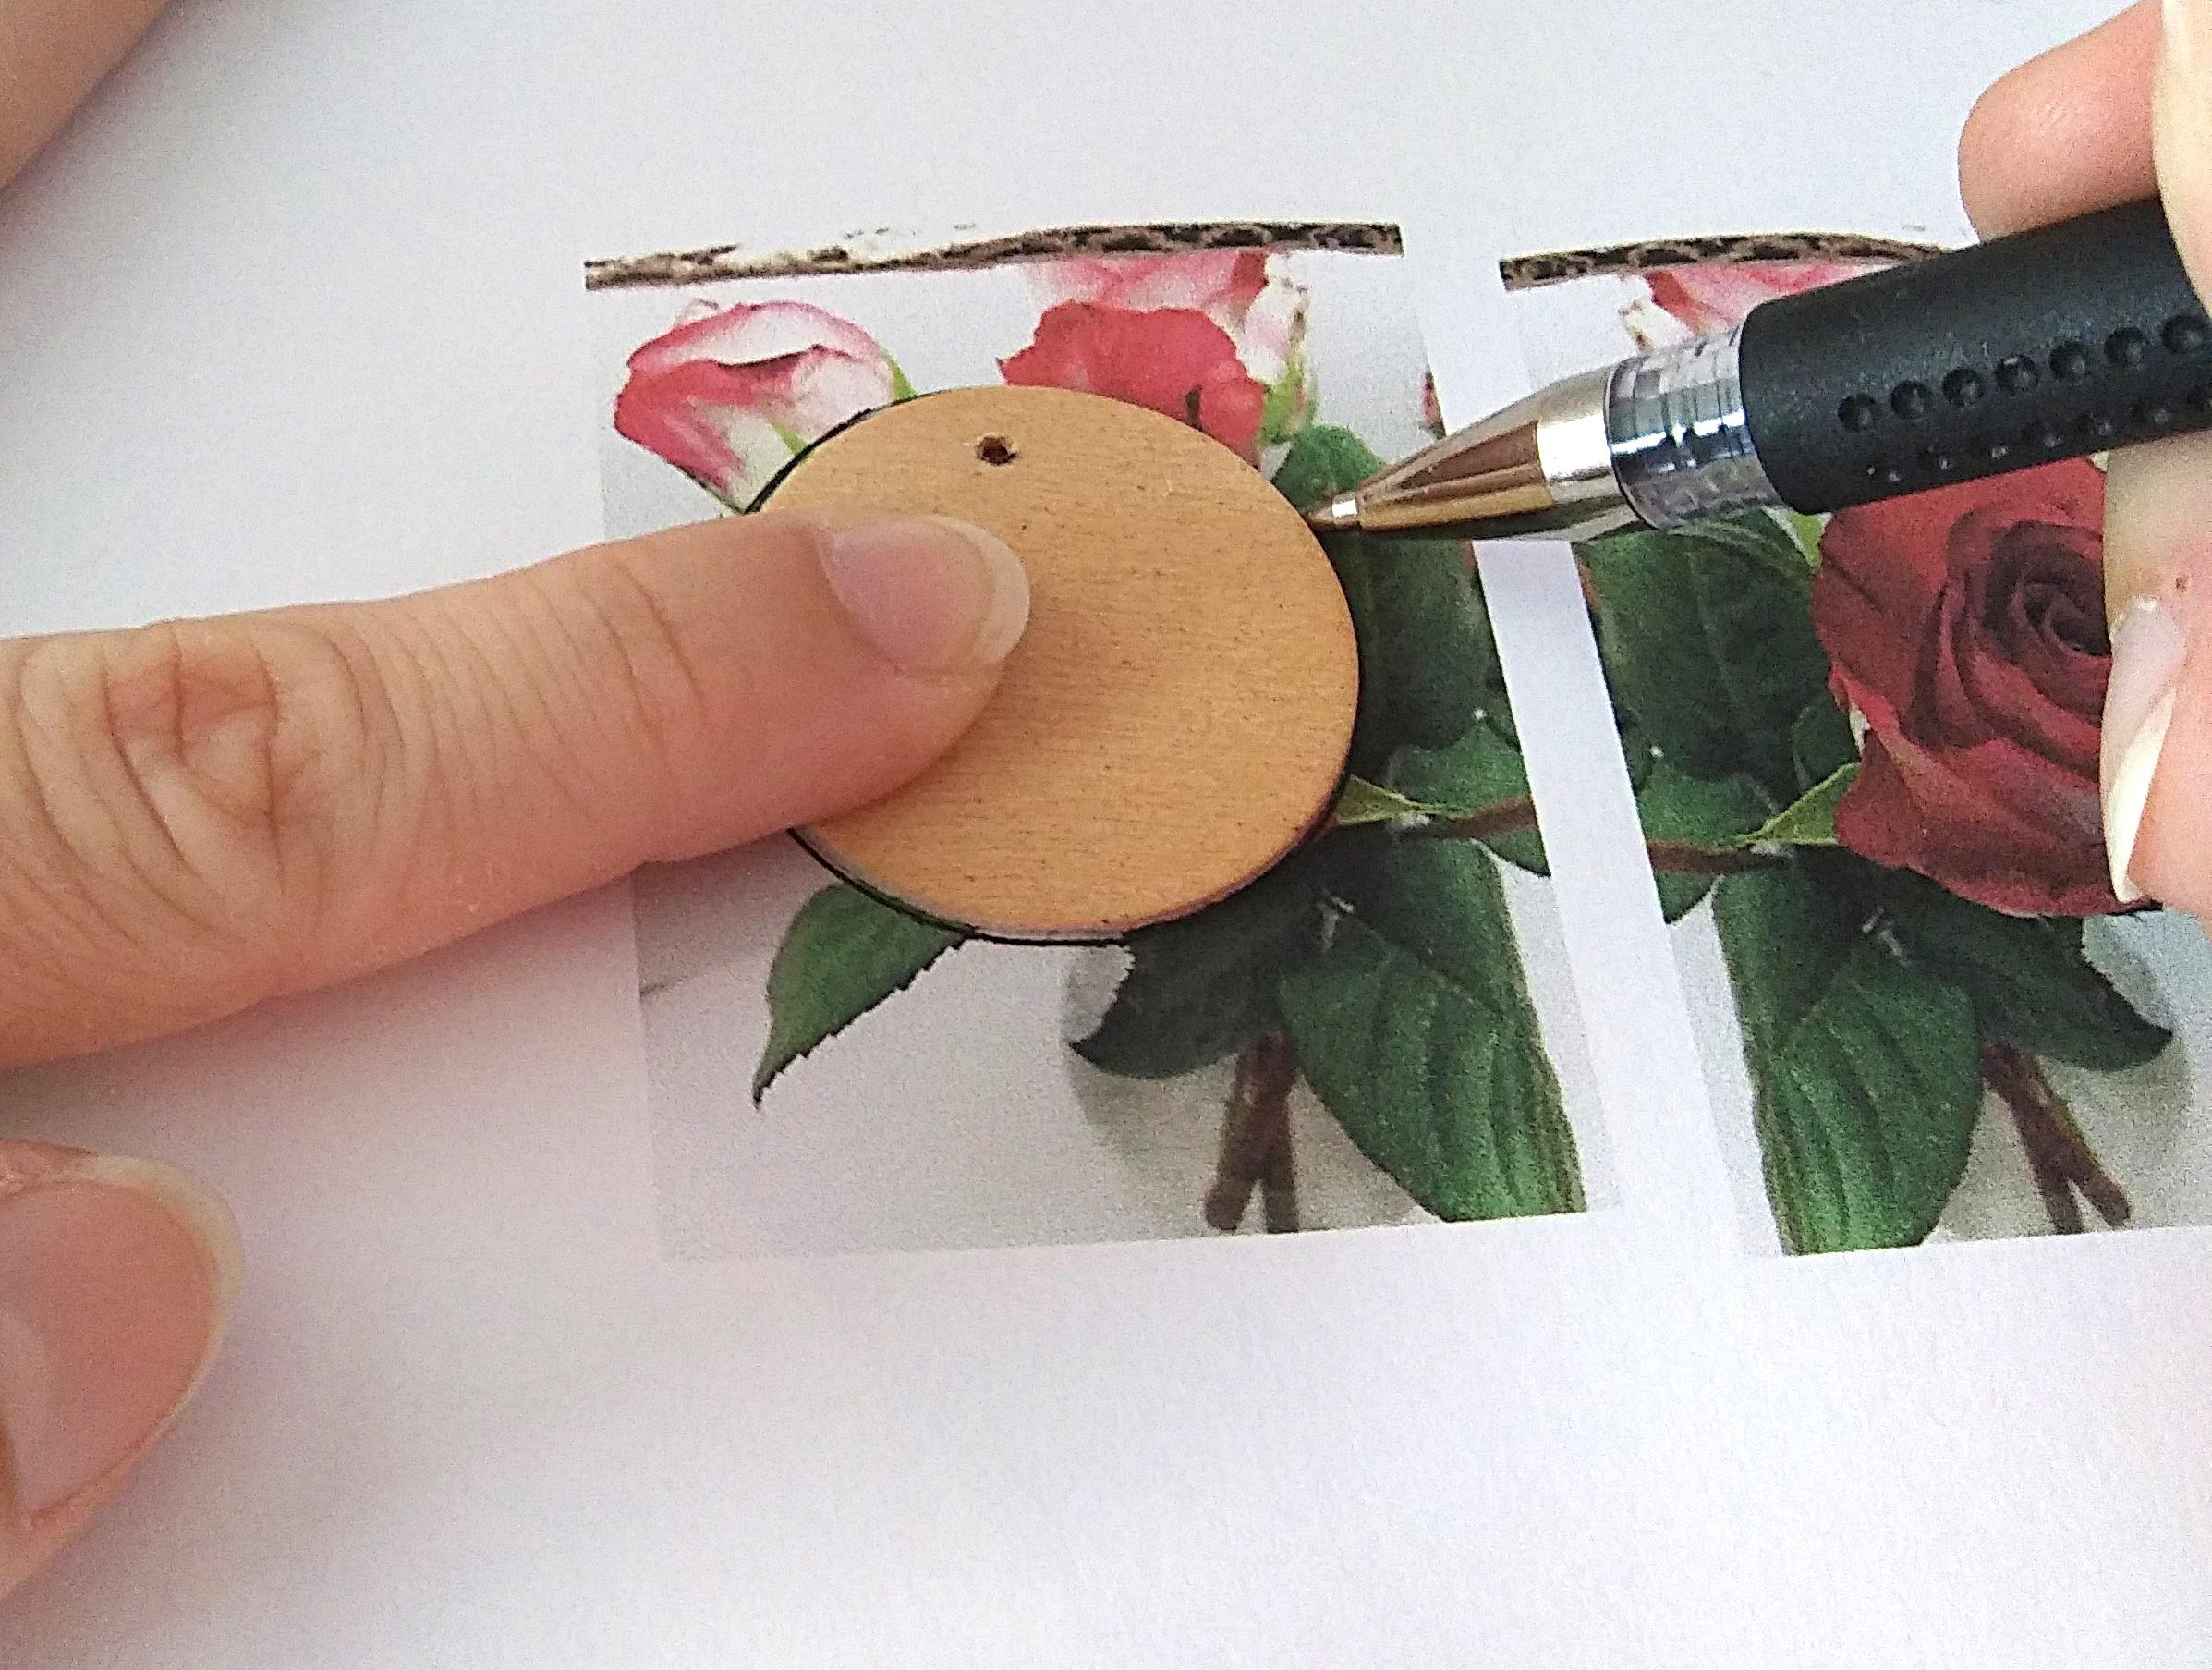
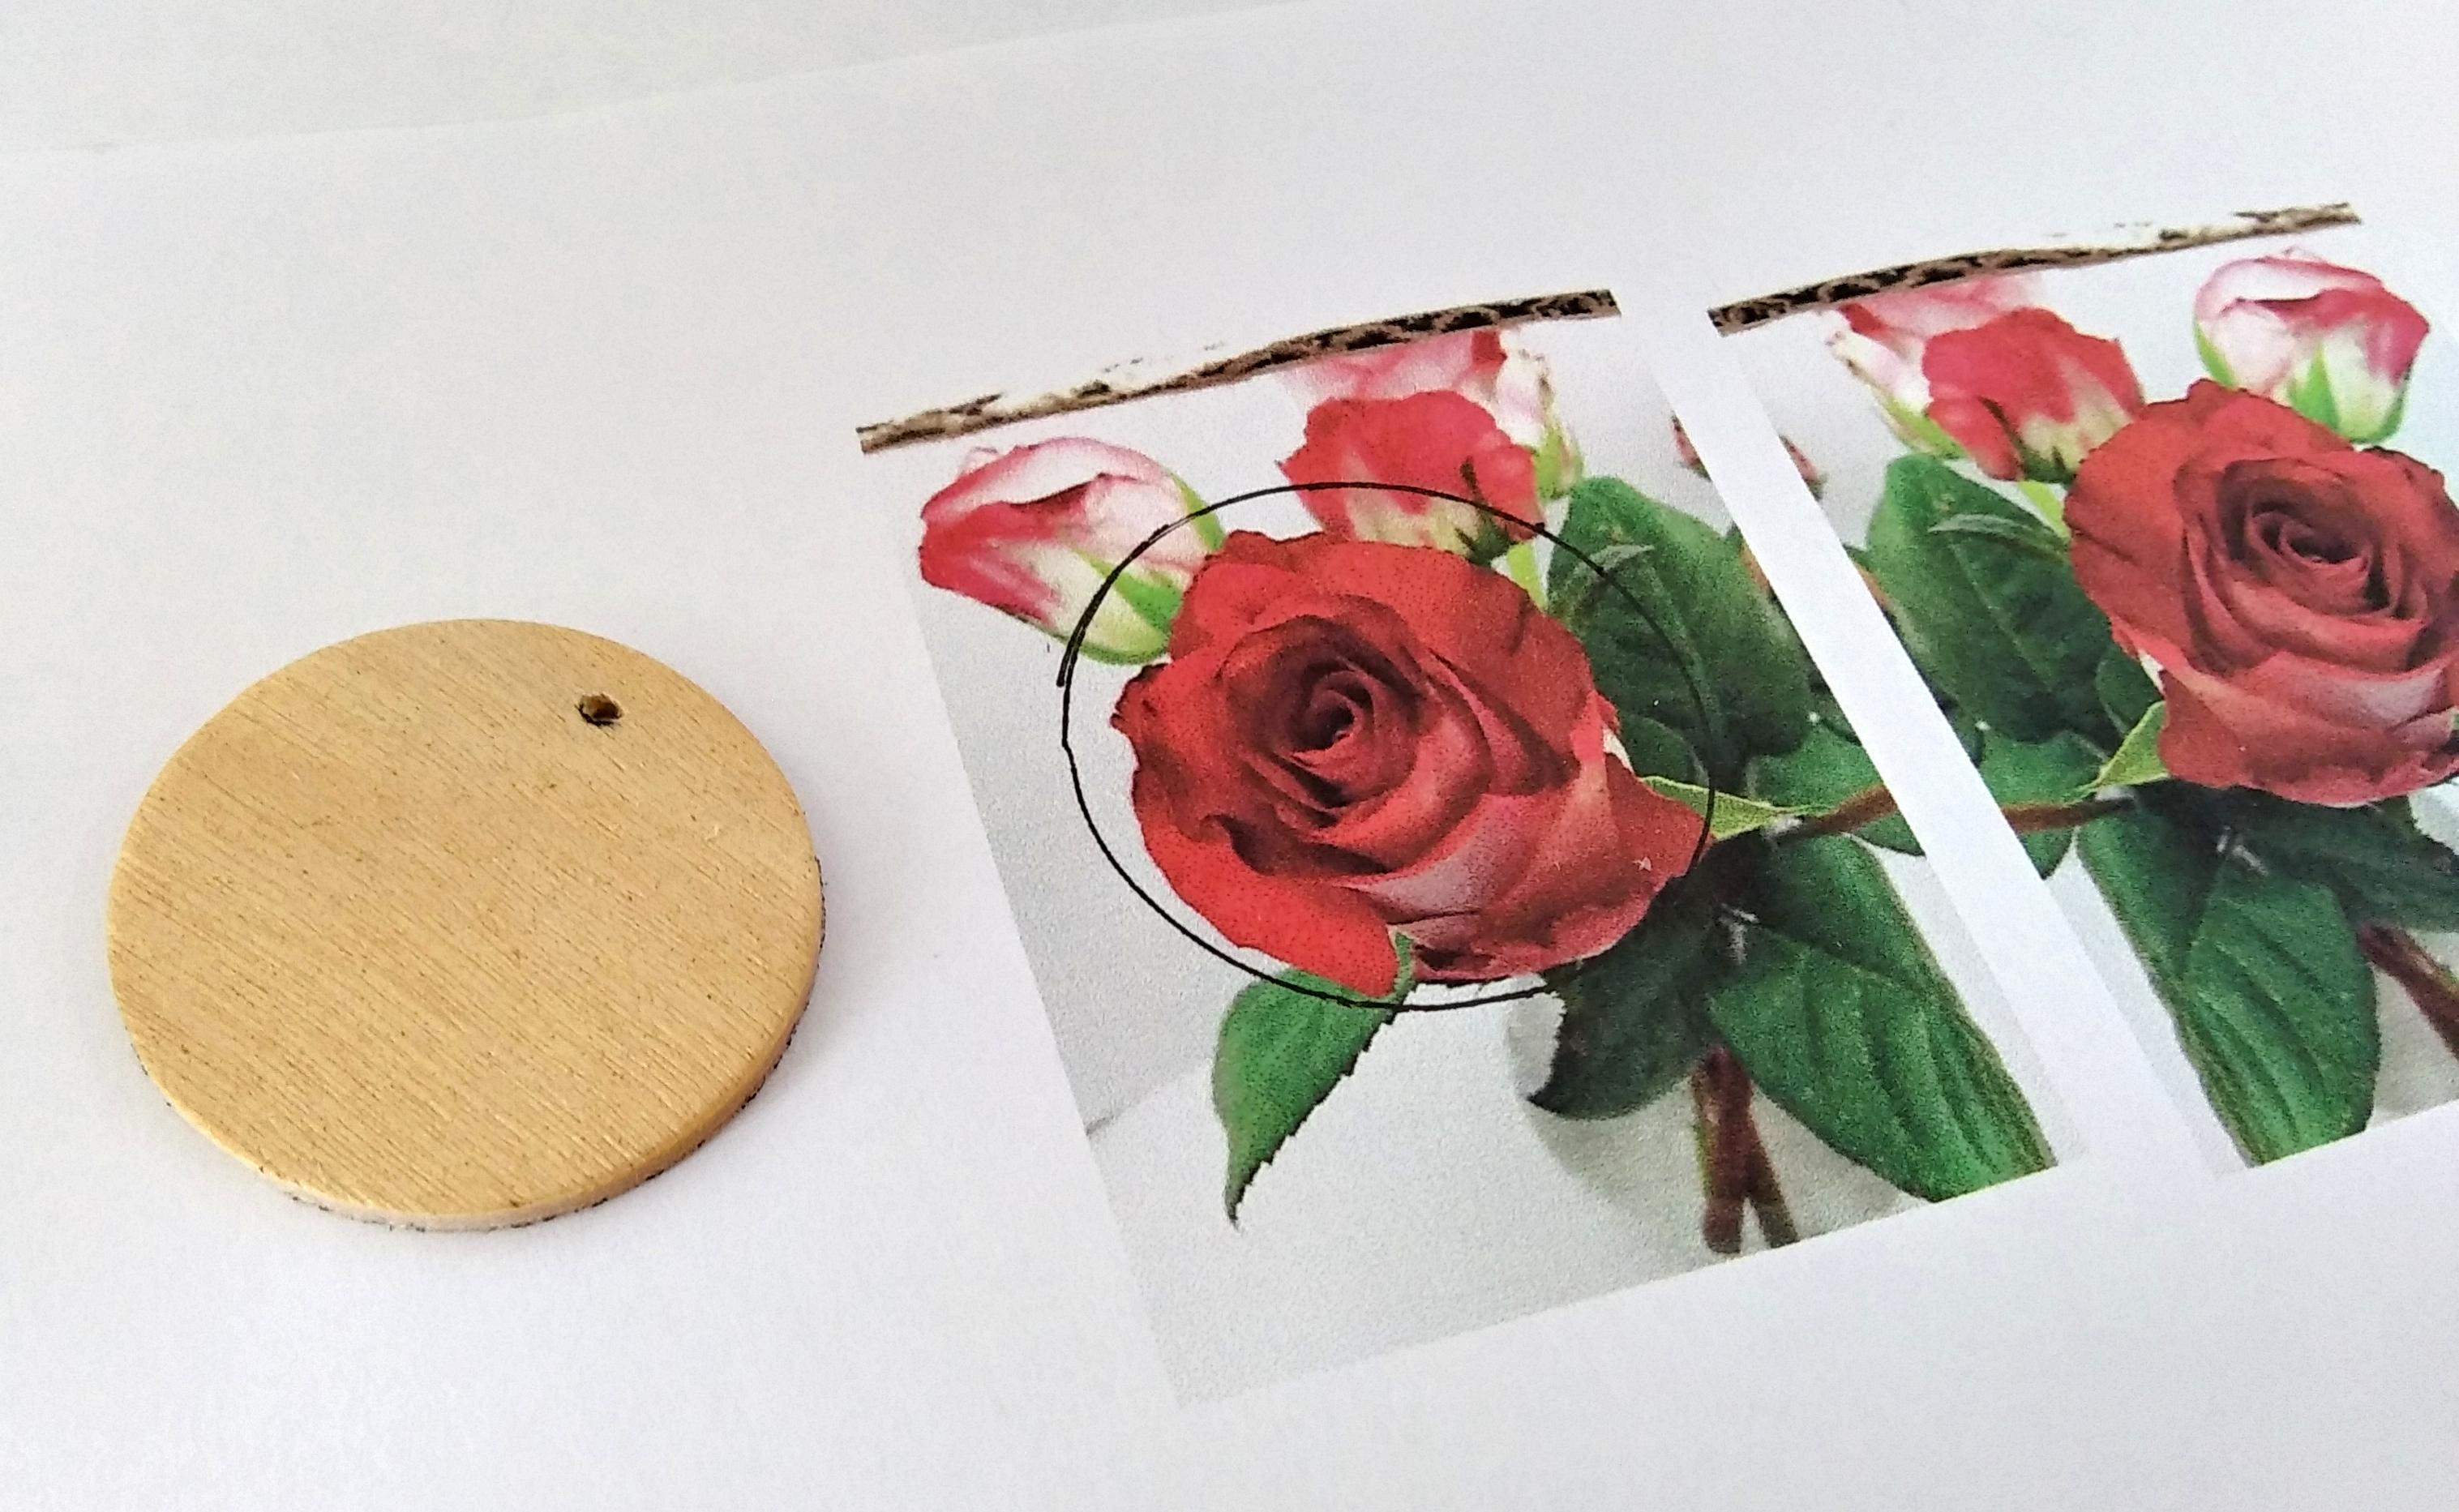
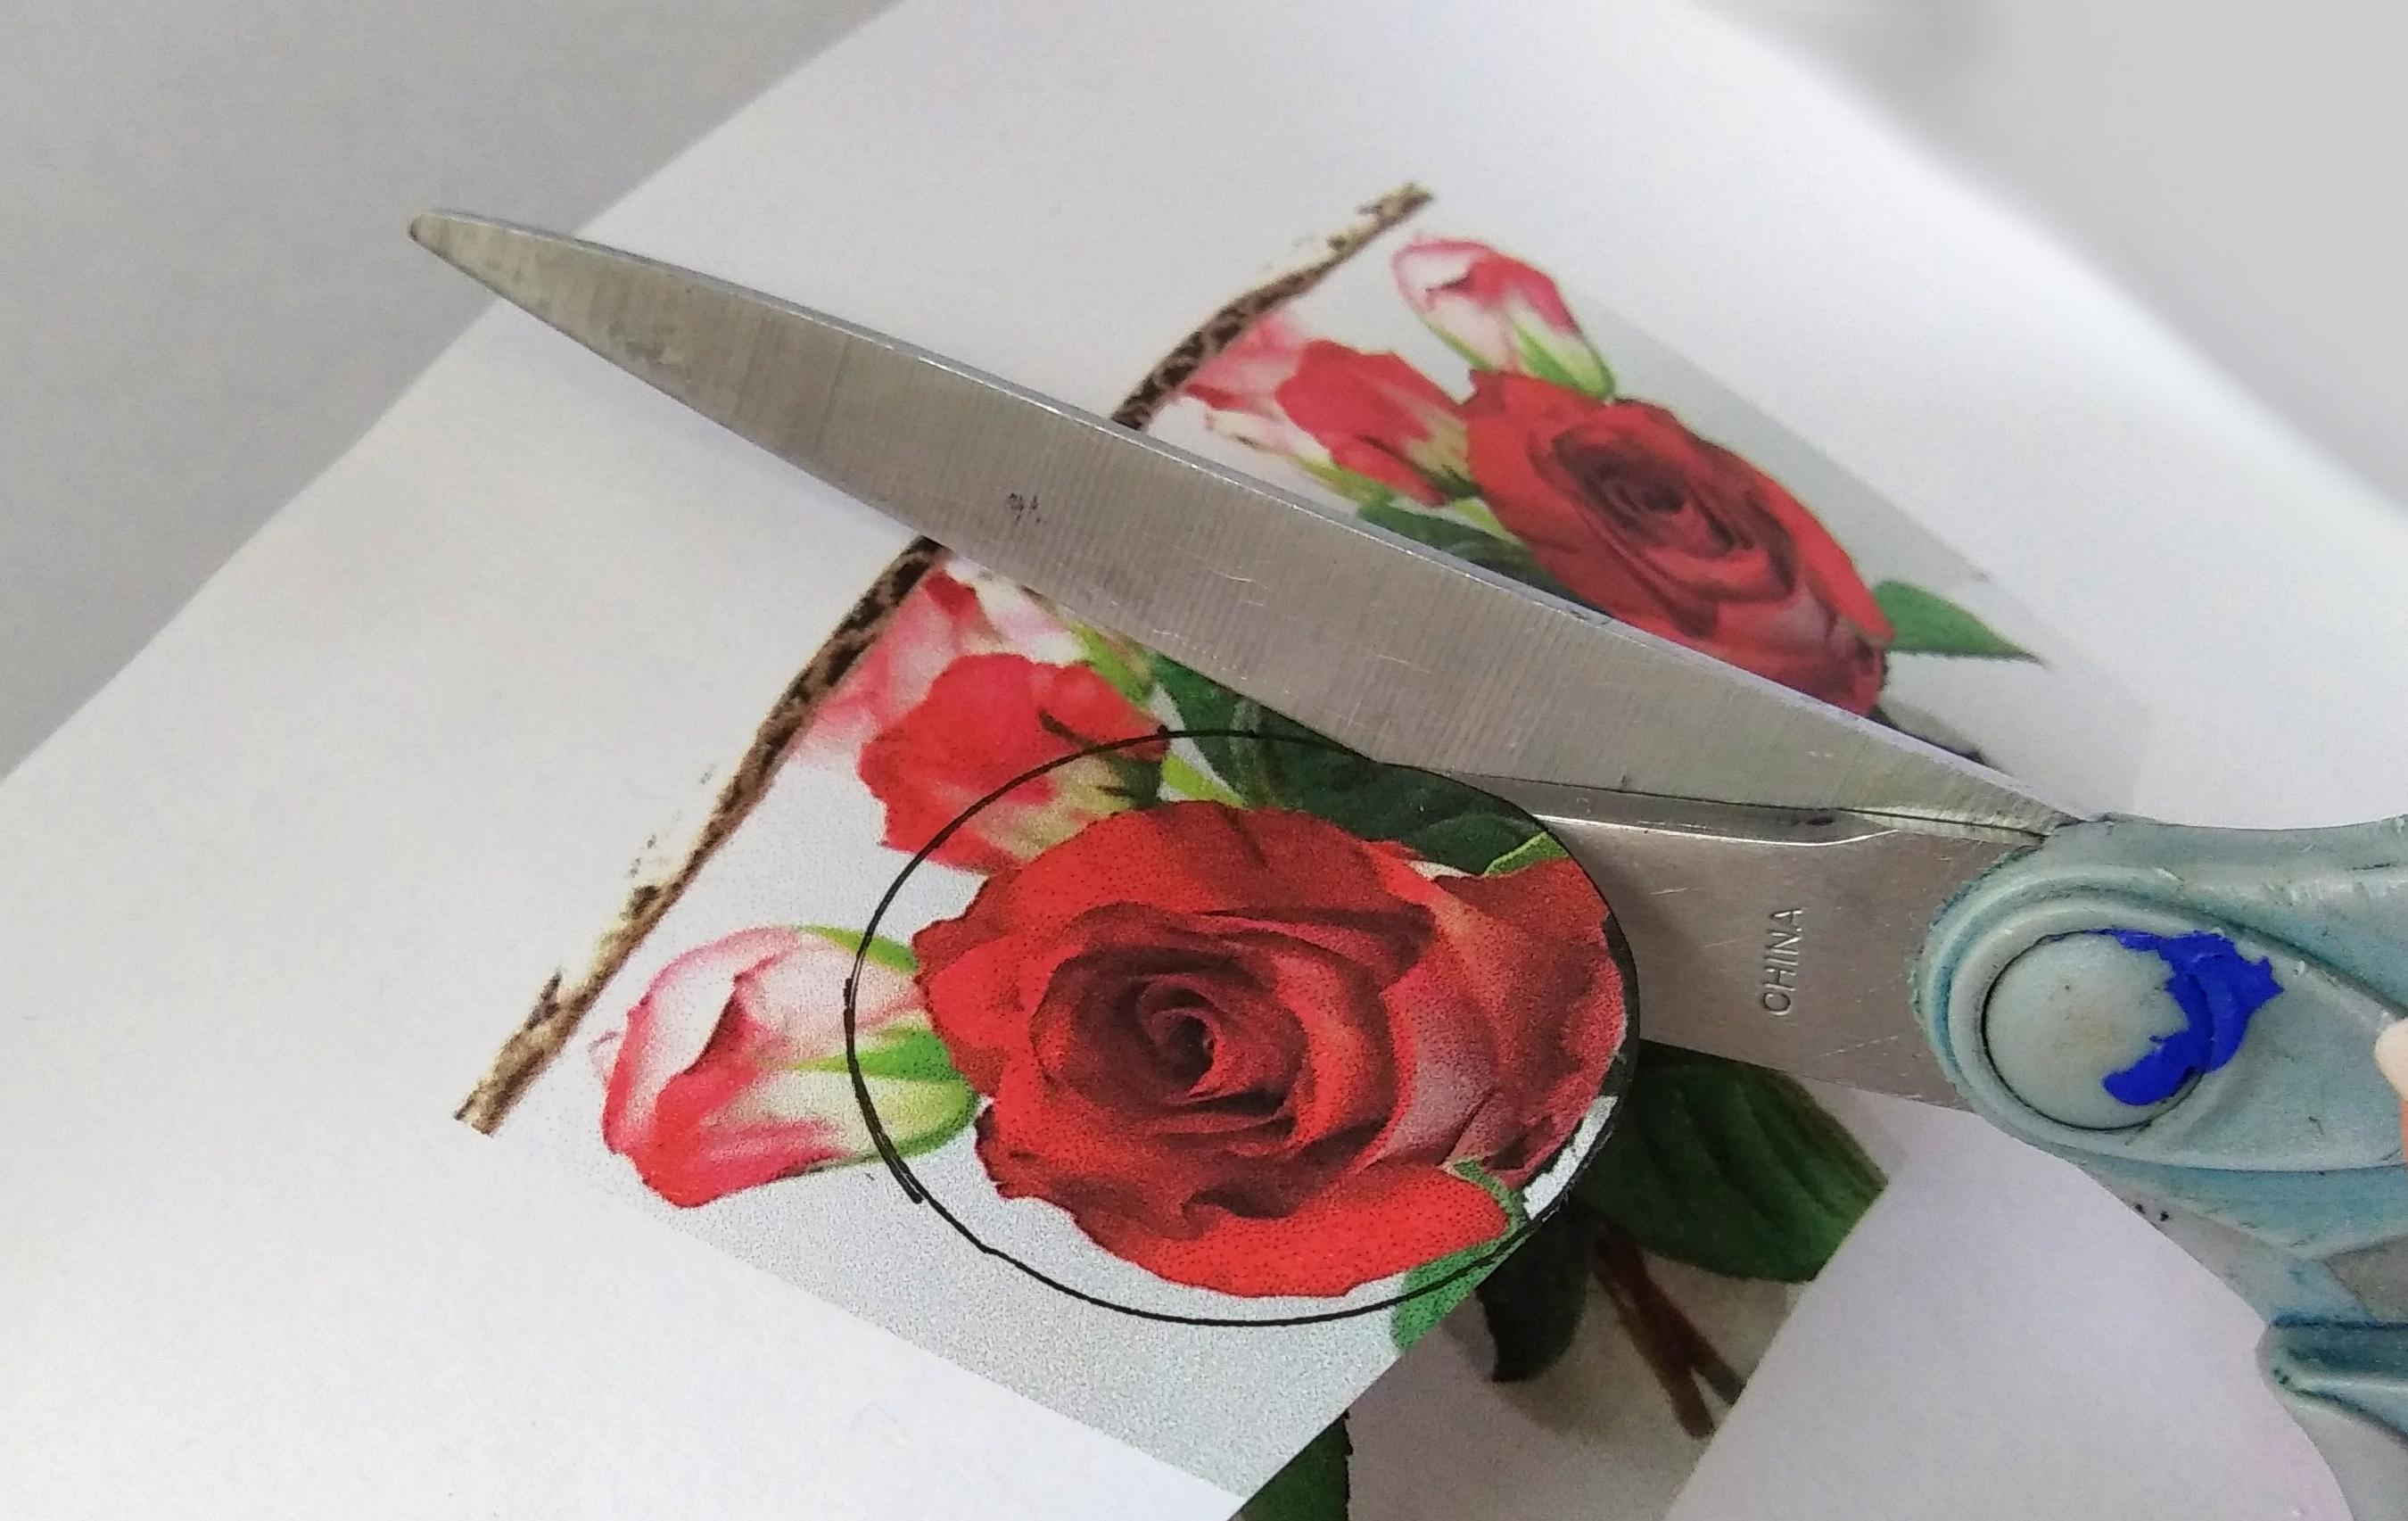
Place your paper with the photos on a flat surface.
Take one of your drilled wooden pieces and lay it on top of one of your photos. Center it where you want the image to be on the earring.
With a pen or pencil, trace around the outside of the wooden circle. Remove the wooden circle.
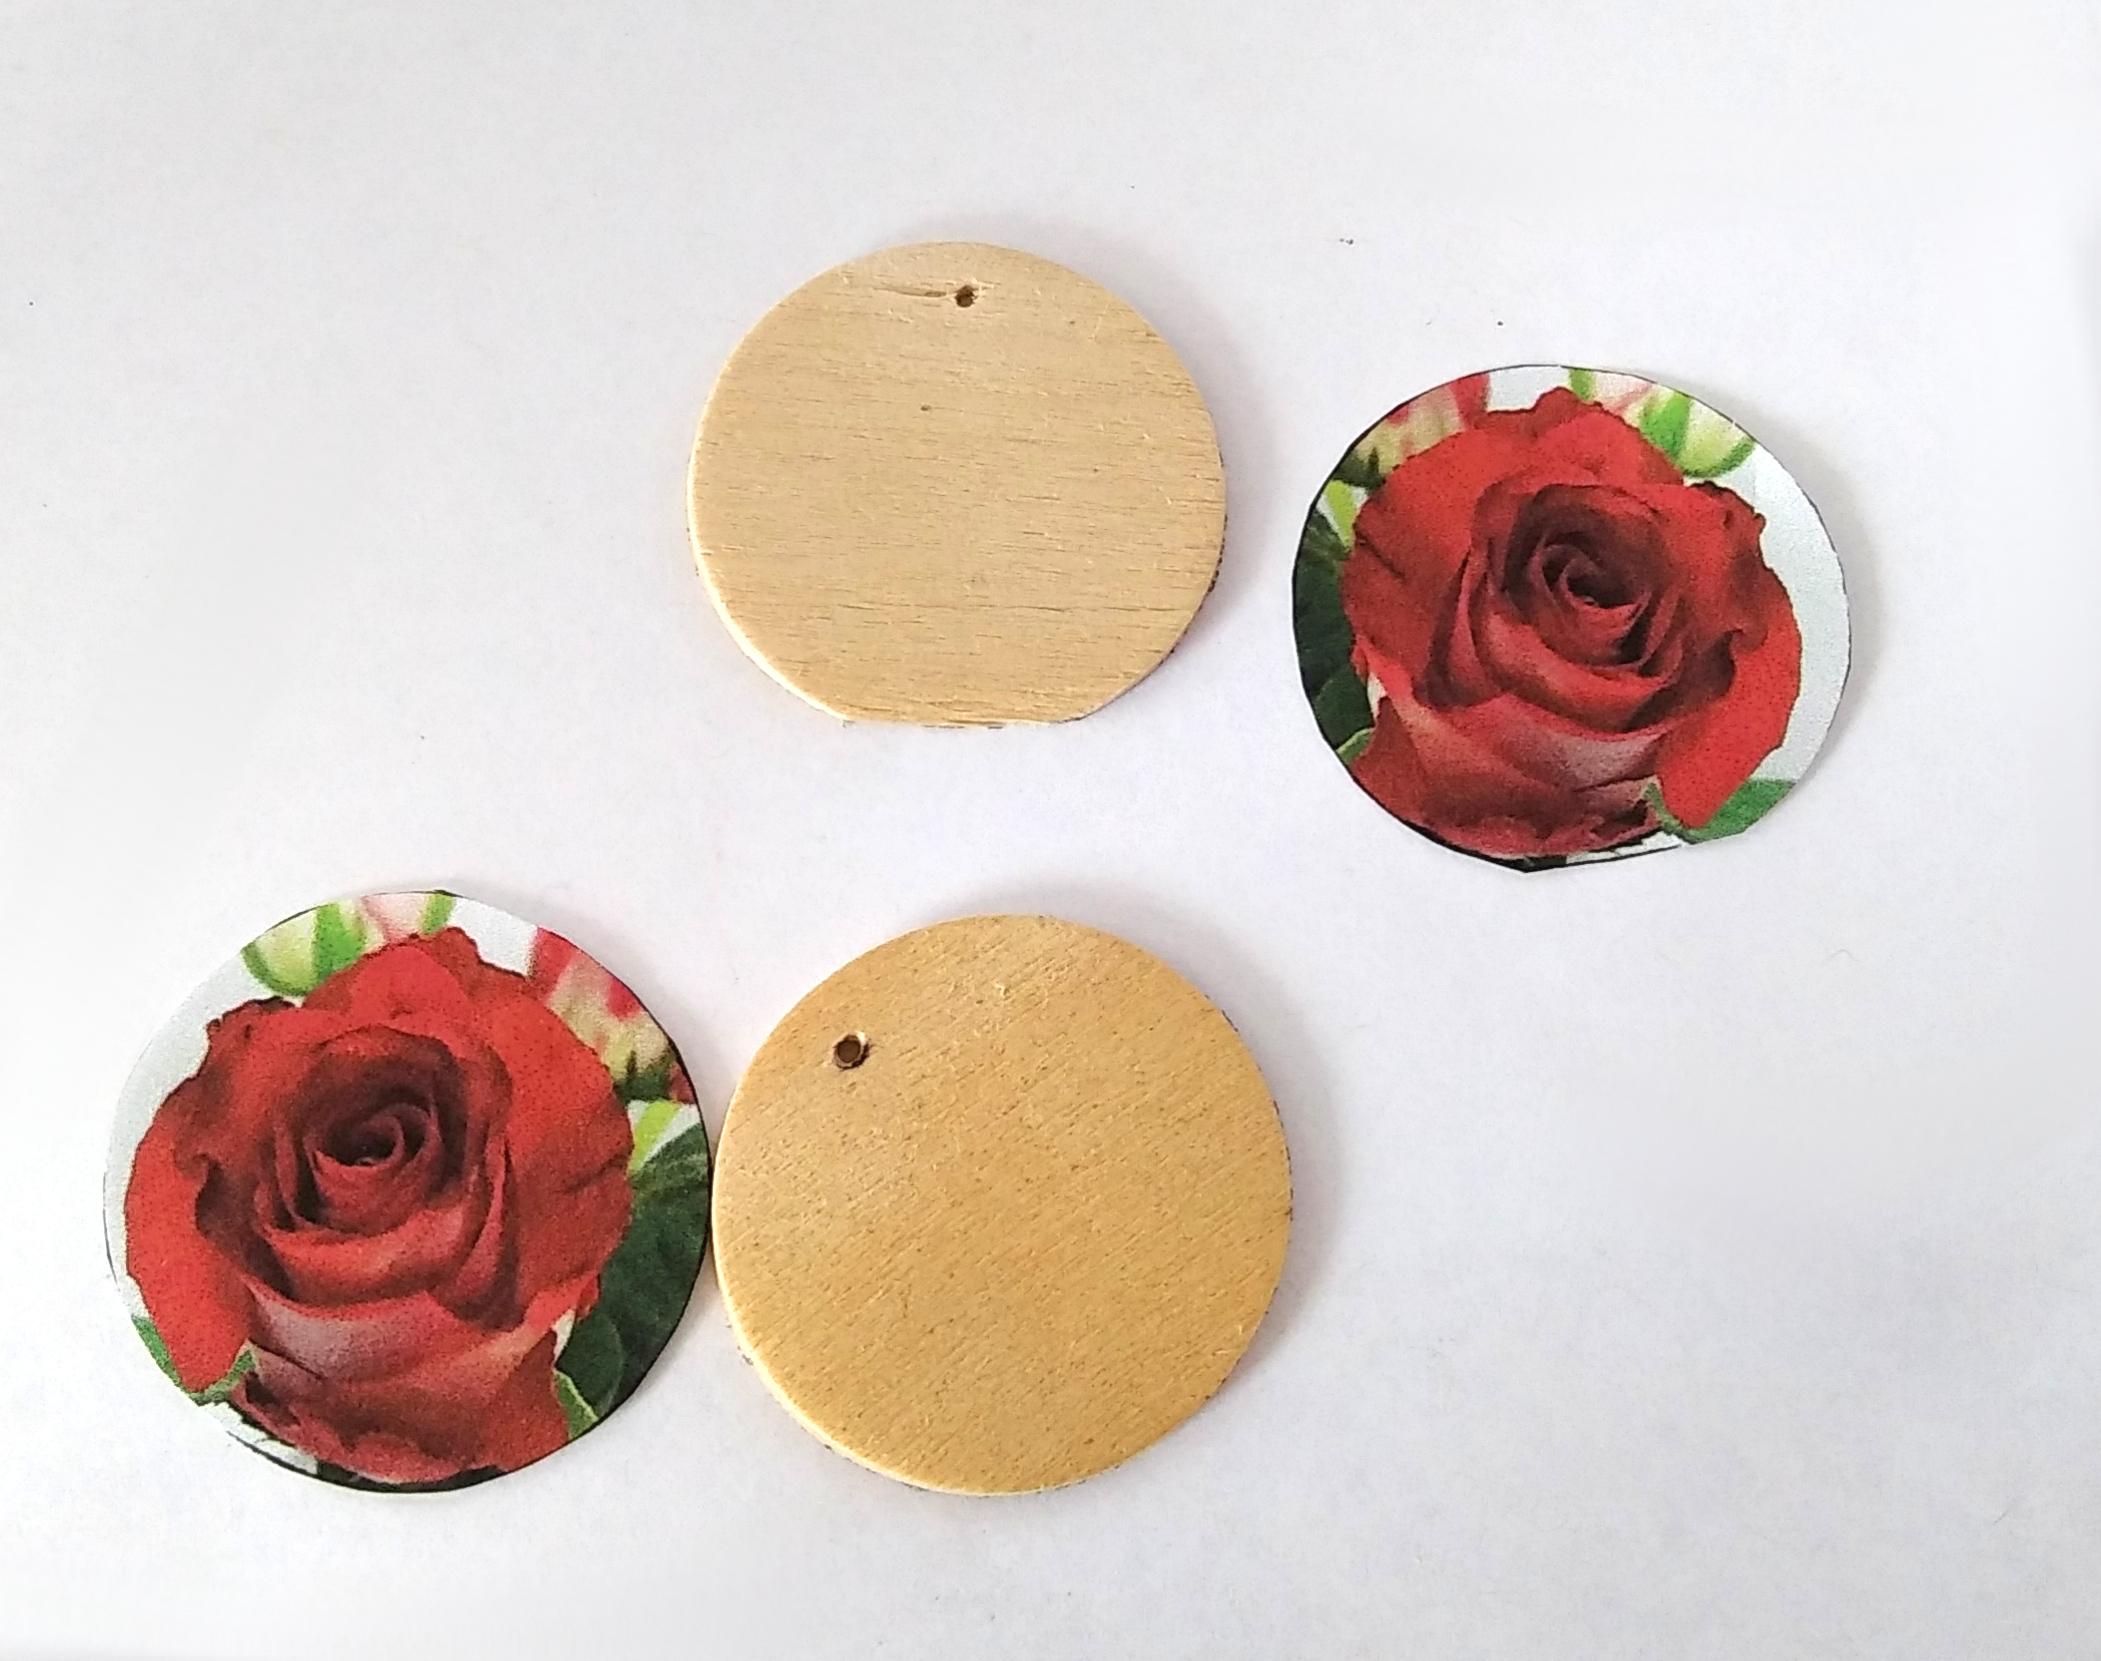
Cut out the traced photo carefully and set it with the wooden piece that you traced around. You should make sure to keep it with that specific piece just in case the other wooden piece is a slightly different size or warped. If you mix up the images you may find that they don't fit quite right.
Do the same with the other photo and other wooden piece.
Glue
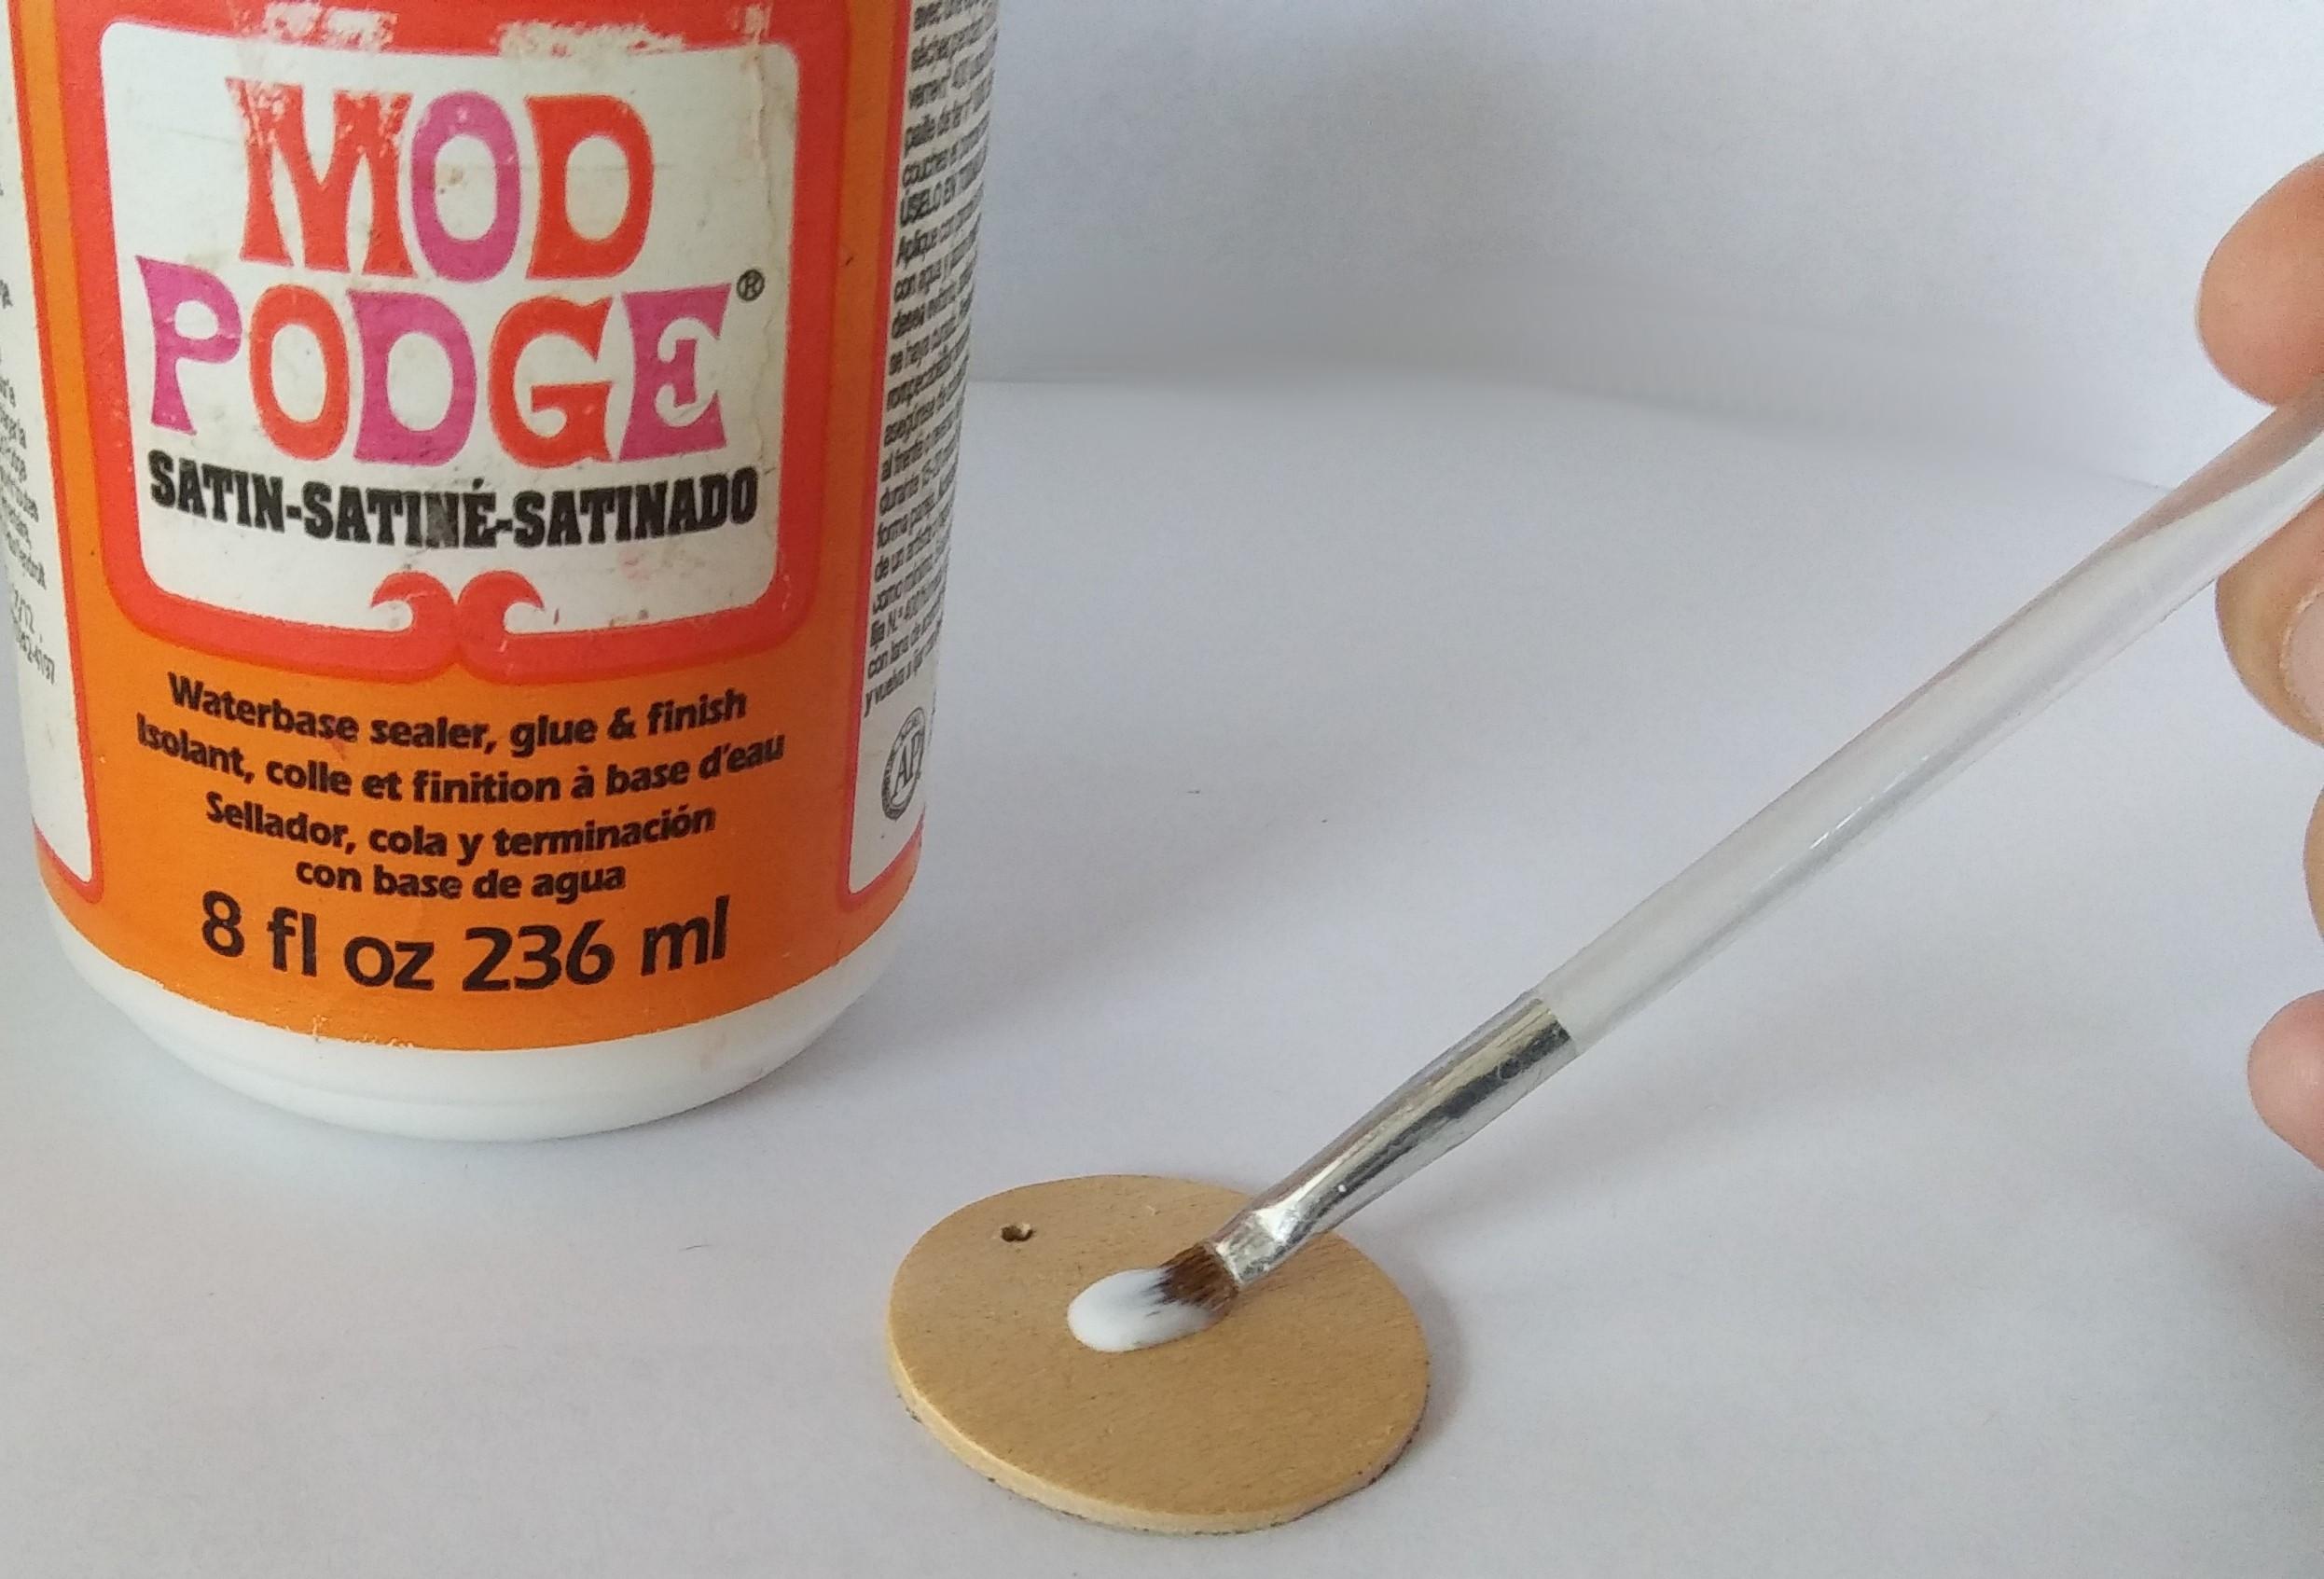
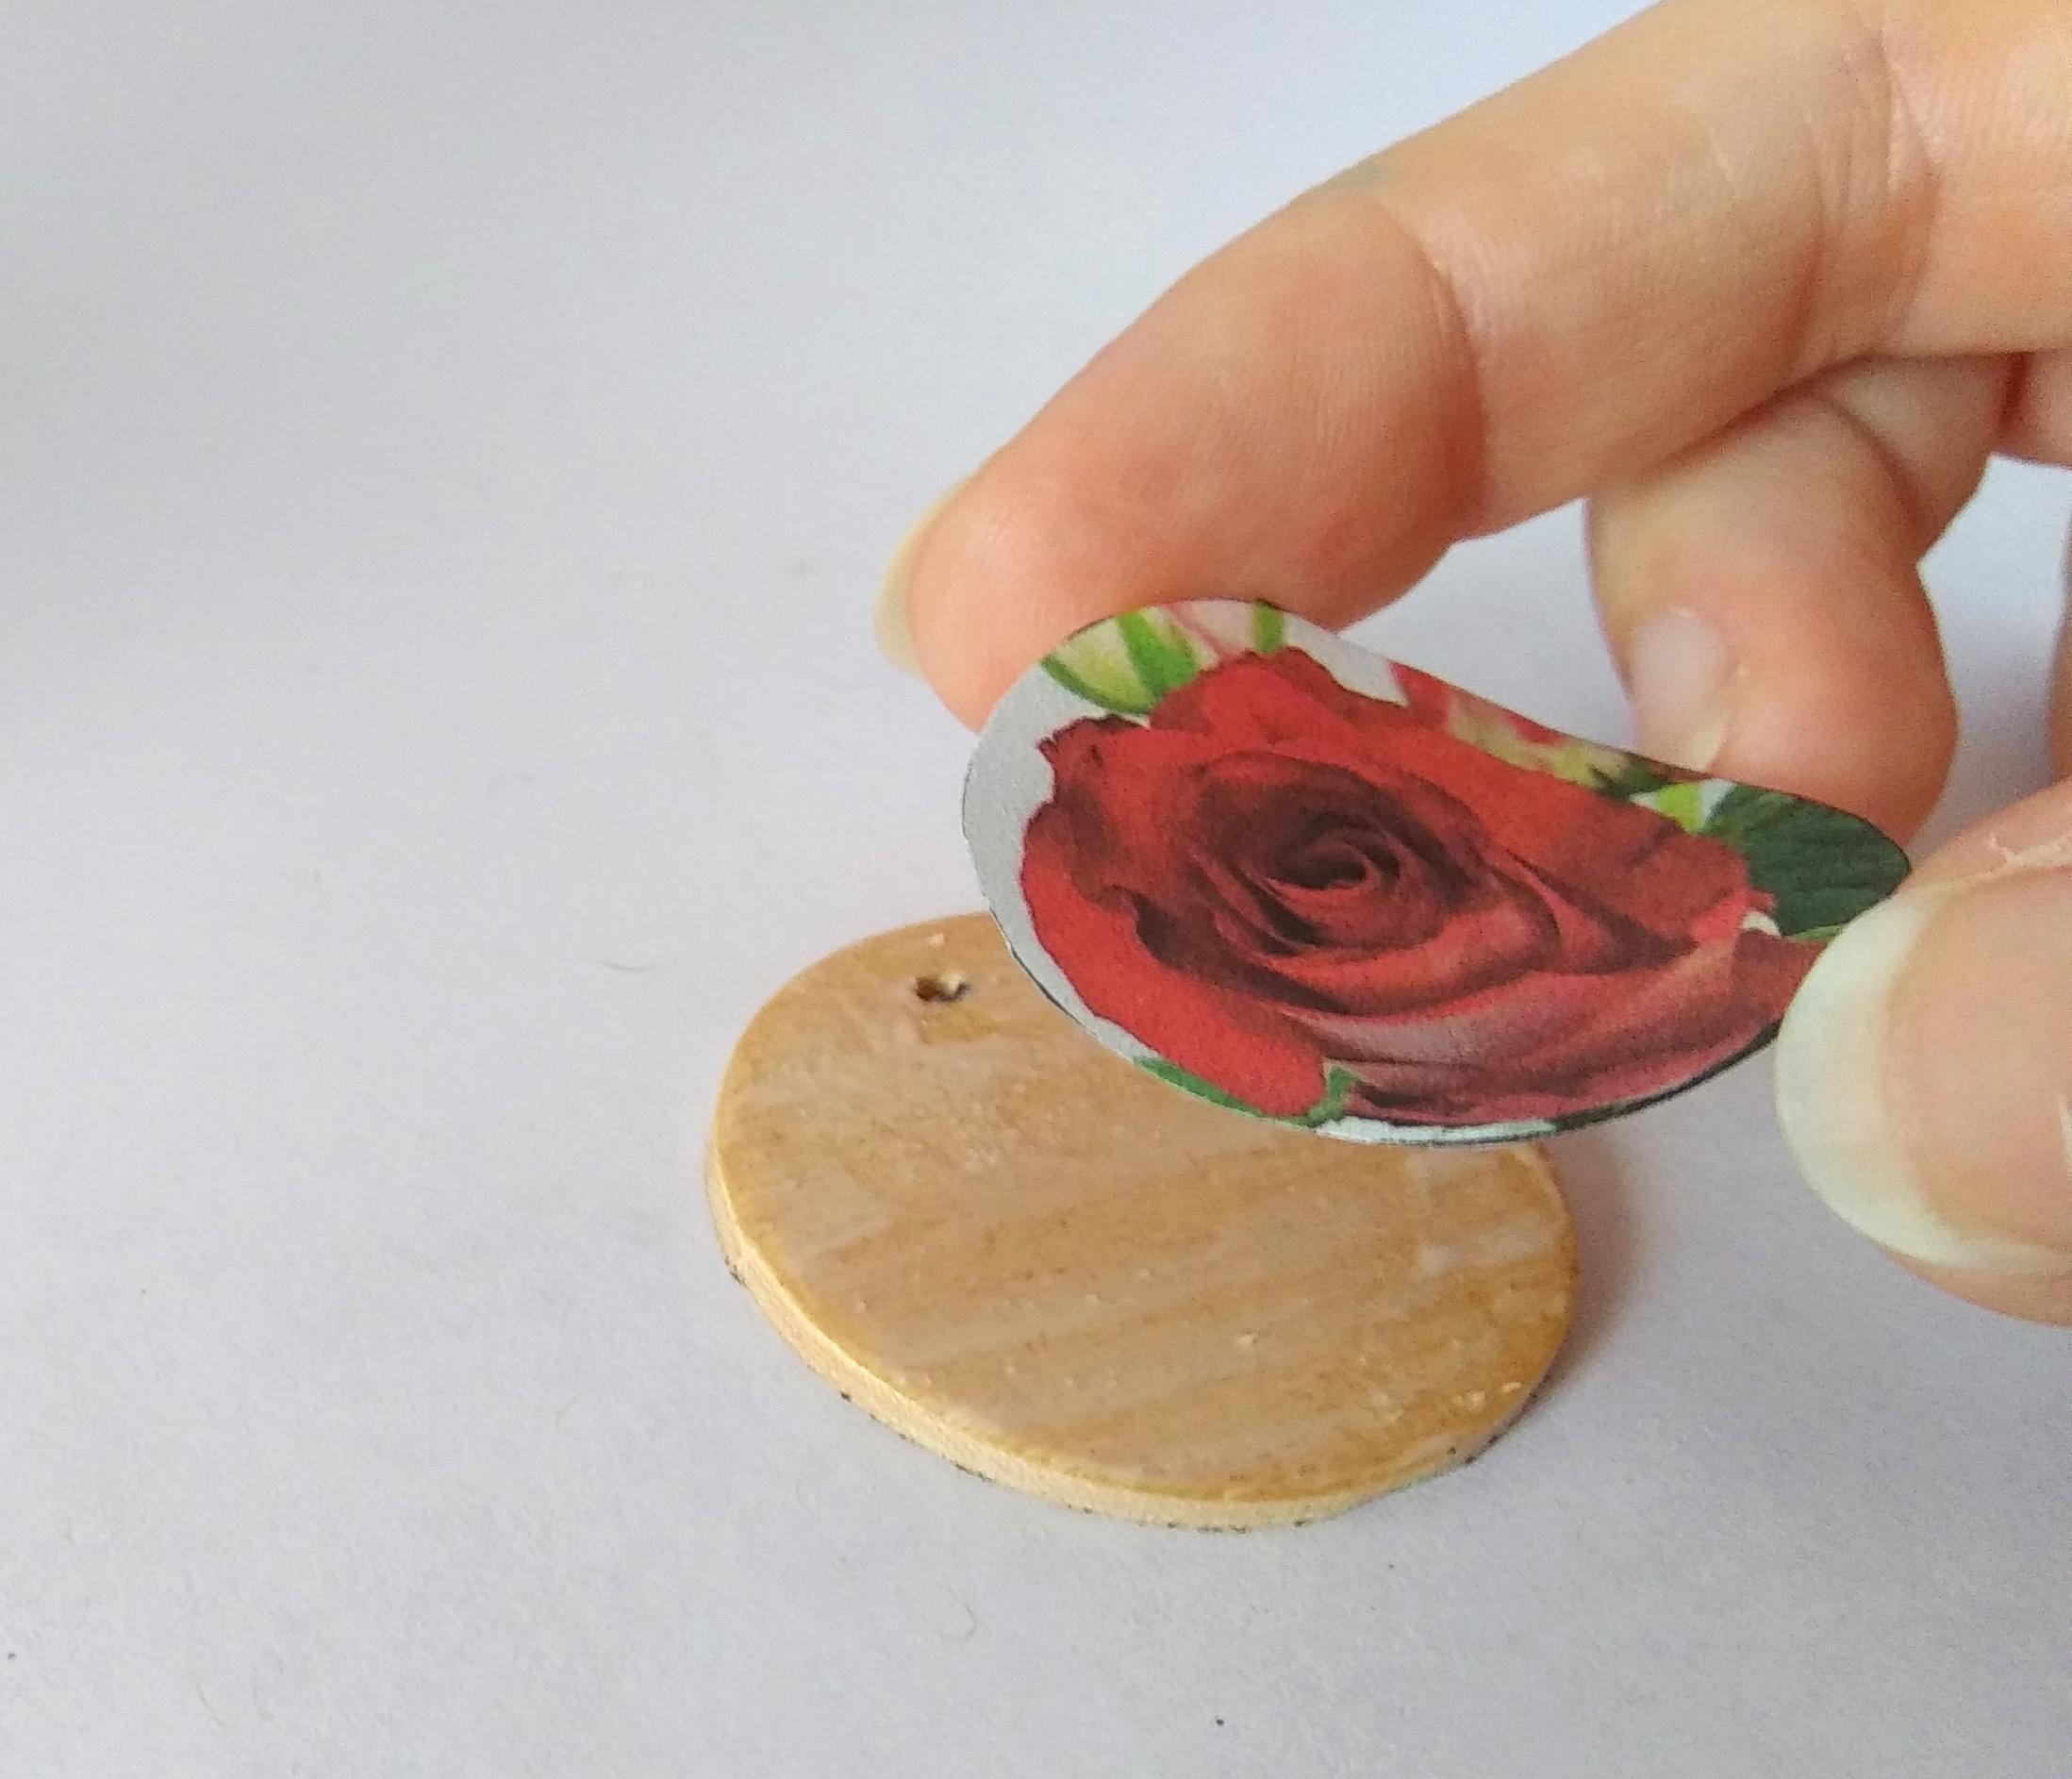
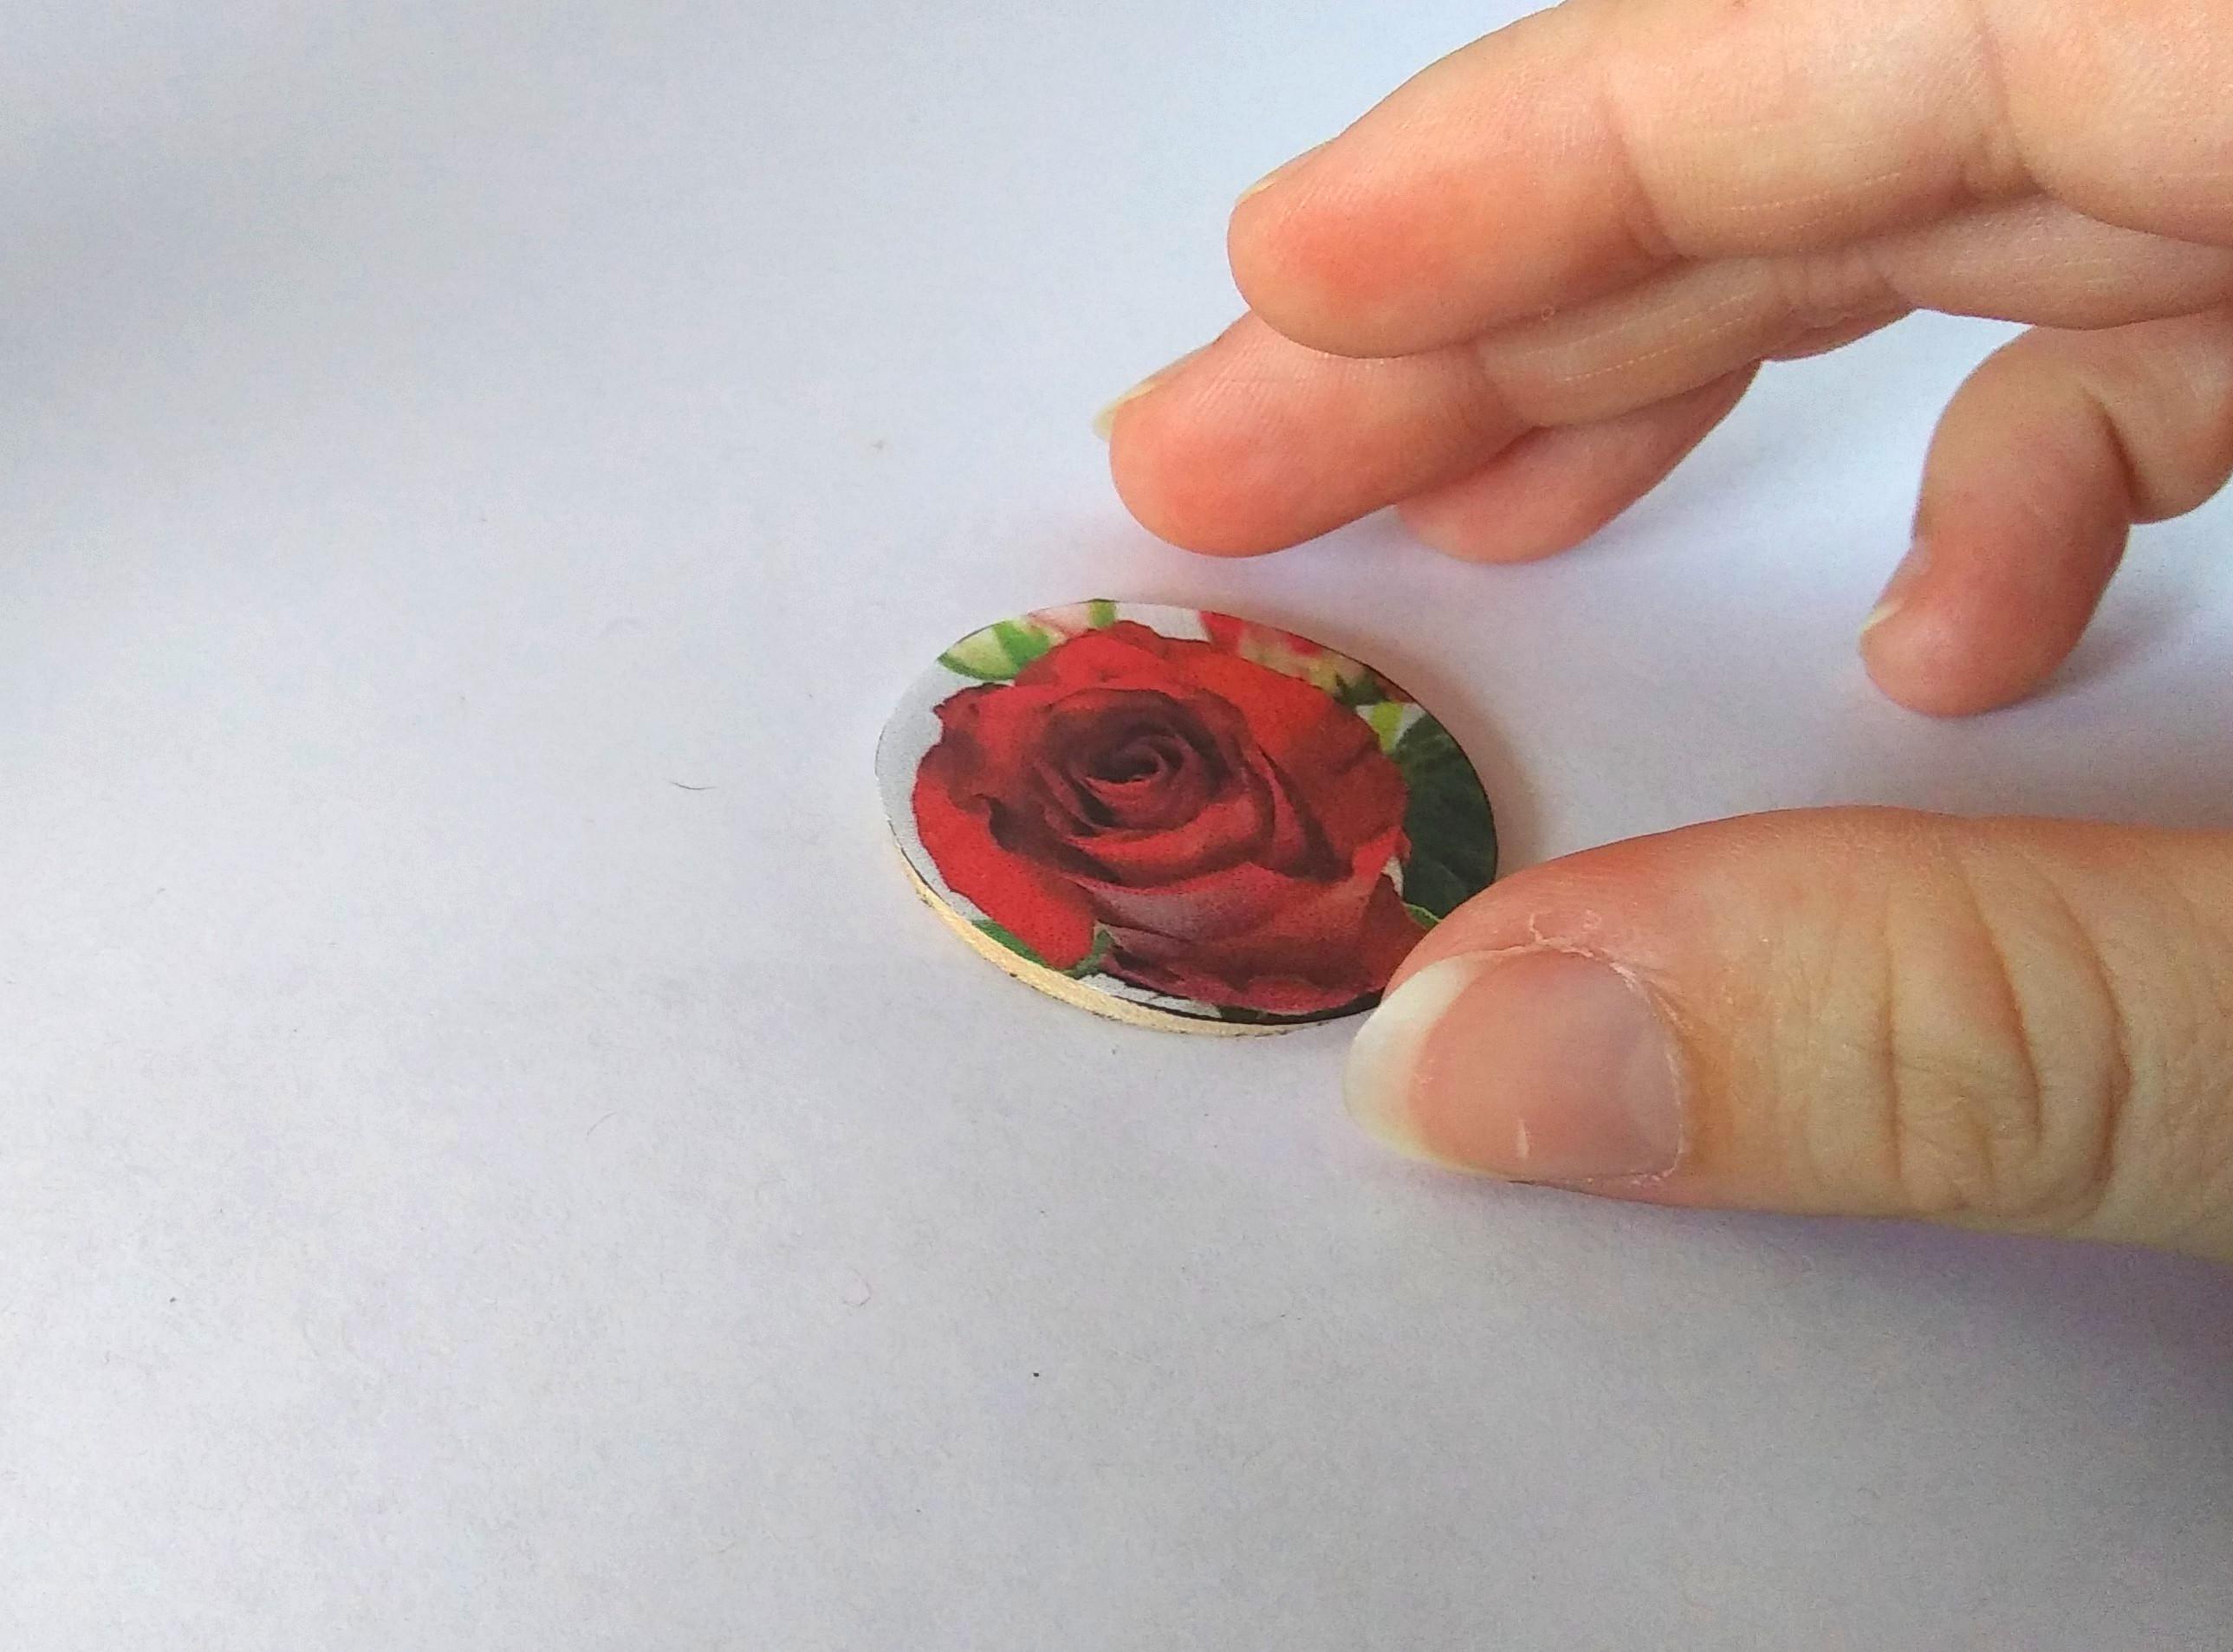
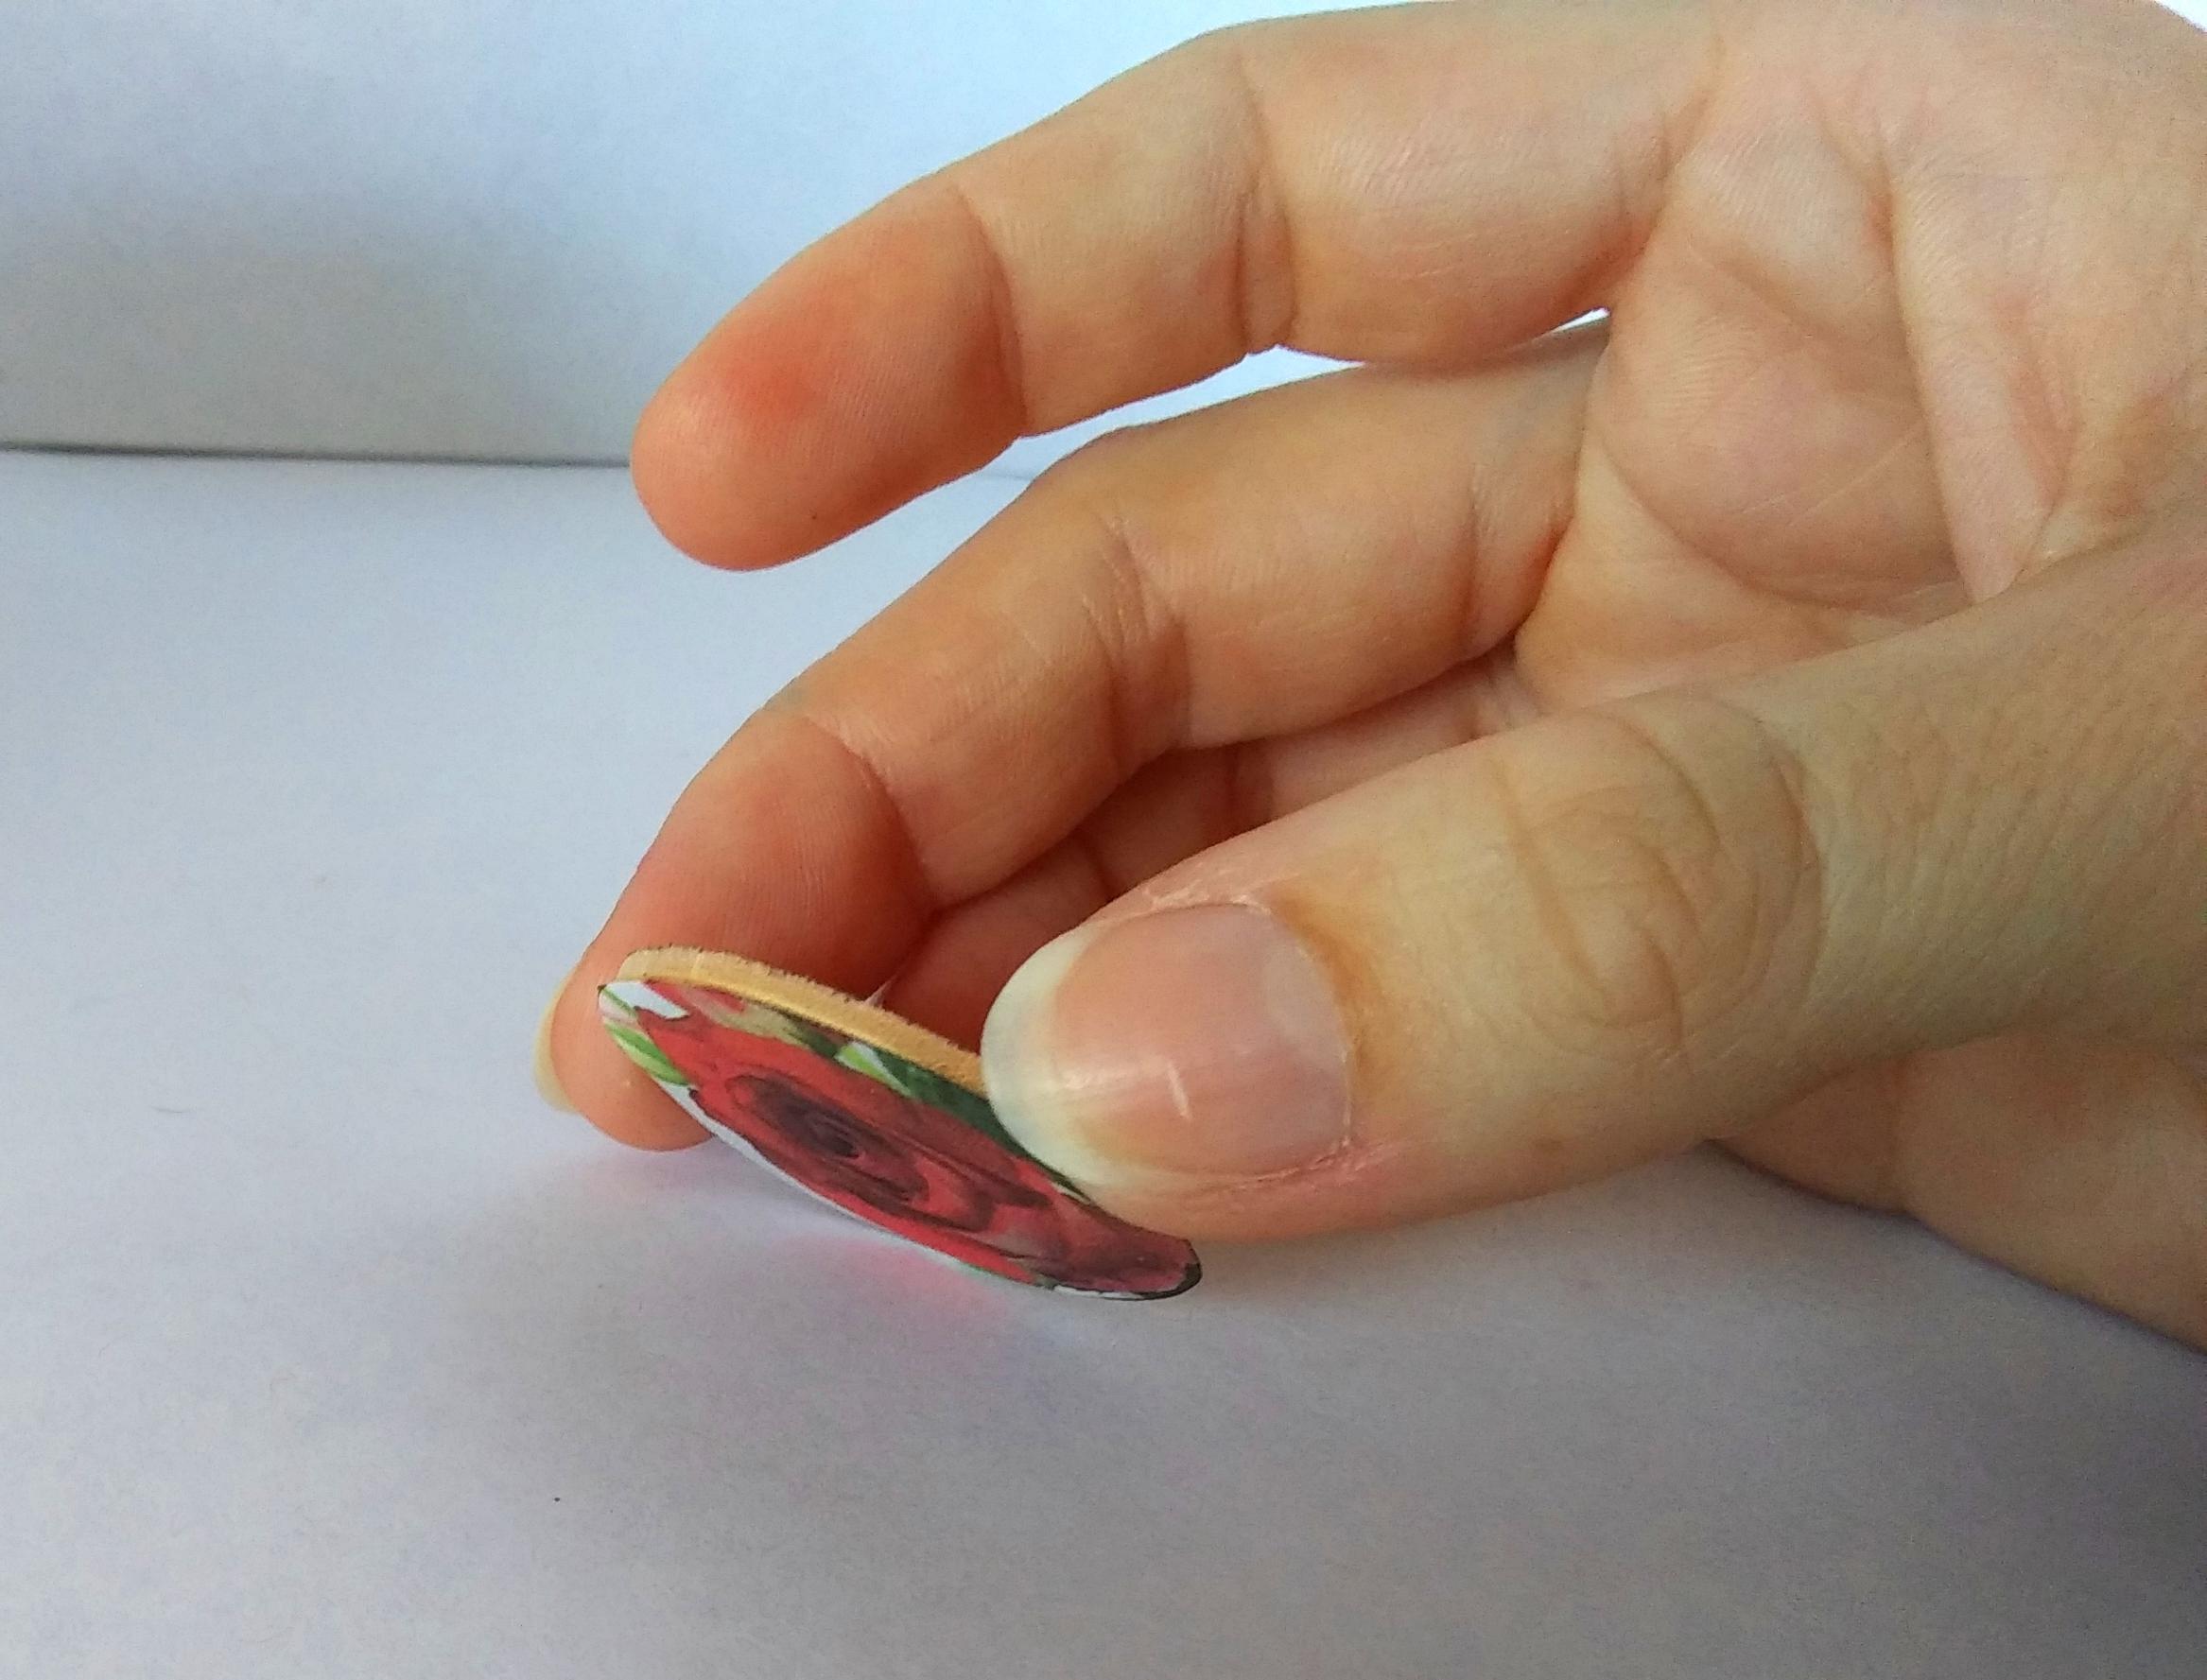
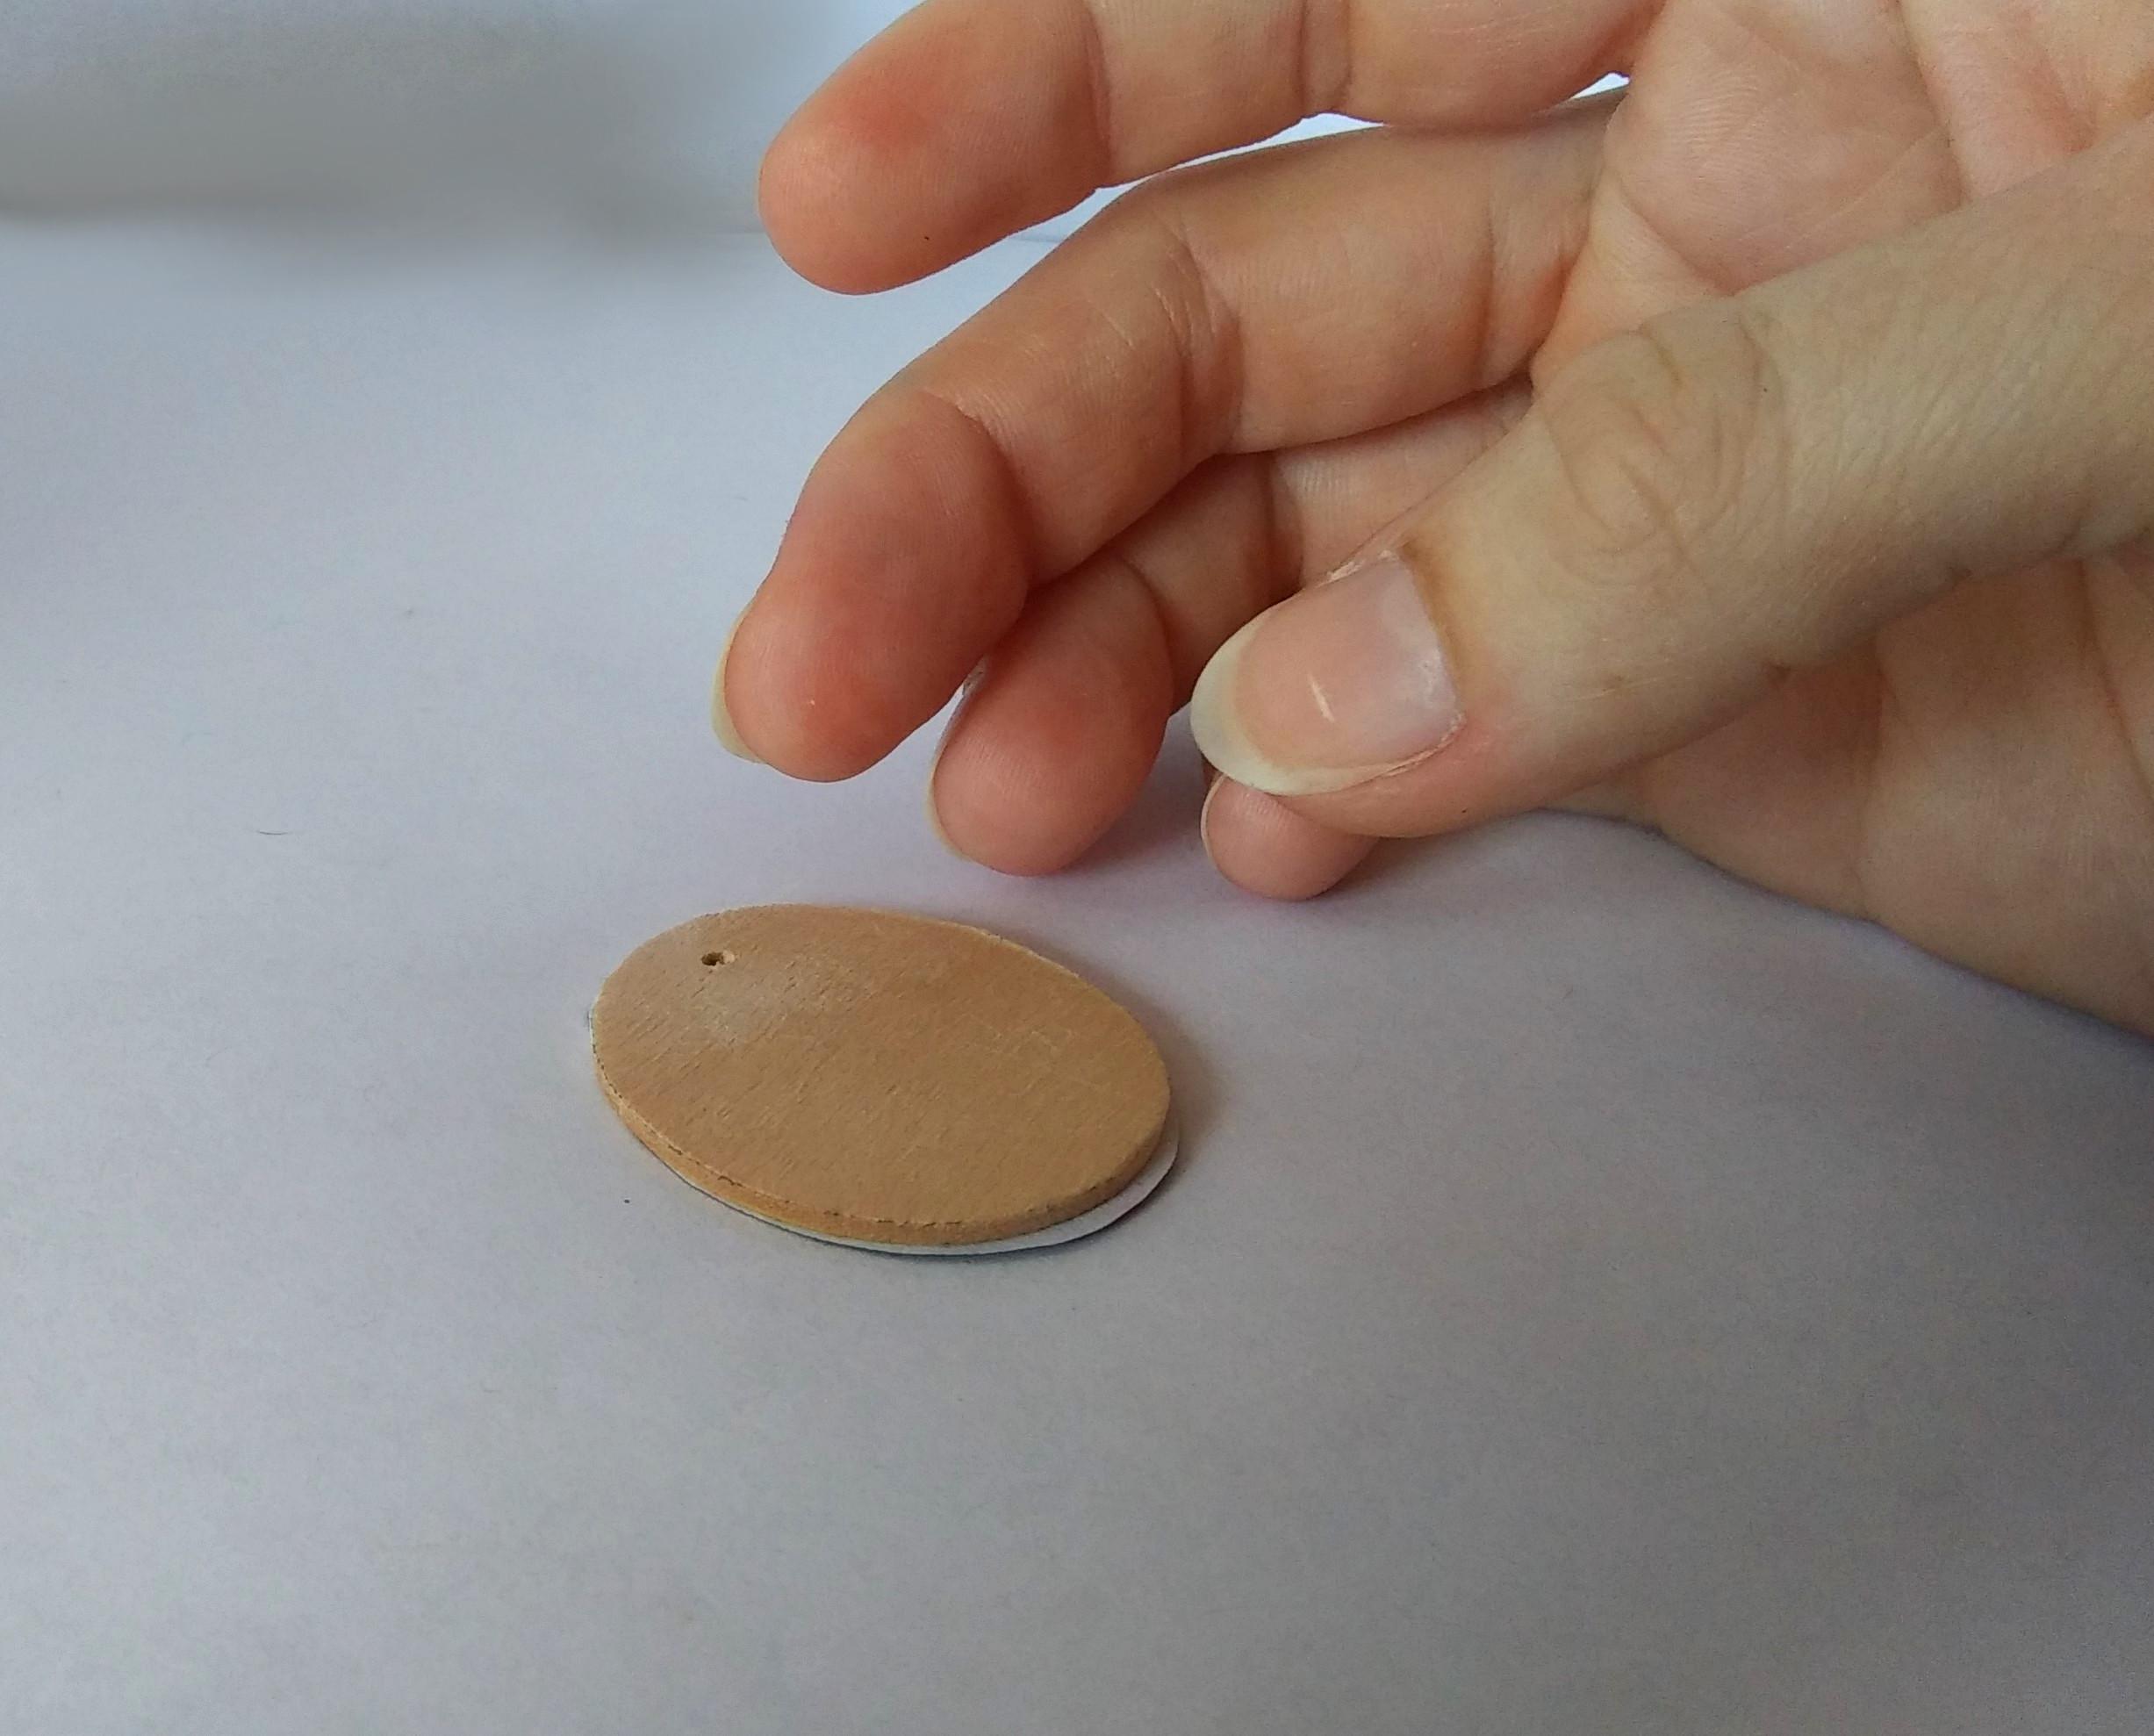
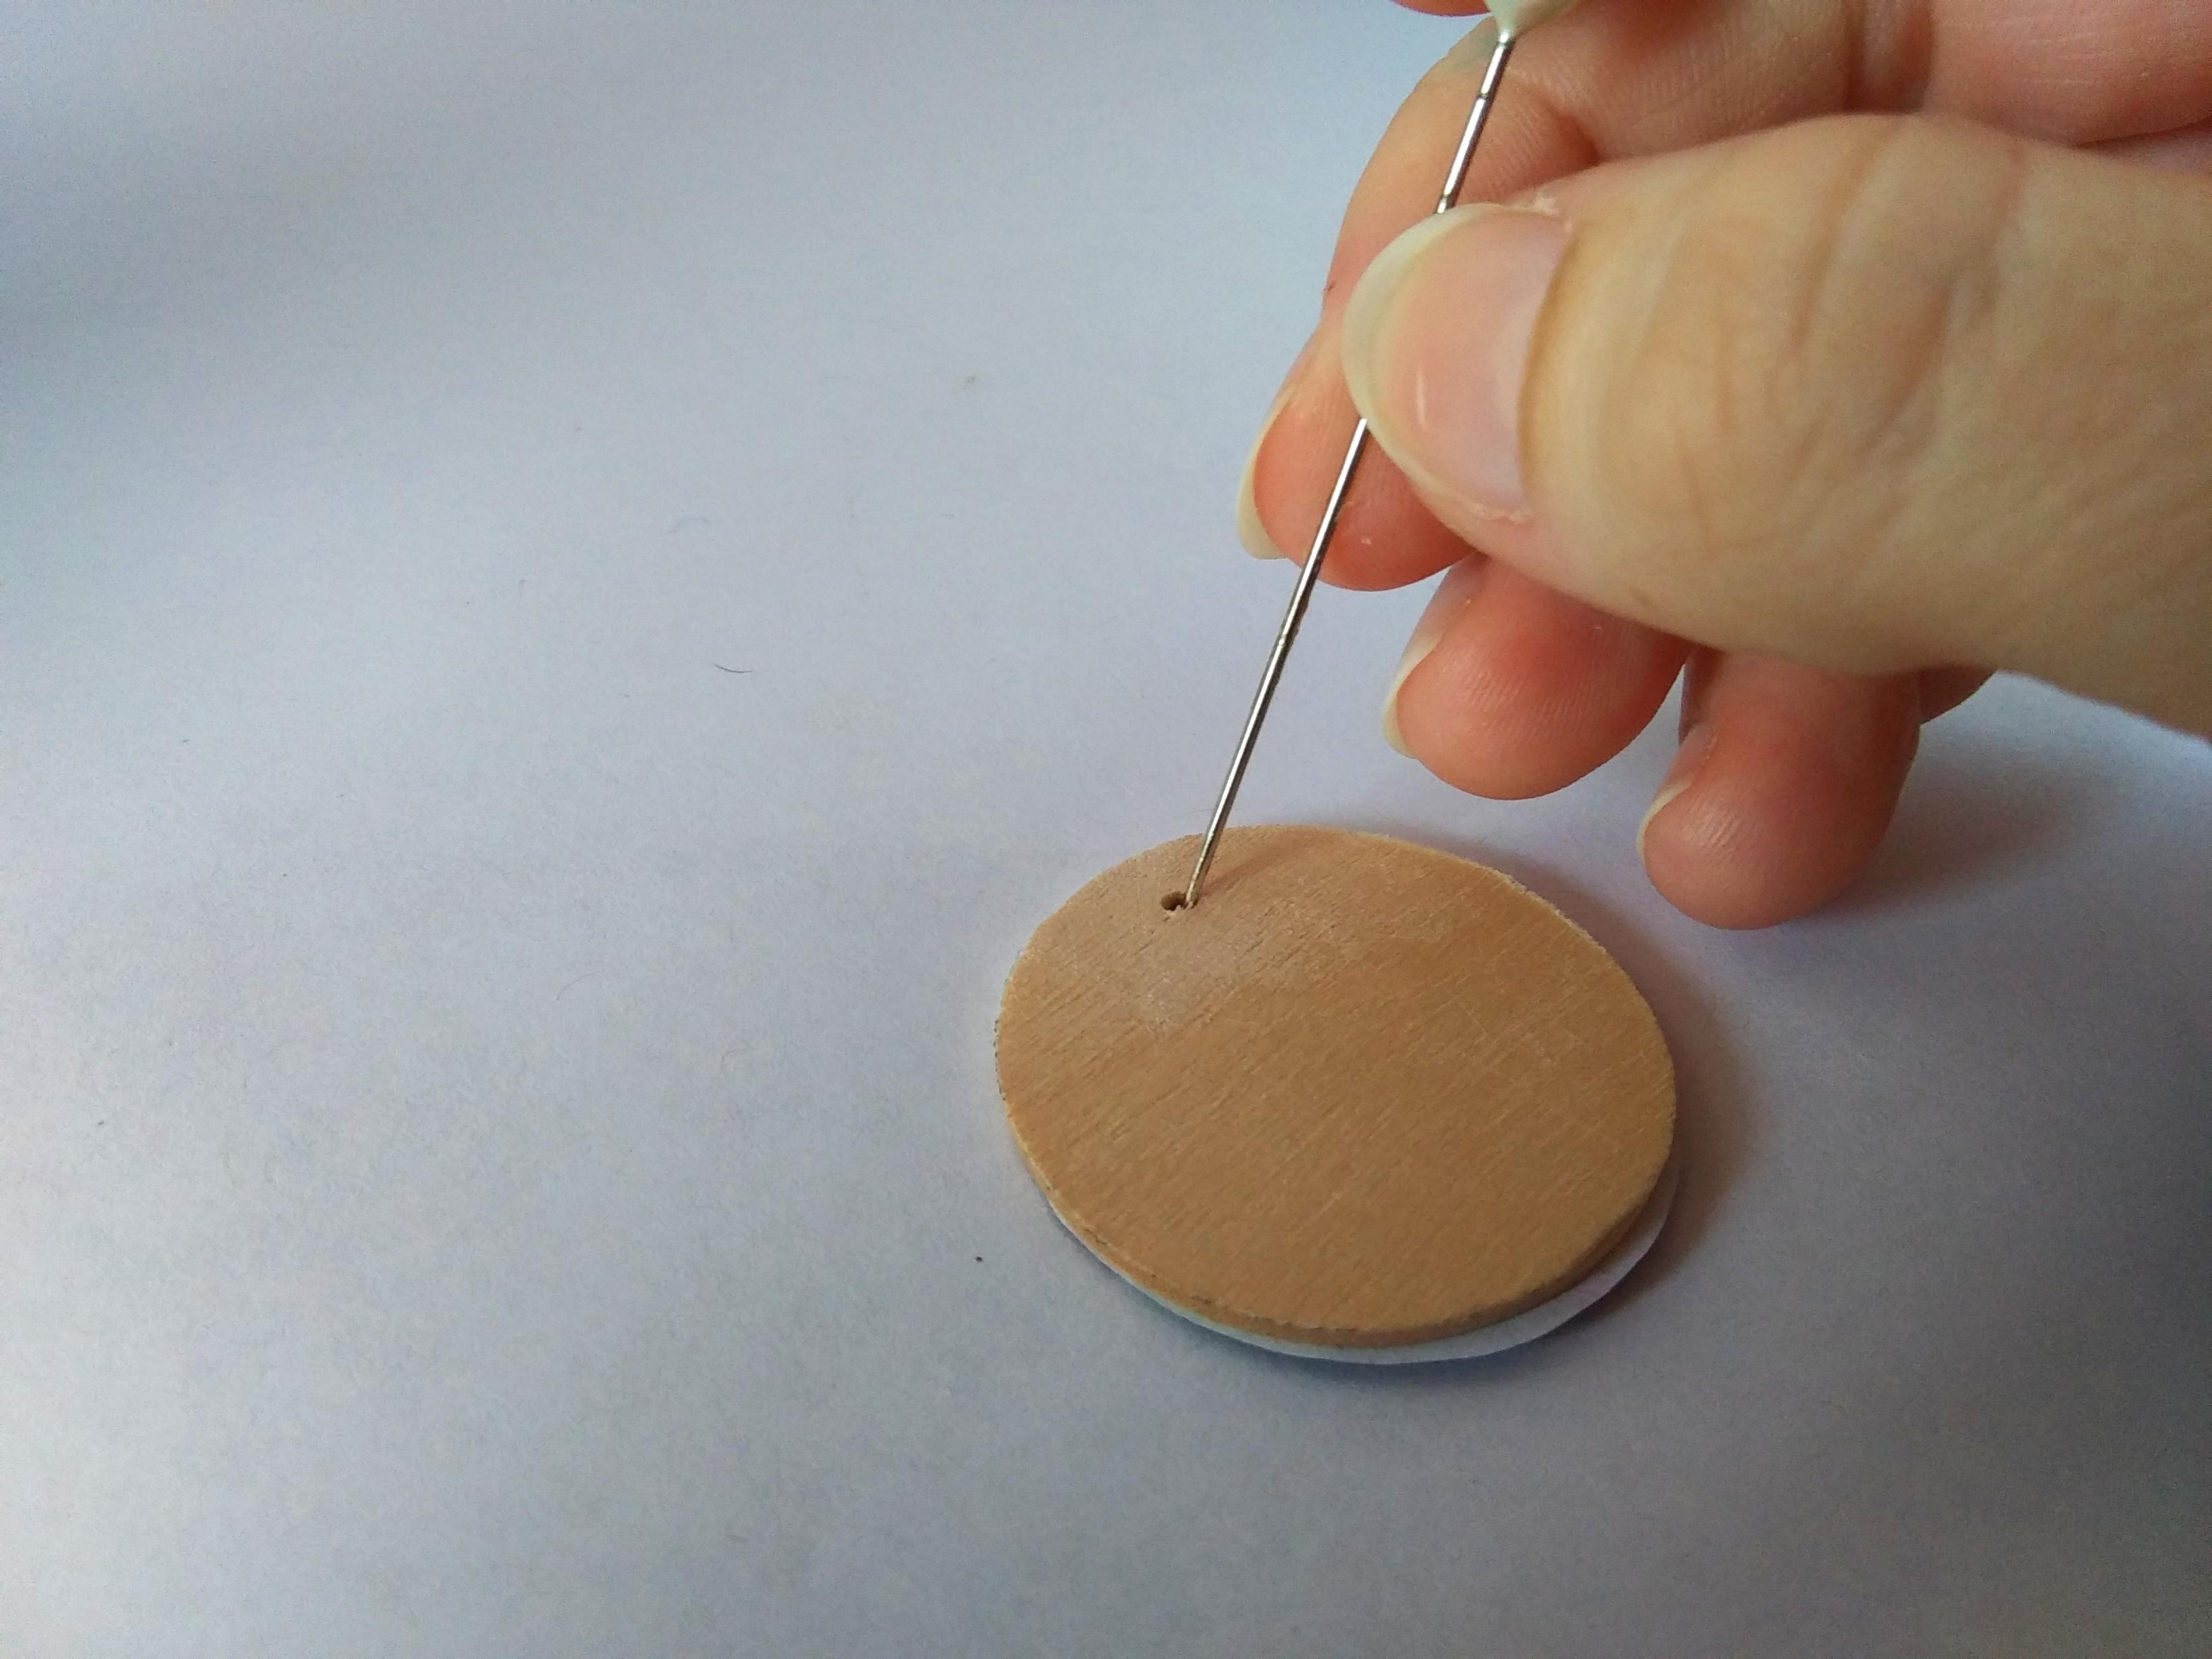
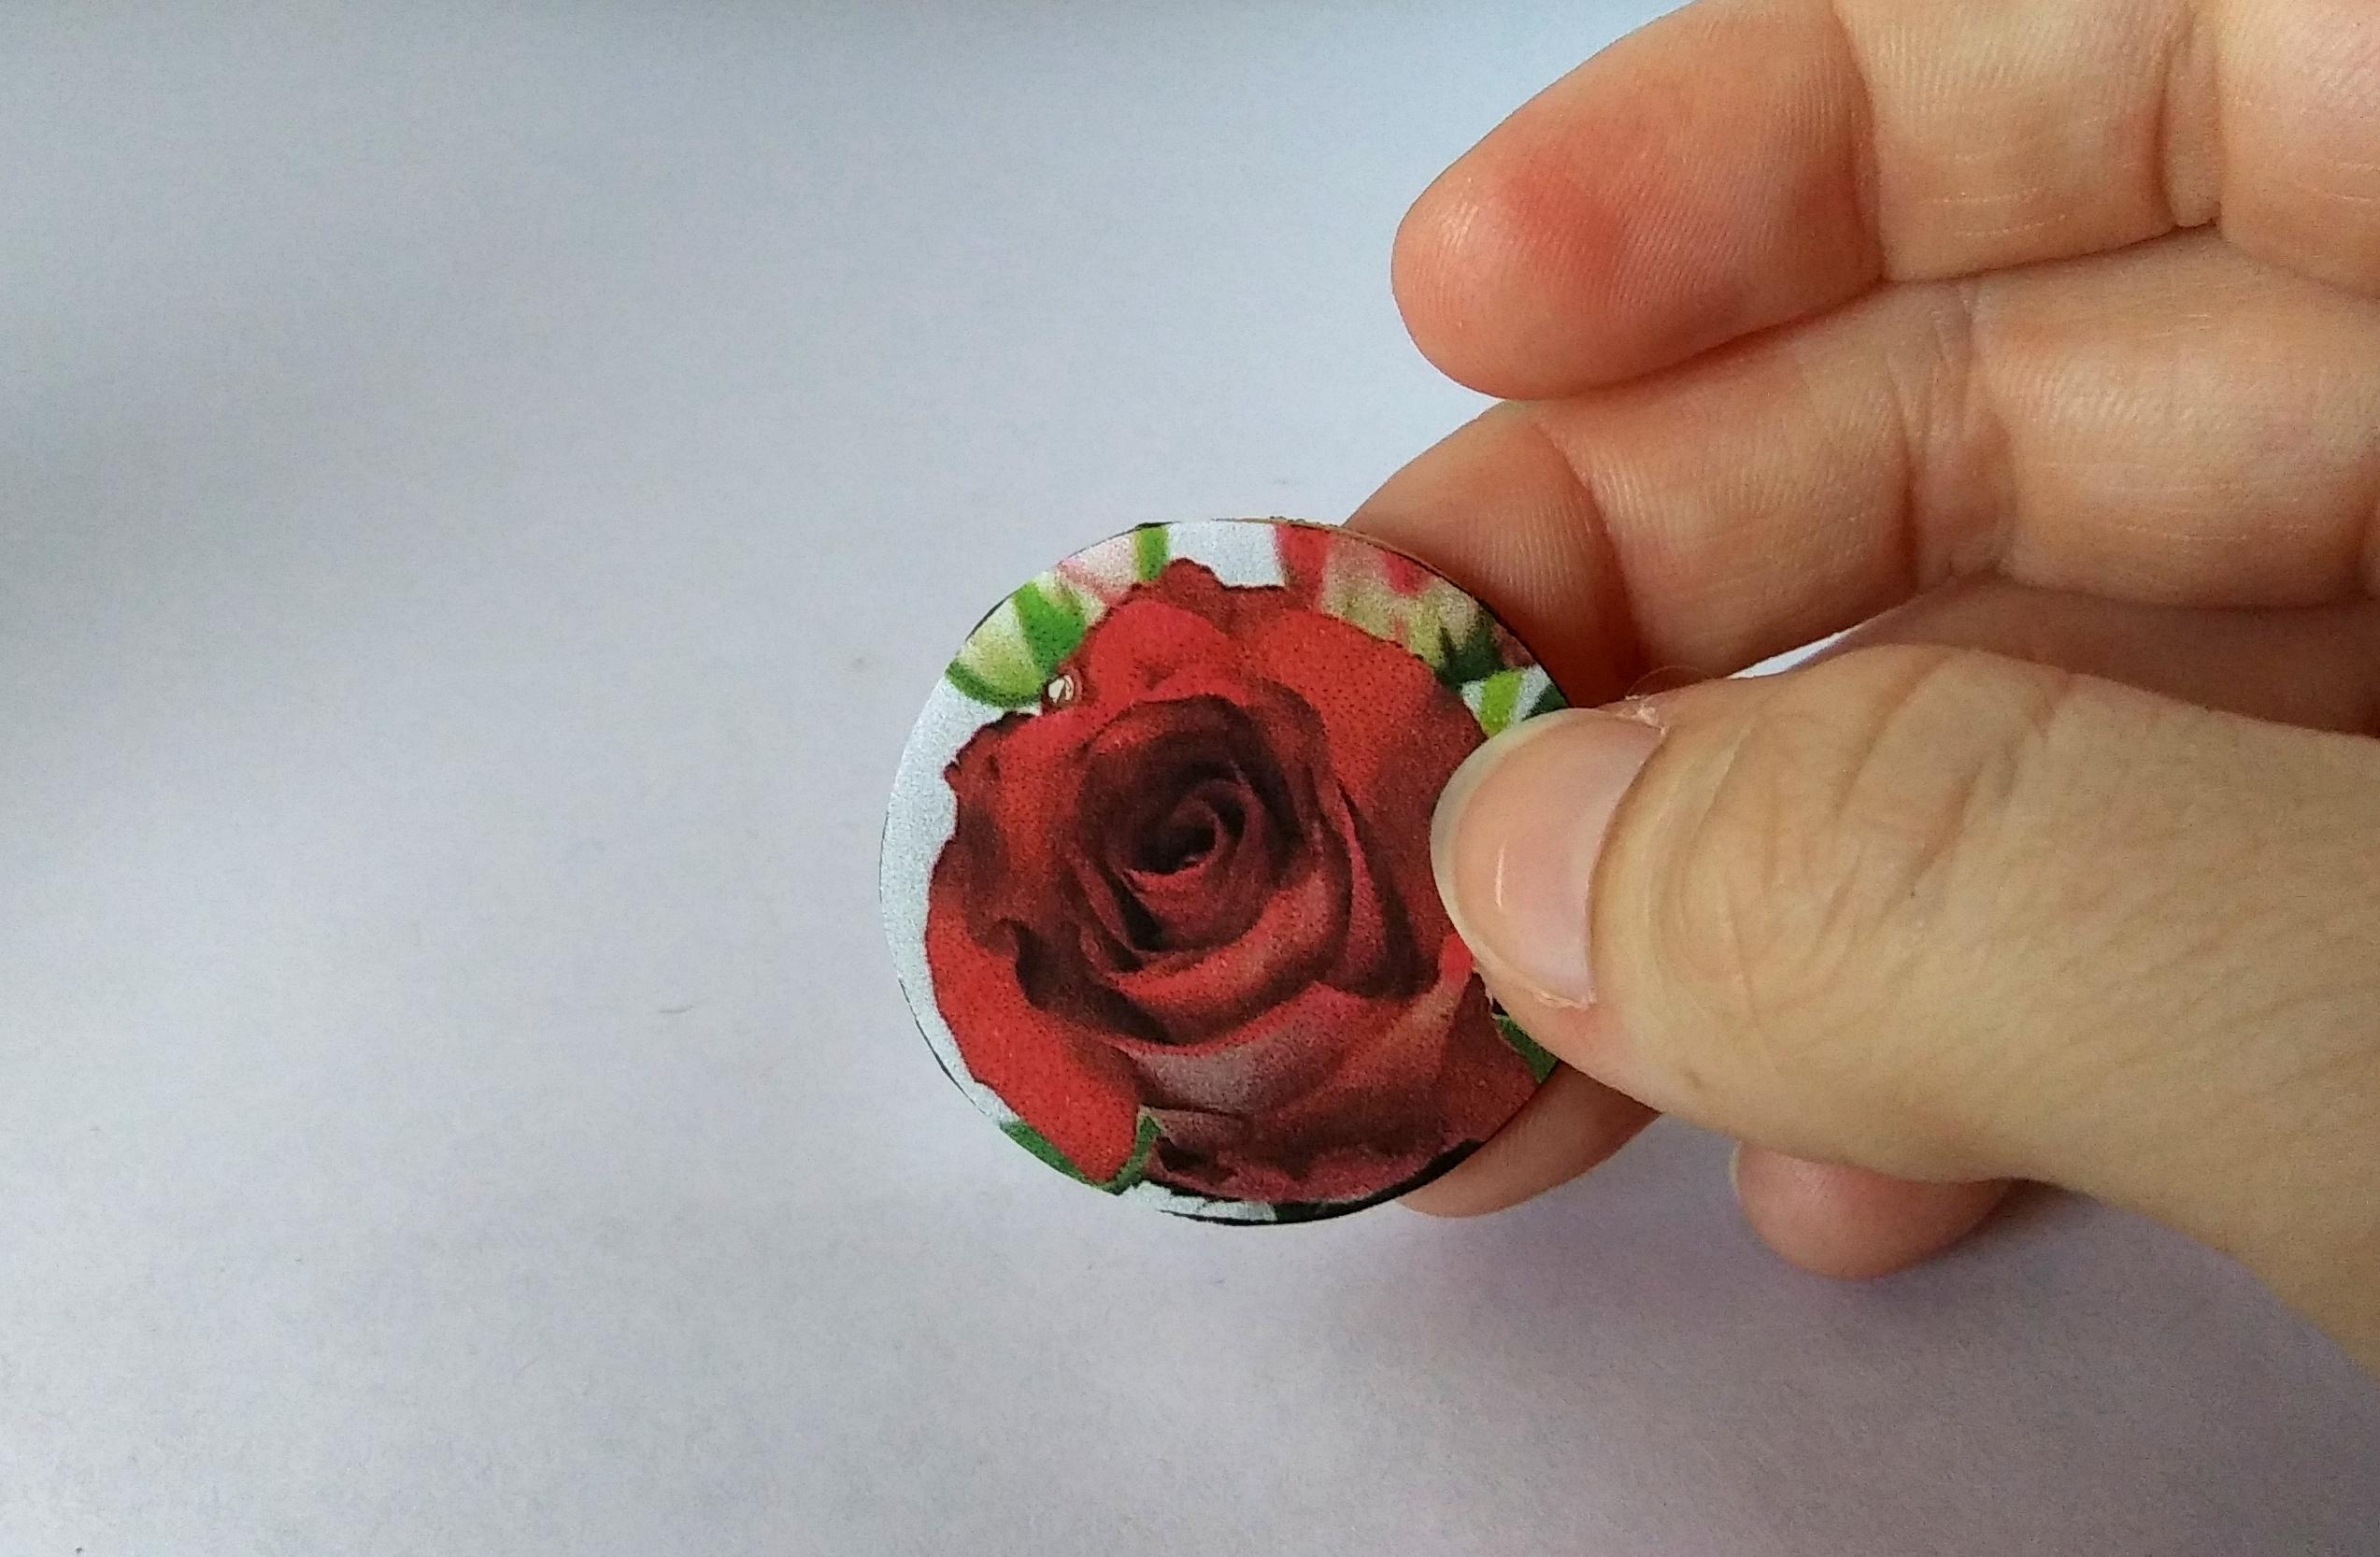
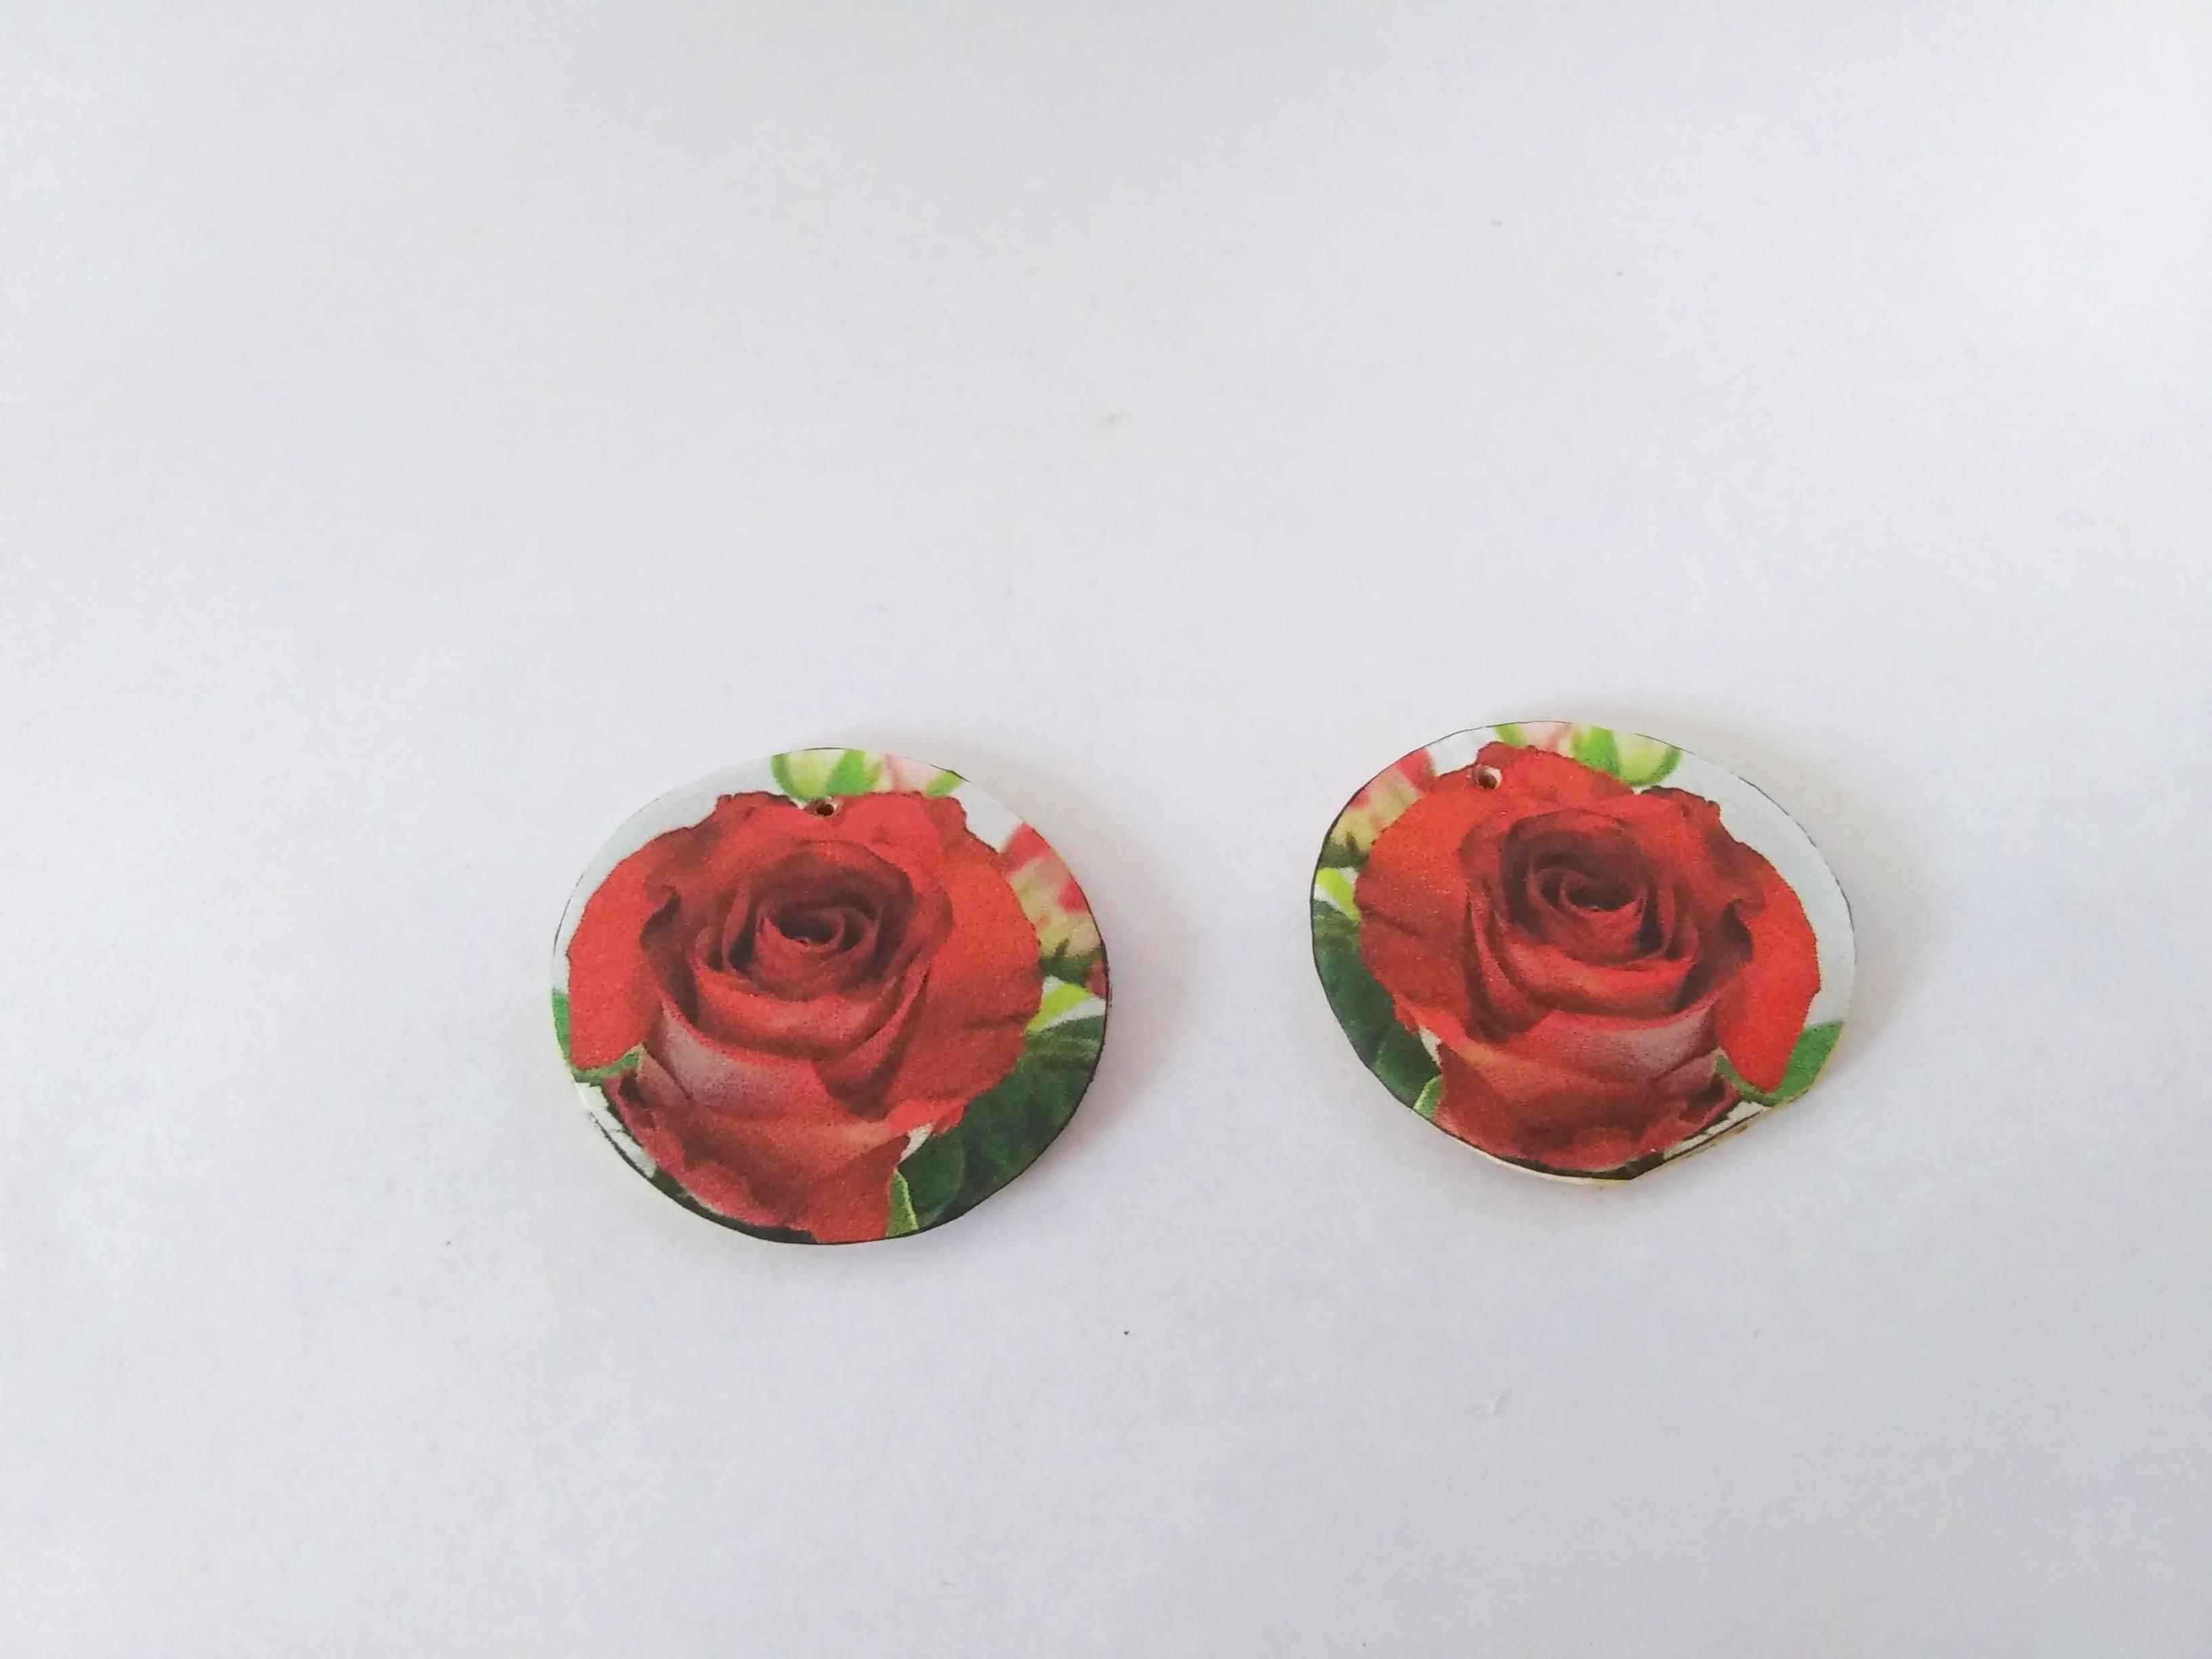
Using the Mod Podge or another glue, brush glue onto one of the wooden circles. Take the corresponding photo and carefully place it on the glue surface. Make sure your hands are dry and try to just pick up the paper using the edge so you don't possibly mess up your photo.
At this point I like to take a sewing pin and poke a hole through the photo where it is above the drill hole. It makes it a lot smoother than just trying to make the jump ring poke a hole later.
Set this piece aside and do the other piece.
Now you have to wait for them to dry.
Sealer
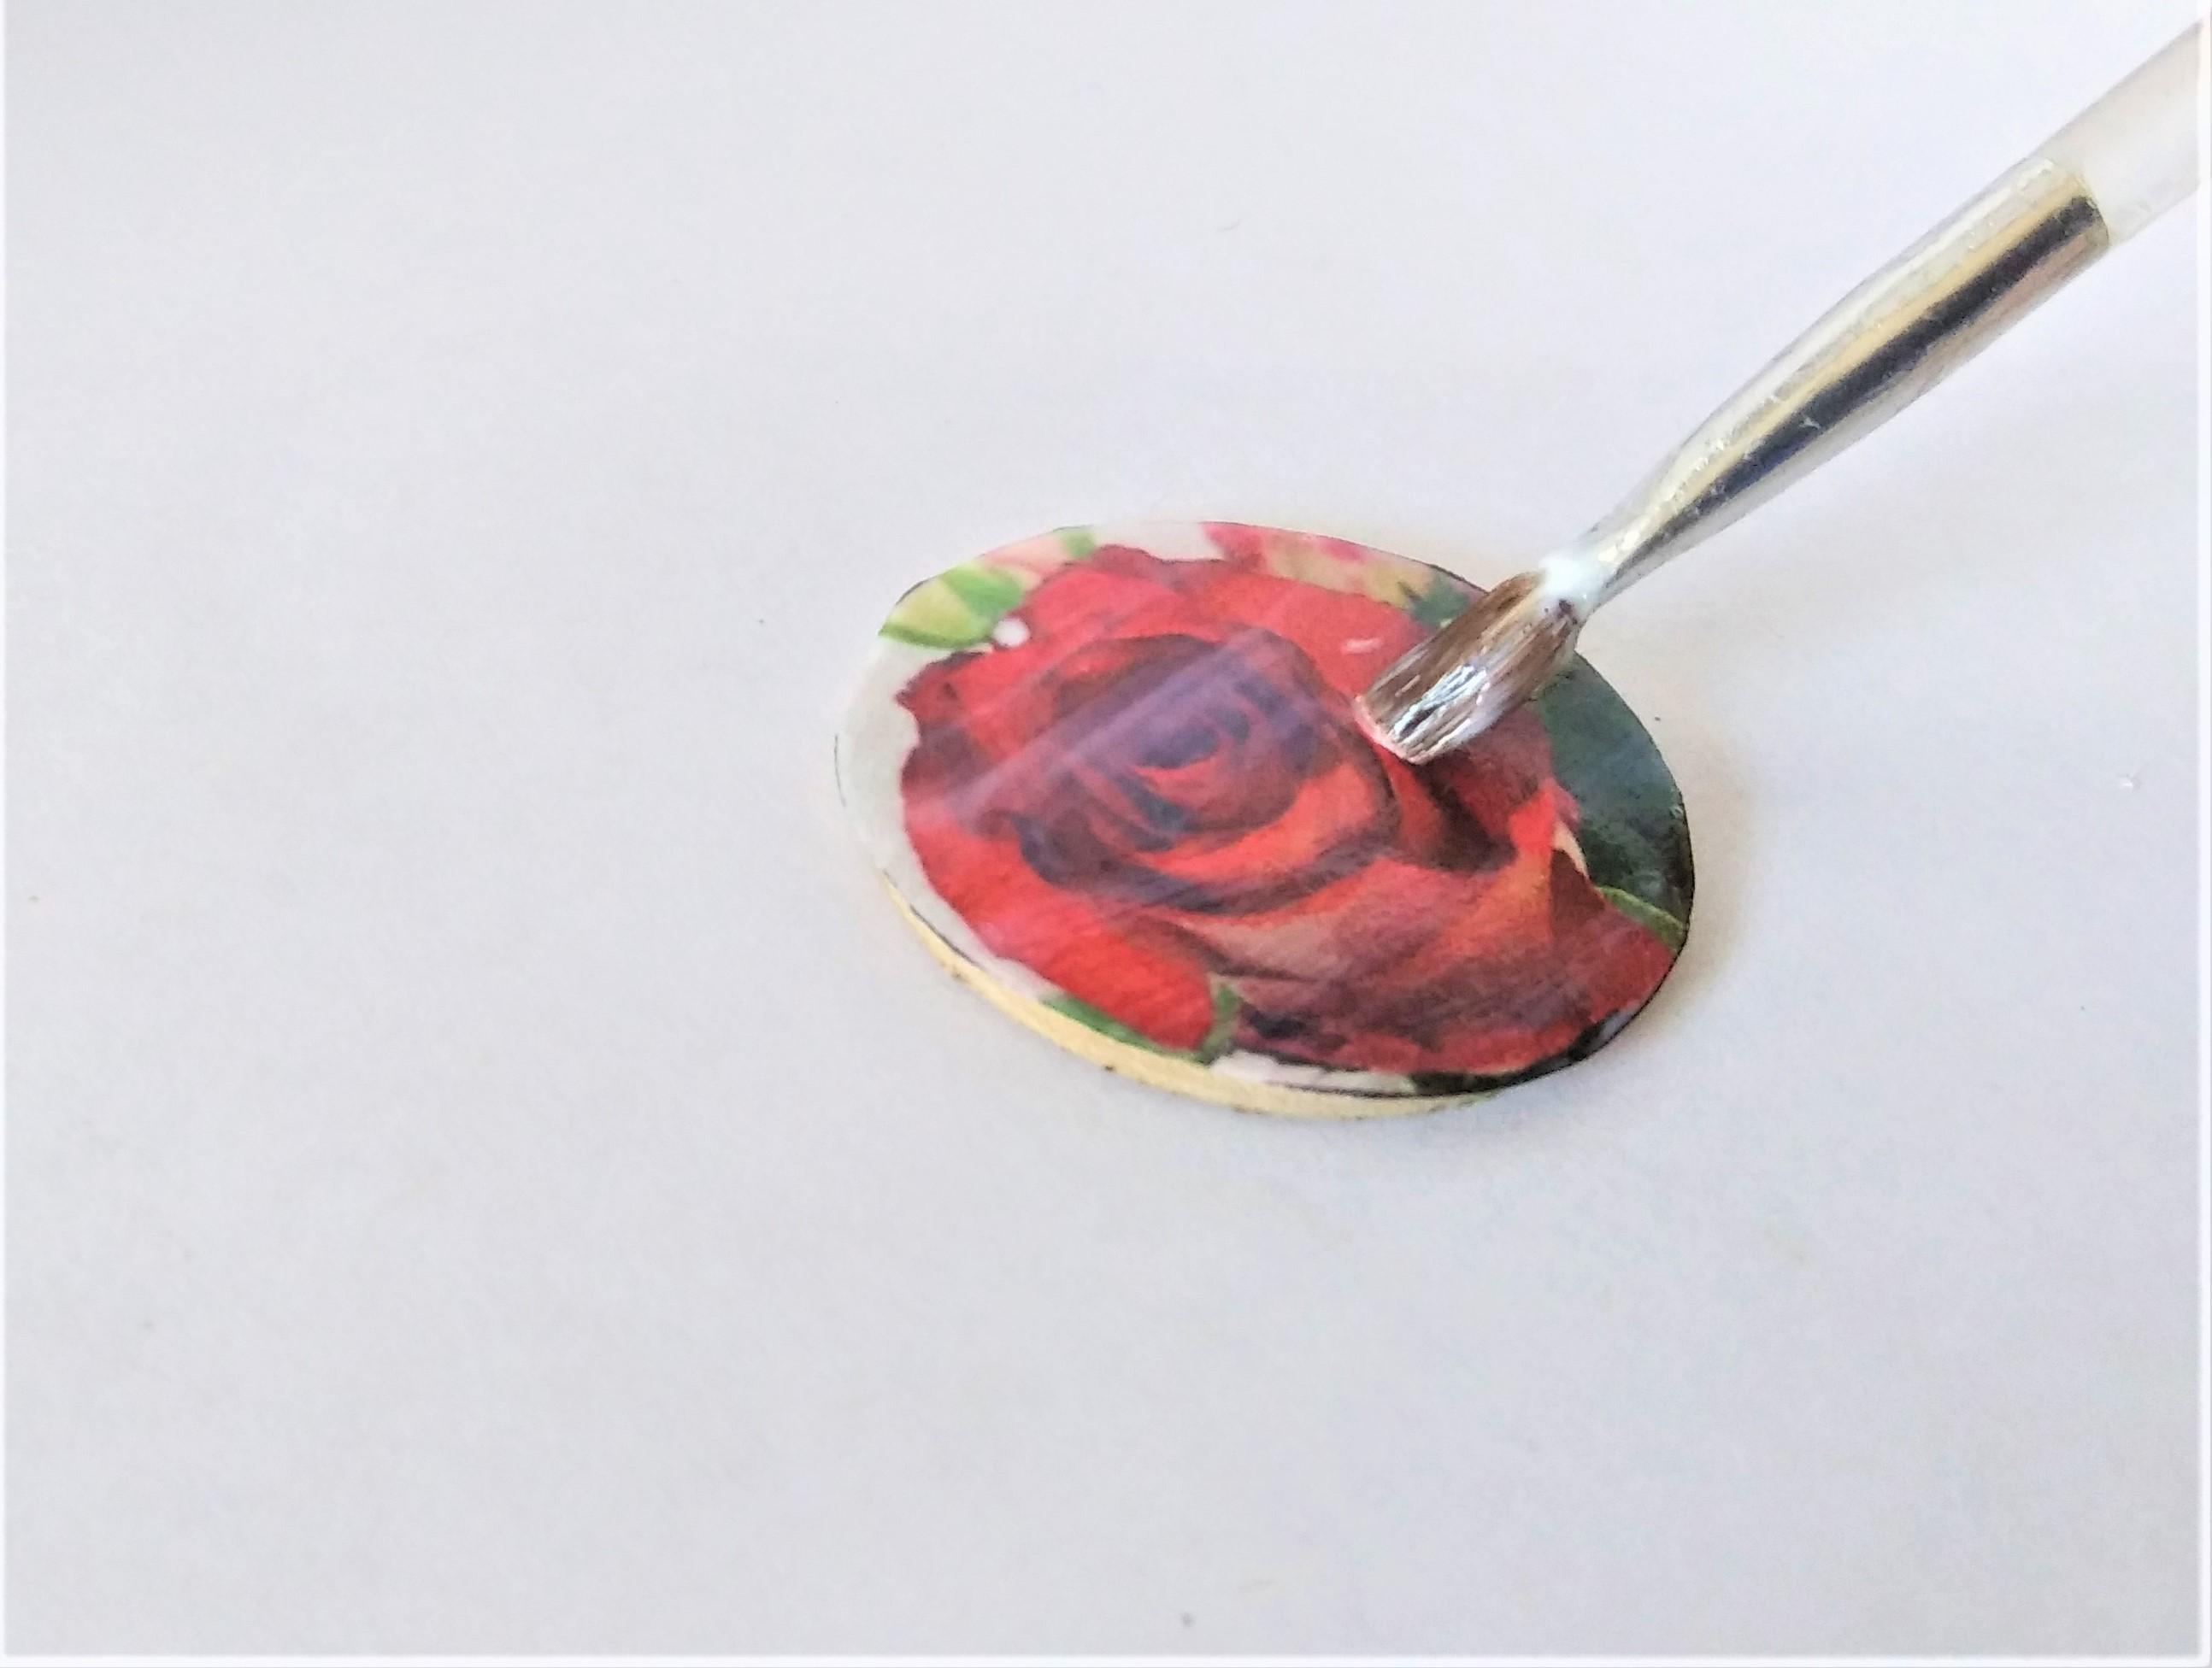
Ok, I am gonna be honest, I don't normally use Mod Podge as a sealer. When I first got into making clay charms I saw bunches of people recommending Mod Podge as a sealer, so I used it. Unfortunately, months later my pieces were attracting every bit of dust that came along because the Mod Podge stayed kinda sticky, so I ditched using that as a sealer and started using polyurethane. This is the only time I use it Mod Podge as a sealer because for some reason it has actually worked instead of being a mess.
*If Mod Podge works for you as a sealer on clay, cool. It just didn't work for me.
With a brush, apply the Mod Podge to the photo surface with clean strokes. Don't use a ton and don't move your brush around a whole lot or it will smear the photo. Just do one quick coat and leave it to dry.
Do this to both pieces. When the Mod Podge has dried, do another coat. I generally do three. I also coat the back and the sides of the wood.
*If the edges of your photo stick out past the wood a tiny bit, just spread the glue on the sides of the wood and carefully press the edge of the paper to the side. I think that gives it a polished look.
Jewelry Components
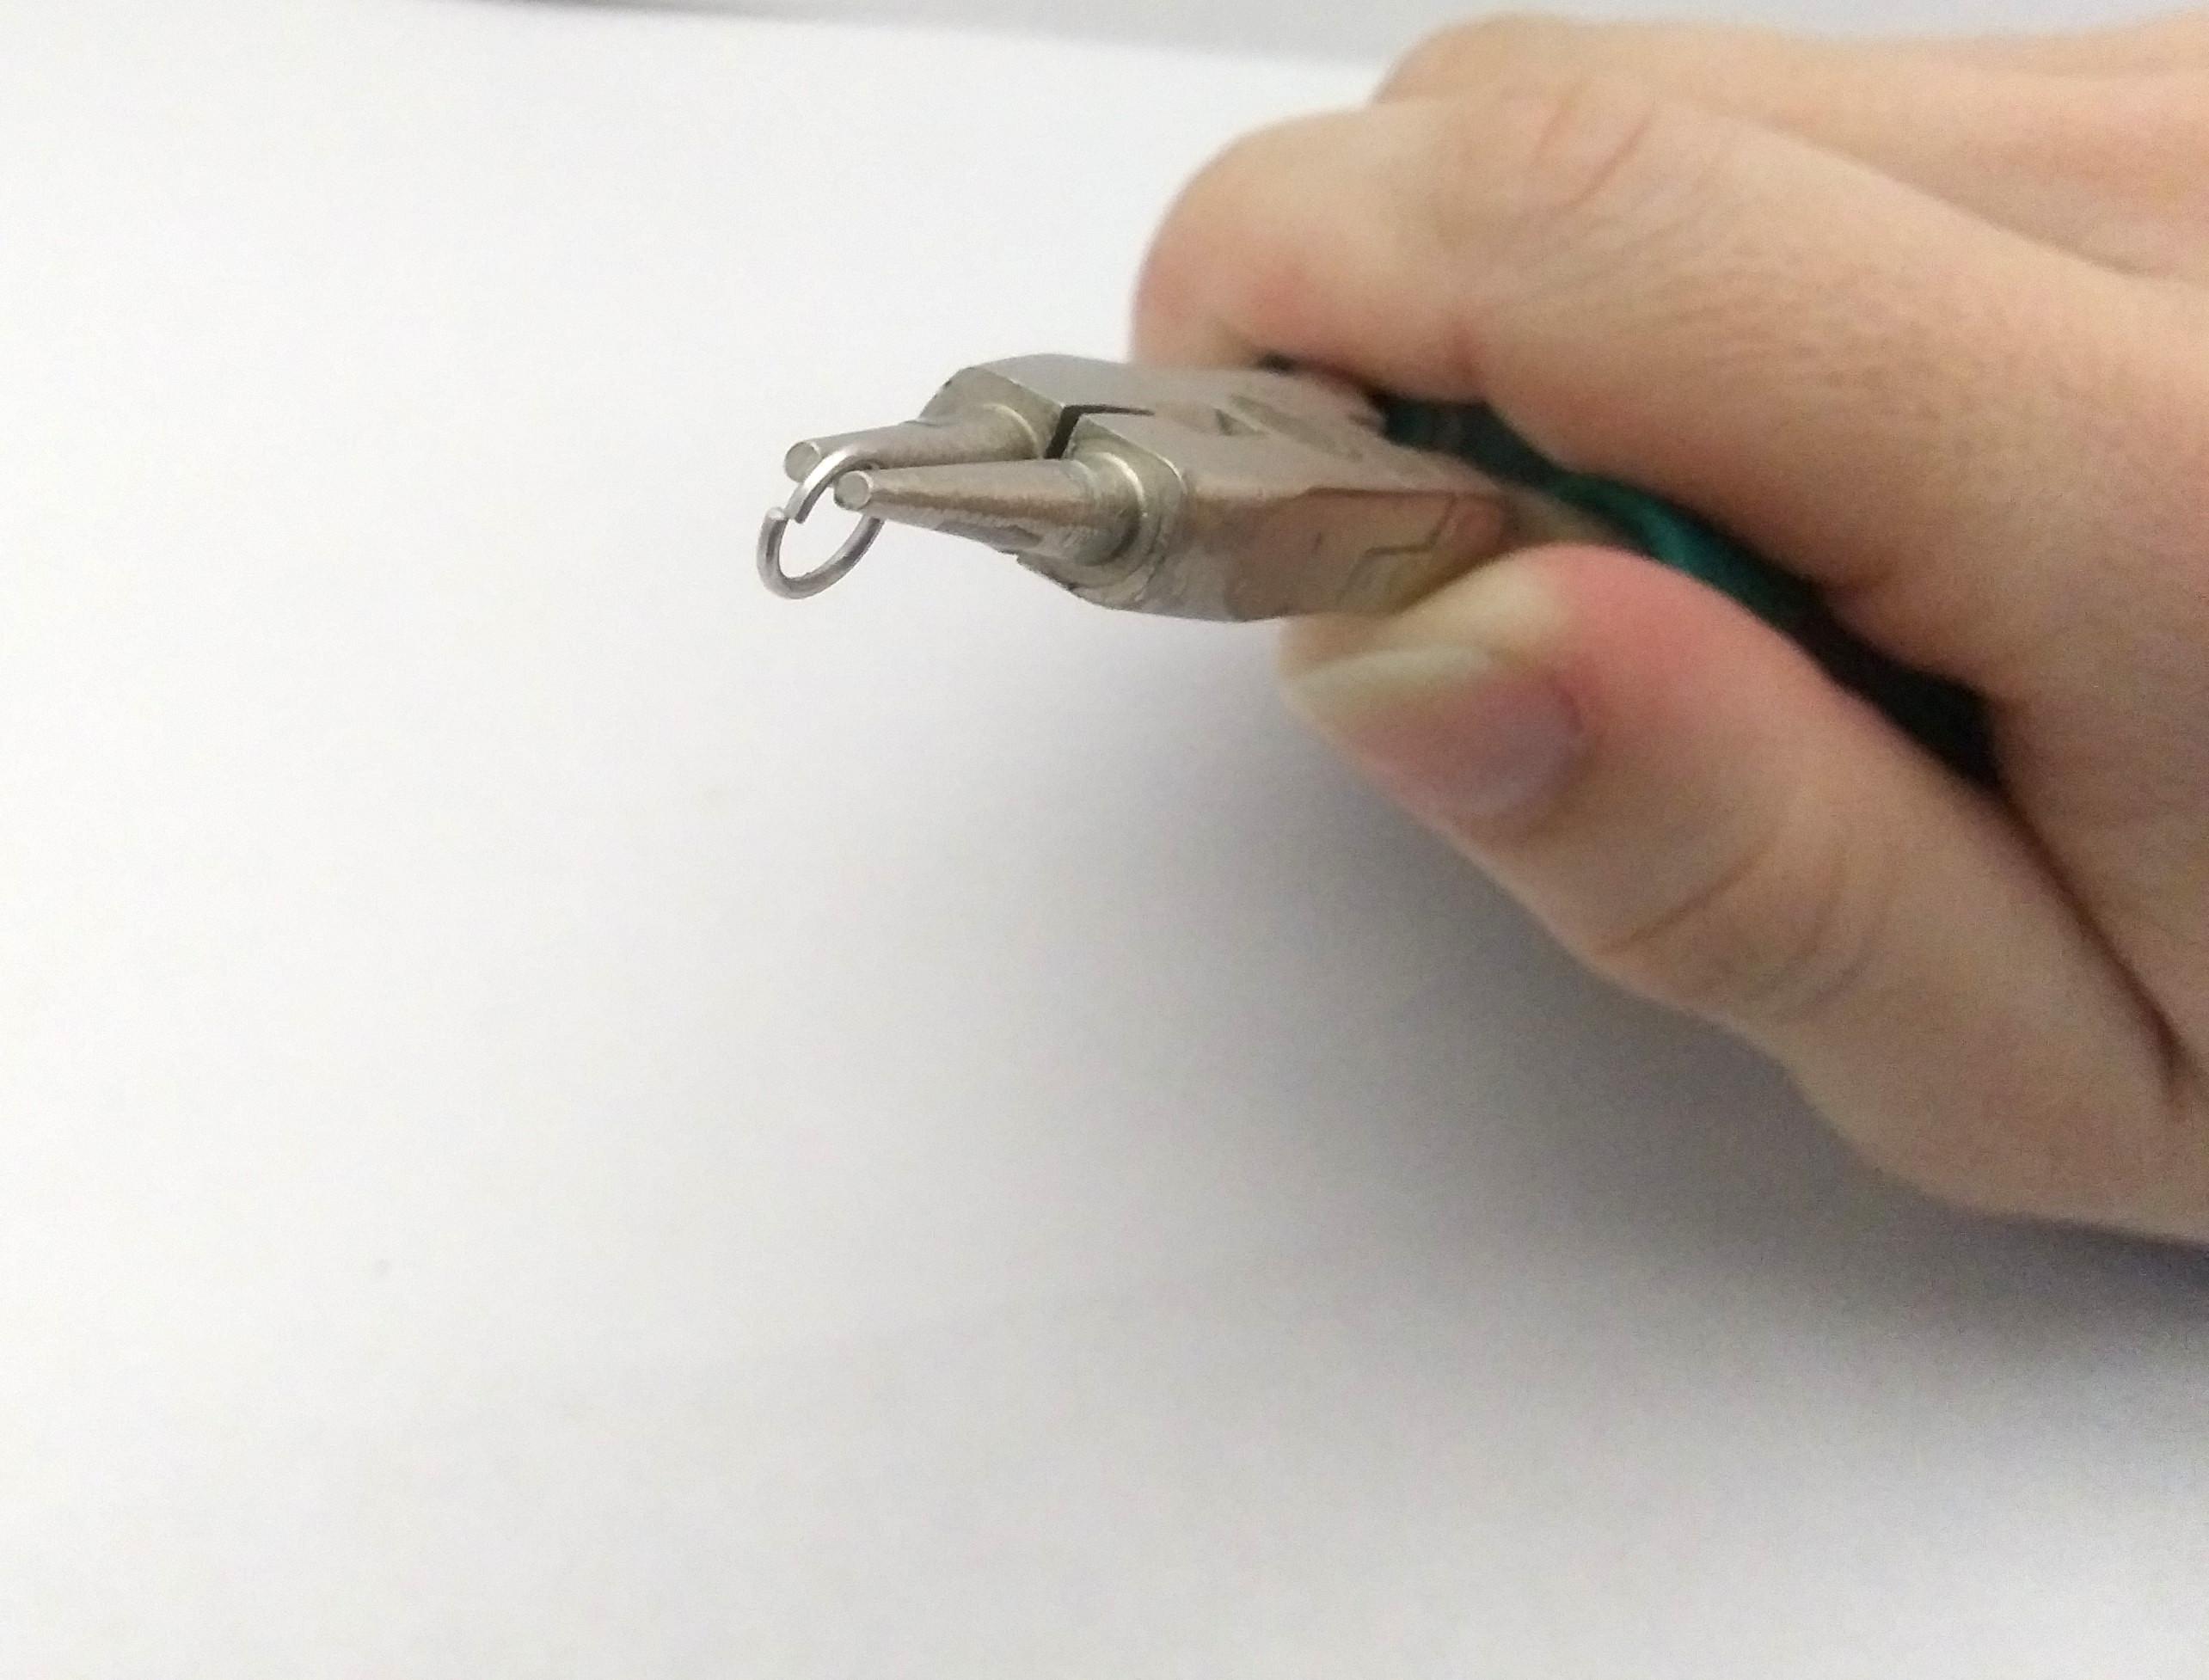
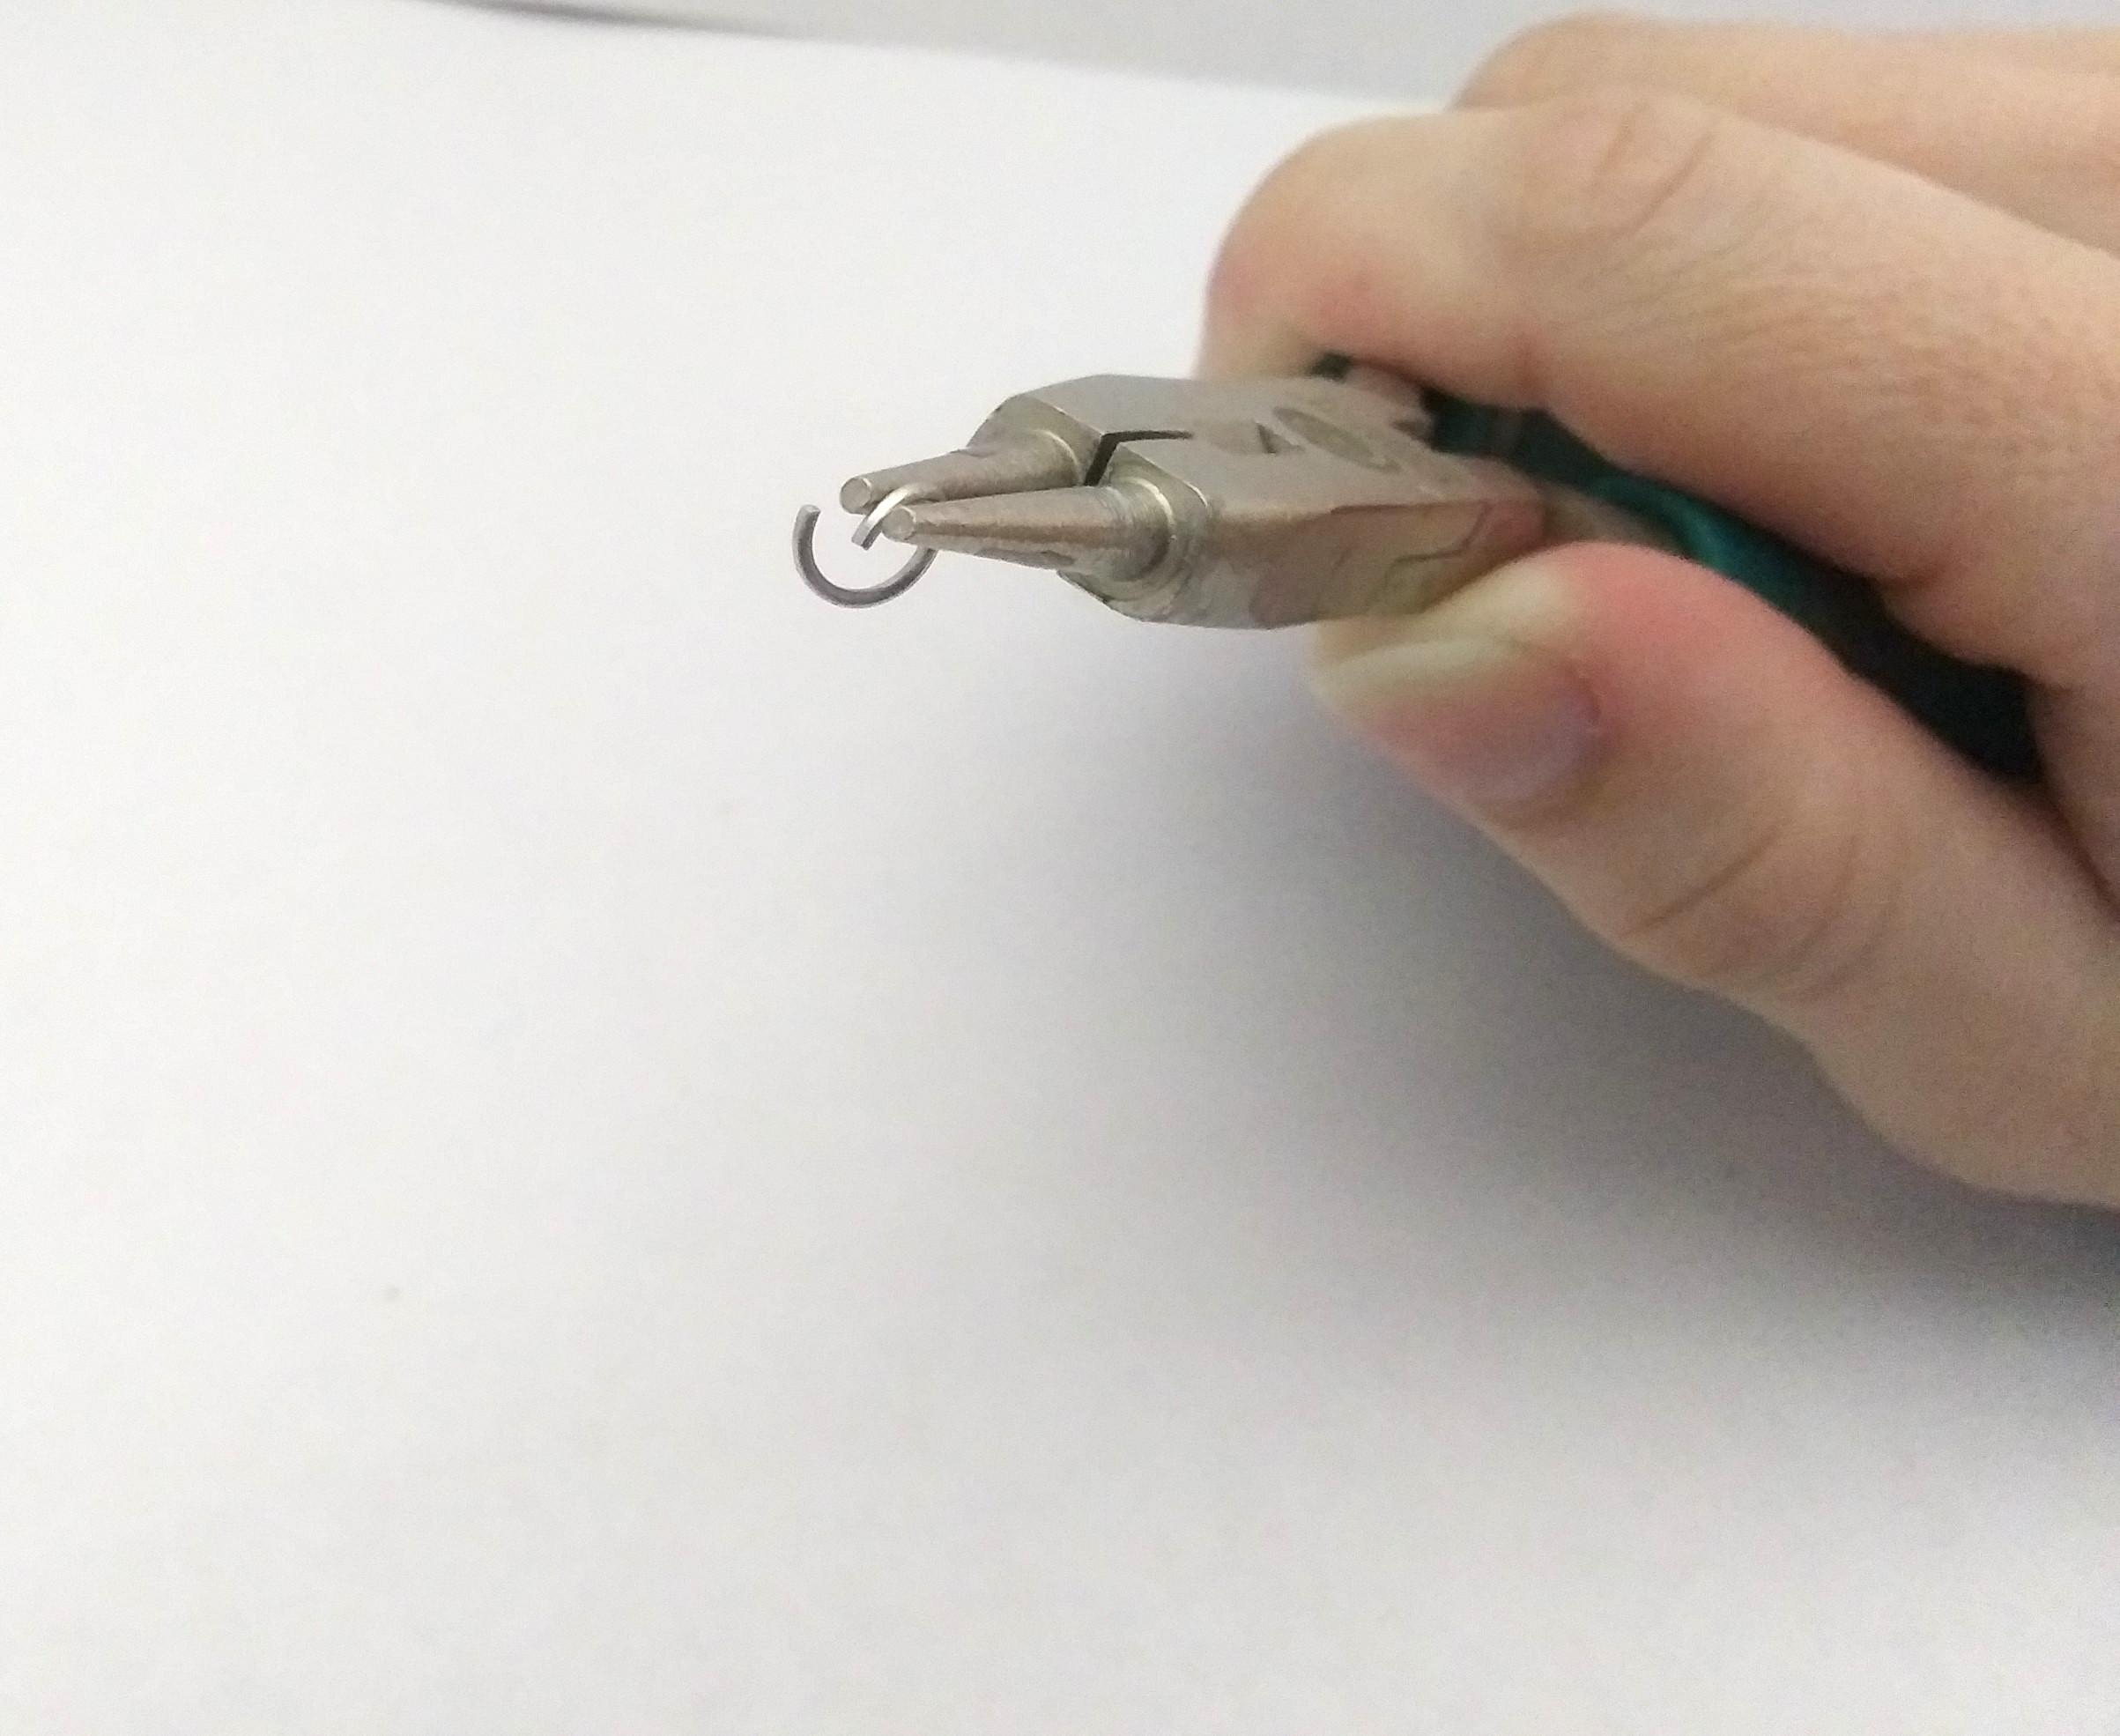
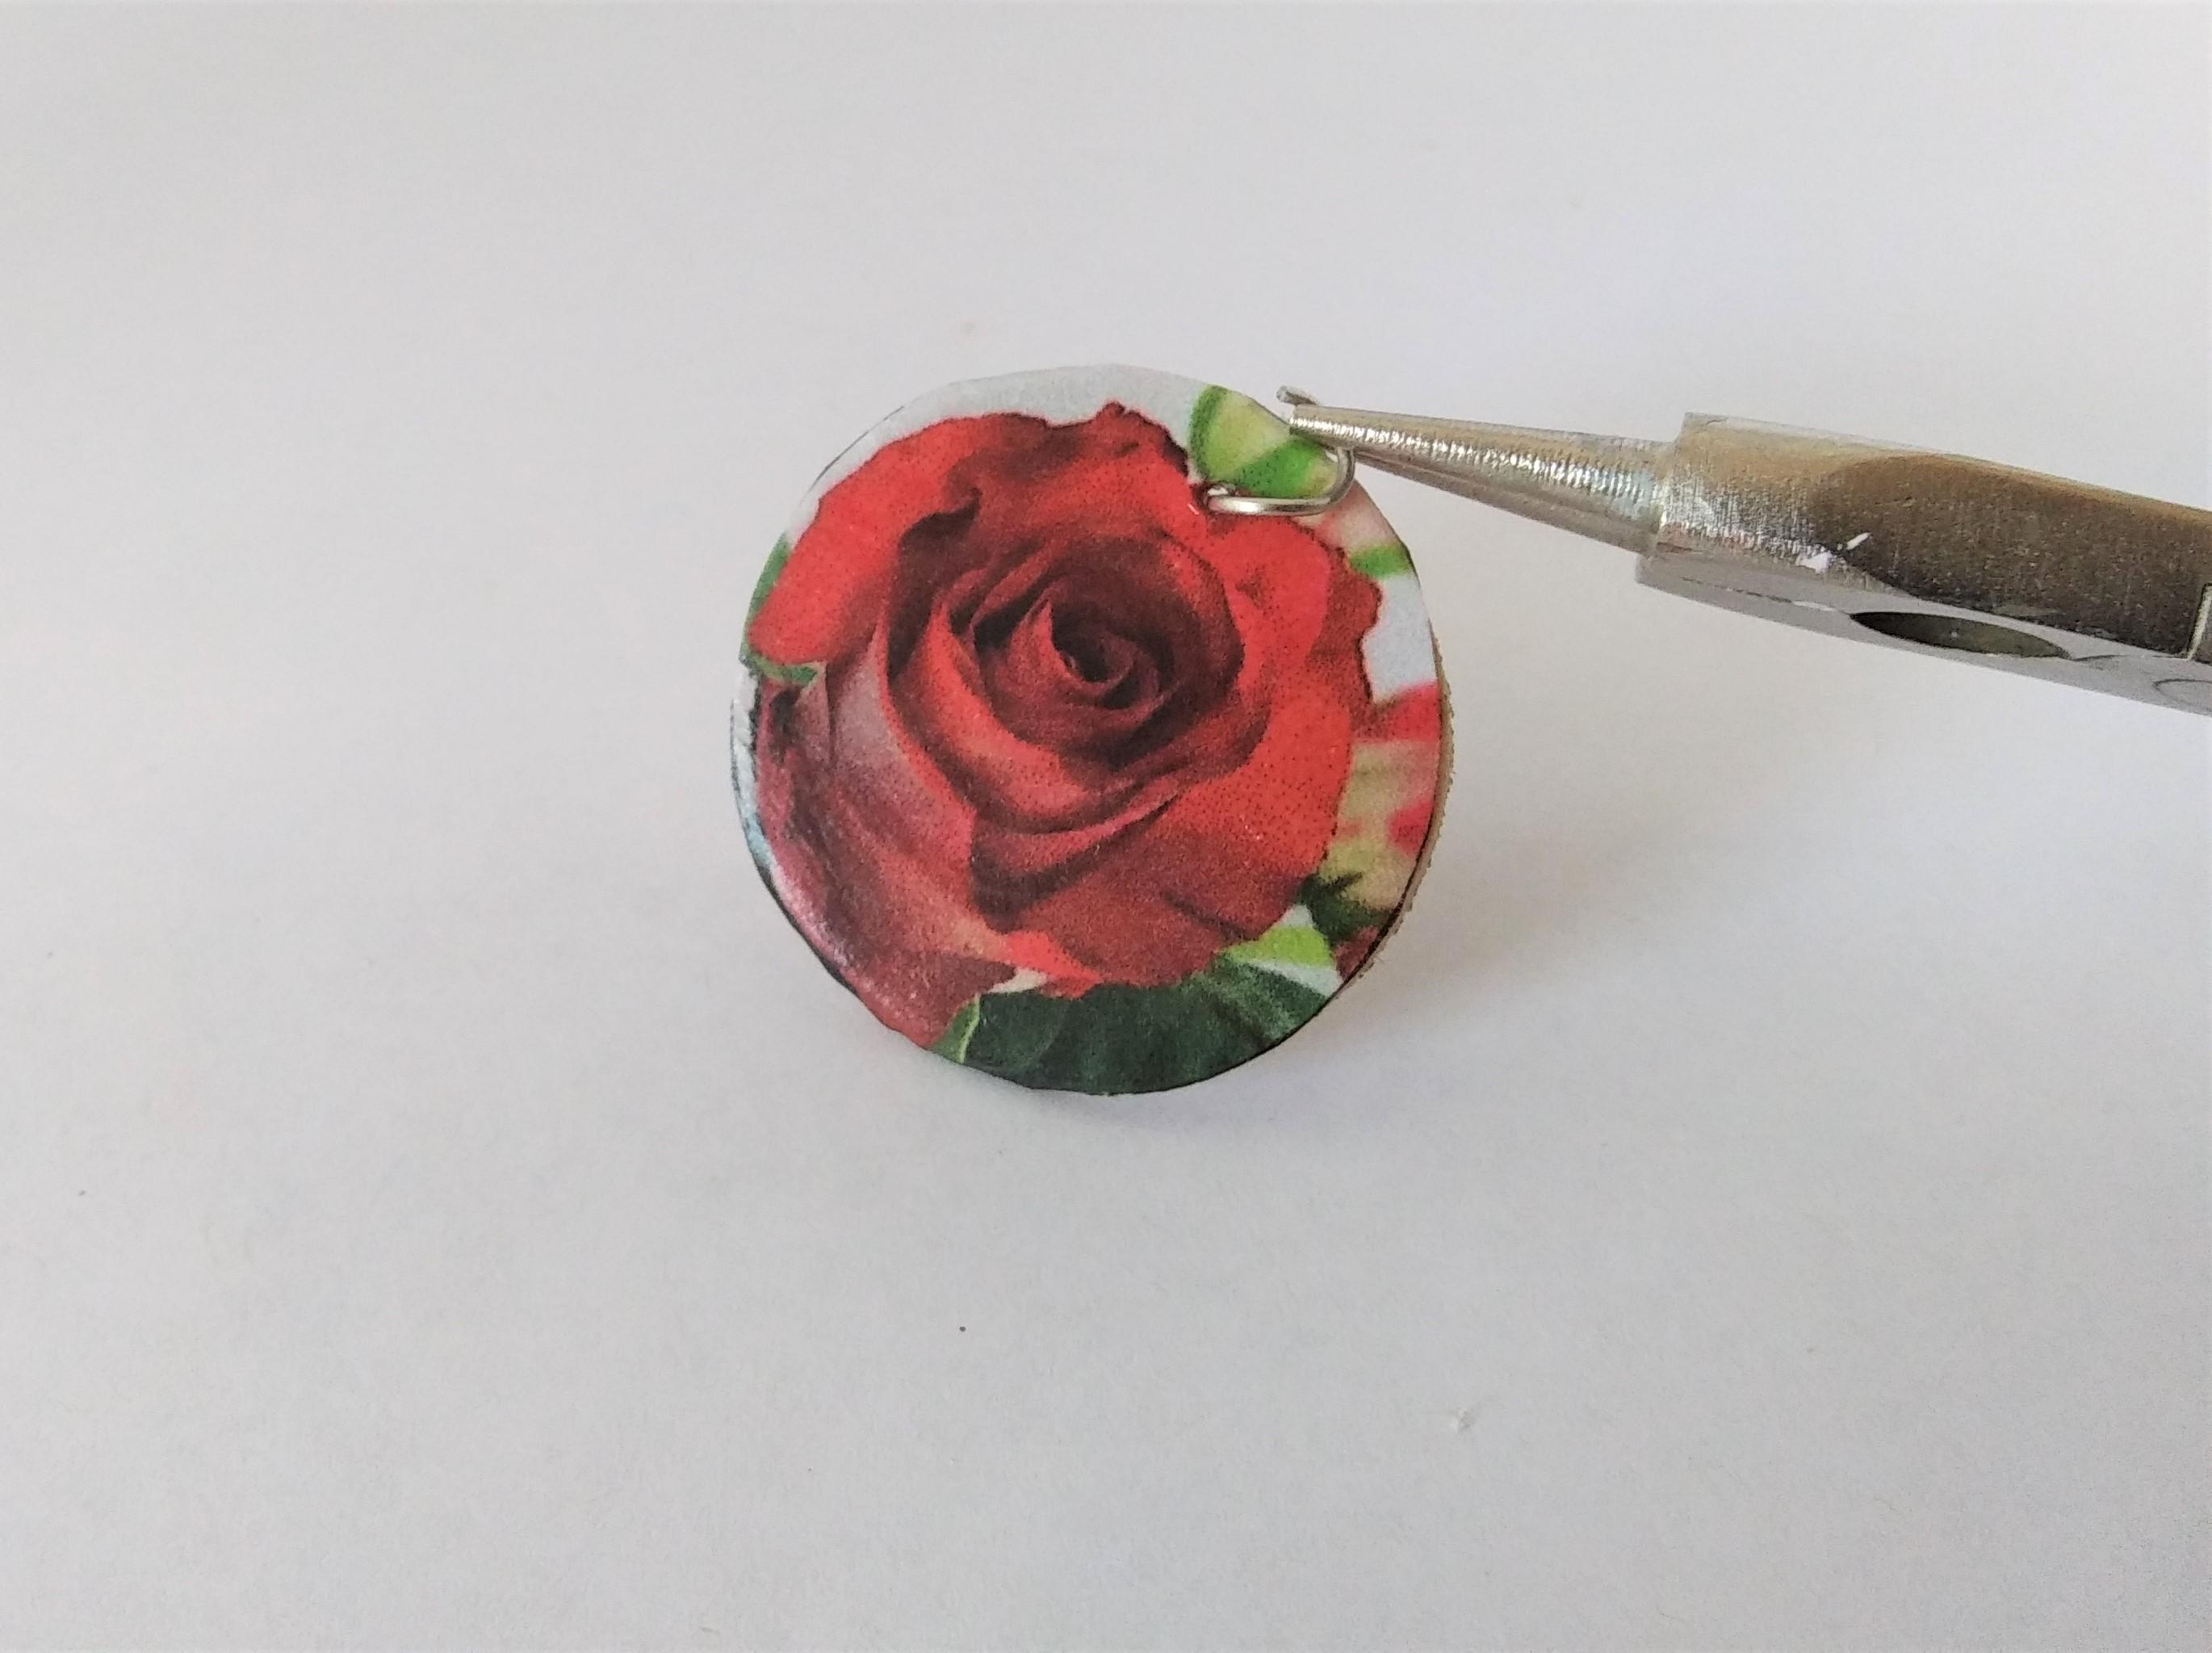
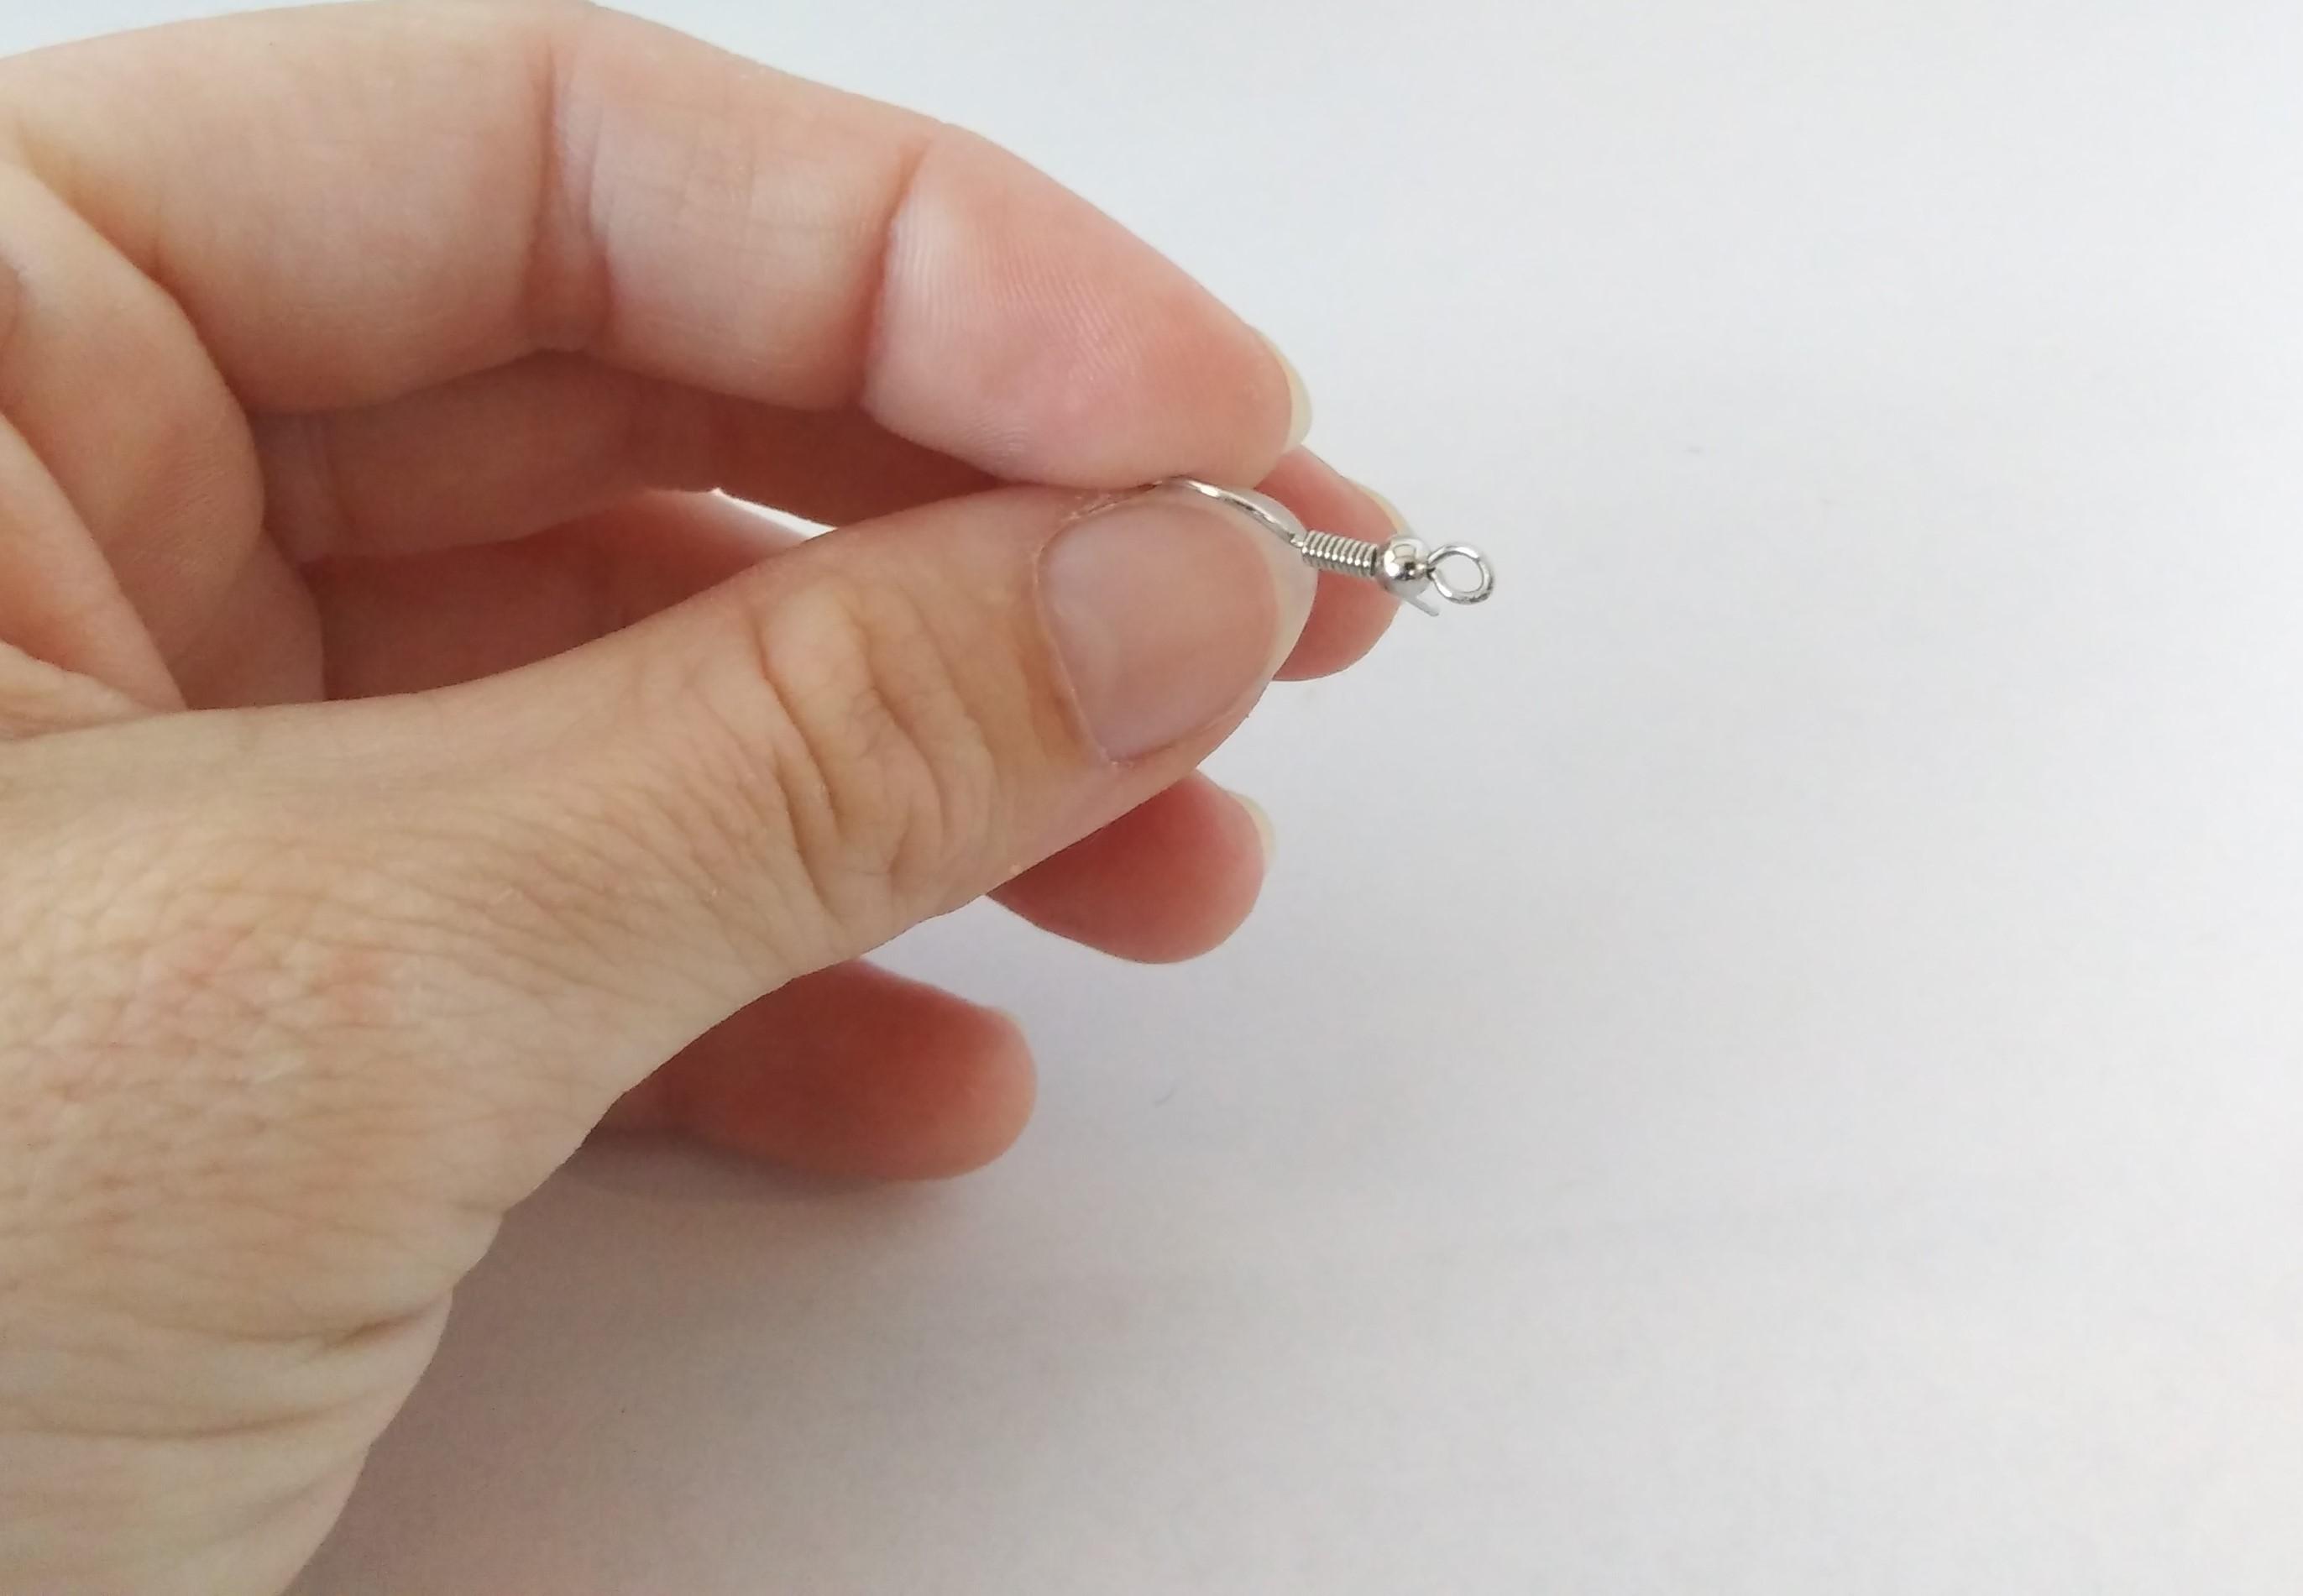
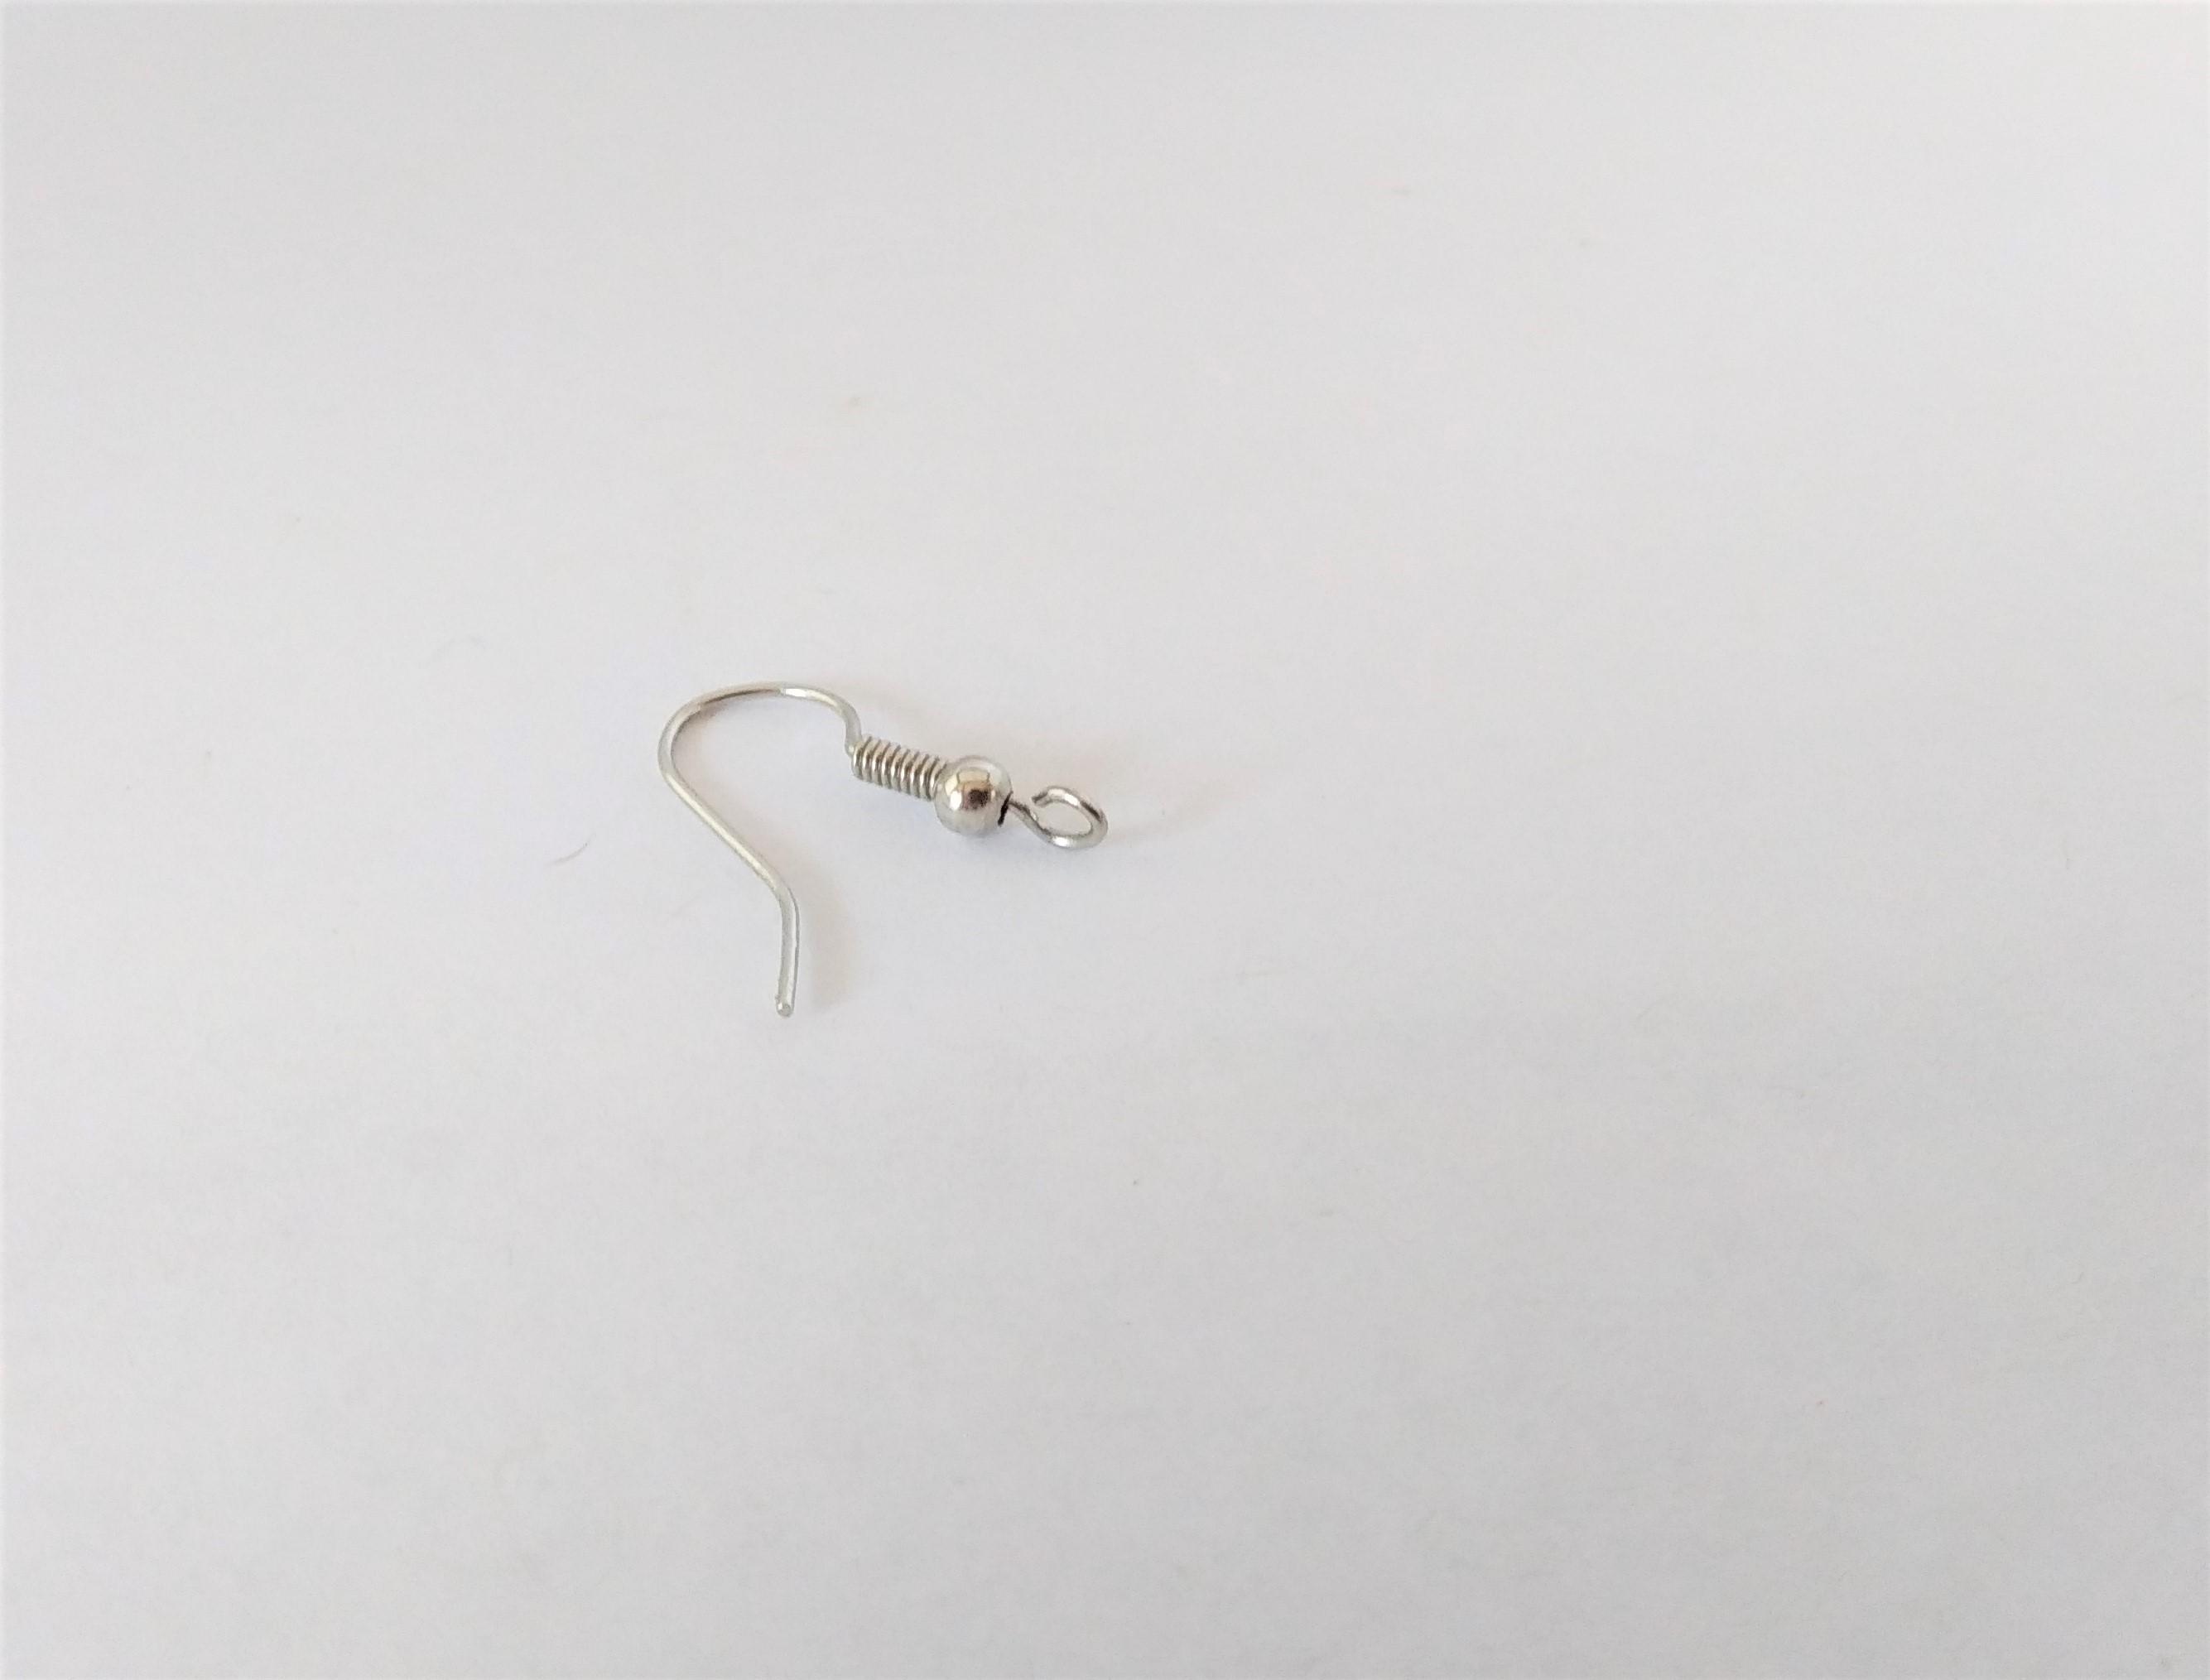
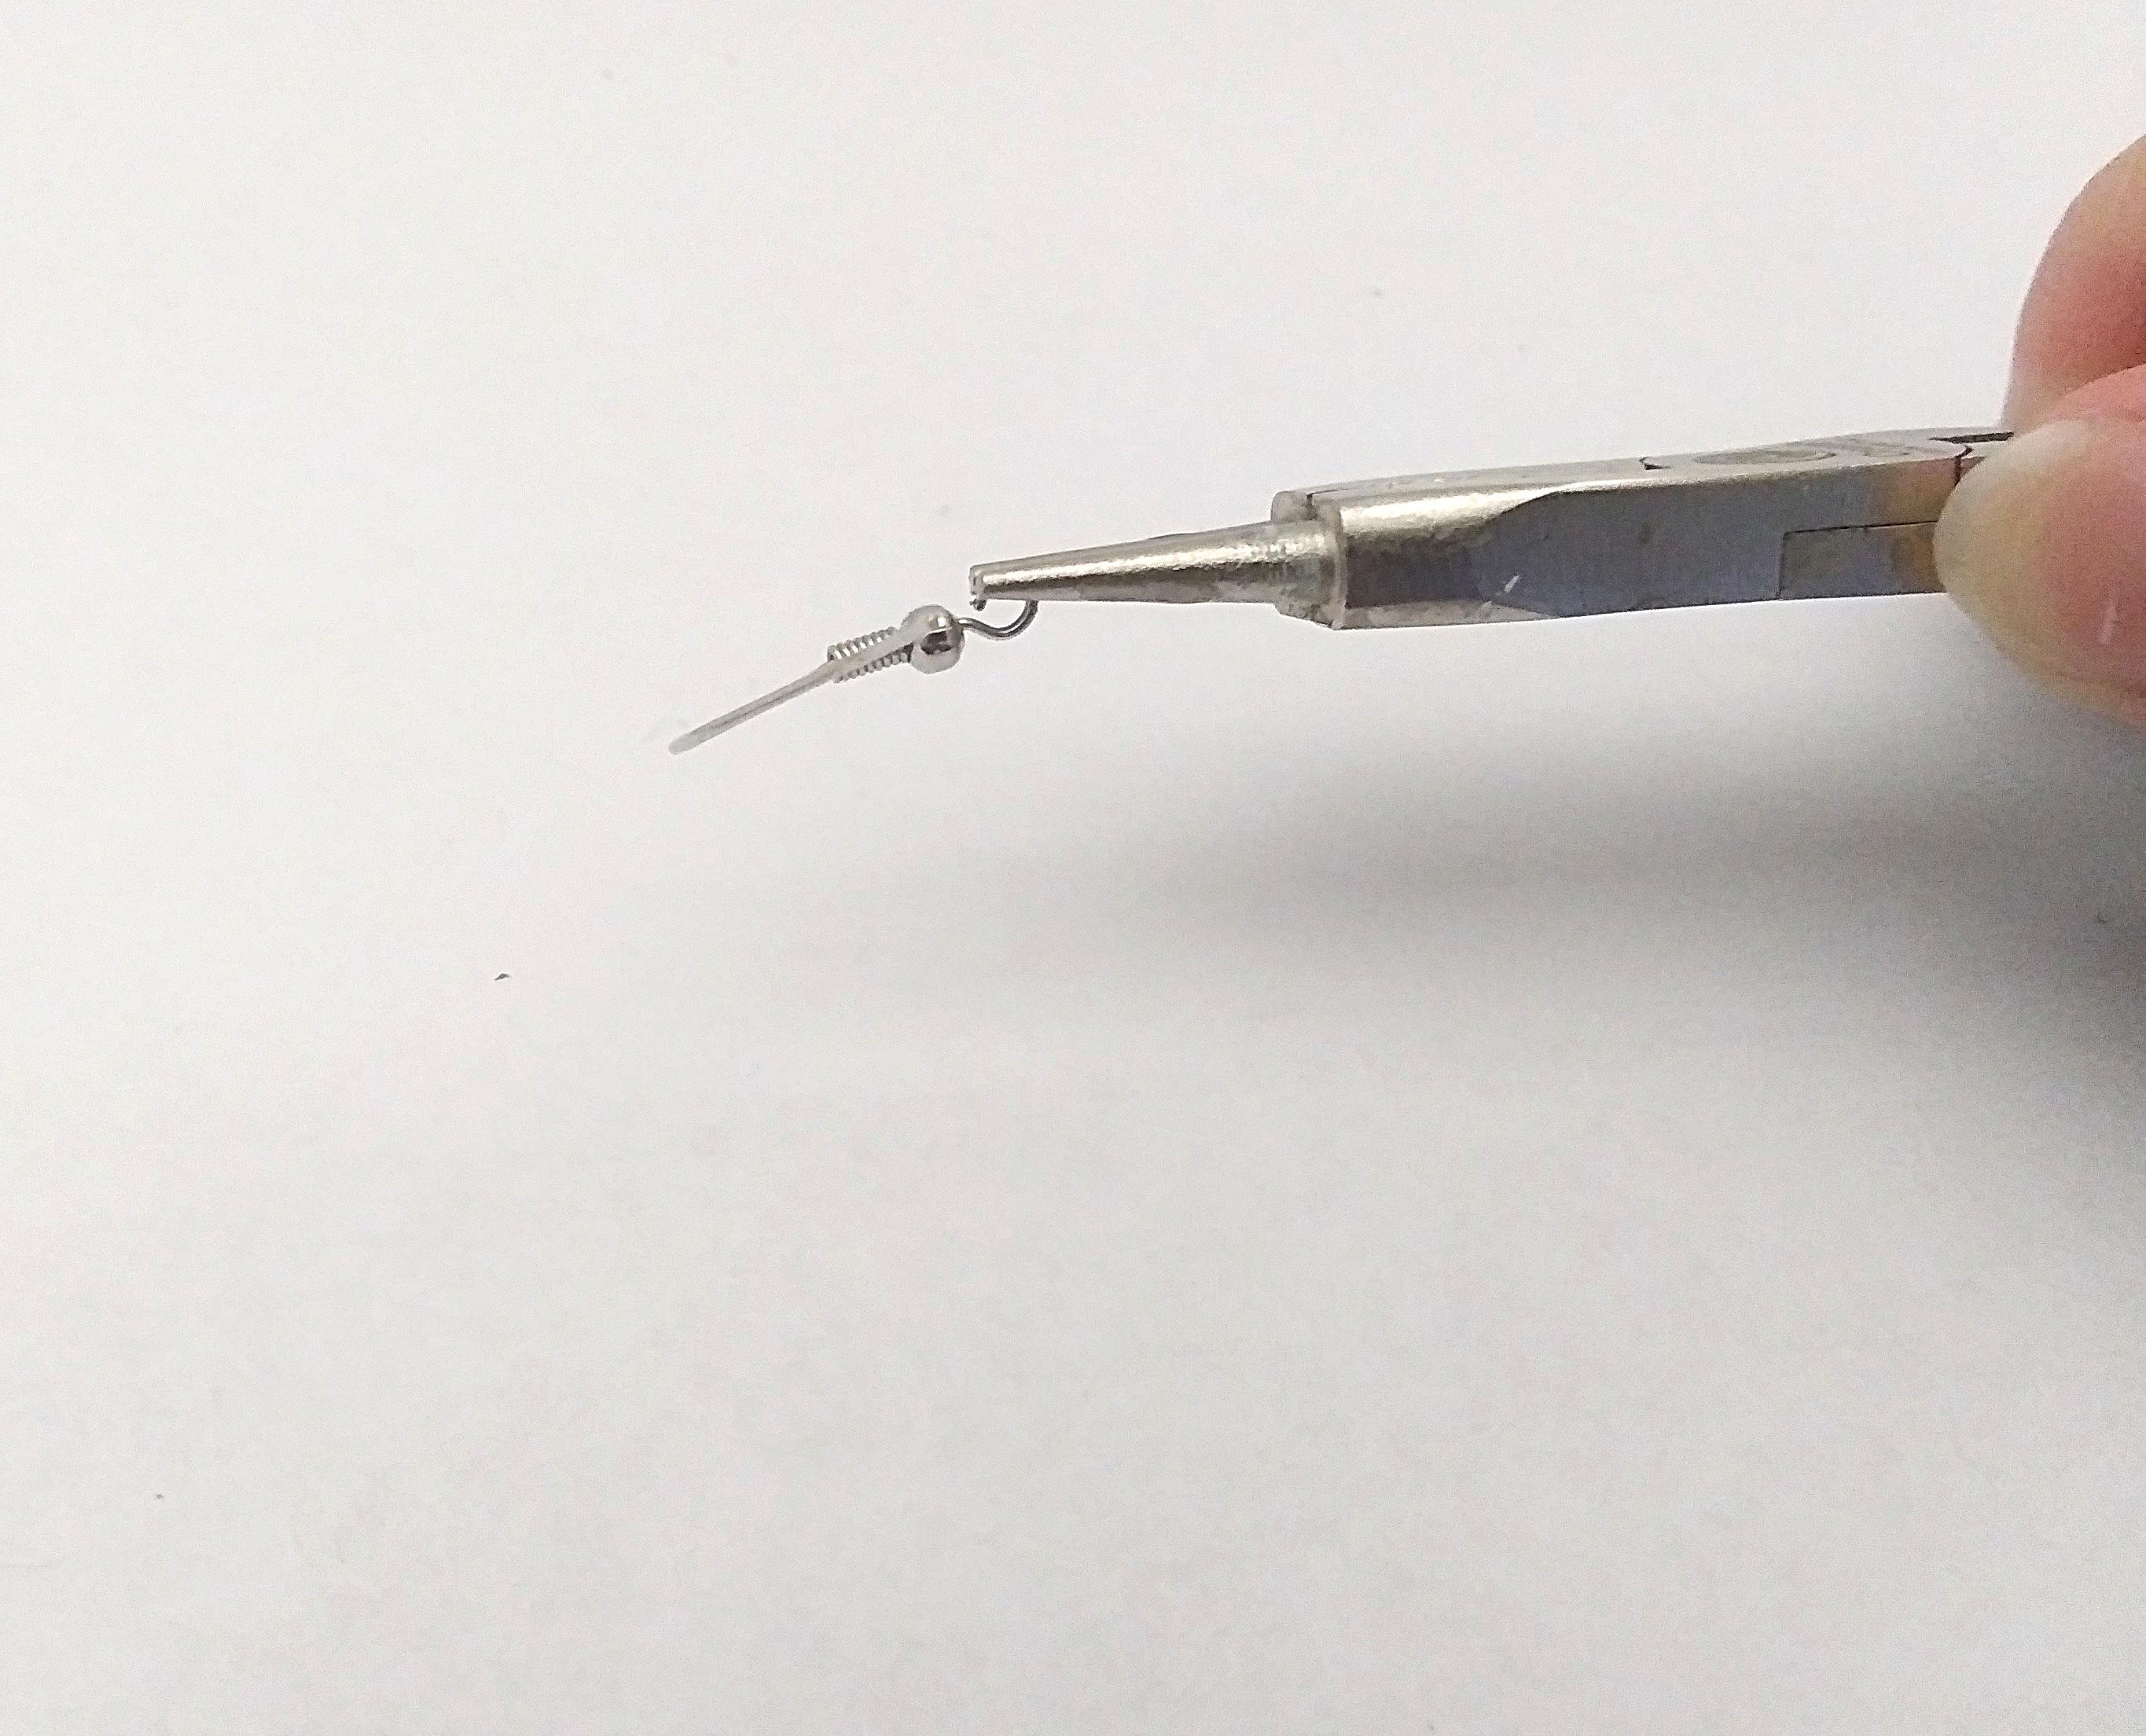
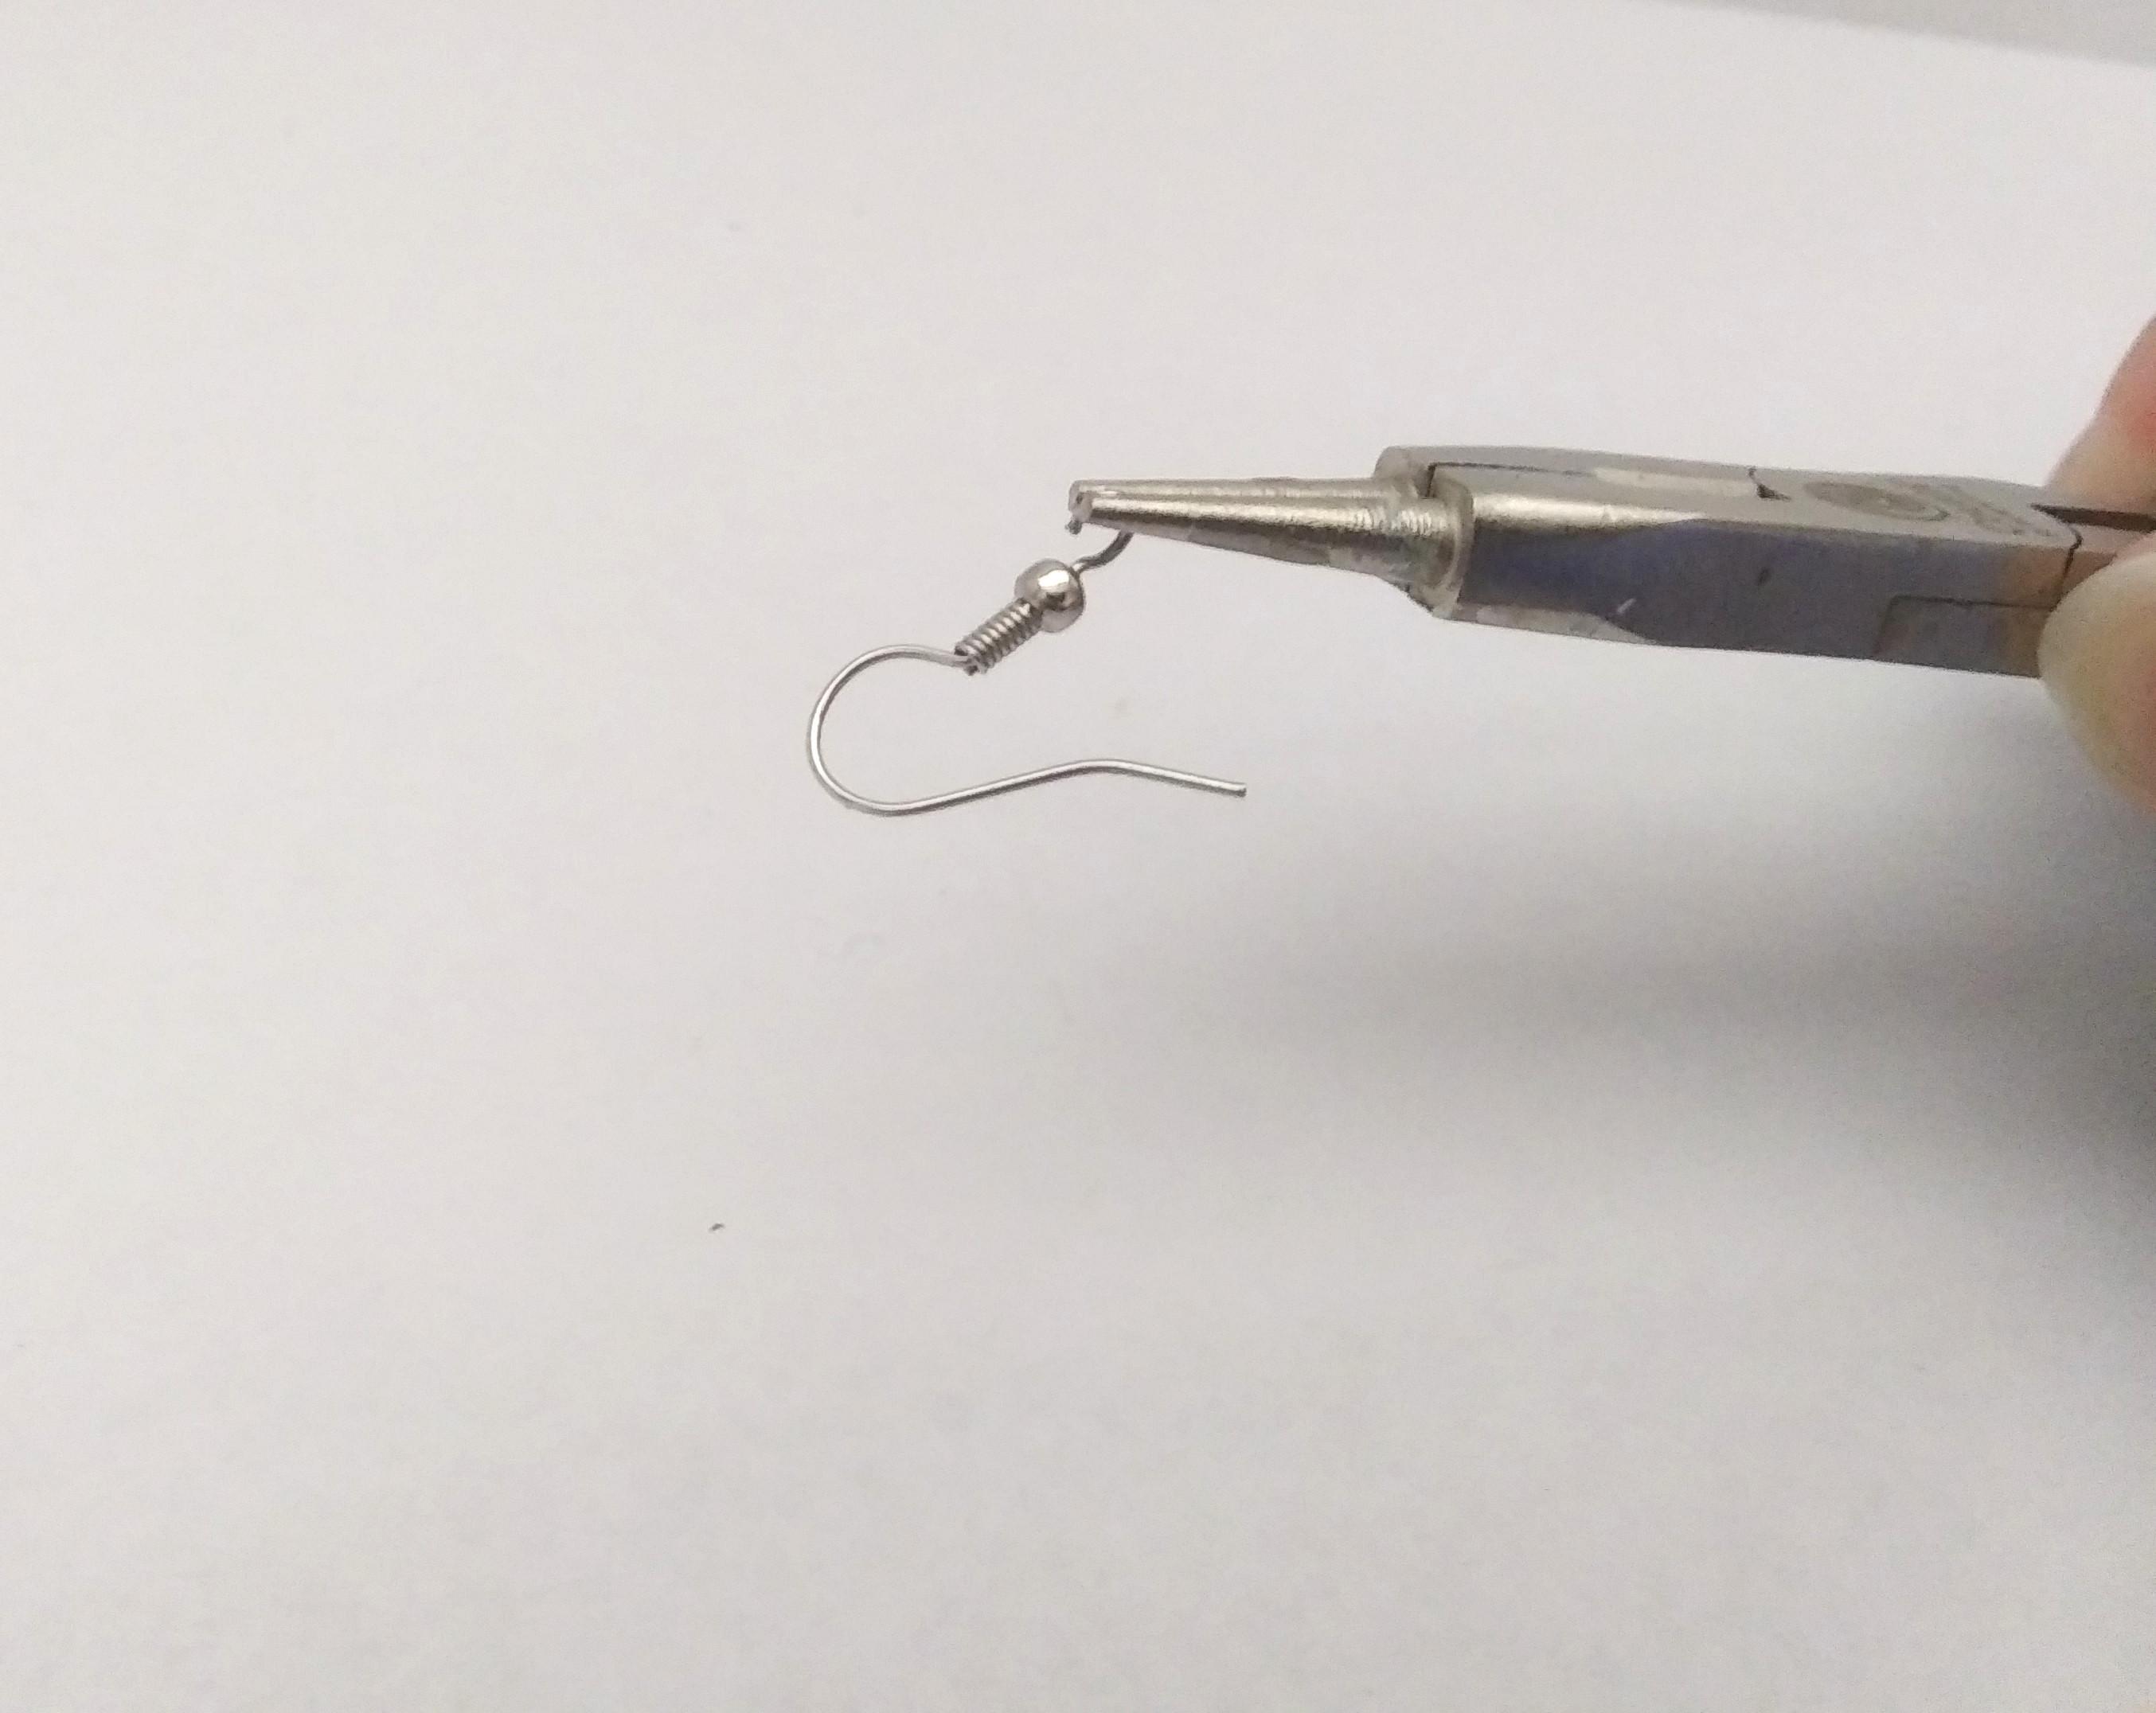
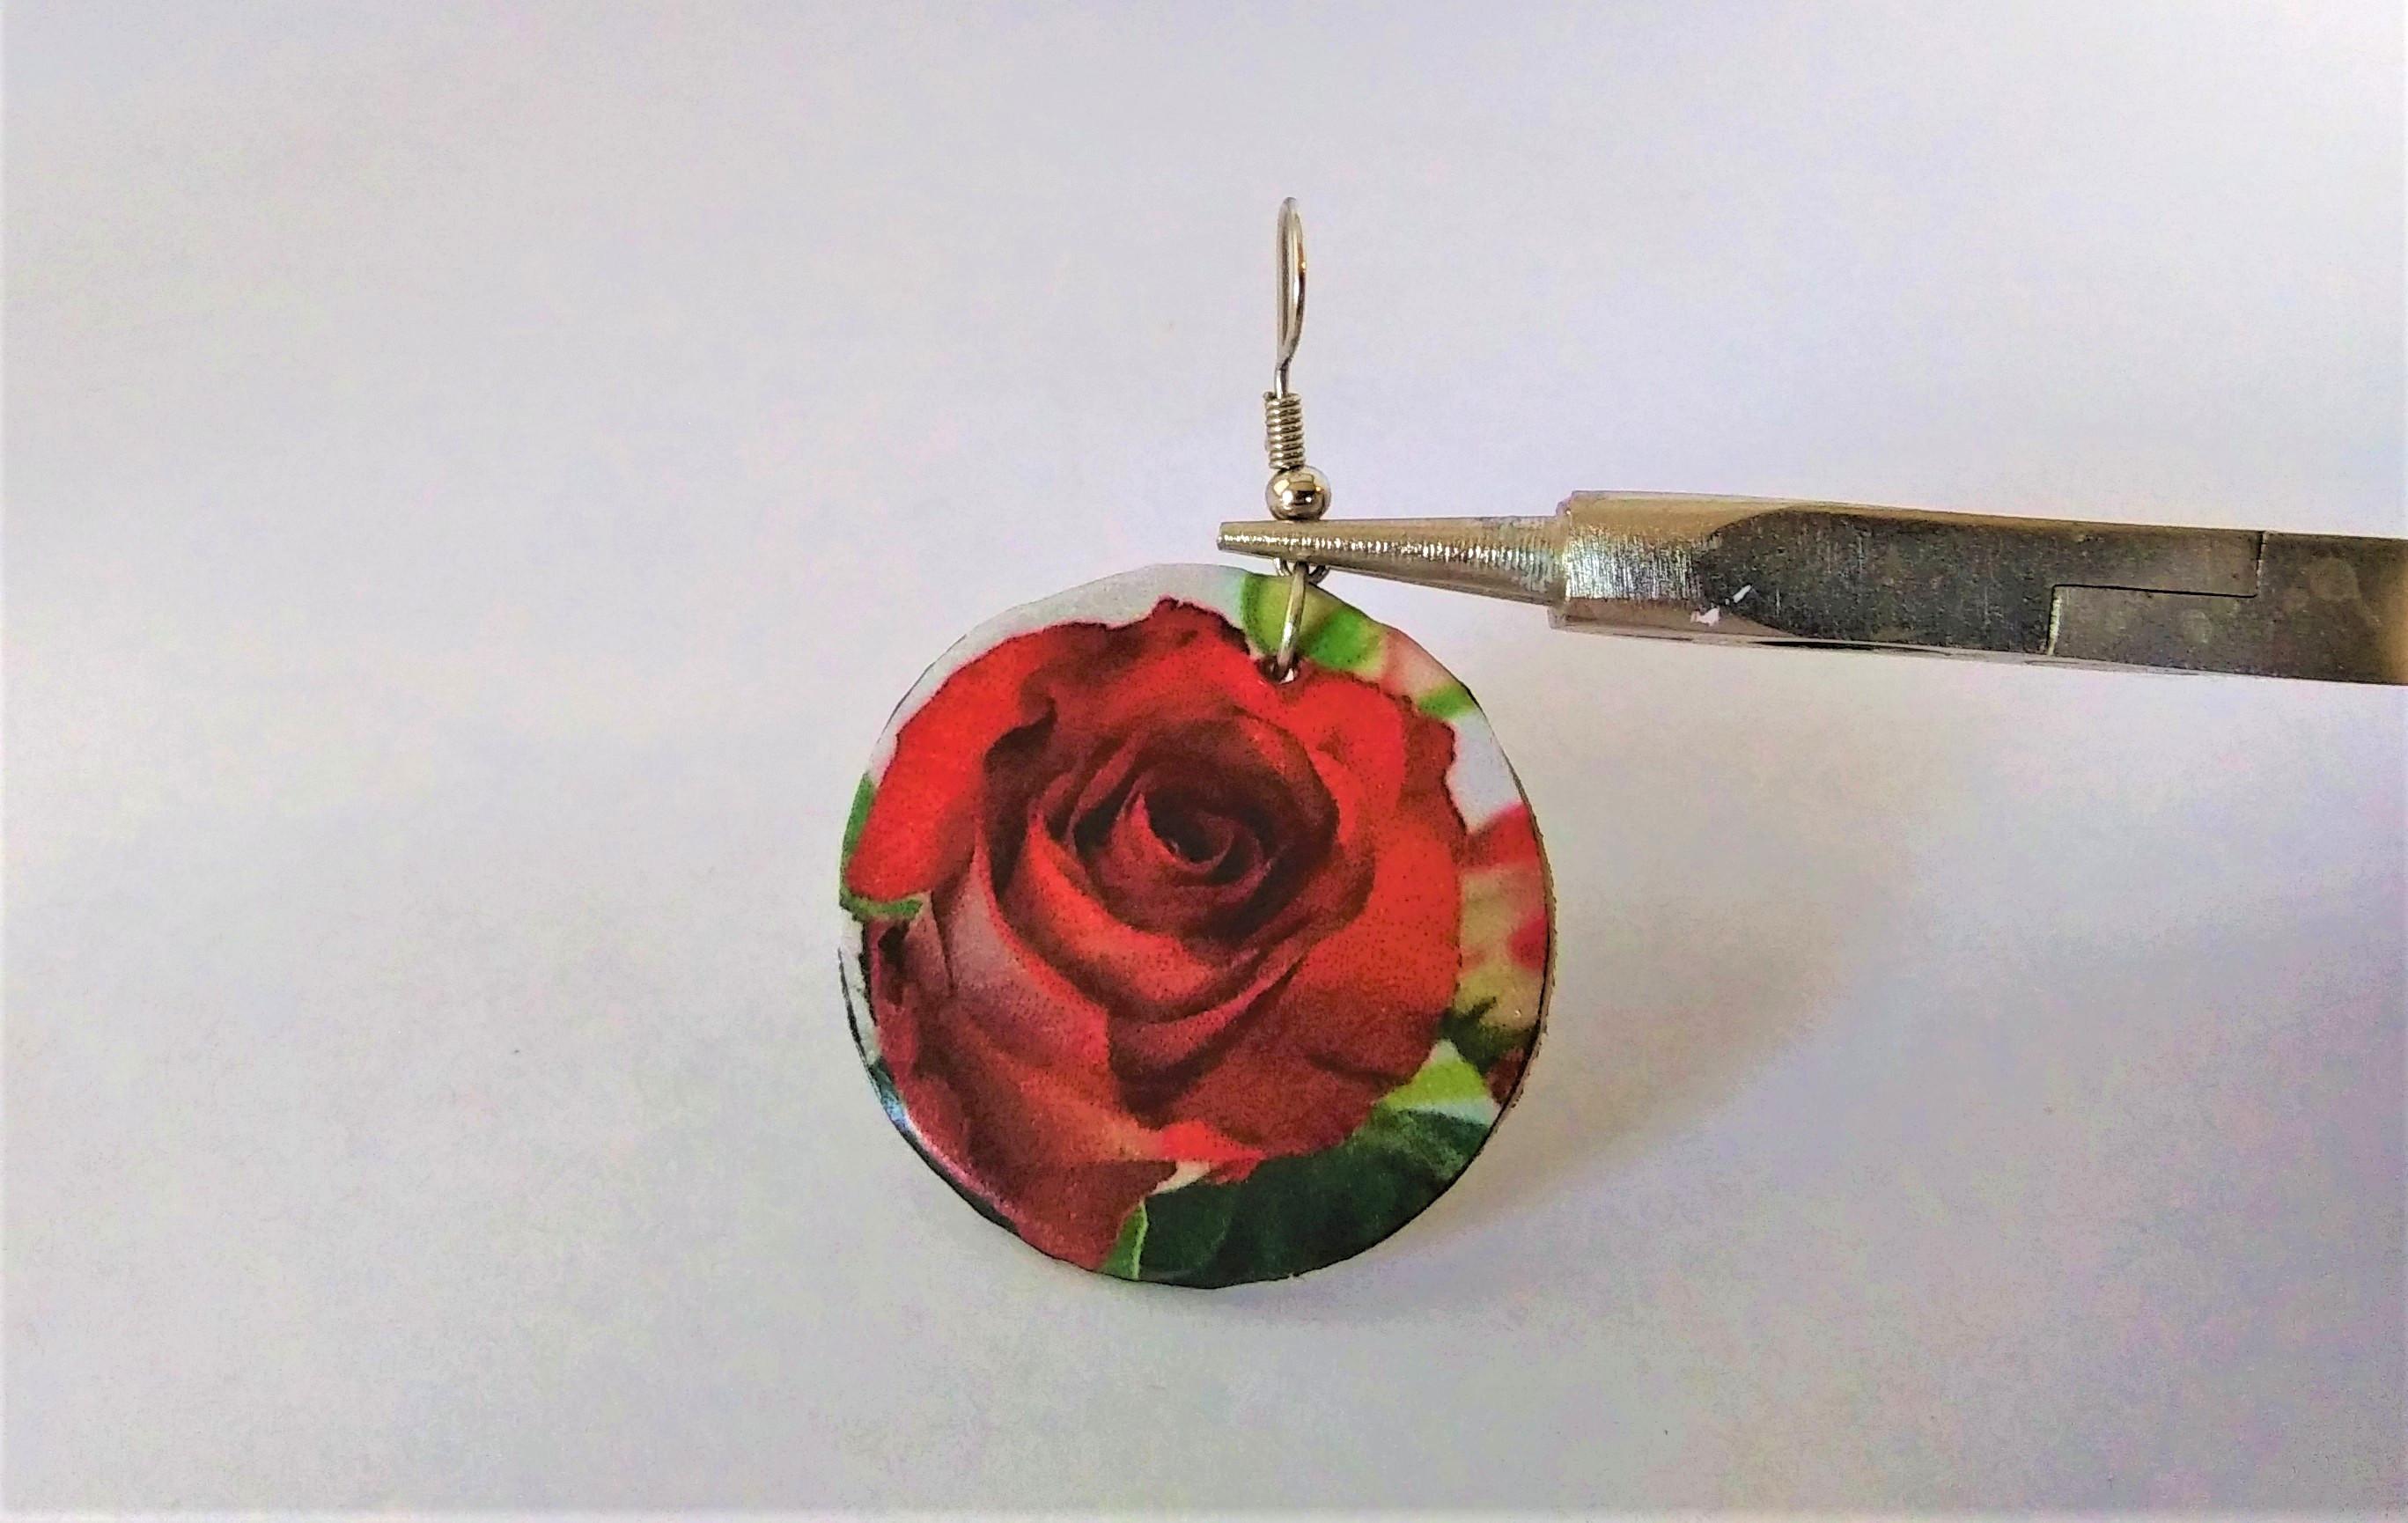
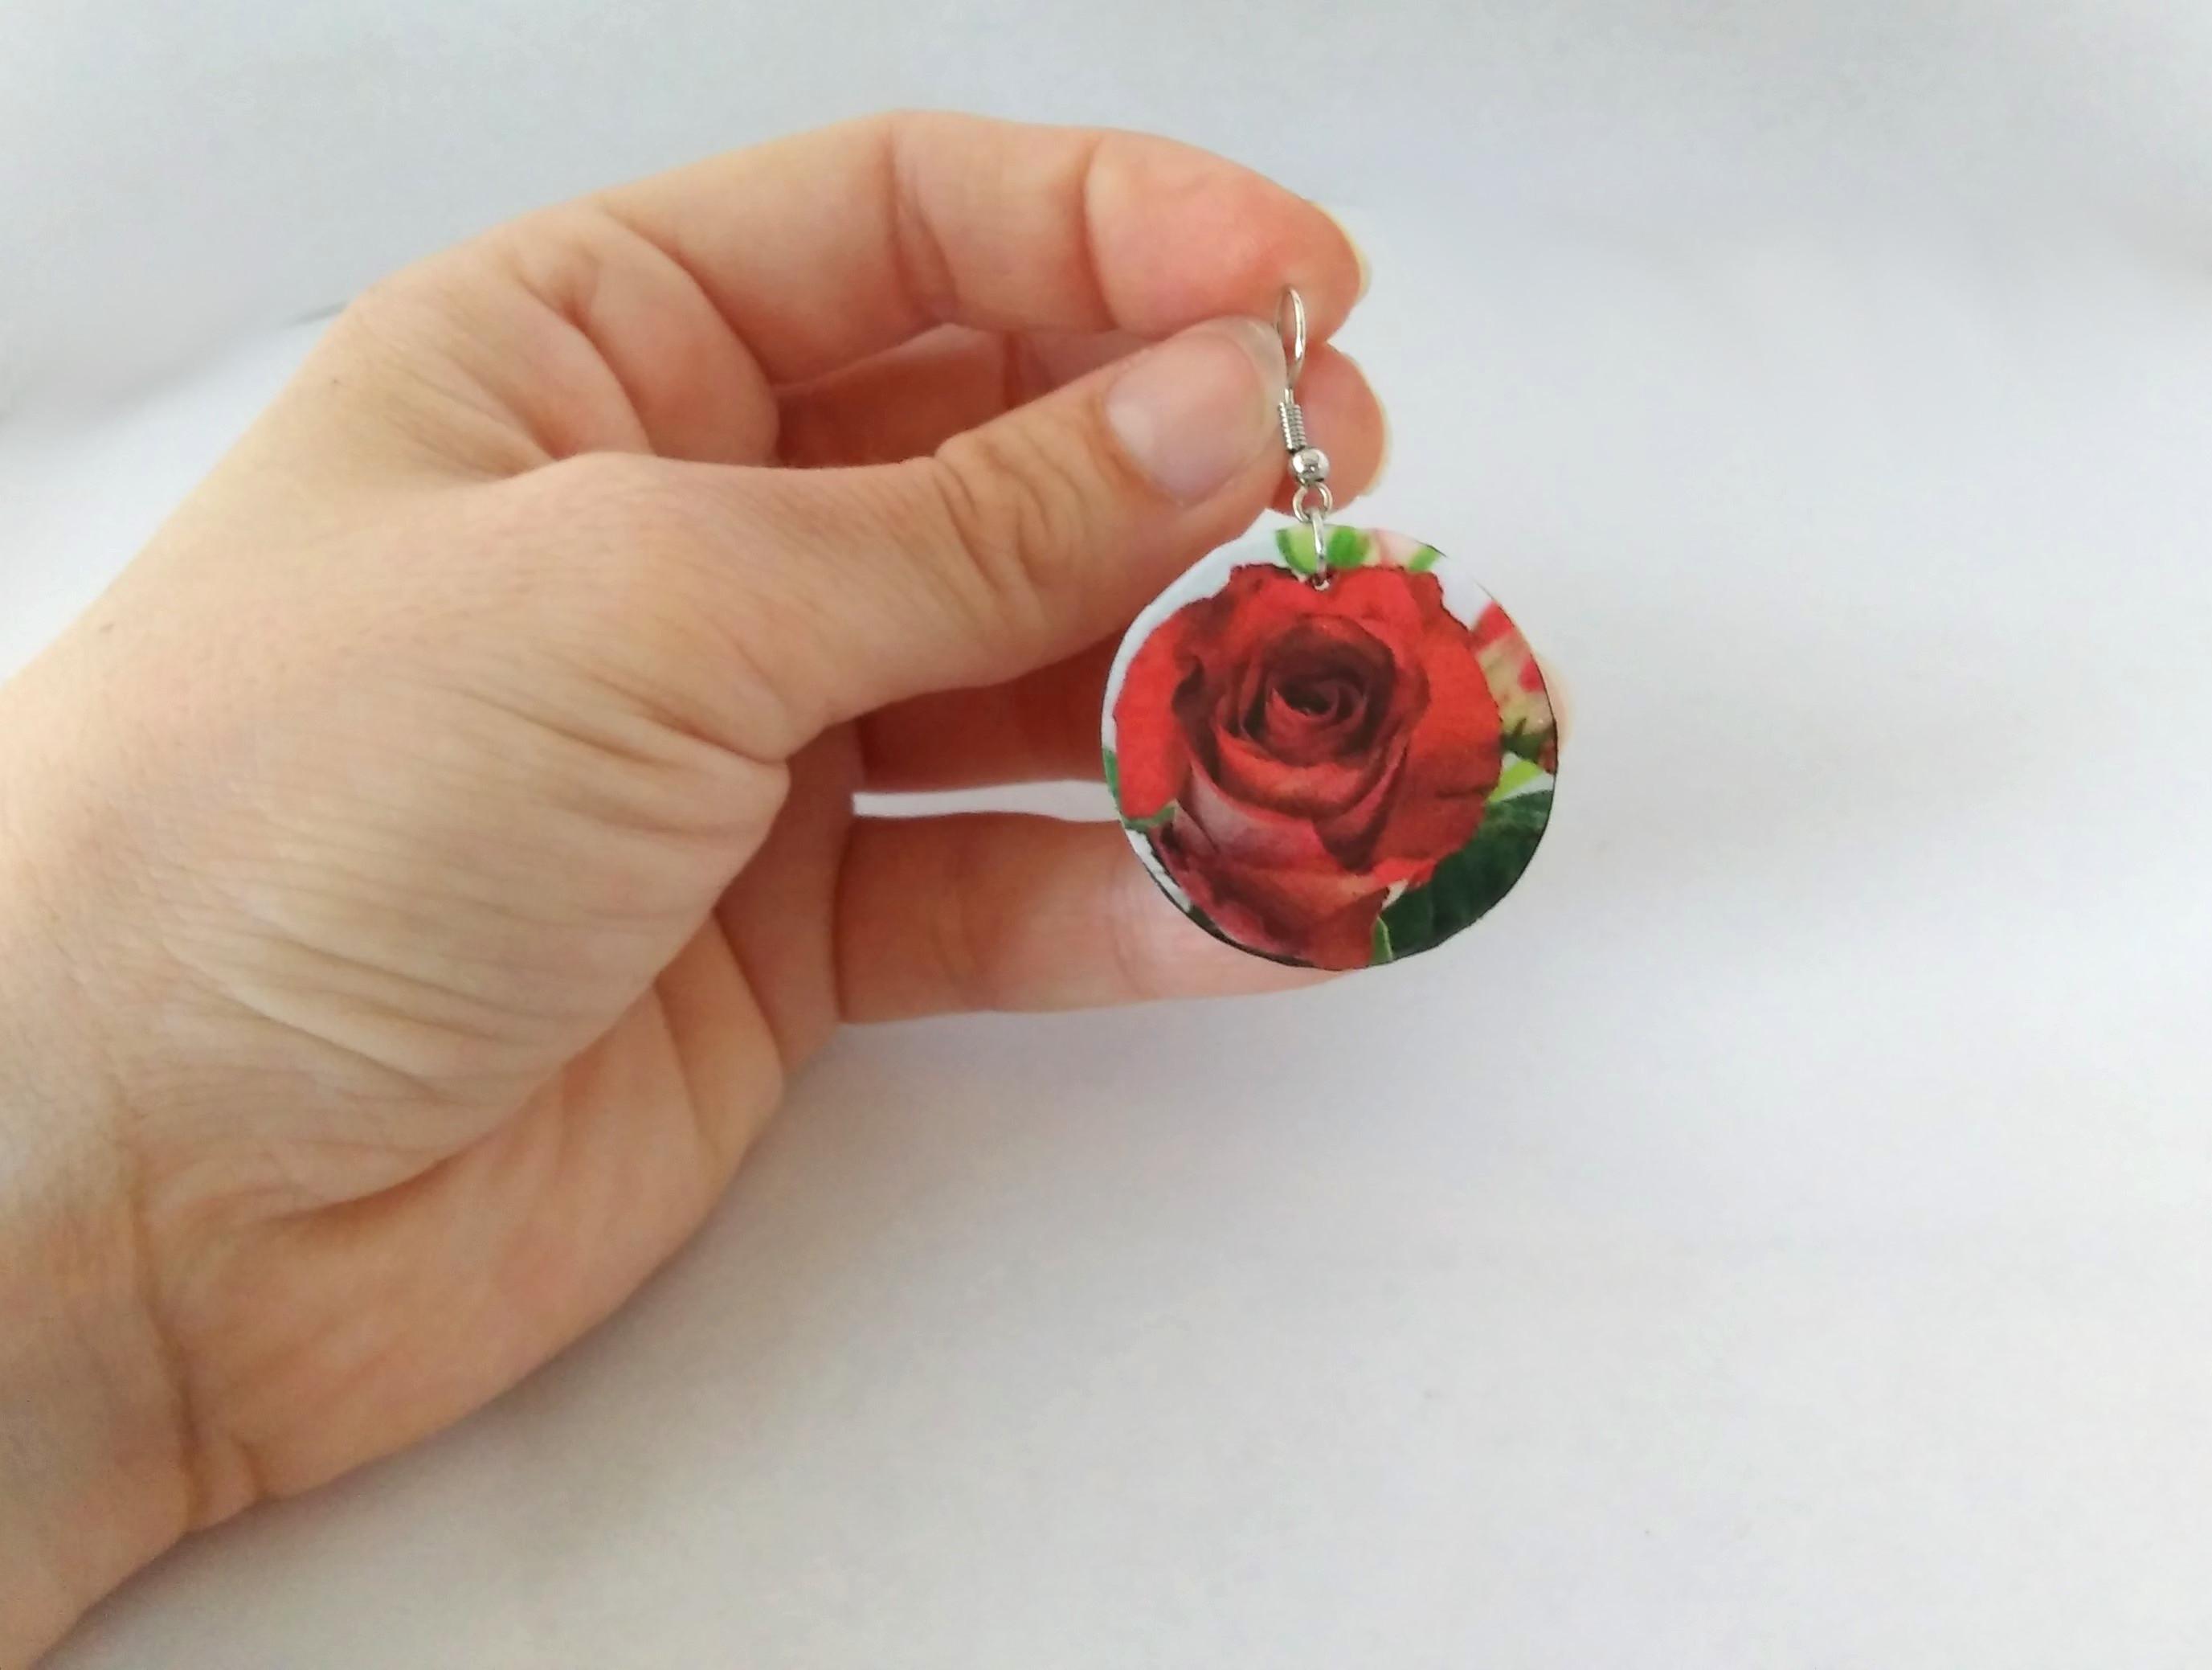
With the round nosed pliers, open one of the jump rings. Carefully put it through the hole in the top of the earring.
If you want the photo section to totally face outward (like mine) you will need to adjust the bottom of the french hook. Grasp the loop of the hook and twist the whole loop sideways so that the loop is no longer in a straight line in with the rest of the hook (the photo illustrates better what I mean).
Put a french hook on the jump ring (make sure it facing so that the photo will show on the outside instead of facing in towards you) and then close the jump ring.
Do the same to the other.
Finished
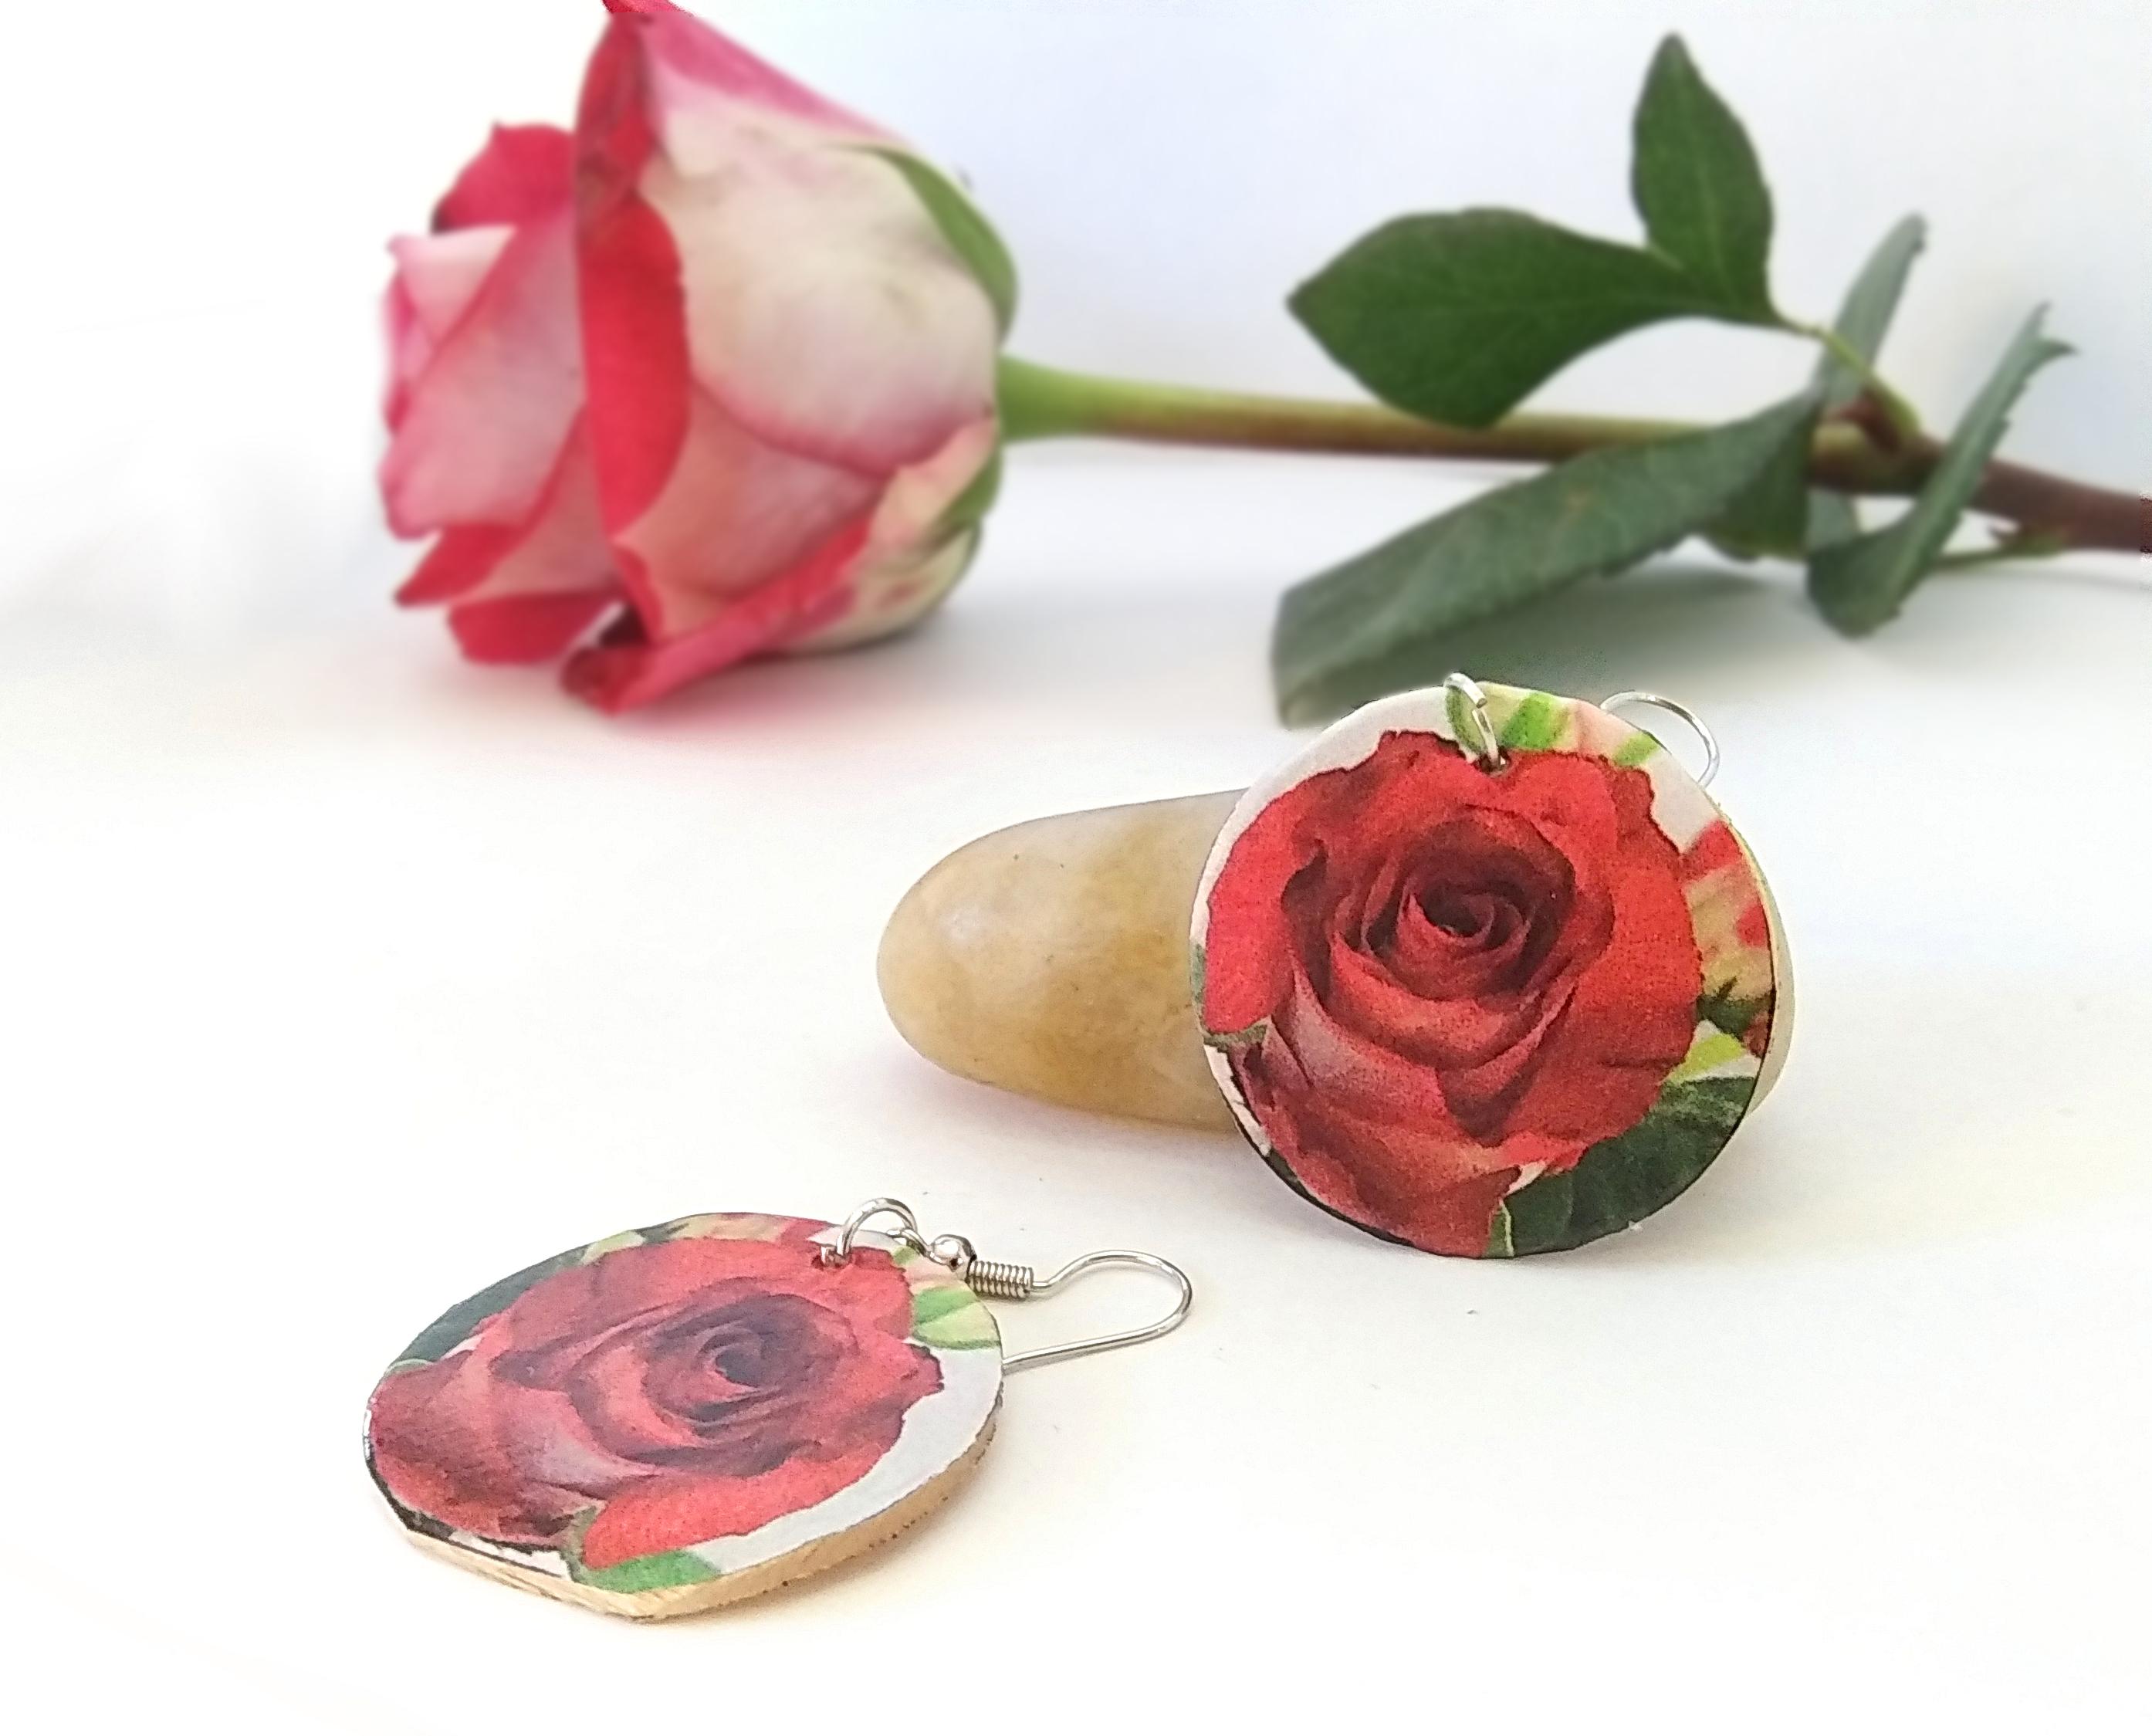
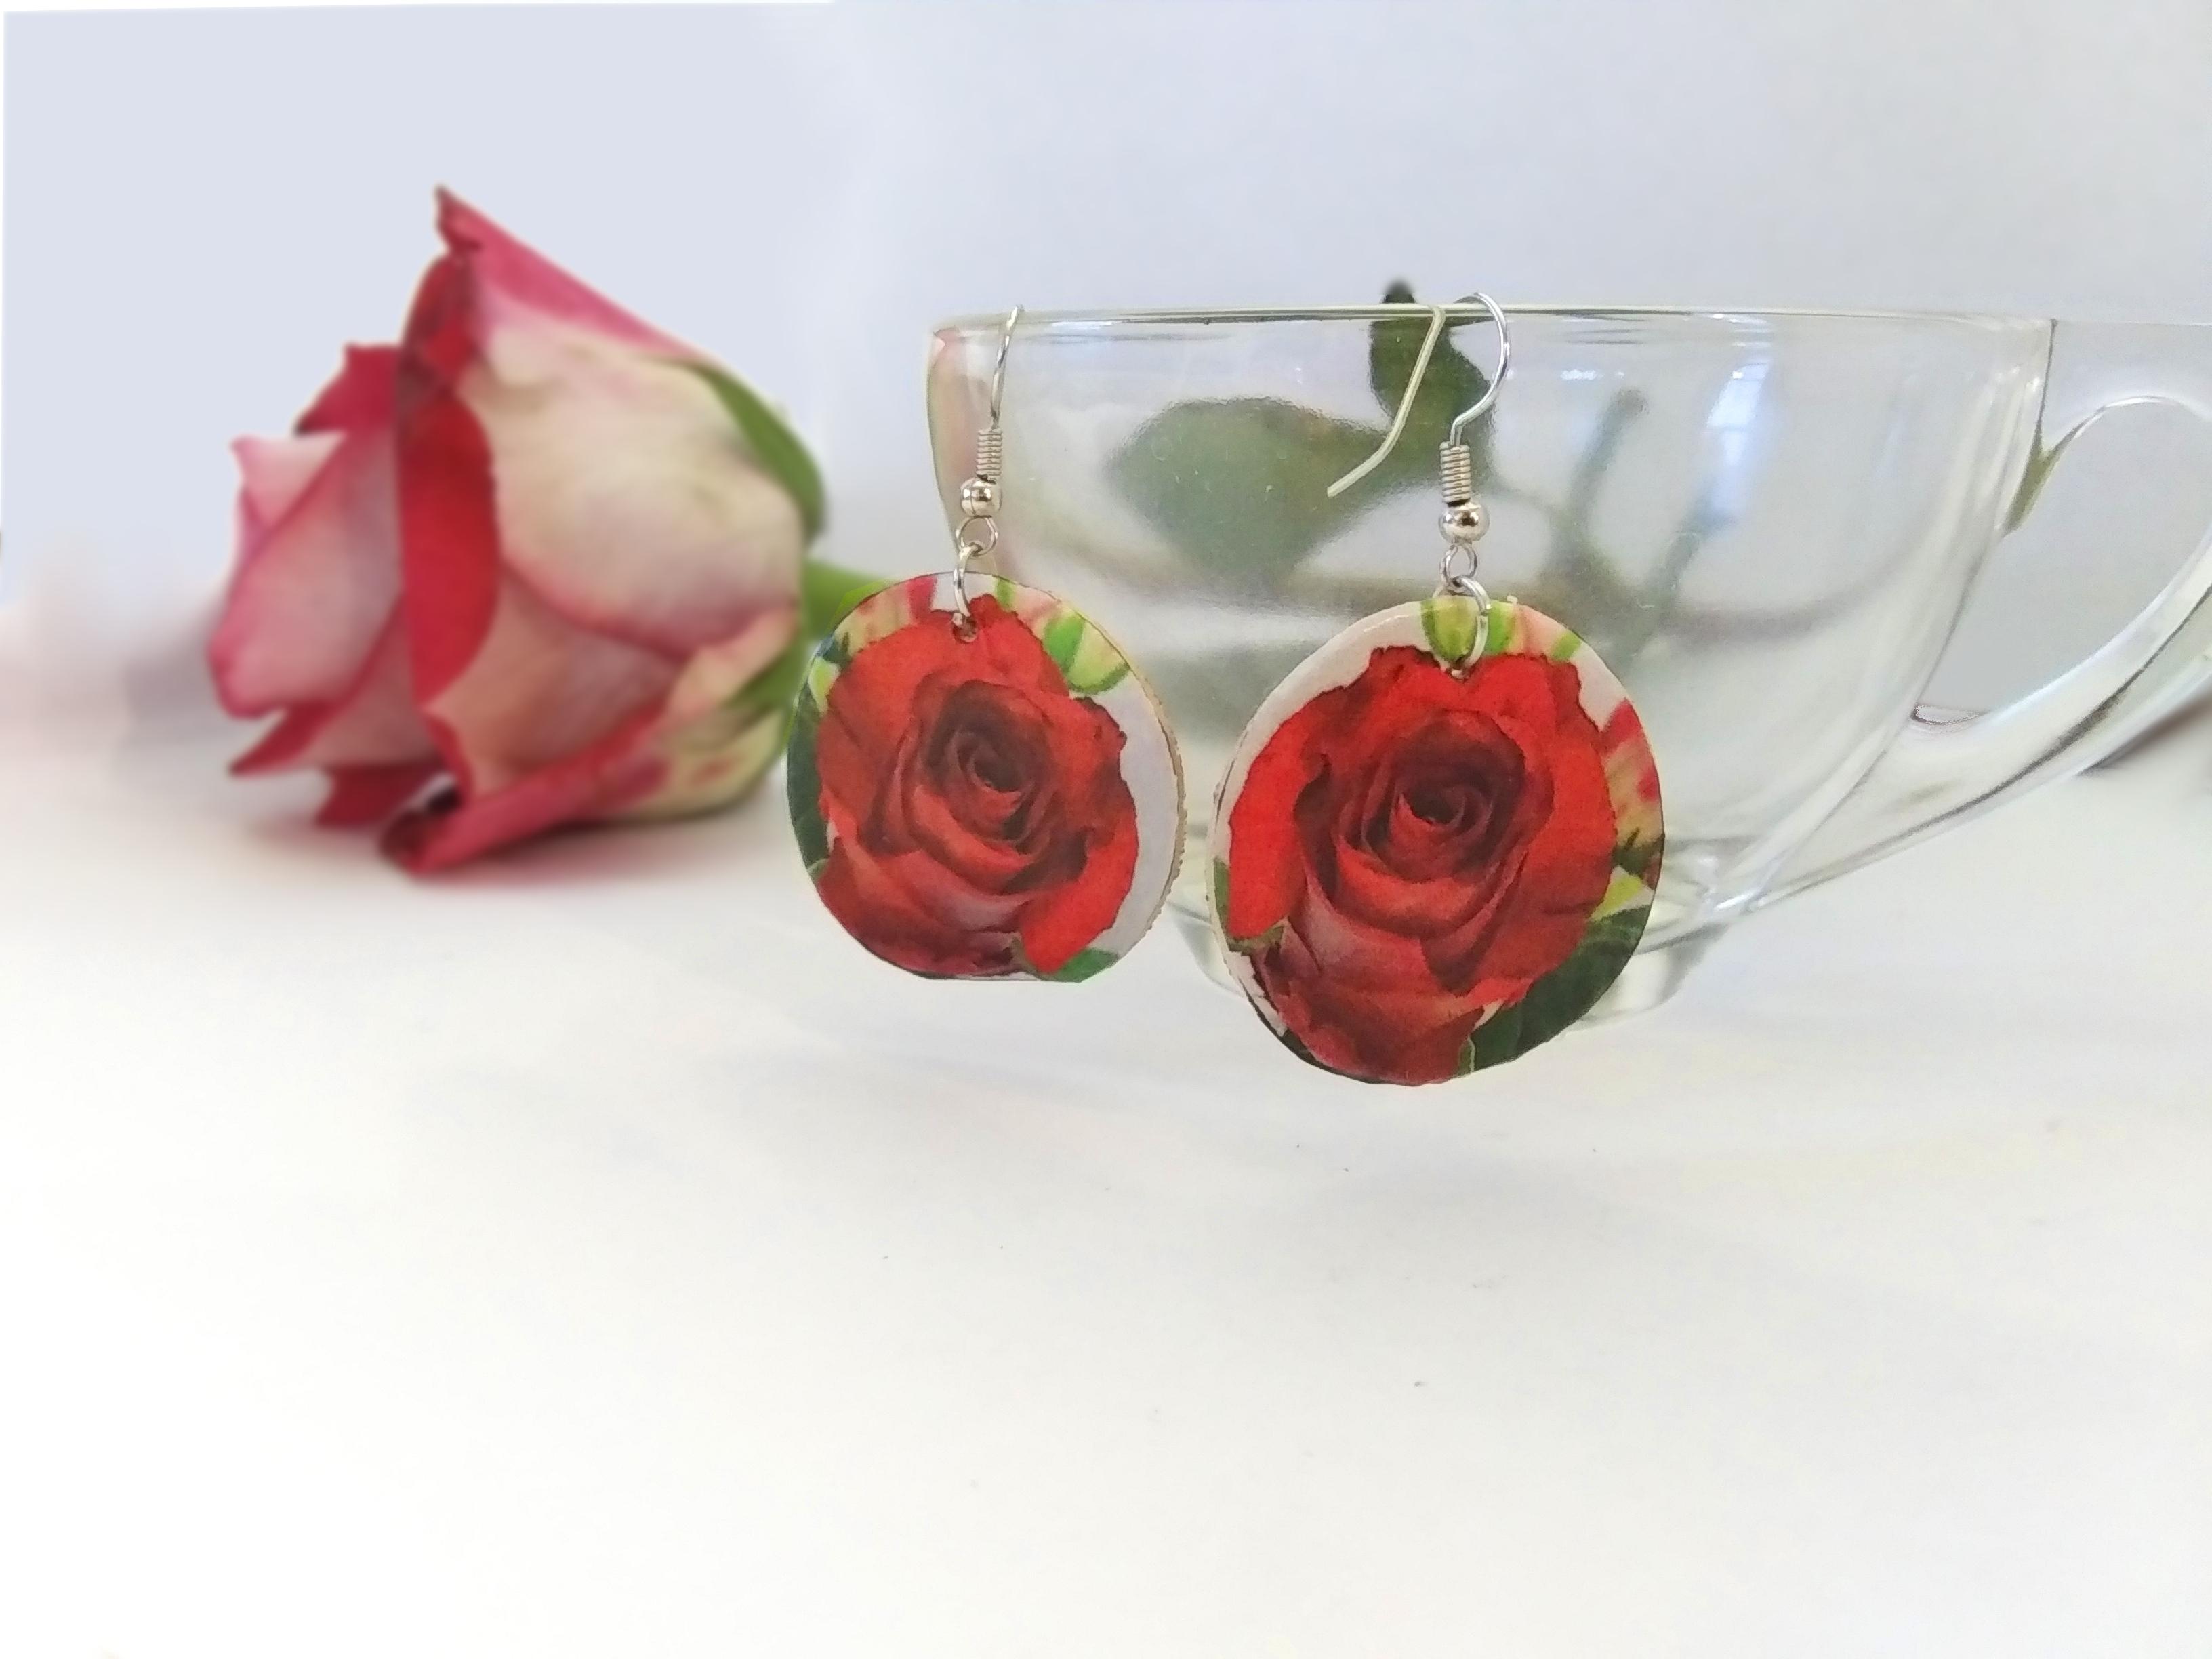
Now you know how to make earrings with whatever you want on them.
I have had many compliments on mine when I wore them. They are eye catching, so people notice them. If anything, they will stop you and say, "What is on your earrings?" Then you can tell them, "I made them!"
I hope you enjoy your new earrings!