Beer Tasting Kit Using Ikea and CNC
by functionaldesign in Cooking > Homebrew
3194 Views, 27 Favorites, 0 Comments
Beer Tasting Kit Using Ikea and CNC
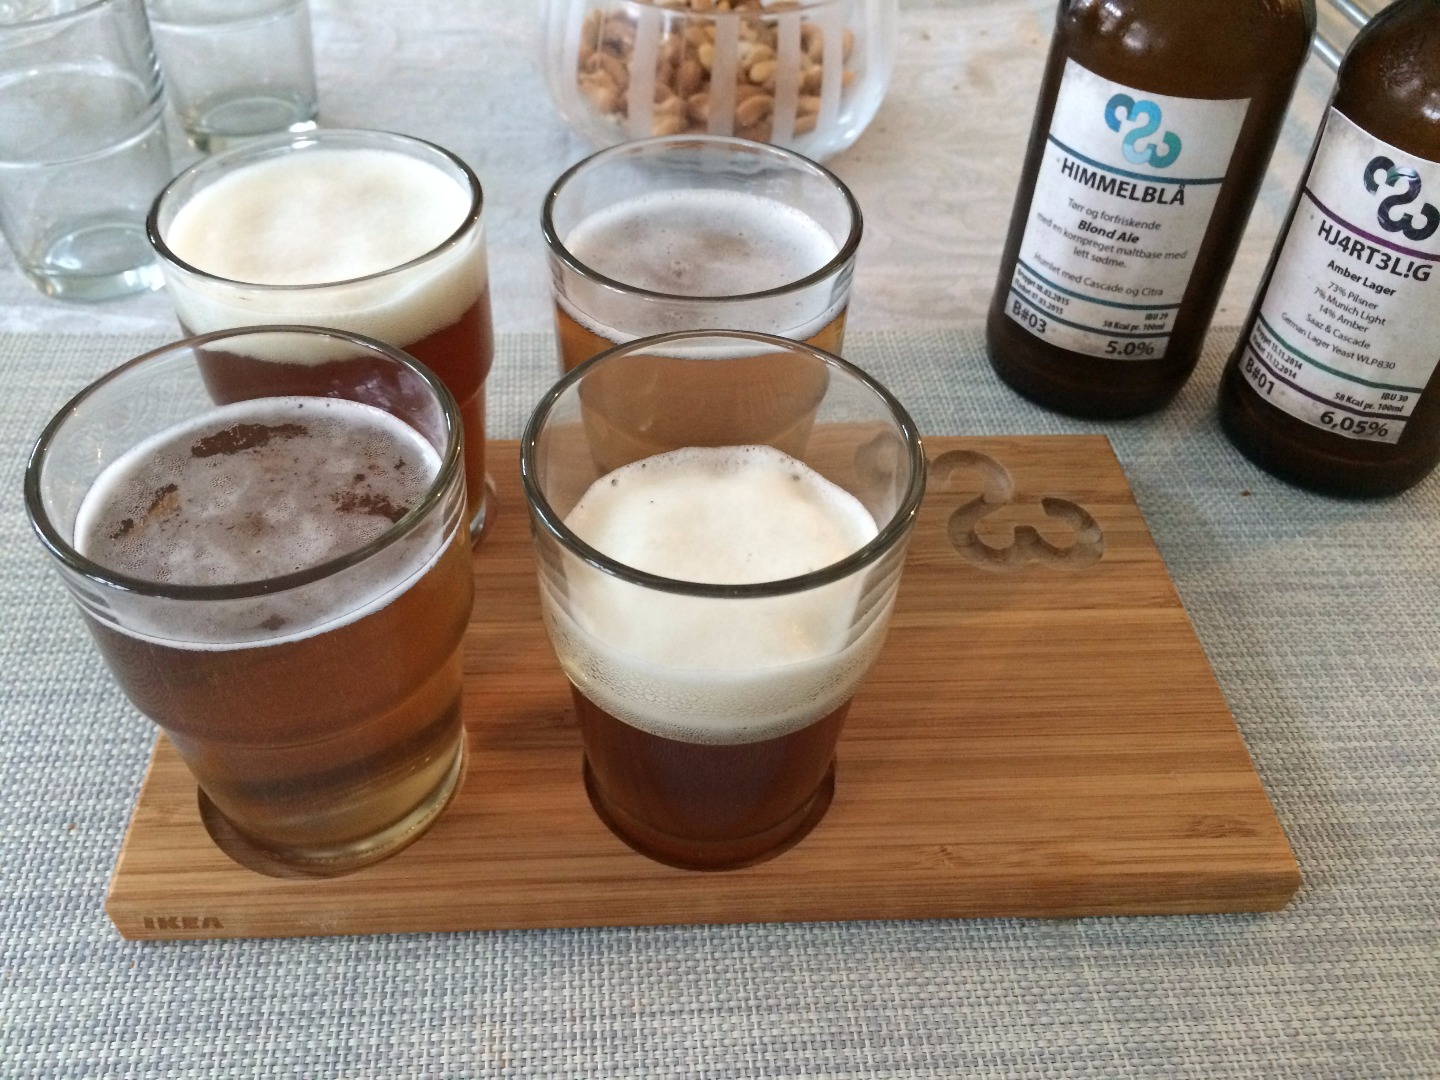
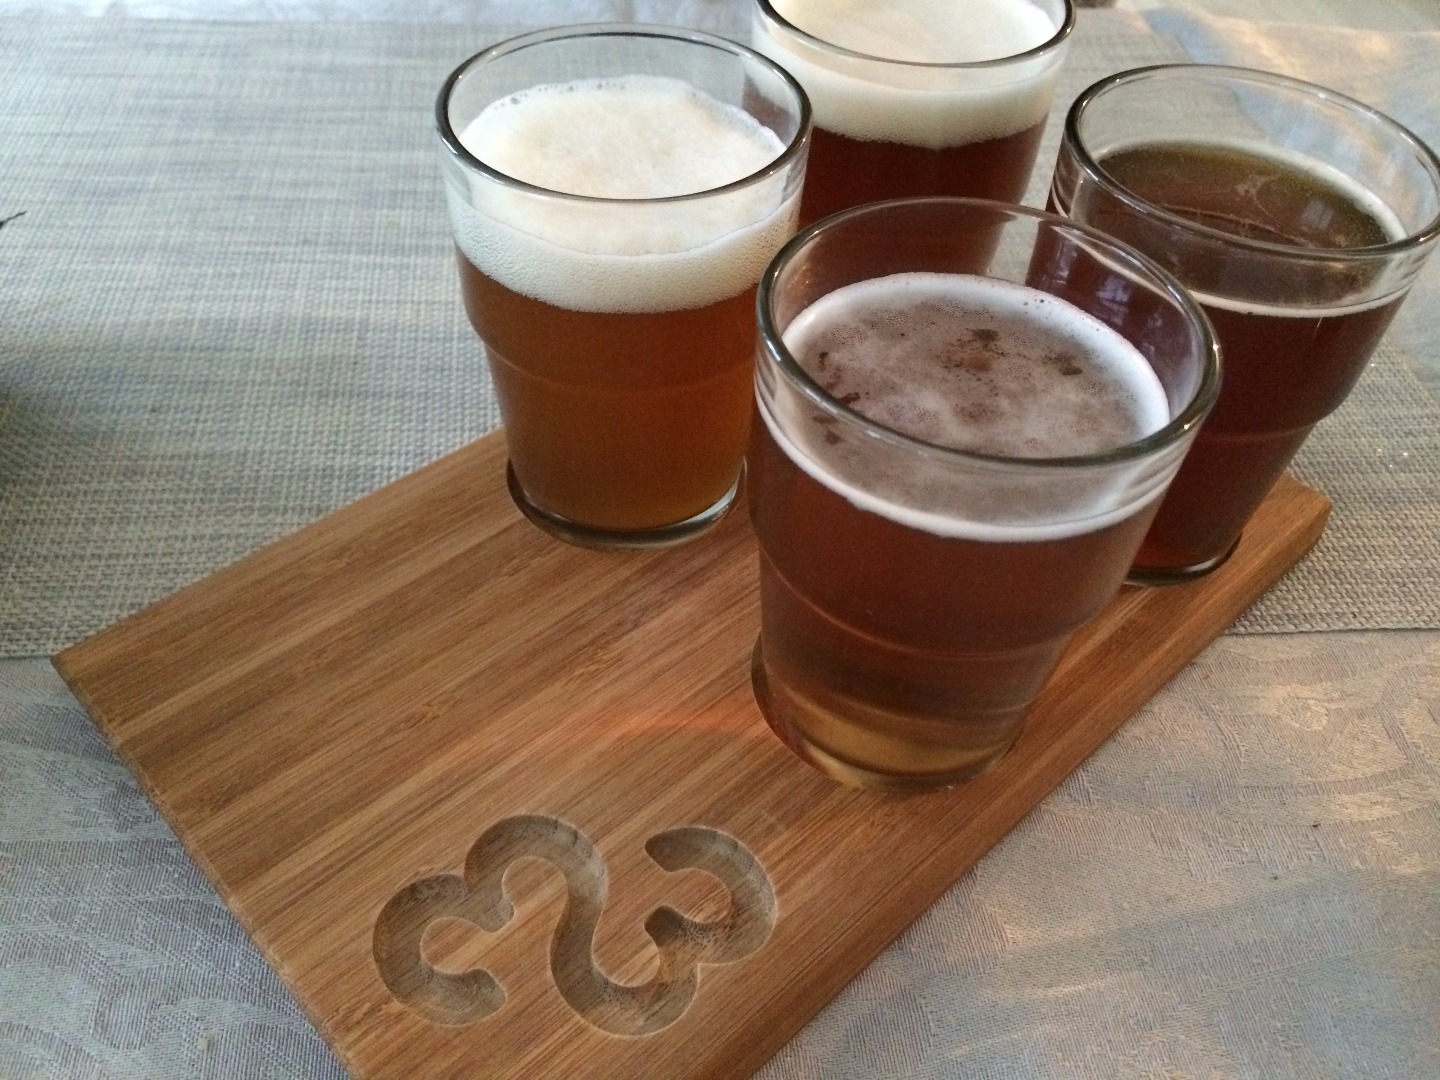
If you are a serious home brewer or like to enjoy different styles of beer you need a good beer tasting kit. This instructable uses cheap components from Ikea, a cutting board and 4 glasses, and CNC milling to create a unique beer tasting kit.
You can buy components wherever you want, but I will use Ikea to give you an idea of what you can make. For this beer tasting kit I'm using a Shapeoko CNC for the milling and MakerCAM for CAM and gcode. It is possible to use a hand router or similar if CNC milling is not an option.
This is what you need:
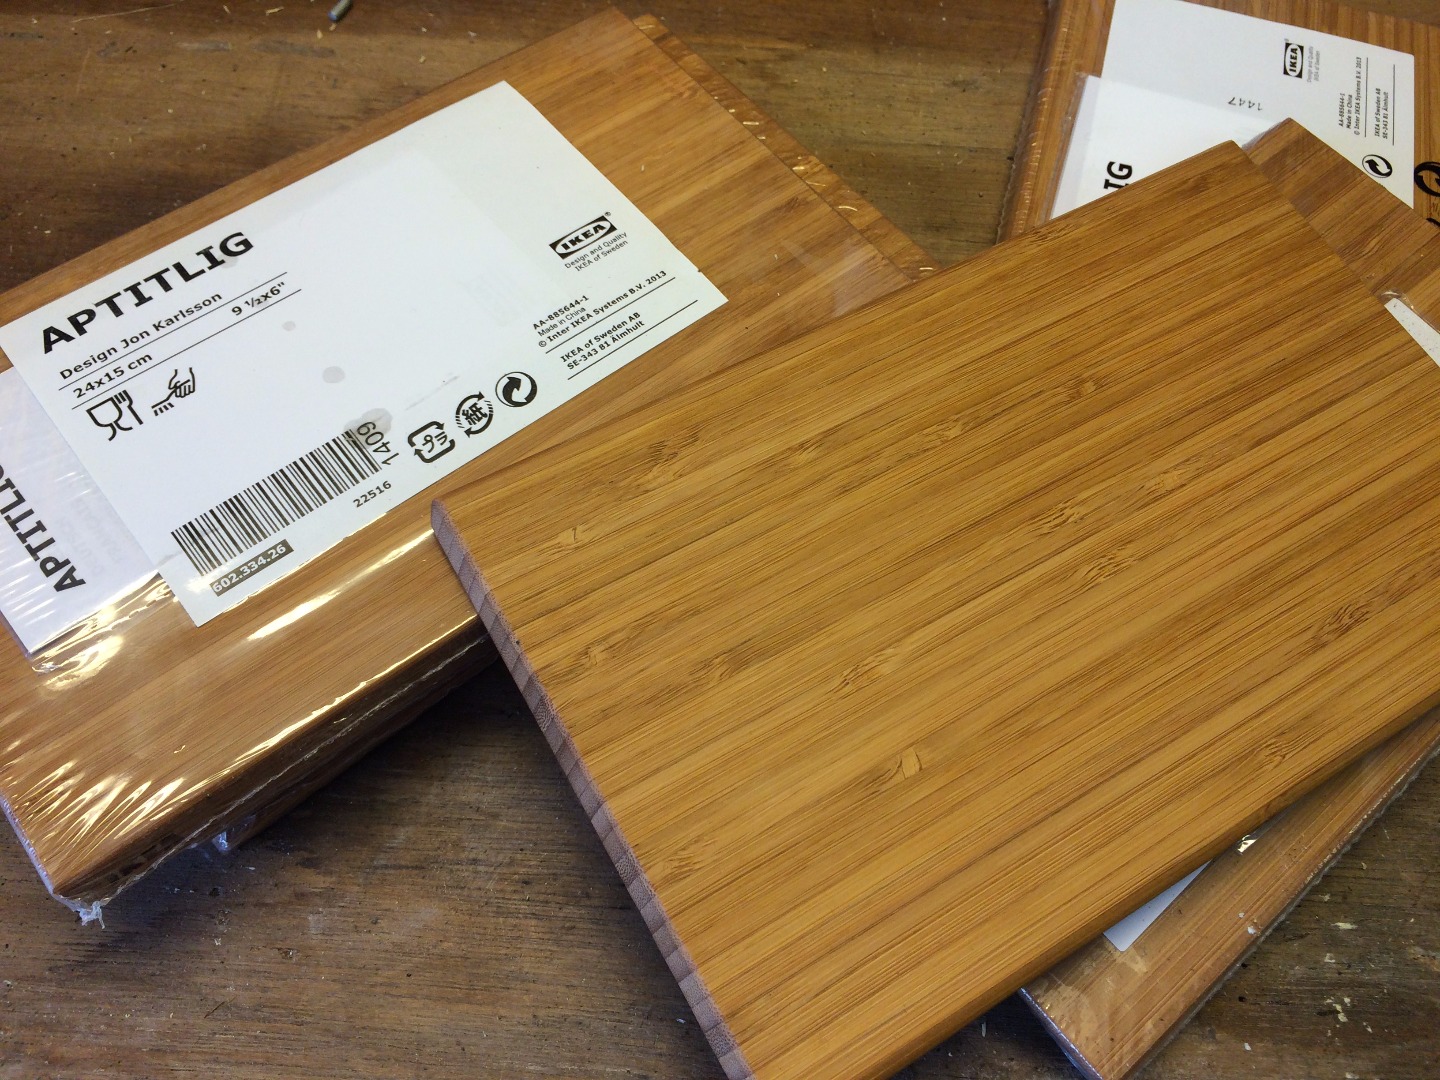
- A cutting board. I found "Aptitlig", a cheap and good looking cutting board made of bamboo.
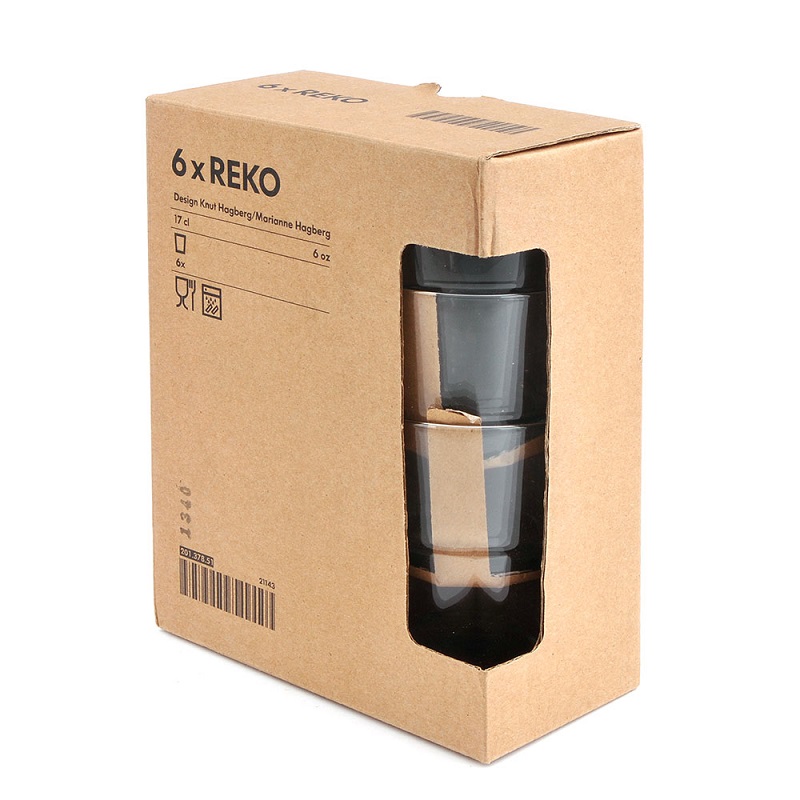
- Beer tasting glasses. I went for "Reko", extremely cheap and small glasses. There are a lot of nice glasses available in different colors and patterns. Be creative. Small glasses may be suitable for beer tasting.
- Beer! Bring out your best brew.
Design and CAM
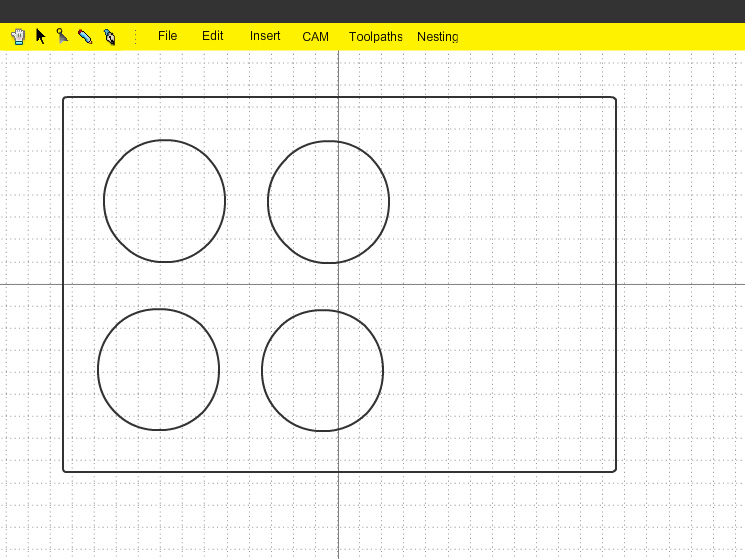
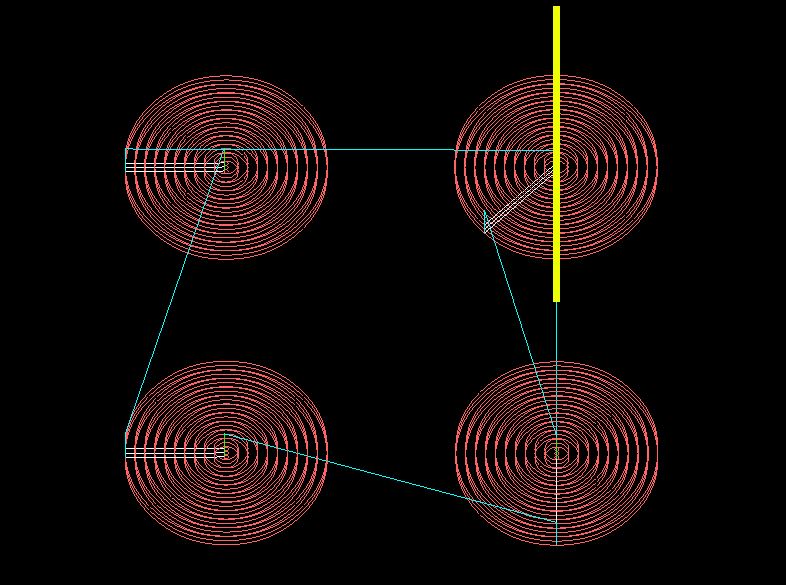
Go to MakerCAM.com. There are plenty of tutorials out there if you need more information about using MakerCAM. I'll dive right in.
I wanted to place the glasses to the left and the "beer brewing logo" to the right in my design.
If you have your logo ready in SVG format open it. Draw a rectangle with the dimensions of the cutting board. This rectangle will be a guide only. Make sure to center of the rectangle is in 0.0 position. Find out where you want your logo and move it into position. Scale it as you want. Next measure the bottom diameter of the glasses you want to use. The Reko glasses are approximately 55mm in diameter. Be aware that glasses may have variations in diameter even though it's the same make. The Reko glasses had variations between 50-55mm. So be sure to check more than just one glass. I wanted 6mm recess for each glass and also checked the angle of the glasses to be sure it would fit nicely.
Depending on your creativity you may go for something else, like glasses in a straight line, more than 4 glasses, or what about an extra recess for snacks?
Pocket operation settings
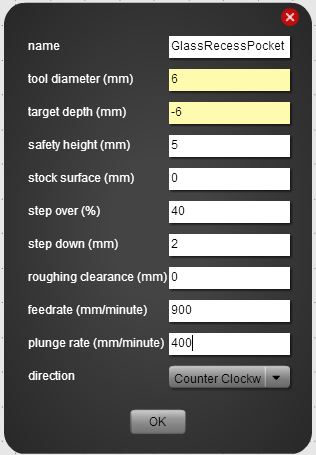
I'm using a 6mm bit and "pocket operation" for the milling of the glass recess. Select all circles for glass recesses and select pocket operation under the CAM menu and enter the following settings (I'm using cm not inch):
Tool diameter: 6
Target depth: 6
Safety height: 5
Stock surface: 0
Step over (%): 40
Step down: 2
Roughing Clearance: 0
Feedrate: 900
Plunge rate: 400
Direction: CCW
If you are not sure how this works try it out on a test piece first. My first bamboo boards cought fire (!) because of bad settings and your setup may be different than what I use. Be careful.
For the logo the settings may be different depending on the logo design. I was using a 2mm ball bit with 20% stepover as this turned out fine for my logo.
Calculate all and export gcode.
Milling and Tasting Beer
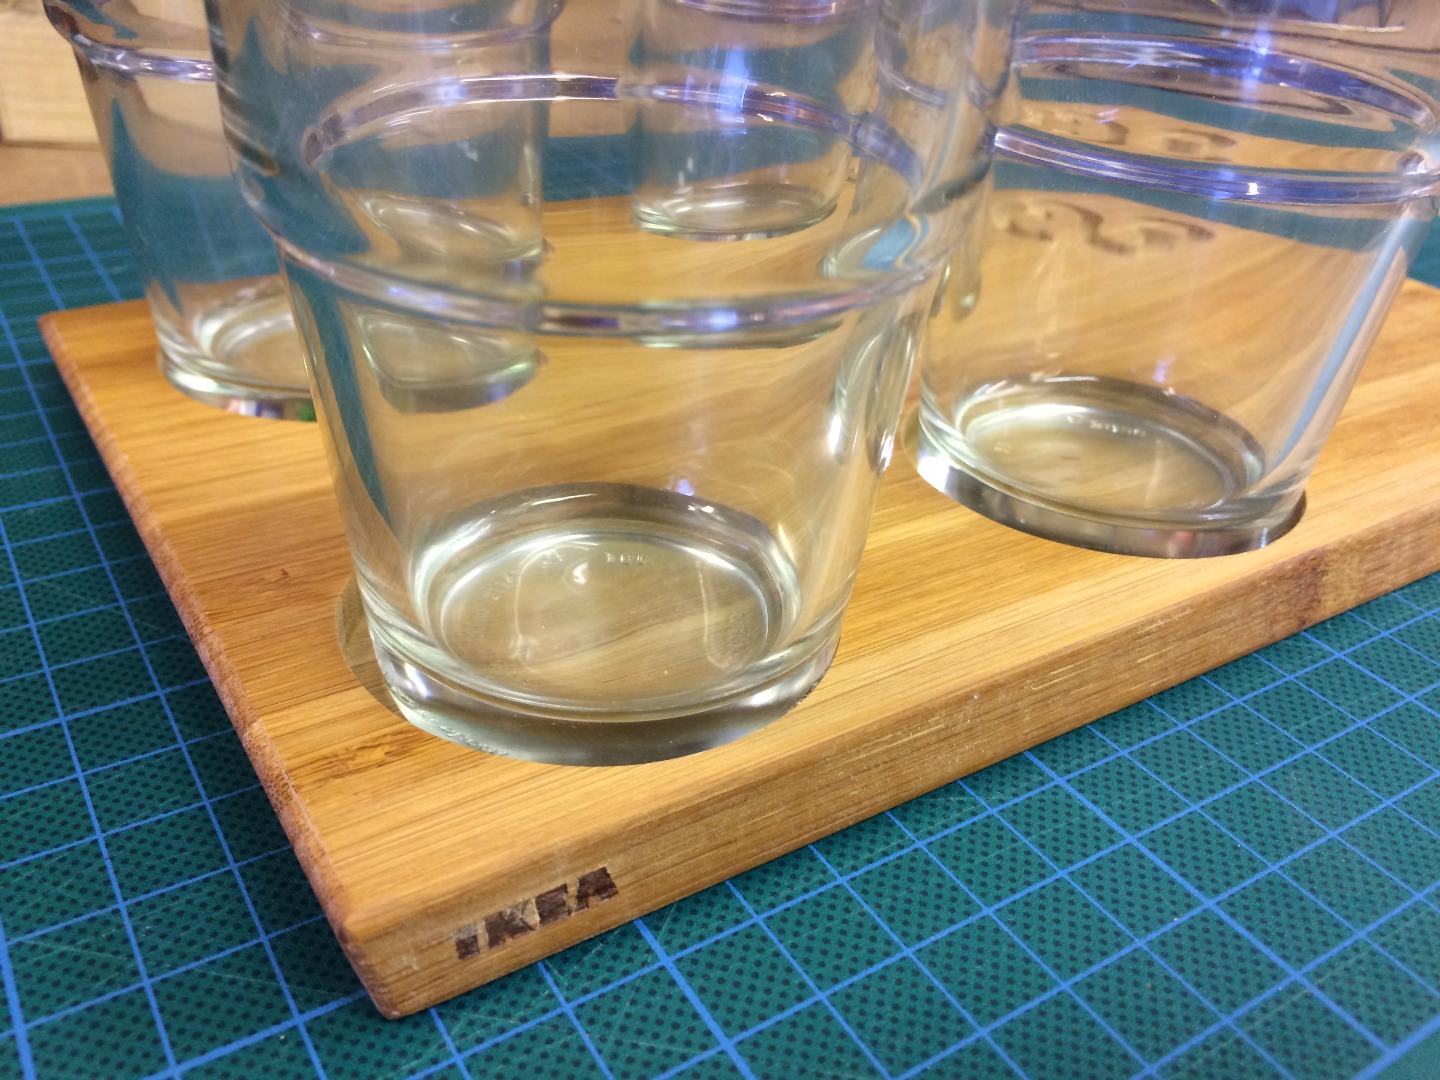
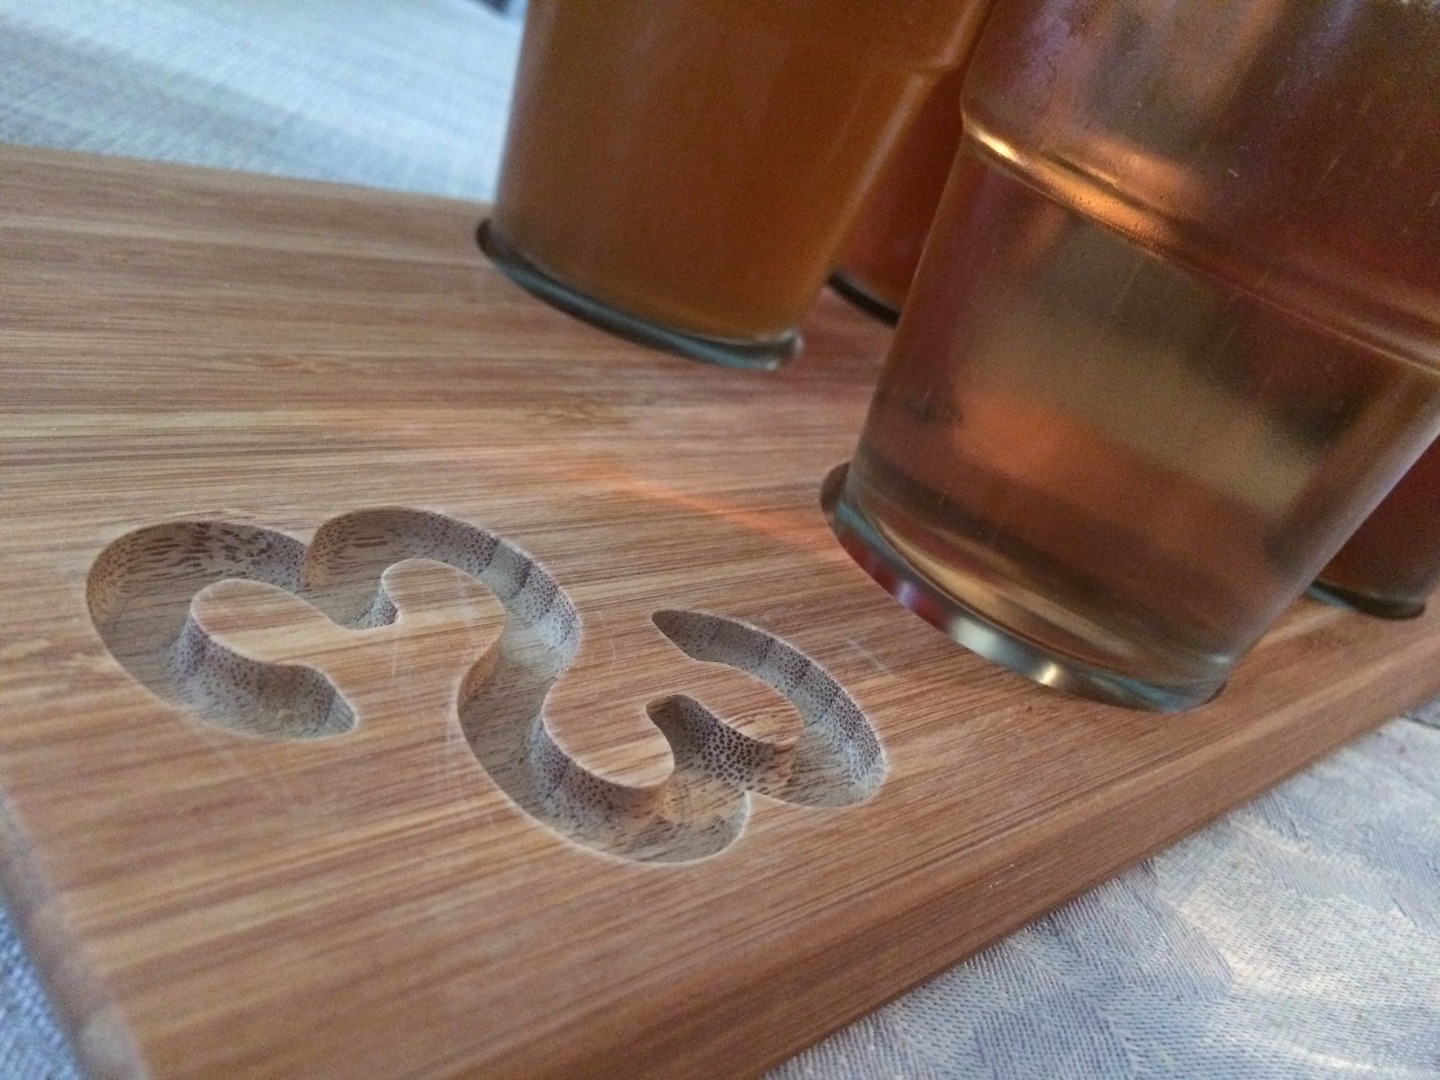
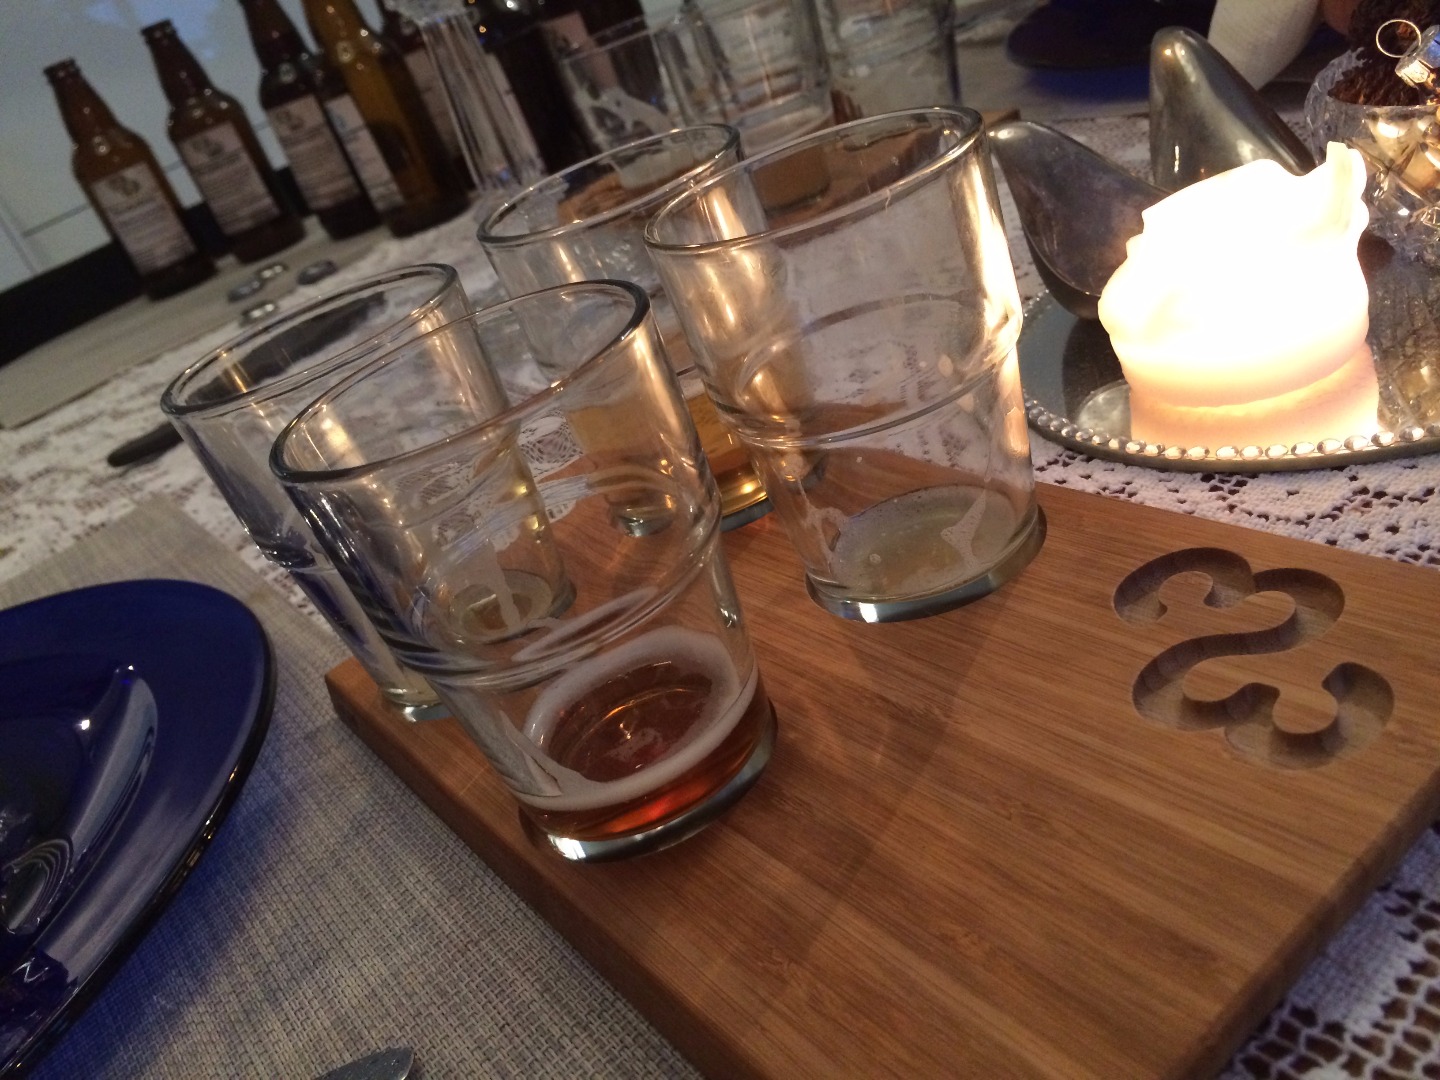
Preparing the board
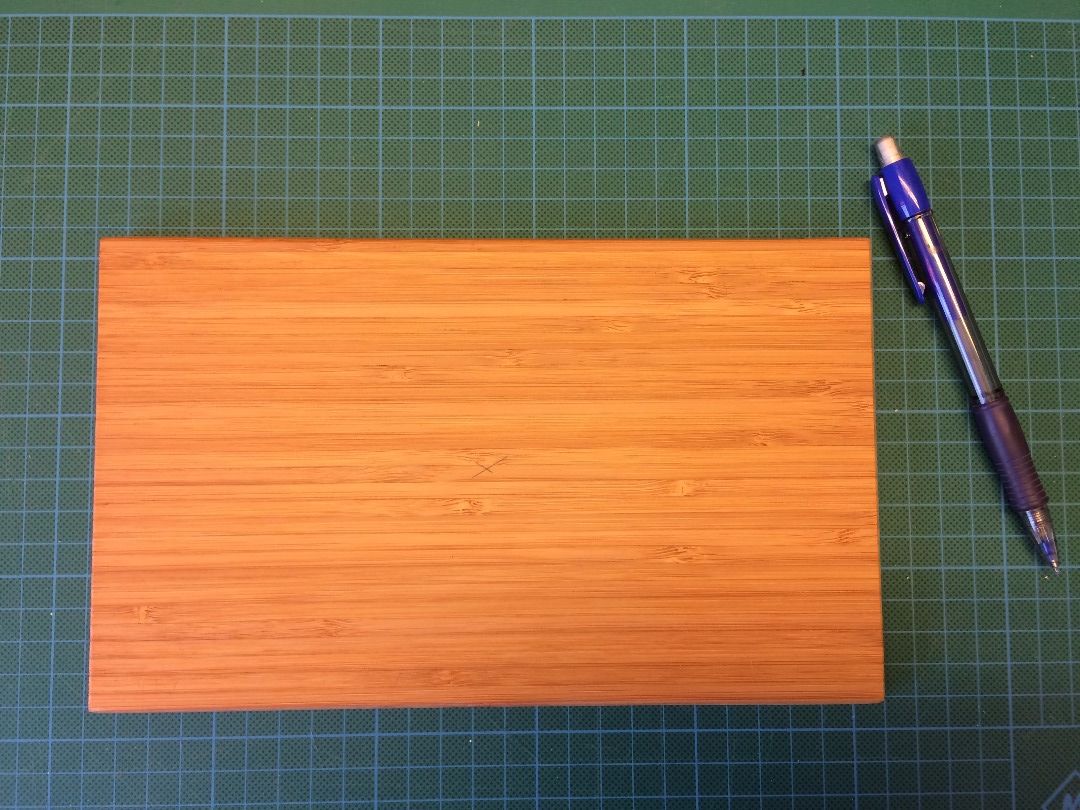
Use a pencil and mark the center of the board with an x, see attached picture. This is where you will place your bit, in zero. If you have a CNC system you probably know how to make it run the gcode made earlier. I'm using a ShapeOko CNC and UniversalGCodeSender to run the gcode. Details on how this works can be found all over the internet, but please comment if you need more information.
When your boards are milled with glas recesses and logos it's time for functional testing of the assemblies. Invite some friends over, find different beers and start beer tasting!