Beer Cap Map
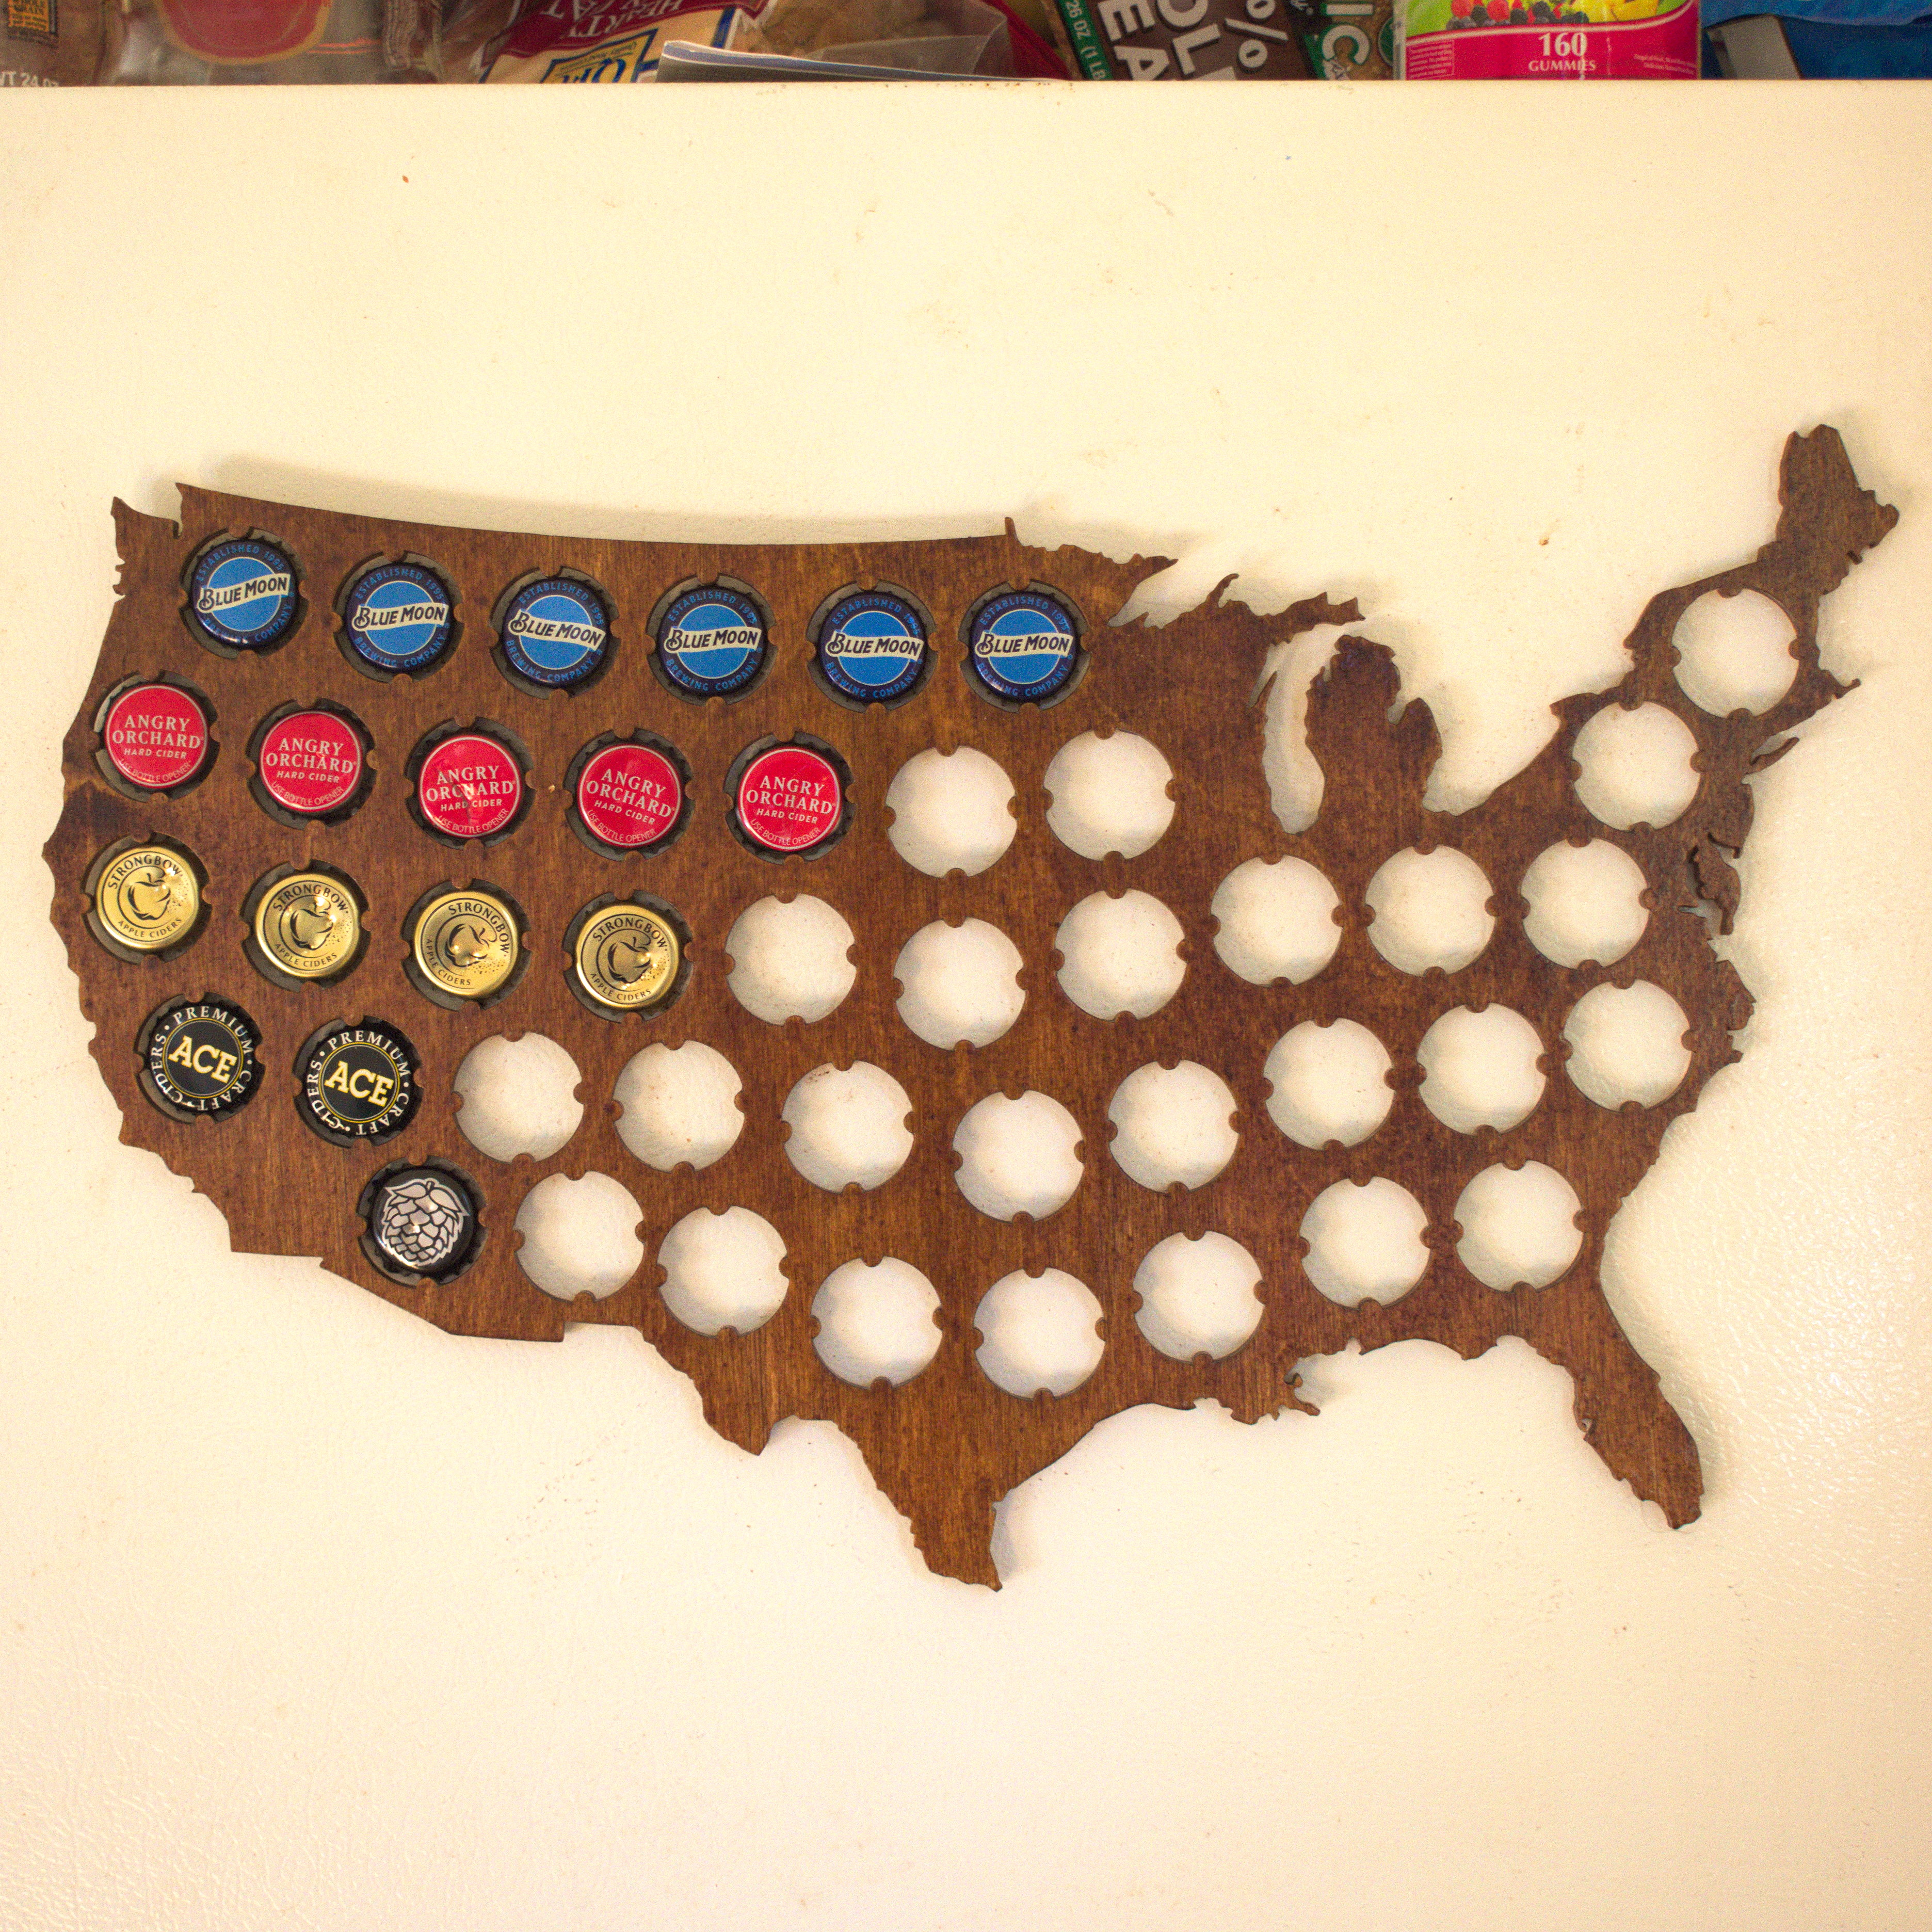
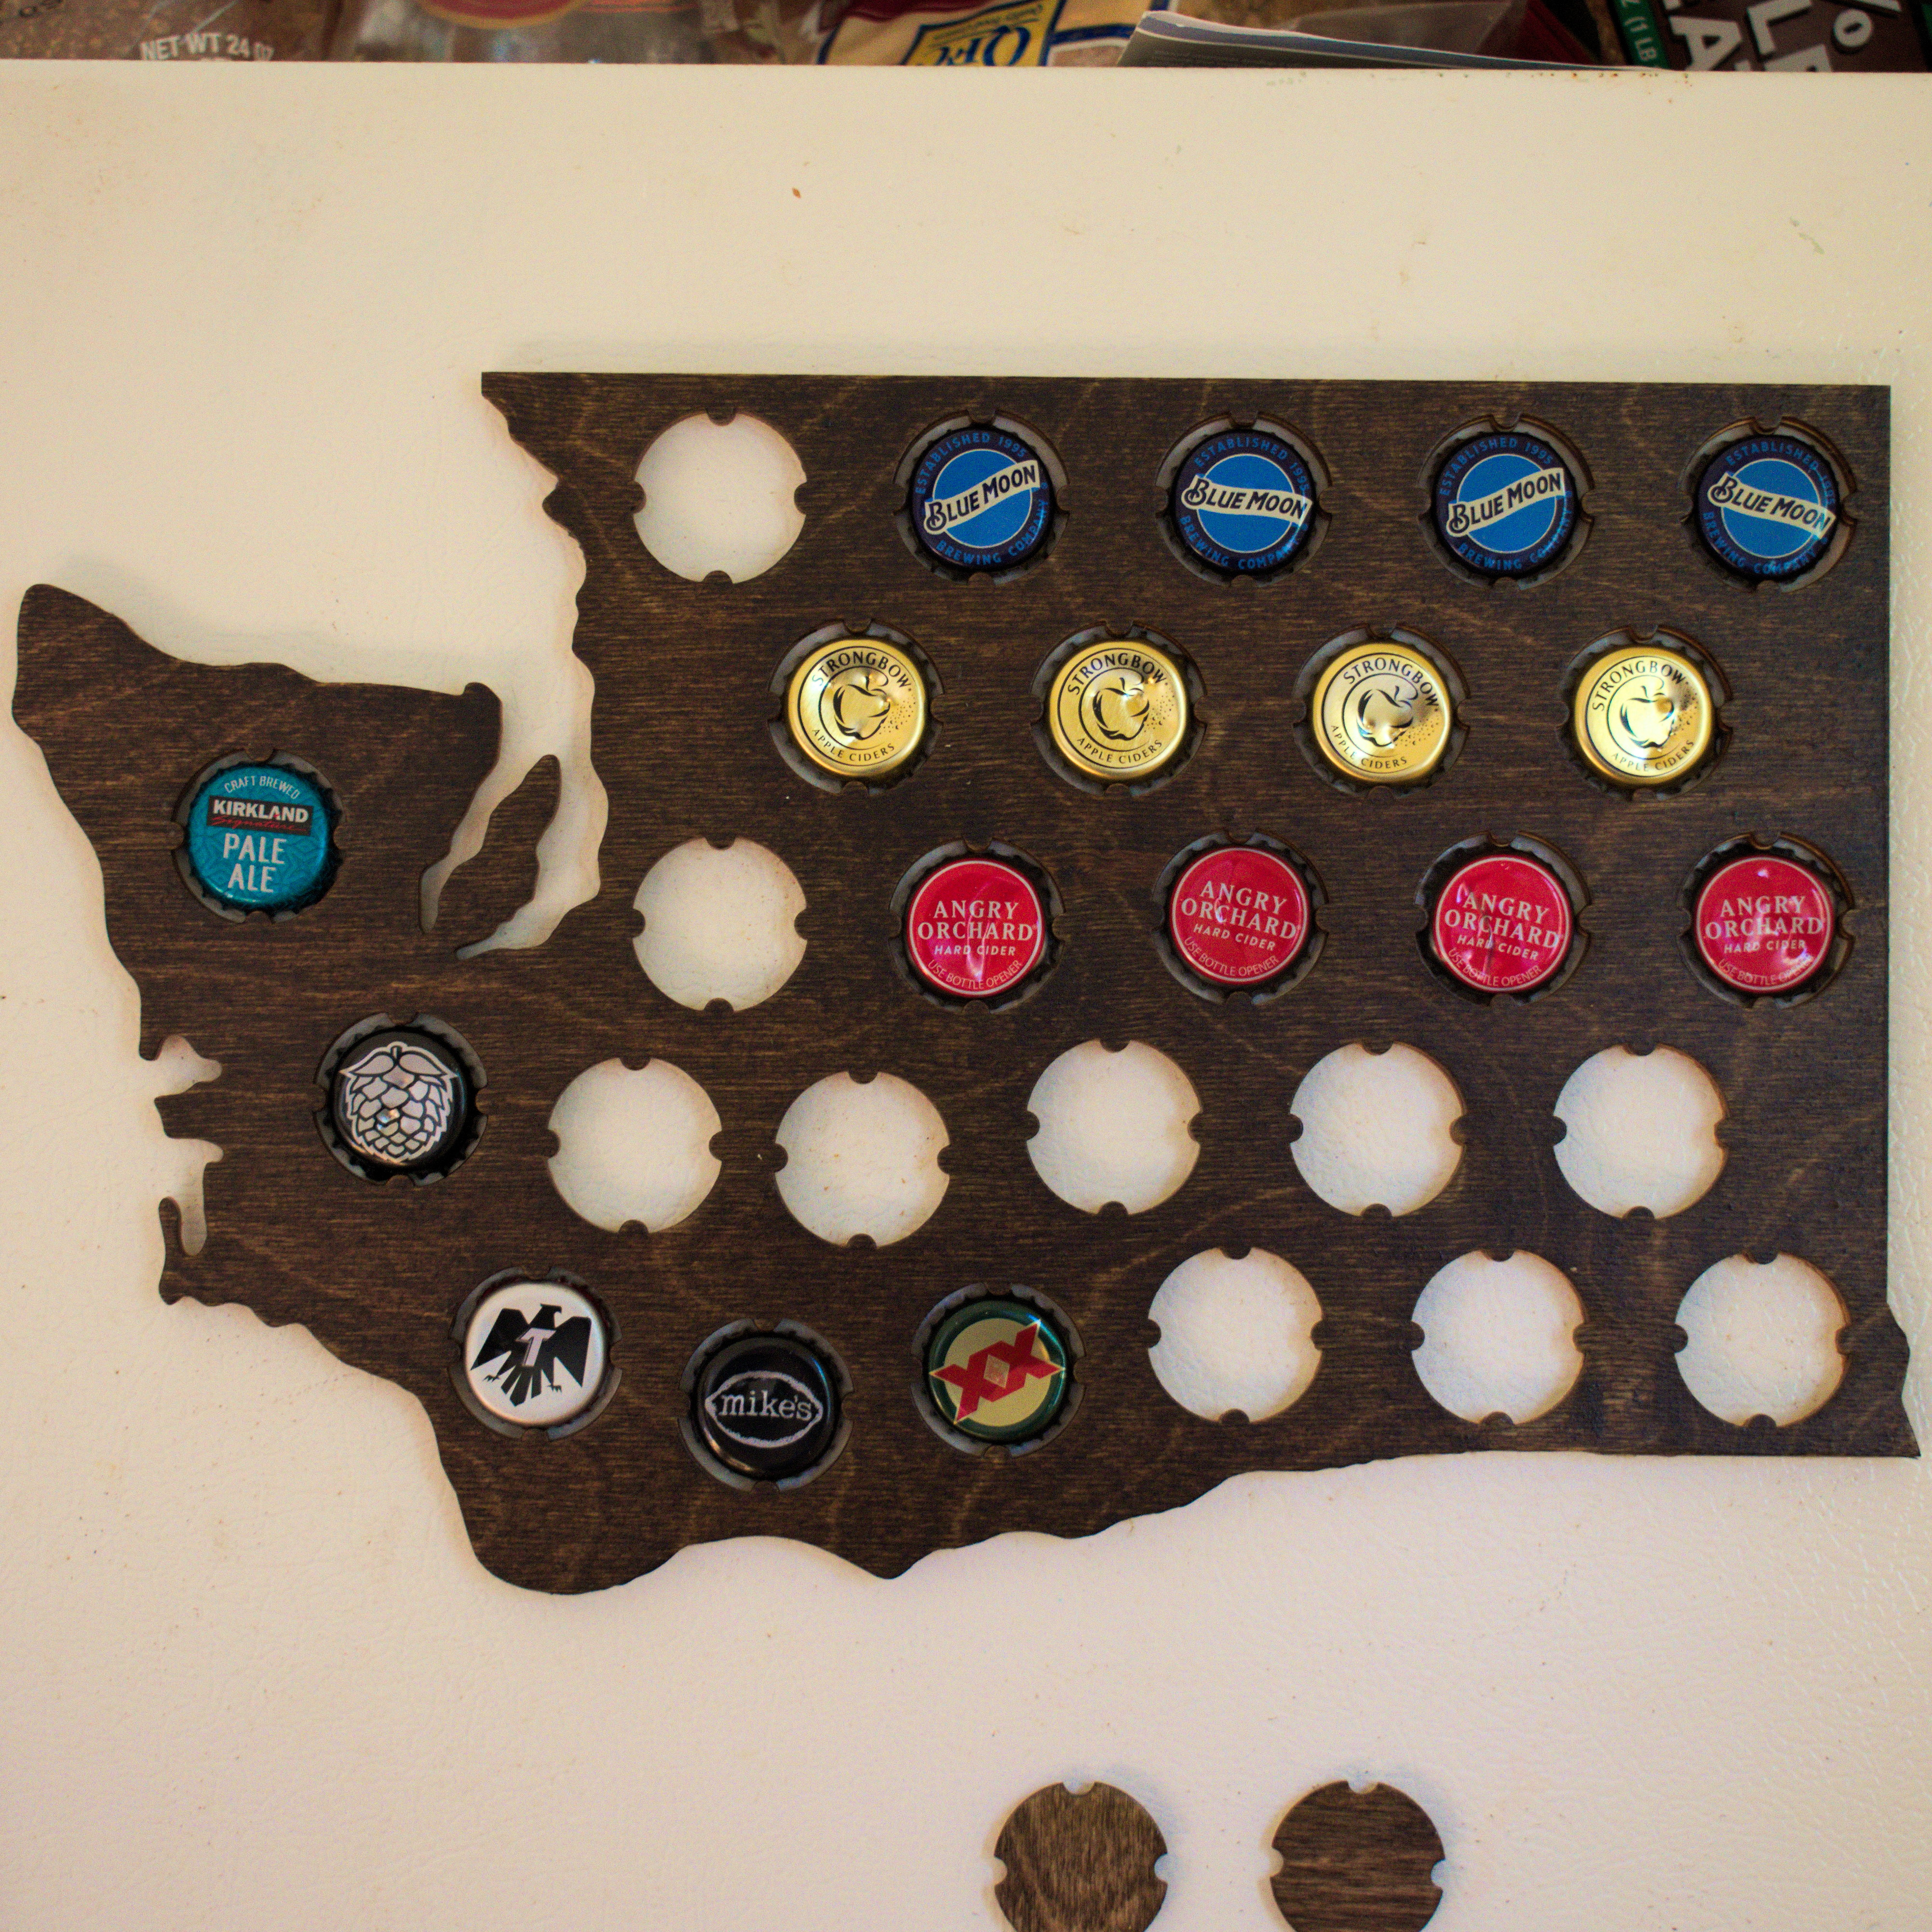
I originally designed this as a Christmas present for a friend. It's a great souvenir to show places that you've been too. I've seen beer cap maps sold online, but they're pretty expensive, so I decided to try to make my own! Turns out it isn't too difficult if you have access to a laser cutter. The designs I made are a little smaller than some of the ones that I've seen sold online, but the US map can still hold a respectable 43 bottle caps and the Washington map can hold 27 and is the perfect size for putting on the fridge.
In the first part of this Instructable I will detail how I designed the map using a CAD program (I used Rhino). This will be useful if you want to make a bottle cap map of a different state (or any other pattern for that matter). And in the second part of the Instructable, I will go over the laser cutting and assembly of the beer cap map. So if you are using one of the templates that I provided, you can go ahead and skip to the second part.
Necessary Parts:
- Birch plywood (I used an 1/8 inch thick 18x24 inch sheet)
- Wood stain
- Wood finish
- Glue
- Magnetic strip (or other adhesive method)
Tools:
- Laser cutter
- Paint brush (to apply the wood stain and finish)
- Clamps (or textbooks to weigh it down after gluing)
- Sandpaper
- CAD program (unless you're using my included template for the USA or Washington)
Some of these may be optional depending on what you want to do (for example you don't have to stain it if you don't want to)
Designing the Pattern
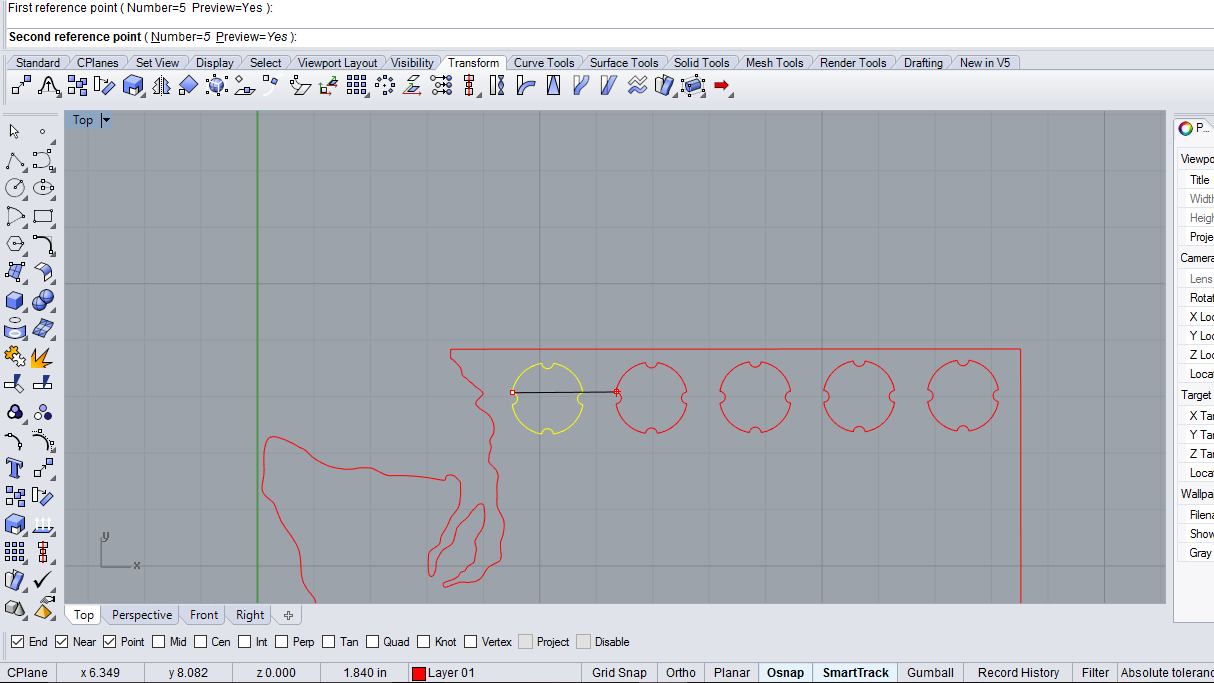
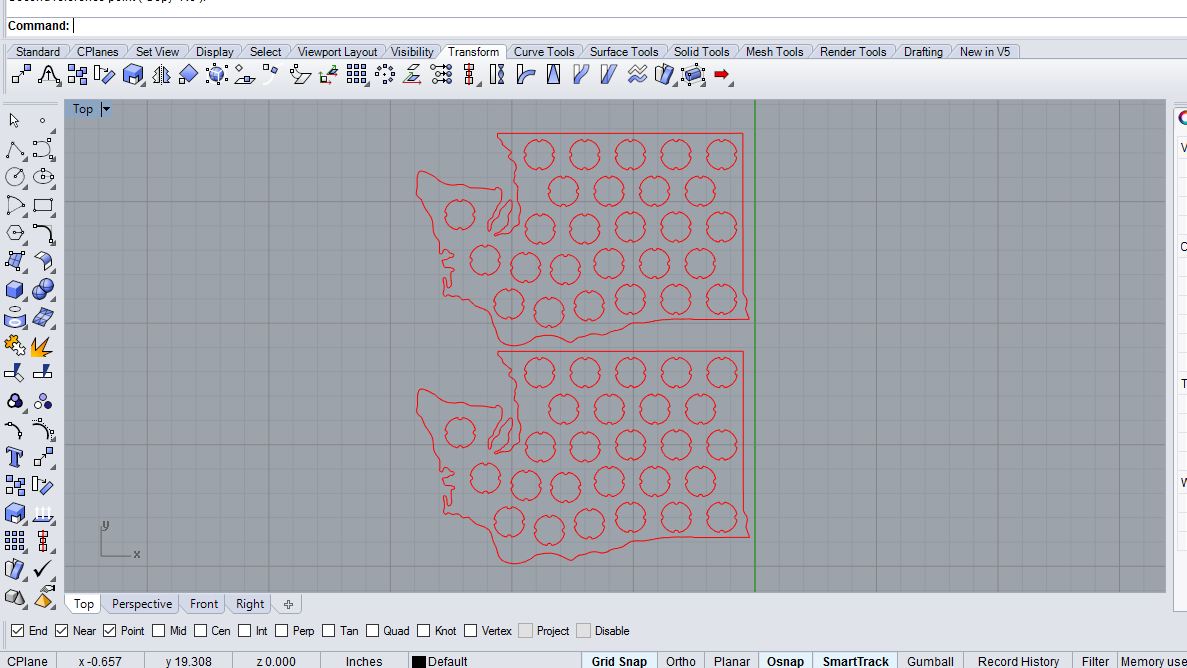
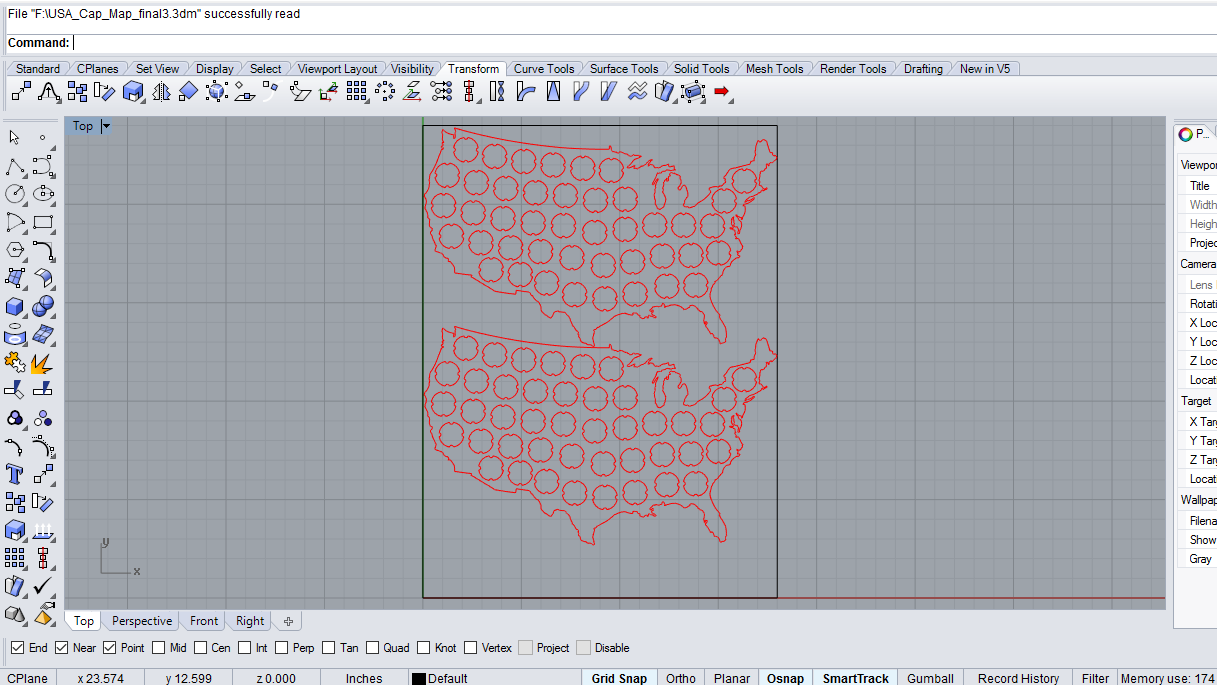
I've included two designs that you can use, one for the USA and one for the state of Washington. If you're using one of those two then you can move on, but if you want to make your own, I will explain the process here.
The first step is to design the hole for the bottle cap to fit in, which I already did (and is attached by itself as a file below). The hole needed to be big enough to fit the bottle cap, but also needed to be an interference fit so that once in, the bottle cap wouldn't move. After a couple iterations, I came up with a design that works well. It's included below for you to use.
Next is creating the outline of whatever object you want to use. There are two ways that I've found of doing this:
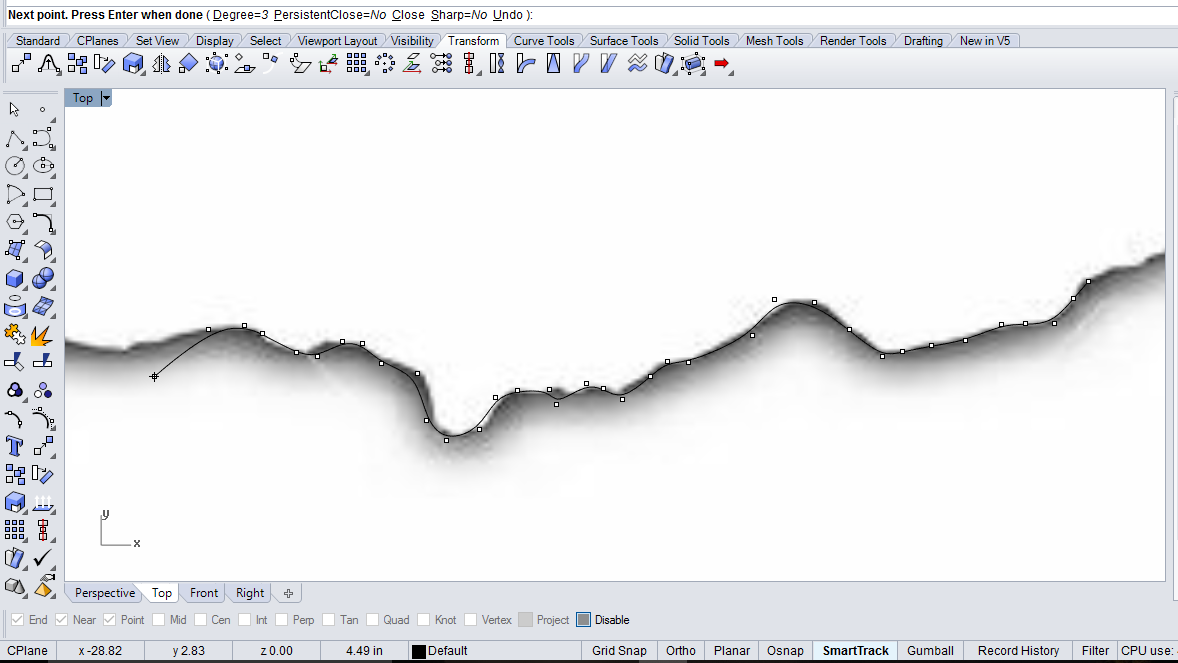
- The first is tracing the outline using a background image of the state that you want. I did this in Rhino, but there are other programs you can do this in. In Rhino the commands to do this are "PictureFrame" which allows you to place an image in the background, and then "Curve" to trace the image.
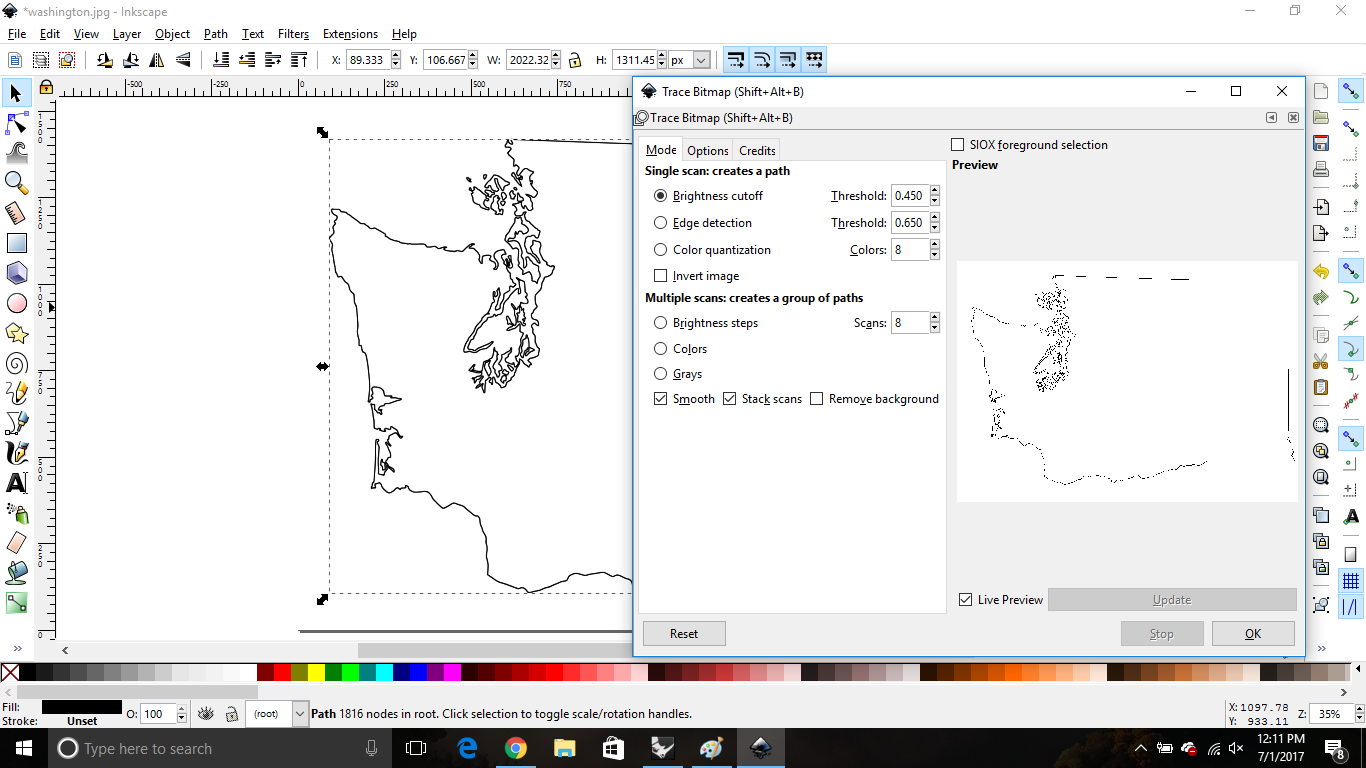
- The second is using a program like Inkscape (which is free) to vectorize the image that you want. To use this technique, you want the image to be just the outline of the state. The steps for Inkscape are open the image that you want to use (and make sure the image is selected), then go to path>trace bitmap and hit okay (I've found the default settings work pretty well for black and white images like this). From here you can delete the background image, and then you have the outline. Using this method, you will need to delete curves that are part of islands (like in in the Washington example photo), and you may want to edit/smooth some features of the curve if they are too skinny or long.
Then scale the design to the appropriate size that you want; make sure that you don't scale the cutout that holds the bottle caps (because that needs to stay that size for the bottle caps to fit), just scale the outline that you're using. Both designs that I included I scaled to fit an 18x24" sheet of birch plywood (which is the size of the laser cutter that I have access to).
Once you scale it to the size that you want, the next step is to add the cutouts for the bottle caps. This can be difficult, because you want to add as many as possible, but not so much that you are too close to edges or other cutouts, which will cause the piece to risk breaking after you laser cut it. I found that there is always a spot that you can almost include one more cutout in, but you just gotta live with it.
To make the patterns as organised as possible, the process I used in Rhino was to copy and paste in a single cutout into the file with the outline that you are using, and then use a pattern command to create a row of them, varying the distance between them, until I was happy with the result. Do this multiple times, until there is no more room to add any more rows (5 rows fit in my Washington design). Then I manually moved some of the pieces to better fit the map (like the bottom two rows of the Washington pattern), and copy and pasted individual cutouts into any parts of the outline left that has room.
Try to find the best compromise possible between utilizing the space as best as possible, while also not making the gaps too thin. I was a little more conservative in the Washington design (I kept the gaps between cutouts larger), and a little more liberal here in the US design. So if you're using the US design, you'll want to be more careful when handling it.
If you are using 1/8" birch plywood like me, you will most likely want to laser cut two patterns and glue them together to increase the structural stability of the final product, and also lets the beer cap map be thick enough so that the bottle caps are fully inside the cutouts (otherwise they could scrape along the back if they aren't pushed in enough.
And if you having trouble importing the cutout design, the large circle should have a radius of 0.636 inches and the four smaller circular patterns that hold the bottle cap have a radius of 0.105 inches. It might also be important to note that the files were saved in units of inches.
Laser Cutting
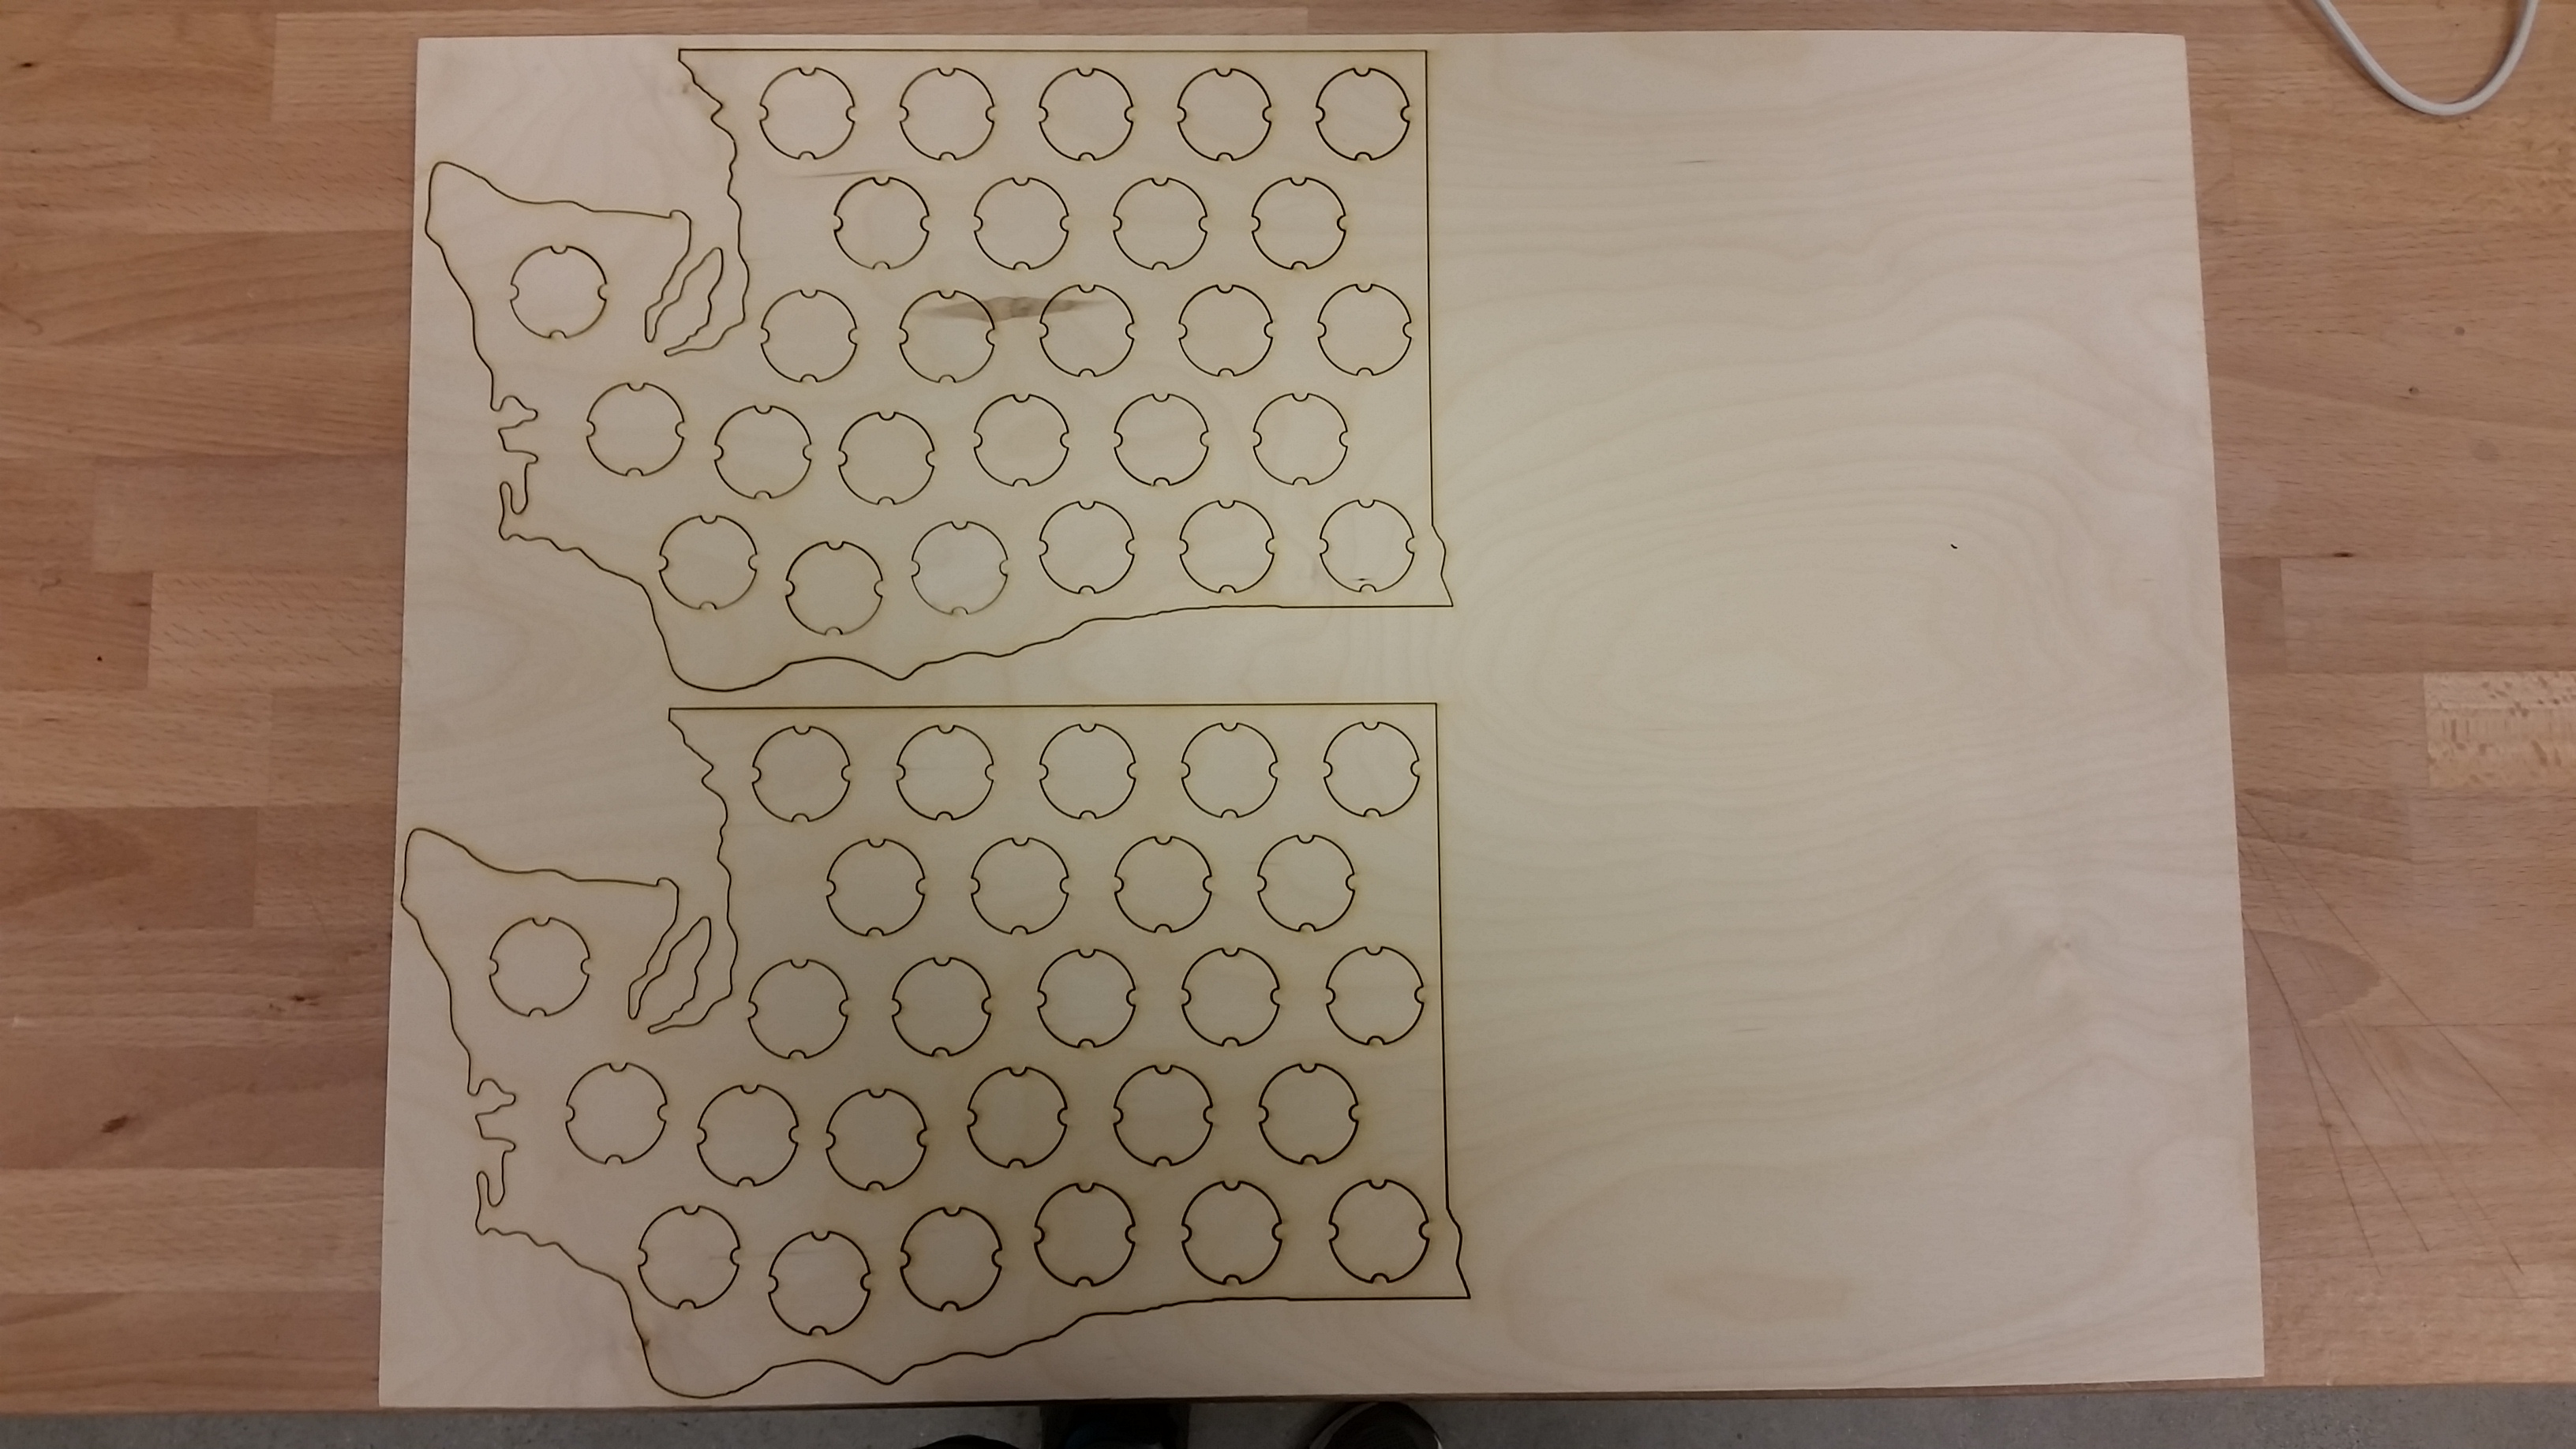
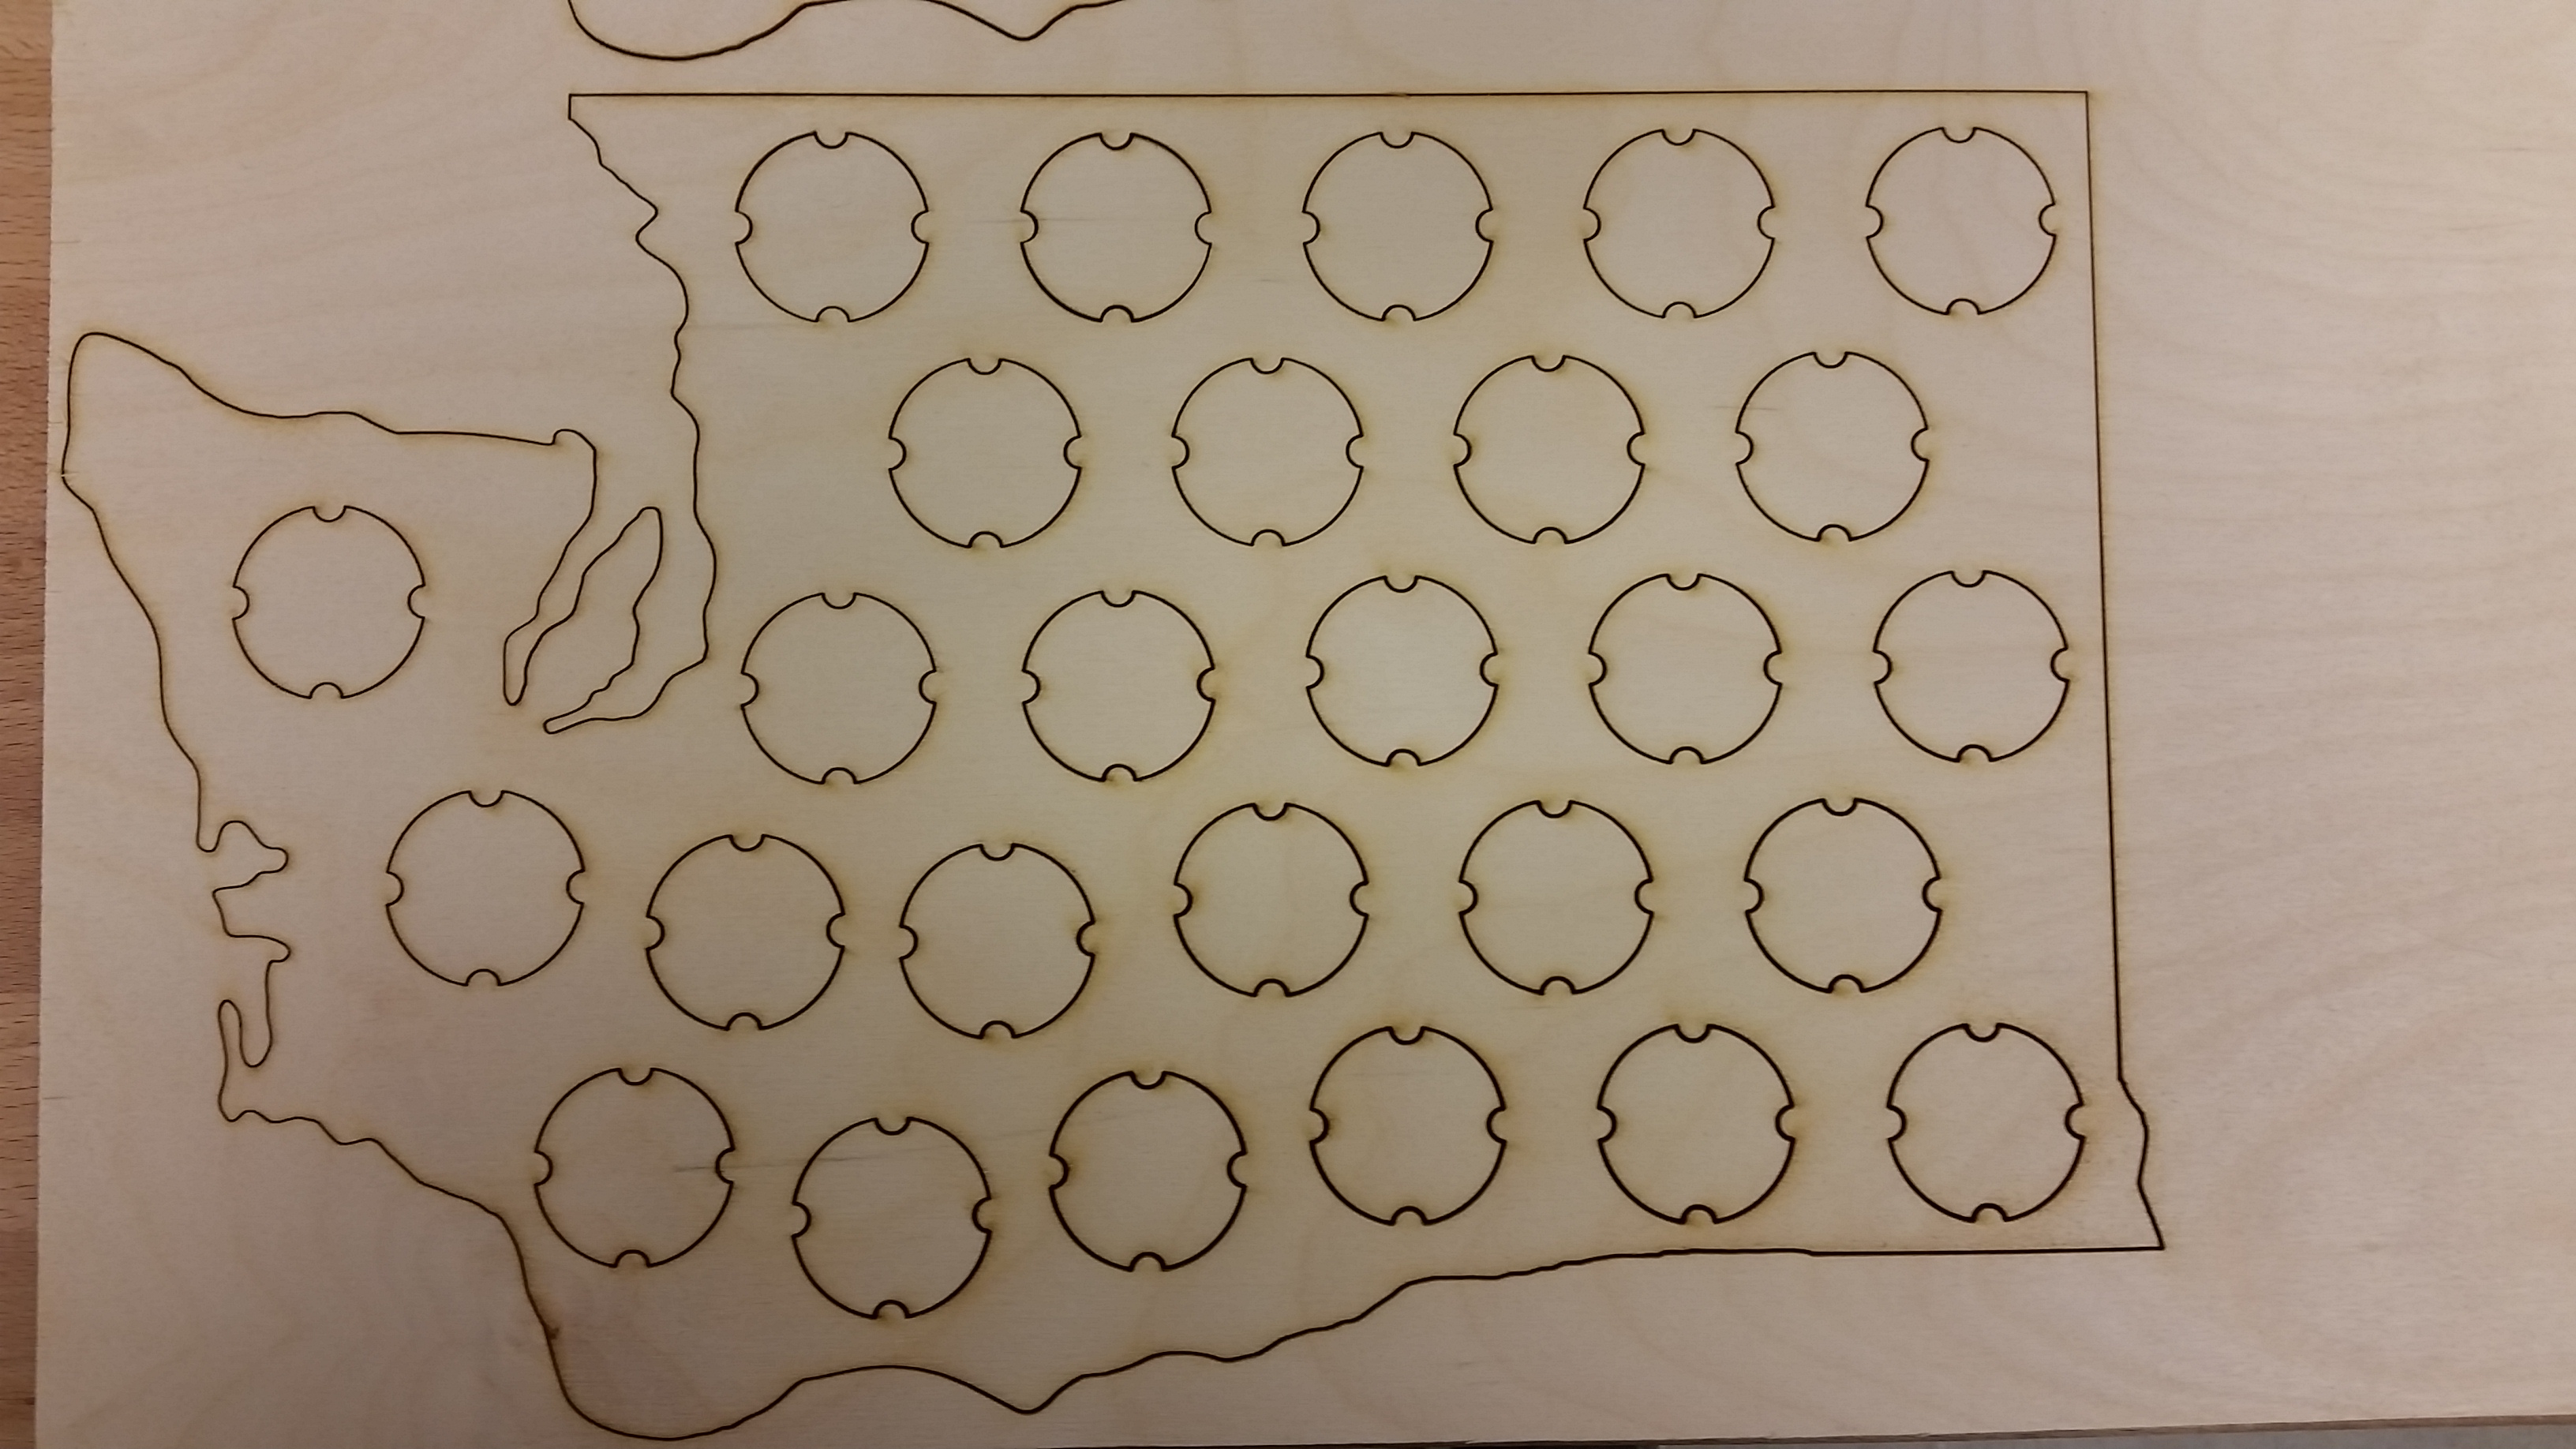
Attached below are the Washington and US designs that I made, saved under different file types so that you can figure out which one works bets for you. The files were saved in units of inches.
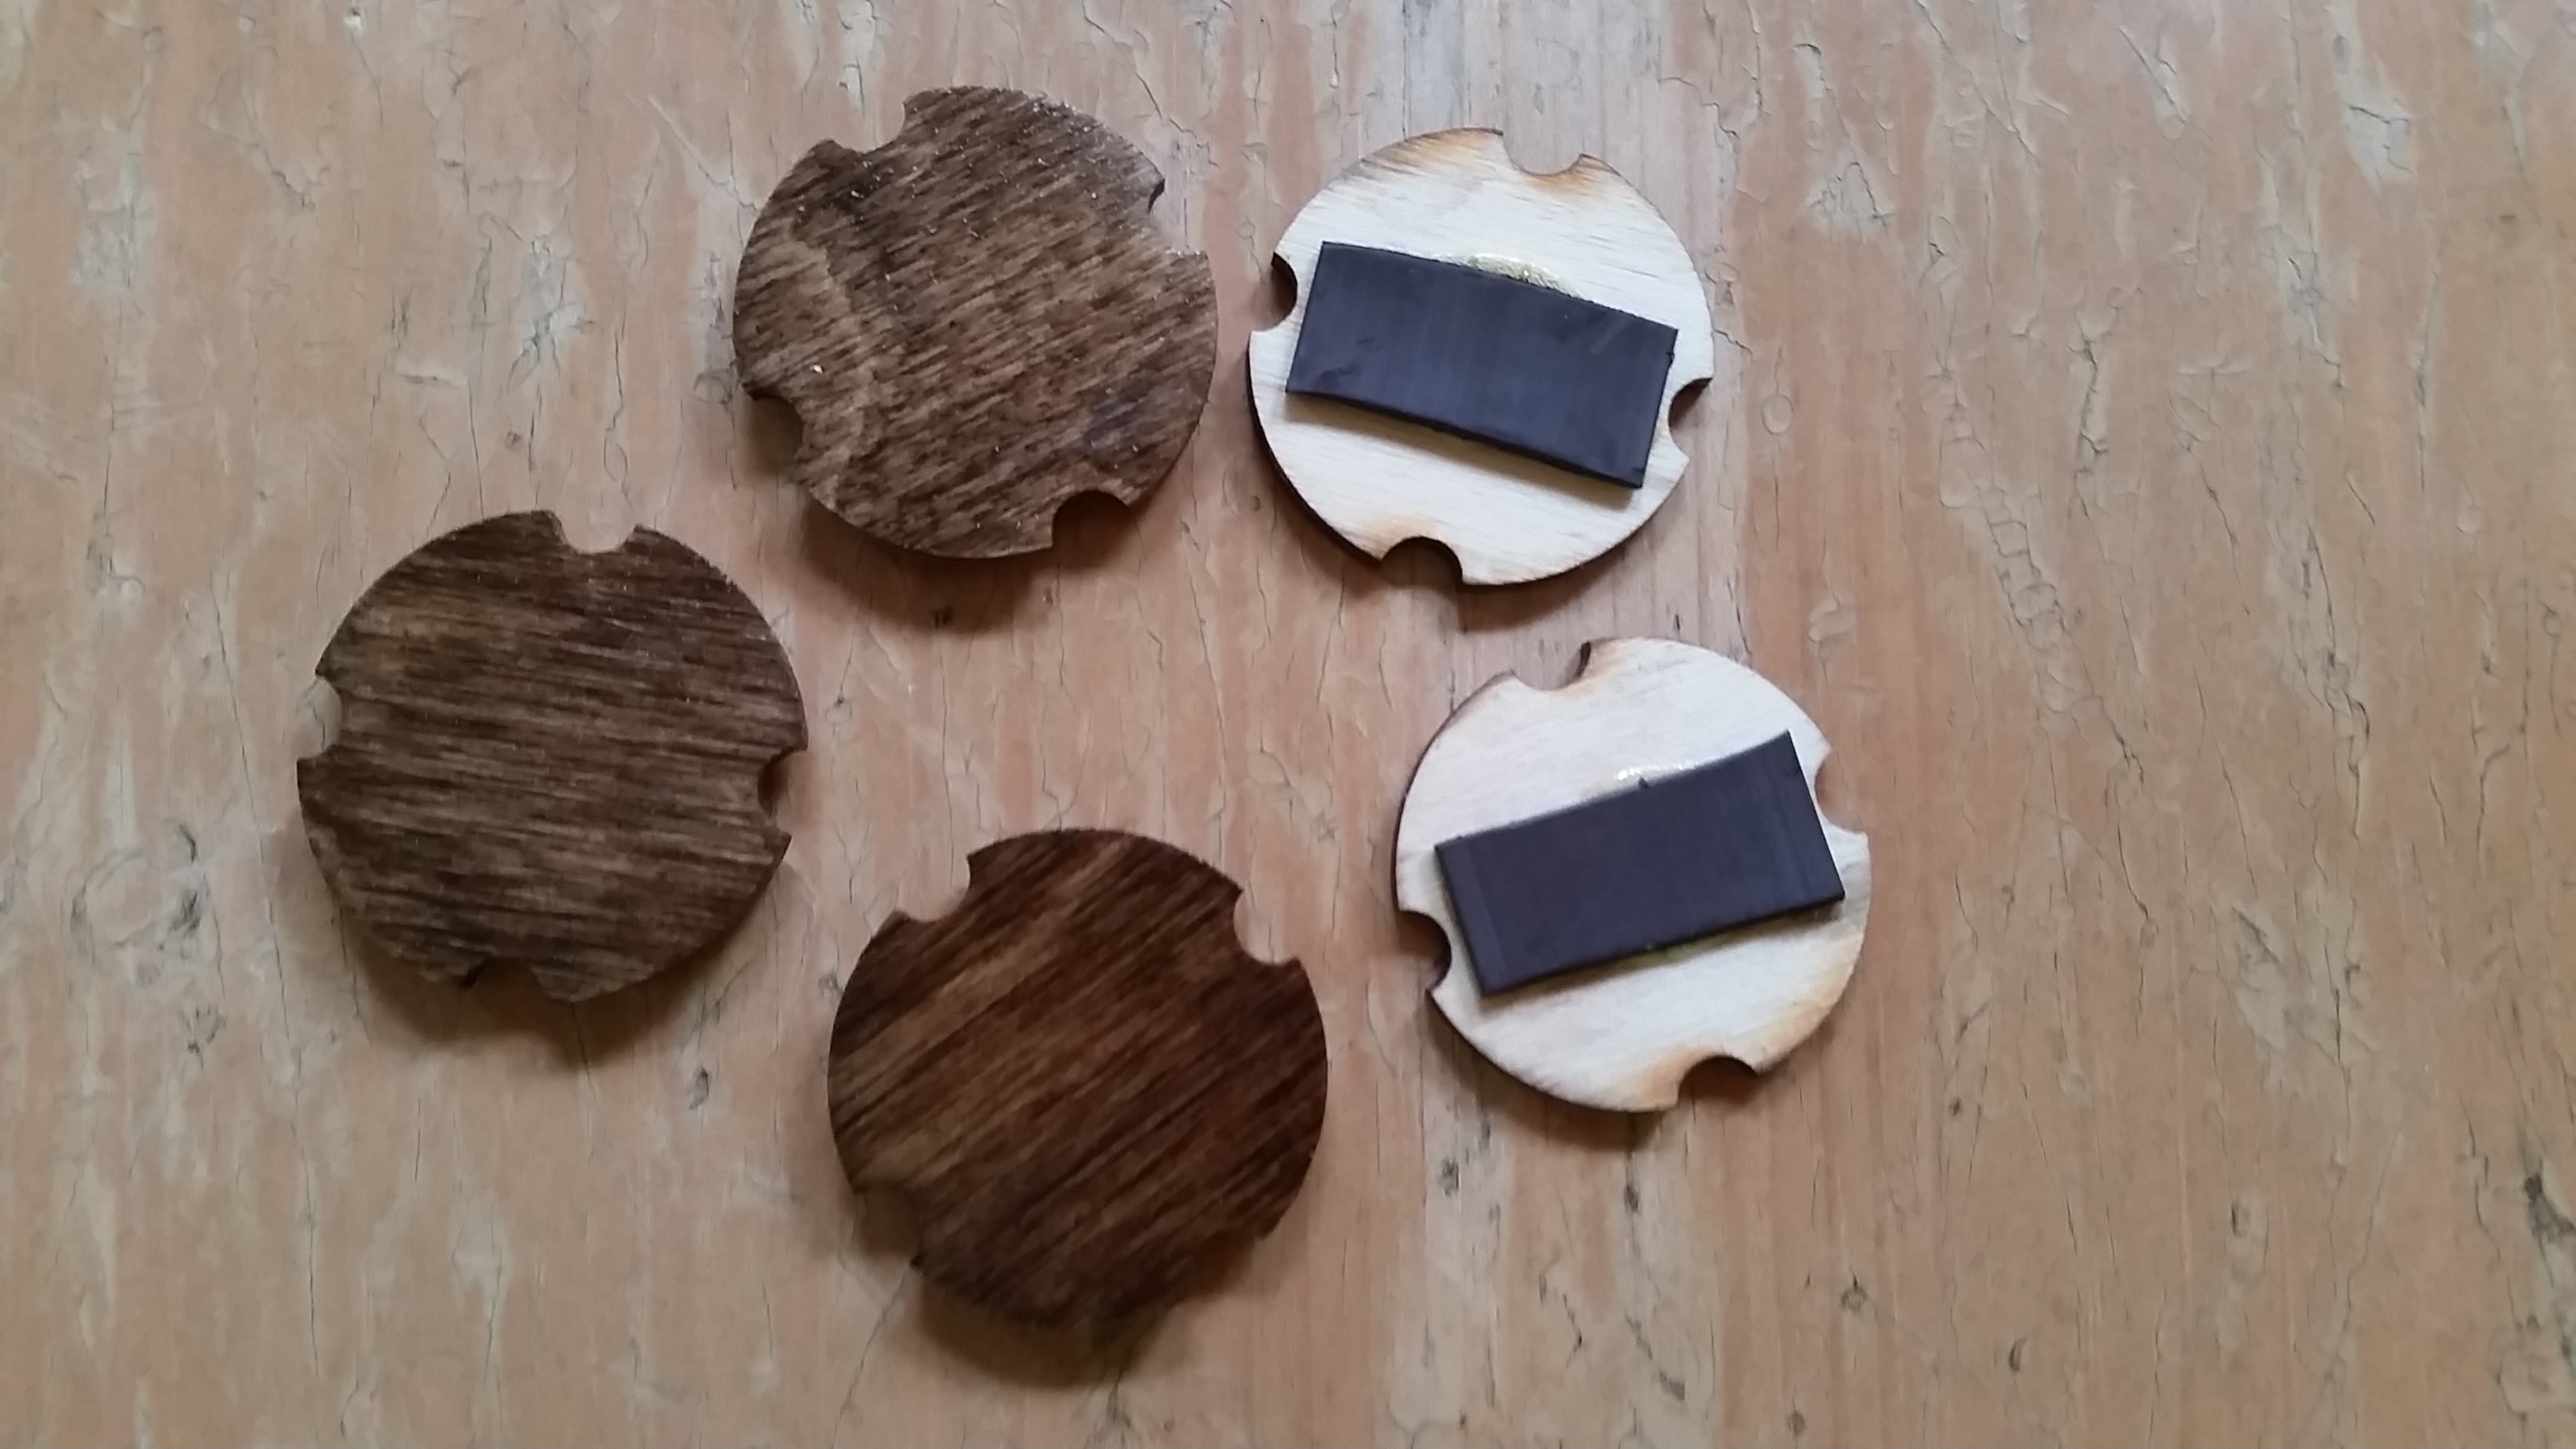
Other then that, if you want to reuse those holes that you cut for the bottle caps, they actually make pretty good fridge magnets (and if you were panning on putting the bottle cap map on the fridge, you'll have the magnetic strips anyways).
Sanding, Staining, and Finish
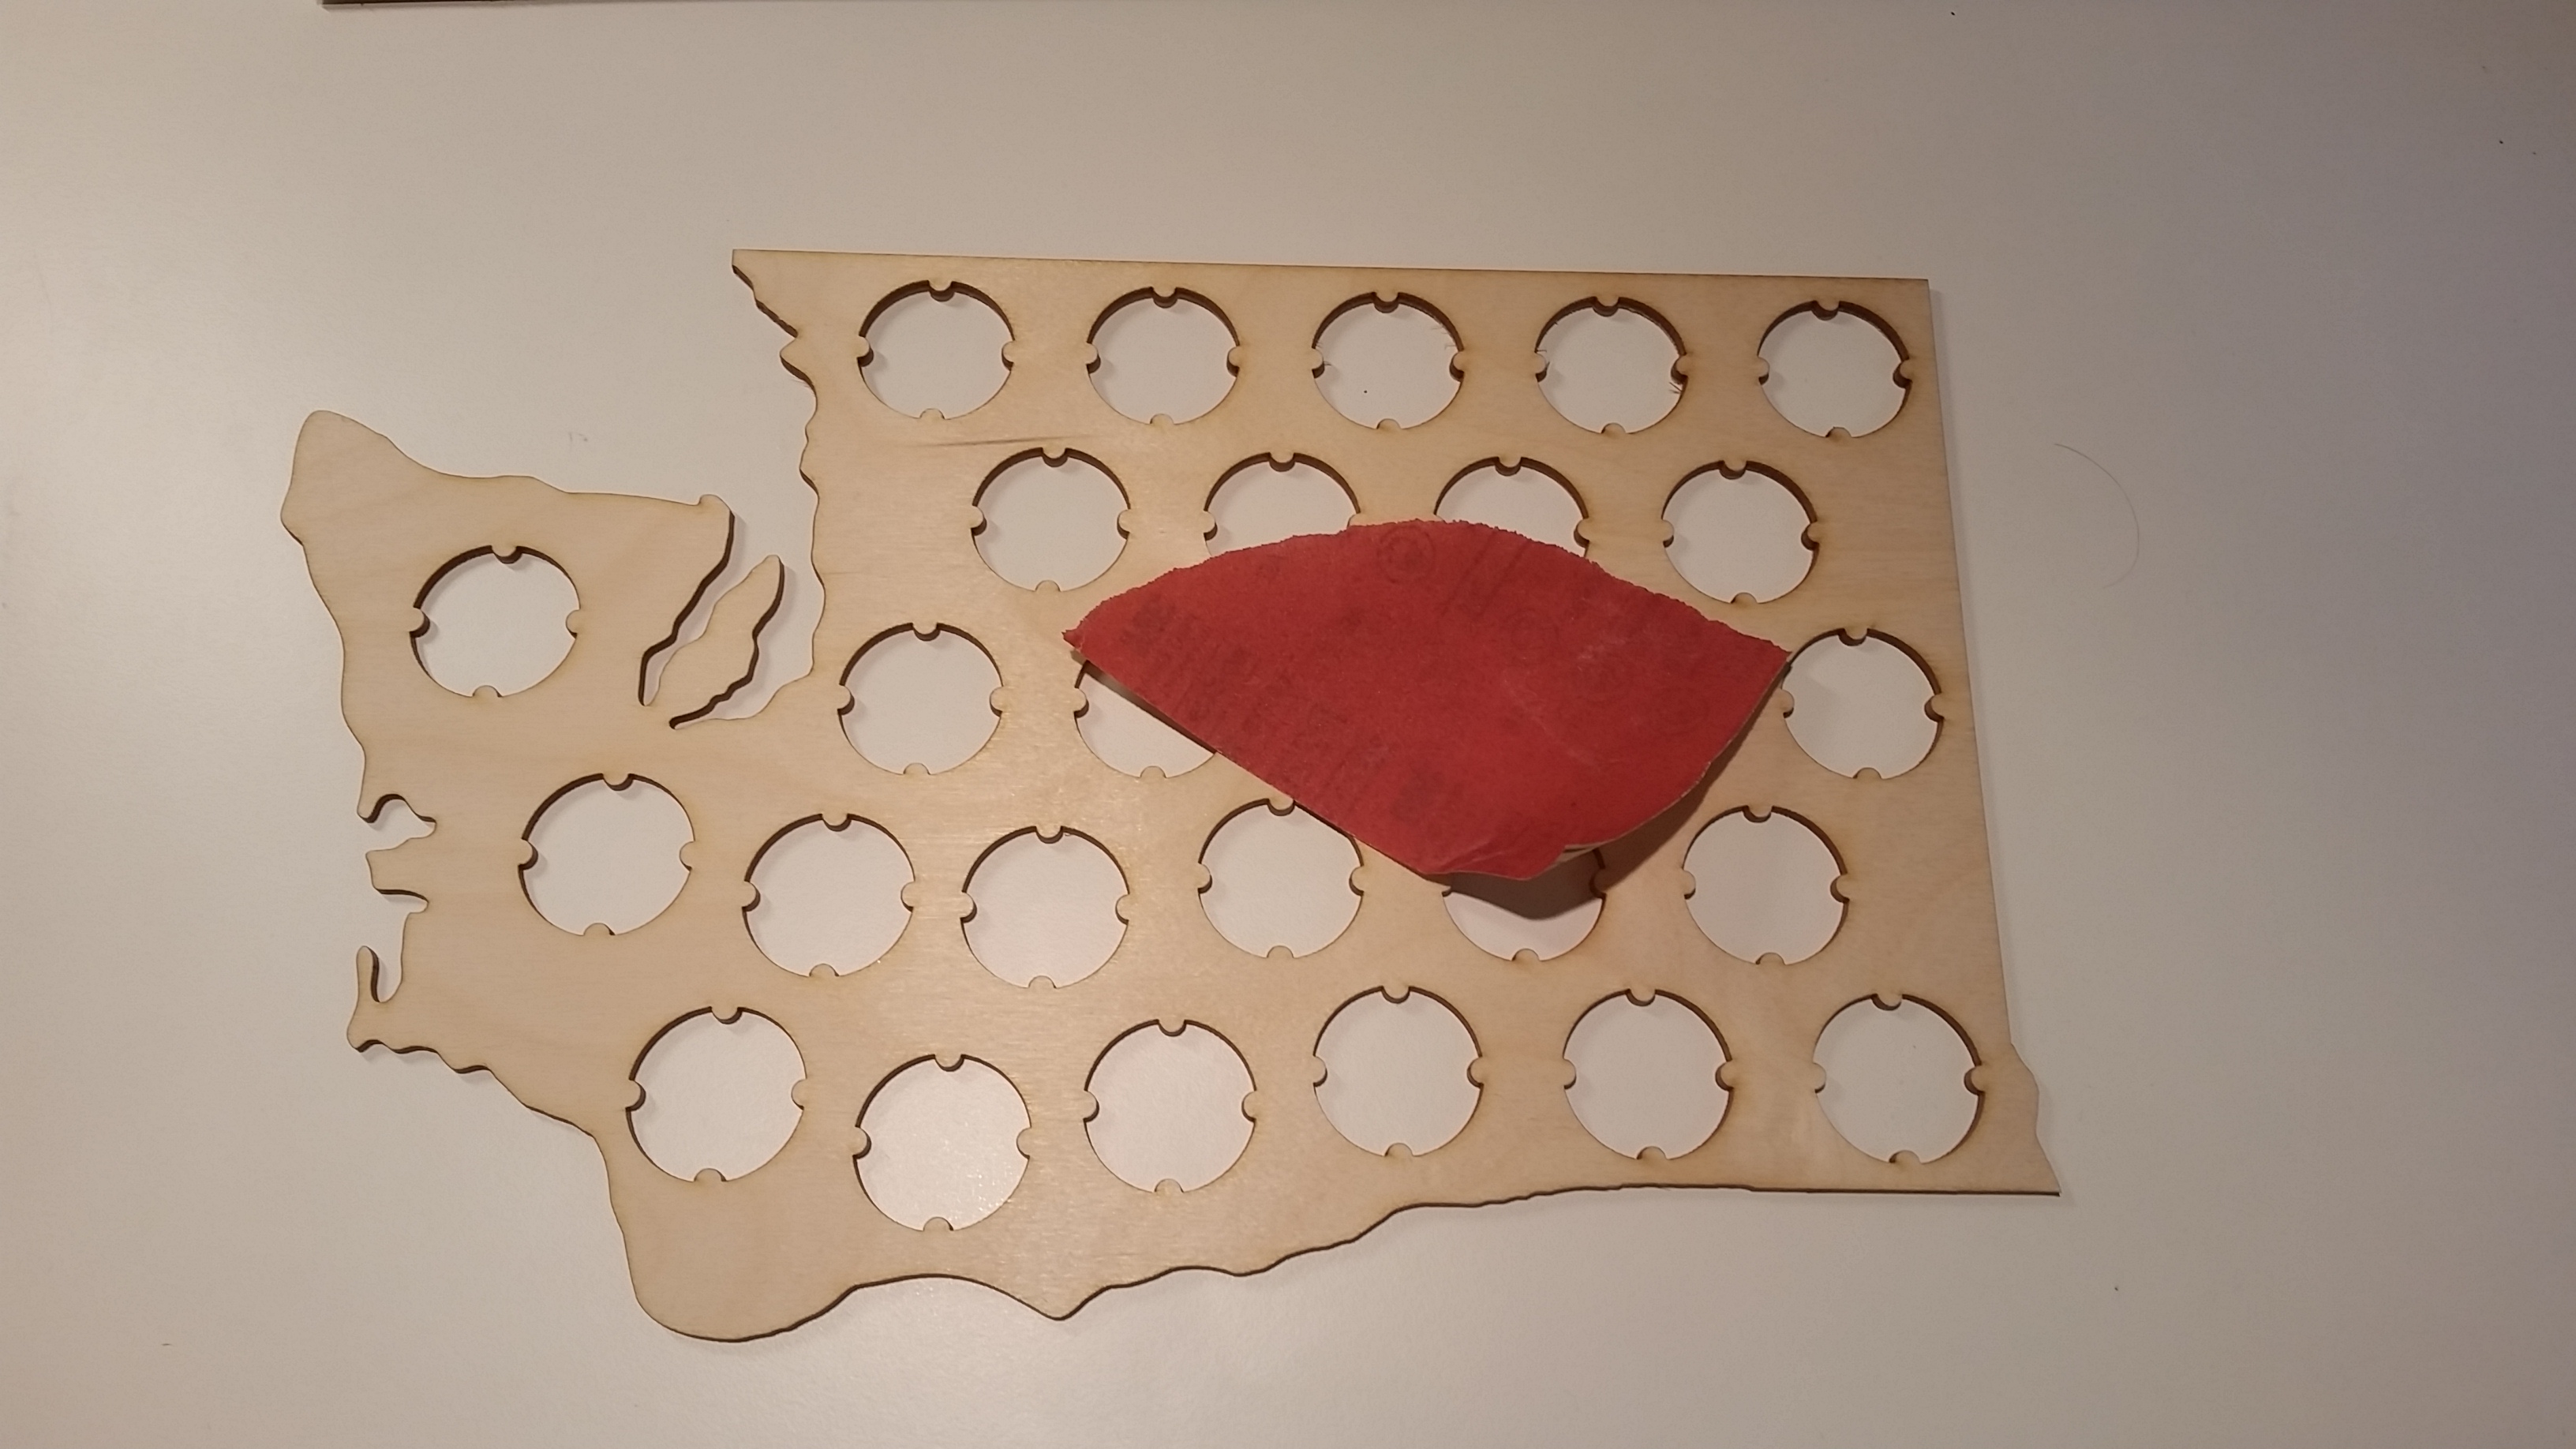
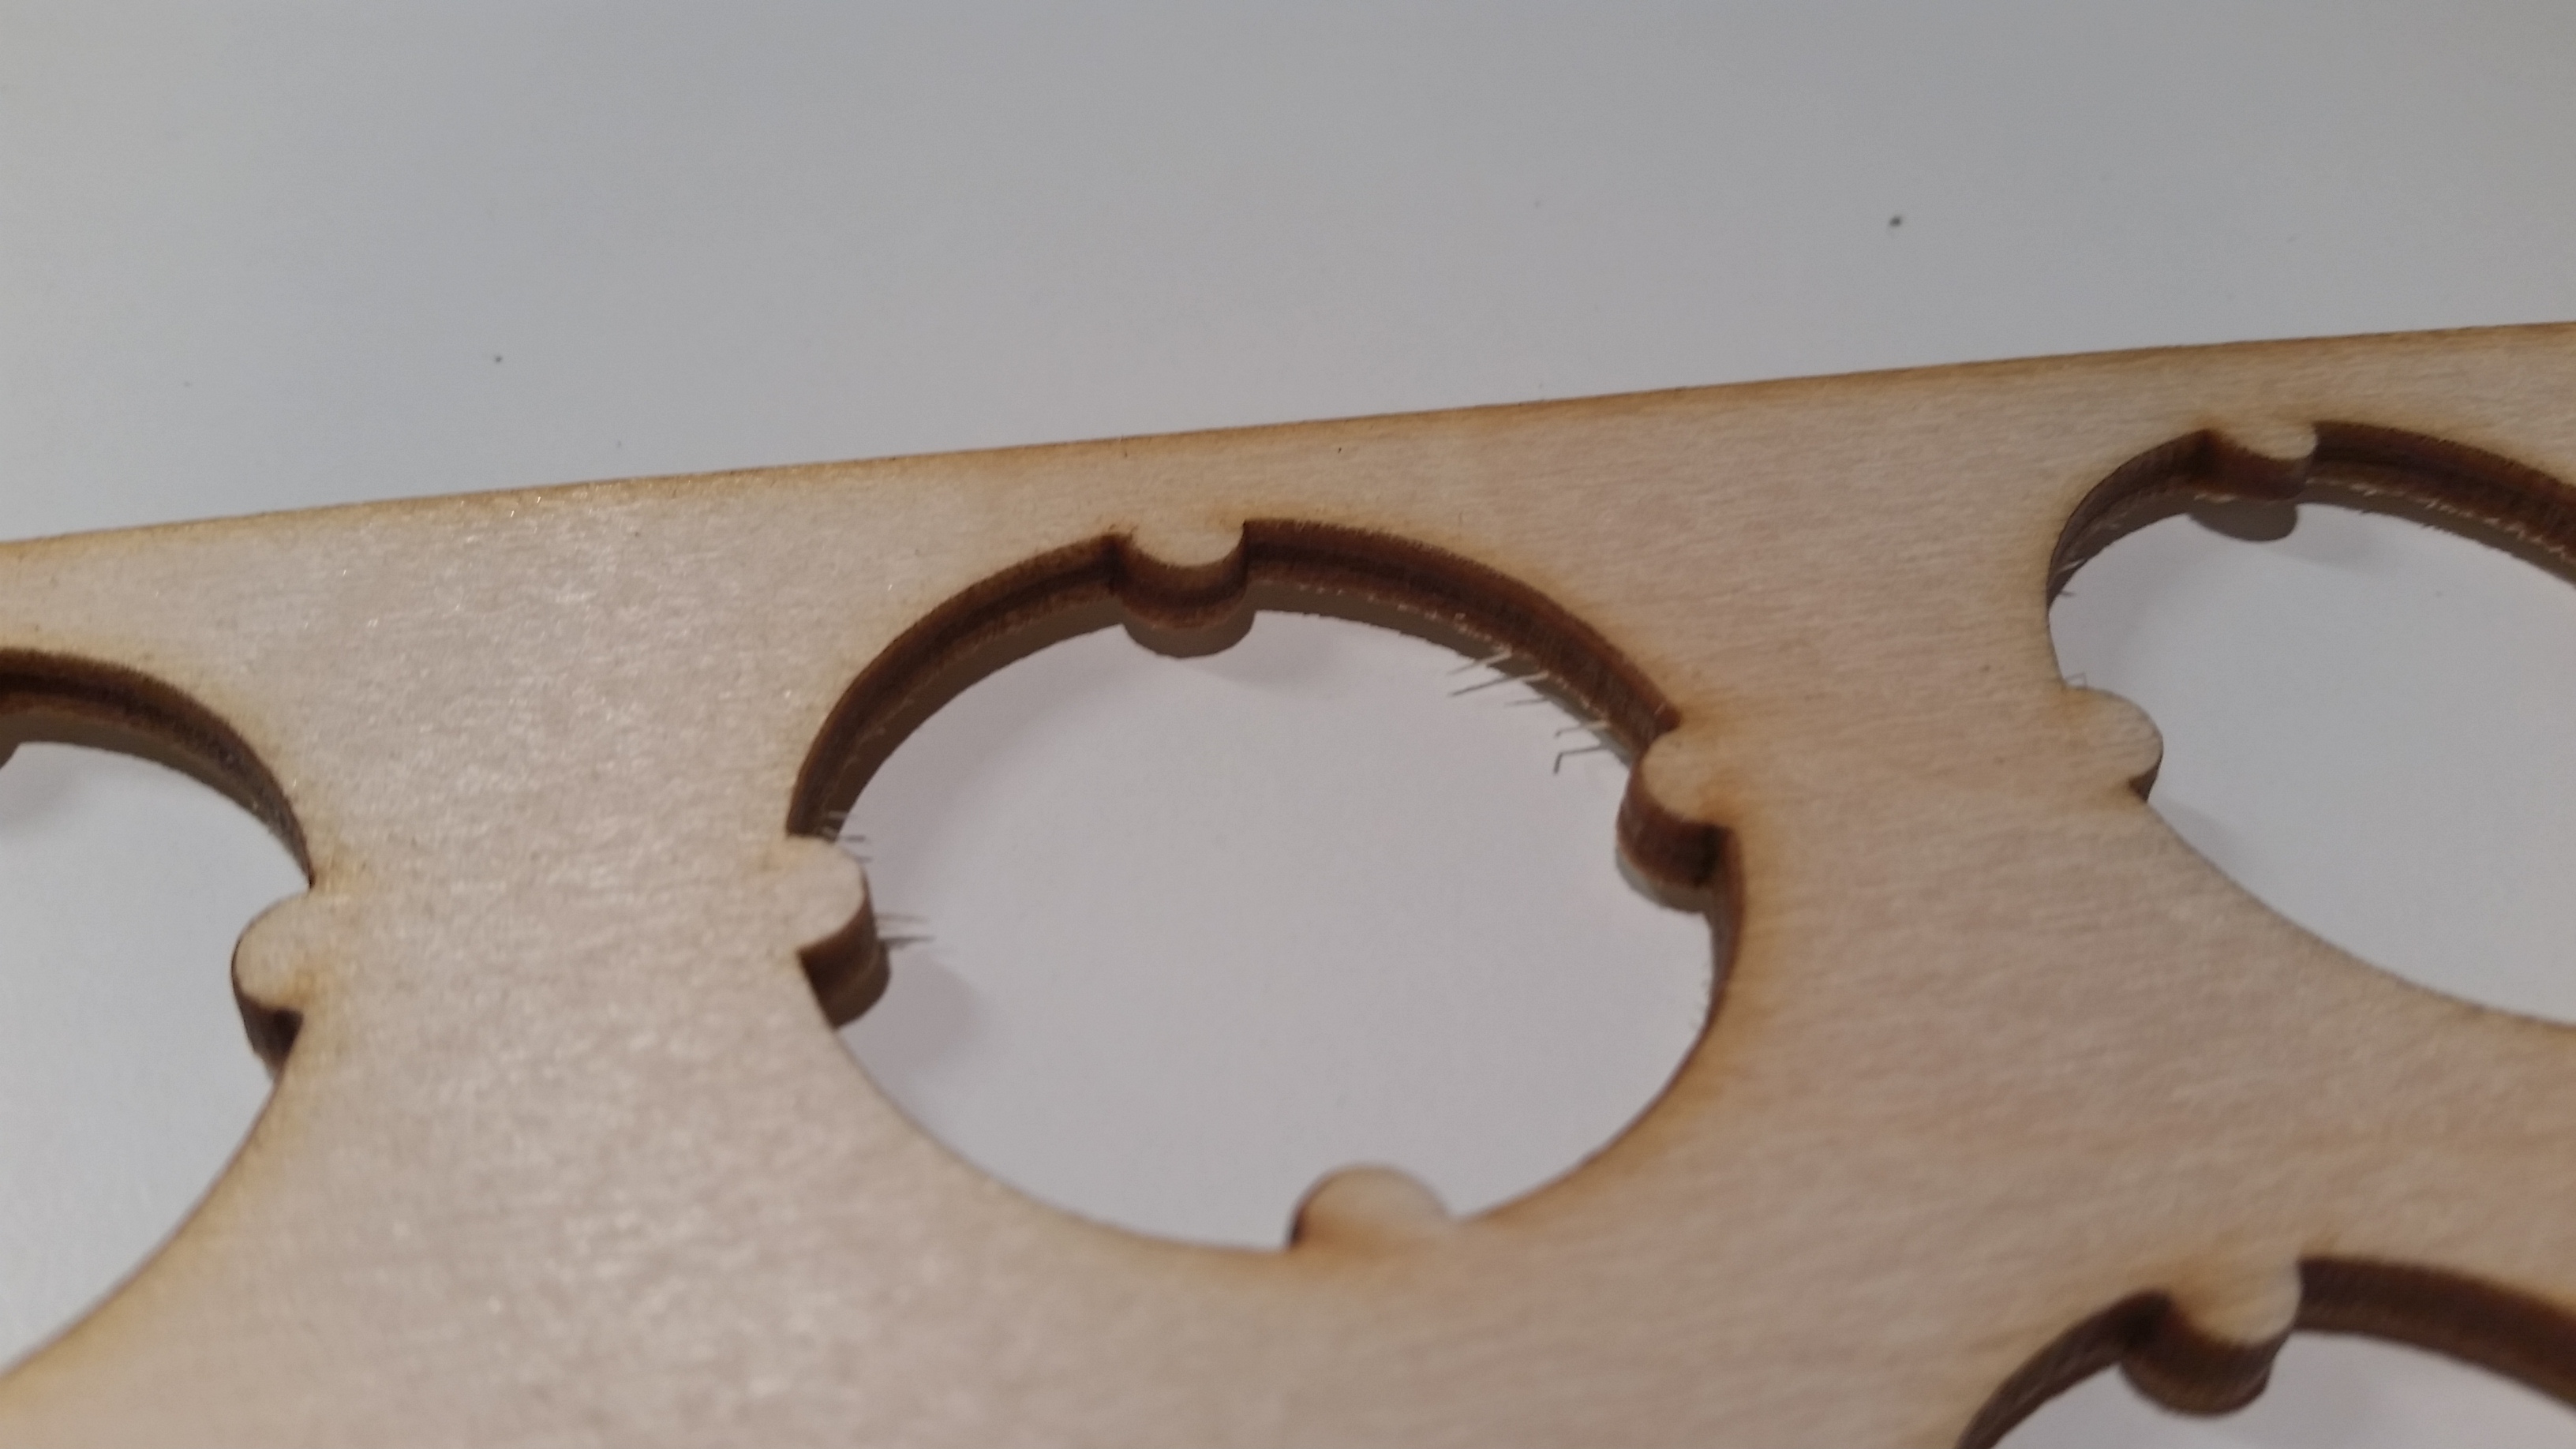
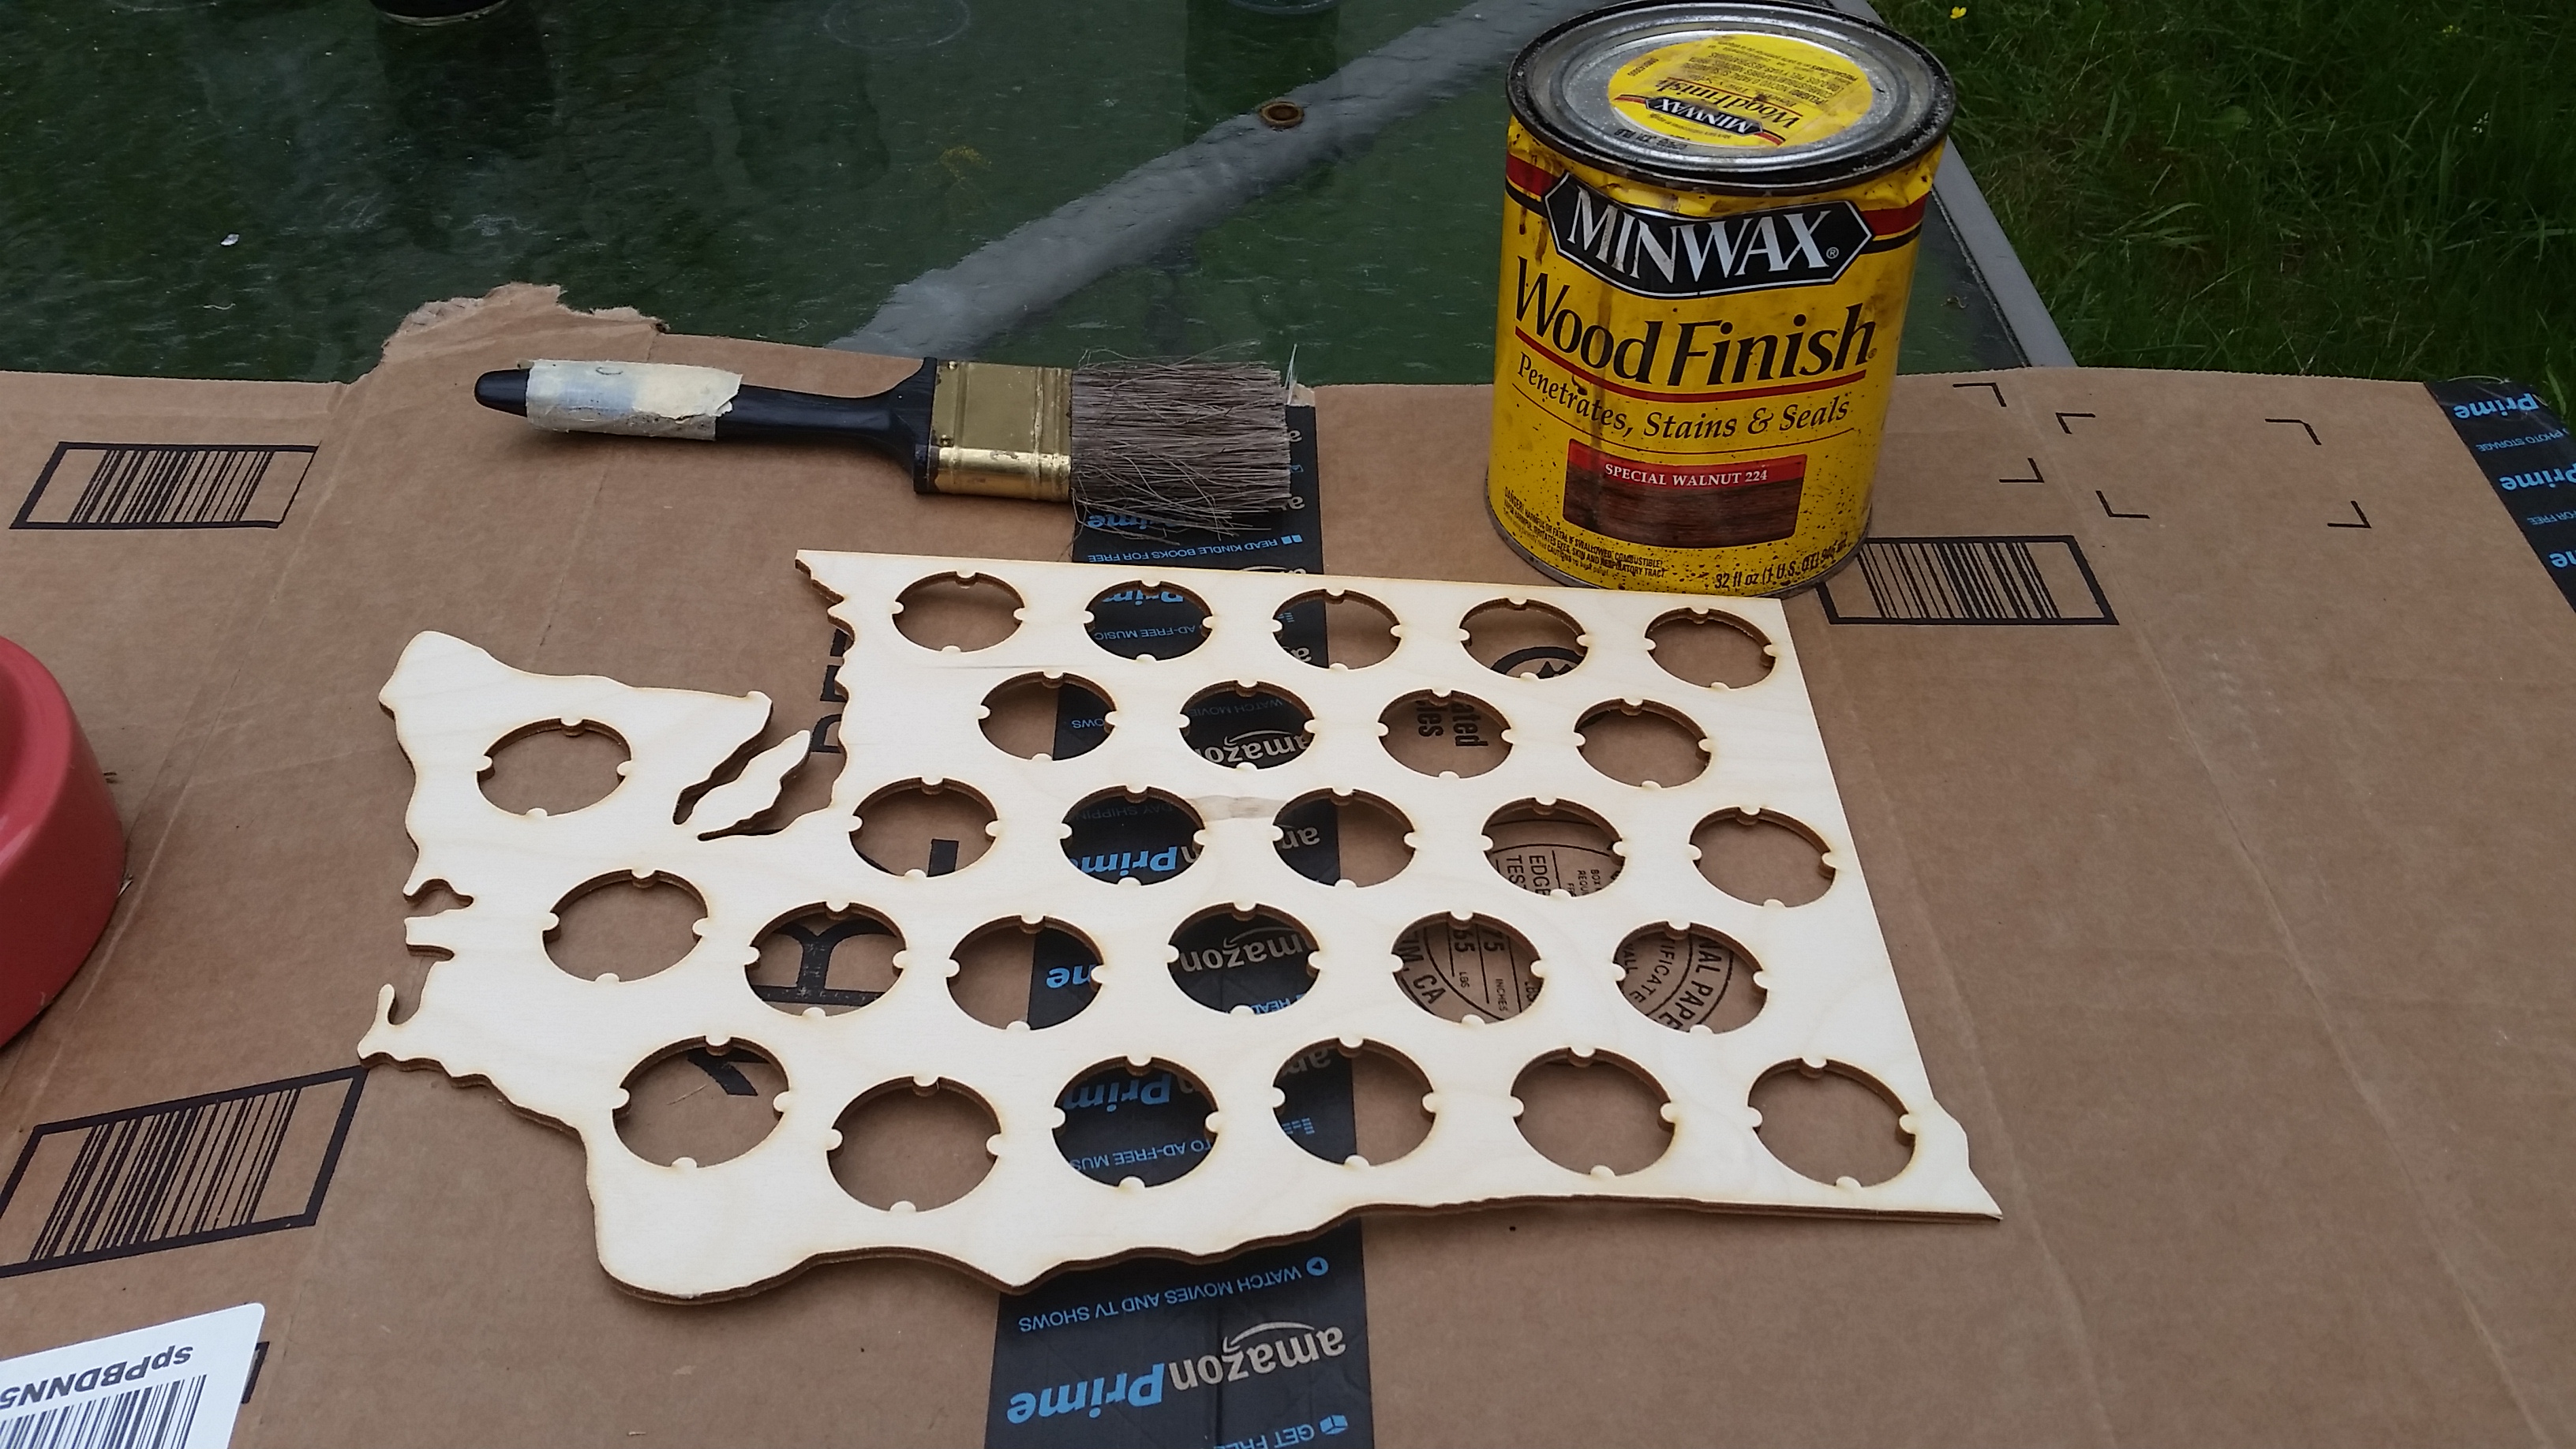
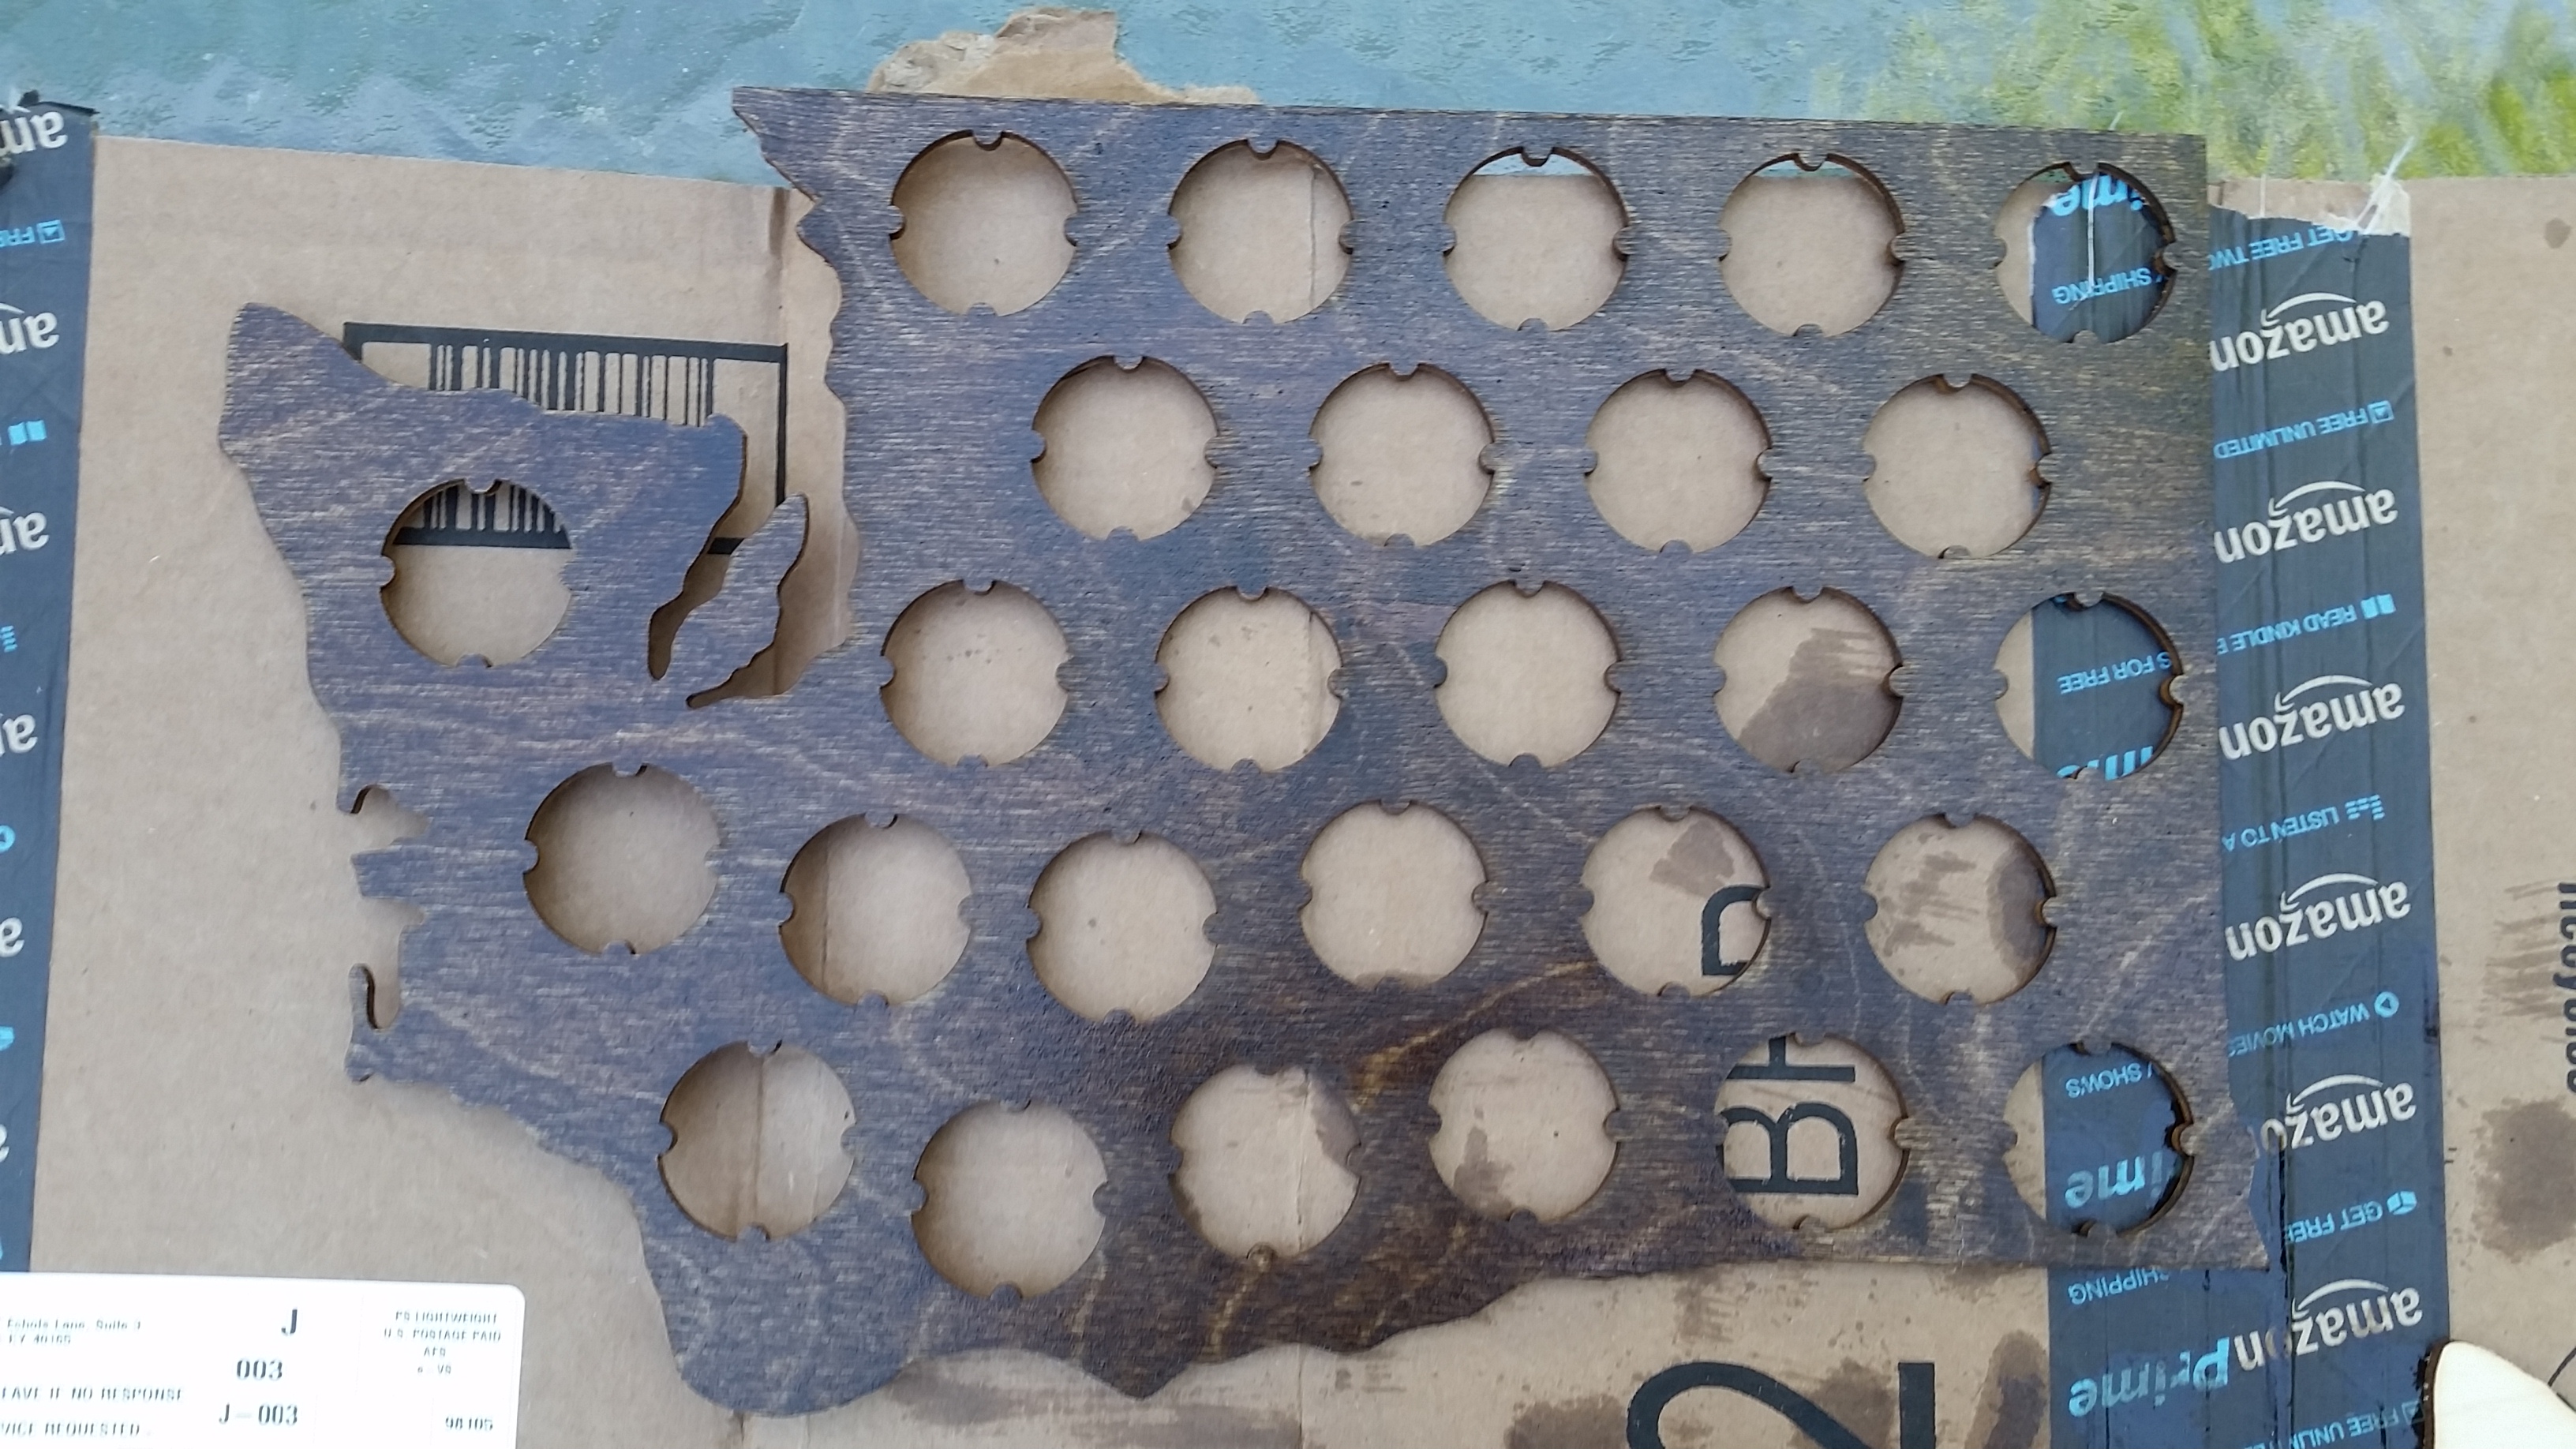
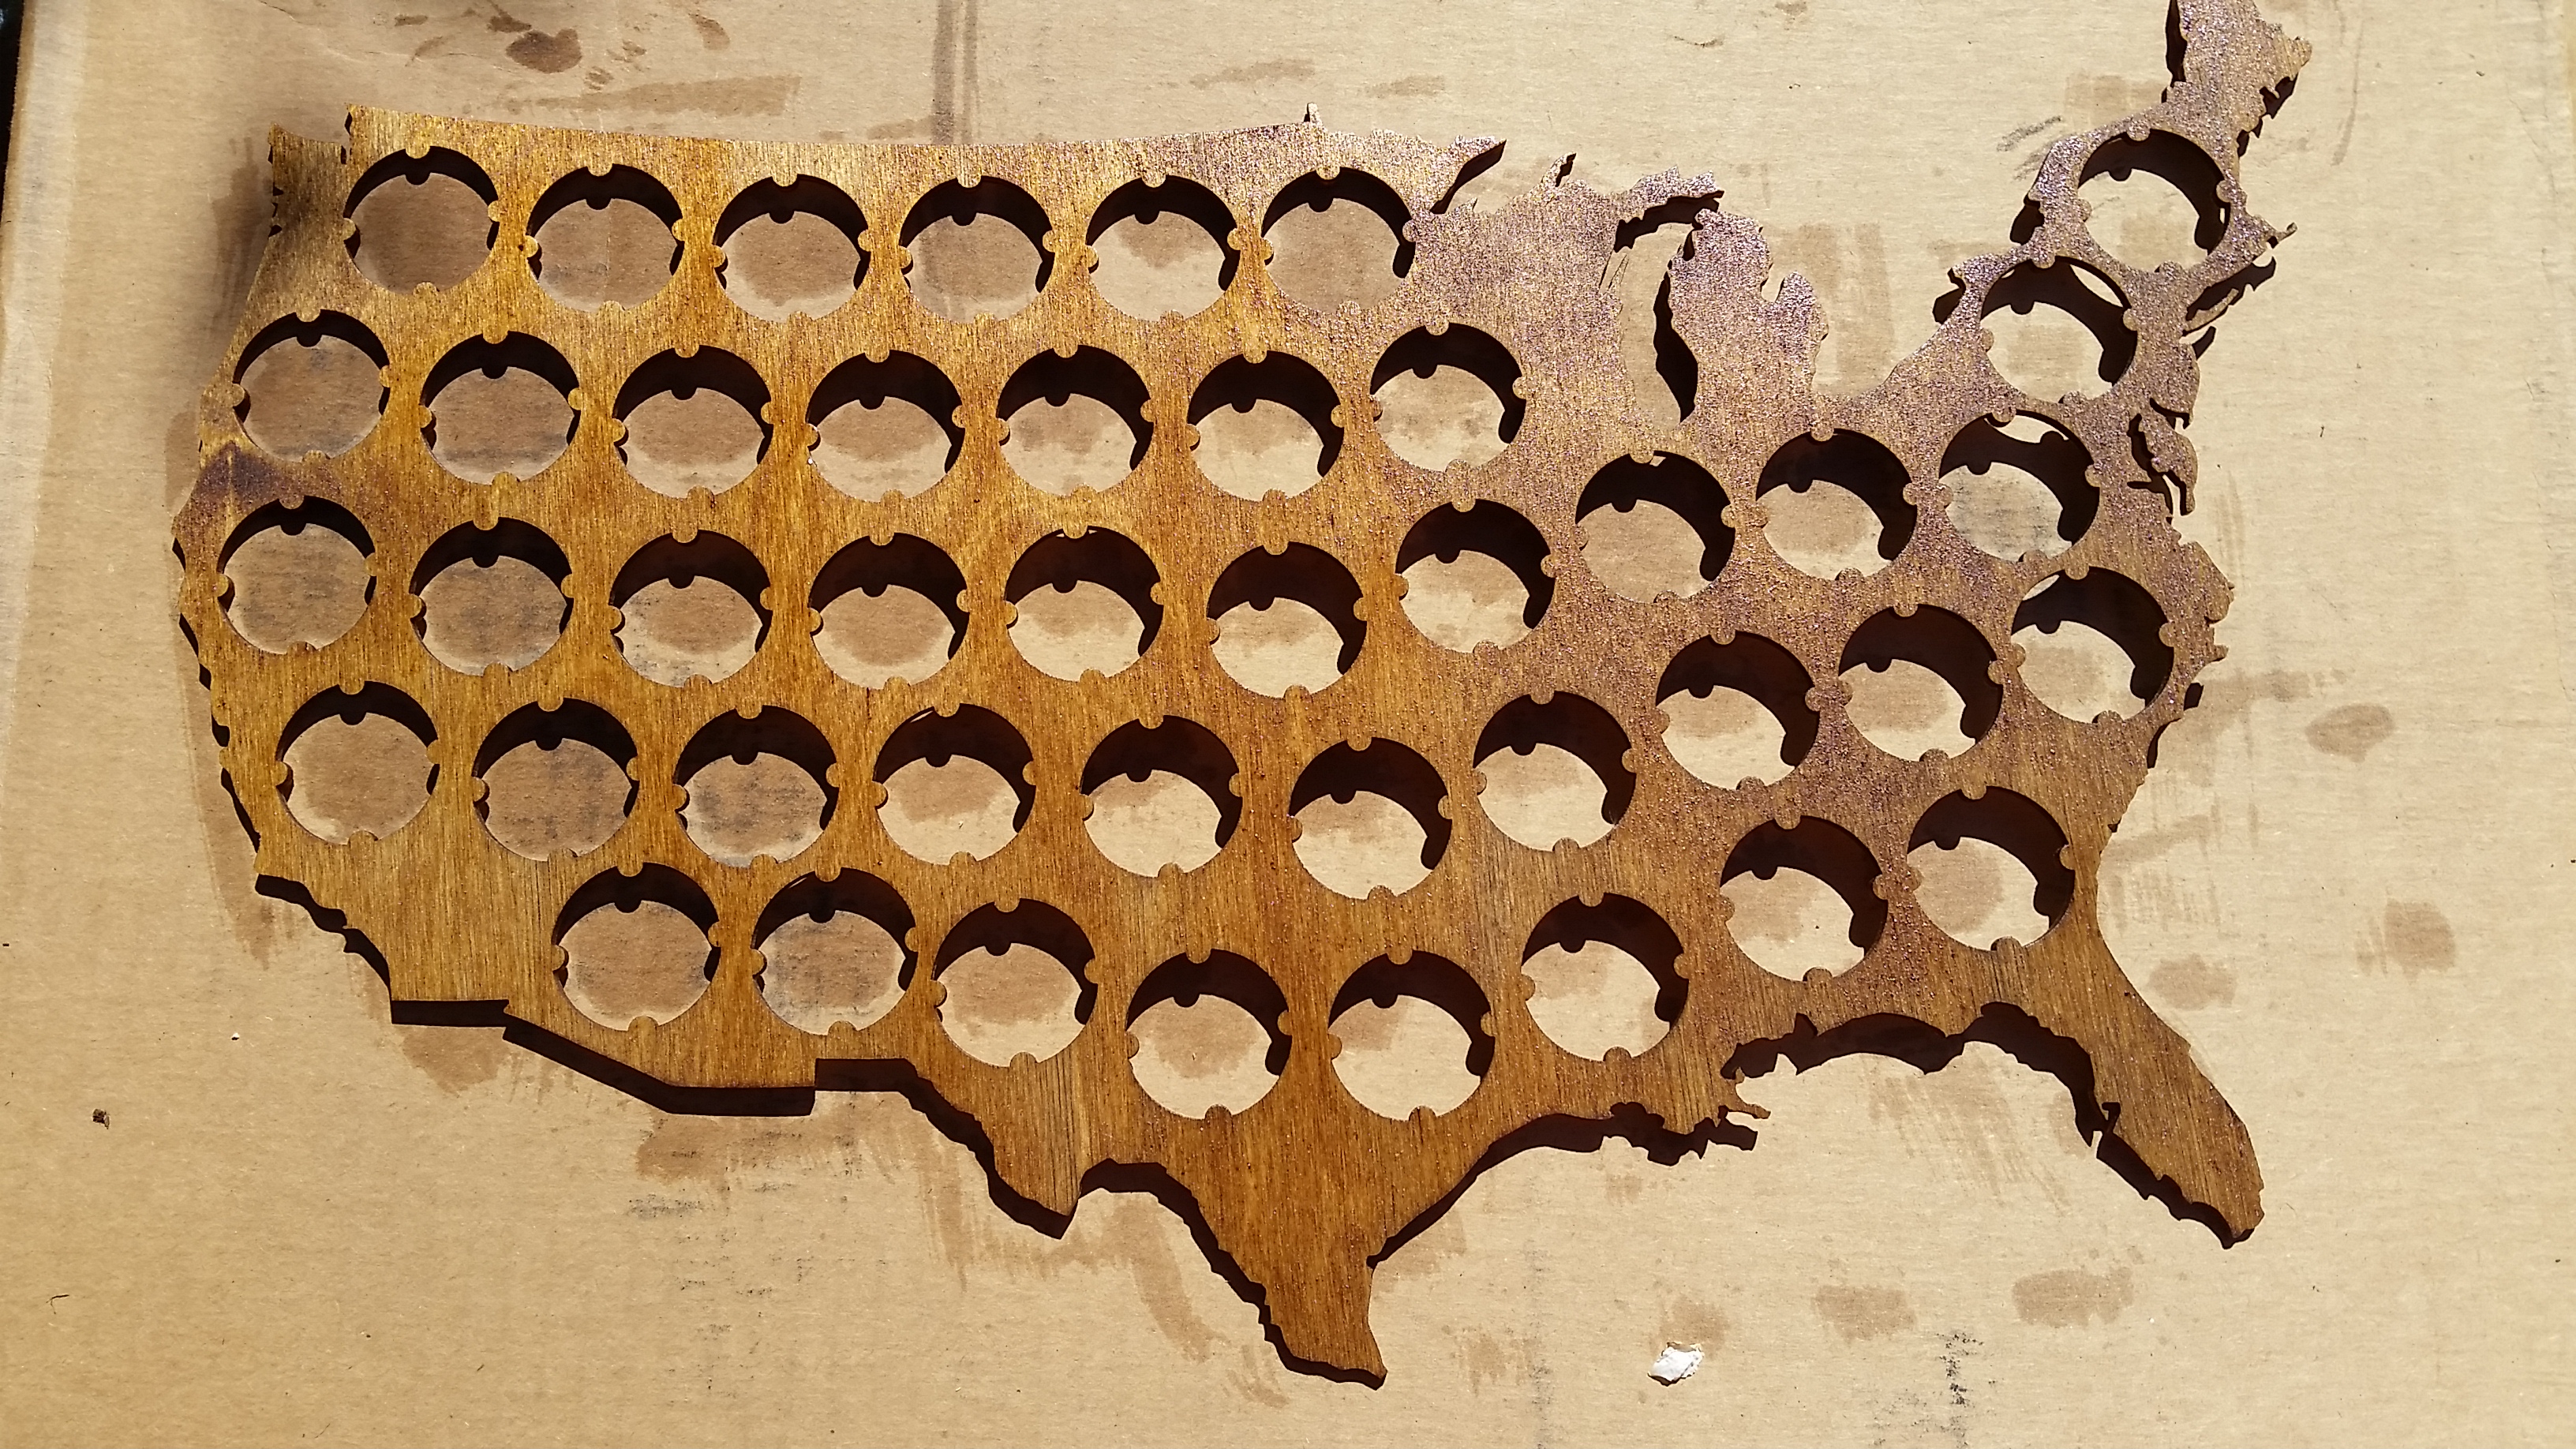
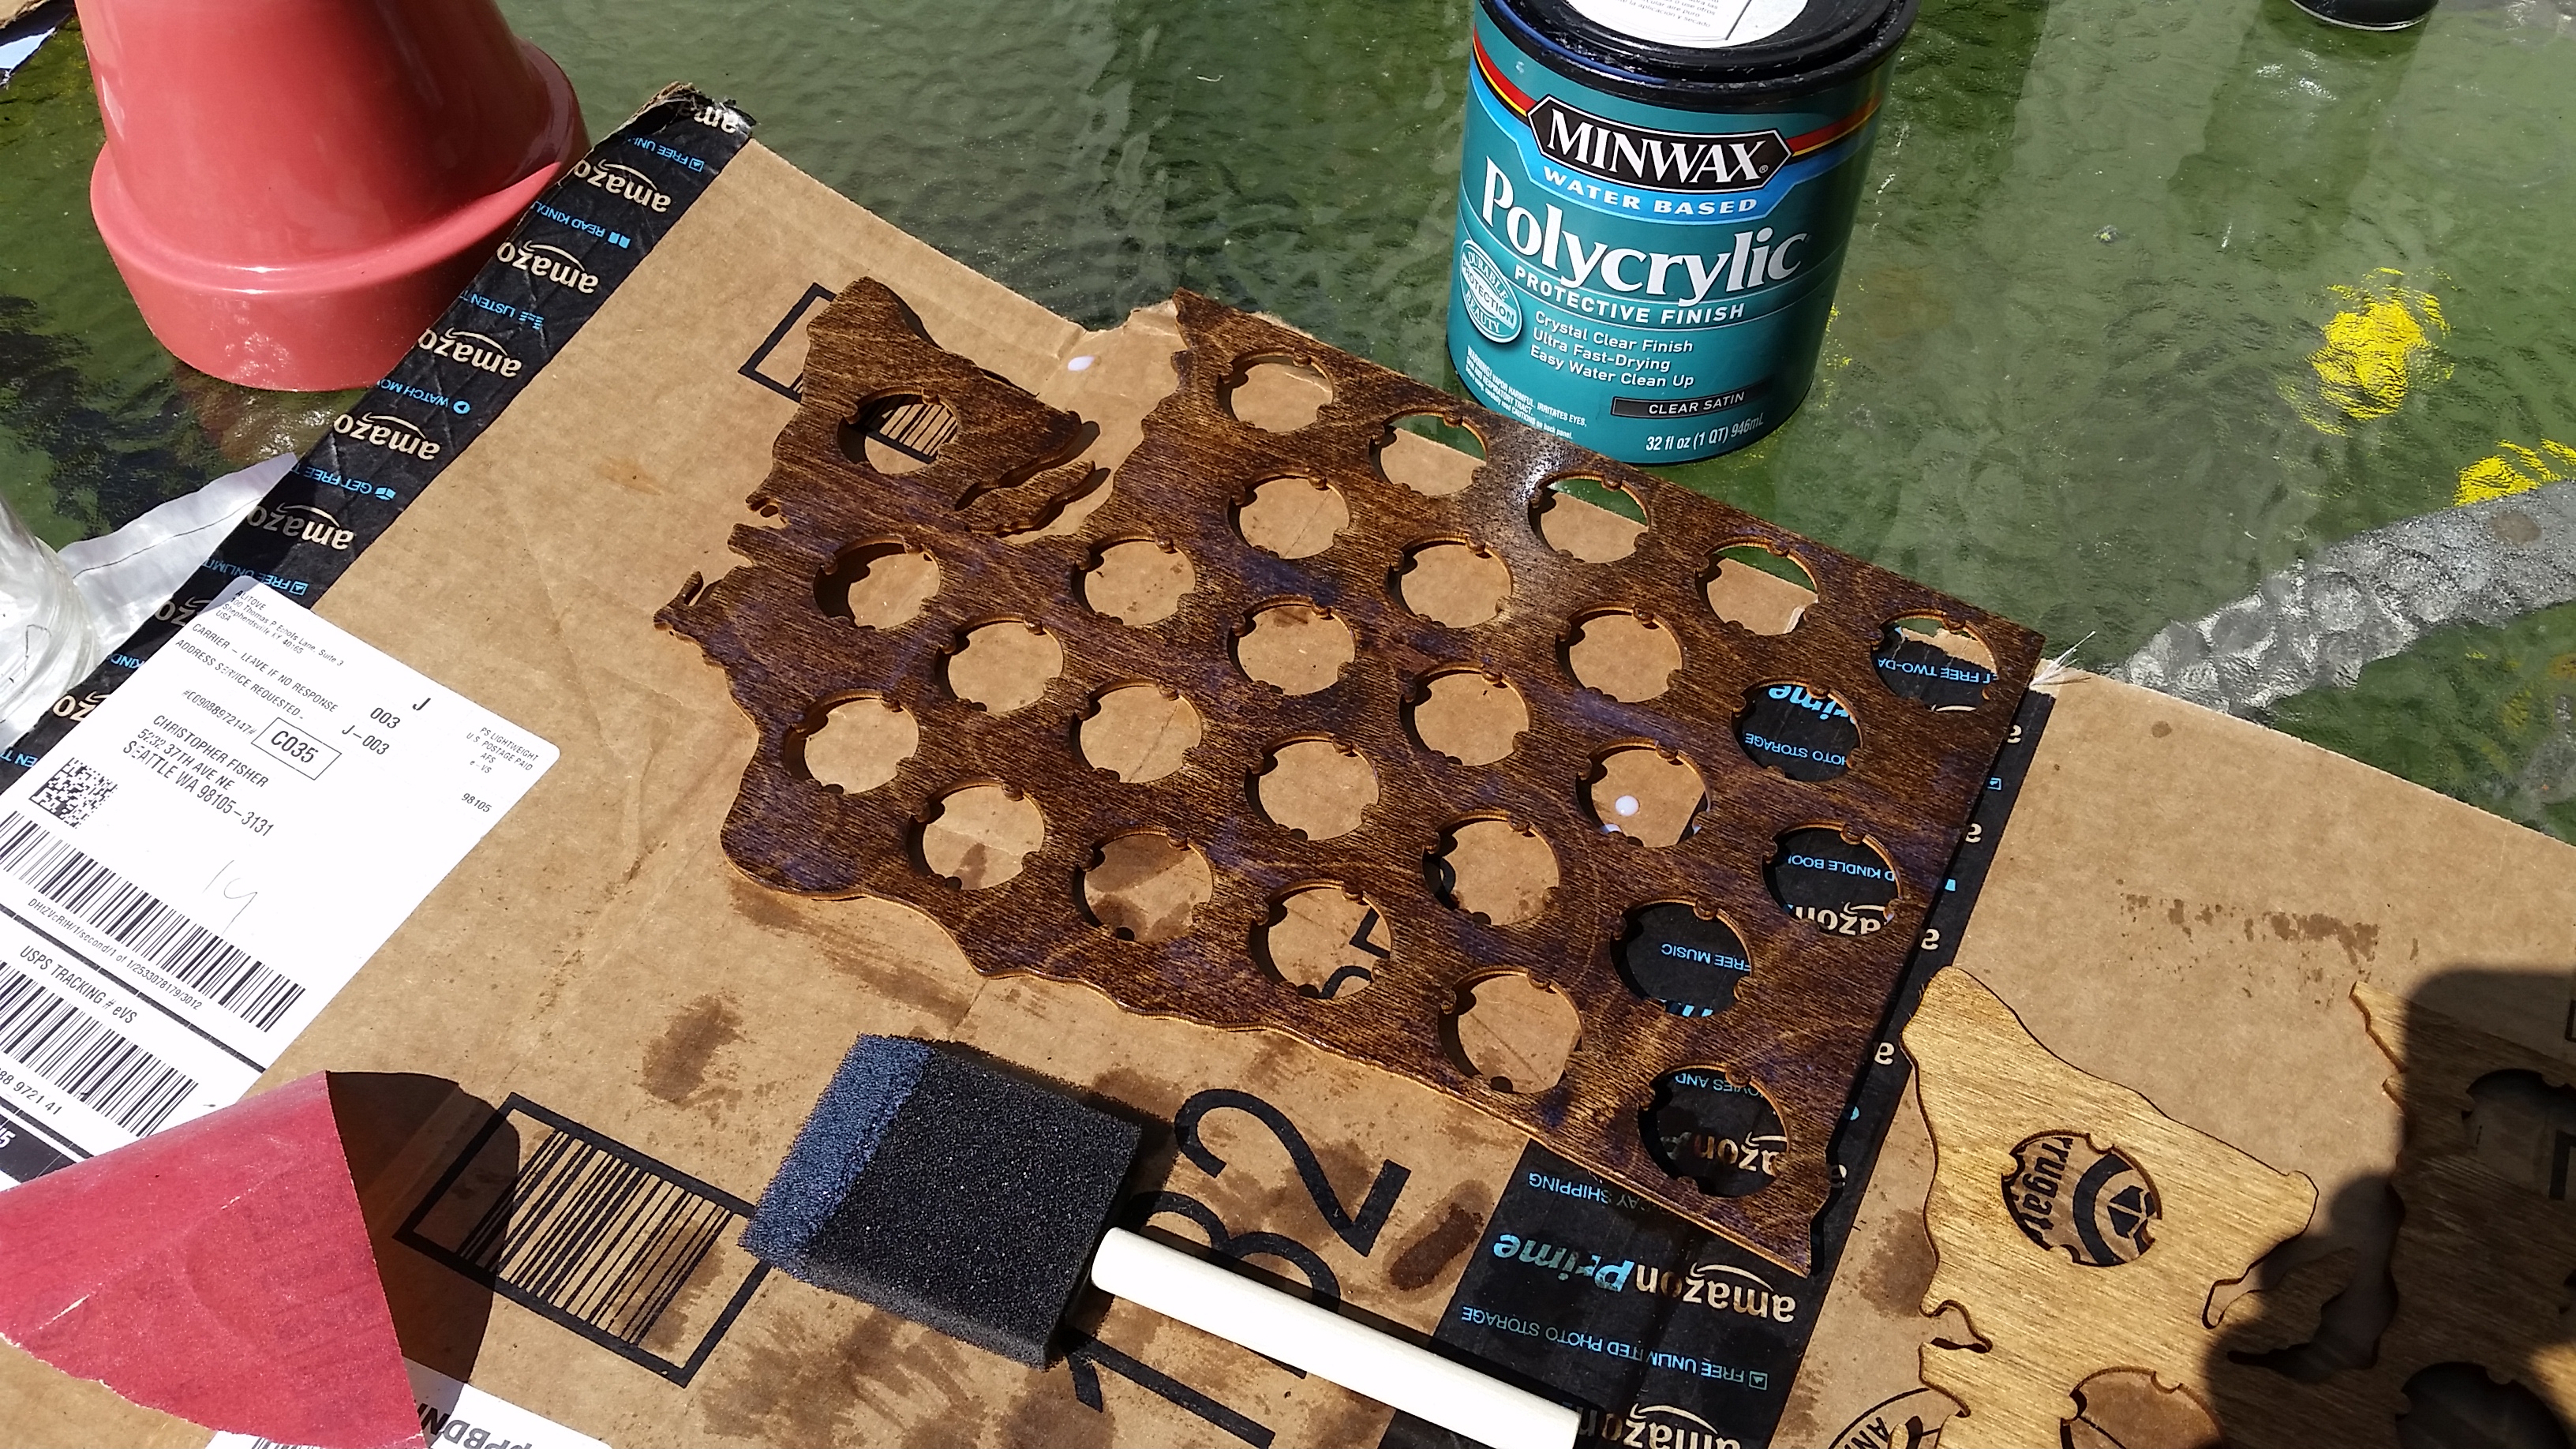
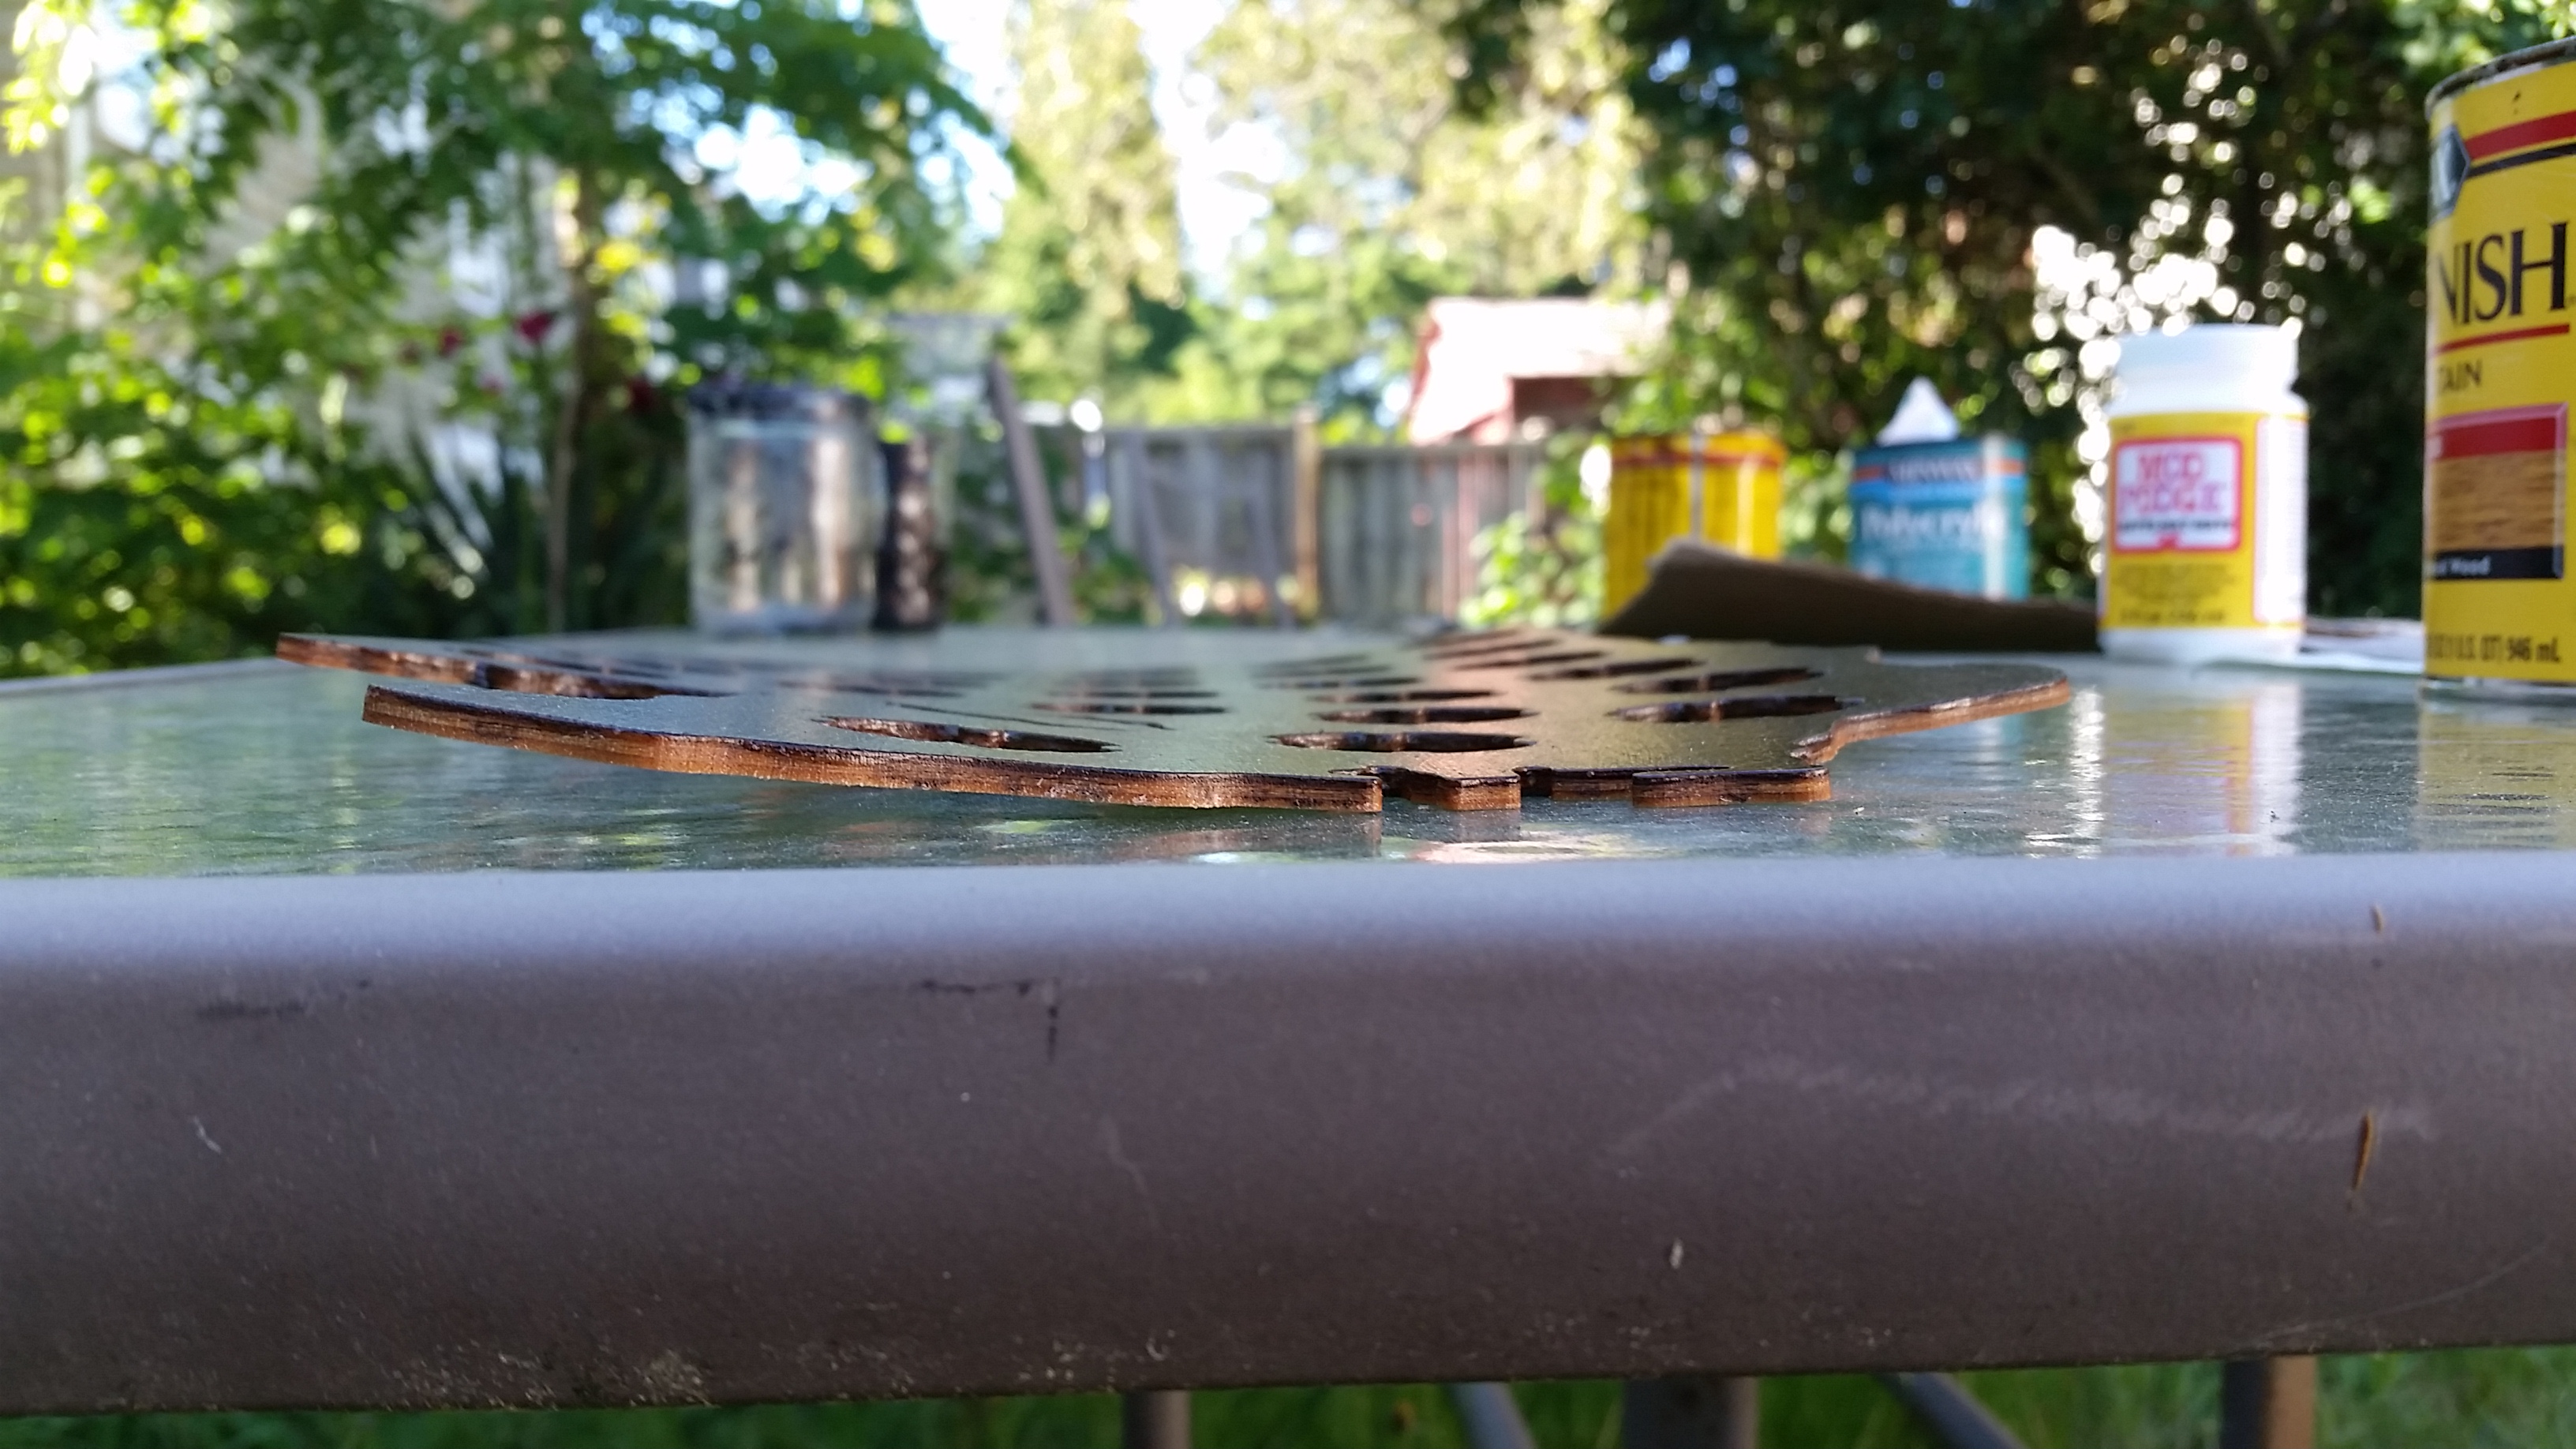
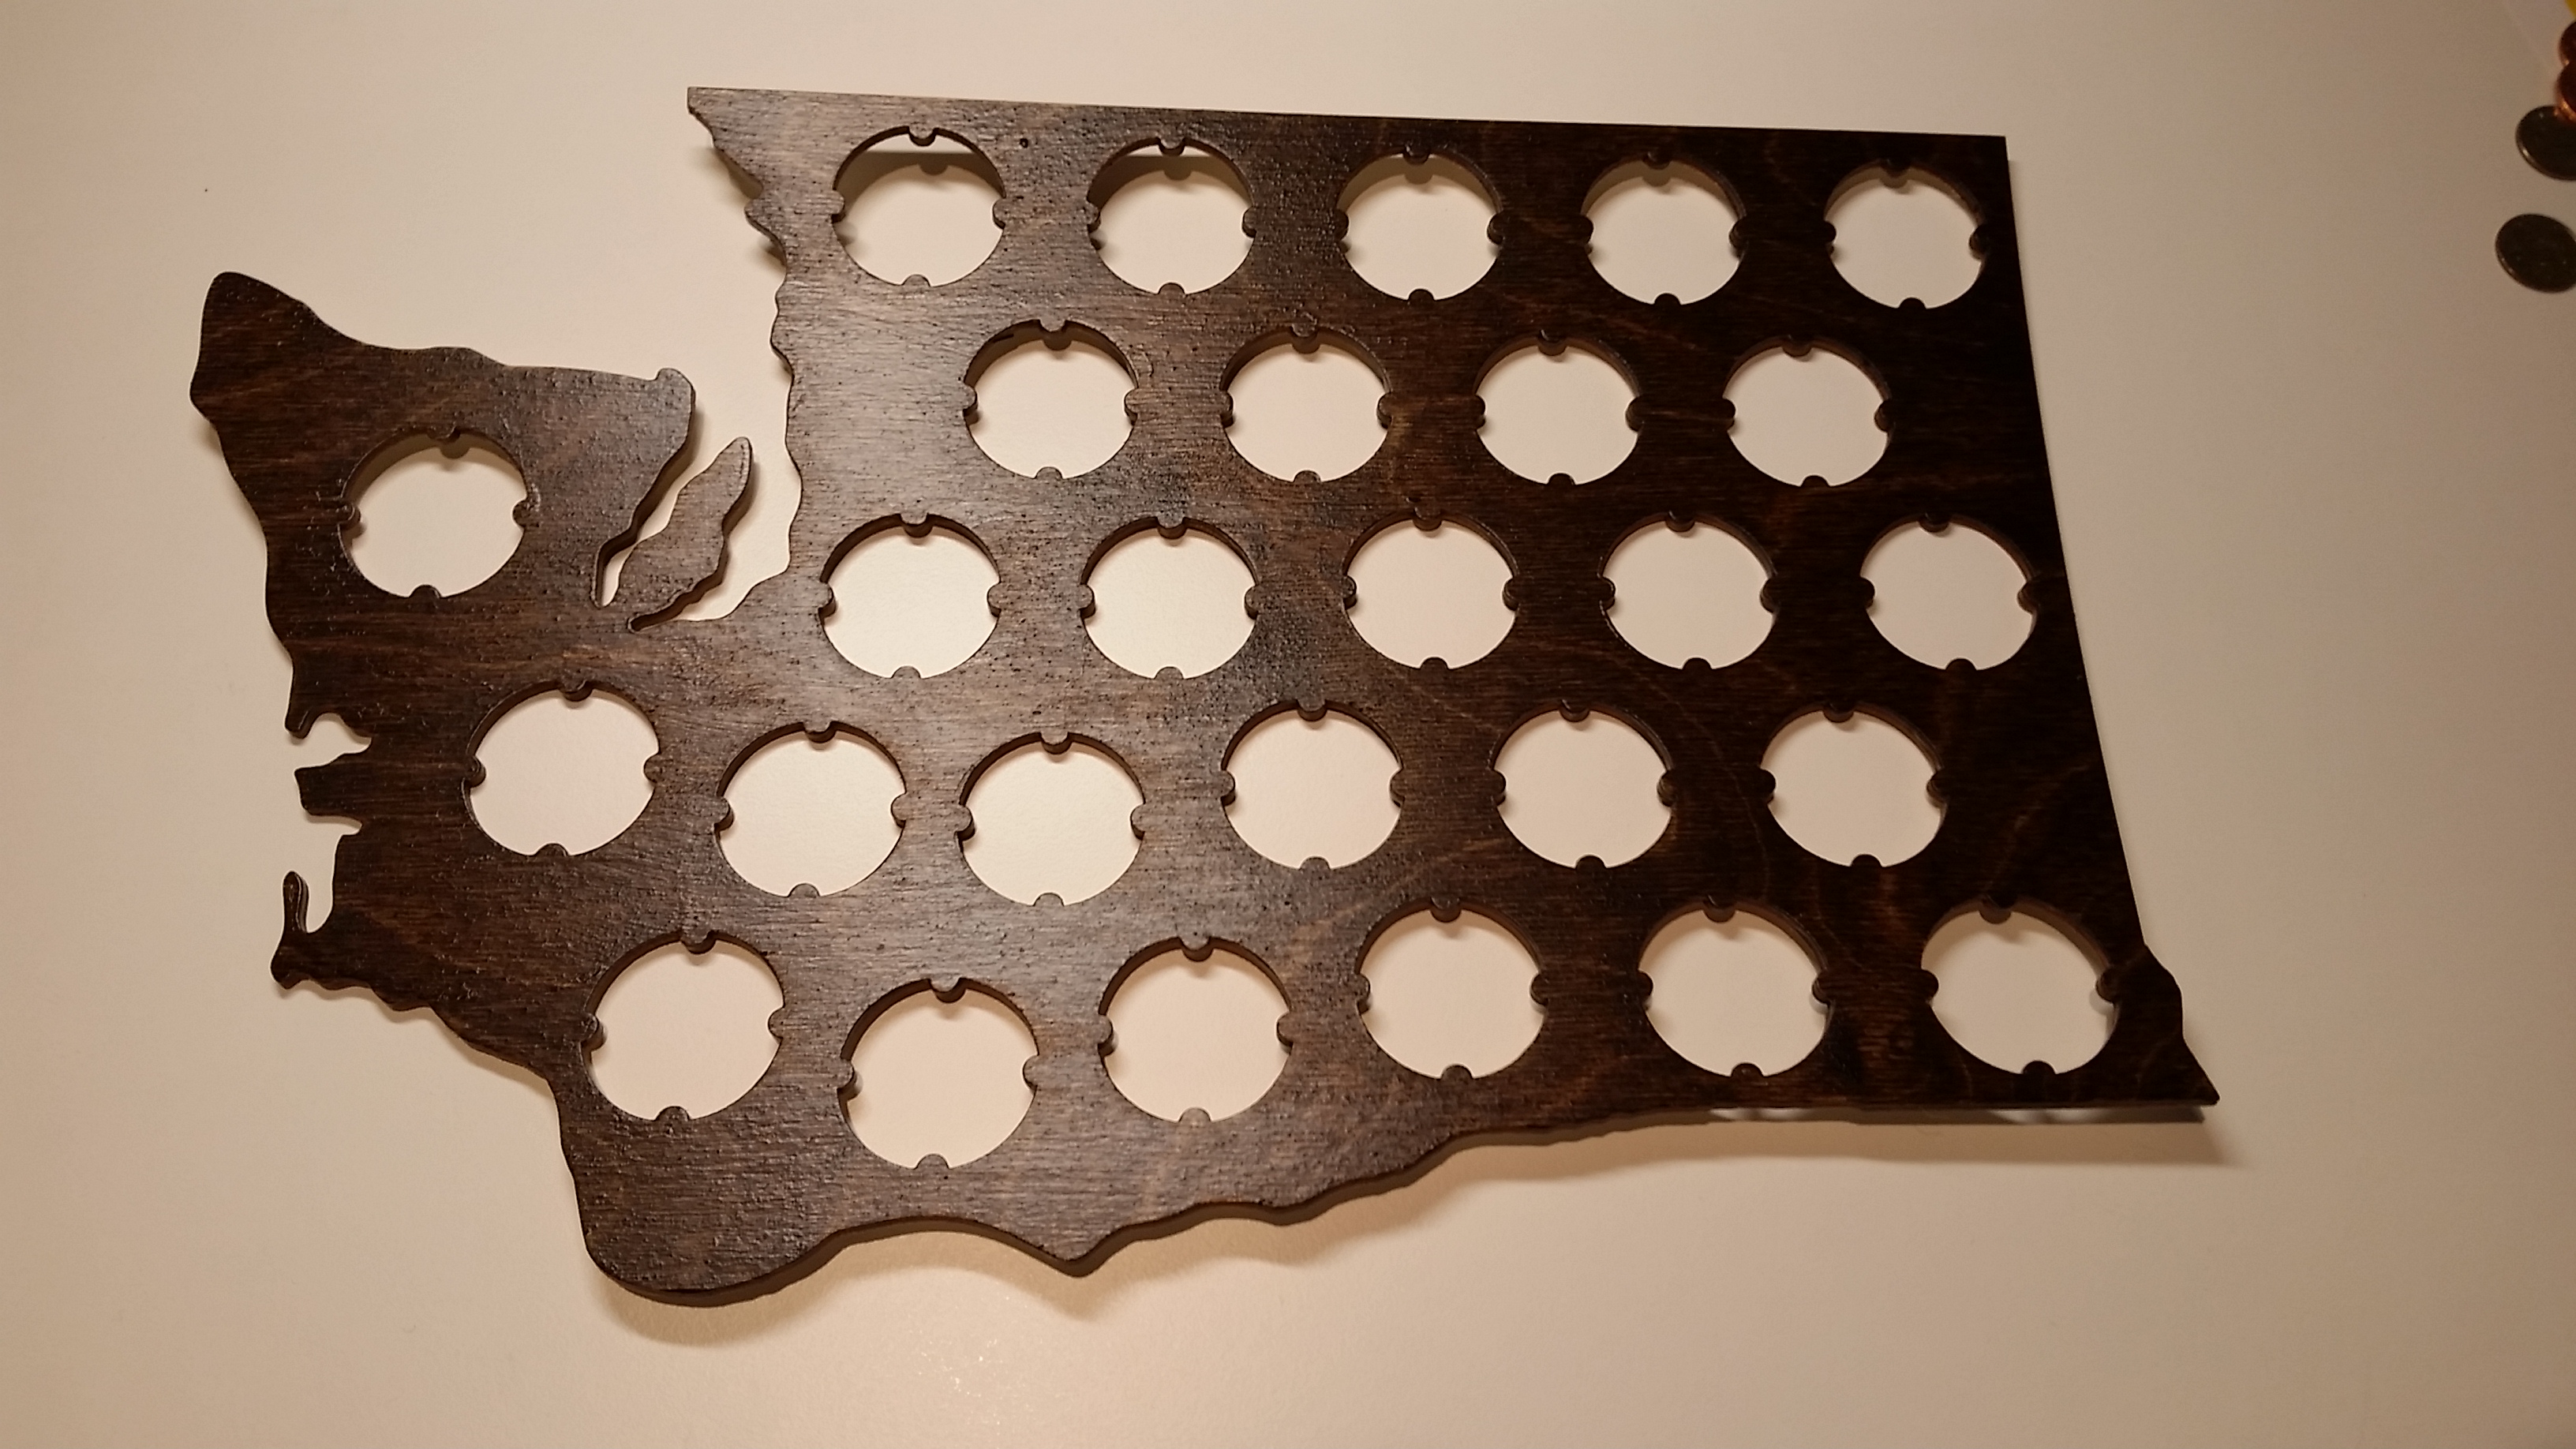
Set aside one of the two pieces that you laser cut since you only need to stain one. If one of them has mild defects, you can use that piece as the back. For the sanding I used 220 grit sandpaper. Nothing excessive, just enough to smooth the surface and edges of the outline. Then for the staining, apply 2-3 coats (I did 3 for both the lighter and darker stain that I used). And finally for the finish, I used a polycrylic finish, and again recommend 2-3 coats.
Side Note: Be careful leaving these pieces in the hot sun for too long, because they can warp (which happened to one of my pieces). Thankfully in the next step we're gluing this together with another one, so it flattens it back out.
Gluing and Adding Magnets
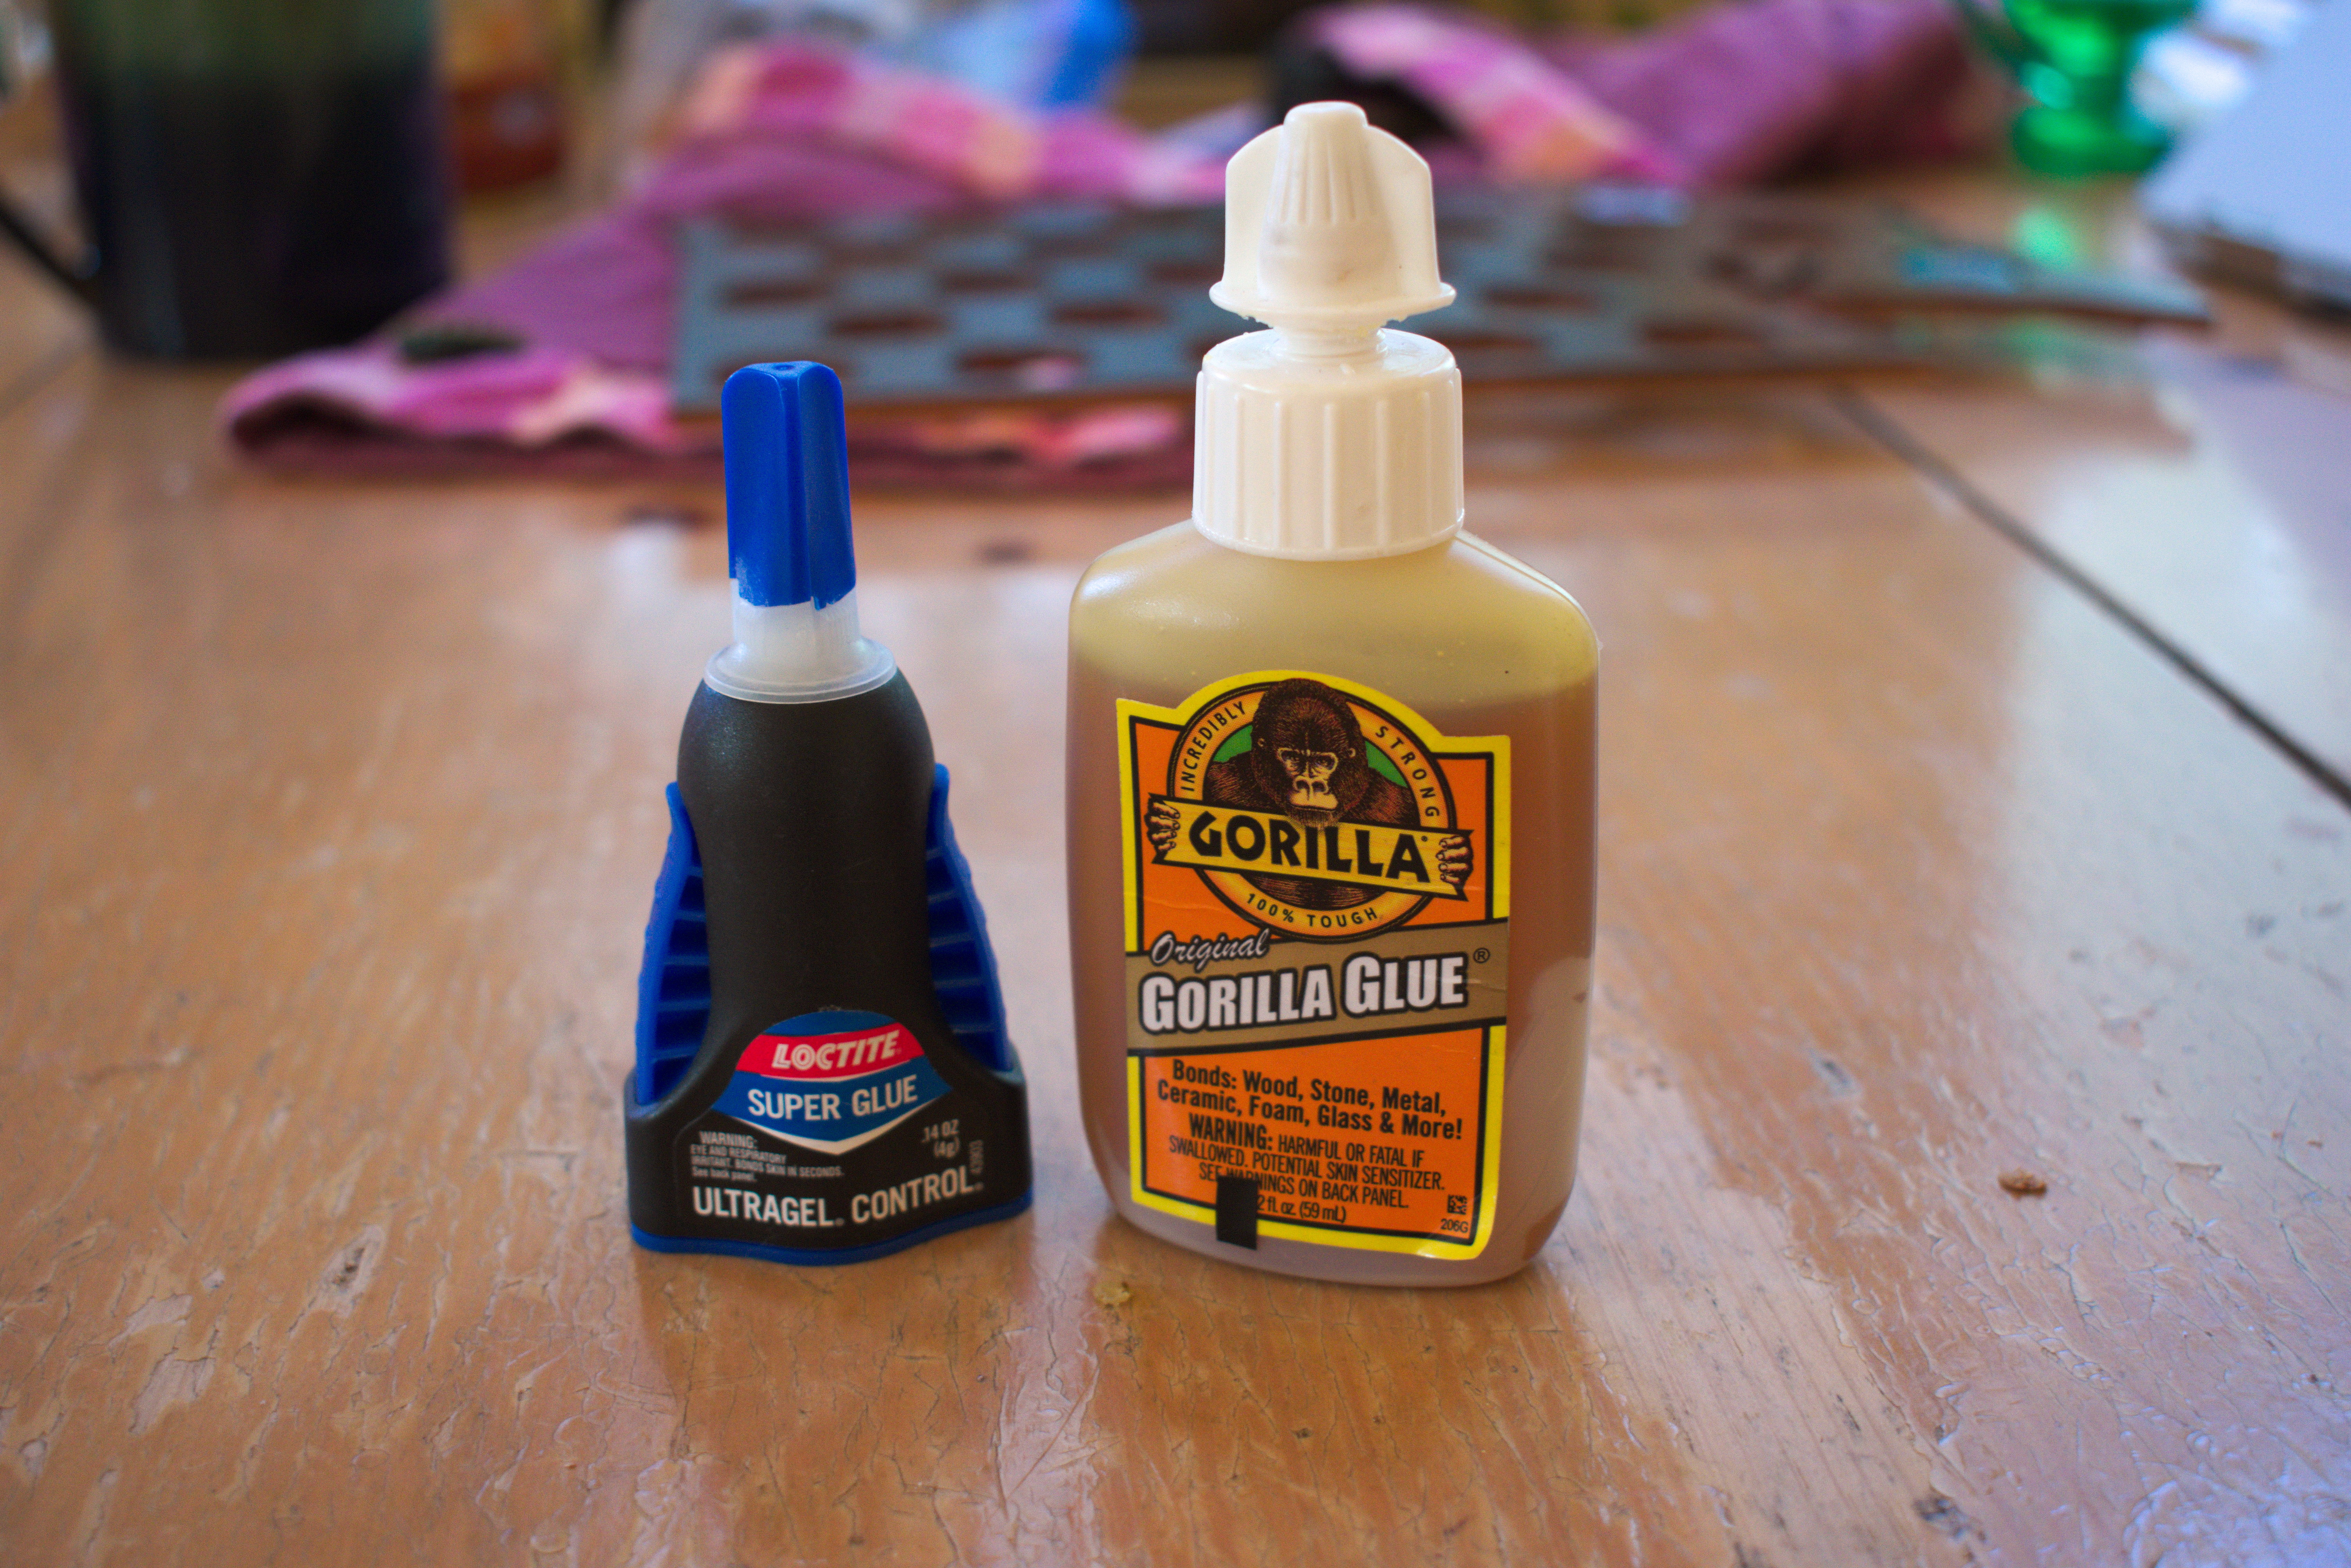
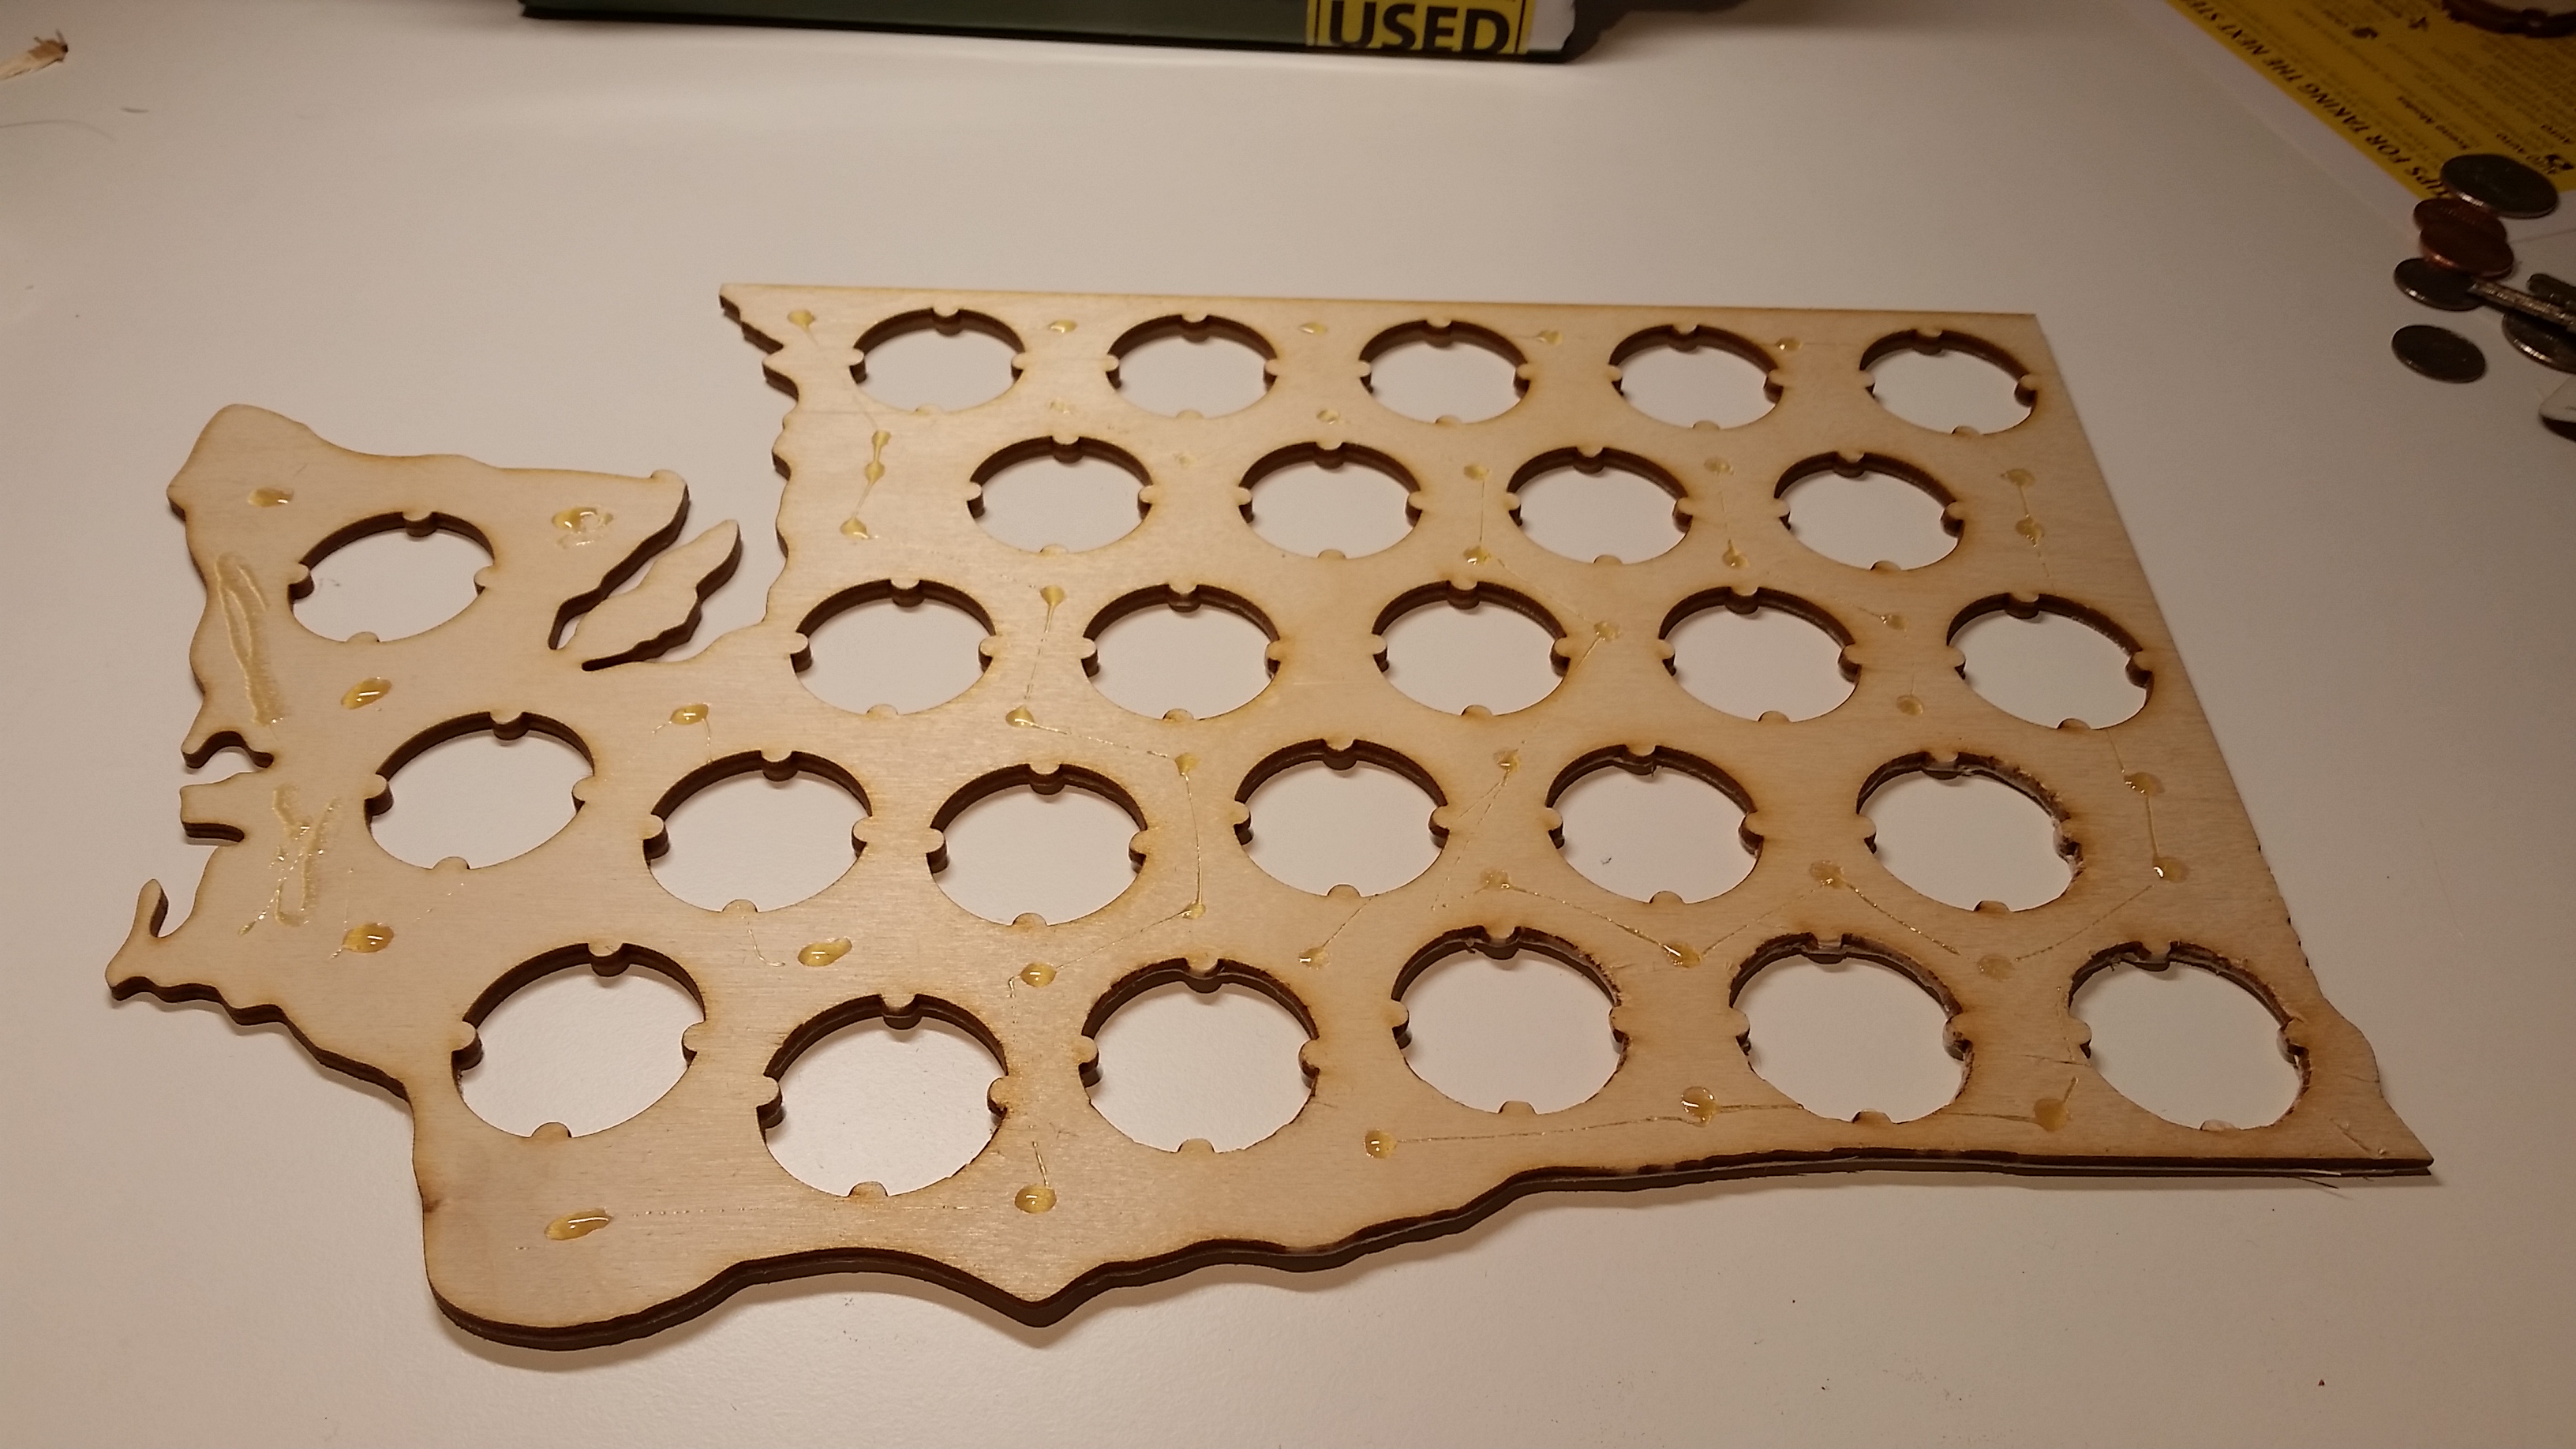
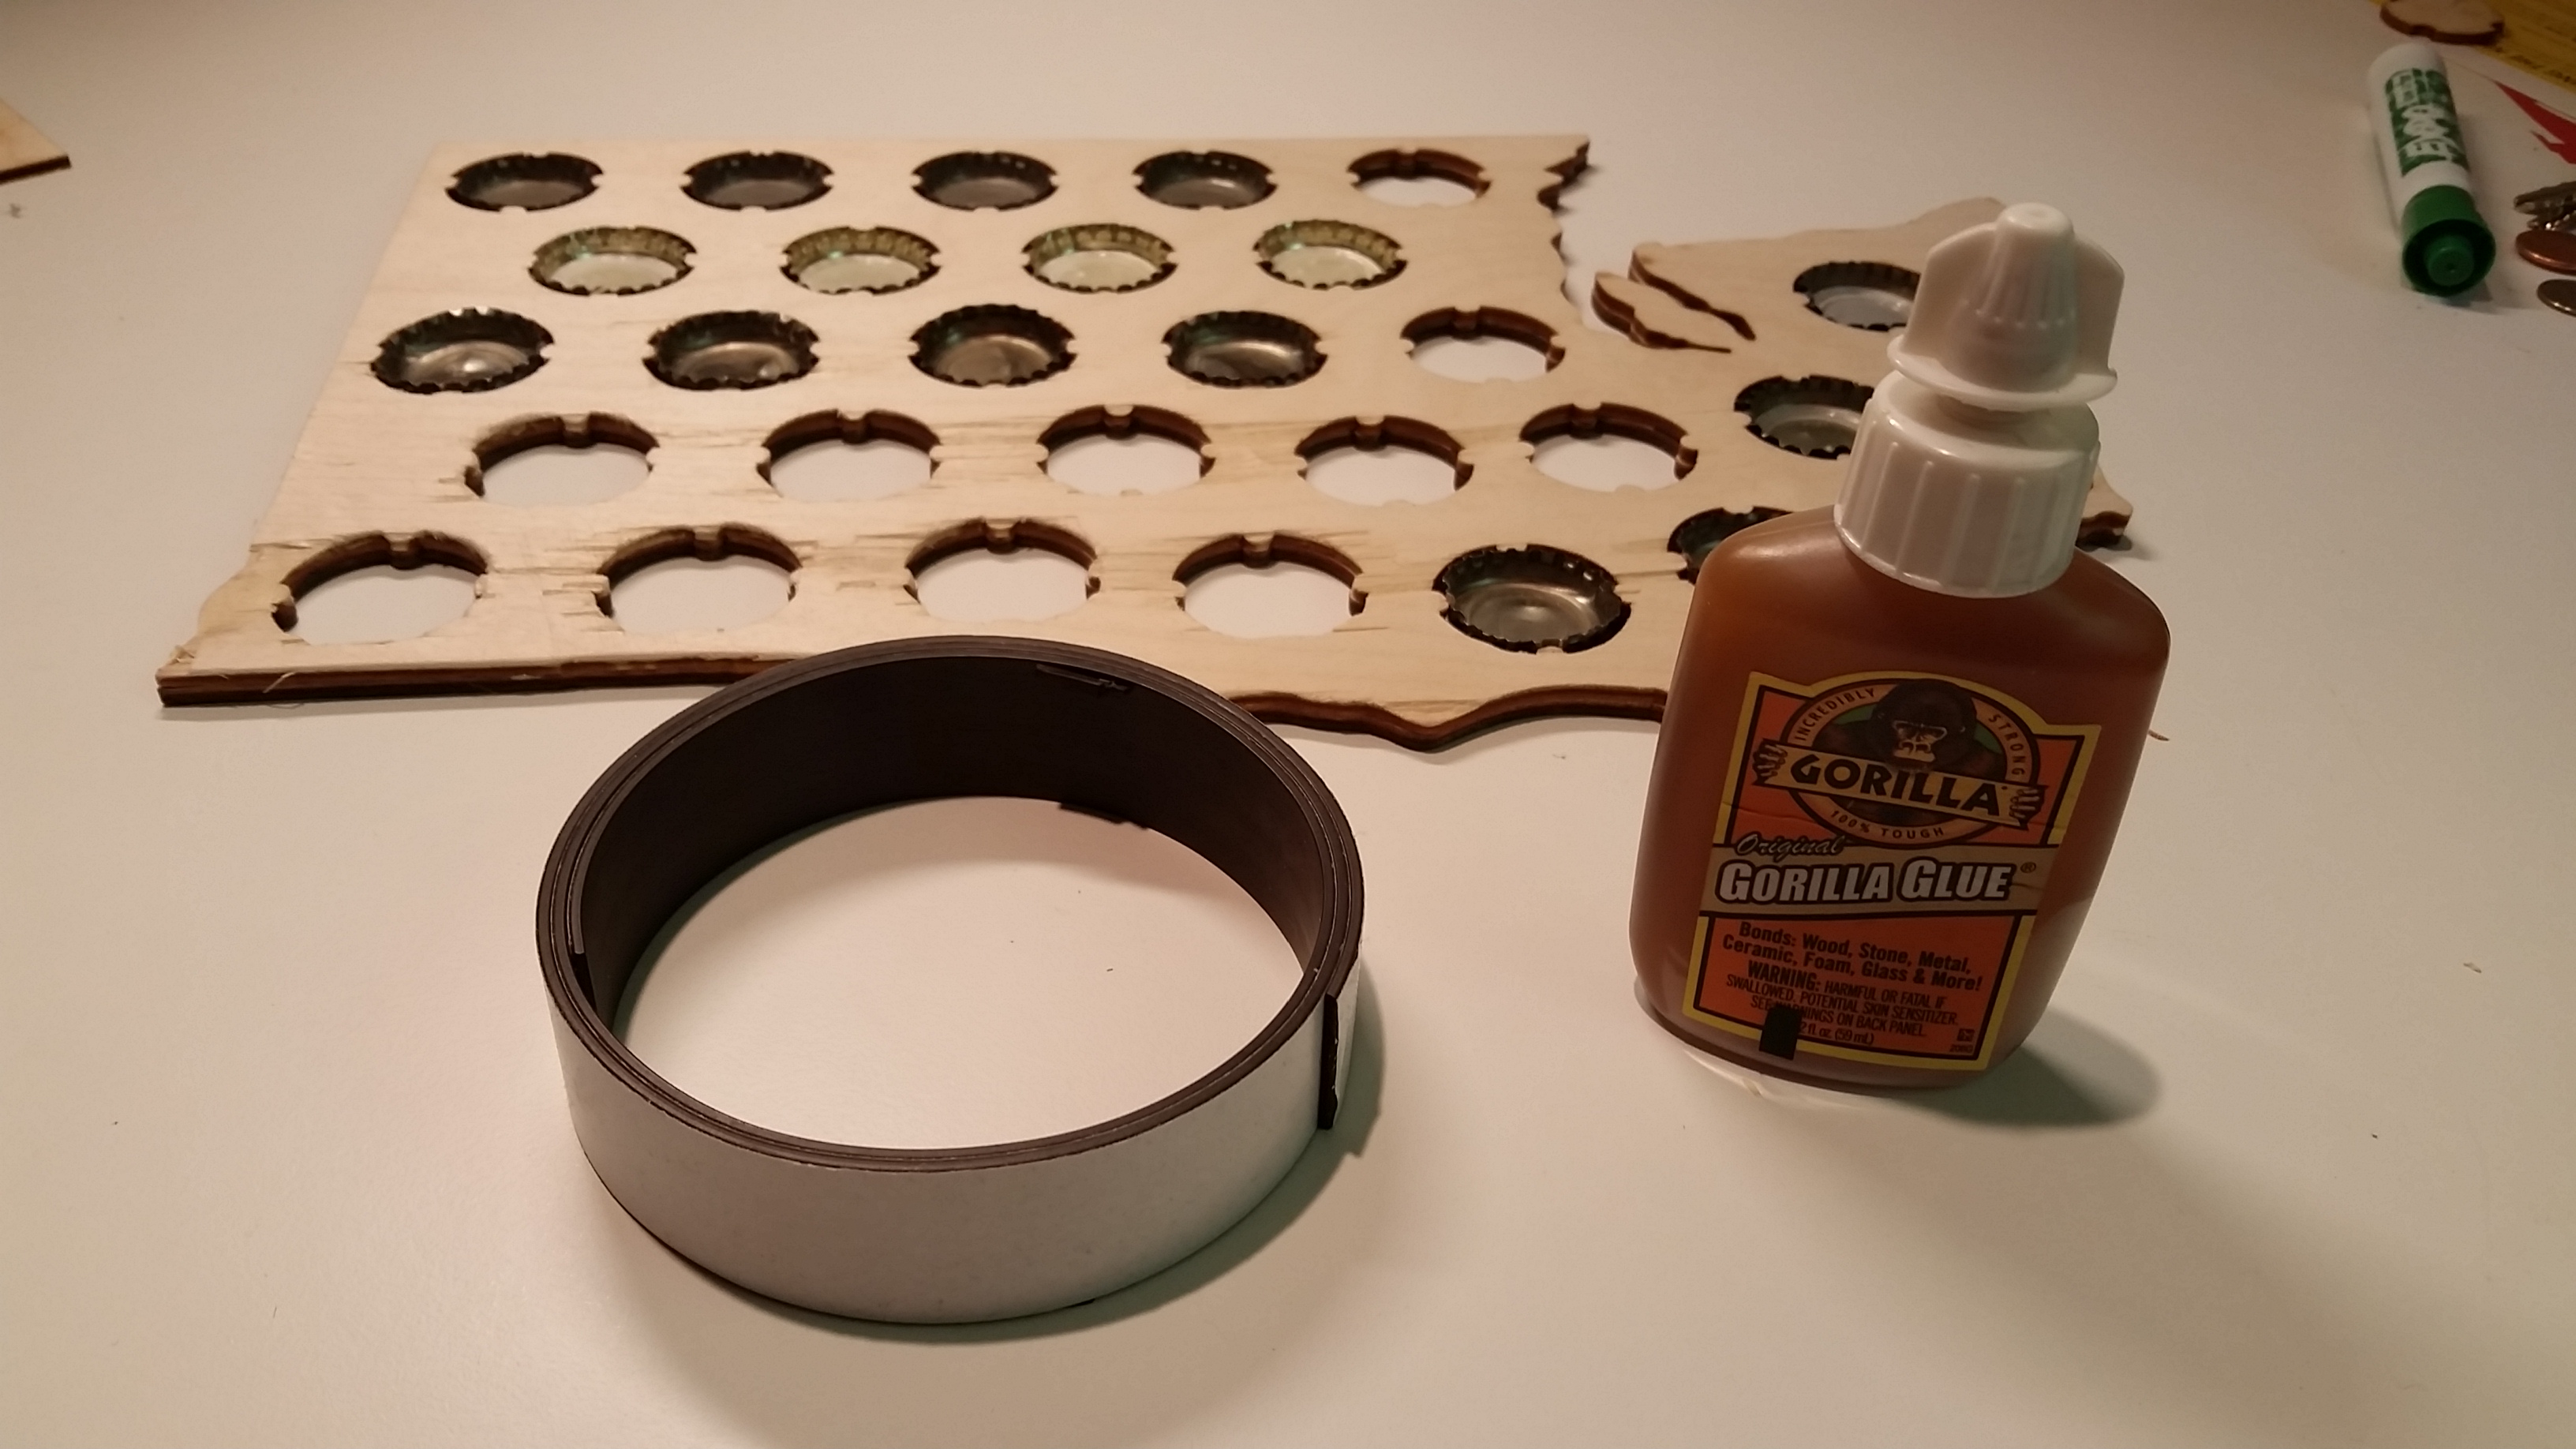
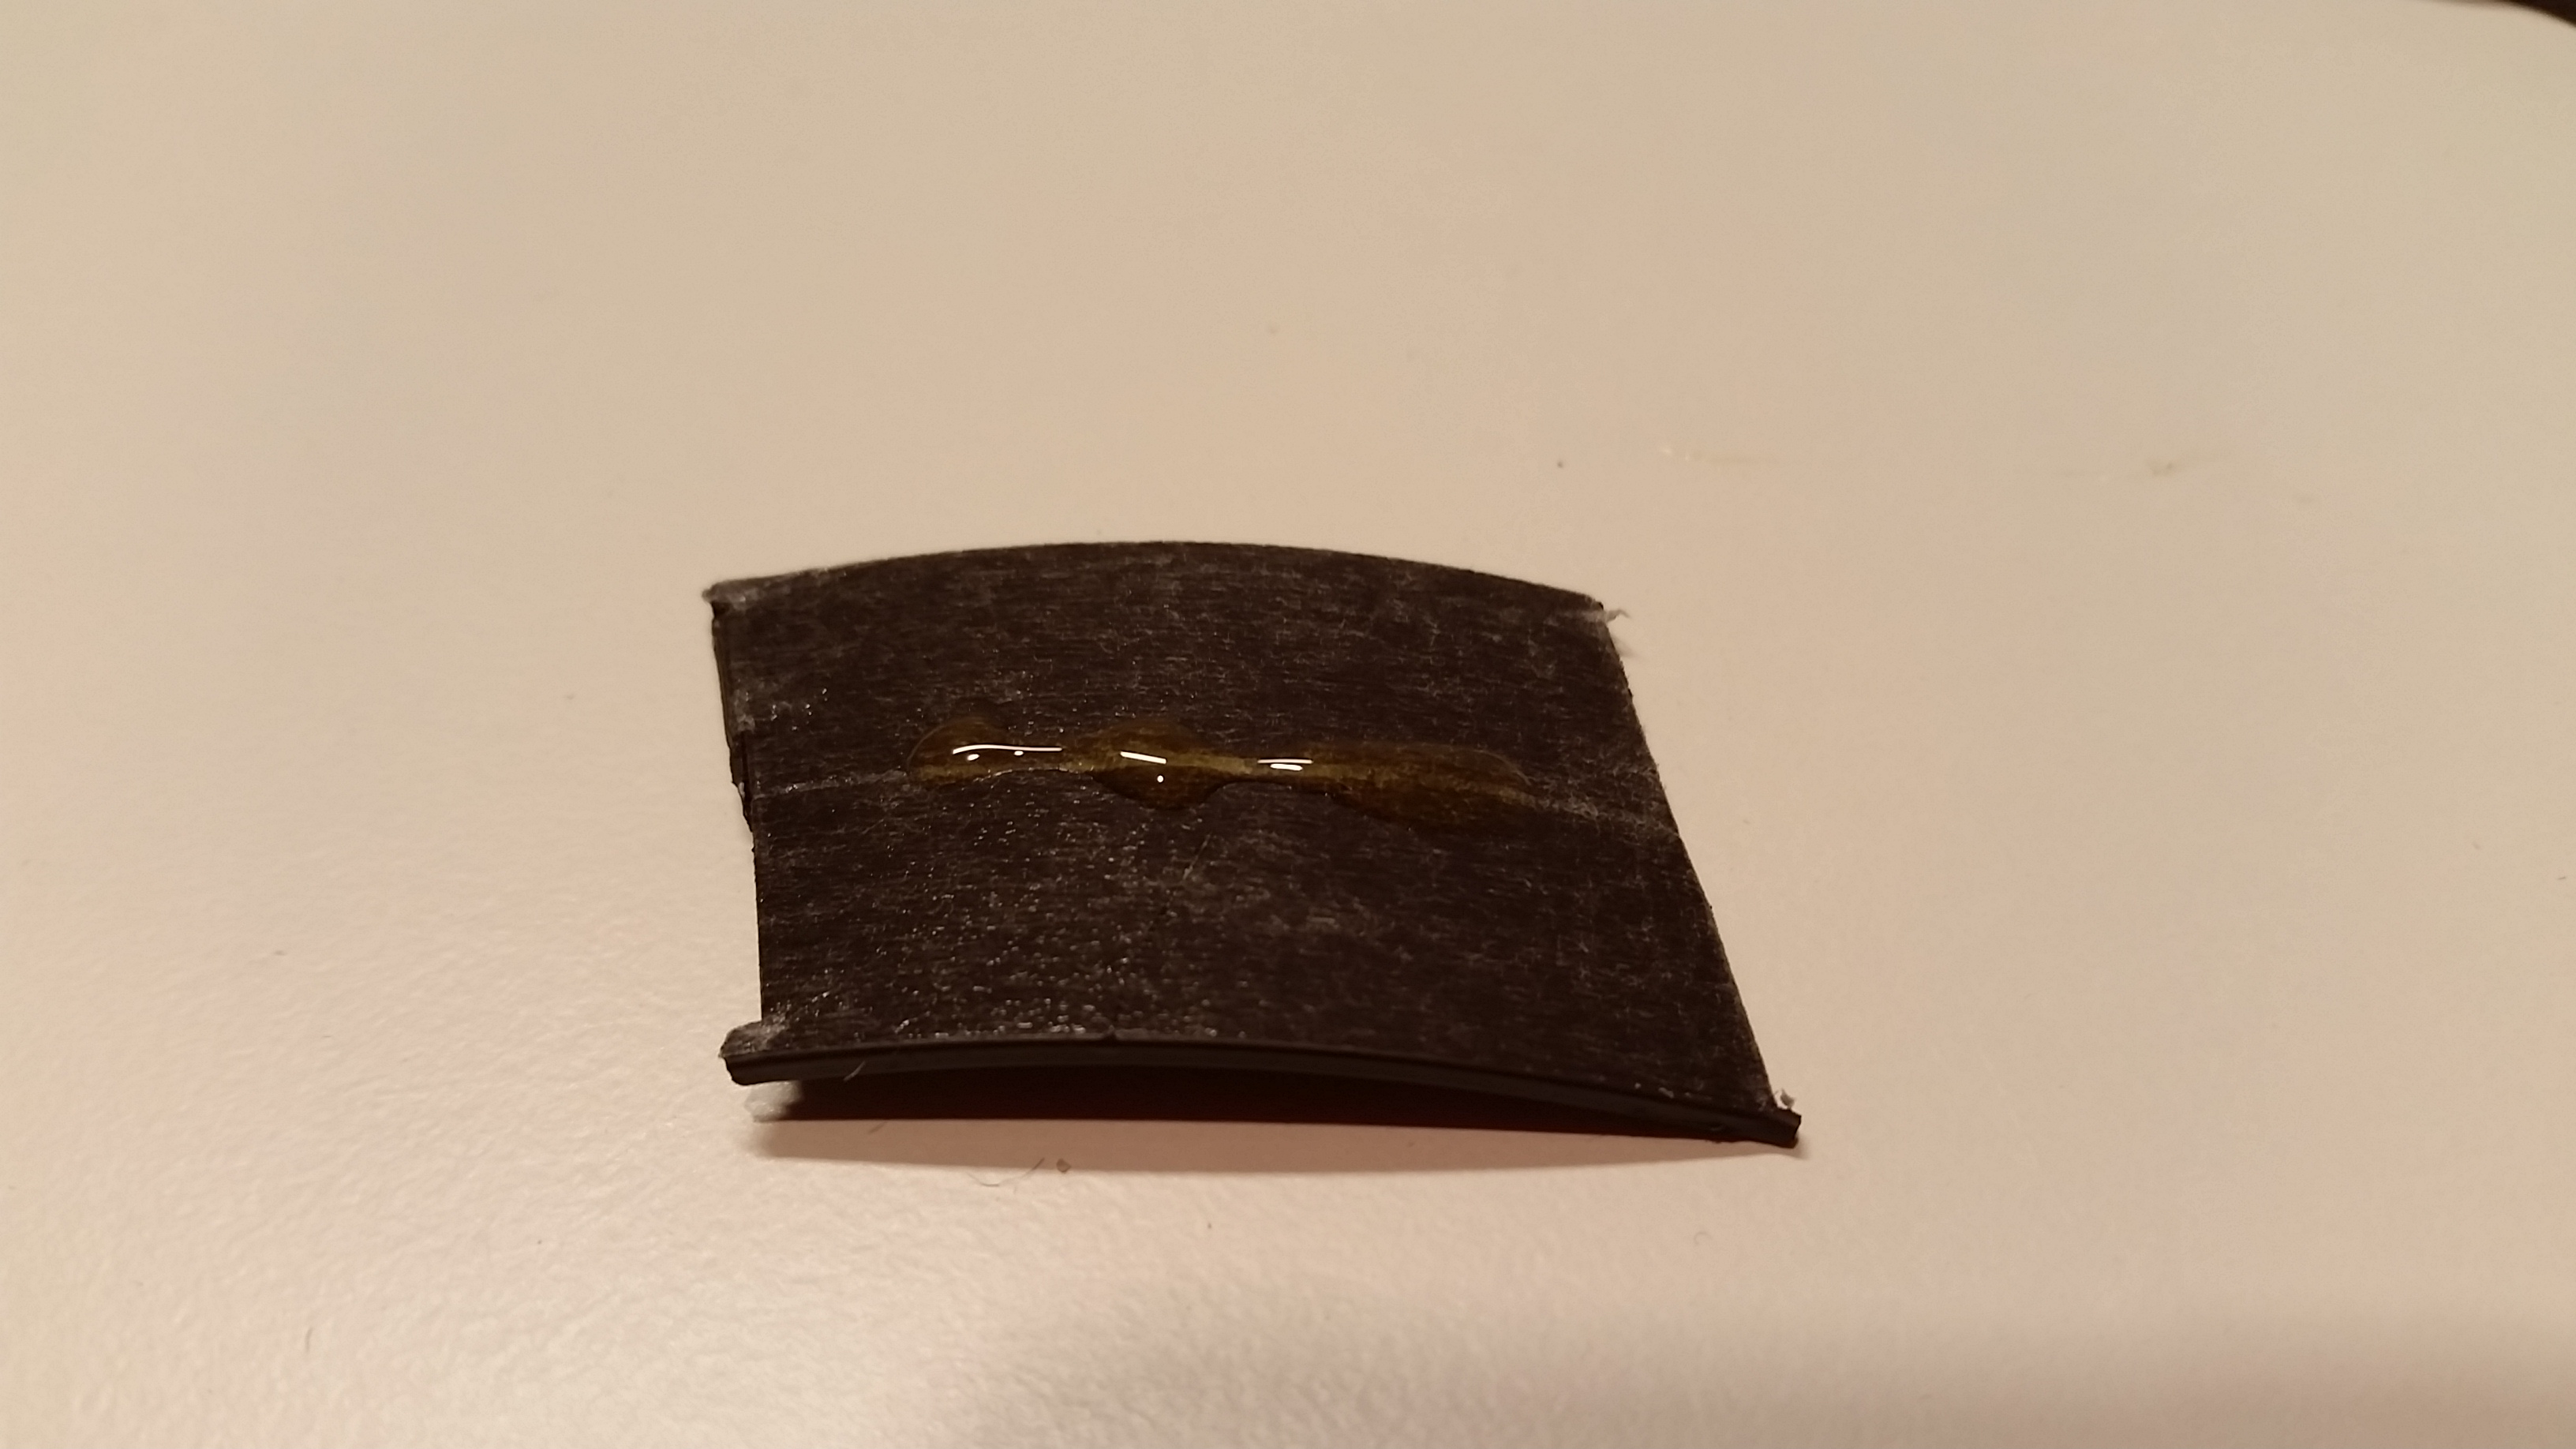
For the glue, I applied a slow drying variety that expands when drying for most of the adhesion, and a quick drying glue (~10 seconds) to help with the initial placement to prevent sliding when clamping. You want to put the glue on the back of the stained piece, and then line up the second piece with the first and stack them. Then cover it with a heavy object(s); a few hundred dollars worth of college textbooks works pretty well.
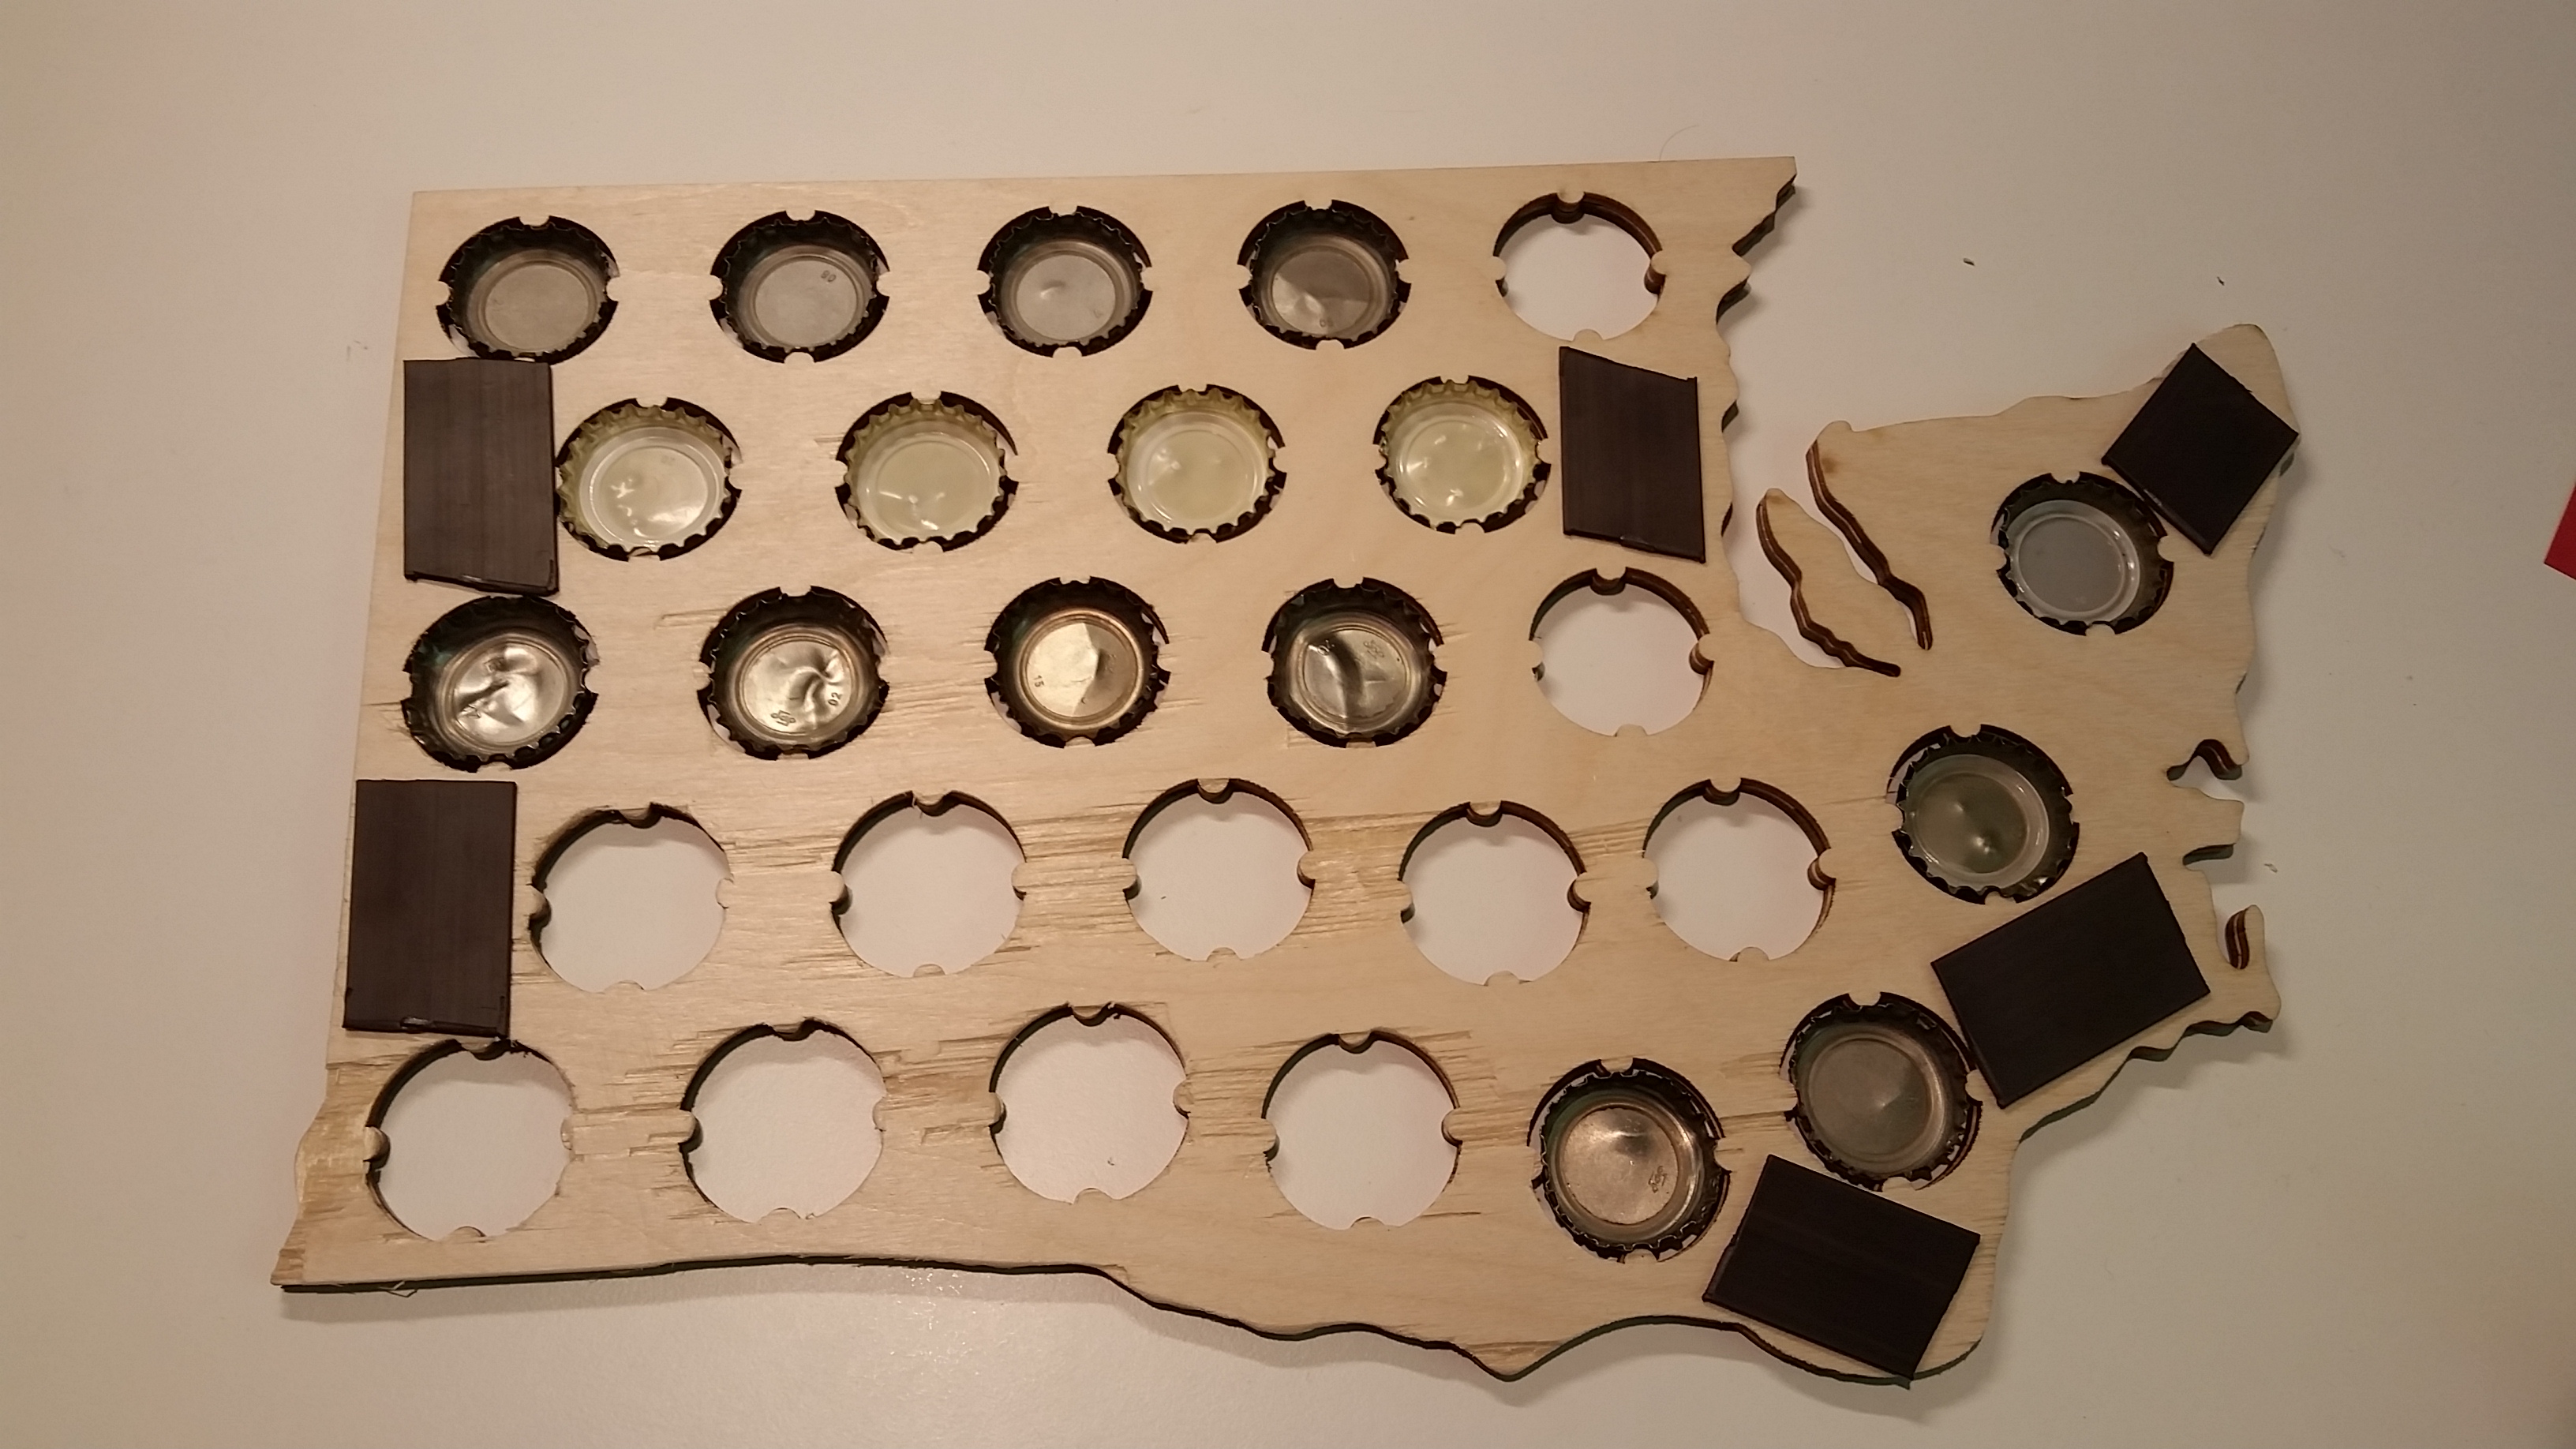
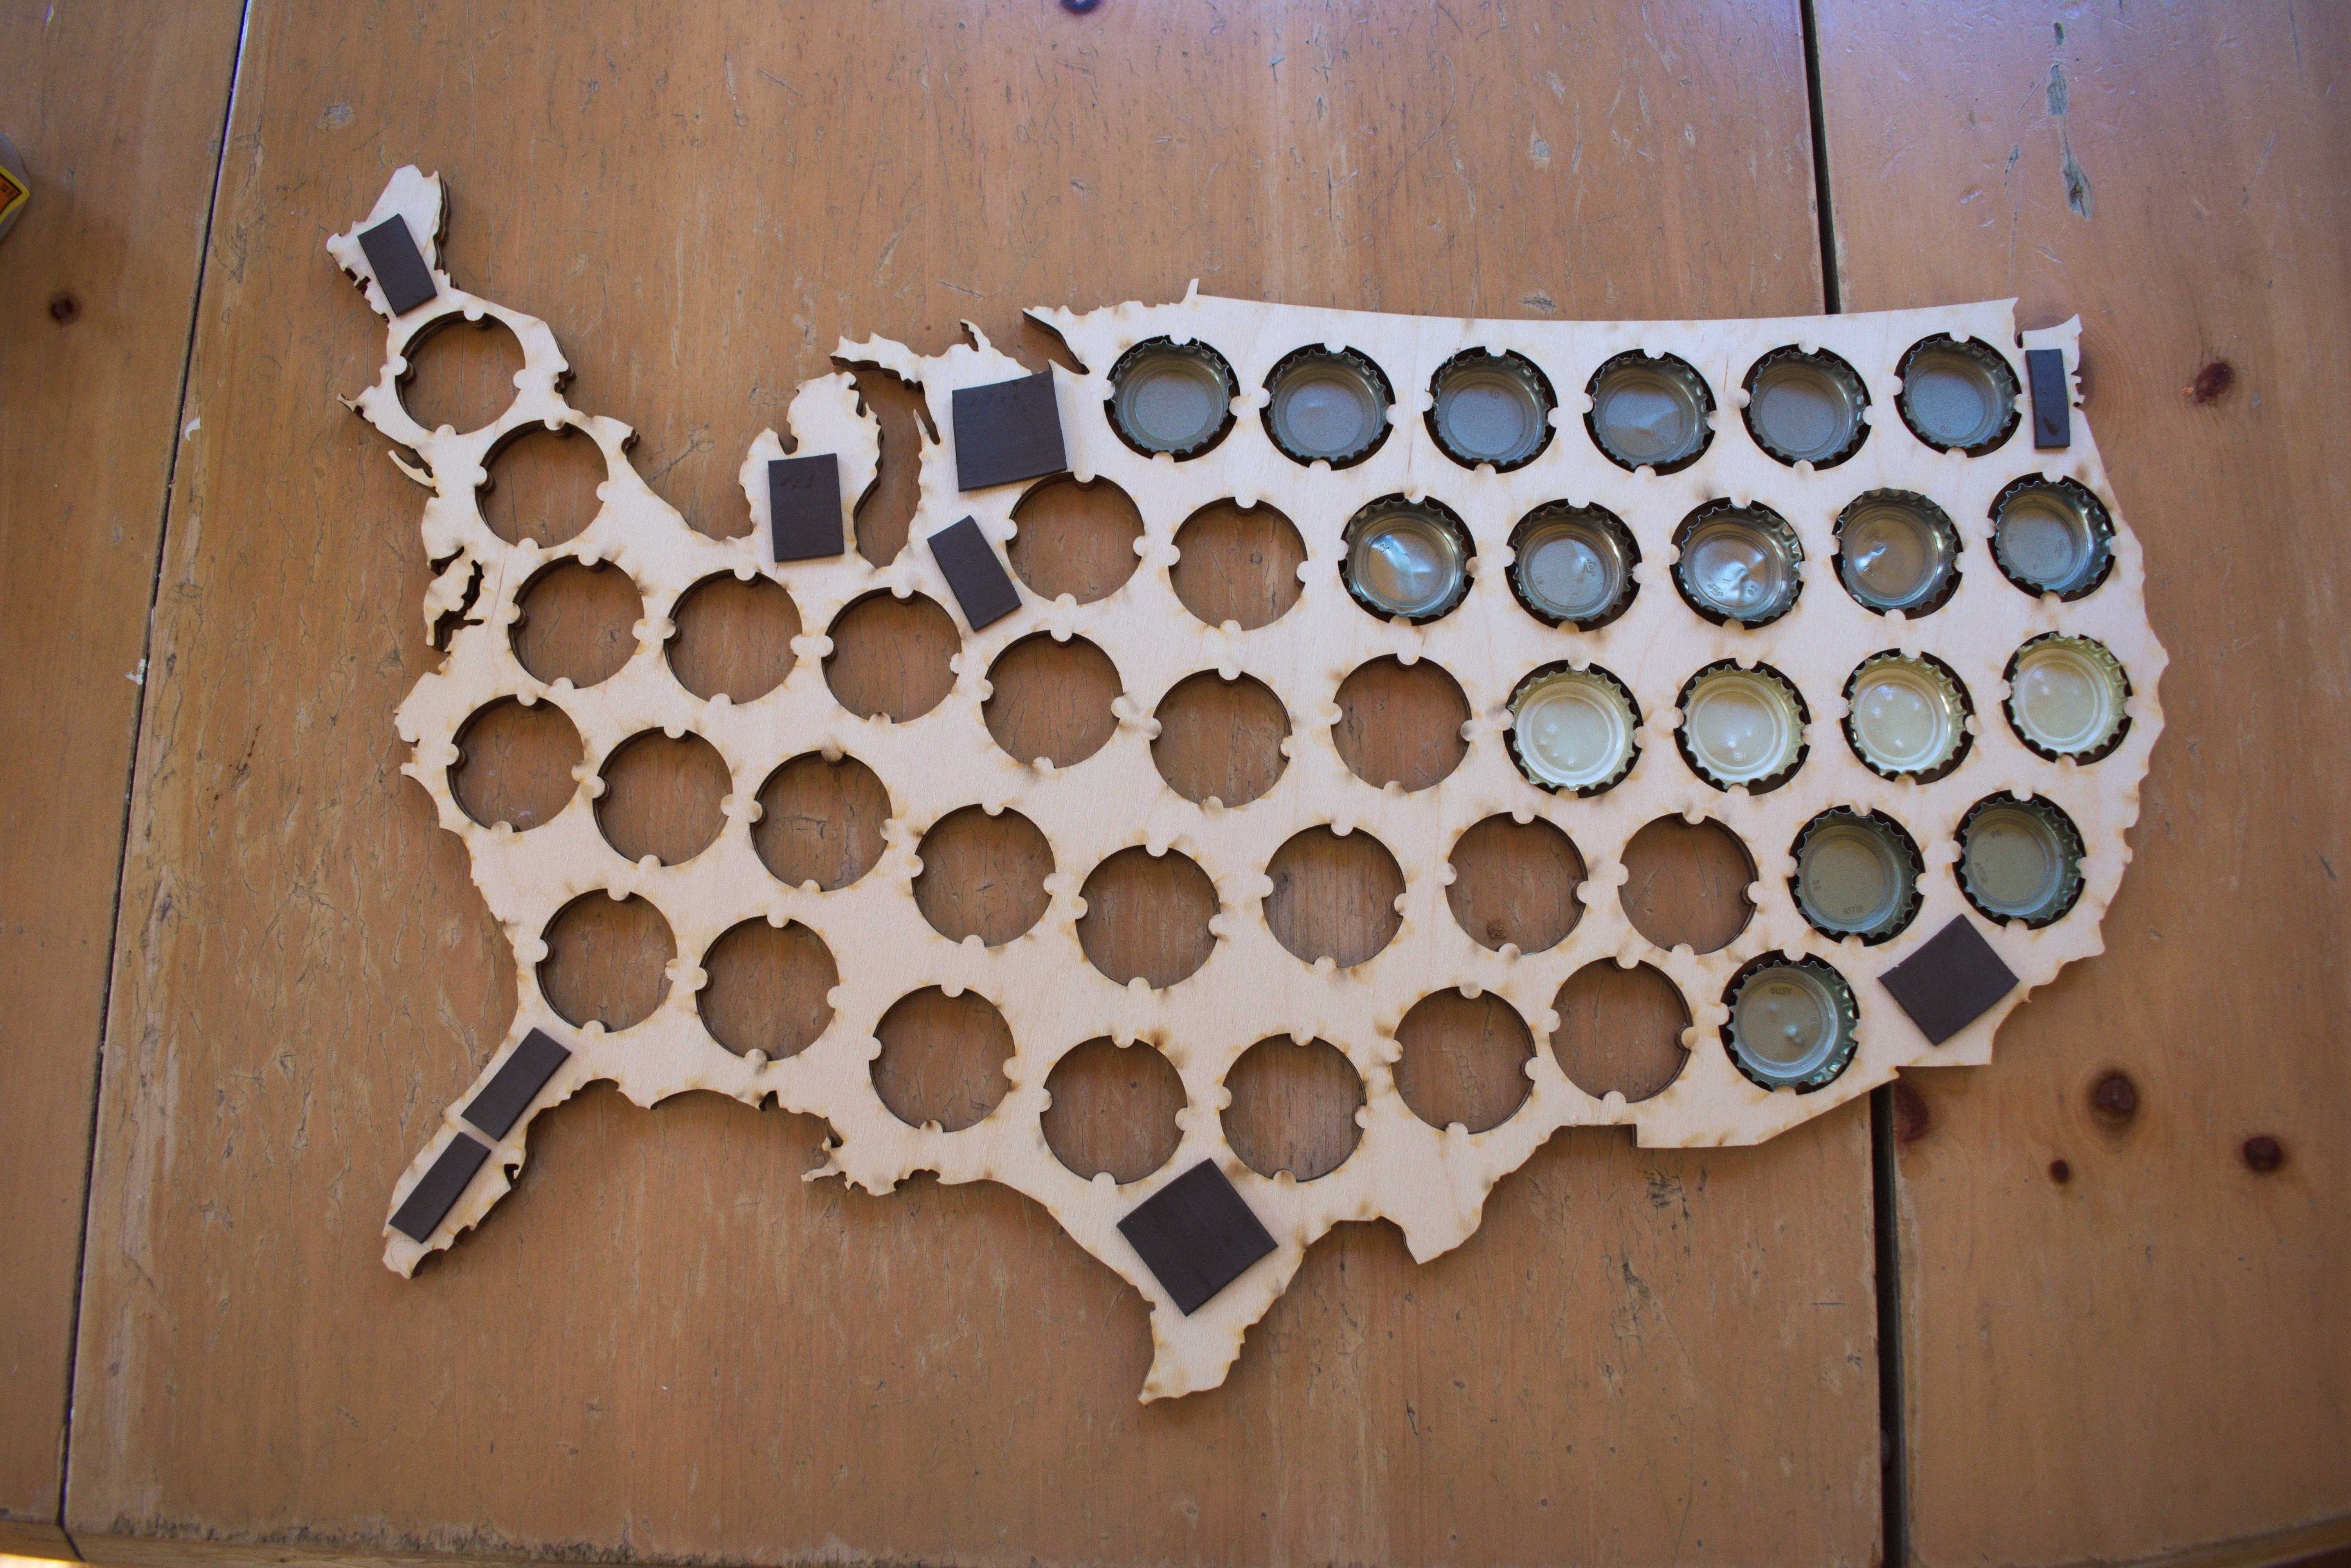
Once done, add the hanging method of your choice. I went for magnetic strips with an adhesive backing so that I could put this on a fridge, but another good alternative for hanging it on a wall is using hanging strips. I put the strips on the larger spaces in each design (shown in the pictures), and applied a little bit of glue on teh back of the strips so they would adhere a little bit better.
And then you're done! Have fun filling it with bottle caps.