Steel Ball Spinning Toy
by pixel_bytes in Workshop > 3D Printing
1410 Views, 17 Favorites, 0 Comments
Steel Ball Spinning Toy
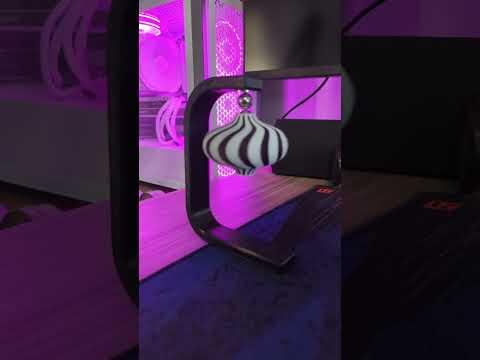
I'm mesmerized spinning tops and easily pass time by just watching them spin. I can't have a top spinning on my desk or they'll knock stuff over. So I came up with the idea of inverting the top and spinning it on a magnet. Now, I have a fun fidget toy on my desk!
Supplies
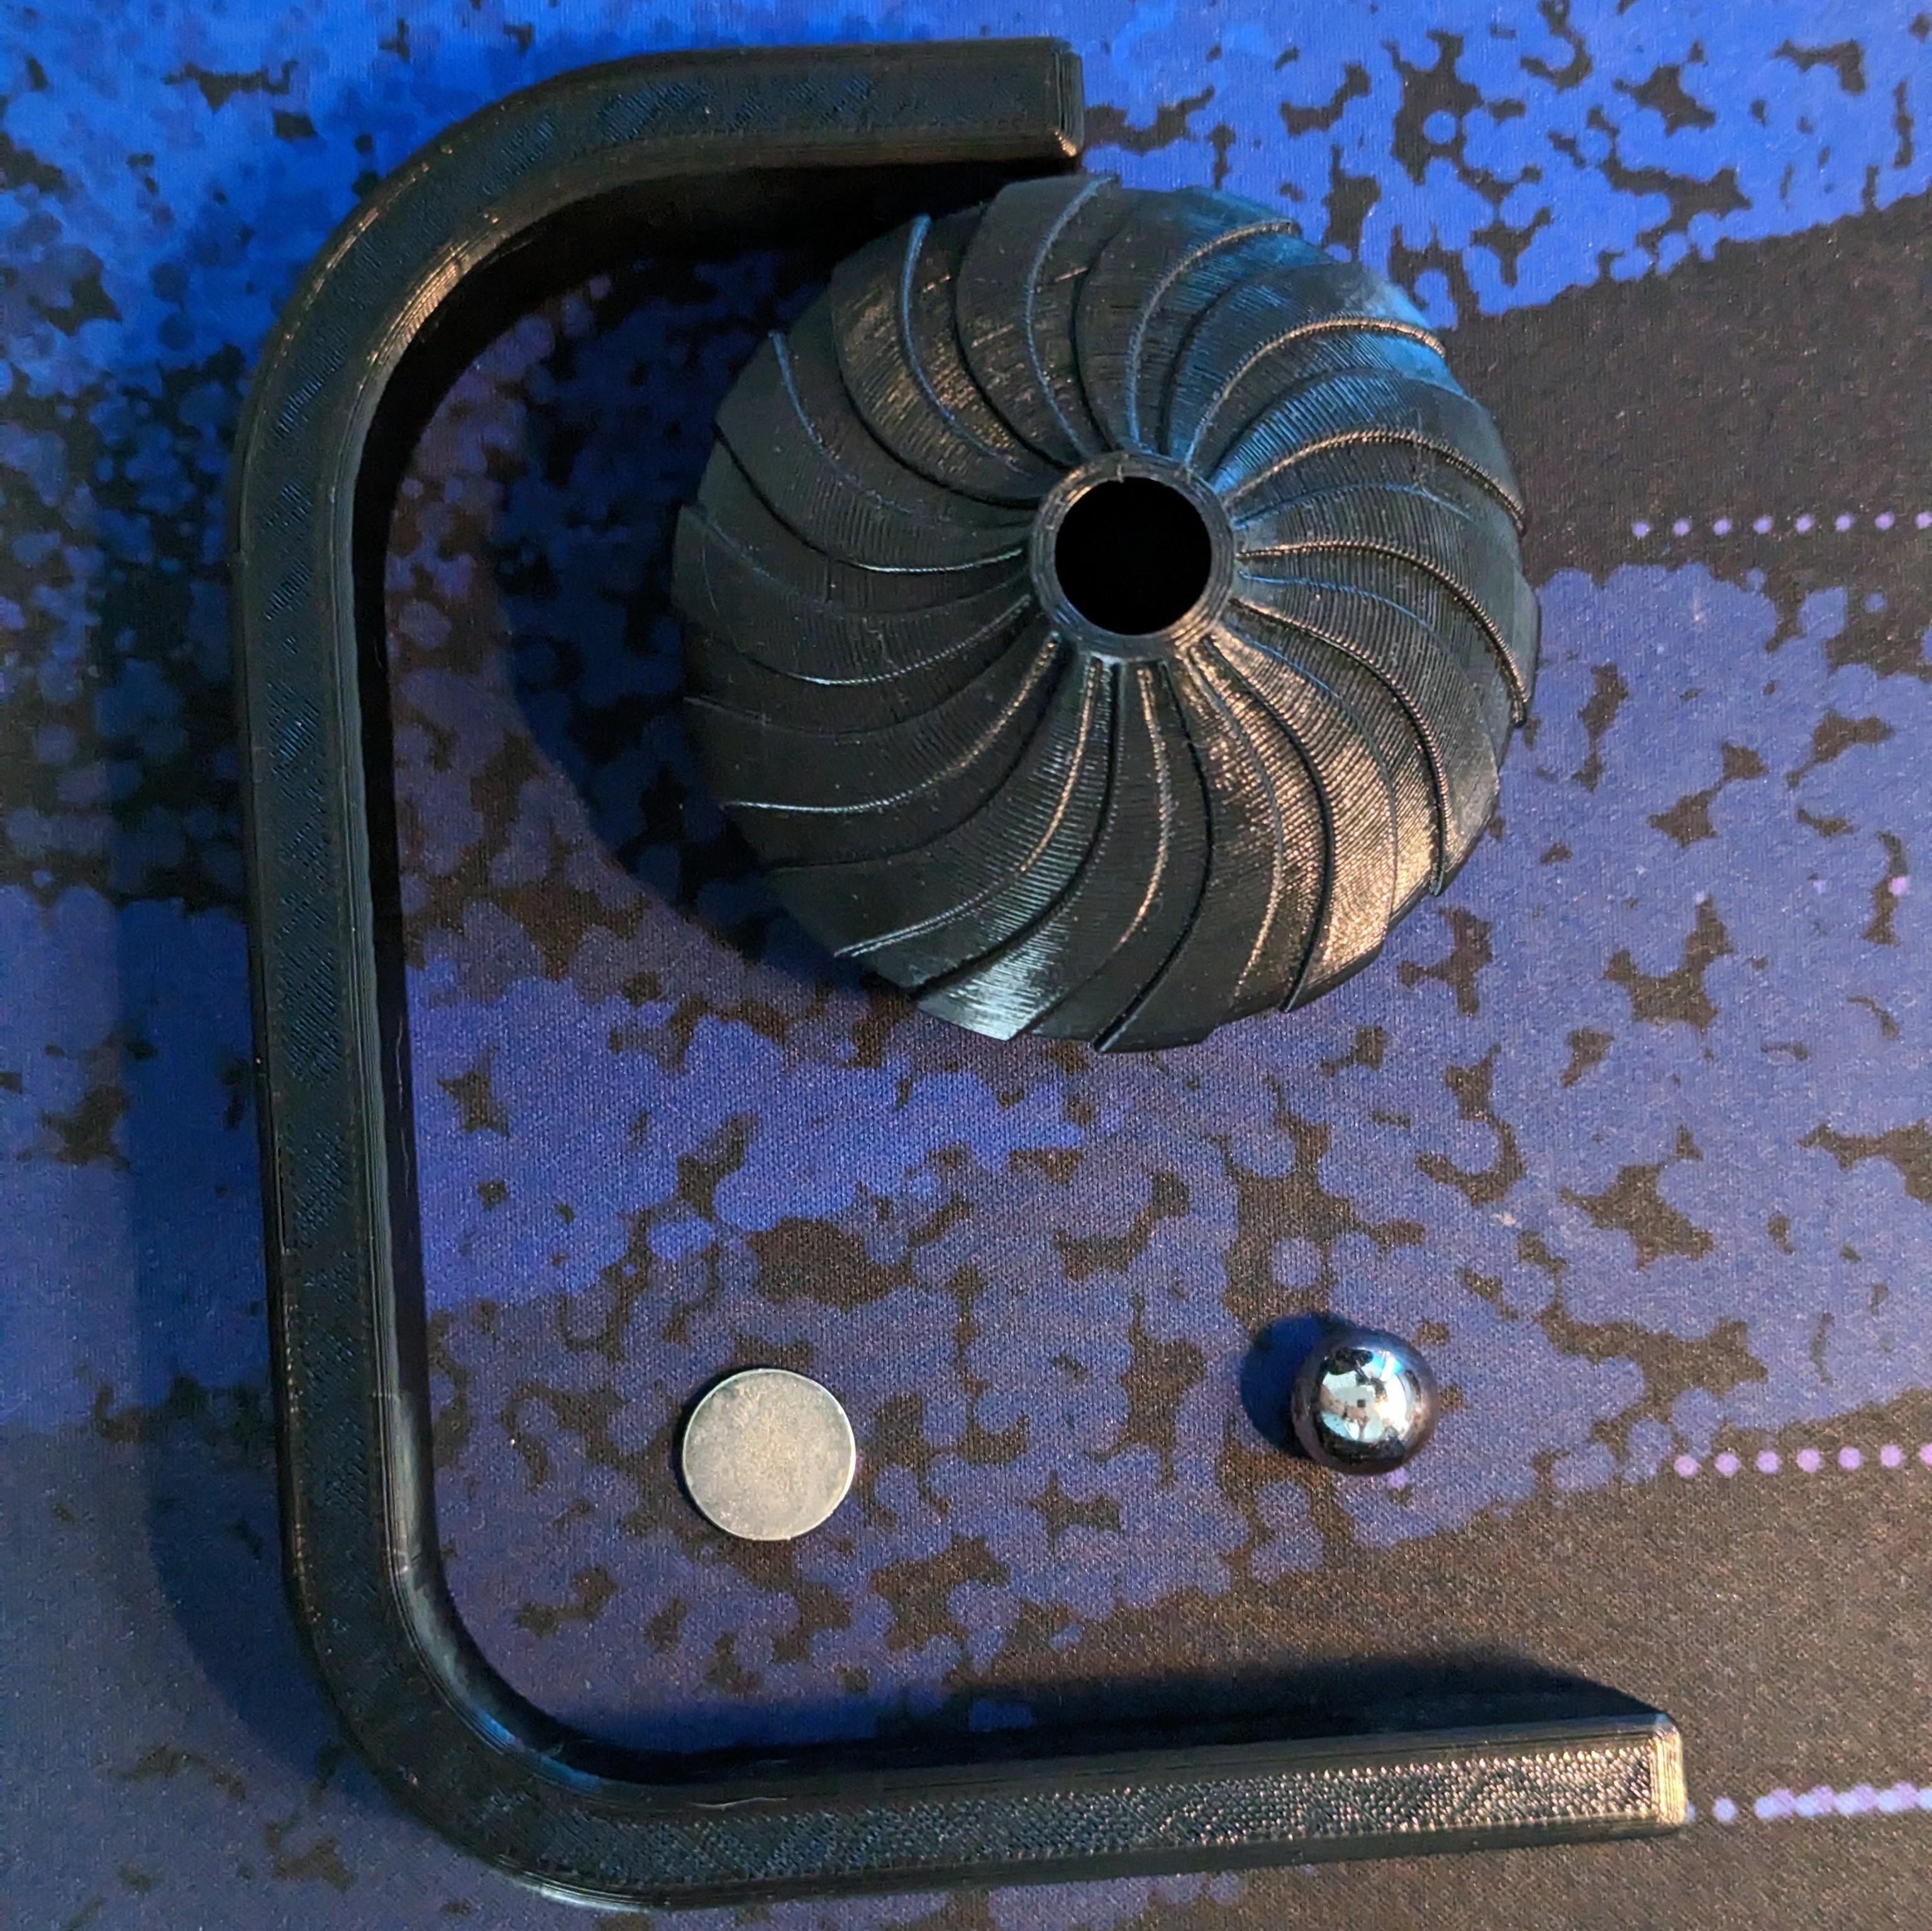
You'll need the following:
- Steel ball, 13mm
- Neodymium magnet, Diameter: 15mm, Thickness: 2mm
- 3D printer
- 3D files
- Magnet stand
- Spinning top A
- Slicer software
Download Files
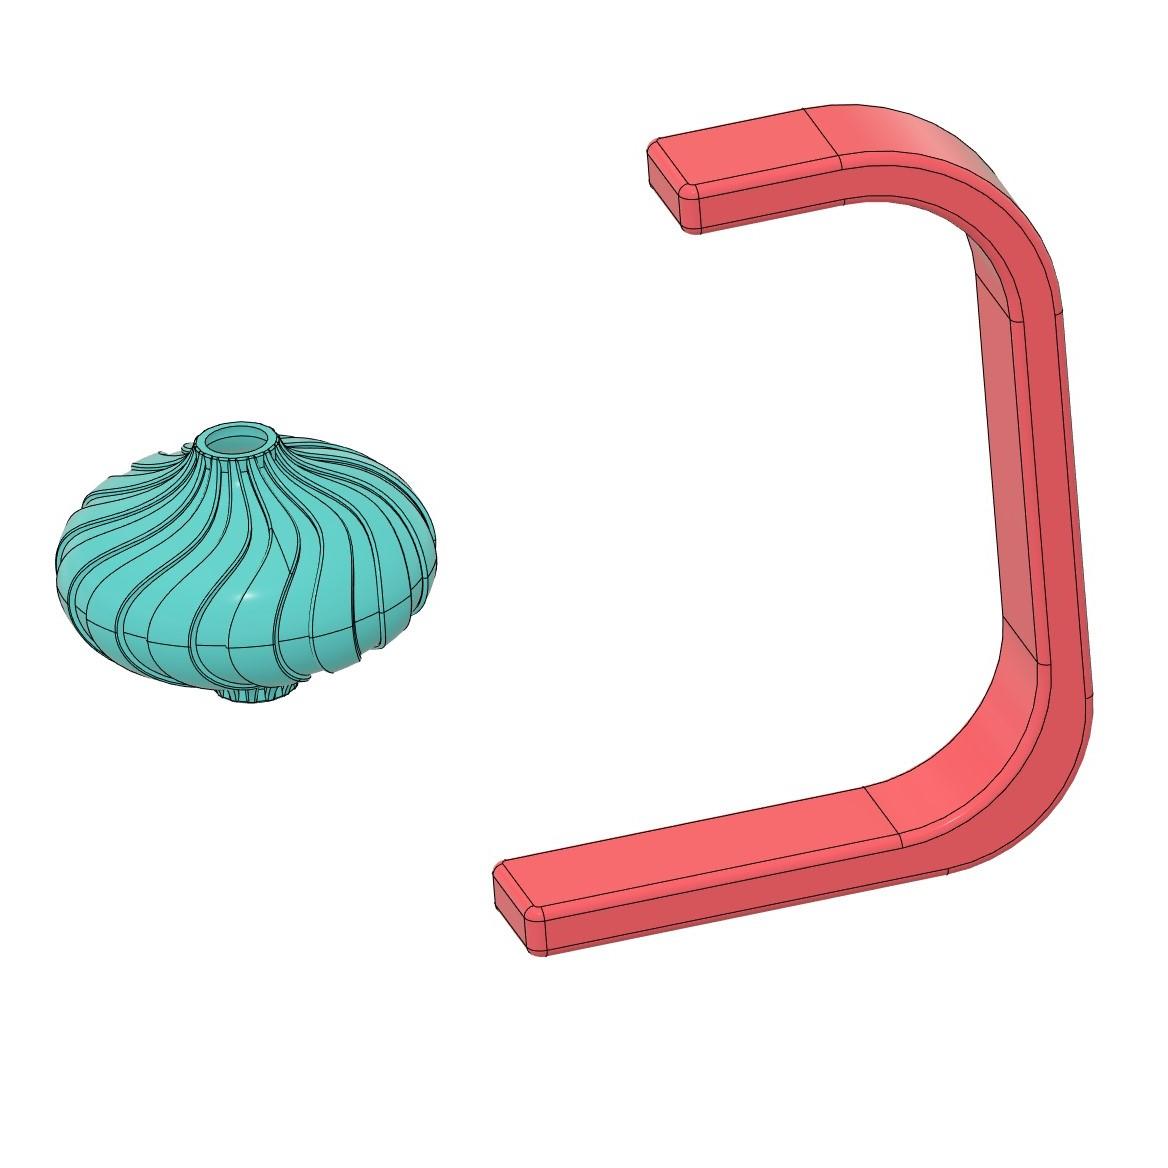
I have the files for these models up on Thingiverse and Printables if you want to download. For this tutorial, I'll be using the spinning top file. I also have a rocket model that can be used. Links at the end of the tutorial.
Slice the 3D Files
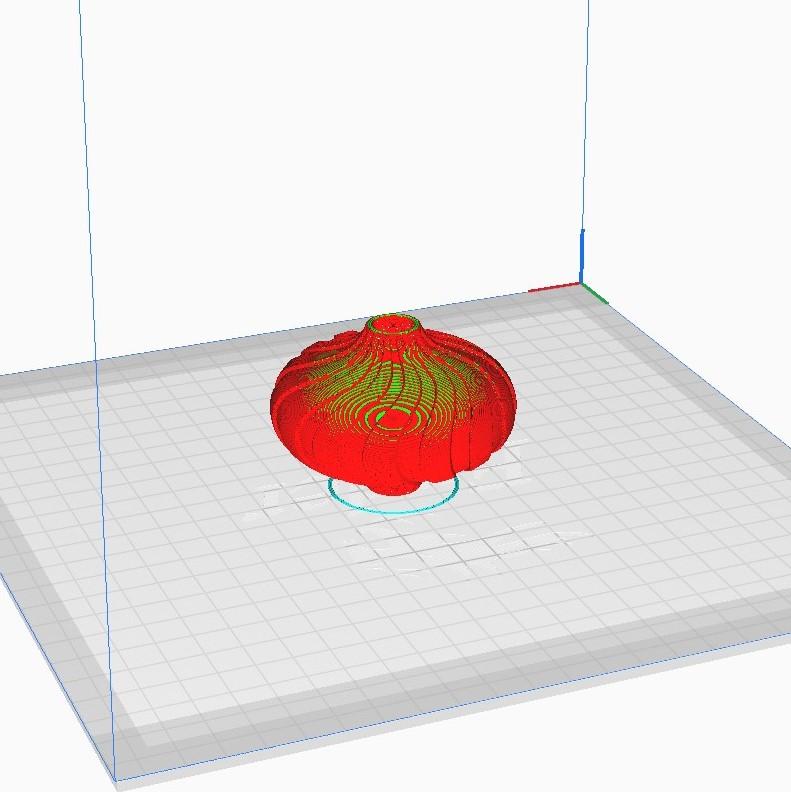
Using your slicer of choice, prepare the files according to your 3D printer settings. For this tutorial, you'll need the spinning top and arm stand files. I will be printing the files separately but if you have a large print bed be there should be no issues with printing at the same time.
I use a Creality Ender v2. The wall setting is set to 3 layer thickness and no infill.
3D Print
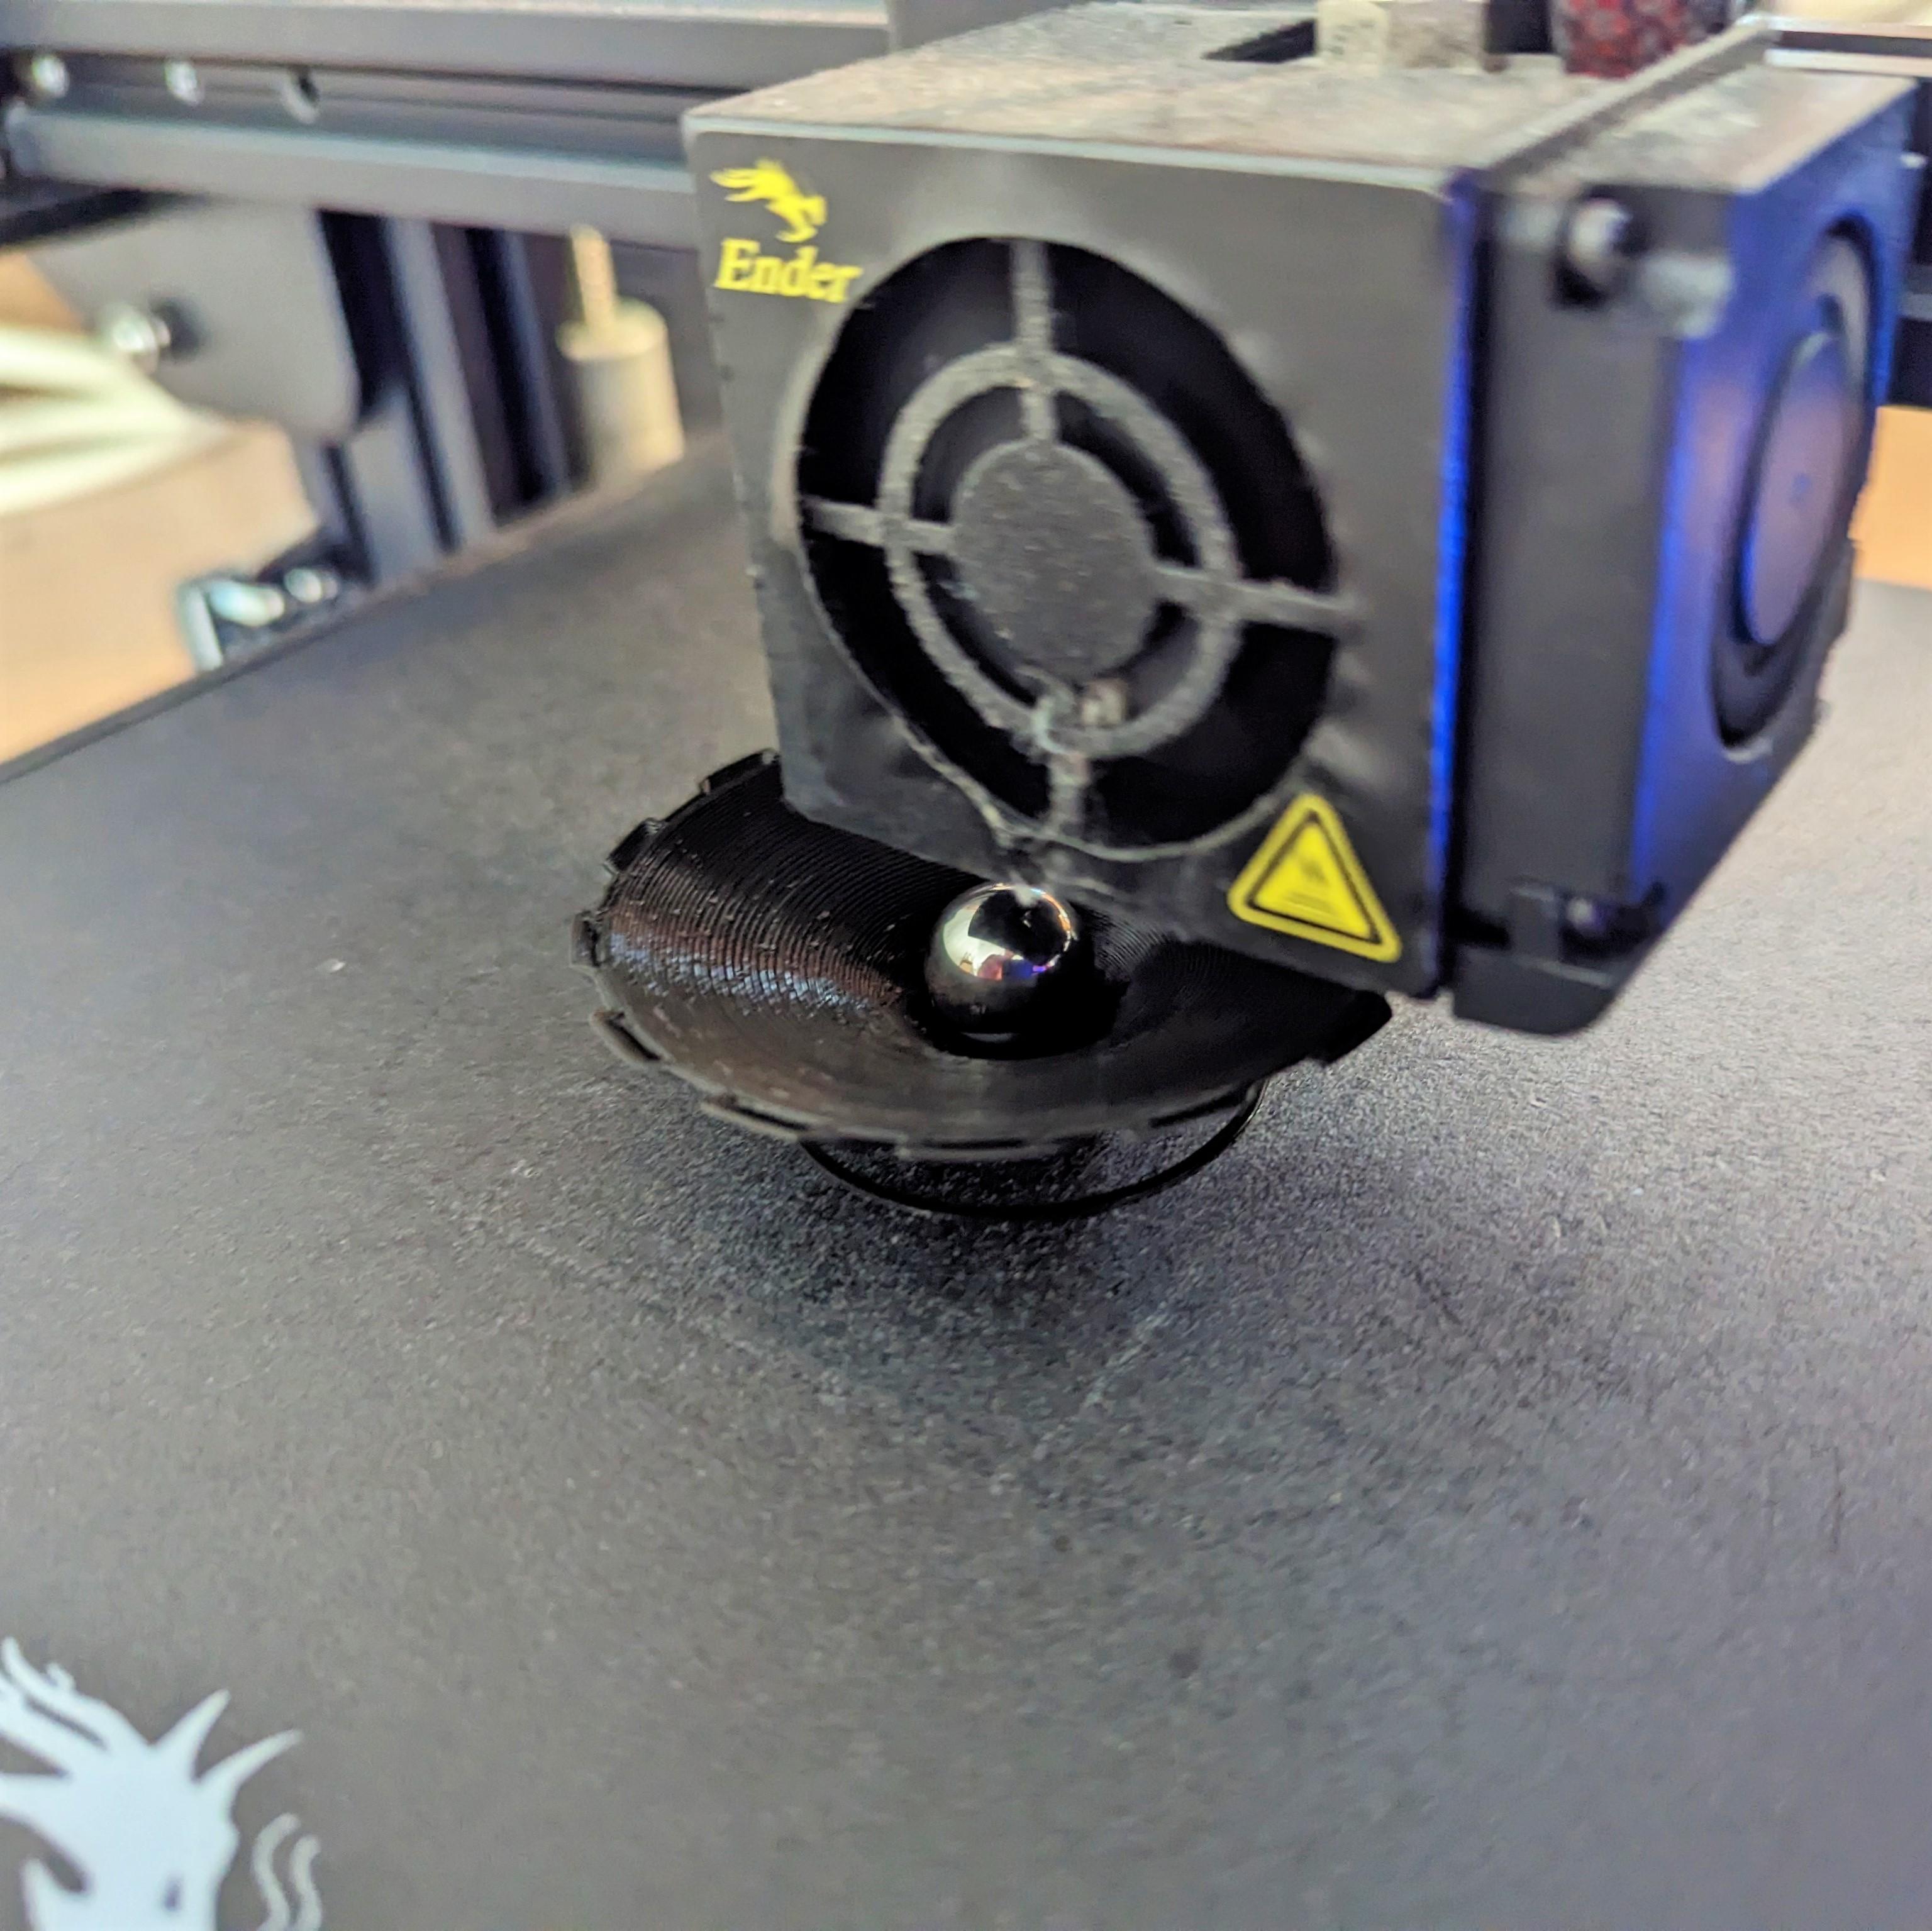
Now time to practice patience and 3D print the file. When the print is about 50% complete drop the bearing ball into the center of the body. You will not be able to insert the ball if you wait until the print is complete. My printer took about 3.5 hours to complete the print.
NOTE: The ball bearing will need to be place in the body while printing. The top hole is too small to fit the ball and the bottom of the model is sealed, so the ball cannot be inserted properly if you wait until the model is complete. The base of the model has a small surface area and I didn't want a hole, which would make it easer for the print to accidently peel off the surface.
Assembly
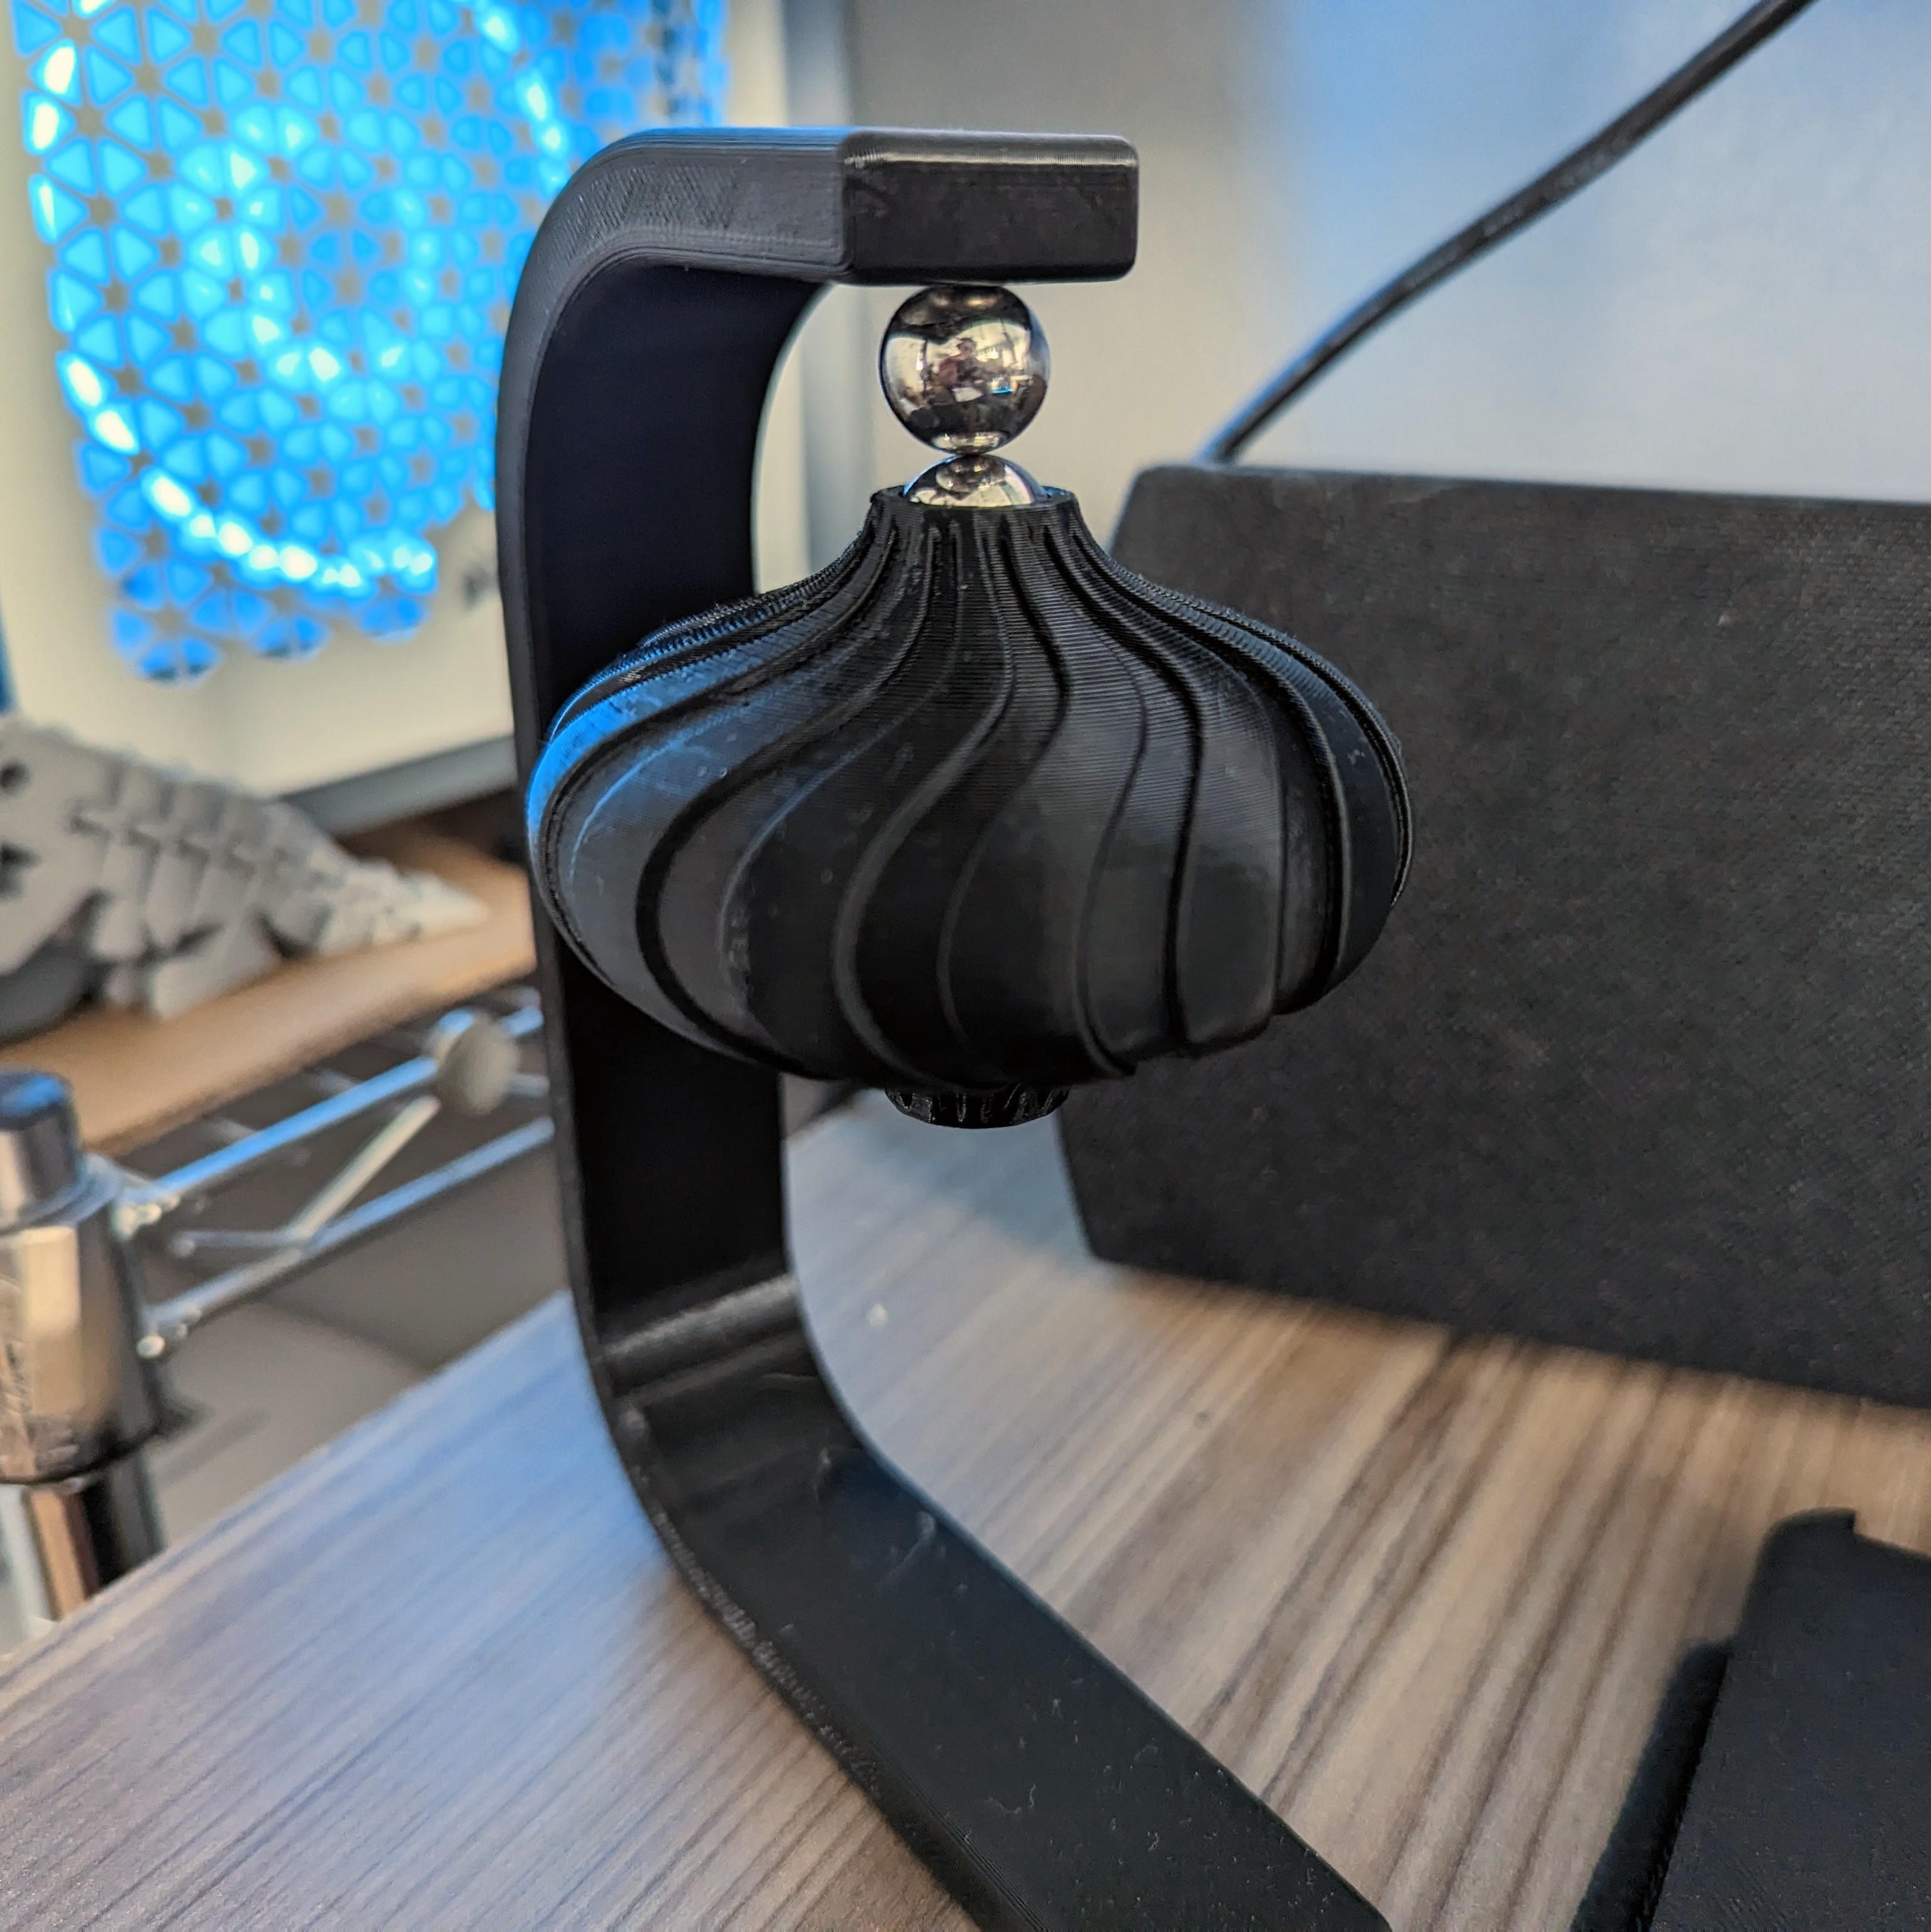
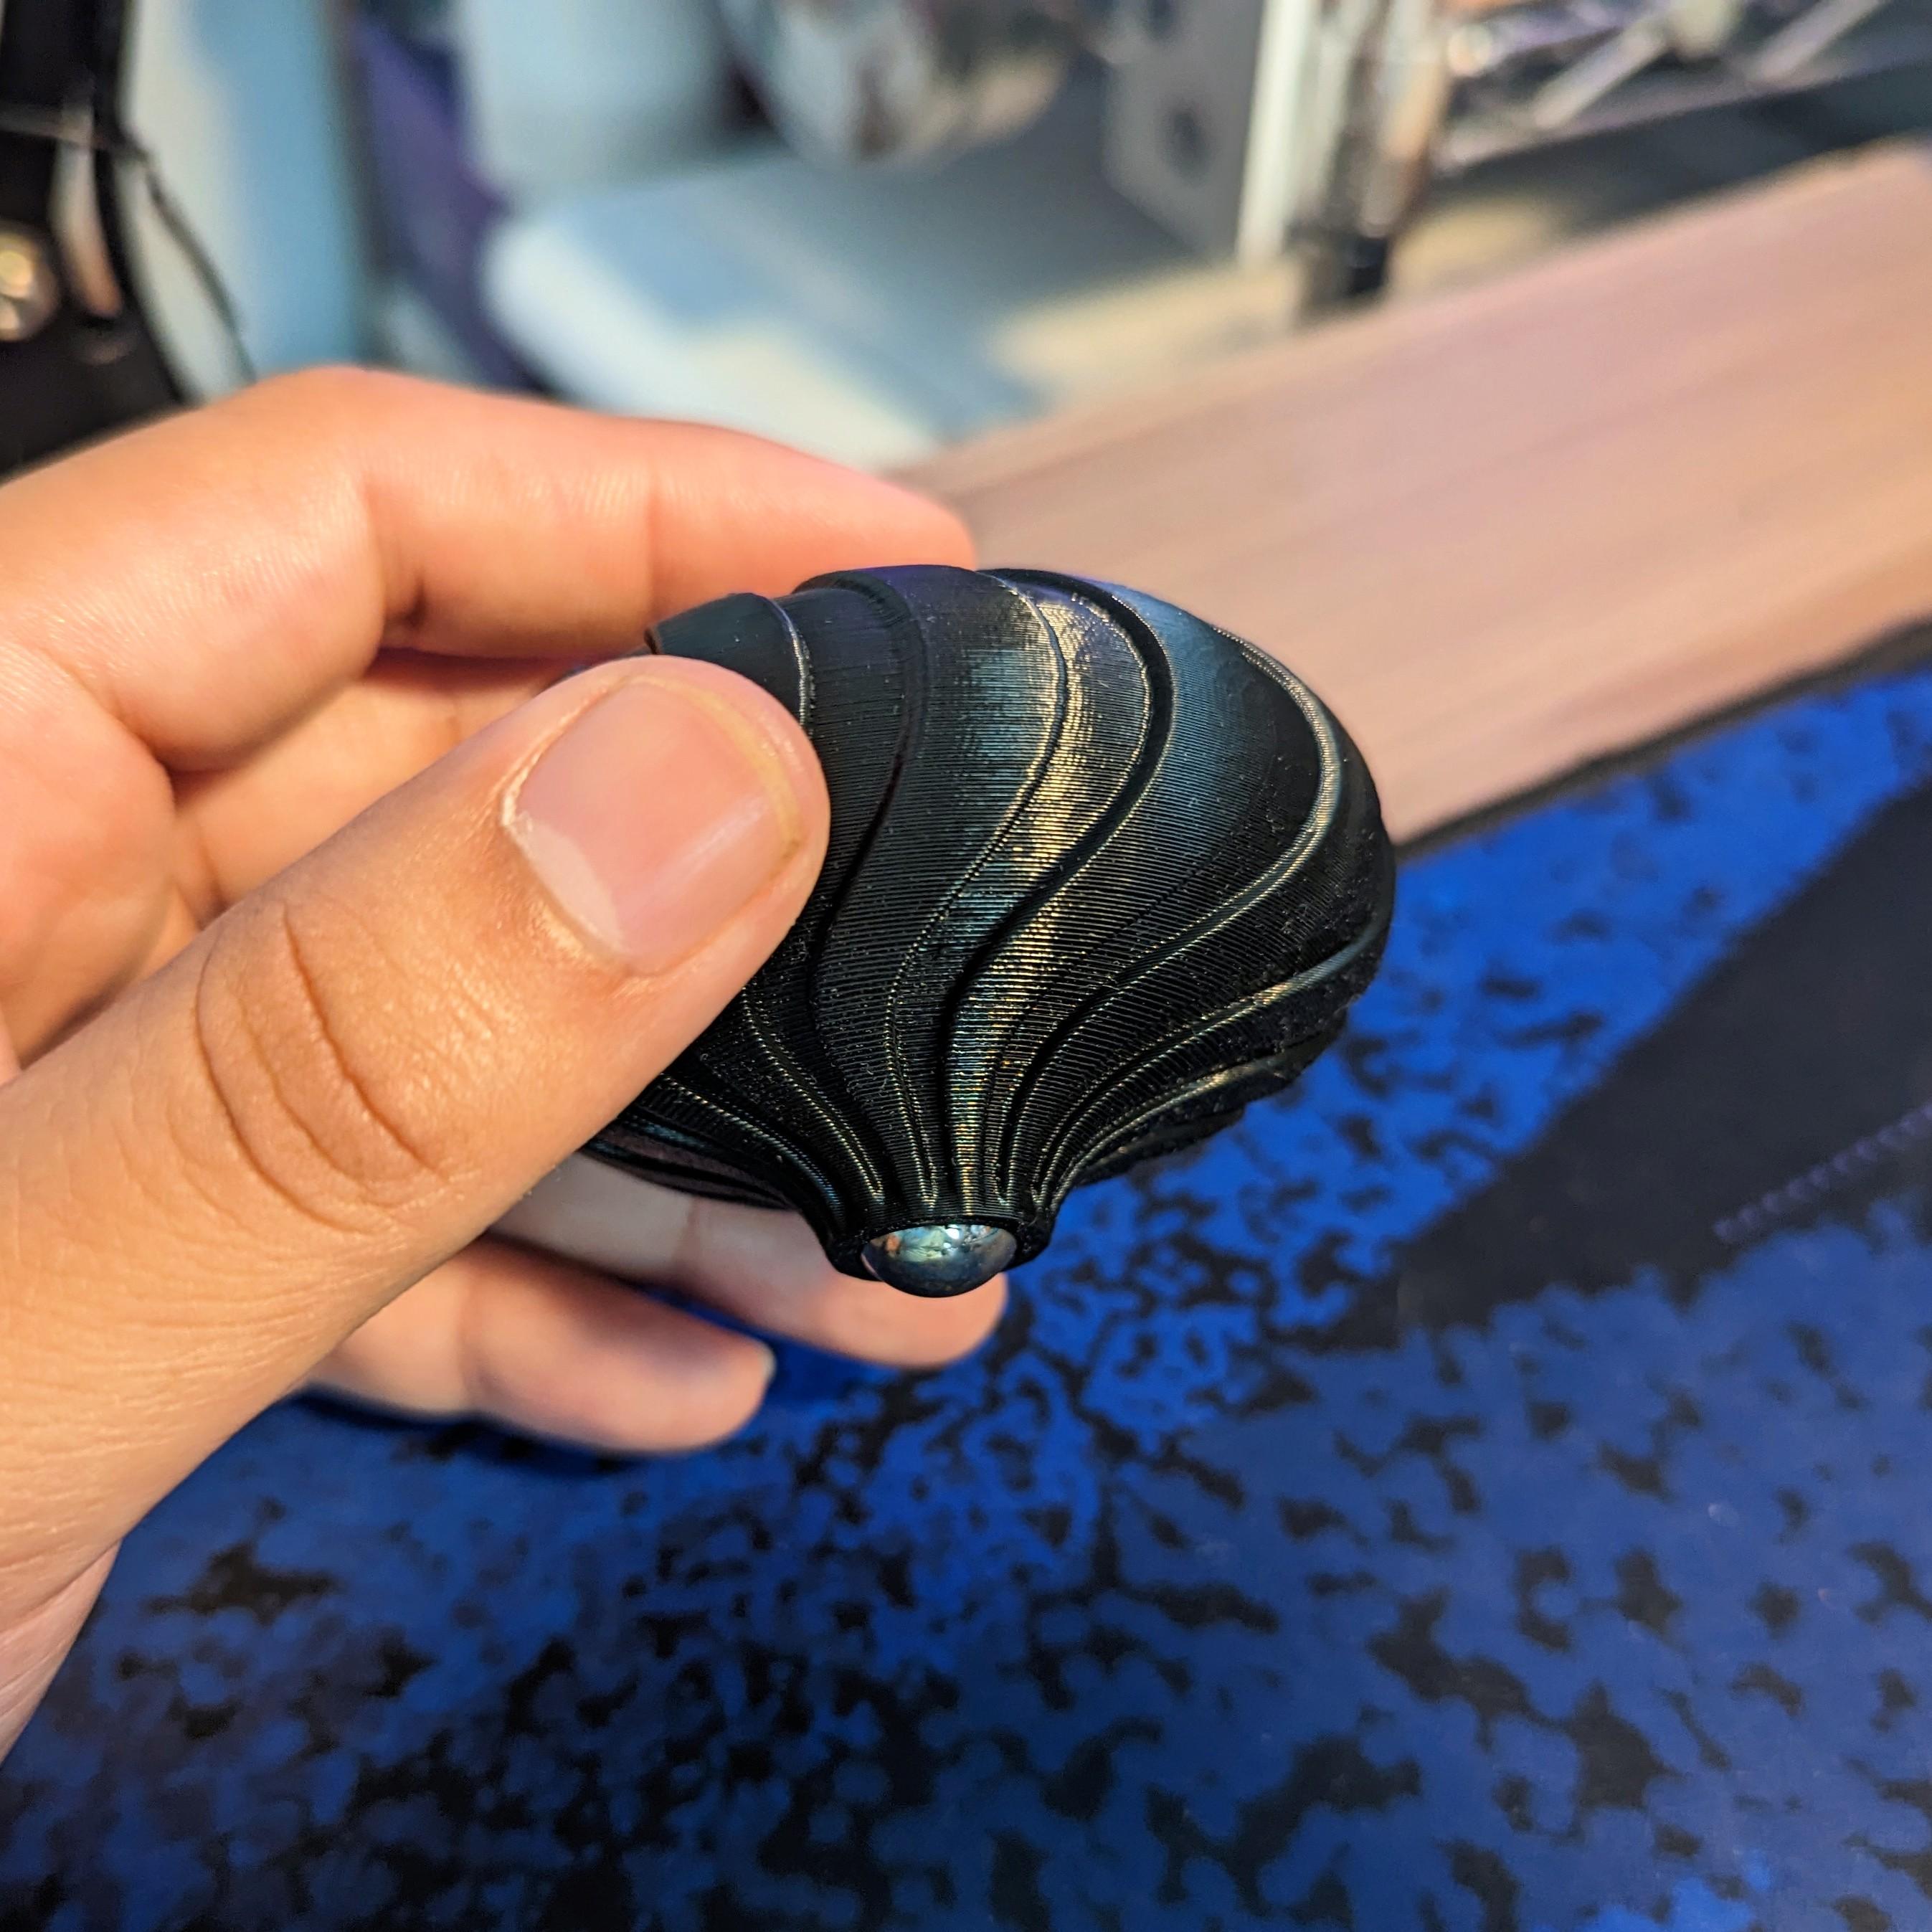
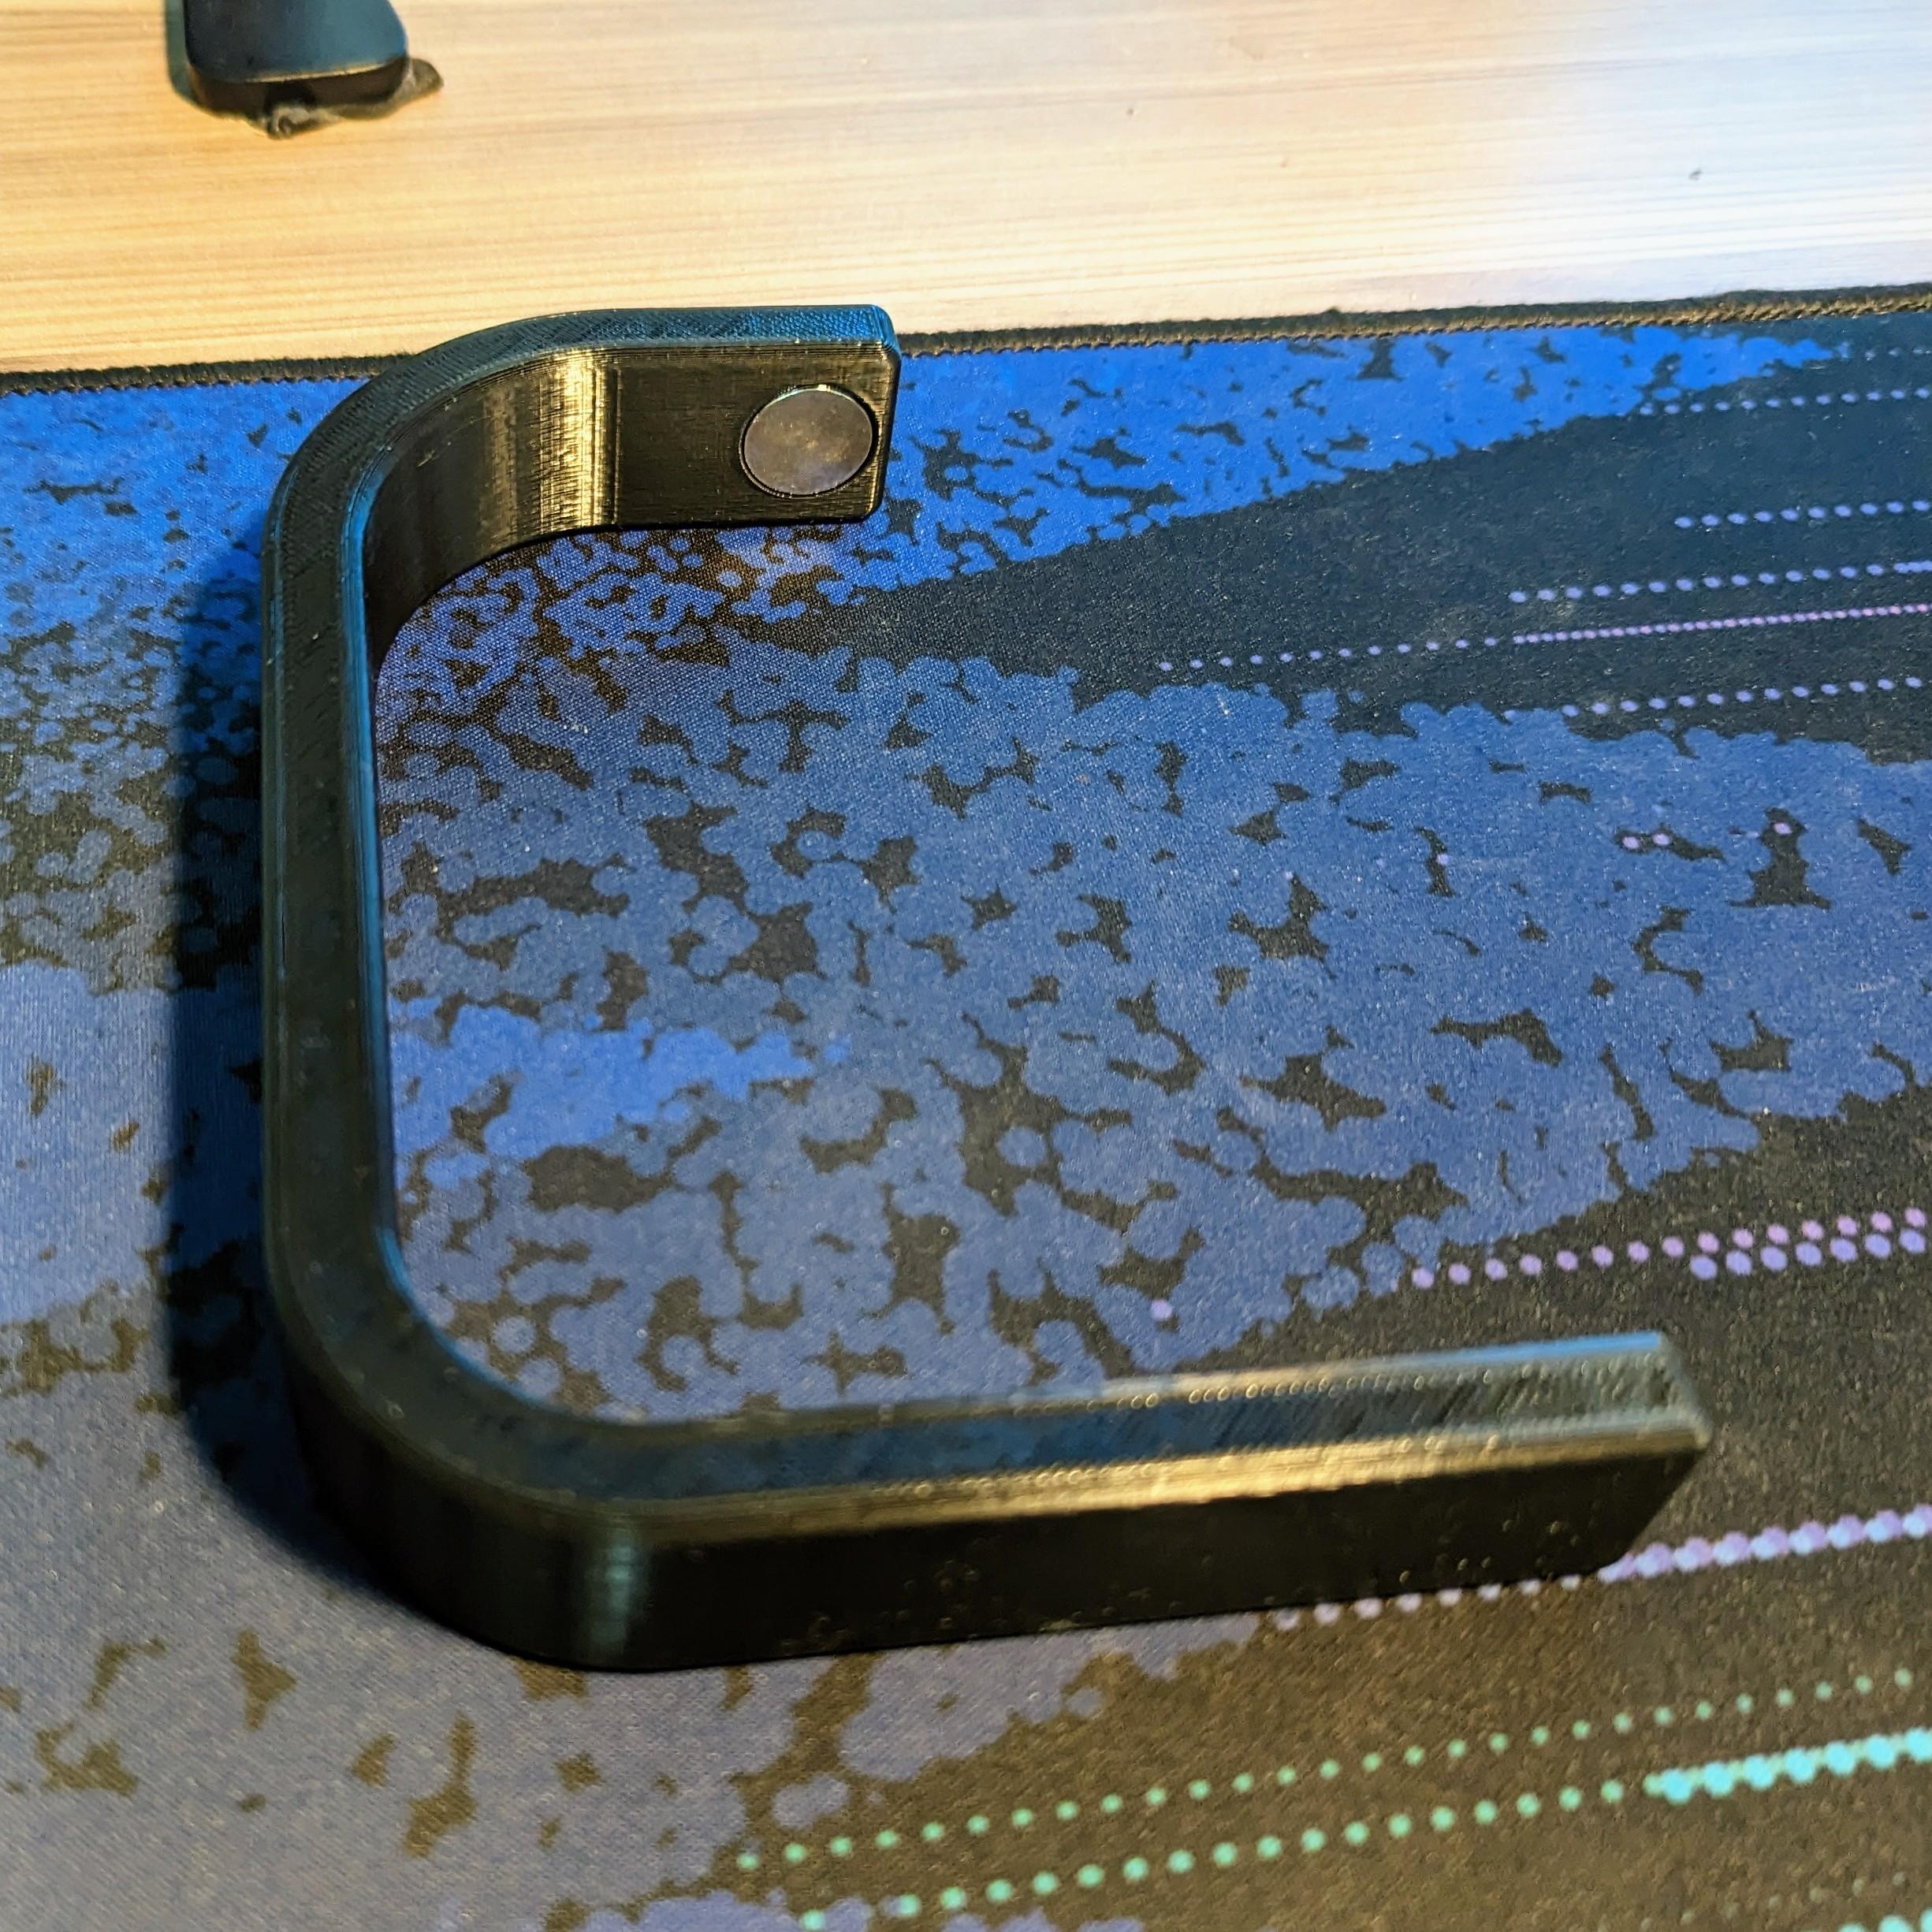
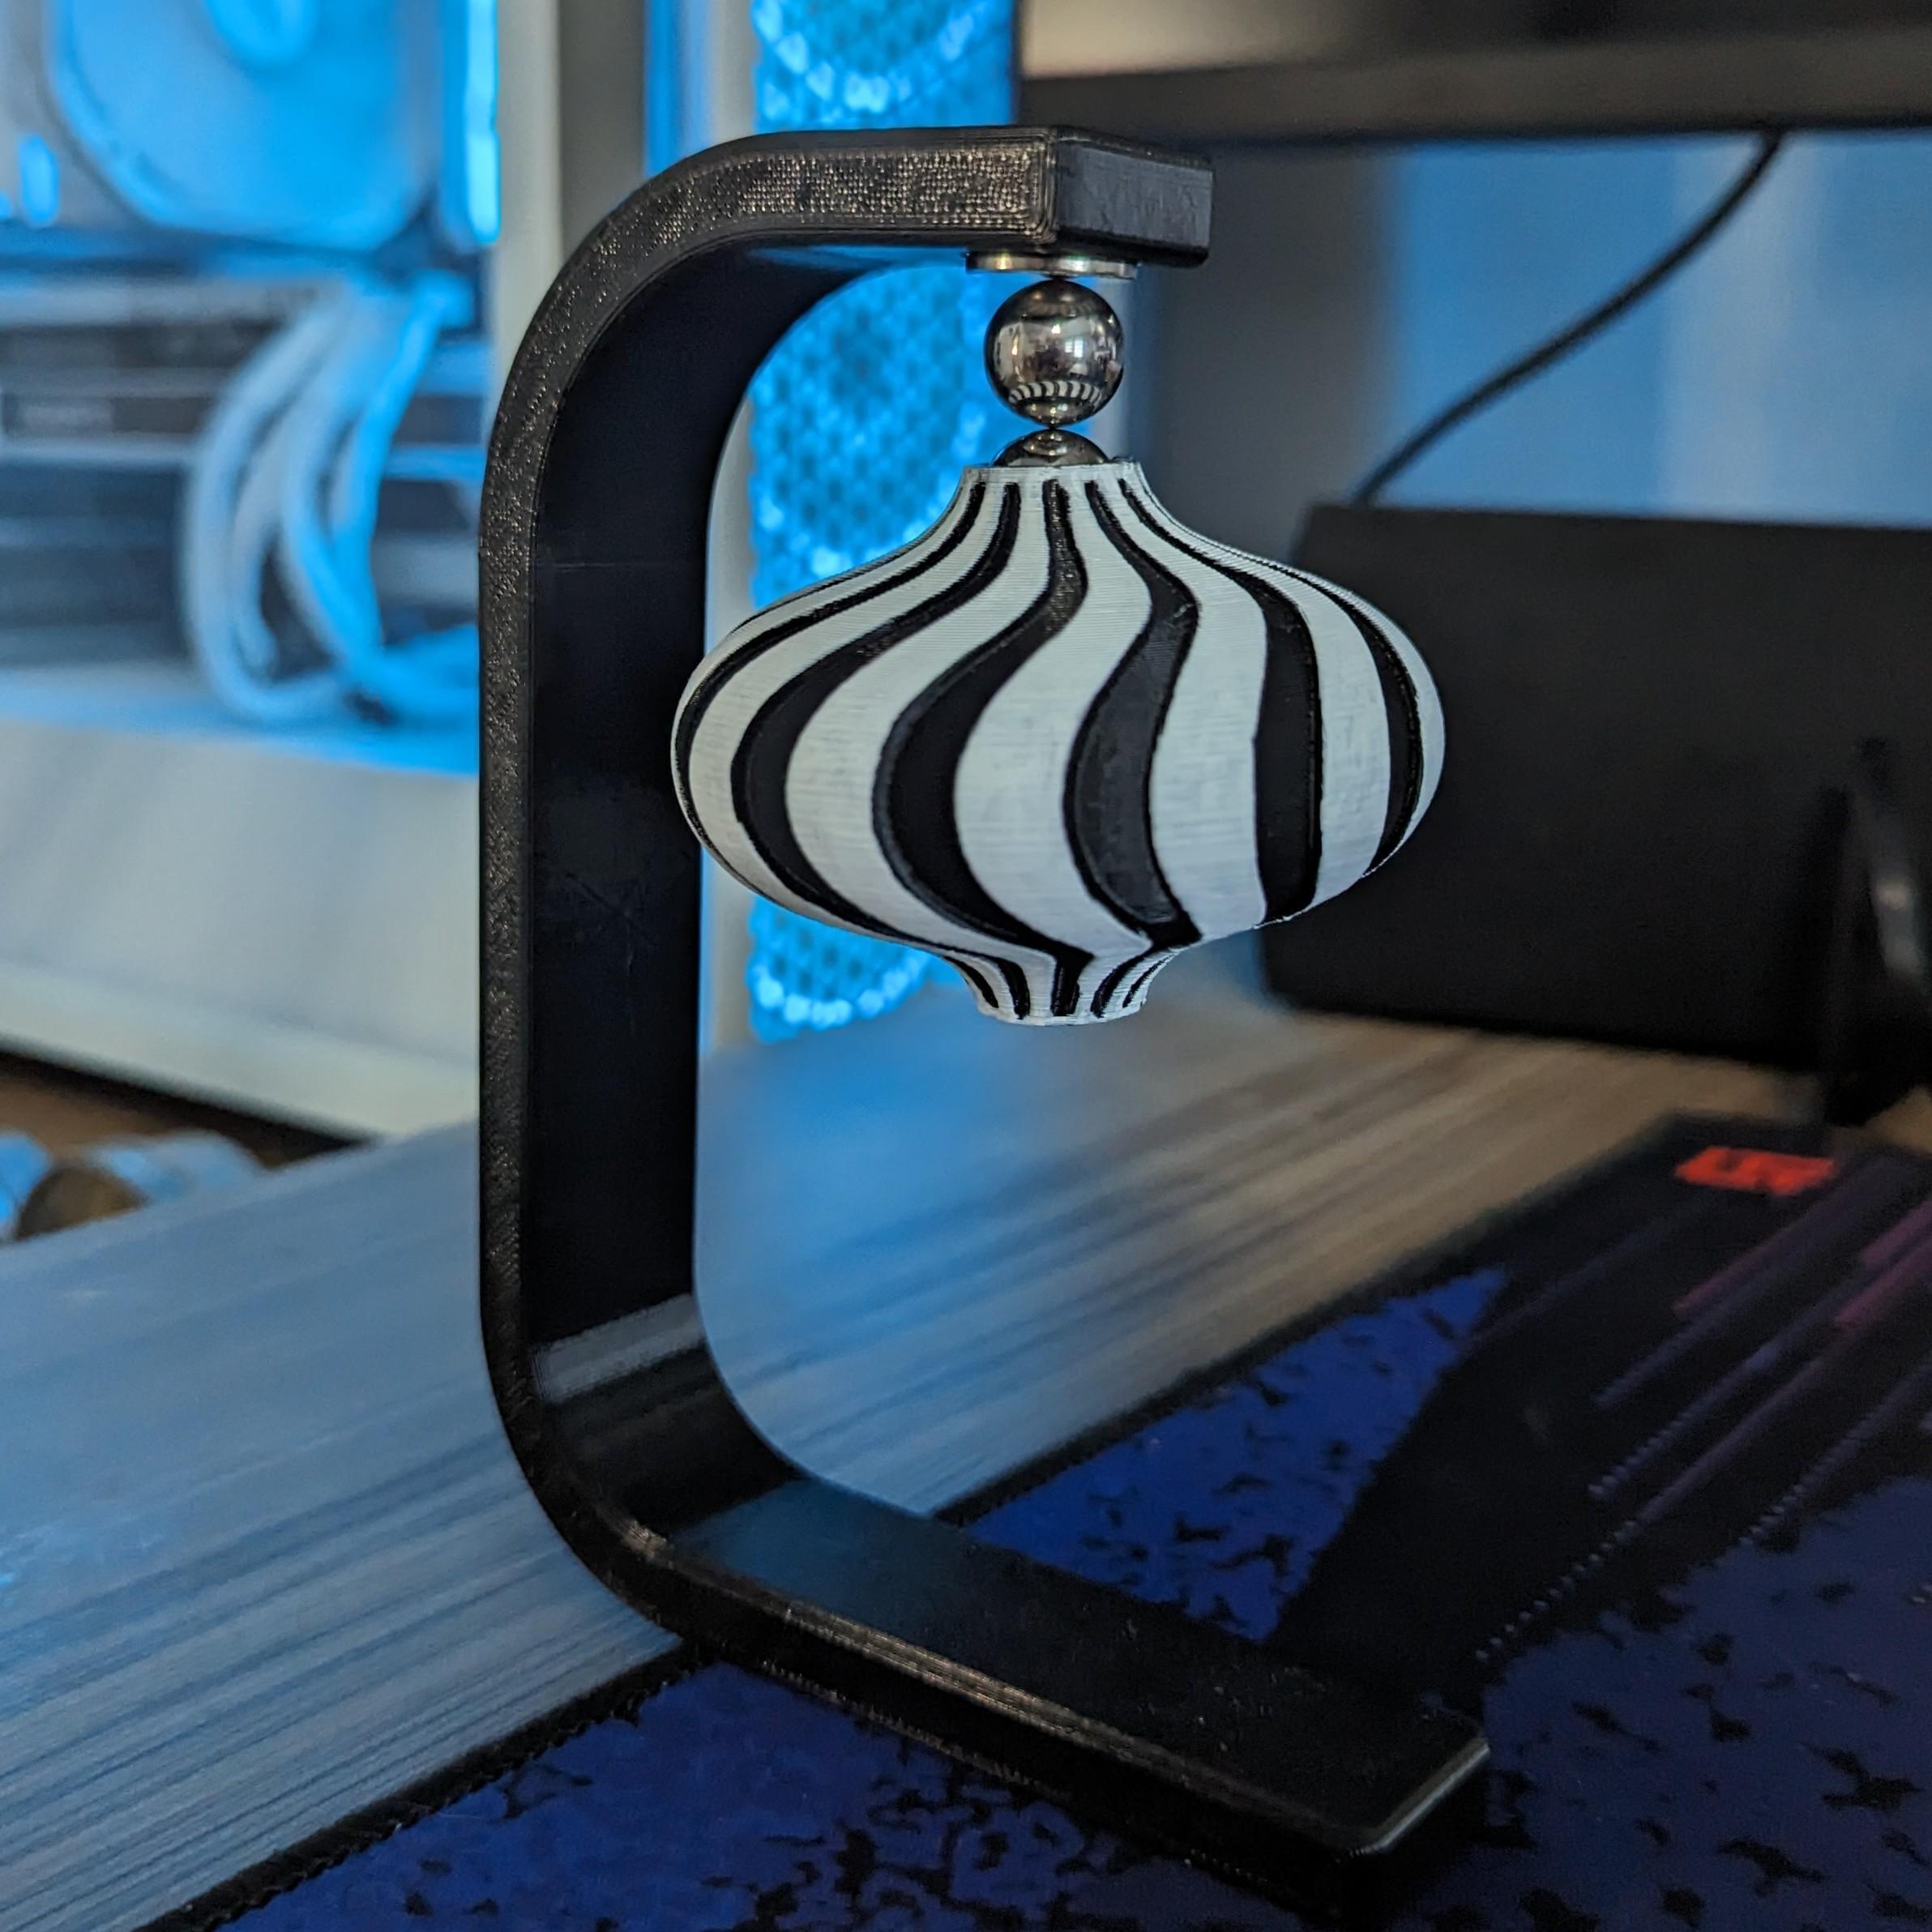
You'll need to insert the magnet into the inset on the arm stand. You can glue in place, but I can get a tight enough press fit. Invert the spinning top so the bearing falls into the hole and attach to the magnet. Now, grab and twist the model to watch it spin! Paint it if you'd like!
Other Models Available
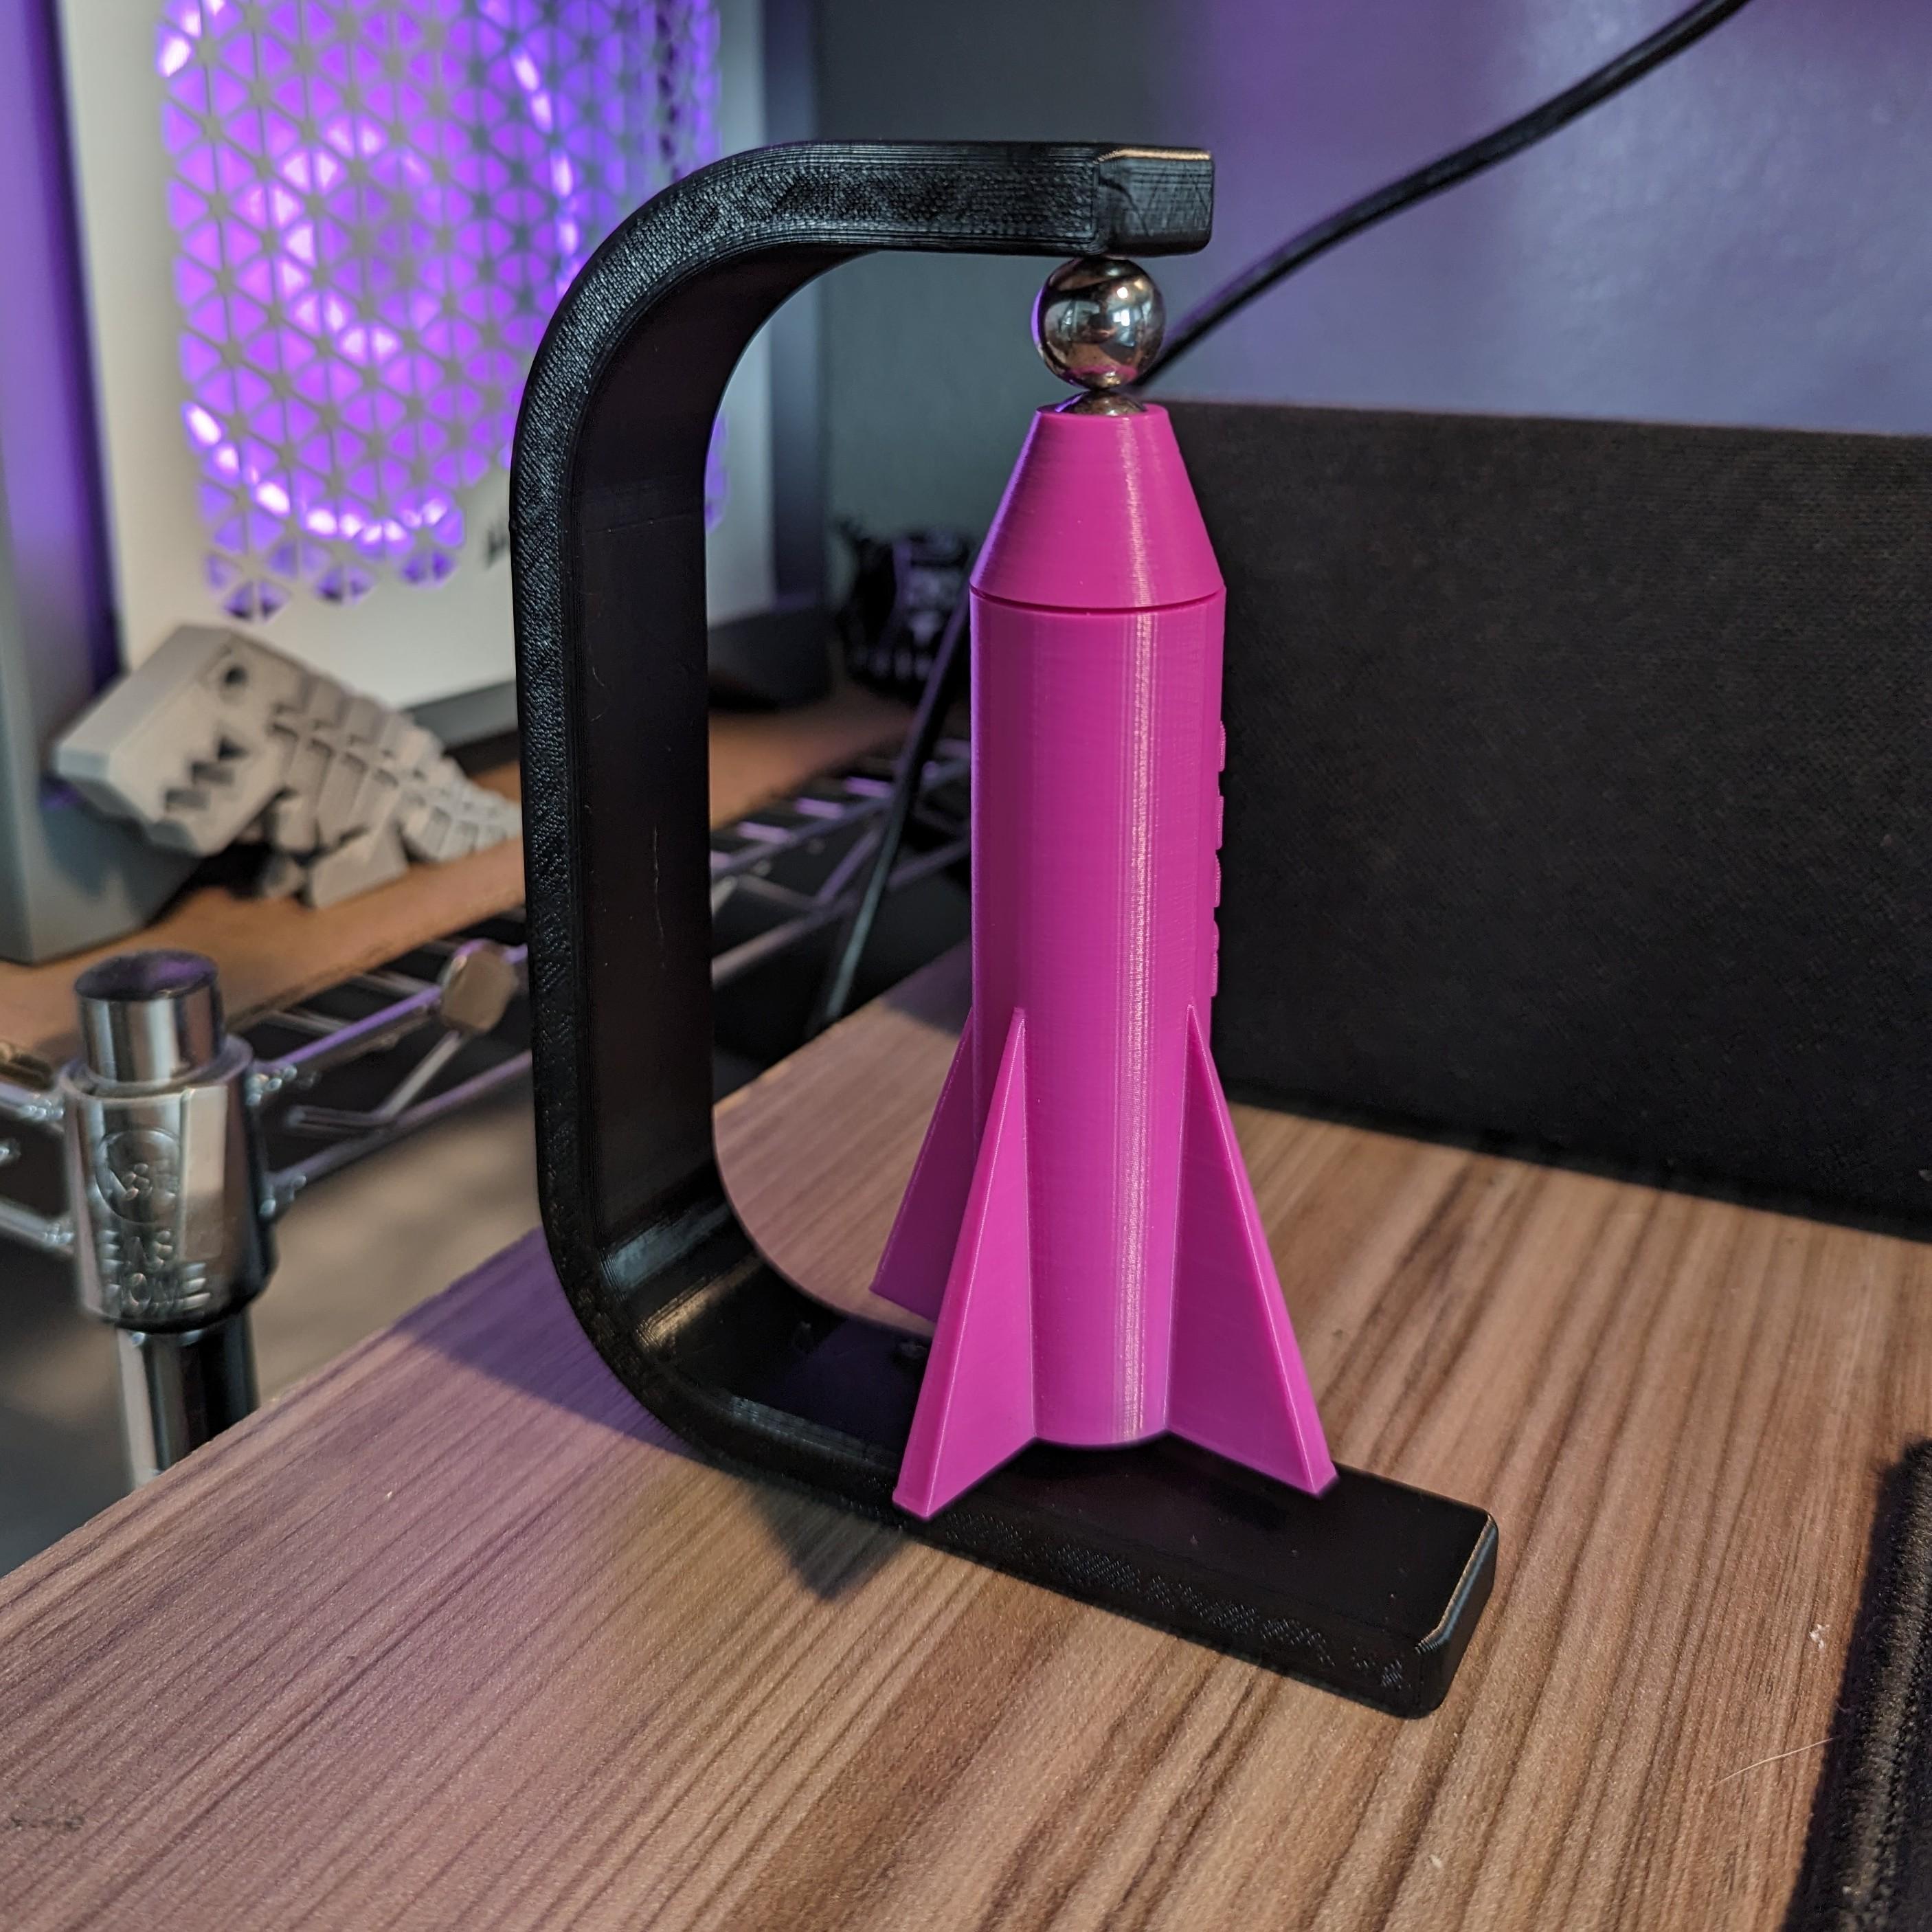
I also have other models available on Thingiverse and Printables.
https://www.thingiverse.com/thing:6033532
https://www.printables.com/model/465966-spinning-rocket-toy
https://www.printables.com/model/484455-ball-bearing-spinning-toy