Beaded Hairgrips

Hi I'm Hazel and I am a maker! I am learning to bead, and I made these pretty hair grips with some help from friends at my makerspace. It was the first time that I have ever tried beading and they were a lot of fun to make, so I thought I would show you how I did it in case you wanted to learn as well.
I used blue beads but they would look pretty in any colour. They would be lovely with clear sparkly beads for a wedding!
Gather Materials

You will need
- Beading or hobby wire - lengths at least seven inches long, or on a reel
- Seed beads in your chosen colour(s)
- Hairgrips
- Pair of pliers
- Side cutters
- Superglue
- Adult help for the tricky bits!
You can use beads in any colour(s) but they will look better if the beads aren't all the exact same shade. I made mine in blue, but if you look carefully there are several shades of blue. Luckily, you can buy beads in packs where you get lots of shades of the same colour. We got ours from ebay, and it had a huge range of colours all jumbled up so I could pick the ones I liked the best.
Start Threading Beads
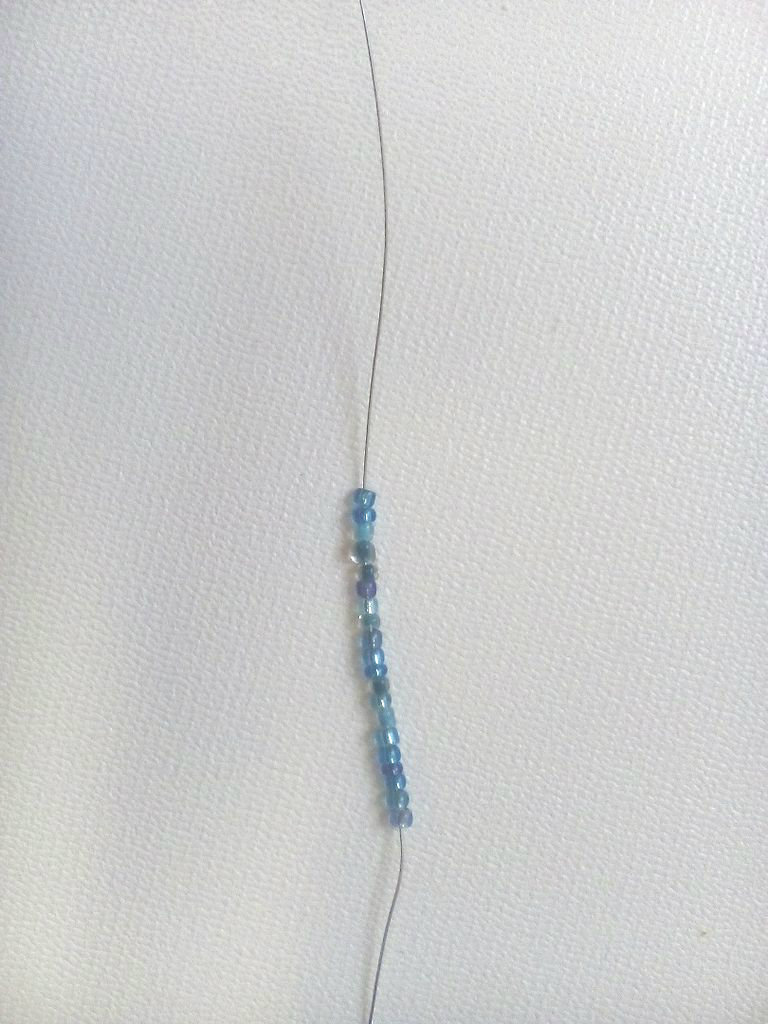

If your beading wire is on a reel, cut a length about seven inches long. Begin by threading twenty beads onto your wire. Push the beads almost to the end of the end of the wire, form the beaded section into a loop, then twist the two ends over one another to secure the beads. This is your first petal!
Form More Petals


Repeat the same process three more times to form three more petals. Once you have four petals, you should see the flower shape! The four petals will be quite a tight squeeze to get onto your wire. Once you have finished threading the fourth, secure the wire by pushing it through one of the beads at the end of the opposite petal and pulling it through tightly.
Remove the Excess Wire


Now we need to get rid of the excess wire at the ends. Using the pliers, get hold of both of the tails of wire and twist them together tightly. Then use the side cutters to cut the tails of wire as close to the beads as you can.
Glue Into Place


Next, place a dab of glue on the end of the hairclip. Place the centre of the flower over the glue and squeeze tightly into place. Allow the glue to dry for at least five minutes. Once you have done that, your hair clips are complete!
I had a lot of fun making my hairclips and I want to make a lot more in all different colours. I hope you like them!