Beaded Earrings and Charms


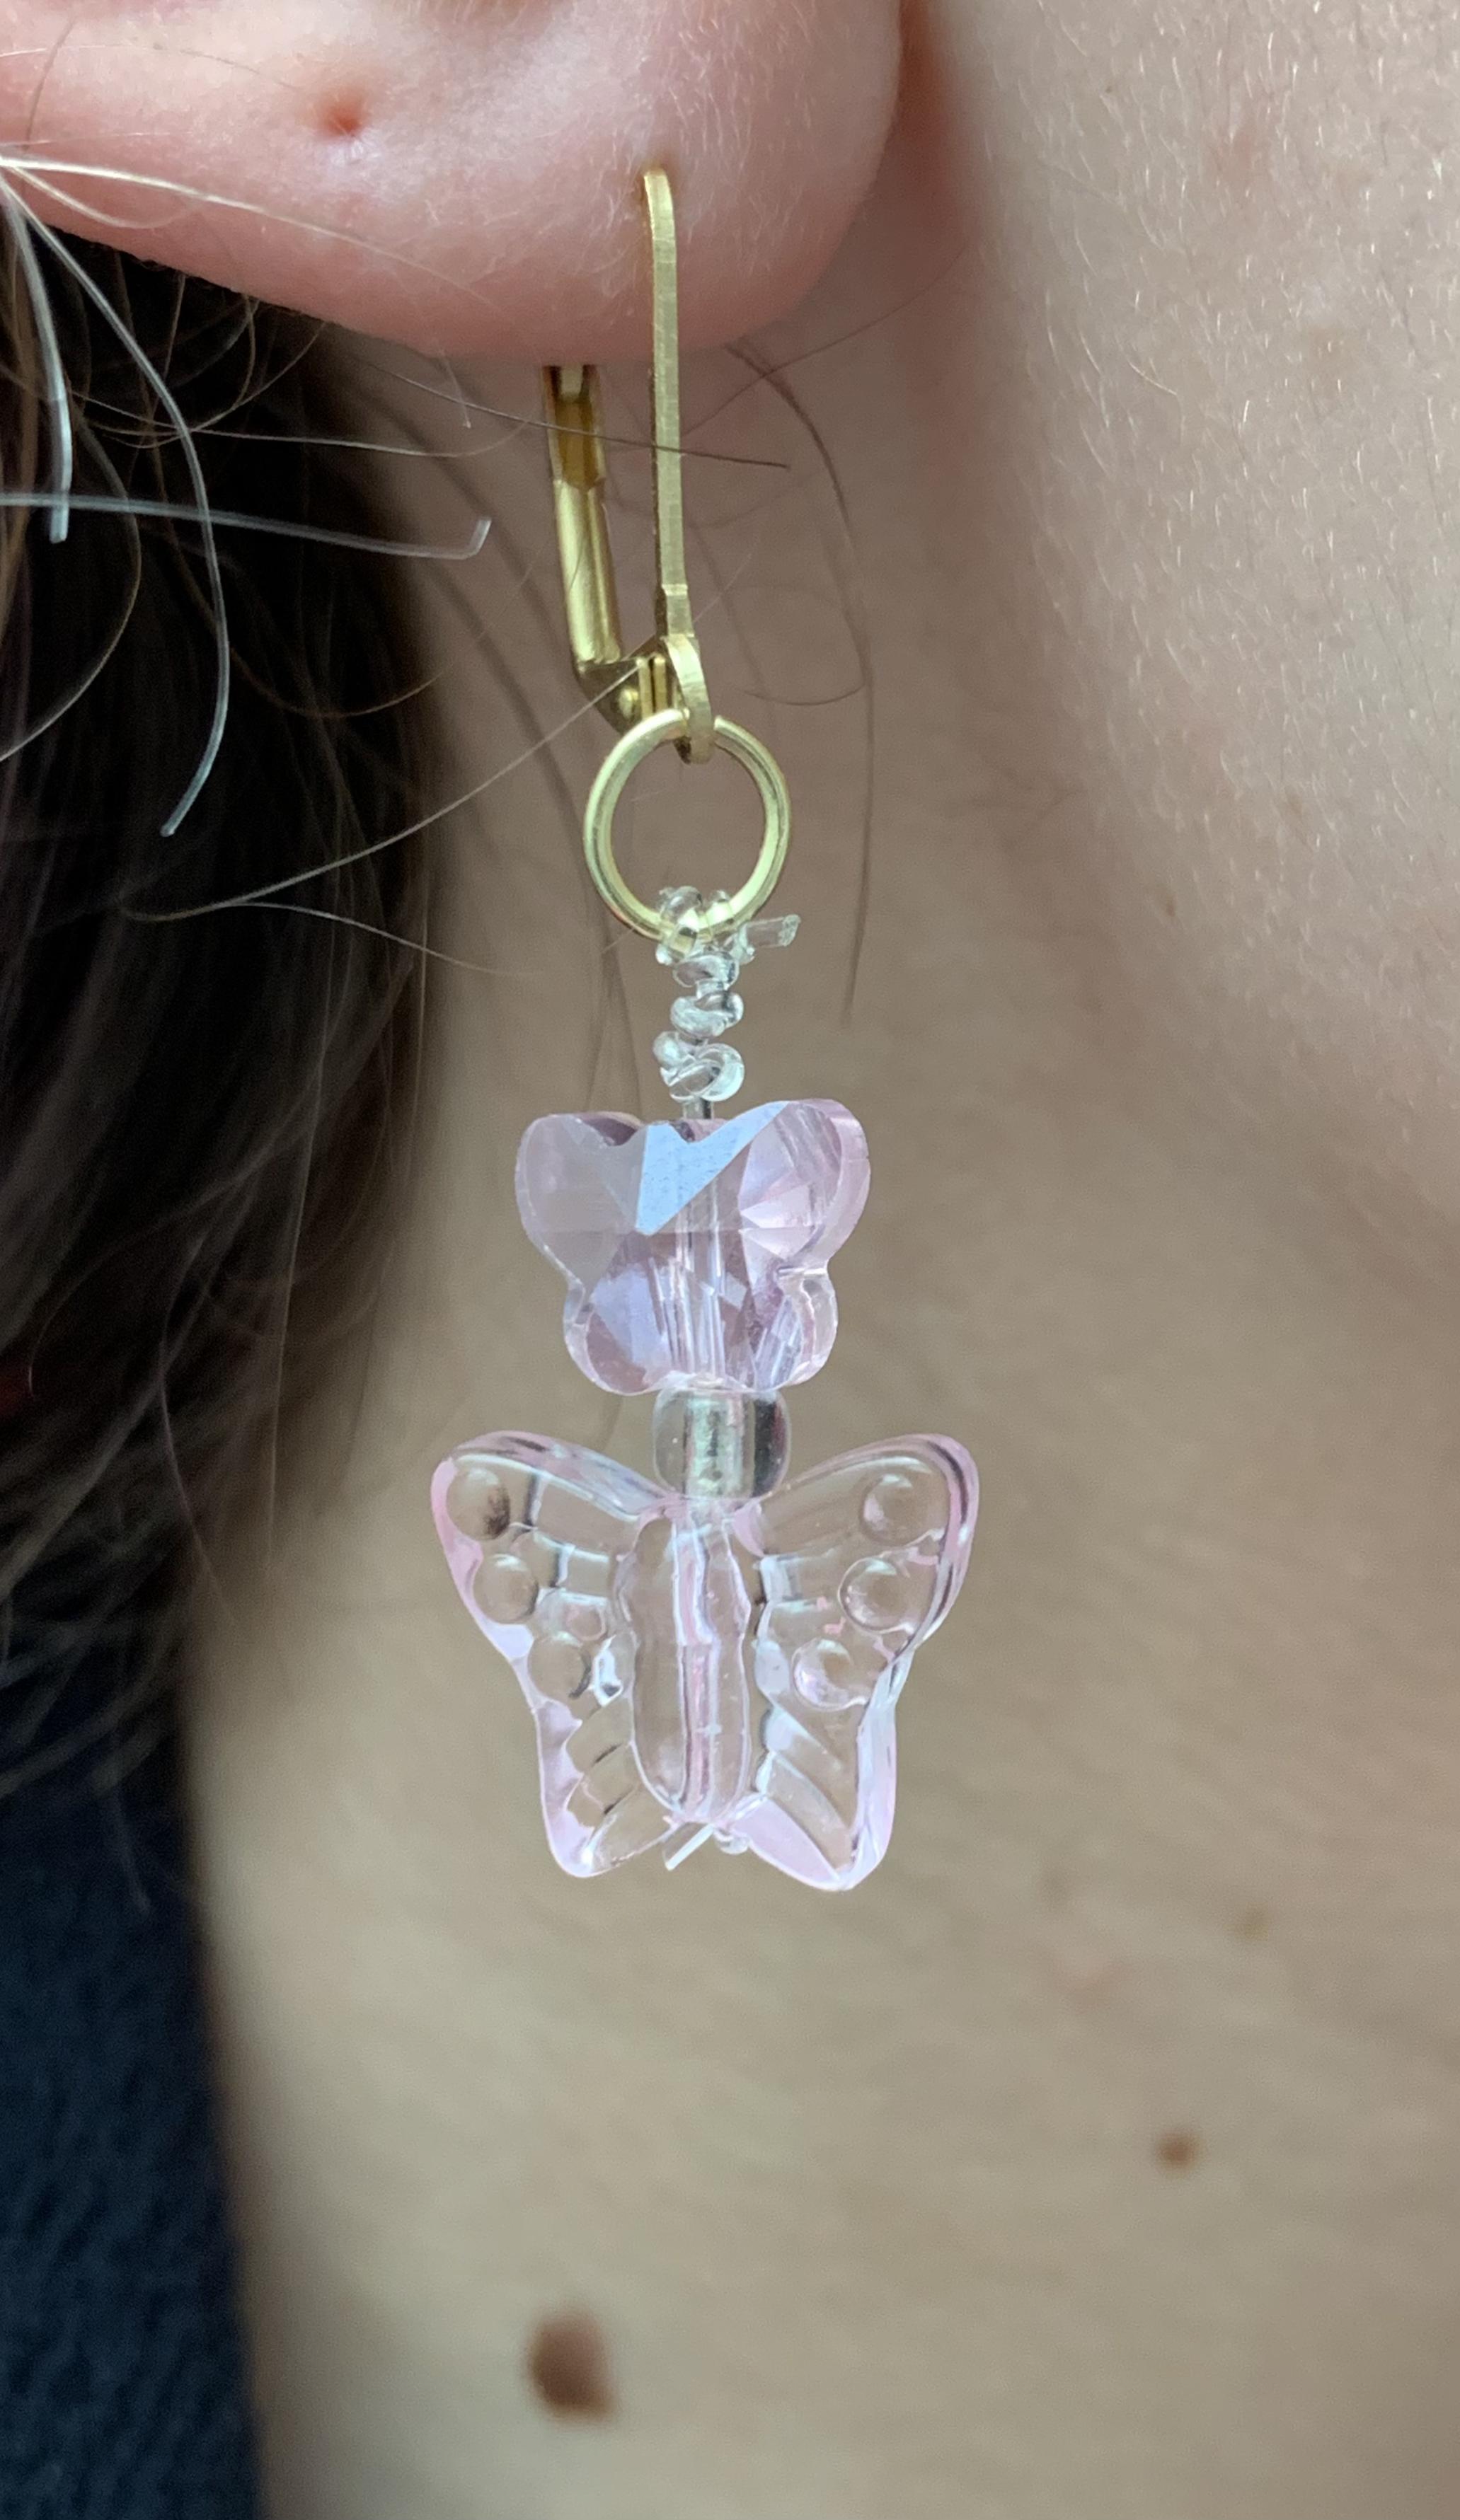
This instructable is showing the process of making these butterfly earrings out of beads. You can make tons of diffrent earrings and charms out of your favorite beads. This is a simple project for beginners, but you can be creative and make it as complicated as you want. I included examples of similar projects in the final step.
Supplies:
. Earring hooks - I used a clamp style
. Beads
. Jump rings
. Jewelry cord - Fishing line could be substituted
. Scissors
. Needle nose pliers
. Superglue (optional)
String the First Bead and Tie the First Knot


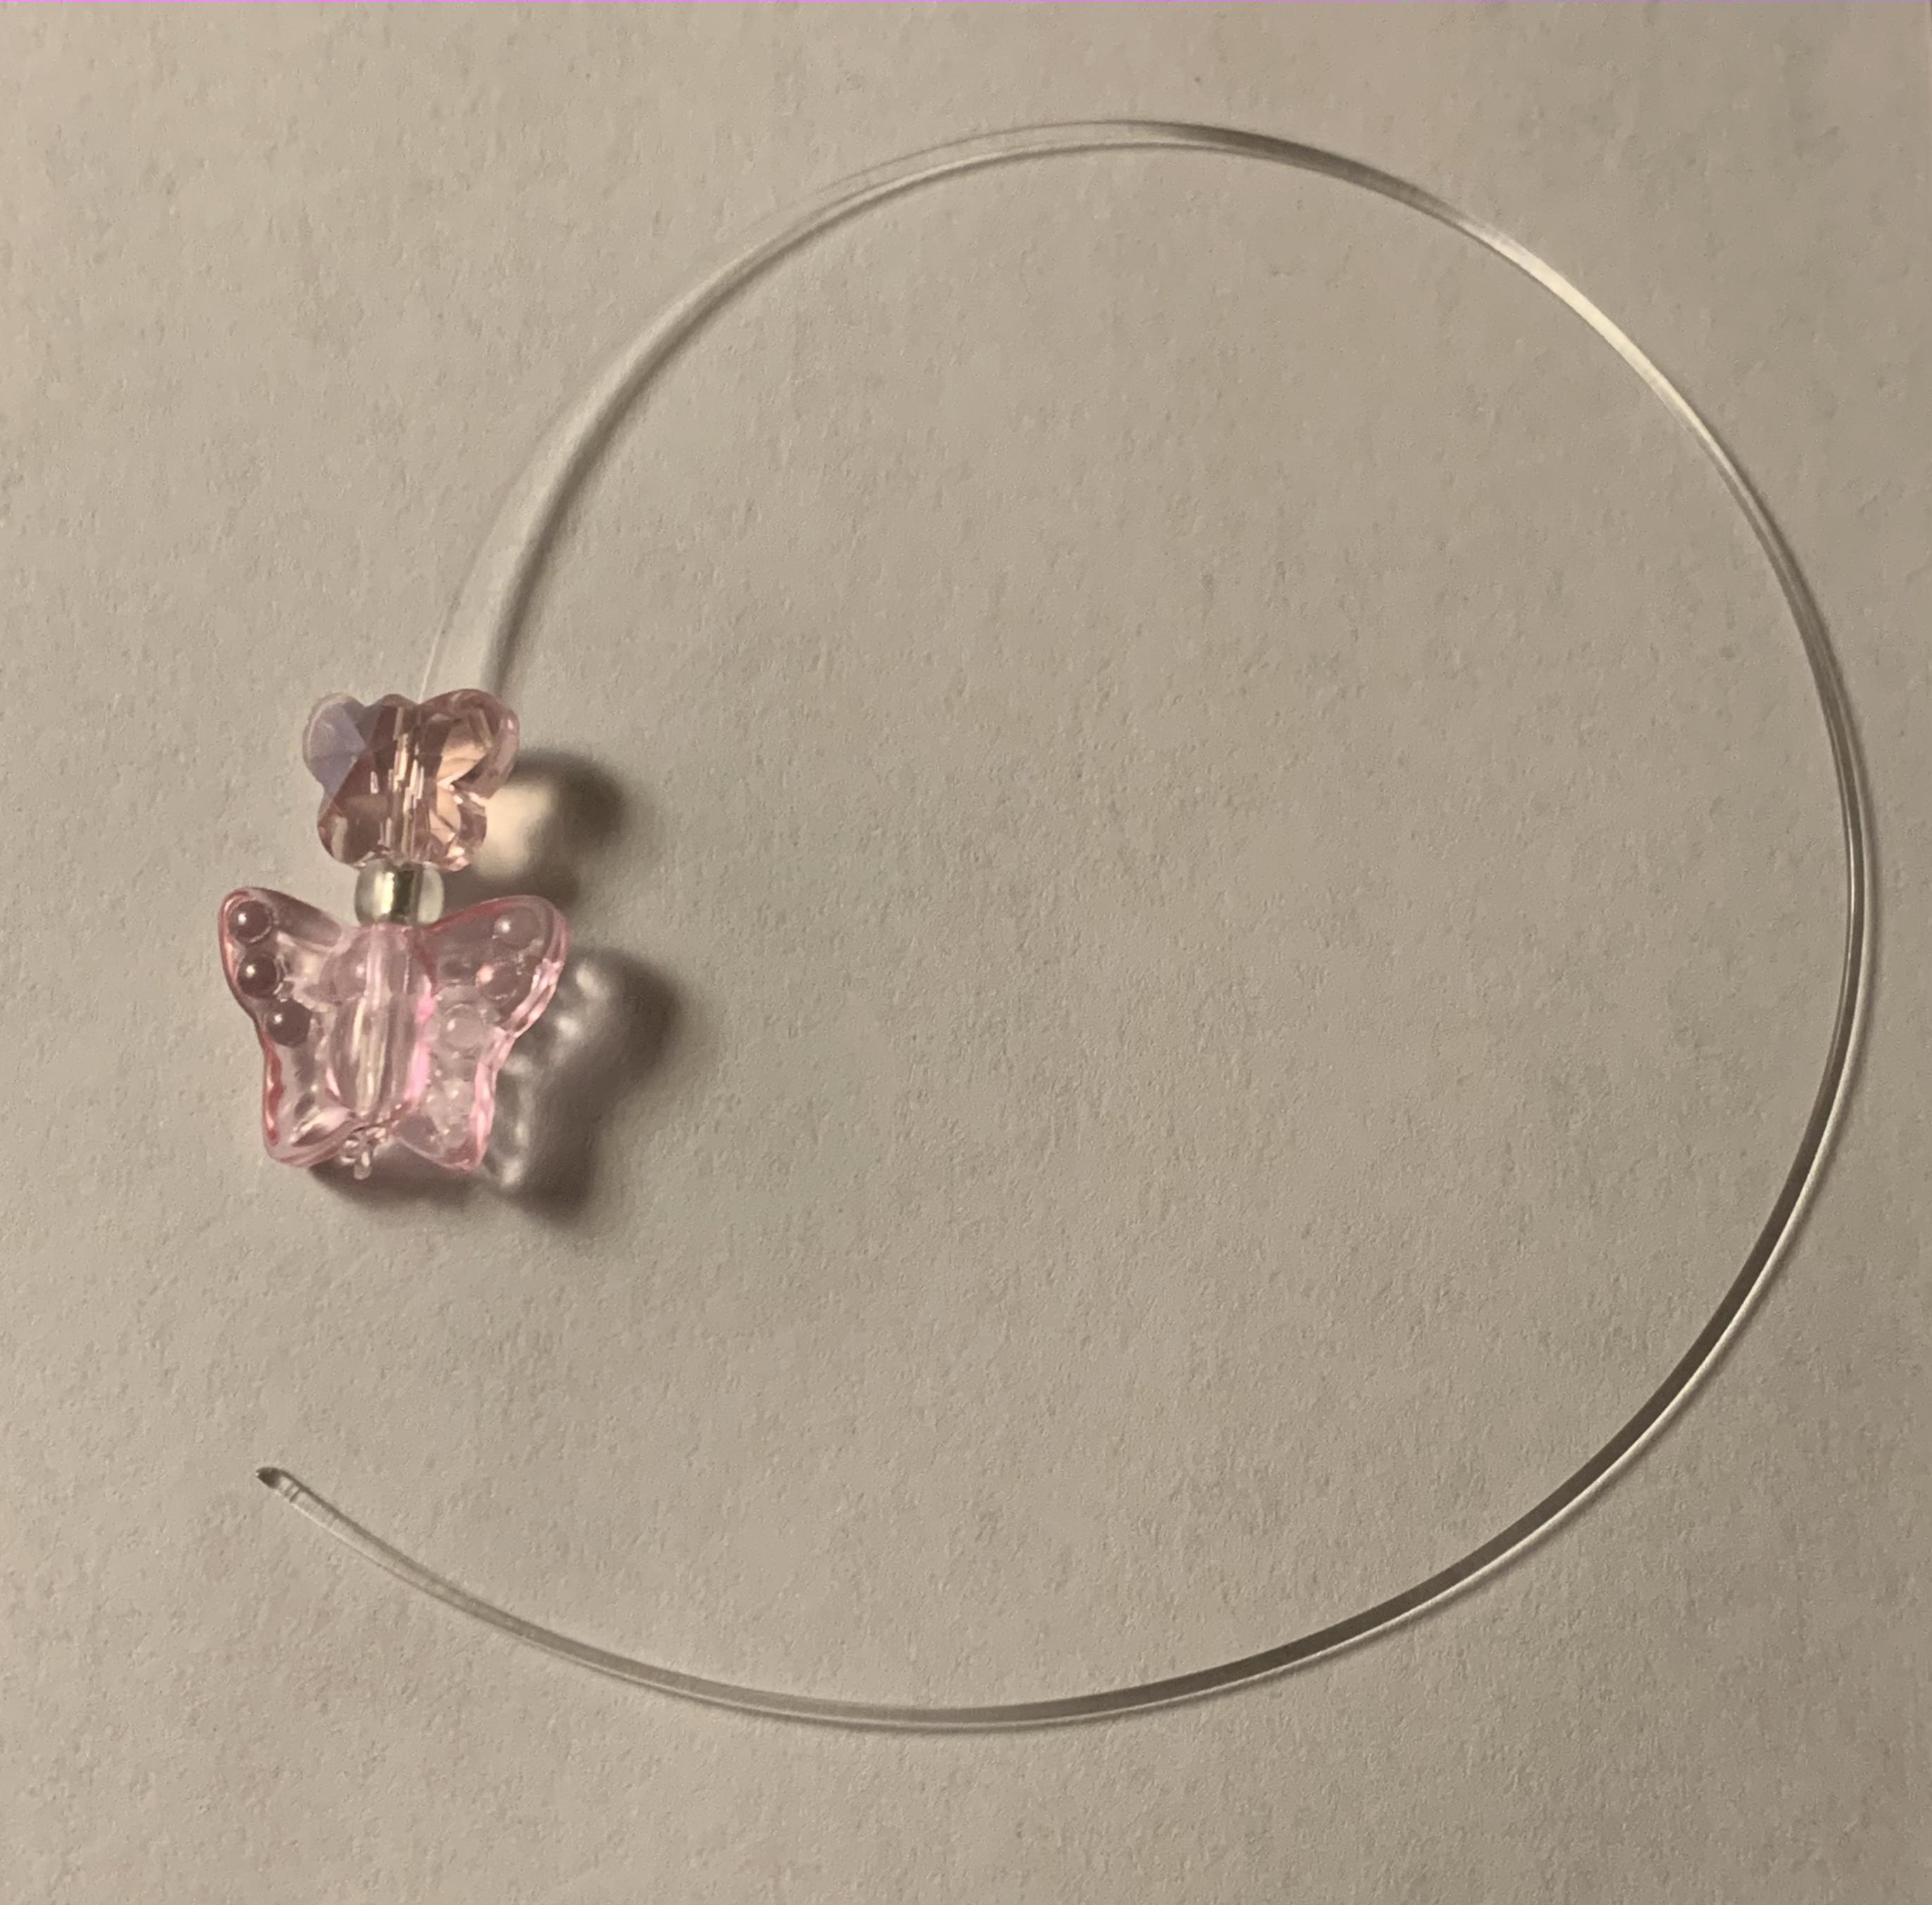
Start by threading the bead that you would like at the bottom of the earring onto the beading cable. I have found that leaving one end of the string attached to the spool makes it easier to tie the first knot.
To tie the first knot cross the loose end of the cable under the section of wire coming from the bread. Pull the loose end of the string up through the loop you created. Pull the knot tight, make sure to leave enough string below the knot to tie more knots.
Re-Tie Knot Until Secure


Tieing a second knot on top of the first ensures the knot is big enough to make sure the bead won't slide over it. If you repeat the same knot over and over it becomes crooked and only gains volume on one side. To correct this problem it's important to use alternating knots.
To tie the second knot Loop the loose end of the string over the top of the section of the cable coming out of the bottom of the bead.
Pull the string behind the section of the cable coming out of the bottom of the bead and thread it through the loop you created. Don't pull it tight yet.
Gently move the knot, making sure to keep the knot loose as you move it. (Putting a pencil or your fingertip in the knot can help make sure it don't tighten too early) Feeding the string into the knot will loosen and move it.
When the knots overlap, pull the knot tight.
Repeat until the bead is secure.
Cut Cable and Secure Other Beads


Cut the excess cable underneath the bead. Now that the anchor bead is secure, in order to add more beads it needs to be cut from the spool. Use the scissors to cut the string, leaving space above the anchor bead. Make sure there is enough string to finish the project. I left about 5 inches of string above the bead.
Thread the rest of the beads in the desired pattern. Repeat the steps to secure the bead with the second set of knots on top of the bead. Try to get the knot as close to the hole of the top bead. This will make sure the beads don't move up and down on the section of the string. Don't cut the "excess" string above the top bead, this will be used later.
Attach Jump Ring to Earring


I recommend attaching the jump ring to the earring hook before tieing the bead on. This way the knot on the ring doesn't get in the way while prying the ring open and closed.
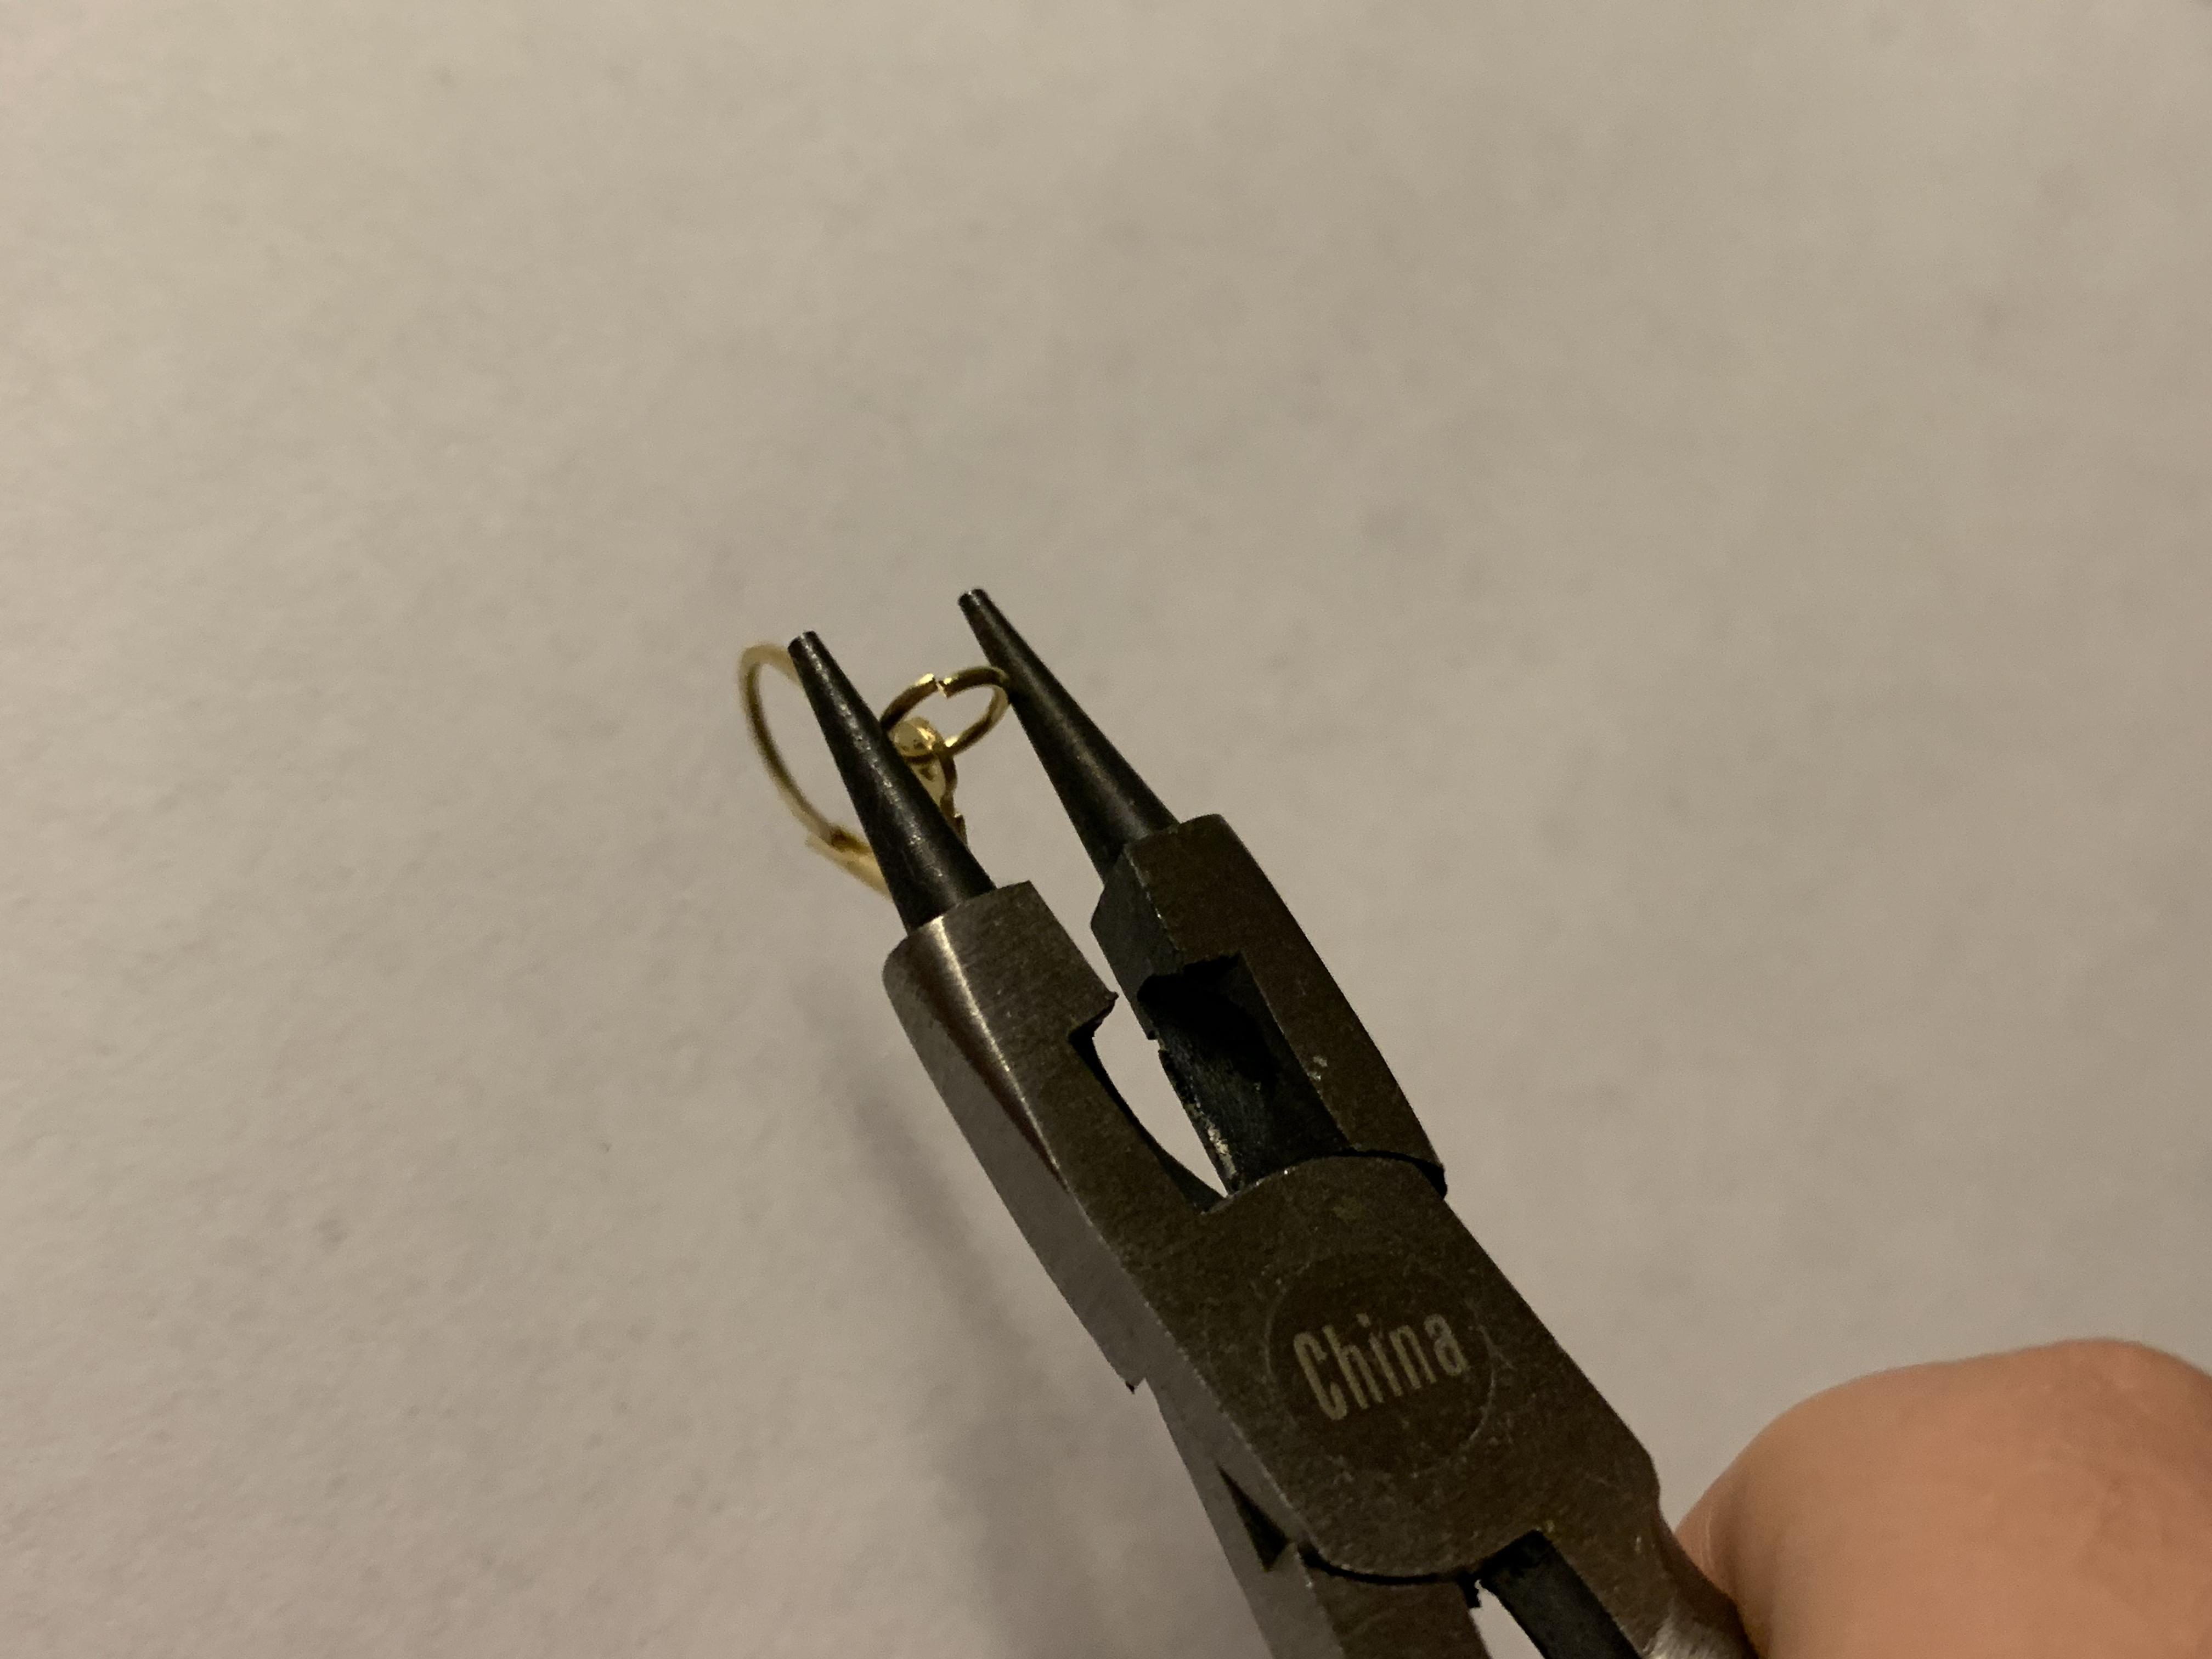
First, put the tip of the pliers into the ring and gently pull it open. Thread the opening of the ring through the loop of the earring.
Once the two pieces are linked. Close the jump ring by pressing the sides back together.
Make sure the jump ring is closed and both sides of the opening are lined up flush.
Attach Beads to Jump Ring


Next, thread the cable up through the jump ring. Repeat the same knot tieing process as before to attach the beads to the ring. Make sure the earring will dangle in the correct position before you tie the knots. Try to tie the knots as close to the ring and the top bead. Cut off the excess string.
Keep Knots Secure With Glue (optional)


In order to make sure the knots stay in place, I dab just a touch of superglue onto both knots. This both keeps the knots in place but also makes them a little bit bigger and less likely to slide into the bead.
Other Examples of Charms and Earrings


Here are some examples of other fun beads I have made into earrings and charms. In order to create a charm, ignore the earring hook and attach the strung beads straight to the jump ring.