BeAM Laser Cutter Practice Project: Bag Tag
by BeAM_UNC in Workshop > Laser Cutting
523 Views, 0 Favorites, 0 Comments
BeAM Laser Cutter Practice Project: Bag Tag



YOU MUST COMPLETE THE ONLINE LASER CUTTER MODULE BEFORE ATTEMPTING TO MAKE THIS PROJECT AT THE BEAM MAKERSPACES.
After completing the online Laser Cutter training and earning 100% on the final quiz, you must complete a training practice task. This guide will walk you through one option for completing your Laser Cutter certification.
Objective: To laser cut and etch a simple bag tag that can be used to label luggage, a bookbag, etc. You could also use it as a keychain or an ornament.
Supplies
- Adobe Illustrator (UNC students - download Adobe Creative Cloud for free)
- Universal Control Panel (PC Users - download your own copy for free)
- BeAM Universal Laser Cutters (found at either the Murray or Hanes makerspaces)
- Scrap material provided by BeAM (cardboard, PET-G, limited plywood and acrylic)
Please note: this Instructable is written with a focus on using Adobe Illustrator, but you can alternatively use a different vector design software if if you prefer.
Design Your Tag
Download the design file for this practice project here: https://www.thingiverse.com/thing:4510342. You will need to modify and add to this template so that it includes three elements: a red outline that the laser cutter will vector cut, blue text outlines that will vector etch, and an image that will raster etch.
- Outline: The template already includes the tag outline.
- Text: Use the 'Type' tool and click the 'Create Outlines' button after you arrange your text.
- Image: Check out the video in this section to see two ways of importing images.
Want a more detailed walkthrough? This workflow will take you step-by-step through creating your design.
Change Colors and Stroke Thicknesses

Review each element of your design and check the settings for each one. The three elements of your design should be: the tag outline (which will be vector cut), the text outlines (which will be vector etched), and the image (which will be raster etched.)
Each element of your design (outline, text, and image) will be controlled by a different RGB color that the laser cutter "sees", and the vector elements will need a specific line thickness to be read properly by the laser cutter. Watch the video in this section for a walkthrough, or read about the settings below.
- Vector Cut (Tag Outline): Stroke color = 'RGB red', stroke thickness = '.001 in' (or '.072 pt')
- Vector Etch (Text Outlines): Stroke color = 'RGB blue', stroke thickness = '.001 in' (or '.072 pt')
- Raster Etch: No need to change anything about this element - controlled by RGB black.
Want a more detailed walkthrough? This workflow will take you step-by-step through creating your design.
Choose Power and Speed Settings
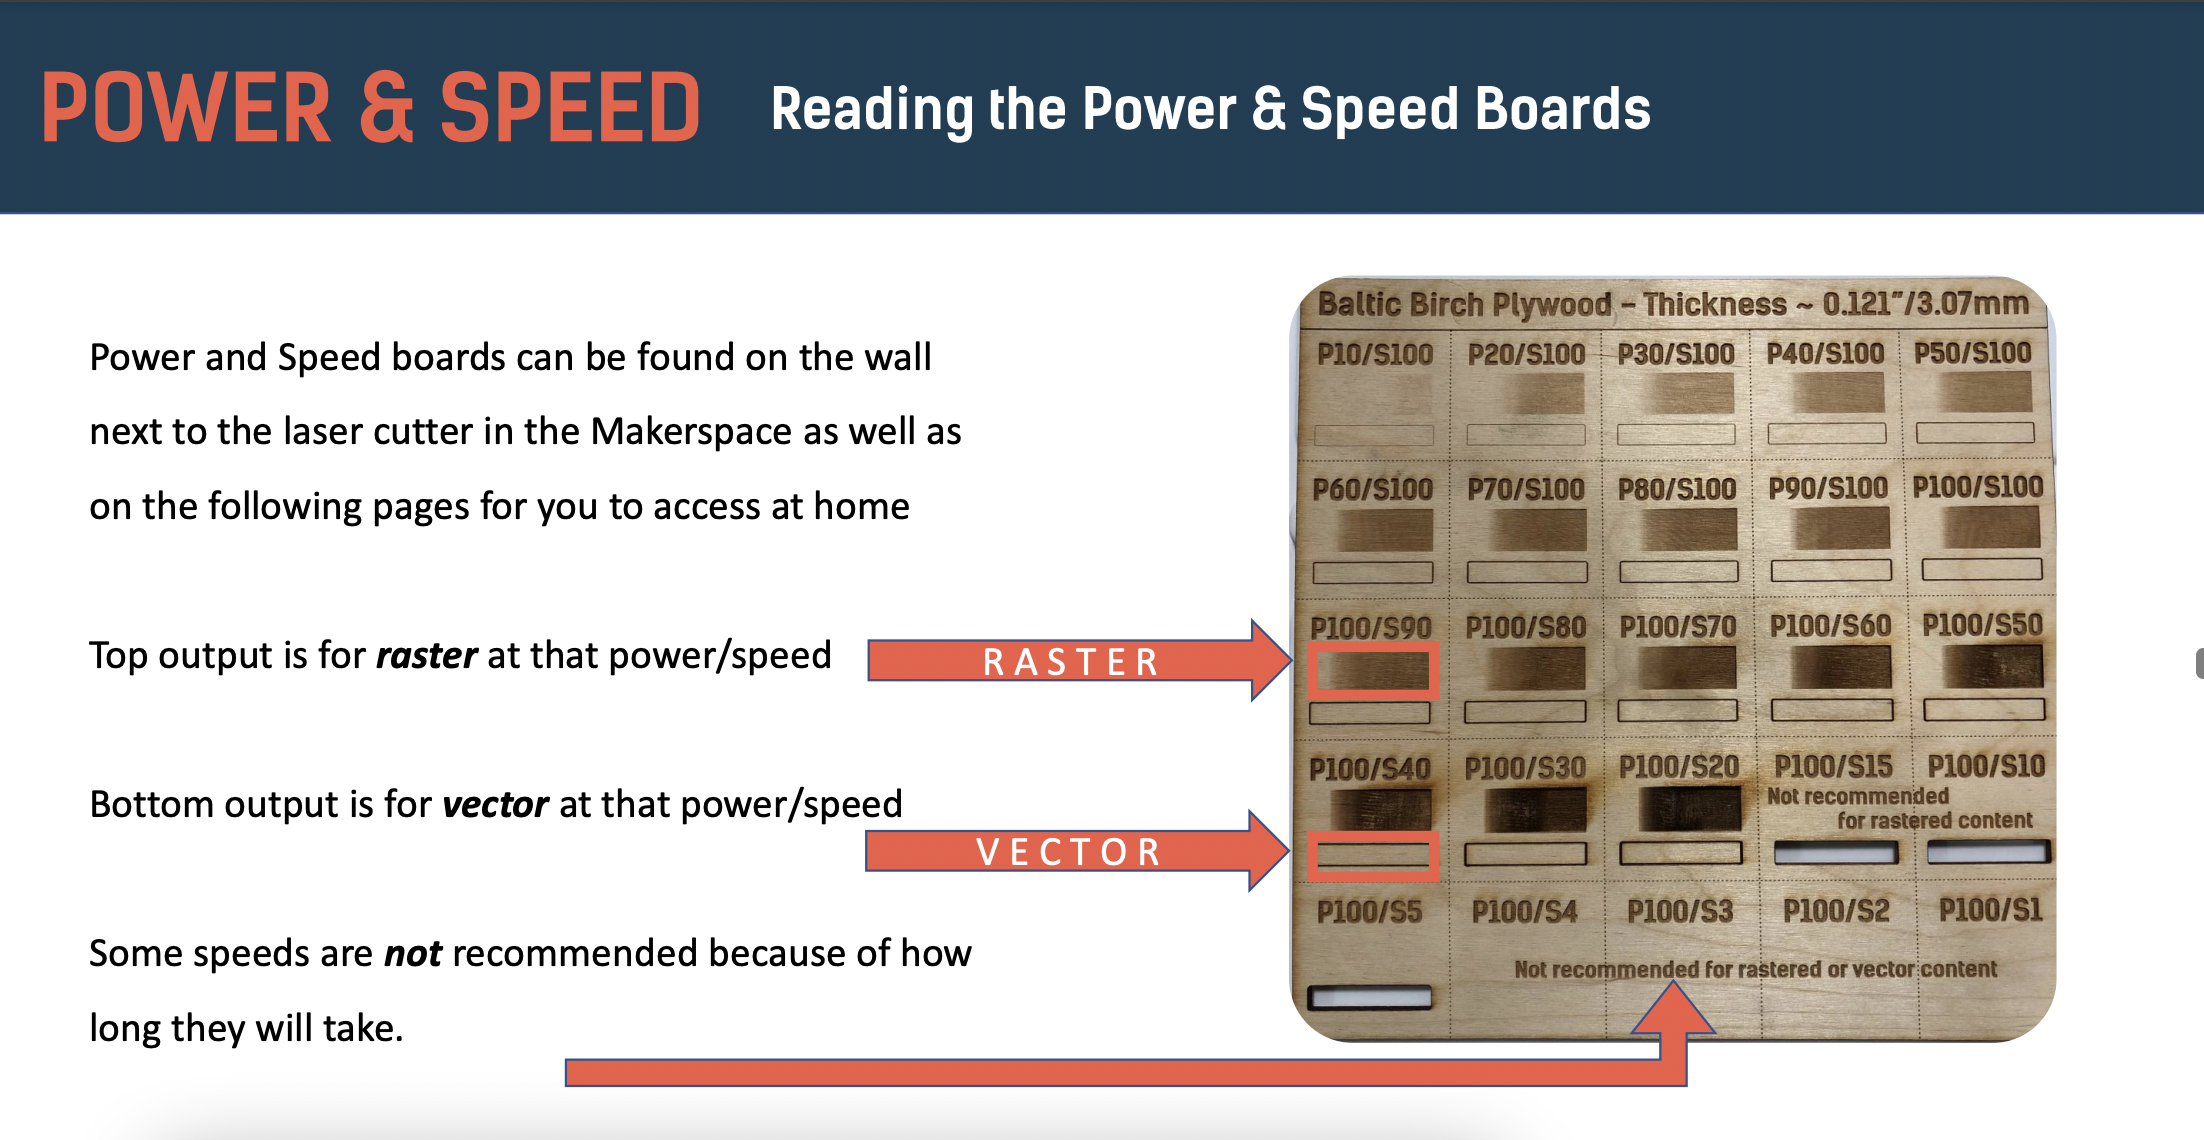
Now, you'll choose power and speed settings for each color in your design (red, blue, and black) based on the material you will be laser cutting. You must use scrap material for this practice project, but you can use any available scrap in the makerspaces (acrylic, wood, etc.)
If you know in advance what material you will be using, you can estimate settings by consulting digital versions of the power/speed boards: https://beam.unc.edu/files/2019/04/LaserCut_Ebook_V1.pdf. This will give you a rough idea of your settings before you go to the makerspaces - make sure you write the settings down so that you can remember them later.
OPTIONAL: If you are working on a PC, you can download the Universal laser cutter software onto your device. This will allow you to "send" your file to a virtual laser cutter, showing you the full power/speed panel with sliders and also allowing you to check the time estimate for your project in the UCP interface. This can save you time and frustration before you get to the makerspace! Find instructions here: https://beam.unc.edu/files/2019/01/LaserCutter_SoftwareSOP_01012019.pdf
Go to a BeAM Makerspace
At this point, you’re ready to head to a BeAM makerspace to use the laser cutter. The Murray Hall makerspace has three laser cutters (two yellow 32"x18", one blue 24"x18") and the Hanes Art Center makerspace has one large red laser cutter (48"x24").
YOU MUST RESERVE TIME ON THE LASER CUTTER BEFORE YOU ARRIVE AT THE MAKERSPACE. To make a reservation, head to the BeAM reservations page and select the makerspace you wish to work in: https://beam.unc.edu/reservations/
Operate the Laser Cutter
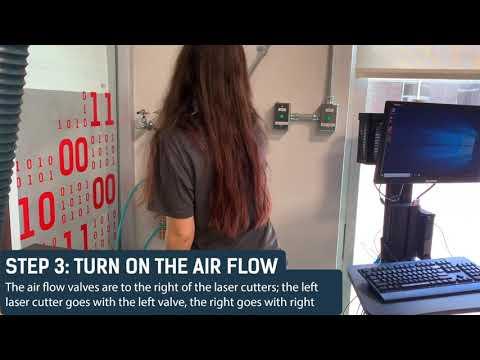
For a refresher on operating the laser cutter, either watch the video in this section or check out the BeAM Laser Cutter Quick Guide here: https://beam.unc.edu/files/2020/06/LaserCutterQuickGuide.pdf
Finish Your Laser Cutter Training Certification
After you make your tag on the laser cutter, show your finished practice project to BeAM staff and they will update your record in the BeAM database. Make sure to clean up and reset the laser cutter for the next user.