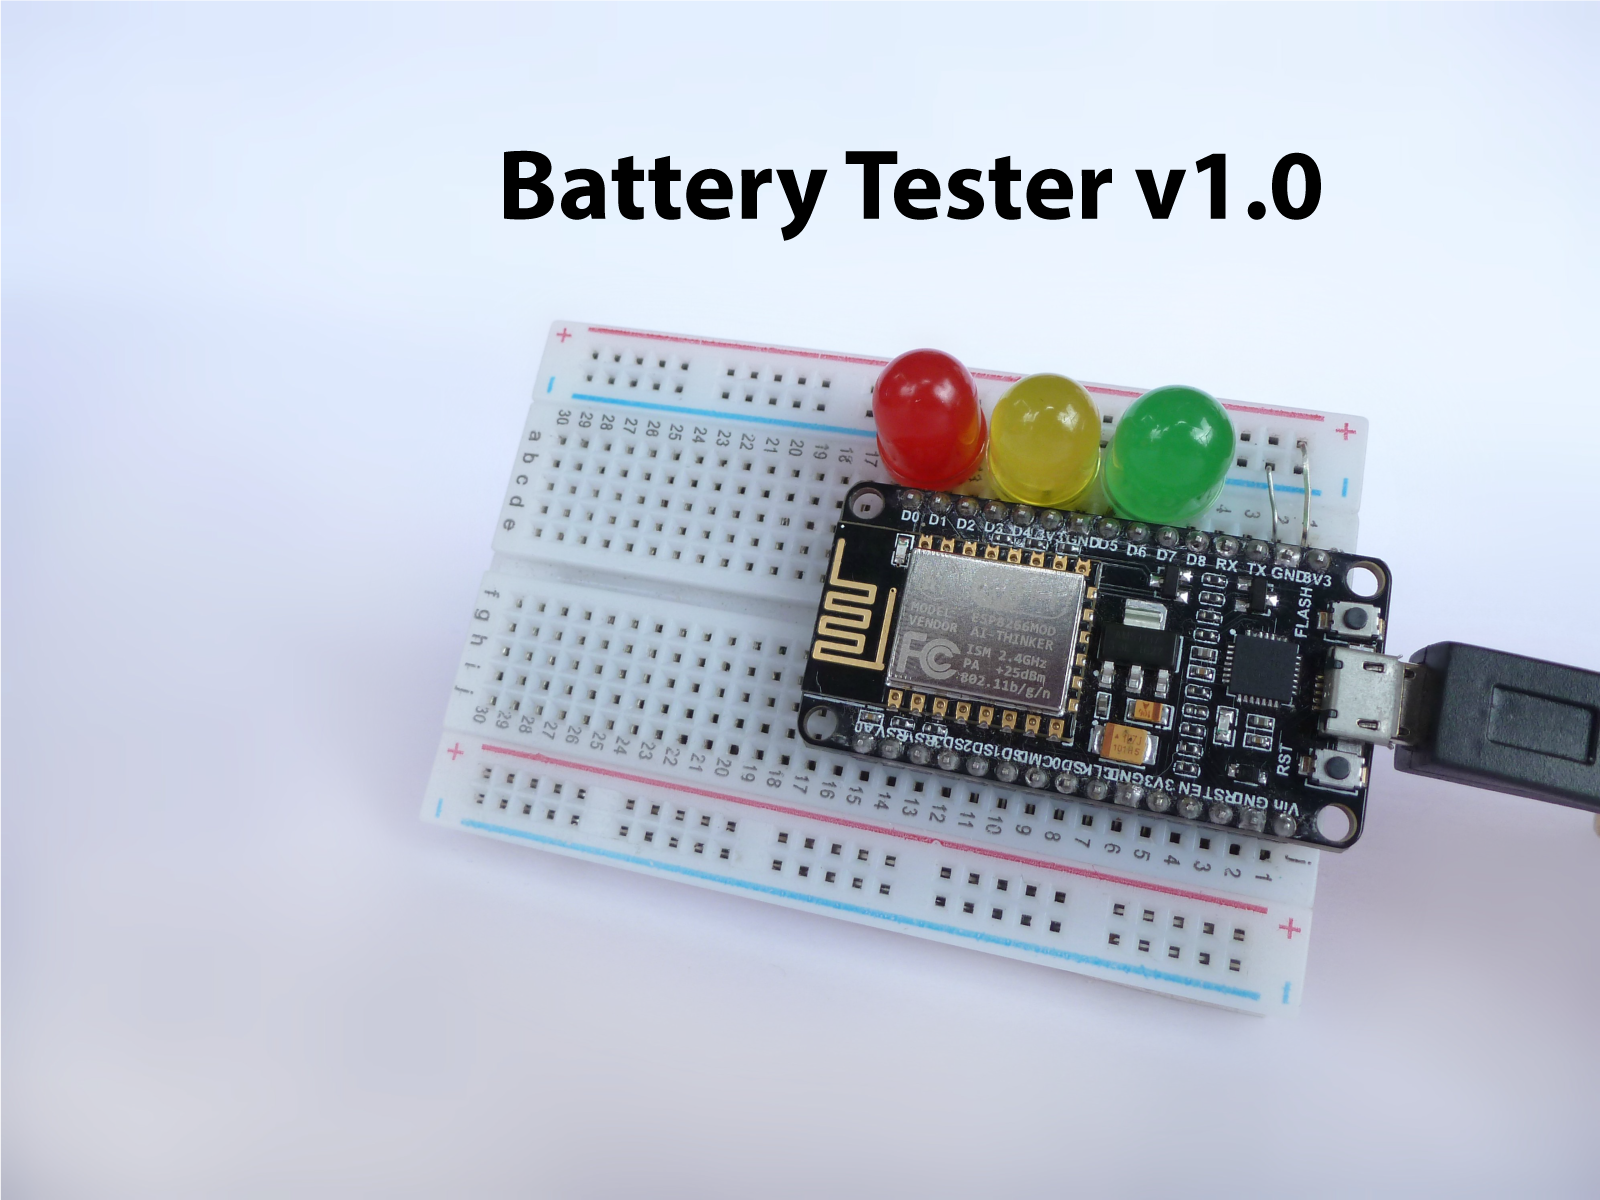
Battery Tester Using NodeMCU
by CodeChamp in Circuits > Electronics
6232 Views, 29 Favorites, 0 Comments
Battery Tester Using NodeMCU
Hello, Makers!!
In this Instructable, I'll show you how to make a Battery Tester using the NodeMCU.
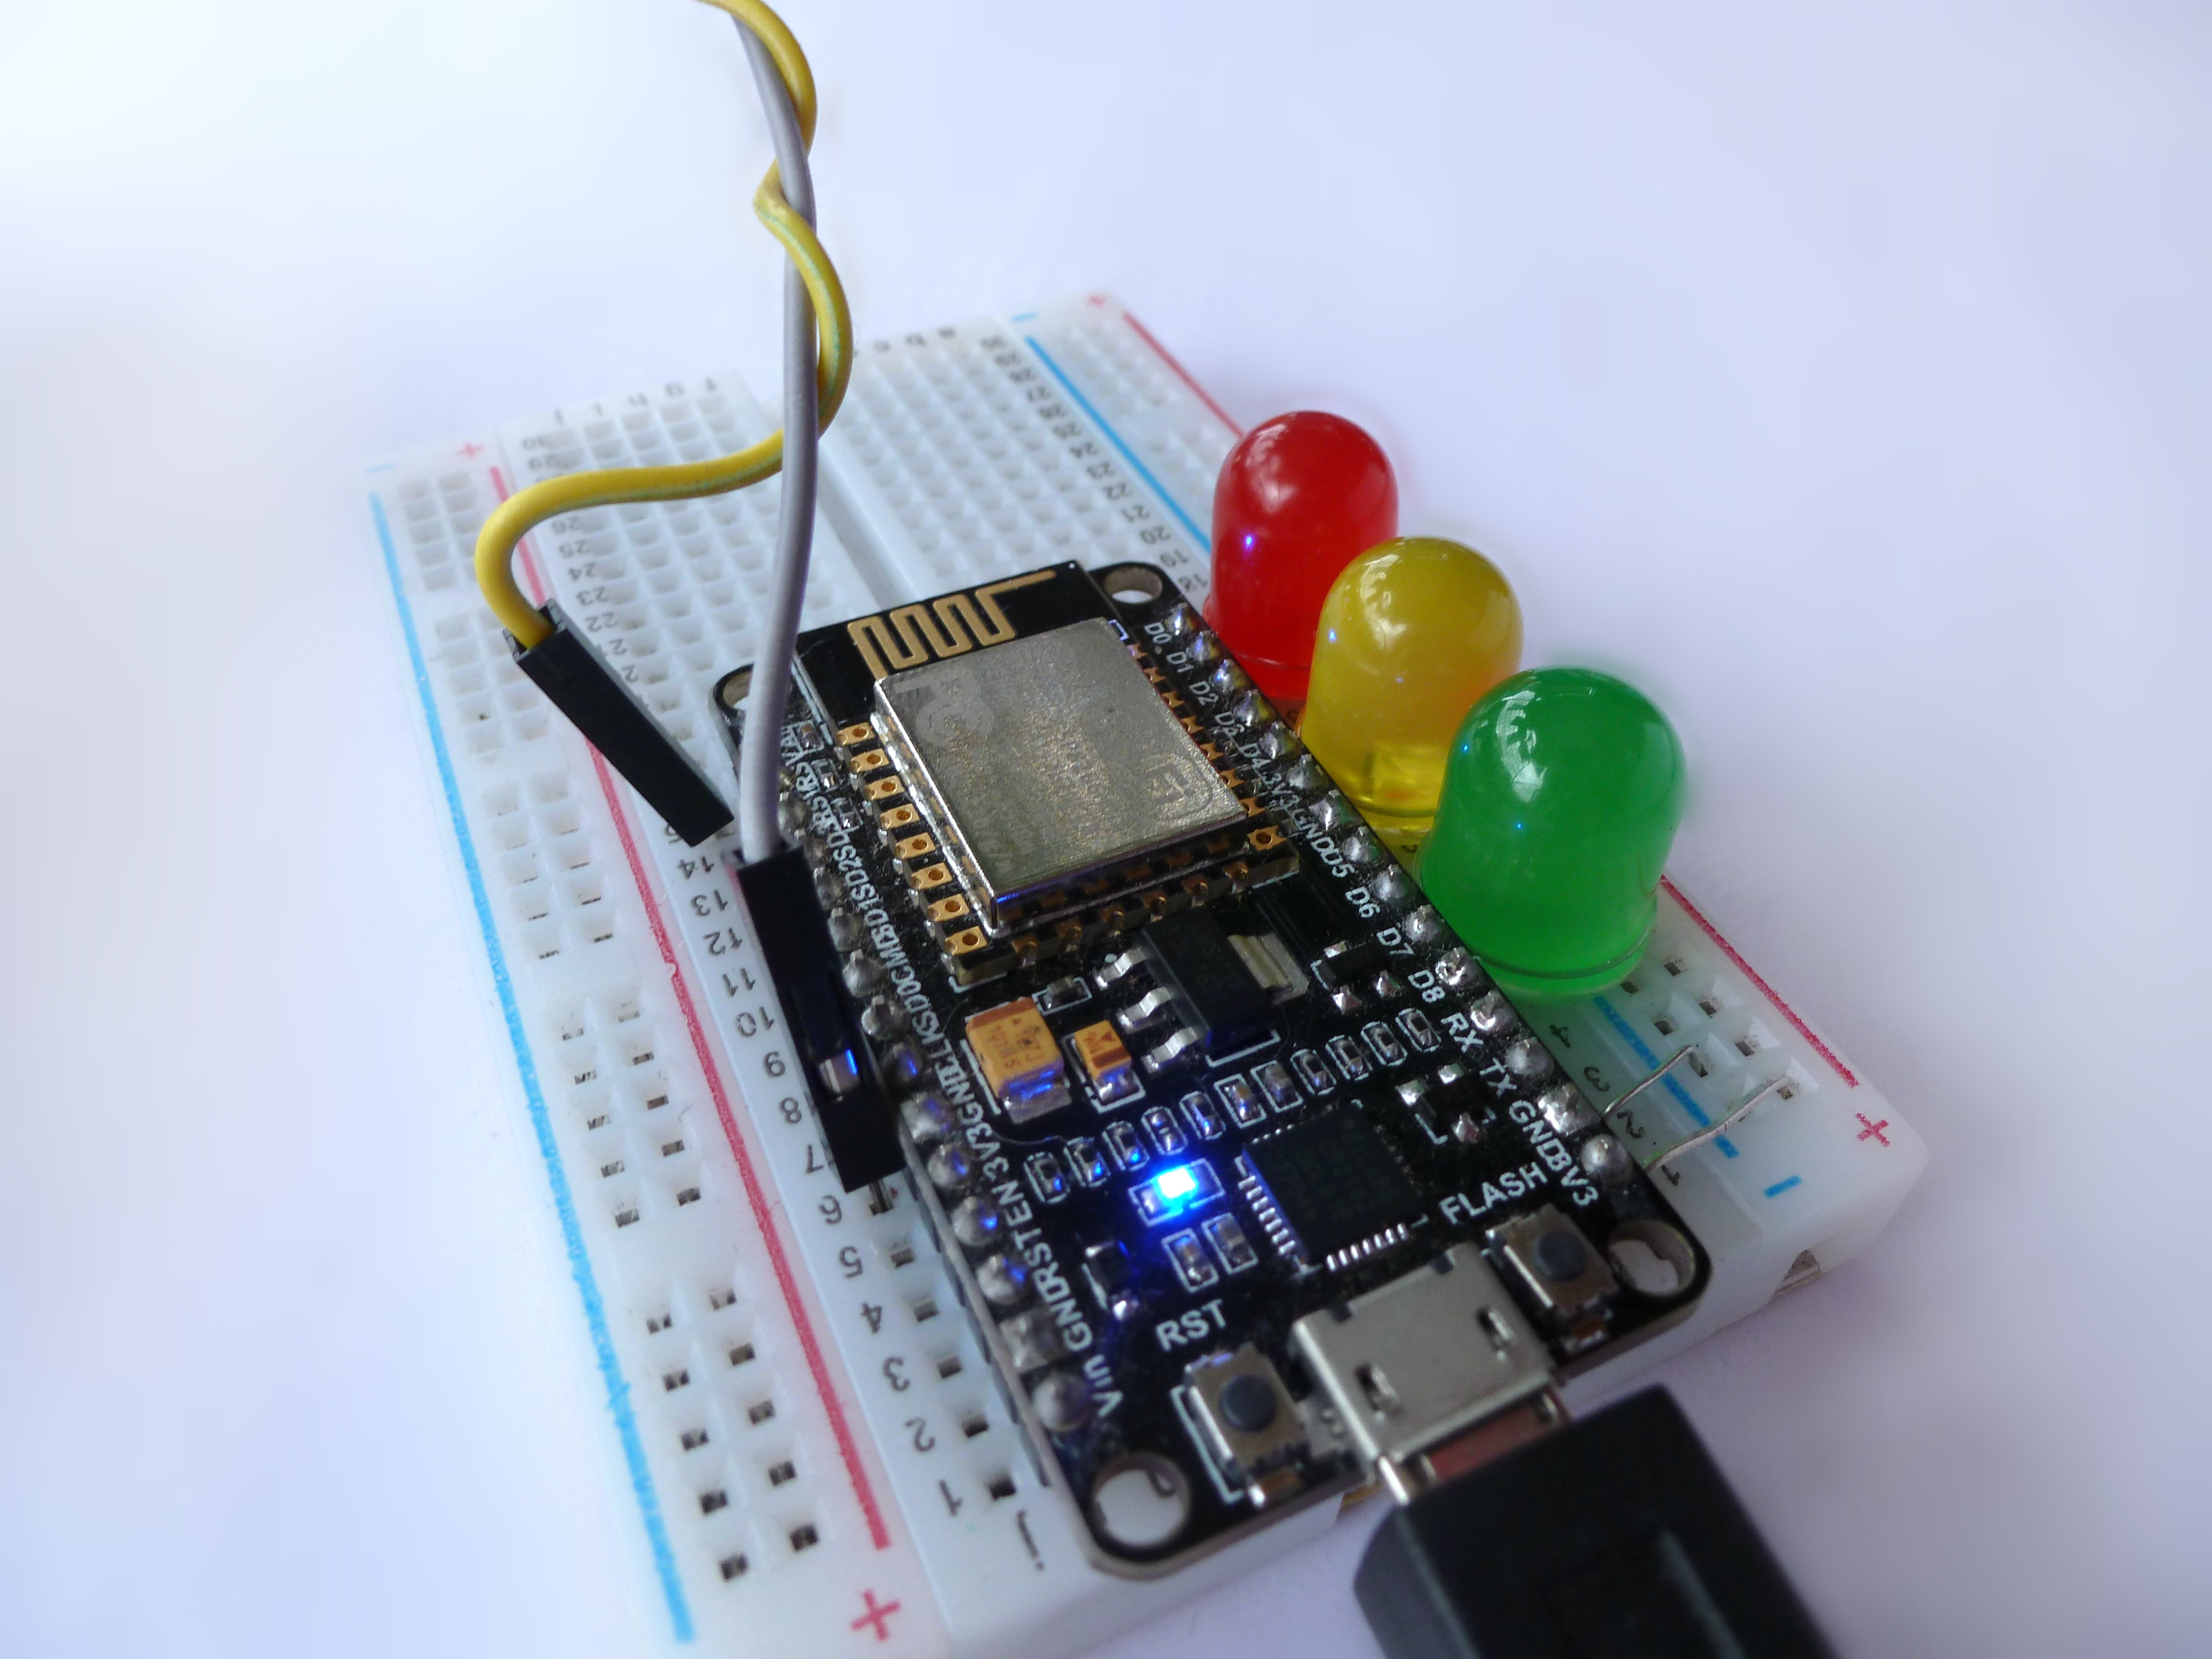
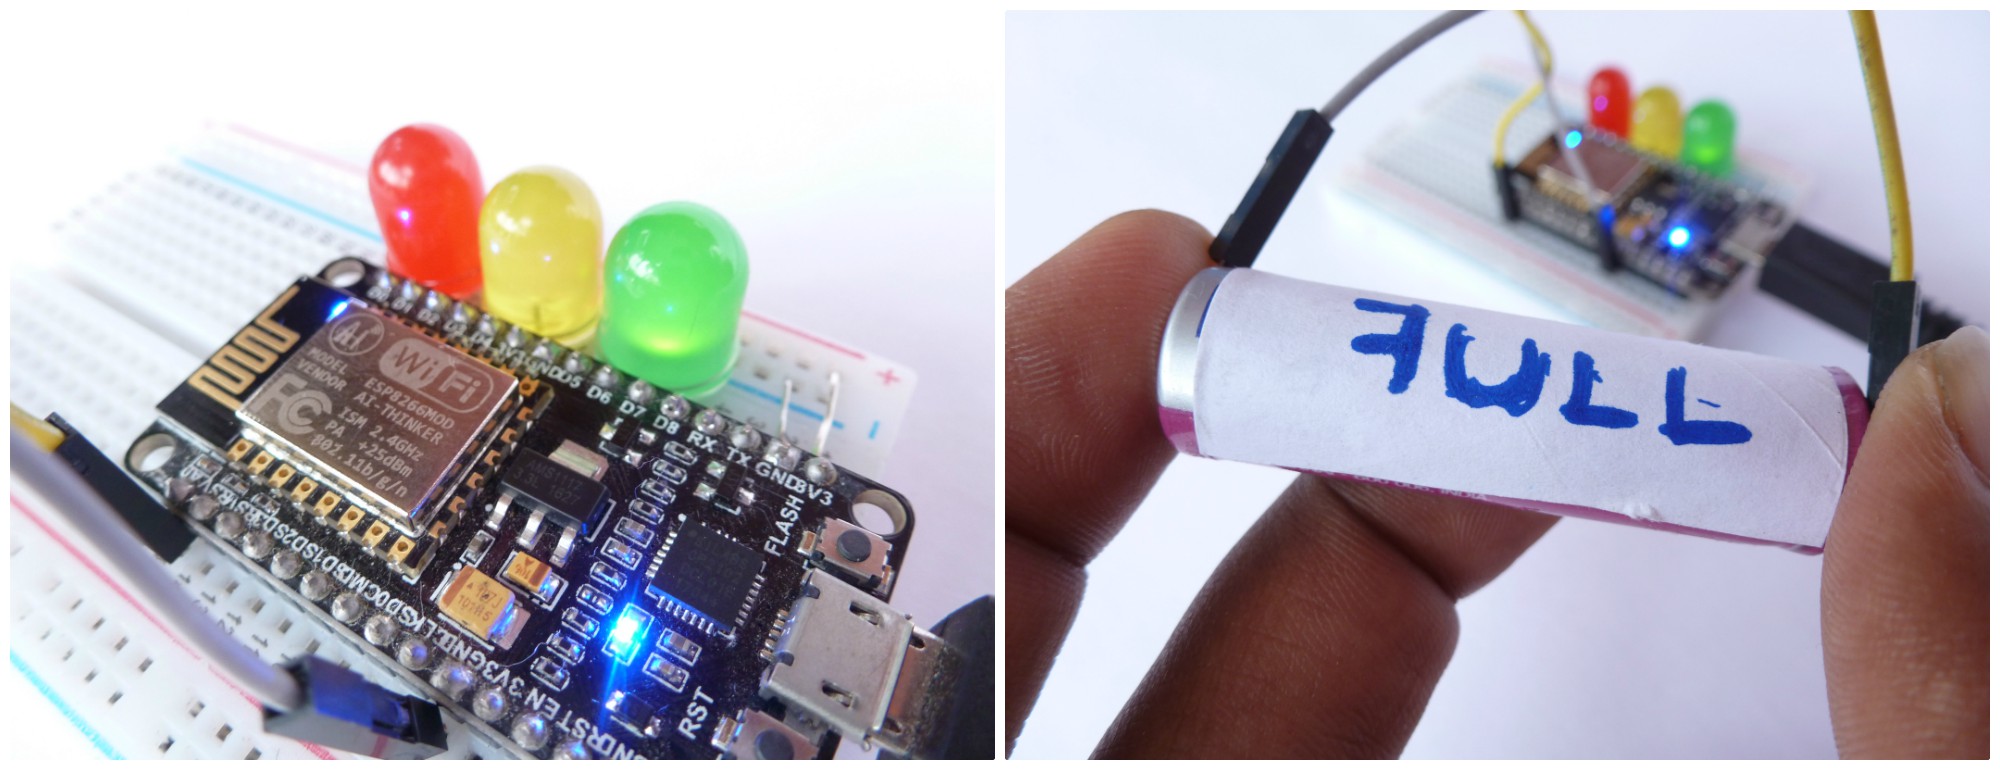
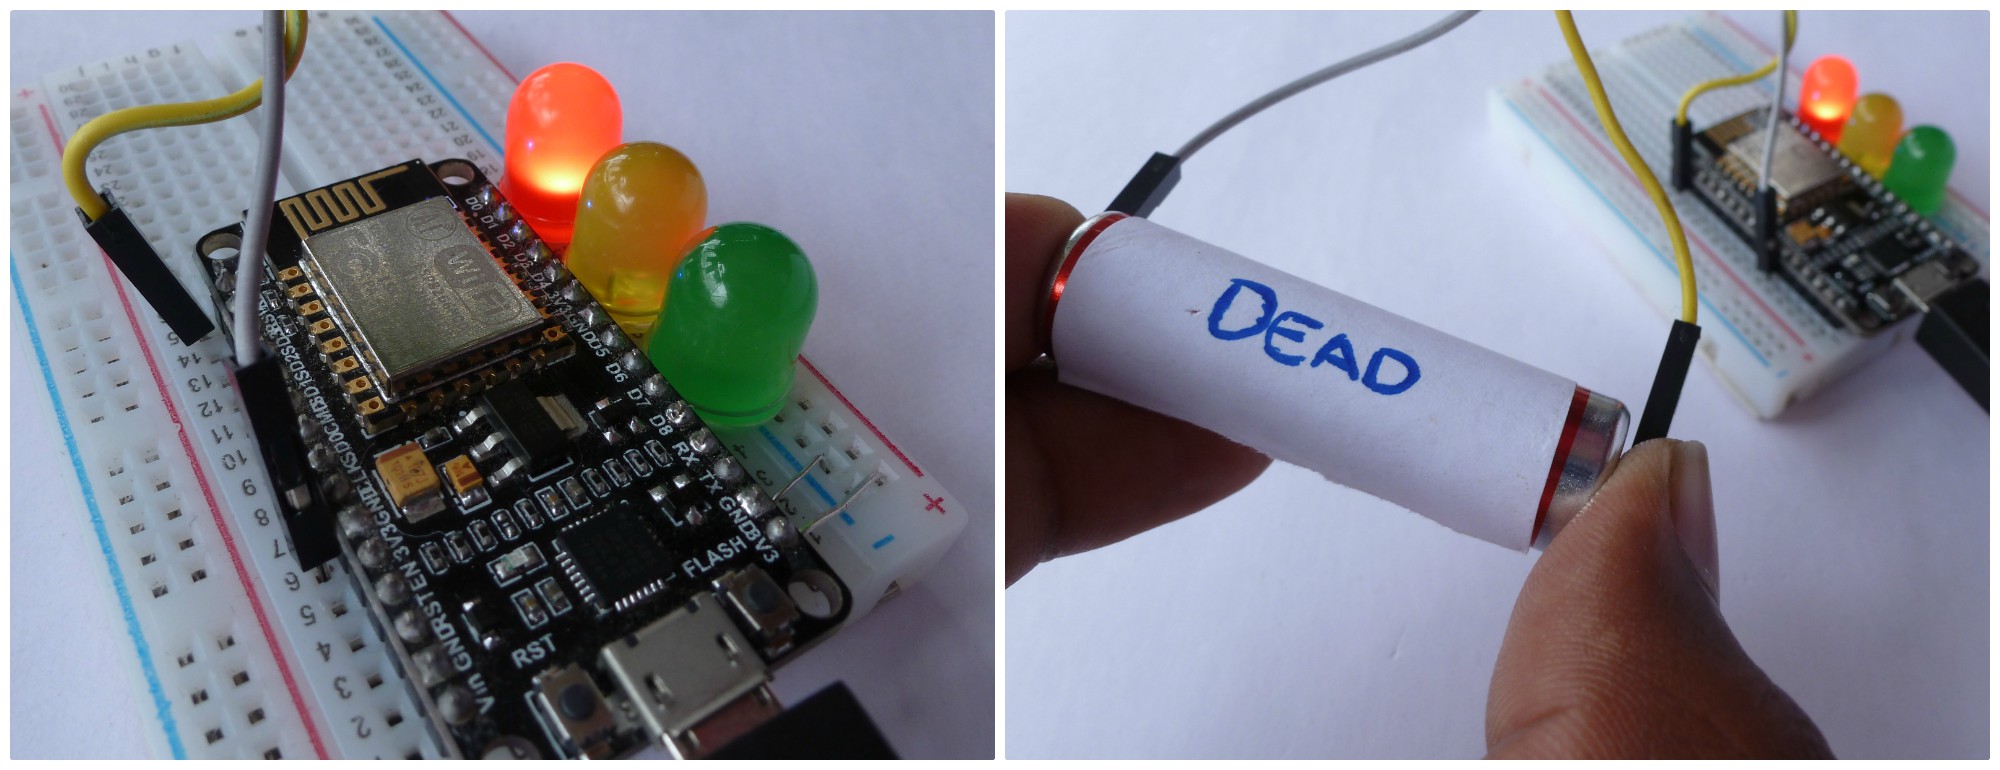
The Battery Tester basically checks the voltage of 1.5V cells or even 3V button cells and by knowing this we'll know how much charge is left. Like Red indicates that the battery is dead and Green indicates that the battery is full while Yellow shows the charge is still left-over.
Components Needed


All that you require for this instructable is,
Hardware Required
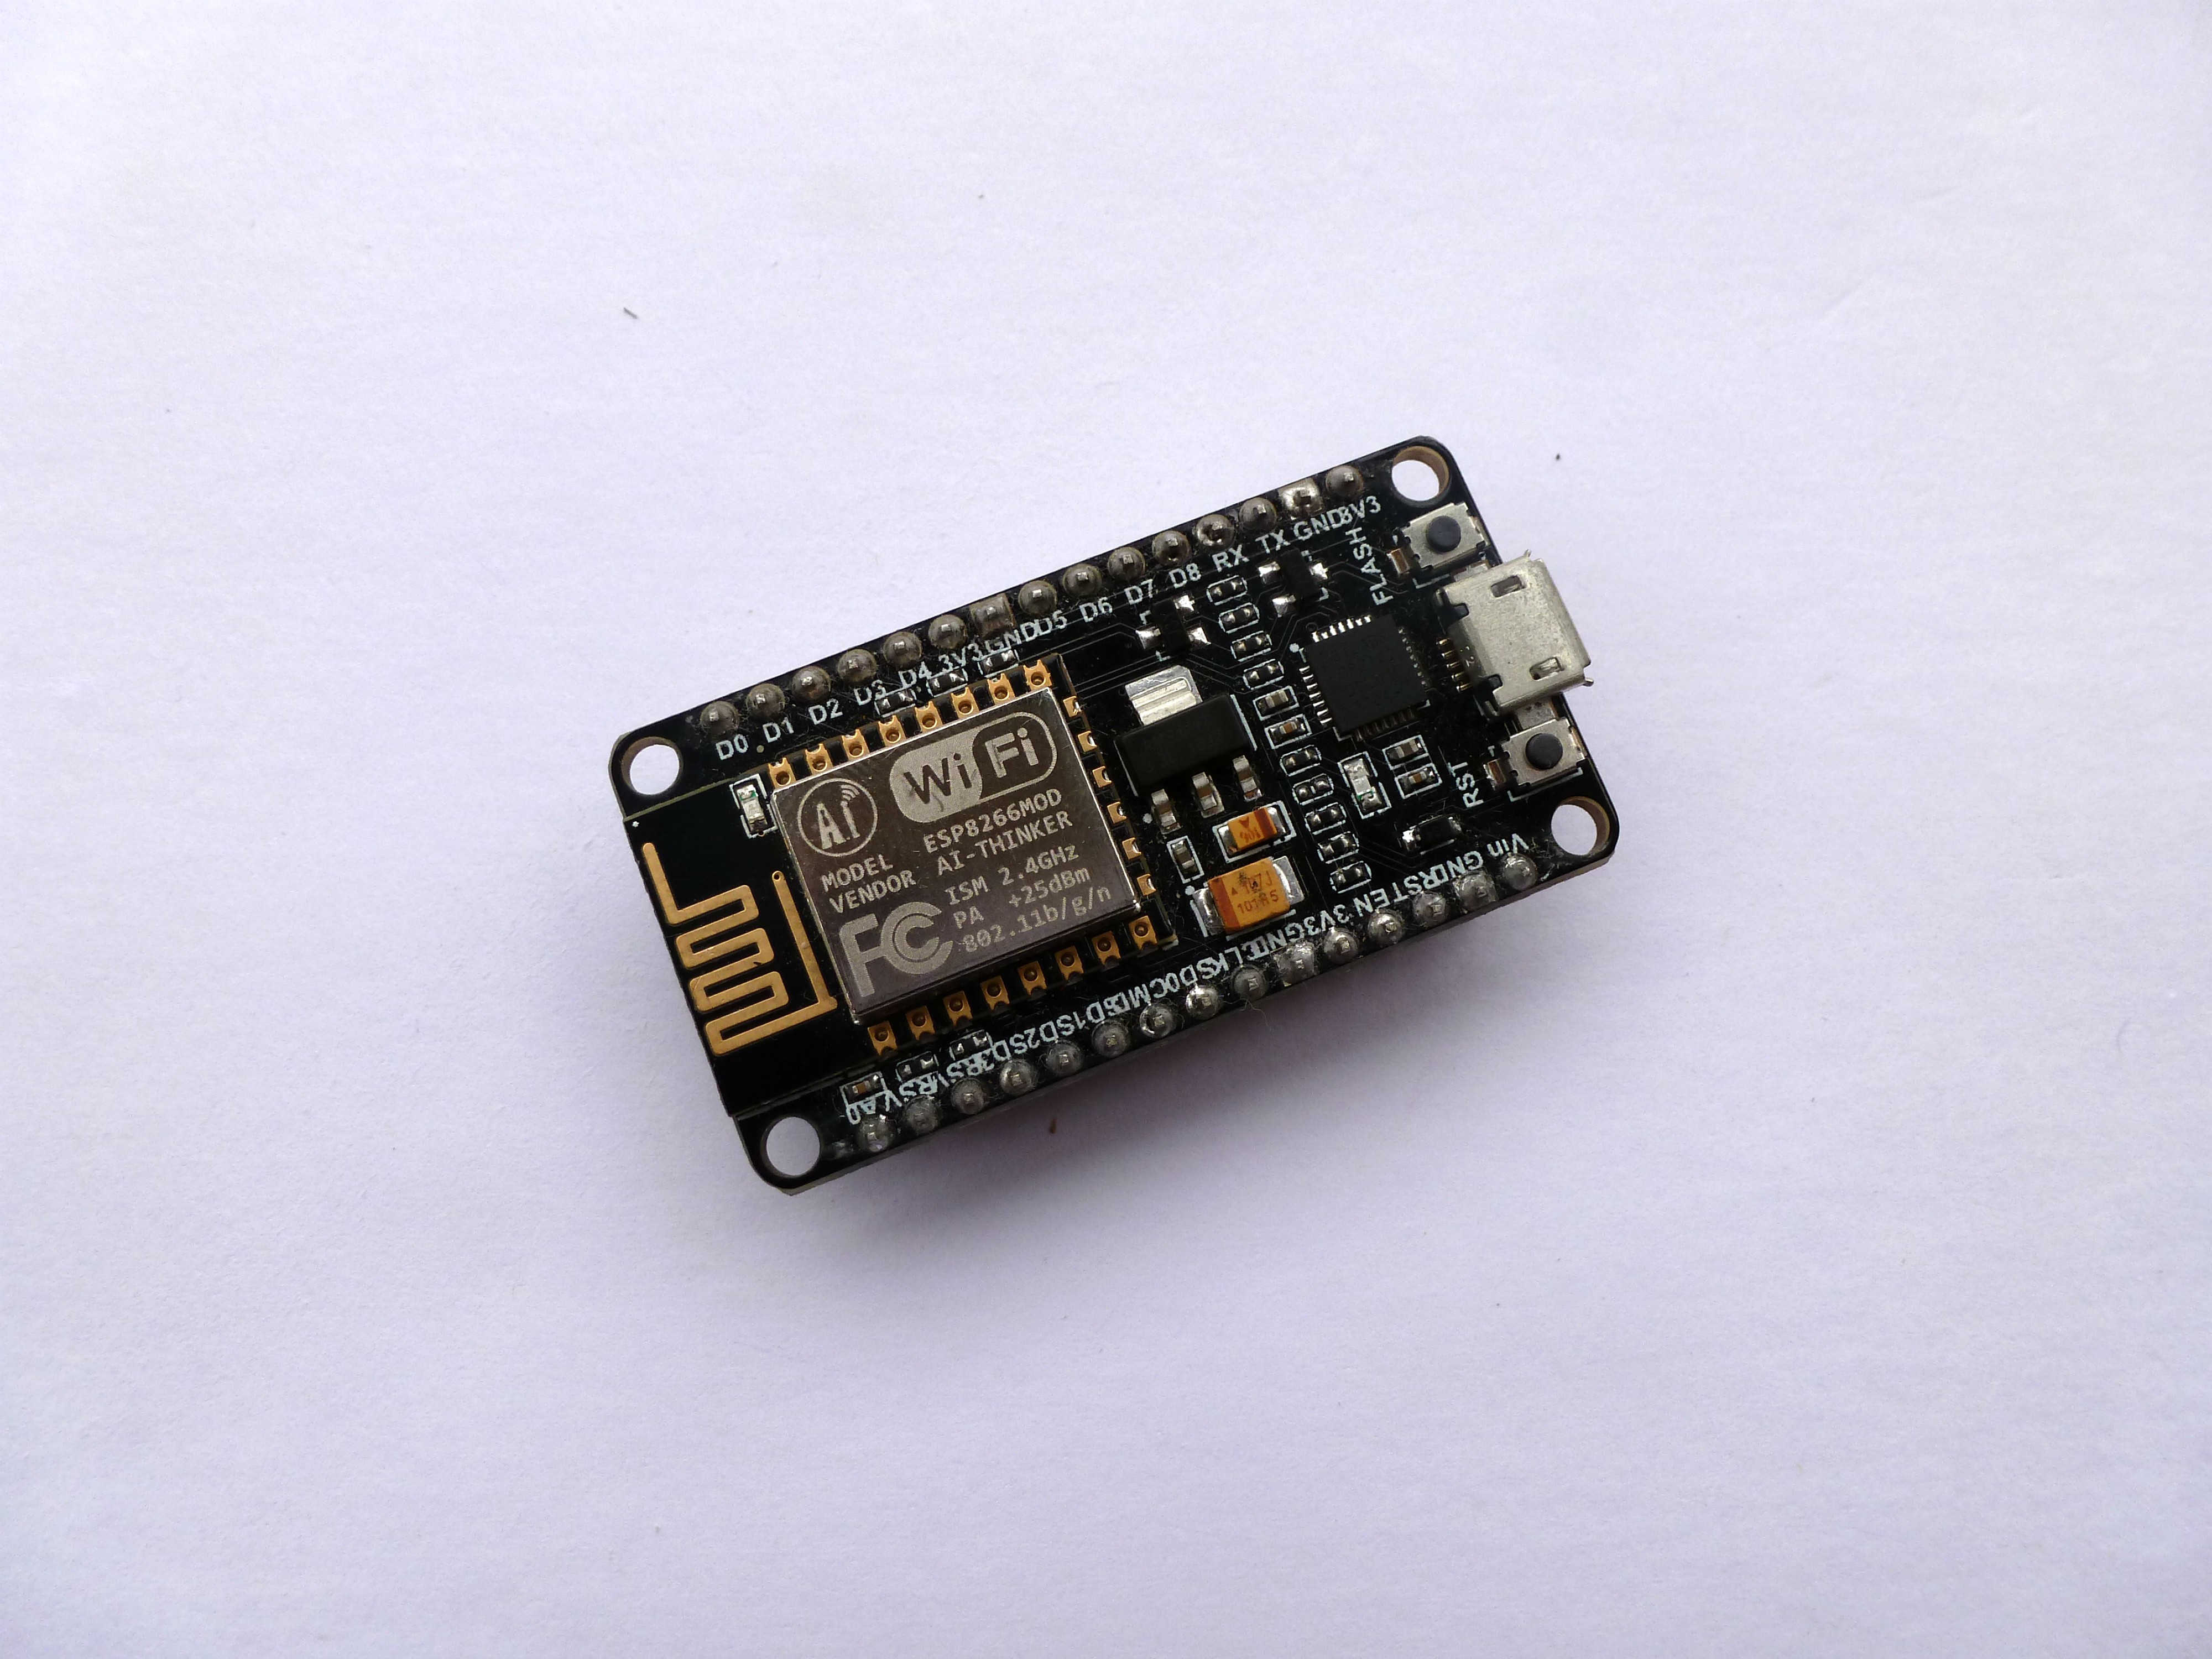
- NodeMCU
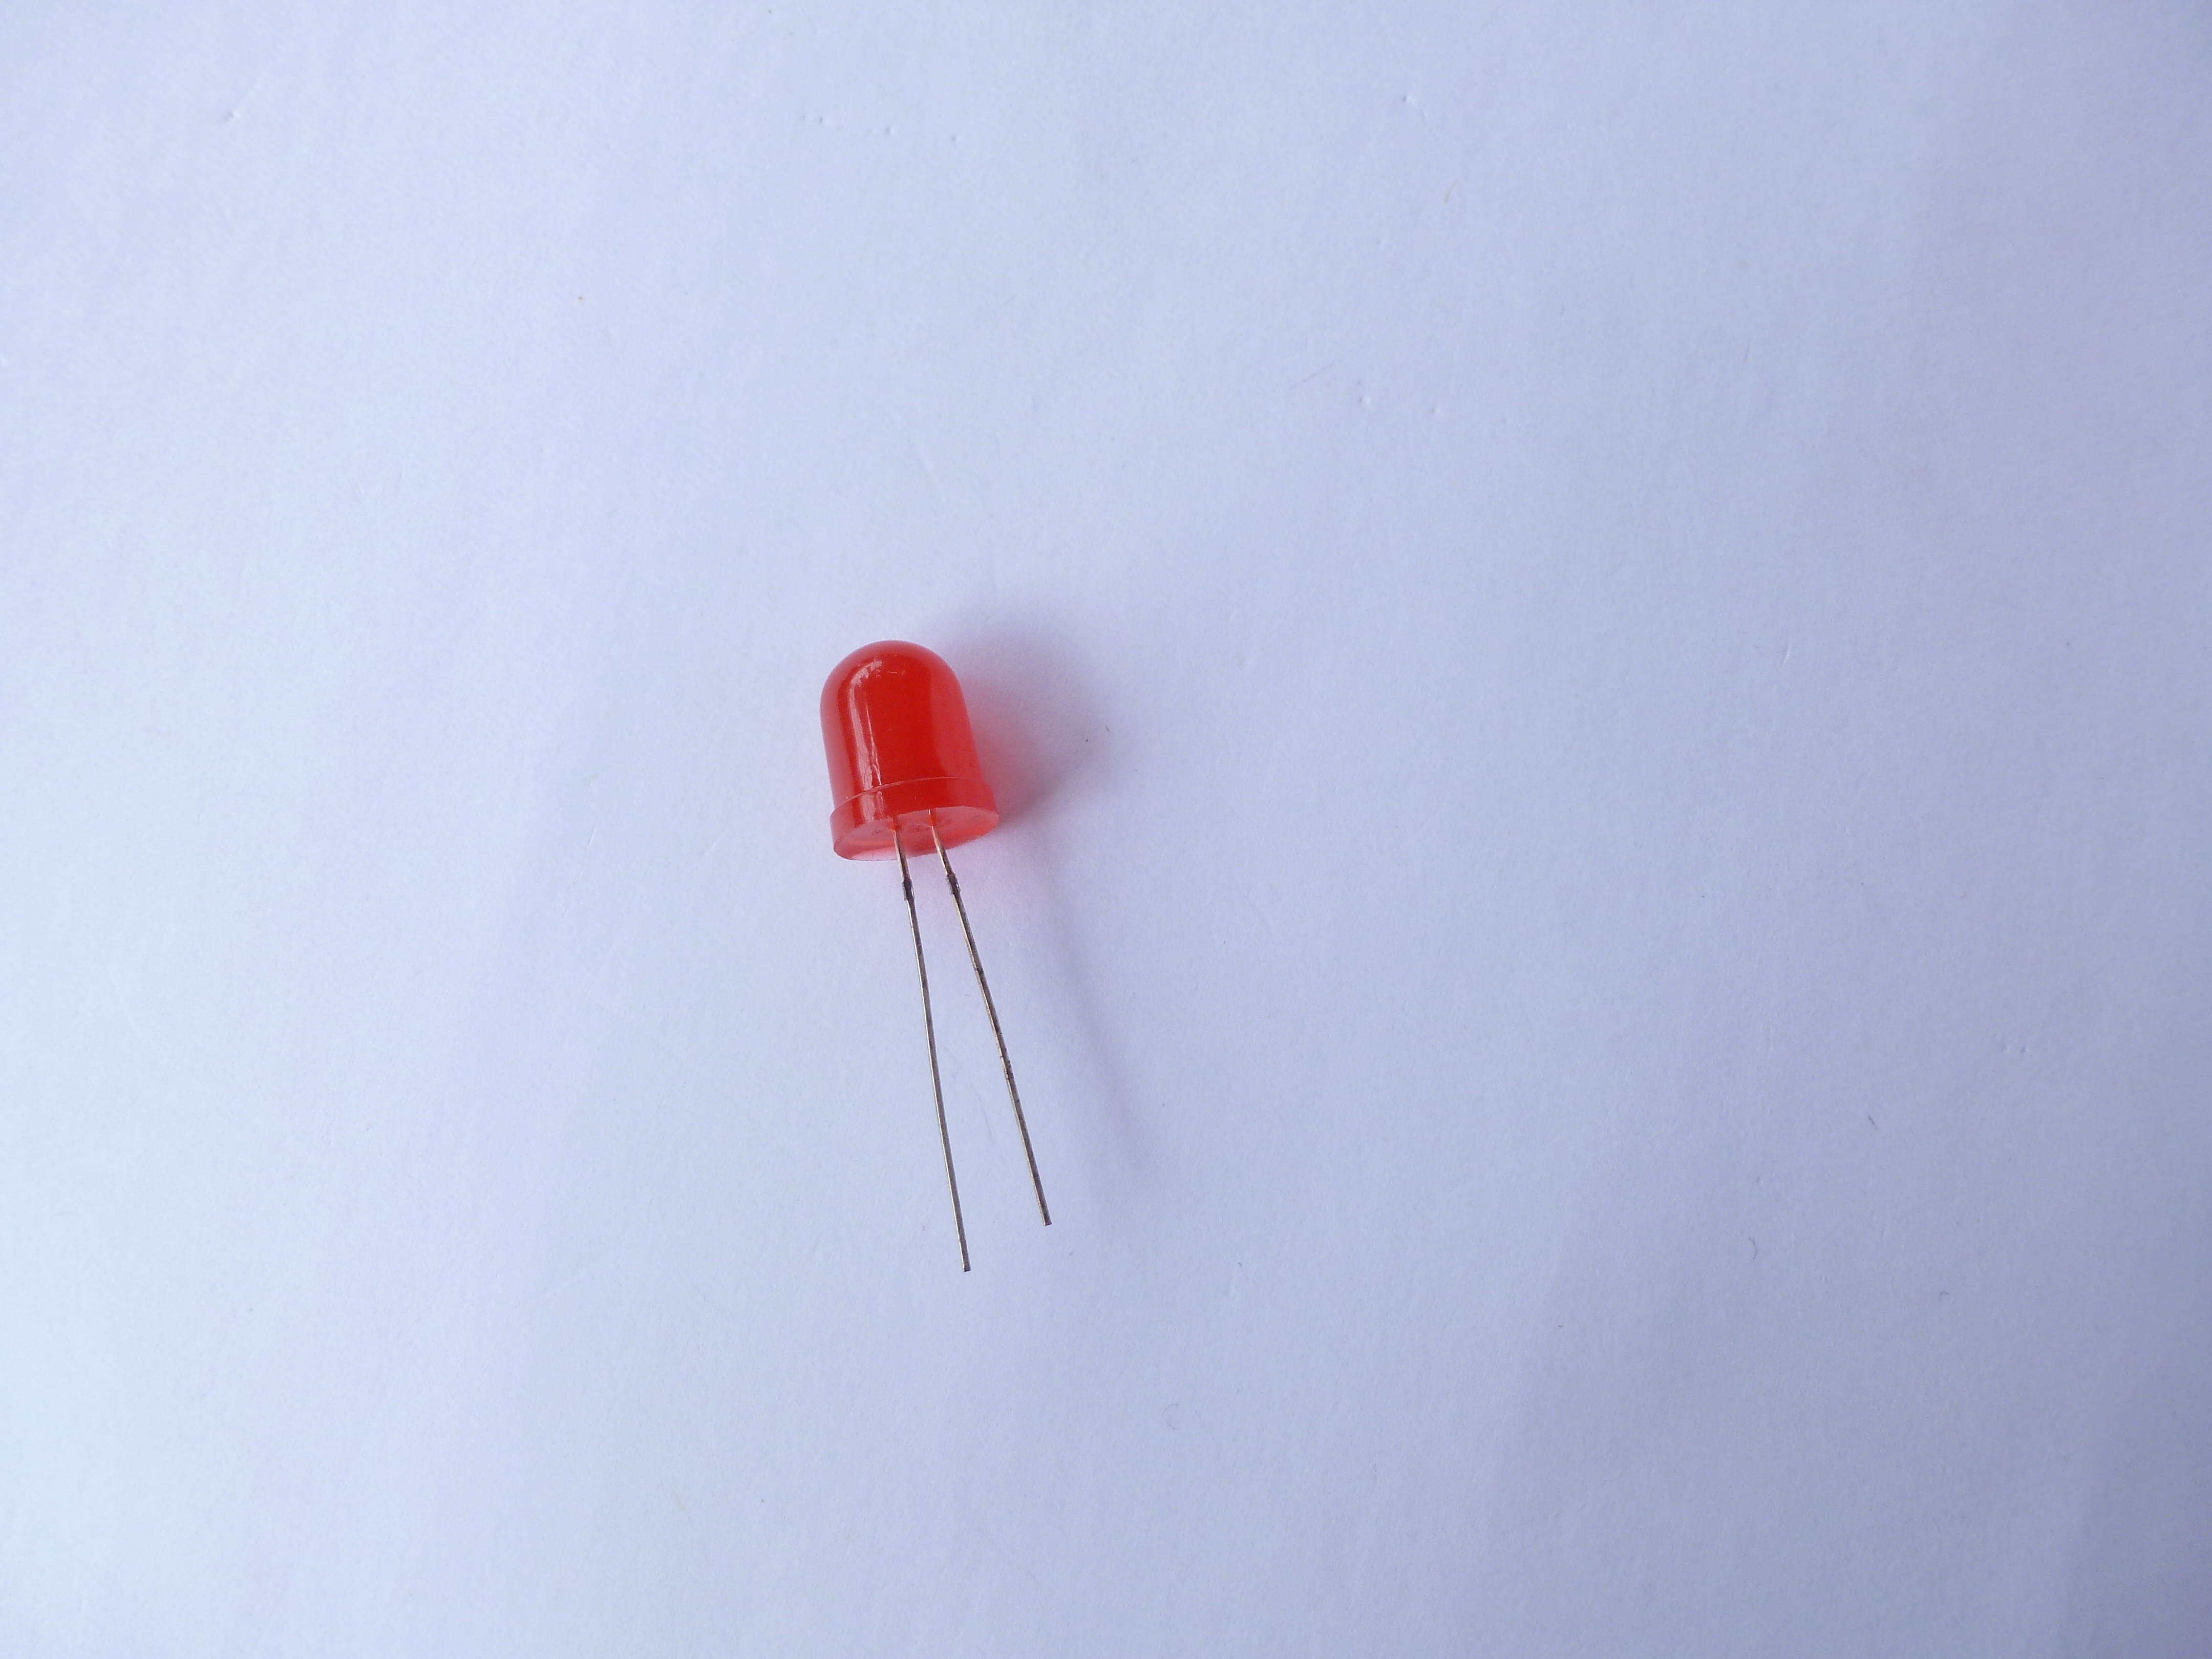
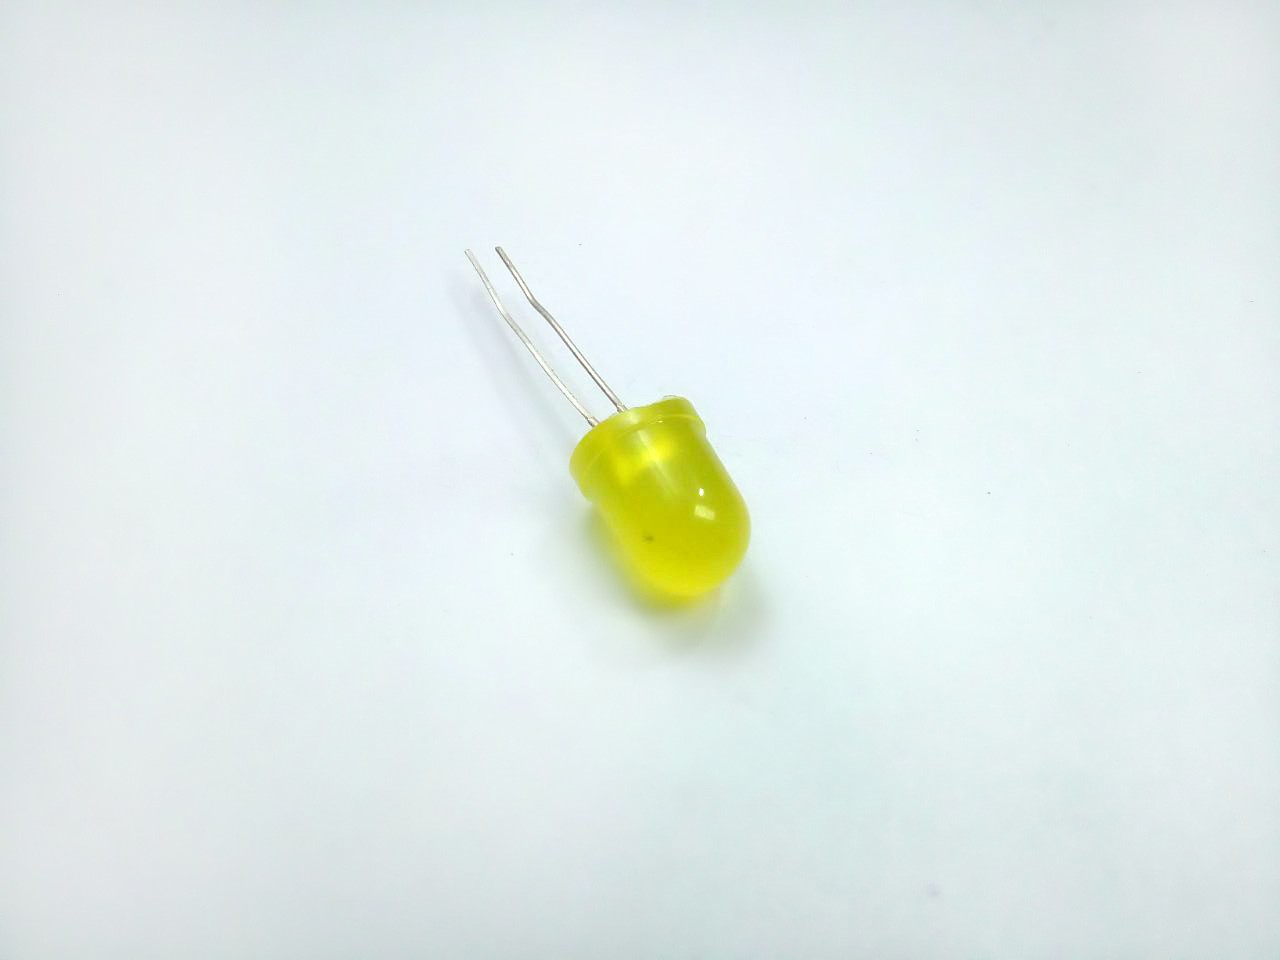
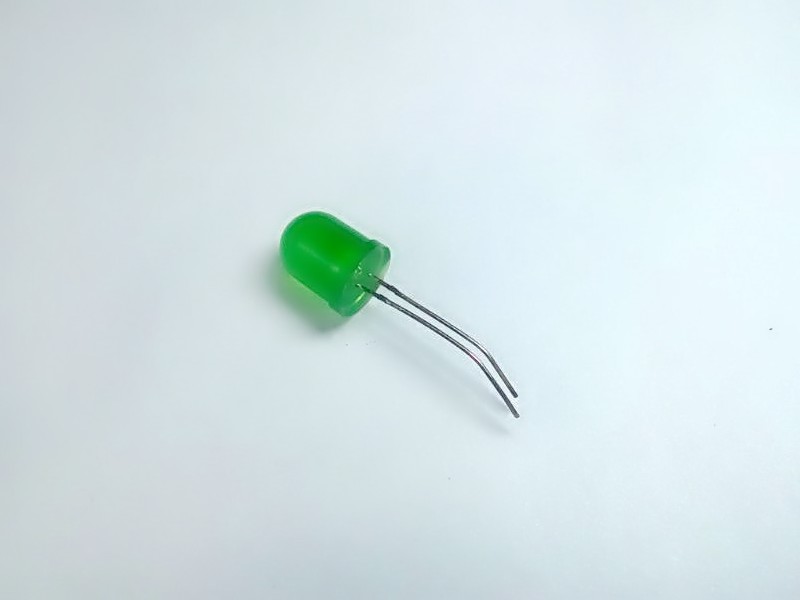
- LEDs (x3)
- Jumper wires
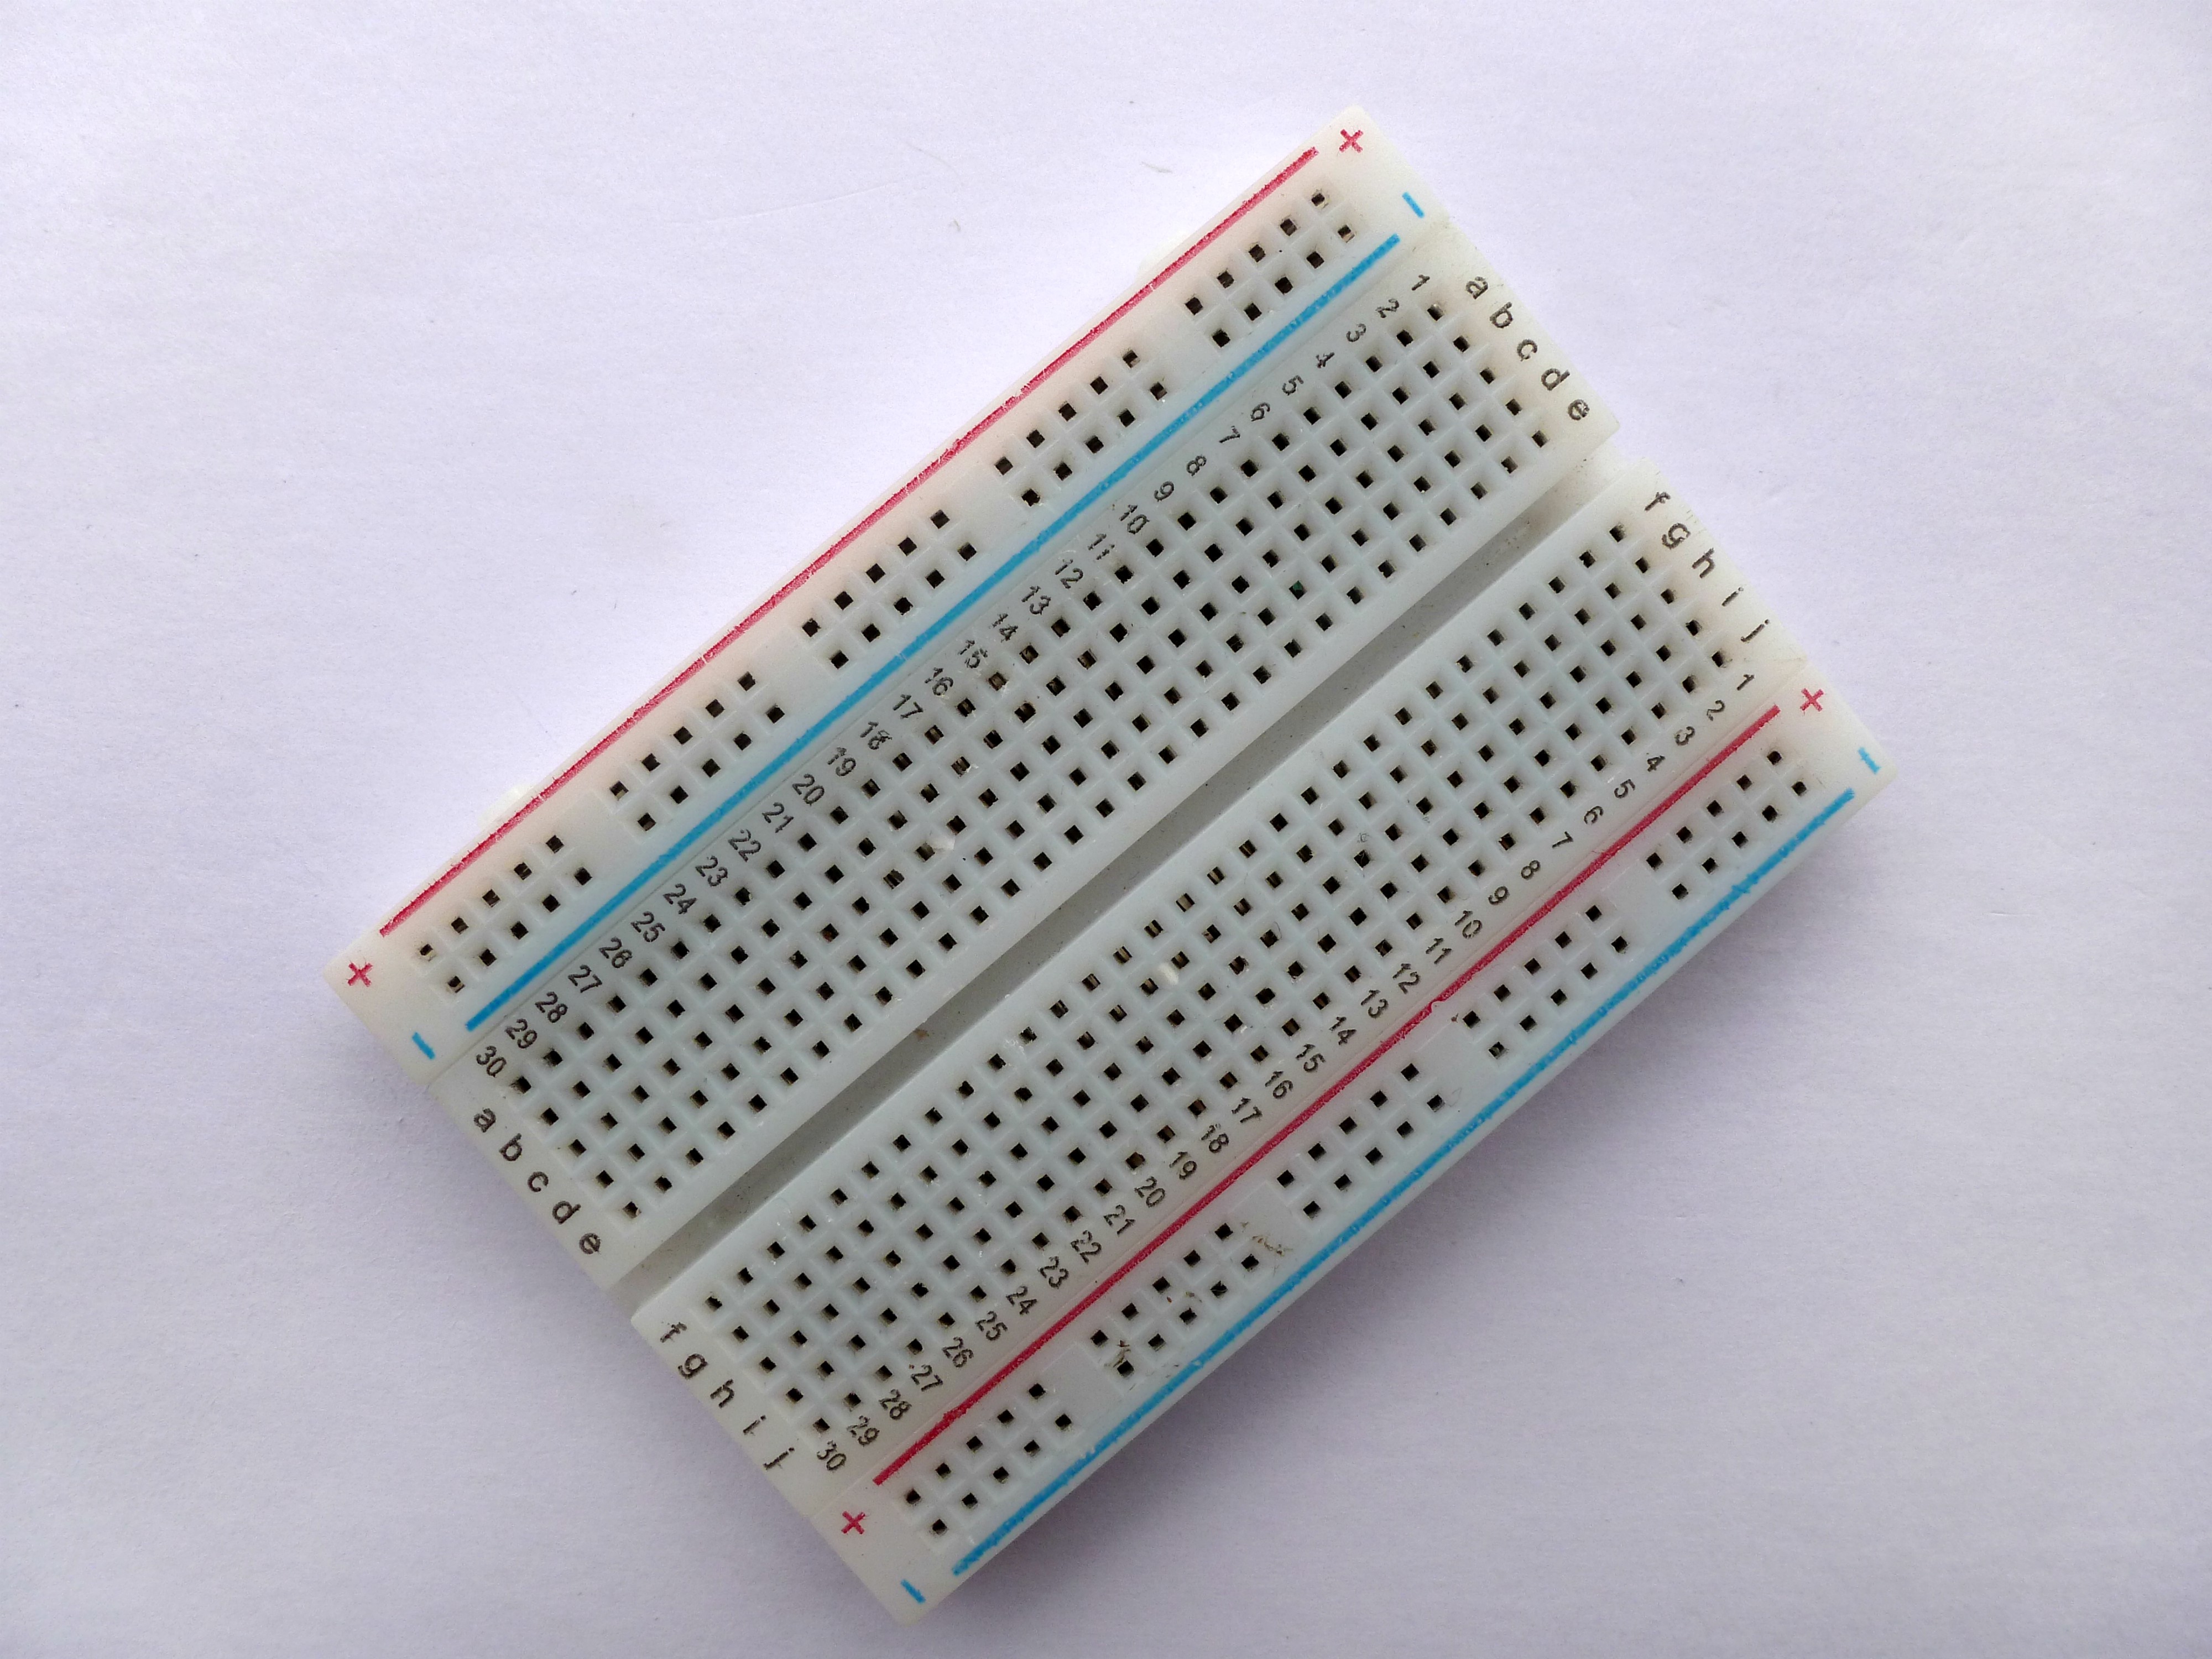
- Breadboard
- 2.2k resistor (optional)
Software Required
- Arduino IDE (with ESP8266 Library installed)
Circuit Connection
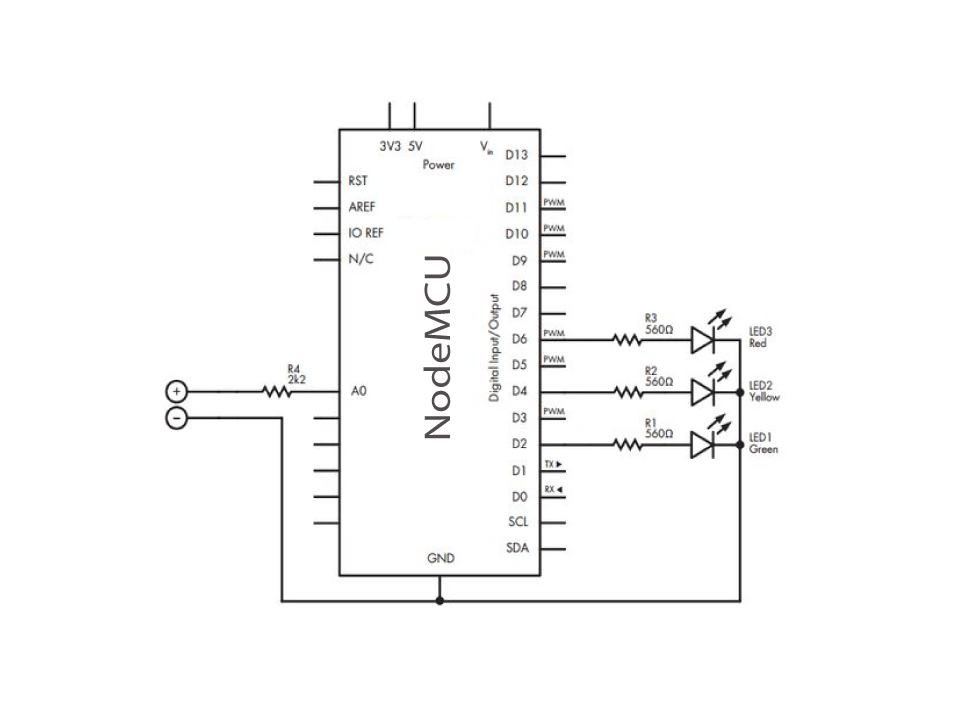
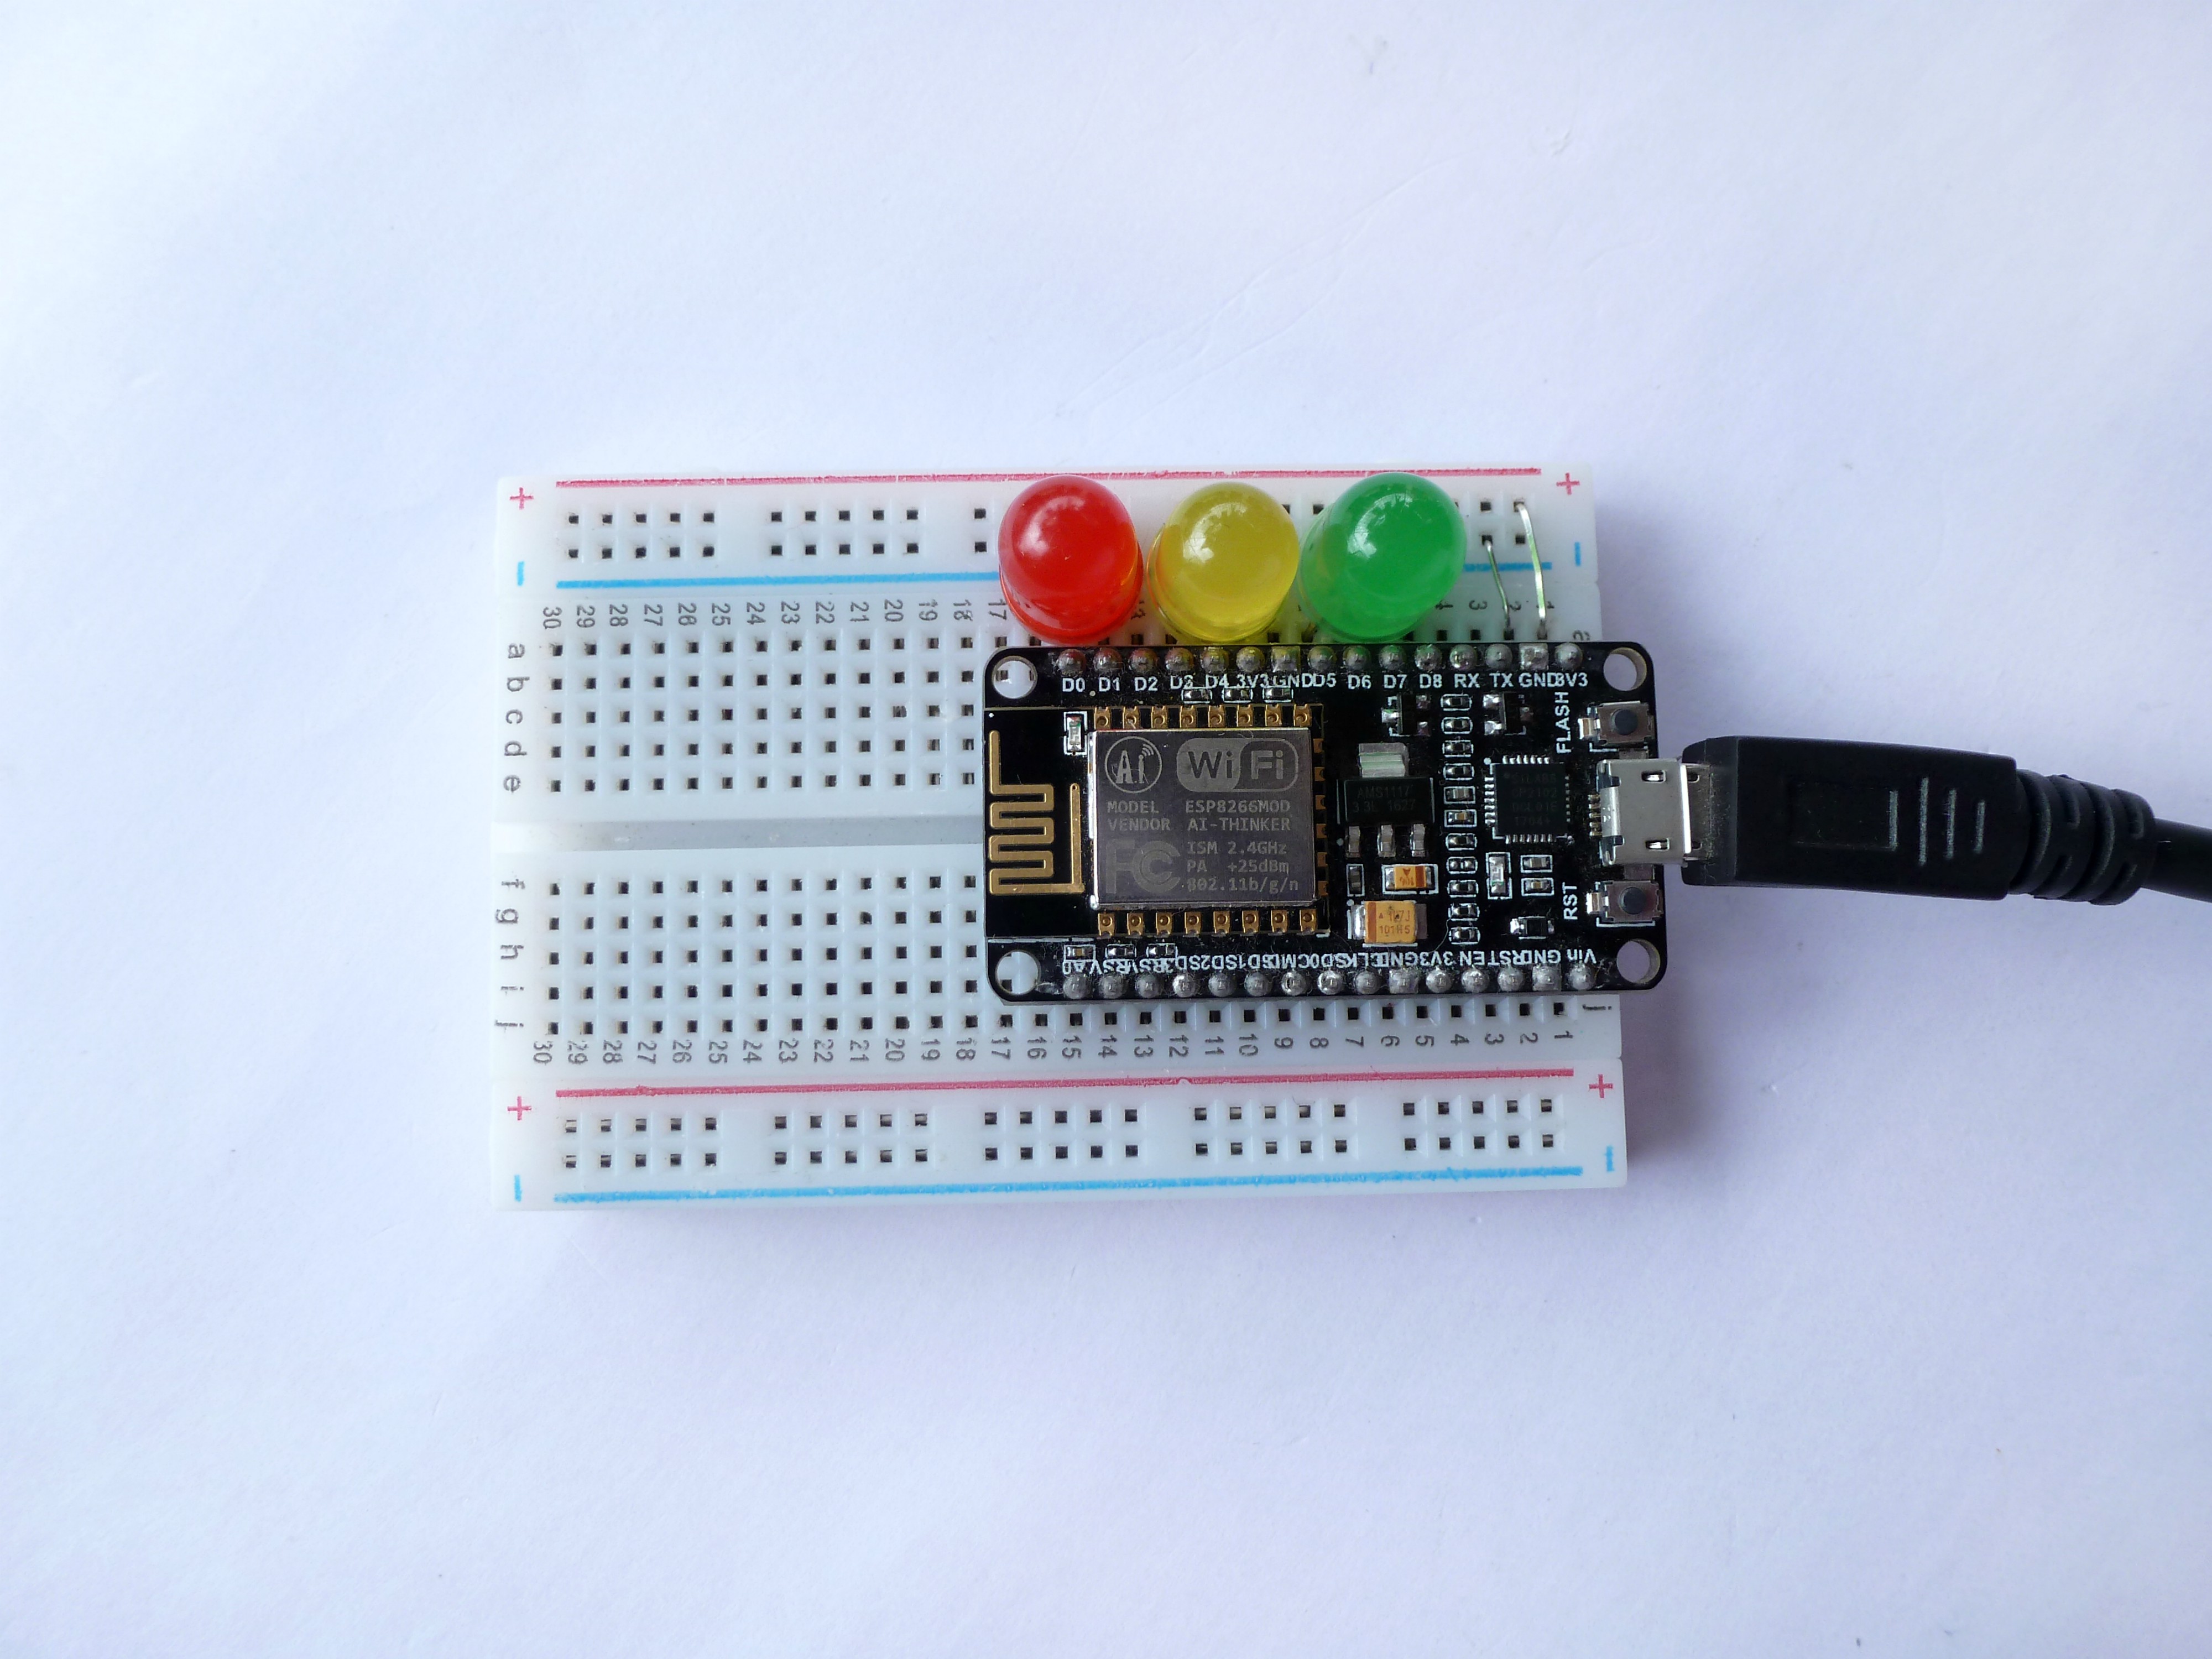
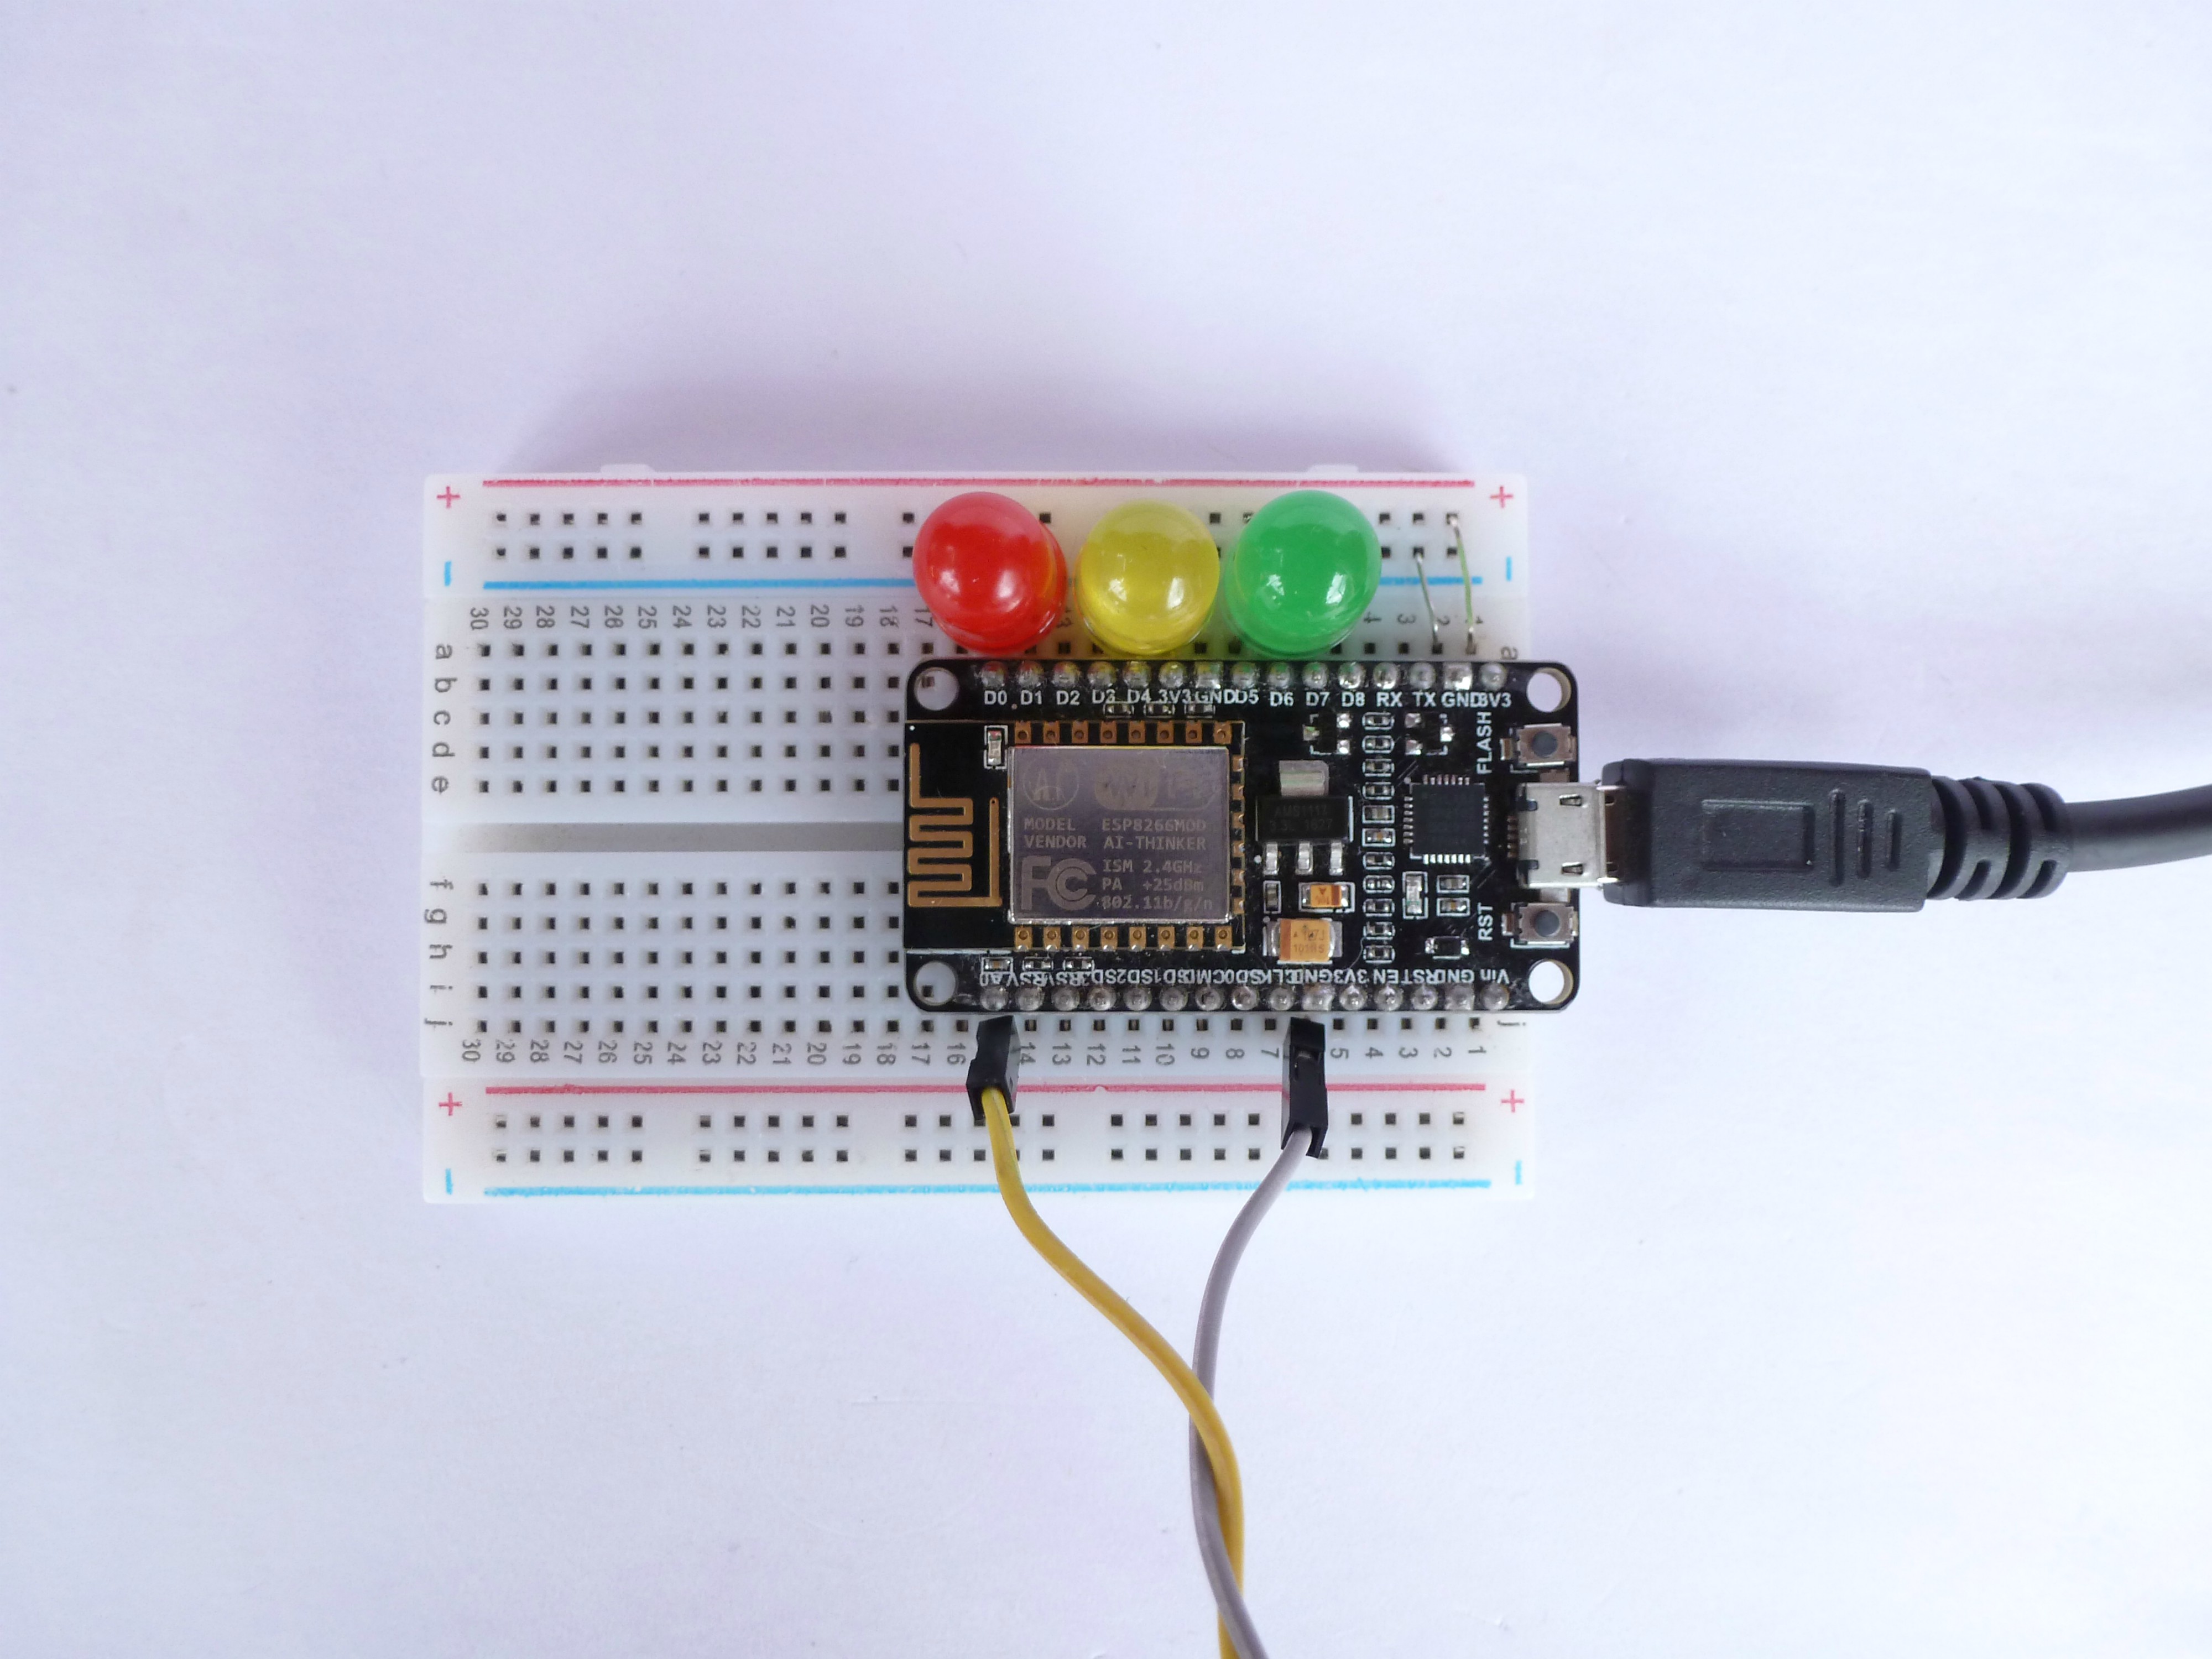
Follow the circuit above it is quite simple and can be easily assembled on a breadboard.
Also, add a suitable resistor for the LEDs (I did not do that because I'm using 5V tolerant LEDs).
Colors indicate:
Red to indicate that the battery is Dead/Low.
Yellow to indicate that the battery is Running.
Green to indicate that the battery is Full.
Code
#define Green_LED D0  // green LED 'Charged'

#define Yellow_LED D4 // yellow LED 'Running'

#define Red_LED D5    // red LED    'Dead'
int analogValue = 0;

float voltage = 0;

int ledDelay = 2000;
void setup() {
 pinMode(Green_LED, OUTPUT);
 pinMode(Yellow_LED, OUTPUT);
 pinMode(Red_LED, OUTPUT);

 Serial.begin(9600);
}
void loop(){
analogValue = analogRead(0);
voltage = 0.0048*analogValue;
Serial.print("Analog: ");
Serial.println(analogValue);
Serial.print("Voltage = ");
Serial.println(voltage);
delay(1000);
if ( voltage >= 1.6 )
{
digitalWrite(Green_LED, HIGH);
delay(ledDelay);
digitalWrite(Green_LED, LOW);
}
else if ( voltage < 1.6 && voltage > 1.4 )
{
digitalWrite(Yellow_LED, HIGH);
delay(ledDelay);
digitalWrite(Yellow_LED, LOW);
}
else if ( voltage <= 1.4 )
{
digitalWrite(Red_LED, HIGH);
delay(ledDelay);
digitalWrite(Red_LED, LOW);
}
}Download the "Battery_Tester_NodeMCU.ino" file and open it up in the Arduino IDE.
Then Create a new sketch and paste the code below in the Arduino IDE and hit Upload.
Select a suitable COM port and upload the code to the NodeMCU. If you are going to measure a 3V button cell then you need to edit the code to read for a voltage value of 3v.
You can tinker with it if you like based on the application, or just use it as it is.
Downloads
OUTPUT
That's all Makers.
You have successfully completed another instructable, It takes pretty less time to create this instructable, and its fun too.