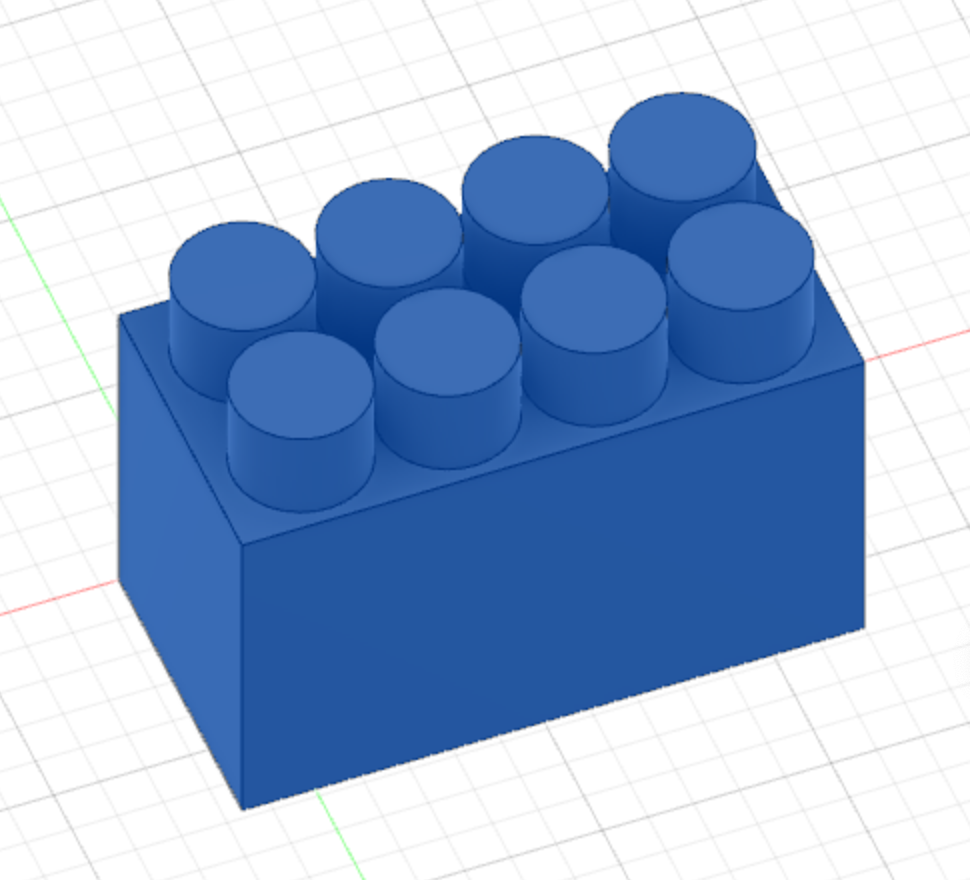
Battery Holder

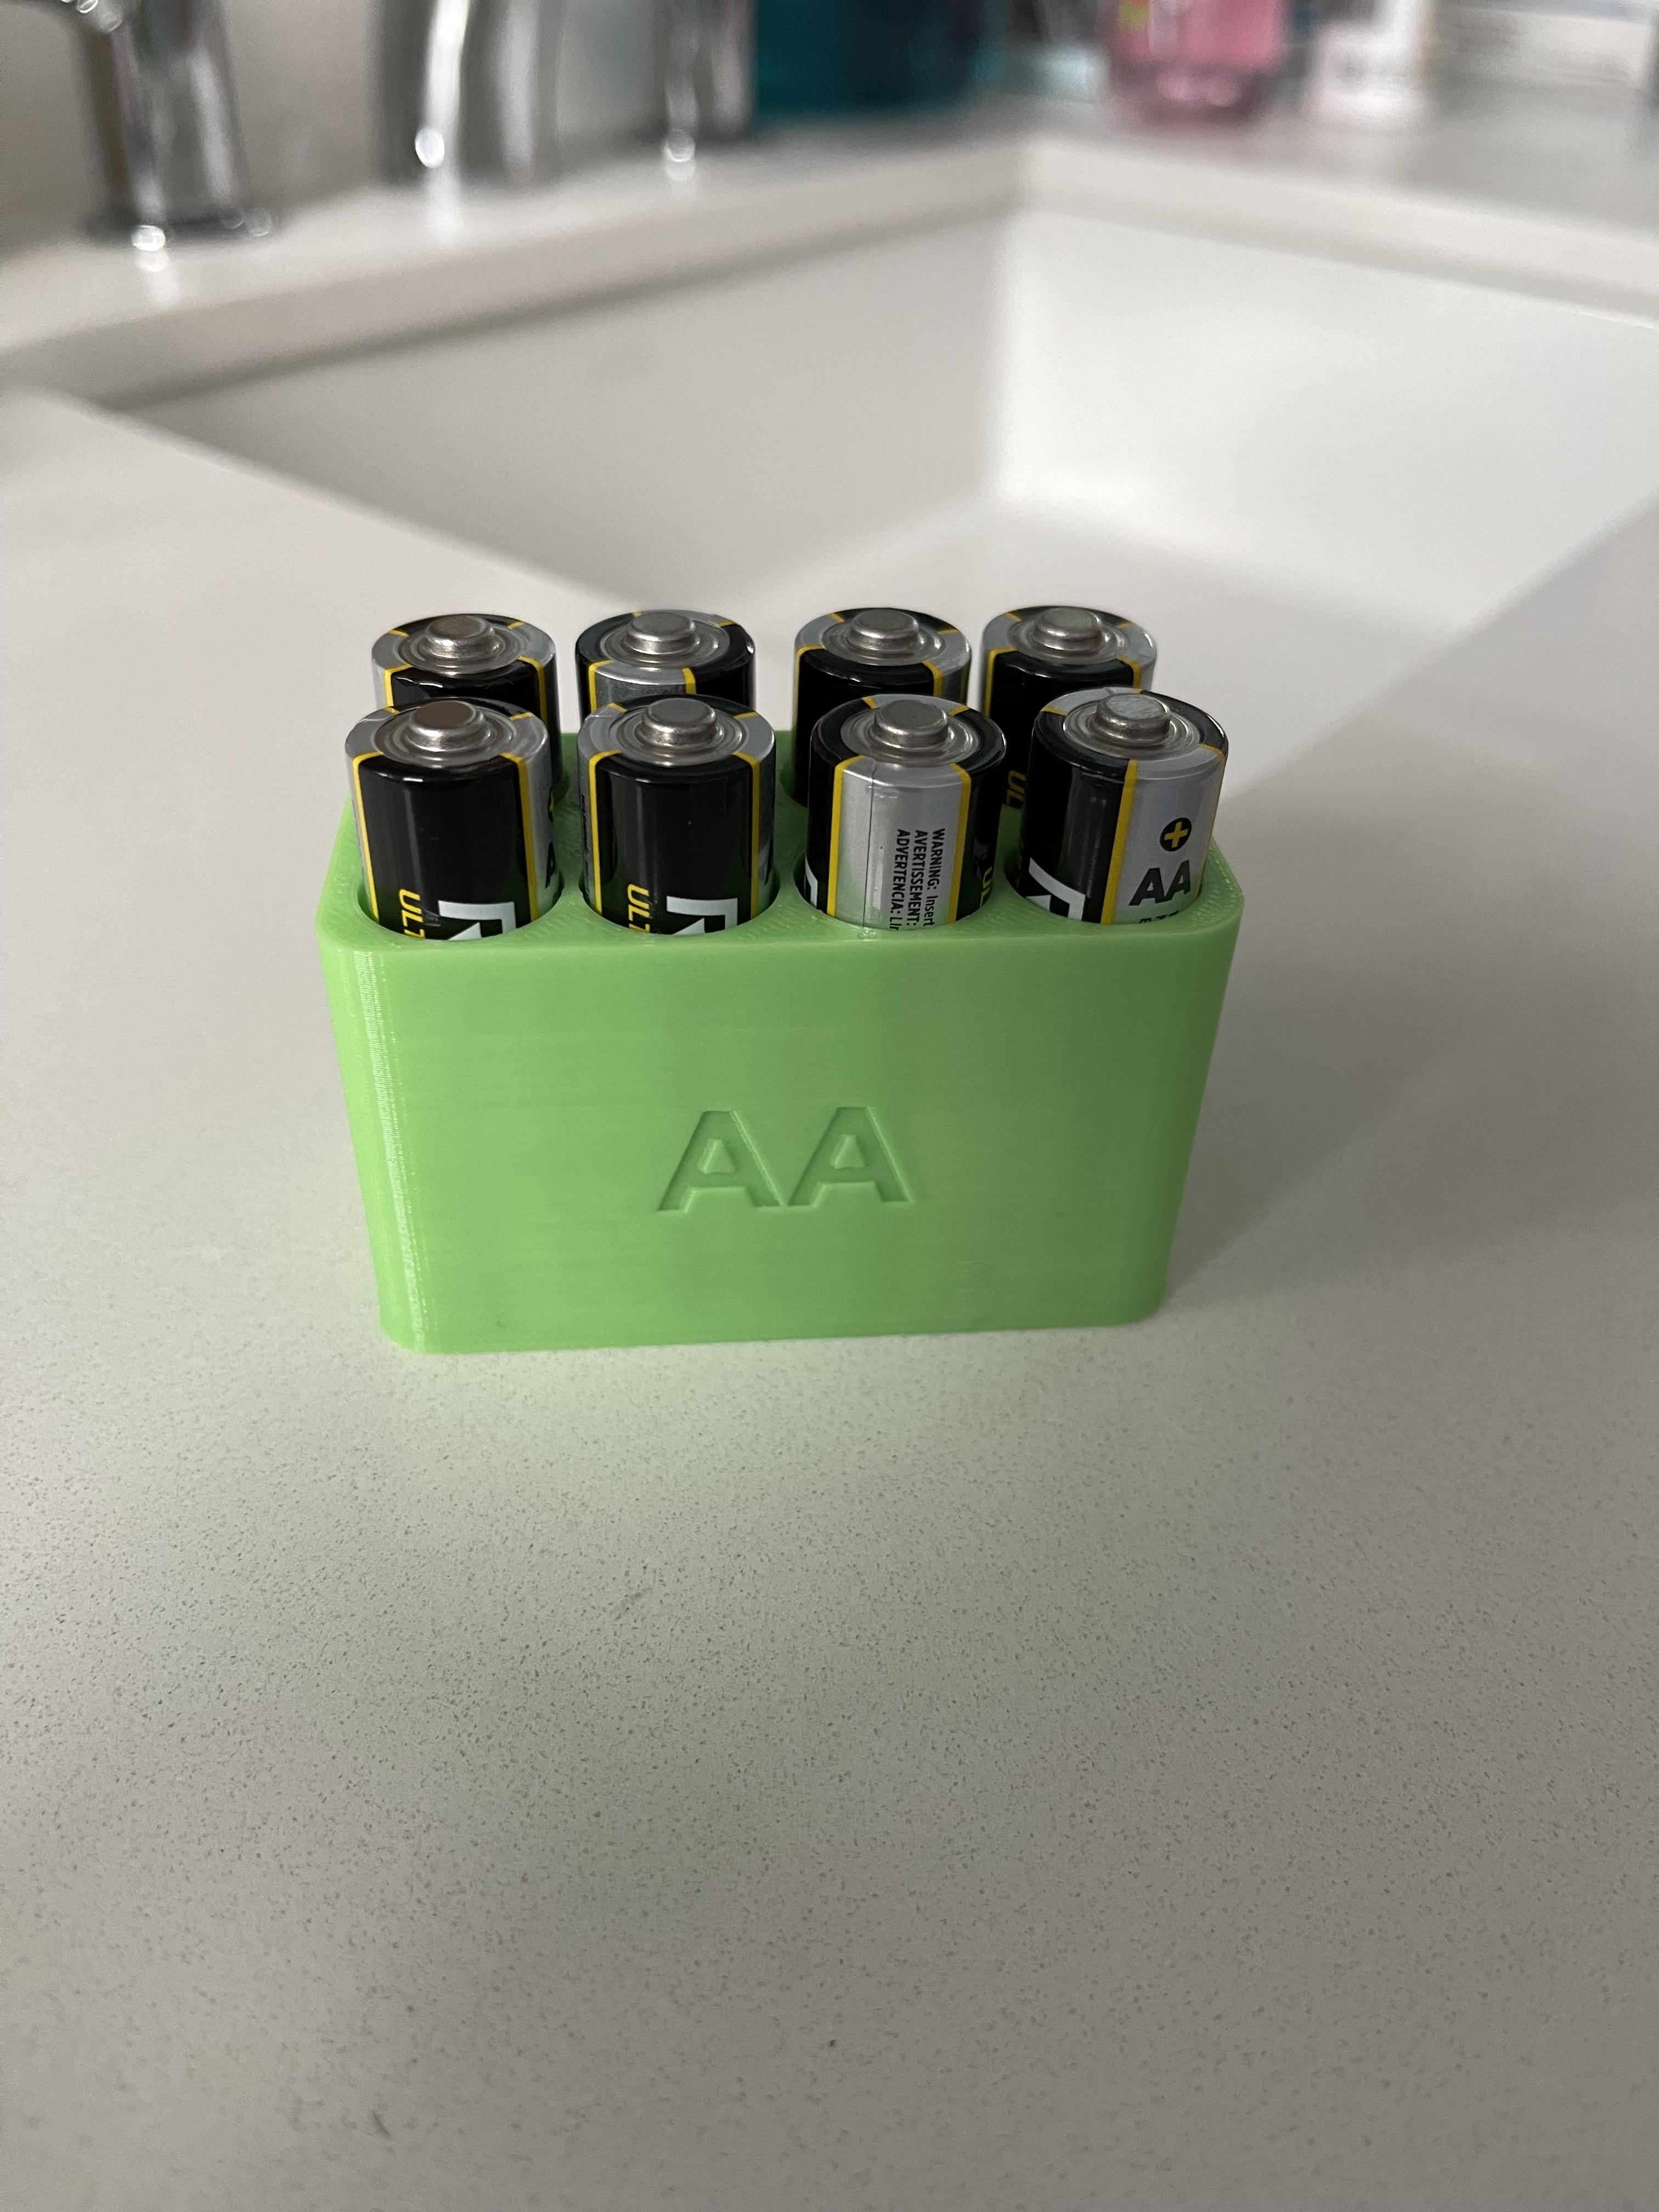
I viewed this project as an opportunity to solve a problem. We all have that drawer where we keep our batteries, most of which are rolling around and mixed up with all different sizes. Using Fusion360, I created a case that will hold eight AA batteries so that they can be organized and contained.
Supplies

Laptop
Fusion 360
3D Printer
Create the Base and Placeholders
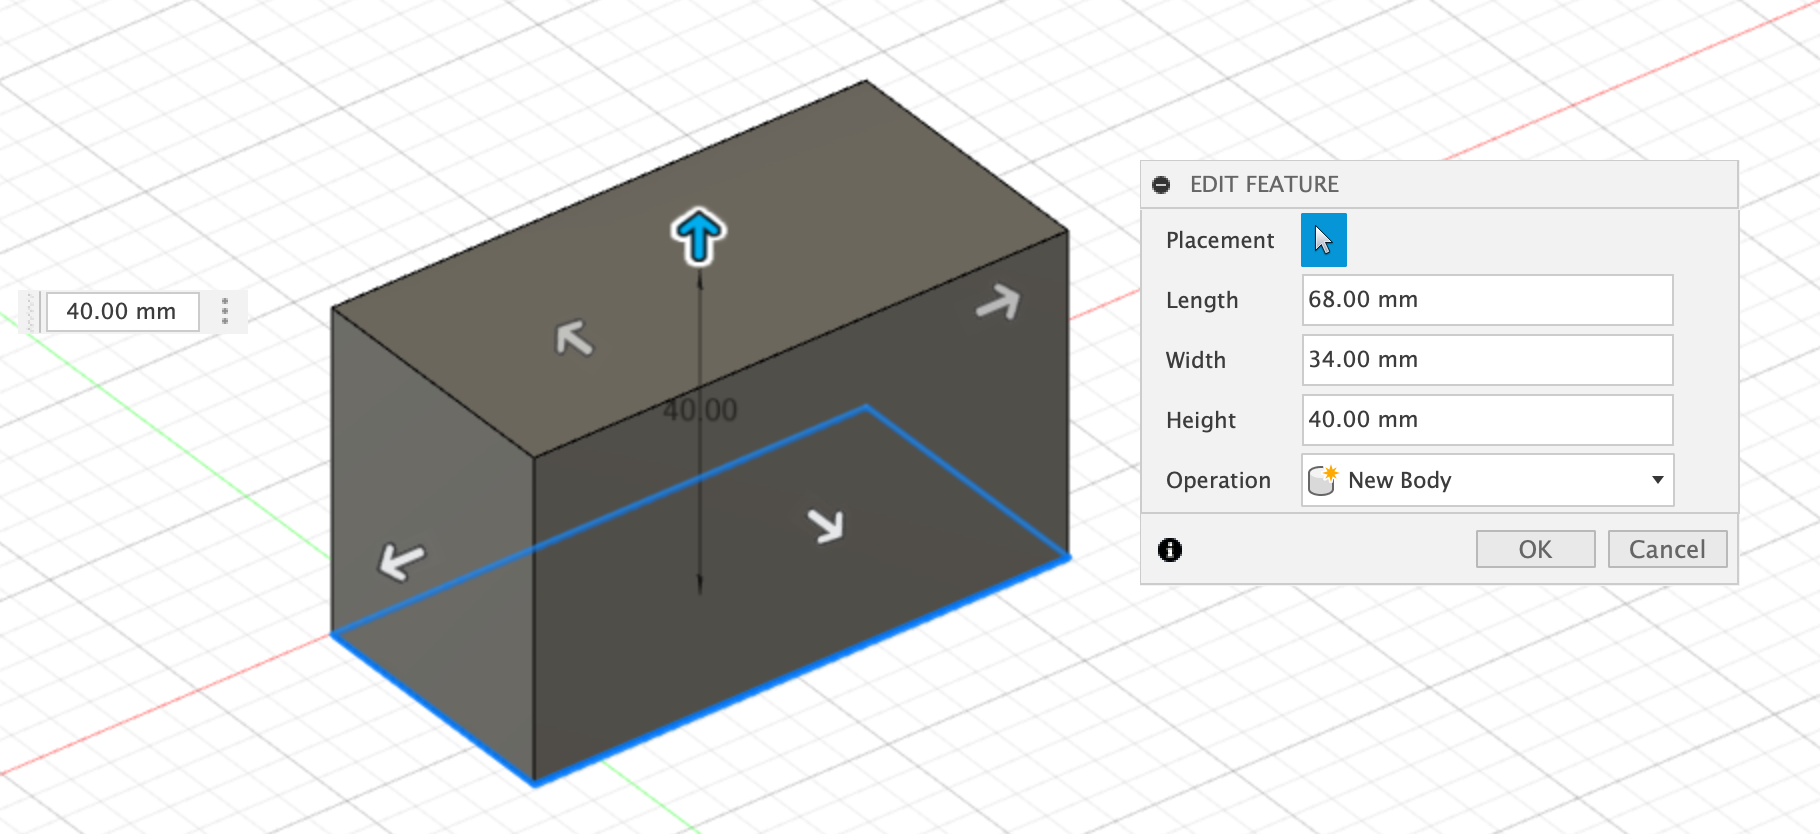

After opening Fusion360, start this project by created a box with a length of 68 mm, a width of 34 mm, and a height of 40 mm. These dimensions were calculated on the basis that a standard AA battery has a diameter of 14.5 mm and a height of 48 mm. Then, create a placeholder for the battery by adding a cylinder with a diameter of 15 mm and a height of 48 mm.
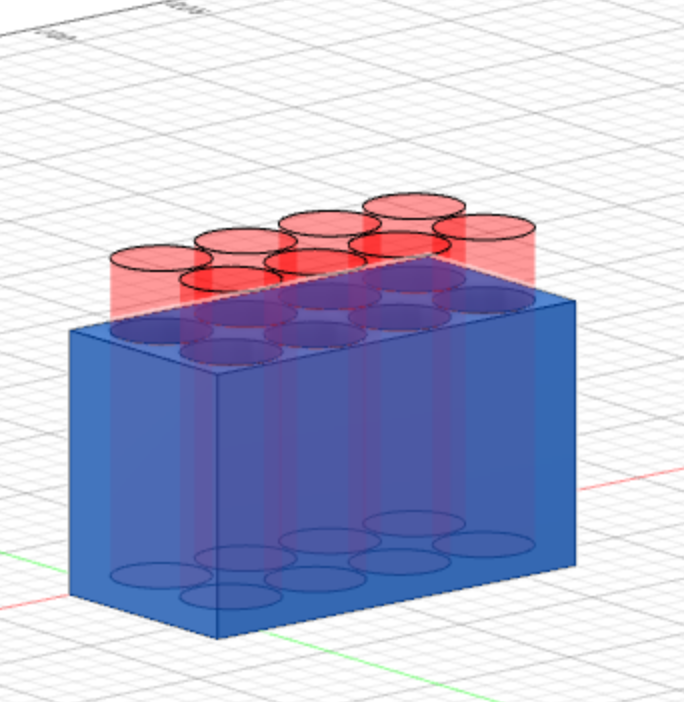
Insert Placeholders Into the Base
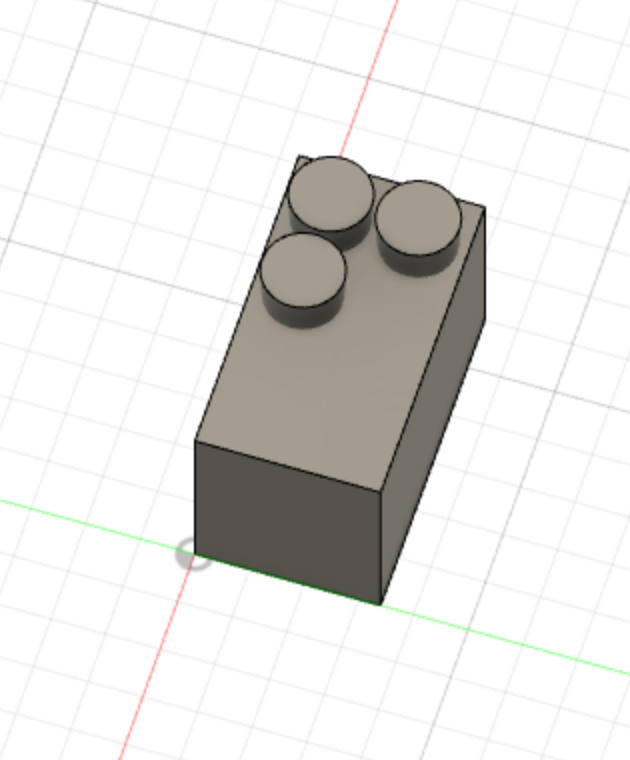
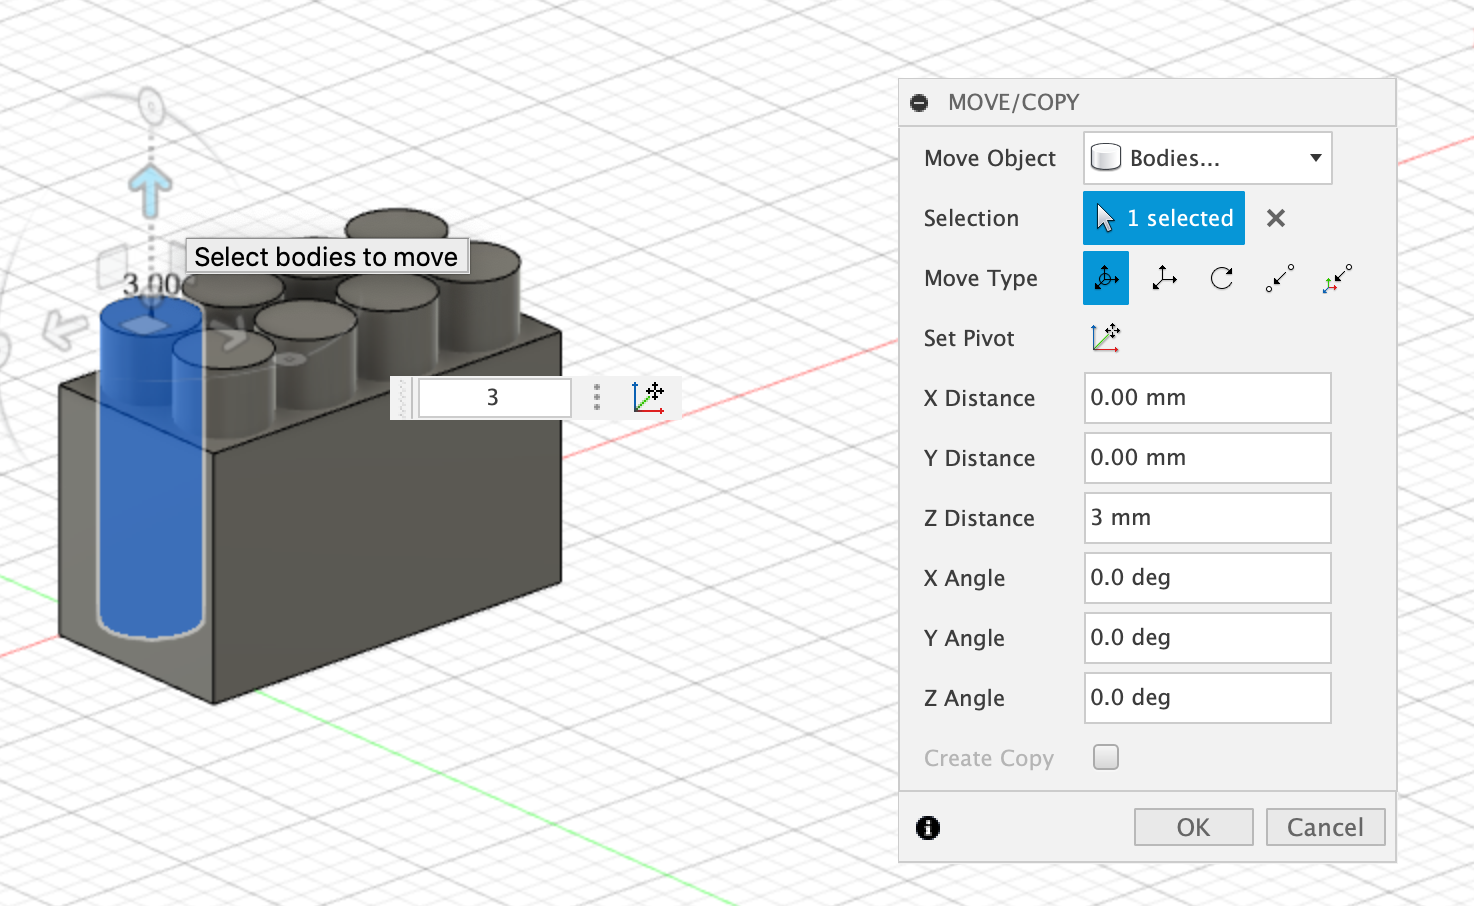
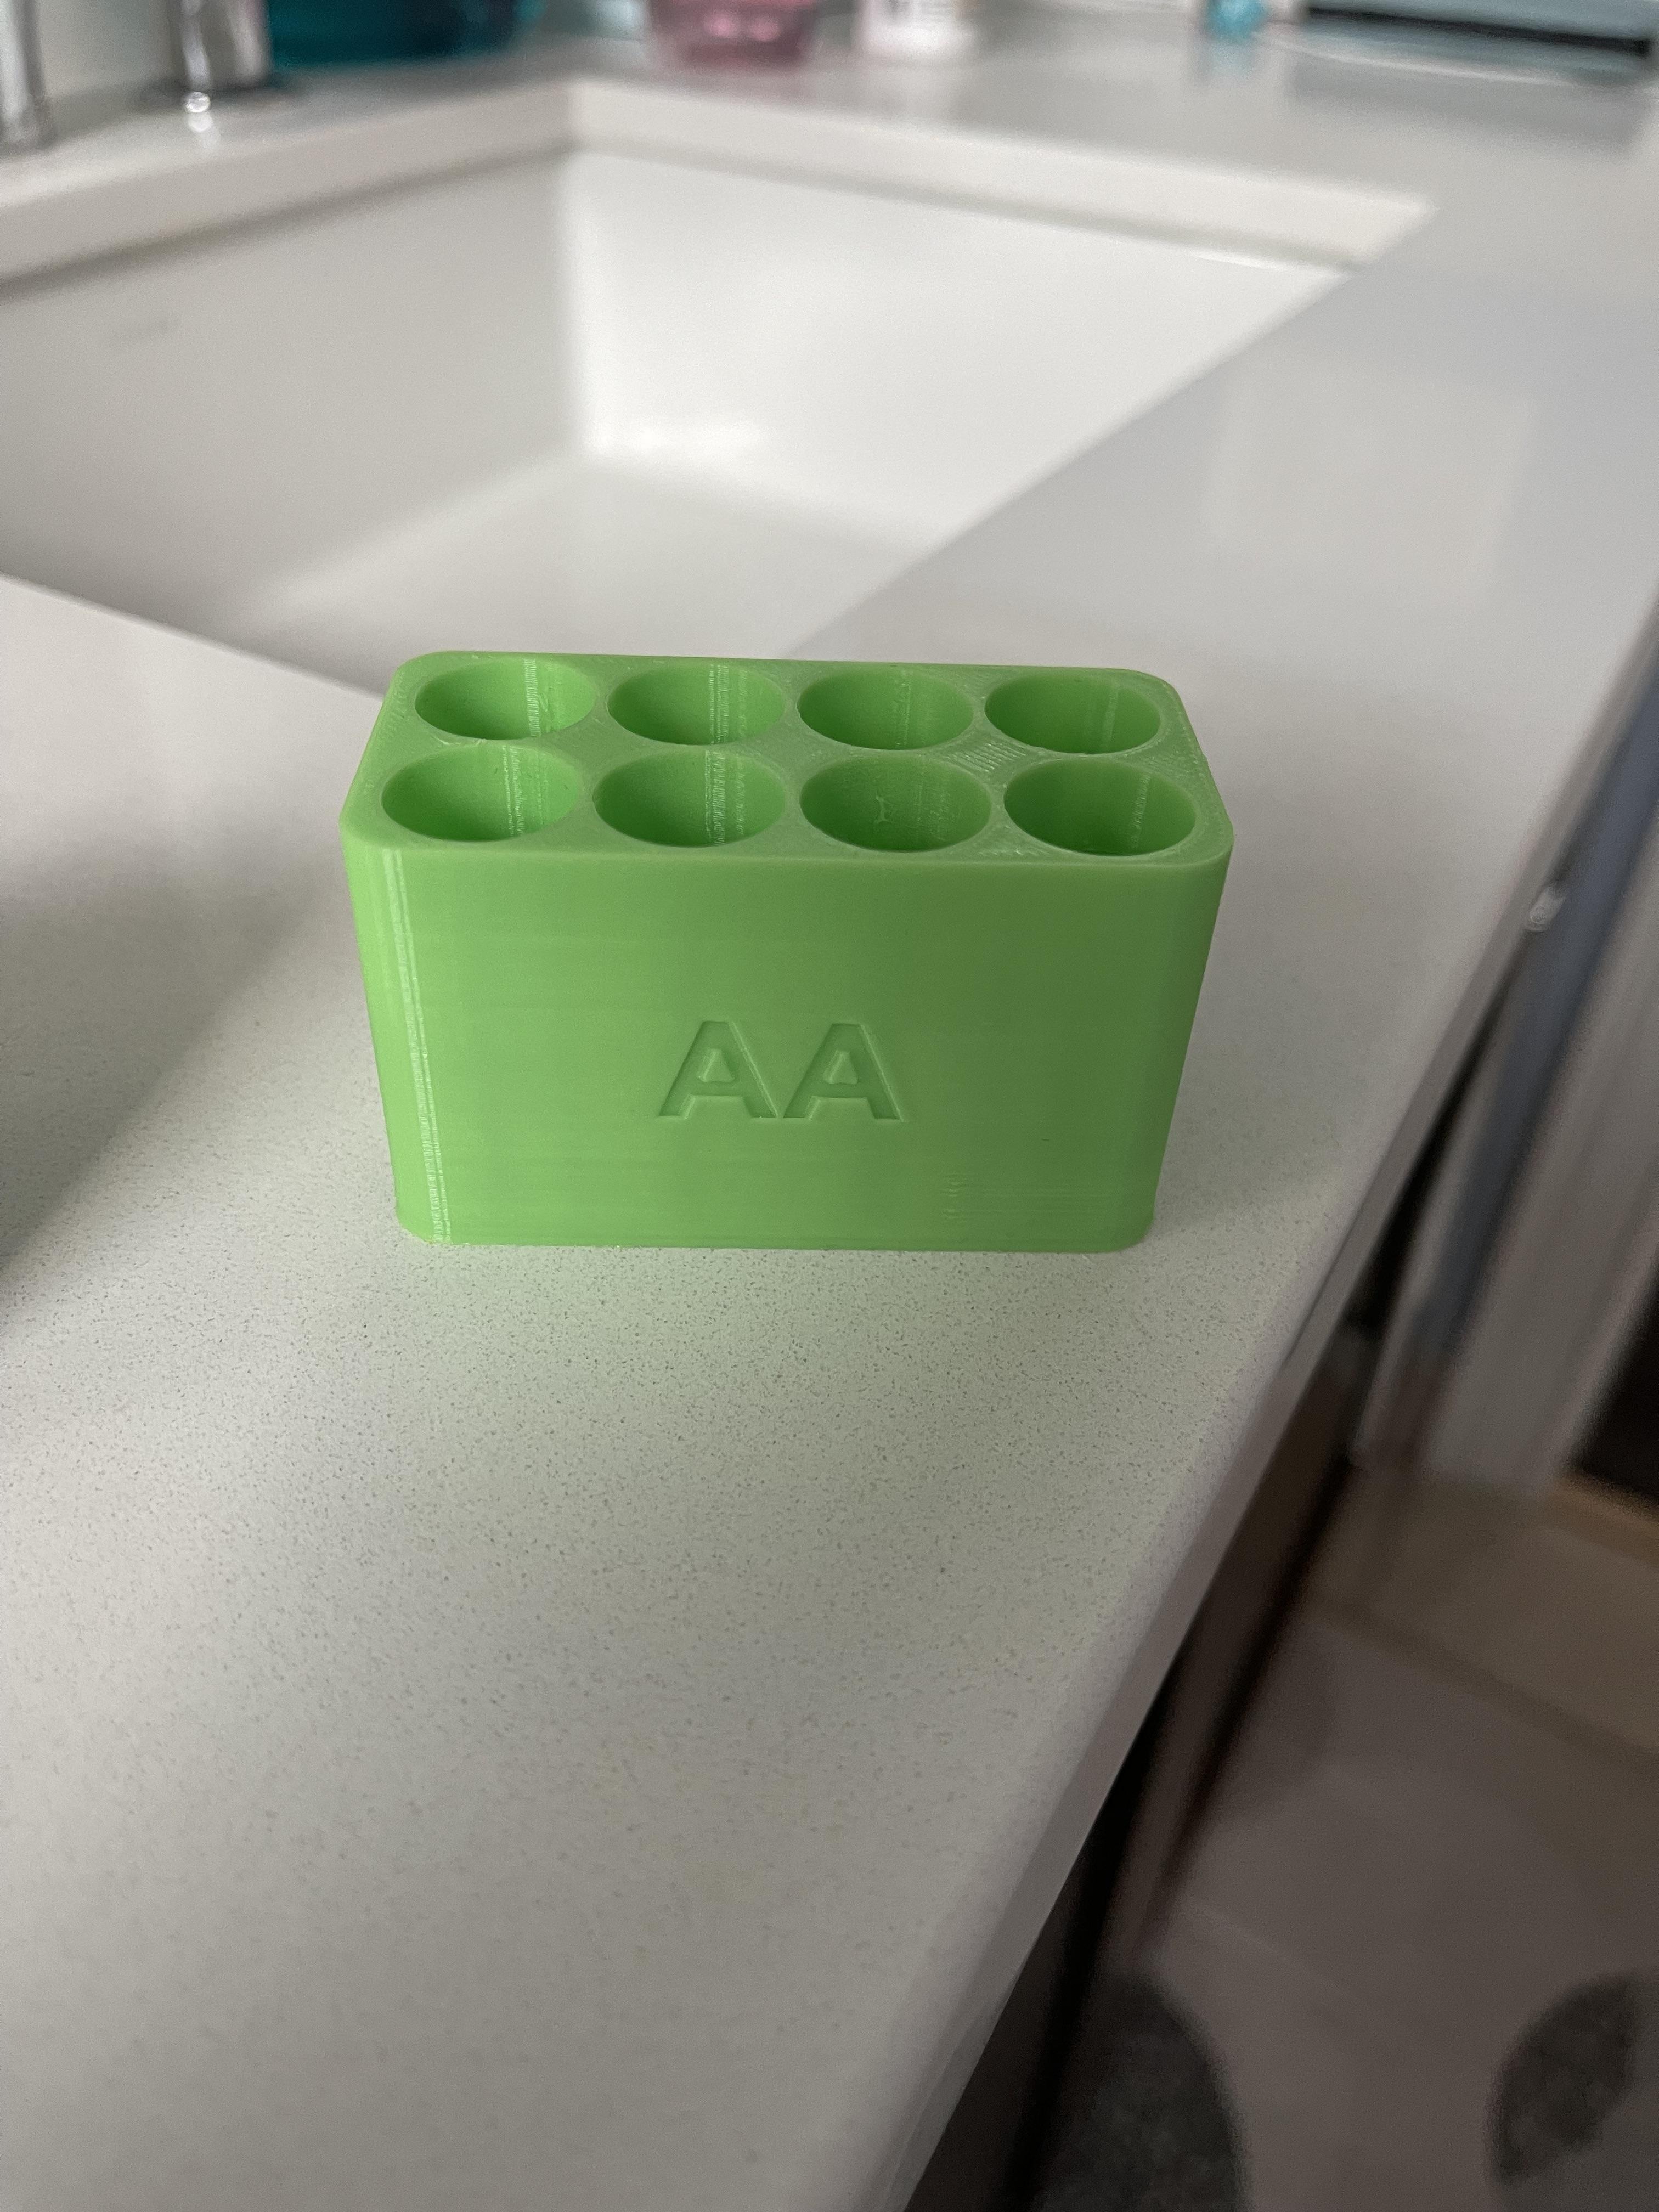
Once you have your battery placeholder created, begin by putting the first place holder in the top right section of the base. Then copy and paste this place holder to create a total of eight and align them so that they are all equidistant from one another, leaving minimal space between each cylinder and the edges of the base. After all of your cylinders are placed accordingly, move them all up 3 mm so that the batteries do not slip out of the bottom.
Finalizing the Design
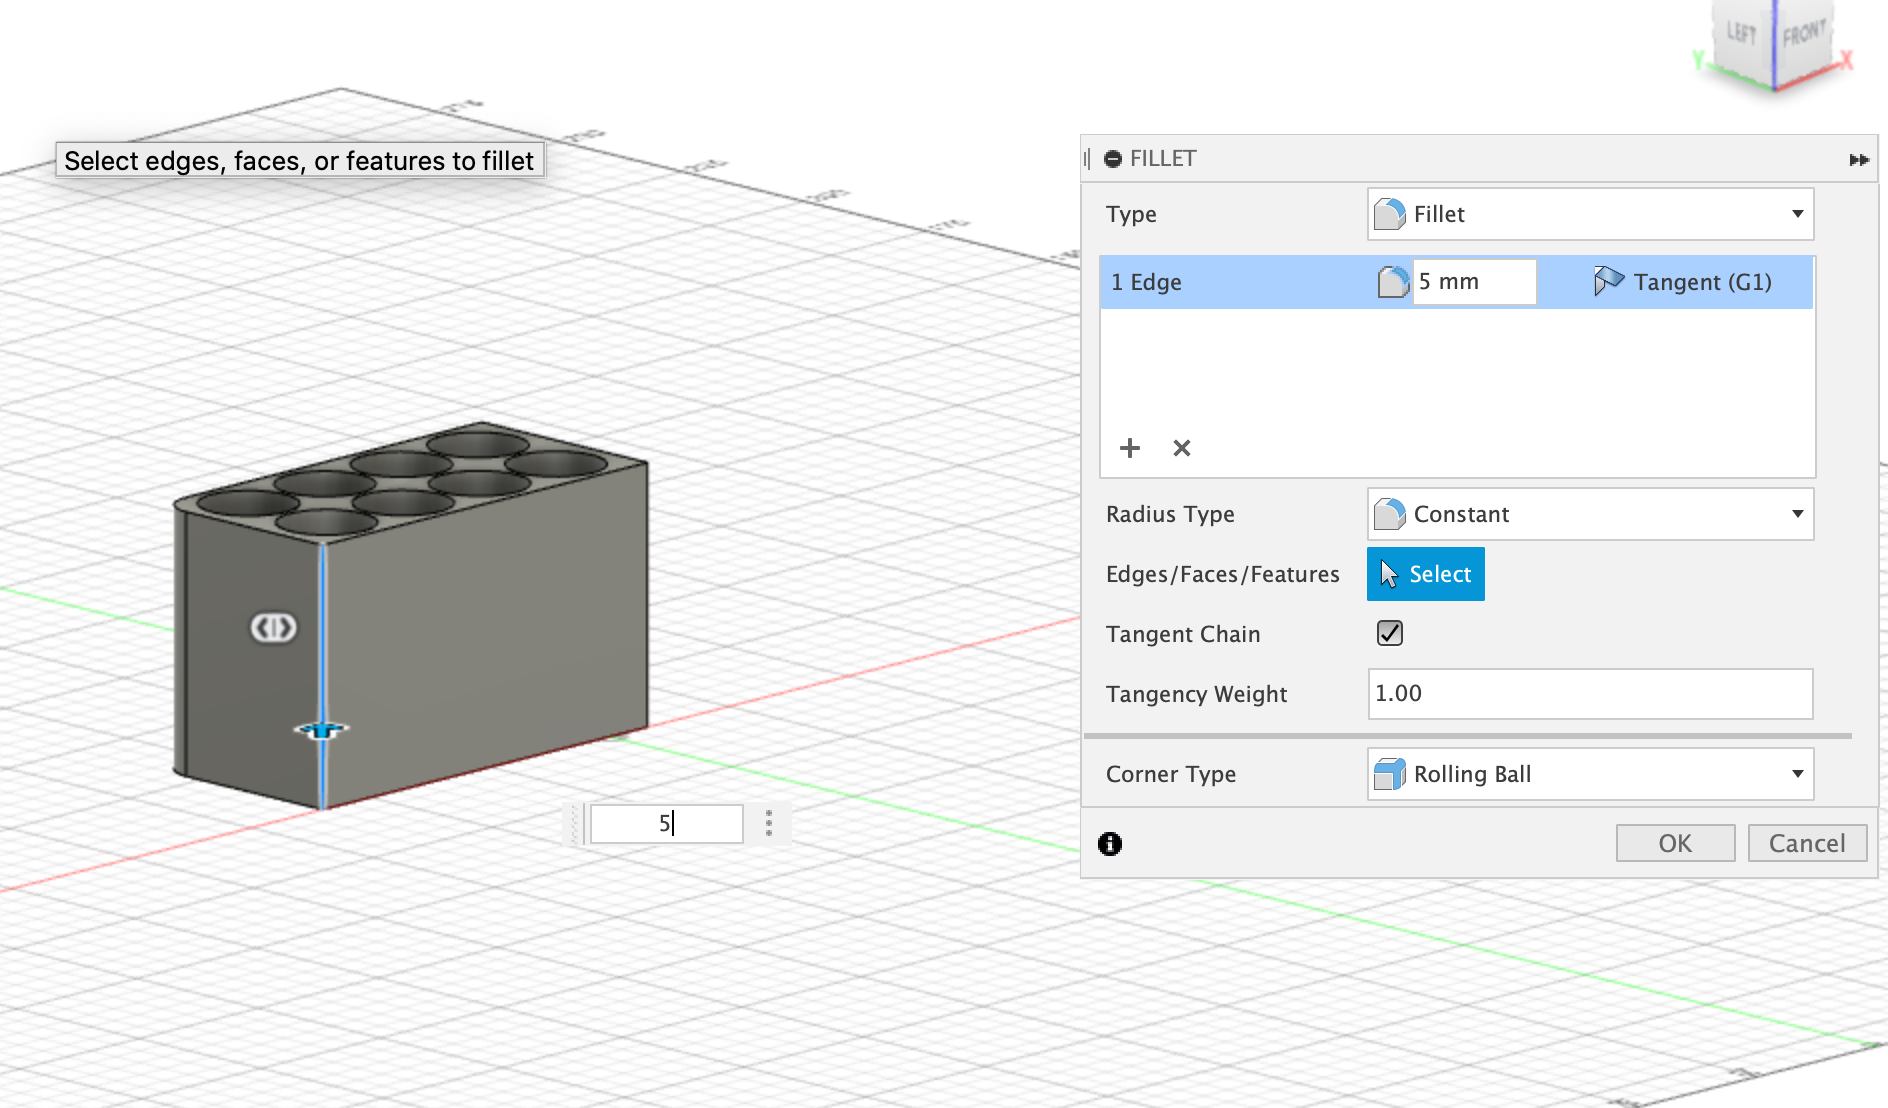
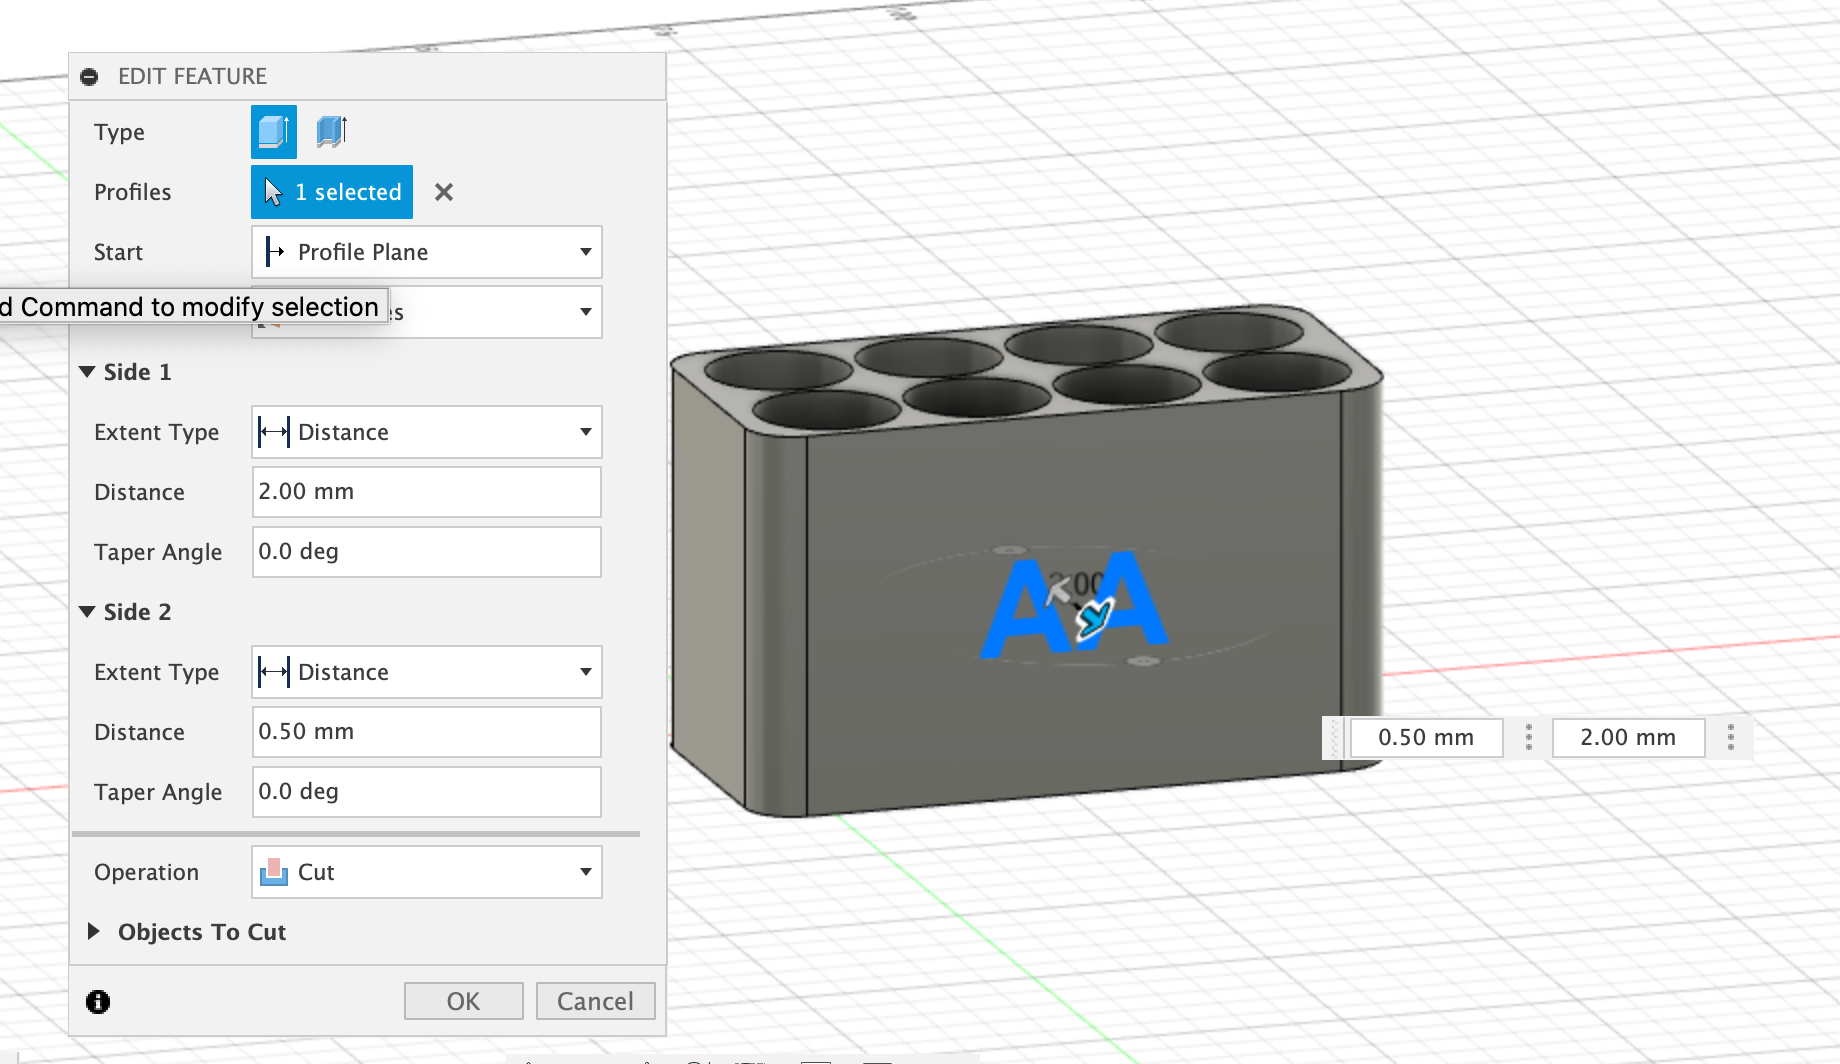
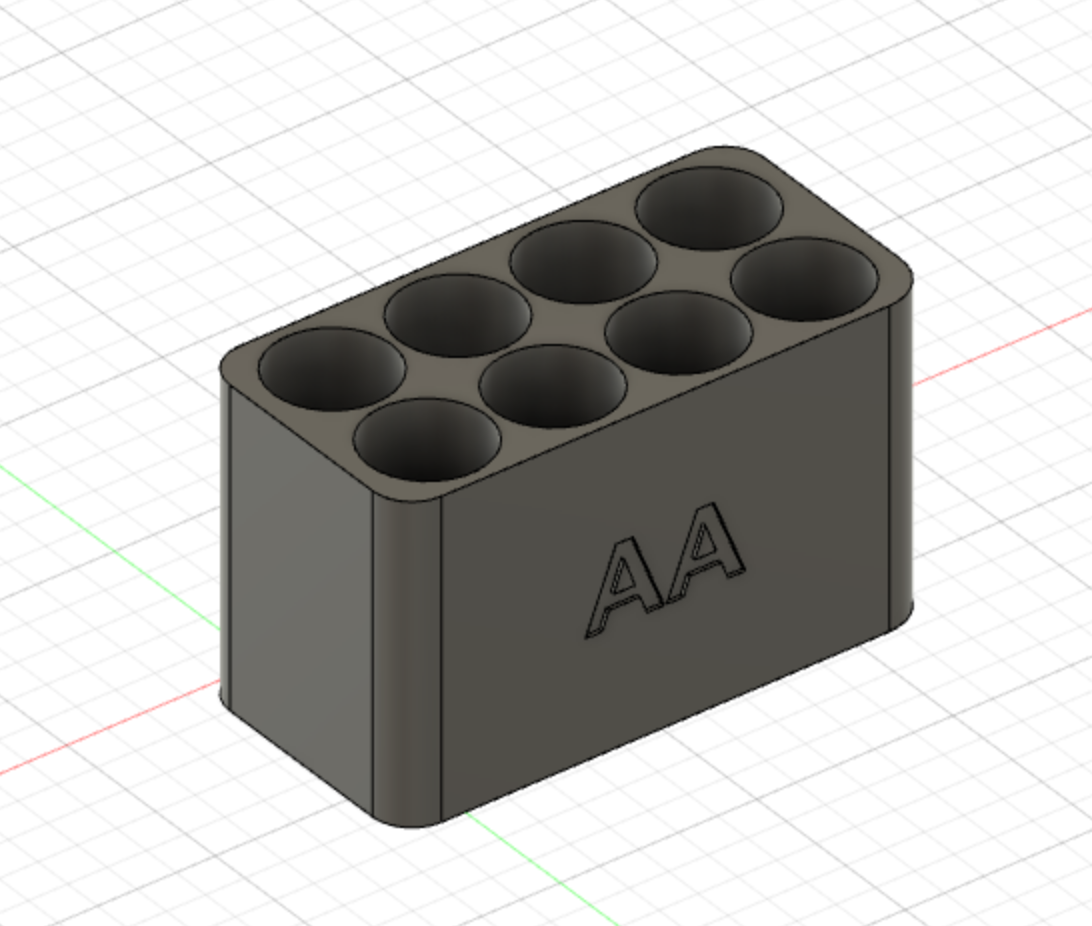
Now that all of your placeholders are in the correct position, use the combine tool to cut battery-shaped holes into the base. All steps involving the placeholders are now finished. For the last few alterations of the base, use the fillet tool to round the corners by 5 mm with the rolling ball corner type. Lastly, use the "Create Sketch" tool to add the text "AA", which indicates which batteries are compatible with this design. Place these letters in the center of the side panel, extrude the letters 2 mm on side one and 0.5 mm on side two, and use the combine tool to cut the shape of the letters into the finished project. Congratulations, you're done! Print out your final product and enjoy.