Bathroom Pass

For this project, I created a bathroom pass for my teacher Mr. Ghileri. The reason that I decided to create this pass is because I have noticed that in many of the teacher's classrooms, including his, have lost their bathroom passes and have to use the QR code instead. These passes are also very cheap and can be easily lost and are not a great design or fun to have. To create this pass, I first had to interview my client to find out what he wants on this pass and made questions for him to answer. After I did that, I made a 3d prototype in tinker cad to see what it would look like and got more feedback. Then after that, I fixed up the first prototype and exported the file to Prusa slicer and got it uploaded to the 3D printer, having that help from my teacher. Then, I showed it to my client and got more feedback and improved the file in tinker cad, adding the feedback that my client had given me. After I fixed it, I again uploaded it to Prusa slicer and sliced it and put the colors in for each piece. Starting with the base color gold, then moving to the class # with the white, and lastly switching from white to navy blue for the class name. Then, I uploaded everything into my slides and worked on it and presented to some parents and teachers individually. The solution was creating this as a pass that is creative and not easily losable.
Supplies

The materials and supplies that you need are as follows.
Your computer
A client and problem statement
Tinker cad
Prusa slicer
Feedback from client
A 3D printer
PLA filament
Ask for your tech teacher's assistance
A lanyard
Notes and facts about these passes
https://thetalonnews.com/2019/10/put-a-hold-on-bathroom-passes
Choosing Your Client
One of the most important steps is choosing a client that is right for the project that you are doing. I chose one of my teachers because I saw that he didn't like that he would constantly get asked if a student could use the restroom and he would have to tell them to scan the QR code. Along with some of the other teachers, he agreed that we needed a new solution.
Interviewing and Defining the Problem
The next step is to create a set of 10 questions to ask your client in an interview and get feedback. When you are doing this step, remember that you are also defining the main problem and should be using the feedback from your client to create and make your prototypes. My client said that he thought that the bathroom passes were too boring and easily lost, so I created a solution to this. Don't forget this step or you will have to stat all over again.
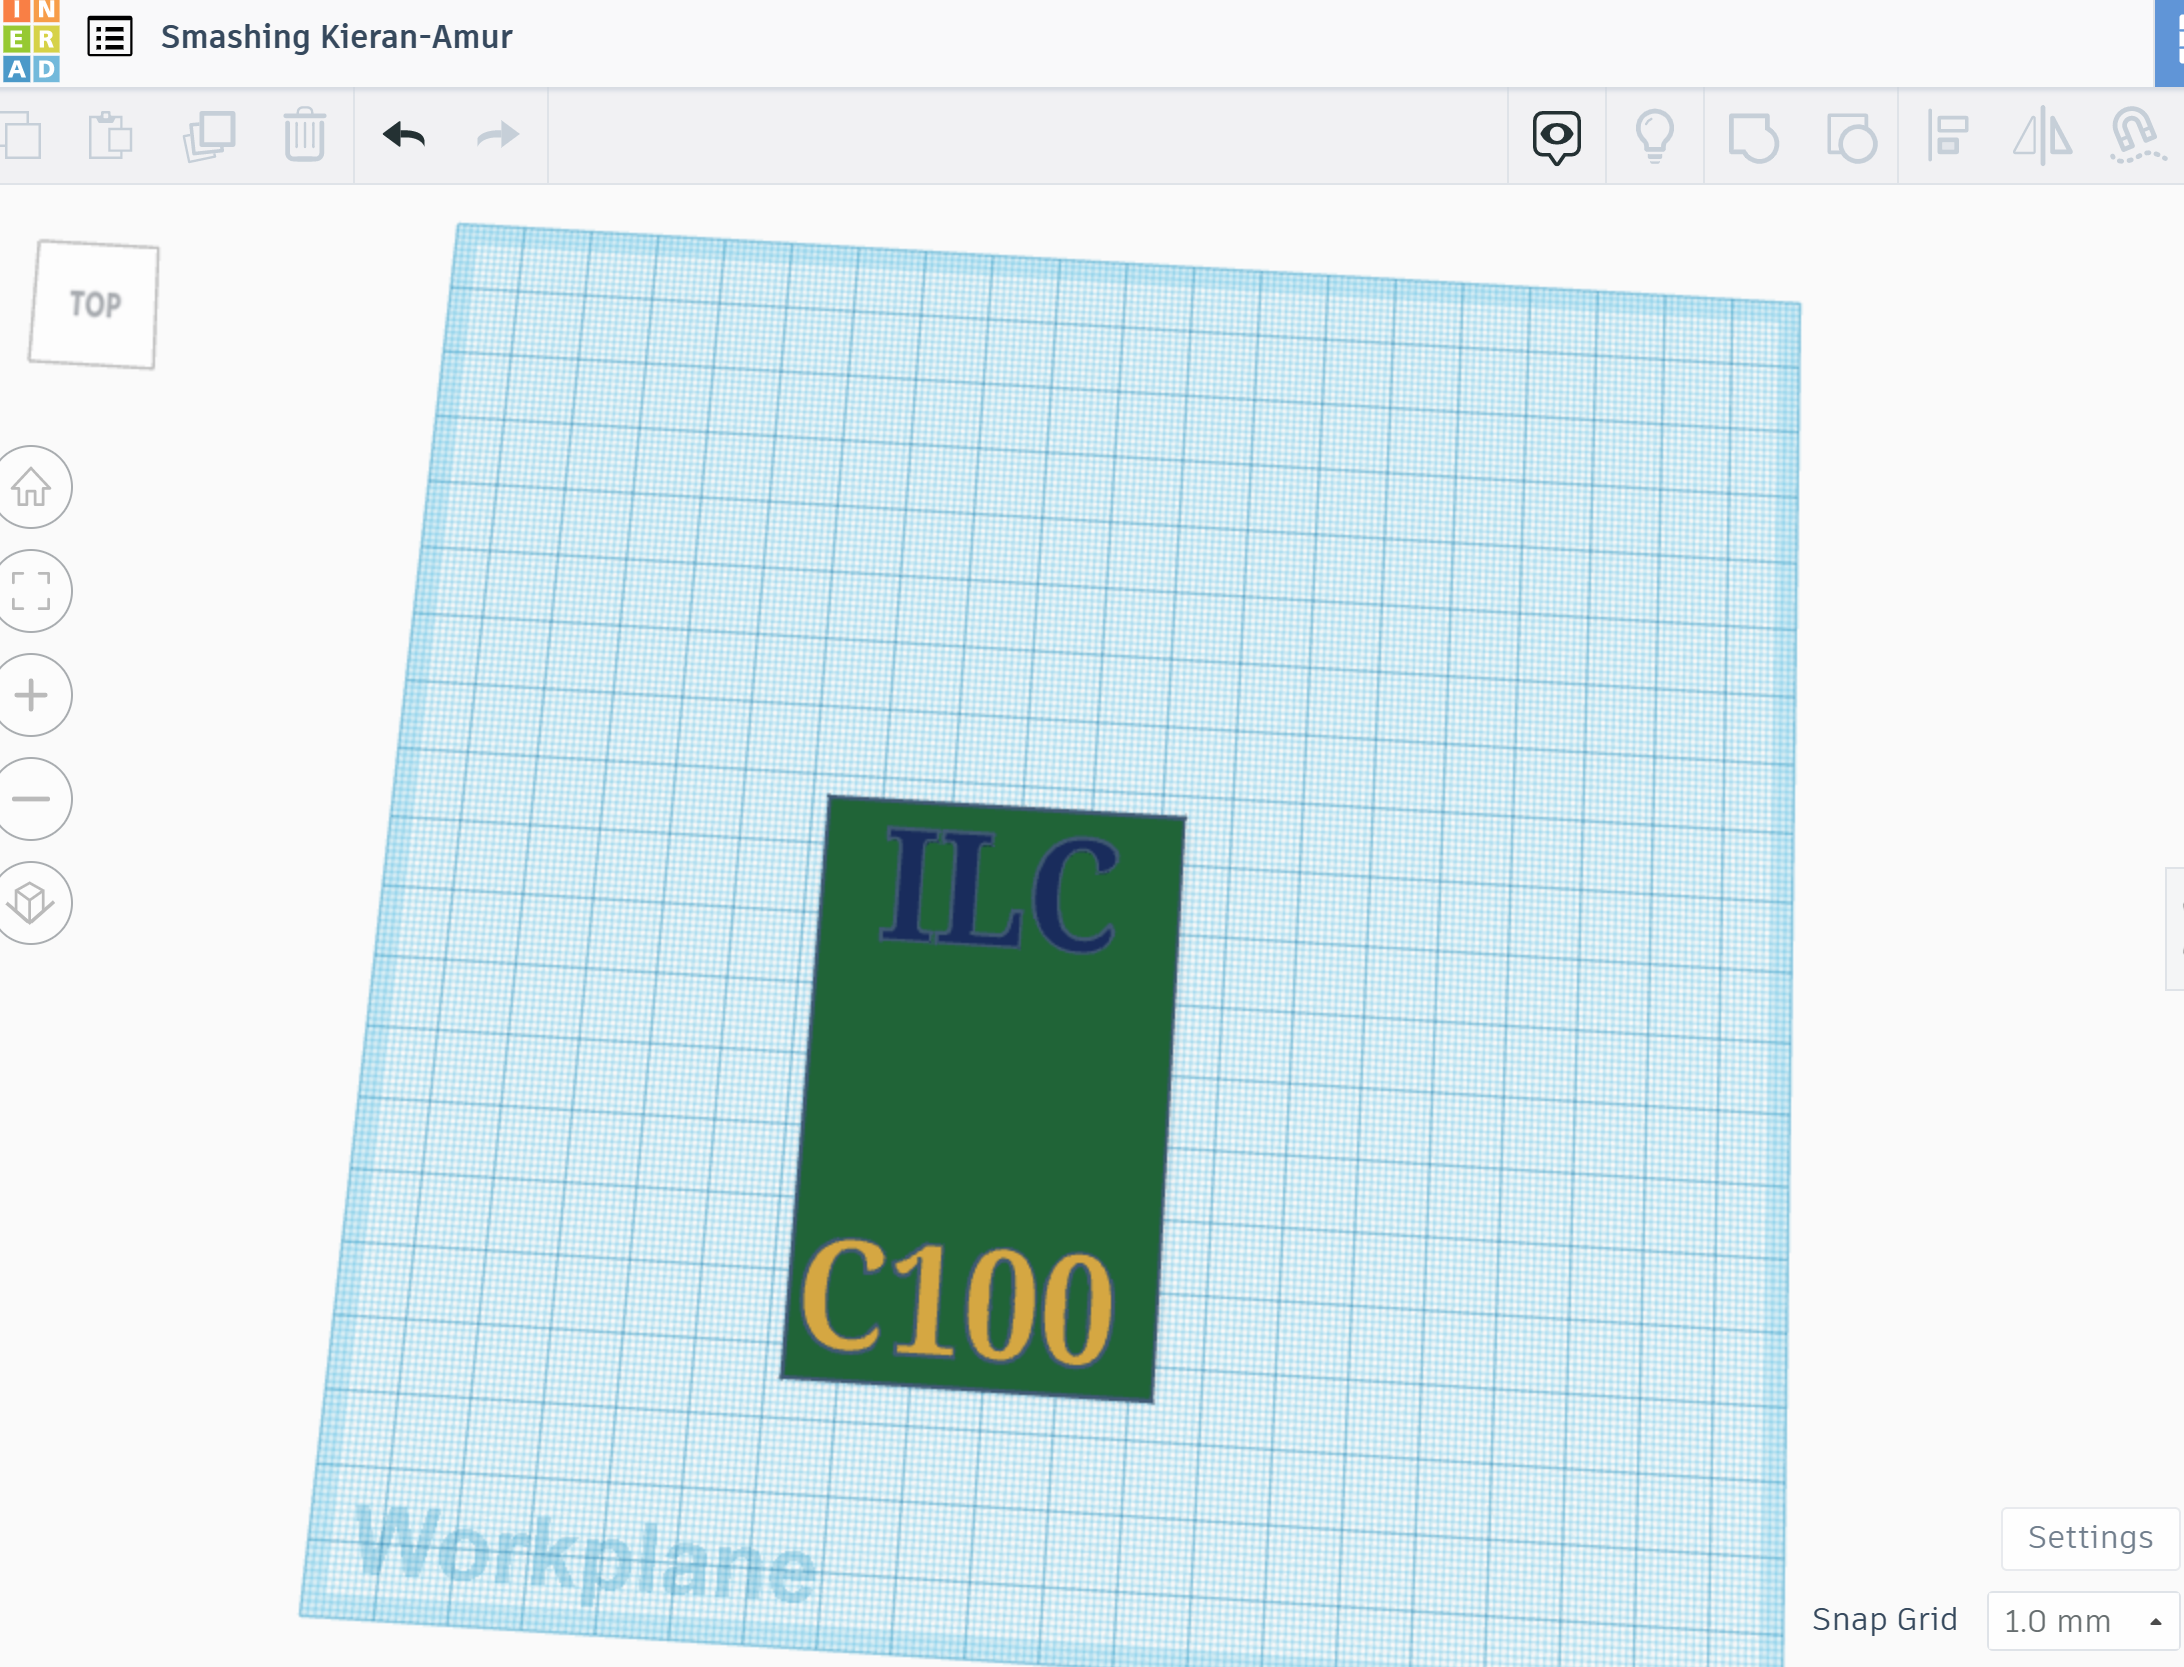
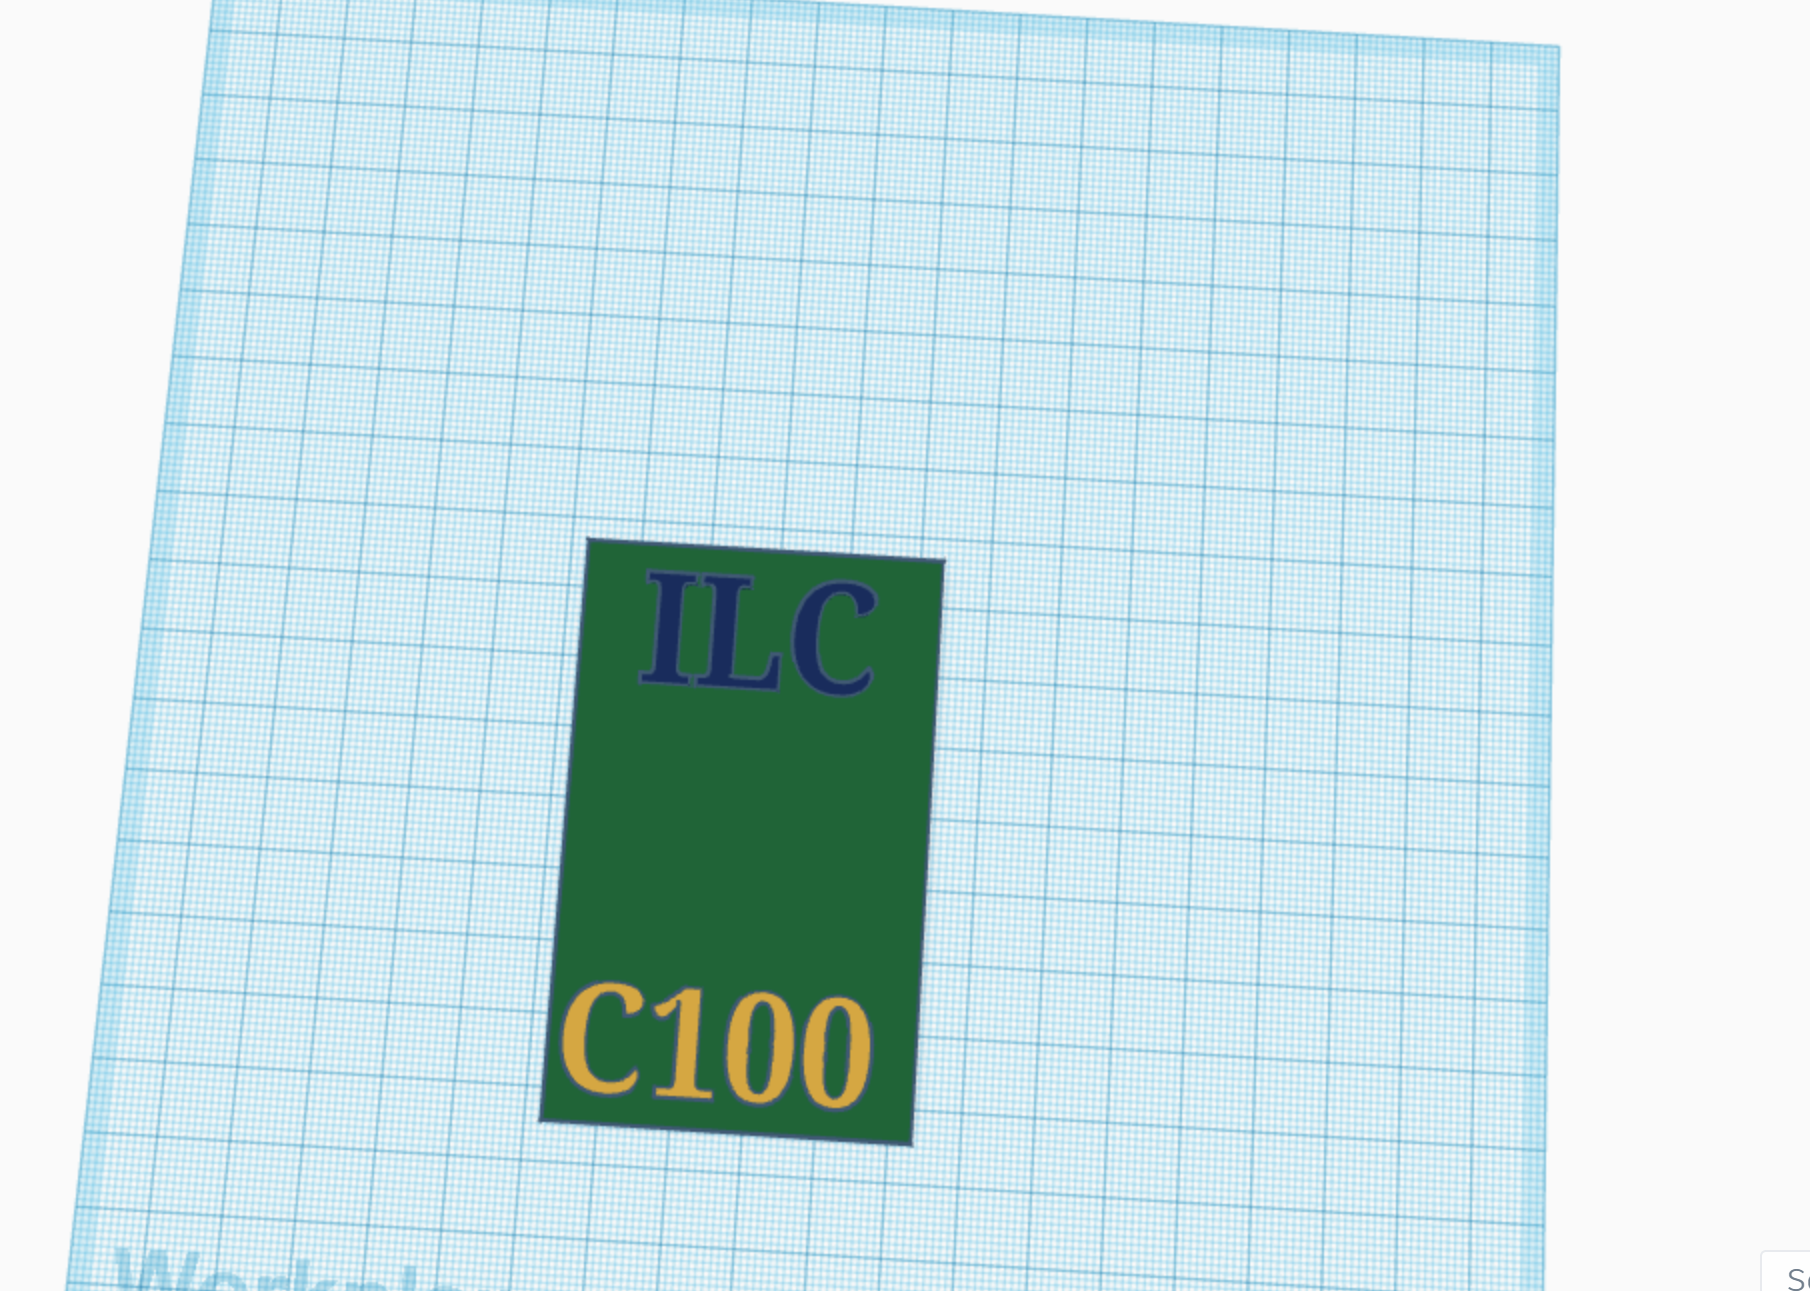
First Prototype

After interviewing, its time to get to the facts. Look up some facts and start creating your first prototype. I used Tinker cad to do this. First, I made sure to create an account using my school email, then, I clicked on create on the main screen and clicked 3D design. After this, I dragged in the rectangle that is the shape of the pass and fixed the dimensions to my clients liking. Then, I put in the words on the top and bottom of the pass by using the group tool to make it one. Finally, it's time to get feedback.
Getting Feedback

The next step is to get feedback from your client. Show your client your prototype on the computer in that app that you used and ask them if there is anything that you need to add or fix. My client wanted the words a little taller, the pass in general more wide and taller and a hole for a lanyard to go through.
Second Prototype

After you get feedback, use this feedback to create another prototype. However, instead of keeping it just on the computer. You export the file from tinker cad into a program called prusa slicer and slice it. Remember that this prototype isn't your final one so it doesn't have to look perfect. I didn't have any color for this one but I added a lanyard hole and improved with his feedback.
Export the File Into the 3D Printer

The next step was kind of already defined in the past step. You have to export your file from your tinker cad into a program called Prusa slicer. This program can be found by just a quick google search but you have to wait until it downloads to use it. When you can access your Prusa slicer, go to the top left hand corner and click on file and import your tinkercad file. There are tons of steps to this but i'm not the best with memorizing them. Then in the bottom right, there is a button named slice. Click that and it will slice everything. Then all you have to do is get it uploaded into the 3D printer.
Print and Get Feeback

This step is very similar to the other one about getting feedback. Except this time it's not a file on your computer anymore. Talk to your client and show them what you have made and get more feedback. My client still didn't like the size, but he said everything else was good except for that and the color.
Create Final Prototpe

This is one of the last steps in the project. After getting the last of your feedback, create your final piece with all of the color. Then do the same thing that you did with the last prototype. This time tho, make sure to fix all of the problems that were created in your last two prototypes.
Export Into 3d Printer and Print

The second to last step is basically doing the same thing in which you upload your new file into presa and slice iy but this time, you can add the color. When you add the color to the words, make sure you start the new color just afterthe other color stops printing.
Give the Finished Product to Client
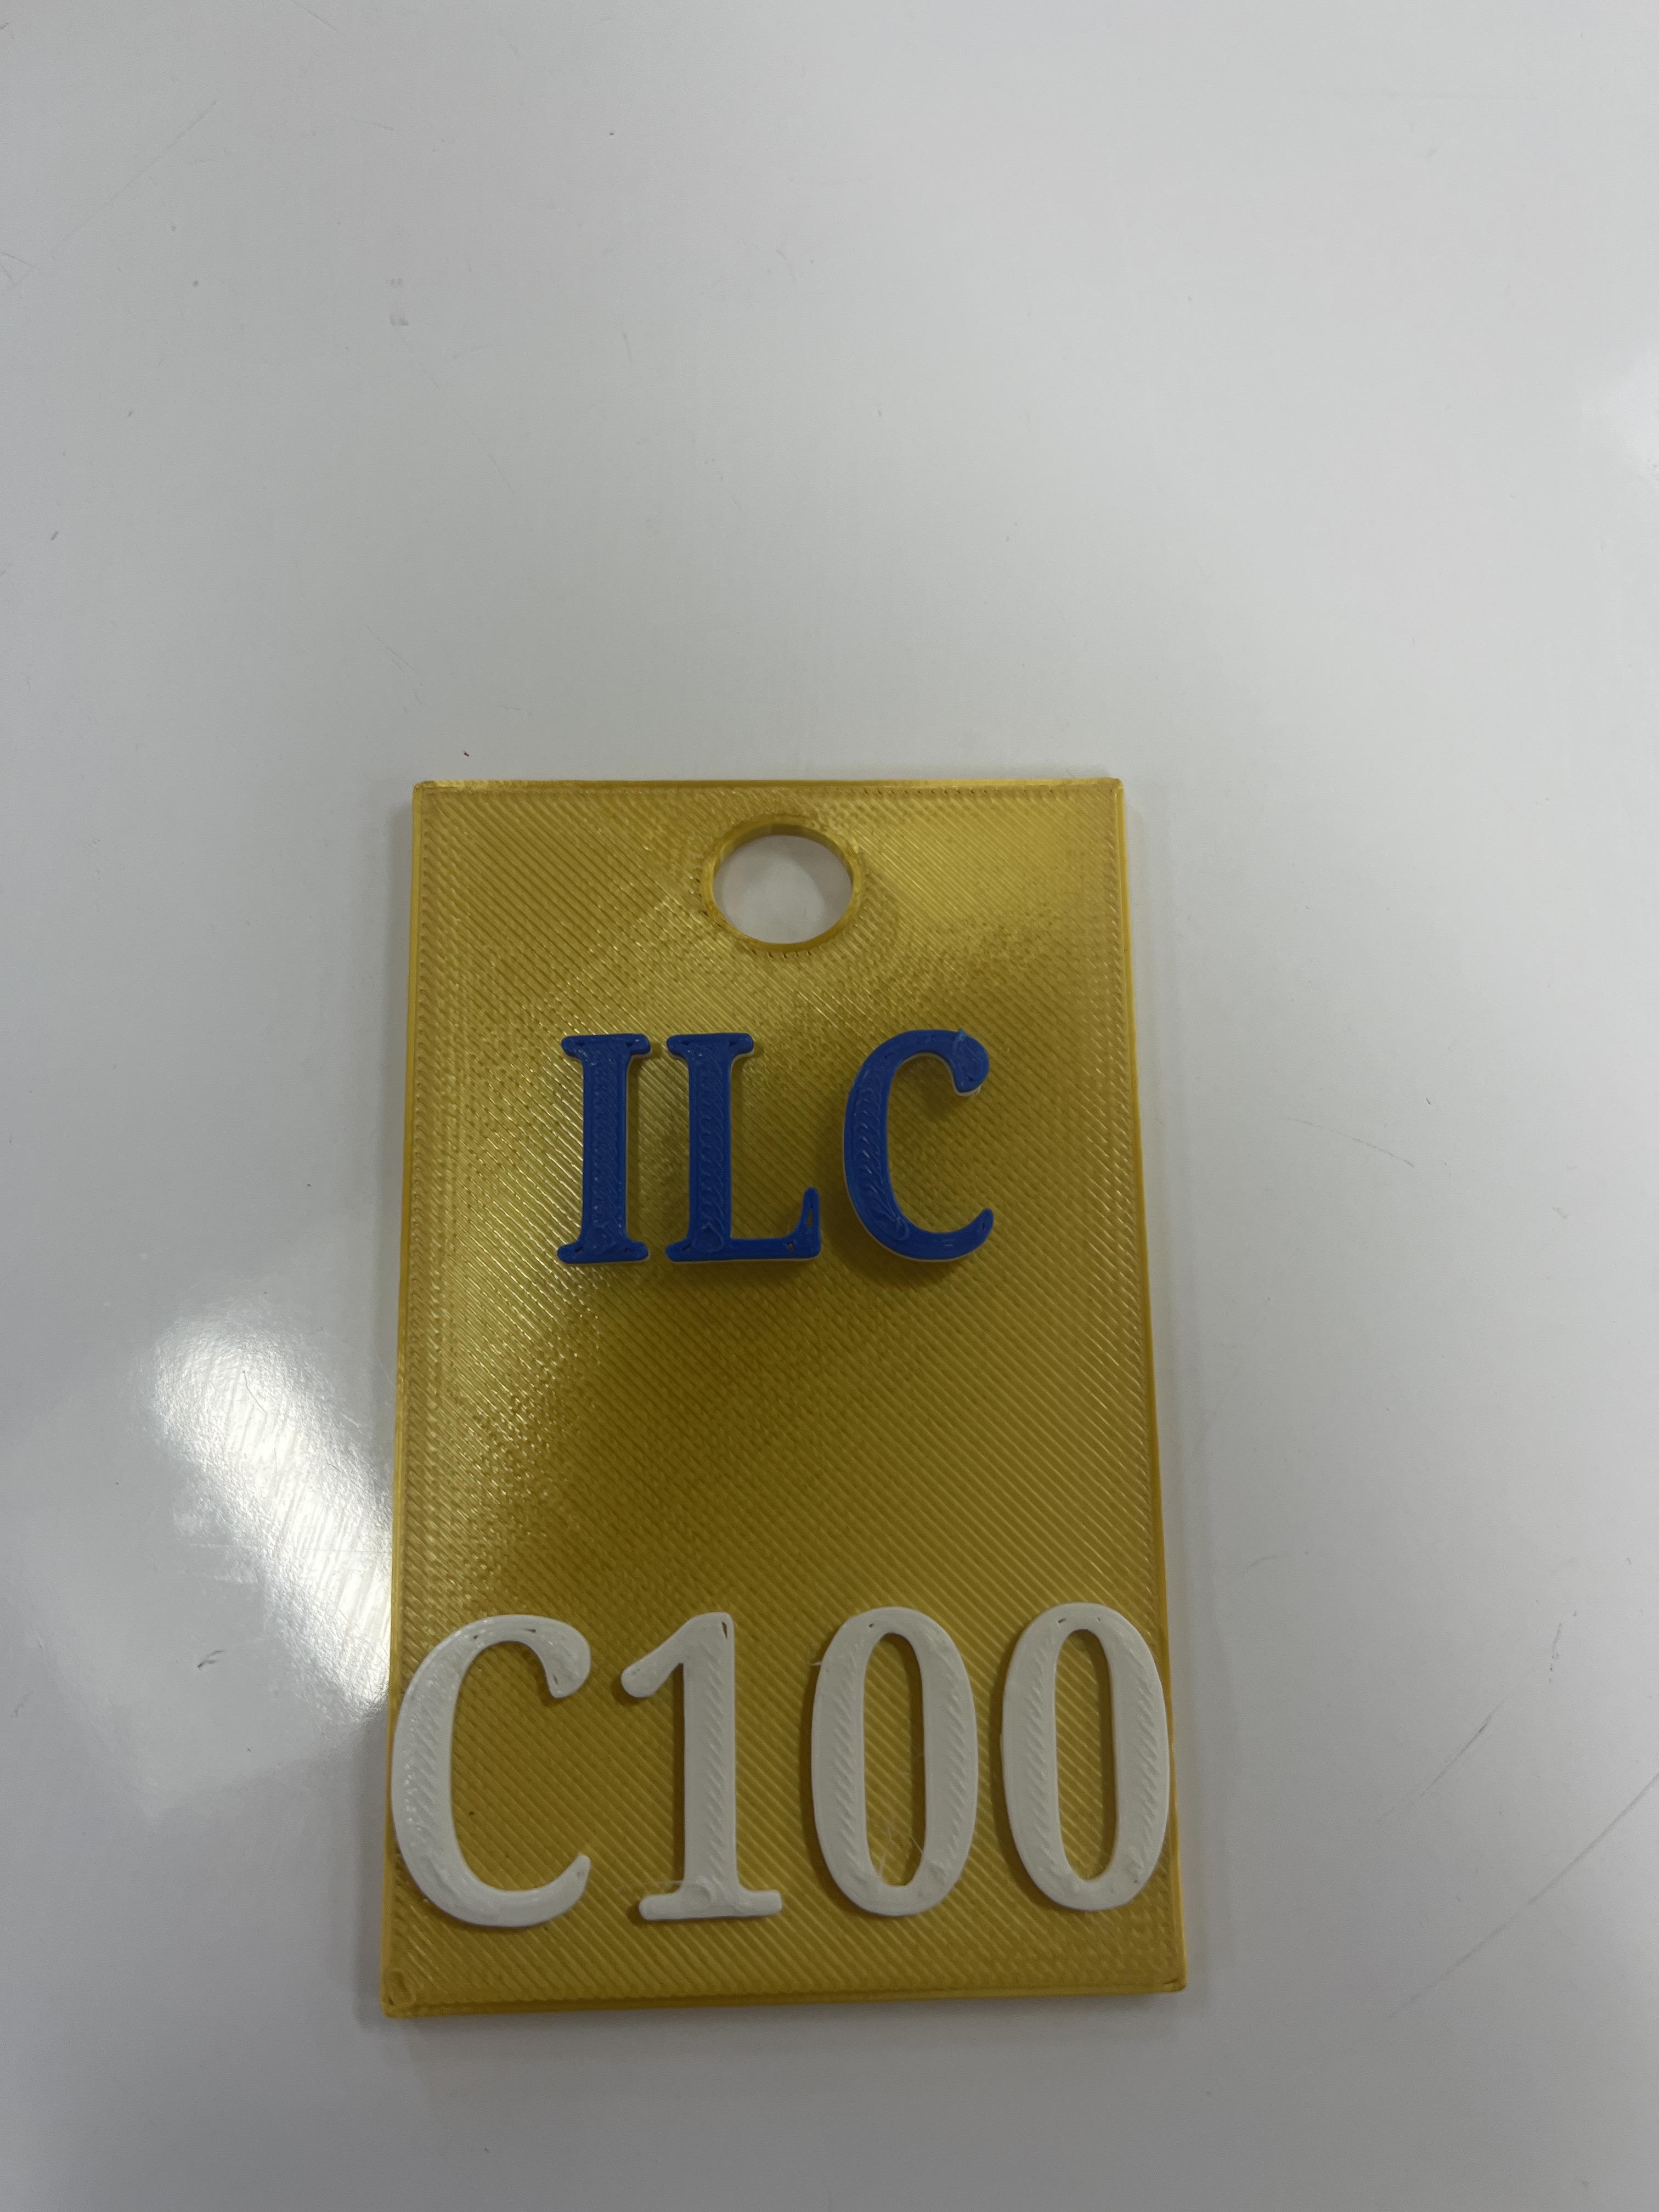
The last step is to give the final product that you printed to your client. I unfortunately don't have a photo of the final one with the lanyard because I gave it to him a few days ago but make sure to add all of the final touches and done! I wish you the best of luck,