Basic Zombie Makeup
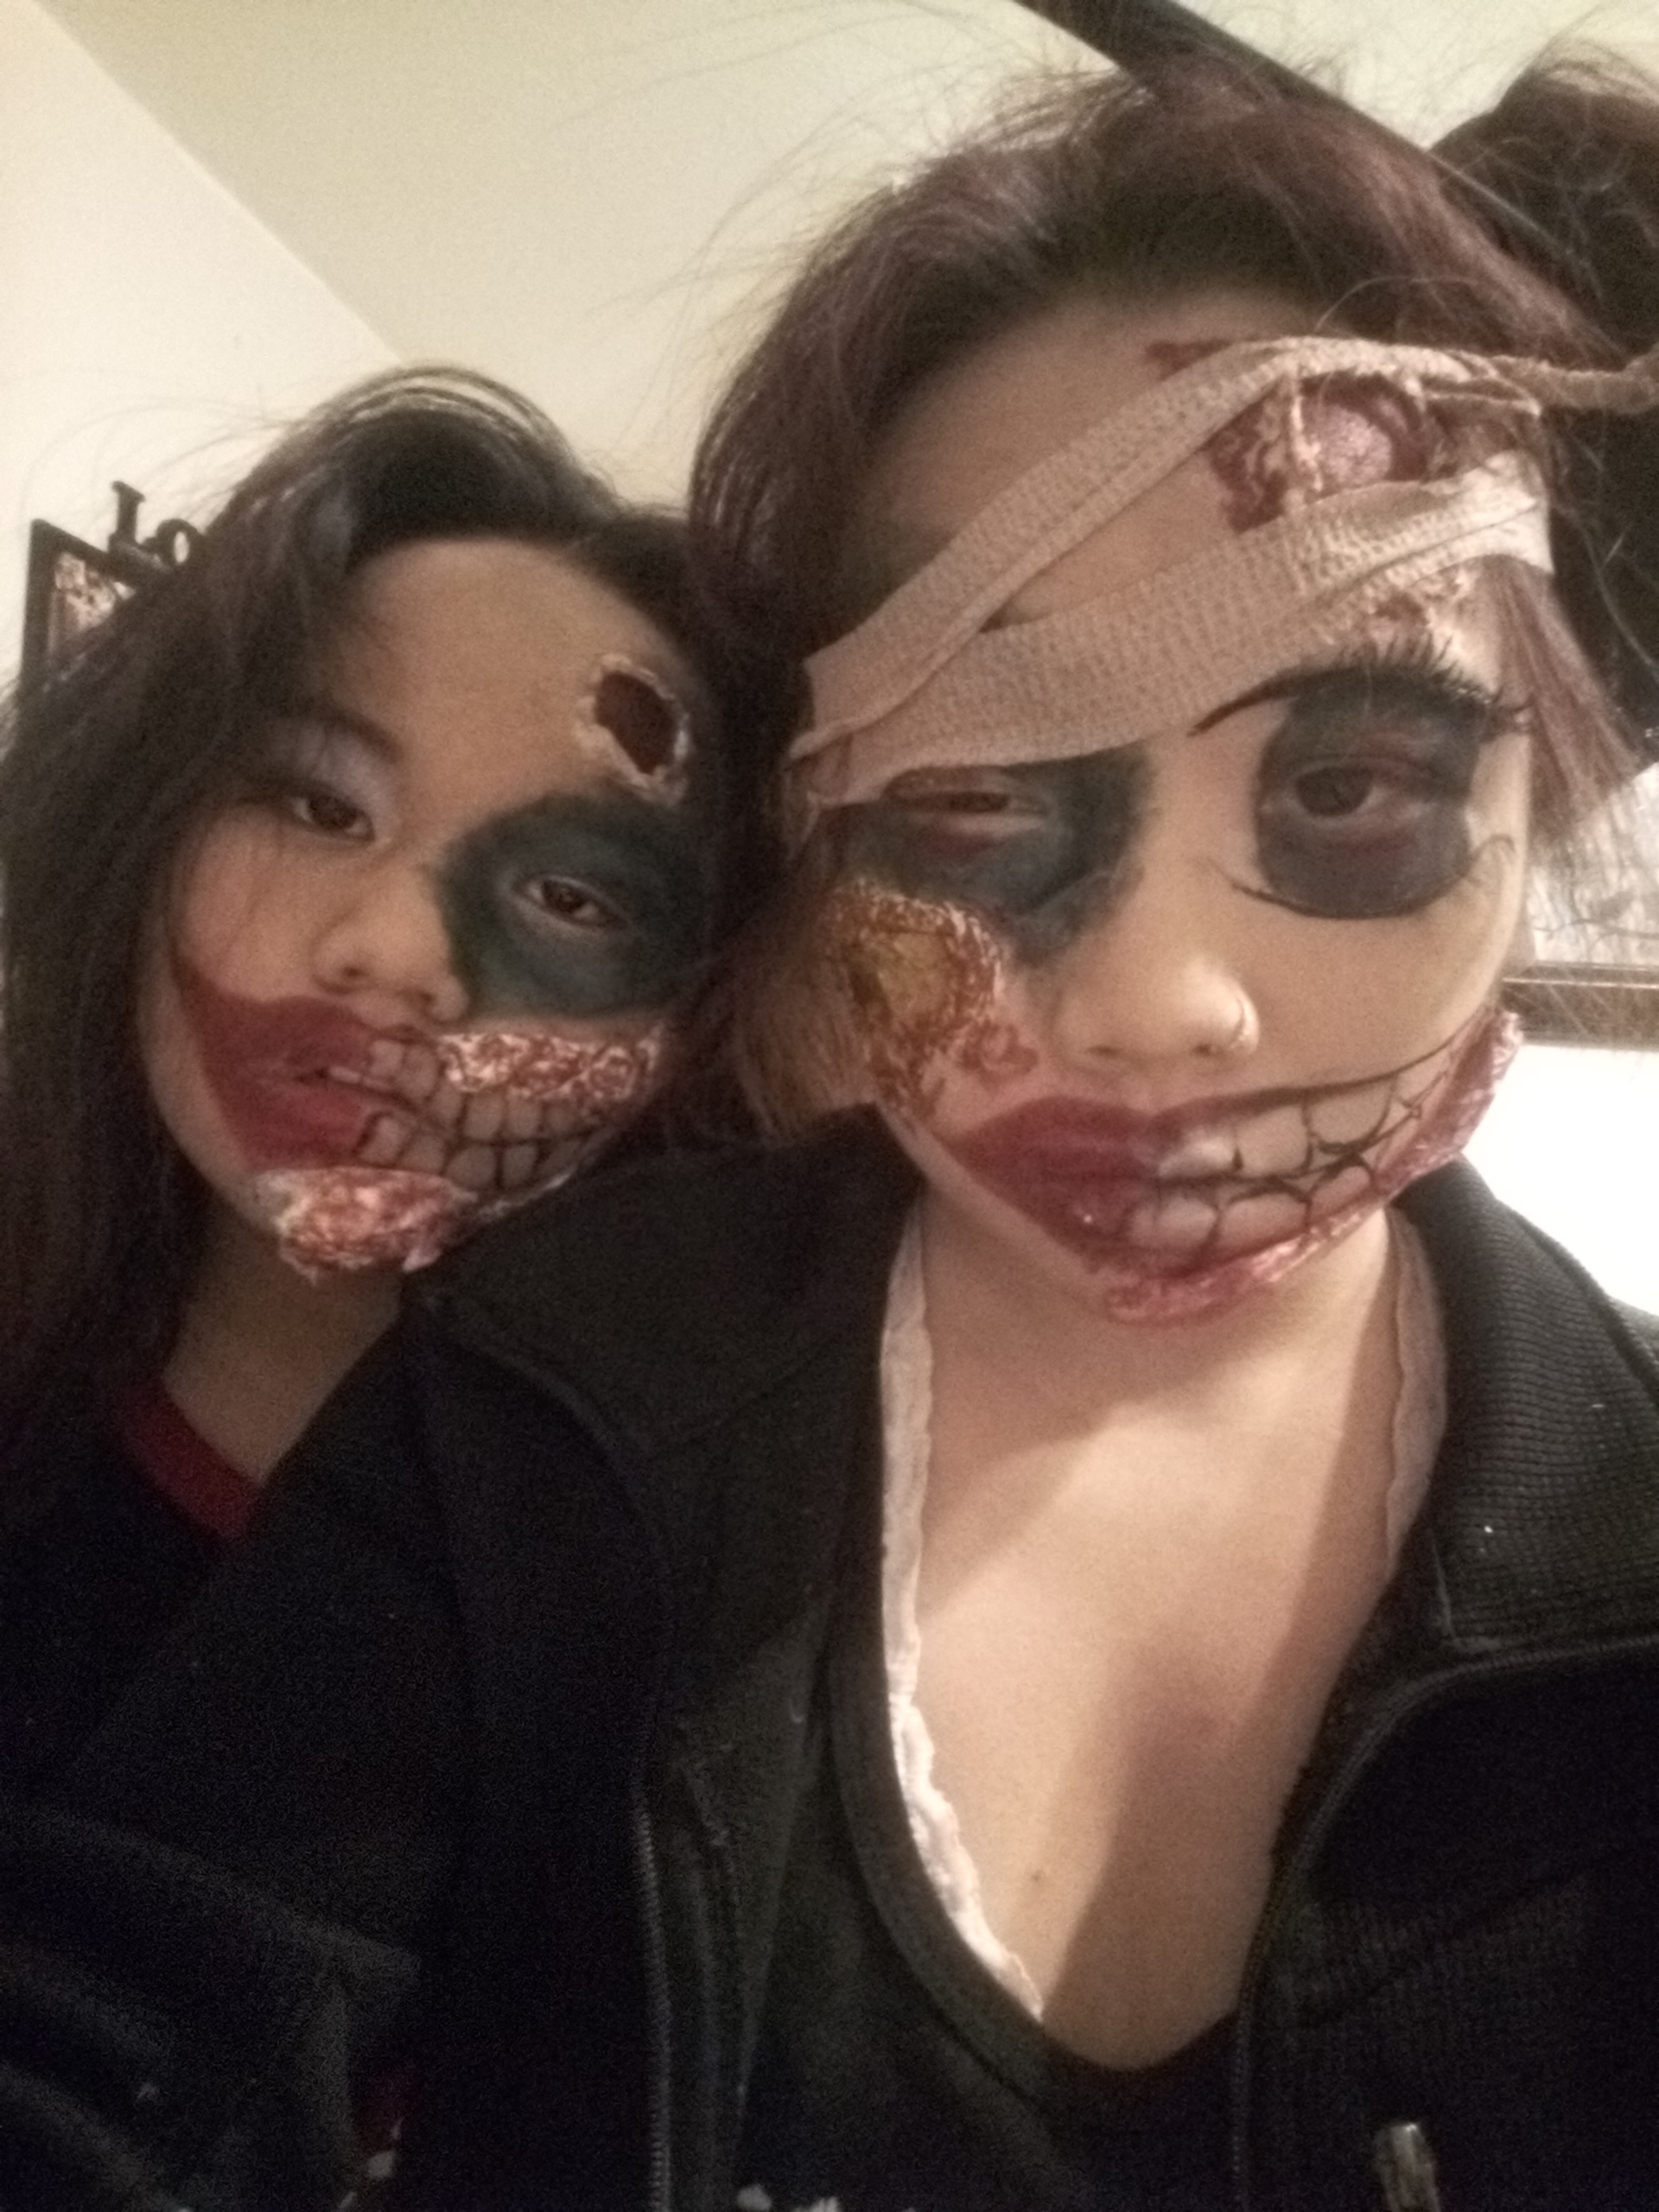
It's that time of the year again, which not to mention how much I love, Halloween! The last time I did zombie makeup was 9yrs ago during a zombie pub crawl so making an instructable on it was a nice refresher. My daughter and I were bored and I figured this would be a great bonding moment since she's always telling me I work too much and never have time to hang out anymore. She even had a lot of fun letting be transform her into a zombie, which is brownie points for being a parent.
Before you start, make sure you or your "victim" is not allergic to any of the products (glue/latex, makeup, etc.). The last thing we want is someone looking like a real zombie from an allergic reaction.
Supplies
BASE
White face paint / Foundation (lighter than your natural skin tone)
Black eyeliner, lipstick, and/or eyeshadow
Red lipstick or lipgloss
**You can also use washable paint, although the multi-color washable paint I had didn't have red nor black so I had to work with the colors I had, which turned out just fine
FLESH/SCARS
Modge podge / Glue
Paint brush
Toilet Paper
***OPTIONAL (If you have time and money...)***
Zombie/Halloween face makeup
Liquid latex
Fake scabs
Vampire blood
Apply Your Base
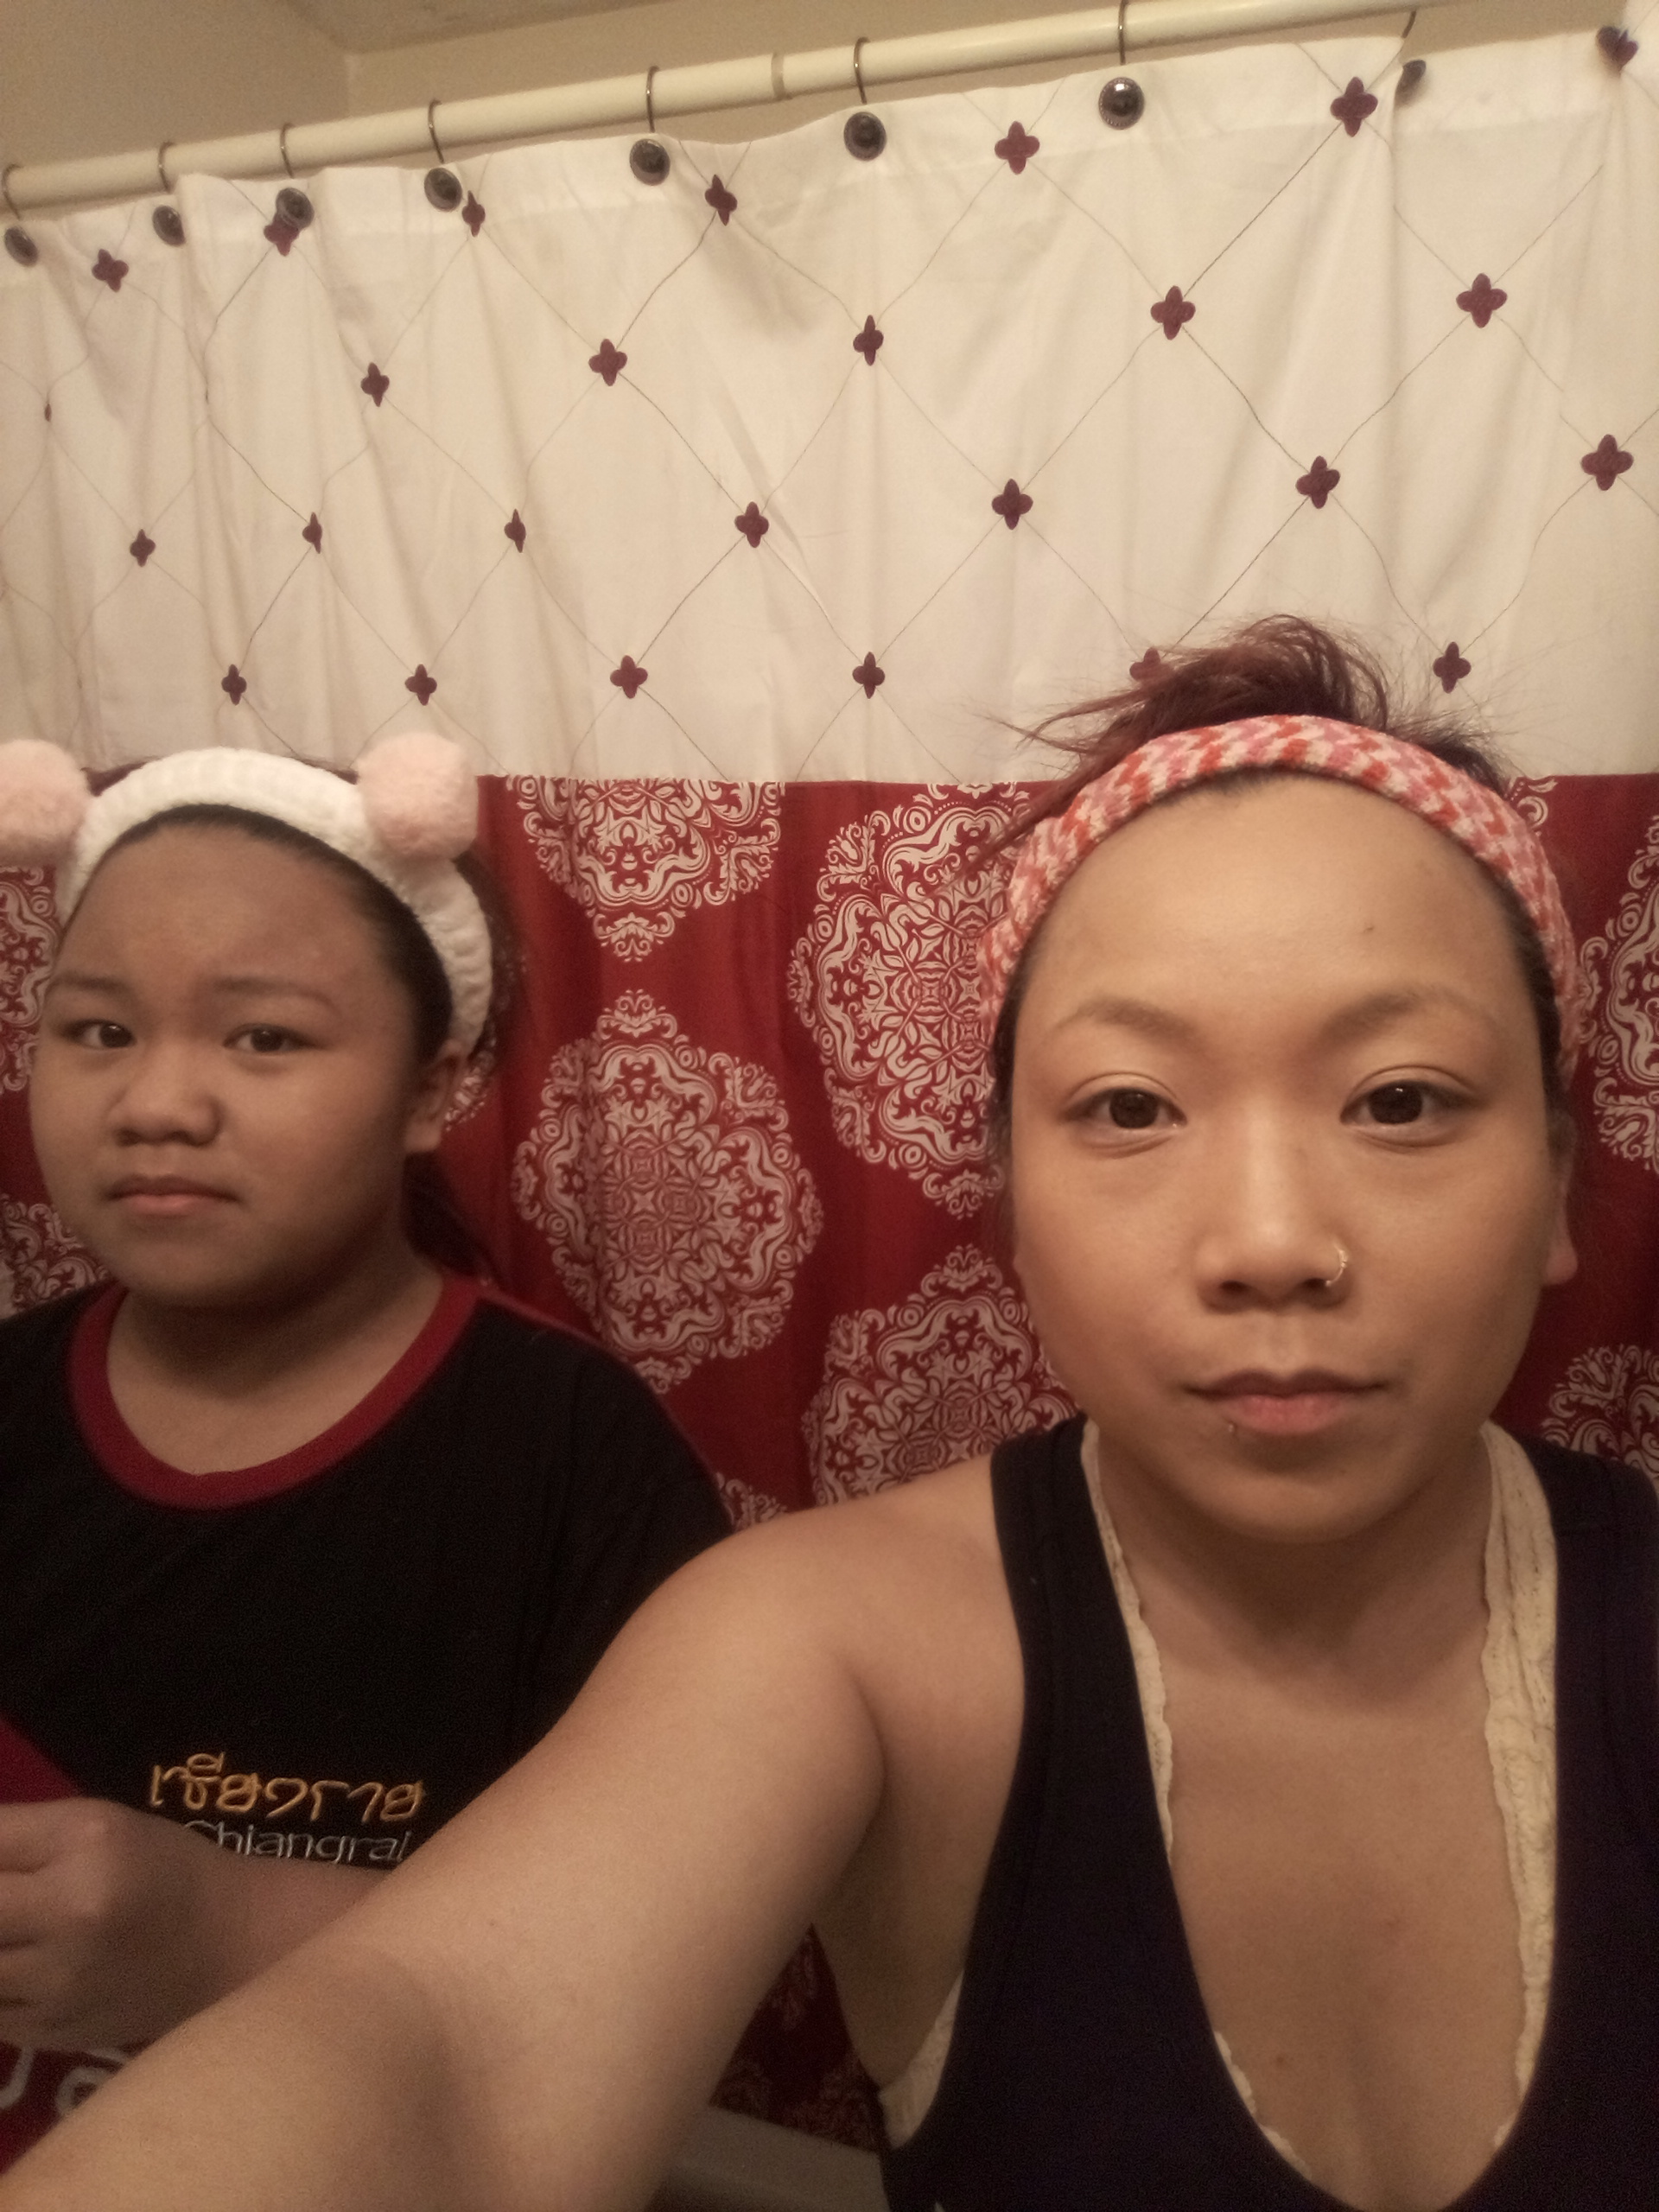
The foundation or white cream makeup is to use as your base foundation. Apply your makeup with soft sponge applicators for light even coverage. Start off with a little and add as needed. Adding to much in the beginning may lead to the glue/latex not adhering to your face. Set the foundation with a translucent powder or baby powder. Set the base makeup aside for later.
Scars & Rotting Flesh, Yummm!
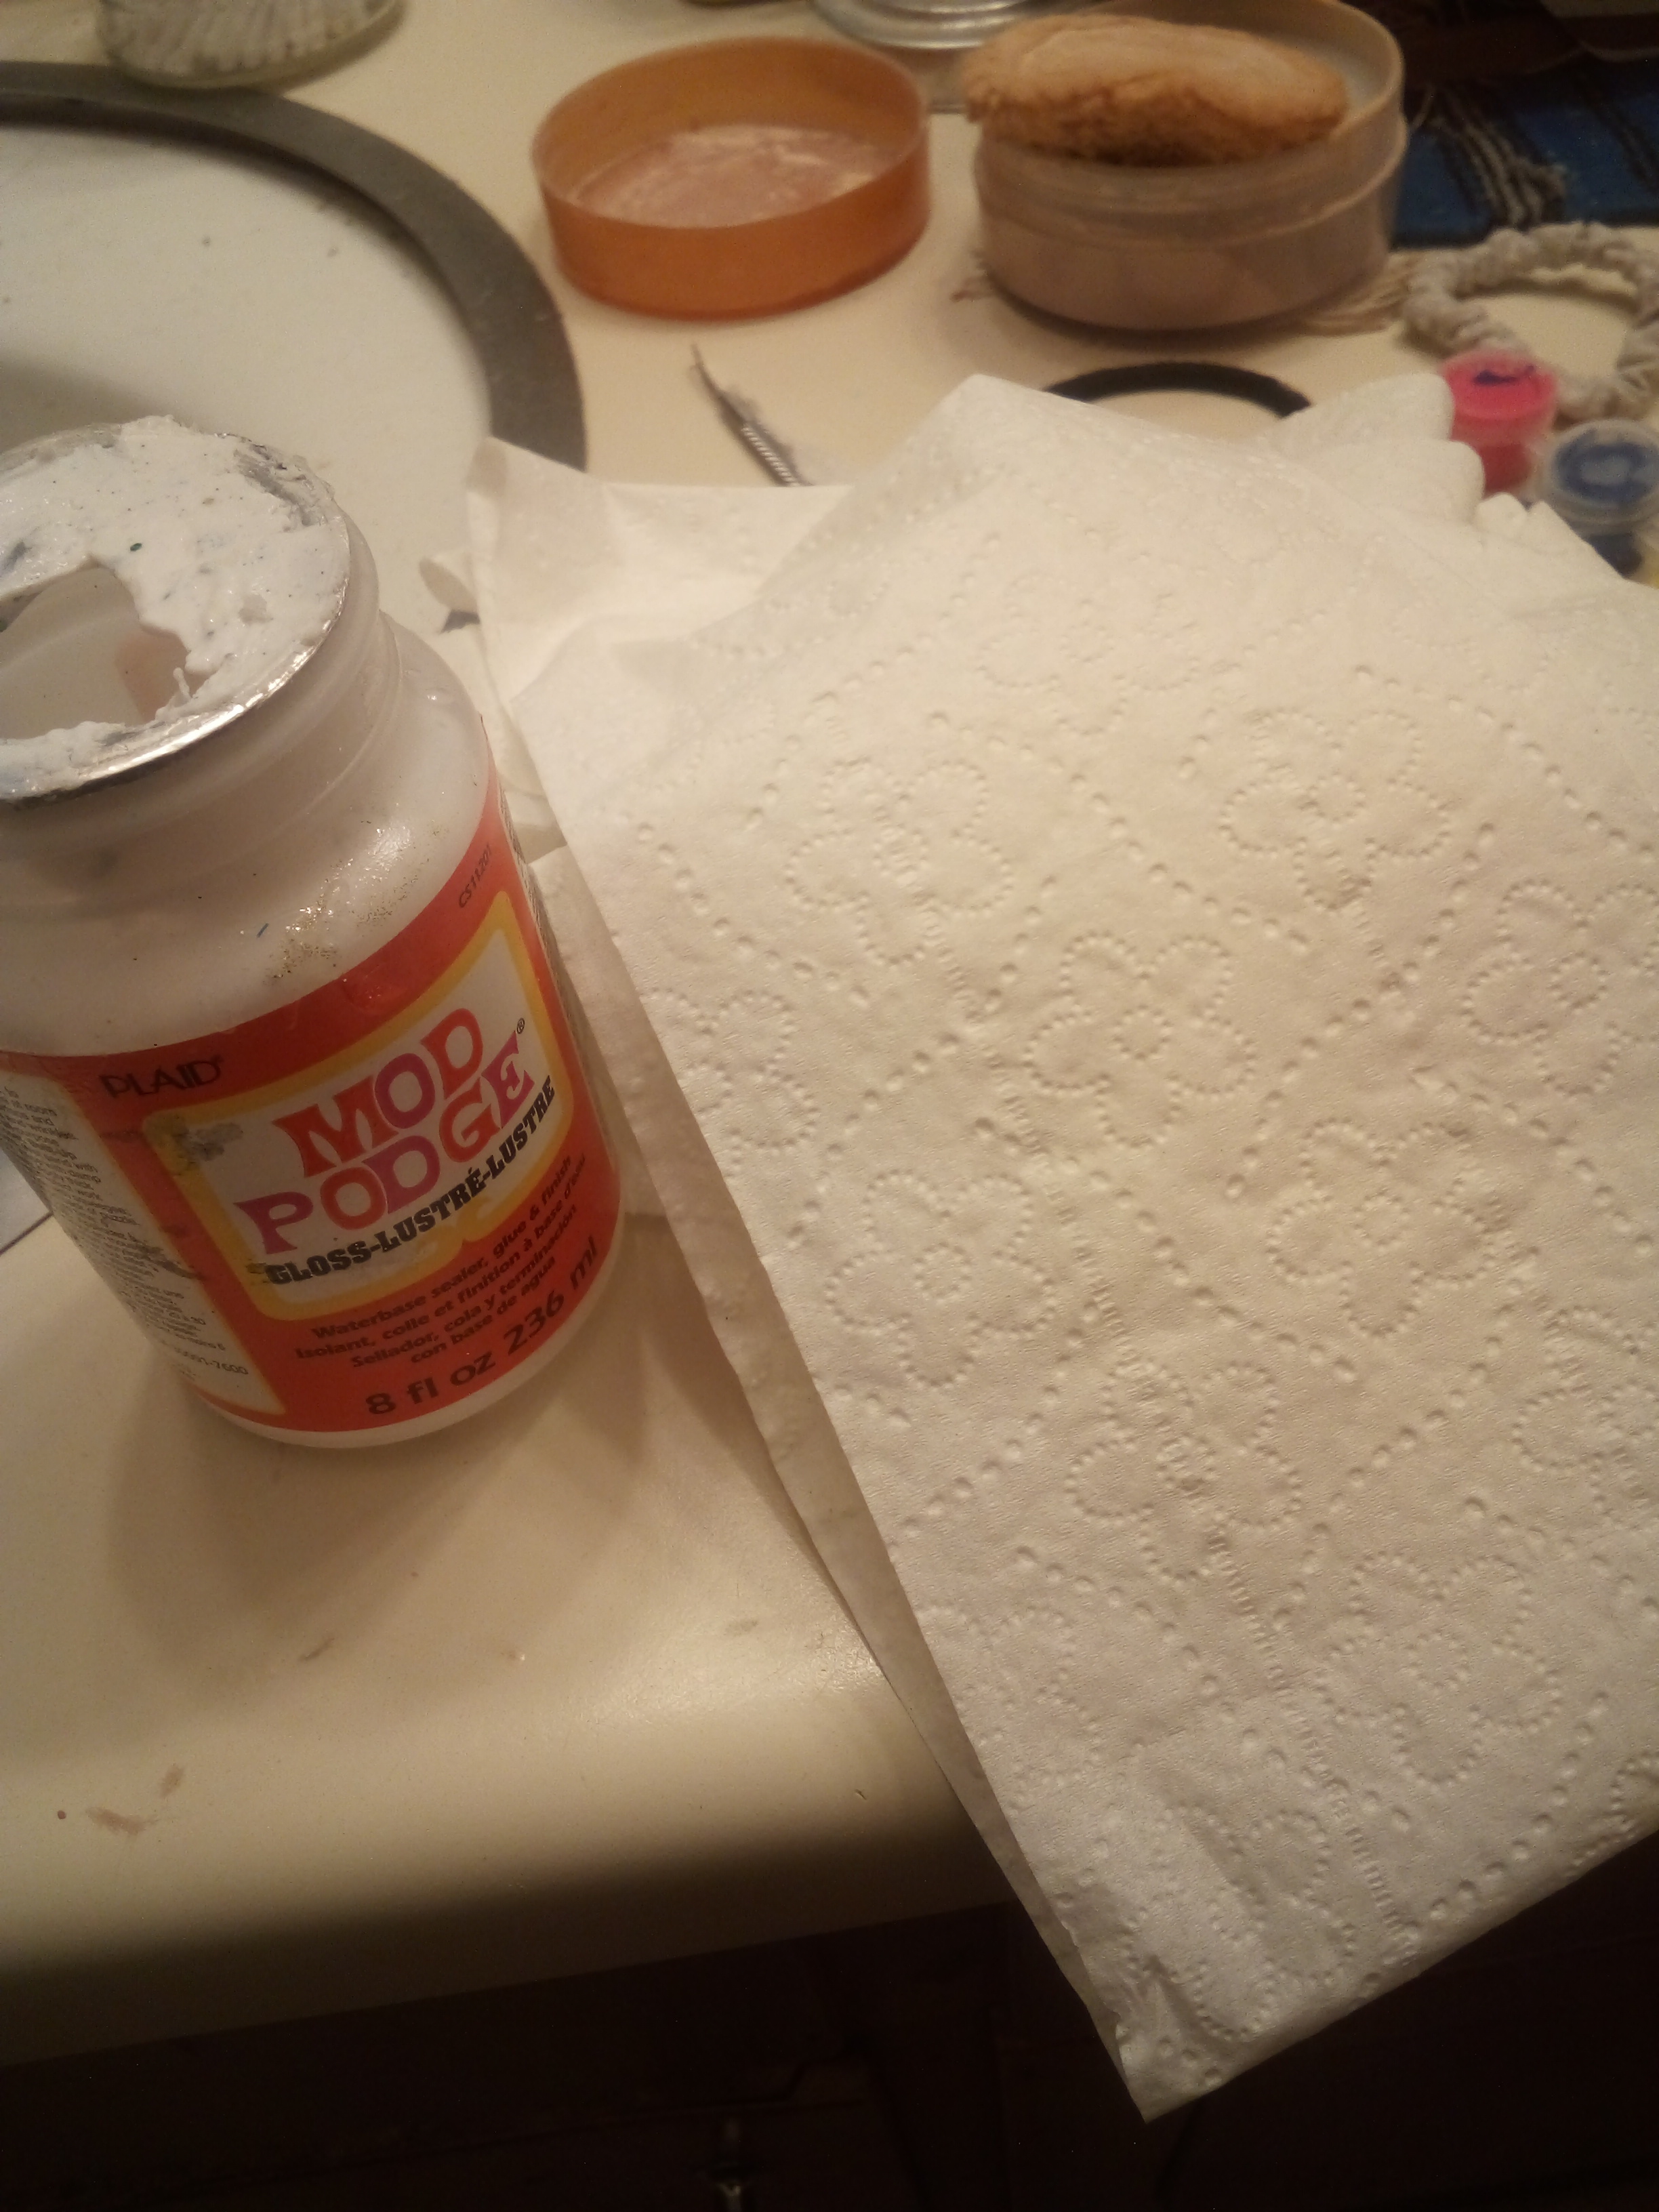
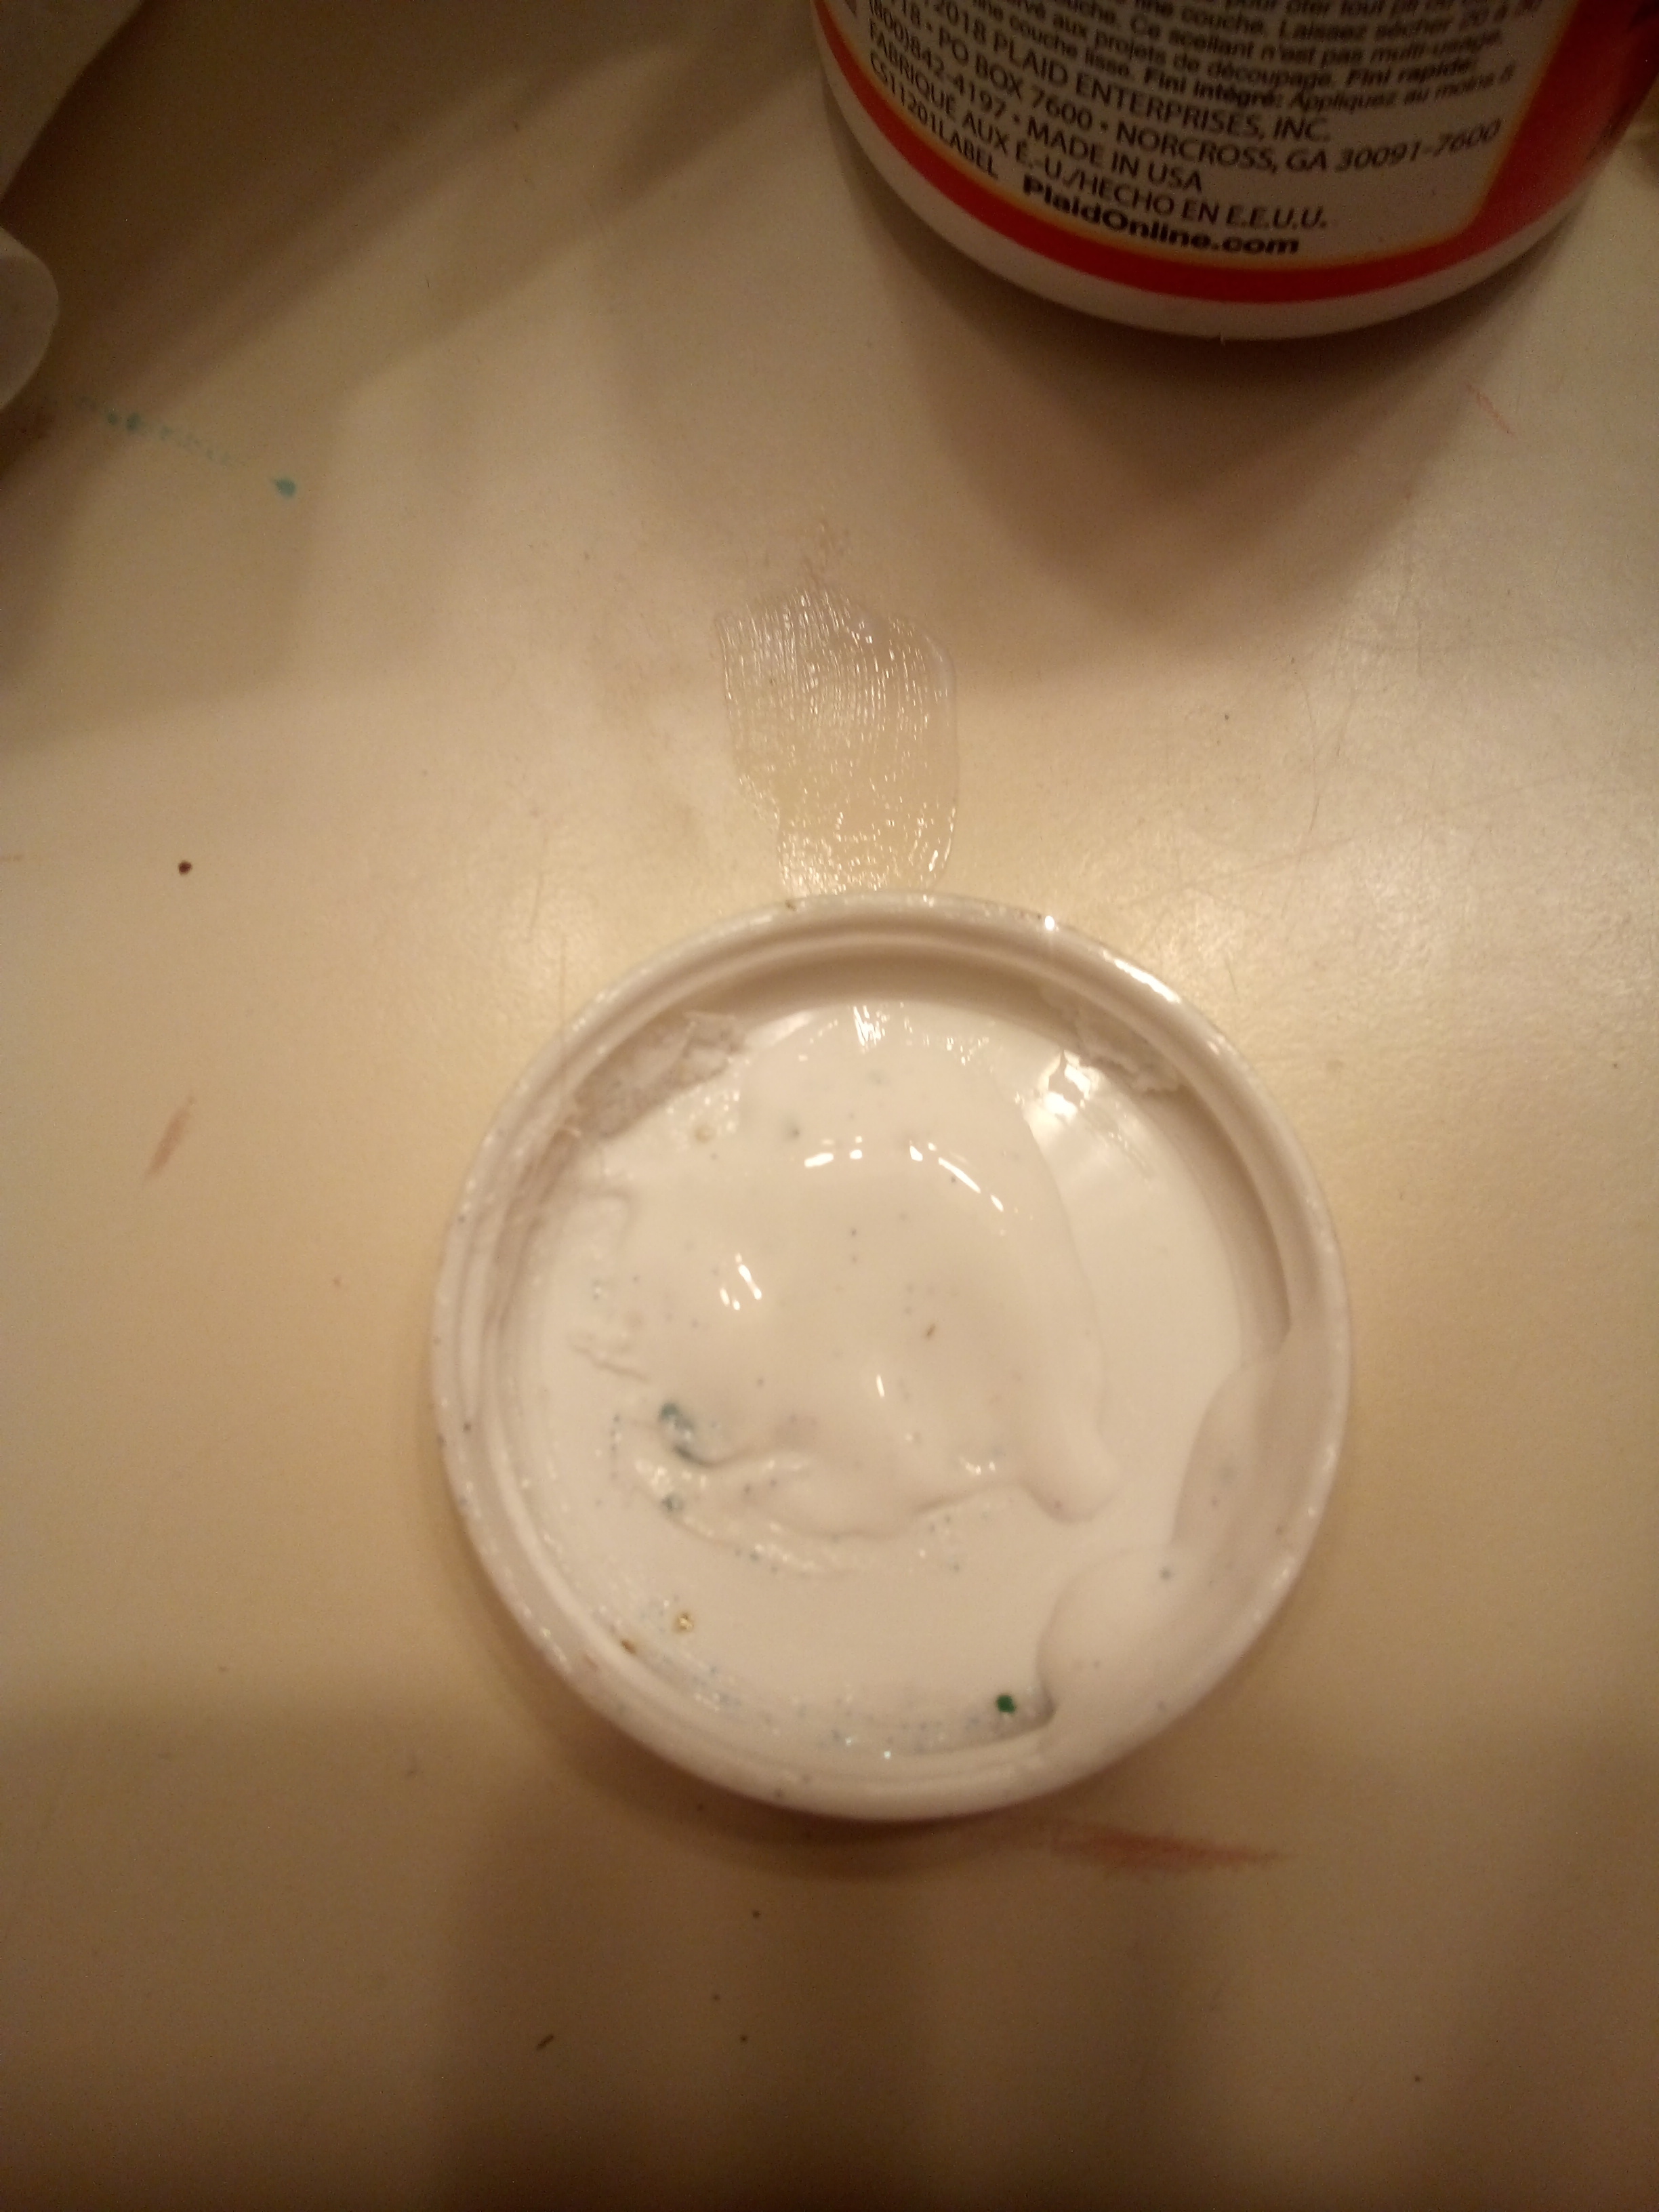
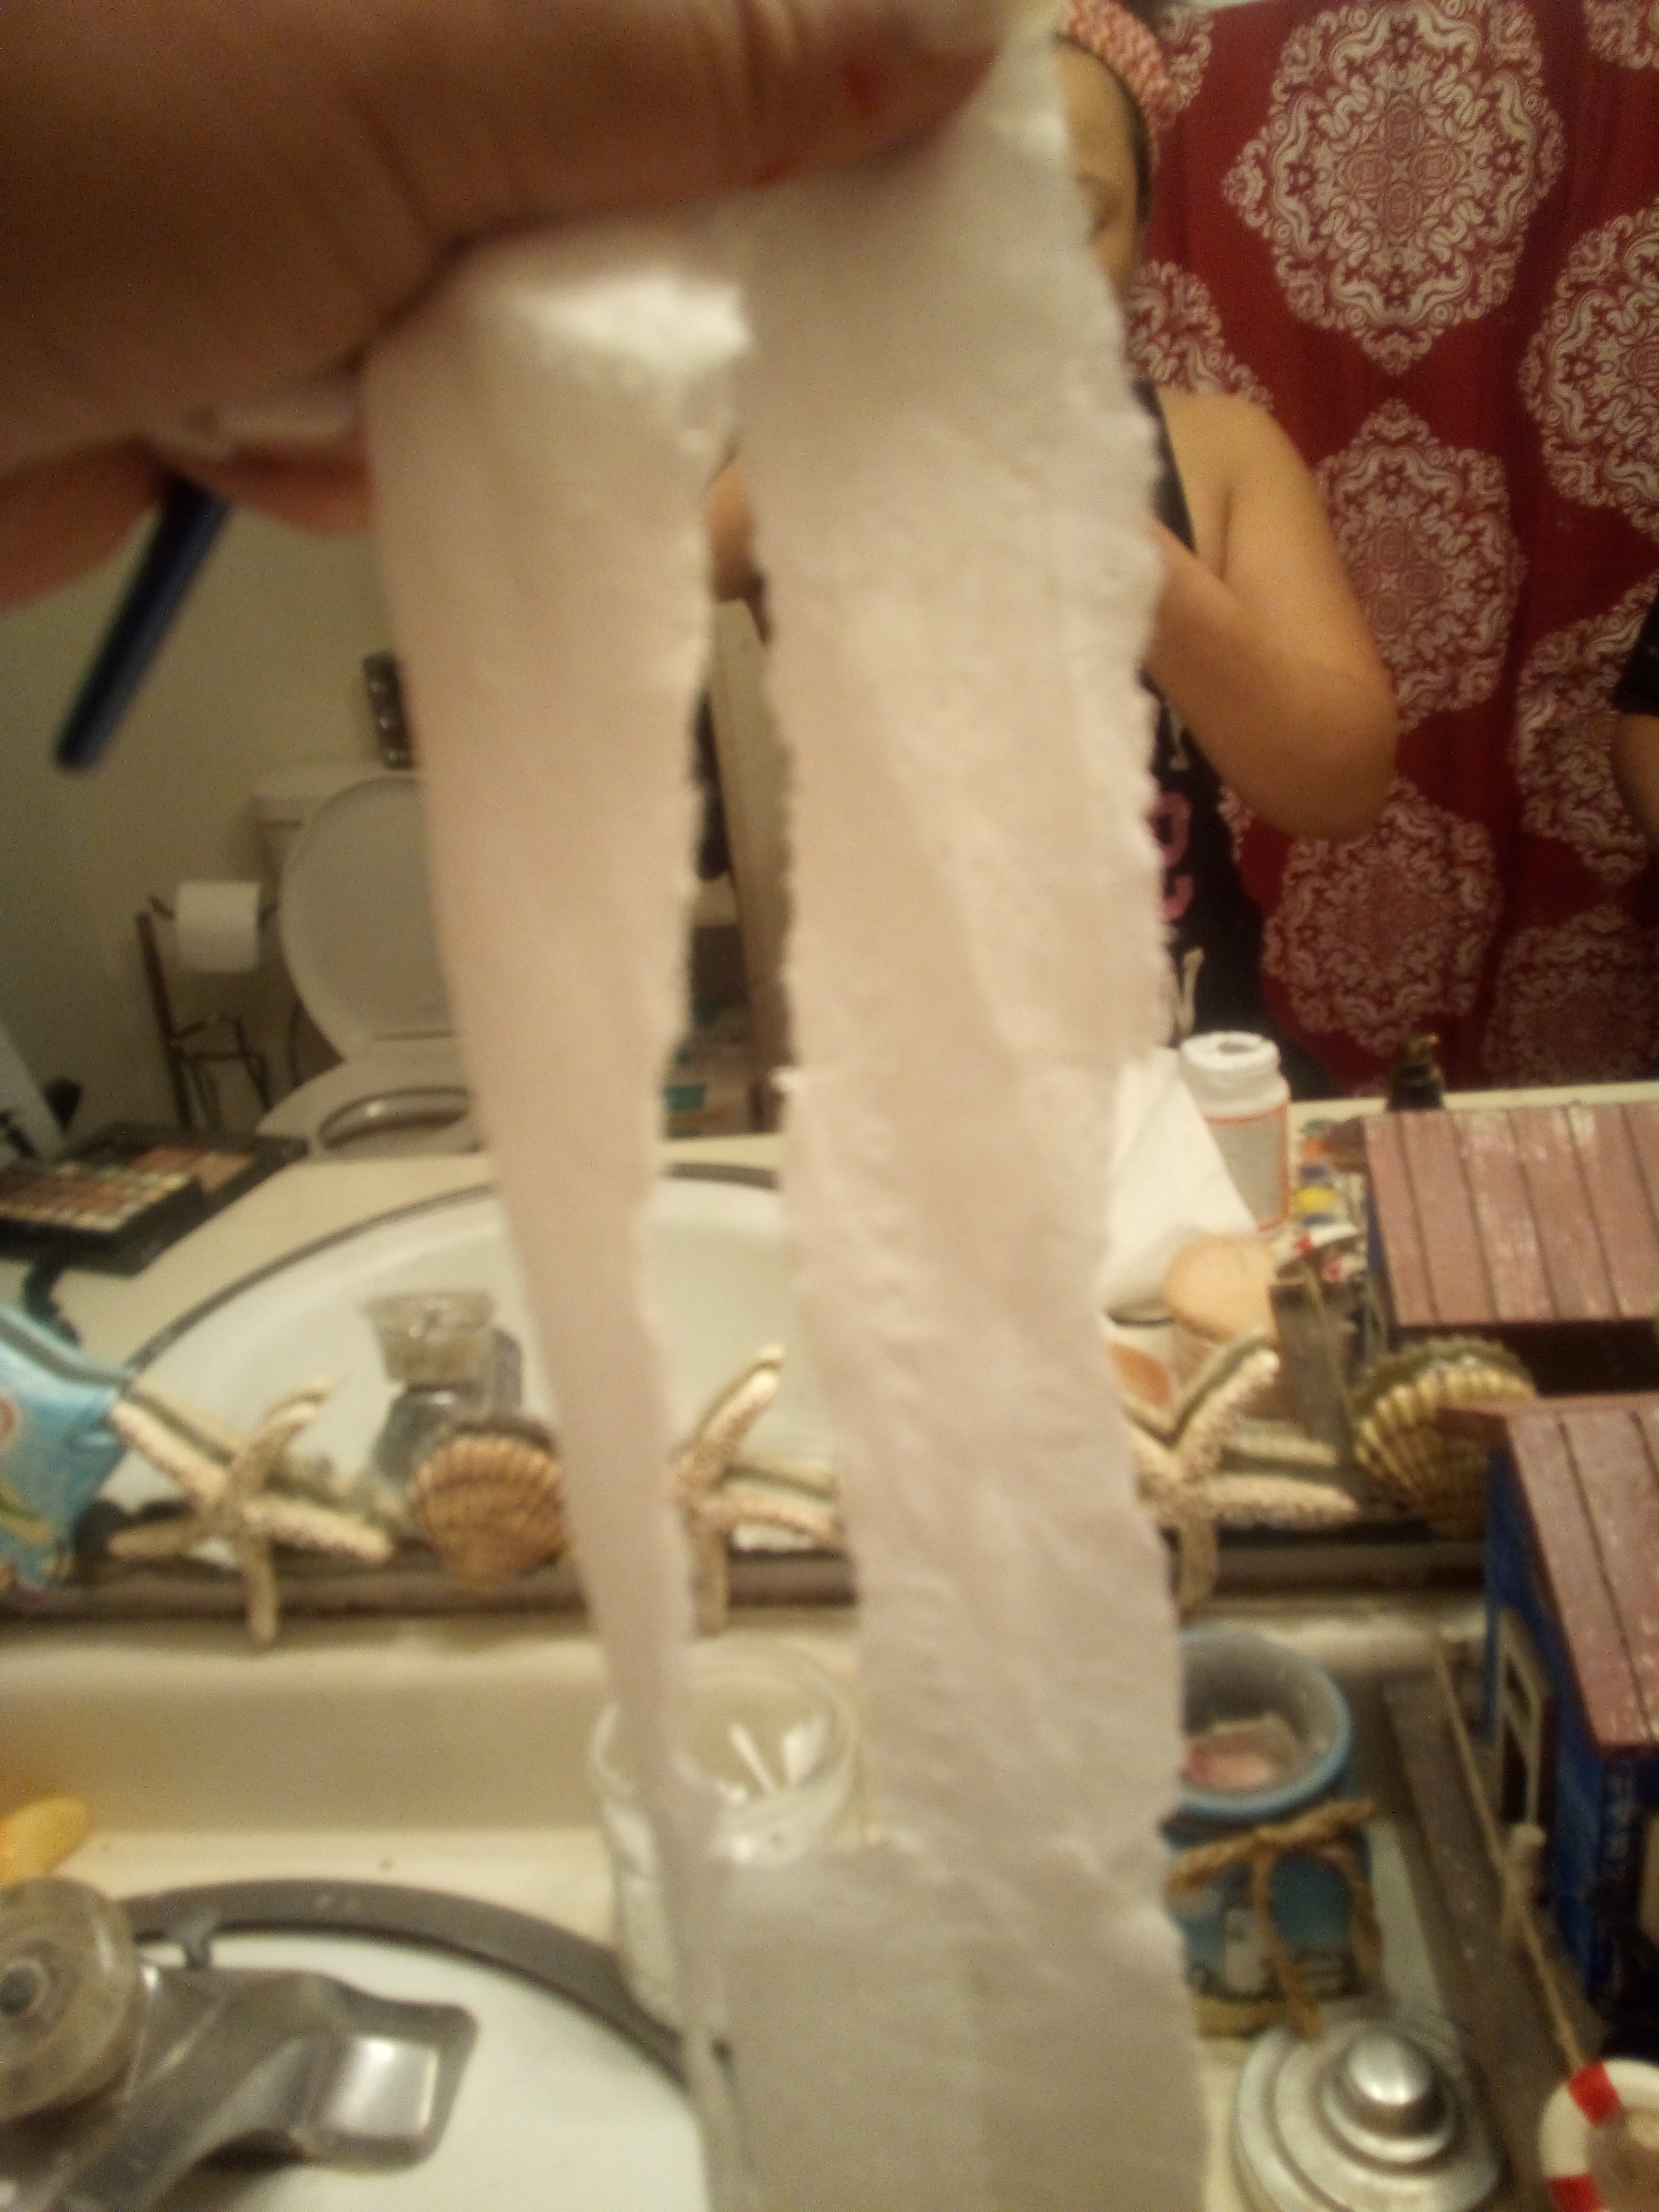
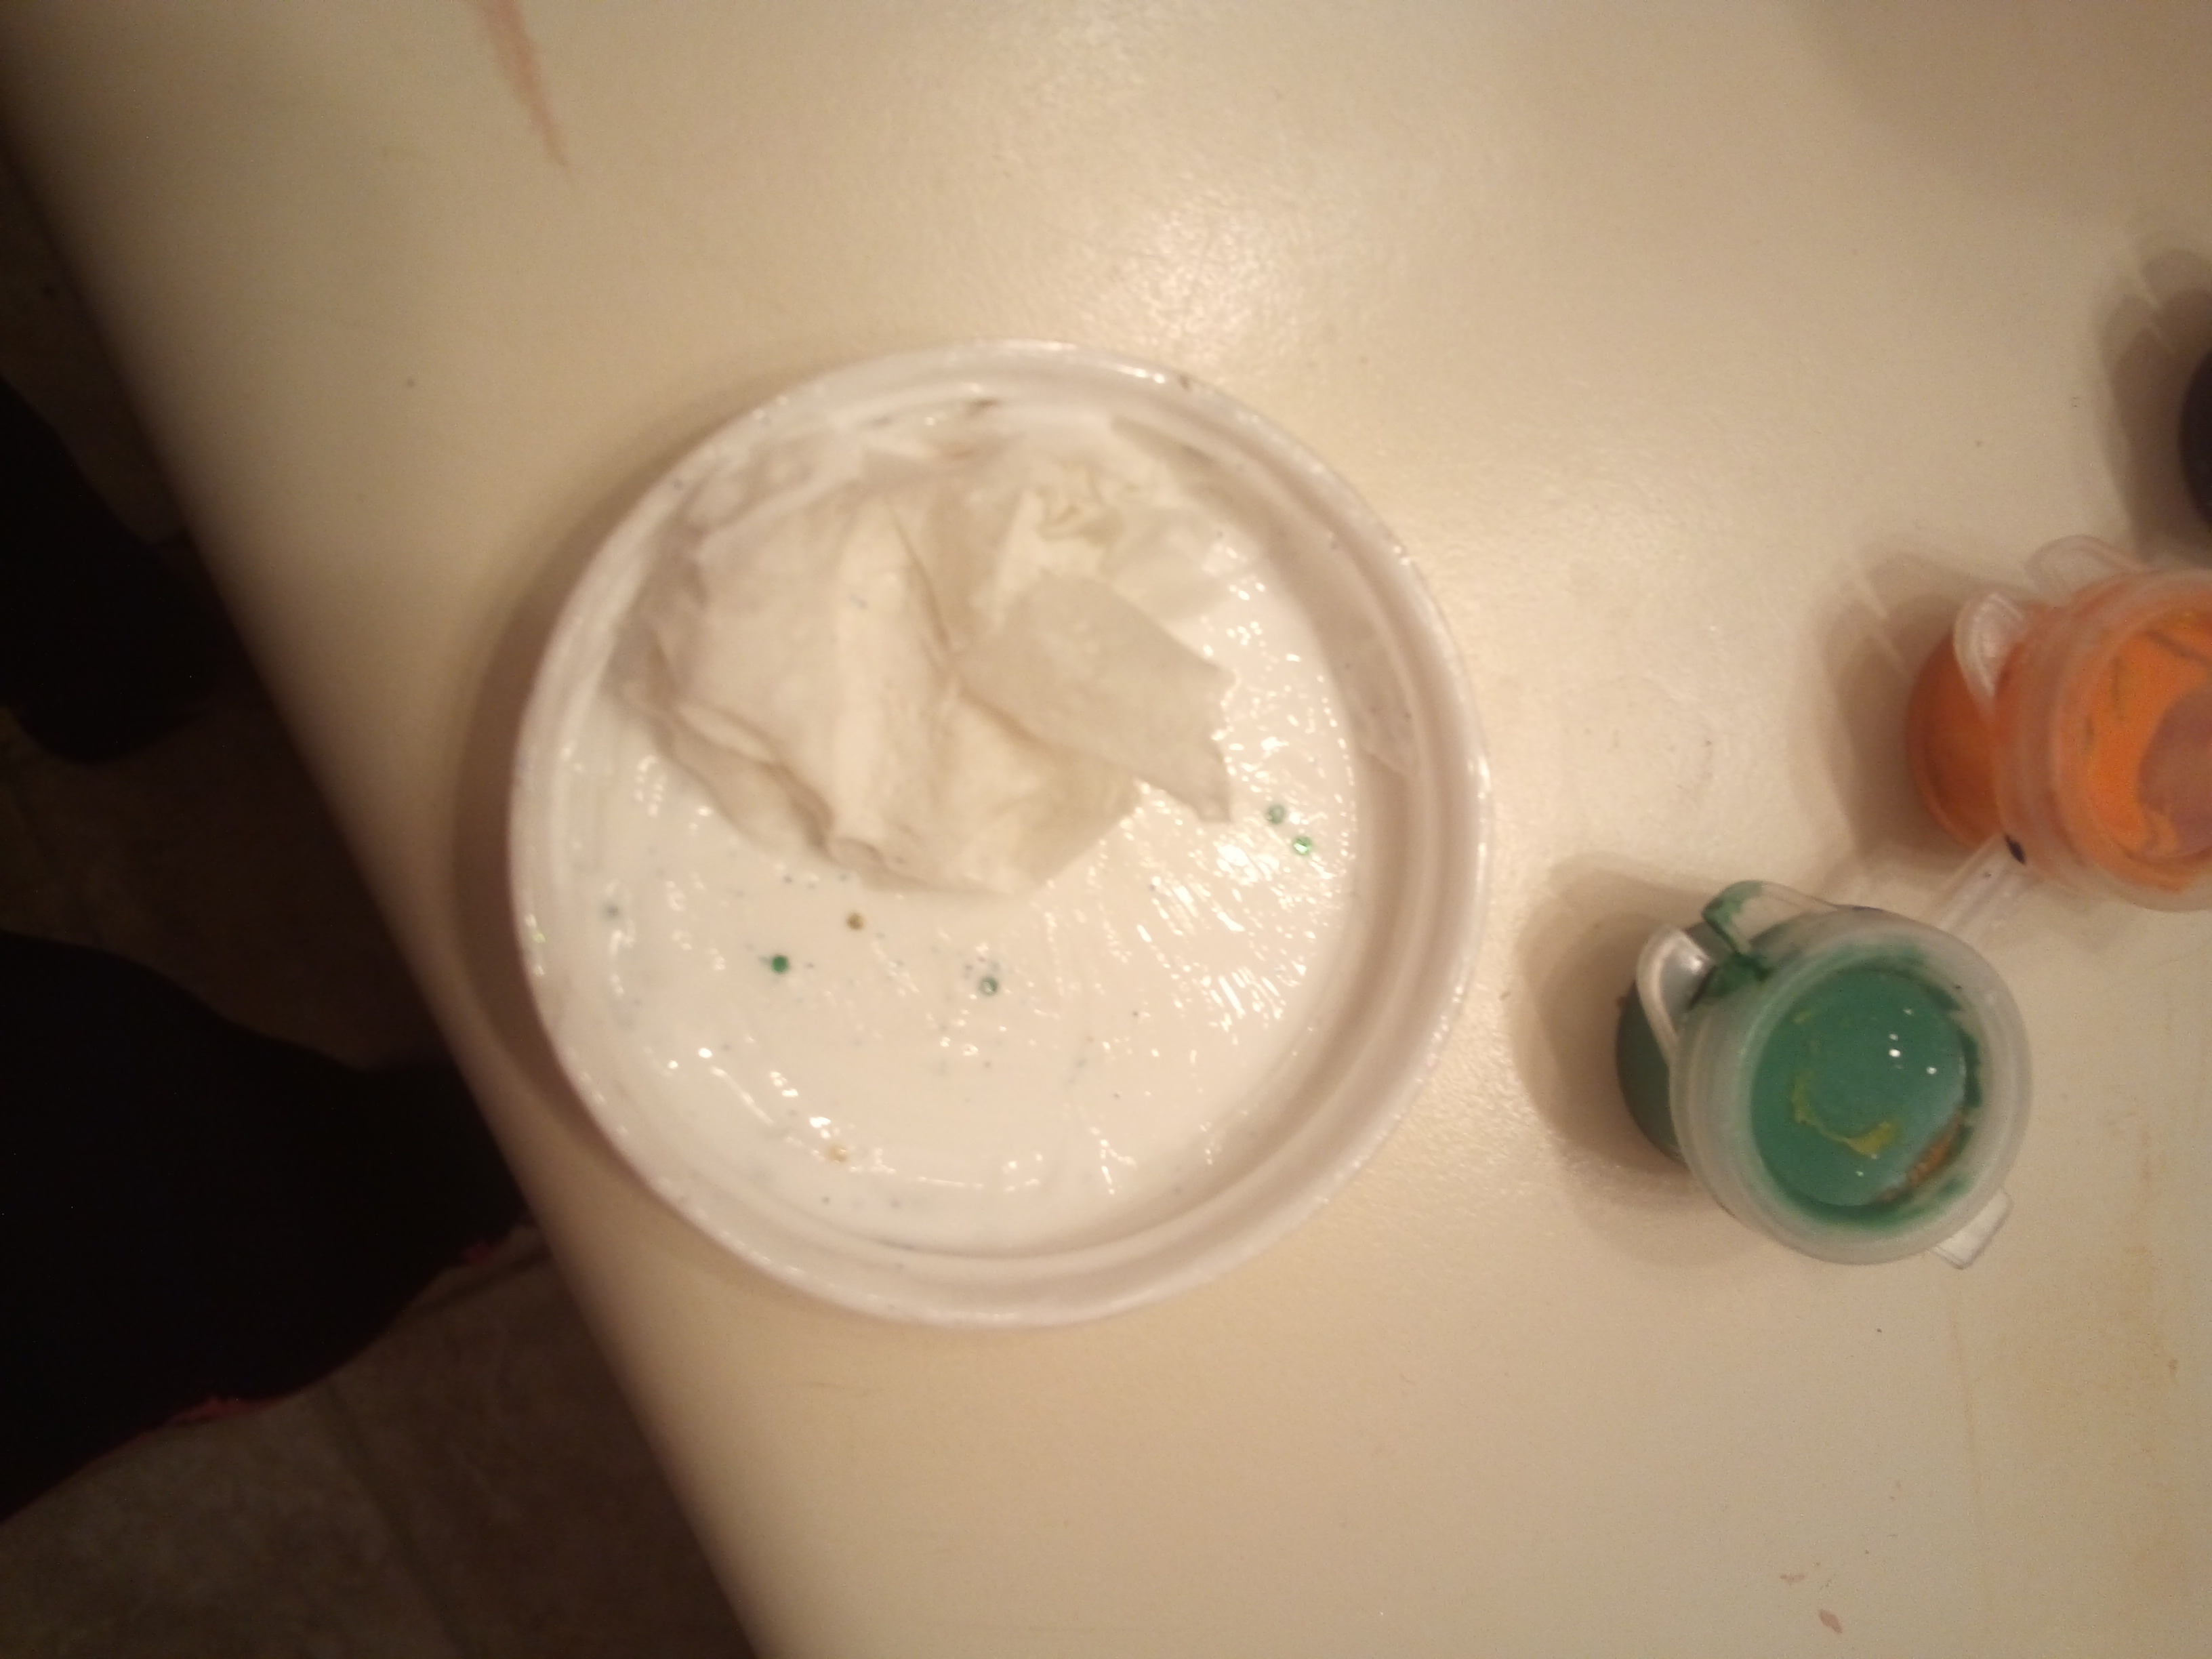
Take the modge podge and pour some into a container or you can also use the lid like I did. Next, rip some toilet paper into long strips and mix it into the glue. You can also use a brush and brush the glue on as well. Doing it this allows you to create scratch marks verses an area of rotting flesh or a blow to the head. There are many different techniques and ways you can use to create "flesh" (I remember coming across one site that instructed brushing layers upon layers of latex until desired look). This method only requires the glue being brushed on areas where they are most needed.
The Gory Details
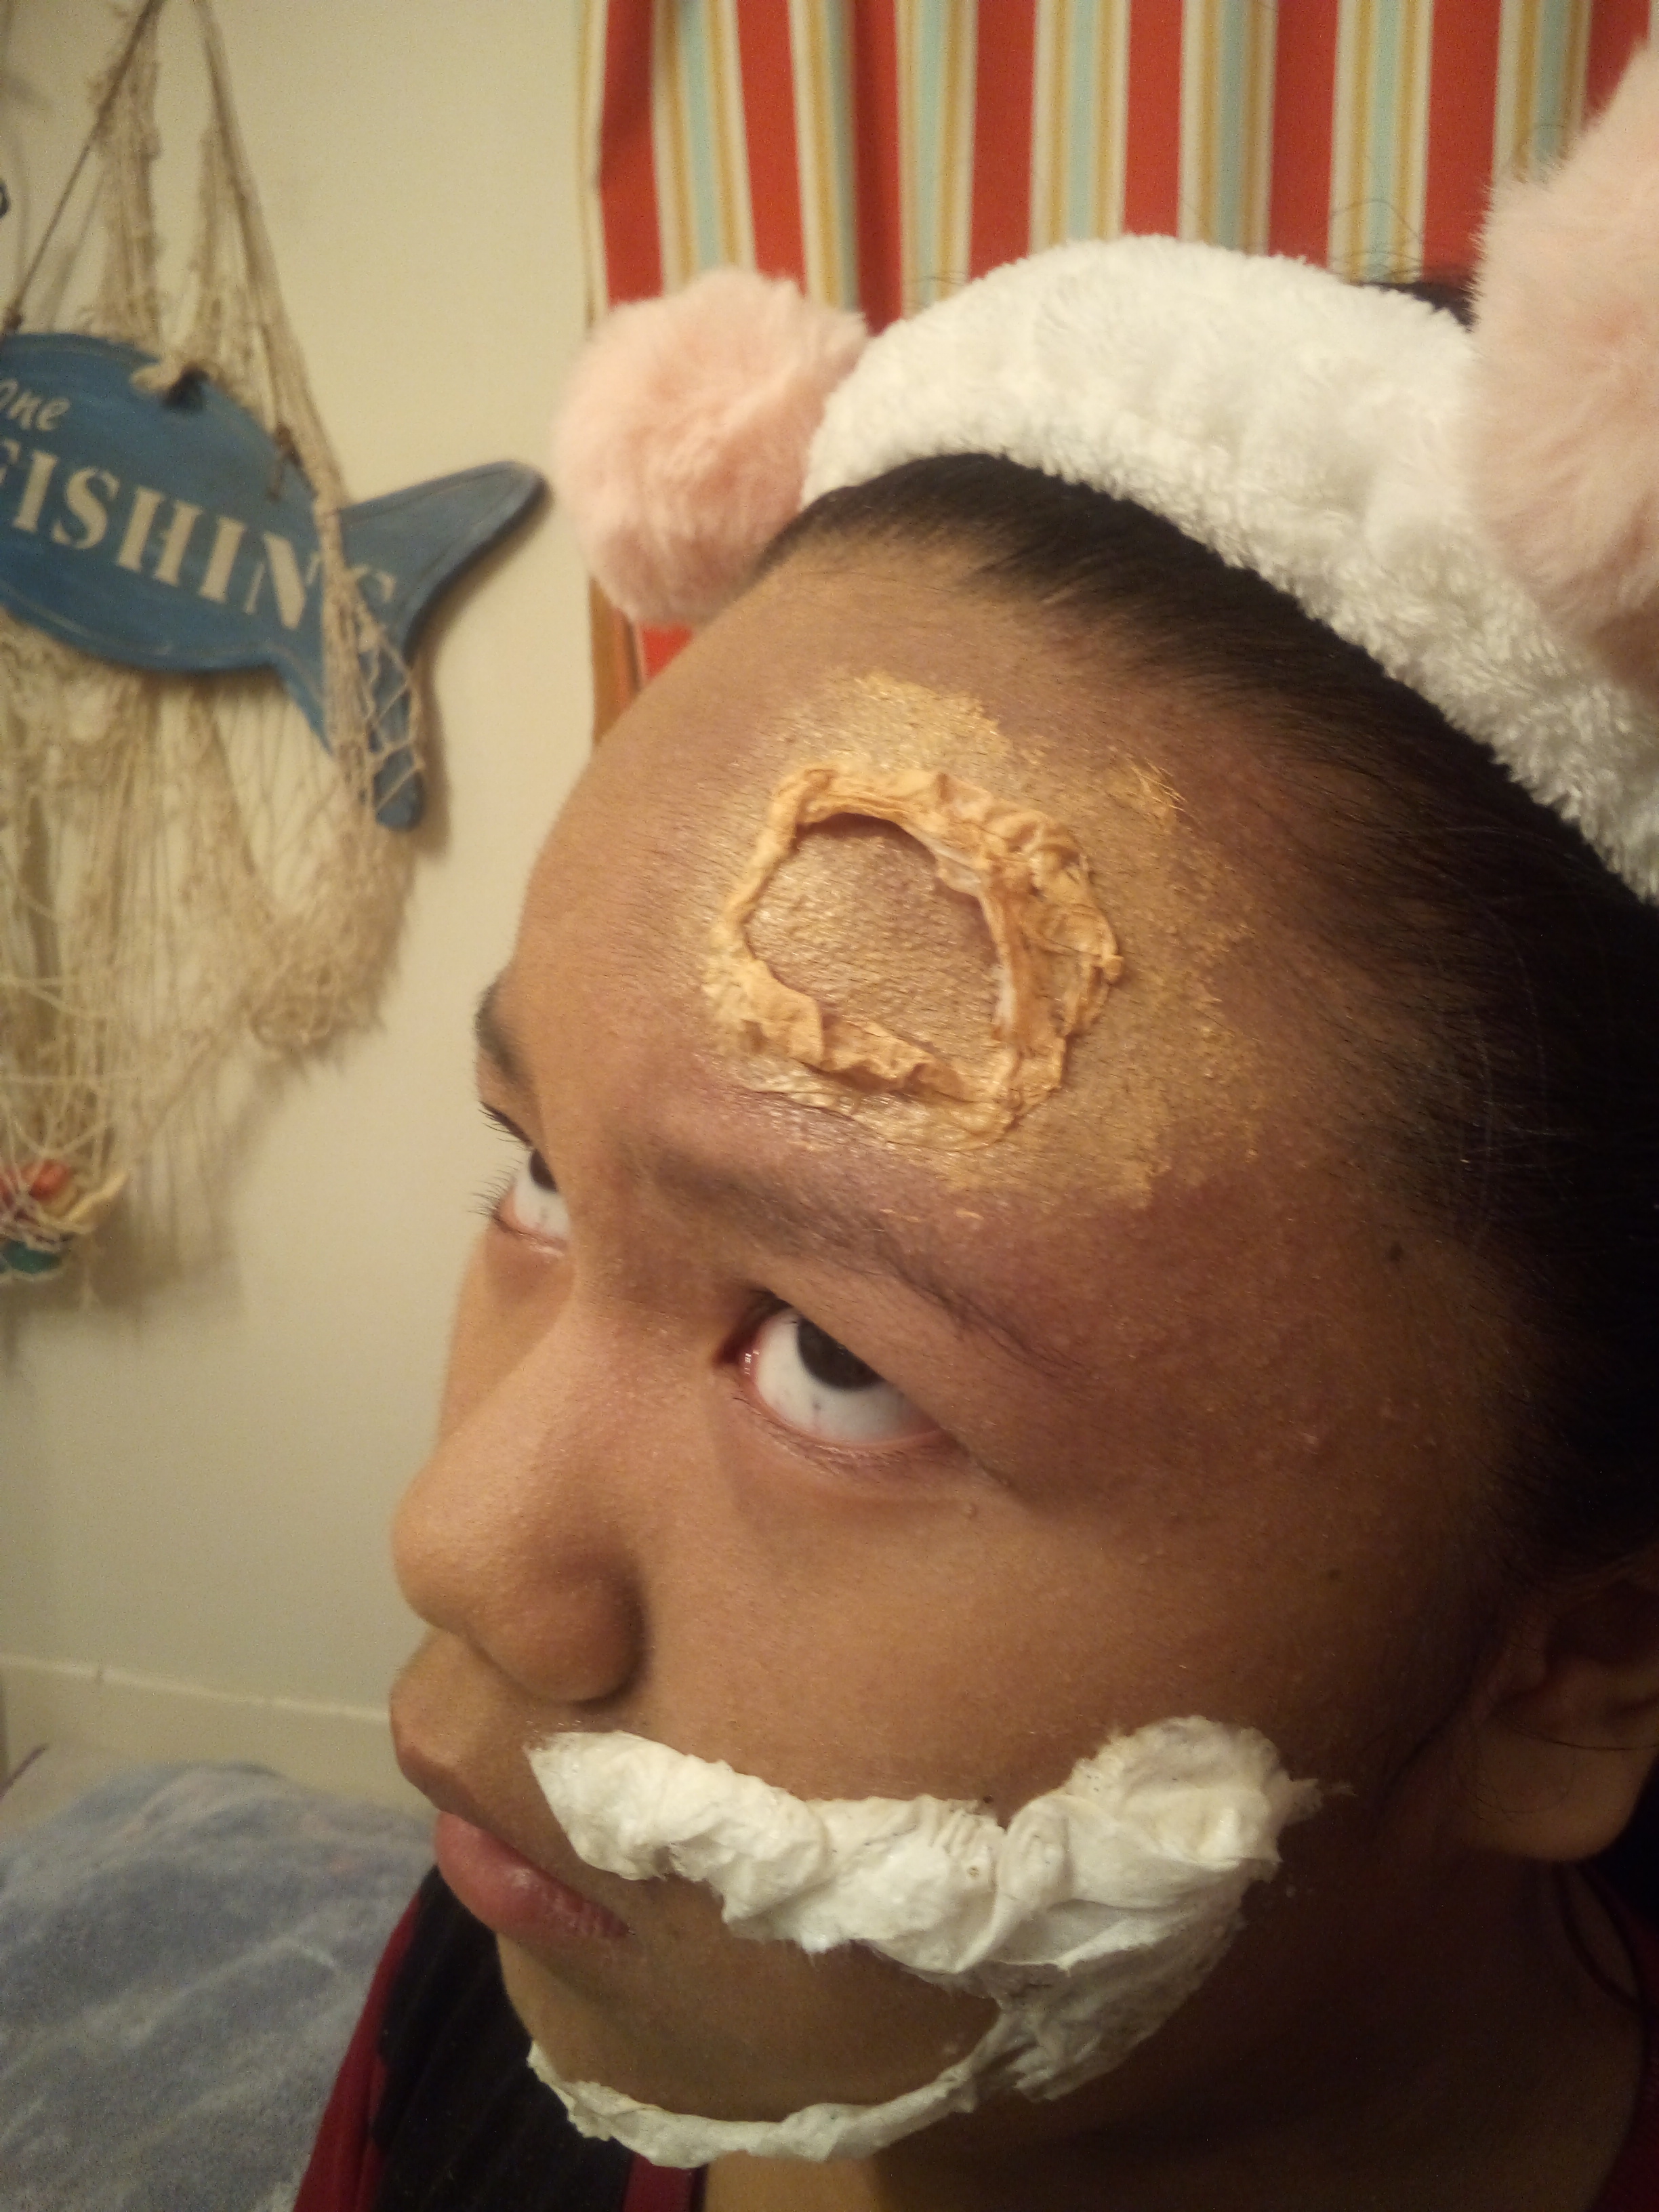
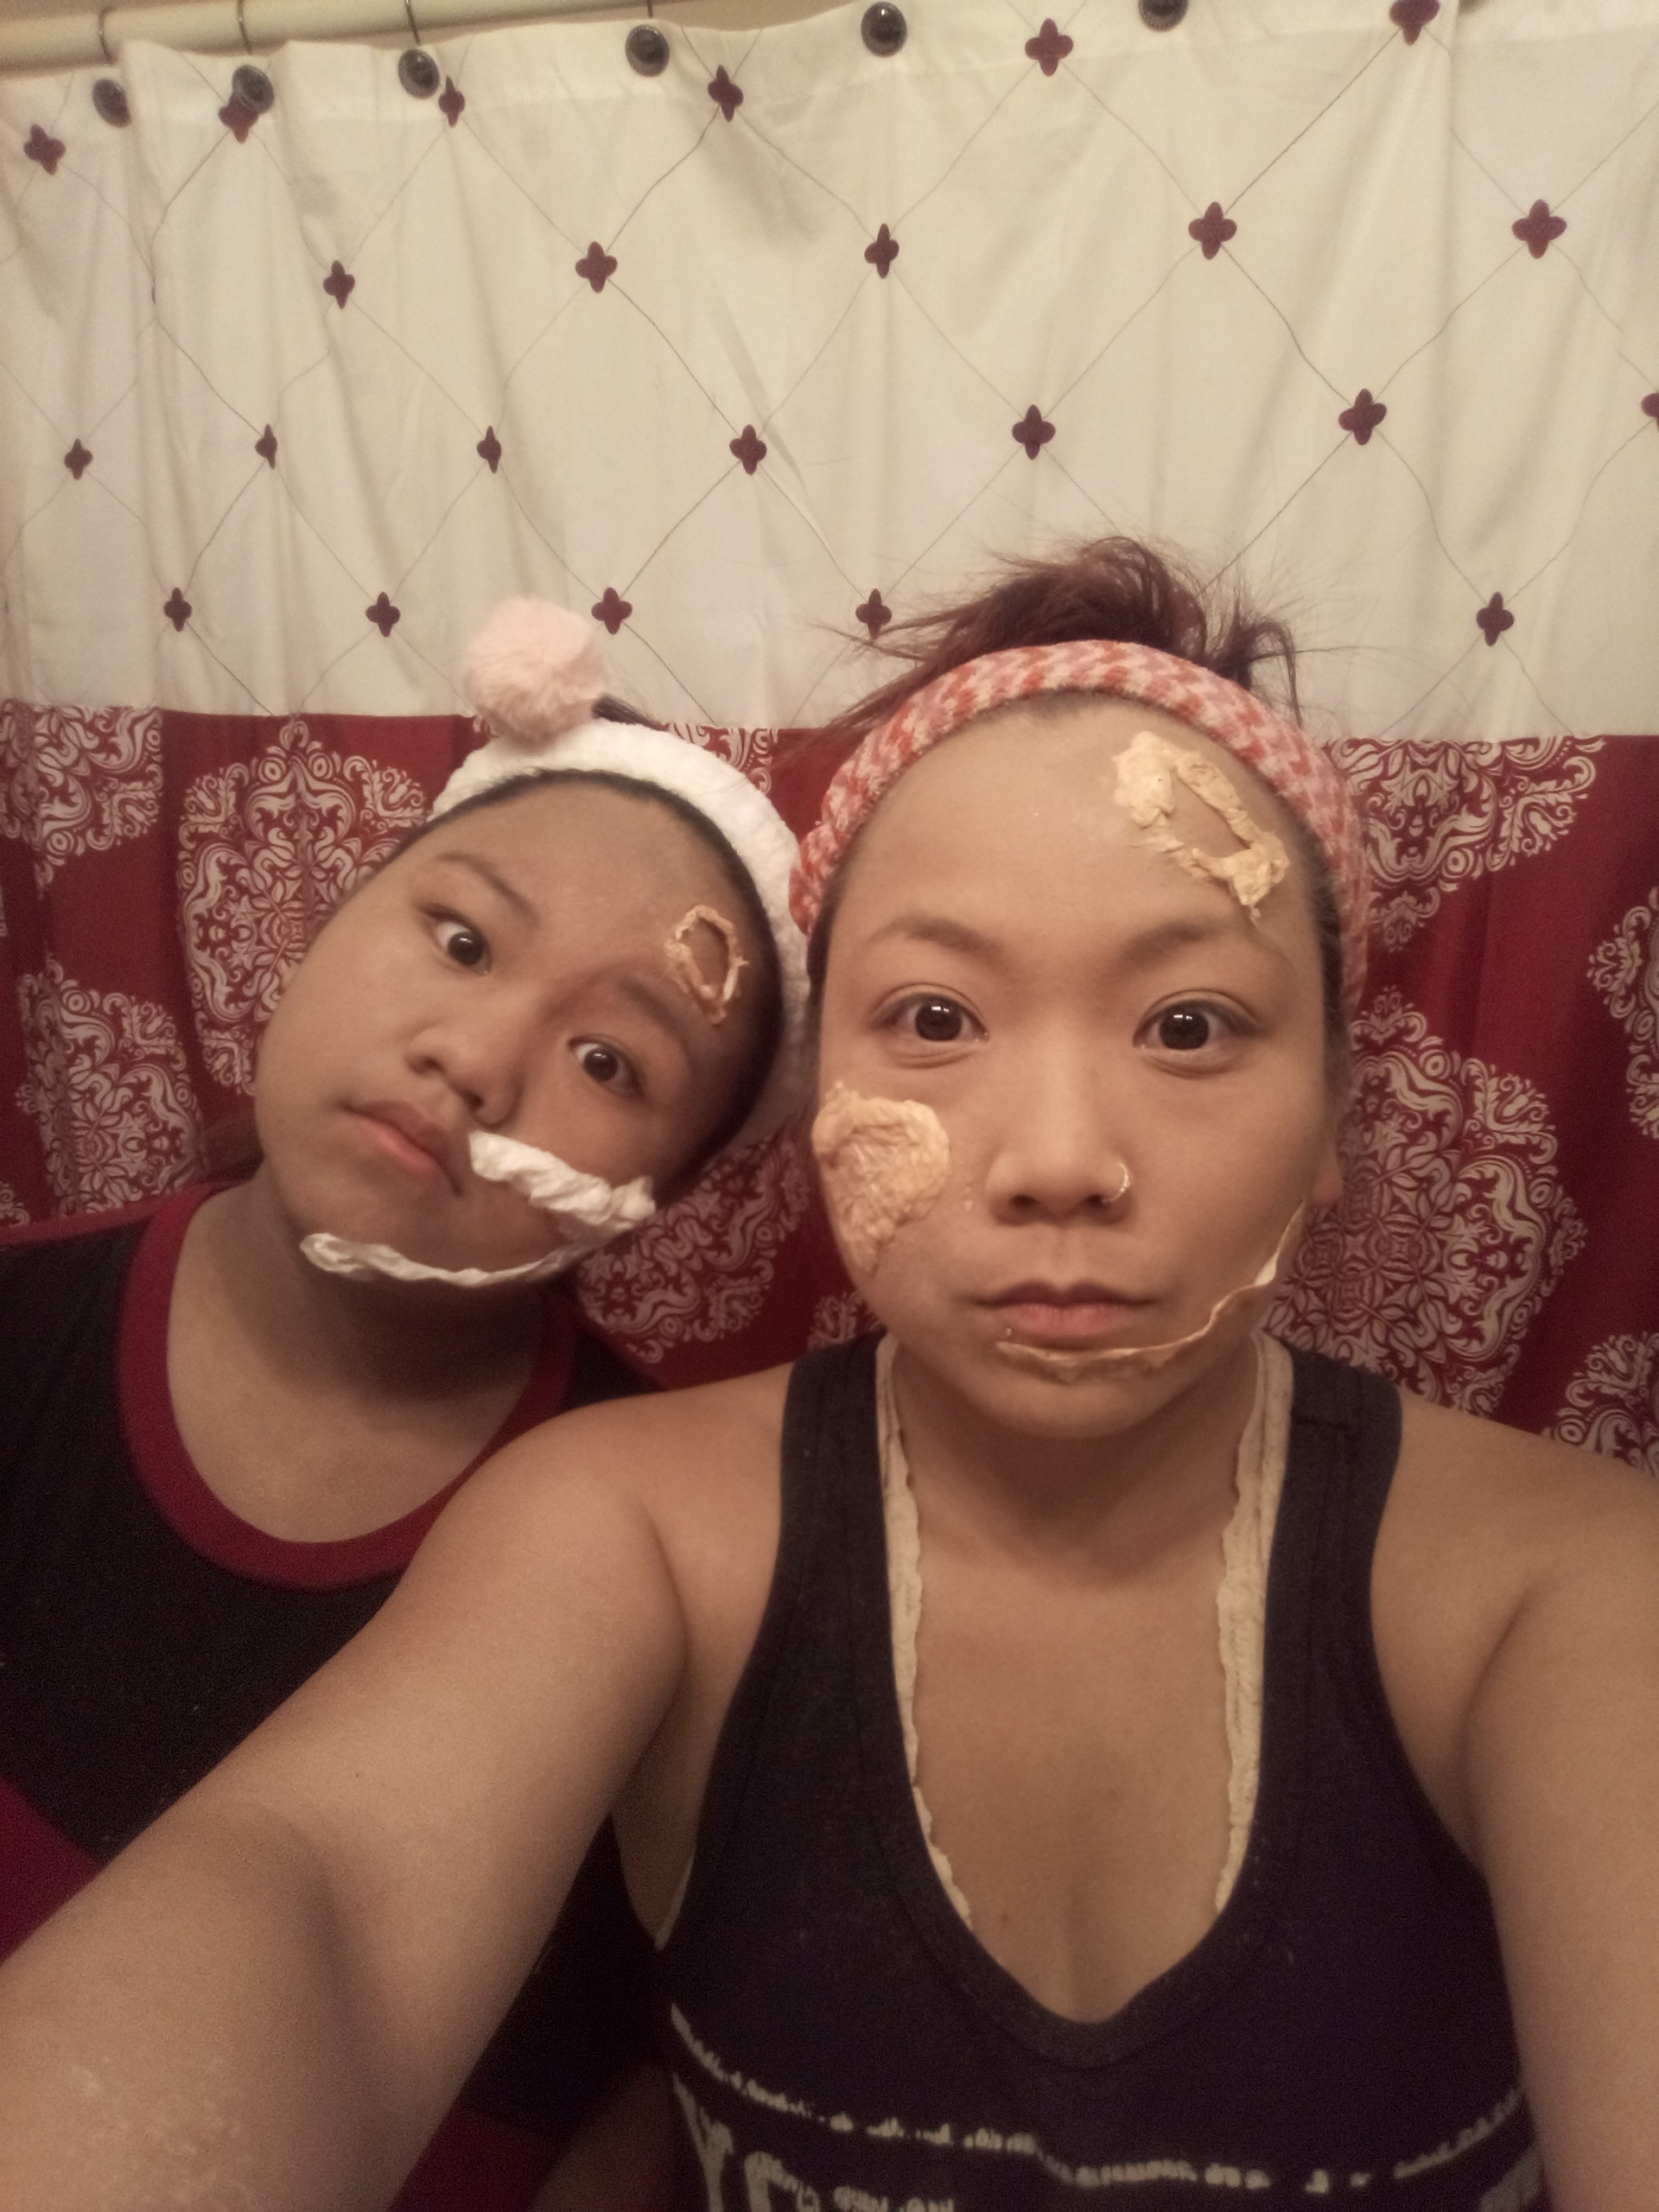
After the glue dries, you can add another layer of glue around the edges to secure the flesh from peeling. Be creative with the gory details, there's no right or wrong way when it comes to zombie makeup.
To create a bruise, use the colors brown, green, yellow, and then purple around the wound in an irregular pattern..
For a rough, flaky effect, apply glue, then let the area dry before you rub vigorously wherever you want the holes and flakiness to appear.
If you want sunken cheeks, lightly sweep some green and red under the cheekbones using a contouring brush or paint brush (fingers work as well).
To create a sunken zombie eye, use your finger to blot red along the bottom of the eye socket and around the top of the lid. Then using your paintbrush, outline the bottom of the eye socket in black. Blend the black in toward the eye, and blot the red area with a light layer of black and blue.
Backstory

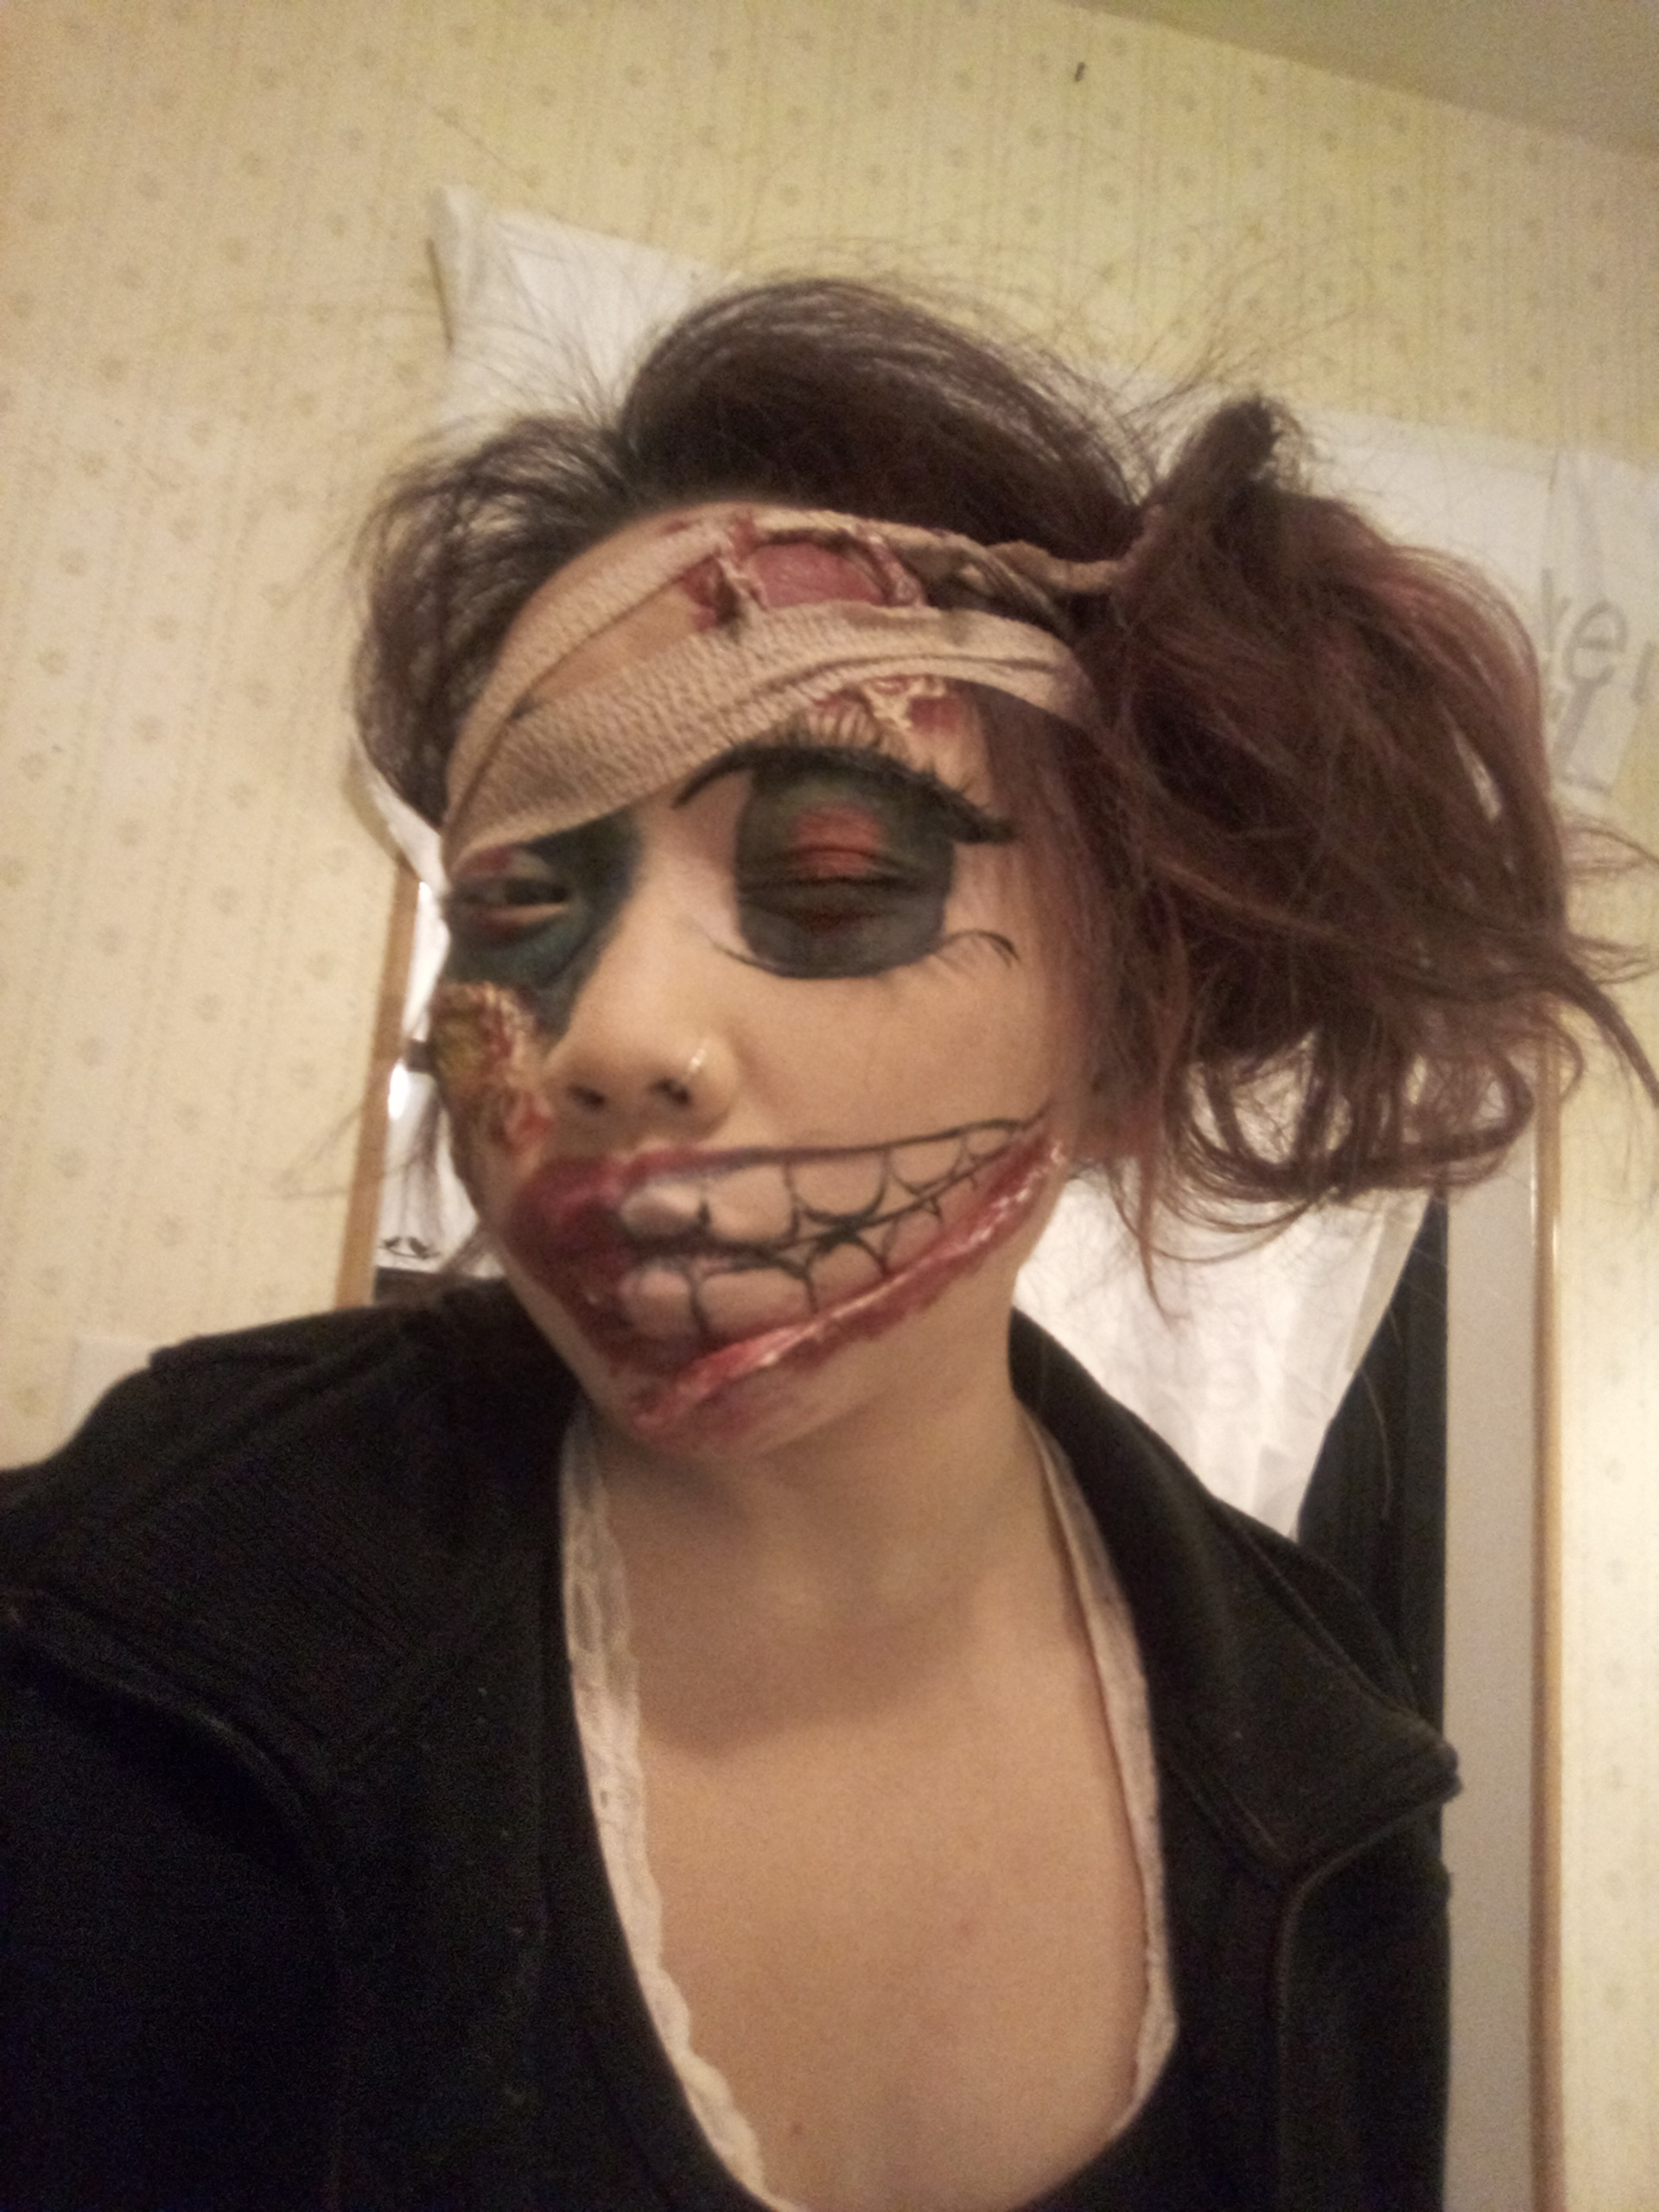
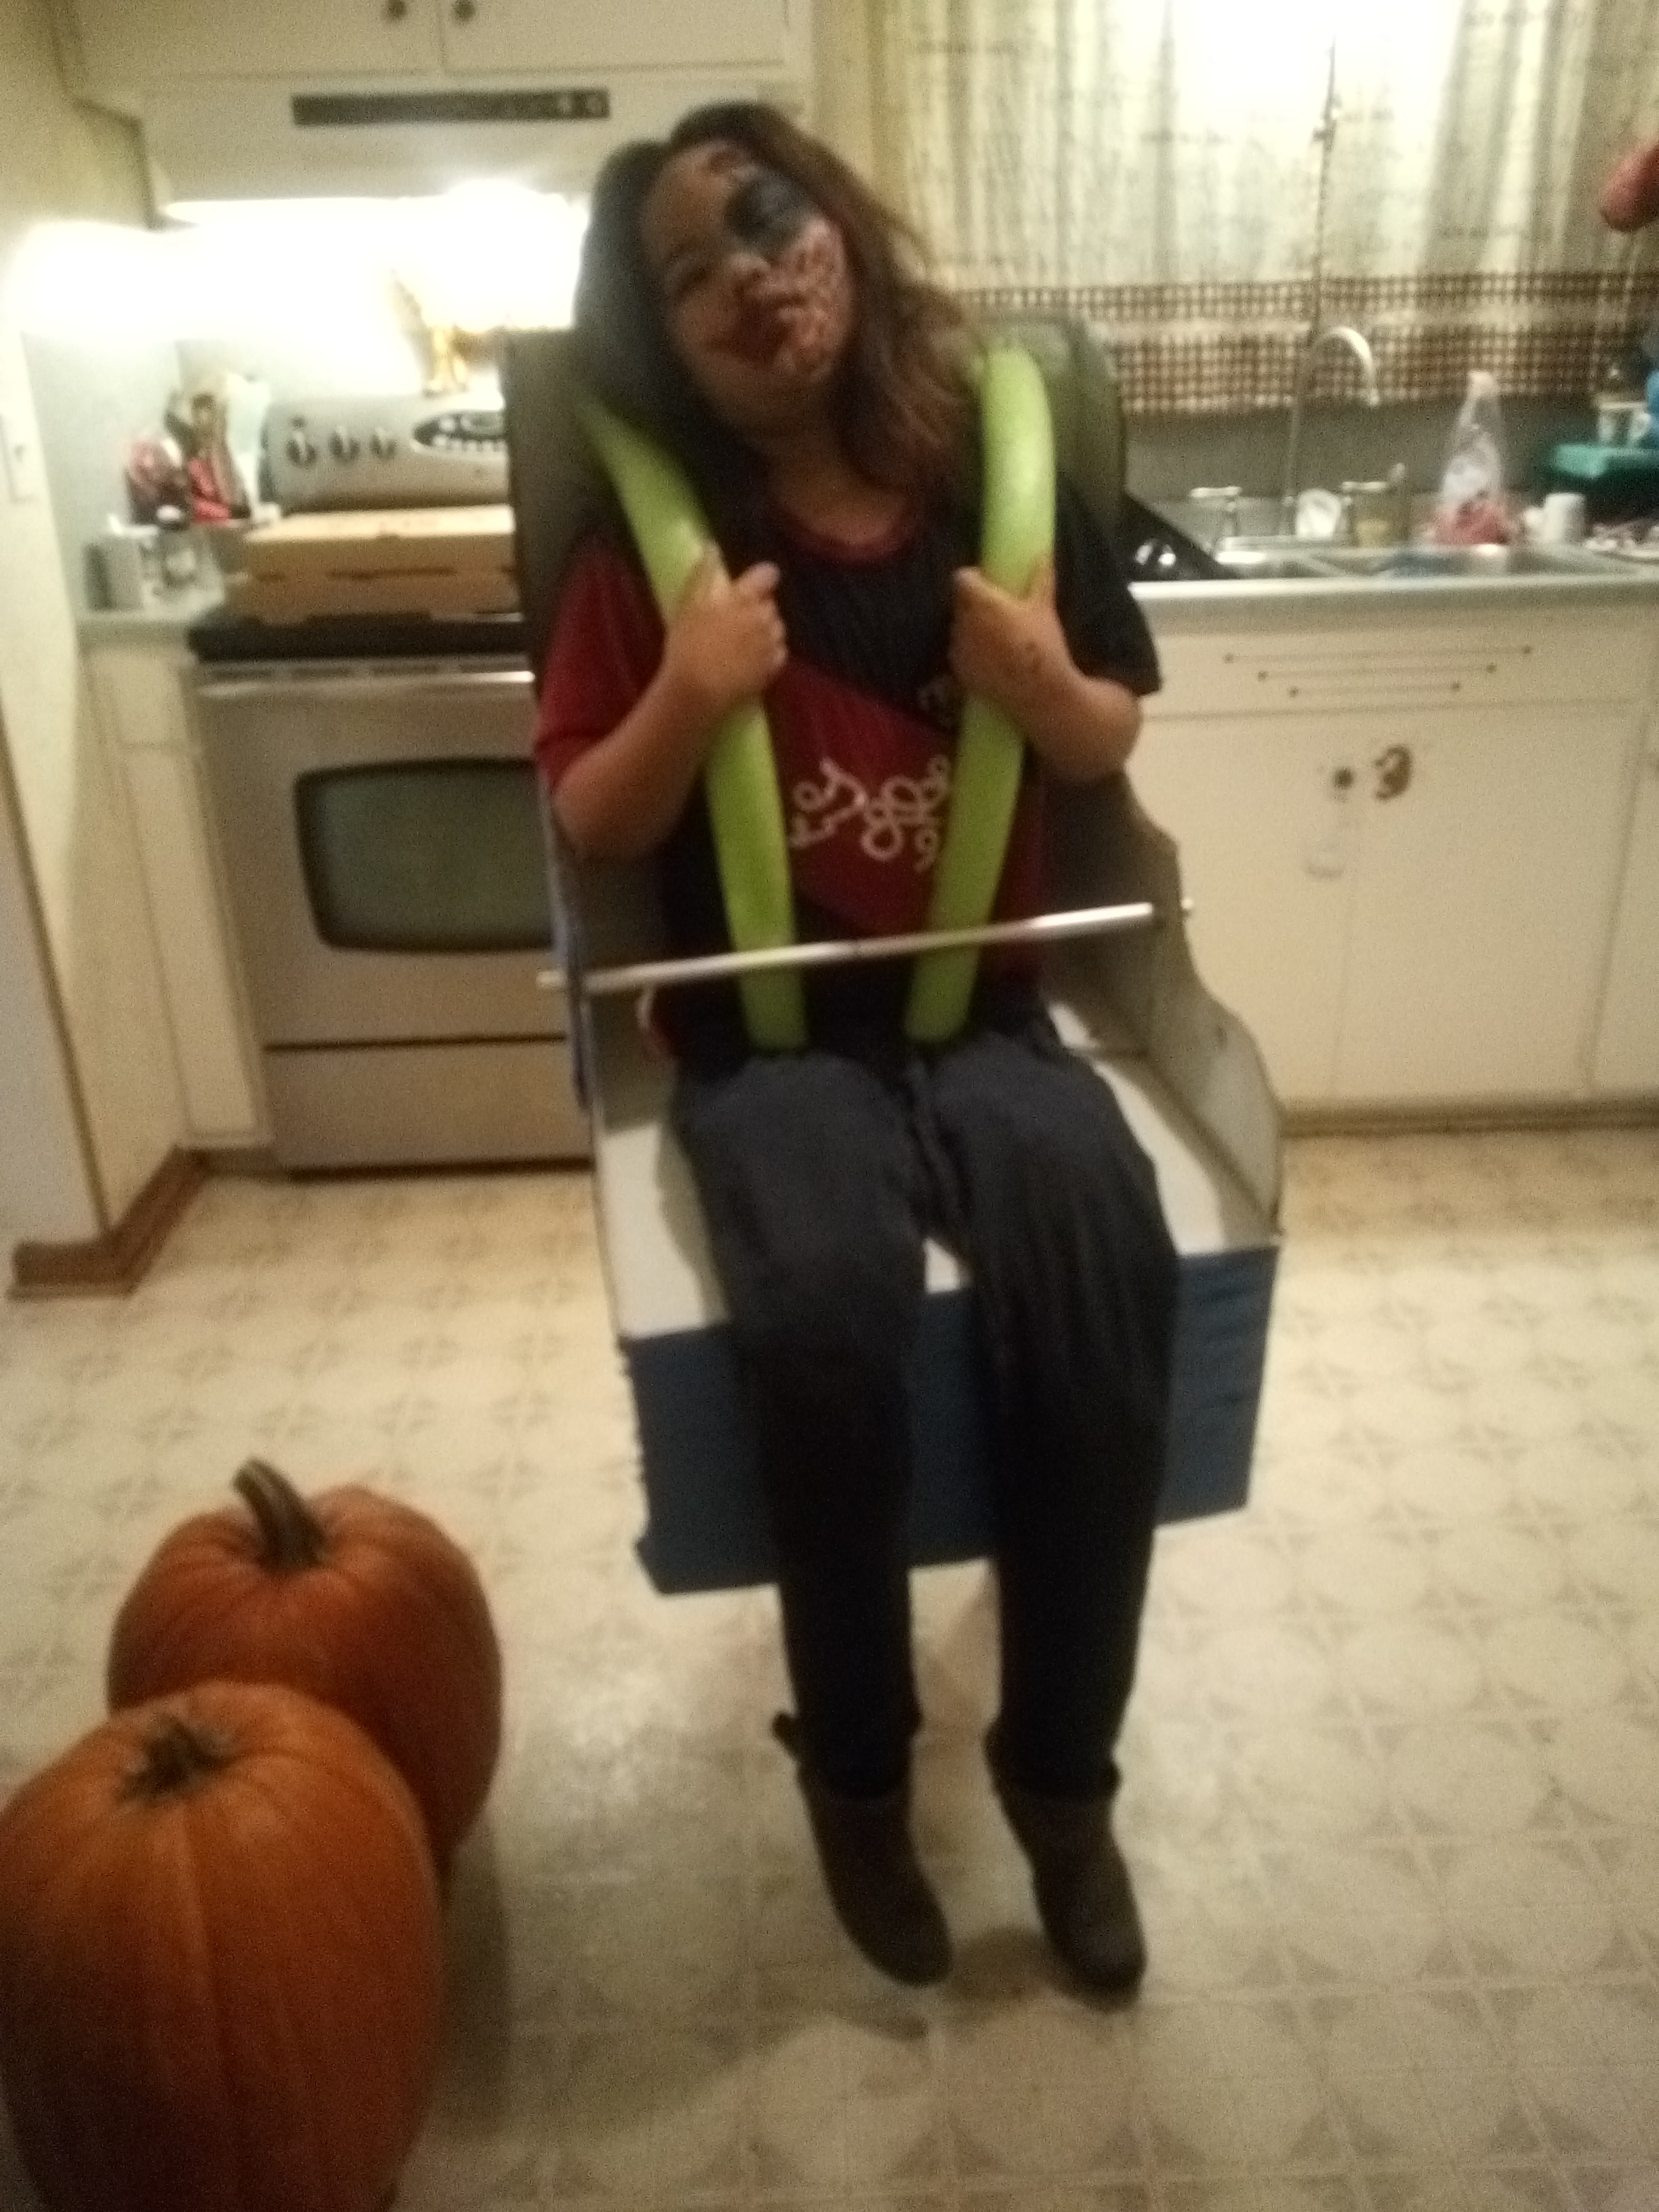
Creating a backstory for your zombie look helps especially if you're using props. Knowing how the zombie's life was before death and how the zombie died also helps add inspiration while your applying the makeup process. & there you have it, now go and get zombified already!